|
| 88 Coupe 4.9 Swap Thread (Page 58/69) |

|
josef644
|
SEP 20, 01:51 PM
|
|
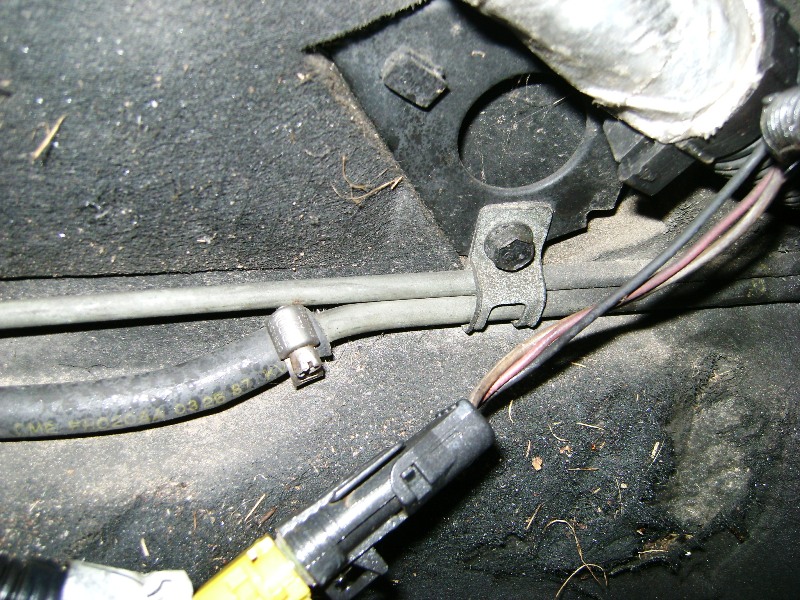
Had the rear tires mounted on the rims. Disconnected the parking brake cables from the forward cable. I am gonna remove and replace the forward cable and the handle first up in the morning.
 [This message has been edited by josef644 (edited 09-23-2010).]
|
|
|
|
josef644
|
SEP 21, 11:20 AM
|
|
Removed the drivers seat, foot trim piece and removed the parking brake handle and cable. Replaced the handle and cable. This cable is real nice , and the adjustment needed to work the parking brake is about half of the amount needed for the old cable. I stopped at about half way, and checked the handle. I had it to tight and need to add some slack. Pads were dragging the rotors.
Had a bit of lunch and went back out to install the foot trim piece and the drivers seat. Removed the lock parts off of the deck lid. I will be taking it to Greenville to swap out with a smooth one from MstangsBeware tomorrow.
Went back out and installed the passenger side quarter panel. Put the battery back in the car and reconnected the cables. Turned the key and she fired right up. I'll add water in the morning and purge the coolant system.[This message has been edited by josef644 (edited 09-22-2010).]
|
|
|
|
josef644
|
SEP 23, 10:05 AM
|
|
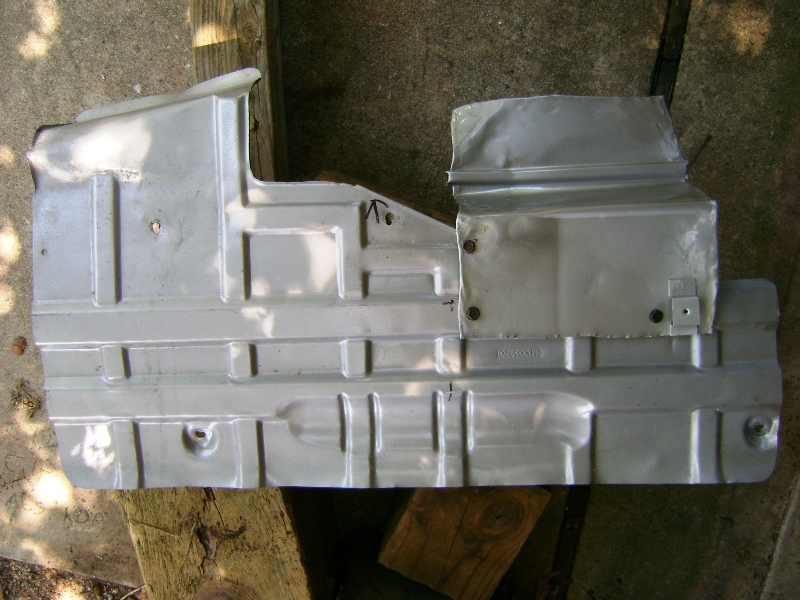
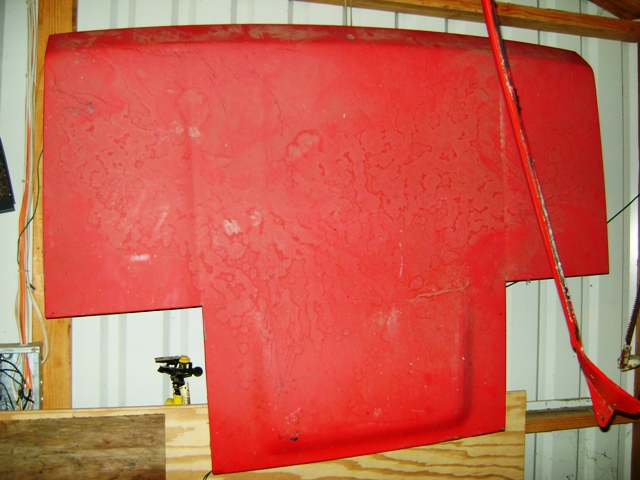
Plunder from yesterdays trip to see MstangsBeware. All bolt hole threads are nice. Good shape, just faded Fiero red. Got back home last night at 8:00pm
 [This message has been edited by josef644 (edited 09-23-2010).]
|
|
|
|
josef644
|
SEP 24, 12:48 PM
|
|
|
|
|
josef644
|
SEP 26, 12:14 PM
|
|
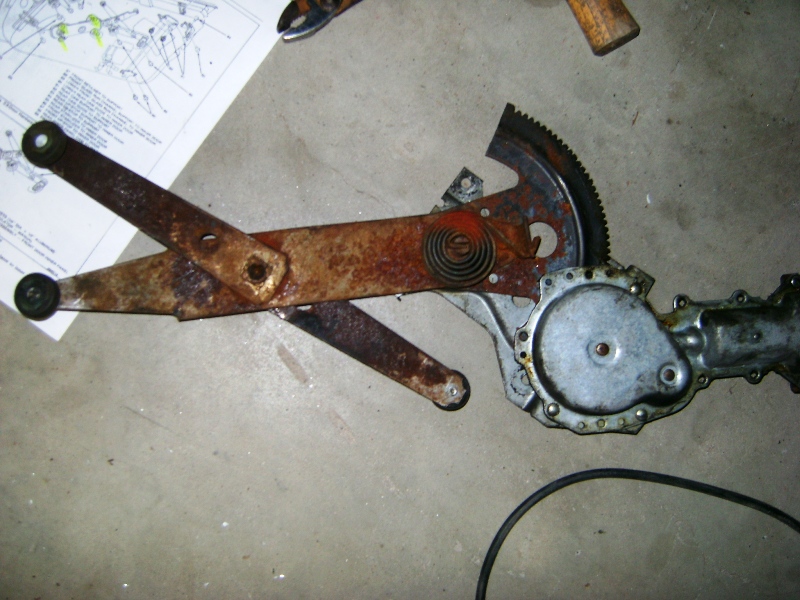
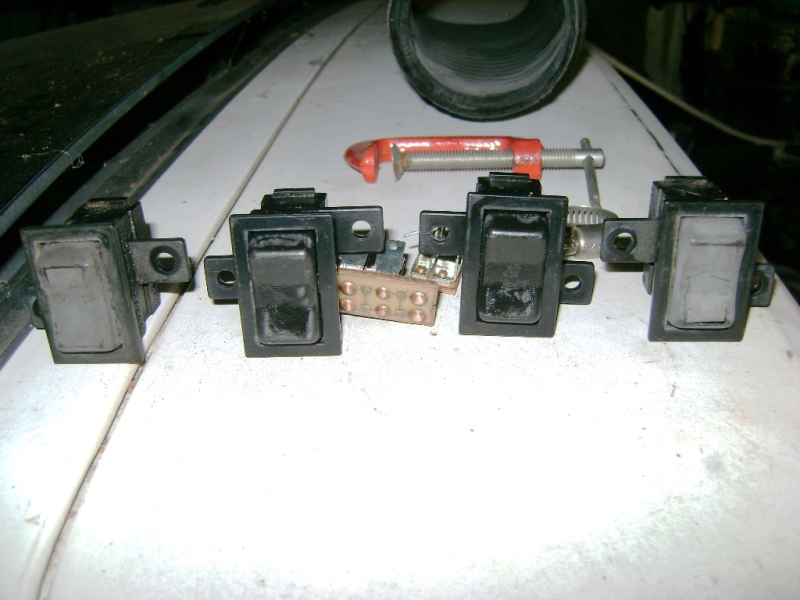
I removed the two power window switches today and took them apart for cleaning. I need to get some dielectric grease before I put them all the way back togeather.
I painted the rockers Matt black, but I don't like the way they look. I am gonna remove the rockers and add the flat black.
I had a set out of an 84 that I took apart first for experience. After cleaning the right side one I put it back in the car to test it out. My passenger side glass moves under its own power now. Super slow, but it is working.
This car has around 200K miles on it that I know about. Last mileage on carfax is 197K, the speedometer I replaced had over 300K on it. I am thinking that I need to get new morors for both doors. Even 200K is a lot of miles on the car, and trips up and down for the windows.
Just ordered two new window motors from RockAuto, $50 shipped. Dorman kits[This message has been edited by josef644 (edited 09-26-2010).]
|
|
|
|
josef644
|
SEP 27, 05:58 PM
|
|
|
|
|
josef644
|
SEP 28, 07:44 PM
|
|
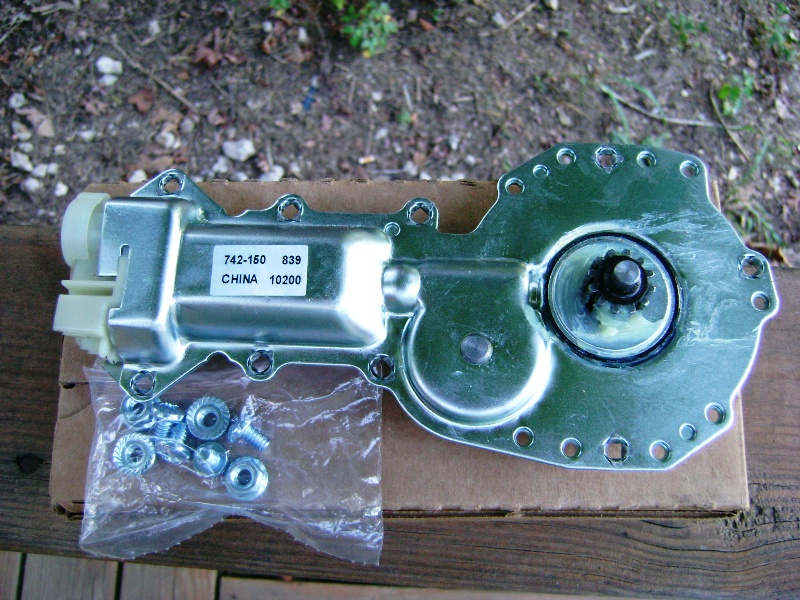
Window motors arrived. I'll be installing one tomorrow morning. Dorman distributes "Made in China". I wouldn't have bought these if i had known they were Chinese made. It did come with a nice set of mounting hardware, all nuts and bolts and the mounting plate.
|
|
|
|
josef644
|
SEP 29, 03:14 PM
|
|
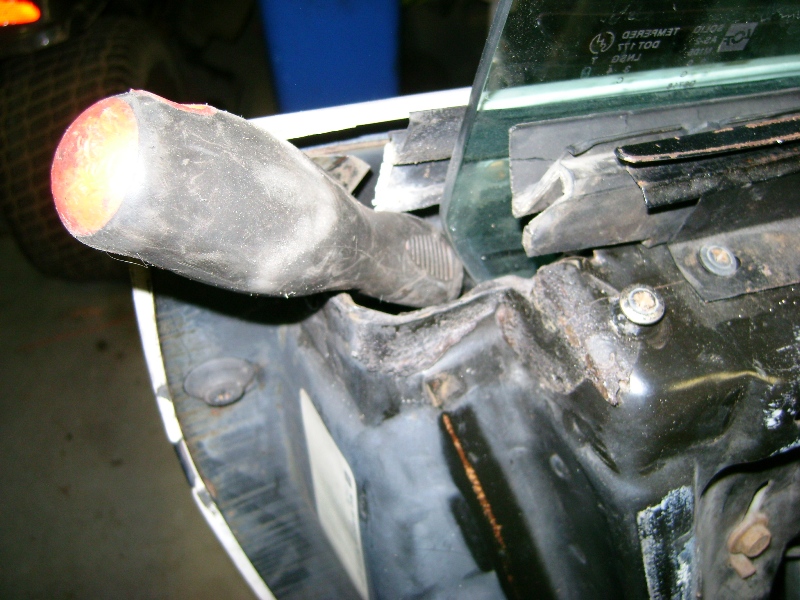
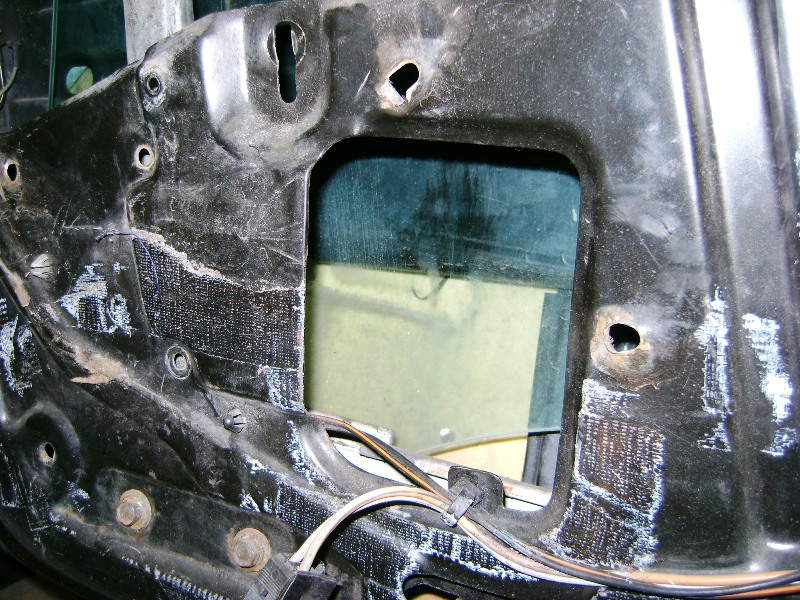
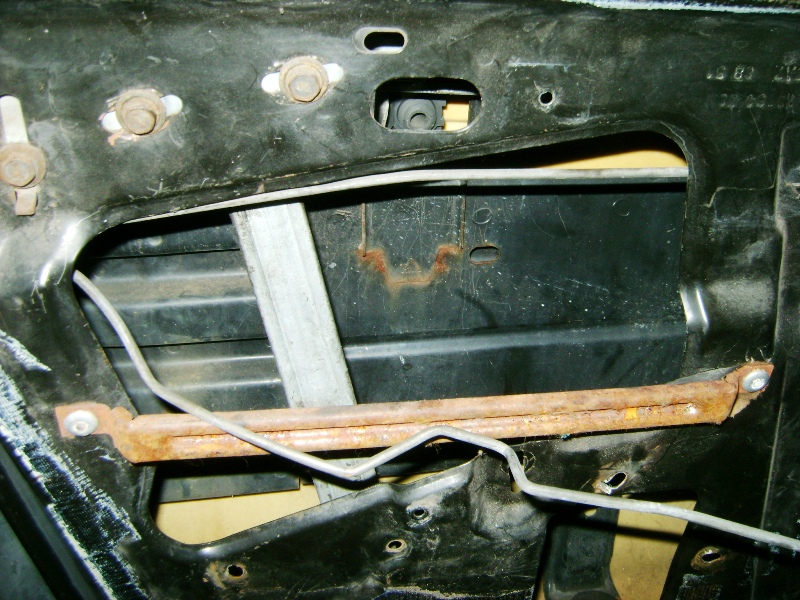
I installed the drivers side motor this morning. It wasn't to bad. I learned the ins and outs of doing these. I am gonna do the passenger side door in the AM. It was pretty neat to see the glass move up and down quickly, as it has always been in slow motion before.
The 5 of white circles indicate where the bolts are needed to replace drilled out rivets. The left two are bolts that are removed for removal of the channel.
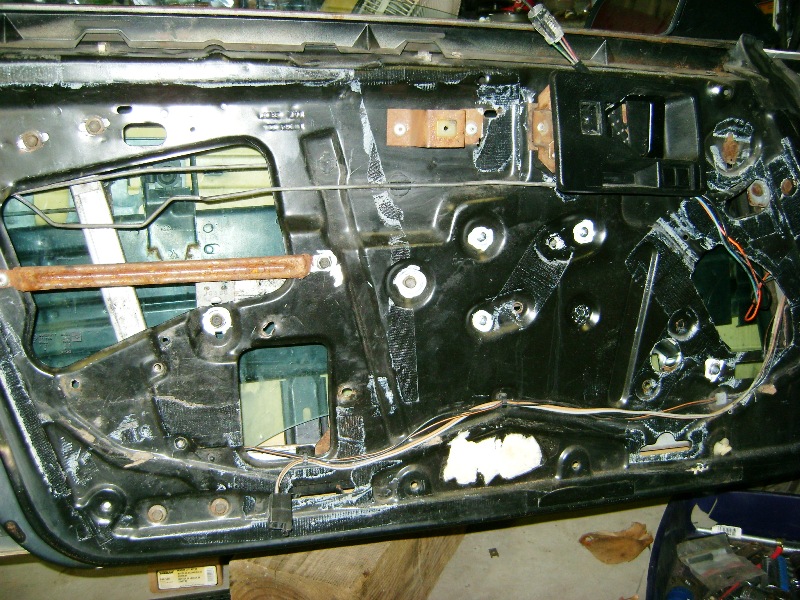
Thinking about doing a step by step power window motor replacement guide. I took pictures as I was putting it back togeather. I wish I had been able to find one before I did this.
|
|
|
|
Alex4mula
|
SEP 29, 04:17 PM
|
|
| quote | Originally posted by josef644:
..
Thinking about doing a step by step power window motor replacement guide. I took pictures as I was putting it back togeather. I wish I had been able to find one before I did this. |
|
Would appreciate a lot! I may need to do this too. Just started troubleshooting a window that doesn't go up and goes down VERY slowly 
|
|
|
|
josef644
|
SEP 29, 04:49 PM
|
|
Ok, I'll put a 'How to Replace a Power Window Motor' up in Tech tomorrow after I finish doing my other door. I have some suggestions to make this a bit easier for others who are needing to do this.
I printed me a diagram of the power door locks on my car. I went out and did a test on the lock 'motor'. It works fine in lock and unlock. The drivers side lock switch is bad. That was good news as the 'motor cost around $50.00 new. The lock switch was just $6.00[This message has been edited by josef644 (edited 09-29-2010).]
|
|
|