That's just so nice looking man... it's almost so nice looking that I'd never want to drive it. Just put it on a platform with some mirrors under there to show it off or something. lol
dskebo
DEC 08, 08:35 PM
Very nice
motoracer838
DEC 09, 09:05 AM
quote
Originally posted by fieroguru:
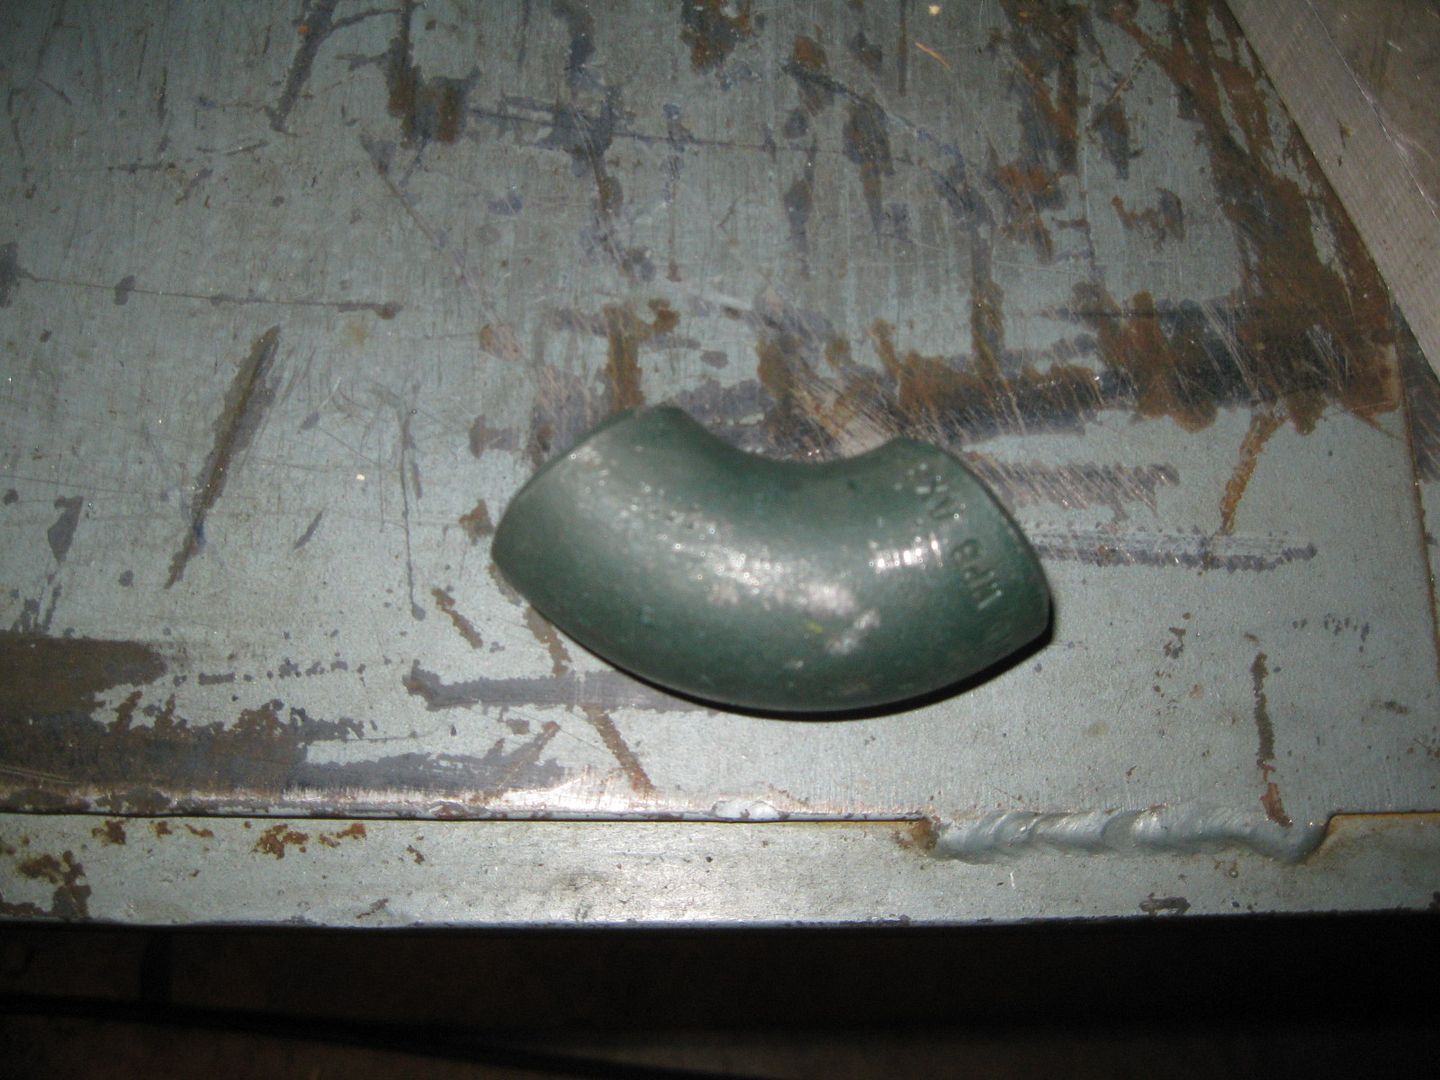
I think the passenger side coolant tube is figured out.
1" Schedule 40 black pipe is the perfect size for the fiero coolant hoses, so I ordered some butt-weld 90's to start with like this:
).
That's funny, I use the same bends in 1 1/4" when I have to fab handrail at work.
You look like your getting close, looks great.
Joe
fieroguru
DEC 09, 01:53 PM
Thanks guys! I can't wait to have this thing running... but it will probably be sometime in January as there is still quite a bit to do.
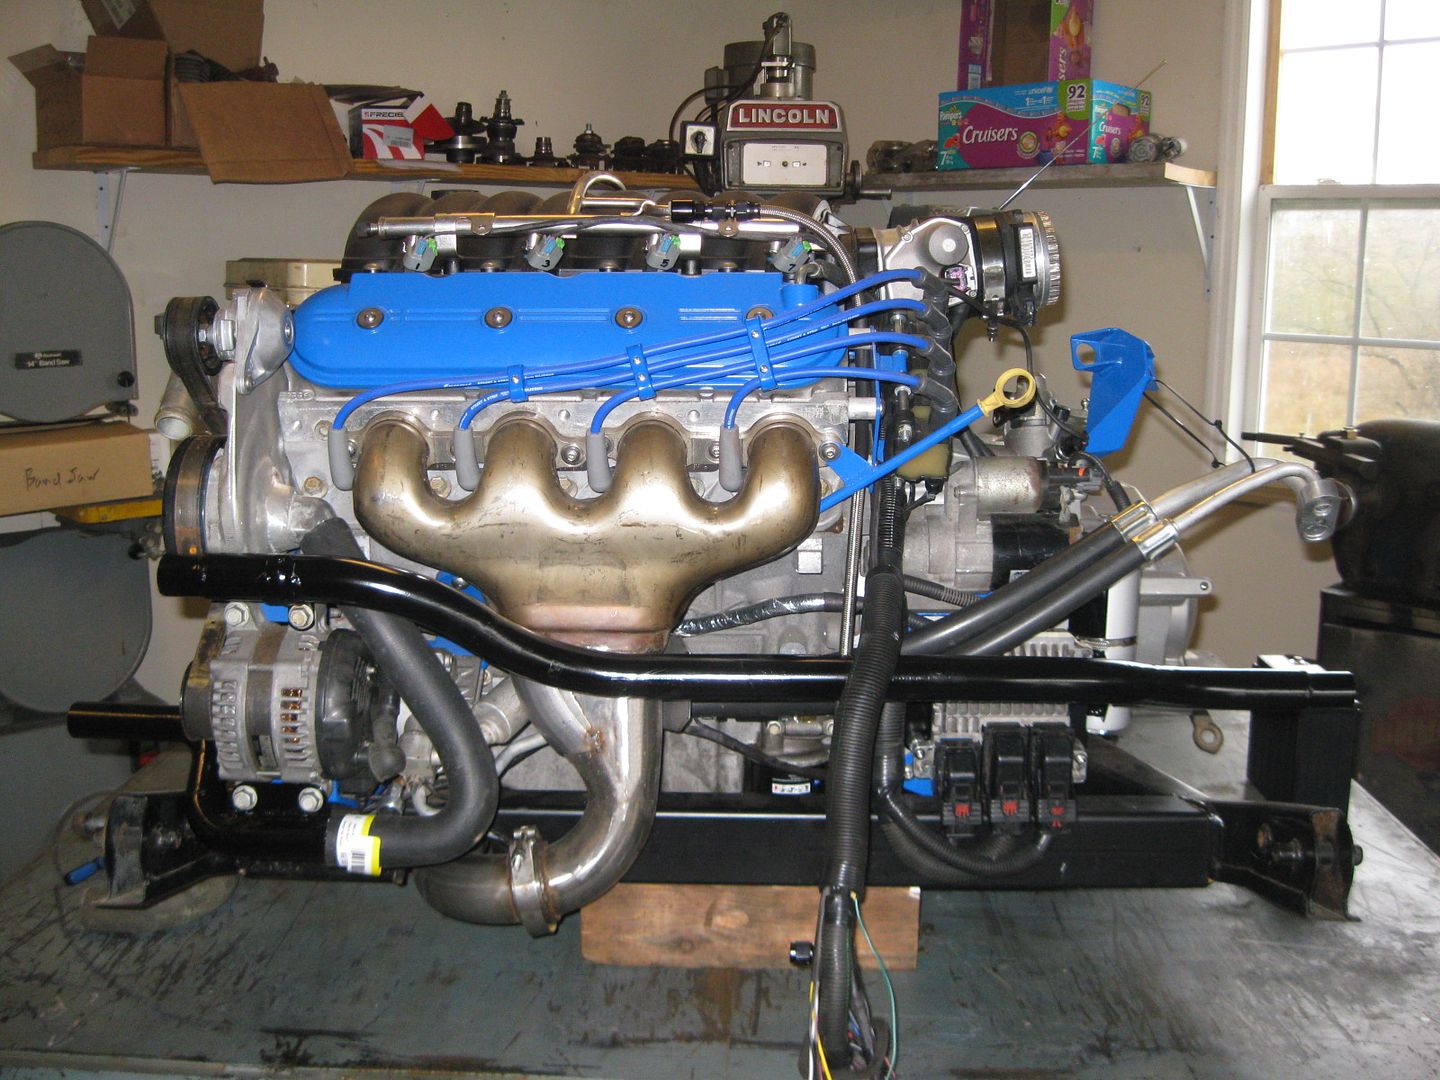
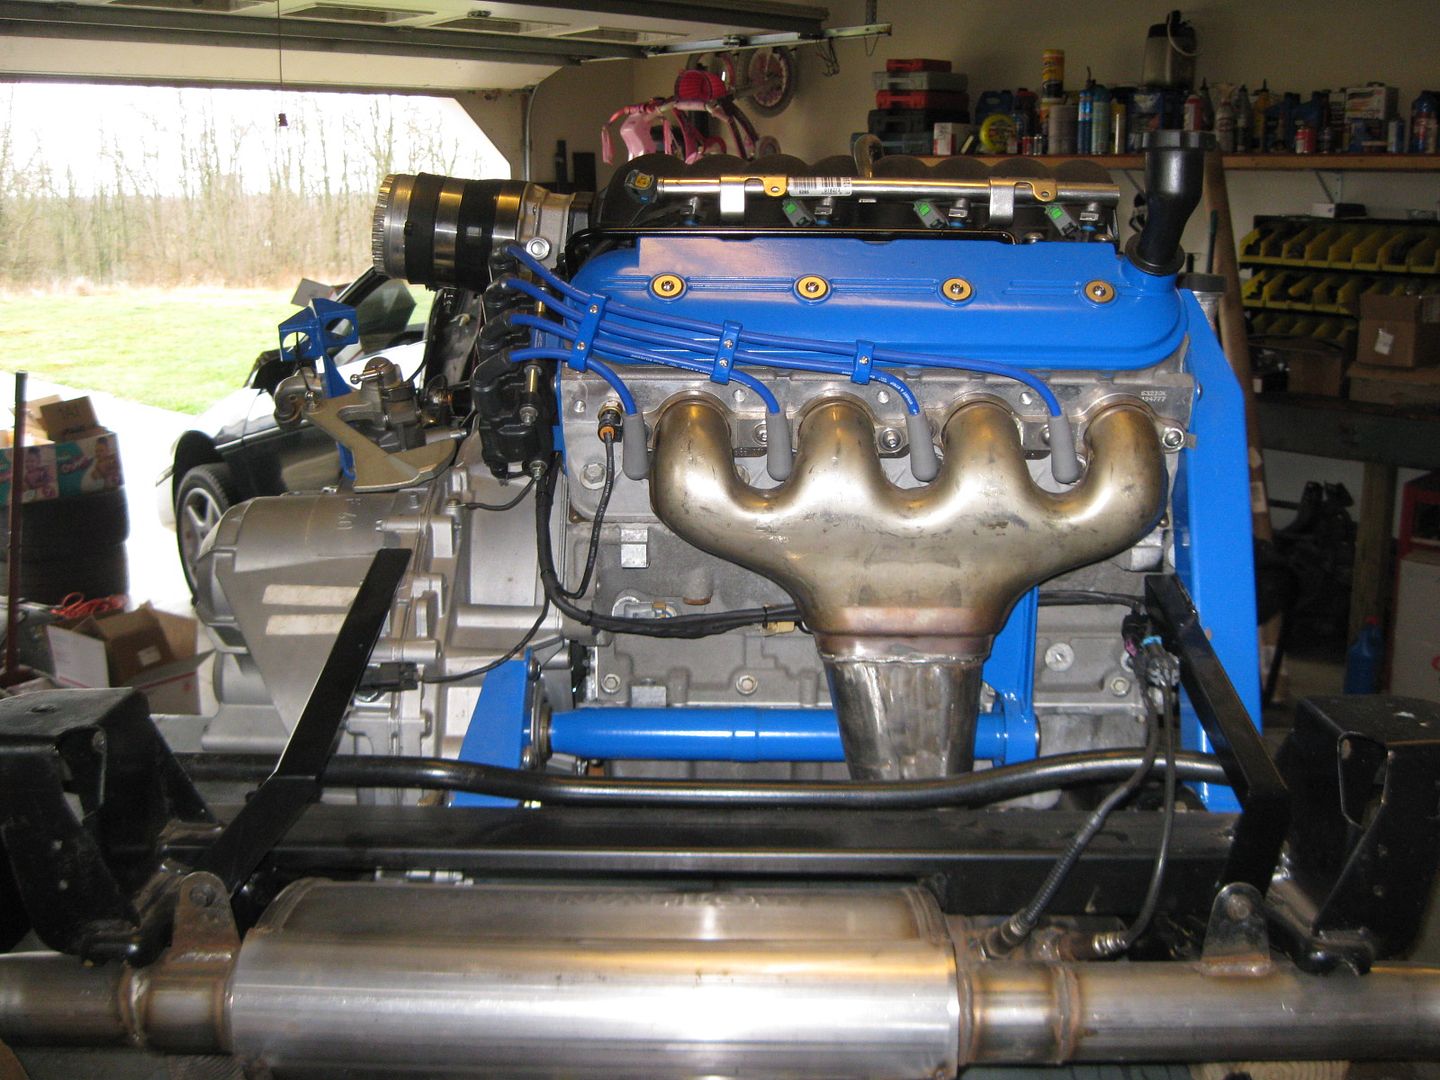
I tested the DYNA-BATT battery today and it did spin the LS4/F40 combo, so I will proceed with mounting the battery. Here is a video of the test spin and a walk around the engine/tranny combo:
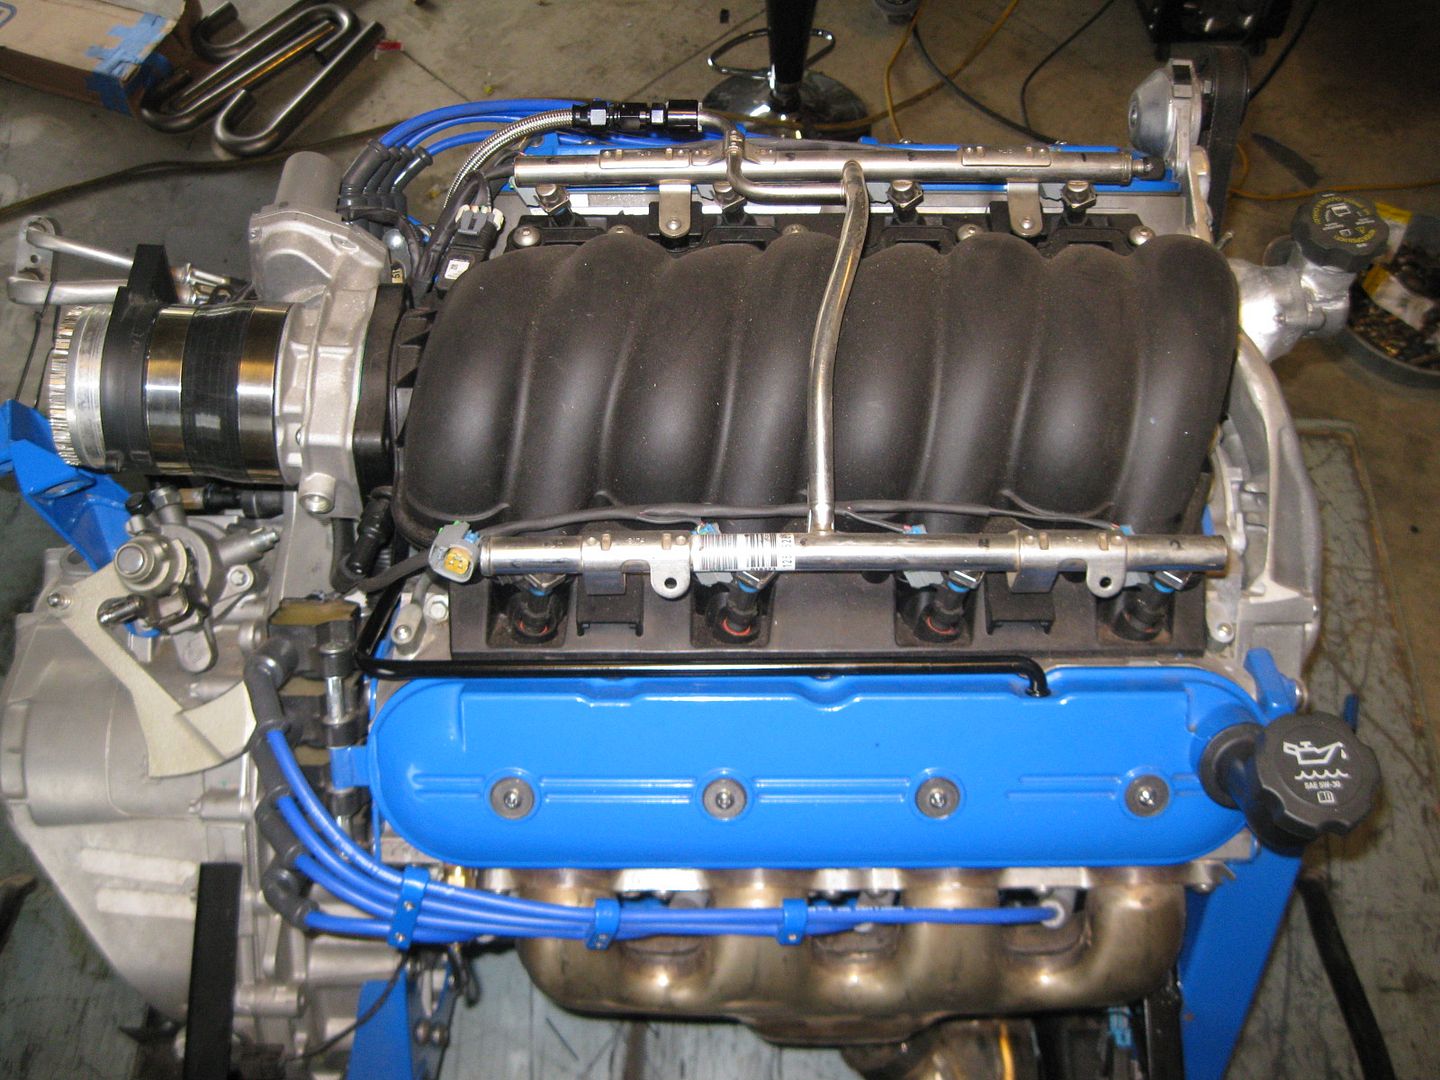
I finished the long coolant tube, painted and installed it. Also installed the painted PCV hard line and started reassembling everything I had taken apart. Once I install the last 3 hose nipples (heater hose, steam hose, brake booster hose) I think the work on the engine/transmission/cradle combo will be done (besides assembling the suspension, but I am not doing that until the engine runs in the chassis).
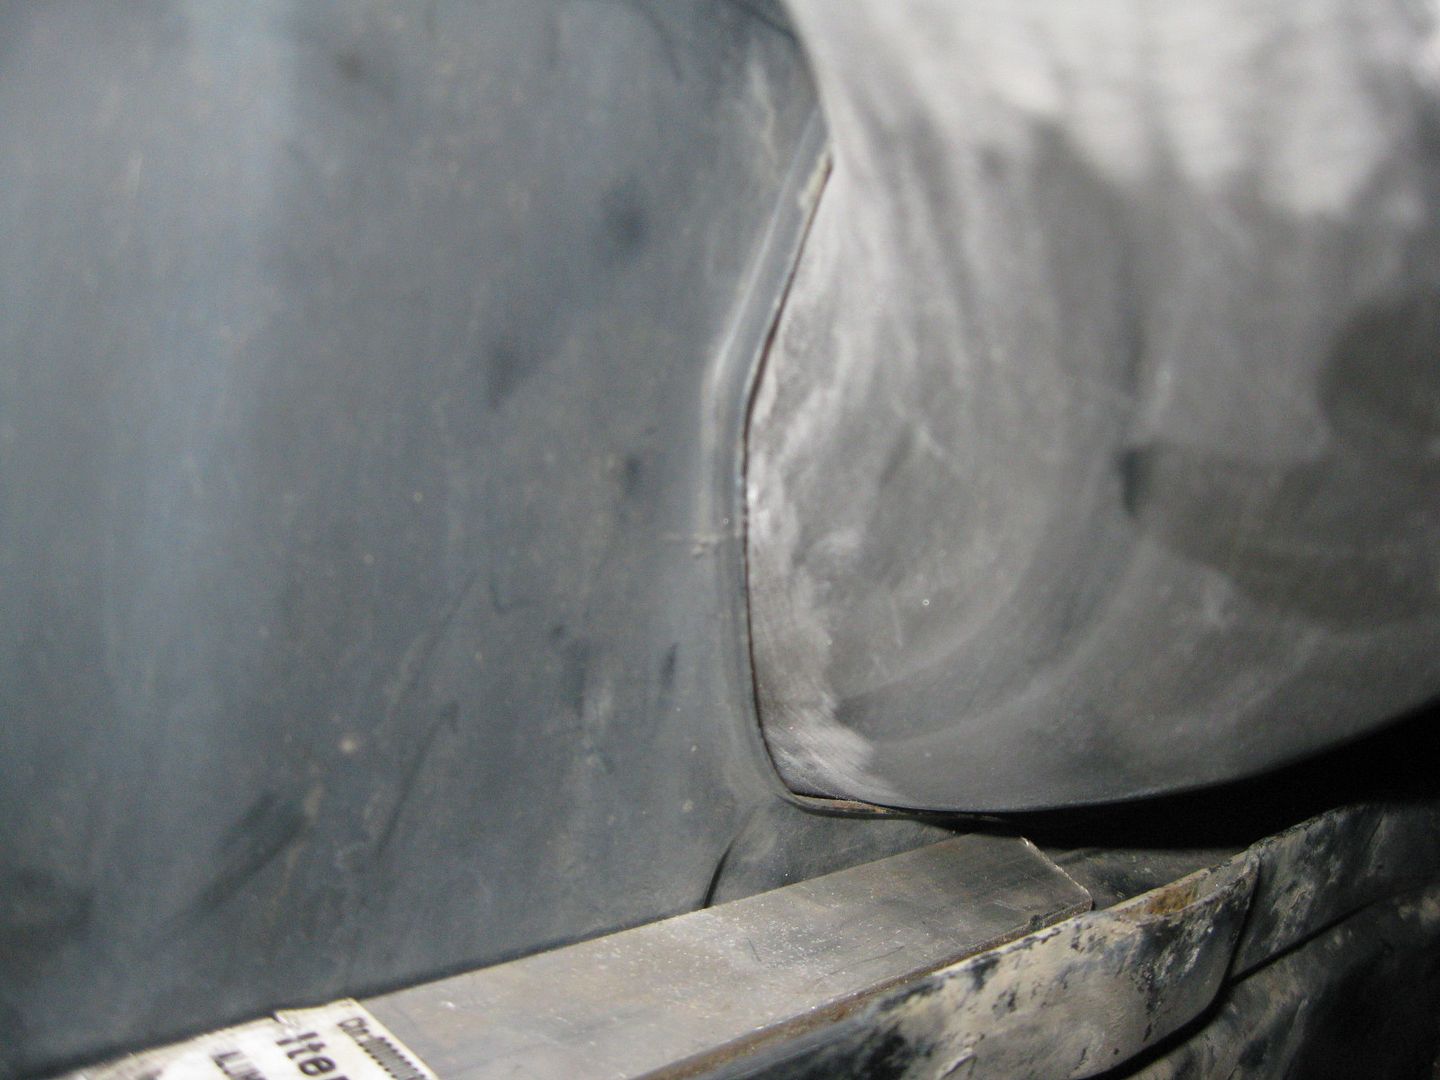
I sanded down the air intake tube for the coating in truck bed liner, but before coating it I needed to tweak the oem hole I am using for it. The intake is very tight with the factory hole and if I don't do something it will scratch when I reassemble it (and it is rather difficult to remove)... so here is how it fits the stock hole (notice it clears the frame rail, but sits on the sheet metal for the hole):
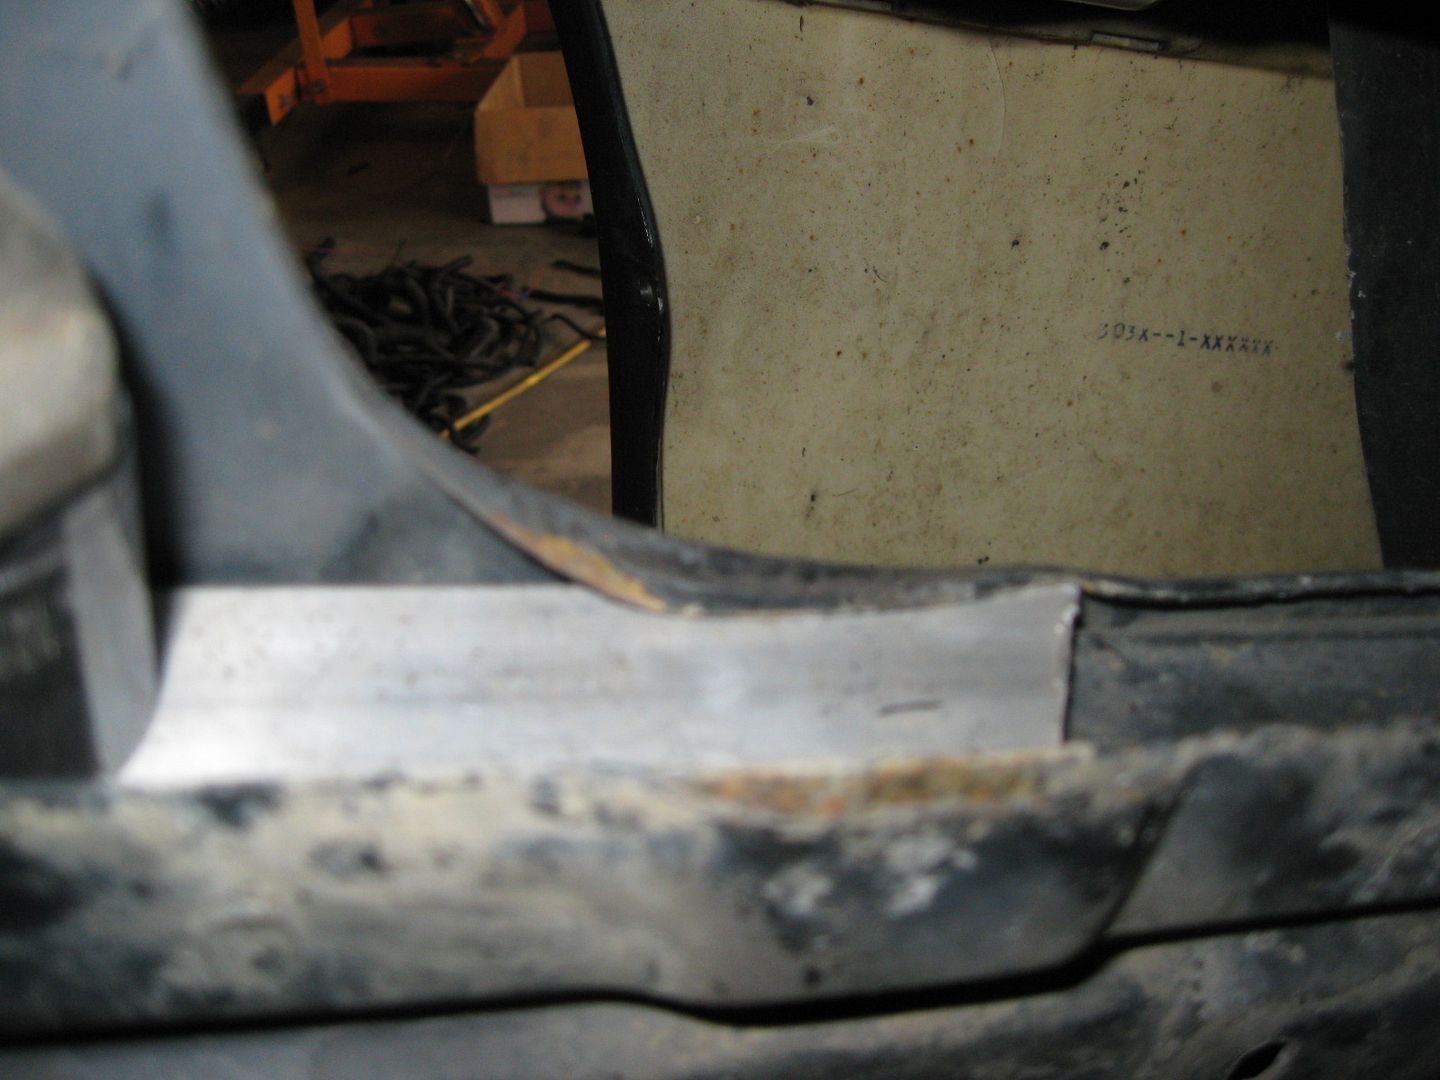
I am going to bend the sheet metal over to re-contour the hole. In the first pic you can see the piece of aluminum I clamped to the frame rail. It was 1/4" thick and very close to elevation of the stock flange at the front of the hole. You can see how much the sheet metal rises as it goes to the rear. With the aluminum there, I can hammer the sheet metal over onto the aluminum to make a new flange.
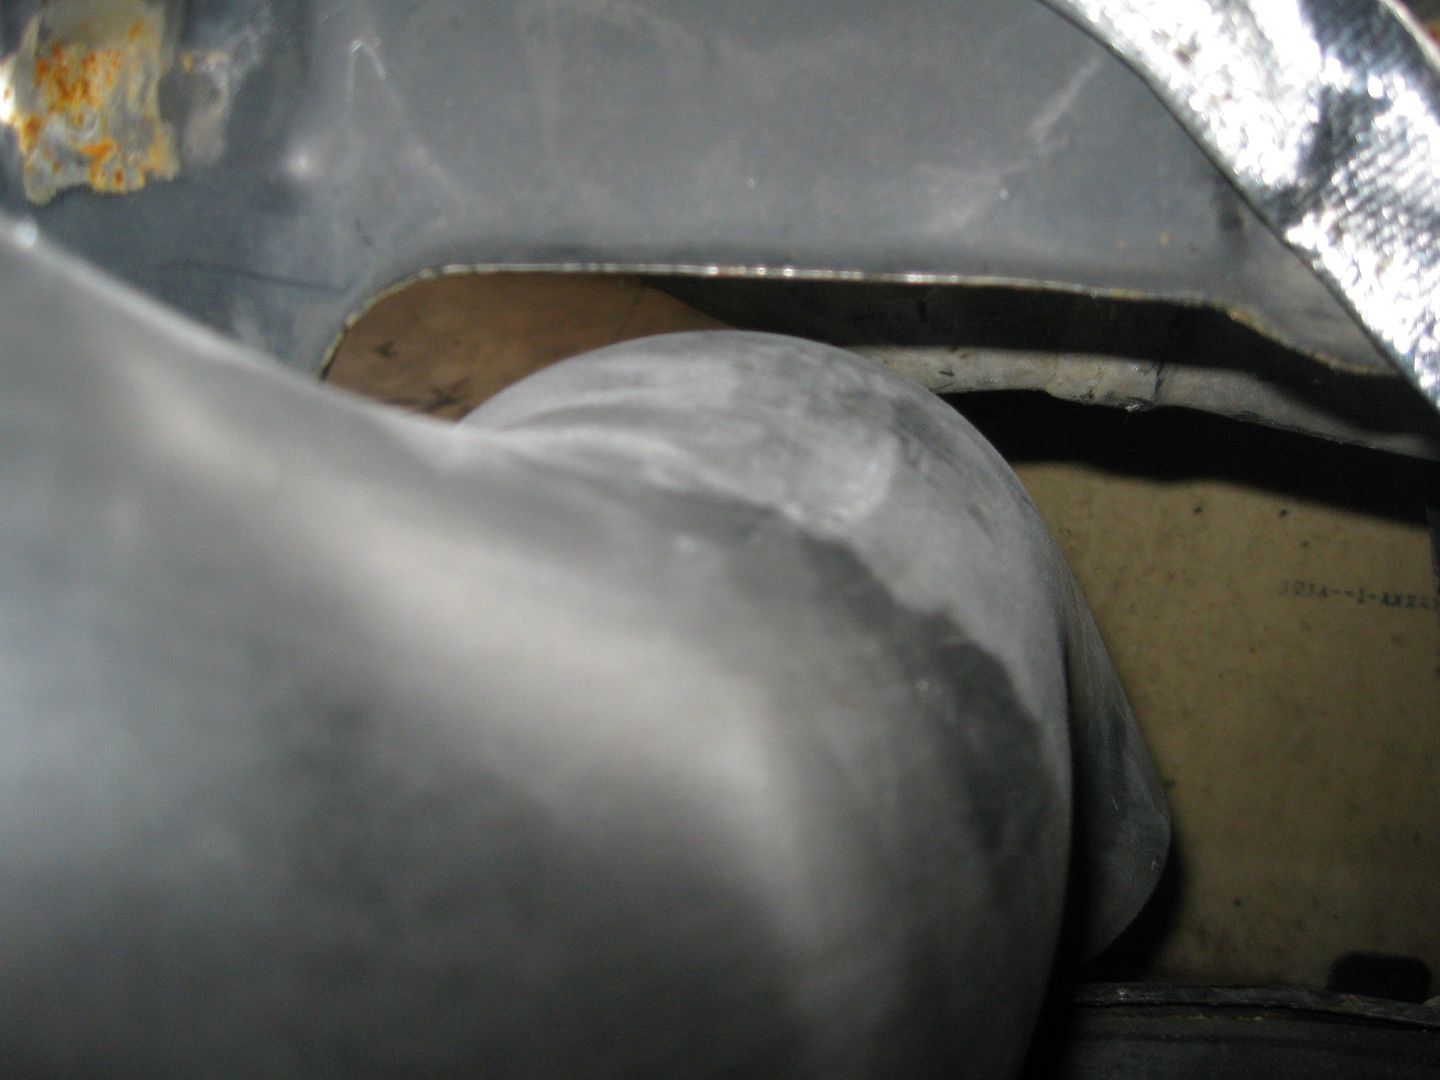
After some hammering:
Now there is a plenty of clearance around the air intake tube. This should help make removal much easier.
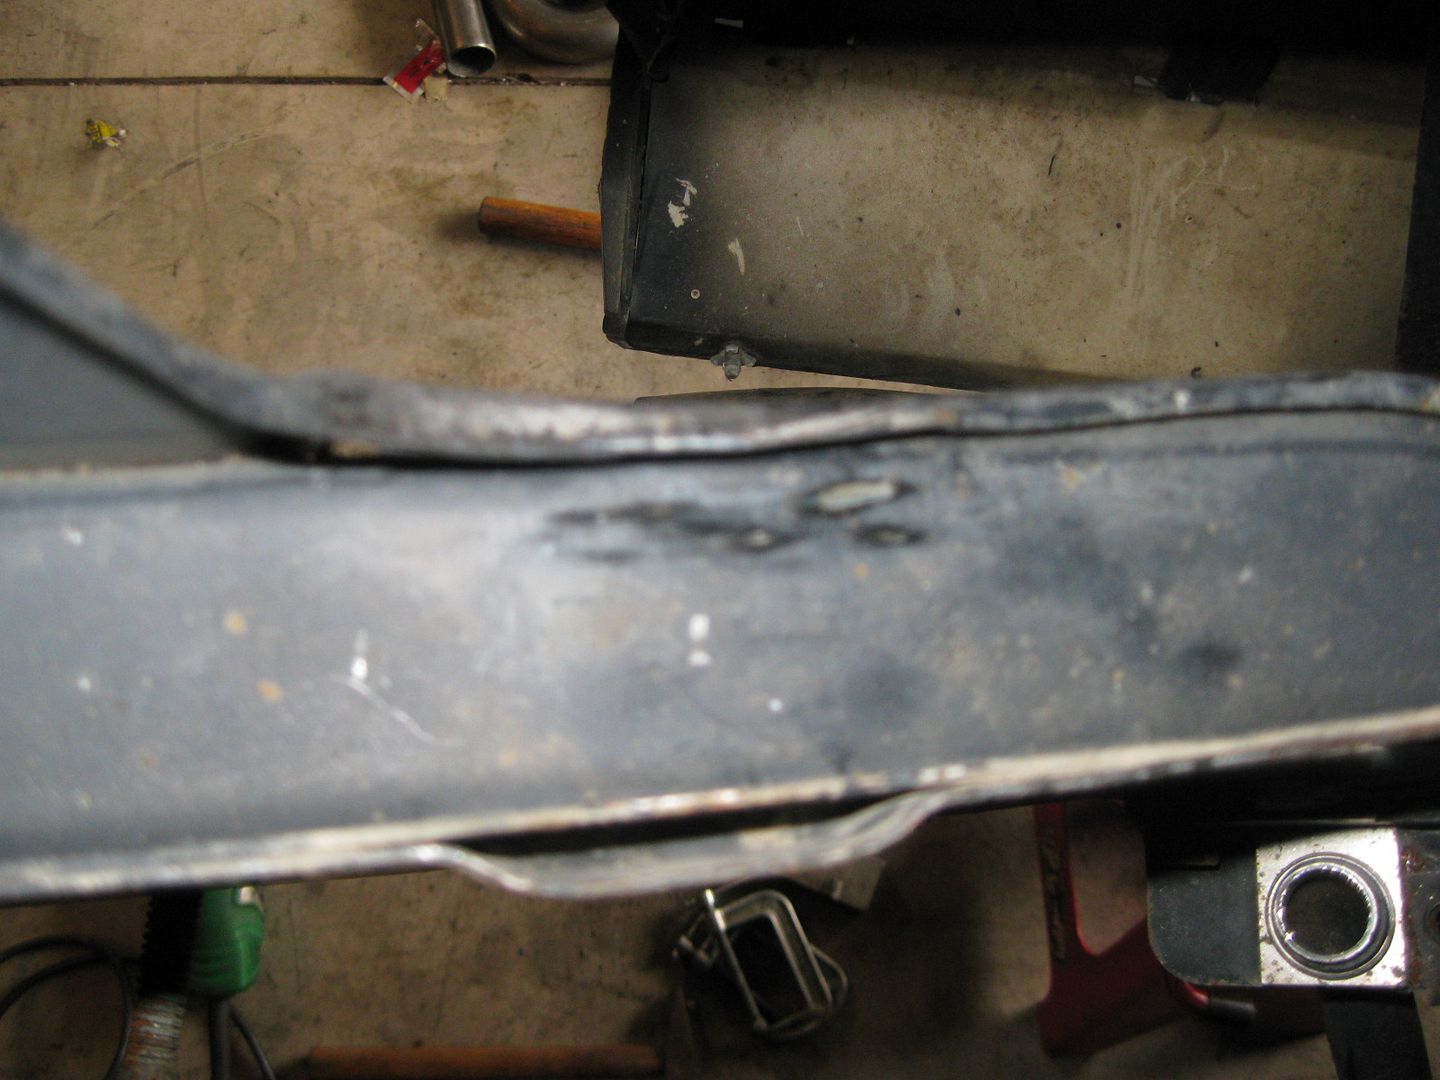
The finishing touch on this mod was to trim the flange back to the stock width.
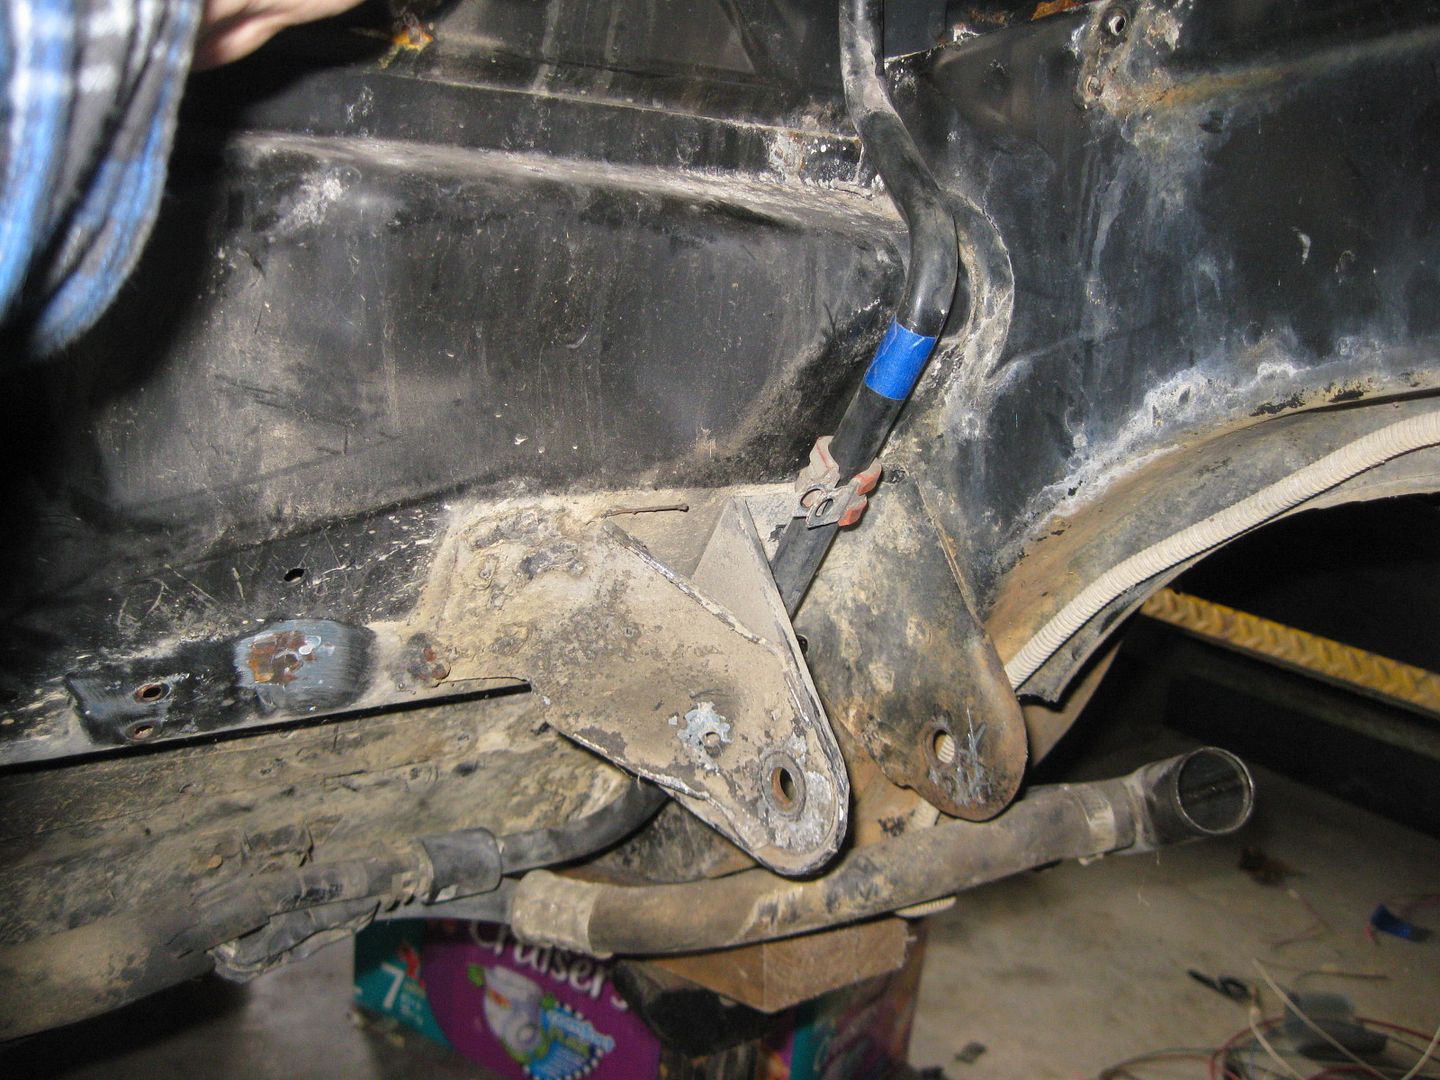
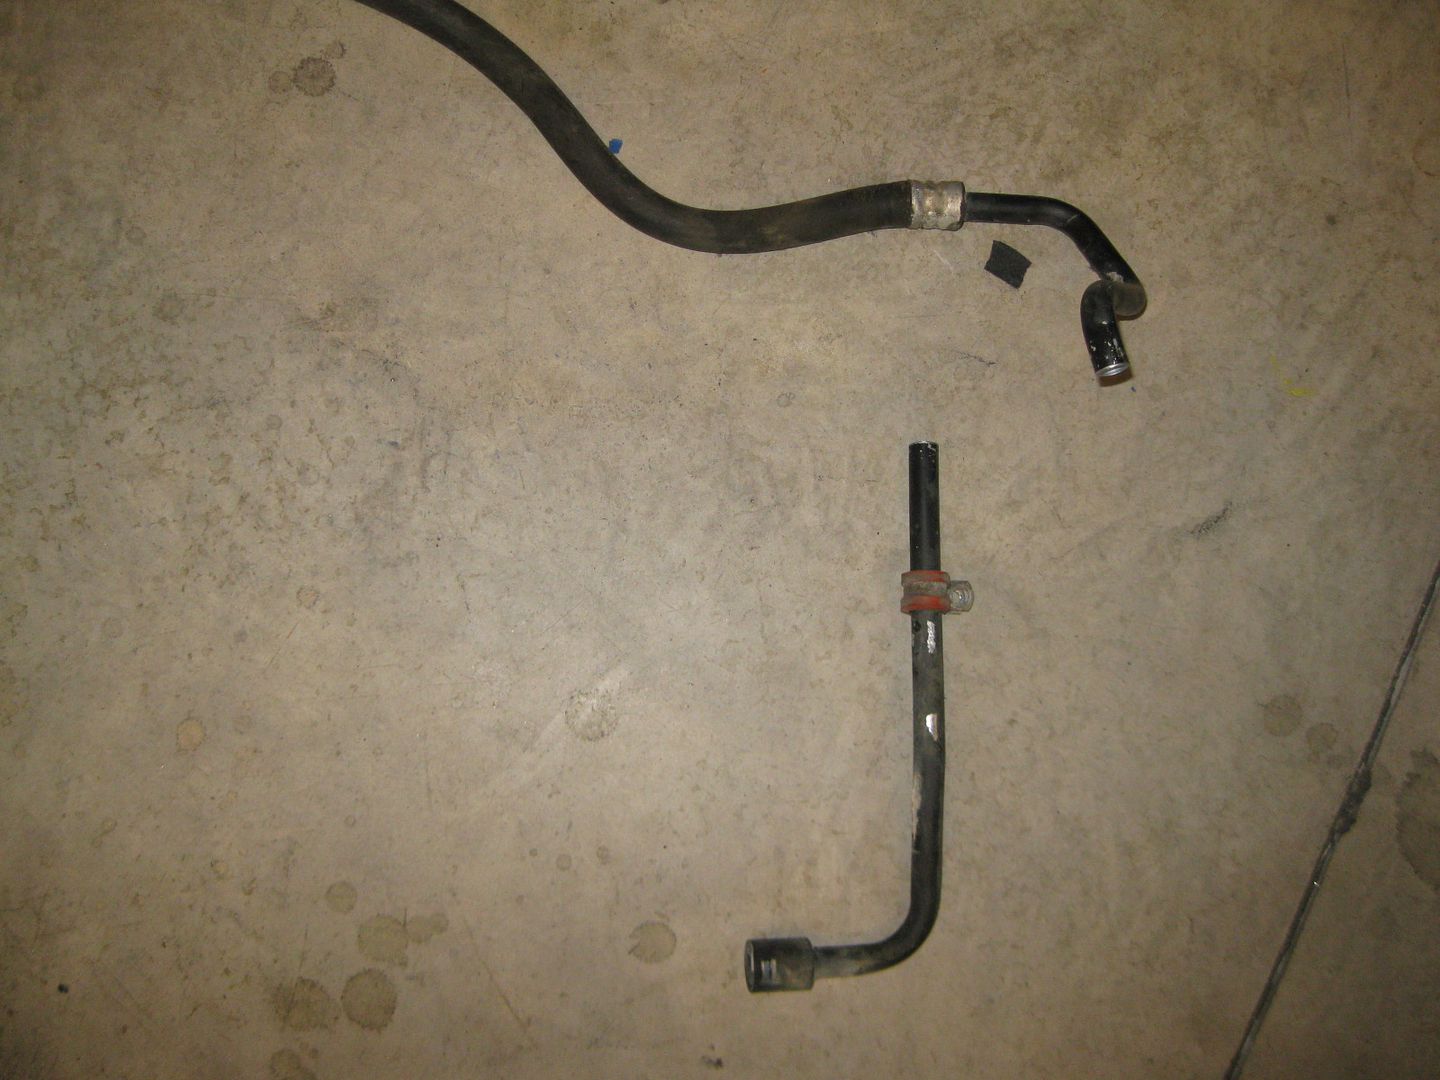
Also test fitted the stock heater hard line and determined where I would trim the hard line to have a direct shot to the front of the water pump:
fieroguru
DEC 09, 06:36 PM
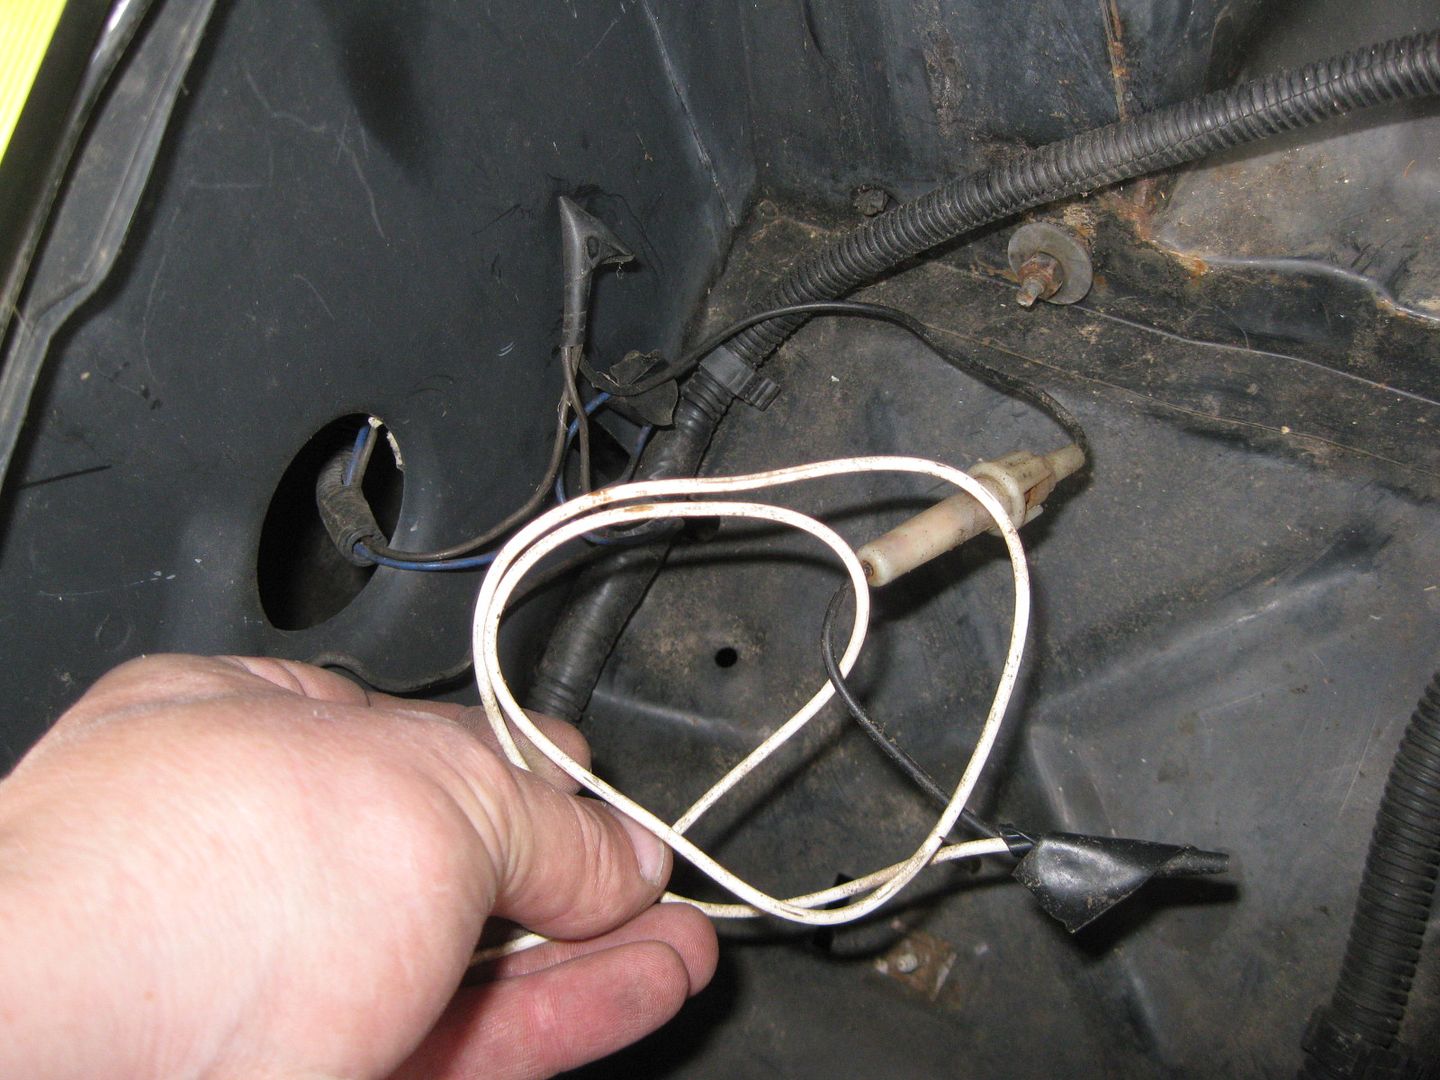
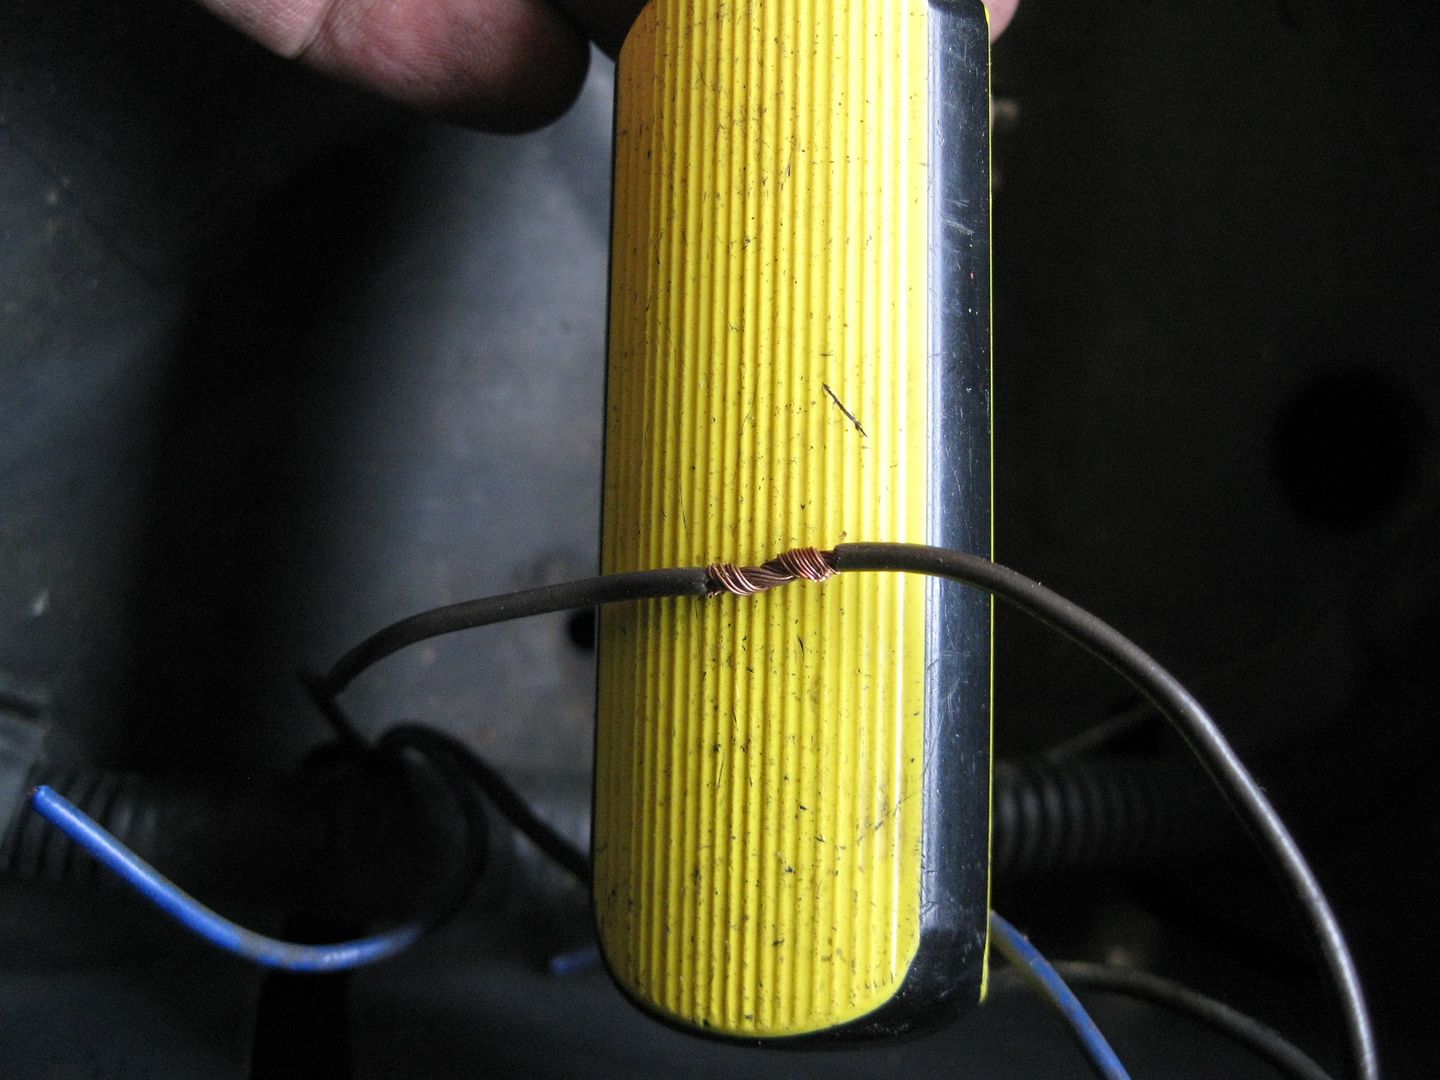
I moved to the front of the car and started to do some more work. First order of business was removing the head lights, glad I did as I found this special gift the previous owner left for me... It didn't go to anything anymore, just a bare end on the wire.
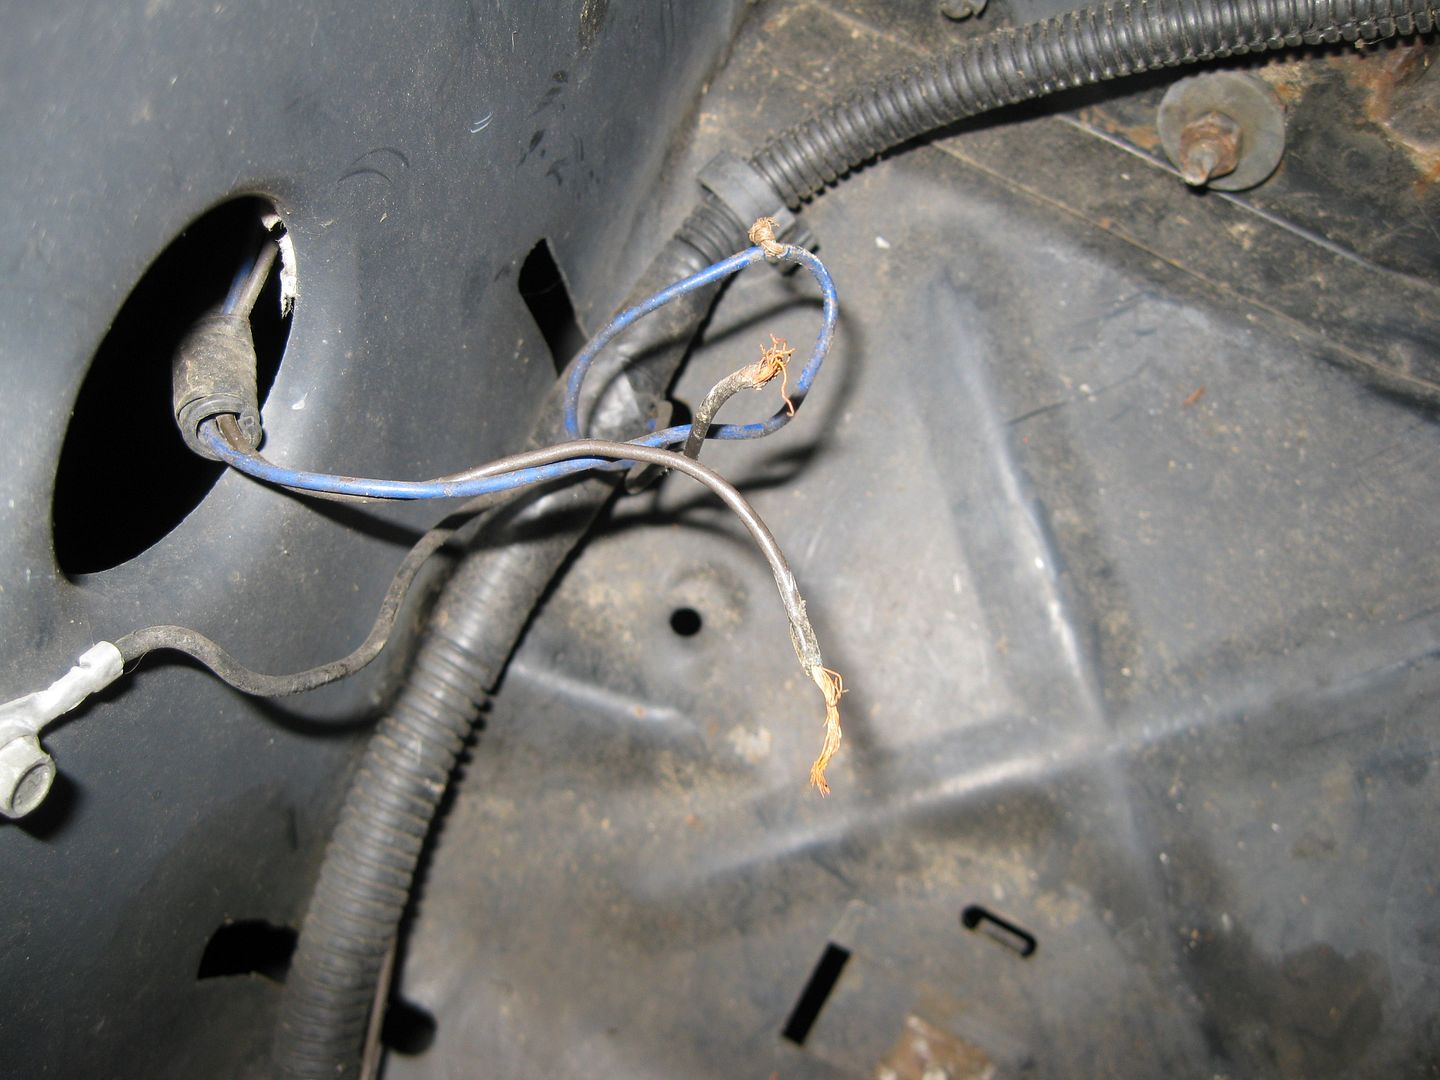
Upon further inspection, found he had cut the blue other wire too...
So I had to fix that mess... cut, strip, twist:
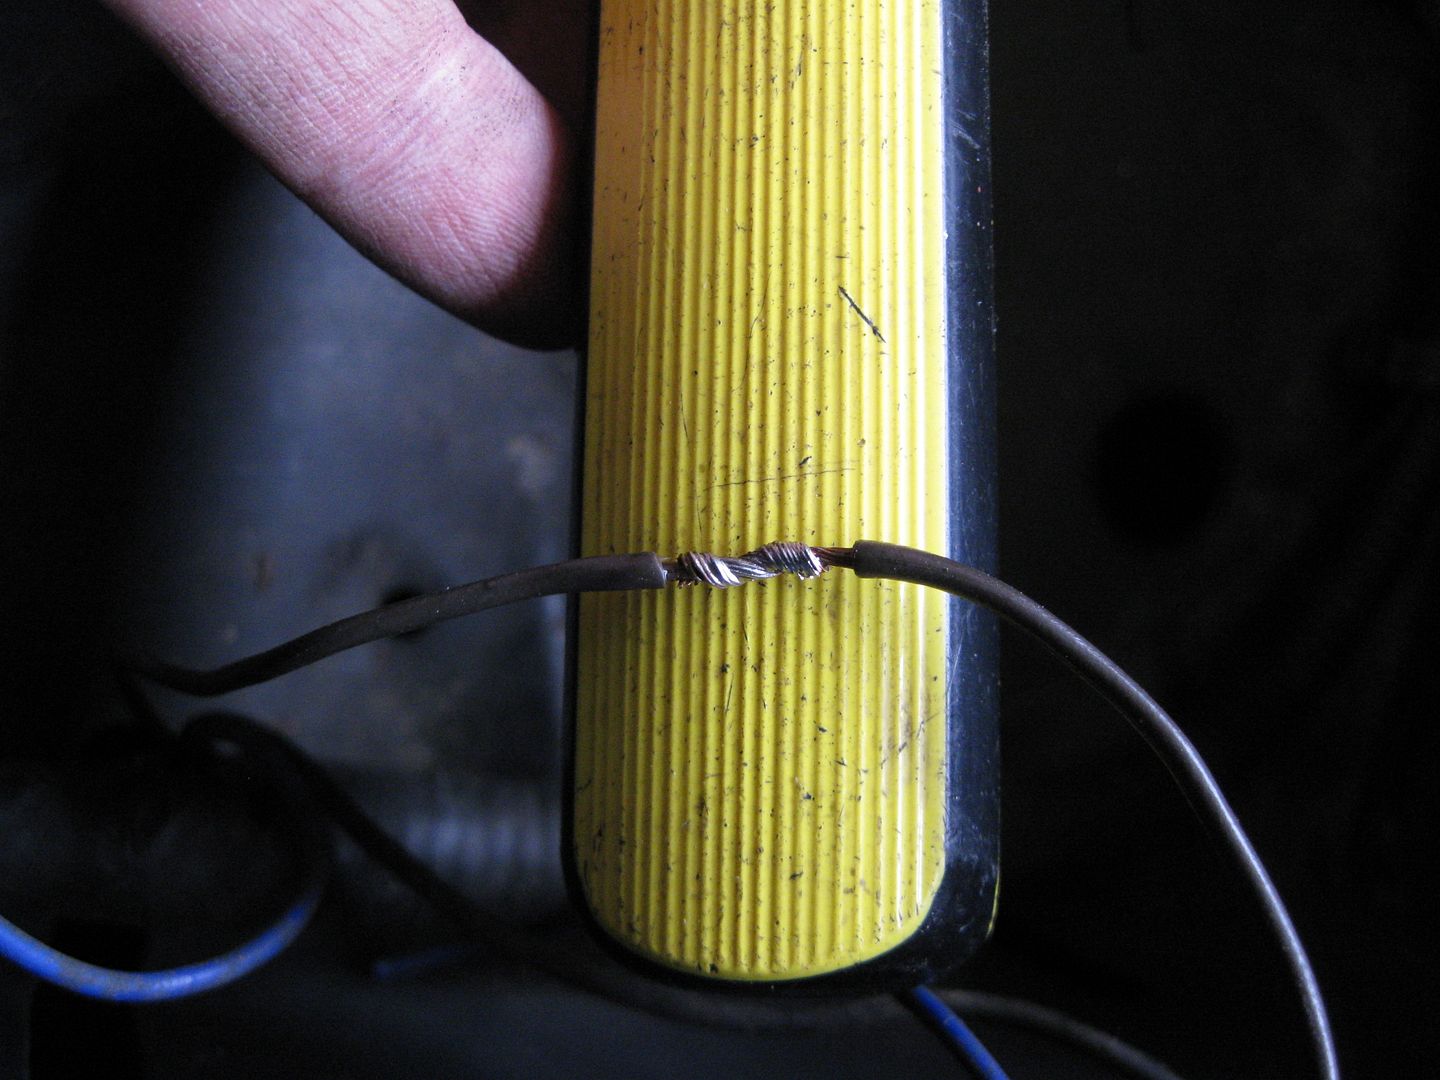
Solder:
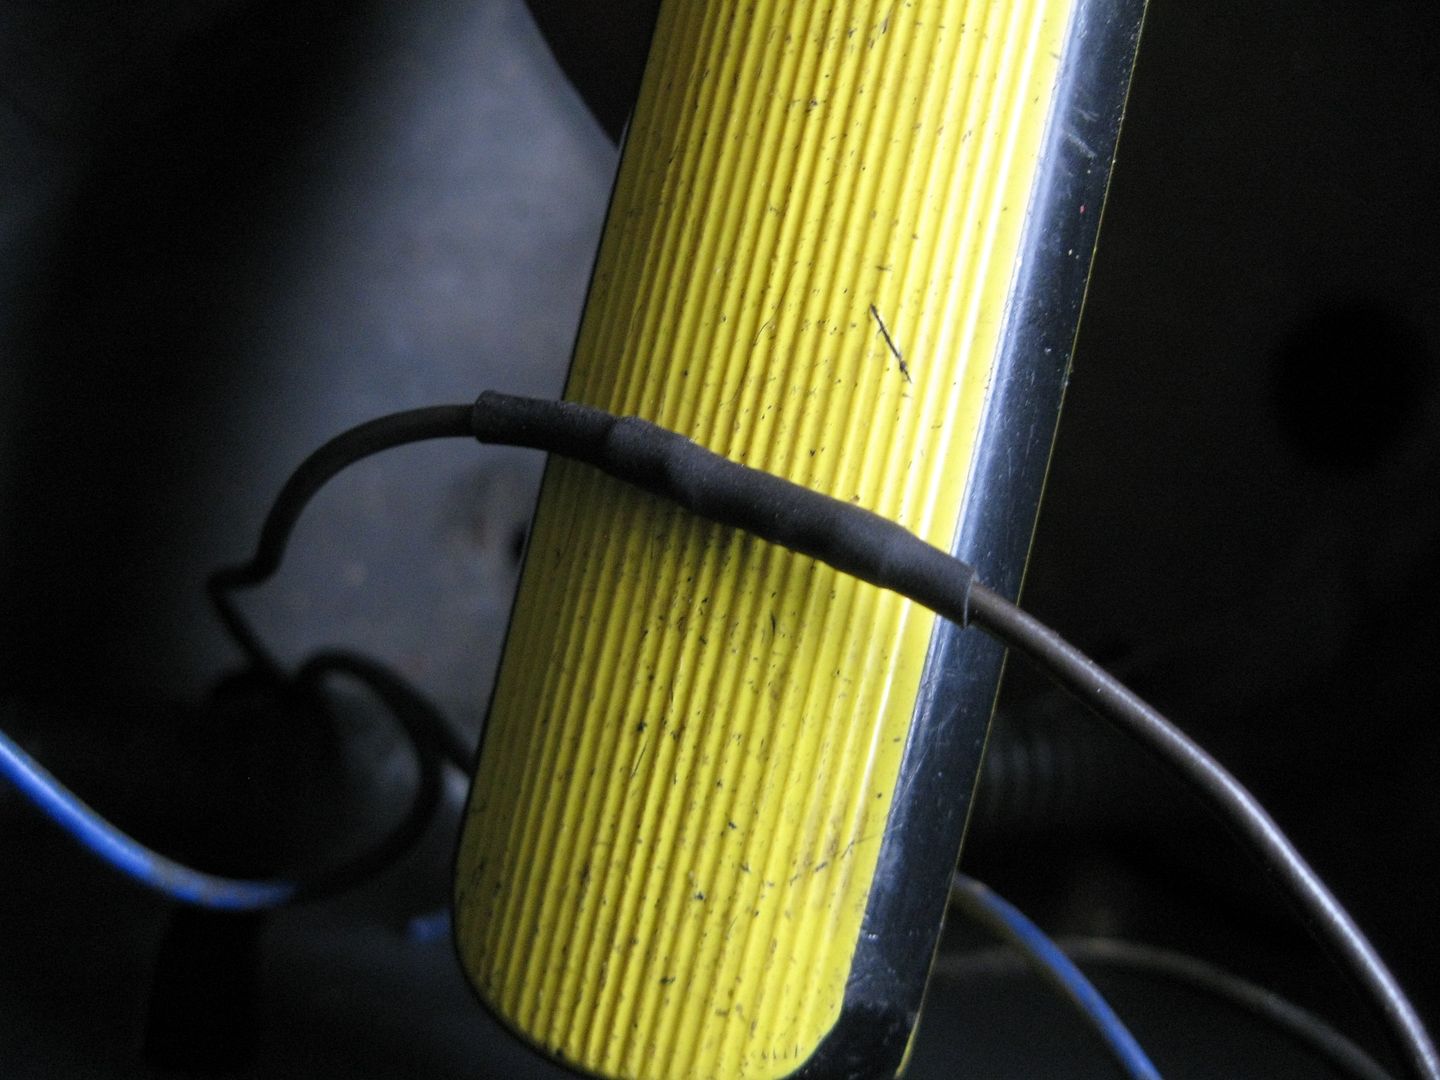
Double heat shrink:
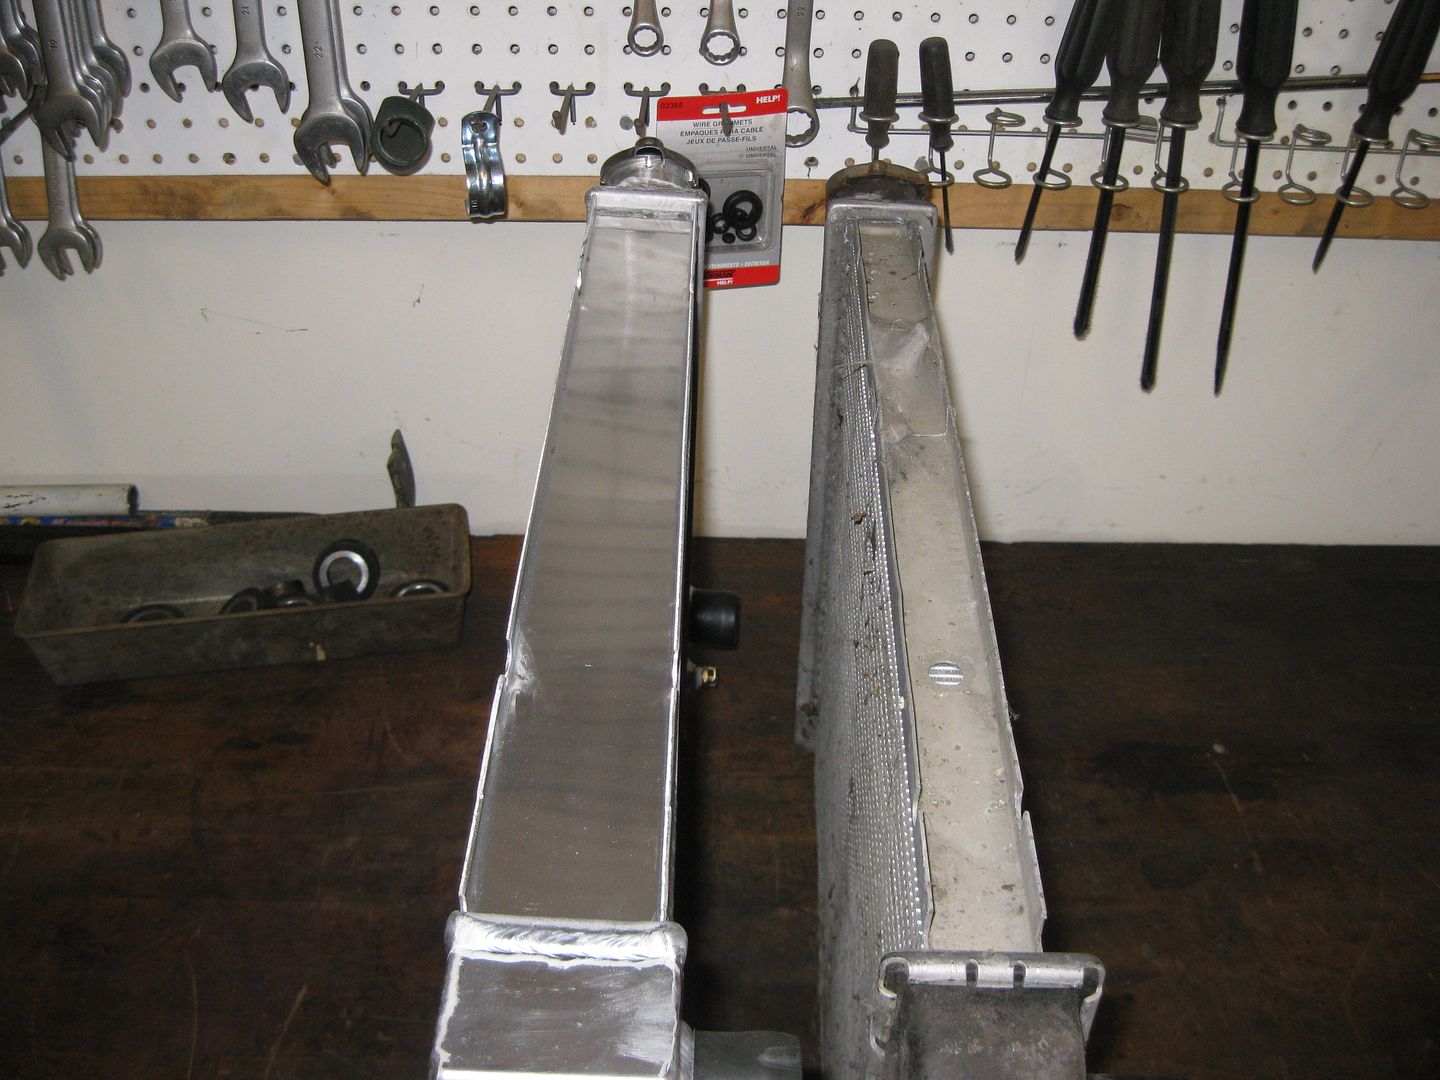
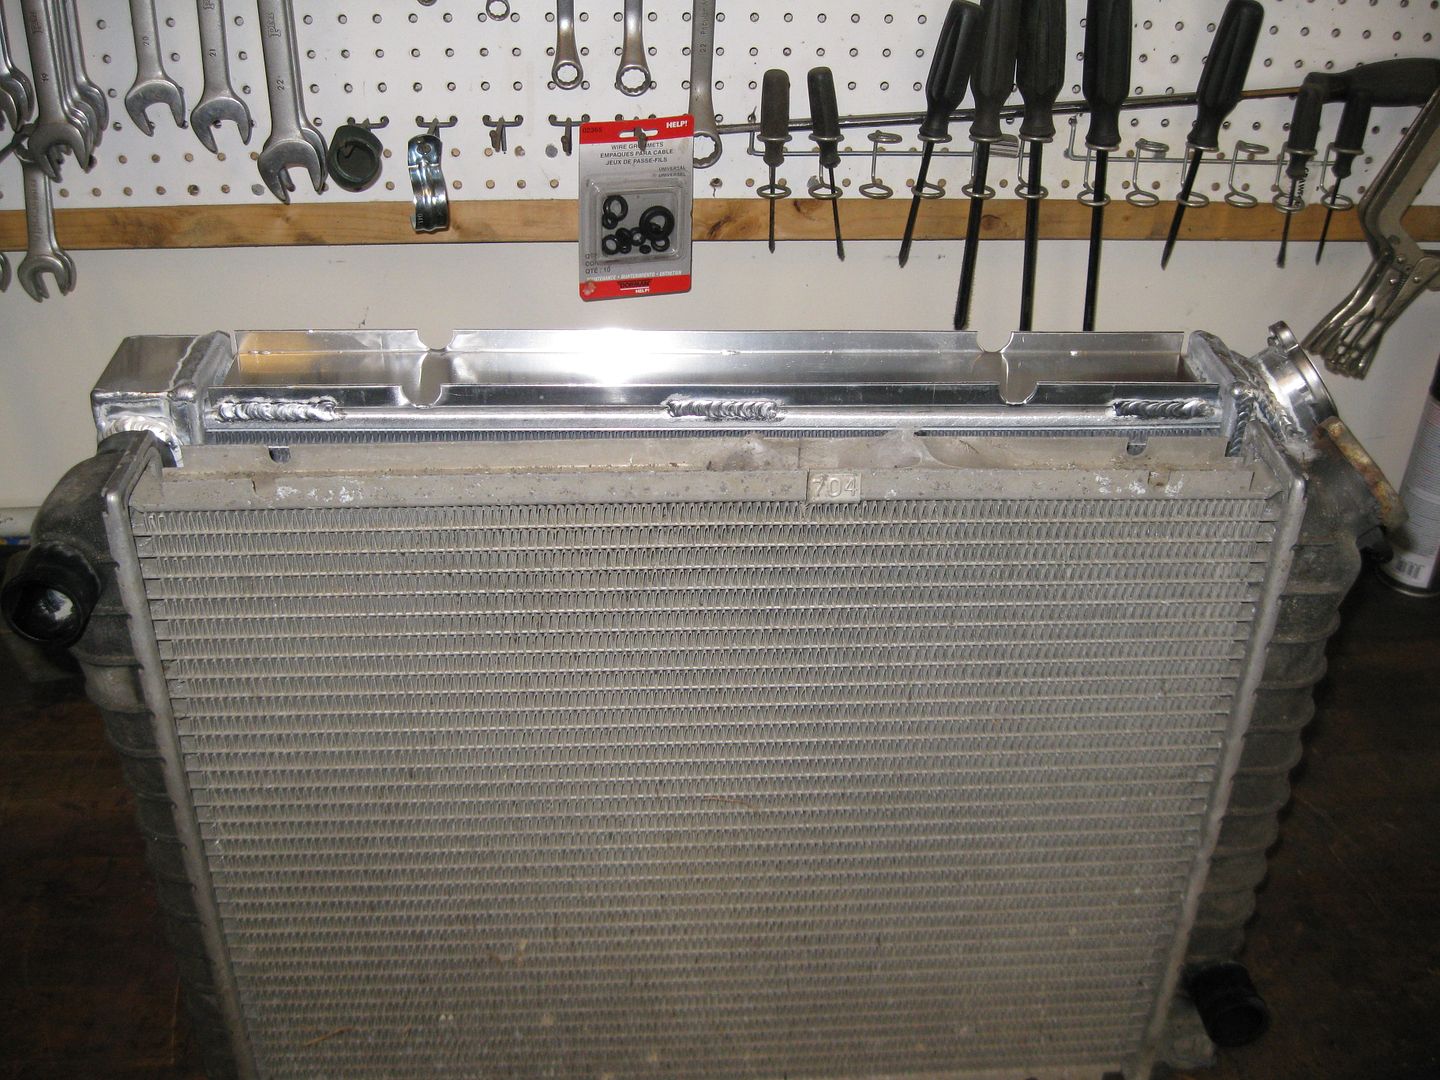
Then I moved on the the radiator upgrade. Here is the Champion one on the left and the stock V6 radiator on the right:
The overall external dimensions are pretty close:
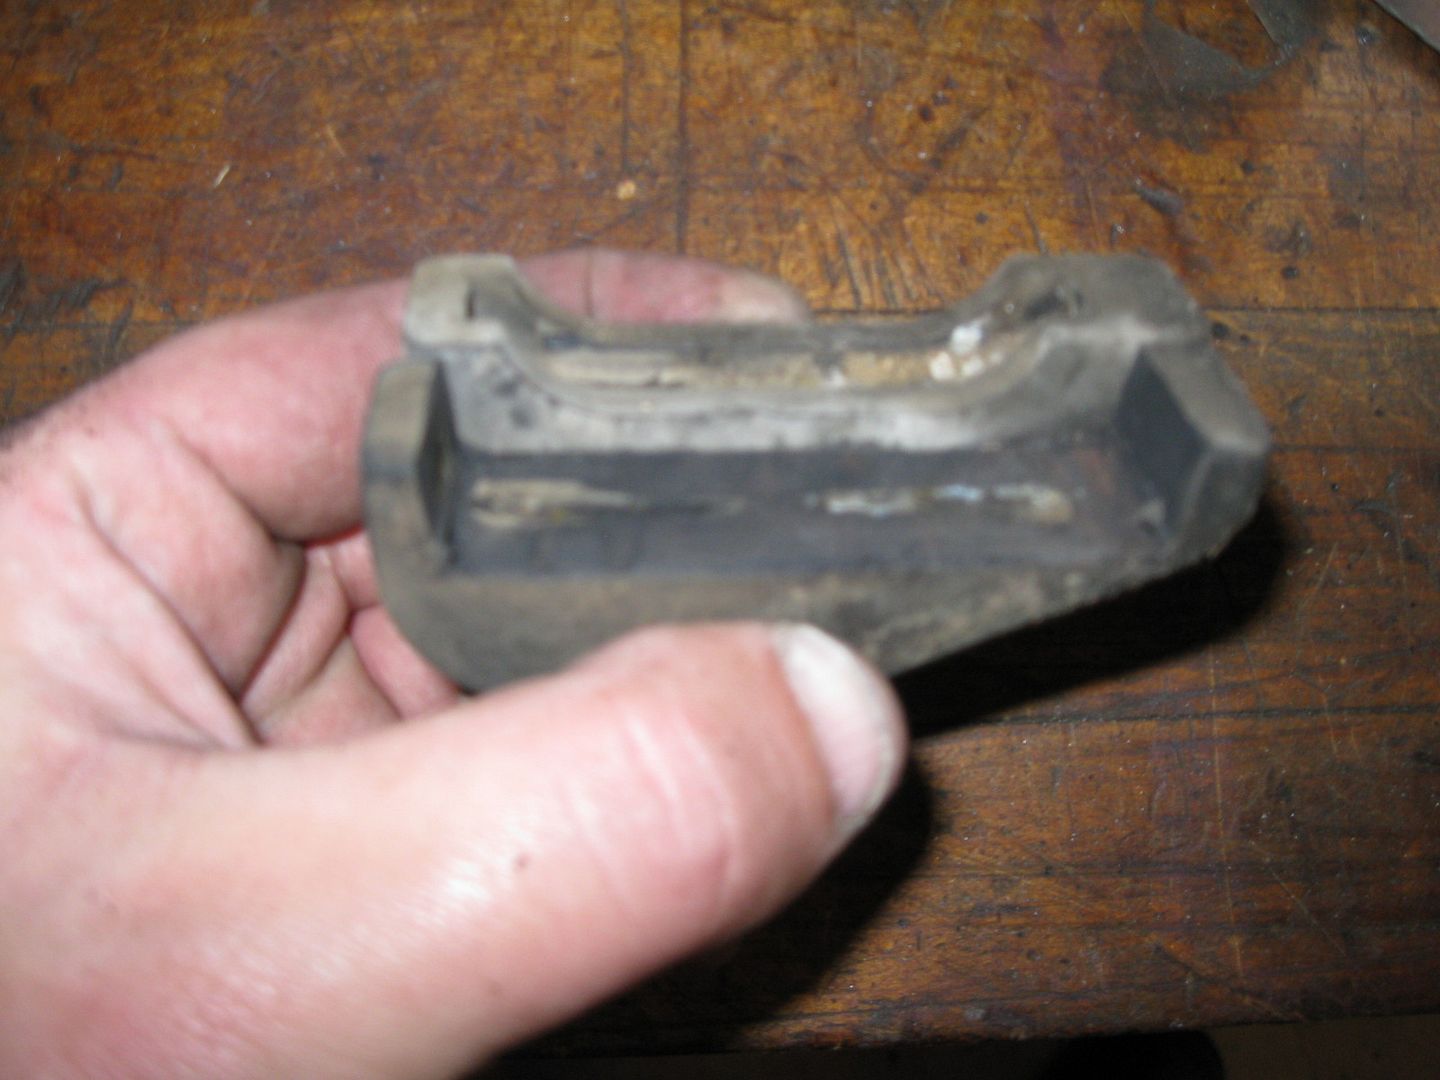
Starting the work on the rubber mounts. Here the stock lower rubber mount showing that the cut out is too small:
So I trimmed it up a bit. Trimmed one in front, stock one in the rear:
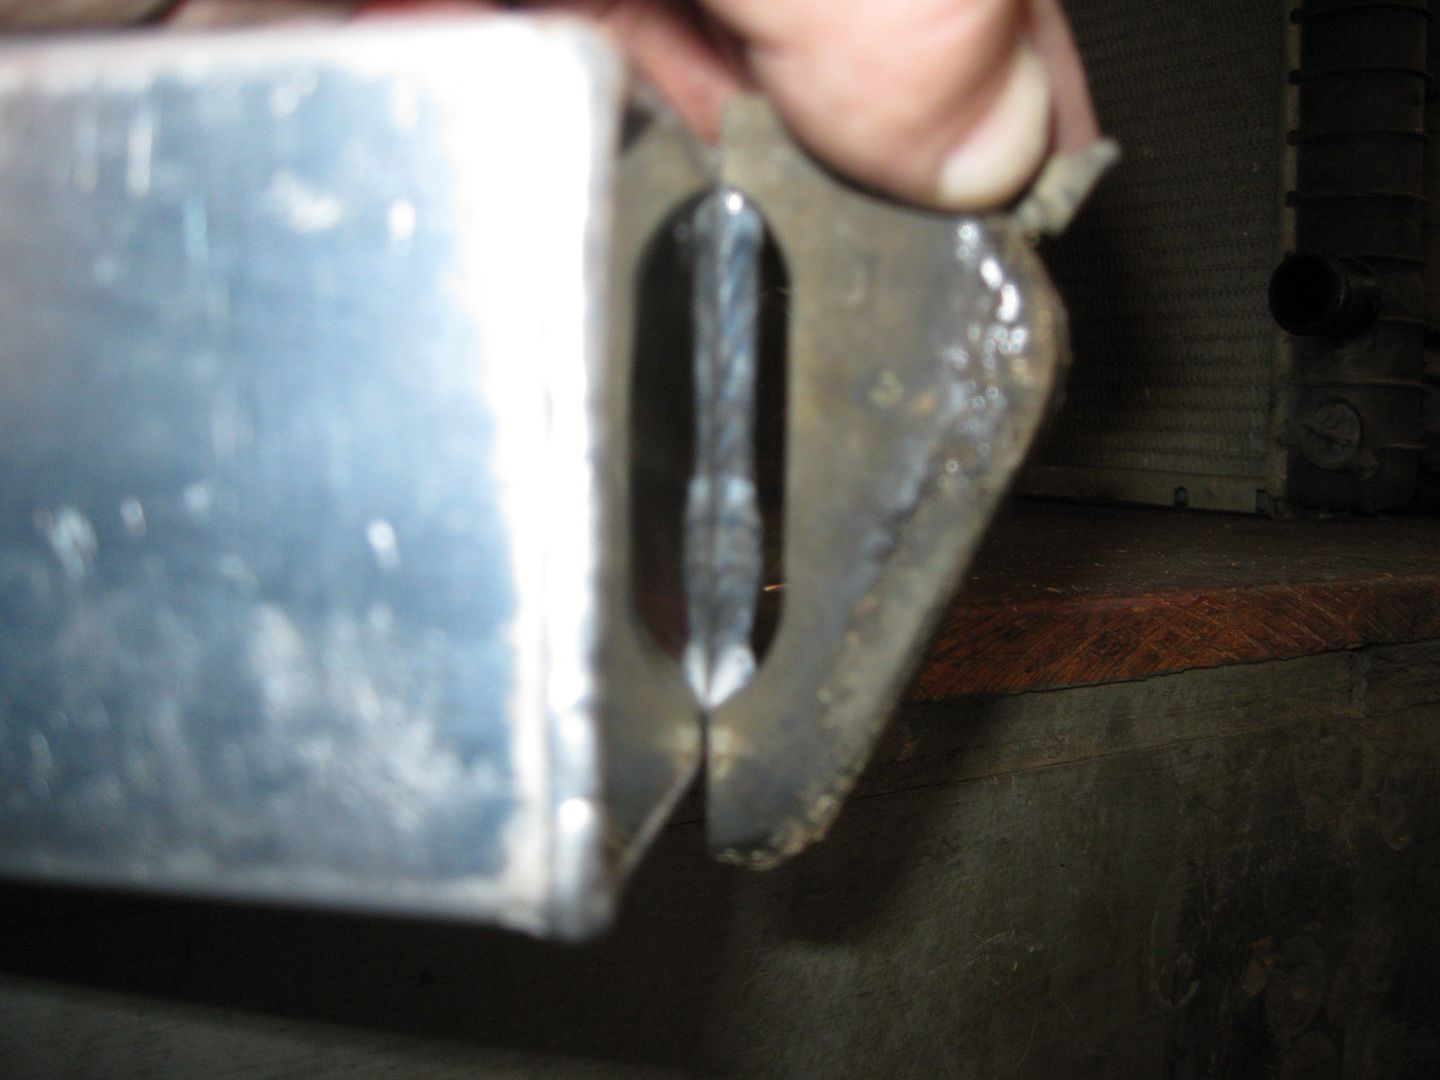
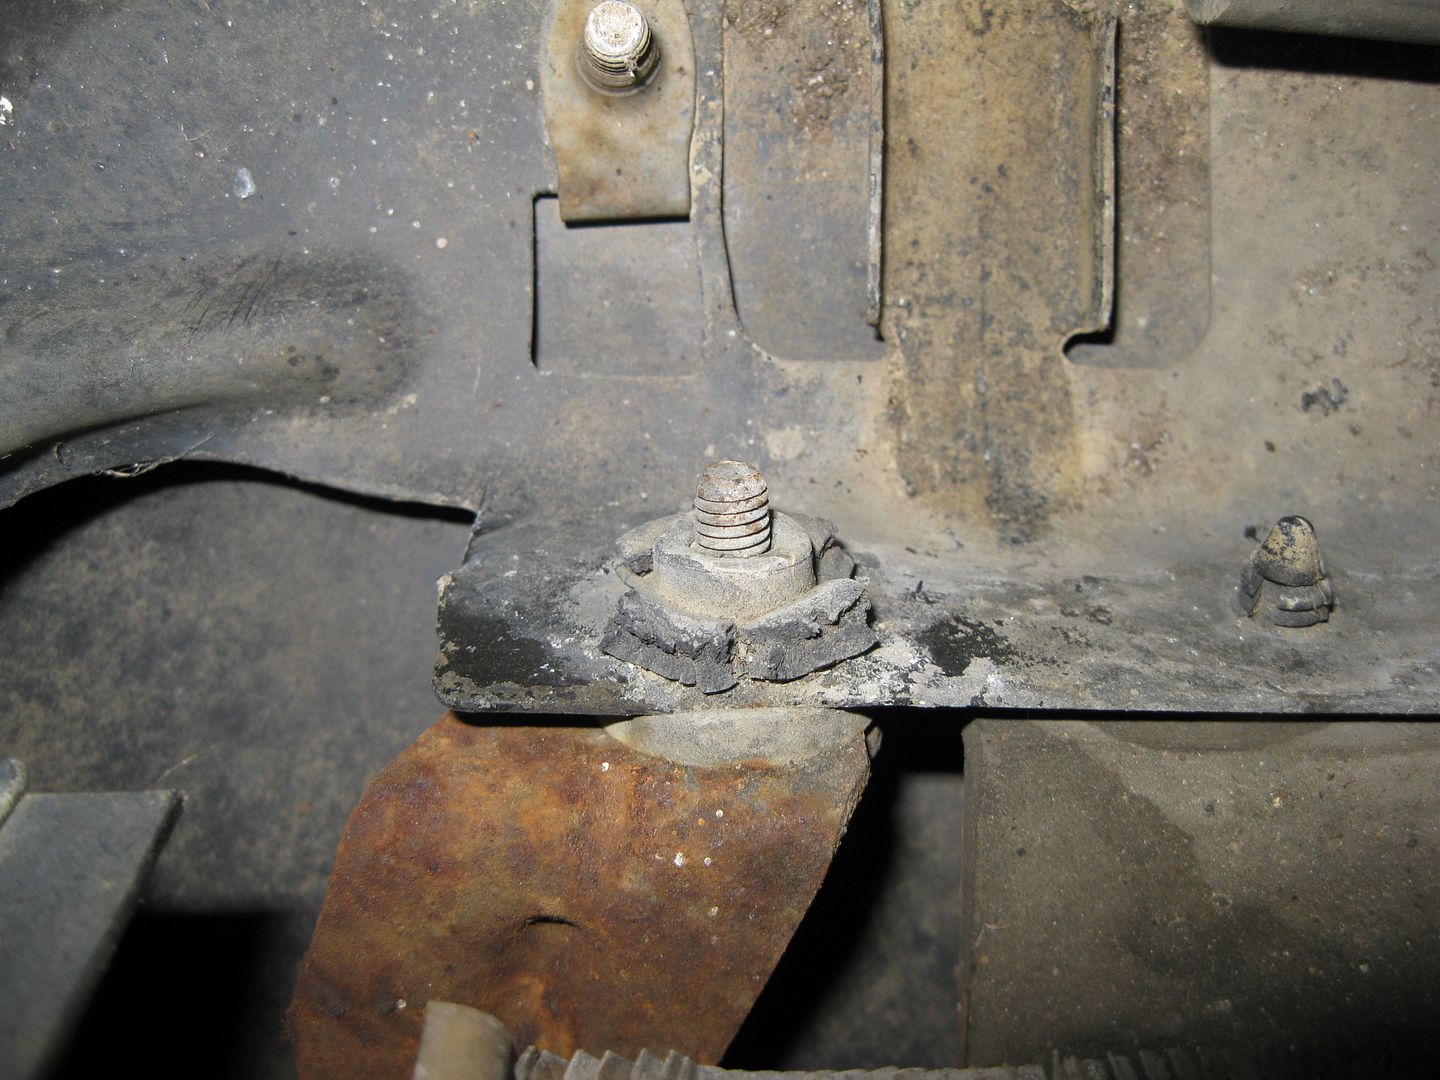
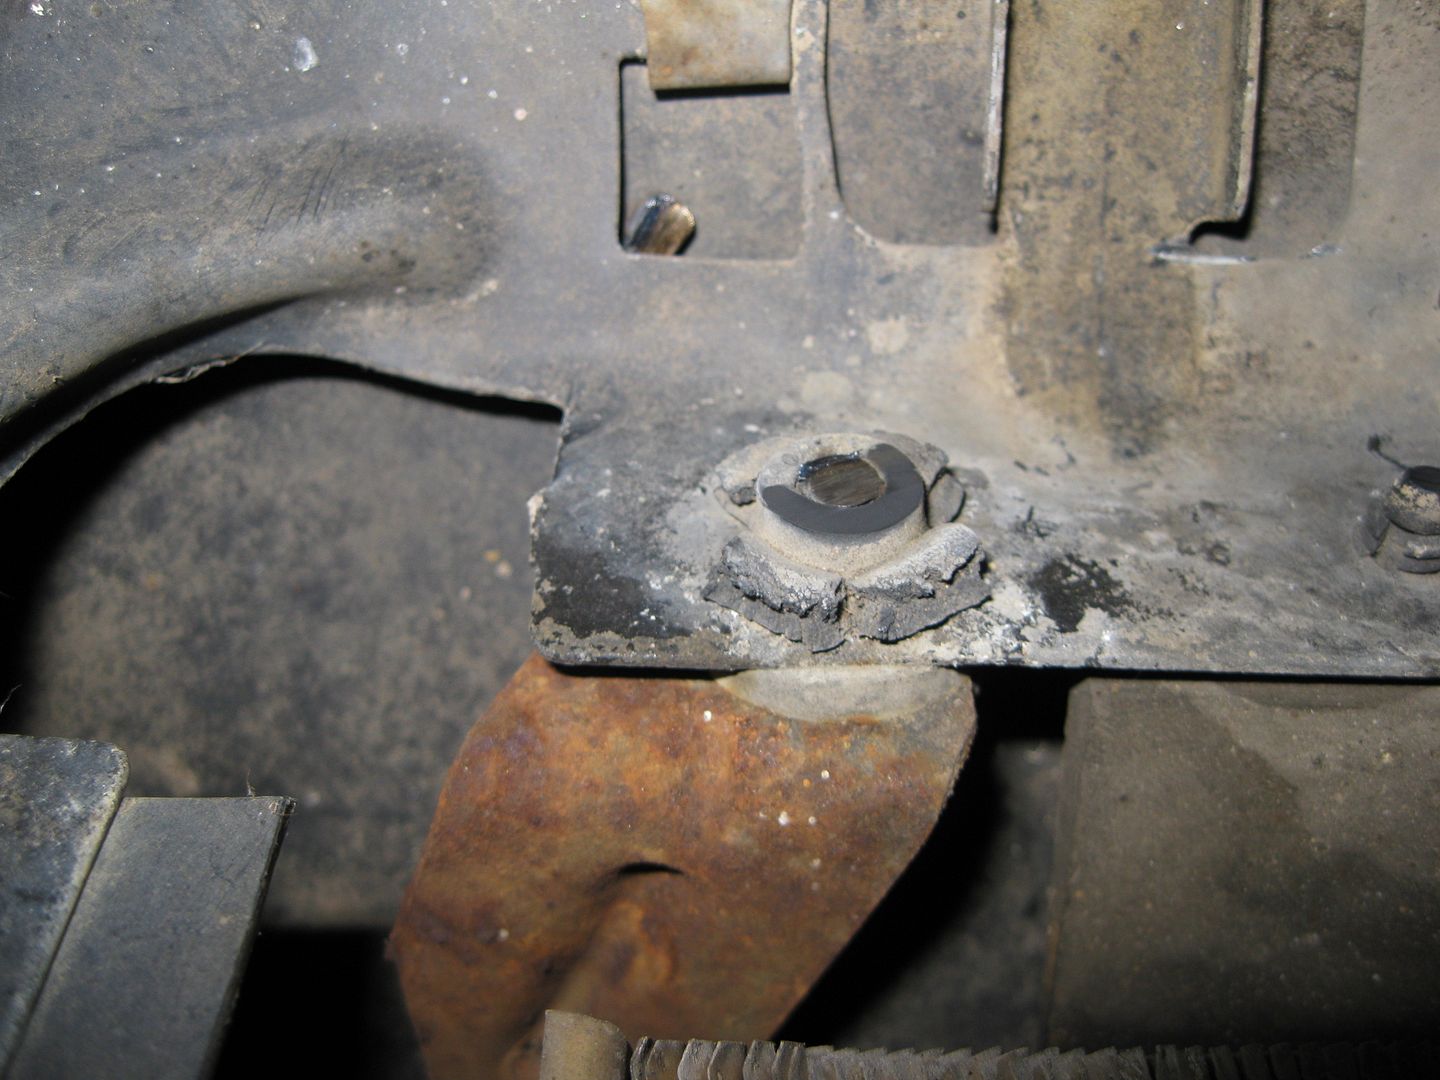
While test fitting the radiator in the modified lower mounts, I found a bolt the protruded enough to make contact with the side cap (the one near the center of the pic):
After a little work with the cutoff disk on the grinder:
Now the radiator sits in the lower base and it is time to start working on the top rubber mounts and top bracket... but ran out of day light (nose of the car is up against the door and the garage doesn't have any lights in the front half by the door...
Trinten
DEC 09, 06:52 PM
Glad that you were able to figure out a way to get your rubber mounts to work. I had read the info from Archie on how to trim them up so it would fit... but never could. Wound up having to leave the rubber bumpers off entirely in order to bolt it all back into place.
Jims88
DEC 09, 07:37 PM
Looking Great!! Interesting technique to spot your coolant hose locations.
Quote: Also test fitted the stock heater hard line and determined where I would trim the hard line to have a direct shot to the front of the water pump
I was wondering; were you referring to the suction or discharge side of the water pump,to land the hard line?
Originally posted by Jims88: I was wondering; were you referring to the suction or discharge side of the water pump,to land the hard line?
Discharge side (pre-thermostat, so it functions as the coolant bypass and so the heater sees hot water as soon as possible).
On the 88, the return from the heater core dumps into the passenger coolant tube before the water pump (suction side). The hardline I cut short is for the heater core supply and needs to come from a portion of the water pump before the thermostat. I am going to drill/tap and install a hose barb in the pump in the next few days.
[This message has been edited by fieroguru (edited 12-10-2012).]
ericjon262
DEC 09, 10:48 PM
Looks good! it'll be nice to see the finished product!