|
| My 88 Formula Interior Redesign (Page 56/87) |

|
Sofa King
|
APR 06, 09:36 PM
|
|
|
LOL $38.95 And well worth it!
|
|

|
Sofa King
|
APR 06, 09:42 PM
|
|
|

|
hye_4_life
|
APR 06, 11:43 PM
|
|
How about raising the lip from over the A/C vents to over the aux. gauges?
Edit: punctuation[This message has been edited by hye_4_life (edited 04-06-2010).]
|
|

|
deloreanant
|
APR 07, 01:26 AM
|
|
| quote | Originally posted by hye_4_life:
How about raising the lip from over the A/C vents to over the aux. gauges?
Edit: punctuation
|
|
I was thinking the same thing.
|
|
|
|
Sofa King
|
APR 07, 07:43 AM
|
|
| quote | Originally posted by deloreanant:
I was thinking the same thing. |
|
Maybe two of them? The one over the vents would be slightly larger. That way the radio cover isn't so top heavy. hmmmmm... Good idea...
|
|
|
|
Sofa King
|
APR 07, 08:24 AM
|
|
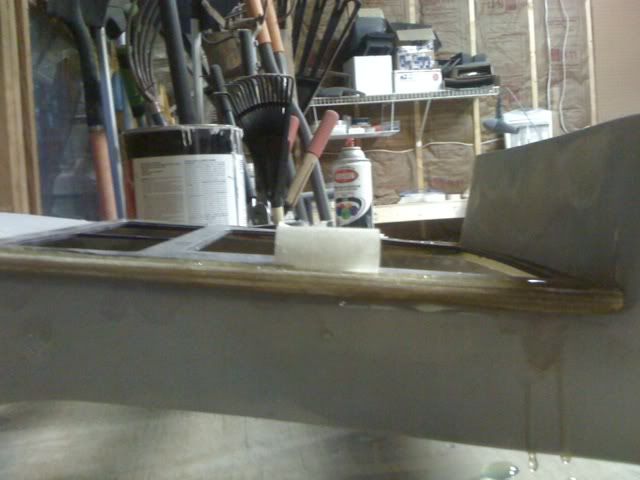
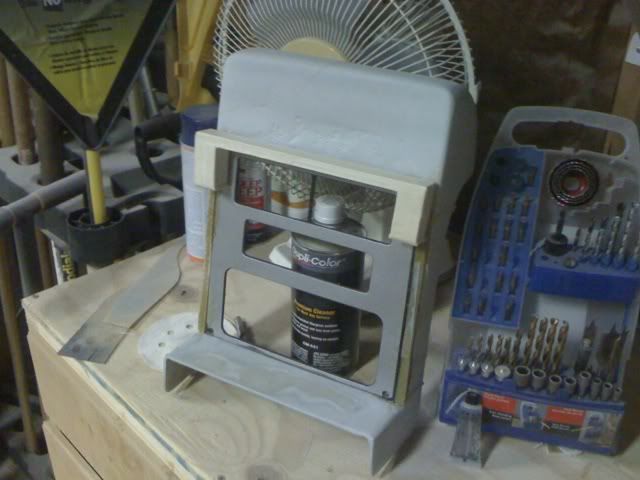
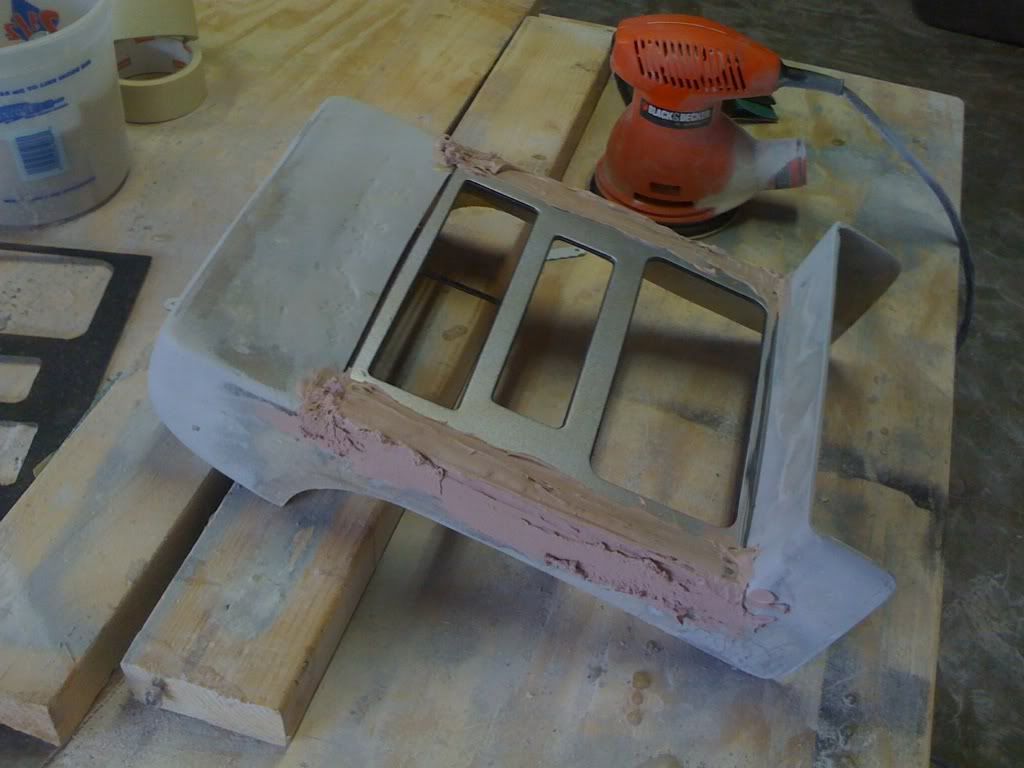
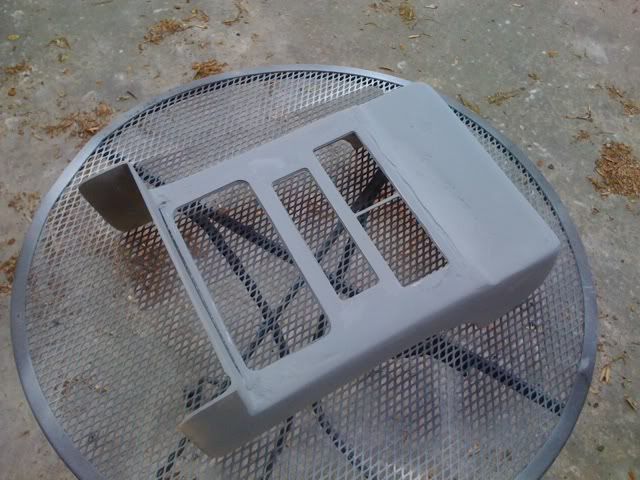
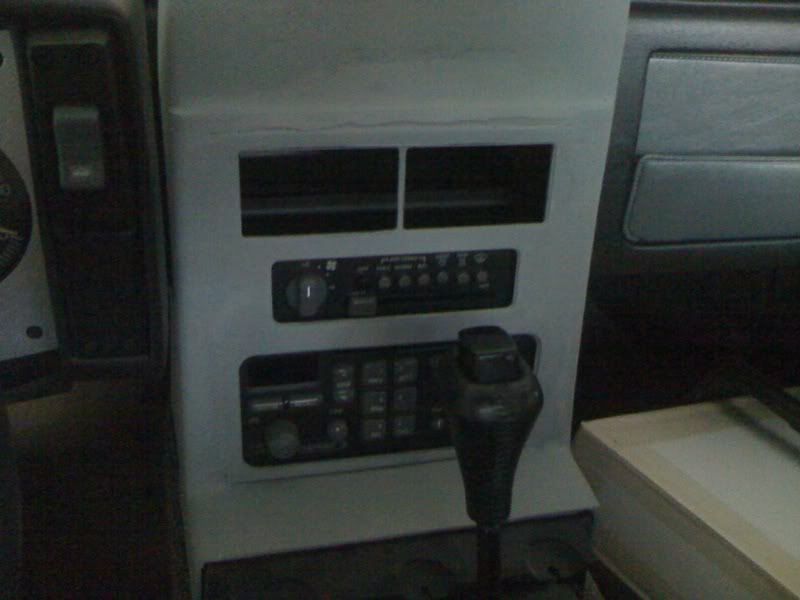
Hey All,
I know the radio cover looks like do-do right now. But I'm hoping to have the edges, drips, spaces and unevenessnessness cleaned up and looking smooth by this afternoon. I promise, I won't let you look at it in this condition for very much longer. LOL
I will have to fill the holes and redrill new ones in order to continue using the hex nuts. When you're working with fiberglass and filler you don't realize how stock parts change, twist, pull and bend during the build process. And that's what happened when I created the radio cover. I thought I lined up all the holes perfectly - nope. So, I'm going to fill the holes and redrill them from the back side. The nice thing, if I screw up, I start over again.[This message has been edited by Sofa King (edited 04-07-2010).]
|
|
|
|
Sofa King
|
APR 07, 08:59 AM
|
|
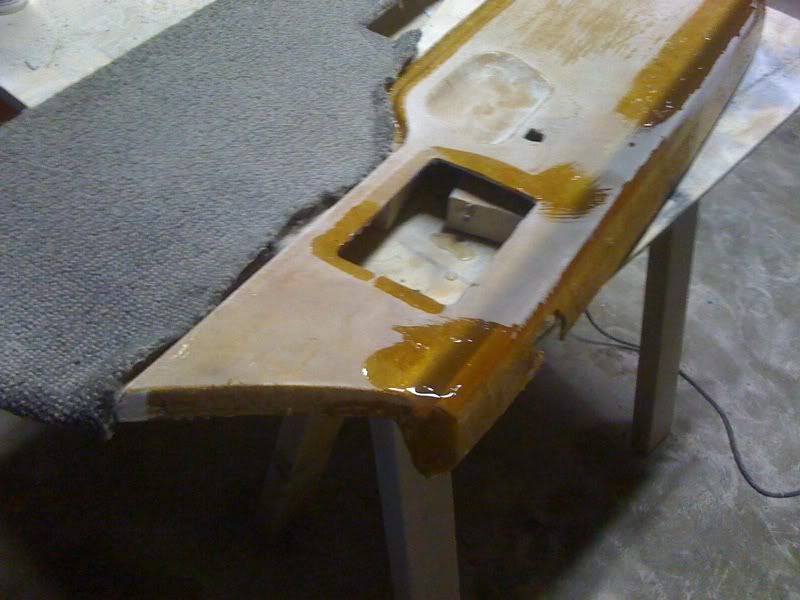
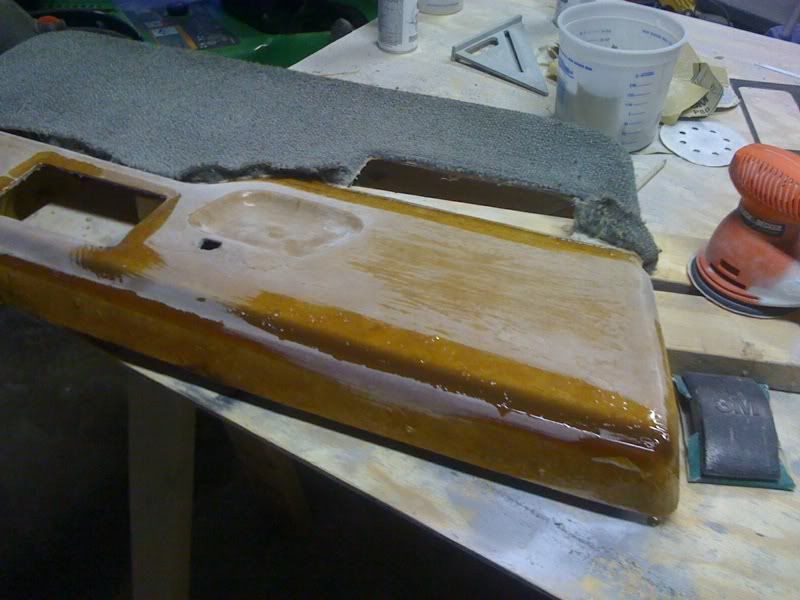
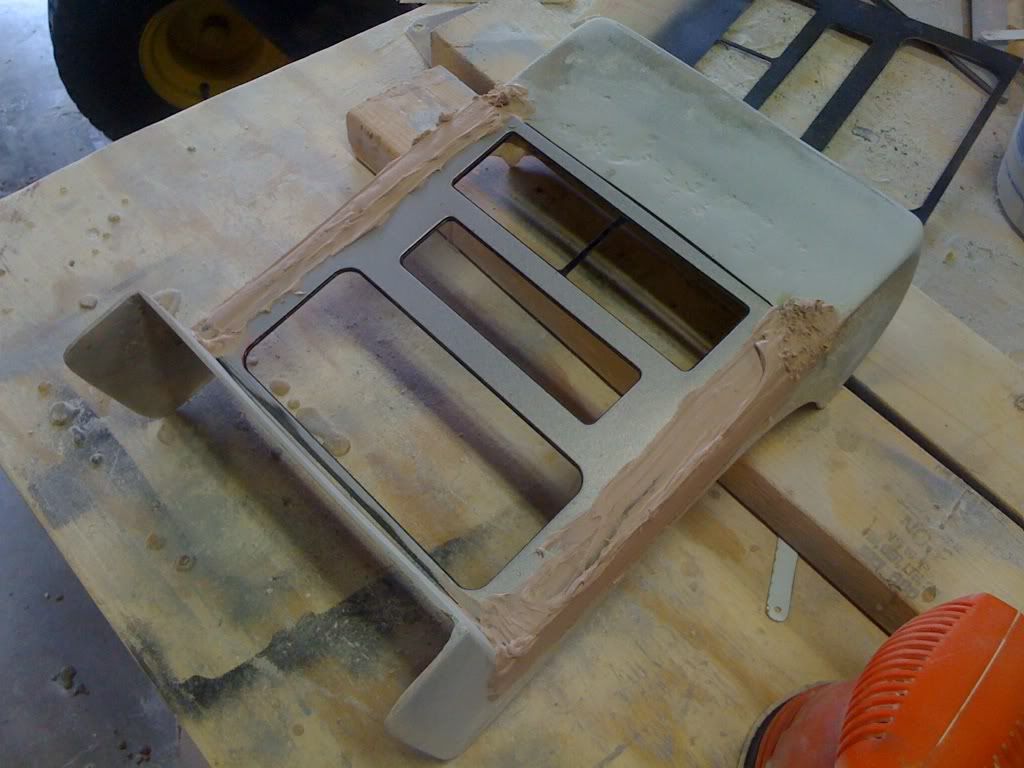
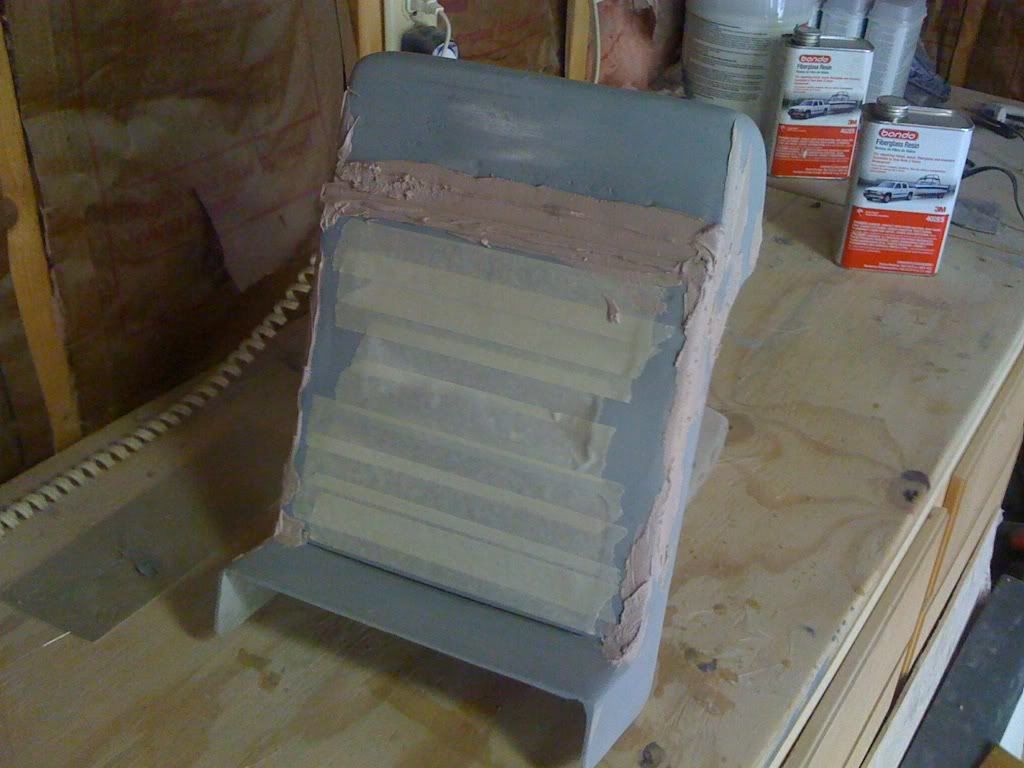
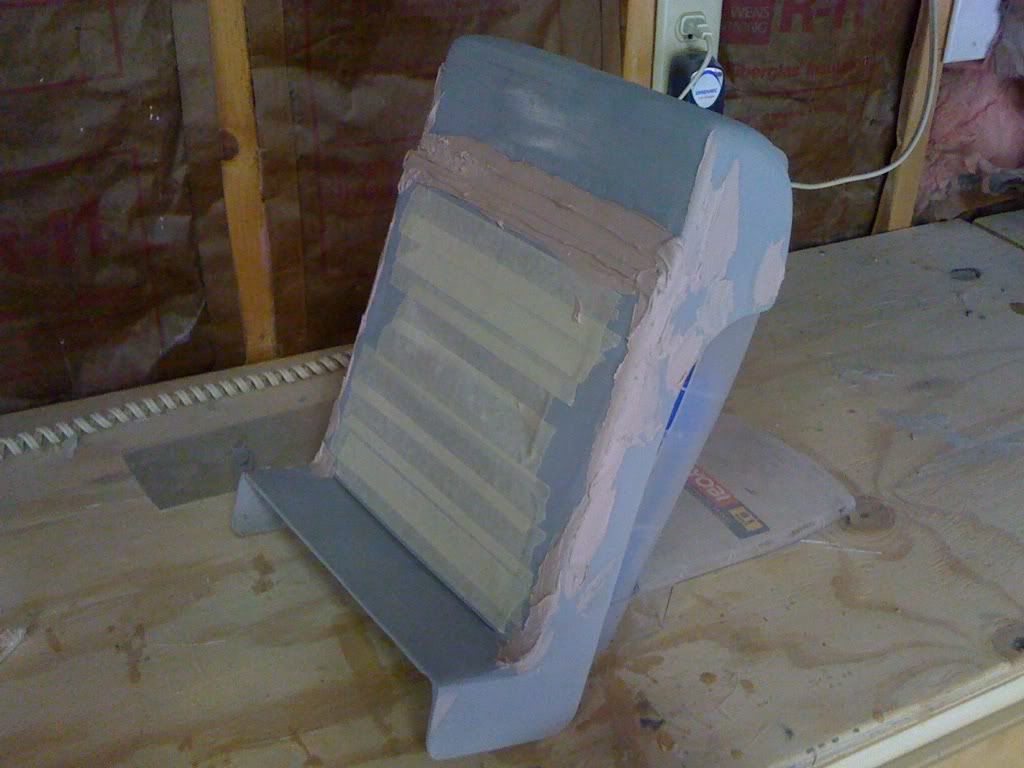
Here is how I'm hoping the radio cover will look once I sand it down and prep it - I added the a/c vent lip for show. I still have not addressed to the upper gauges yet.

|
|
|
|
LaFierte
|
APR 07, 11:45 AM
|
|
|
like it. Kind of what I was thinking (and trying to explain in an earlier thread).... I noticed that the 89 concept interior had a slight tray molded in to the bottom part (of the radio console) that connects to the shifter console cover.... something that you may consider for the one you are working on.
|
|

|
Sofa King
|
APR 07, 01:10 PM
|
|
Thanks!
The plan is to create an integrated tray. I'm not sure about the depth or size but it's definately going to be included.
|
|
|
|
Sofa King
|
APR 07, 08:26 PM
|
|
|
|