|
| Ferrari 288GTO build (Page 55/64) |

|
dobie1
|
OCT 11, 12:02 AM
|
|
Here is the latest update as the build moves along , not as quickly as I would like but progress none the less.
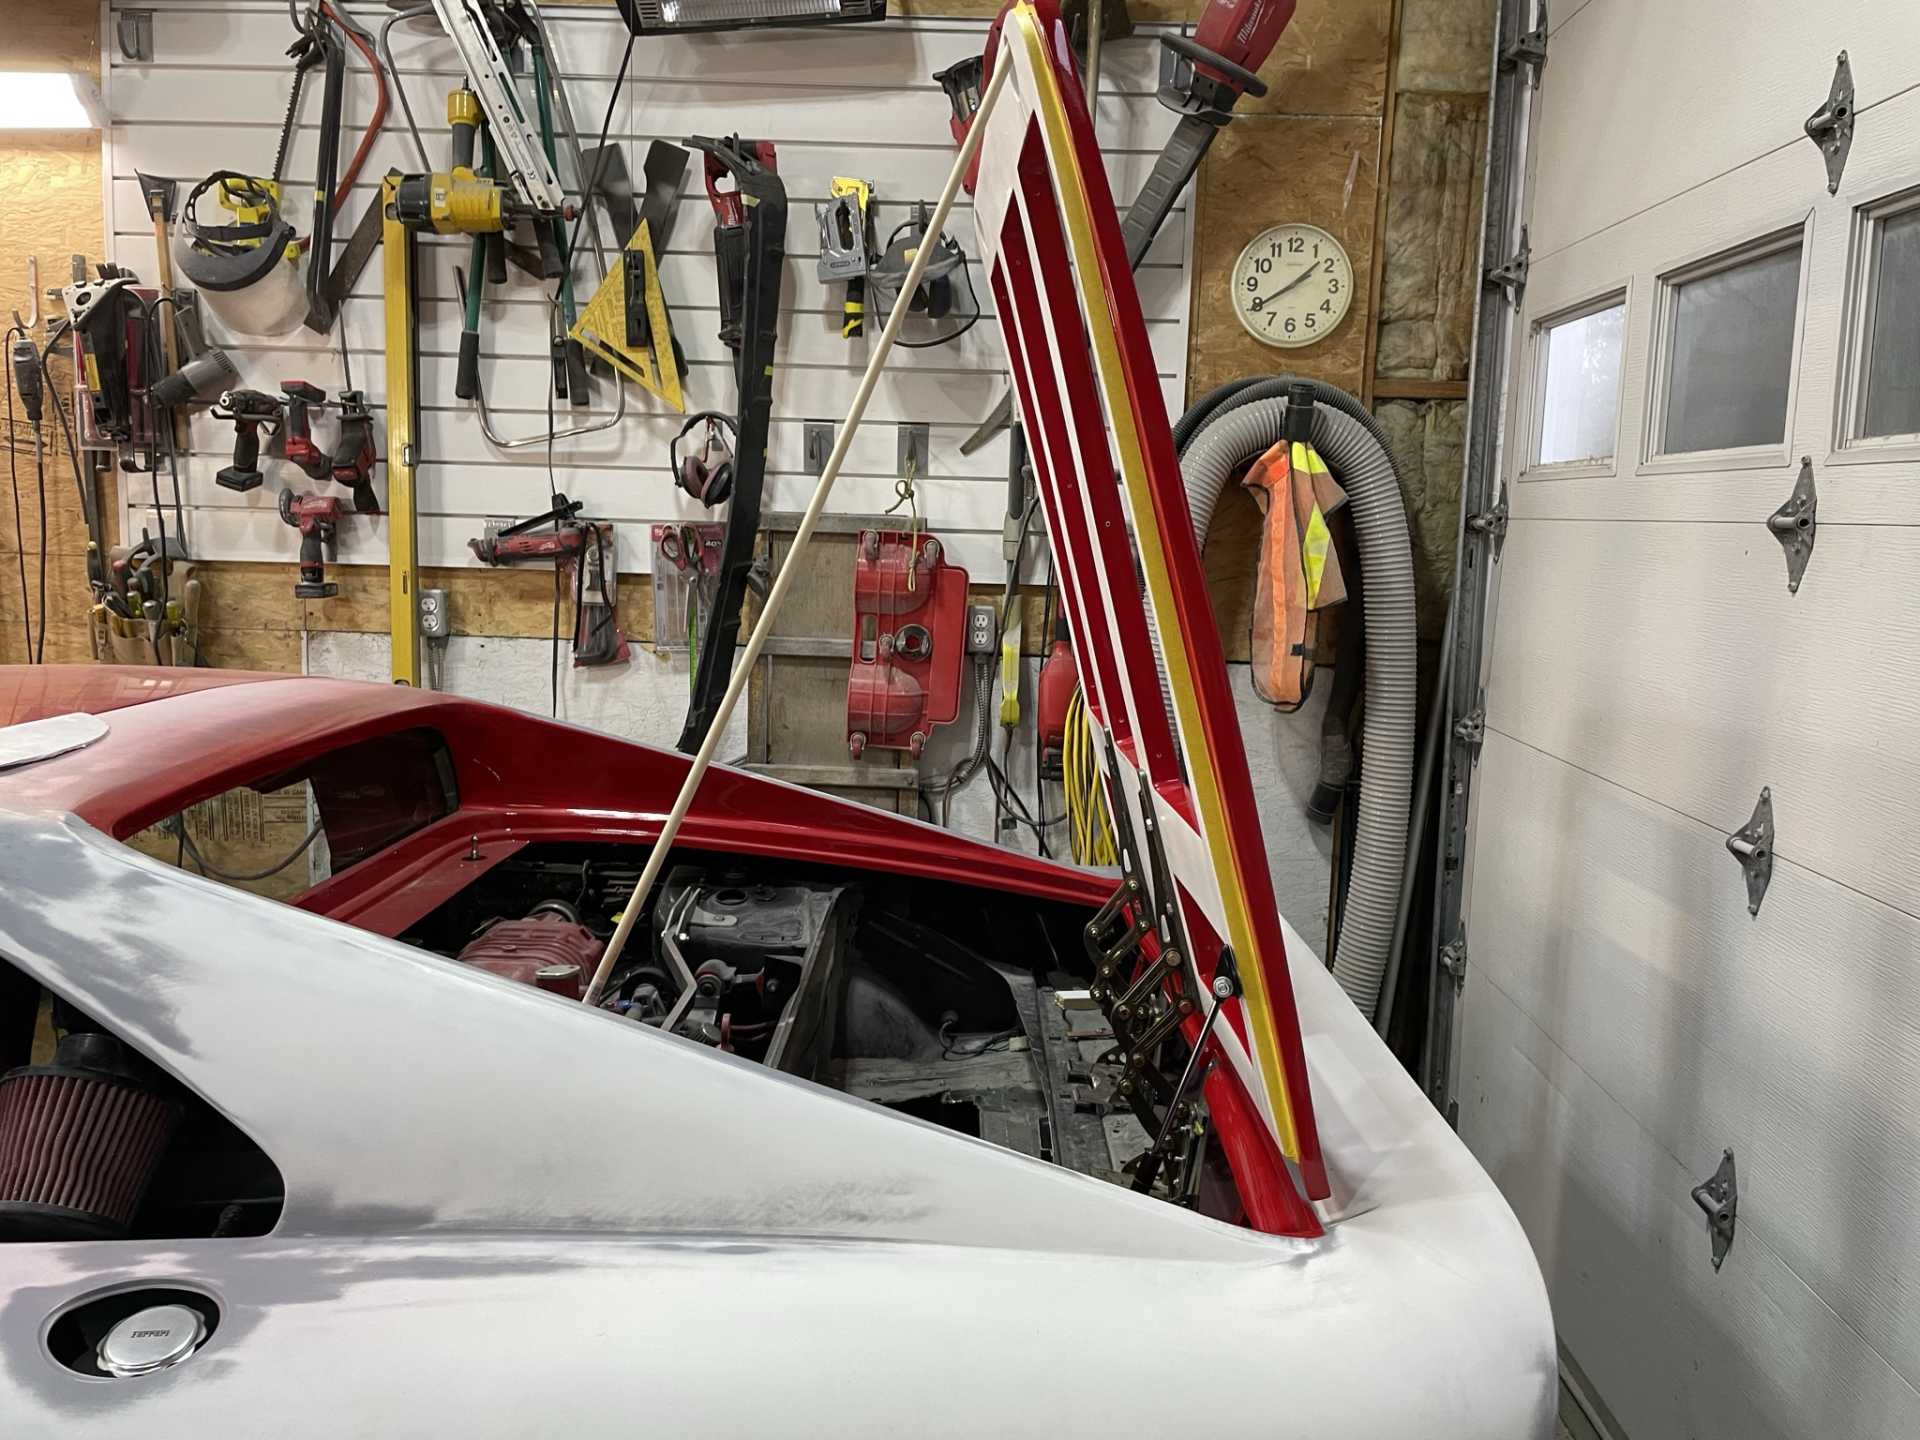
I’ve been working on the car electrical getting all the Ferrari rear bulb housing’s and lenses installed, sorting out all the dash lights and gauges and in general cleaning up the dash wiring looms. Still more to do but taking a break as
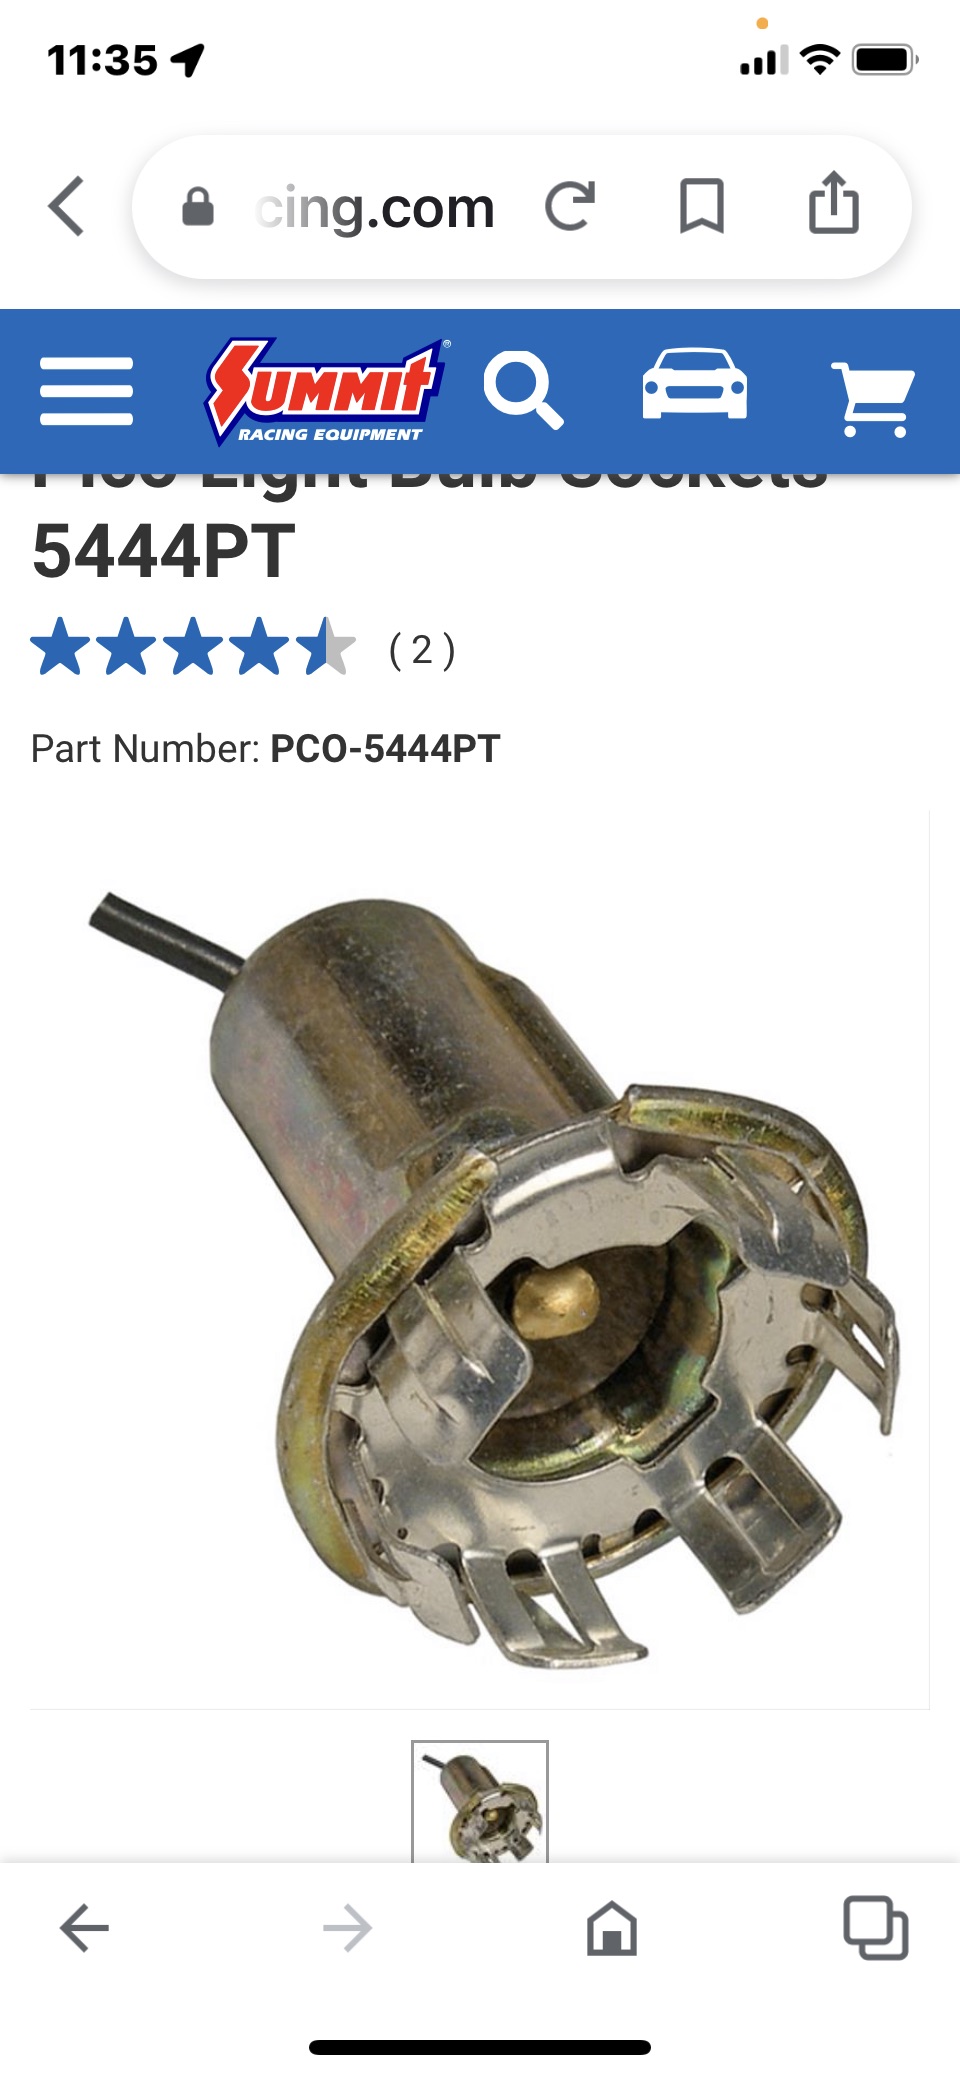
These are the bulb housings needed for the Ferrari lenses
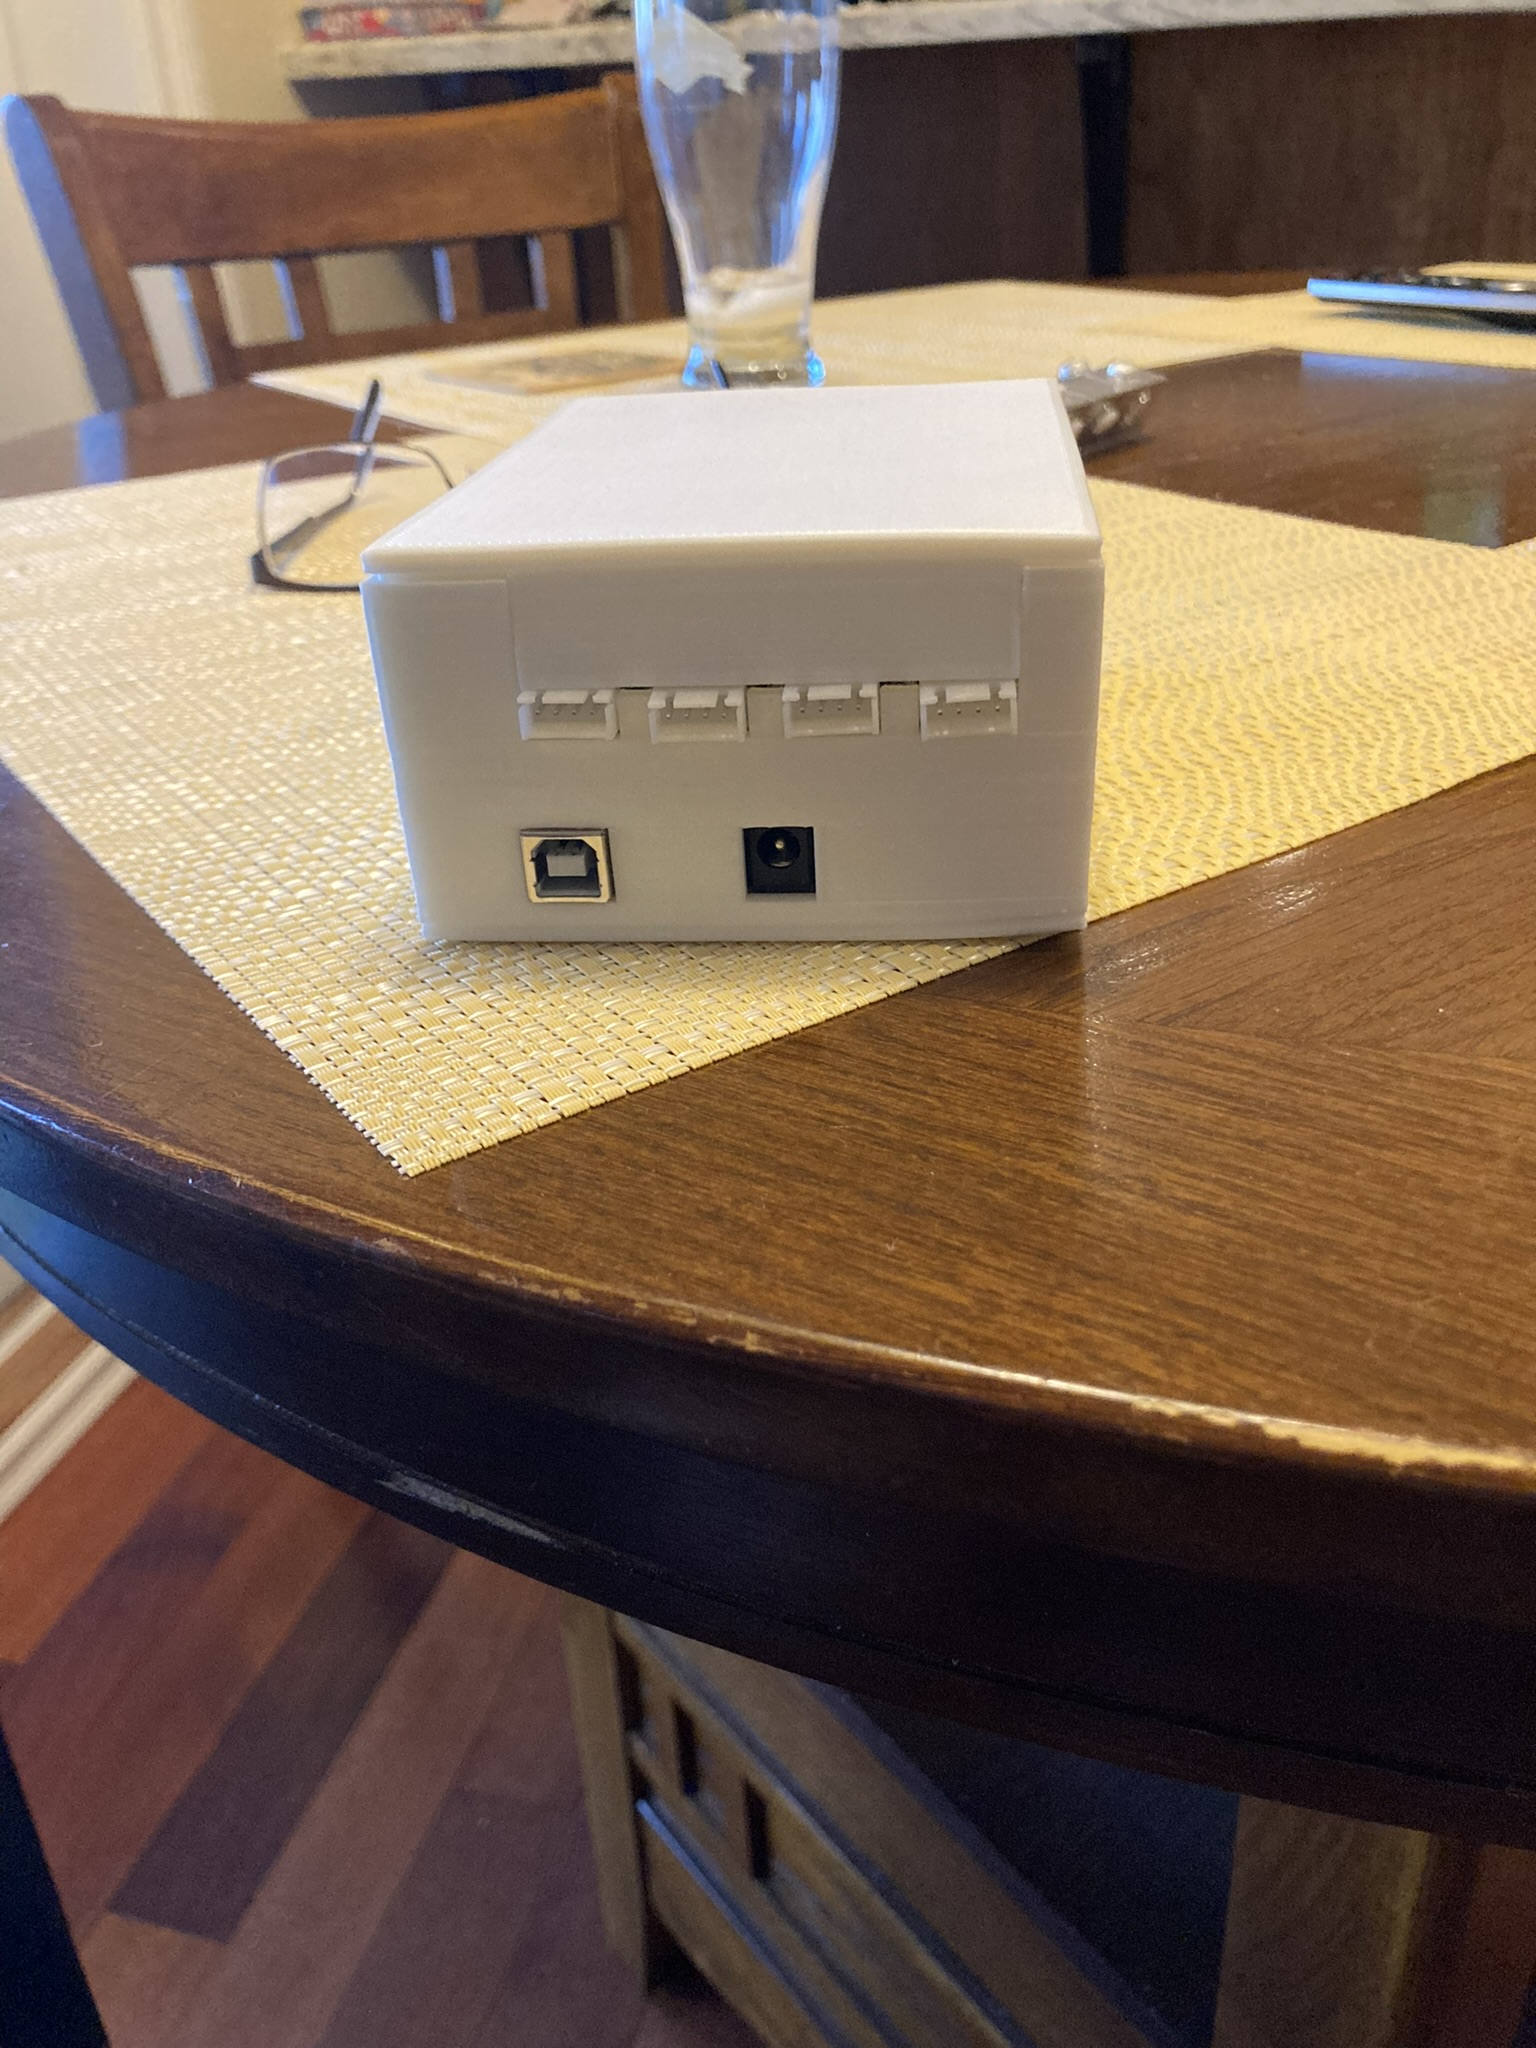
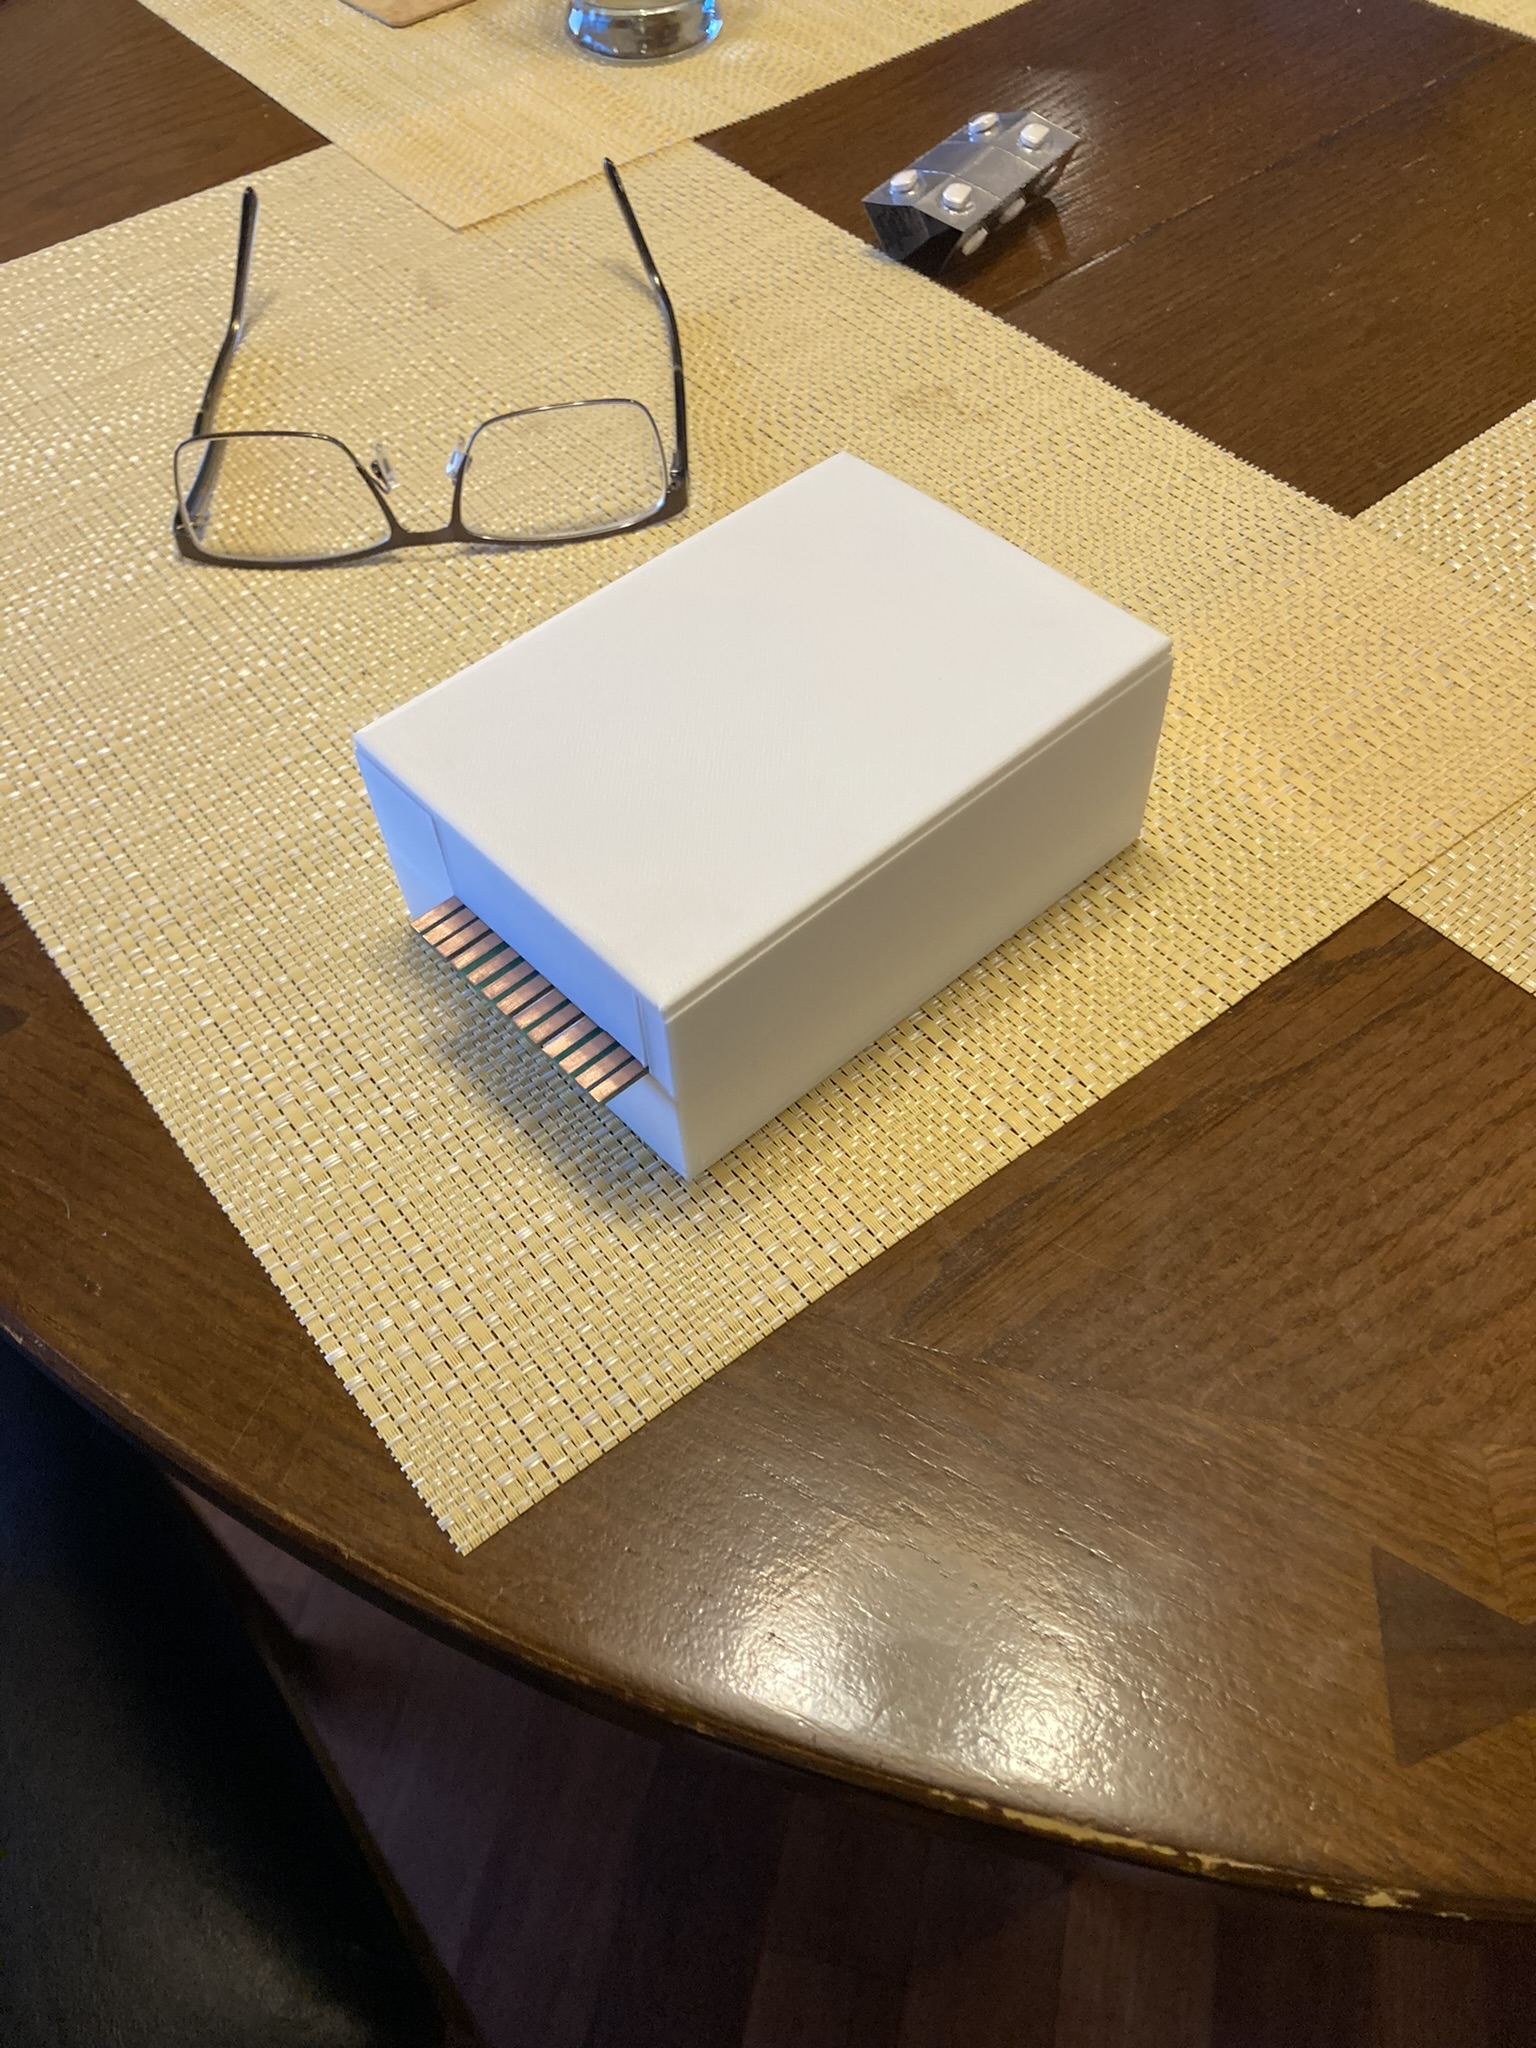
My buddy Don O. Has been working on my HVAC/ light computer board, he recently 3D printed a box to house the board and Arduino and is currently writing code to run everything.
  [img]https://images.fiero.nl/userimages/dobie1/AA8089BE-4581-49CF-B7 95-F23B9A50785E.jpeg[/img] [img]https://images.fiero.nl/userimages/dobie1/AA8089BE-4581-49CF-B7 95-F23B9A50785E.jpeg[/img]
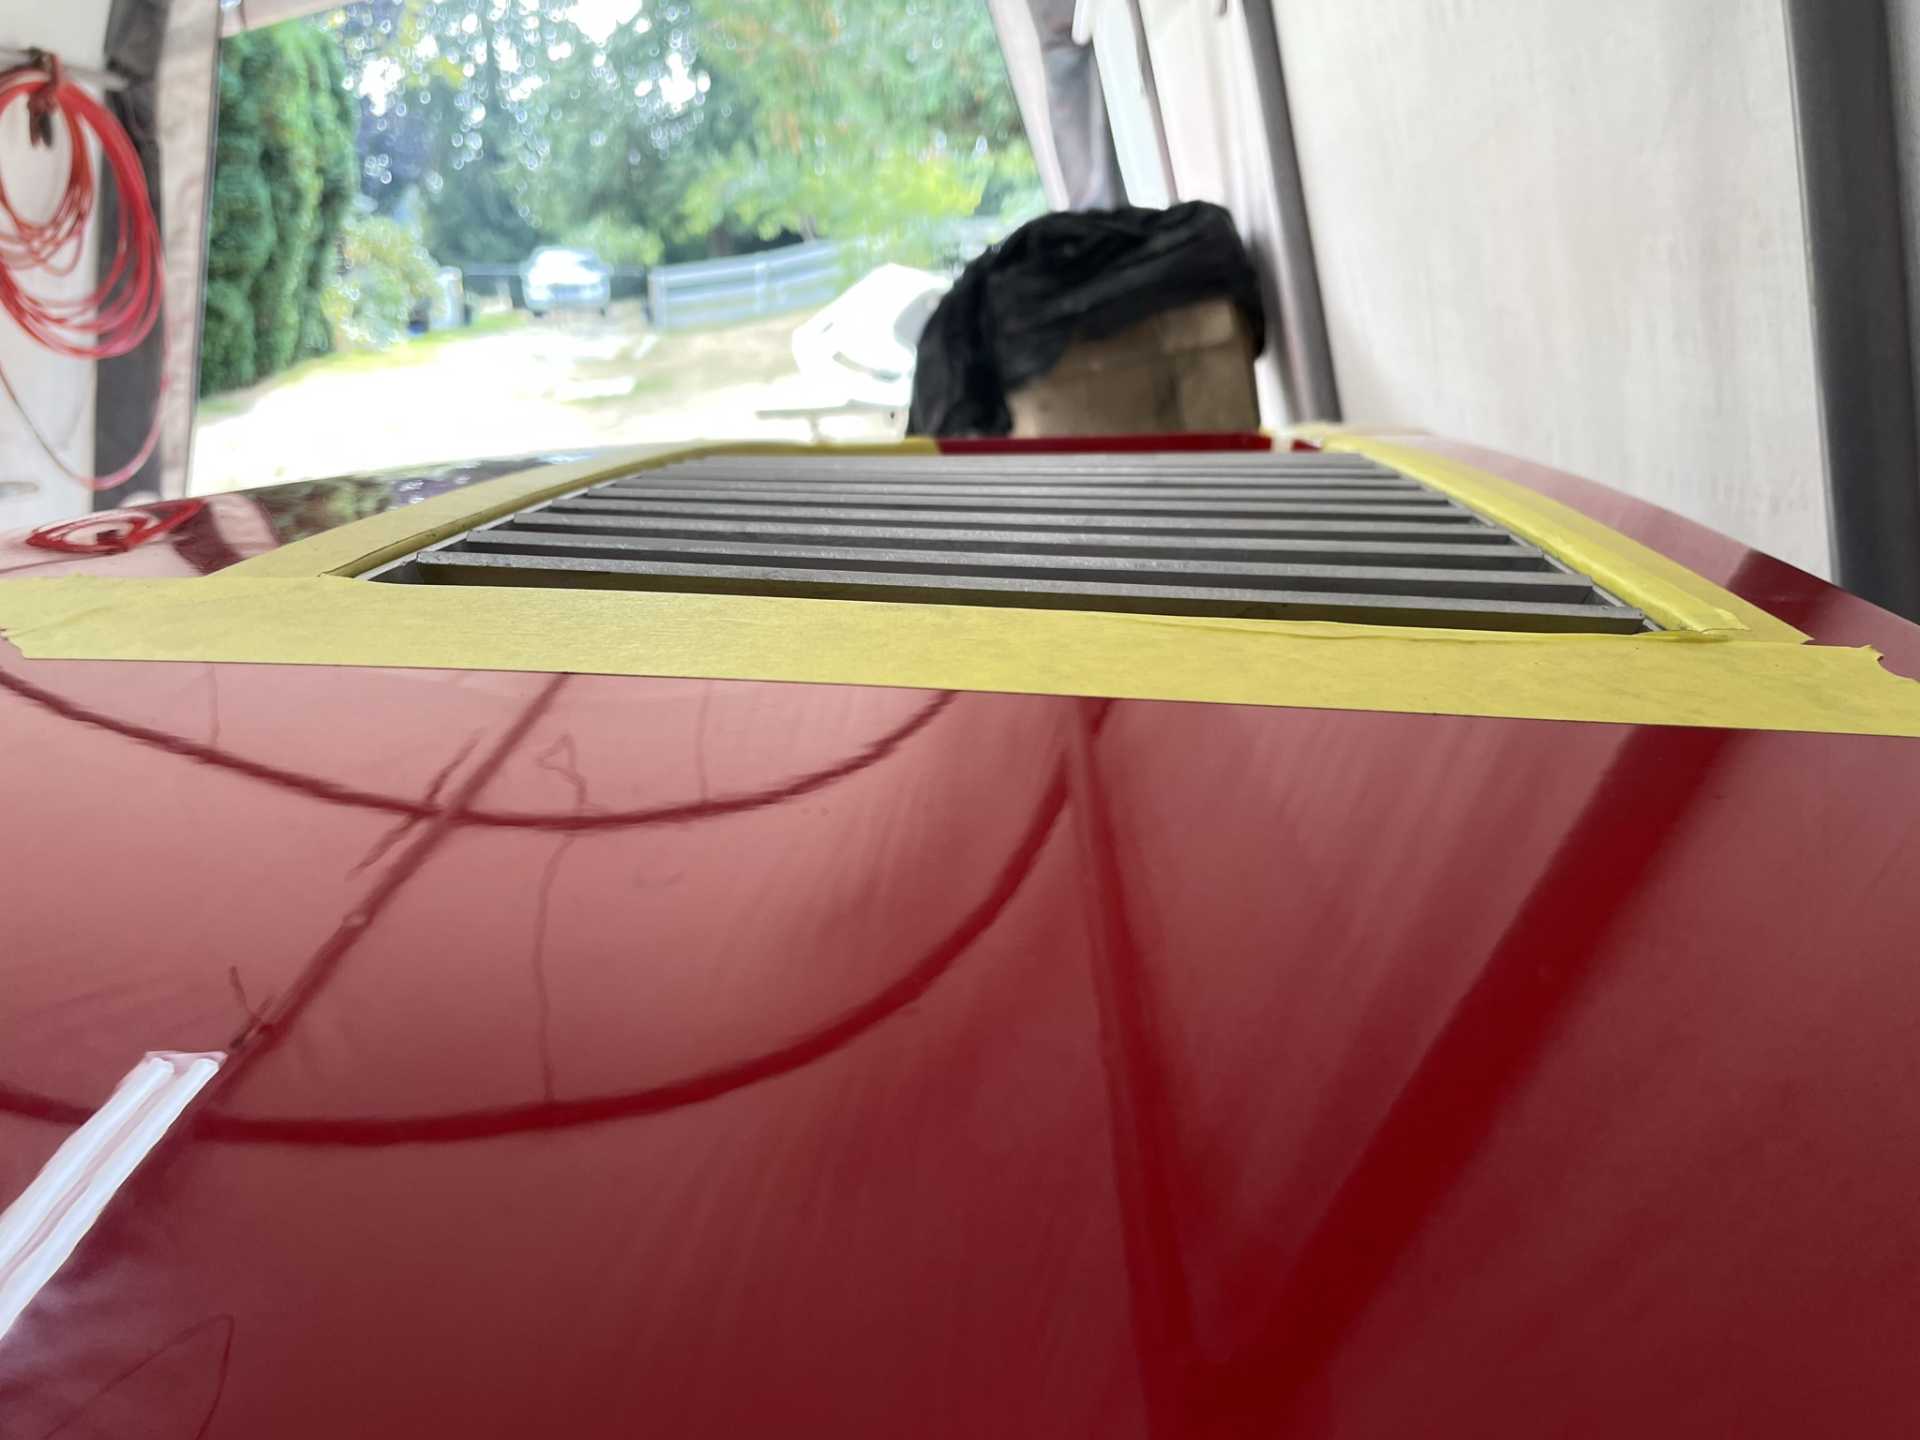
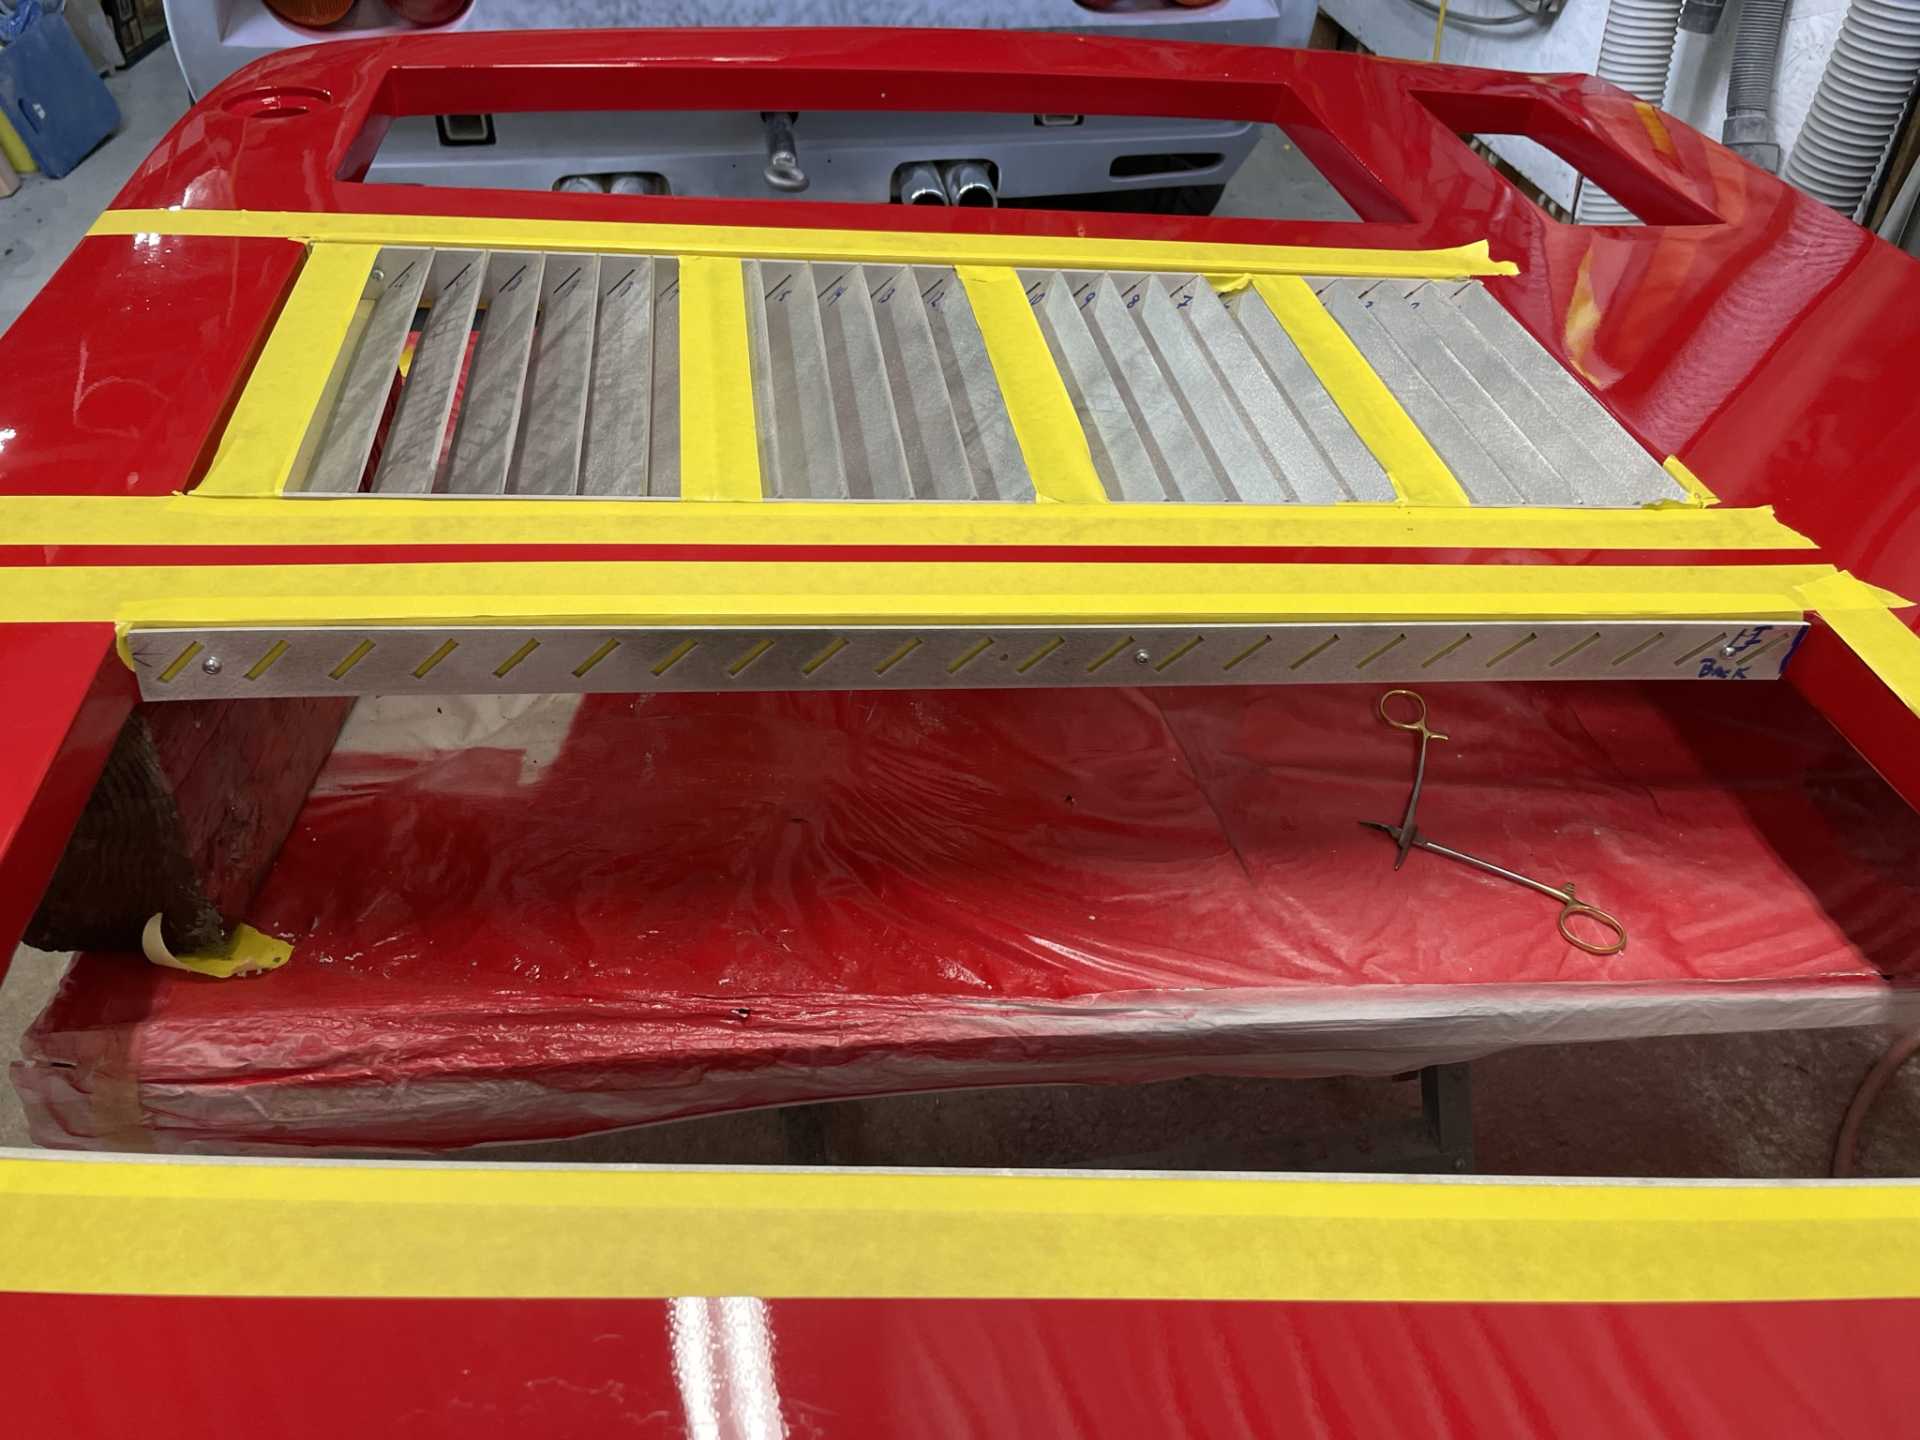
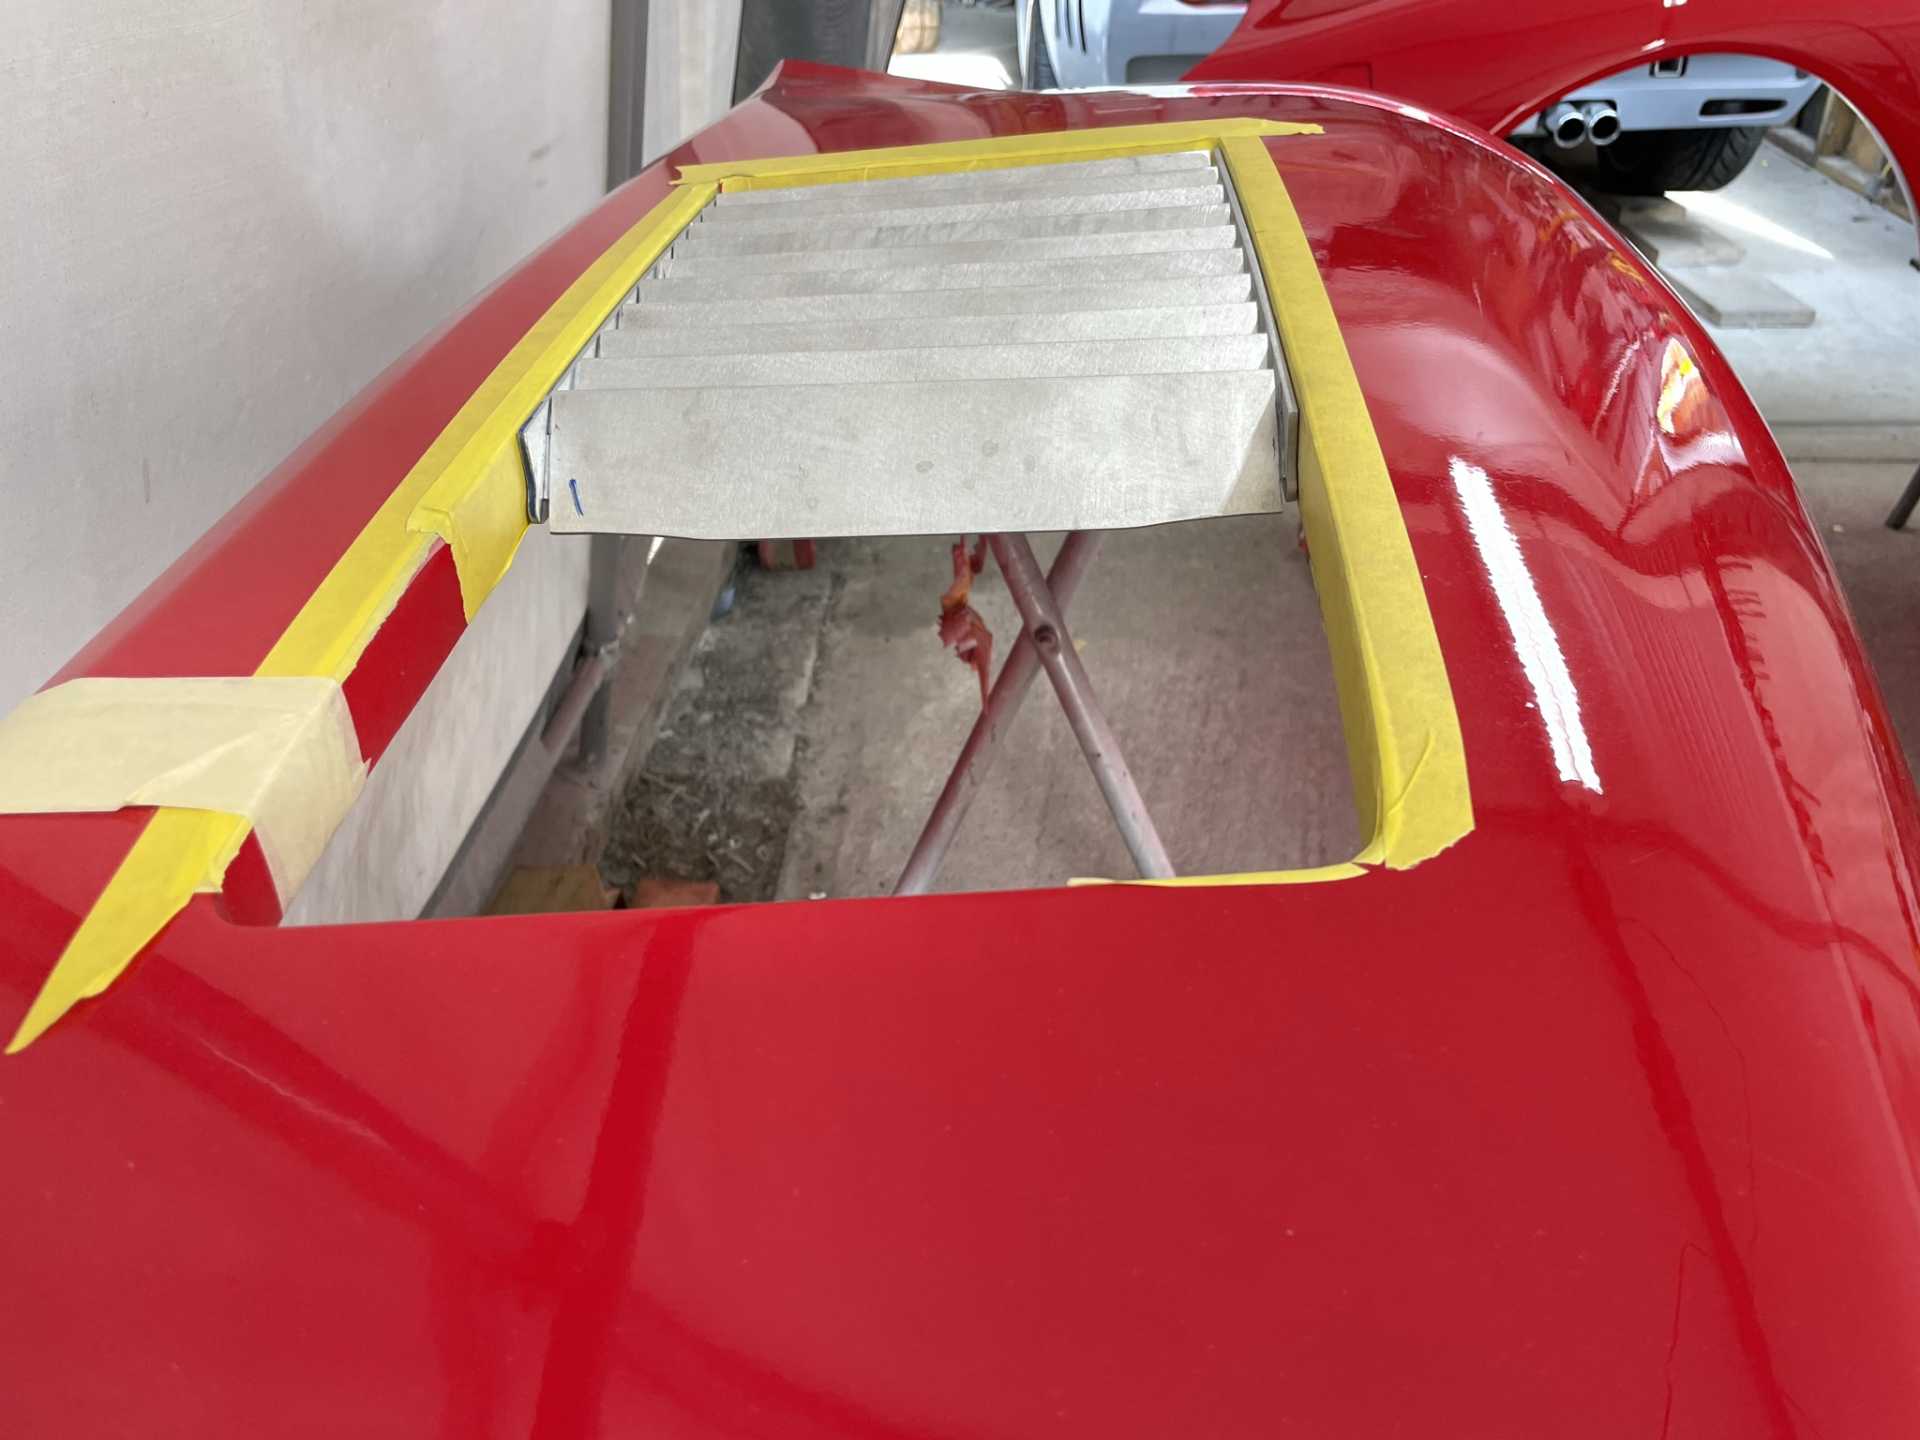
So for a bit of a diversion I started to get the body grills ready for Tig welding. With All the compound curves and angles on this car it’s not making it very easy.
  [img]https://images.fiero.nl/userimages/dobie1/28D833F7-298C-4D50-AF6 A-934F2E691B8F.jpeg[/img] [img]https://images.fiero.nl/userimages/dobie1/28D833F7-298C-4D50-AF6 A-934F2E691B8F.jpeg[/img]
  [img]https://images.fiero.nl/userimages/dobie1/D1517D71-994F-4120-83 1A-CCB1857F72CF.jpeg[/img] [img]https://images.fiero.nl/userimages/dobie1/D1517D71-994F-4120-83 1A-CCB1857F72CF.jpeg[/img]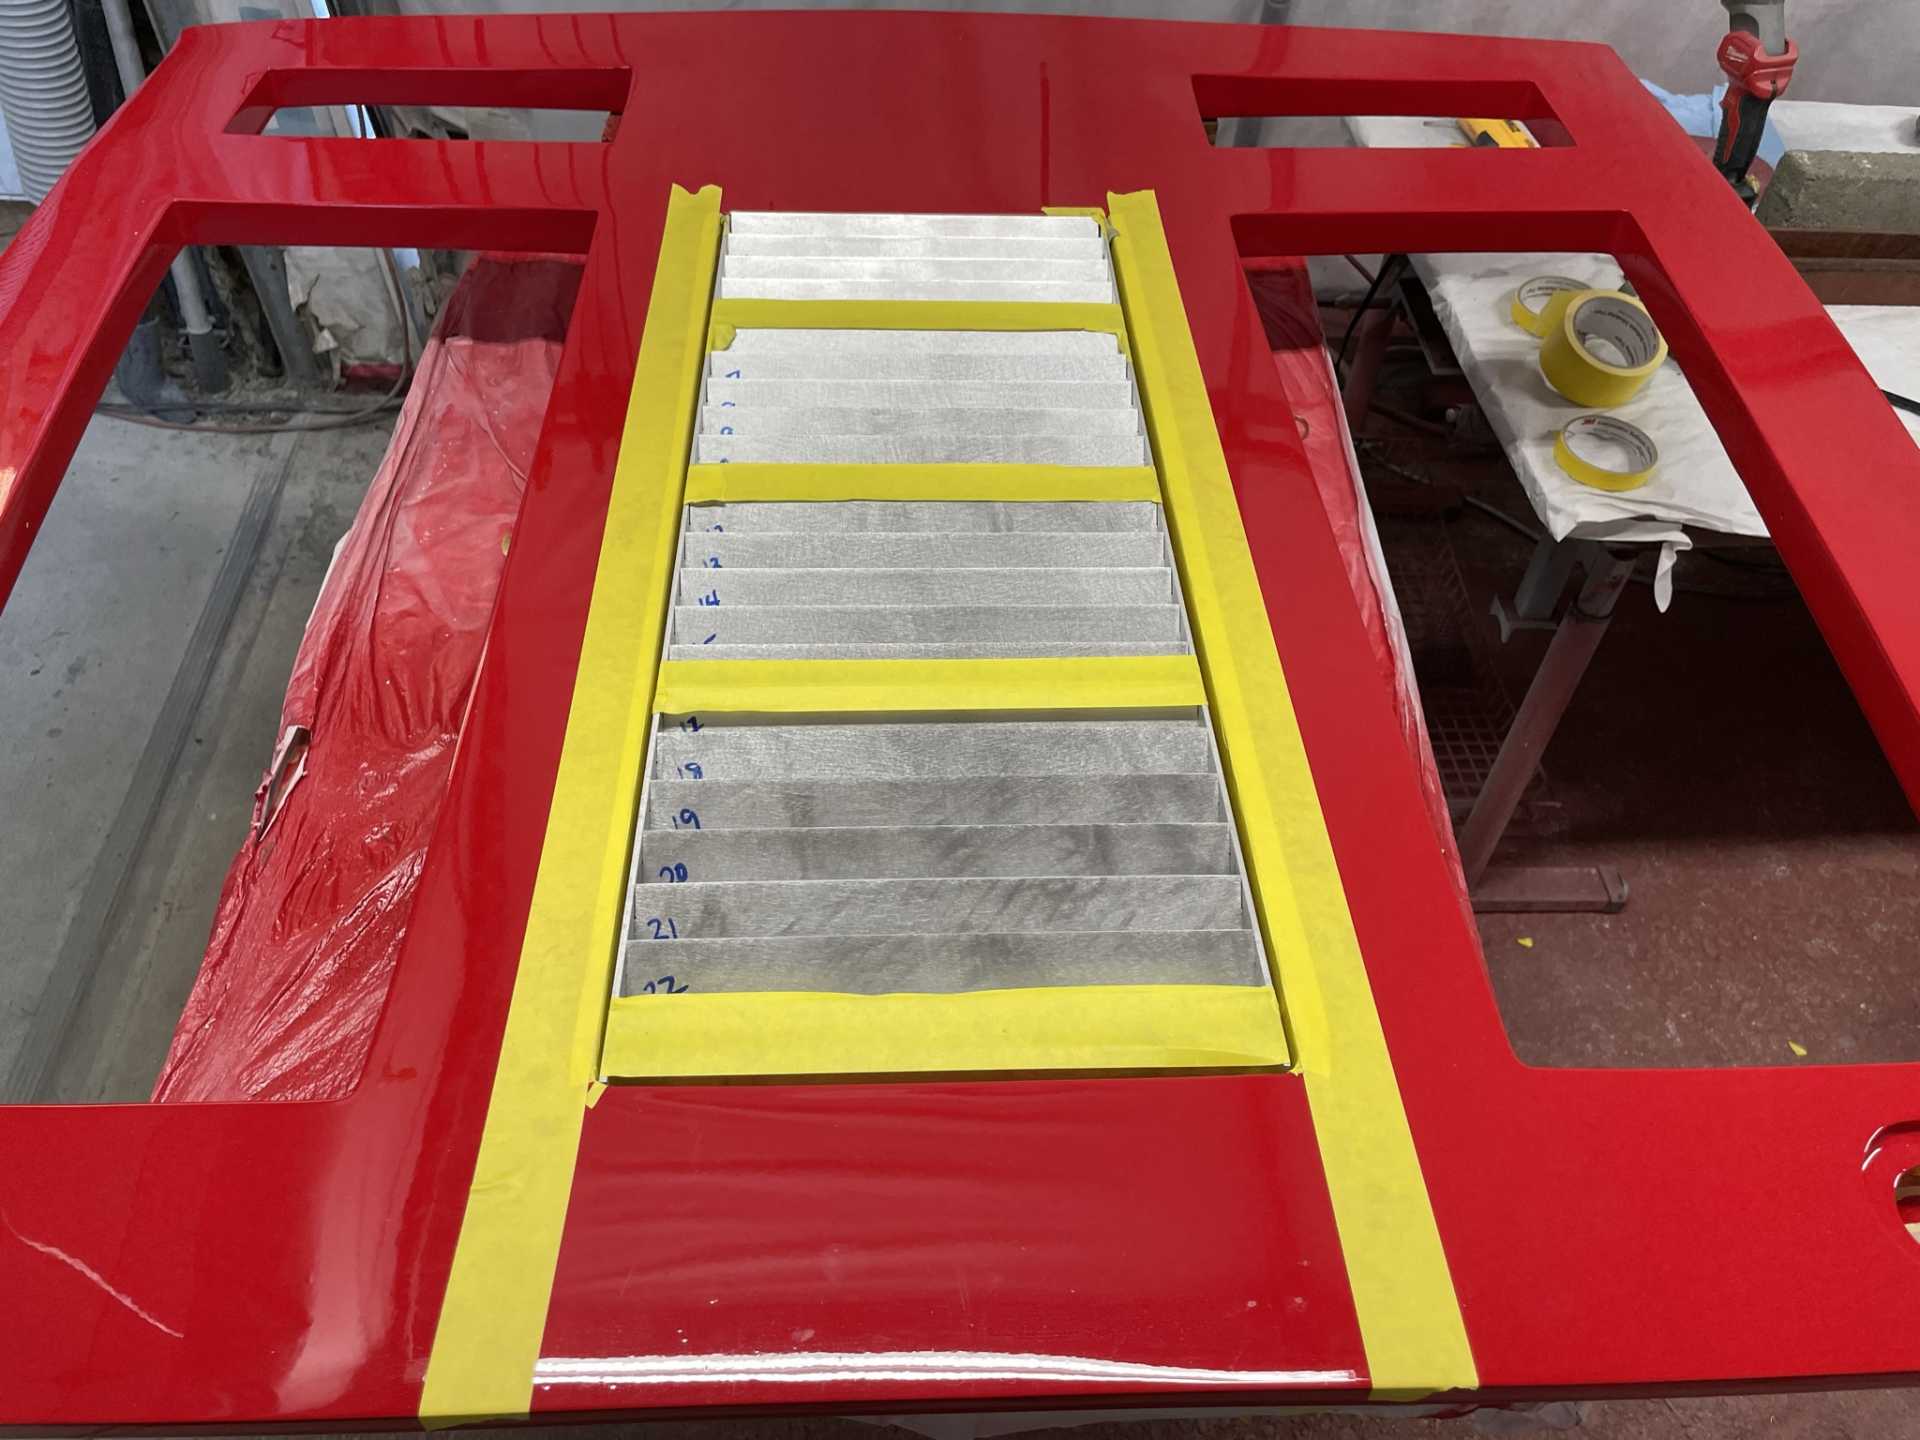 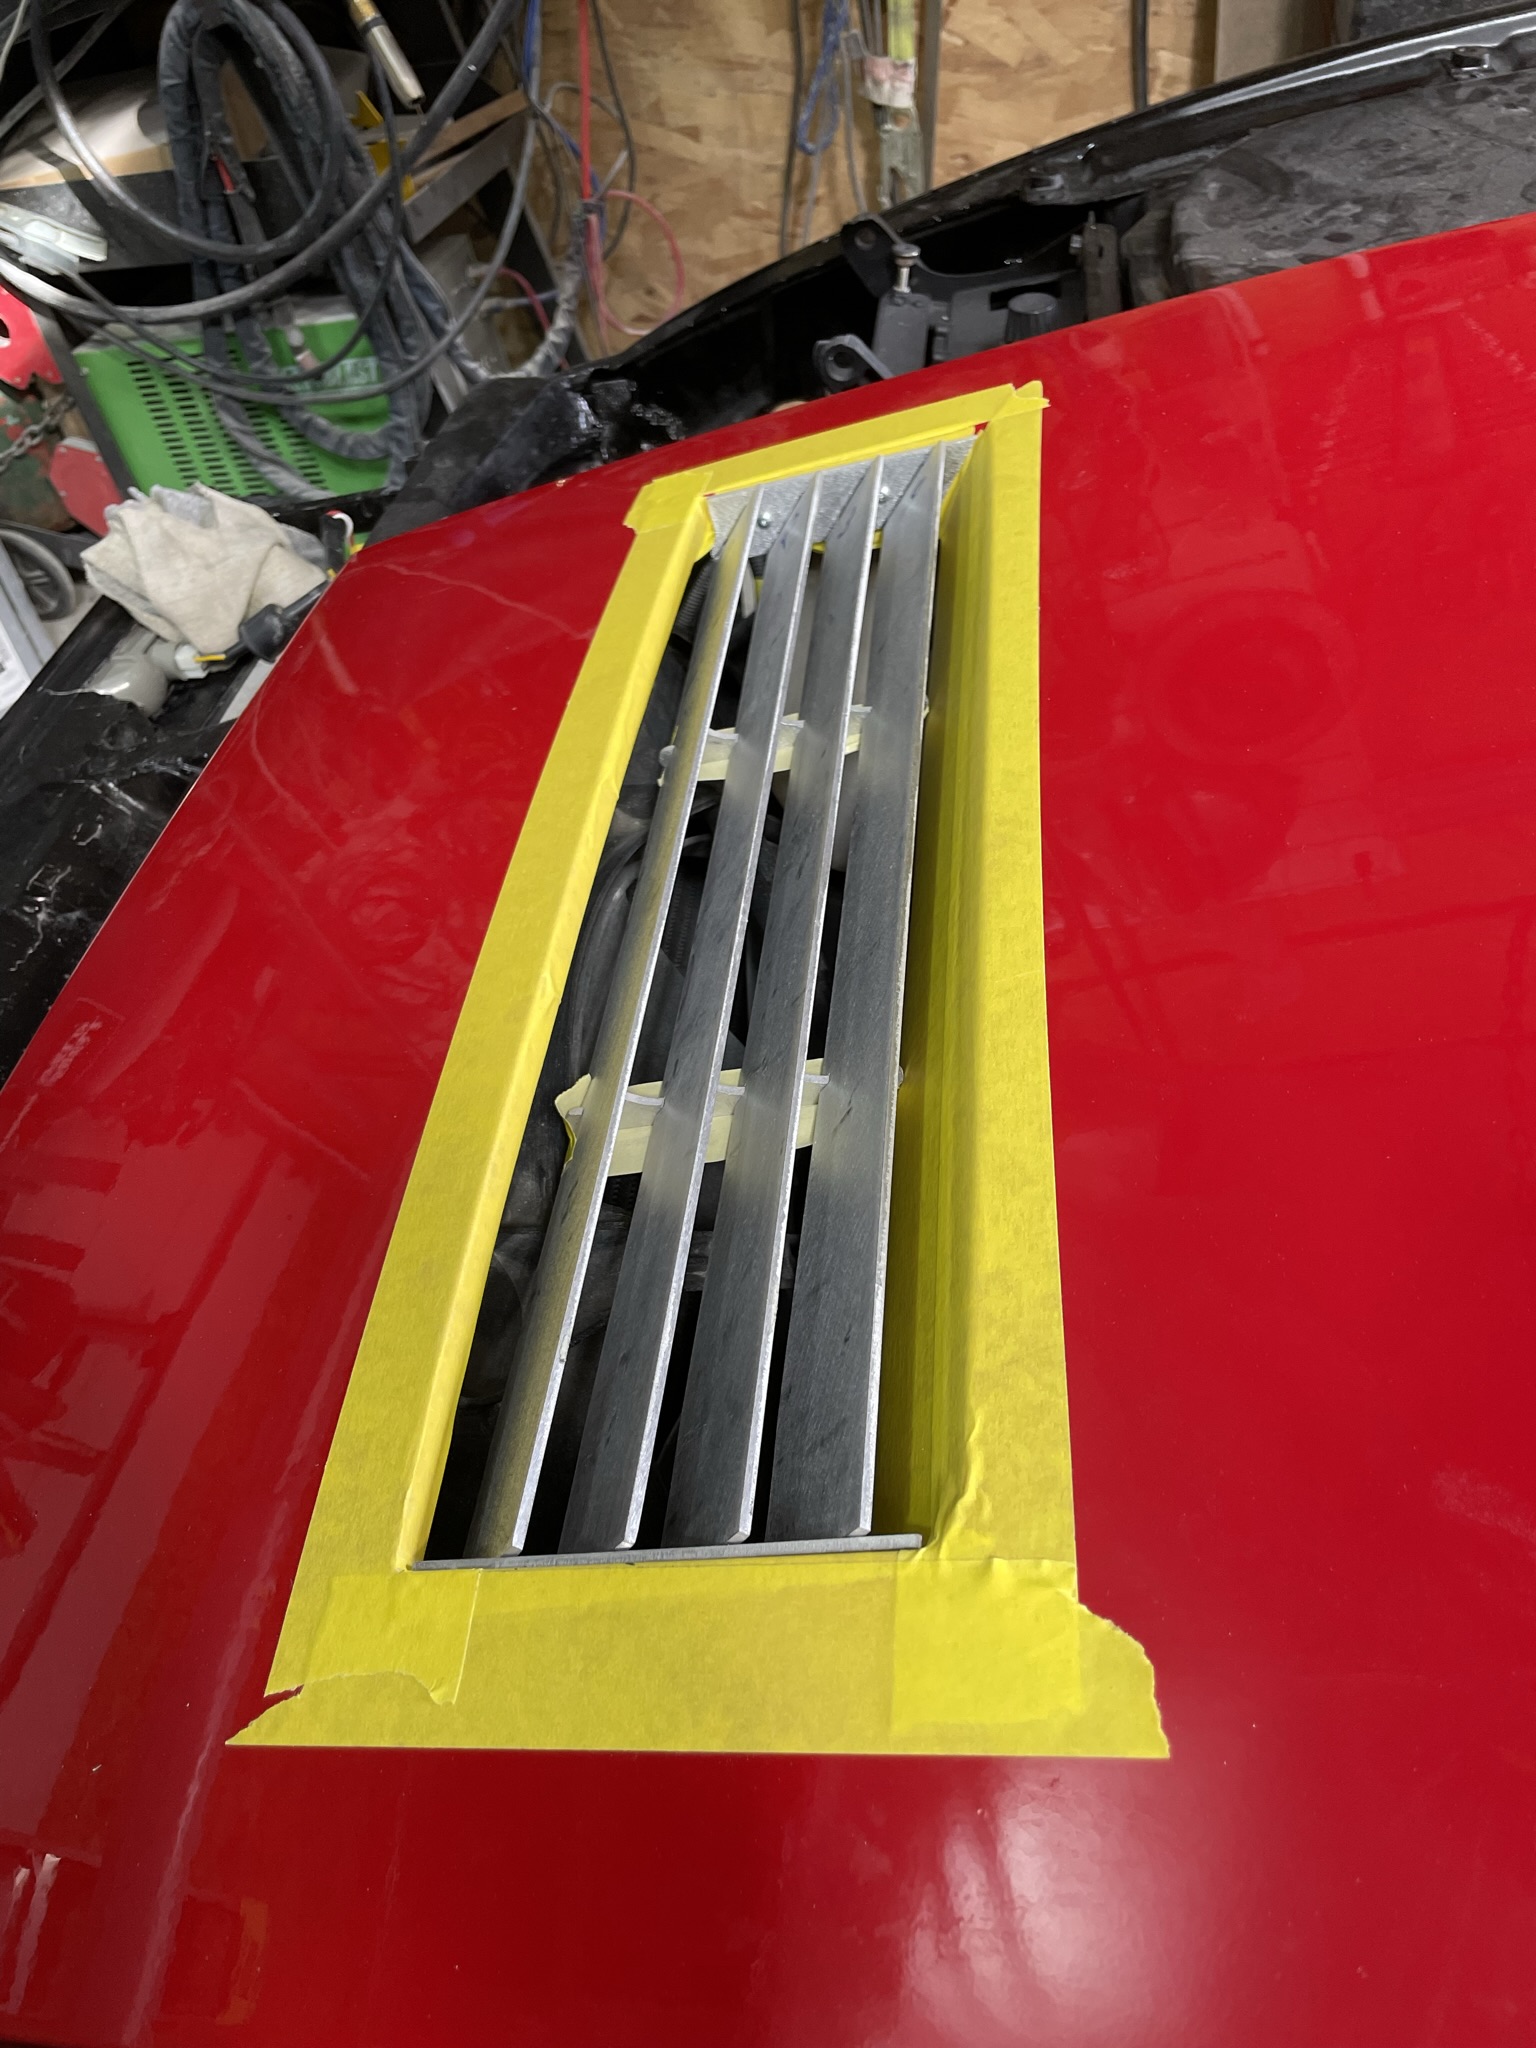
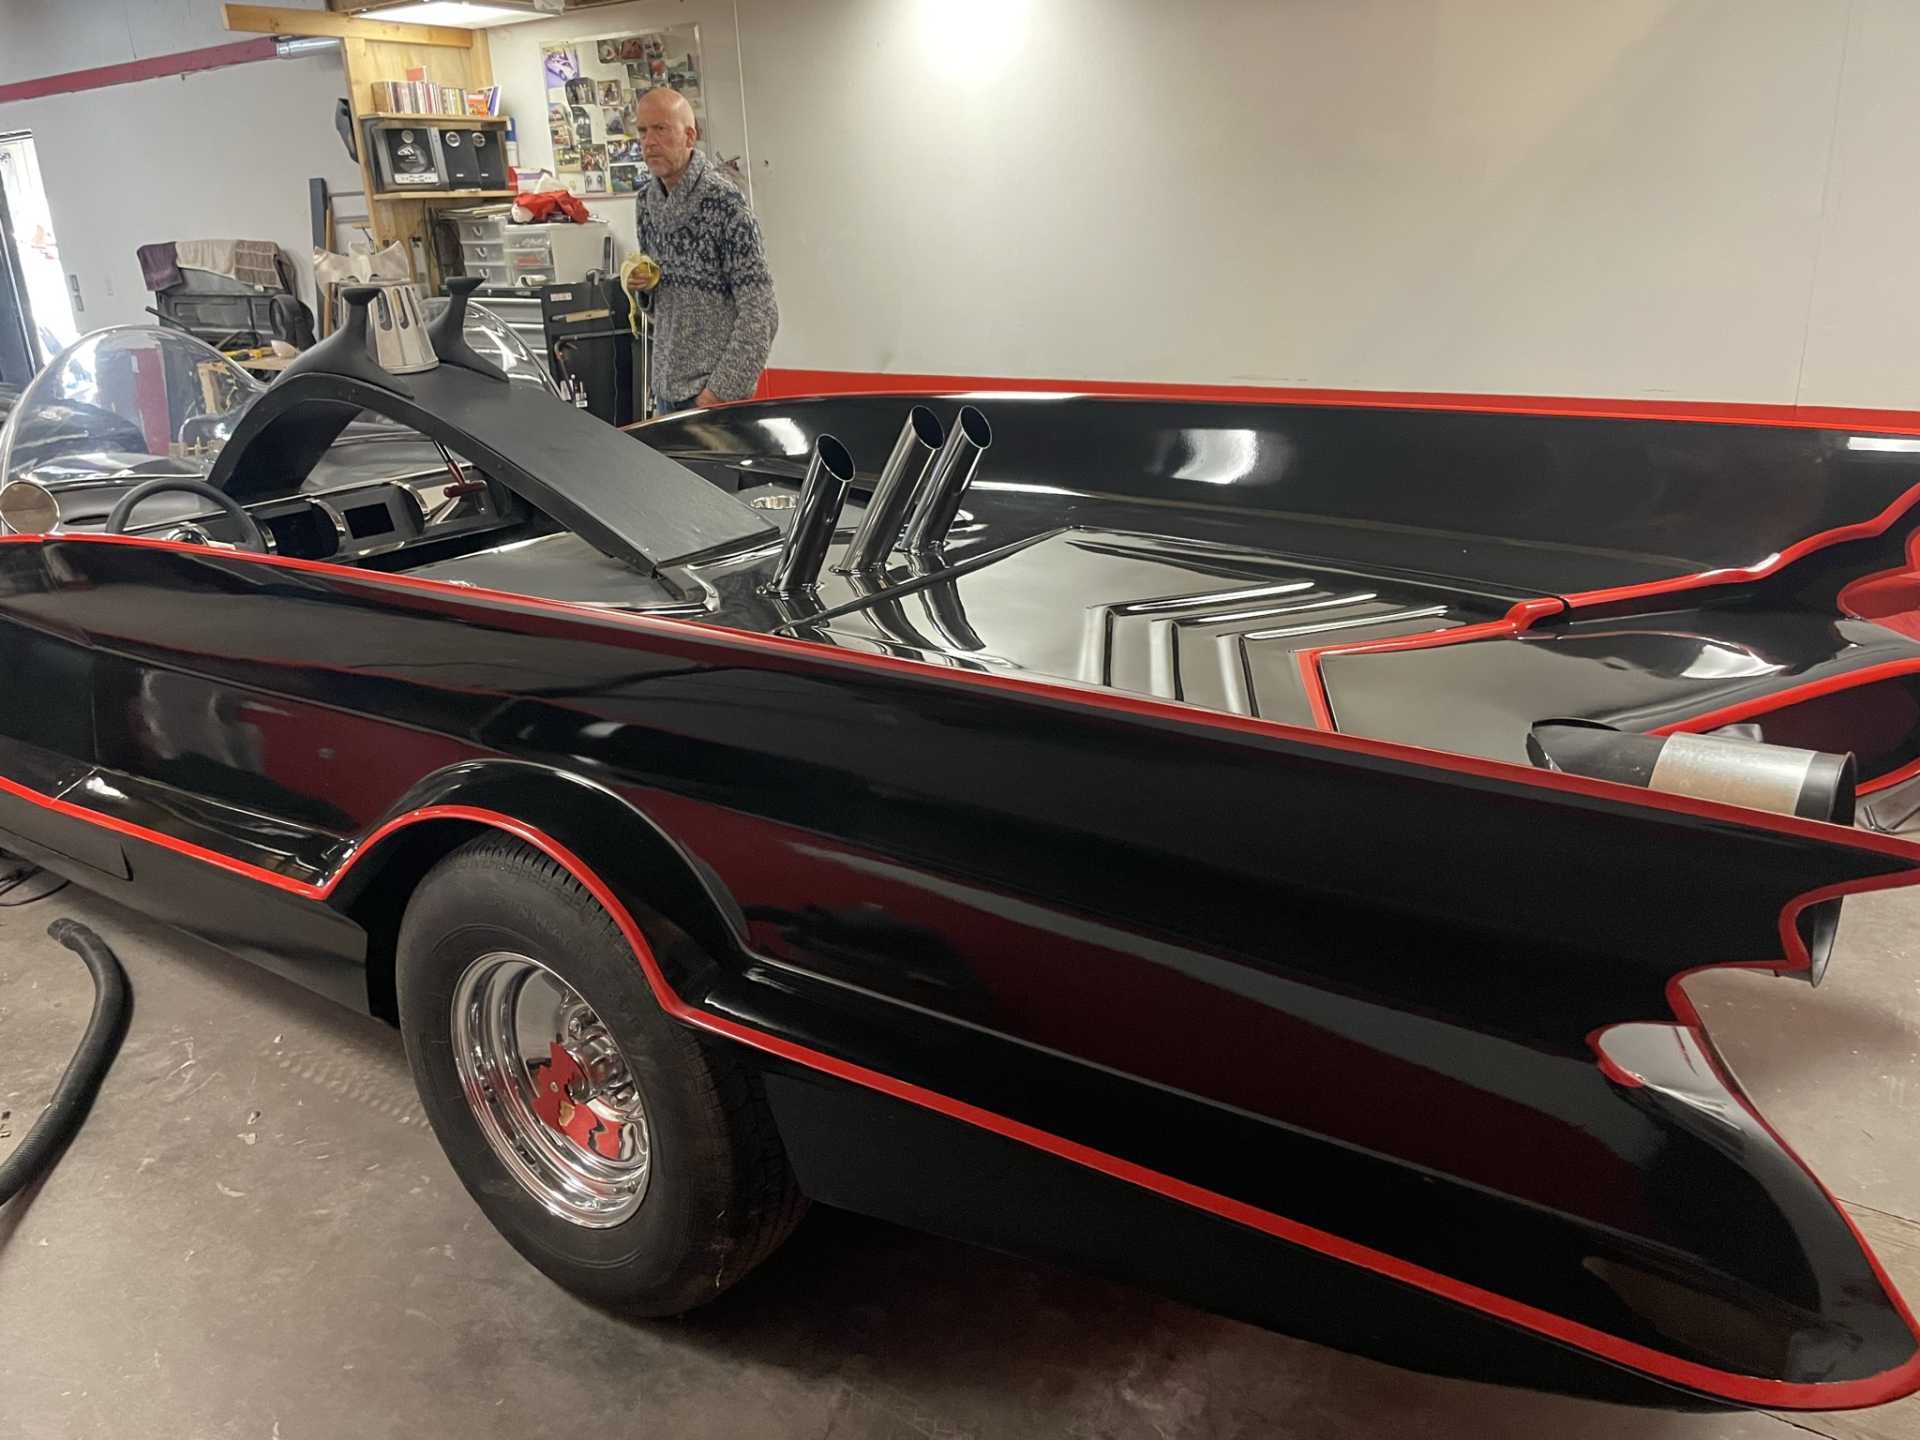
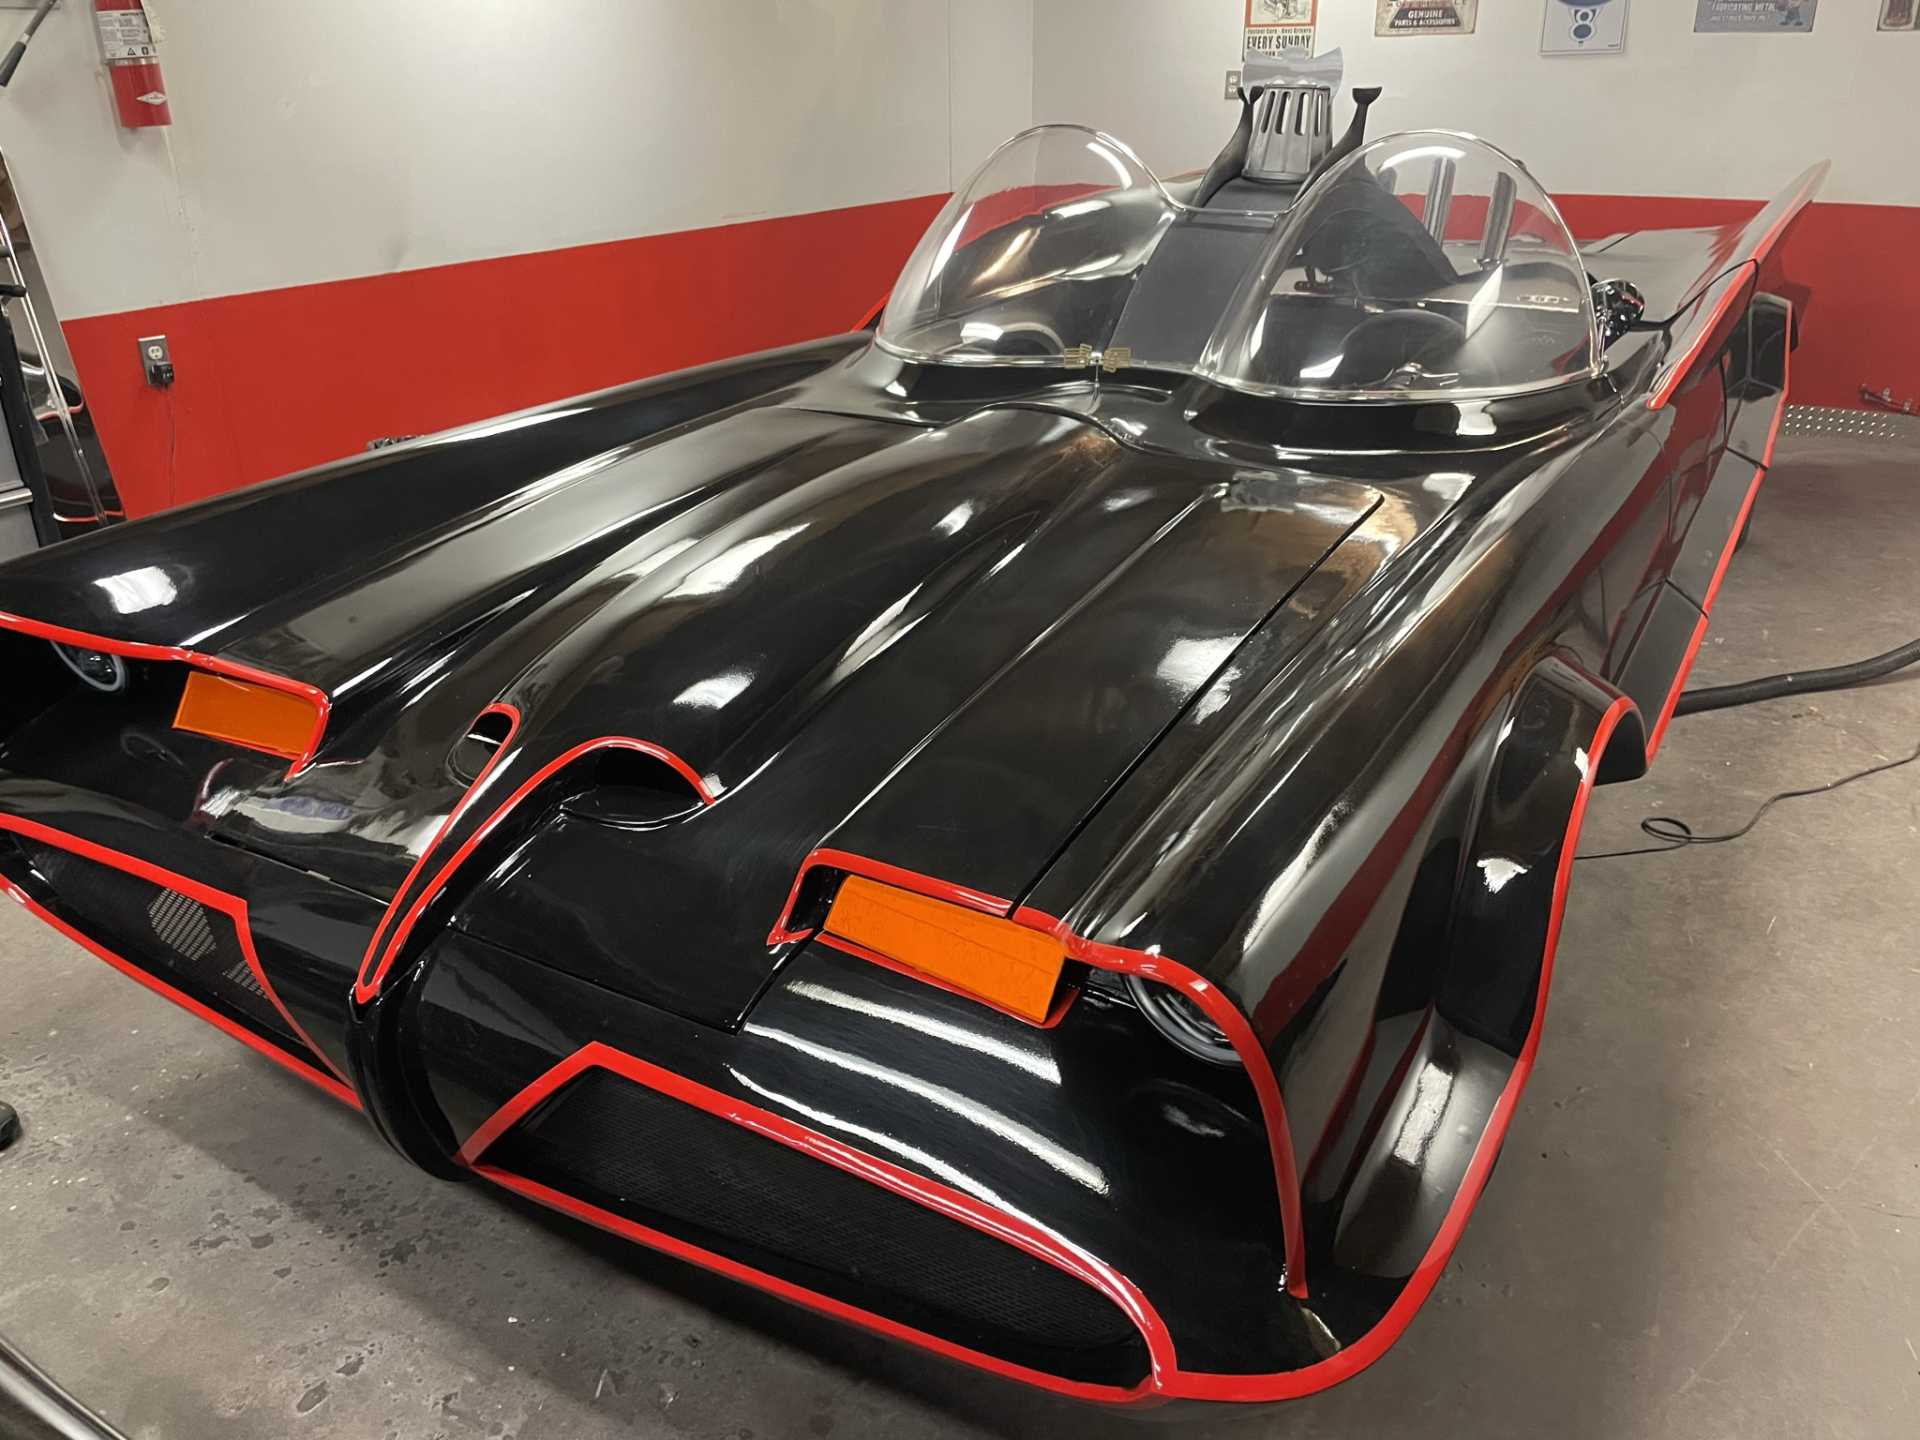
For a bit of a change another friend of mine is building this , I think this is his 10th
  [img]https://images.fiero.nl/userimages/dobie1/75A51D7E-8737-4DC2-8E 59-5473E7FD56D0.jpeg[/img] [img]https://images.fiero.nl/userimages/dobie1/75A51D7E-8737-4DC2-8E 59-5473E7FD56D0.jpeg[/img]
Well that’s it for now , more to come!!
Stay safe
Wayne
|
|
|
|
dobie1
|
OCT 19, 07:16 PM
|
|
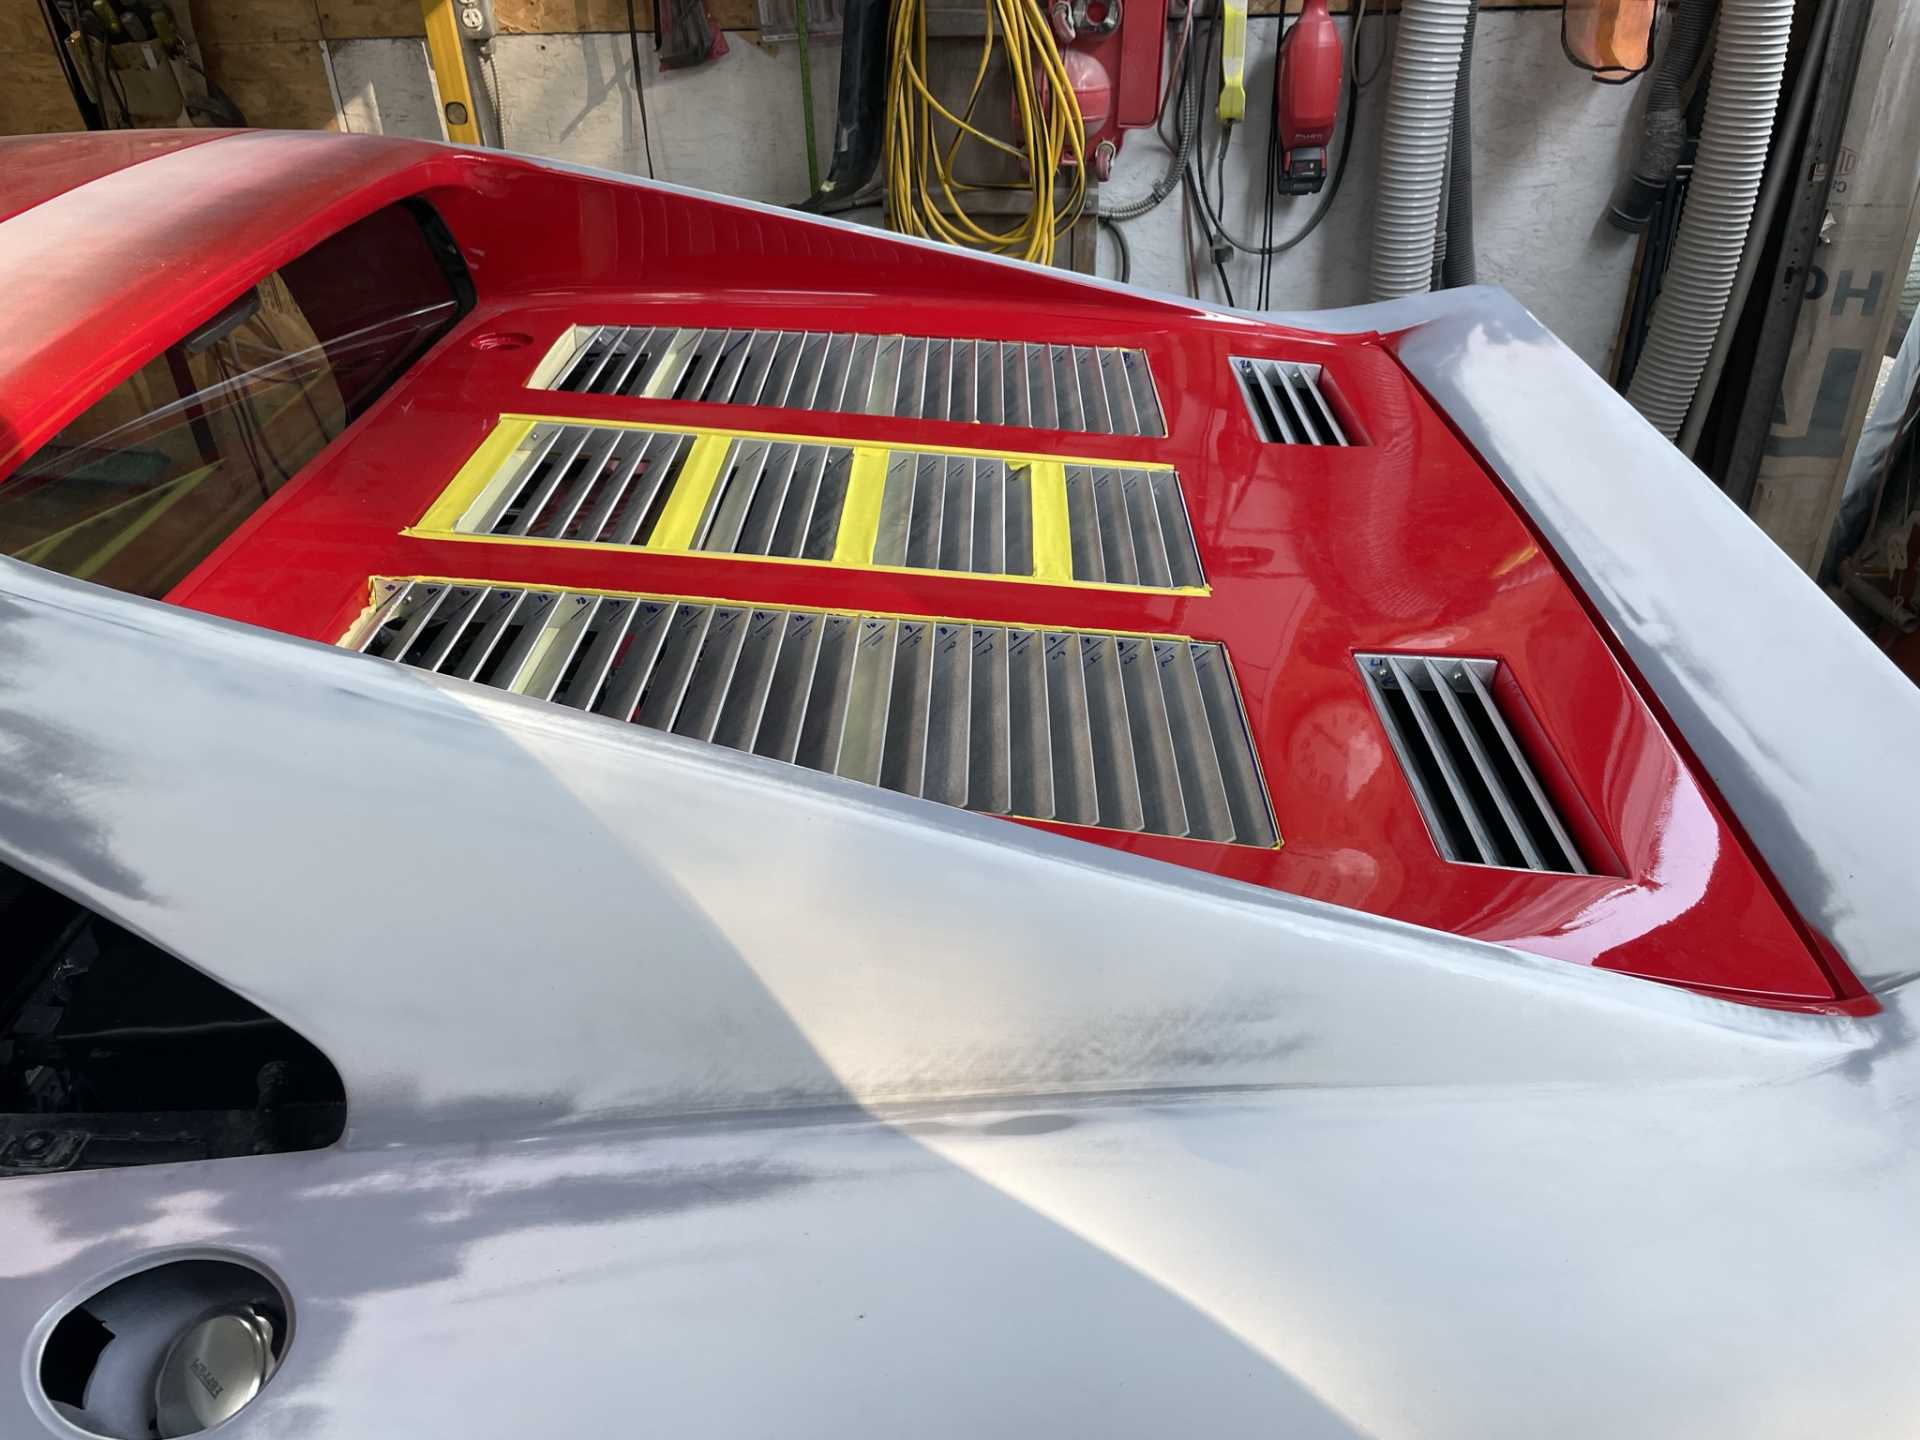
Well the grills have all been filed and fit to accommodate the angles and curves of the openings. Next they will be Tig welded and the prepared for painting.
“Let me know what you think”
but I’m planning on painting them the same colour as the body (Corsa Rosso) but I keep thinking that black might actually look really good.

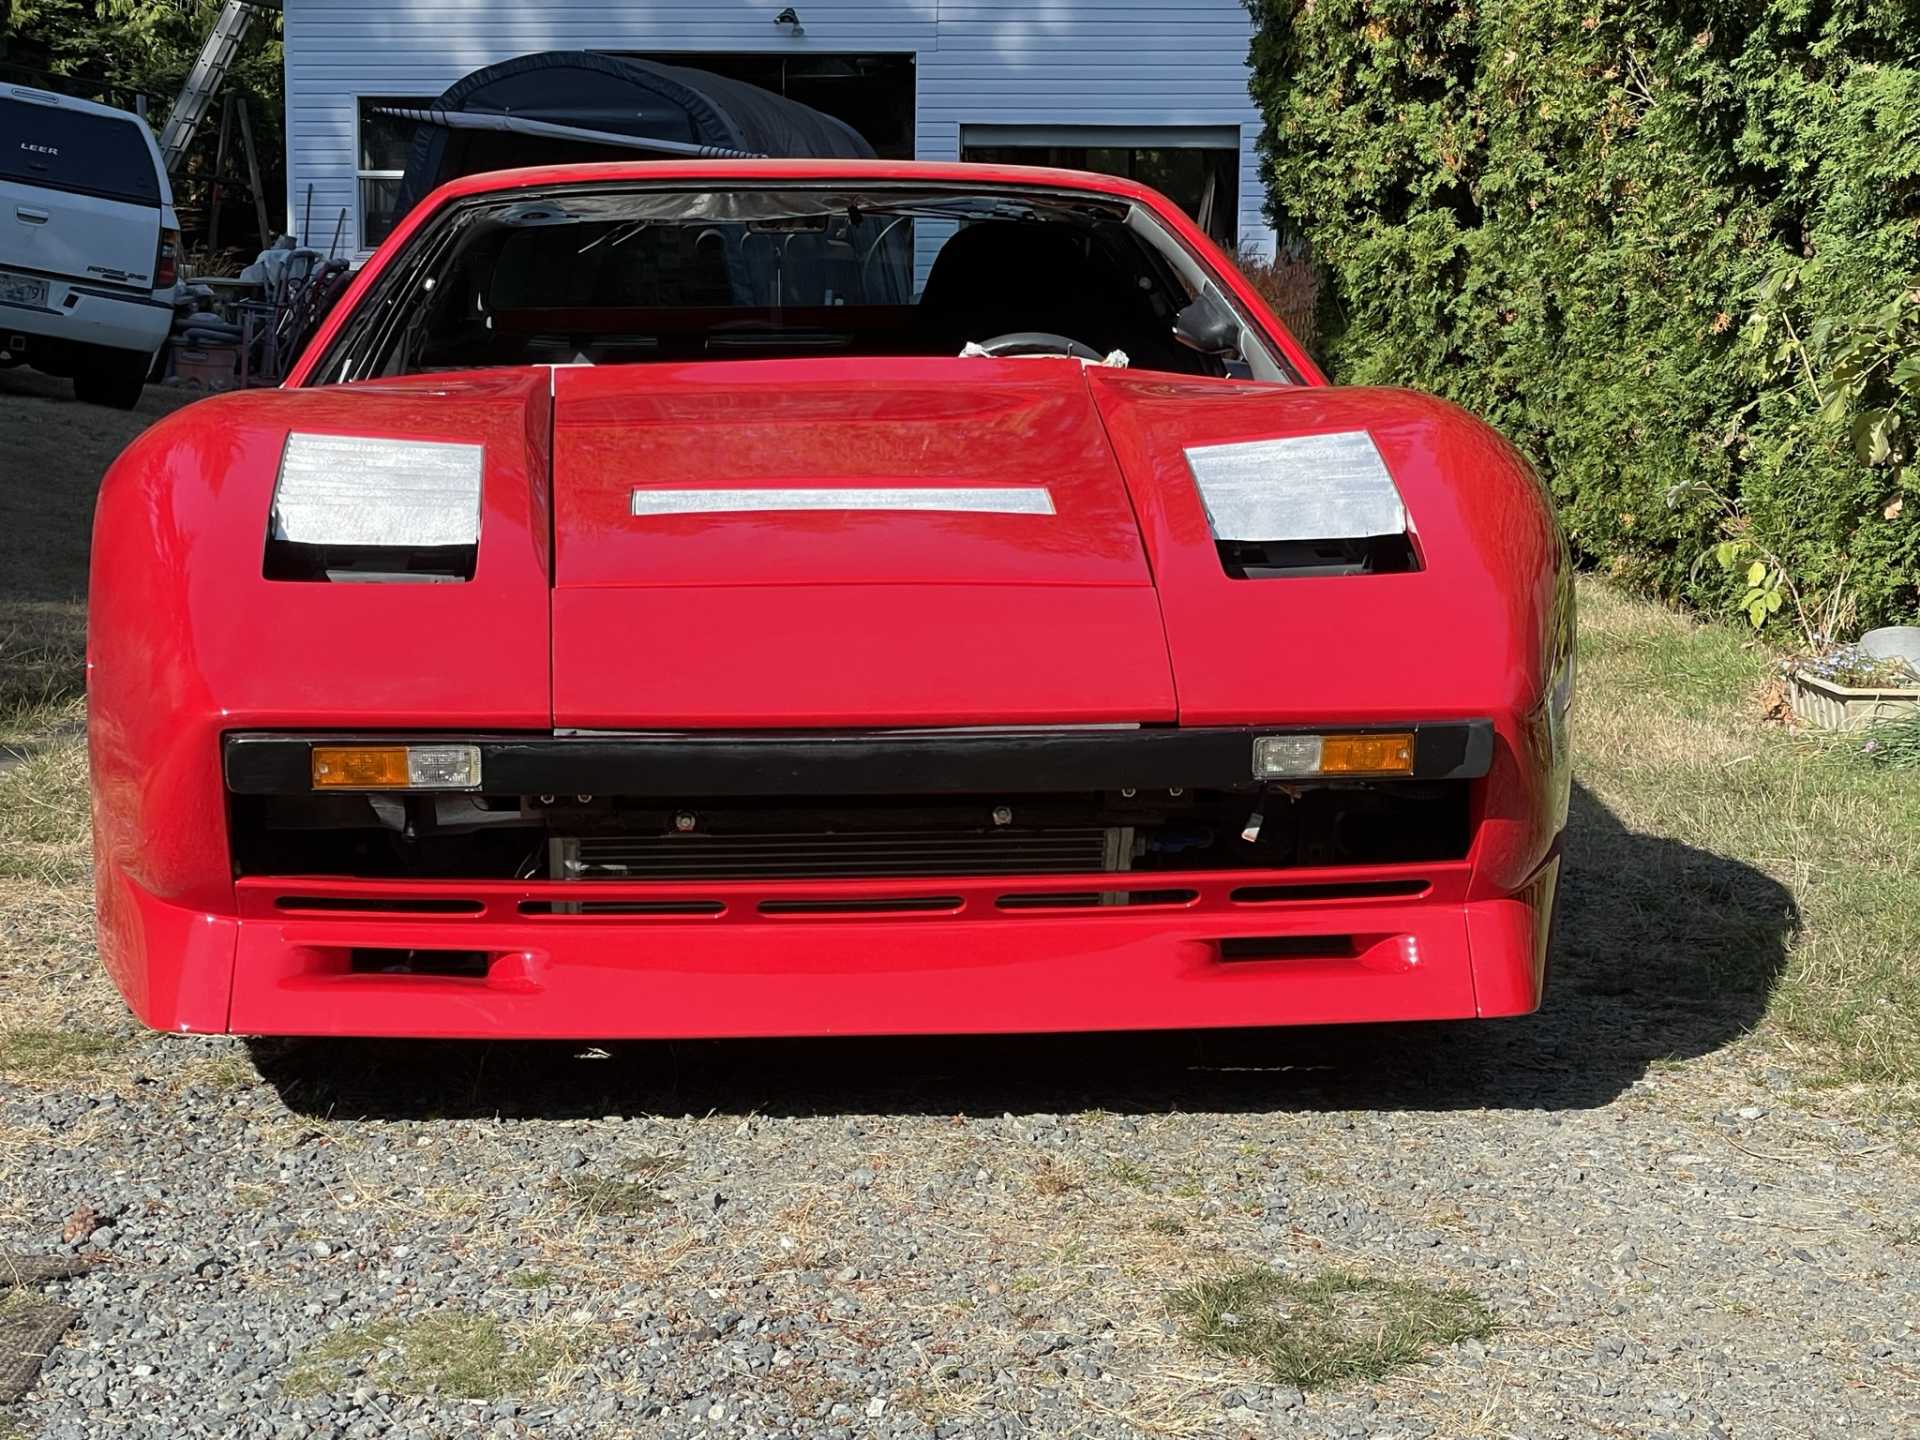
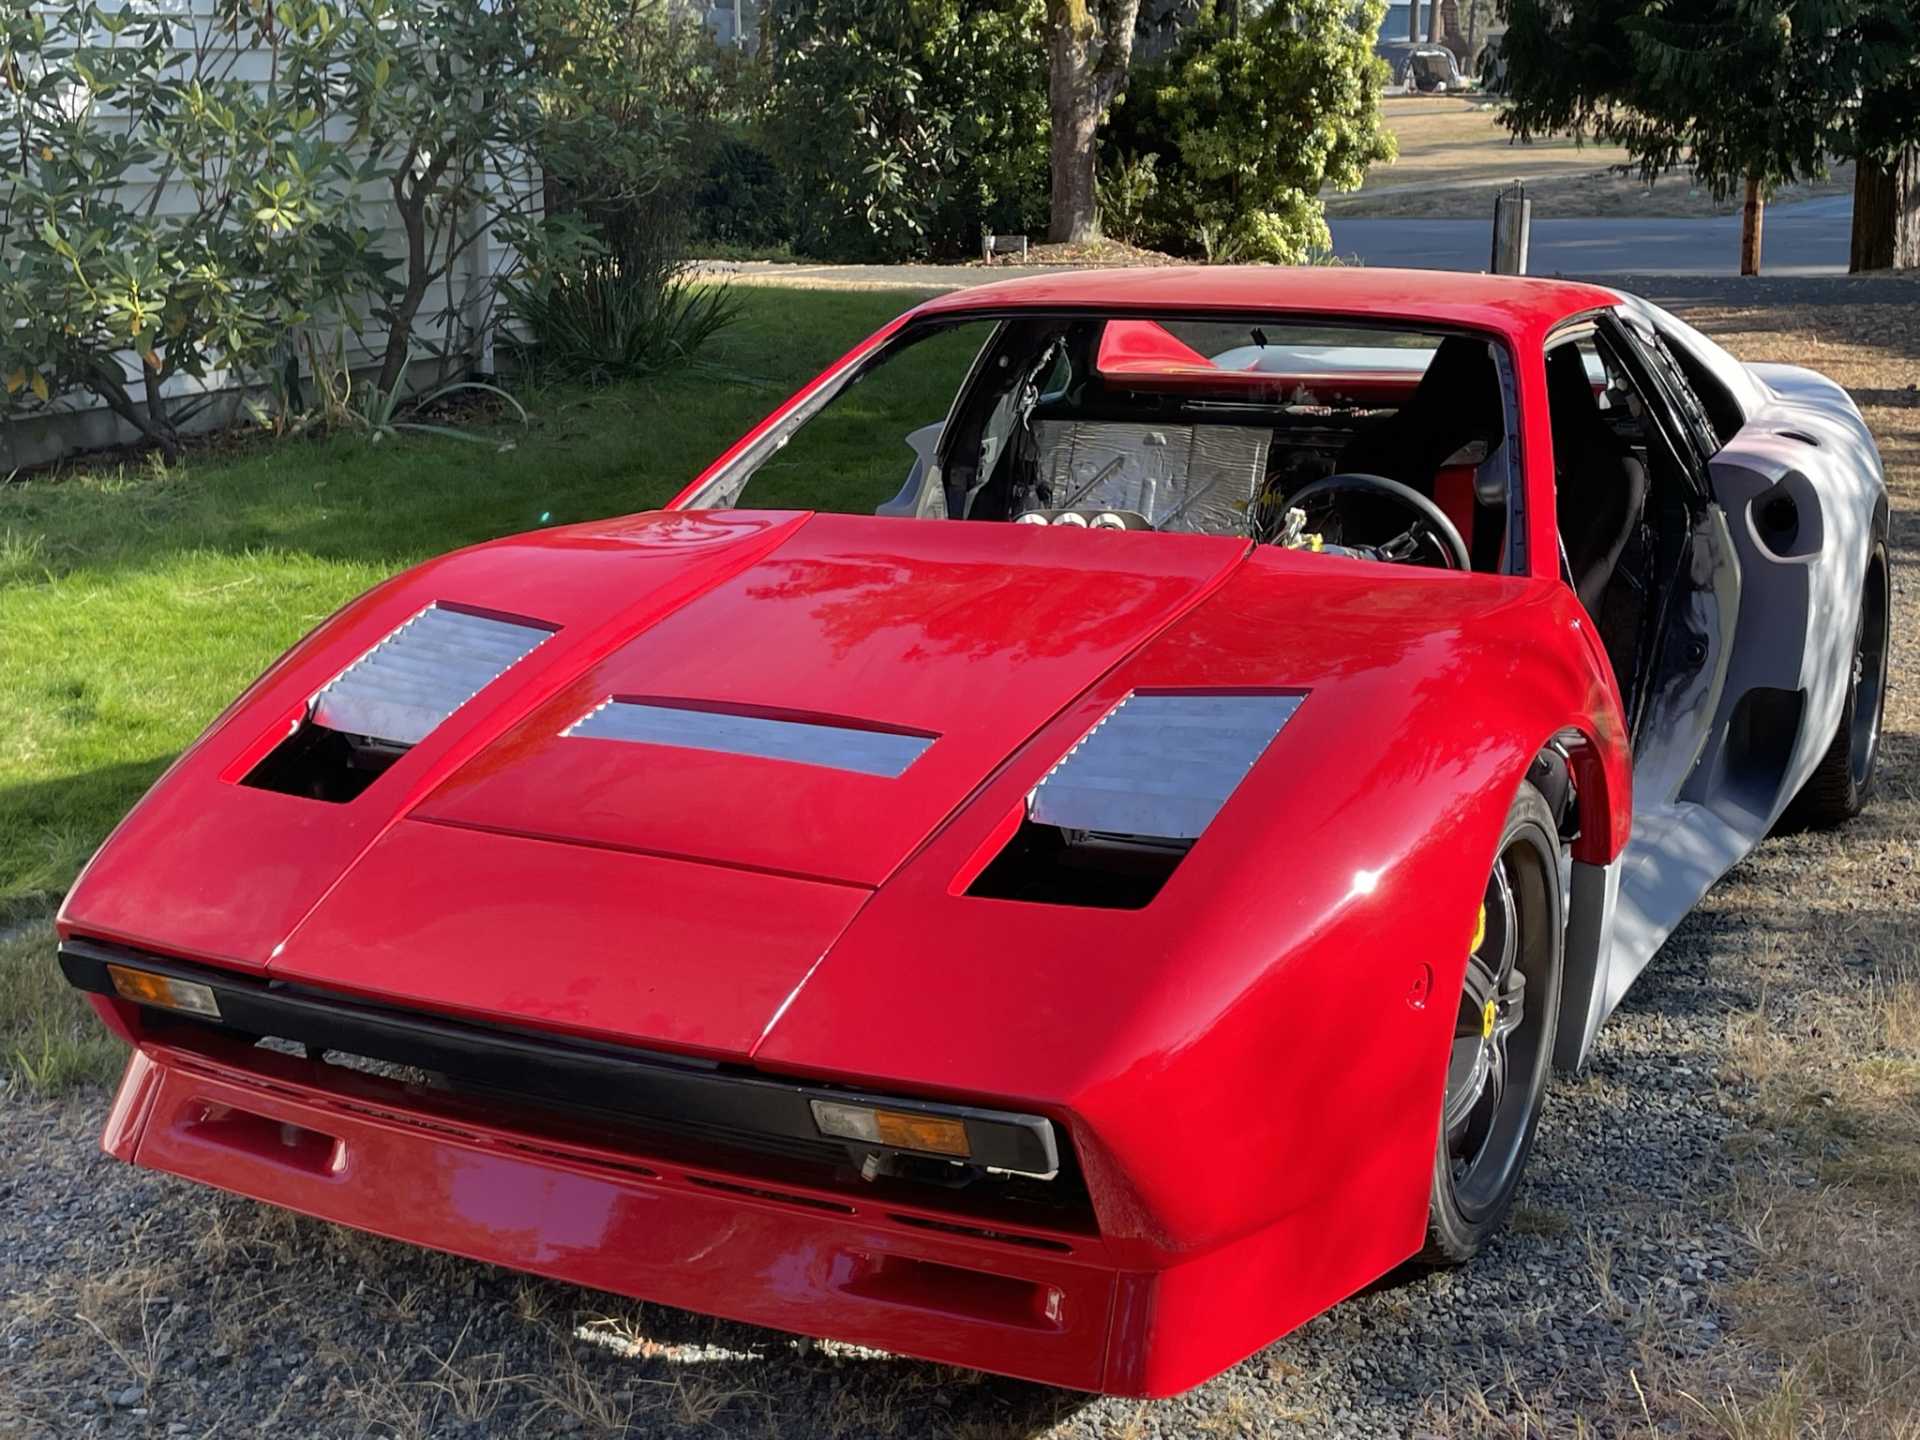
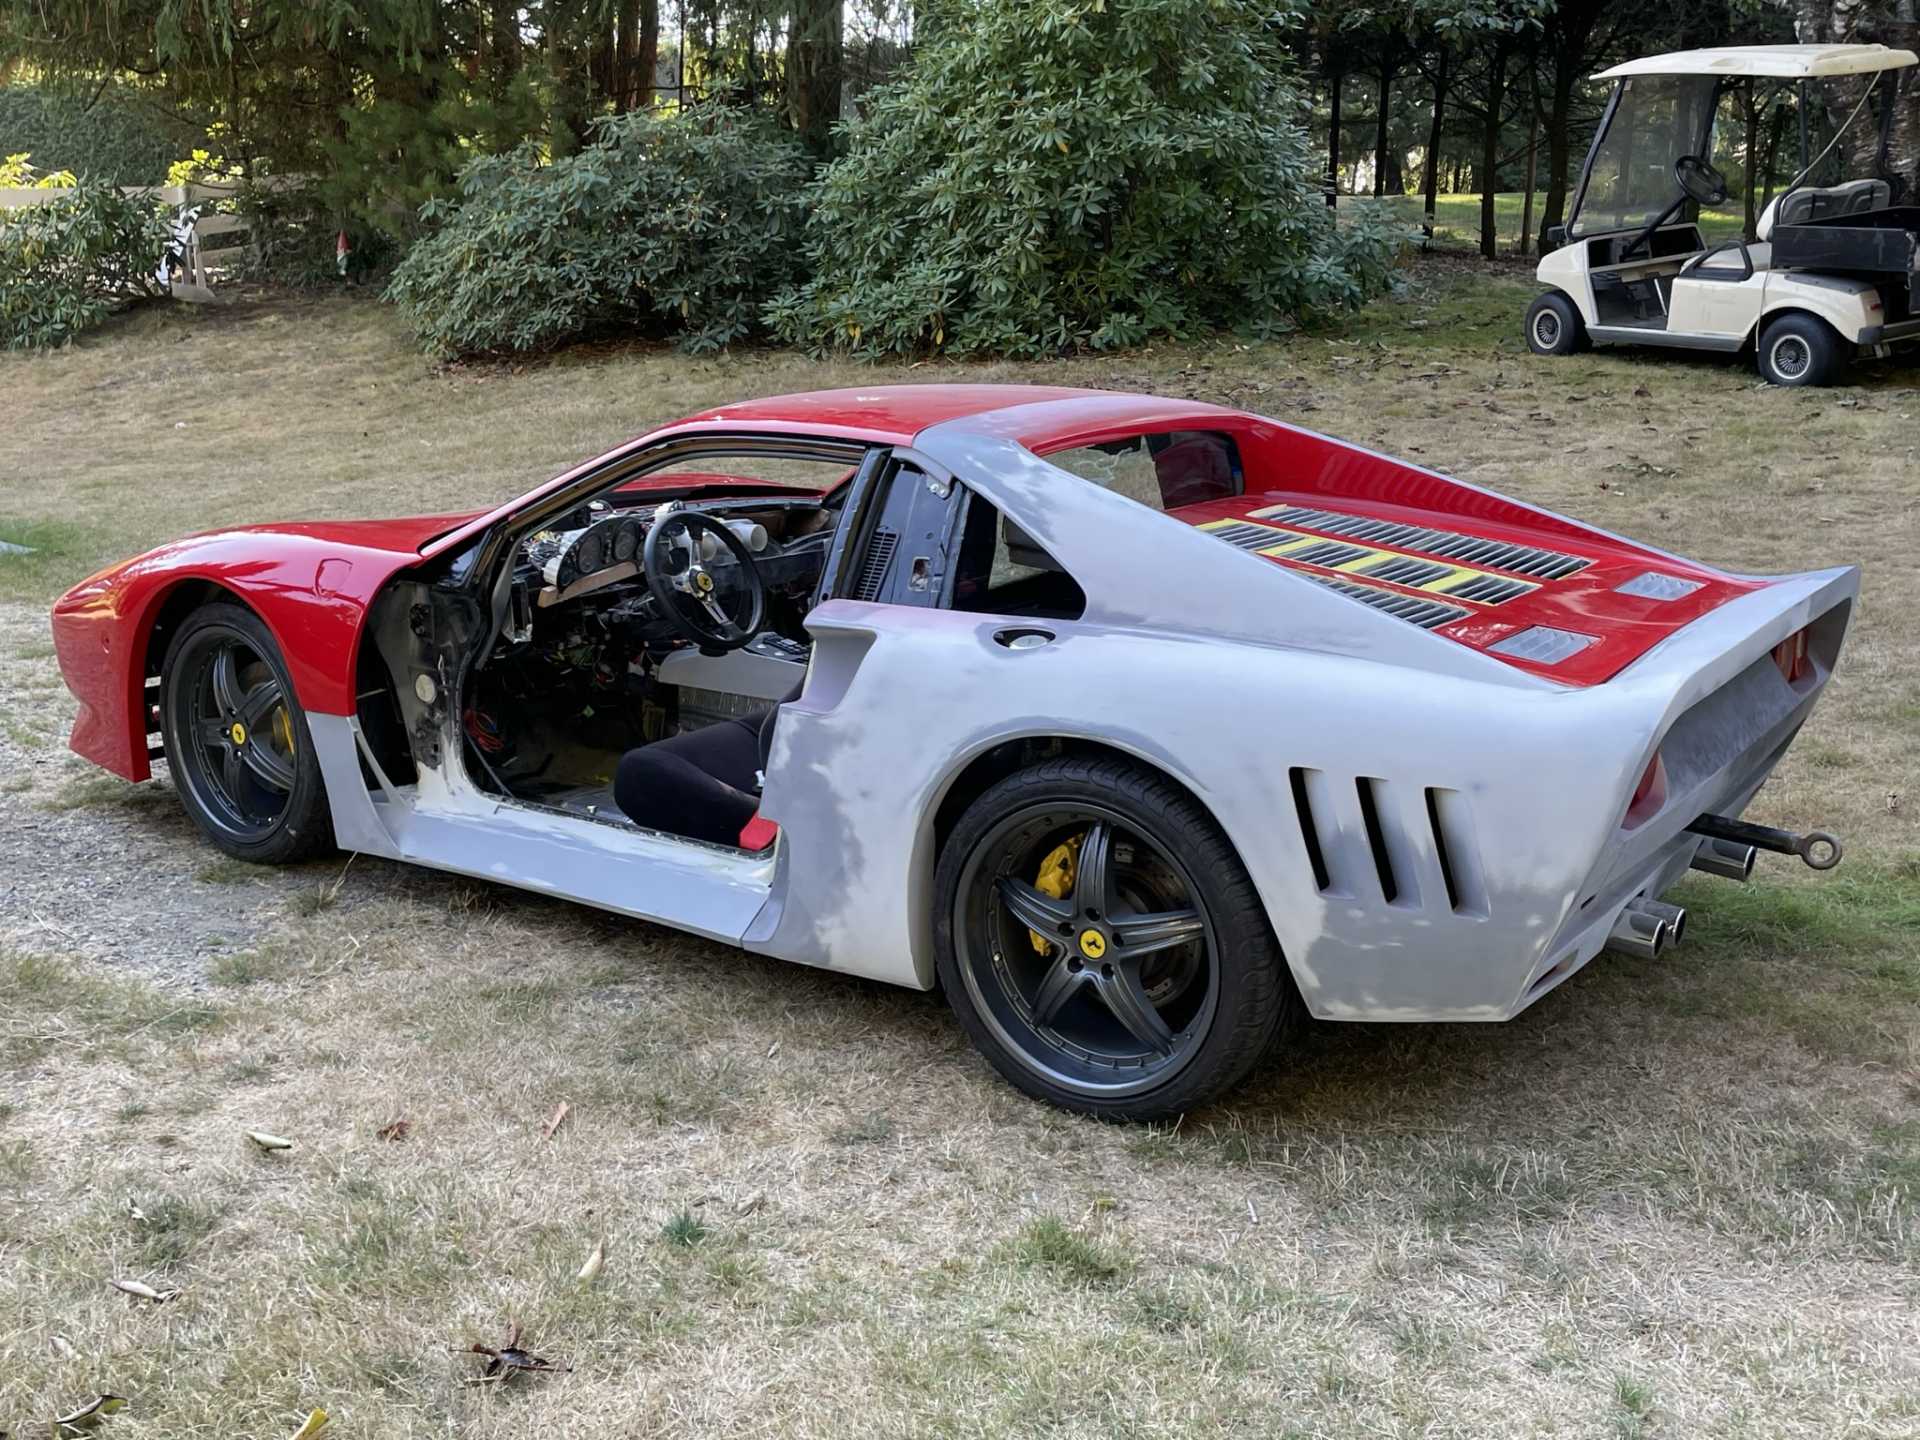
I decided to mount the front body panels I want to drive the car down the road to have the the muffler installation finished. Once done I can mount the body permanently, and finish the body work before painting, I will put insurance on the car so need to make it as legal as possible.
The sun was shining so the red looked sooo sweet.

That it for now
Wayne.
|
|
|
|
Zac88GT
|
OCT 23, 12:47 PM
|
|
|
Looking great! I vote for black vent grills. I think the contrast will really sharpen the look.
|
|
|
|
RCR
|
NOV 05, 11:09 AM
|
|
Looking gorgeous, Wayne..
You're doing amazing work.
Bob
|
|
|
|
mafv8
|
NOV 05, 01:49 PM
|
|
|
I think black would give a nice contrast and would be a more classic look.
|
|
|
|
dobie1
|
NOV 09, 09:22 PM
|
|
|
|
|
zkhennings
|
NOV 10, 02:05 PM
|
|
|
Looking good! Seems like you are getting close, though all that detail work will always be more than you expect it to be
|
|
|
|
dobie1
|
DEC 01, 09:49 PM
|
|
| quote | Originally posted by zkhennings:
Looking good! Seems like you are getting close, though all that detail work will always be more than you expect it to be |
|
Yes you have got that right zkhennings !!! building out all the duct work to make everything functional and designing and building inner fenders
Very time consuming.
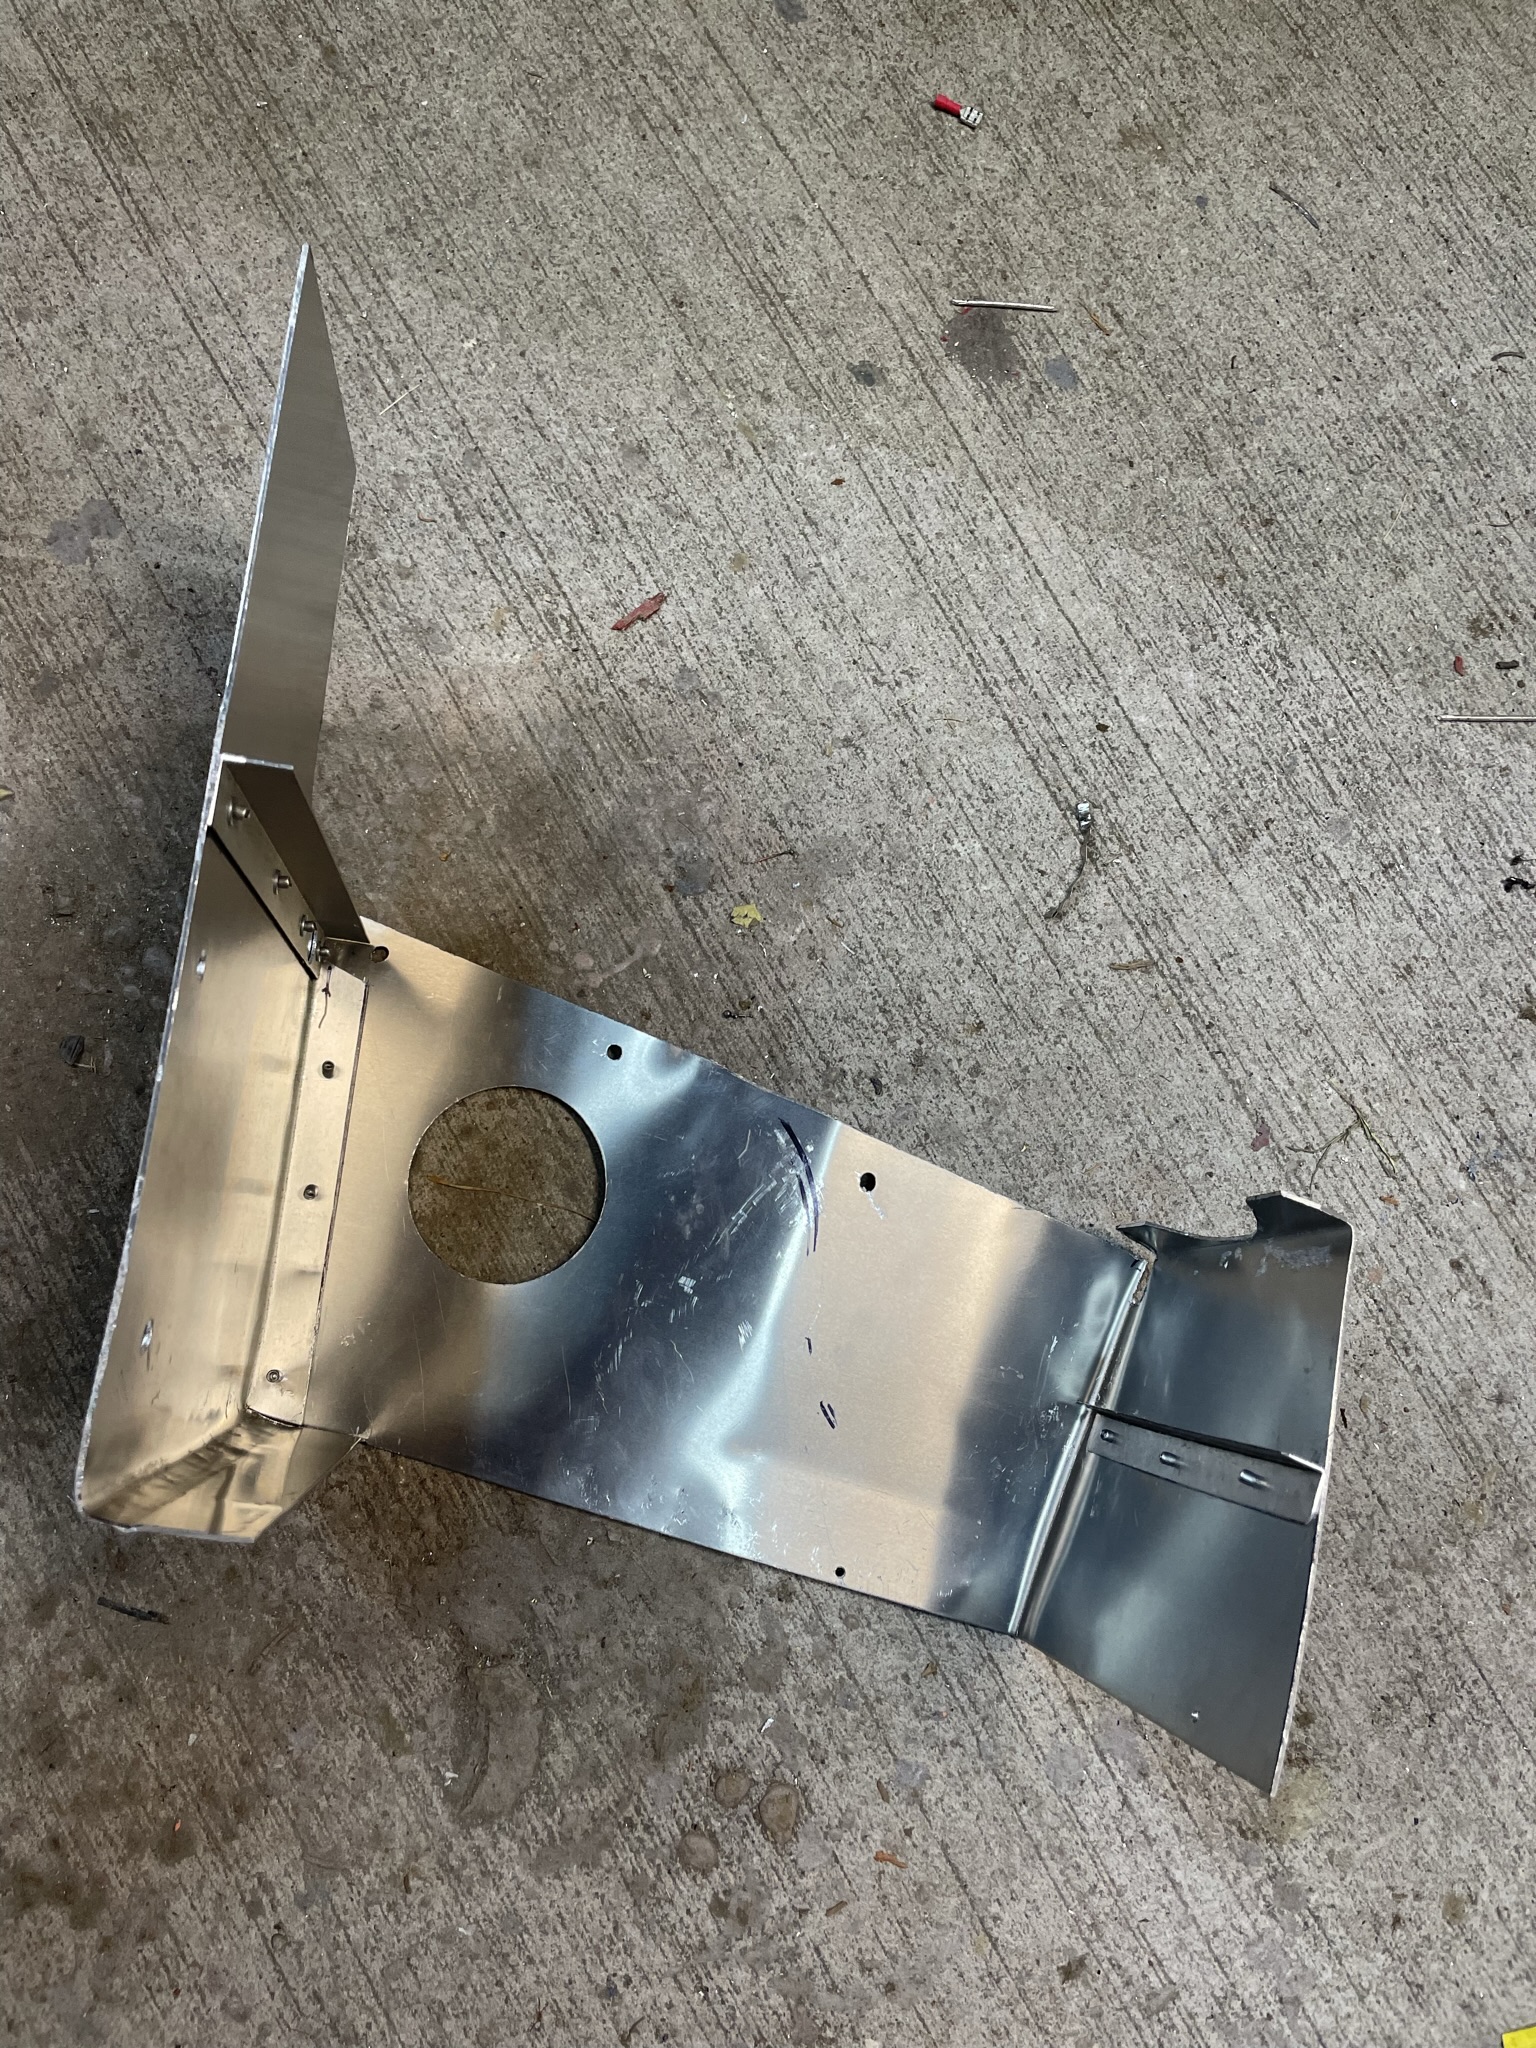
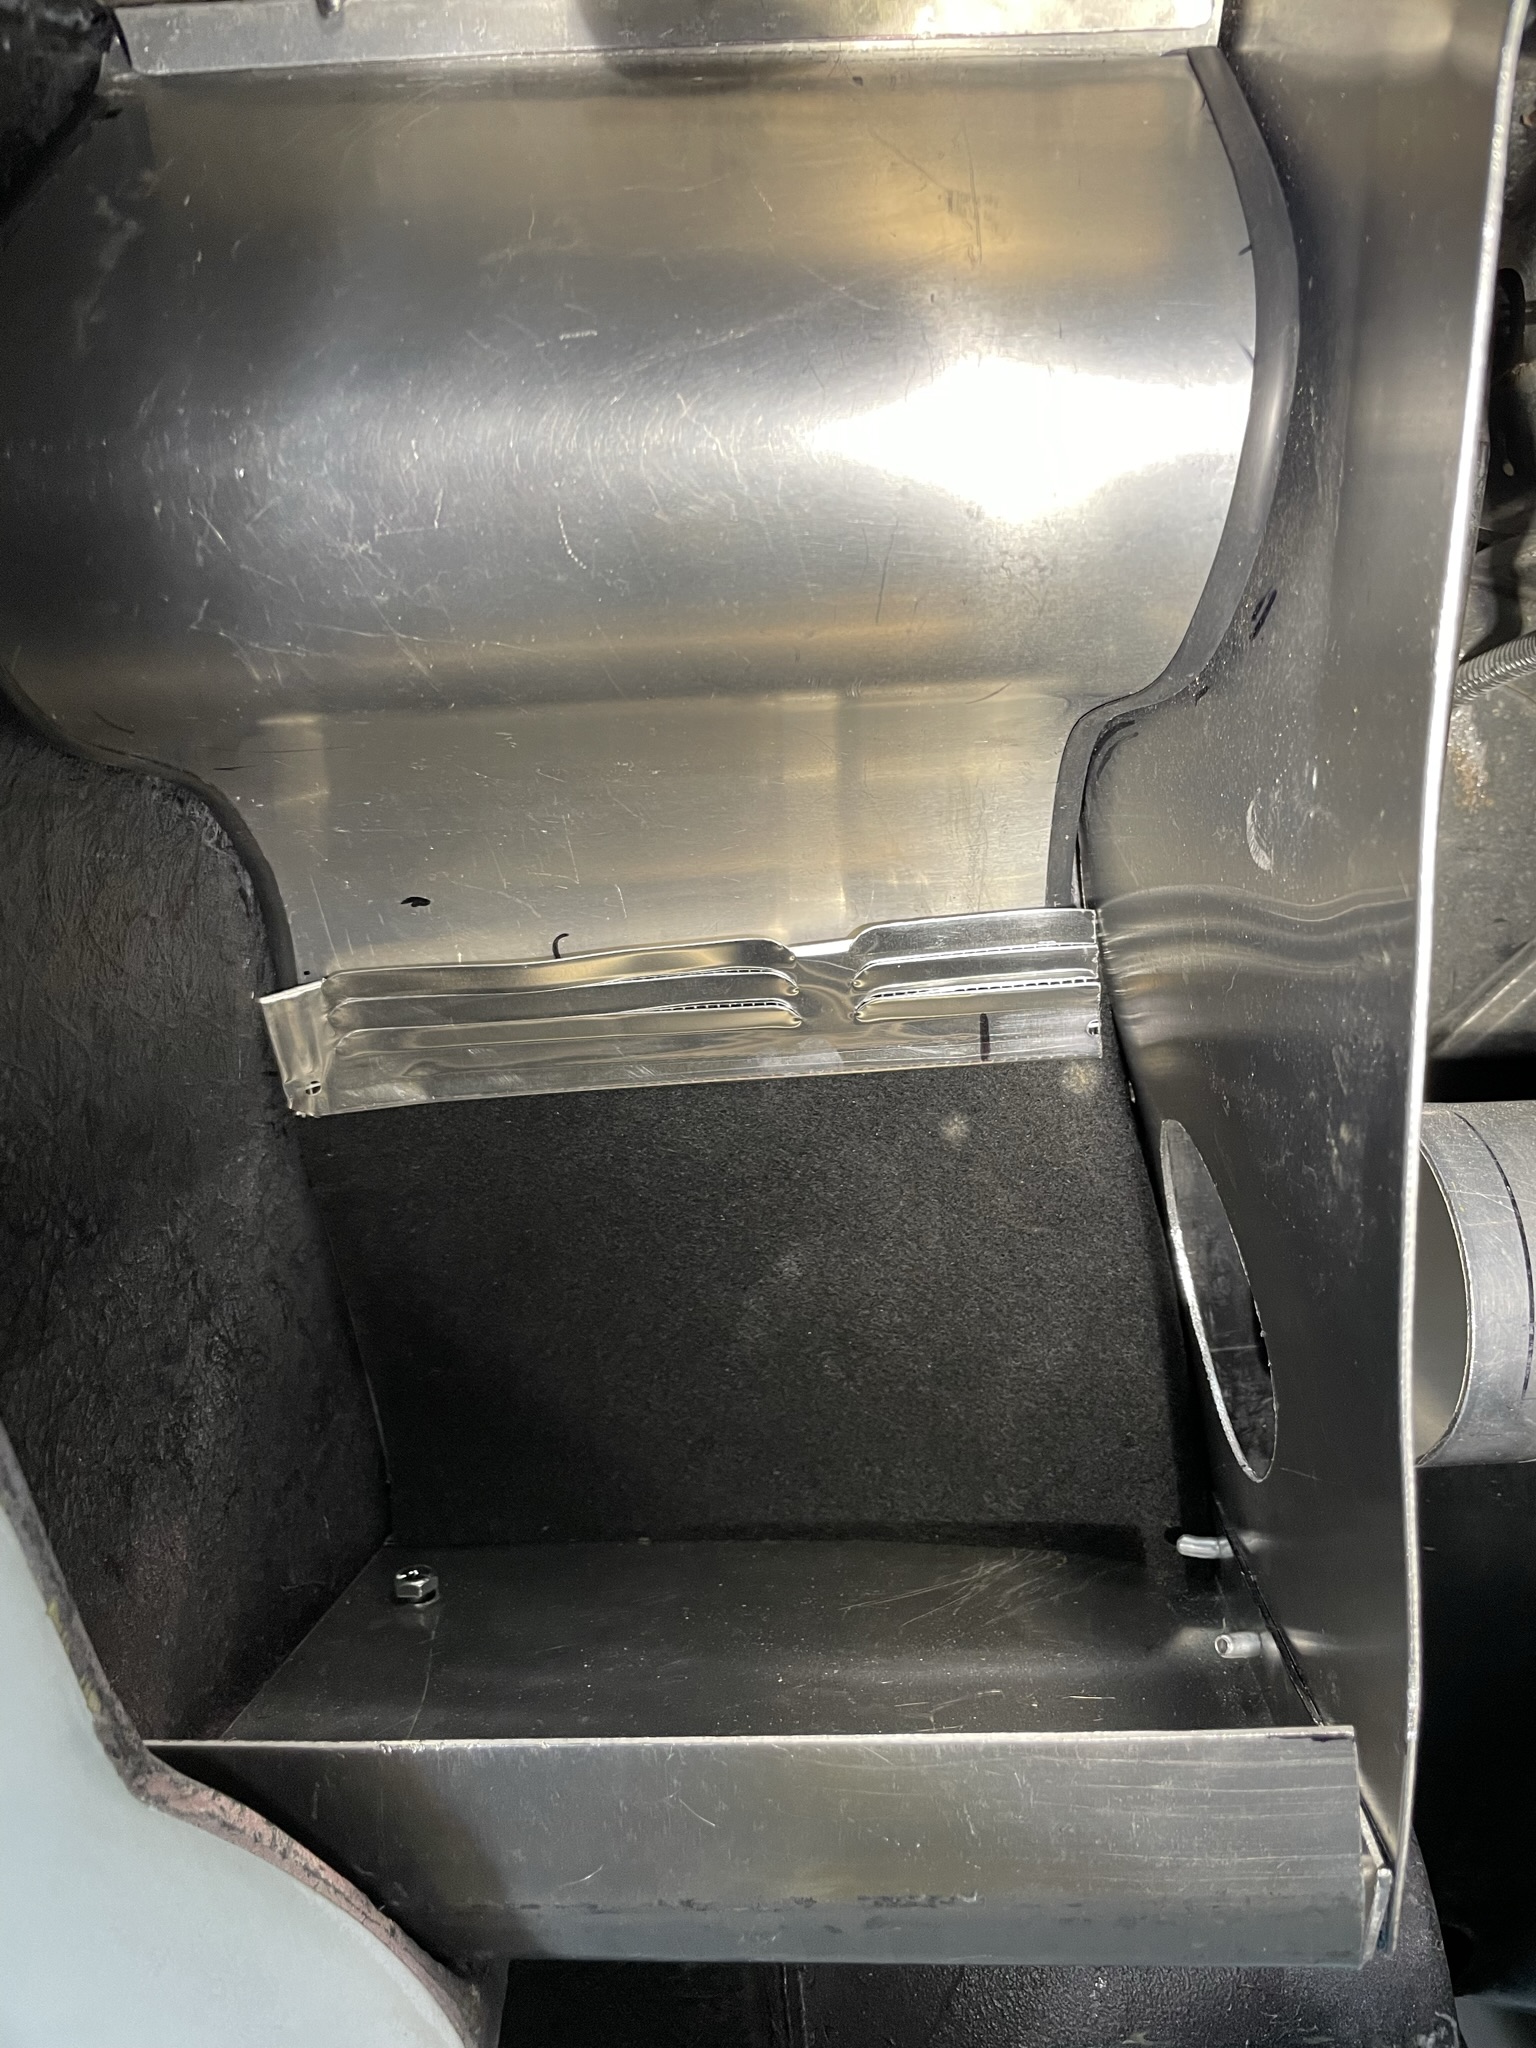
I finally finished the air box wow coming up with something that is functional but fitting into the space was a process!!
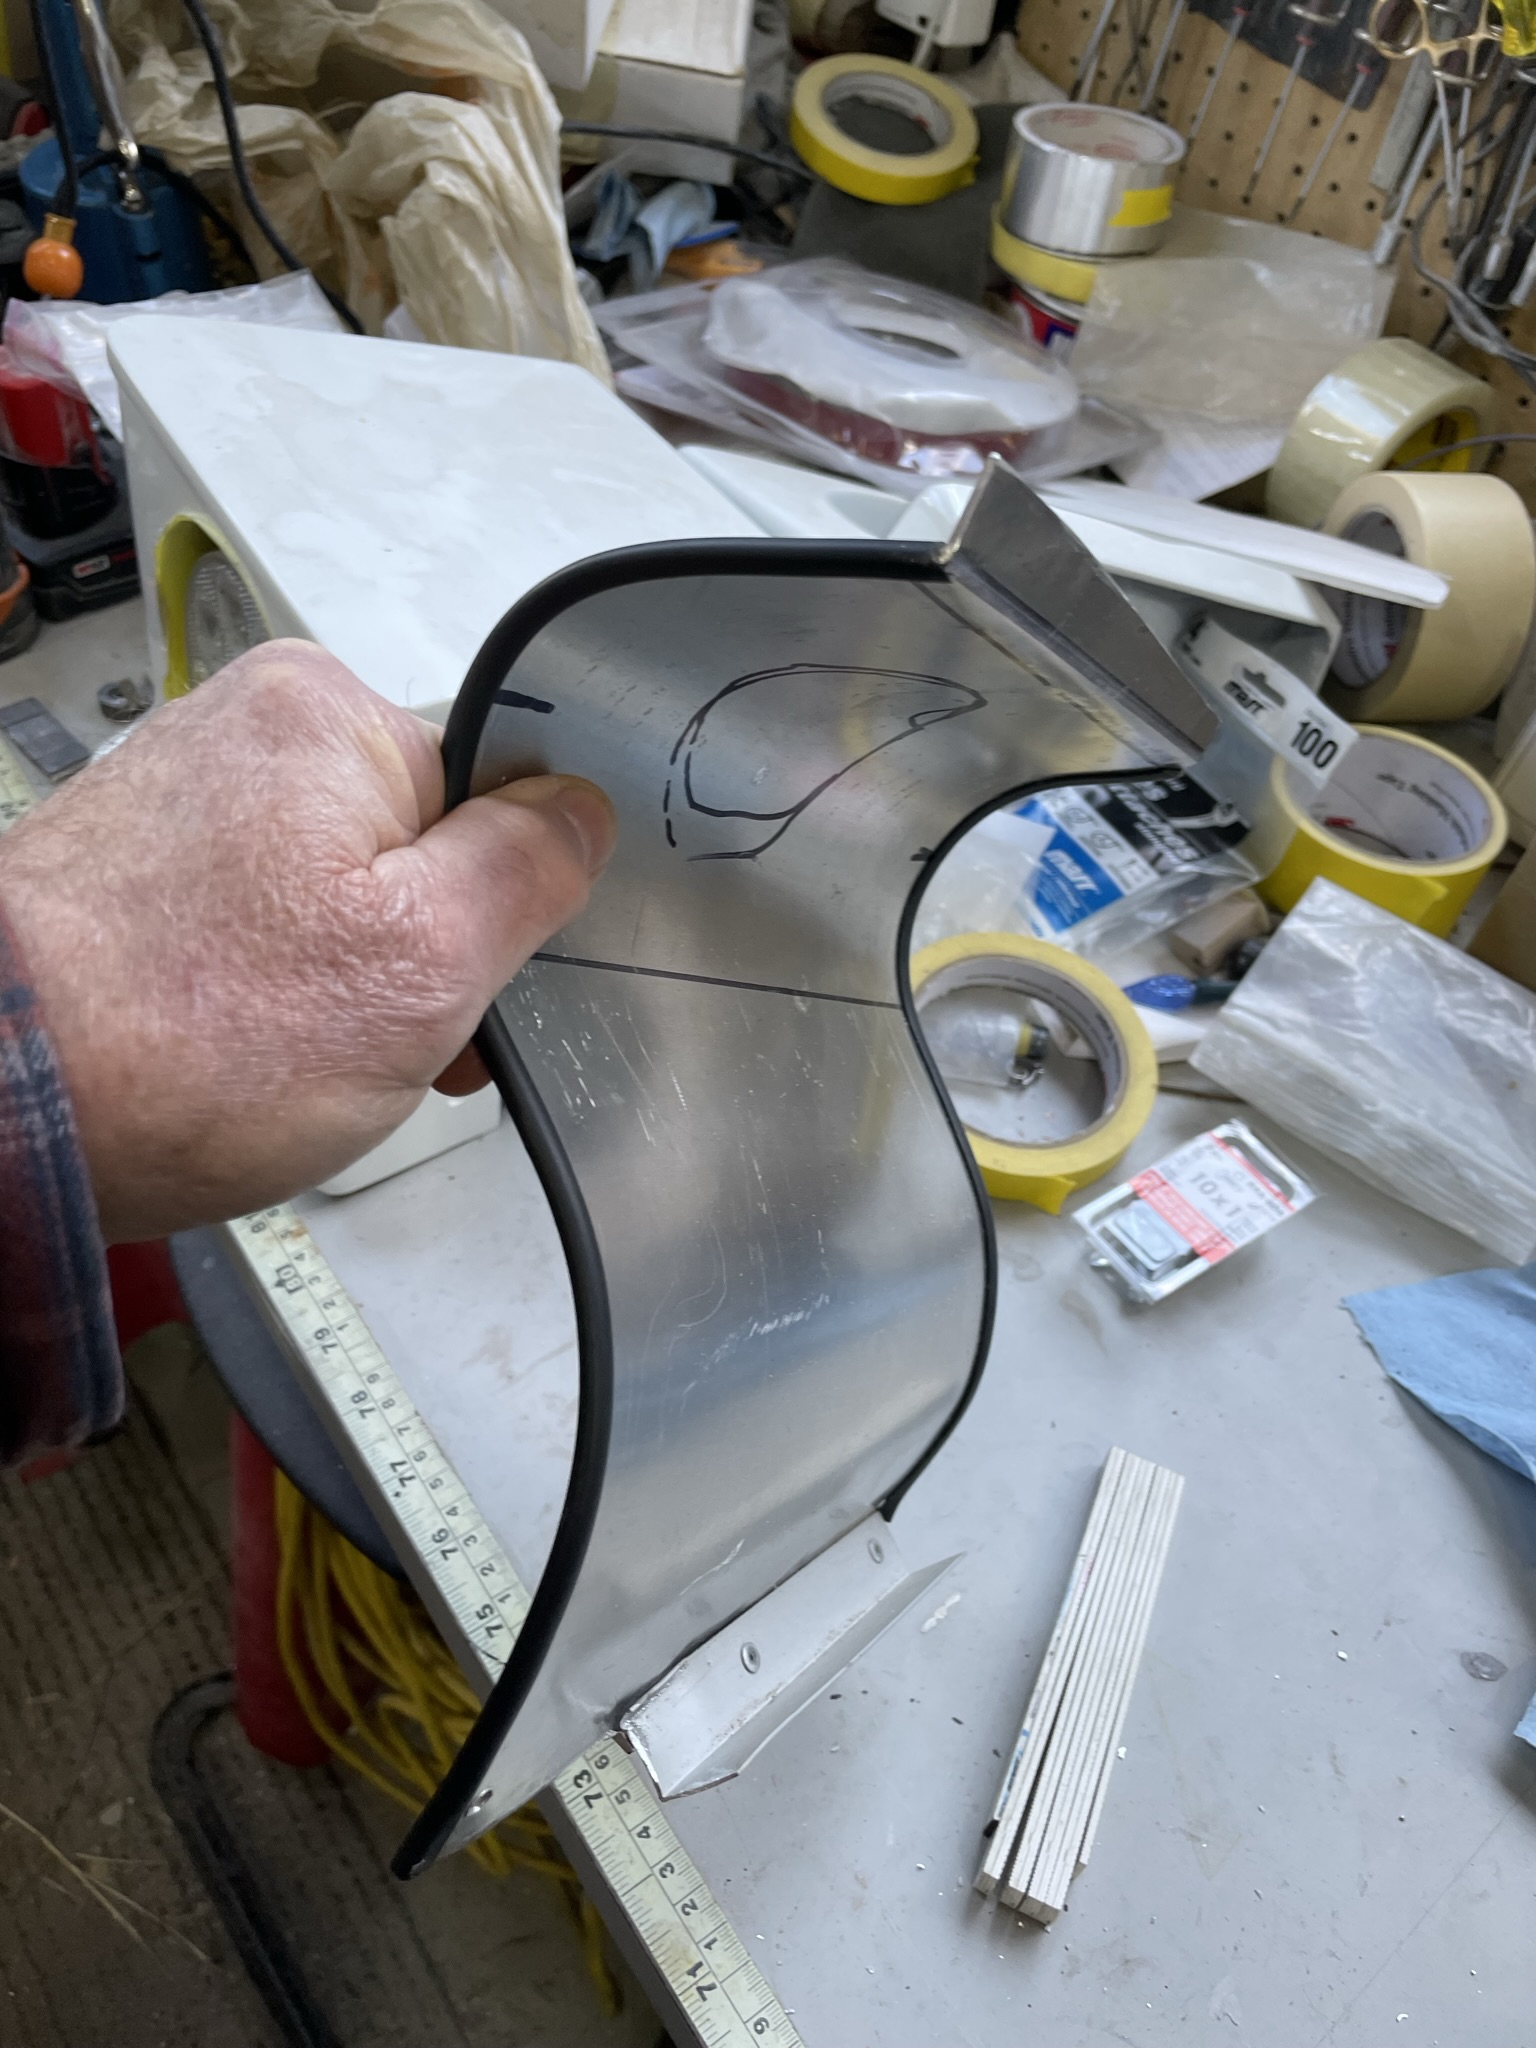
And then a buddy Phil had to throw in a “but what about if you get caught in rain” well that was another week of templates and prototypes to come up with what I hope will work for all the what if’s!!
This is the space that I chose, the body flang marked in red is the inside edge the fiberglass body the othe side.
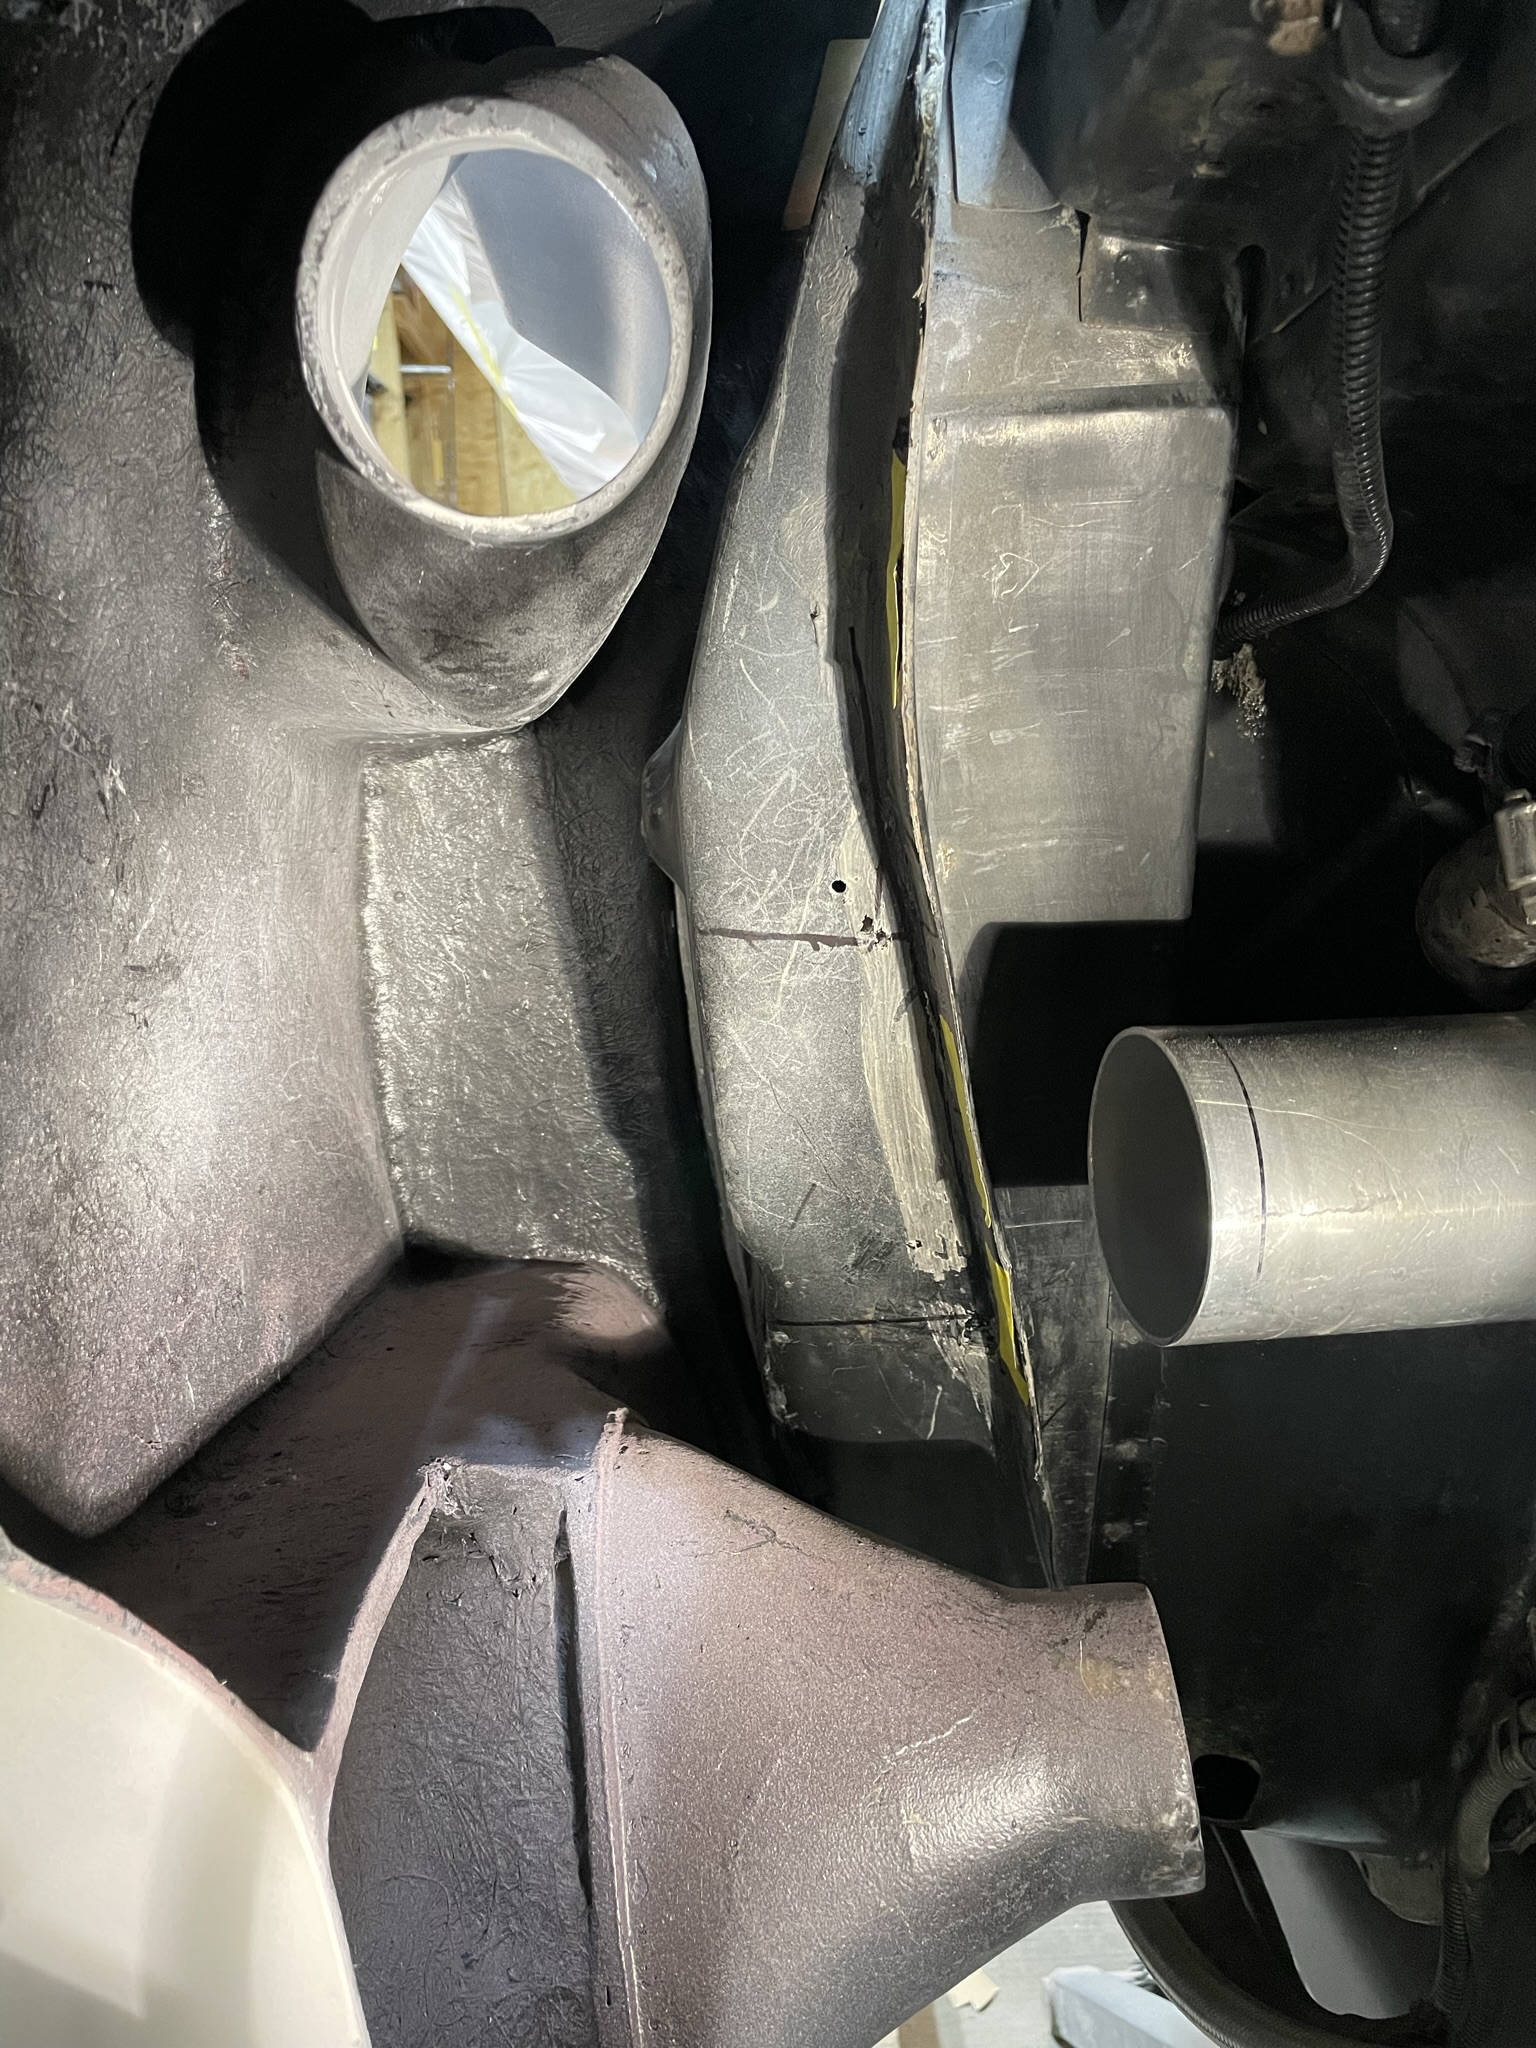
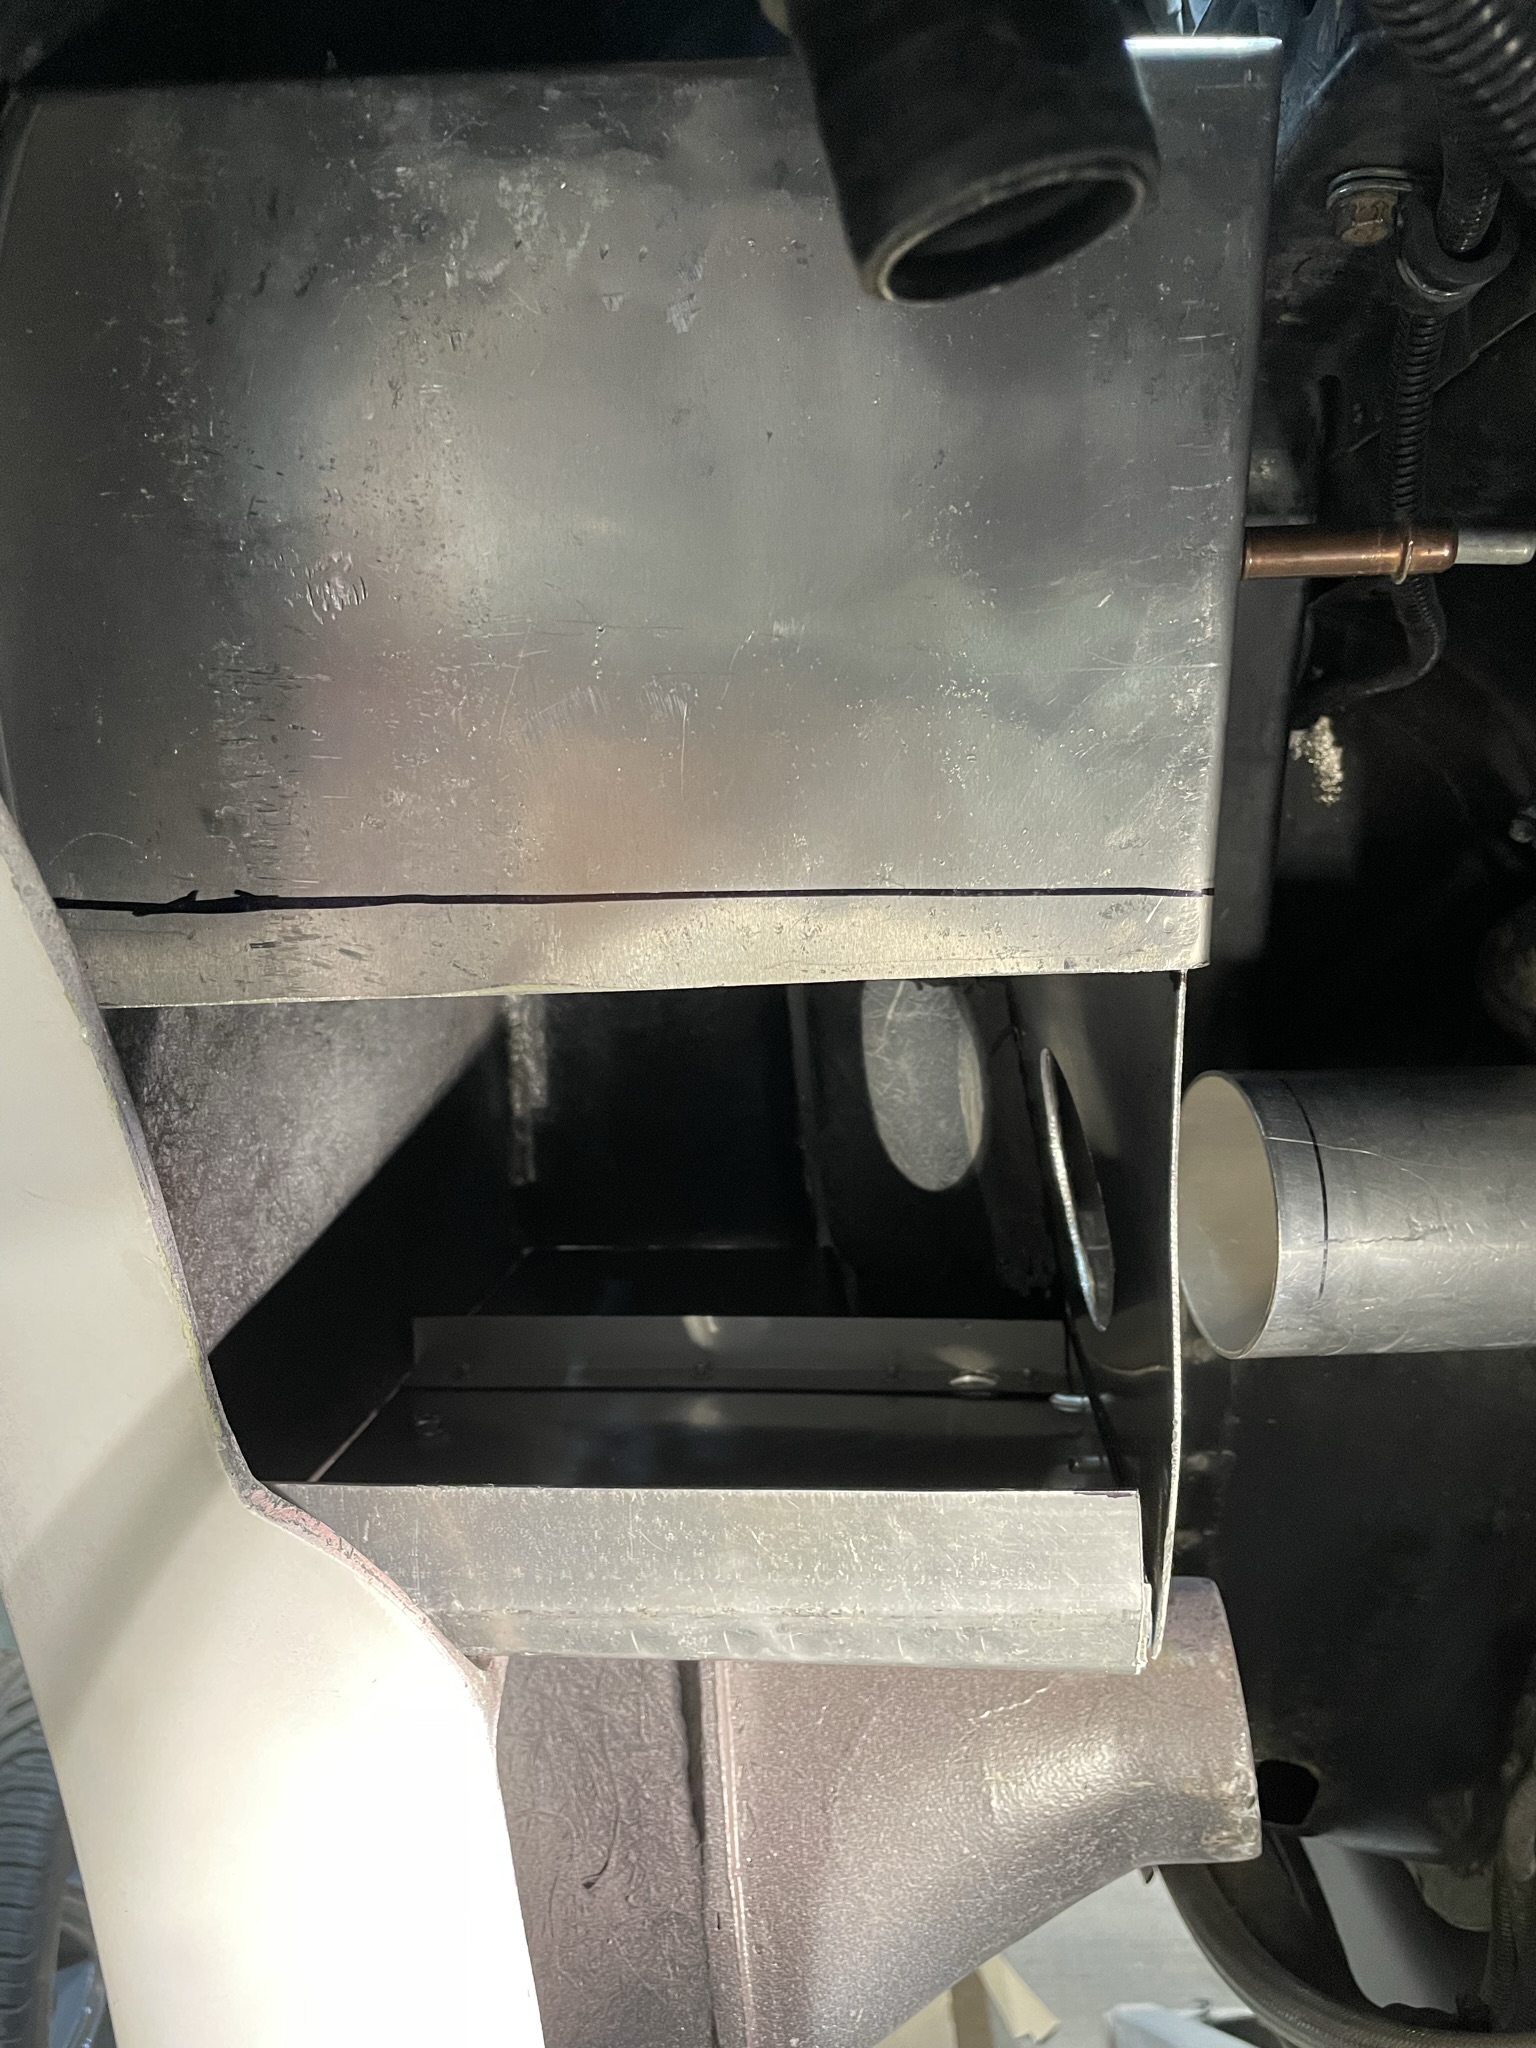
I used 14gauge aluminum for the enclosure, strong but malleable. It was so tight the outside enclosure needed to be built in two pieces.
It’s secured along the body flange and the fibreglass lip left from the lower air scoop.
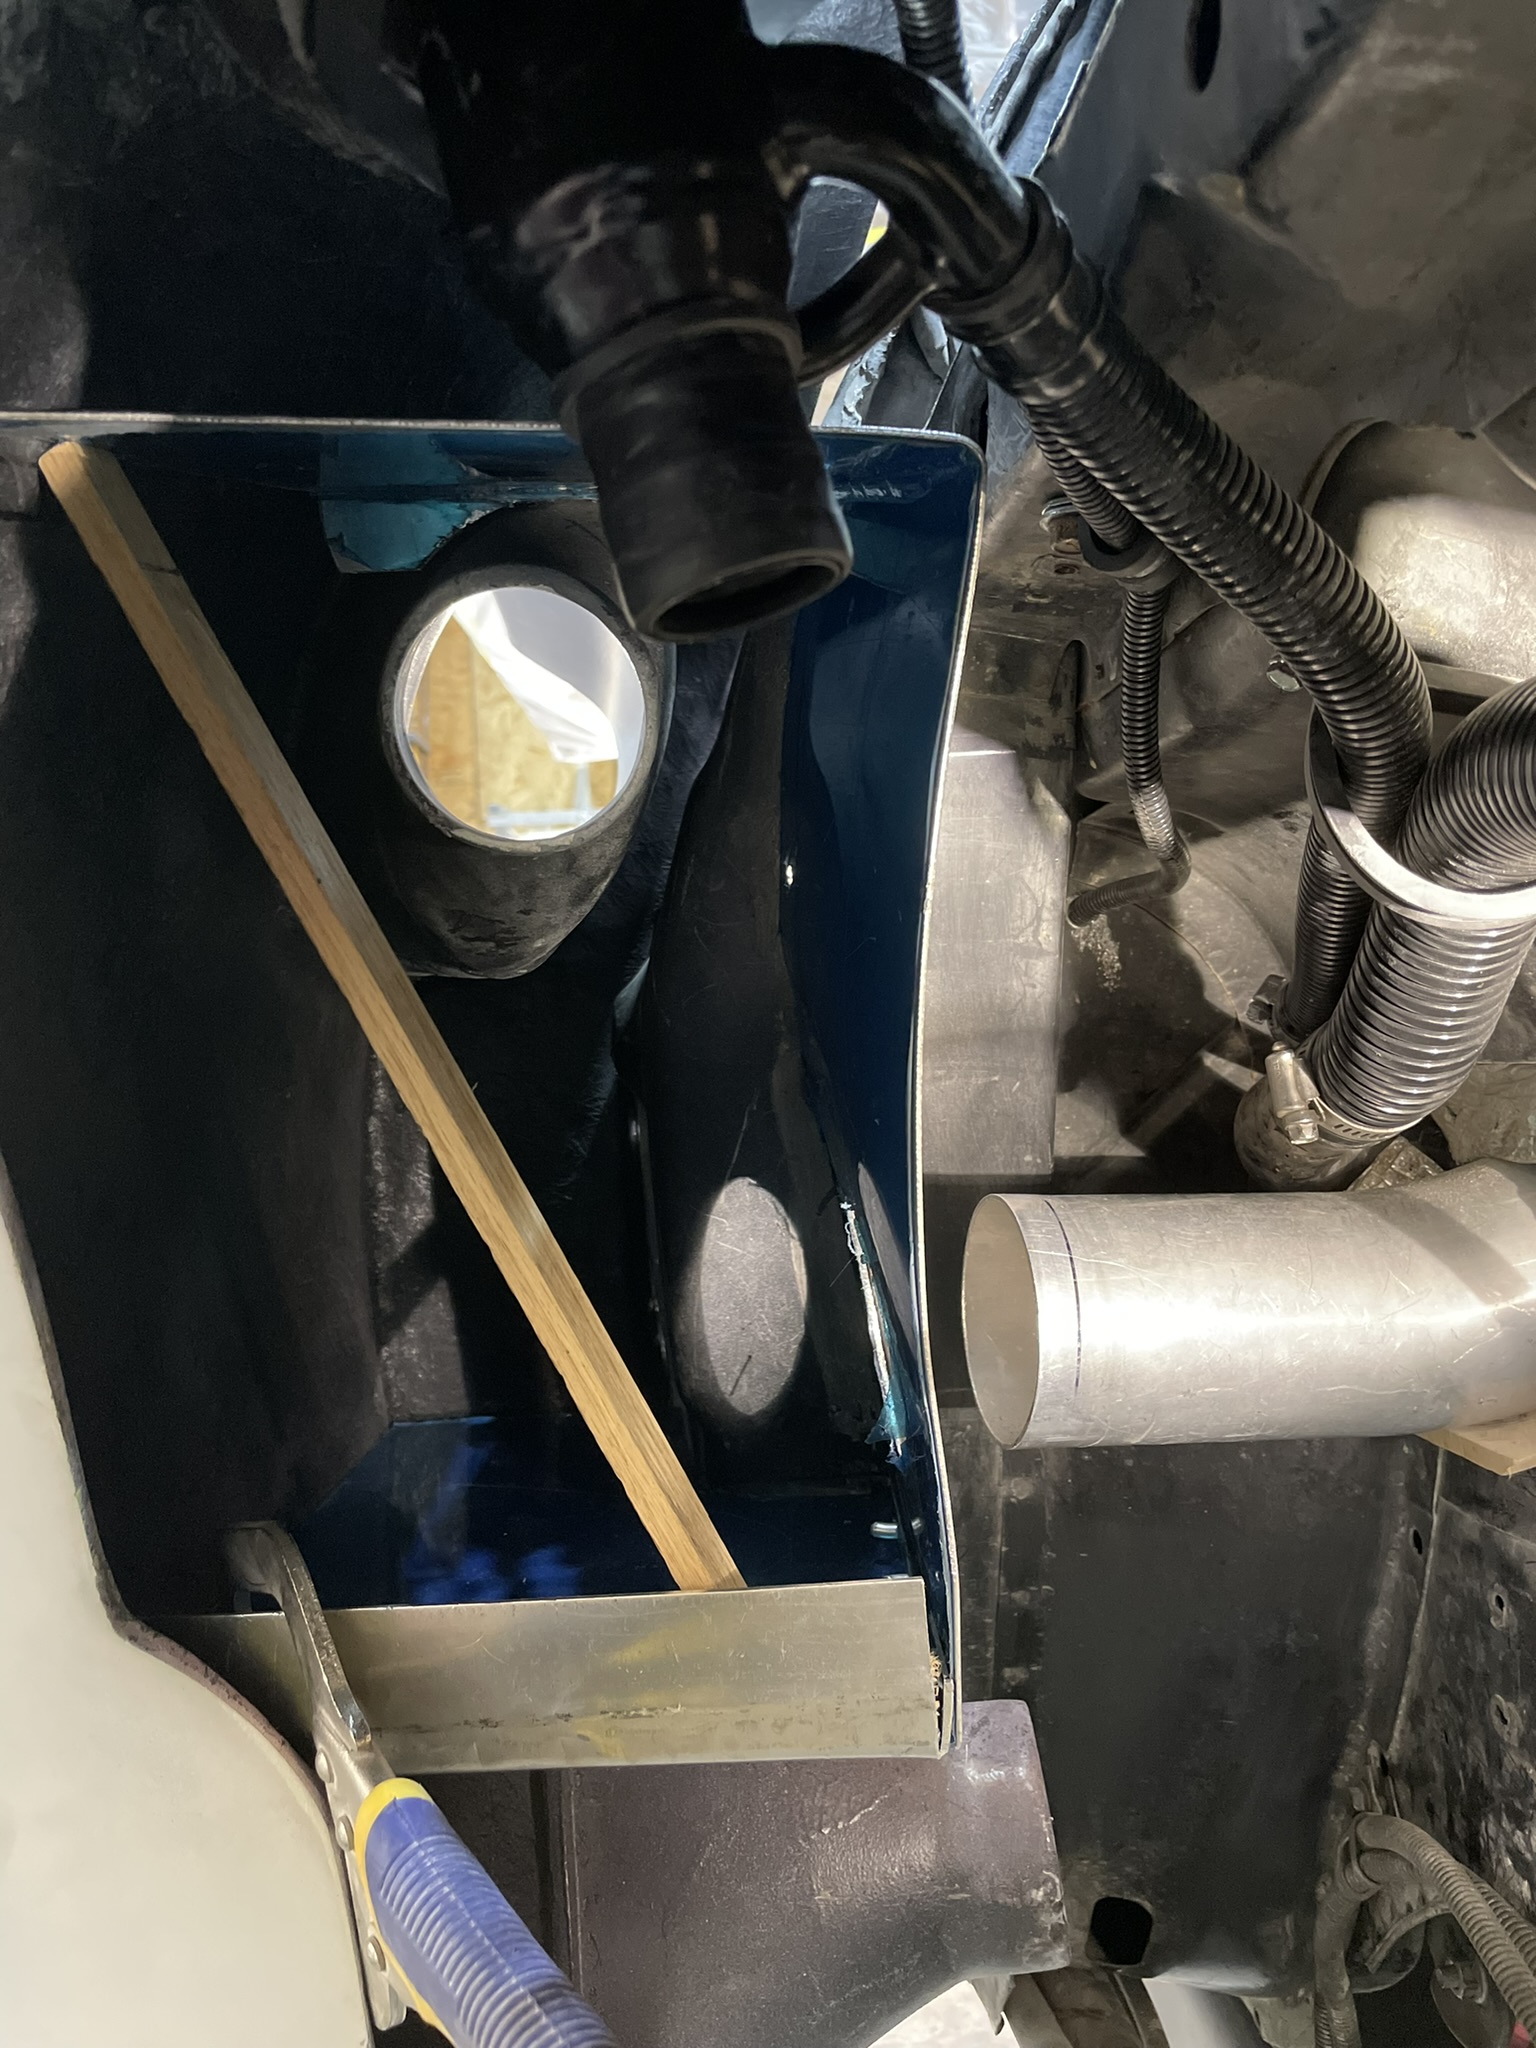
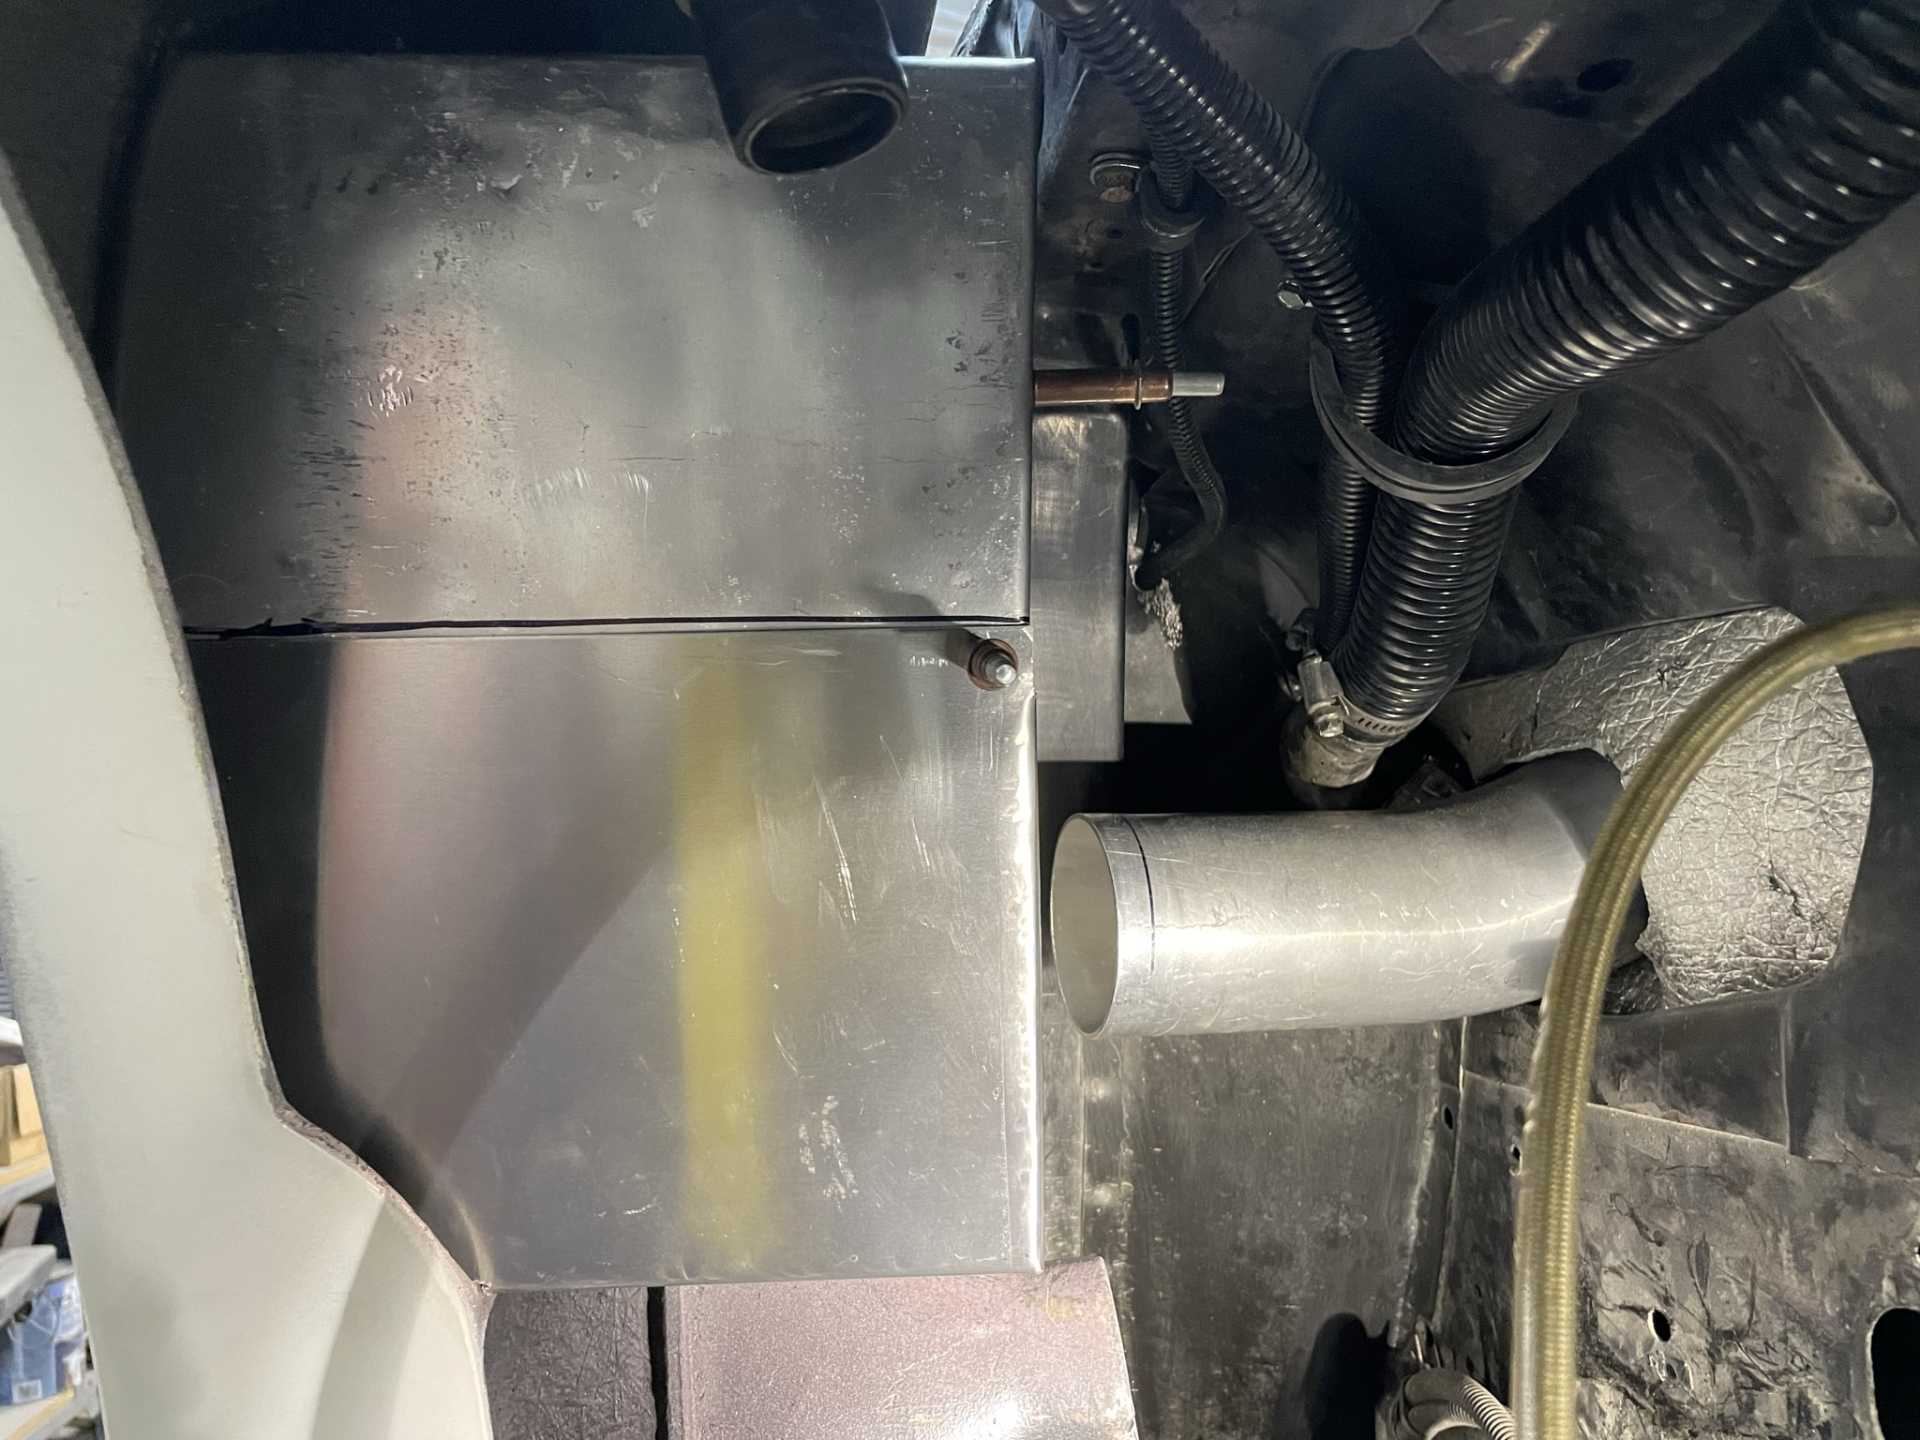
The inner plenum design uses the airflow to drive the air and any moisture along the curve hopefully following the curvature to a trough at the bottom to a hose that drains out of the air The blue locks the plenum in the top , the yellow is the flow , the green is the trough
The blue is the total flow
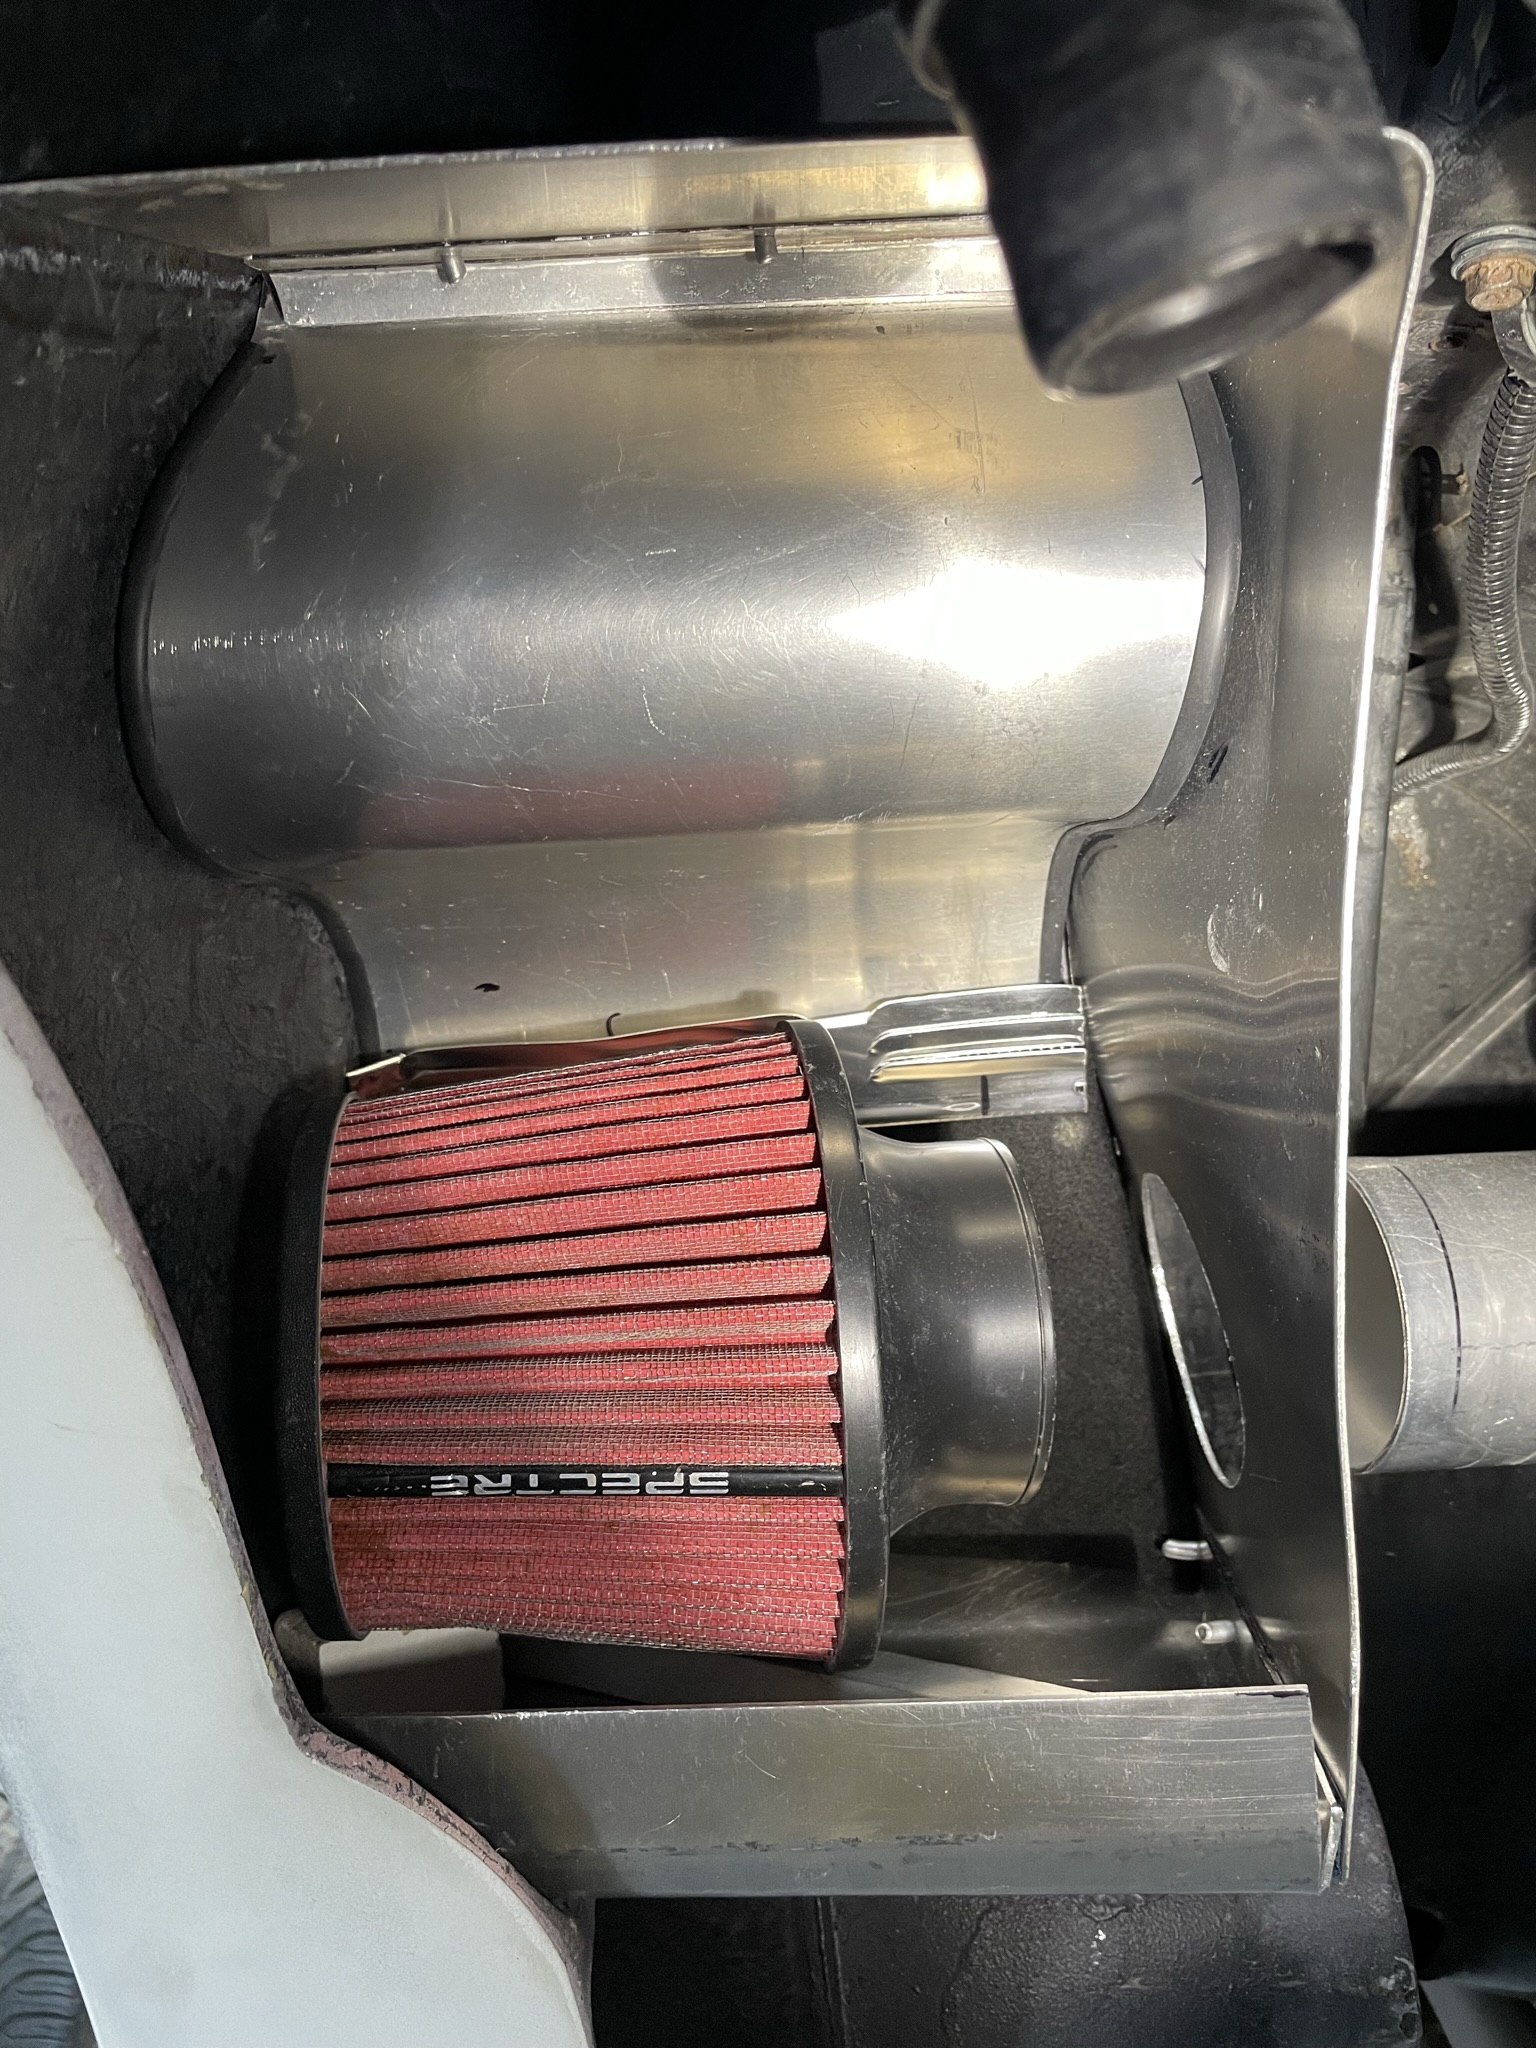
This shows the inner plenum installed along with the lower wall filter.
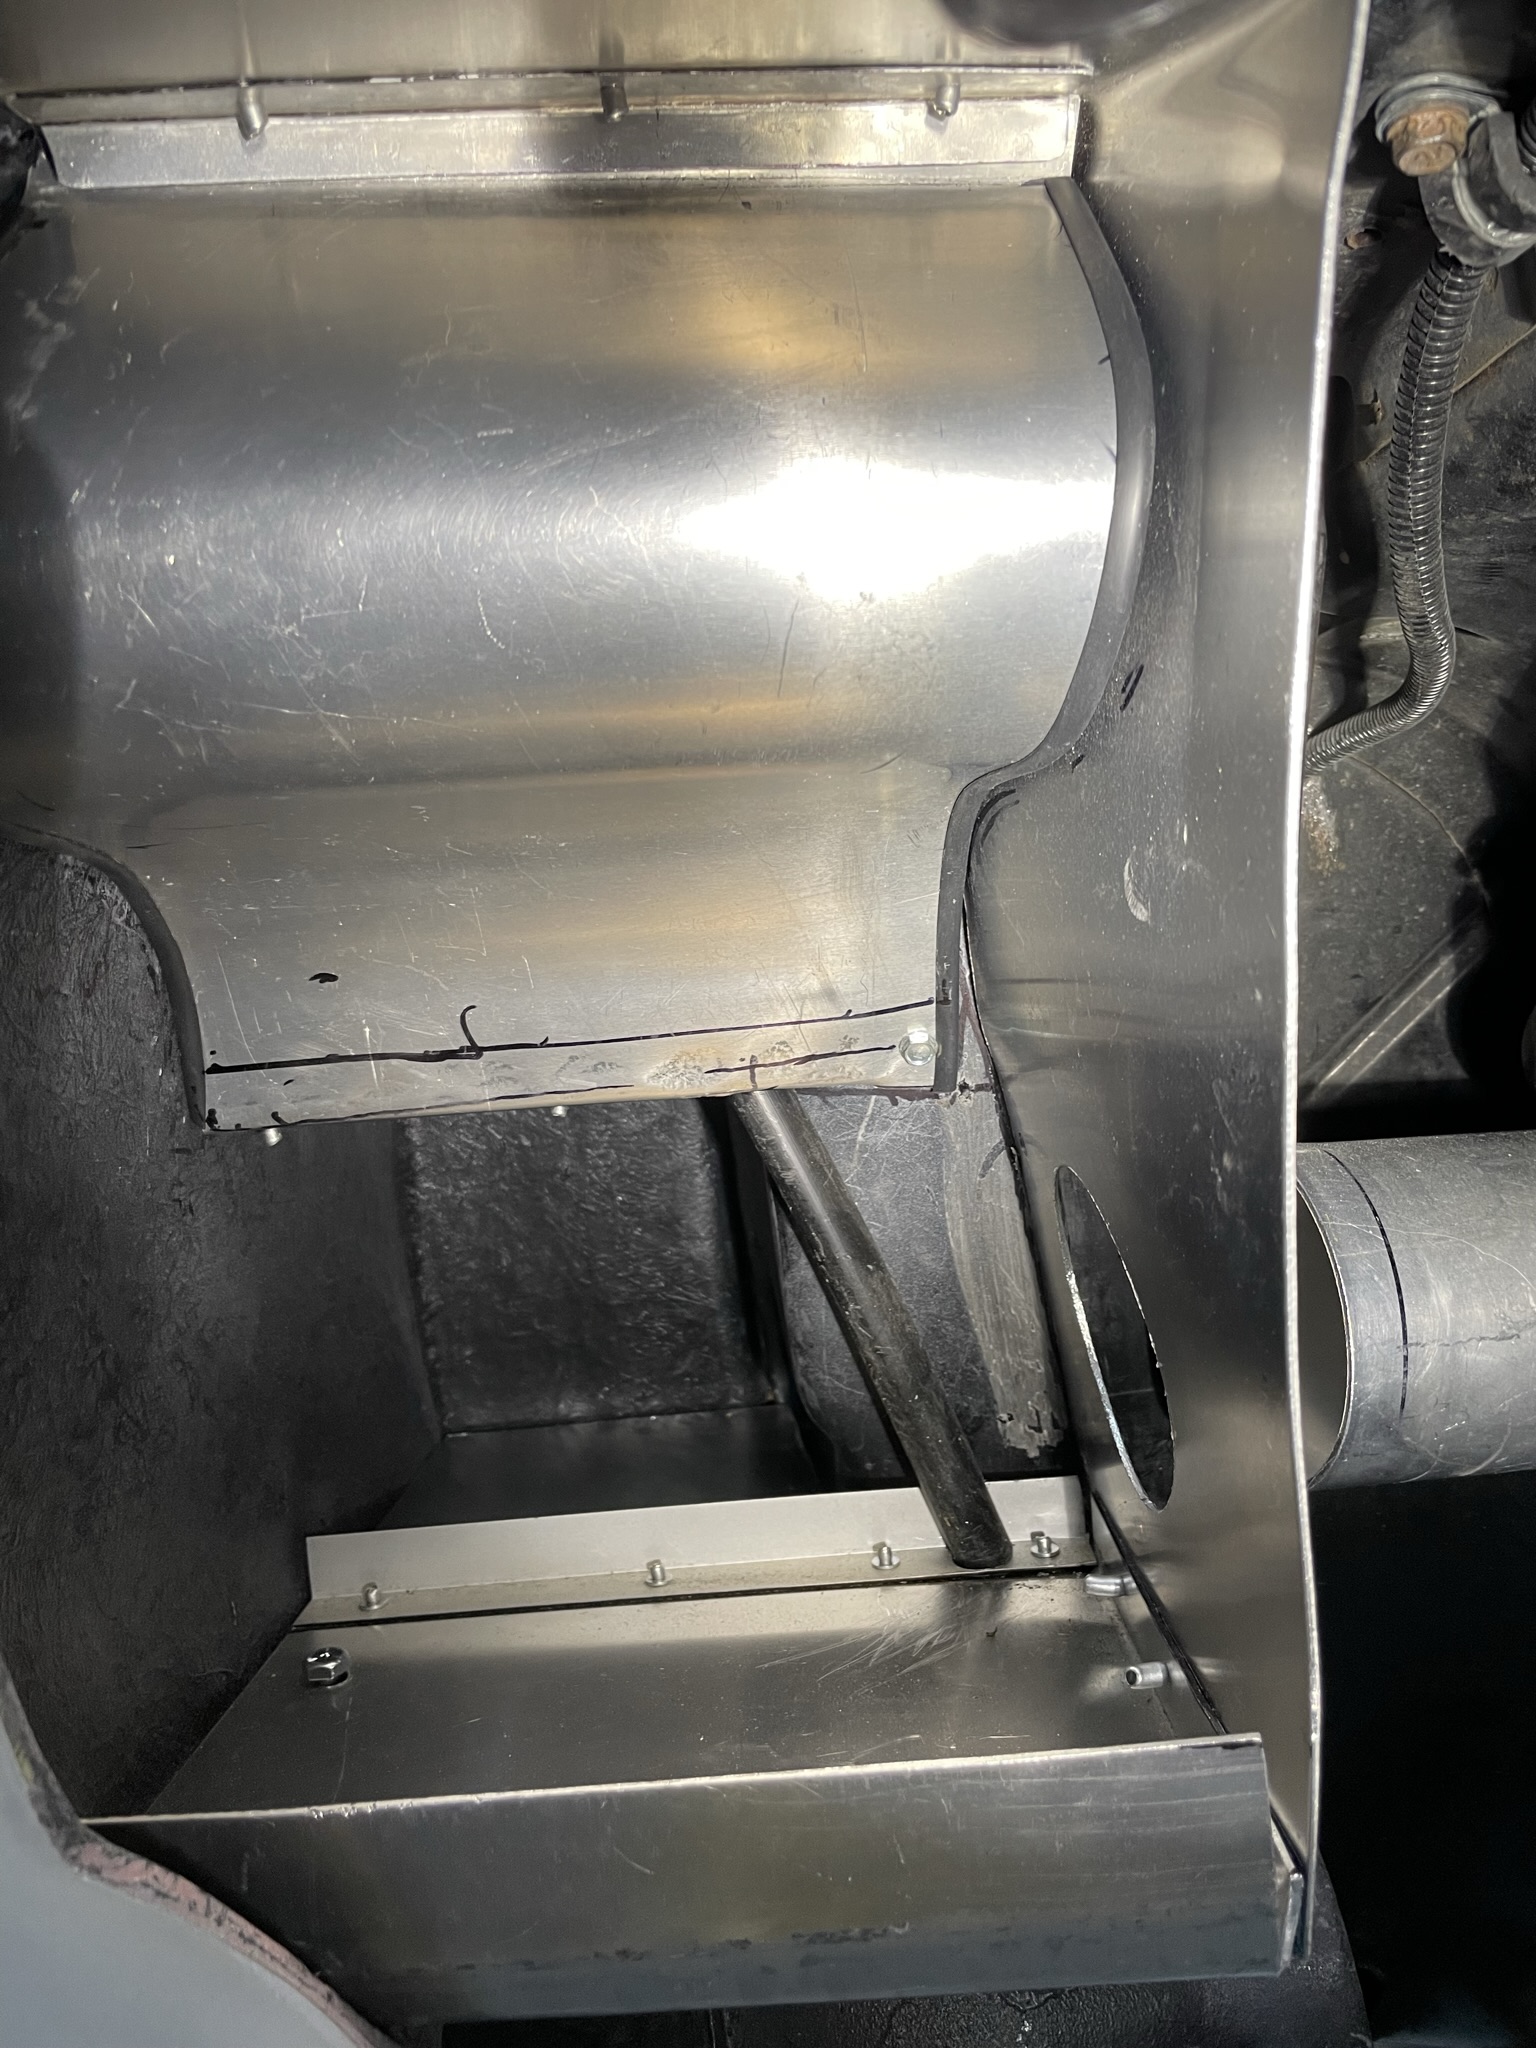
I’m still waiting for a piece of 3” aluminum duct to connect to the filter , there will also be a waterproof filter bag for additional
Filtering.
And then there is a two piece cover to seal the air box
That s the update for now
Stay safe everyone.
Wayne
|
|
|
|
Falcata
|
DEC 10, 02:30 PM
|
|
Hi Wayne
Sorry I mentioned driving your car in the real world , with rain etc . lol
We can 3D print a tube with a flange to hold the air filter , and mount it to the air box for you .
|
|
|
|
RCR
|
JAN 08, 10:02 PM
|
|

Looks great, Wayne.
Bob
|
|
|