|
| Ferrari 288GTO build (Page 54/64) |

|
Sage
|
JUL 22, 08:12 AM
|
|
There's NO other red like rosso corsa....and it sure looks great on your superstar car!
Looking sooo good Wayne.....do take your time...but don't keep us in suspense any longer than necessary.
I do understand that there can be many things that keep one from "working on the car" and or other pet projects....just keep posting your progress as it is convenient.
Your doors look fantastic.
Your second, (or third....OR fourth...), wind should be kicking in anytime now. 
HAGO! 
|
|
|
|
RCR
|
JUL 27, 08:59 PM
|
|
Awesome looking, Wayne.
Bob
|
|
|
|
shemdogg
|
JUL 29, 04:06 PM
|
|
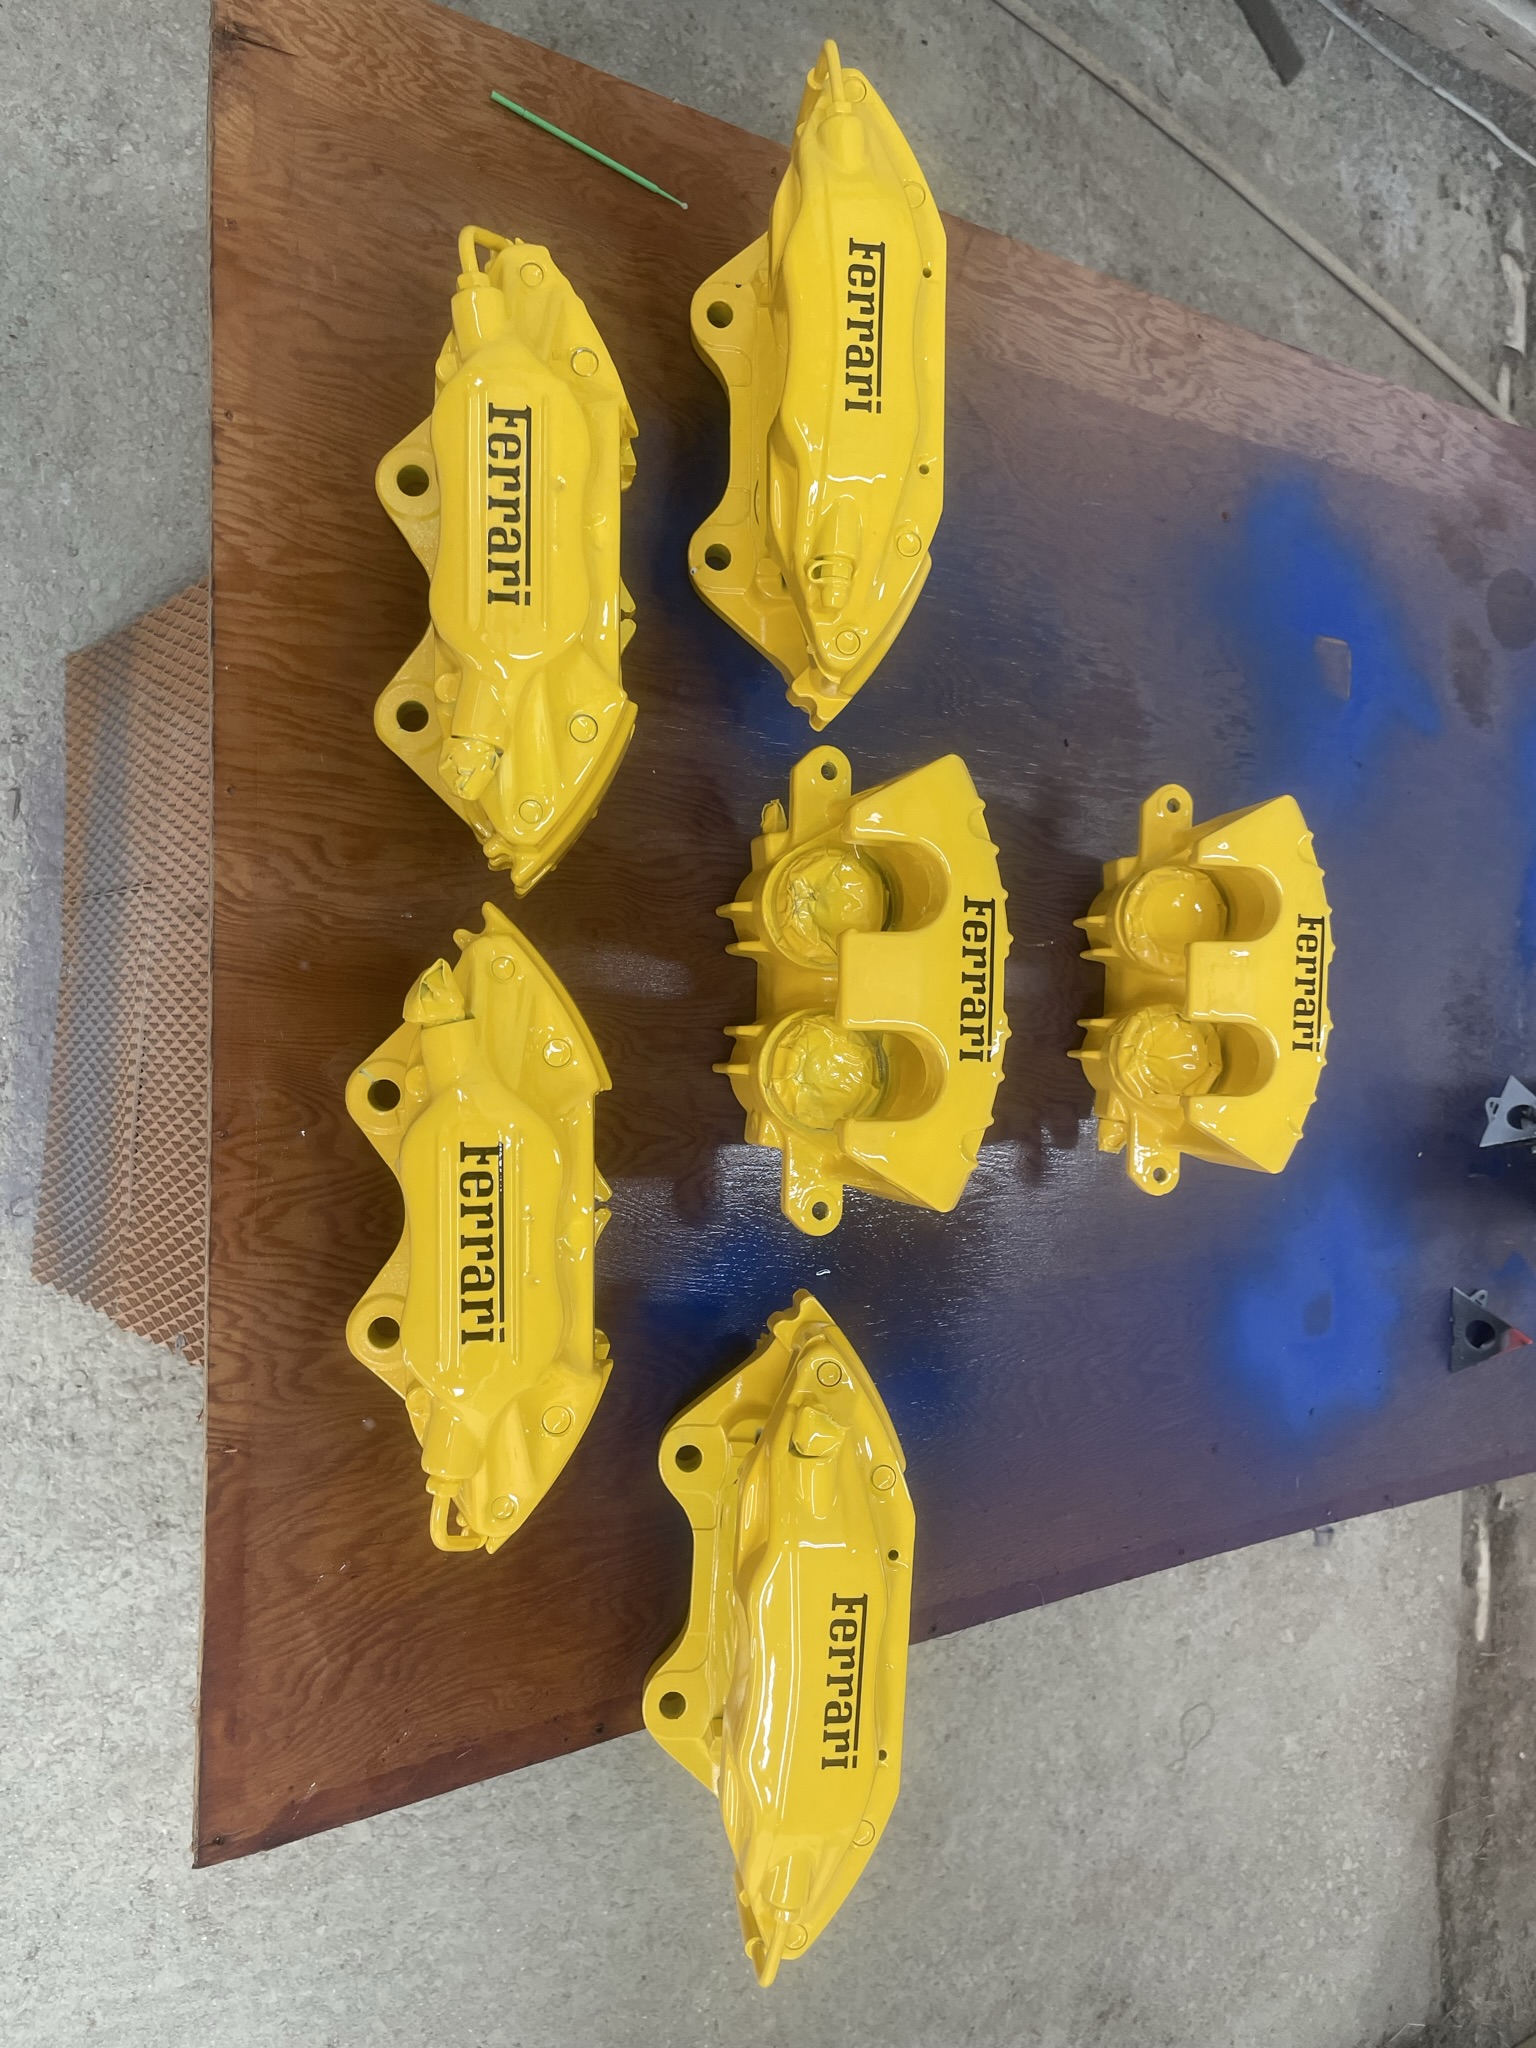
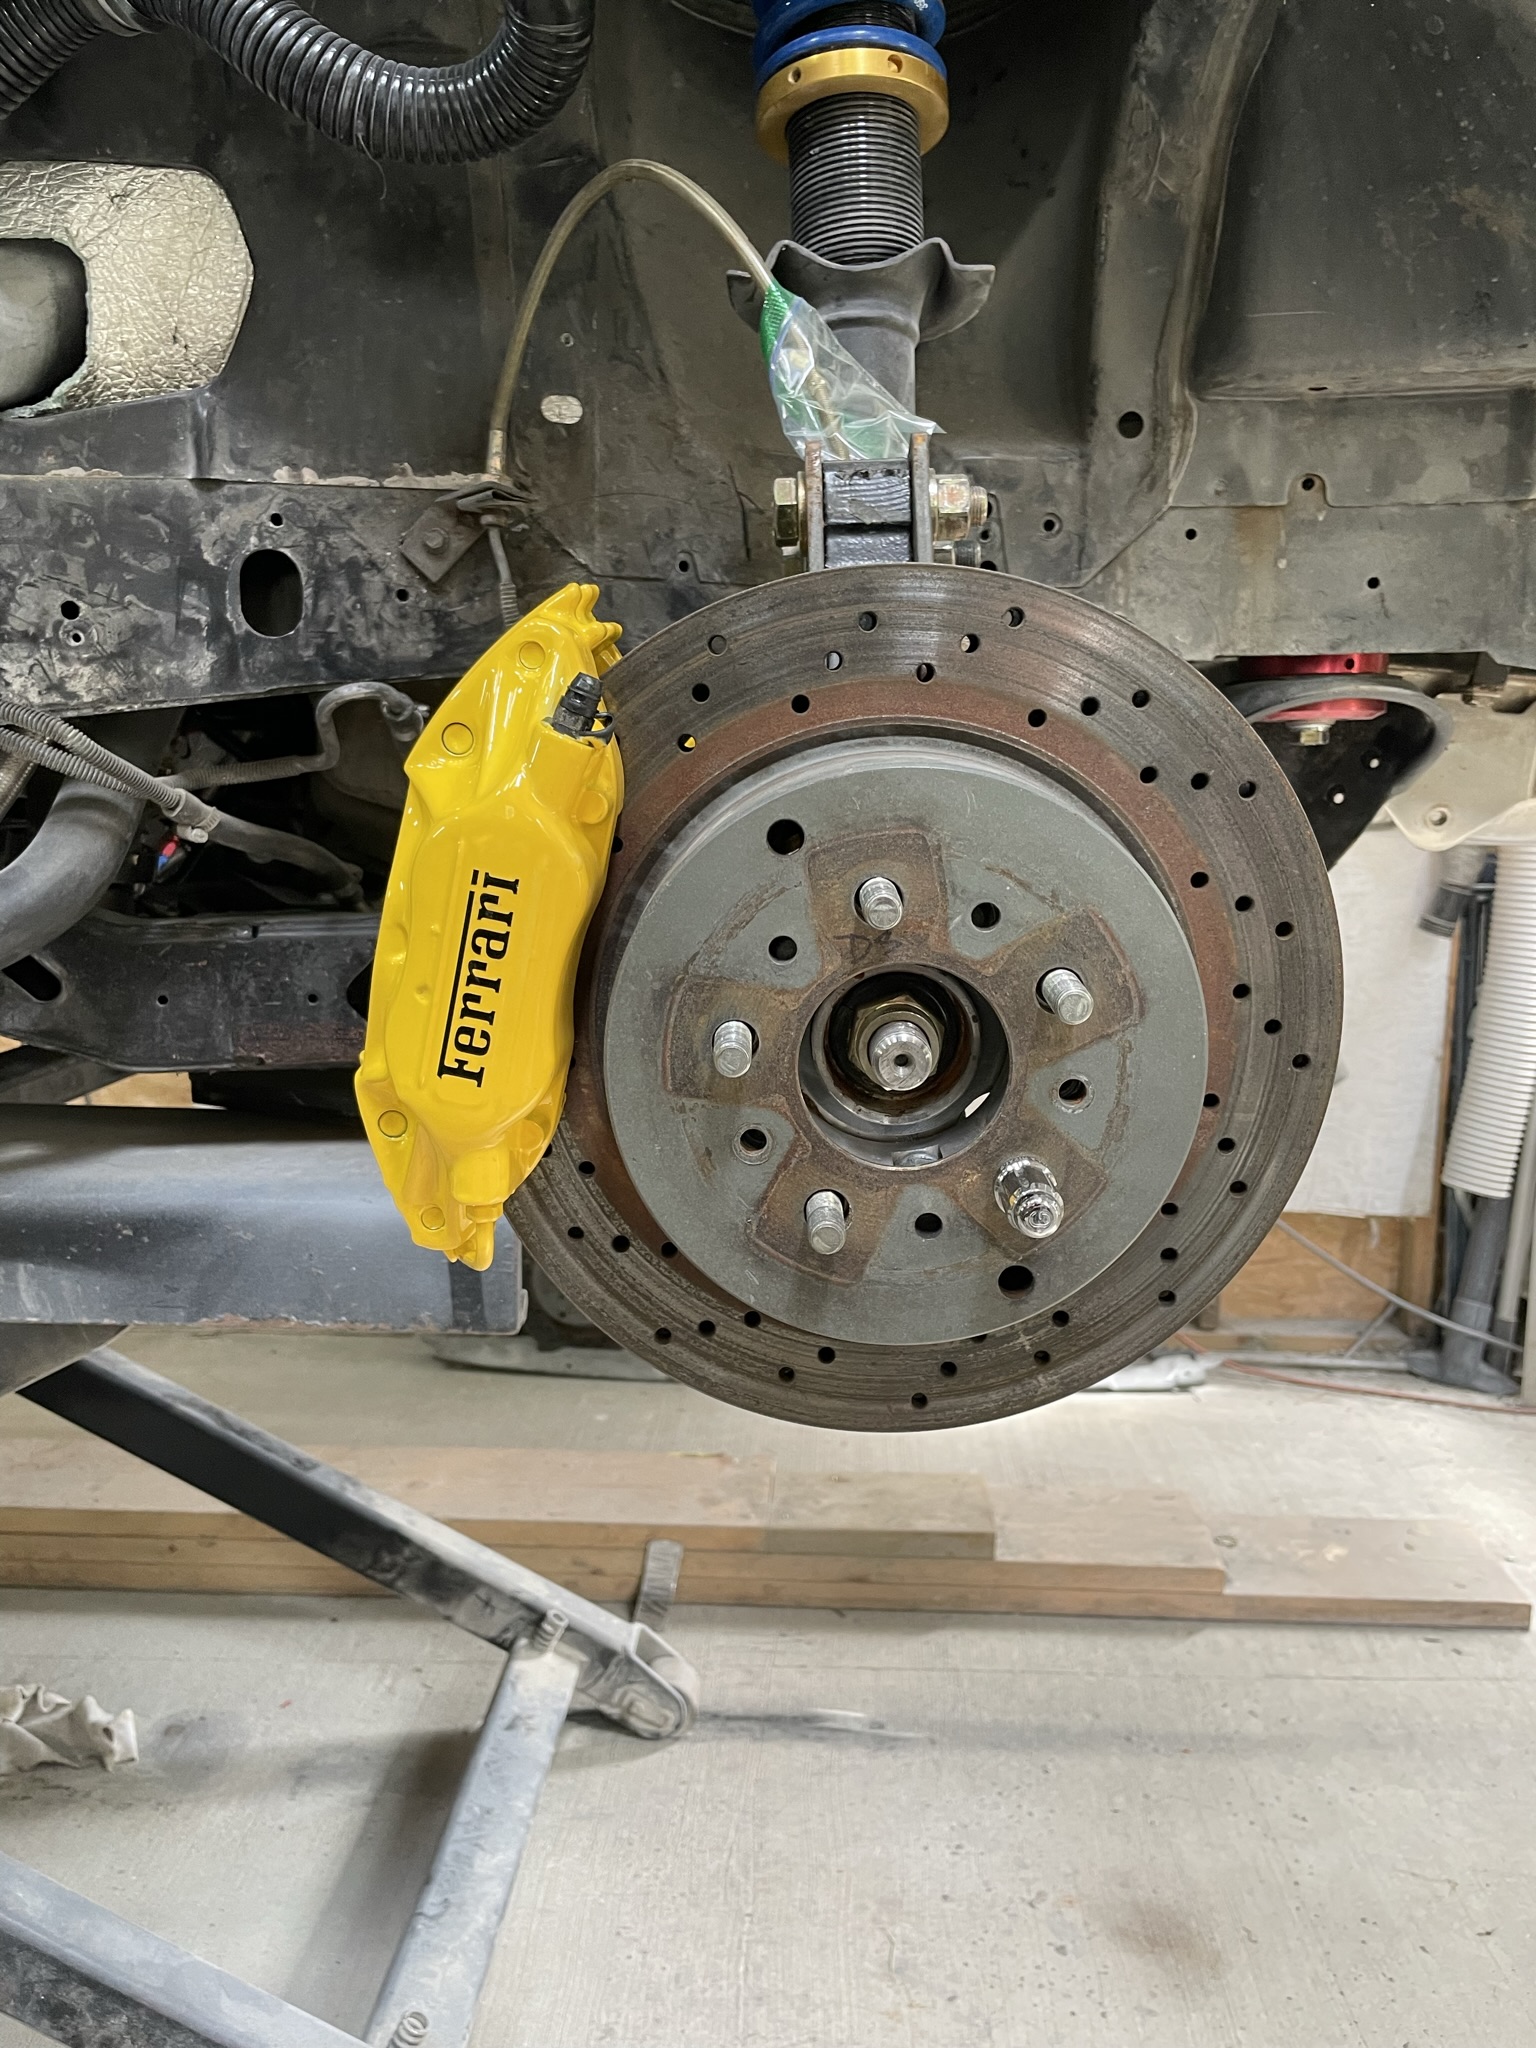
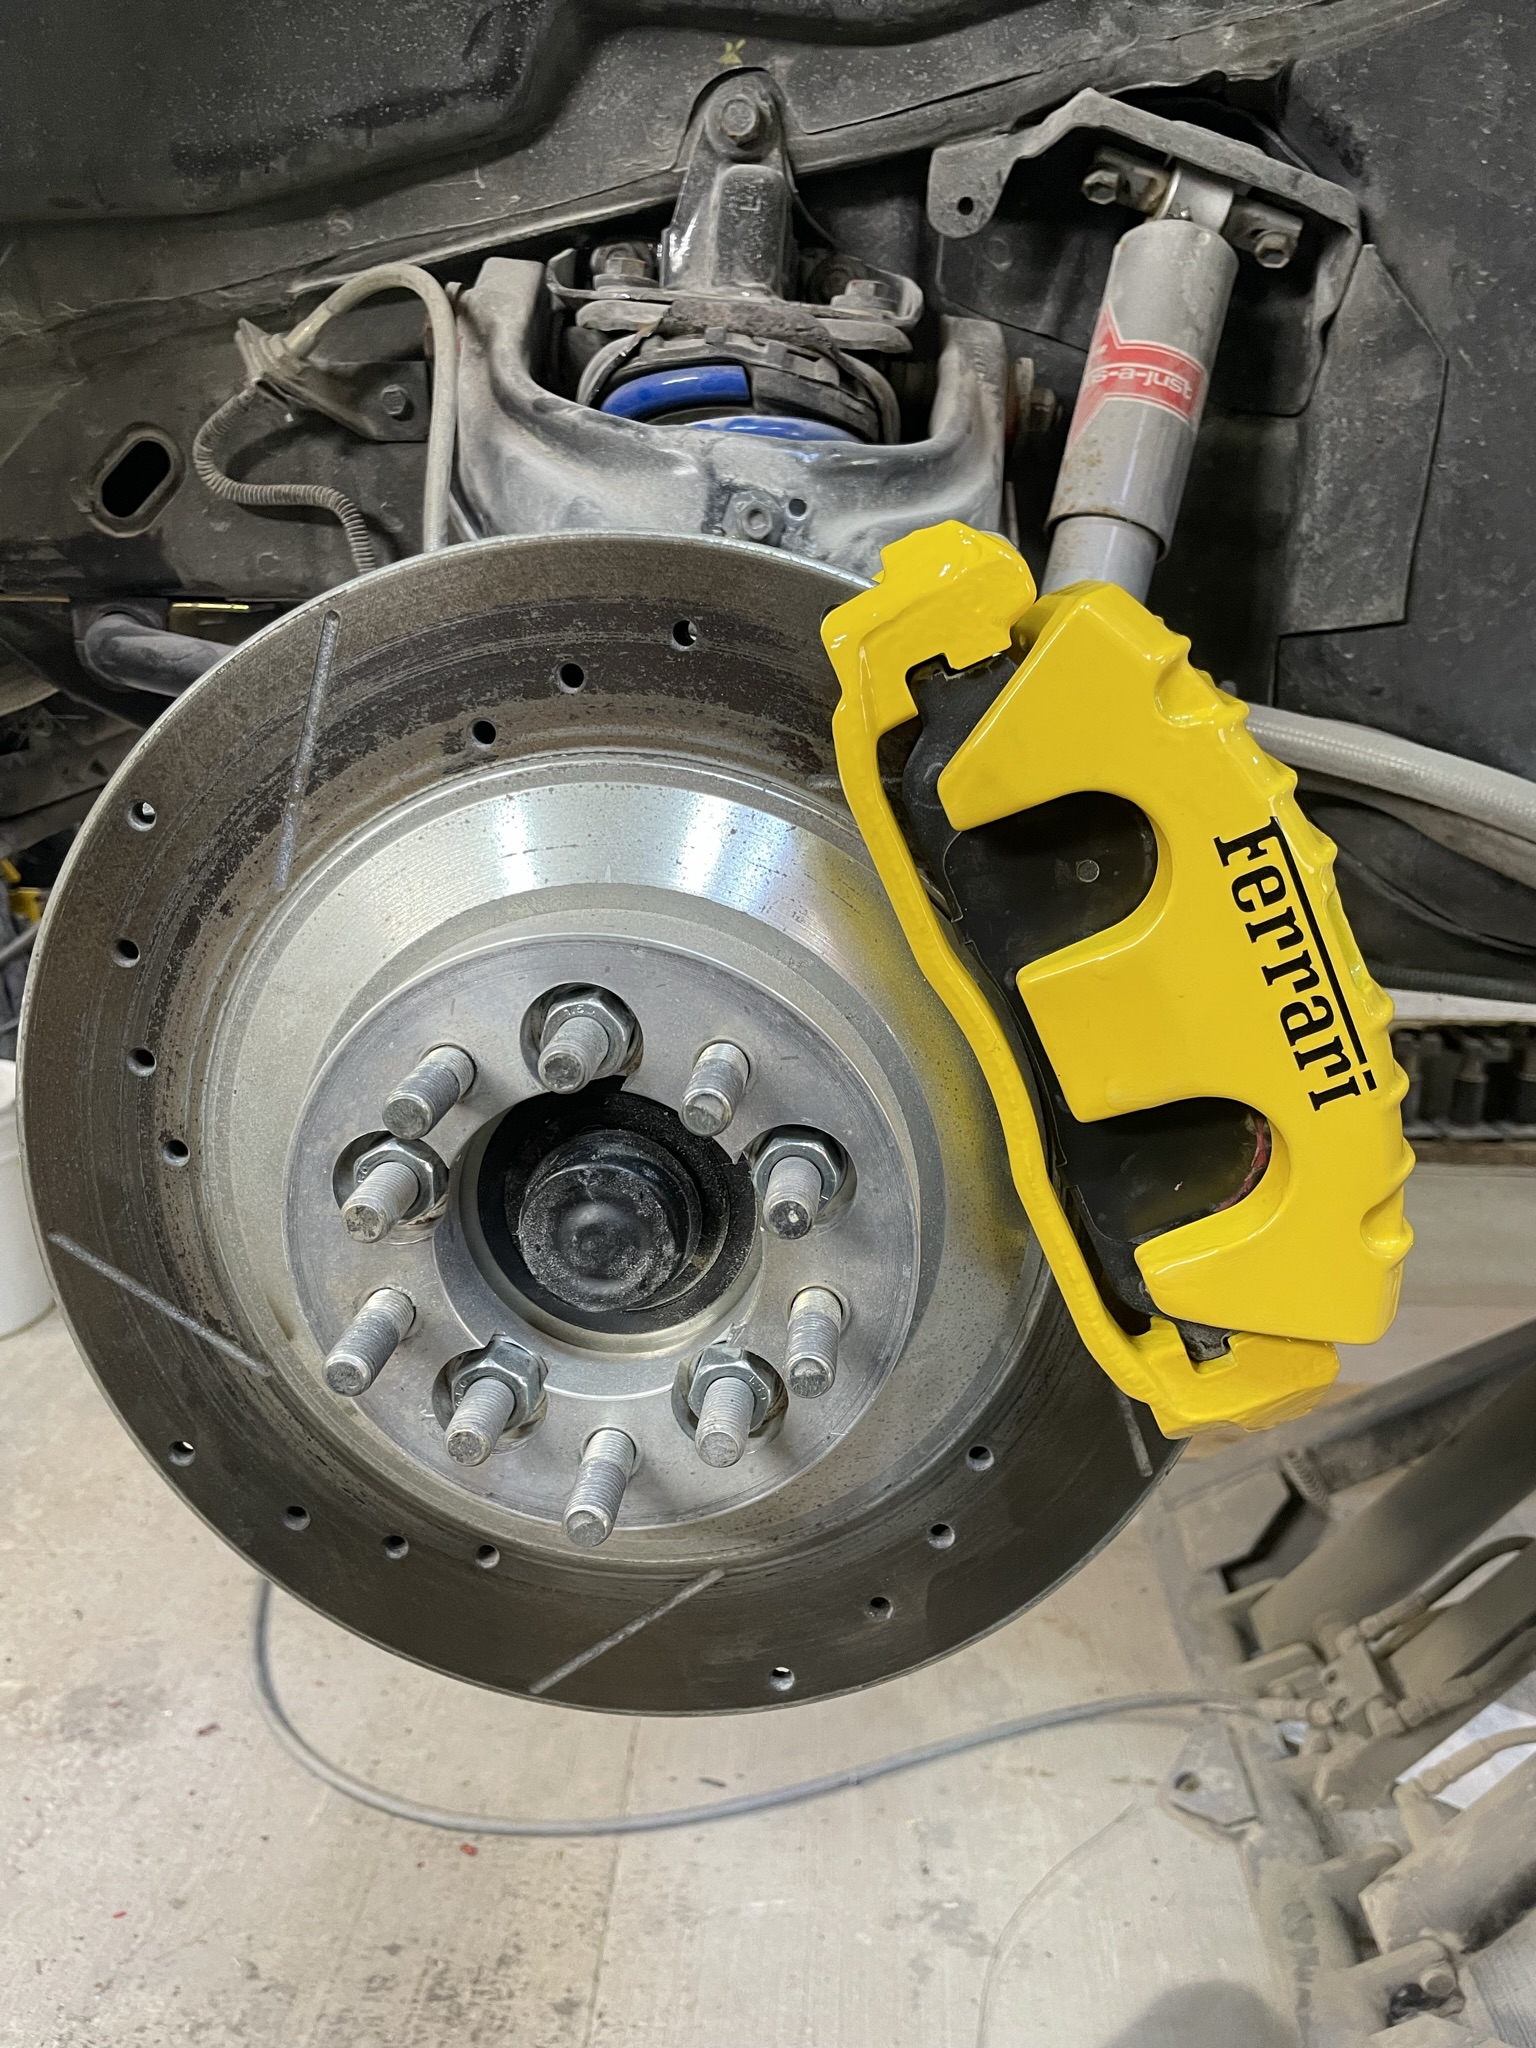
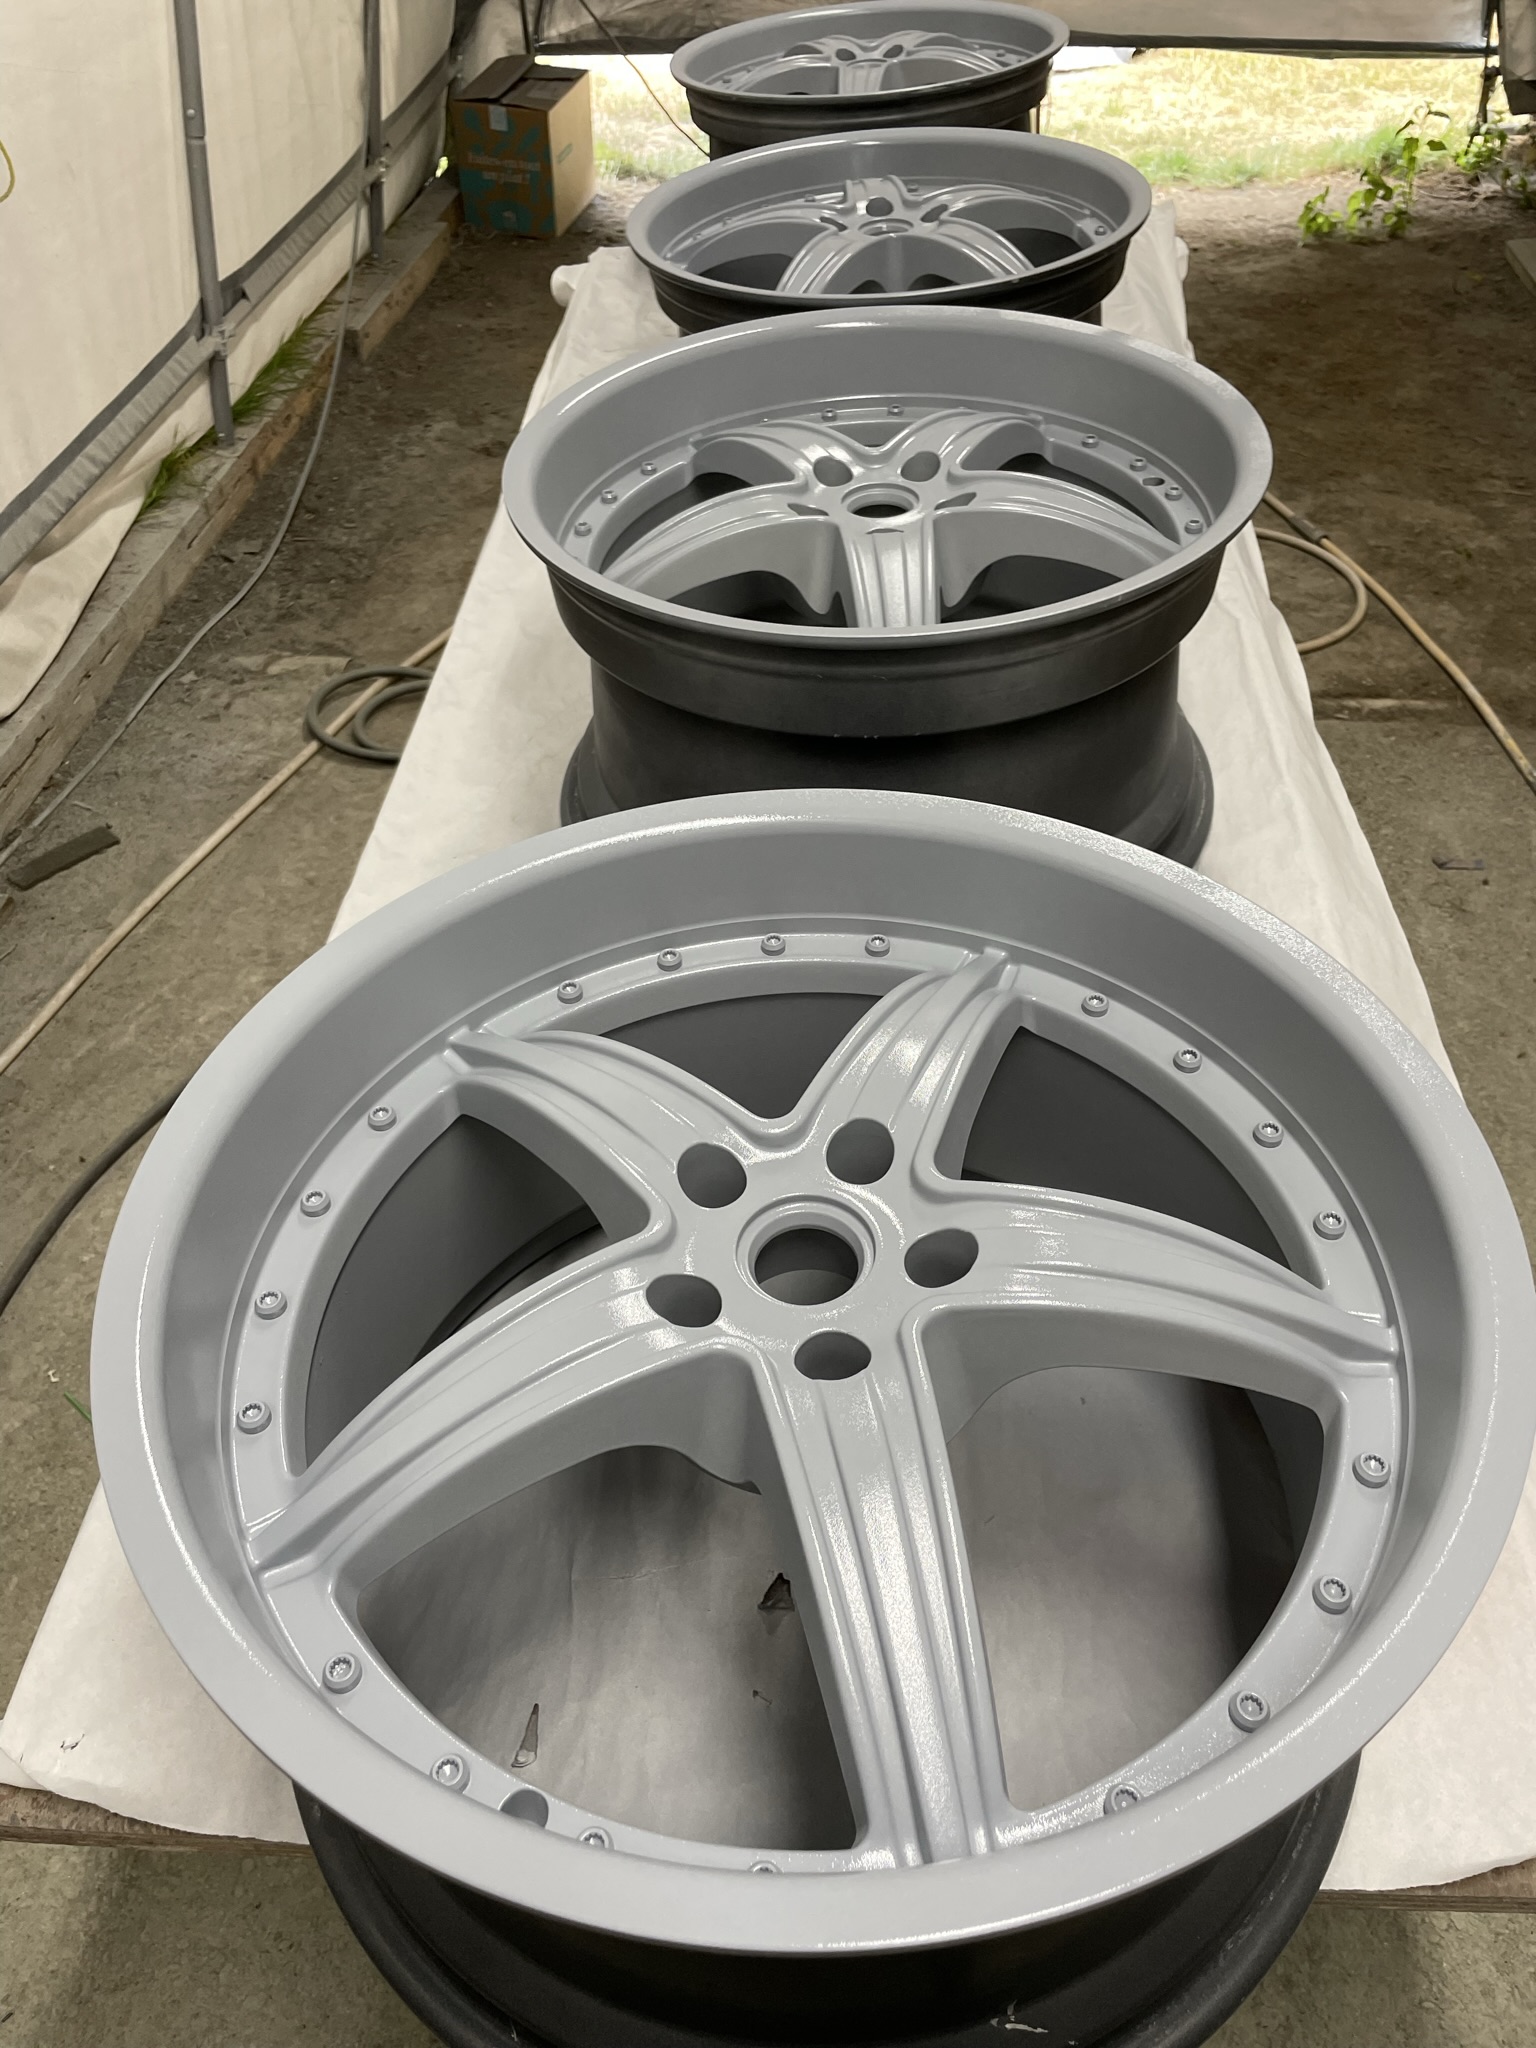
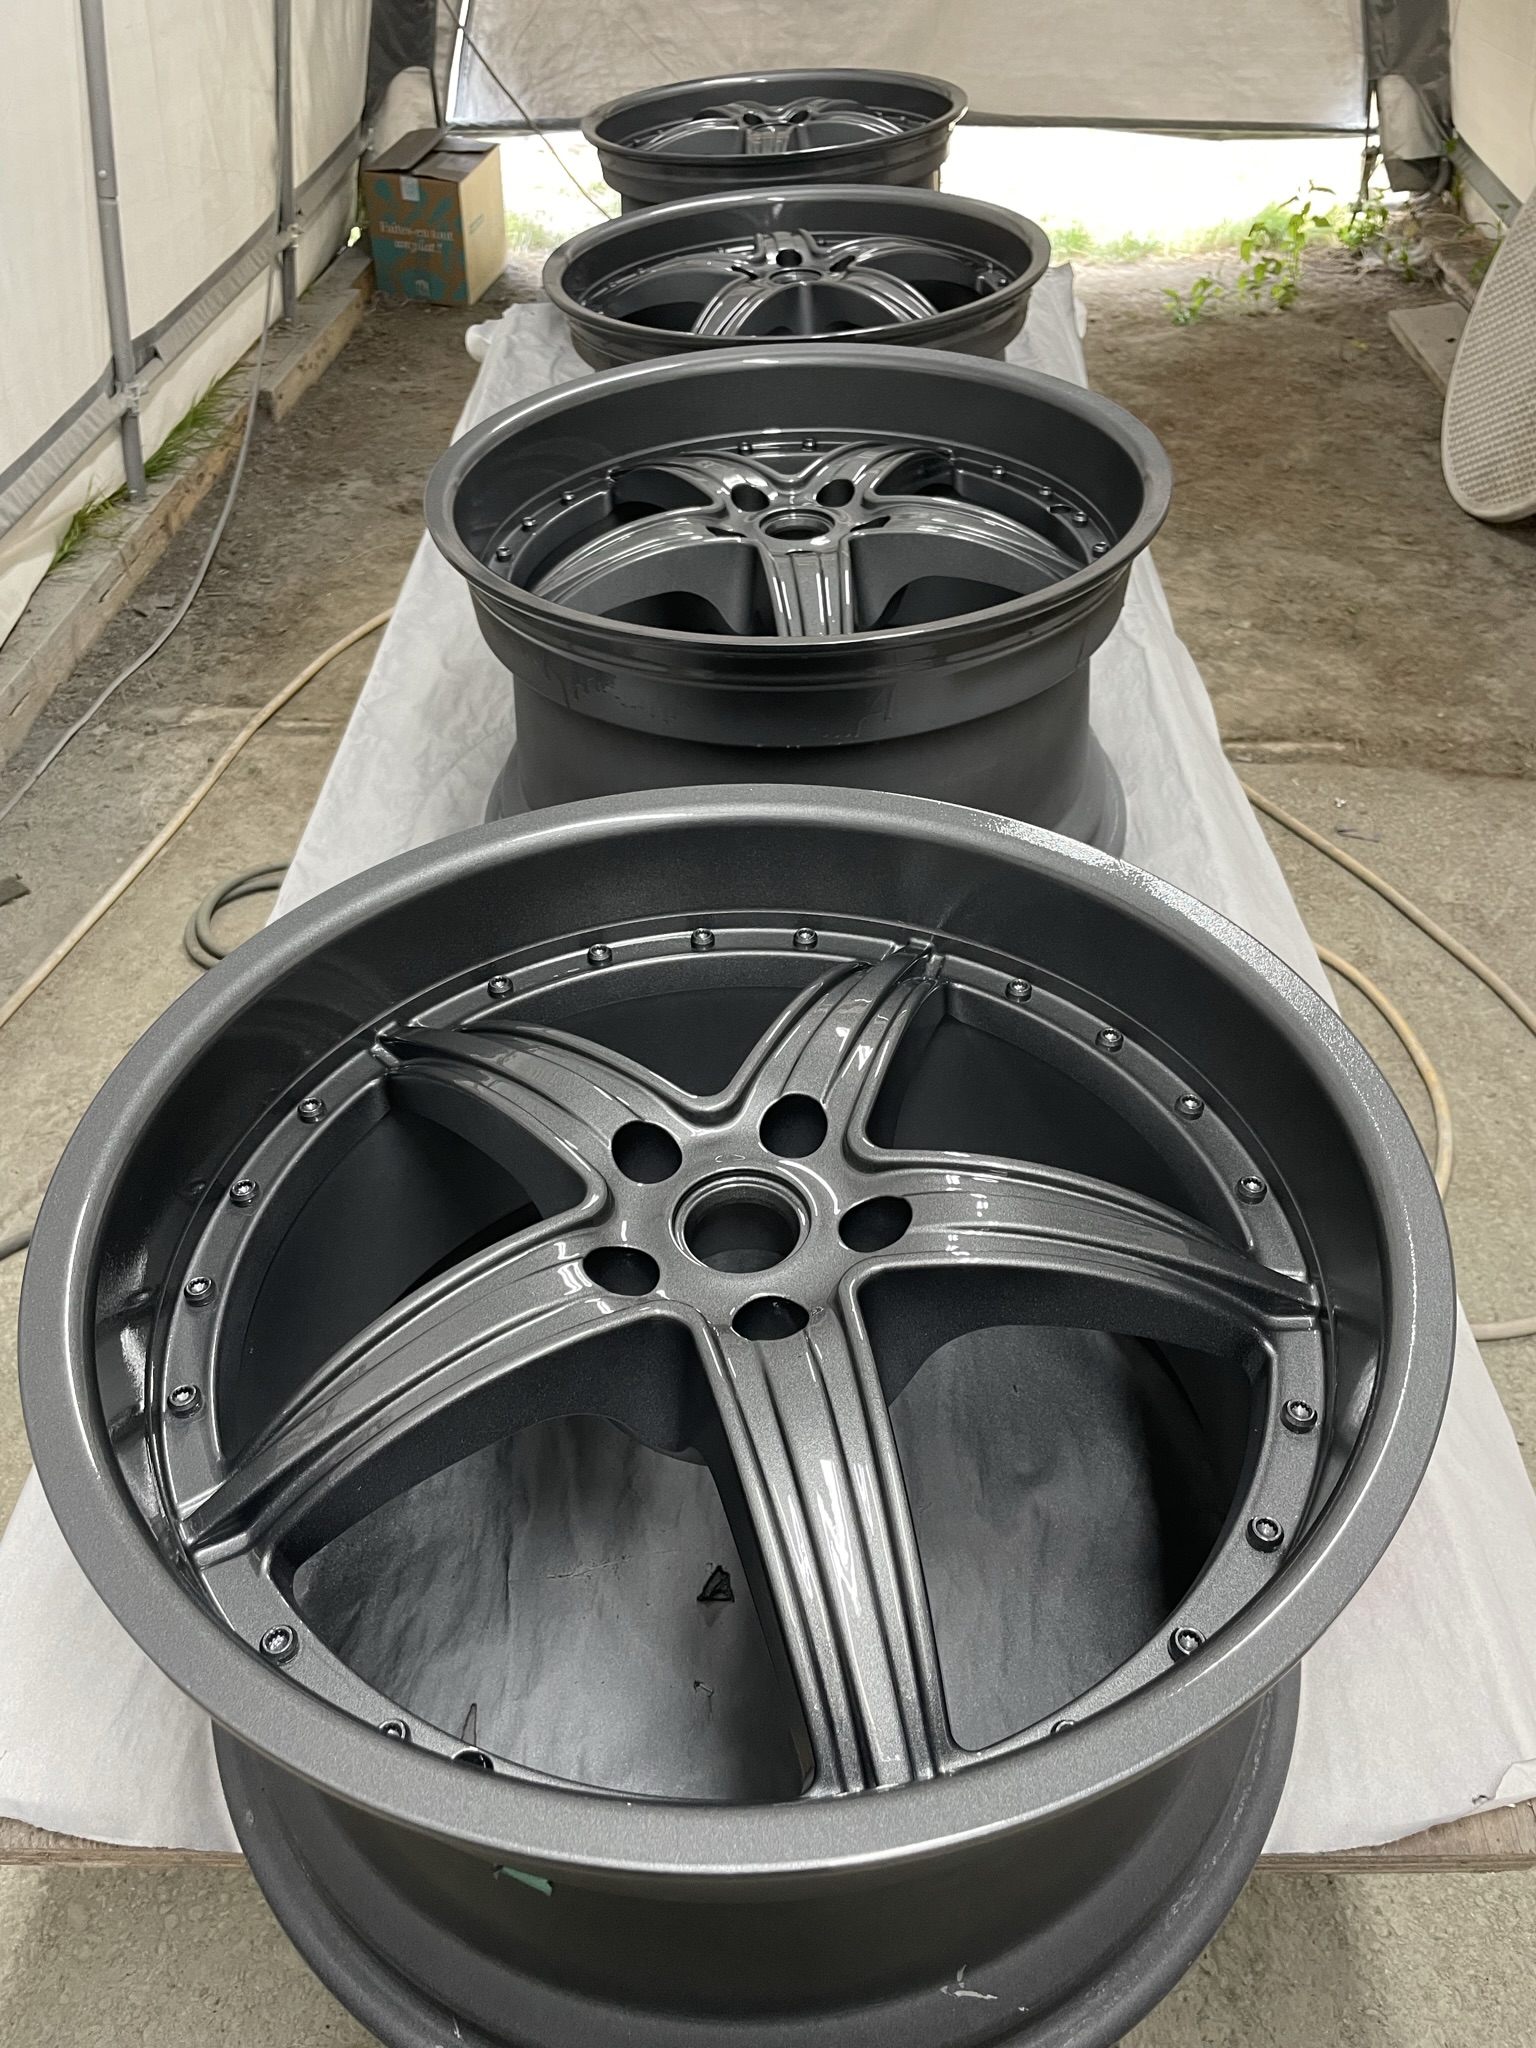
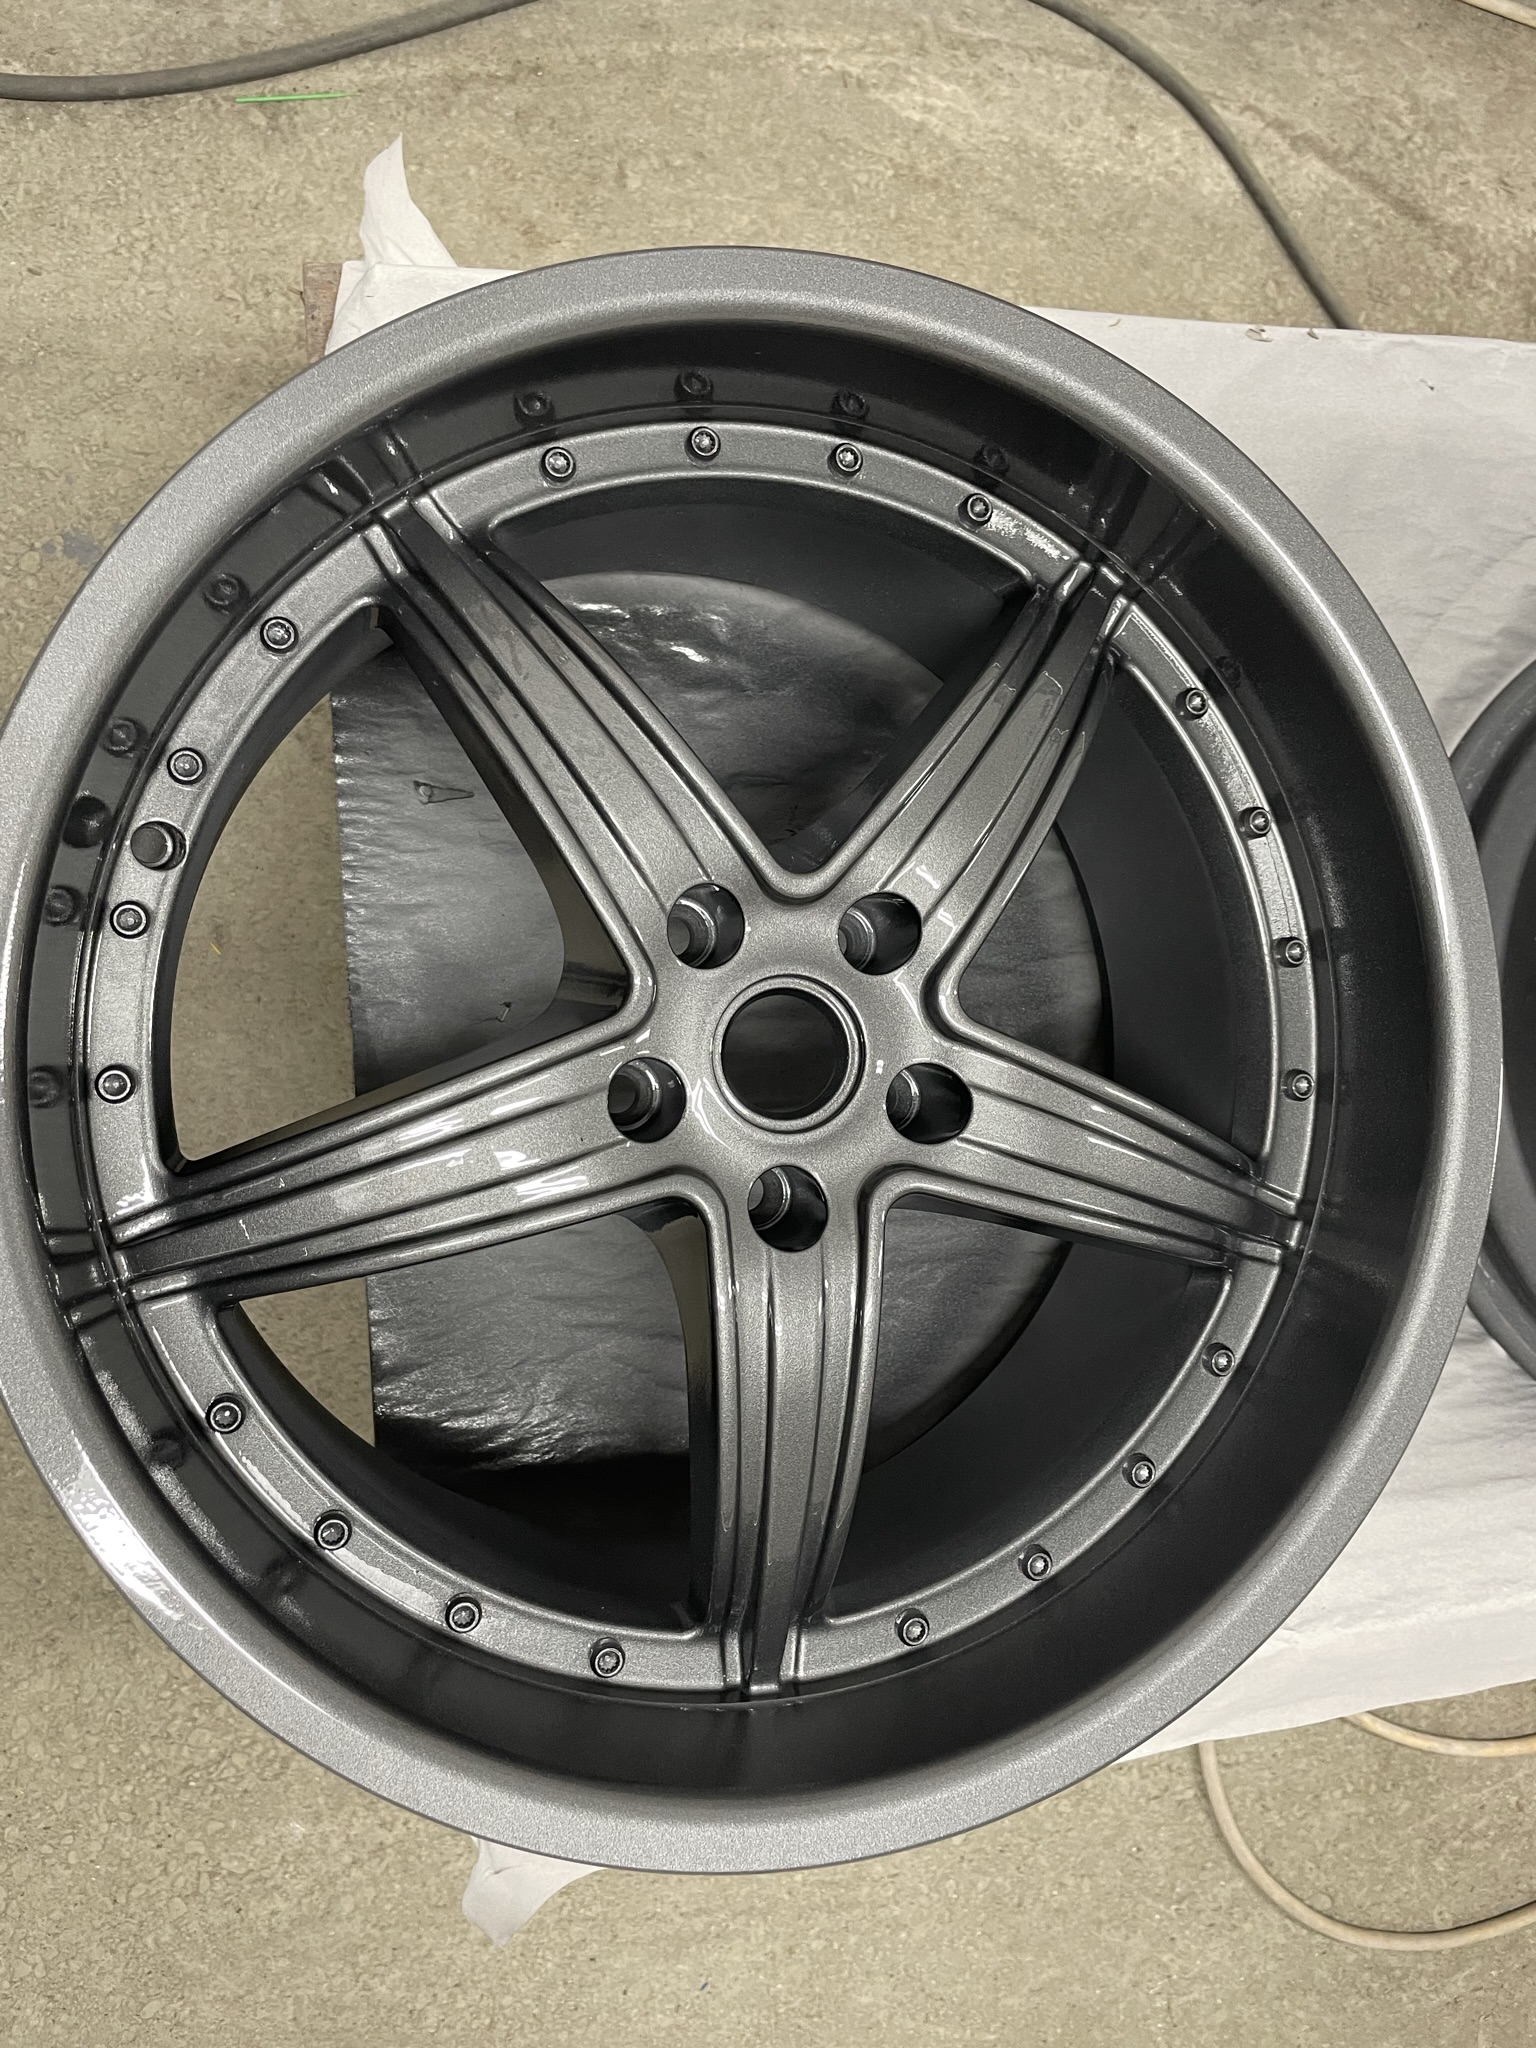
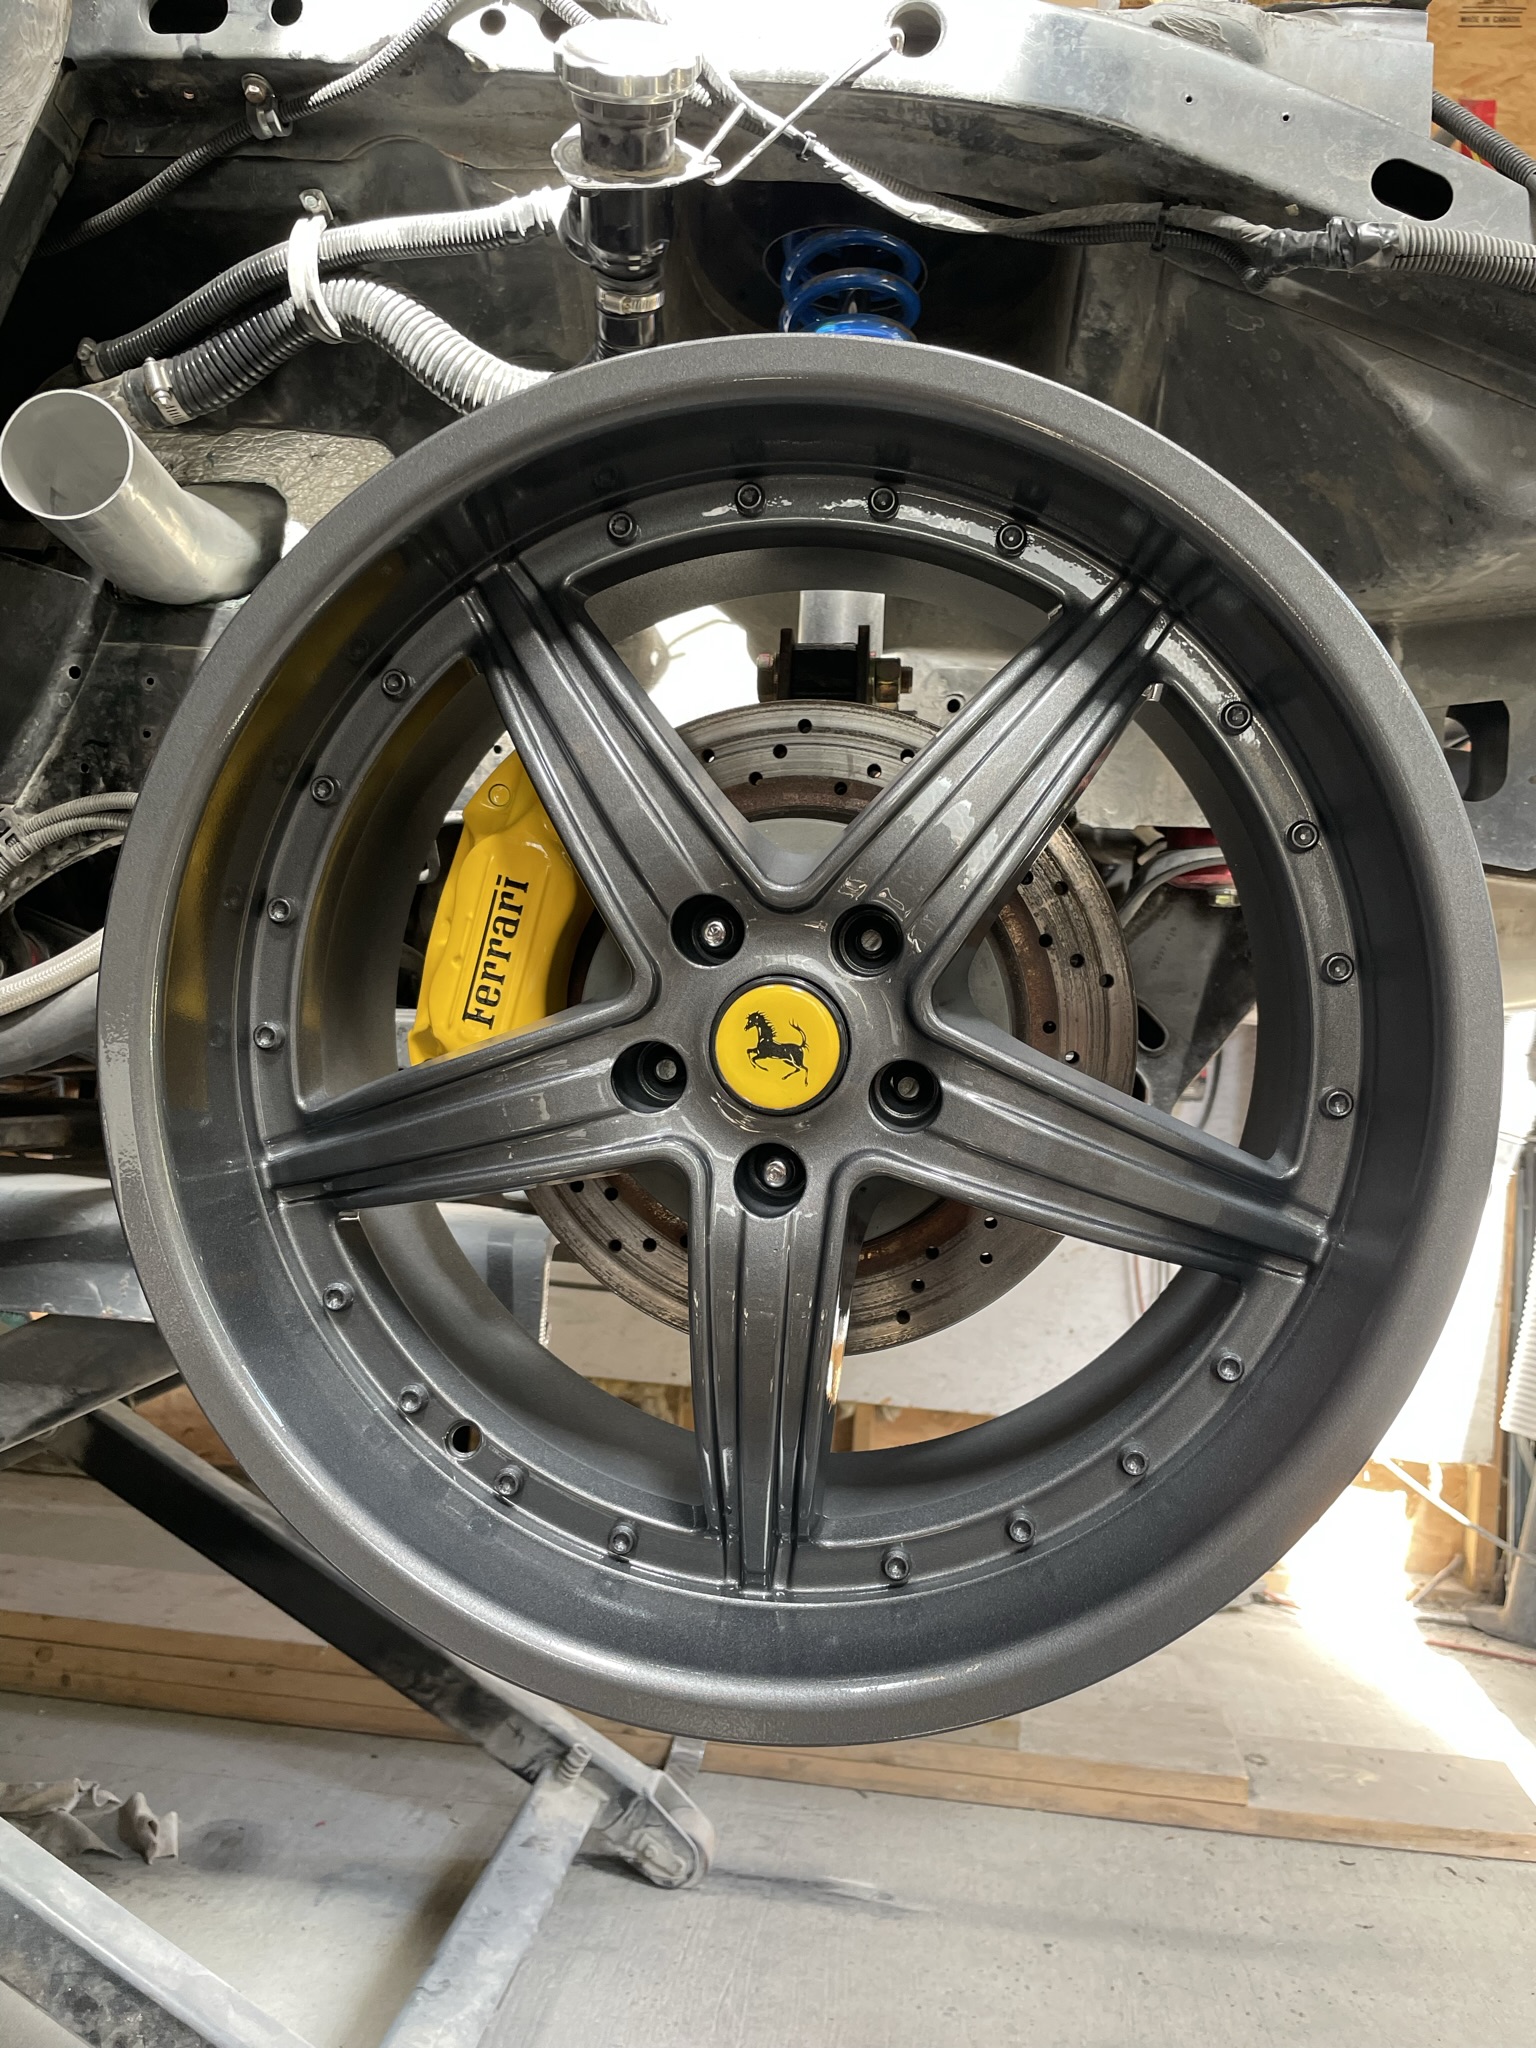
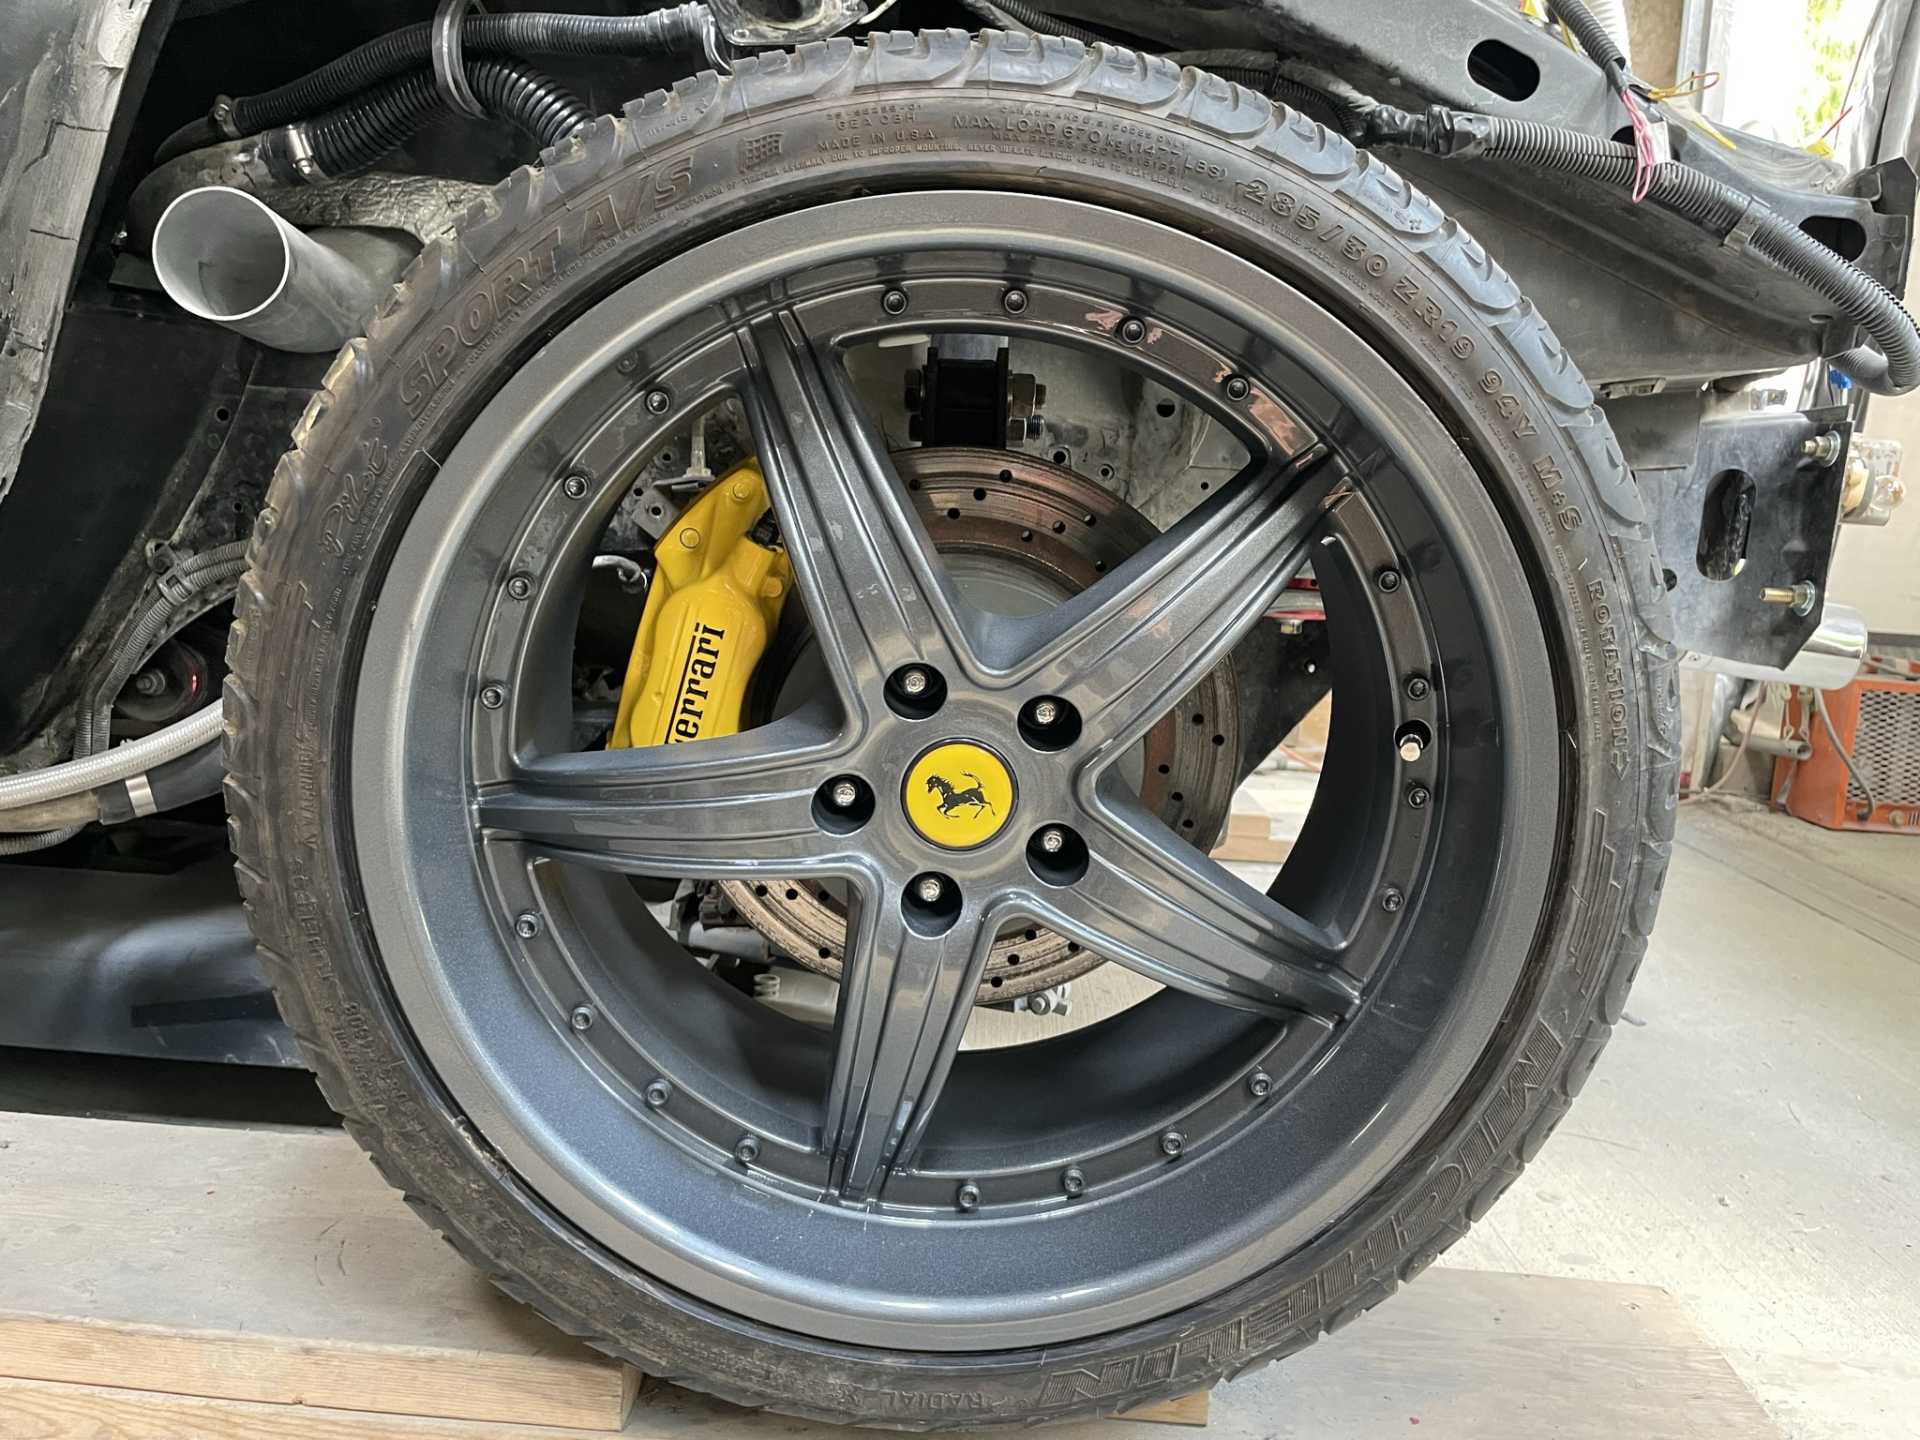
That red does look great, will the wheels be painted red to match? I like the yellow calipers, will definitely make them pop. Are they real ferrari calipers with the adapter plate in the above pic? Keep up the great work!
shem
|
|
|
|
dobie1
|
AUG 10, 06:36 PM
|
|
|
|
|
shemdogg
|
AUG 12, 10:25 PM
|
|
The wheels came out perfect and I really like the calipers. What about adding some red to the wheels? The raised center stripe on each spoke or the 2 indented areas running alongside the raised area on each spoke would make em pop. Im a big fan of the polished lip look and colored wheel centers, but it still came out great and looks the same. Good stuff man keep it up!
shem
|
|
|
|
zkhennings
|
AUG 16, 03:09 PM
|
|
|
Looking awesome, excited to see it come together!
|
|
|
|
dobie1
|
AUG 21, 09:14 PM
|
|
|
|
|
dobie1
|
SEP 02, 11:54 PM
|
|
The project is moving along in between other projects!!
I needed to build some stairs down off our deck with two yong grandkids running around I needed some landing areas for when they fall!!
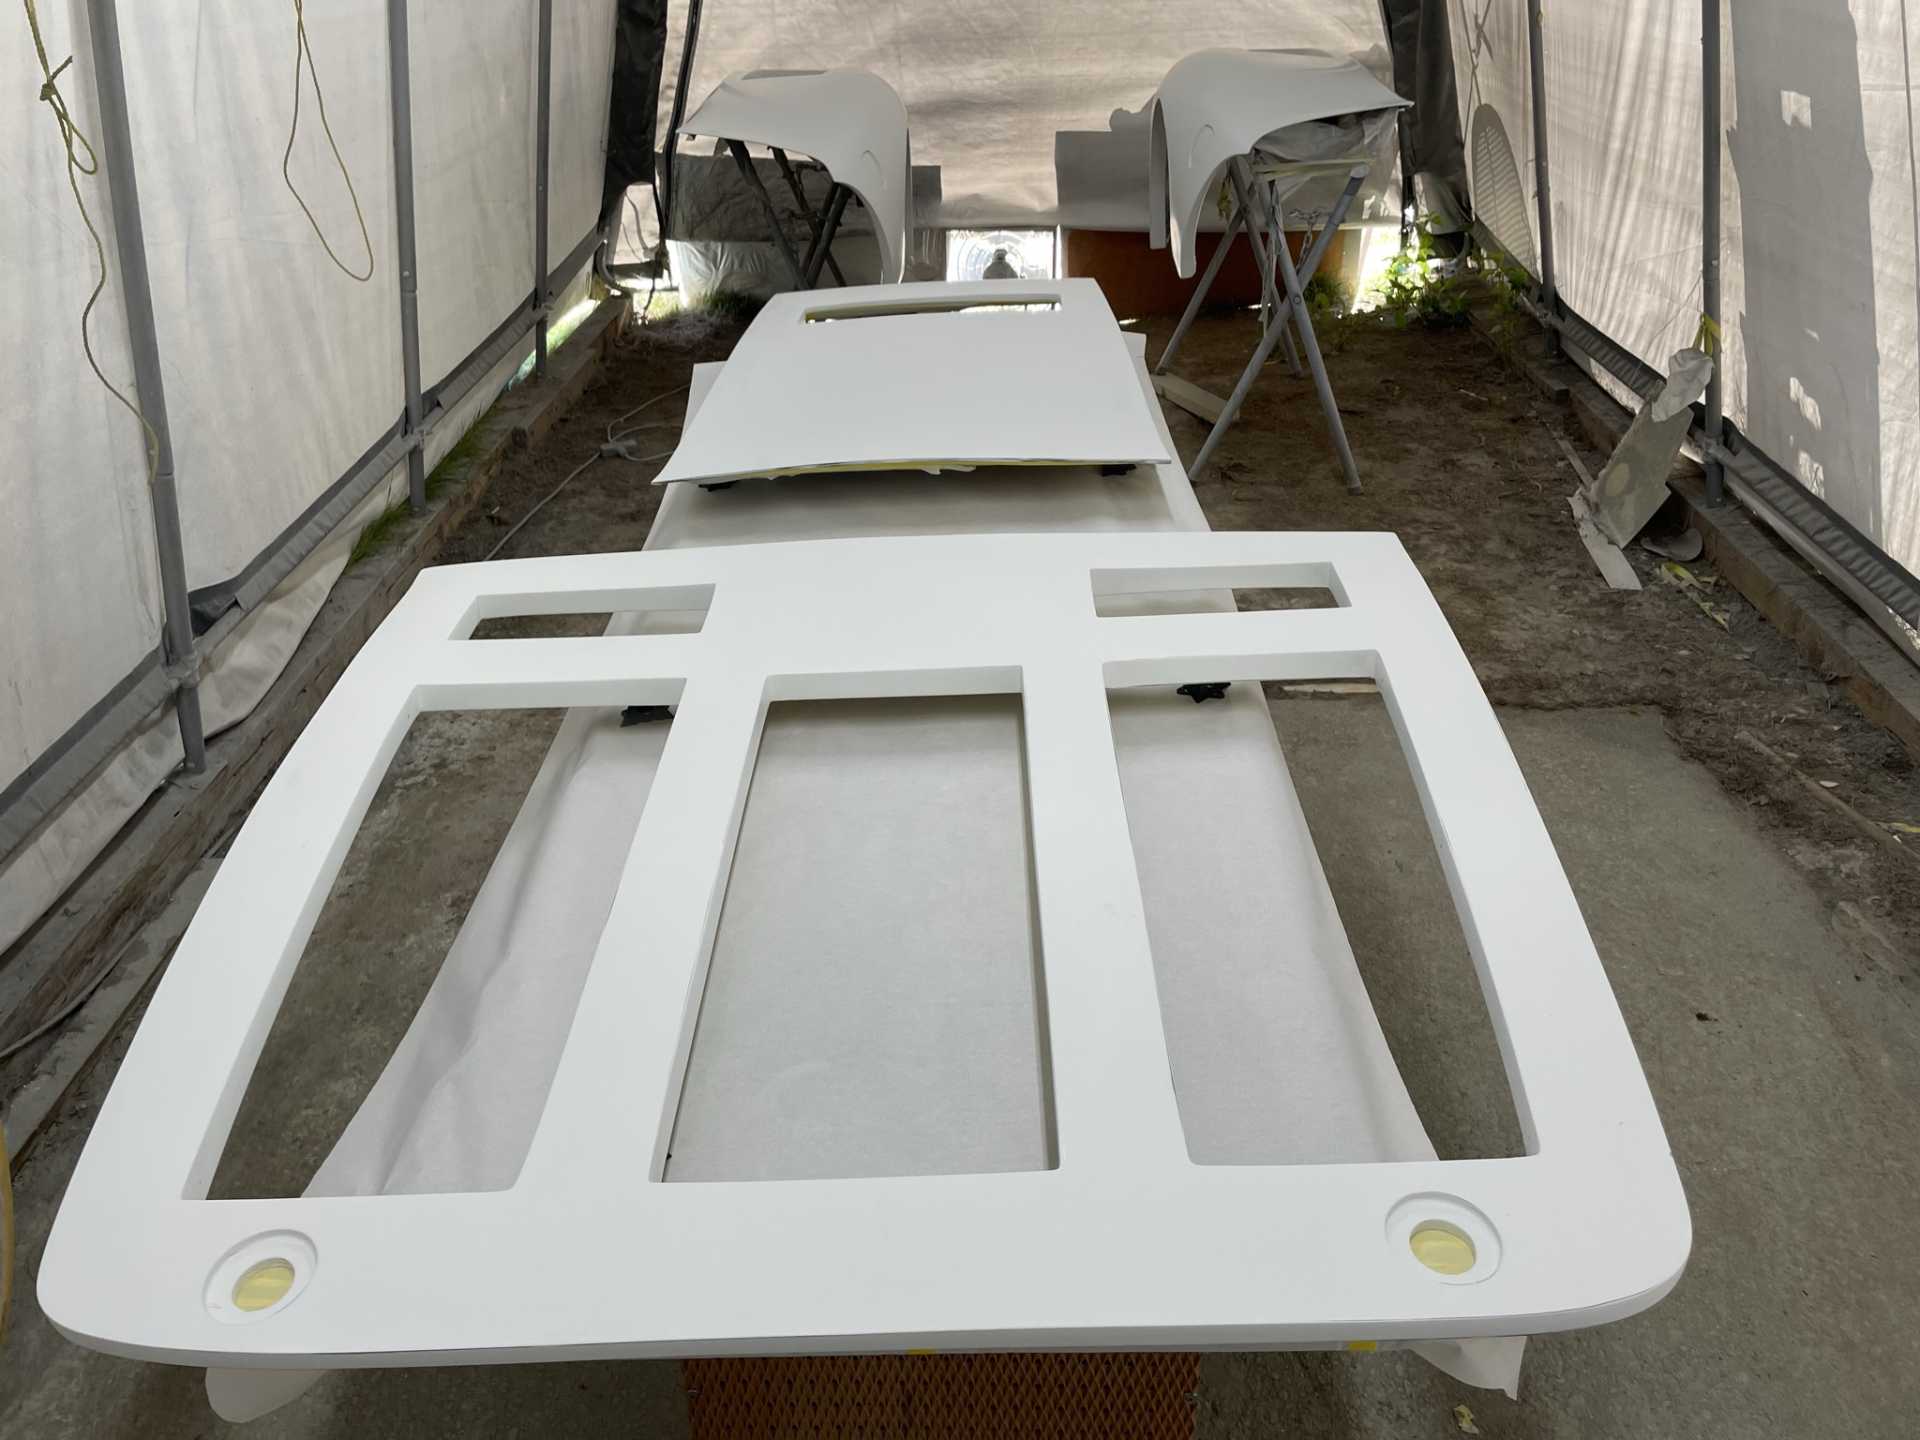
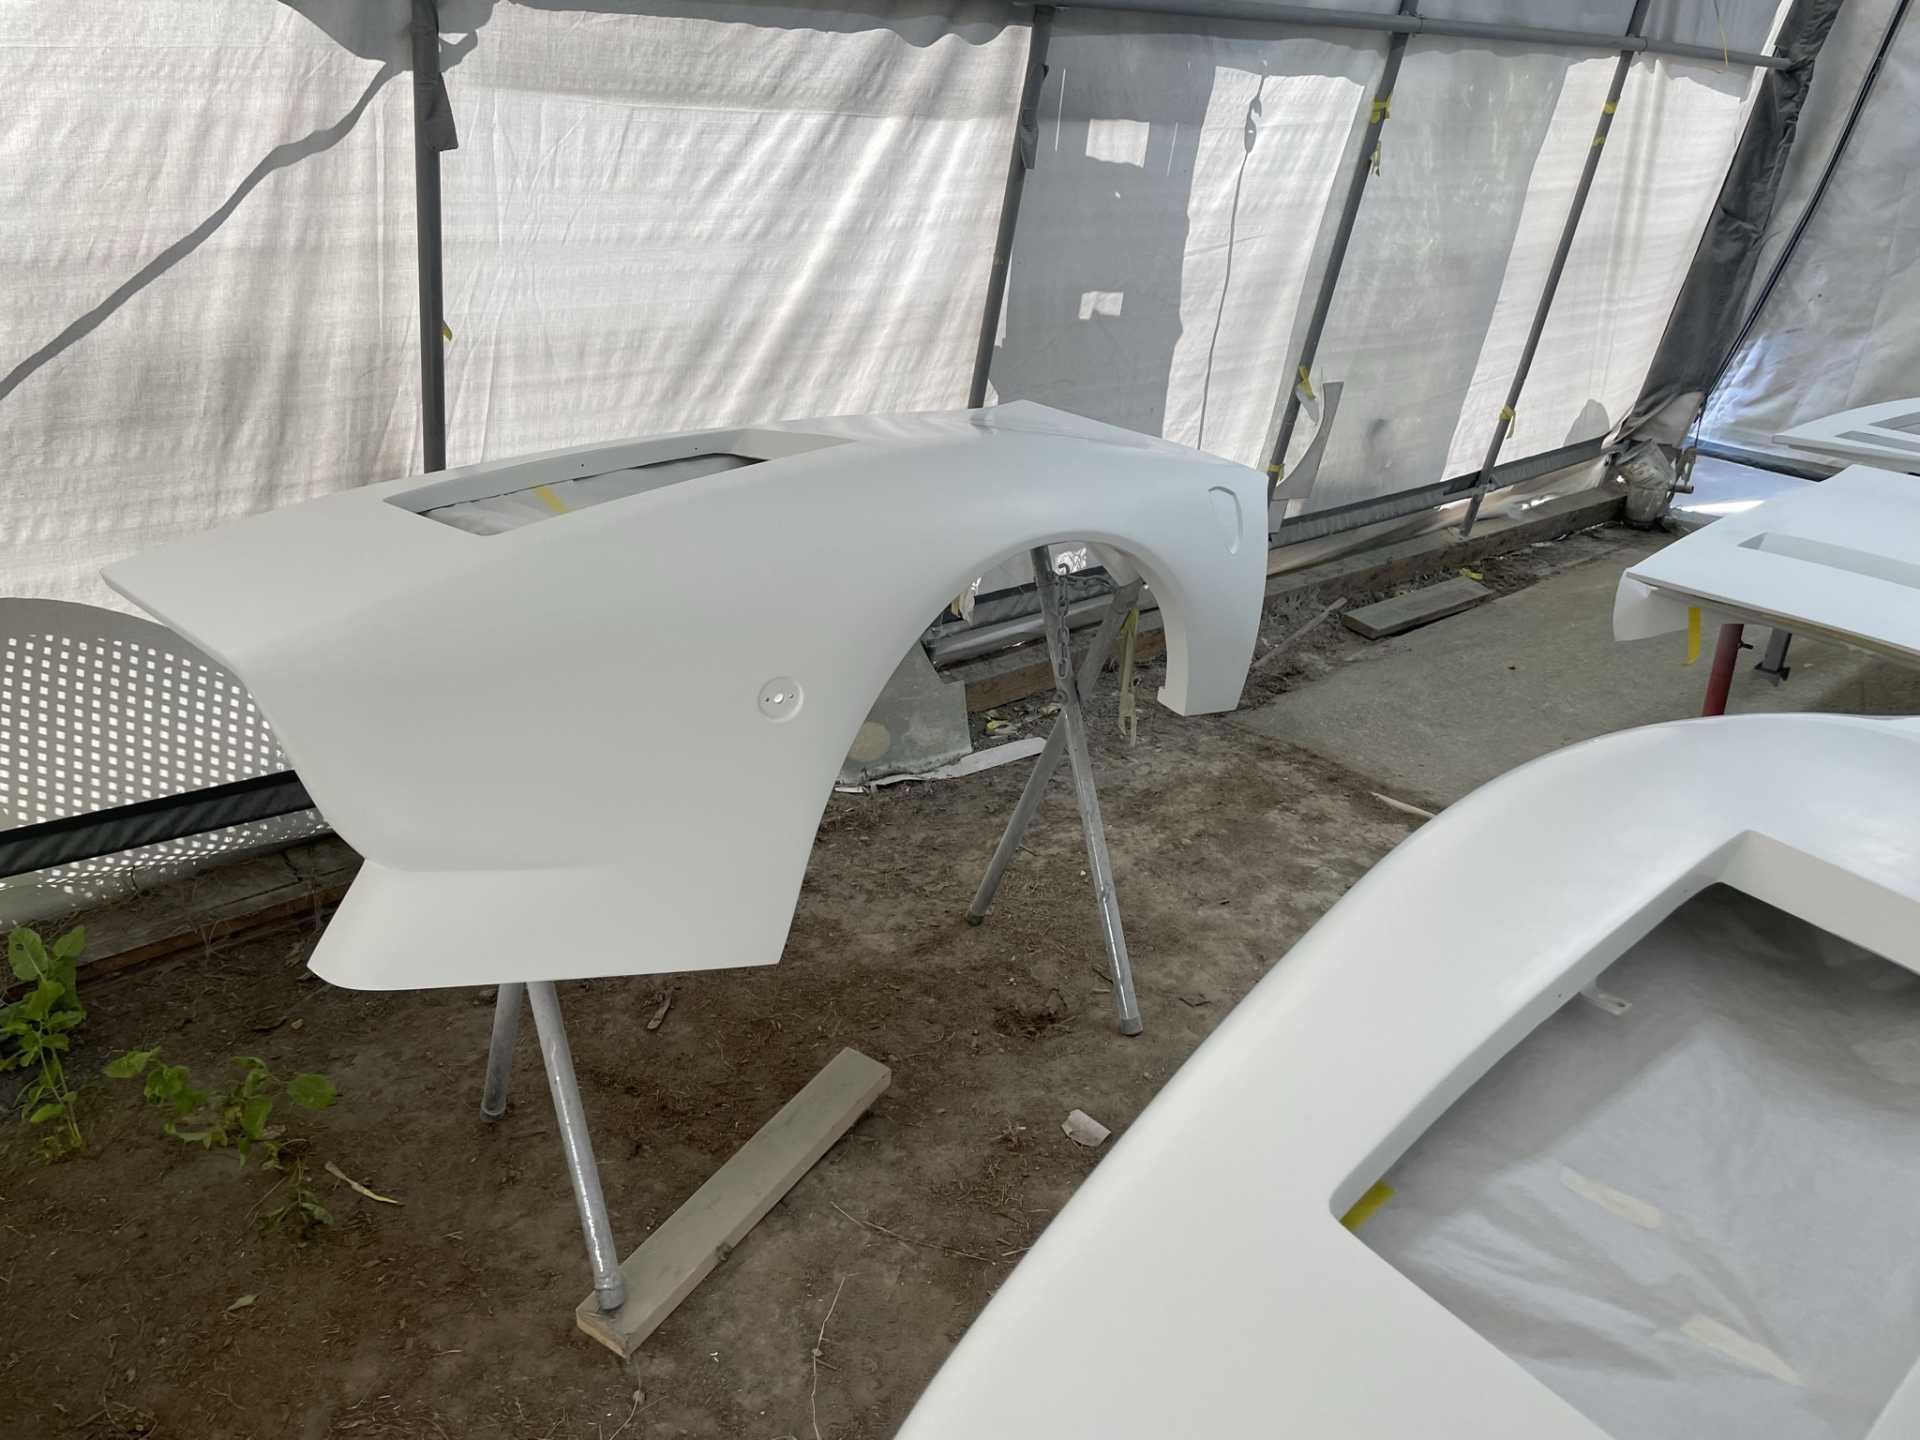
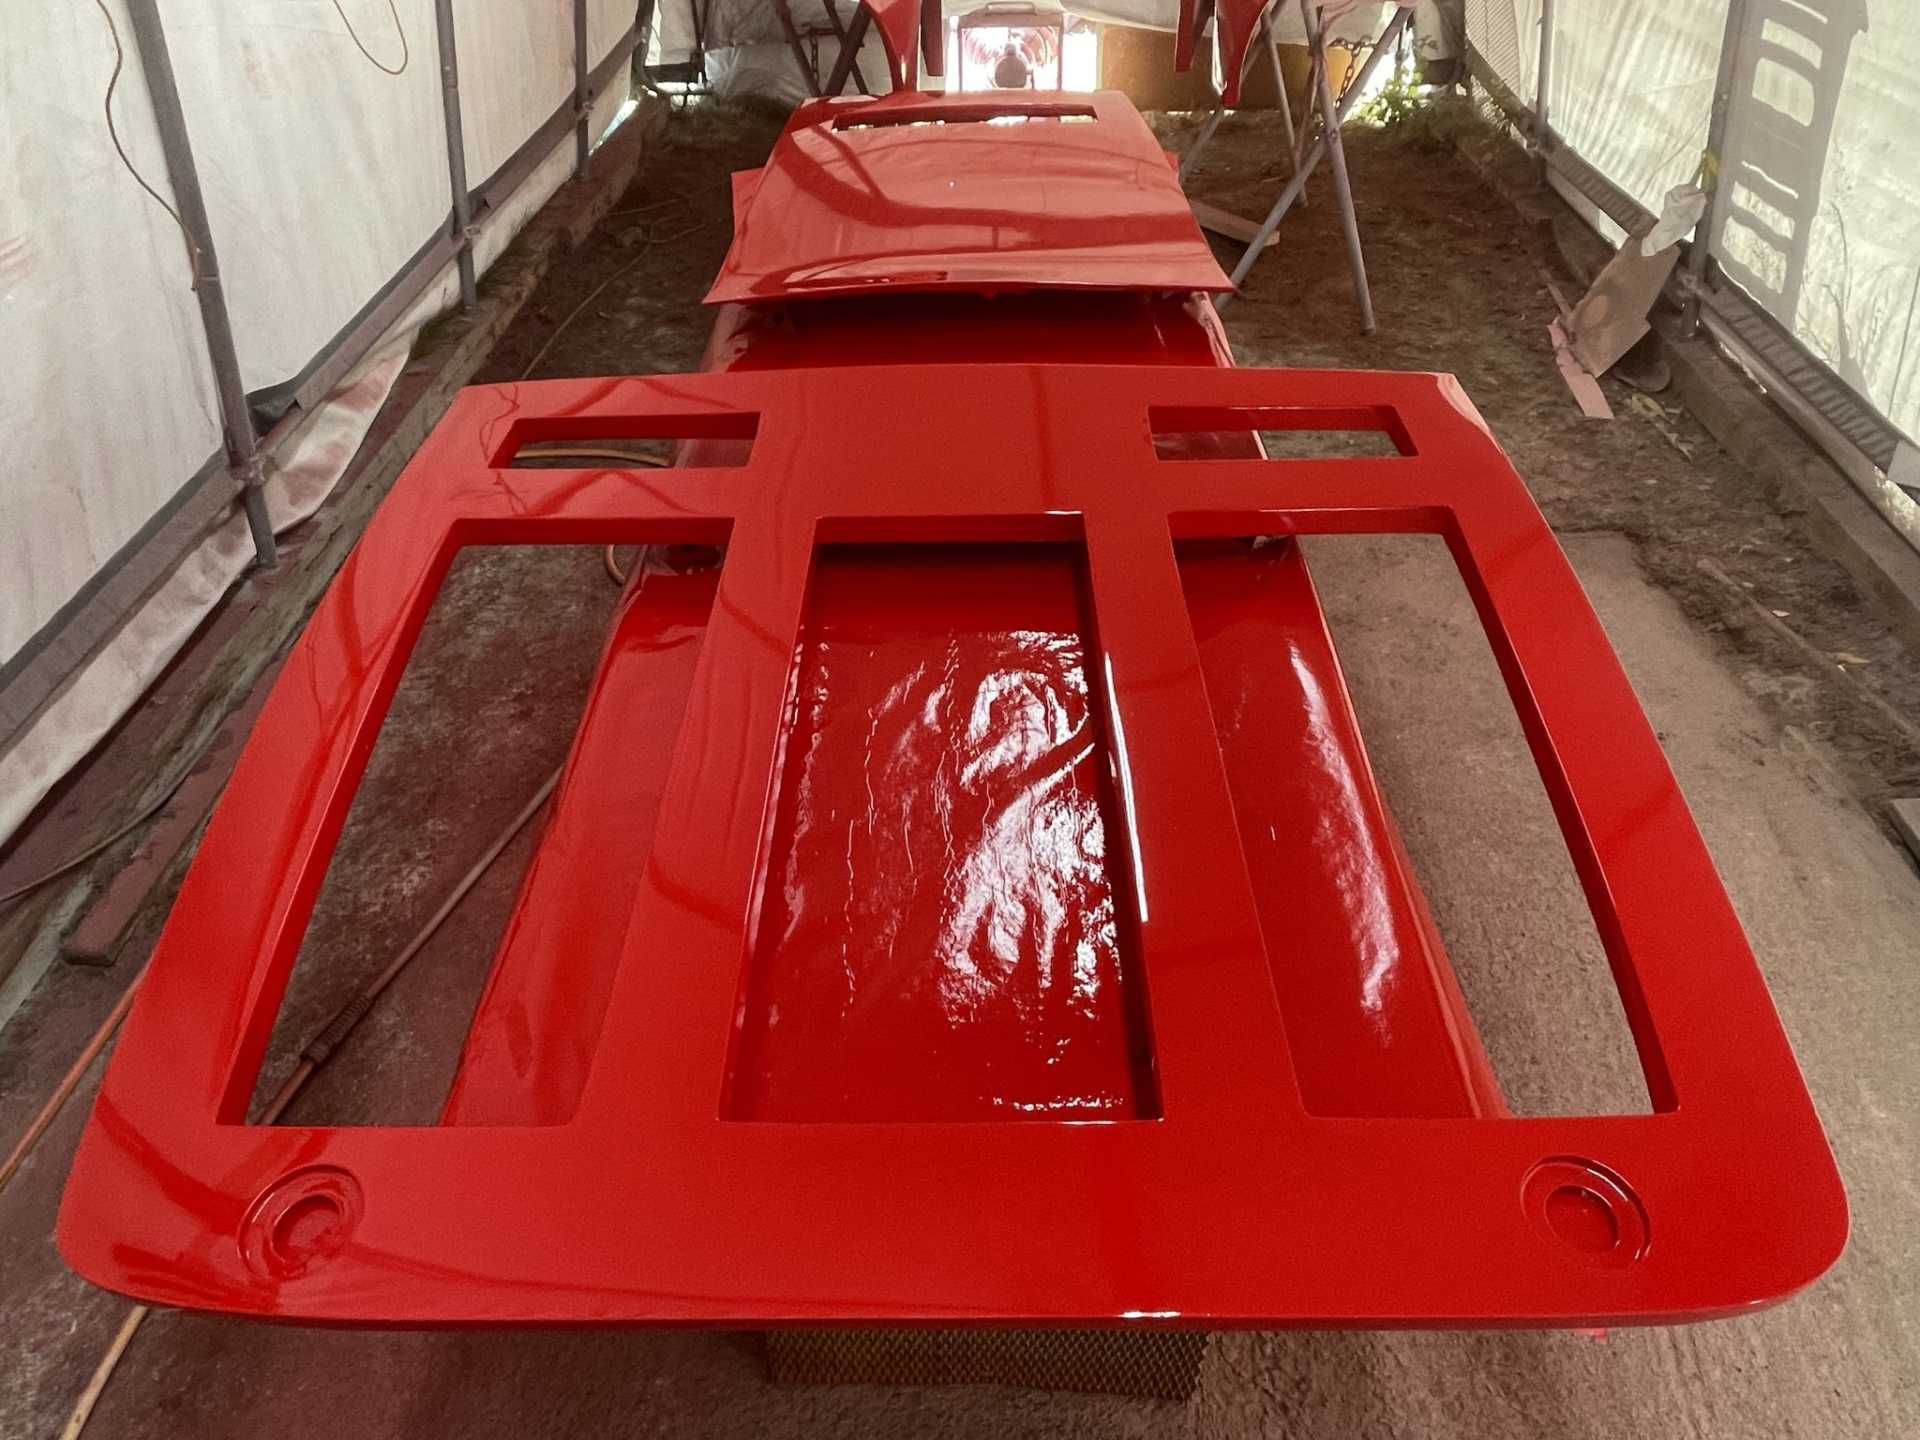
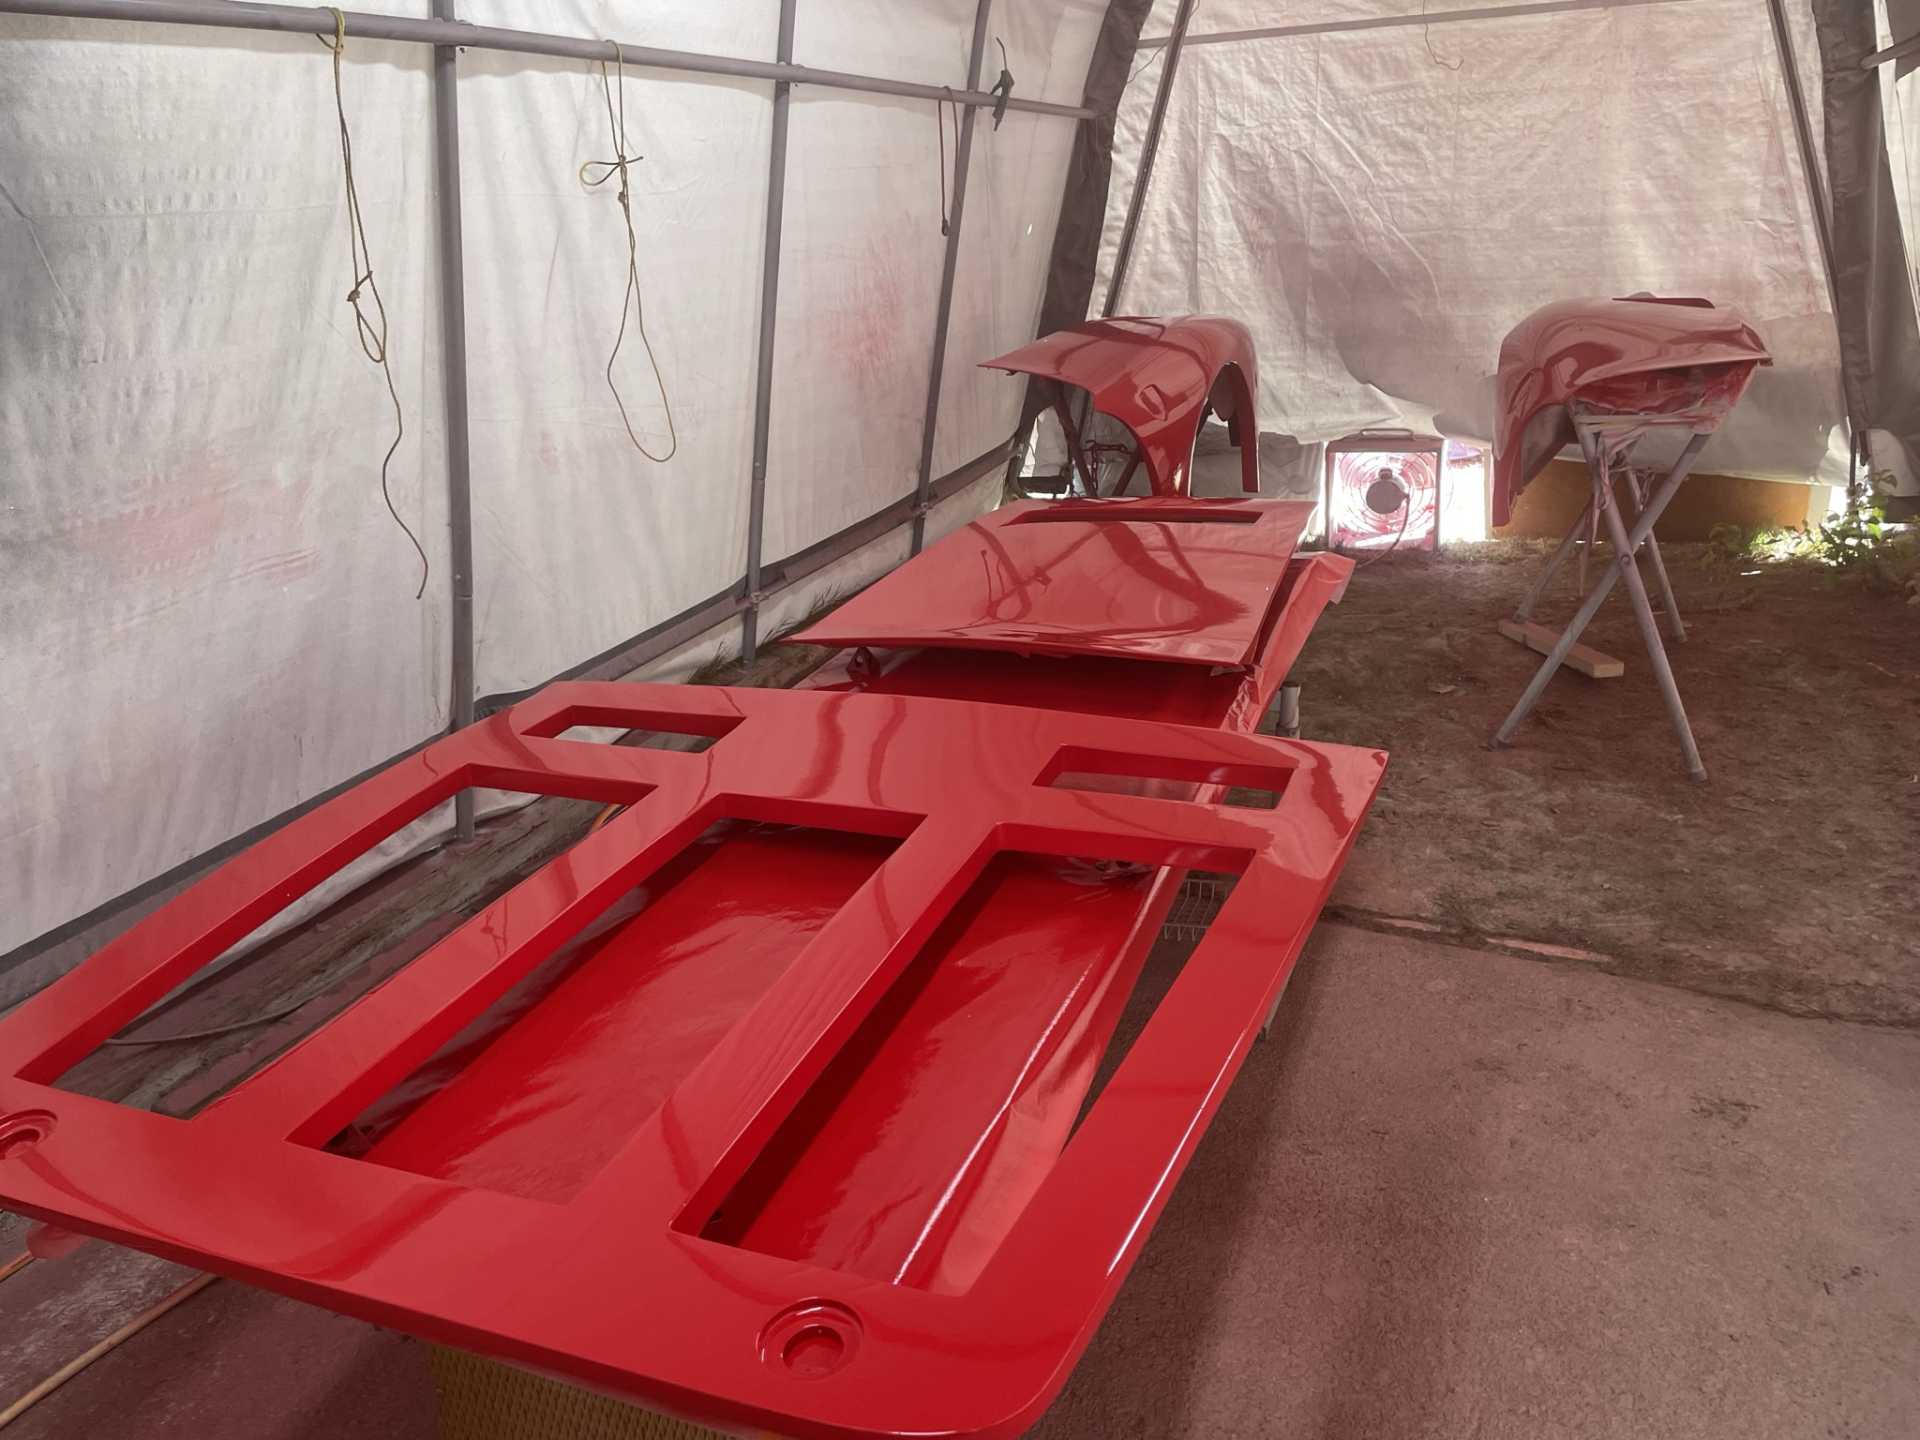
After that honey due project was completed, I was back to painting more body panels
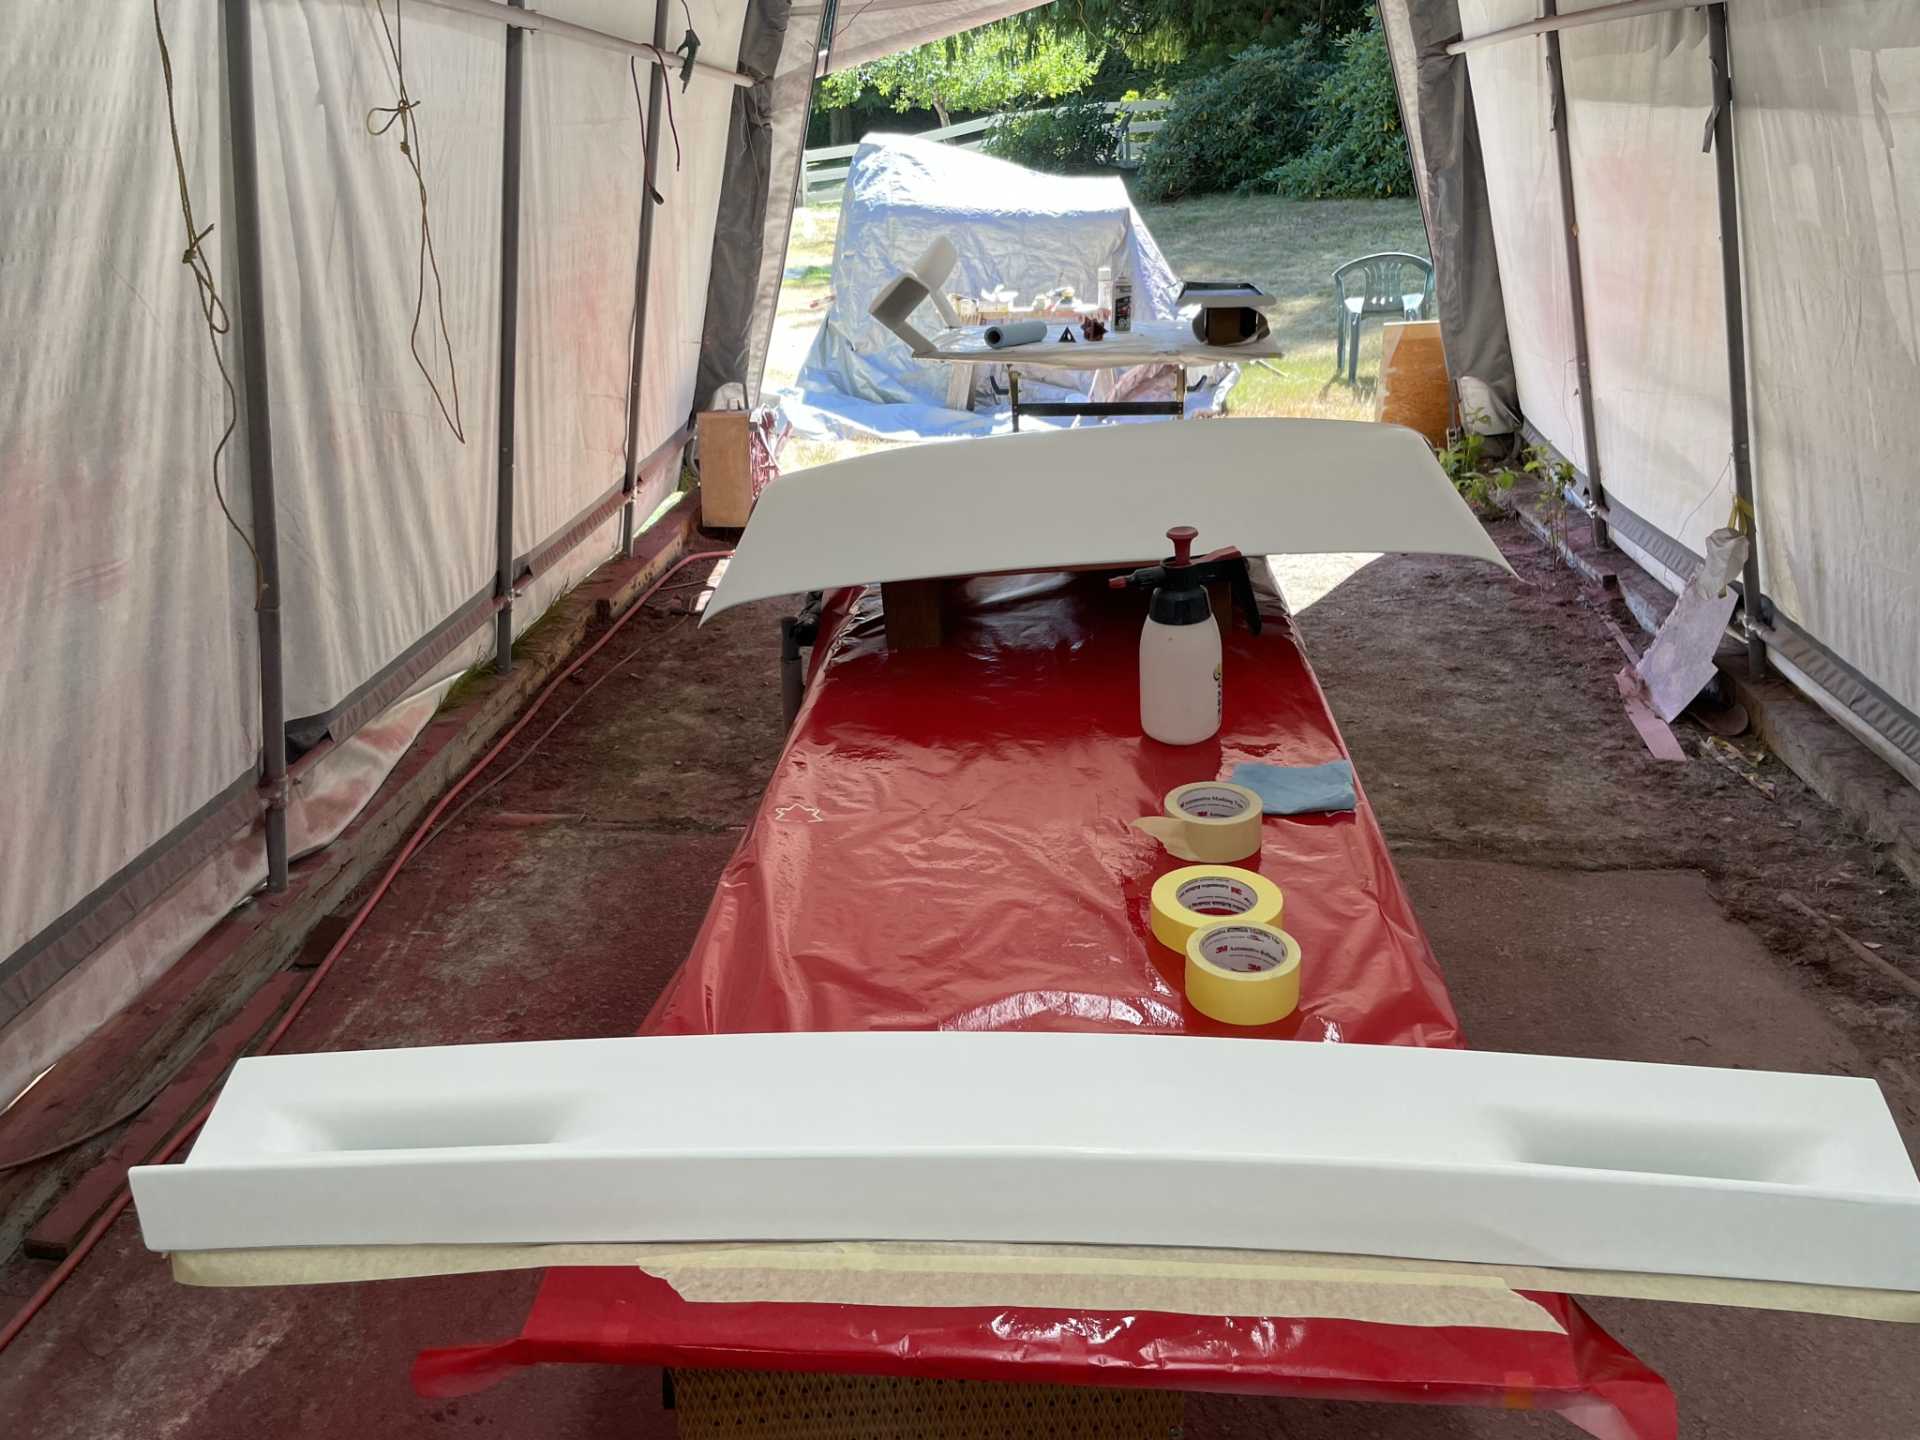
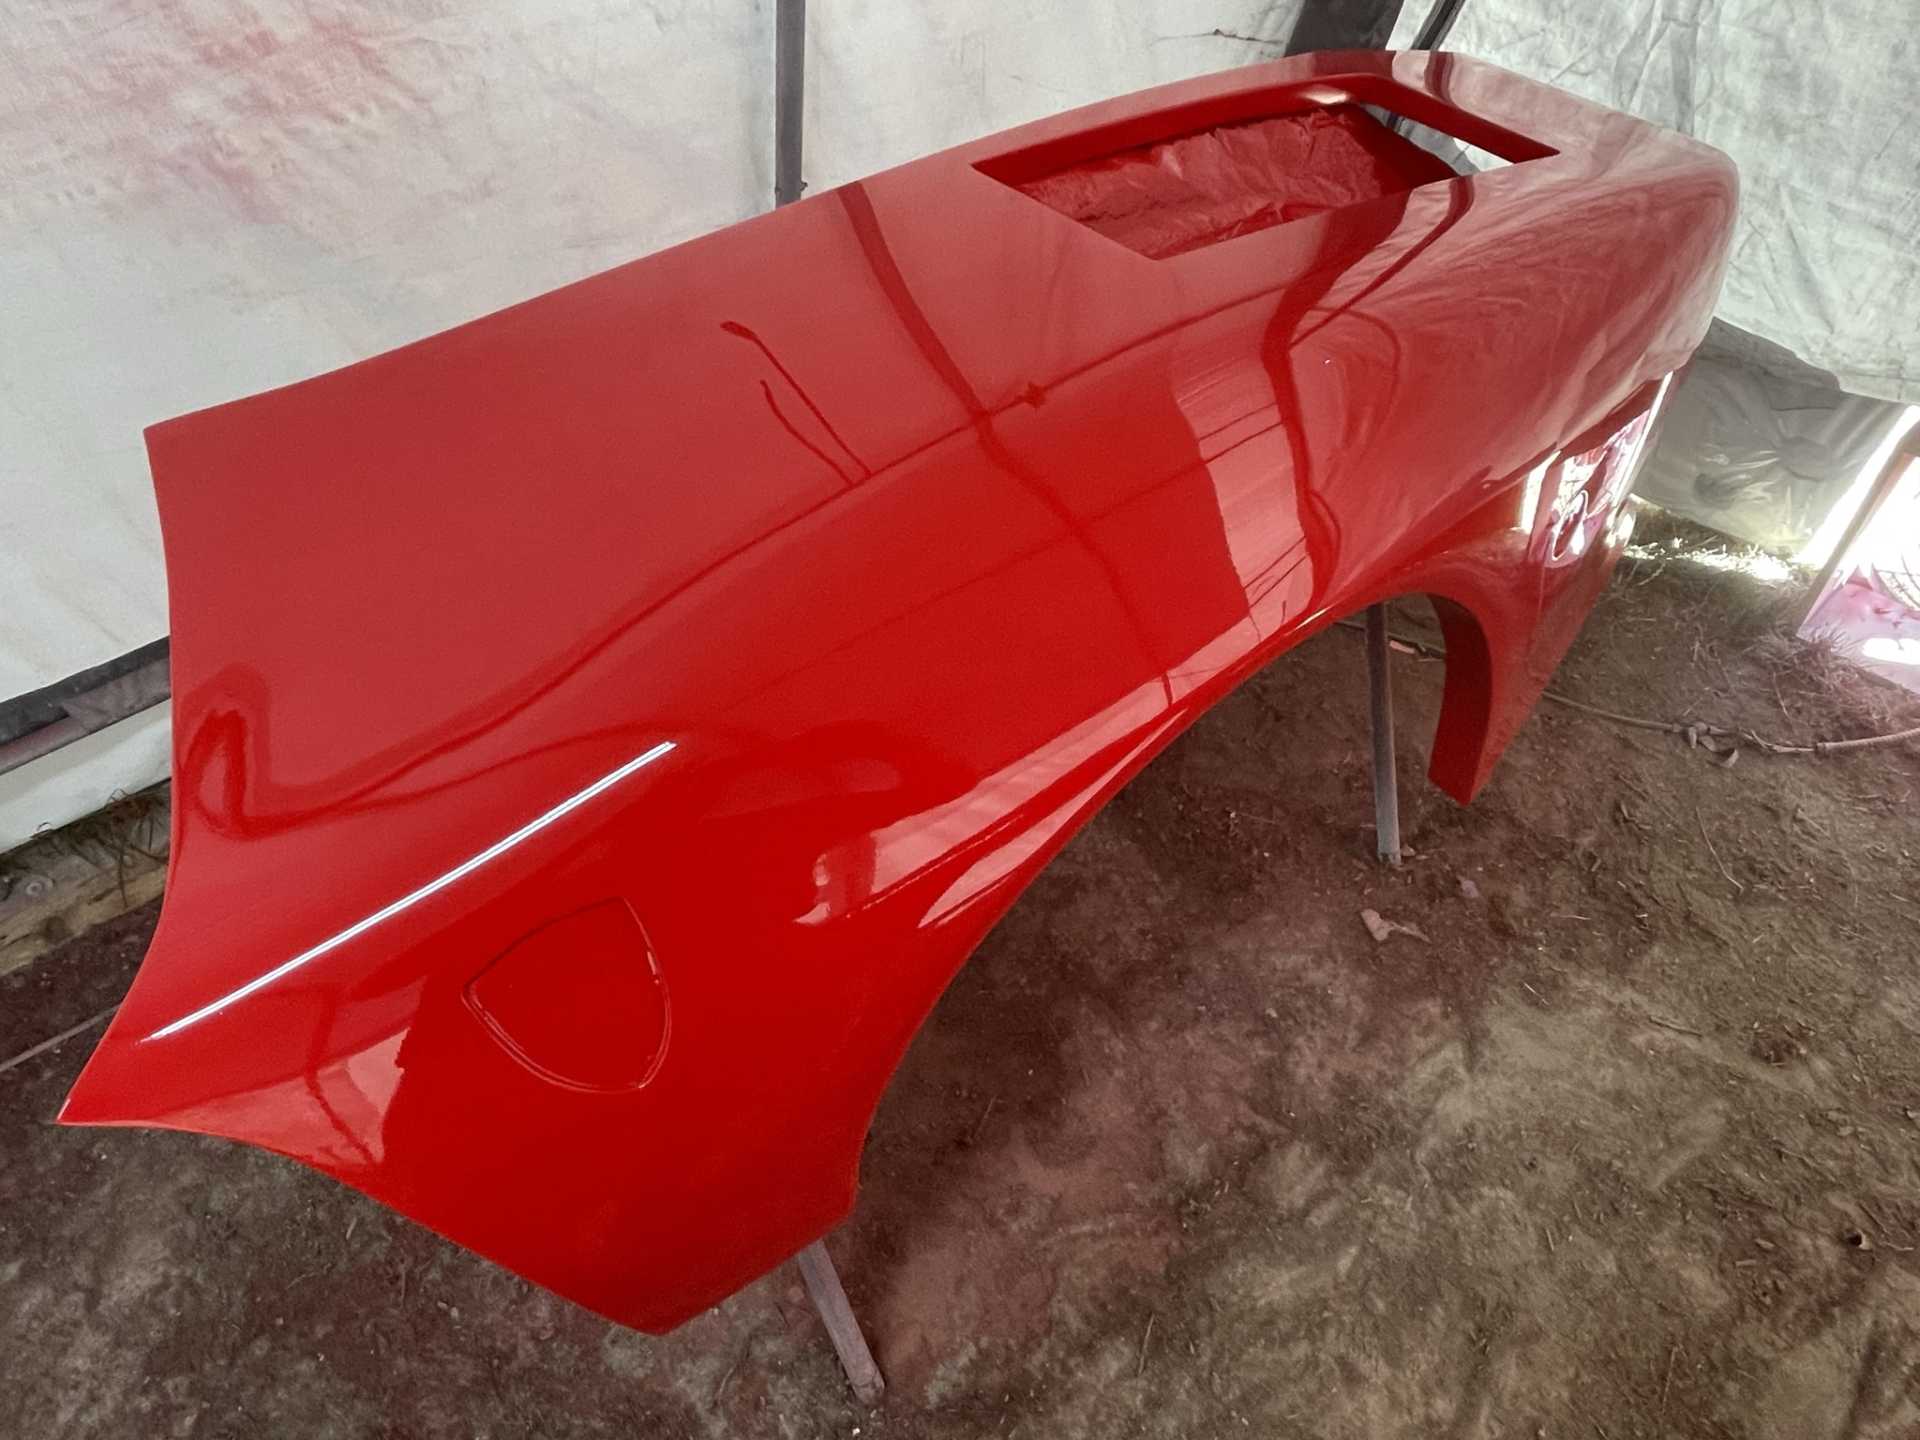
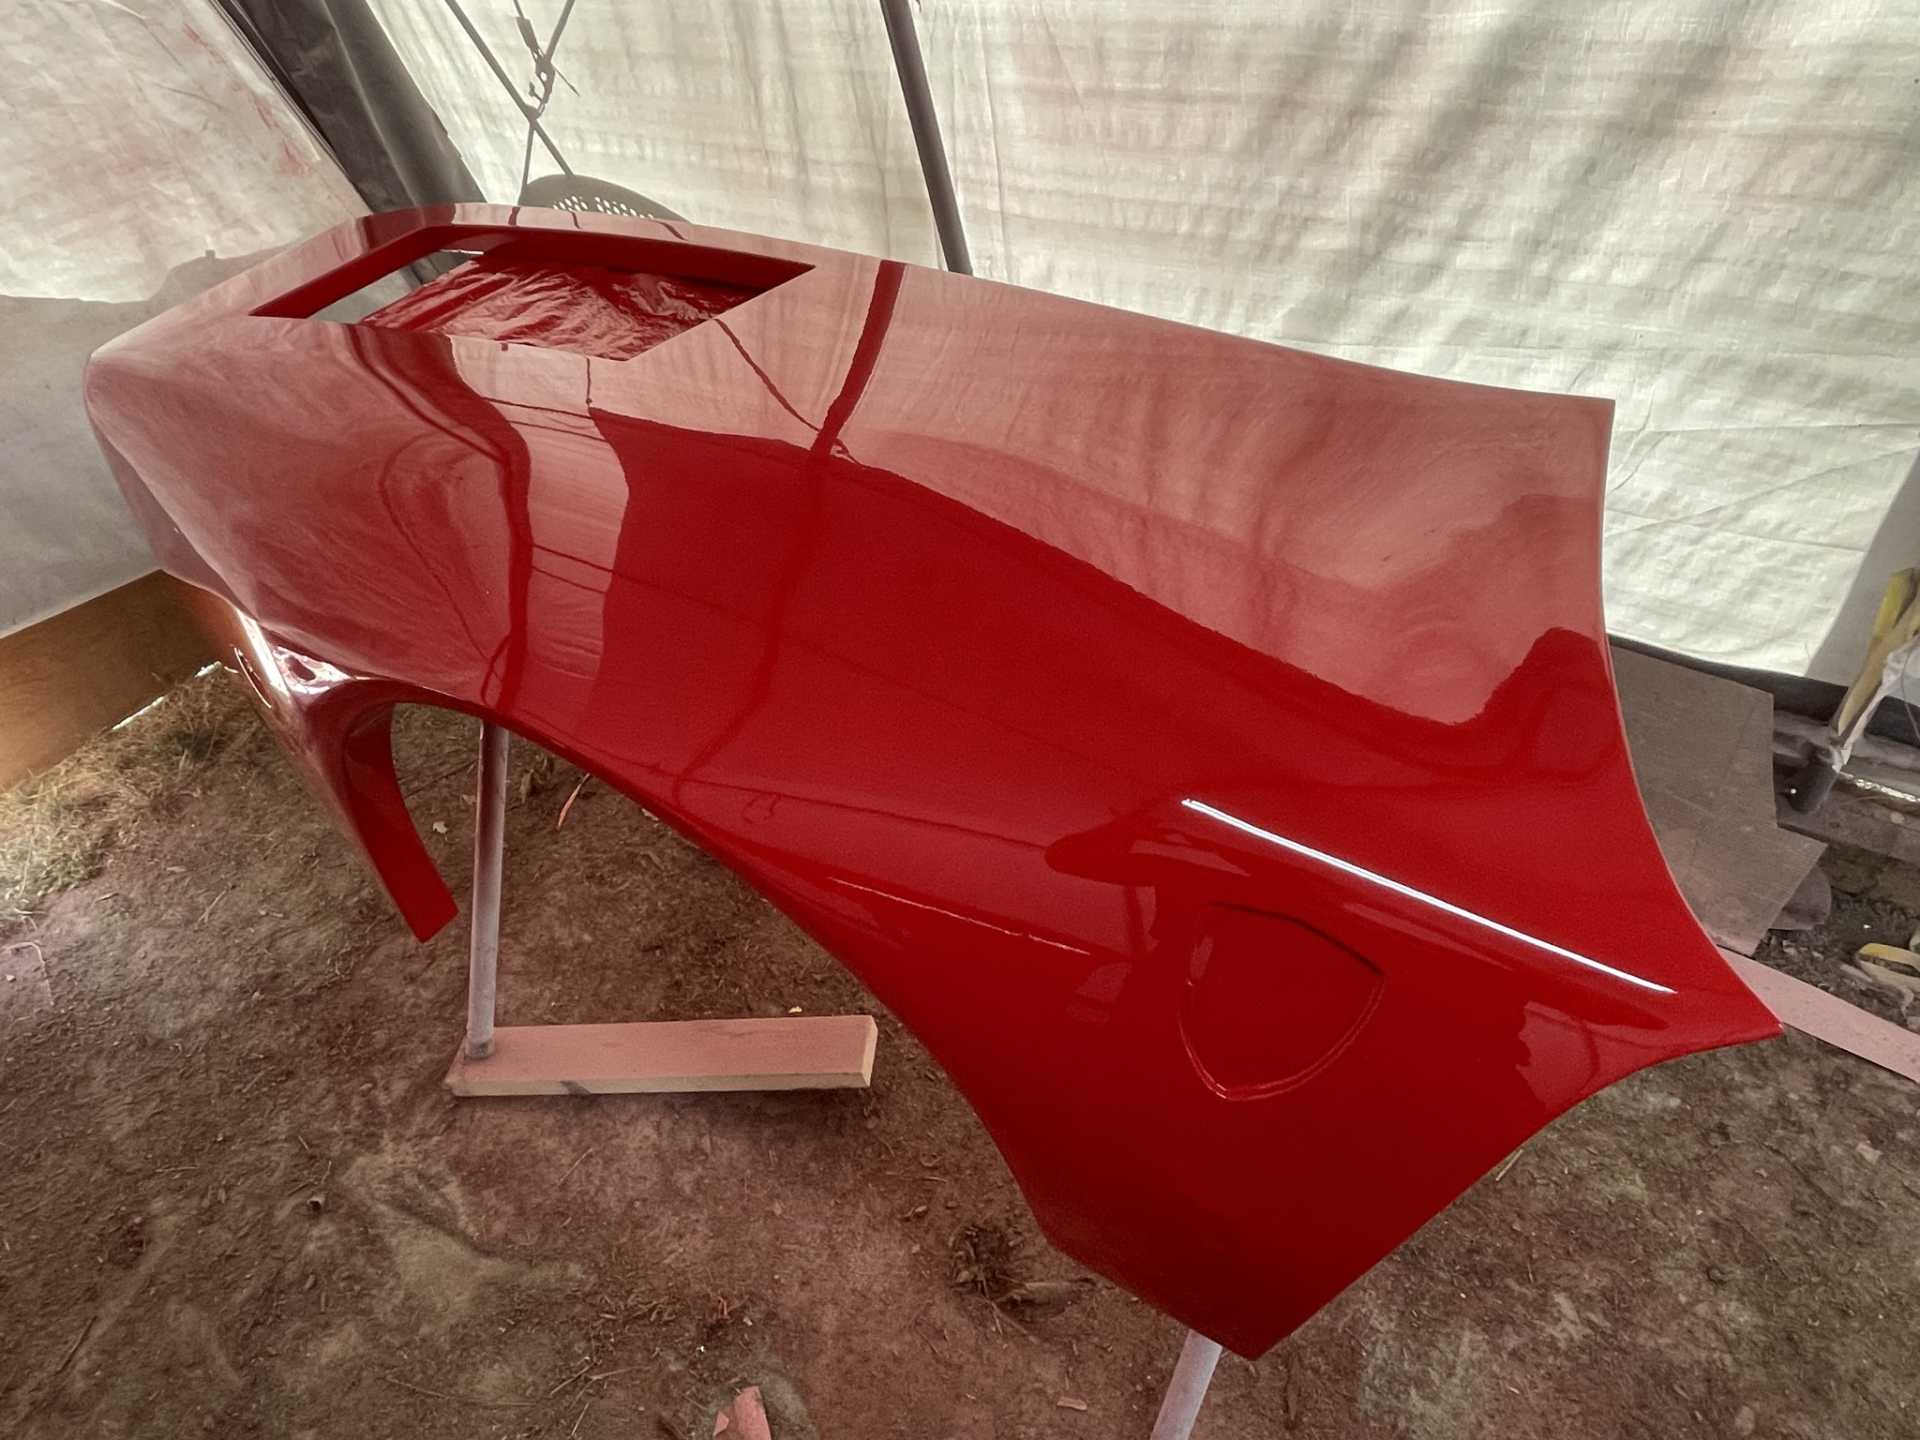
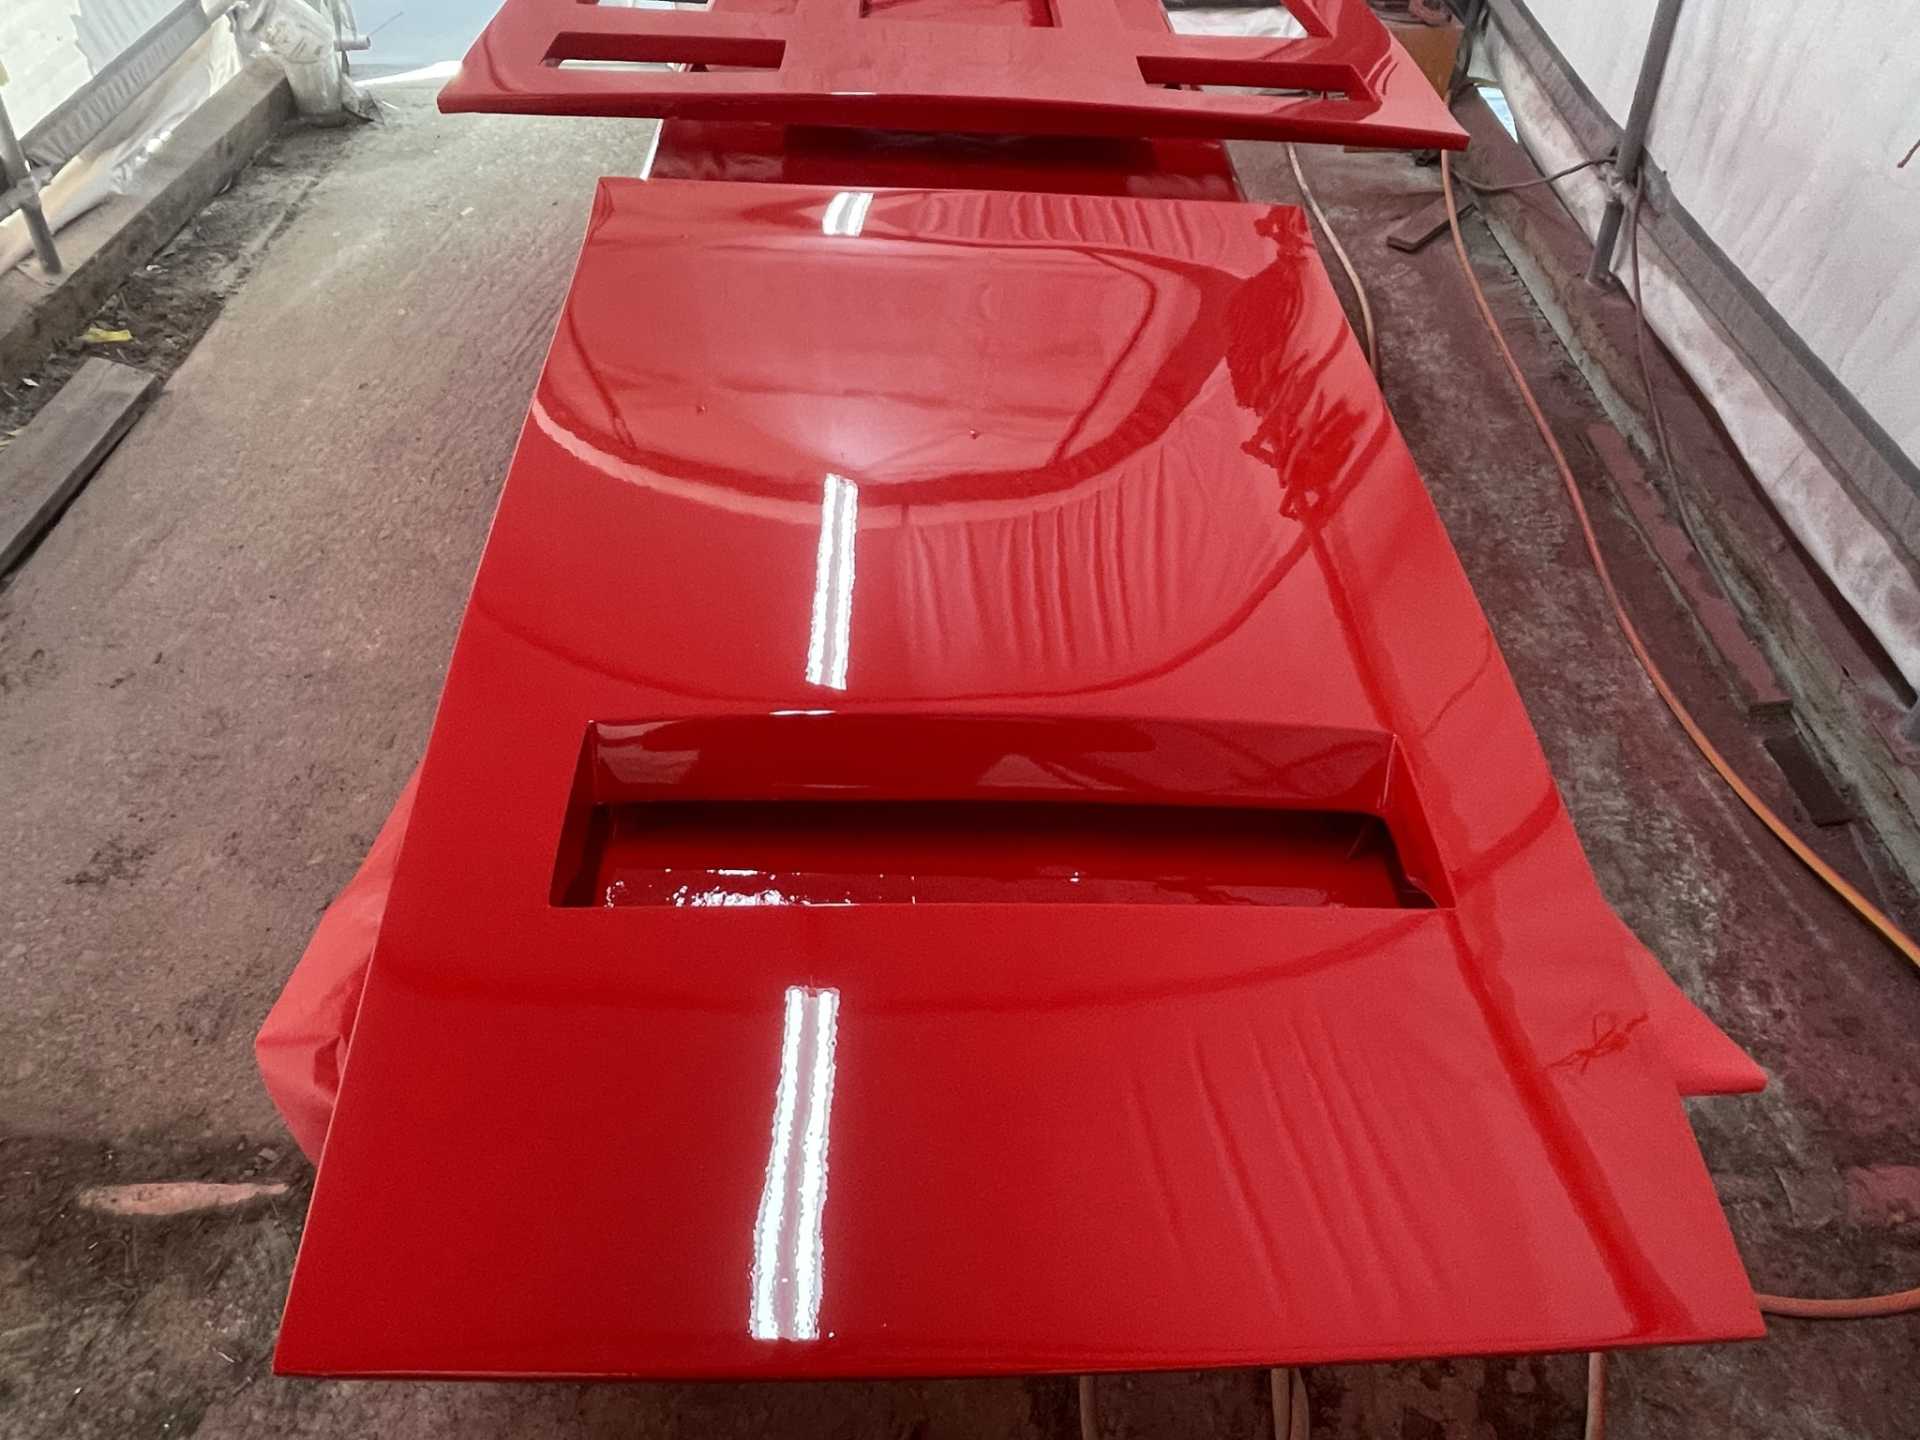
As before I sanded all the pieces to 800 grit and put down some more gorgeous Rosso Corsa.
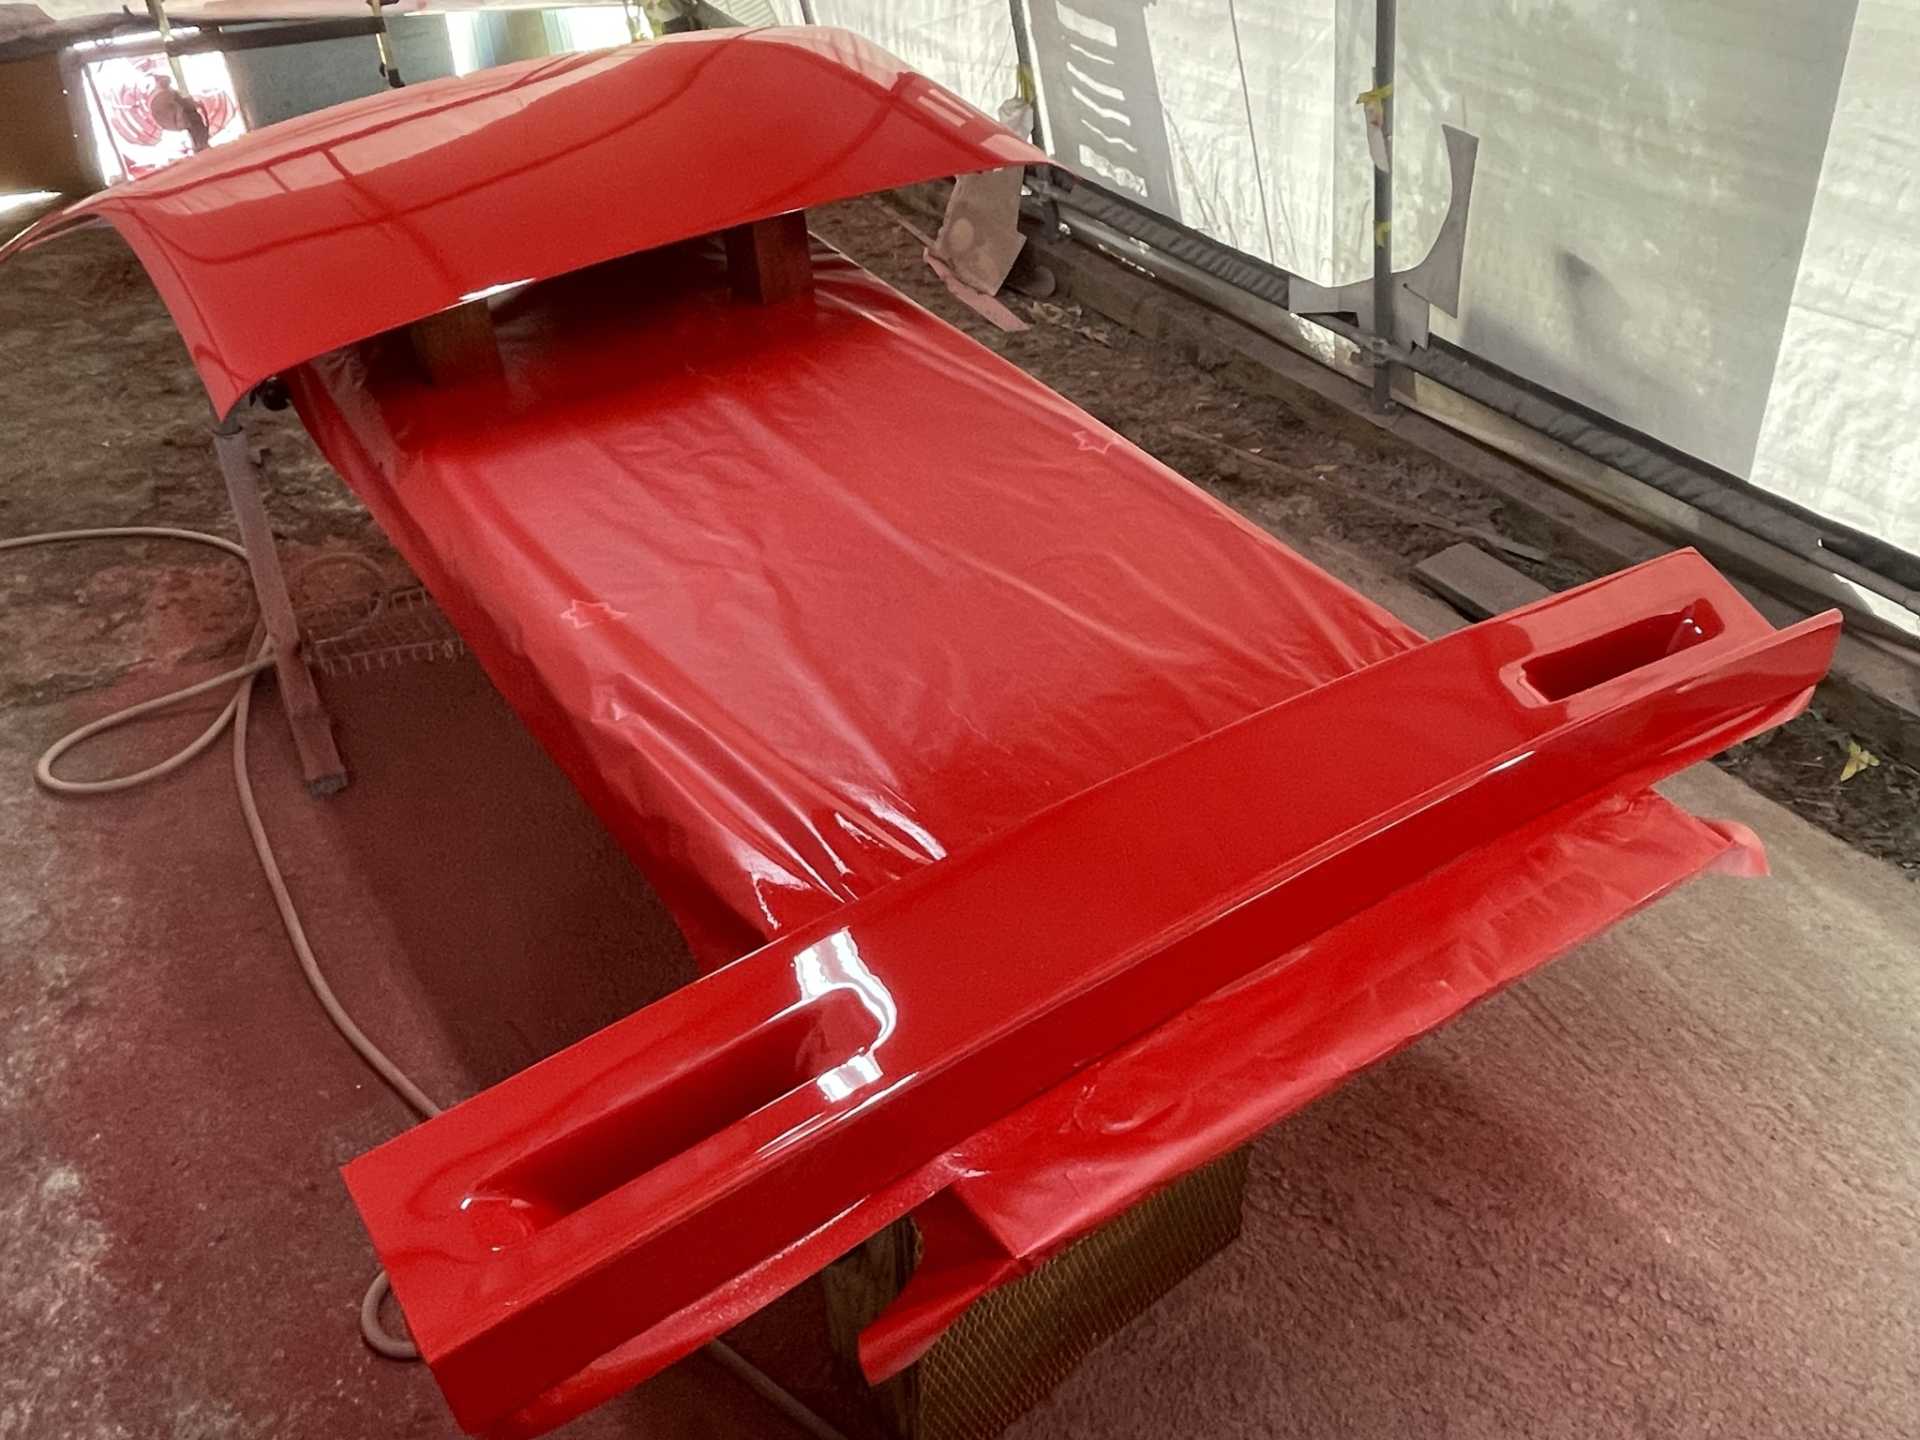
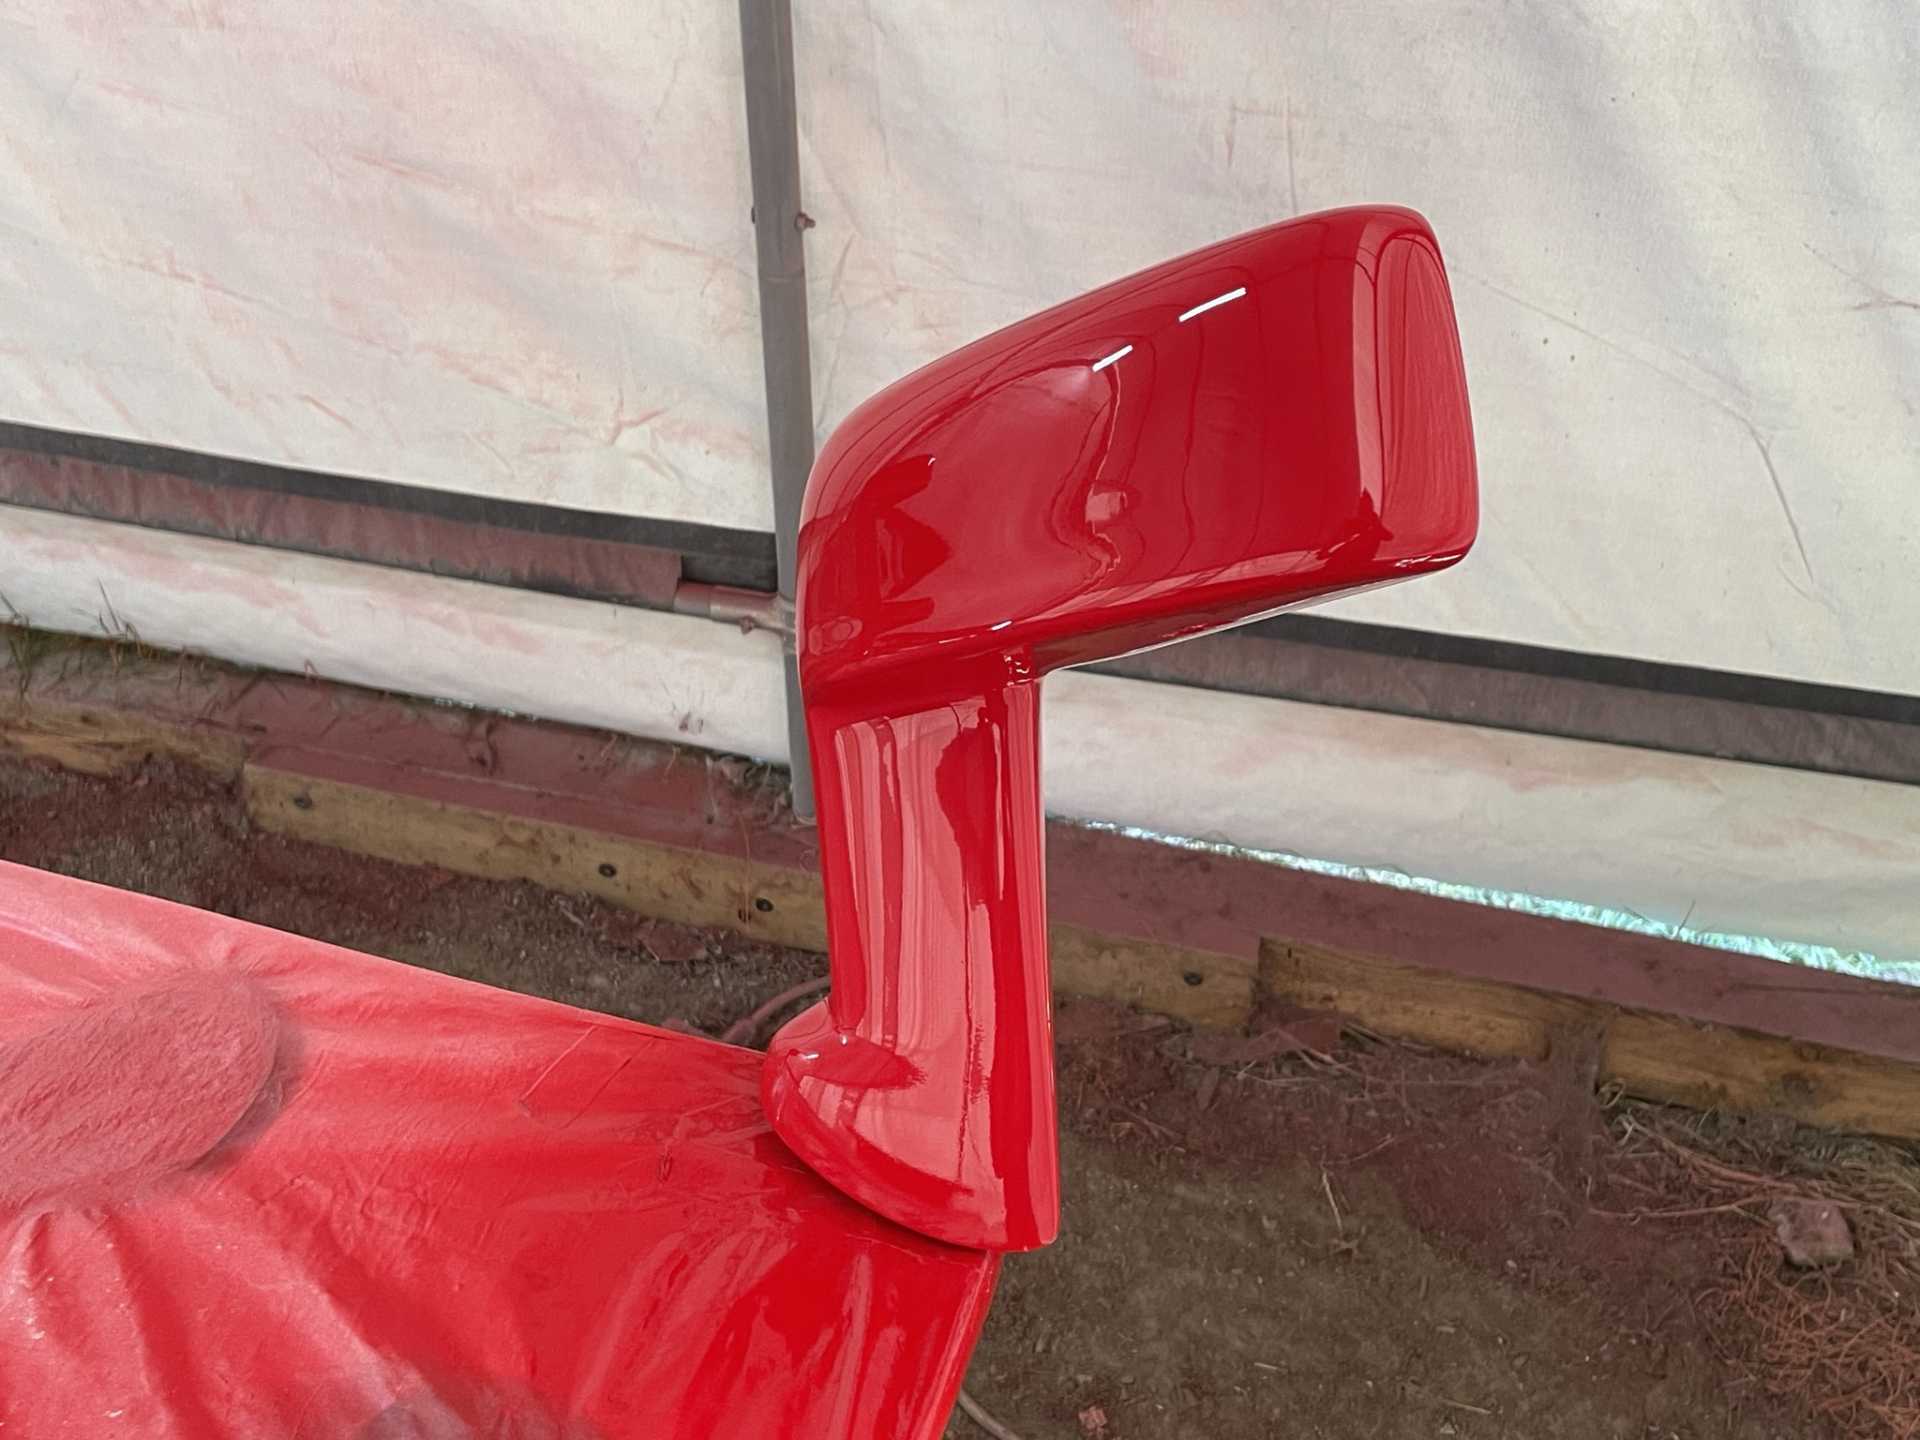
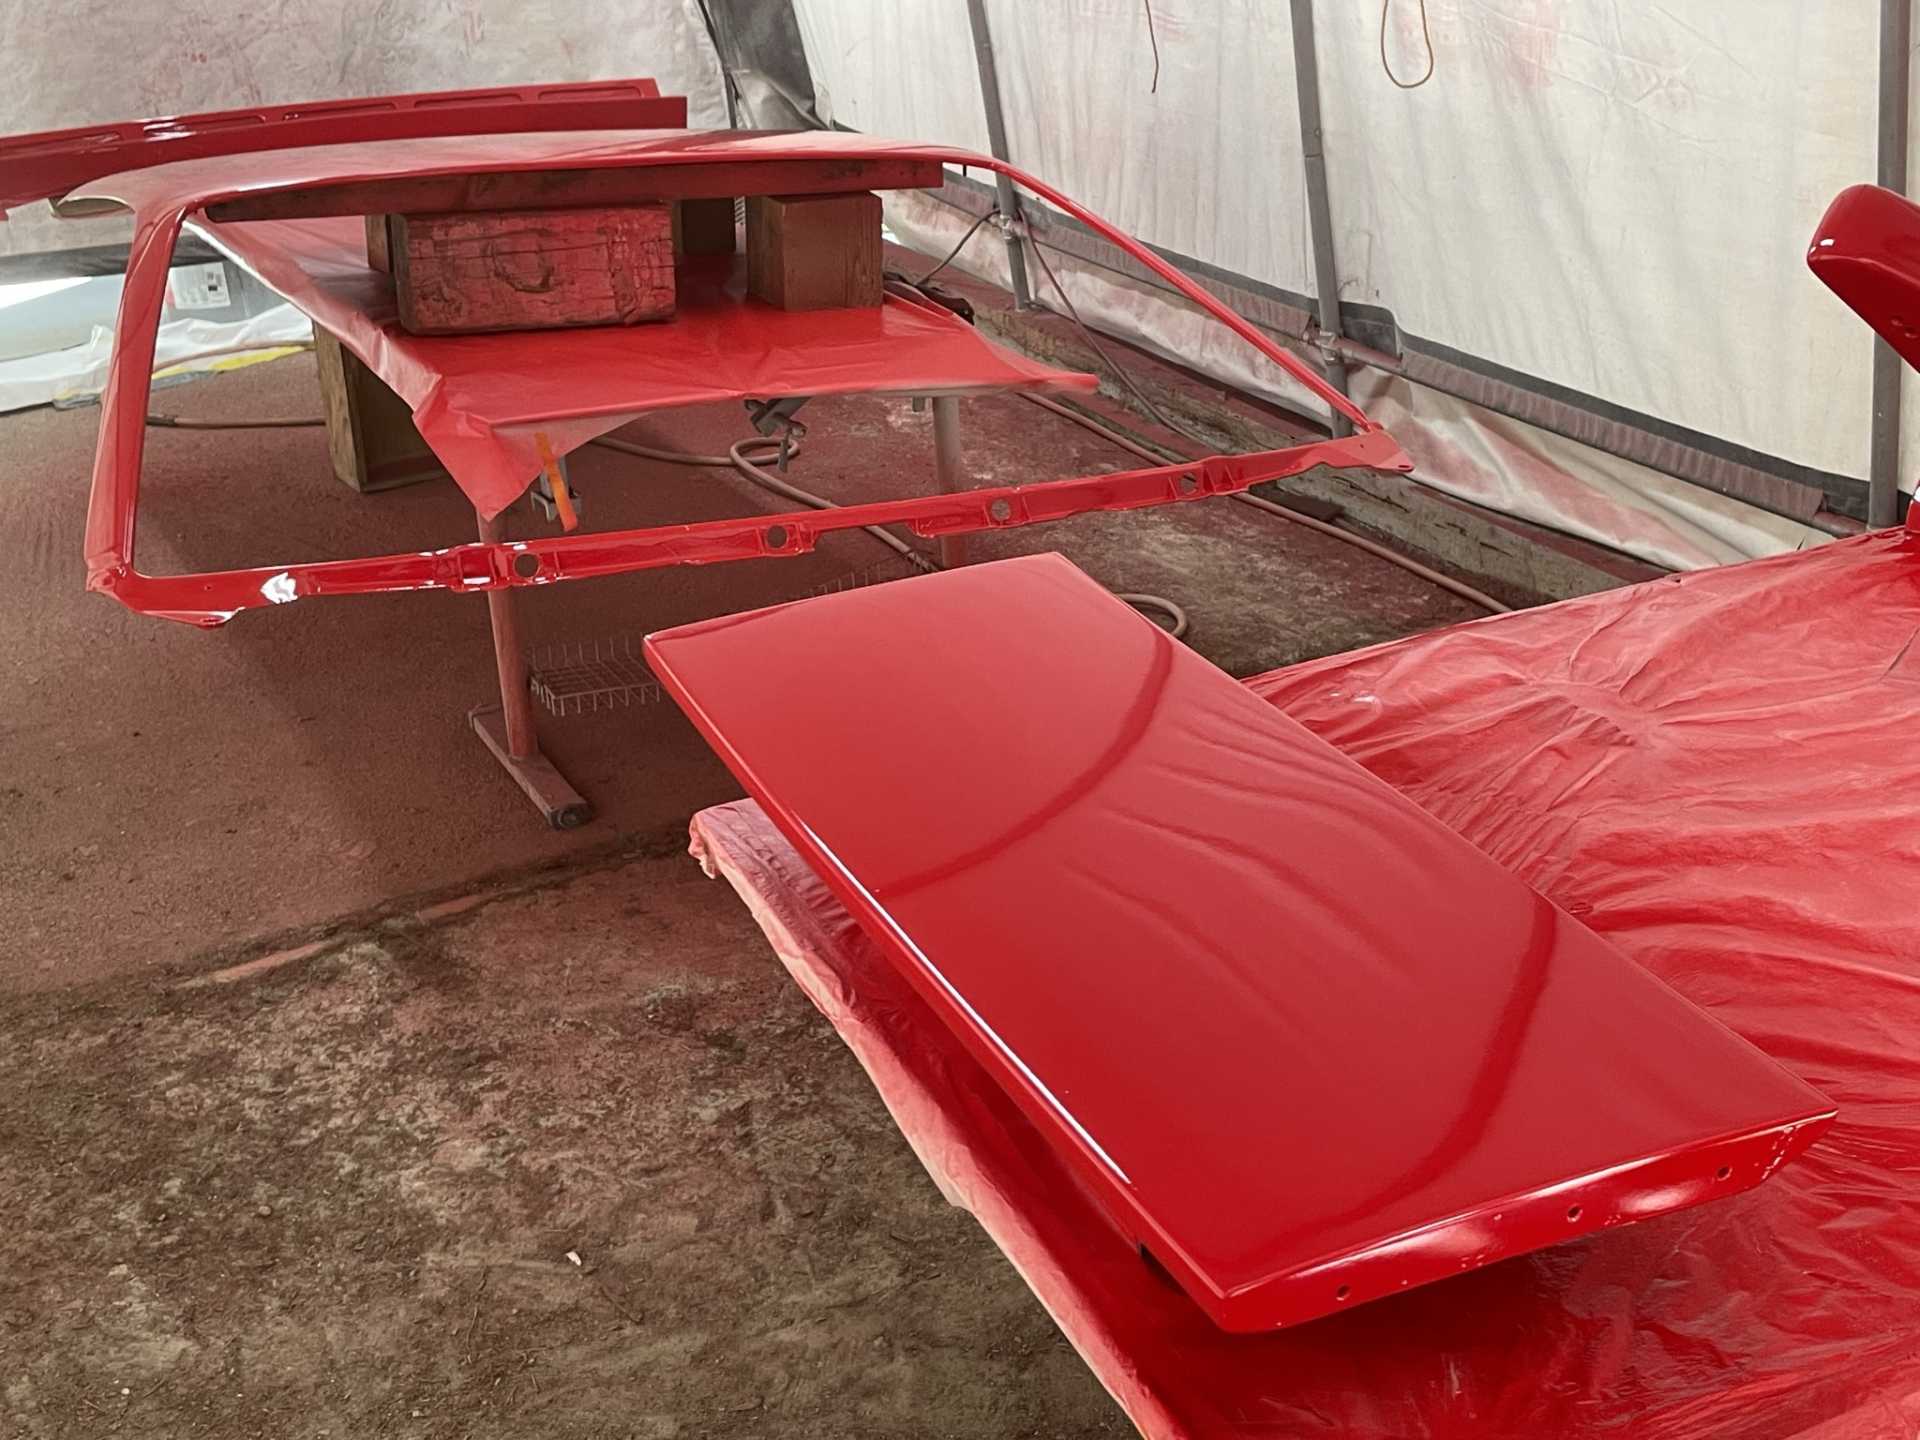
I never realized how beautiful it is in sun light as it takes on an almost crimson red tone.
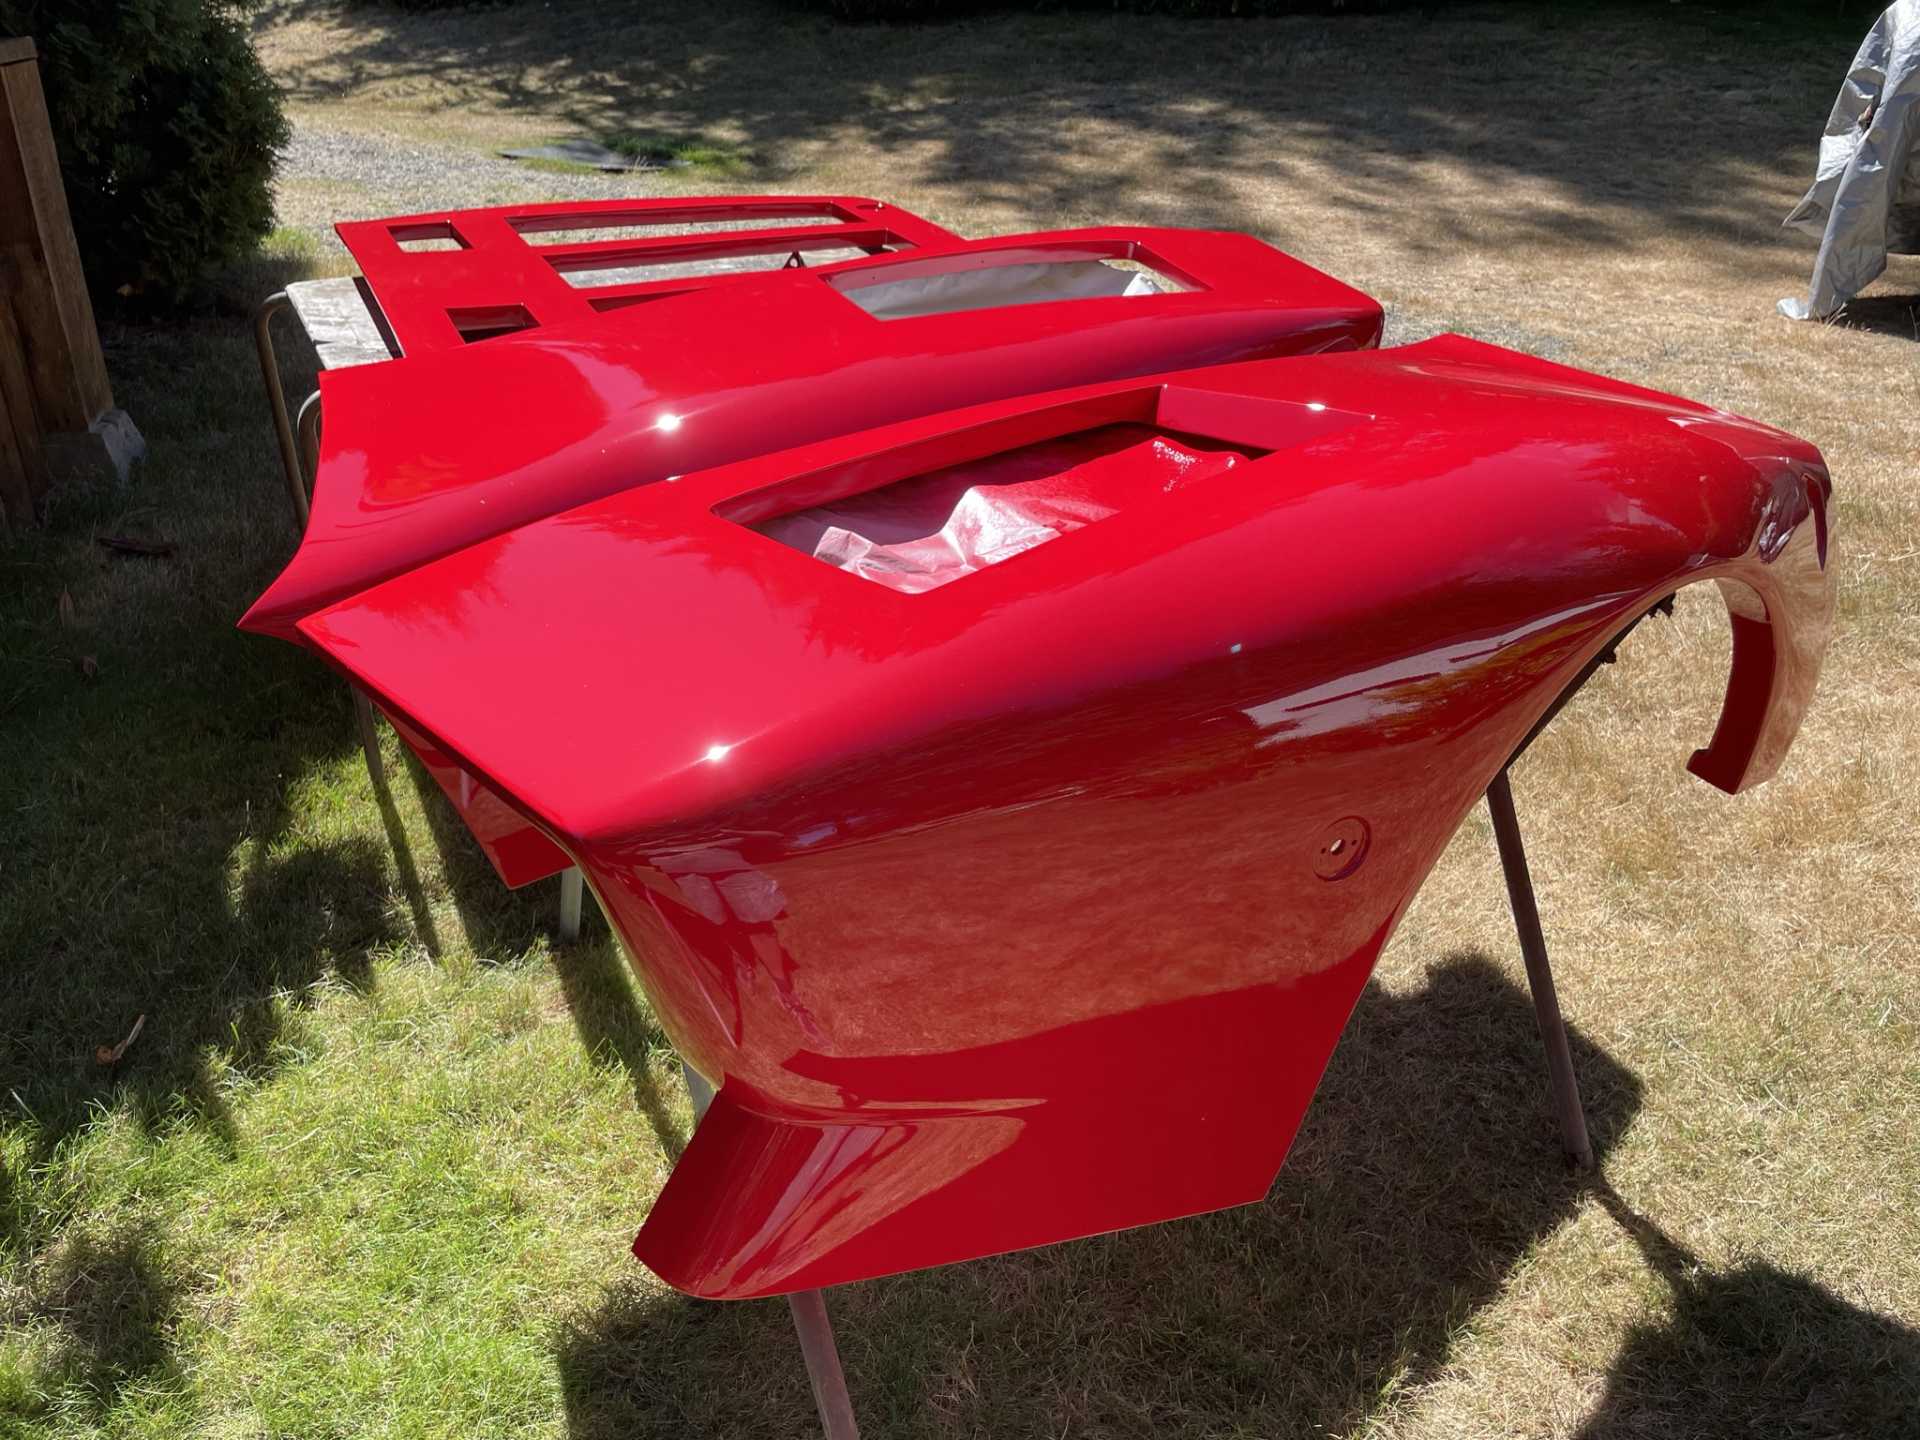
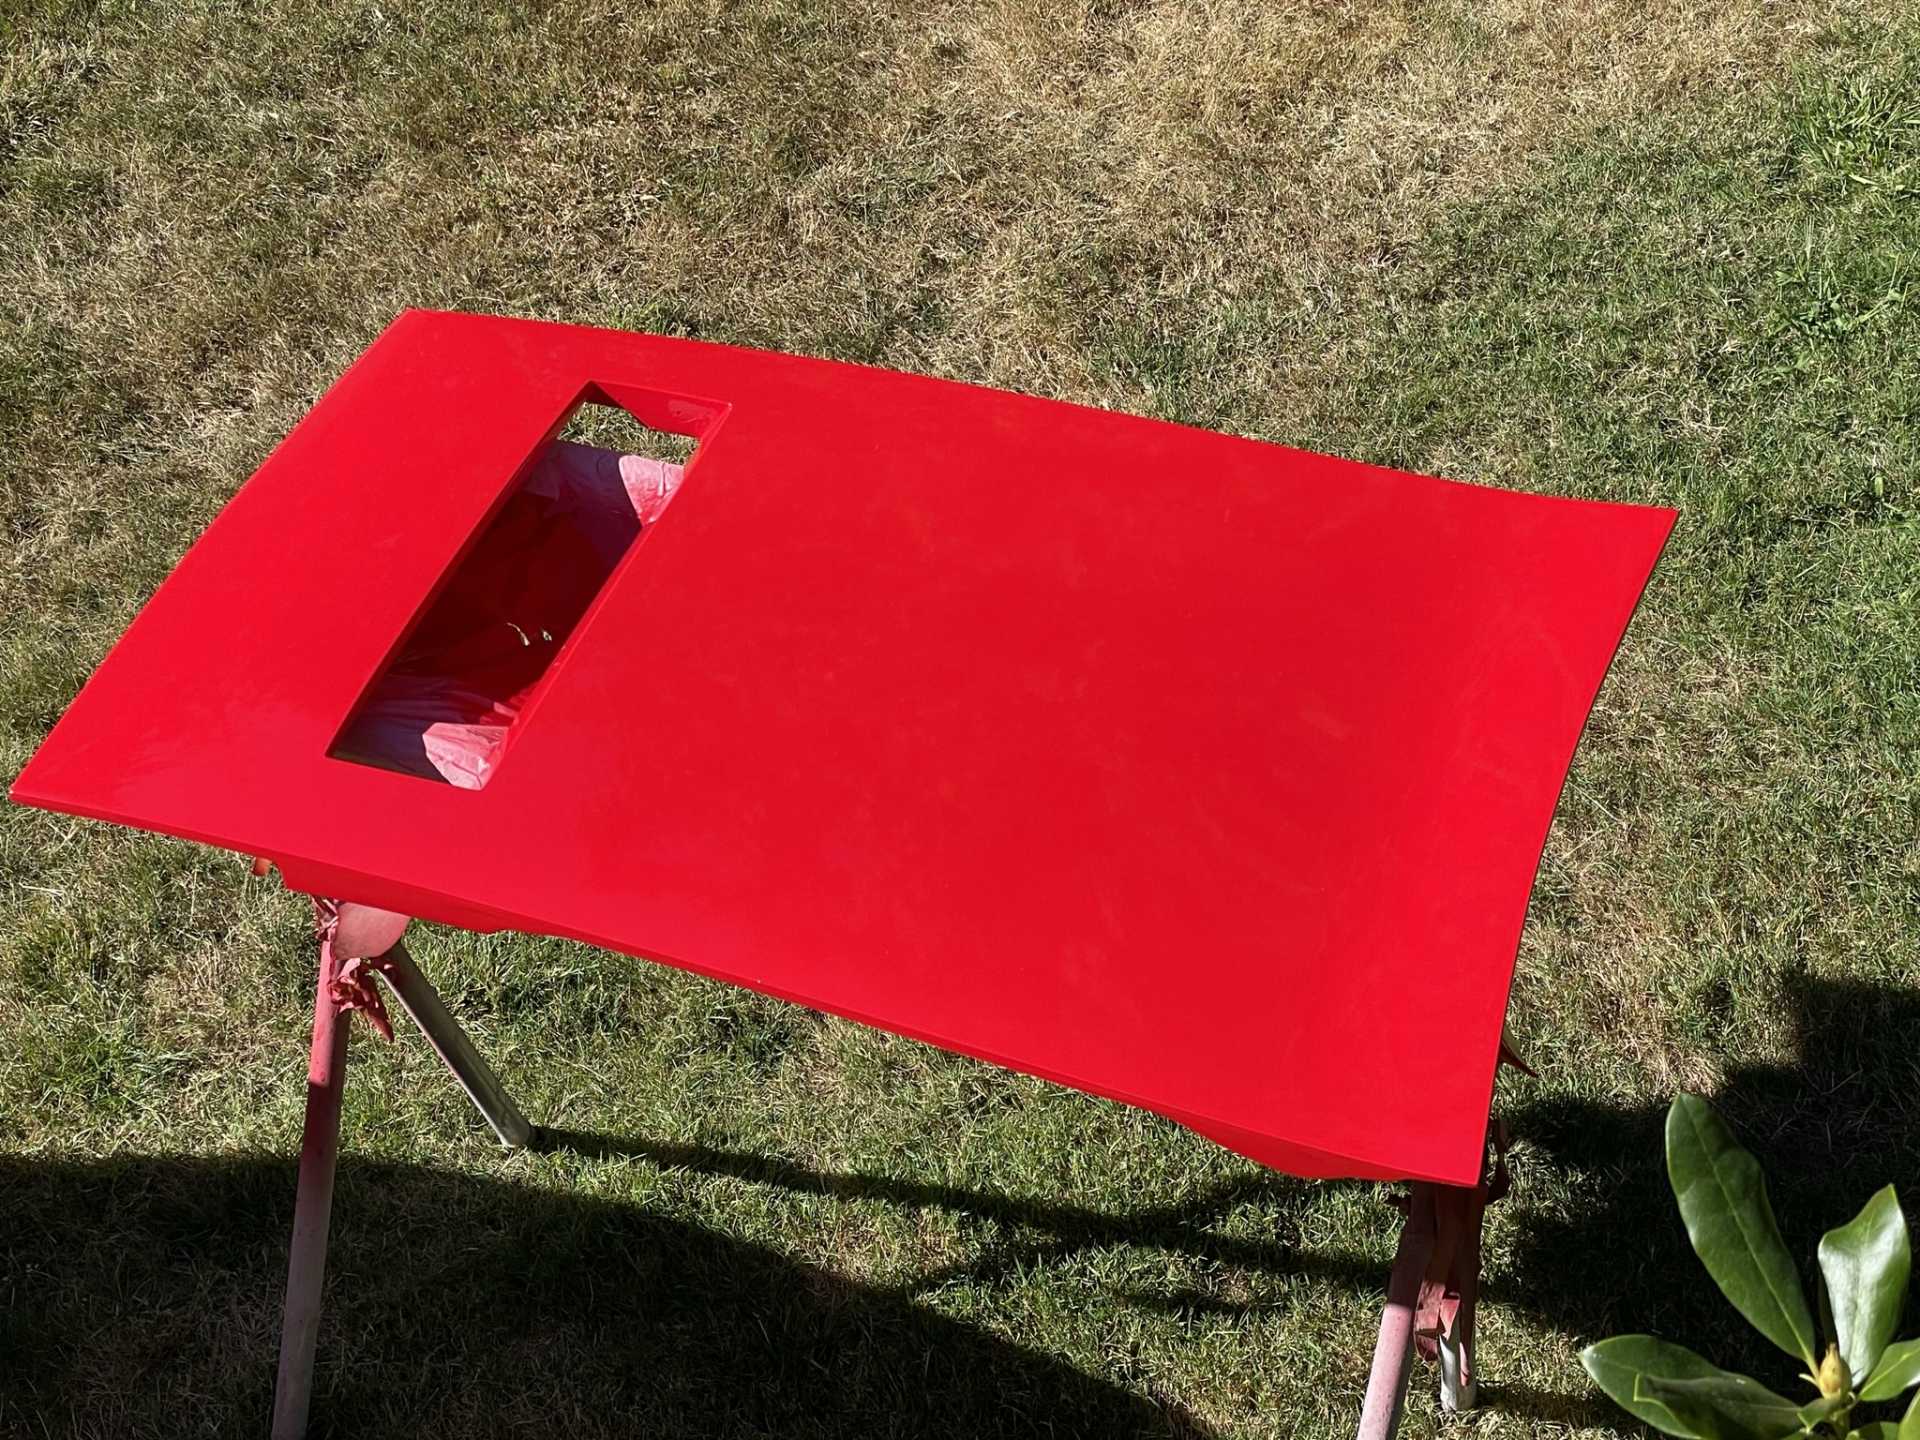
I’m leaving the parts to cure a couple weeks before preparing them to clear coat everything after it’s installed on the car.
In the mean time I also prepared the chassis for the body panels and painted it hot rod black
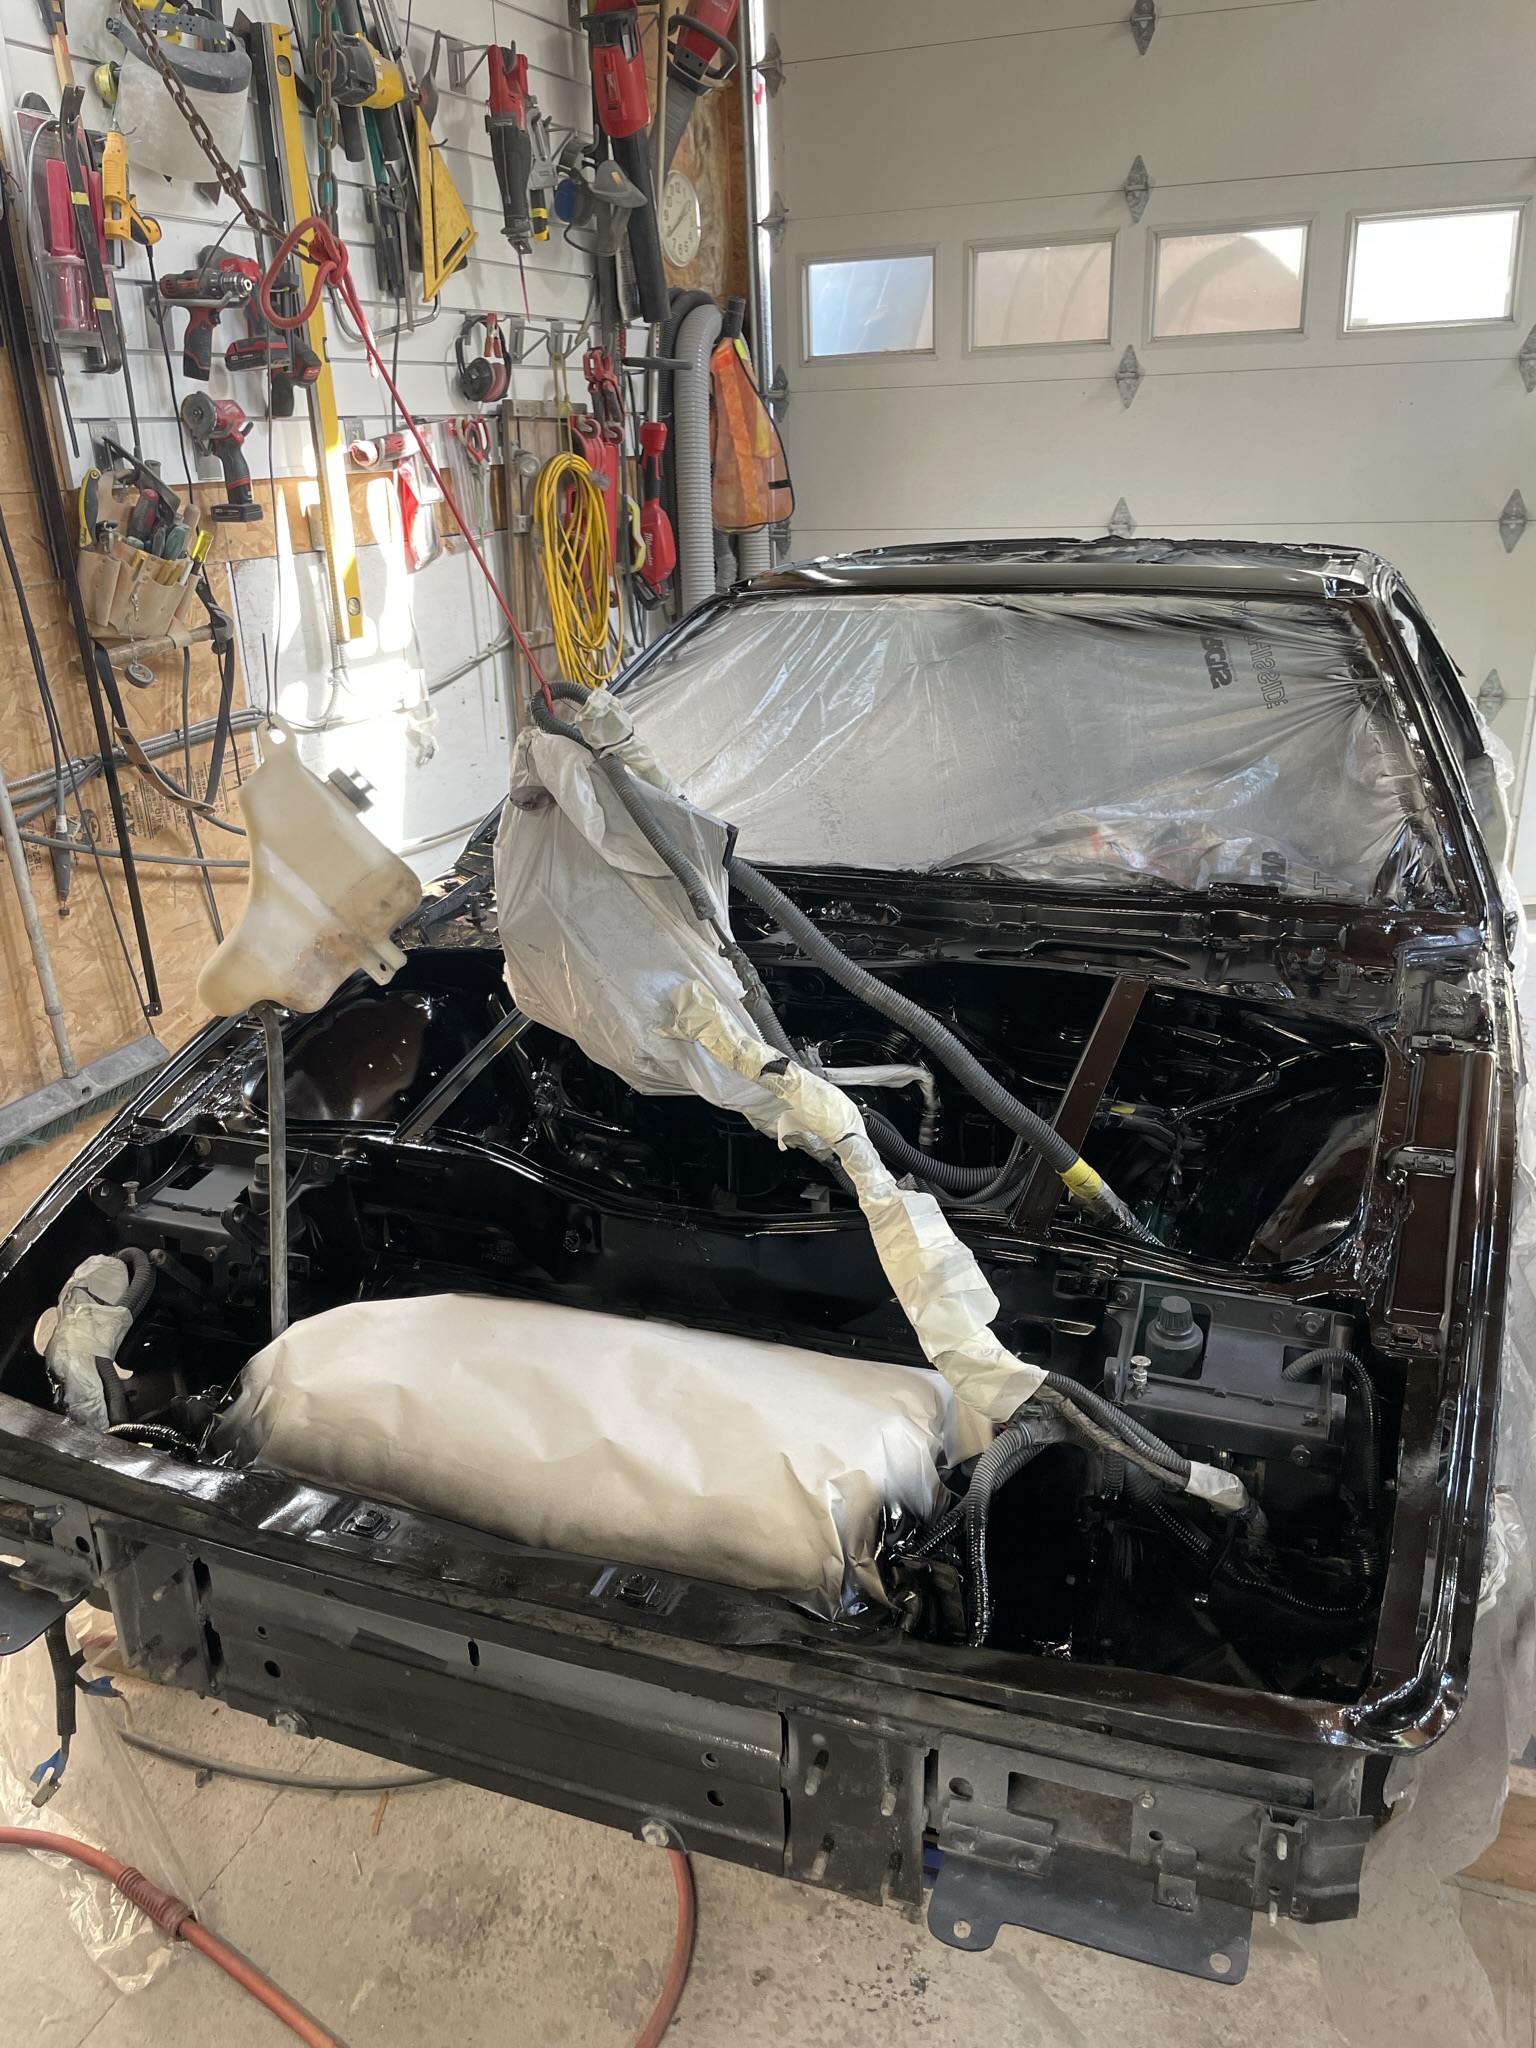
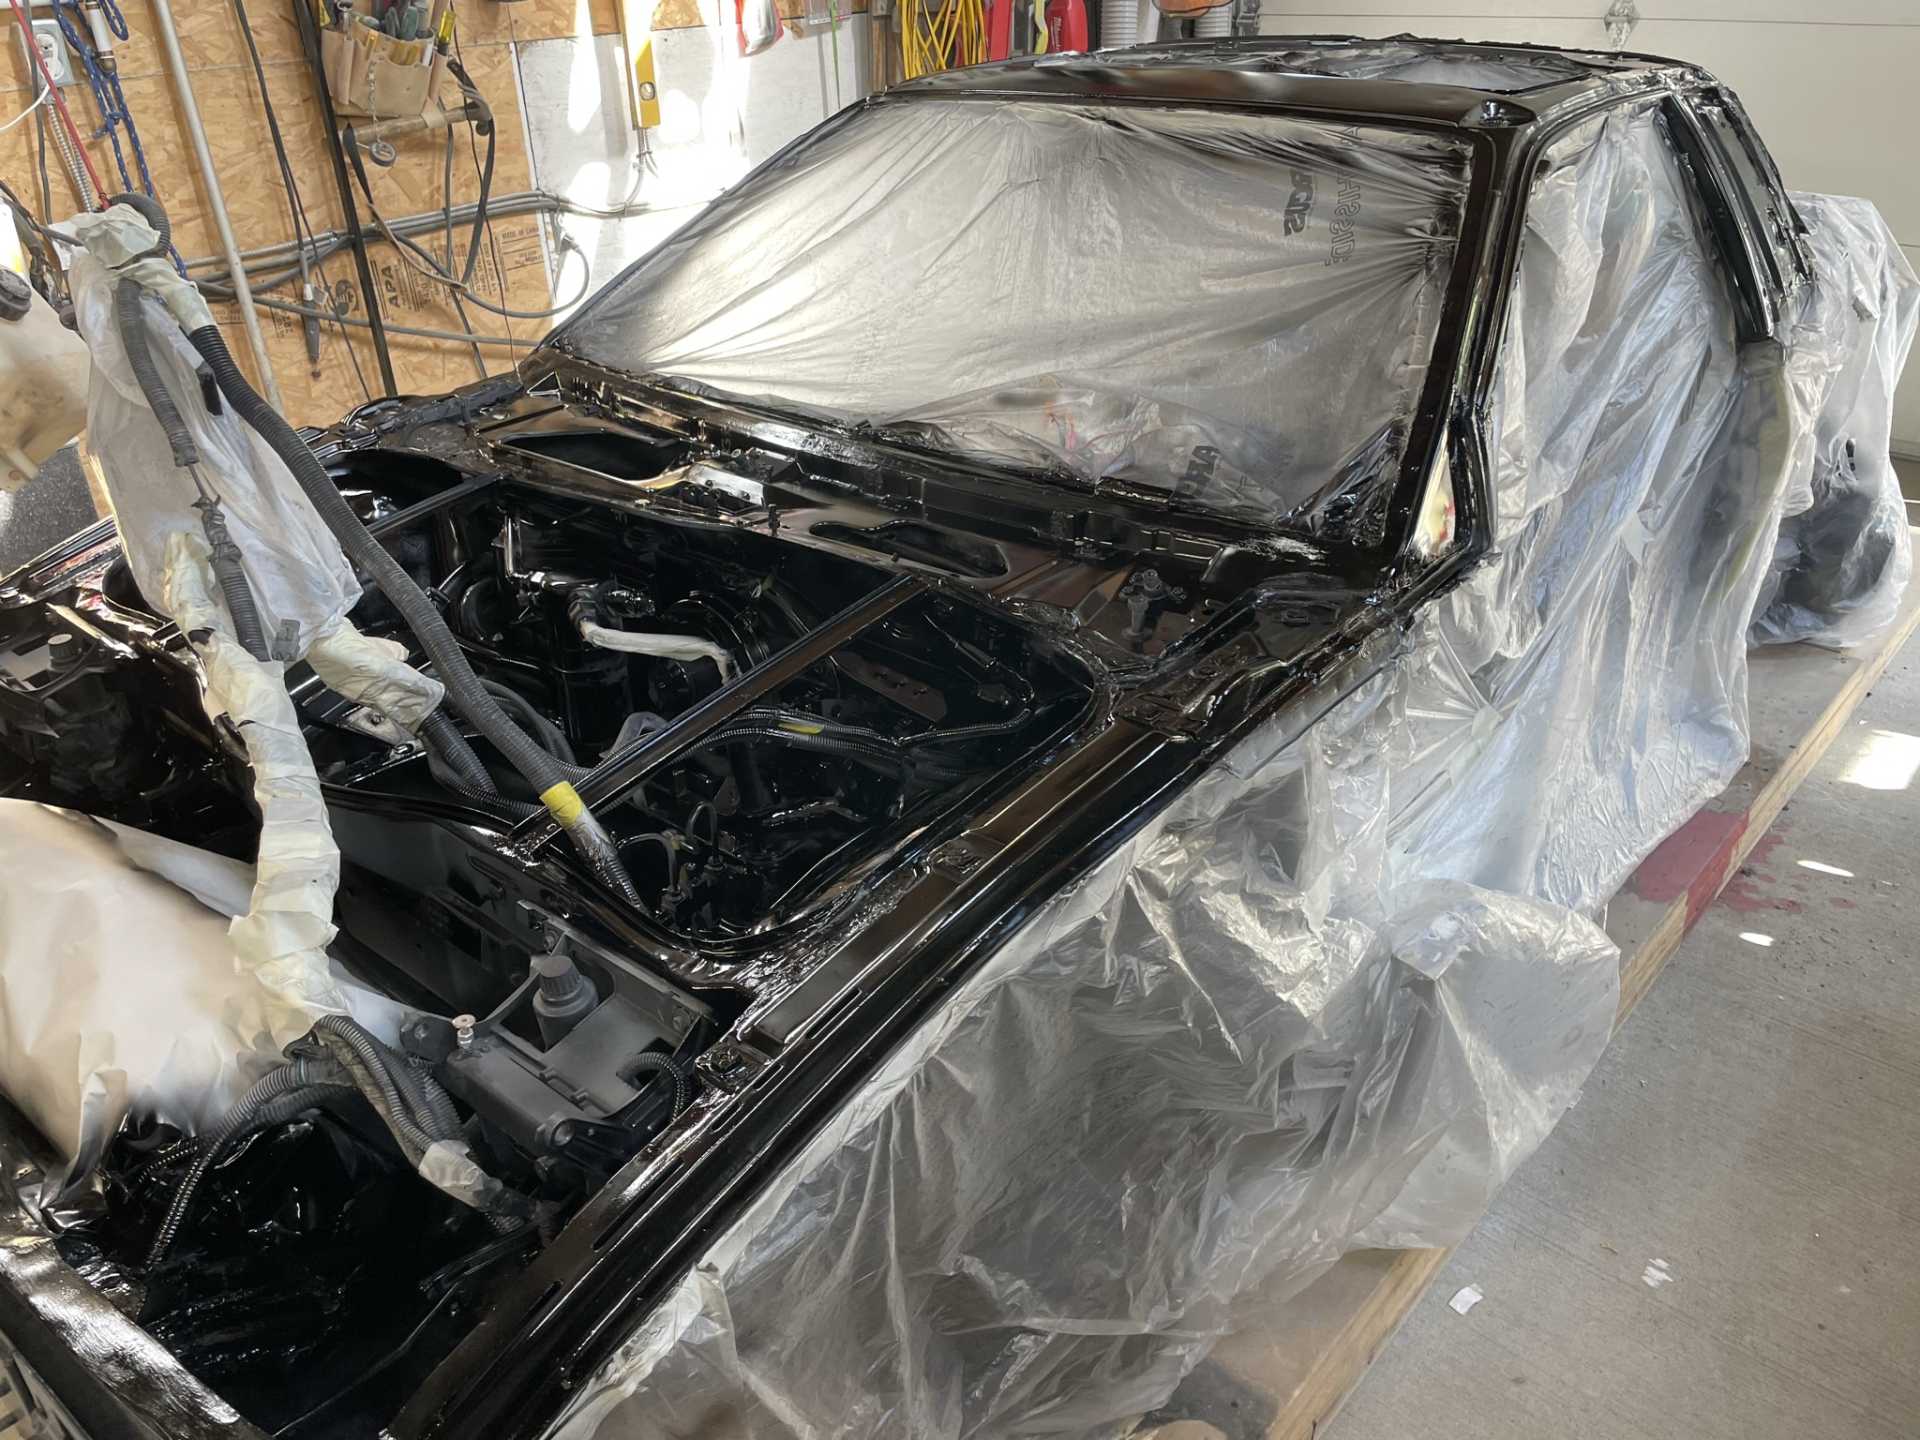
[img]https://images.fiero.nl/userimages/dobie1/05F5EEB3-0A1D-419B-B43F-E8368473D824.jpeg[/img
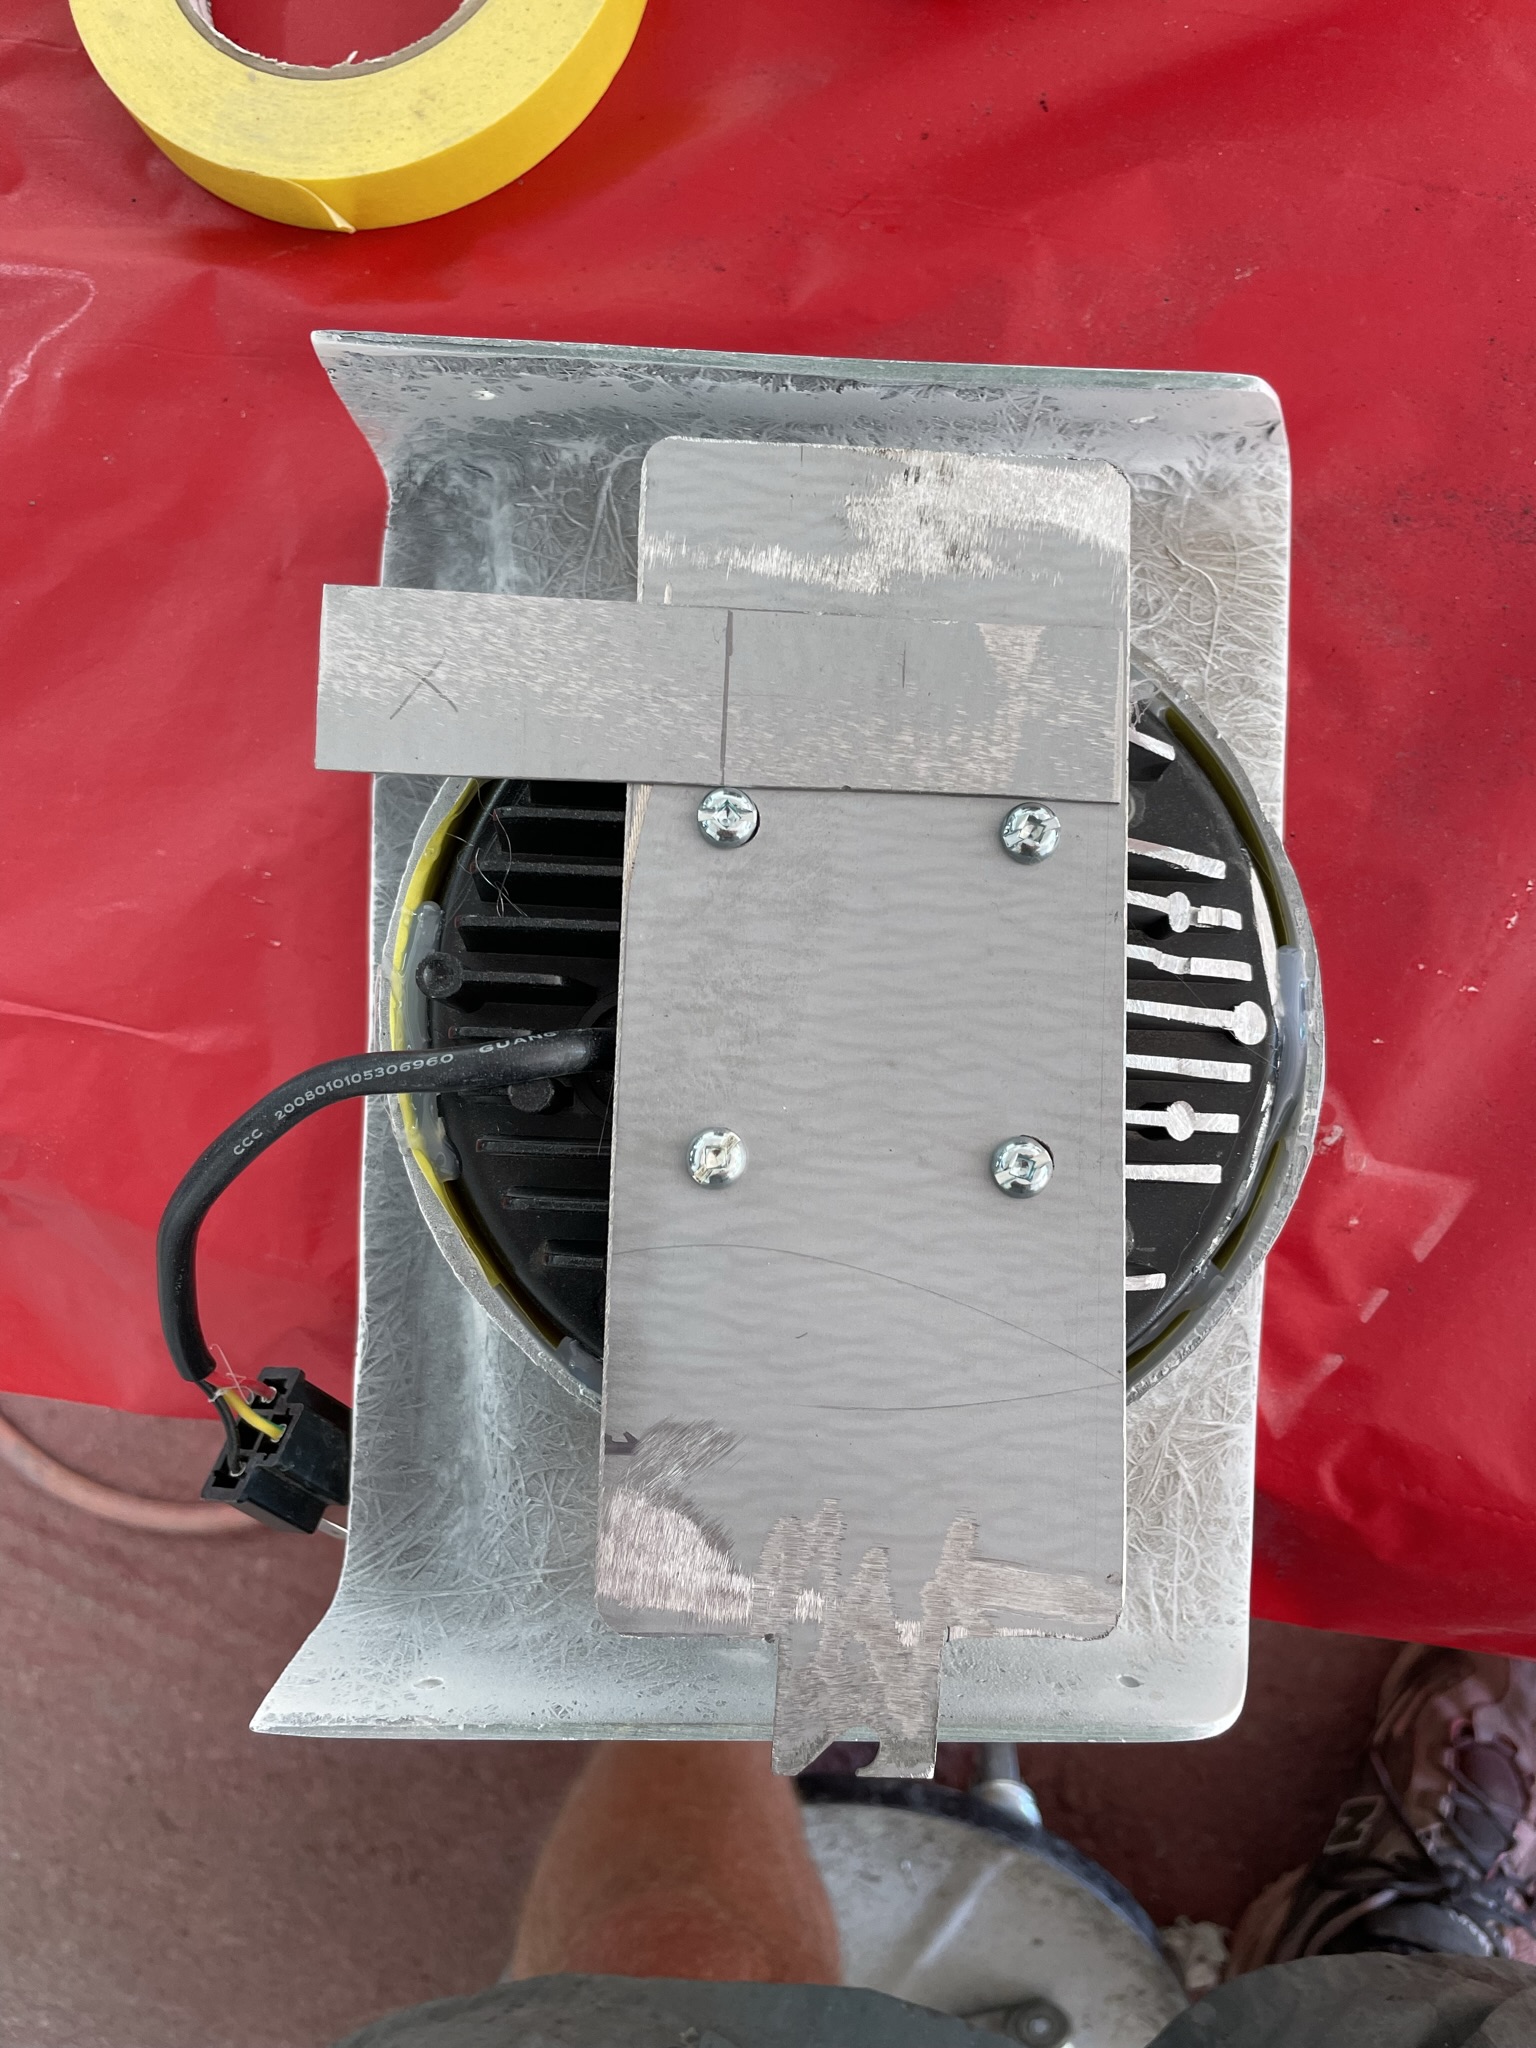
I’ve also been working on the headlights, as I’m not using normal seal beams I need to fabricate an adjustable mounting system for the LED lights.
I’ve gone thru a couple renditions as there isn’t a lot of room and hoping this will be the final version. Stay tuned!!
That’s it for now.
Stay safe
Wayne
|
|
|
|
Trinten
|
SEP 03, 12:29 AM
|
|
Looking great, Wayne!
I like the idea of painting the frame. I don't know how many people have done that (at least not when the frame had any parts in there). I might have to add that to my list... sorry in advance to possibly stealing your idea.
|
|
|
|
dobie1
|
SEP 07, 12:25 AM
|
|
| quote | Originally posted by Trinten:
Looking great, Wayne!
I like the idea of painting the frame. I don't know how many people have done that (at least not when the frame had any parts in there). I might have to add that to my list... sorry in advance to possibly stealing your idea. |
|
Hi Trinten
I looked at the fact I’d put so much time into this project that I might as well go all the way a do it right.
Here’s the latest week update.
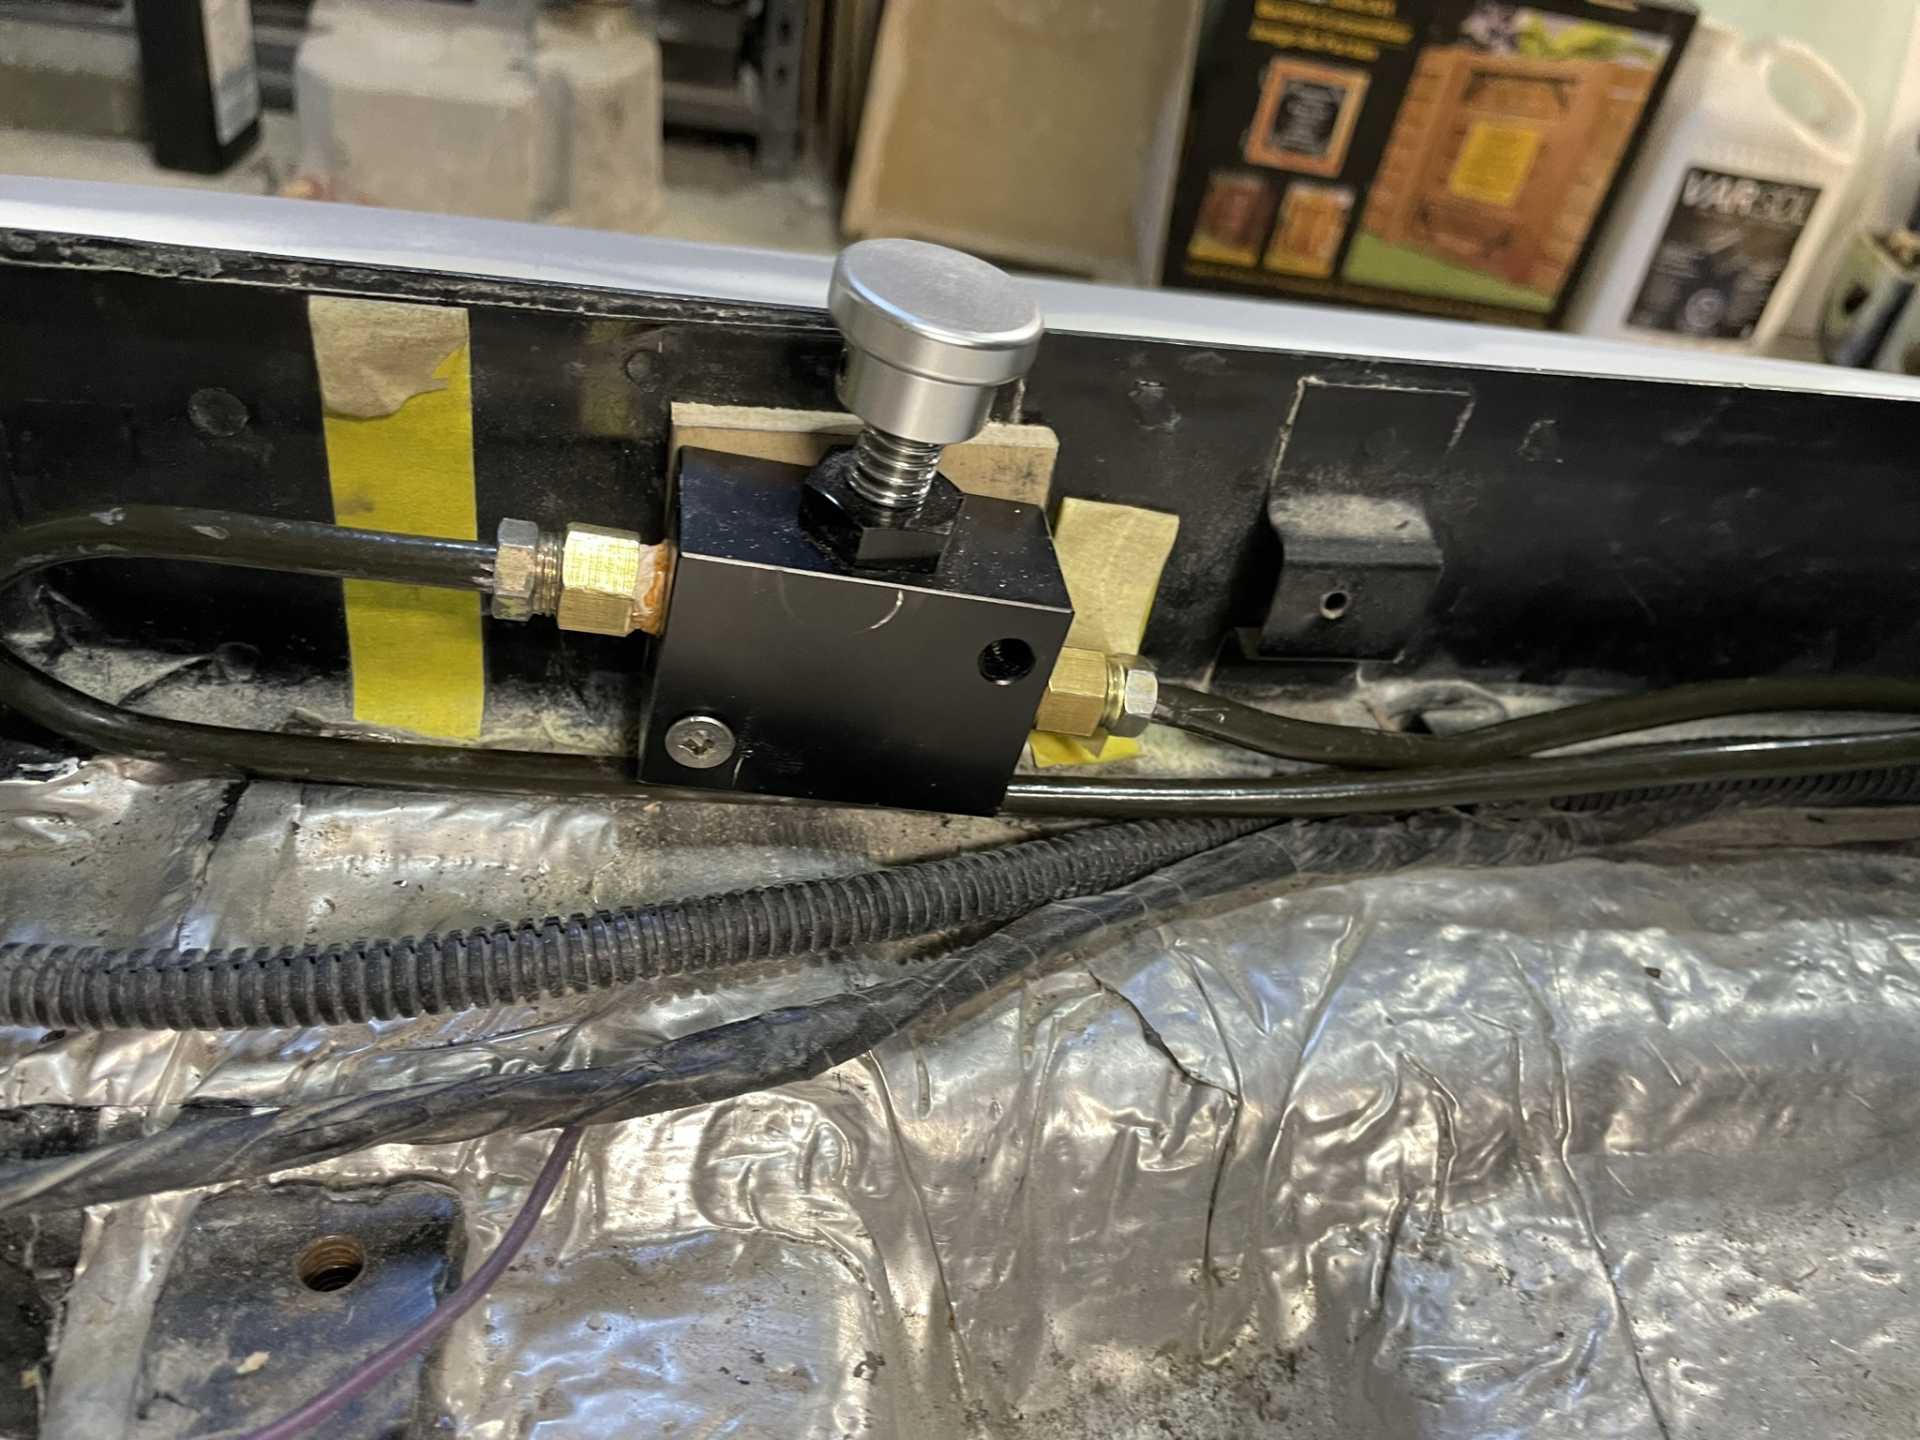
I finally got the new brake lines run for the hydraulic lock parking brake, at the same time I also had to replace a couple other lines as I had previously modified when I installed a manual proportioning valve. In the end it didn’t work as I had planned so I went back to the stock proportioning valve. It’s really weird at how GM mixed up the different flairs and fitting between metric bubble flairs and double flairs but in the end I got it finished or so I thought. When I went to bleed the brakes all I was getting was bubbles found some leaking fittings tightened them up still bubbles I really had to wrench on the fittings and finally everything sealed brakes are bleed so that job completed.
Hydraulic lock
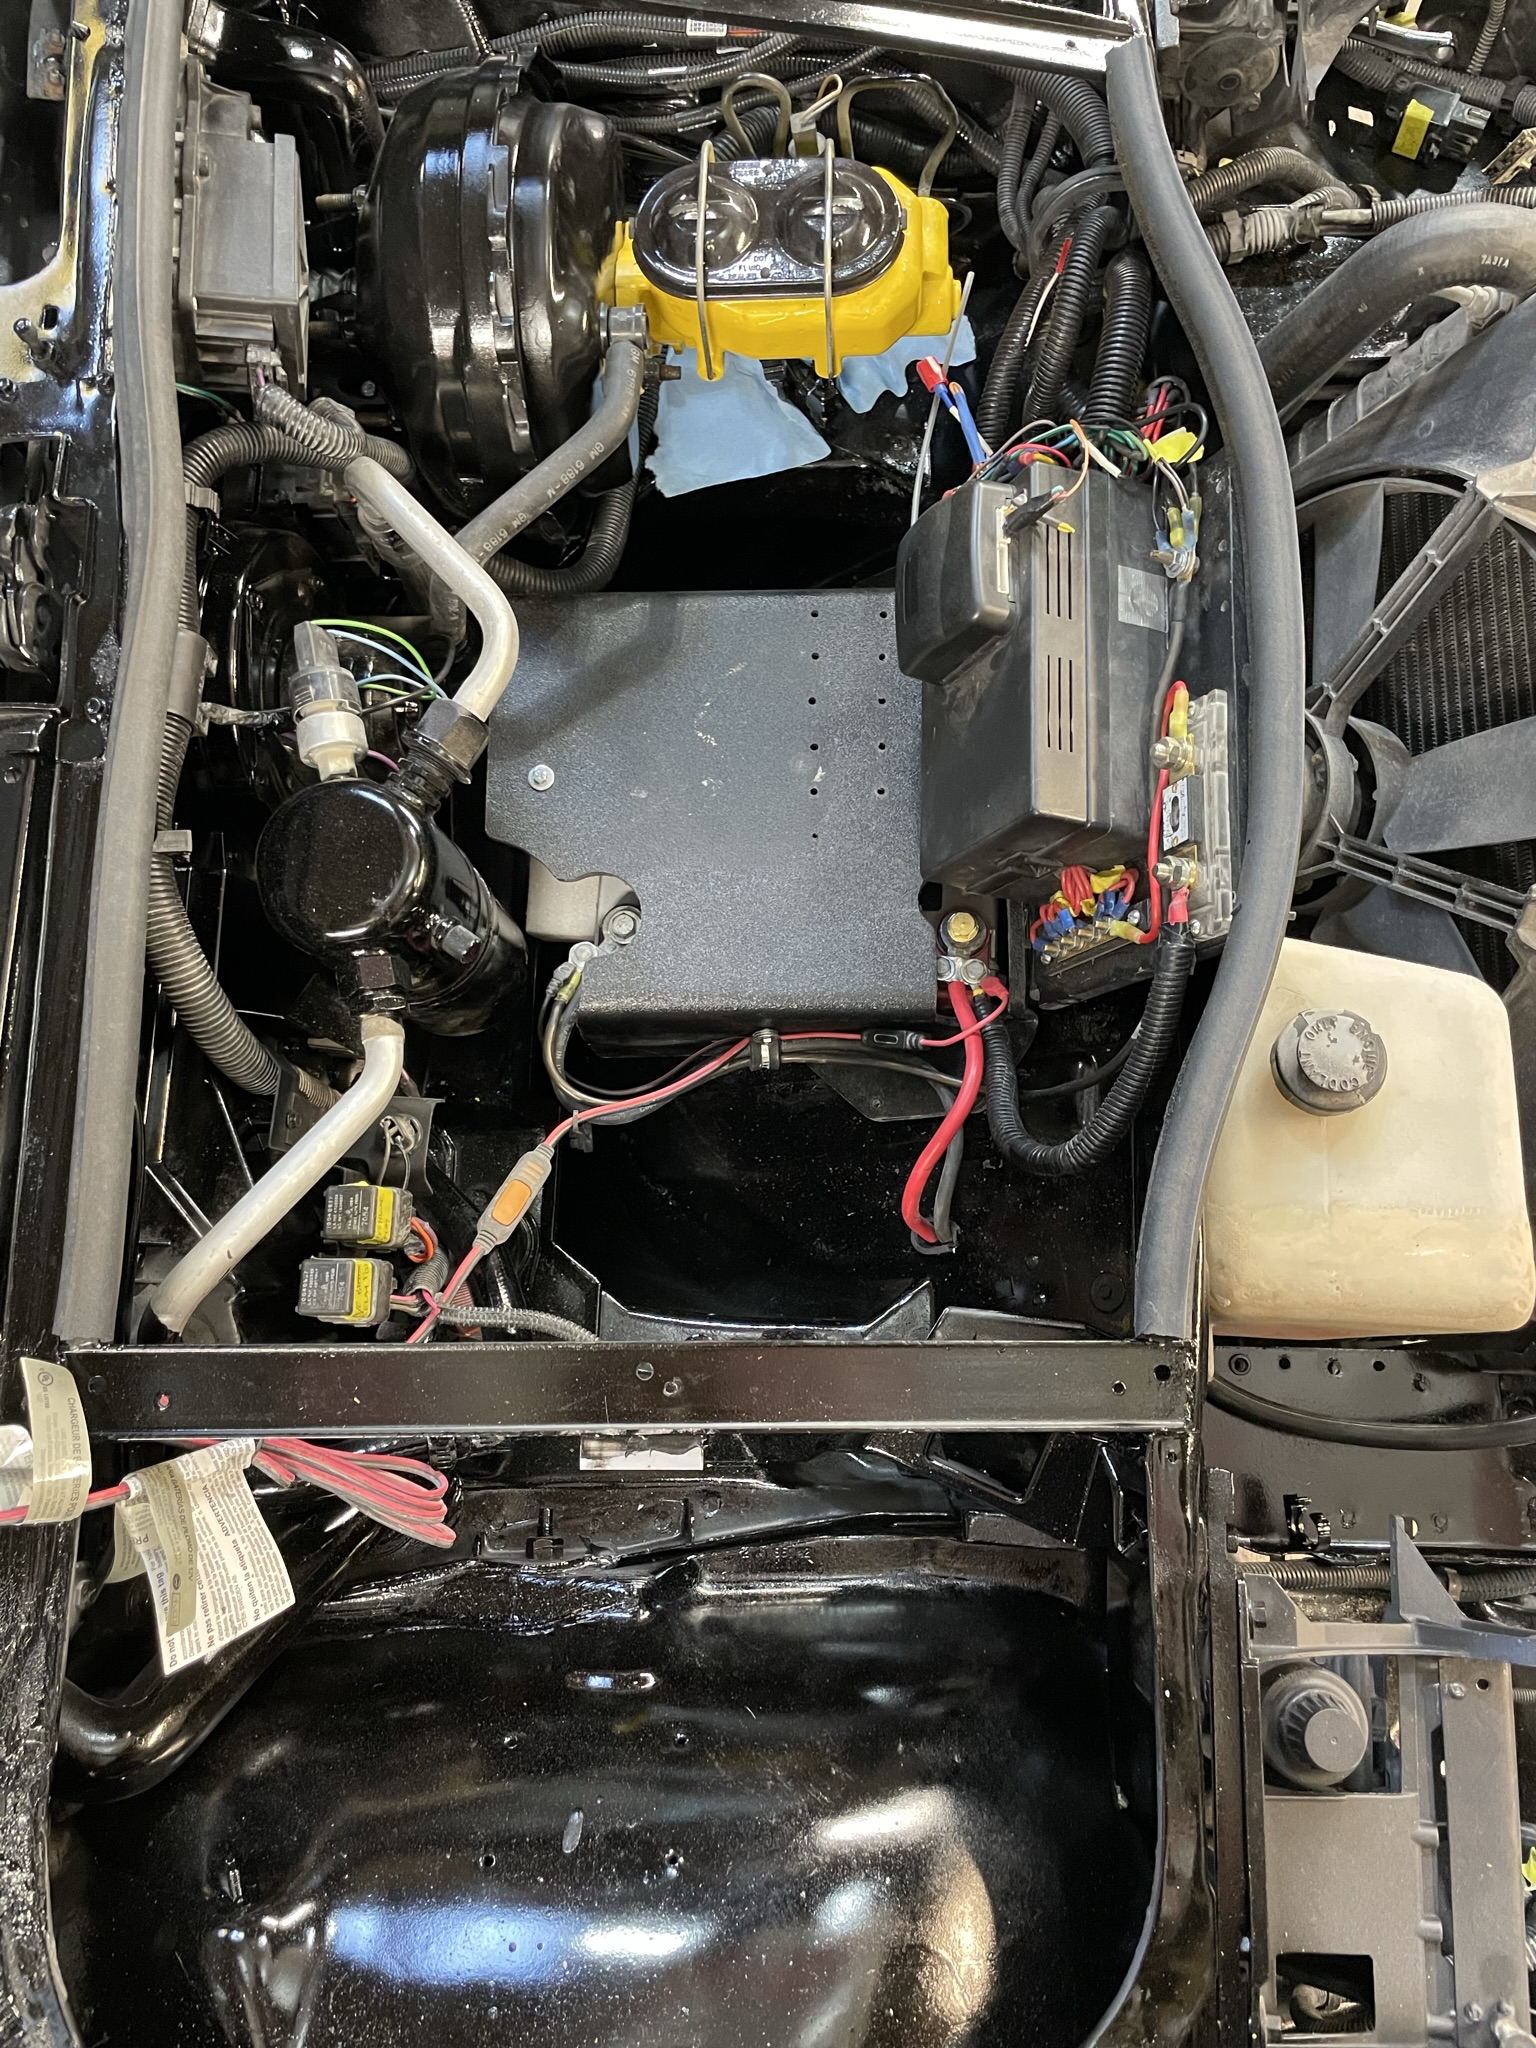
This is with the side covers in place that will seal the area under the fenders
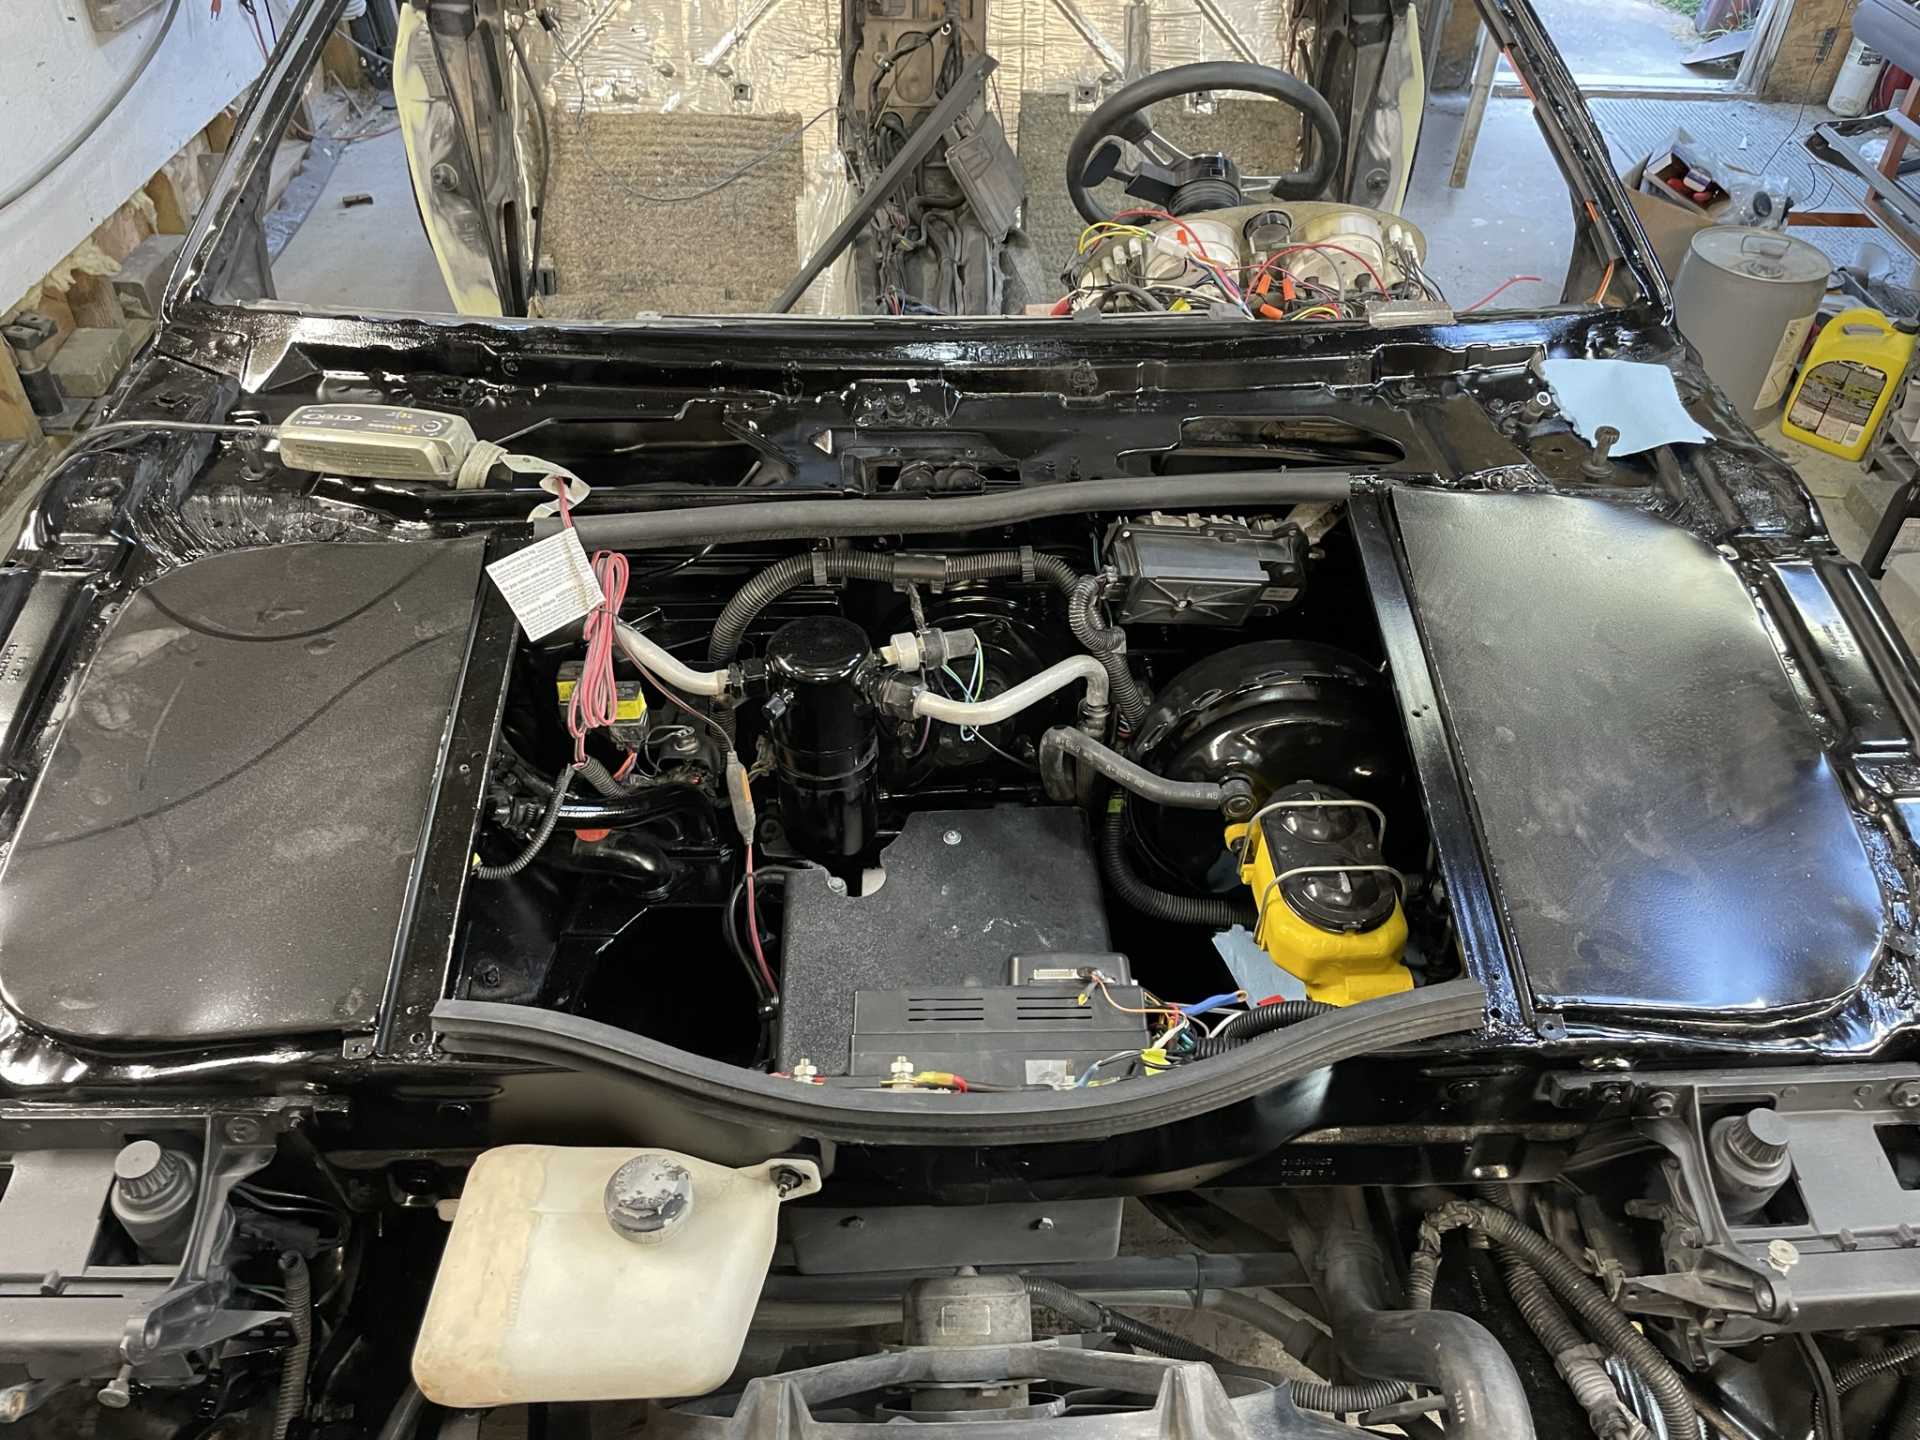
I haven’t shown the inside of the front electrical box.
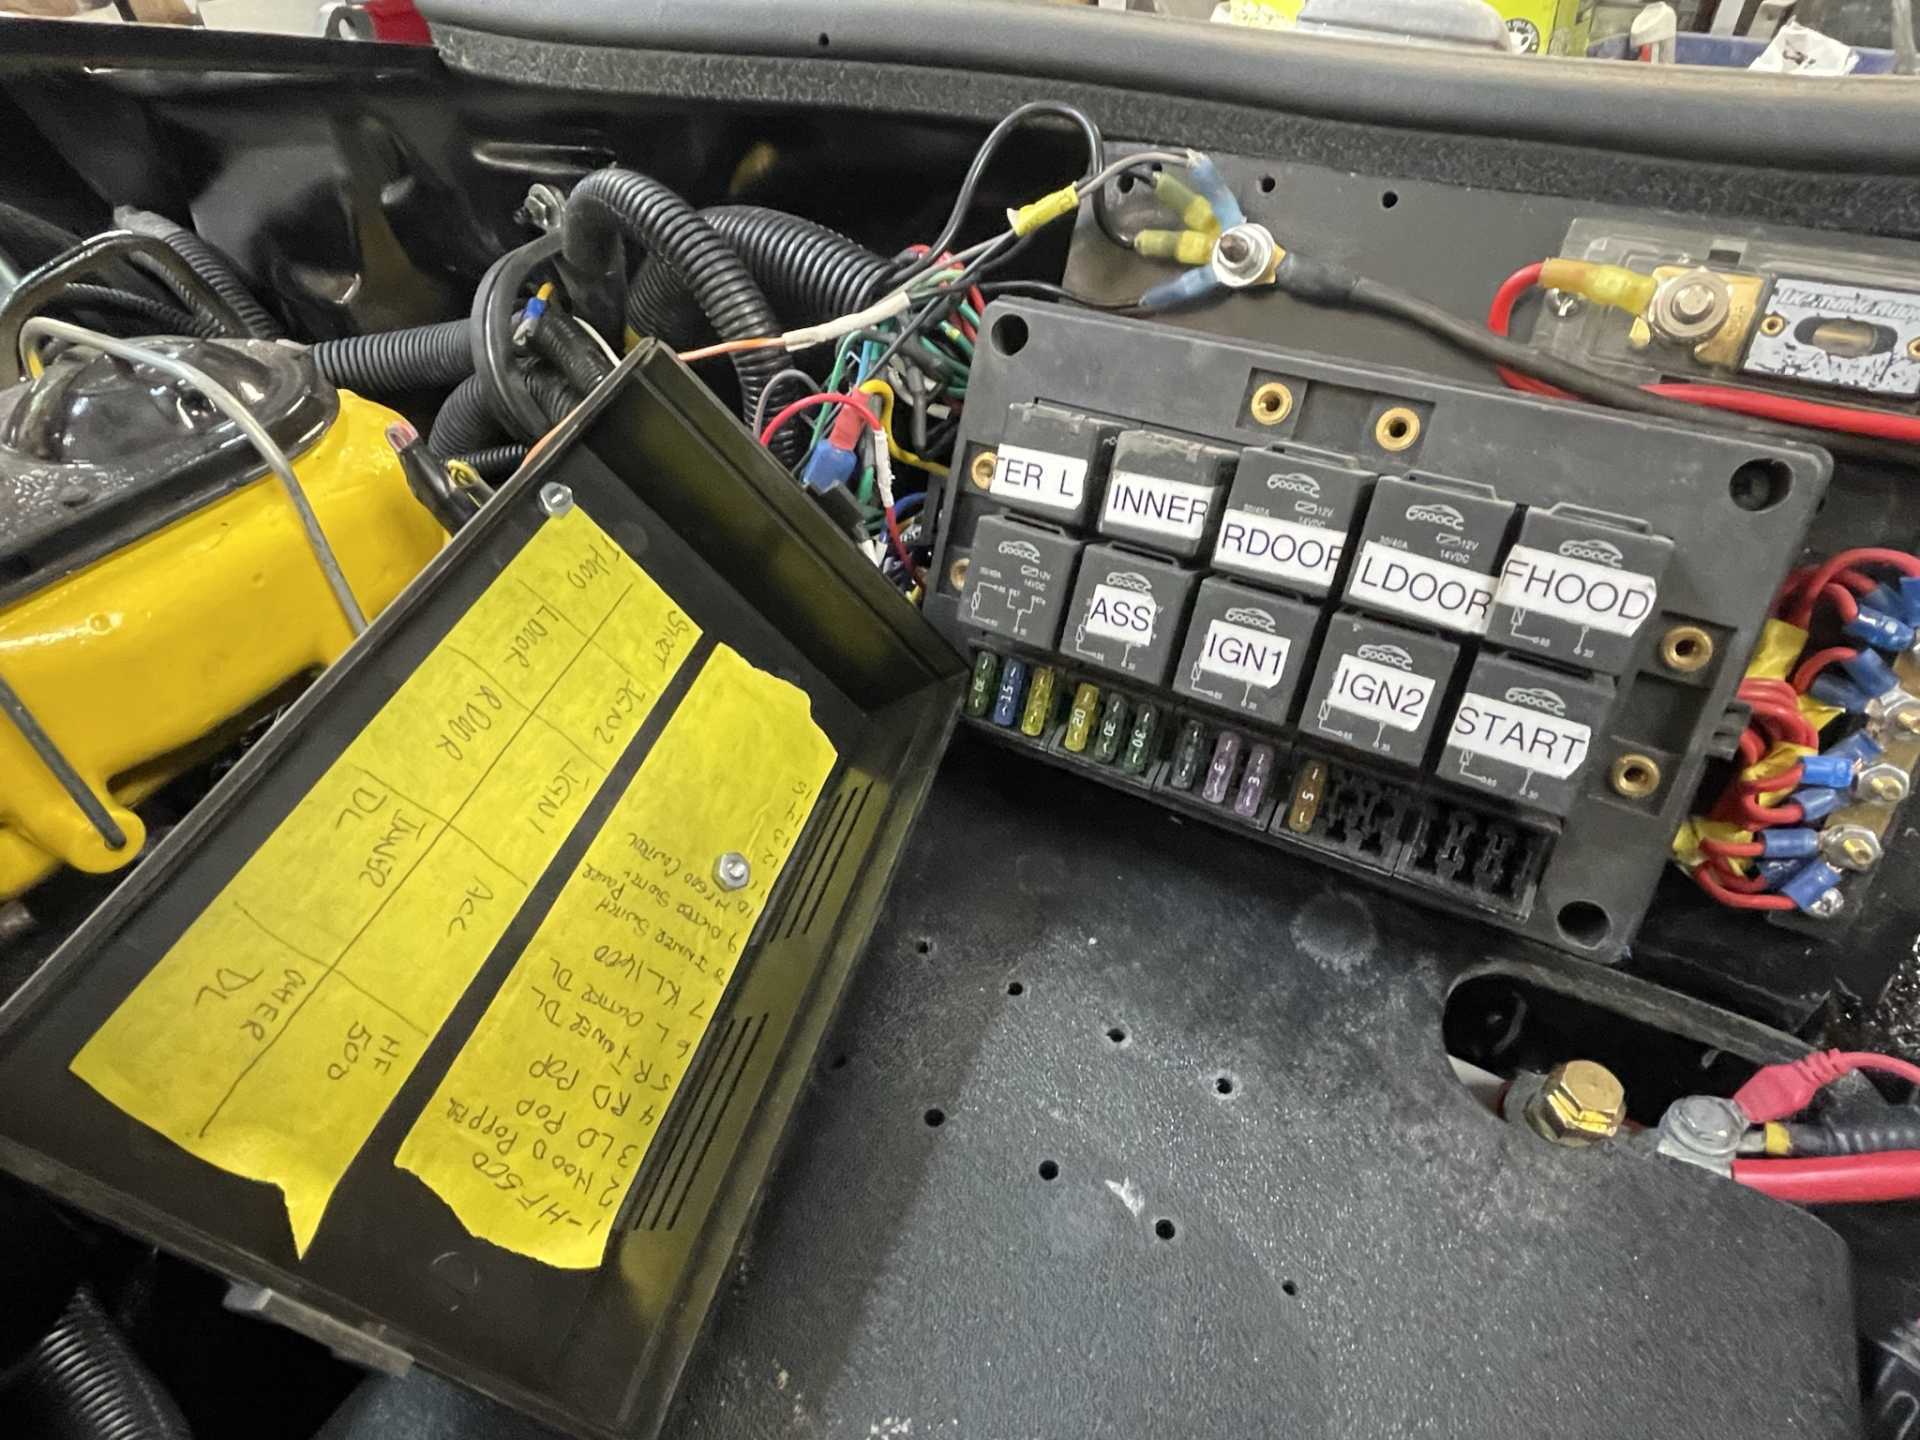
Now I can move onto finishing the electrical
Stay safe everyone
Wayne
|
|
|