|
| LS4 / F40 swap - fieroguru (Page 54/216) |

|
fieroguru
|
NOV 18, 06:43 PM
|
|
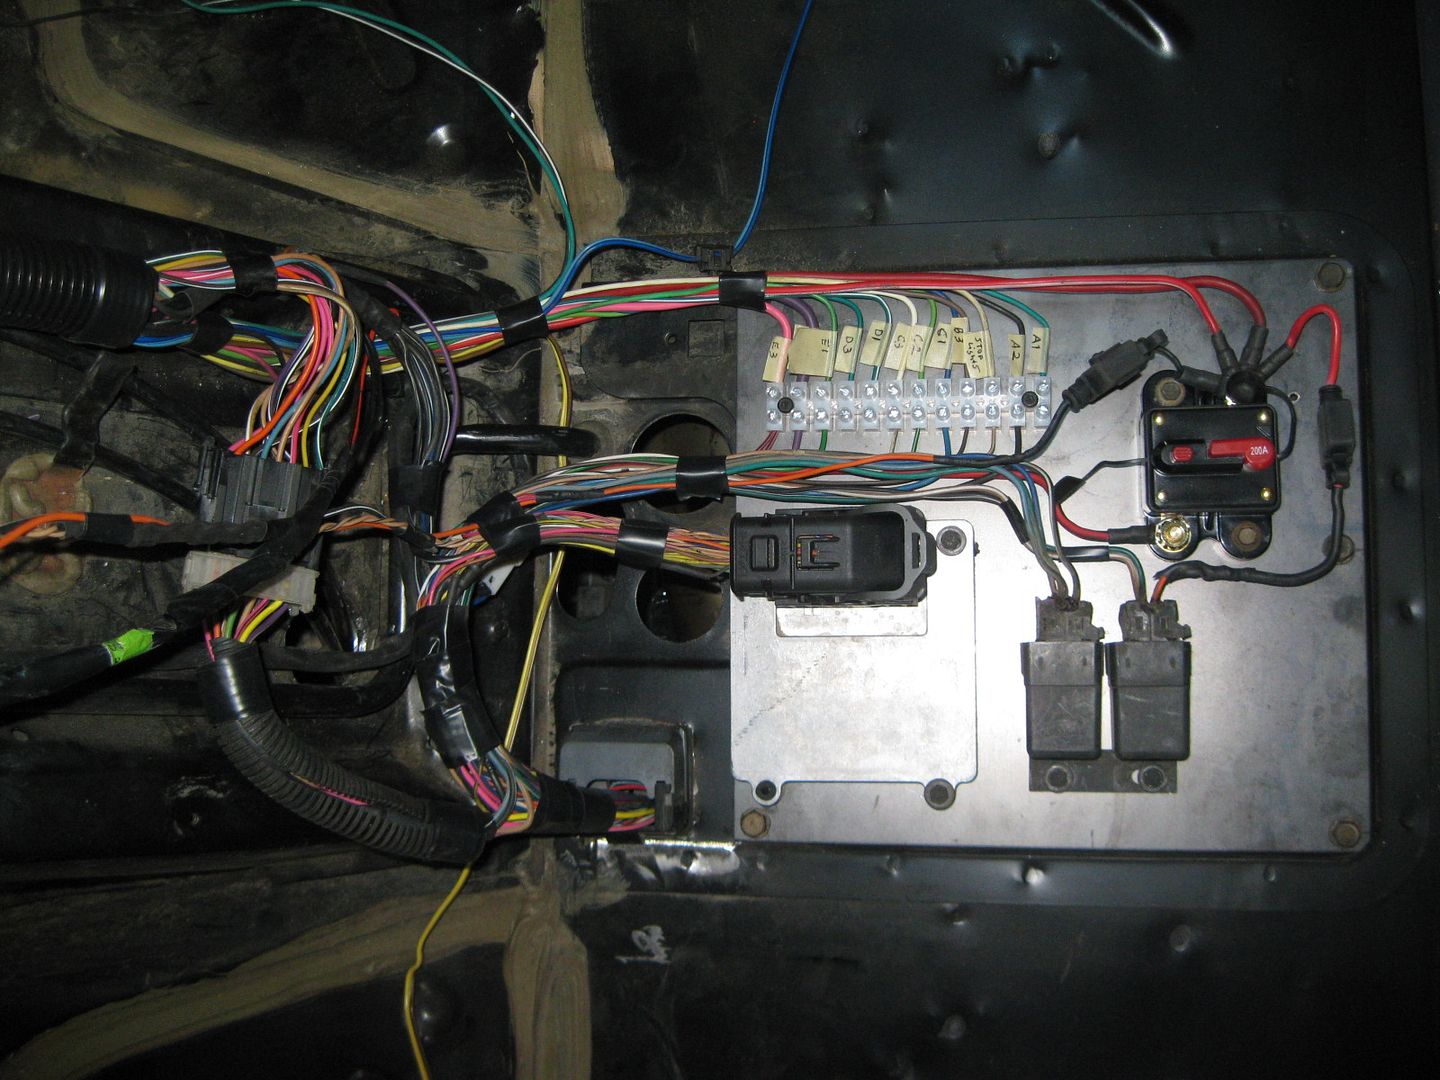
Didn't work much on the LS4 swap today... but I did make a new panel for the center console area and started to mount the components to it.
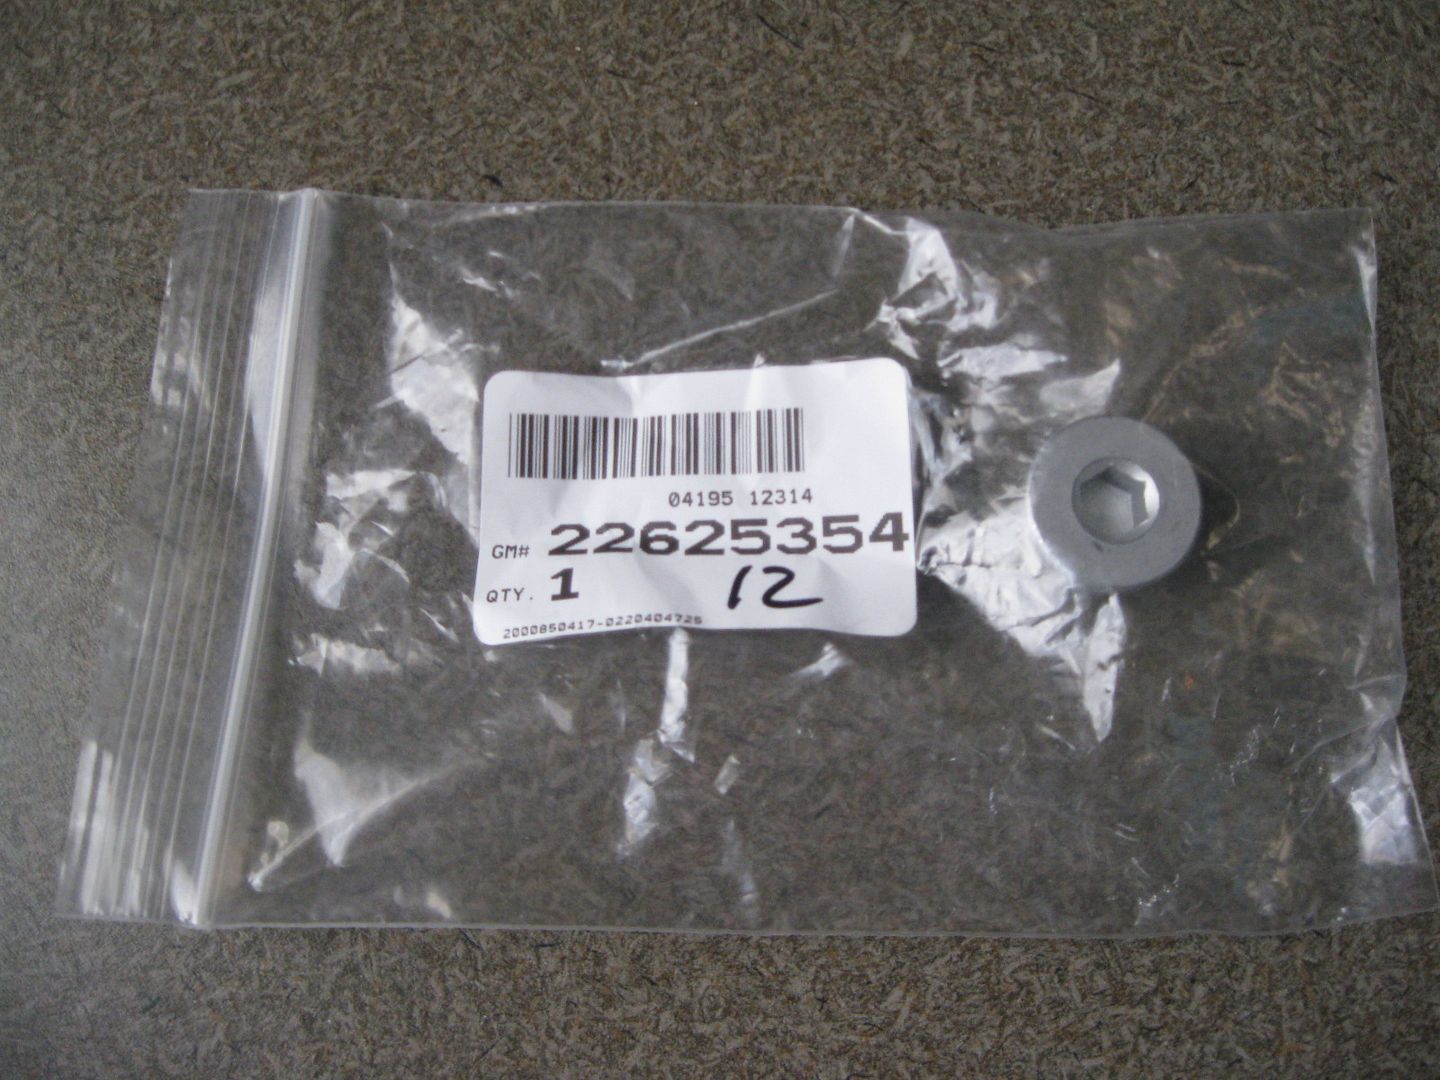
For mounting the TCM, I forced some vacuum lines through the mounting holes and cut them off with about 1/8" sticking through both sides. Then I could use typical fiero interior screws to bolt it down and keep it isolated. As I tightened the screw, the vacuum line mushroomed out some.
|
|
|
|
fieroguru
|
NOV 19, 04:32 PM
|
|
|
|
|
fieroguru
|
NOV 25, 02:00 PM
|
|
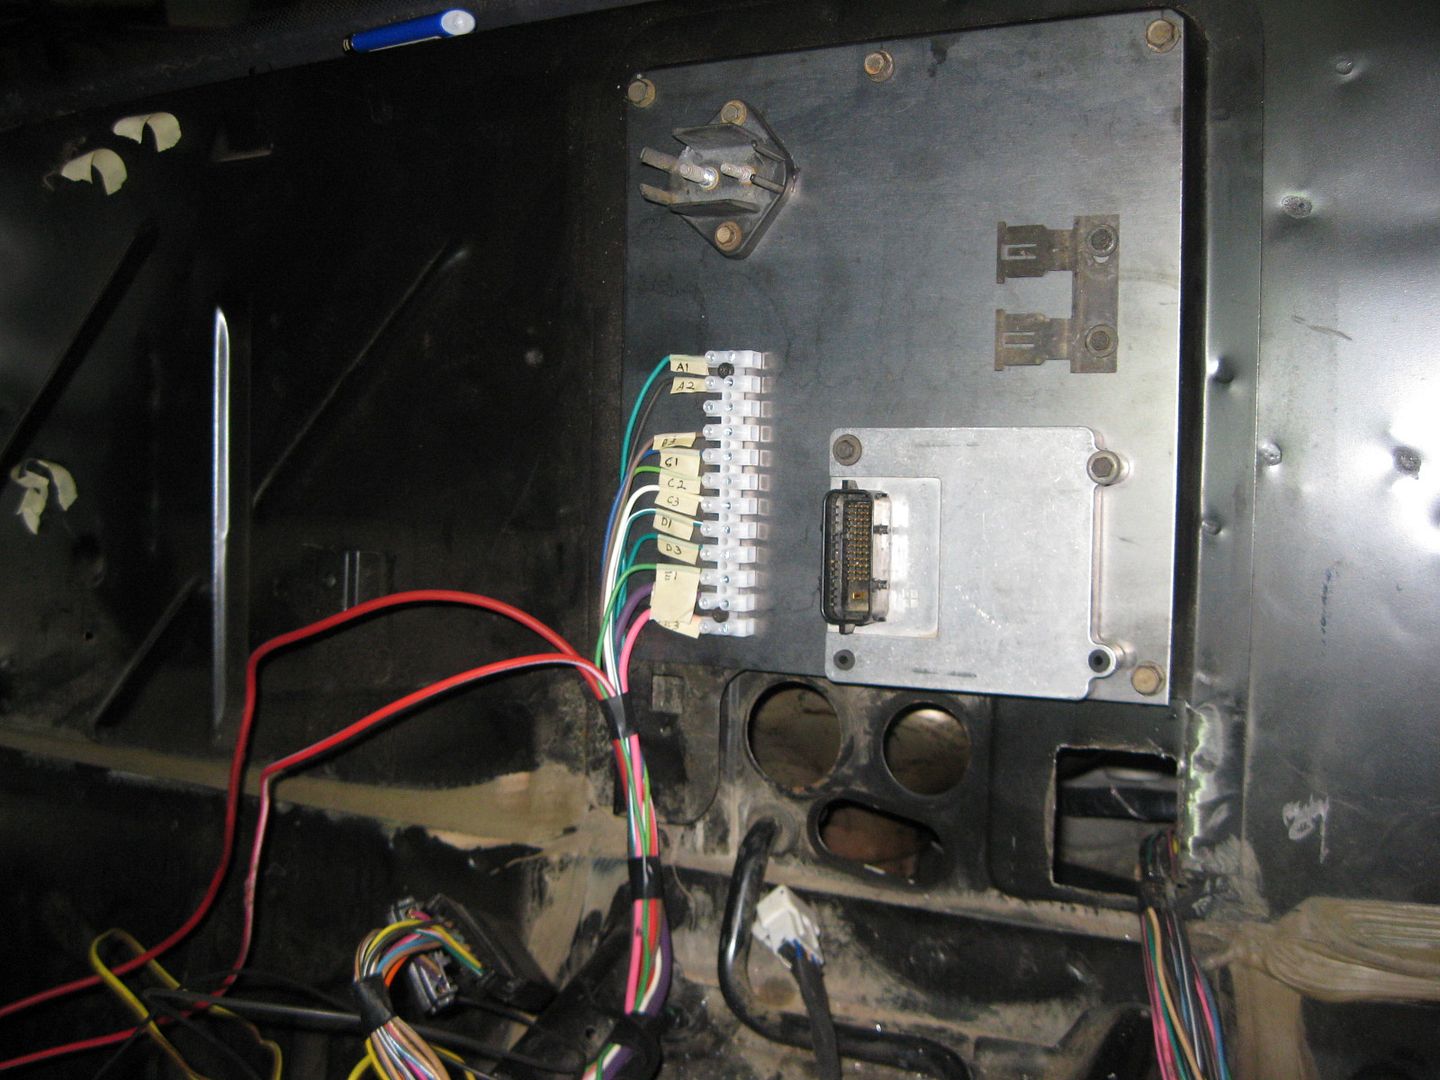
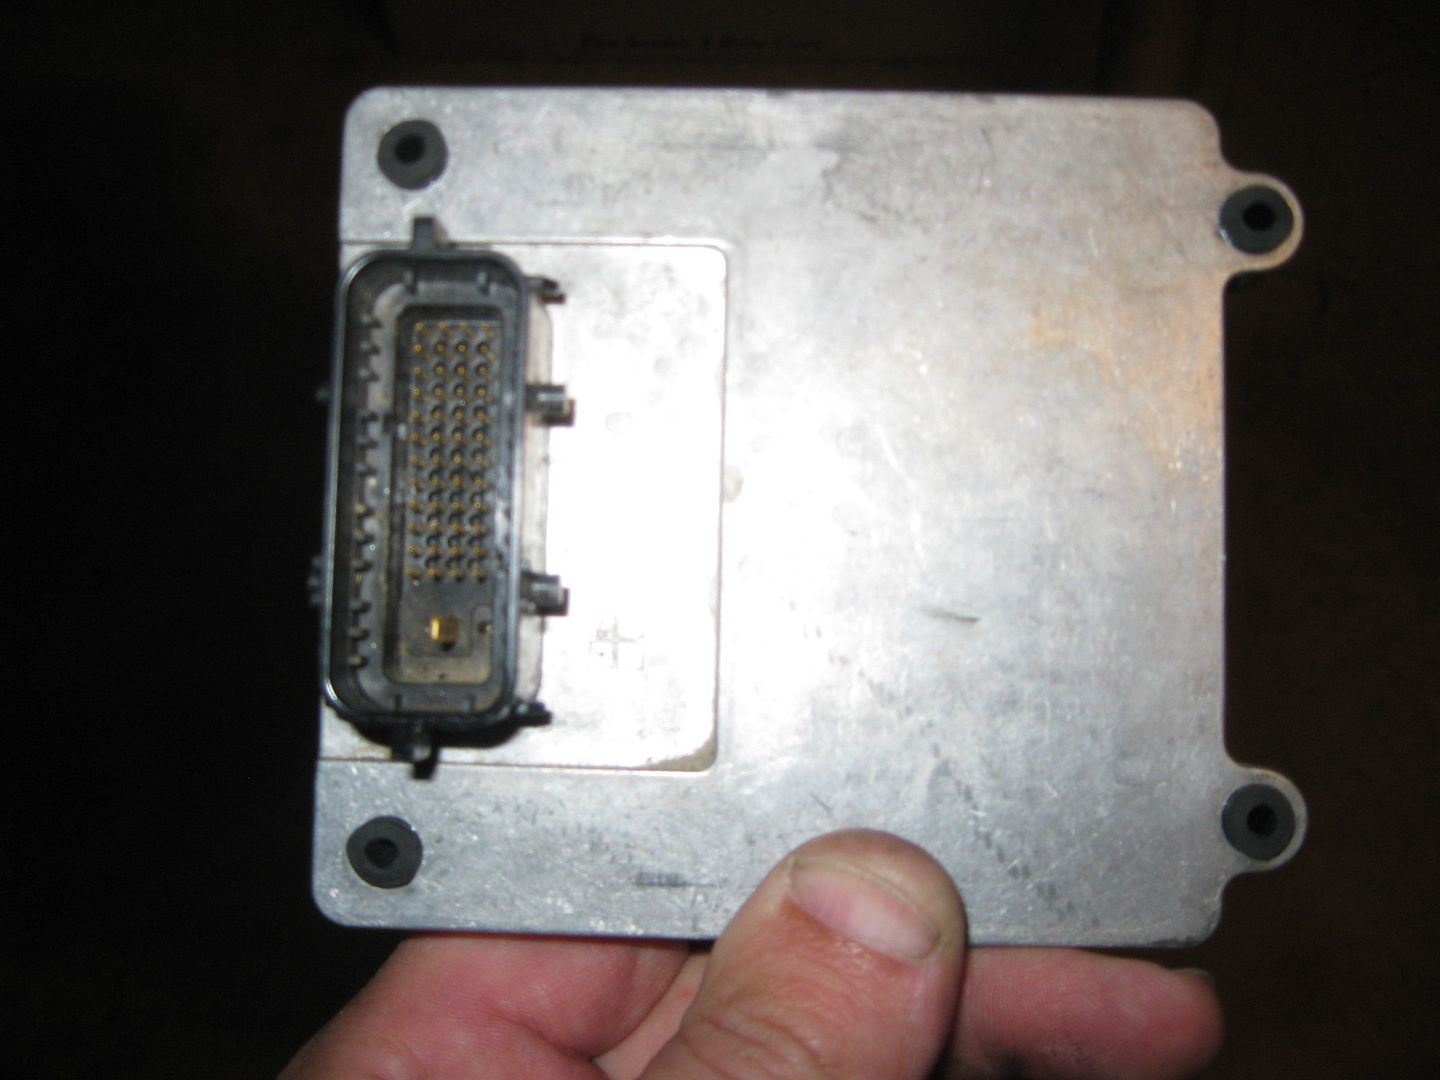
Finally finished with the inside wiring...
Now when the engine comes out again I can finish the terminations at the last ECM plug (BLUE) and call the harness finished!!! I really hate wiring...
|
|
|
|
Trinten
|
NOV 25, 02:40 PM
|
|
| quote | Originally posted by fieroguru:
Now when the engine comes out again I can finish the terminations at the last ECM plug (BLUE) and call the harness finished!!! I really hate wiring... |
|
Though you do such an meticulous job with it! Out of the handful of people that have seen pics of your past work that I've spoken too, everyone of them said that your attention to detail, especially with the wiring, is what makes it so clean and gives it a "factory" look. Thanks for the update!
|
|
|
|
KissMySSFiero
|
NOV 26, 04:16 AM
|
|
| quote | Originally posted by Trinten:
Though you do such an meticulous job with it! Out of the handful of people that have seen pics of your past work that I've spoken too, everyone of them said that your attention to detail, especially with the wiring, is what makes it so clean and gives it a "factory" look. Thanks for the update!
|
|
I would argue this. The factory tend to throw in the wiring and put an ugly plastic cover over things.
This is far better detail.
To me, things that look factory will not get noticed by most. For example, when this car is at a show, no one will know that the notch on the driver's side frame rail for the trans was moved to fit the F40.
That's just one example. I'm sure there are dozens more on this car.
|
|
|
|
fieroguru
|
NOV 26, 06:38 PM
|
|
Thanks guys!
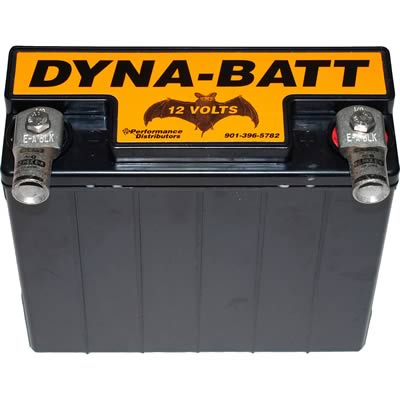
Ordered my Battery today.
http://www.summitracing.com/parts/dui-5575a
Since this is a non-aero notchie, I can't mount the battery under the headlight like I usually do. This swap also has me more weight conscious than normal and looking for ways to save weight vs. my old SBC/Getrag swap. So both of these items will have me experimenting with a Dyna-Batt battery. The battery has a 7 x 3 x 6.5 foot print and weights only 13.5 lbs... a 20 lb savings from a stock Fiero battery and its small size should allow it to be mounted between the spare tire tub and the radiator and not in the spare tire tub at all. This would provide access for jump starting and require just 4 mounting holes (after I fab up a bracket to hold it).
I might need to keep the blue dingy thing for my headlights because these small batteries don't last nearly as long as a stock sized battery.
|
|
|
|
Jims88
|
NOV 26, 09:43 PM
|
|
| quote | Originally posted by fieroguru:
Thanks guys!
Ordered my Battery today.
http://www.summitracing.com/parts/dui-5575a
Since this is a non-aero notchie, I can't mount the battery under the headlight like I usually do. This swap also has me more weight conscious than normal and looking for ways to save weight vs. my old SBC/Getrag swap. So both of these items will have me experimenting with a Dyna-Batt battery. The battery has a 7 x 3 x 6.5 foot print and weights only 13.5 lbs... a 20 lb savings from a stock Fiero battery and its small size should allow it to be mounted between the spare tire tub and the radiator and not in the spare tire tub at all. This would provide access for jump starting and require just 4 mounting holes (after I fab up a bracket to hold it).
I might need to keep the blue dingy thing for my headlights because these small batteries don't last nearly as long as a stock sized battery. |
|
Thats a cool battery. Never heard of a dry cell automotive starting battery.
I wonder if it gives off fumes when charging like lead acid?
|
|
|
|
fieroguru
|
NOV 28, 05:38 PM
|
|
Battery relocation cables are on order.
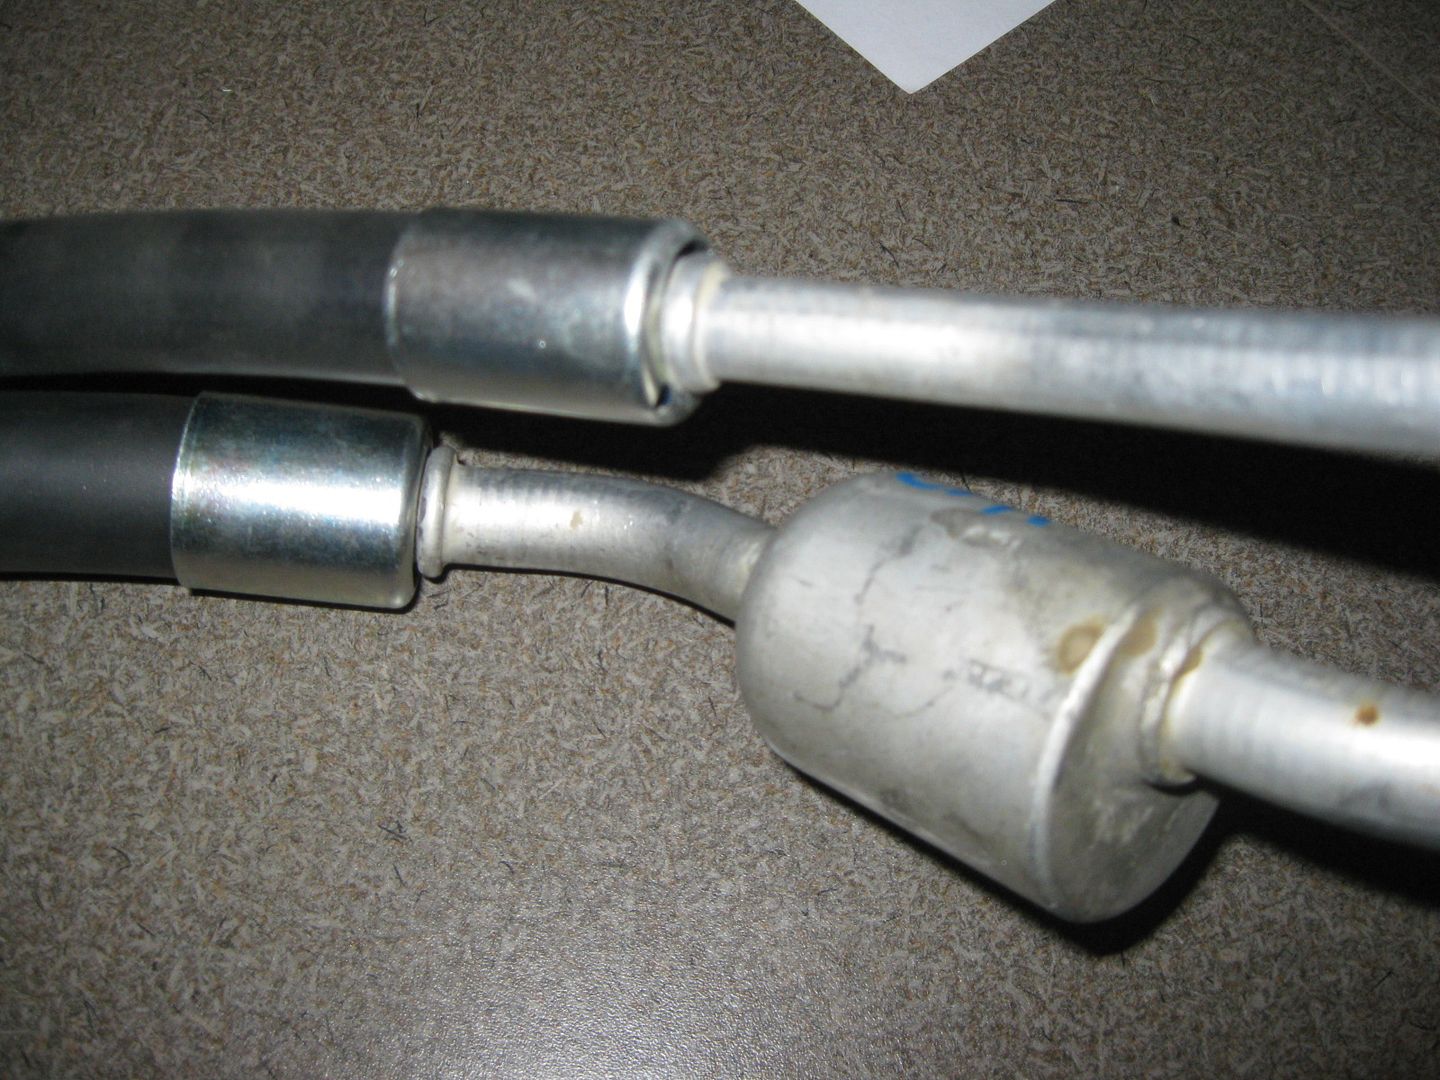
The A/C line ferrules arrived today so I put the A/C hose together. I did have to enlarge the offset hole in the ferrules to slide them over the factory ridges, but that wasn't much work for the die grinder.
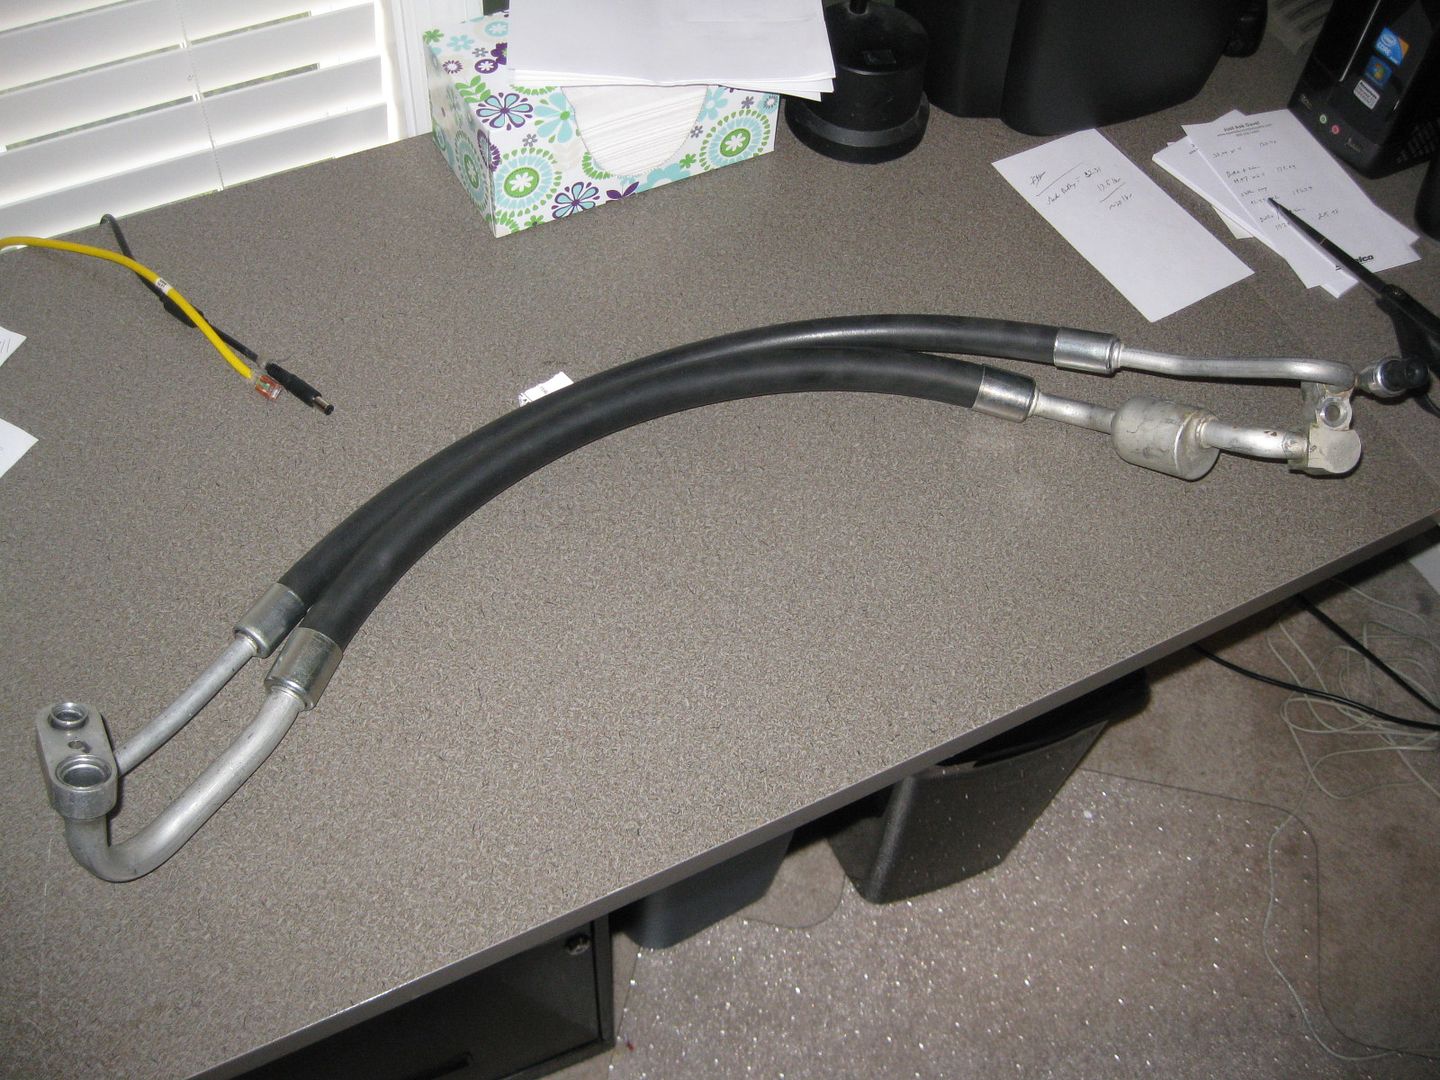
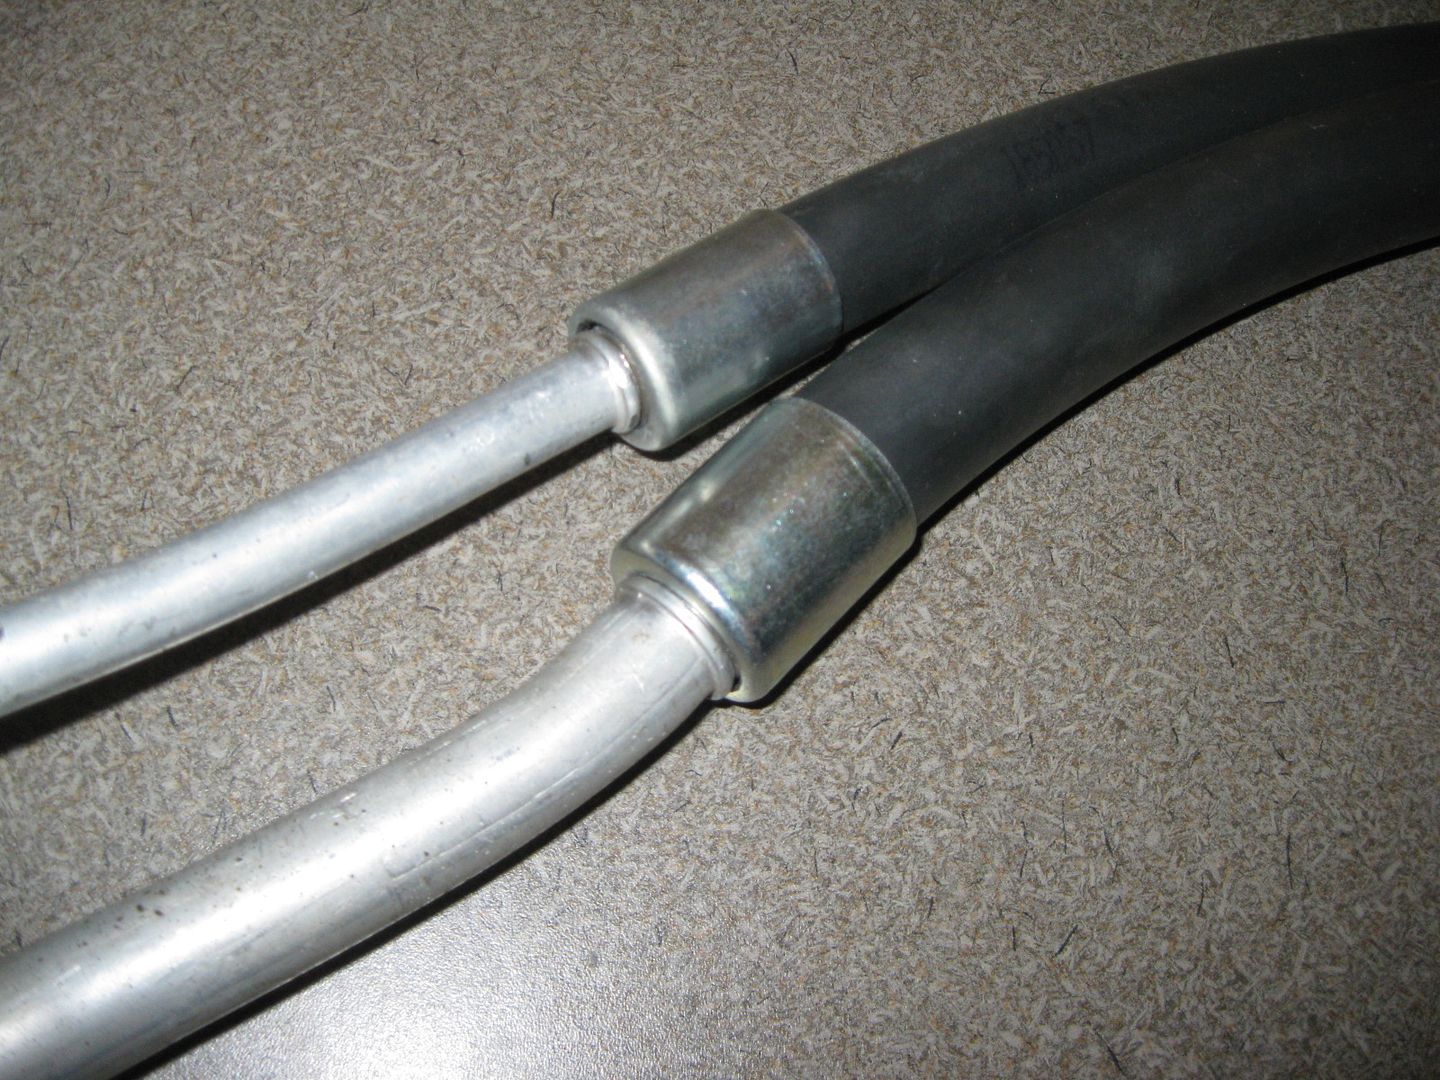
On Thursday I will run to Napa over lunch and have then crimp the ferrules for me.
This weekend I need to finish up the coolant lines for the engine.
|
|
|
|
Jims88
|
NOV 28, 09:40 PM
|
|
Those hoses turned out nice!
It's good to know Napa will crimp hoses.
Our local industrial supplier has a sign on the front door, "If you didn't by our hose we don't crimp ."
Are you going 134a conversion or staying with R-12?
|
|
|
|
fieroguru
|
NOV 29, 08:07 AM
|
|
| quote | Originally posted by Jims88:
Those hoses turned out nice!
It's good to know Napa will crimp hoses.
Our local industrial supplier has a sign on the front door, "If you didn't by our hose we don't crimp ."
Are you going 134a conversion or staying with R-12? |
|
Thanks!
Our local Napa is rather large and offers more services than others I have been to. I had previously called them and they just wanted to know if I would be supplying the ferrules (which I said yes). The ones they have often needed to have the hole enlarged and it was more of a hassle than anything. The unknown at this time is how large their crimper is and will it fit around the close fitting A/C lines. If theirs doesn't fit, then I will purchase the dies for the #8 and #12 (about $20 each) and crimp them with my vice.
The car will be converted to 134a.
|
|
|