|
| My 88 Formula Interior Redesign (Page 54/87) |

|
Sofa King
|
APR 02, 07:56 AM
|
|
|

|
Sofa King
|
APR 03, 07:46 AM
|
|
|
|
|
katatak
|
APR 03, 12:25 PM
|
|
Don't you just love that fiberglass process? Apply, build up, sand smooth, apply more, sand more, fill a little, apply more, sand a lot, paint, fill more, sand more, paint more..............Looking good Greg! Great satisfaction comes from seeing your concept come to life.
Pat
|
|

|
Sofa King
|
APR 03, 12:51 PM
|
|
Hey P,
LOL - You forgot: measure, make sure you have enough resin, cut the glass to size, stand back, get frustrated, start over, sand, primer, stand back again, mix more resin, dust yourself off, cough, clean your glasses, sand, paint and then smile because you finally reached your goal.
Thanks for kind words. It's raining today so I'm not sure if I can get anything done. But tomorrow is supposed to be really nice so I'm hoping for the best.
|
|
|
|
katatak
|
APR 03, 09:56 PM
|
|
| quote | Originally posted by Sofa King:
Hey P,
LOL - You forgot: measure, make sure you have enough resin, cut the glass to size, stand back, get frustrated, start over, sand, primer, stand back again, mix more resin, dust yourself off, cough, clean your glasses, sand, paint and then smile because you finally reached your goal.
Thanks for kind words. It's raining today so I'm not sure if I can get anything done. But tomorrow is supposed to be really nice so I'm hoping for the best. |
|
See there - that's always my problem - I forget to measure and make sure I have enough resin! Sorry to hear it's raining there. It was 80 degrees and nothing but sunshine here today. Perfect day to get a lot done - however I spent half the day goofing off talking about Fiero's and Corvettes. It was a really rough day. Tomorrow is supposed to be 85..........
Later!
Pat
|
|
|
|
Sofa King
|
APR 03, 11:41 PM
|
|
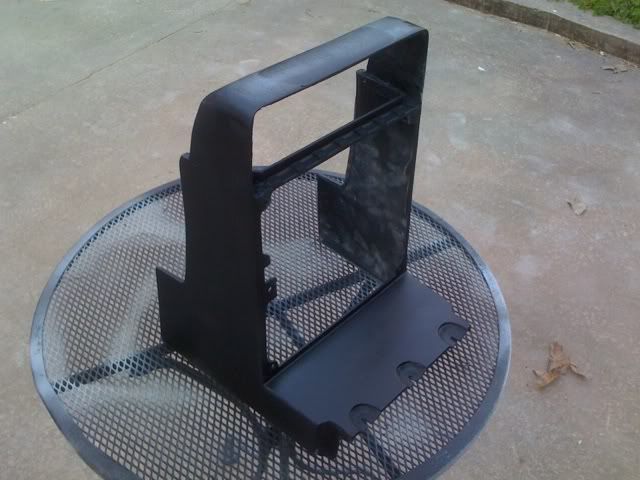
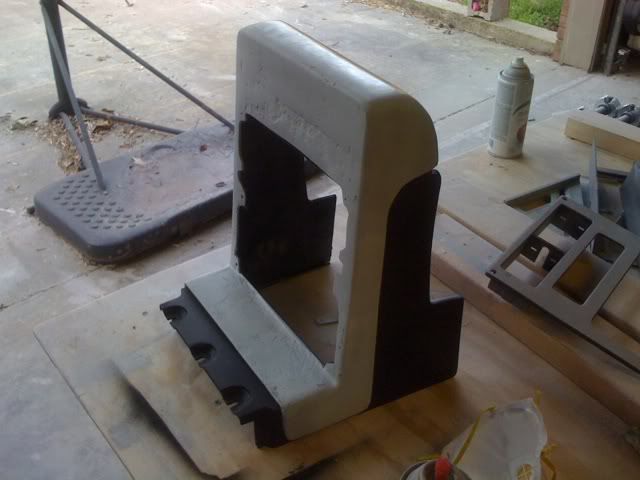
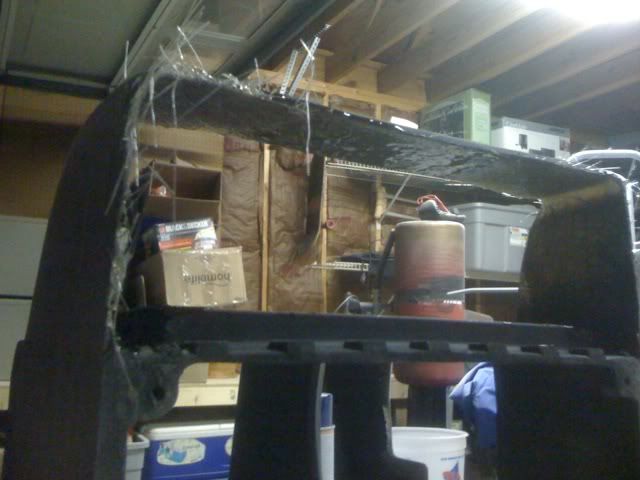
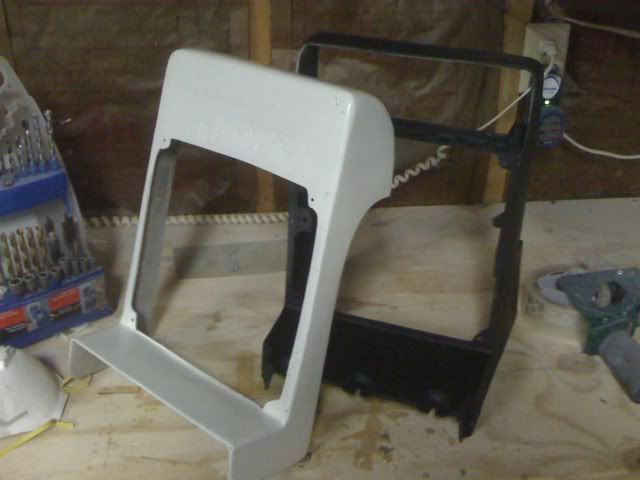
It was raining all morning but then cleared up around nooon. It turned out to be a beautful day - I got a lot done. Check it out!
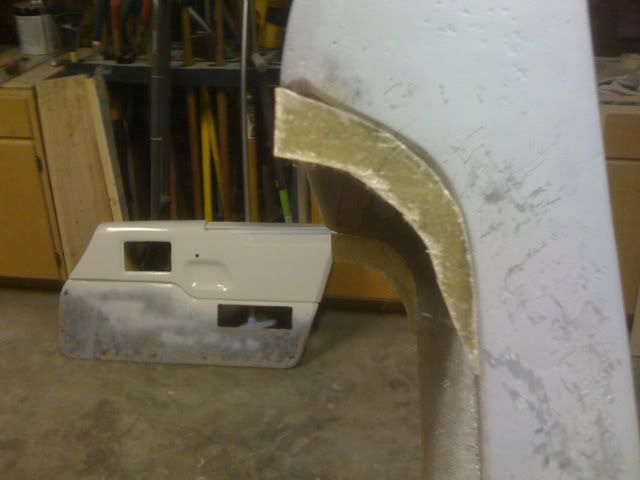
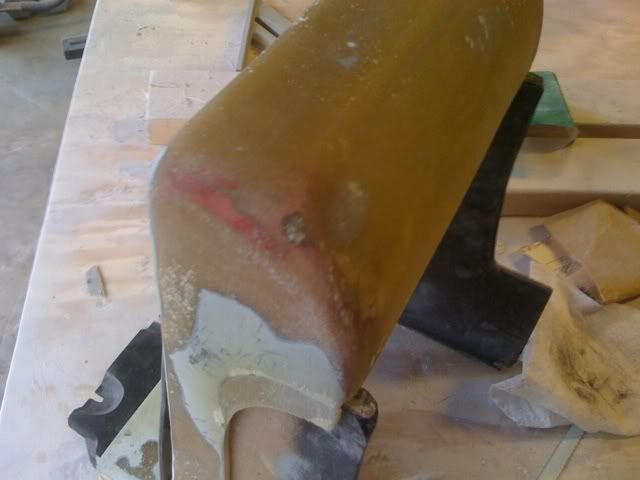
I worked on the door panel. I found a critical shape error that need to be fixed. Luckily I only had to remove material and not add any. I might have to add a little filler but nothing major at all.
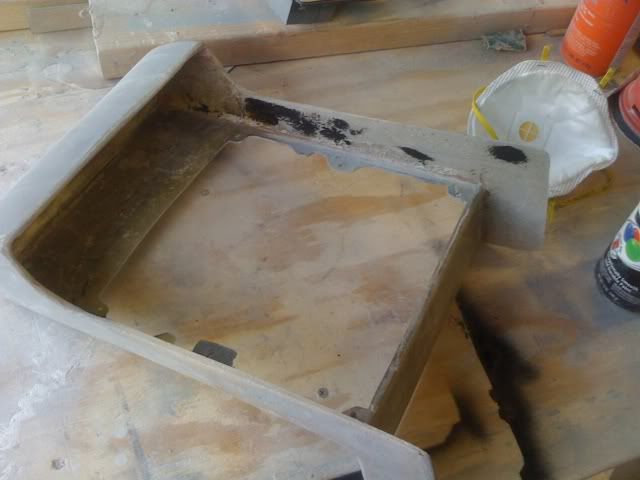
This area was curved. I had to create a smooth right angle like the original - I'll sand it smooth add a little filler and the repaint
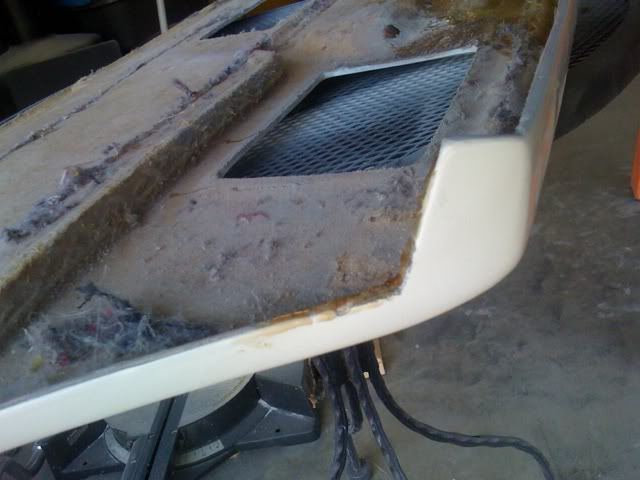
Here's the original
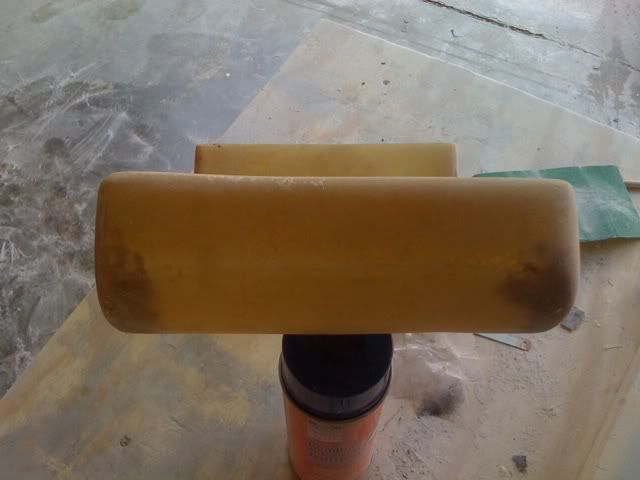
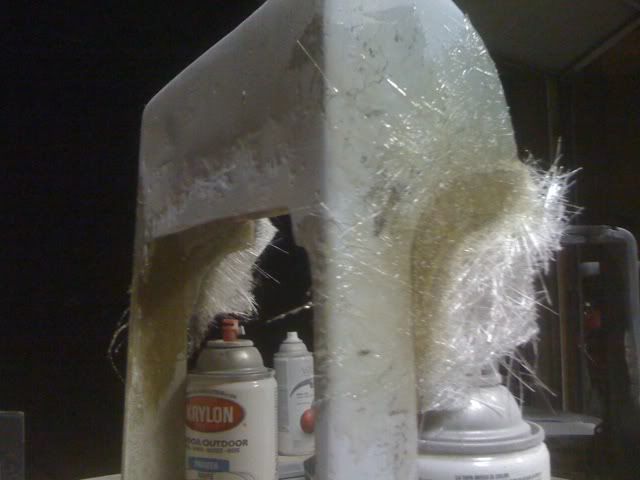
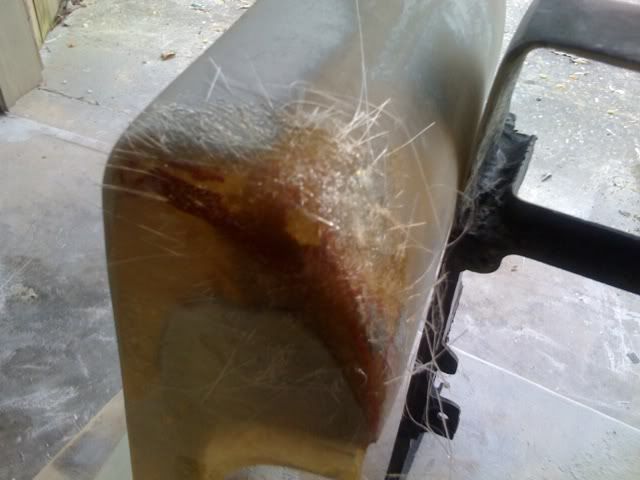
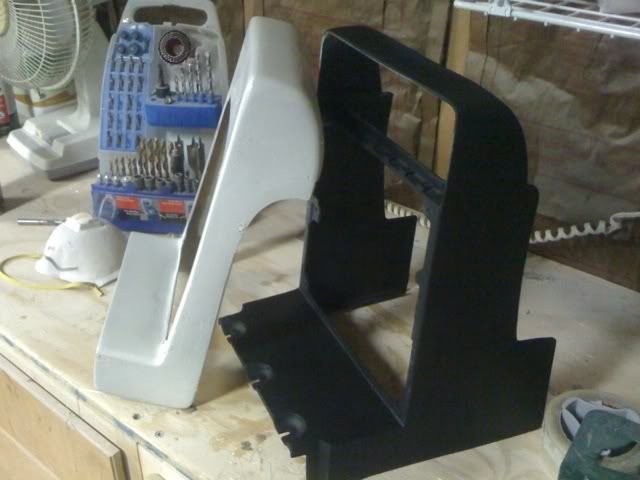
I continued work on the radio console. I found a very thin areas where I HAD to add resin to the inside. Luckily everything worked out.
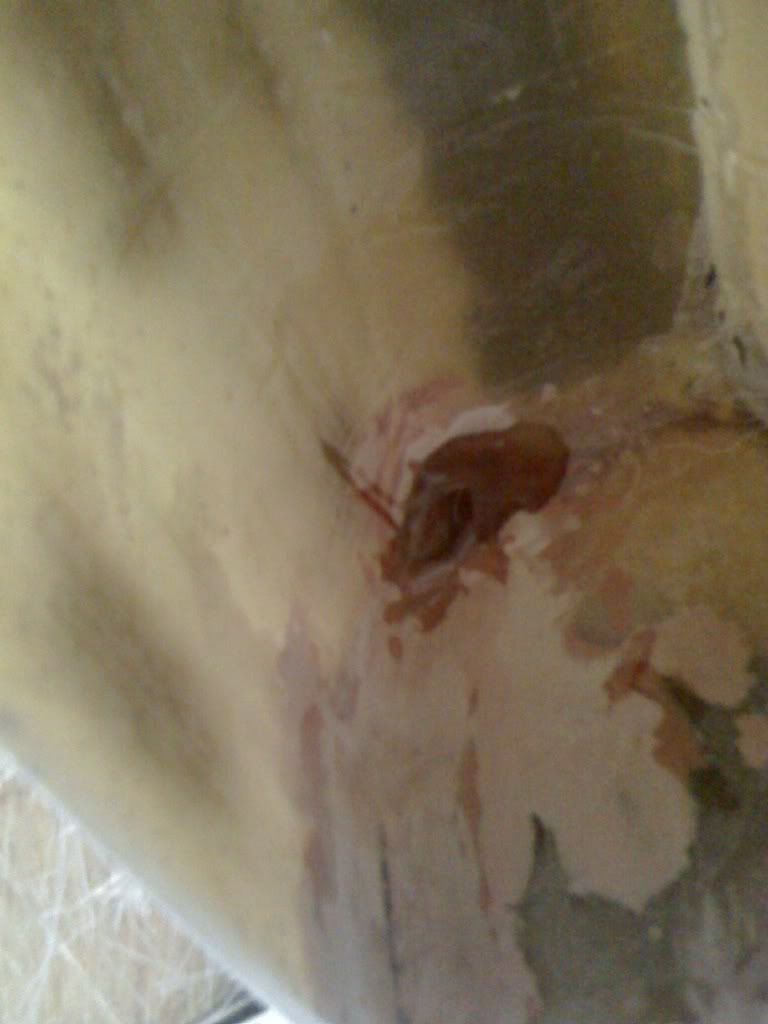

I added a few layers of resin & glass to the outside
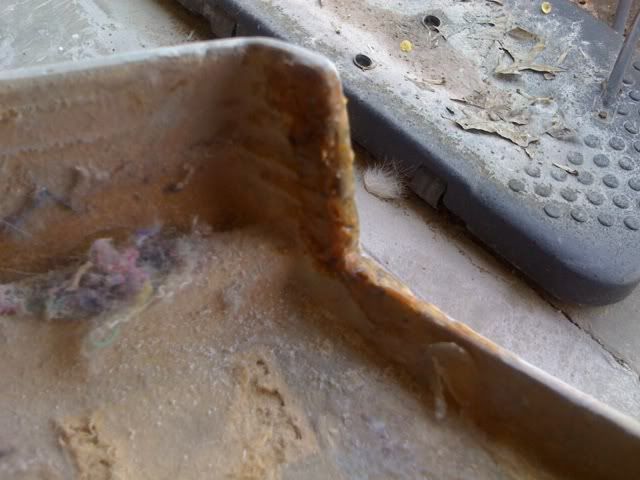
I also began work on the other door panel. I removed the vinyl material and put a few layers of resin to give it strength
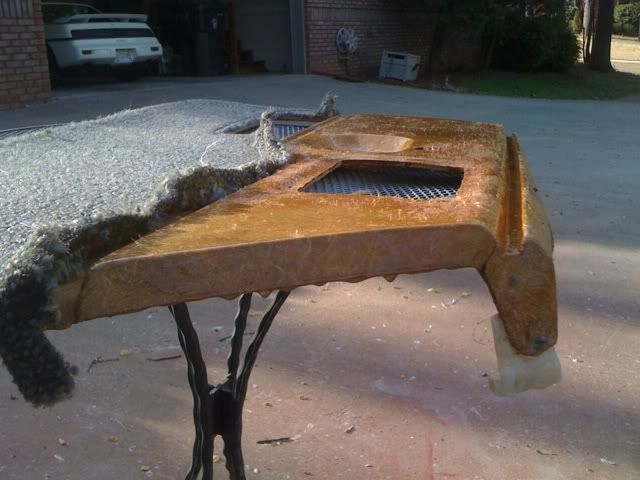

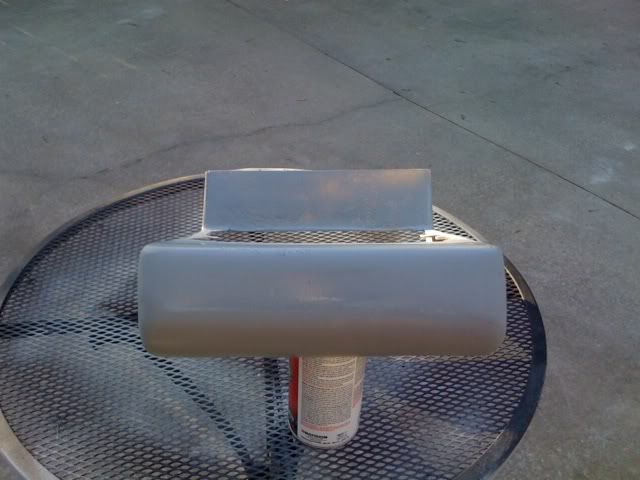
I continued to add primer and sand both consoles
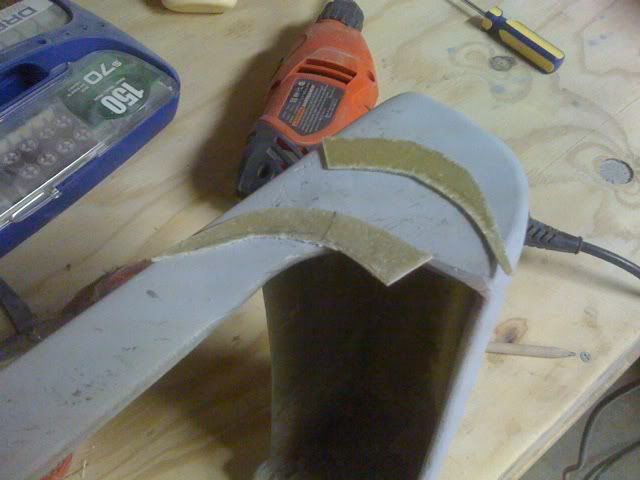
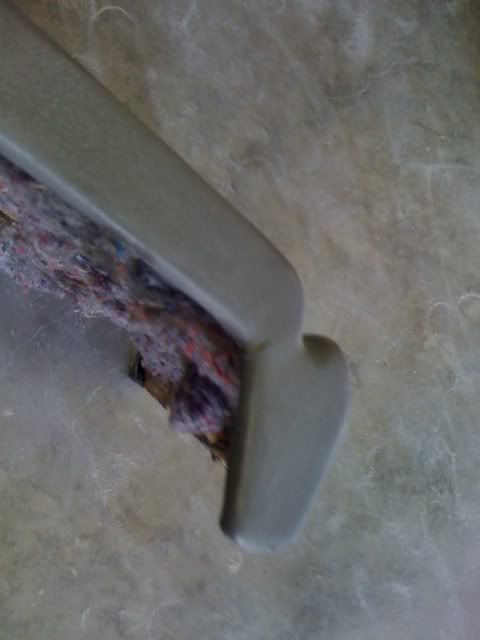
Now I'm on to the next step - the face plates - but I've got A MAJOR PROBLEM... Can you figure it out?

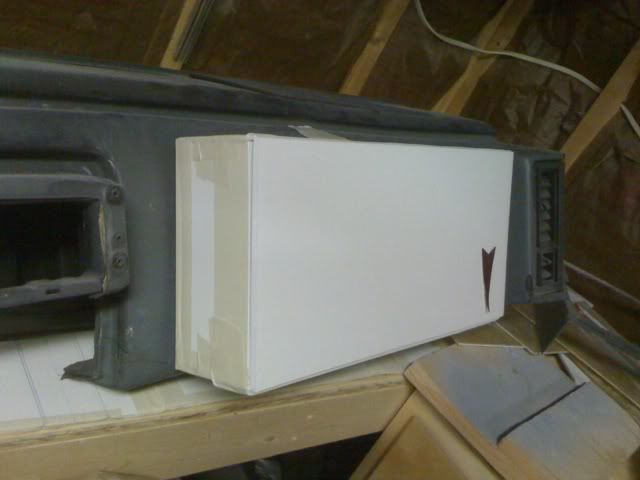
I also created a new mock up for the glove box - I started with a simple back plate that will also be used as the actual box itself
Creating the back of the main box
This is how it will fit. I will have to remove my dash to mount it place - UGH
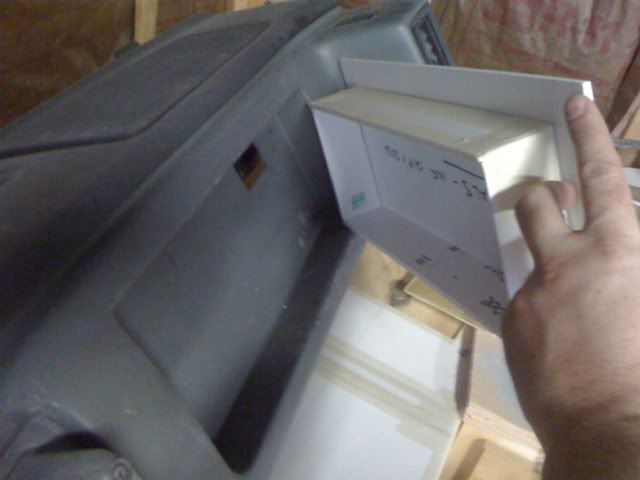
I then created the basic shape with working lid & logo
More on this tomorrow
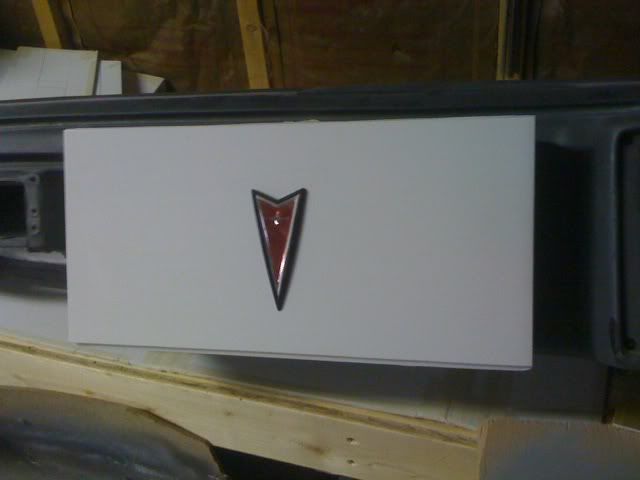
Different logos - what to use?

Now... the problem I'm facing. As you know the radio face plate has the vents built into the plate itself. I HAVE to carefully remove the vent housing IF I plan to permanently attached the face plate. If I do not remove the vents I cannot remove the radio cover. So... I have to cut the vent housing and find a way to sucessfully adhere it behind the radio bezel without interferece- this is going to be a MAJOR obstacle...
That's it for today. More to come tomorrow.
|
|

|
Sofa King
|
APR 04, 12:15 AM
|
|
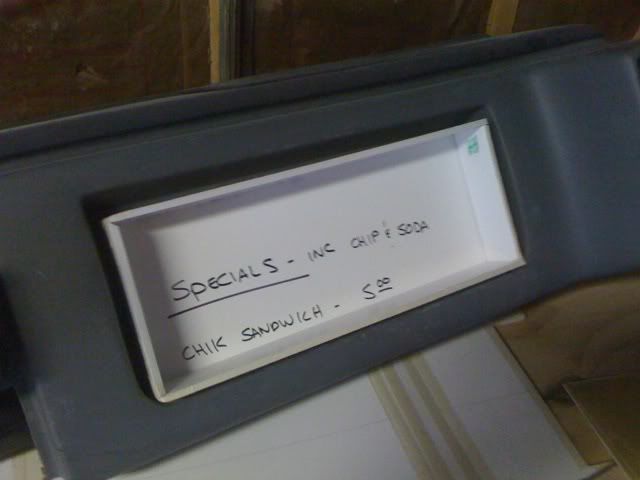
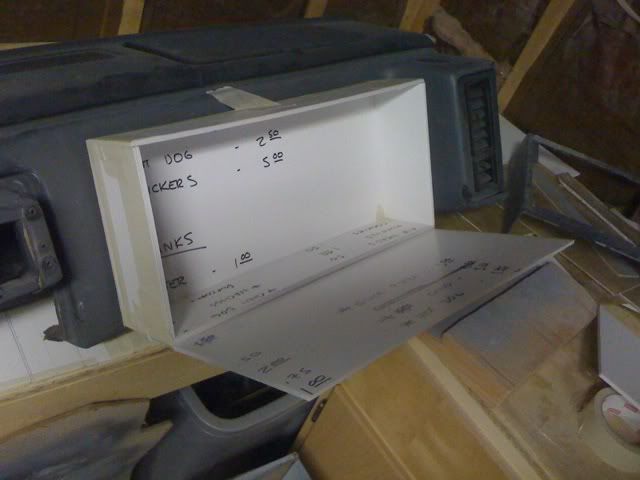
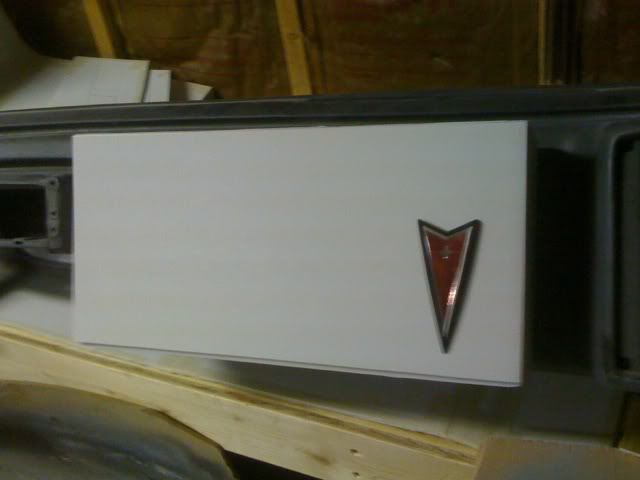
I have an idea for the lid of the glove box. The design is carried over from the center console lid. I really like it. I think I prefer the smaller logo to the larger one. I will have to buy a new Pontiac logo though. When I removed the logo from the Grand Am at the pick & pull it bent out of shape. Plus it's not that glossy.

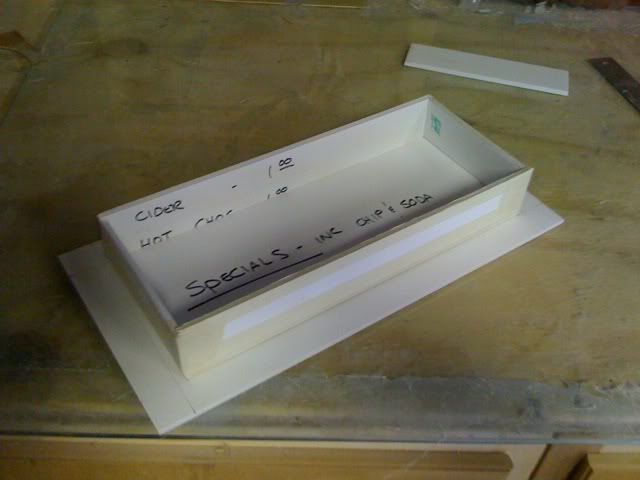
This is how the glovebox will look inside - this is subject to change - hmmmmm... I could add more CUP HOLDERS! LOL
 [This message has been edited by Sofa King (edited 04-04-2010).]
|
|
|
|
katatak
|
APR 04, 12:24 AM
|
|
Hey Greg,
I like the glove box idea. Are you planing on "rounding" the edges off some? Looks a little boxy to me but the concept is cool. Go a little retro and mold in some "cup holders" on the inside of the lid?
Pat
|
|
|
|
Sofa King
|
APR 04, 12:35 AM
|
|
Thanks man. It really turned into a nice day. The edges will definately be rounded over. Cup holders... LOL How many cup holders does one man need? I dunno. I guess I'm about to find out. LOL
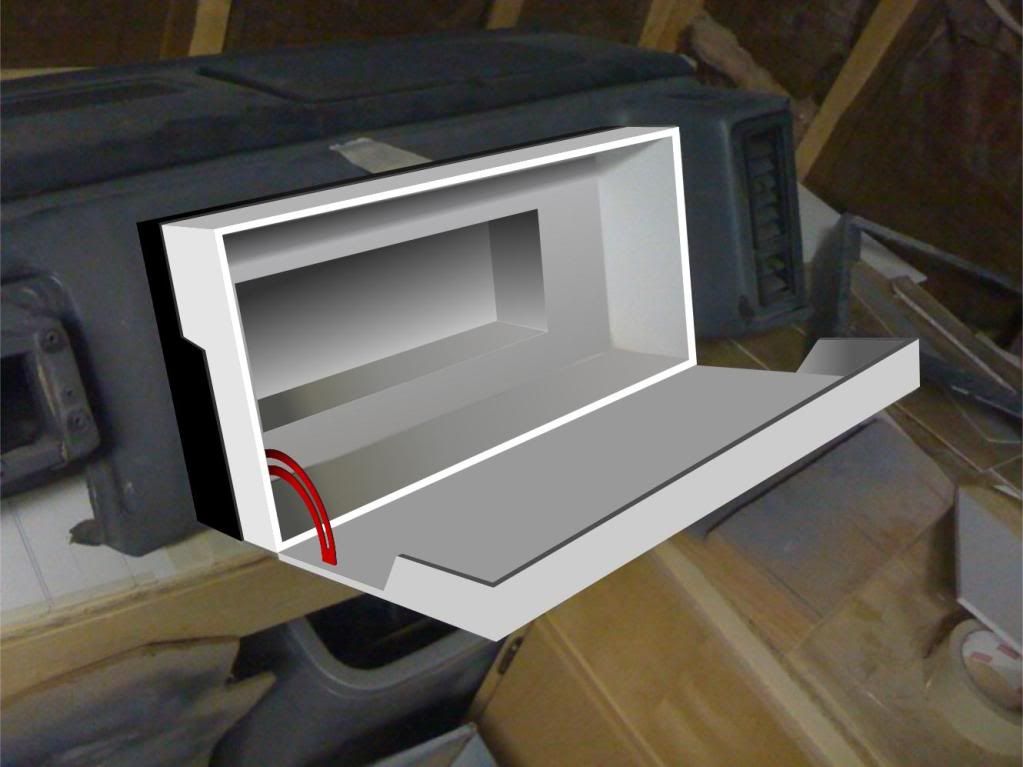
I will need to create a bracket that will keep the lid from folding all the way down - maybe something like this? See the red bracket. What do you think? I could use a chain but that would be cheesy and I would be compromising on the design.
 [This message has been edited by Sofa King (edited 04-04-2010).]
|
|
|
|
Ants87gt
|
APR 04, 02:05 AM
|
|
For something to limit how far it opens on a lot of the new cars they use a plastic cable that uses a kind of push button that lock itself into a hole so it would be real easy to install and remove if you need to work on something. I'm sure you couldfind something like it at a junk yard and they'd probably give it to you.
Just an idea.
looking good.
Ant
On a side note I started on my console will post a thread when i get some more done on it, thanks again for the ideas and inspiration!
|
|
|
|