|
| Ferrari 288GTO build (Page 53/64) |

|
dobie1
|
JUN 09, 09:33 PM
|
|
|
|
|
Trinten
|
JUN 09, 10:08 PM
|
|
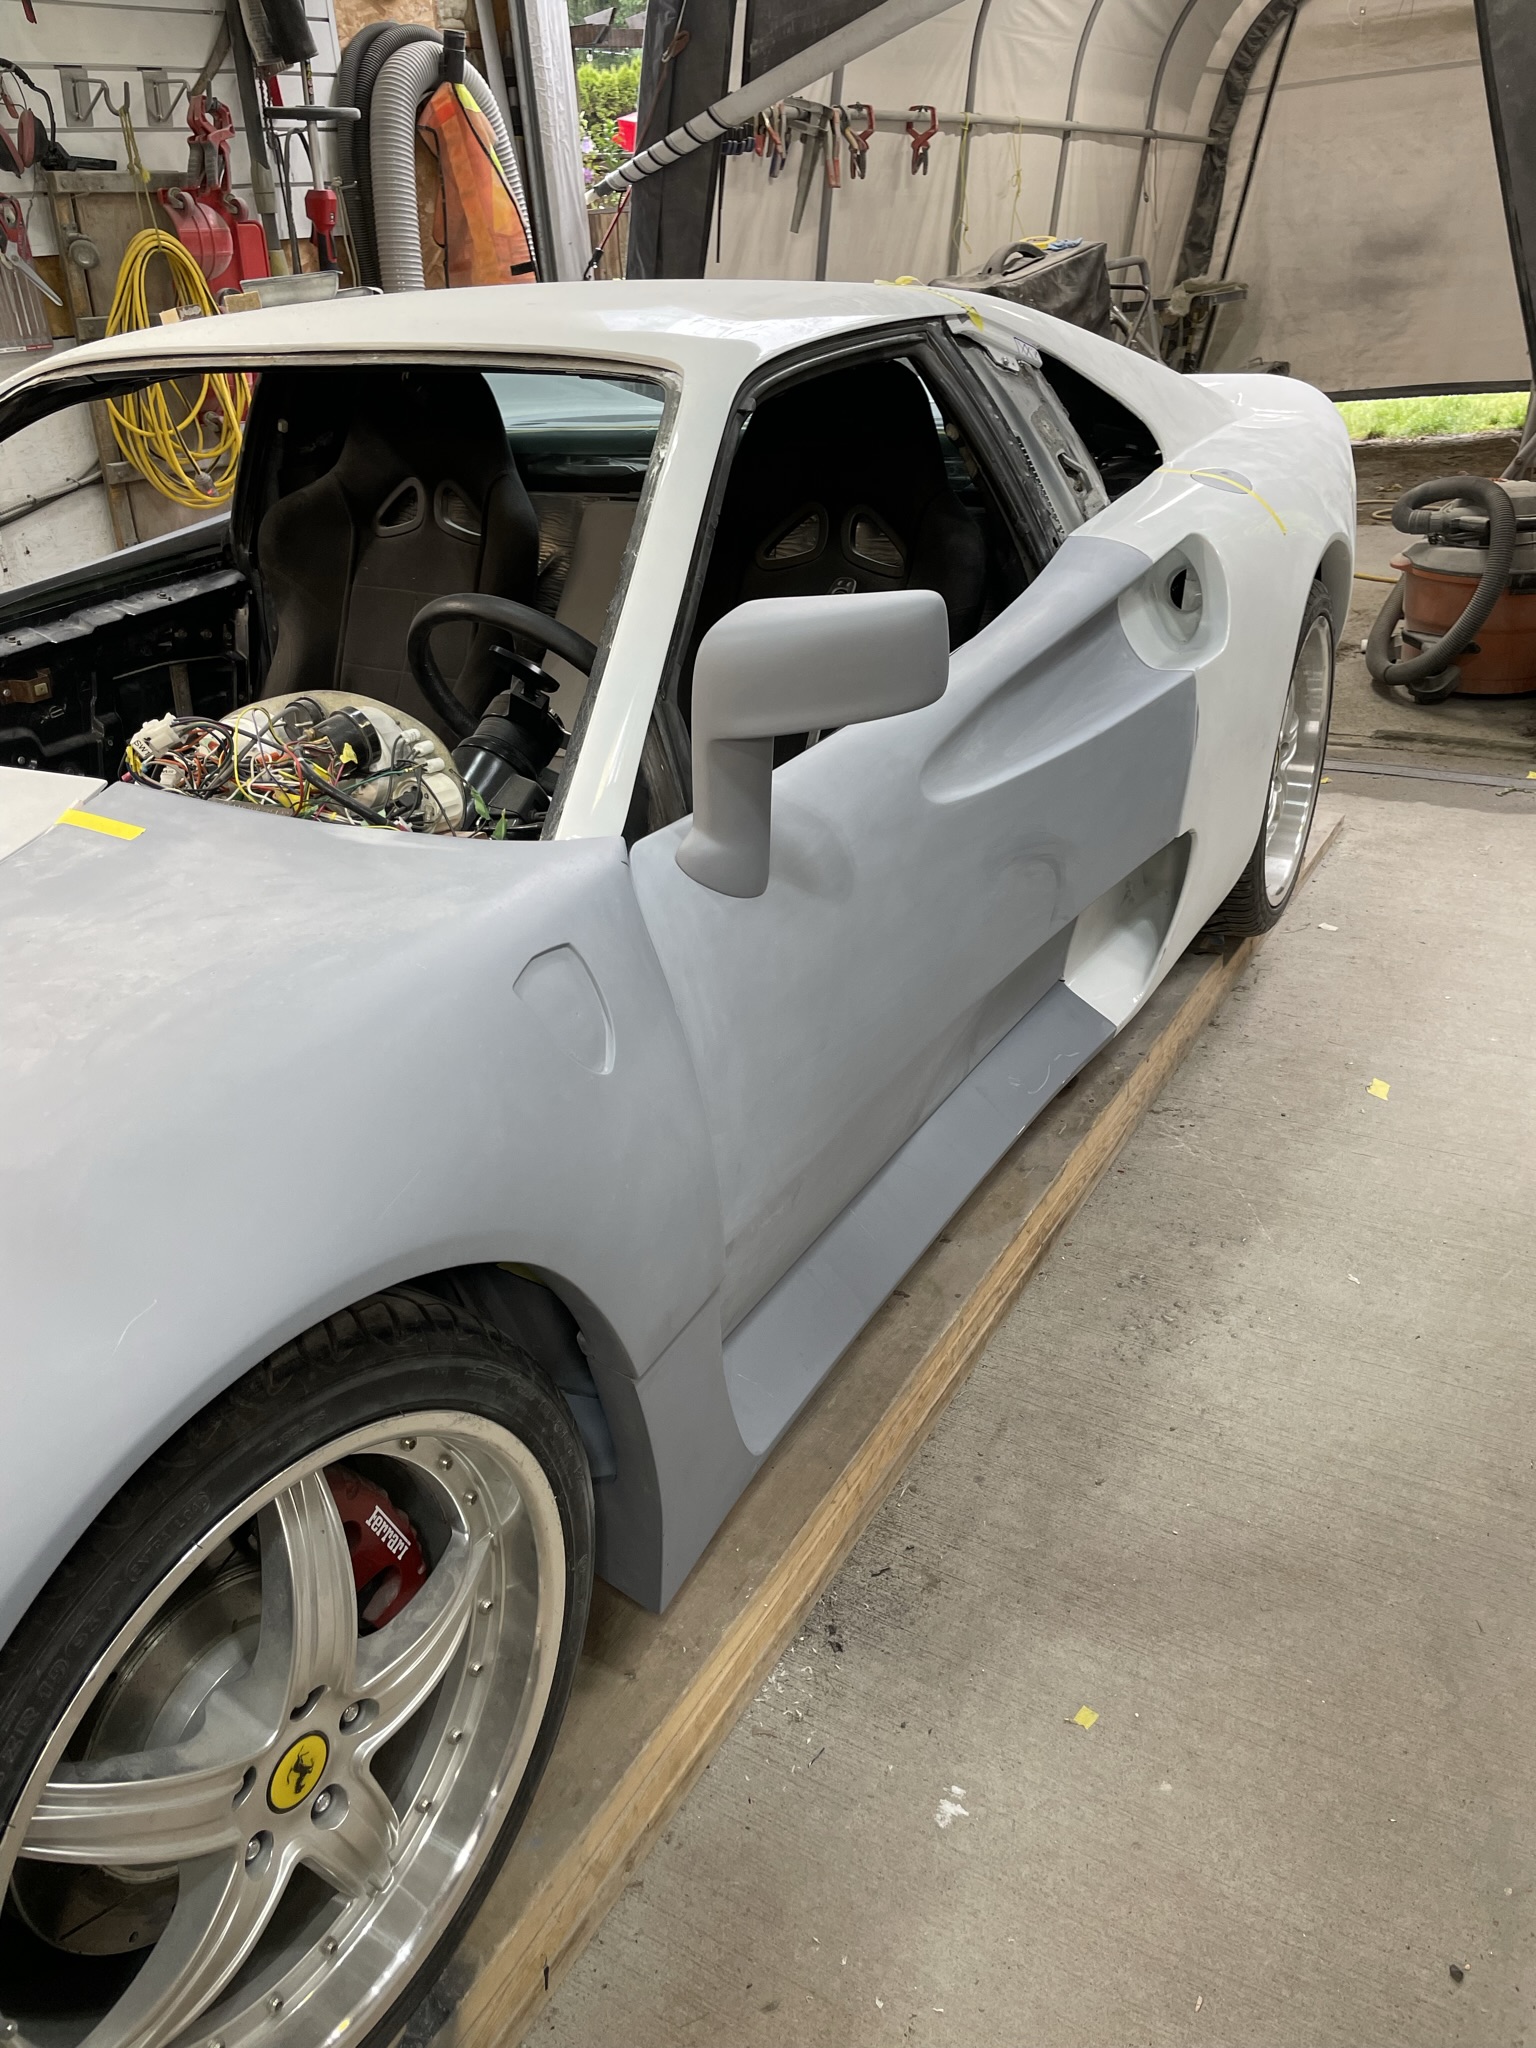
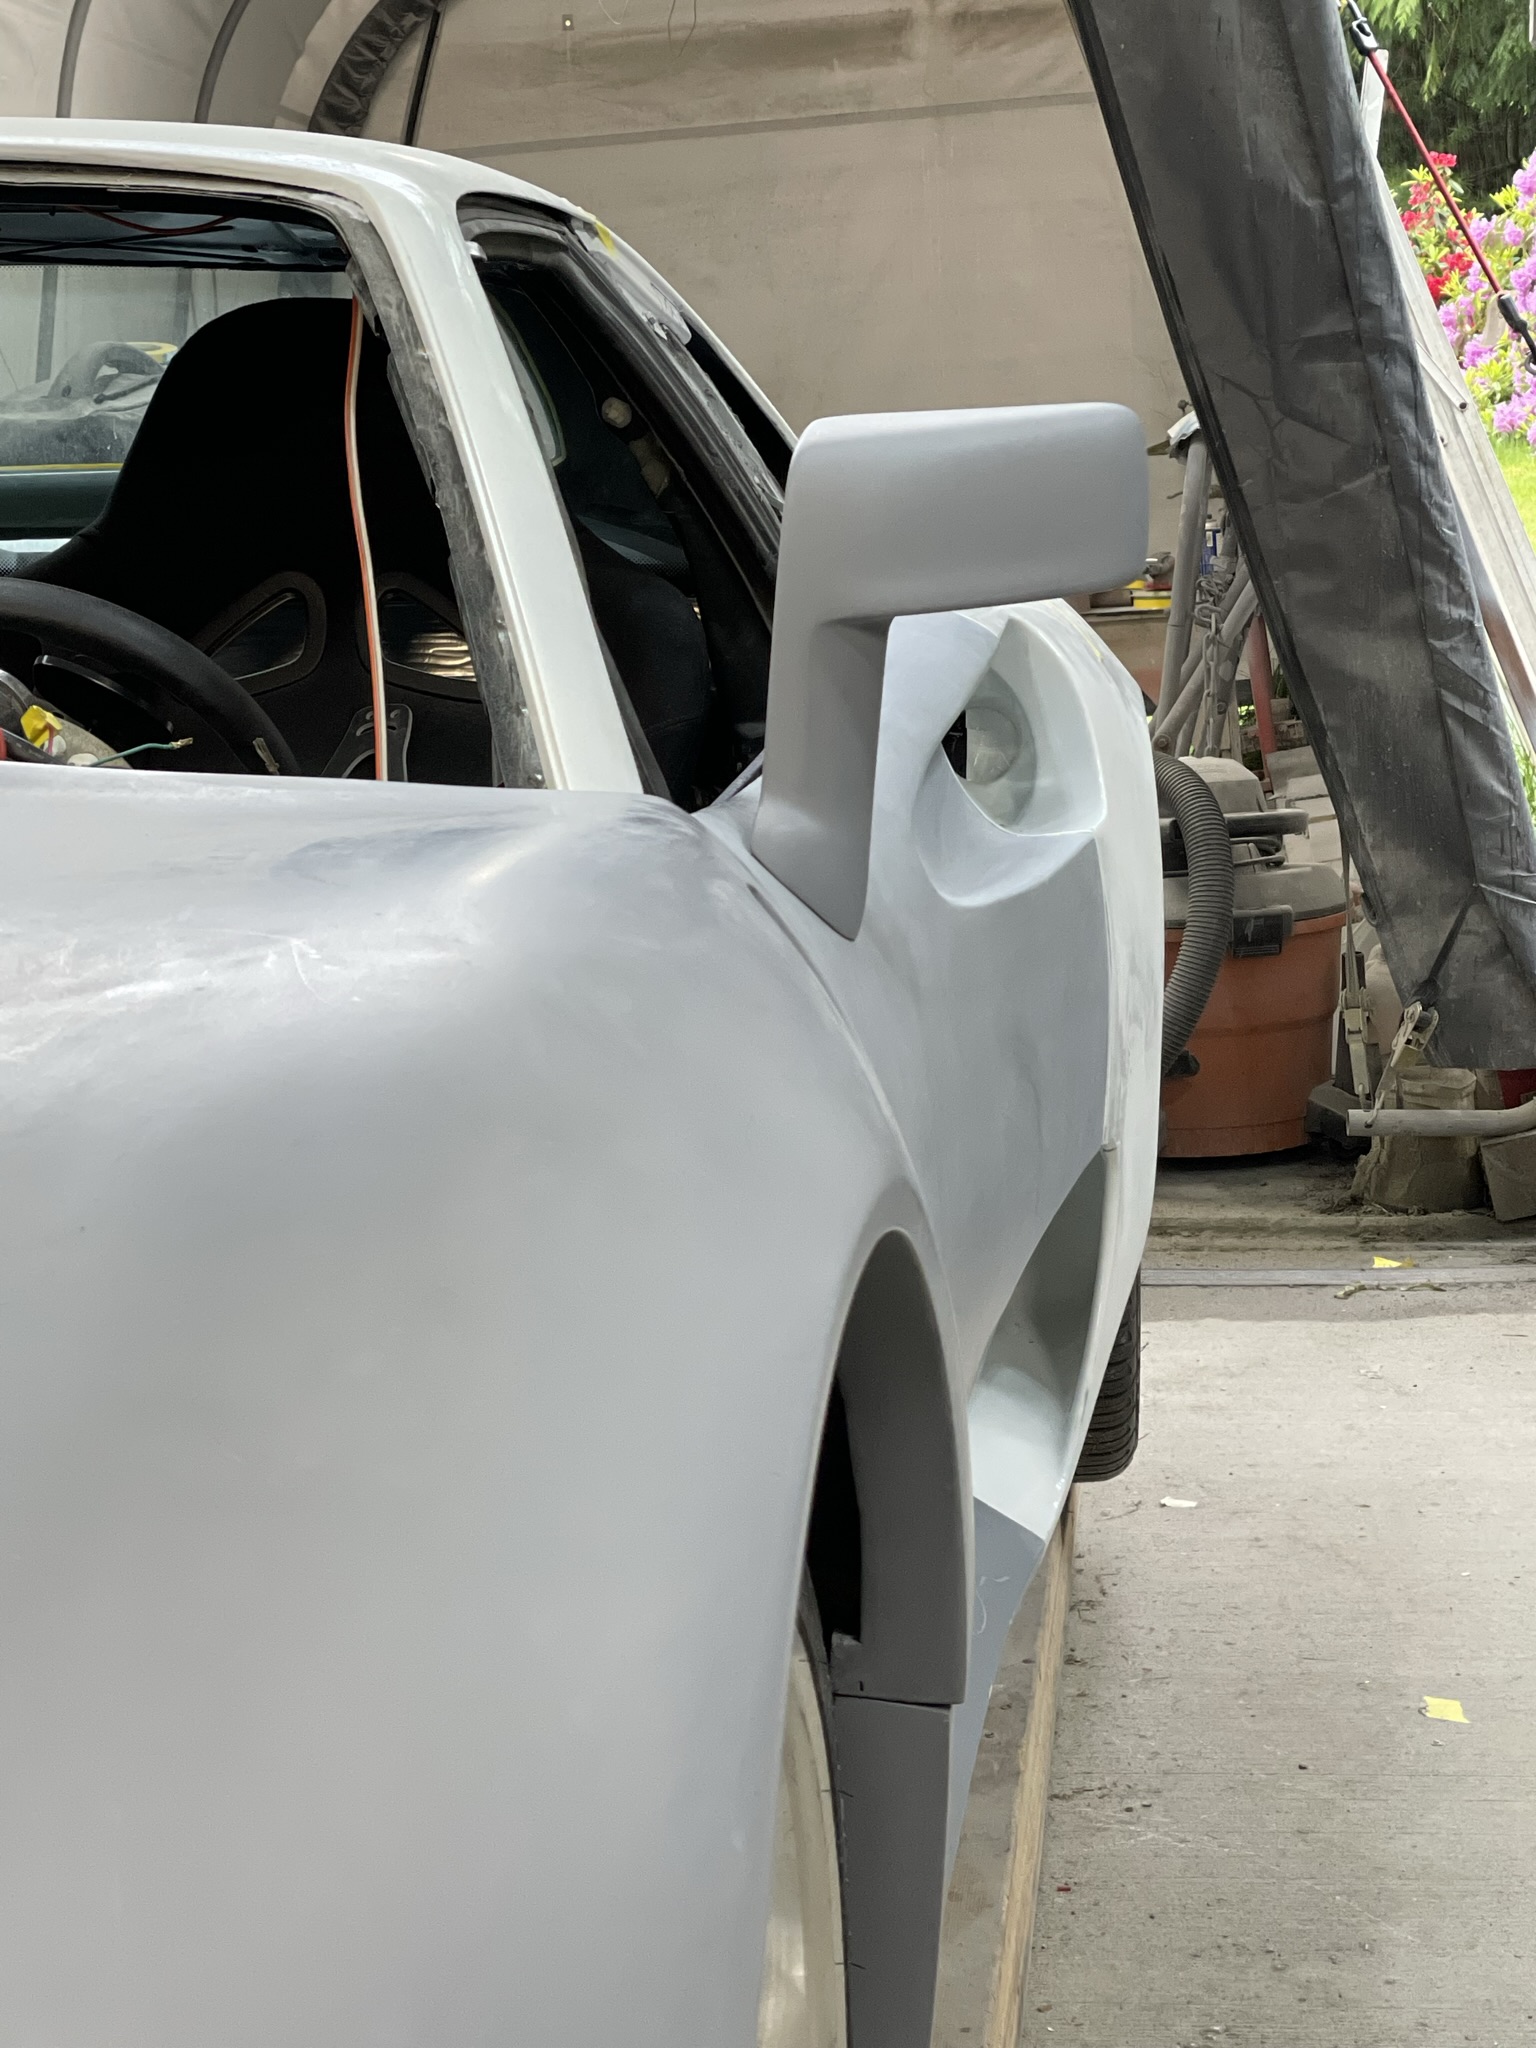
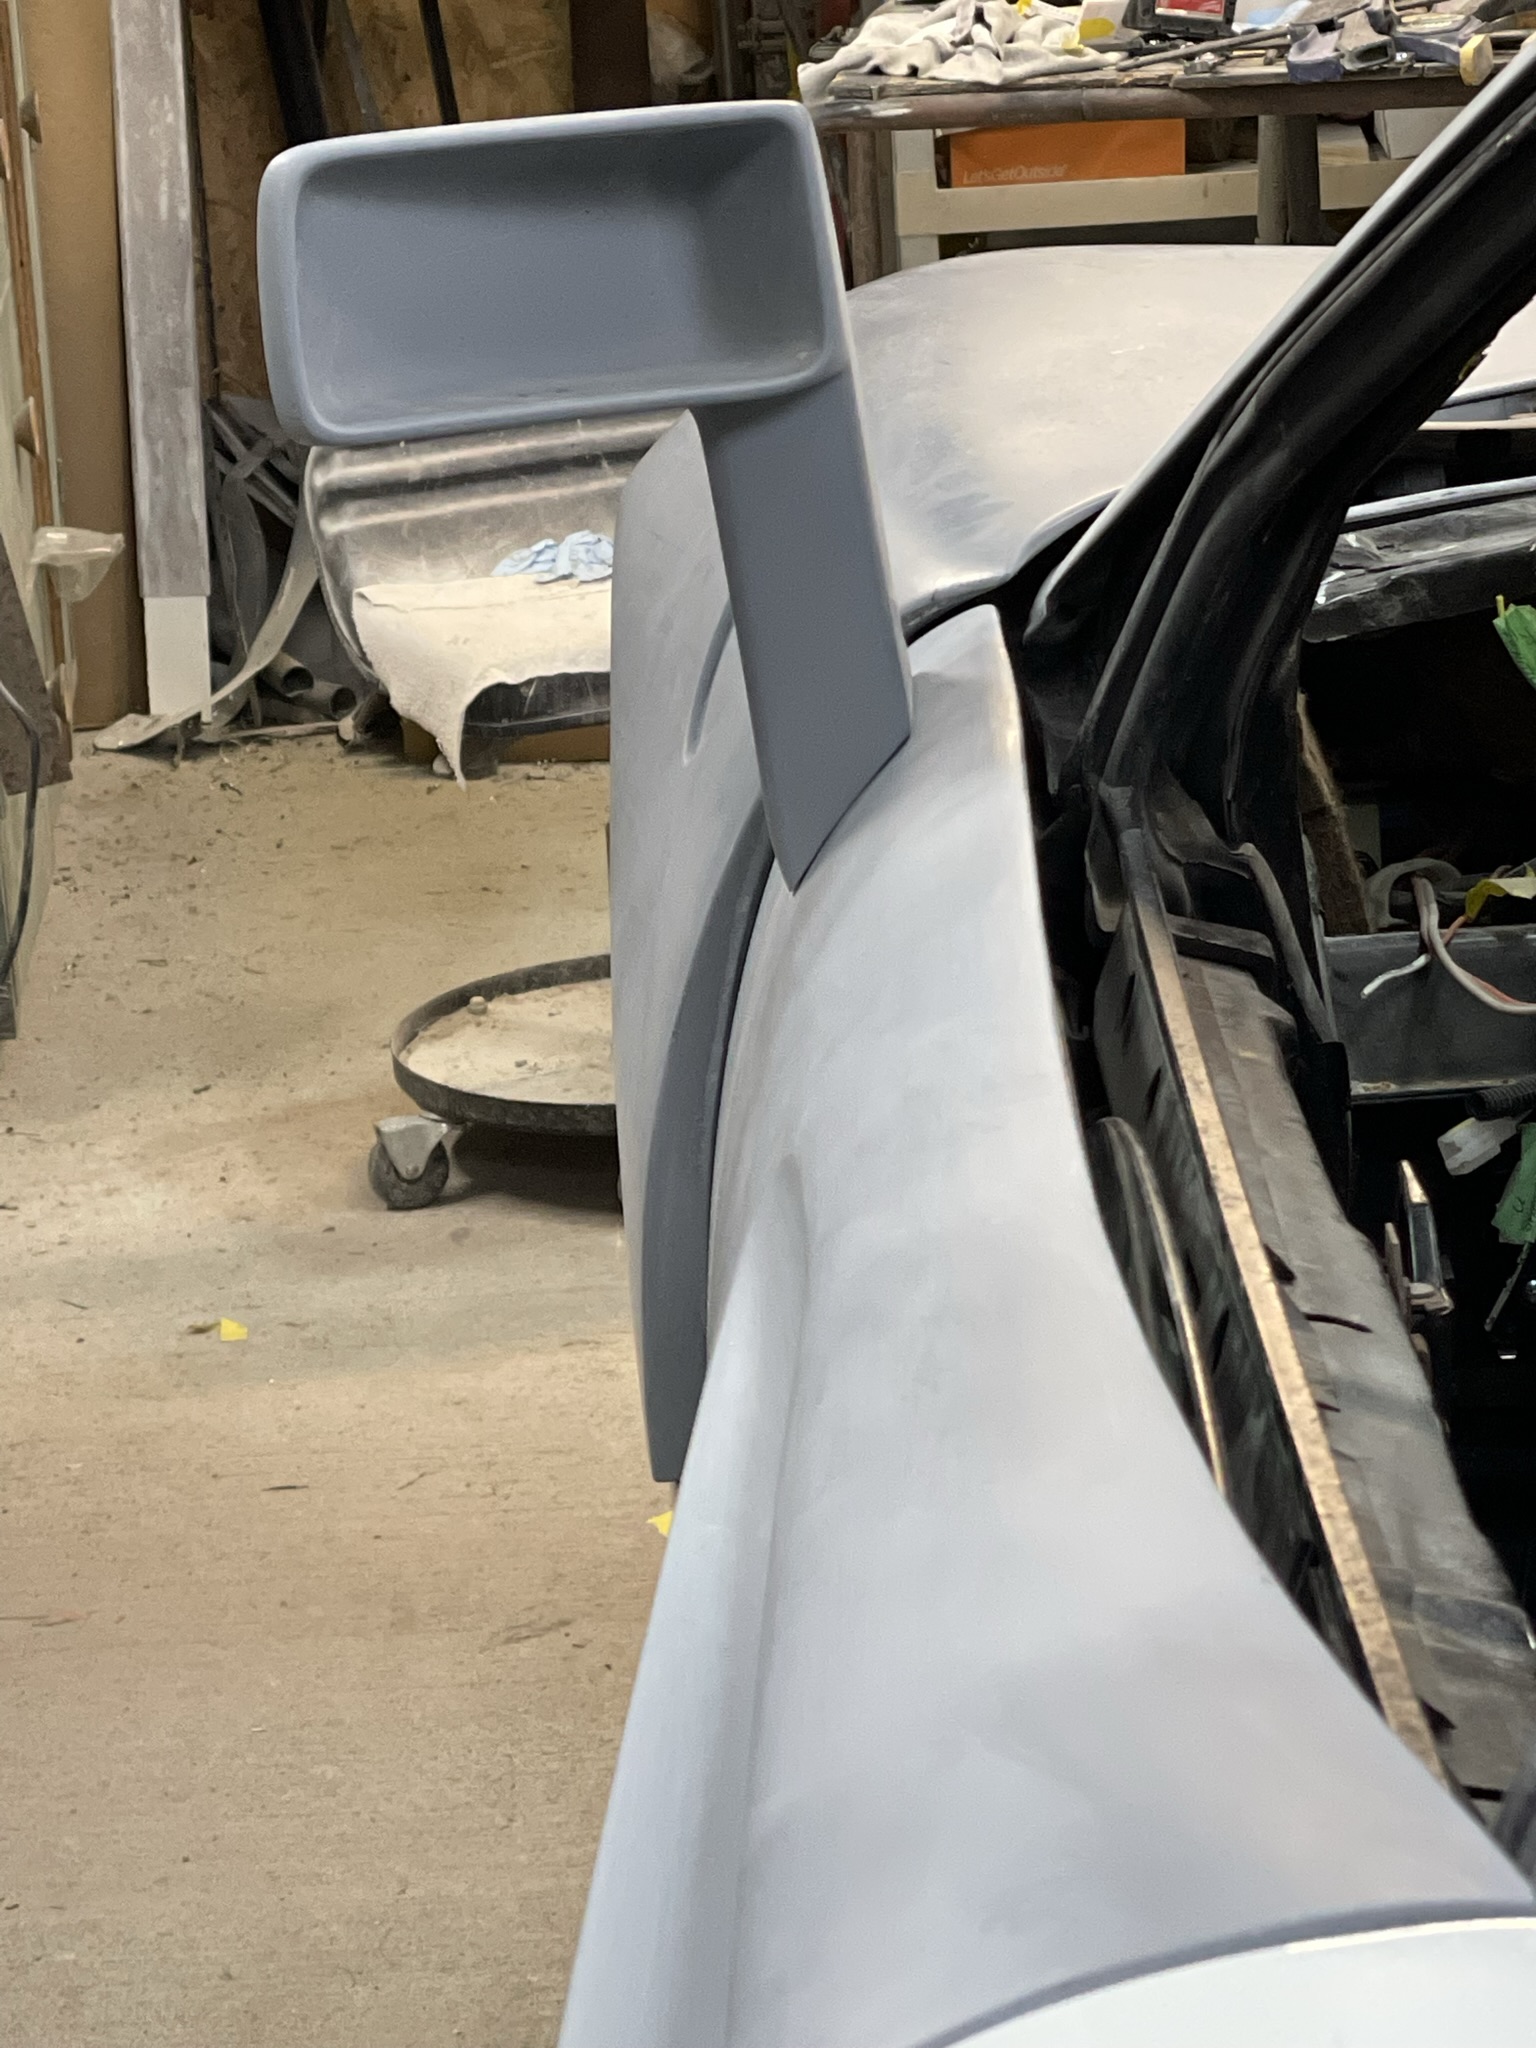
I'm sorry if I missed it somewhere -- your mirrors, are those 3D printed? Are they modeled after the actual Ferrari mirrors? That part at the bottom is that an aftermarket adapter?
.... so, yeah, basically all the info on the mirrors. If you posted about it, can you kick out a link to the post? Thank you!
|
|
|
|
dobie1
|
JUN 09, 11:20 PM
|
|
| quote | Originally posted by Trinten:
I'm sorry if I missed it somewhere -- your mirrors, are those 3D printed? Are they modeled after the actual Ferrari mirrors? That part at the bottom is that an aftermarket adapter?
.... so, yeah, basically all the info on the mirrors. If you posted about it, can you kick out a link to the post? Thank you! |
|
Hi Trinten
I picked up a set of mirrors from Nick M. He sells GTO rebody kits for 308 Ferrari’s on EBay. He is located in California. Nice guy !
I did contact him recently and he didn’t have any at the moment but now requires 3 sets to be purchased at a cost of $900 per set.
The set I got from Nick didn’t actually fit my car door as received I had to modify them. Nick informed when I originally spoke to him that They are molded off a set of real GTO mirrors so they are correct.
When I was planning on and selling kits of my car I did contact a 3D printer locally about scanning and printing them for the kits
The 3D printed versions printed from my car are $900 Canadian about $700 USD.
I hope that helps.
If you go to page 3 there are a couple pics of them before the modifications I had to make.
Wayne
|
|
|
|
Trinten
|
JUN 09, 11:24 PM
|
|
Thank you!
I've been struggling to find side mirrors that I can either modify to have the features I want or are very close to bolt on (as in make an intermediate bracket). I haven't had much luck yet. A few more production mirrors on the list that I'm watching for on ebay, trying to find ones that are non-working so they are cheaper and can do test fits. 
I will keep this info in mind!
|
|
|
|
dobie1
|
JUN 25, 11:51 AM
|
|
|
|
|
Sage
|
JUN 25, 05:37 PM
|
|

HAGO! 
|
|
|
|
shemdogg
|
JUN 30, 04:25 PM
|
|
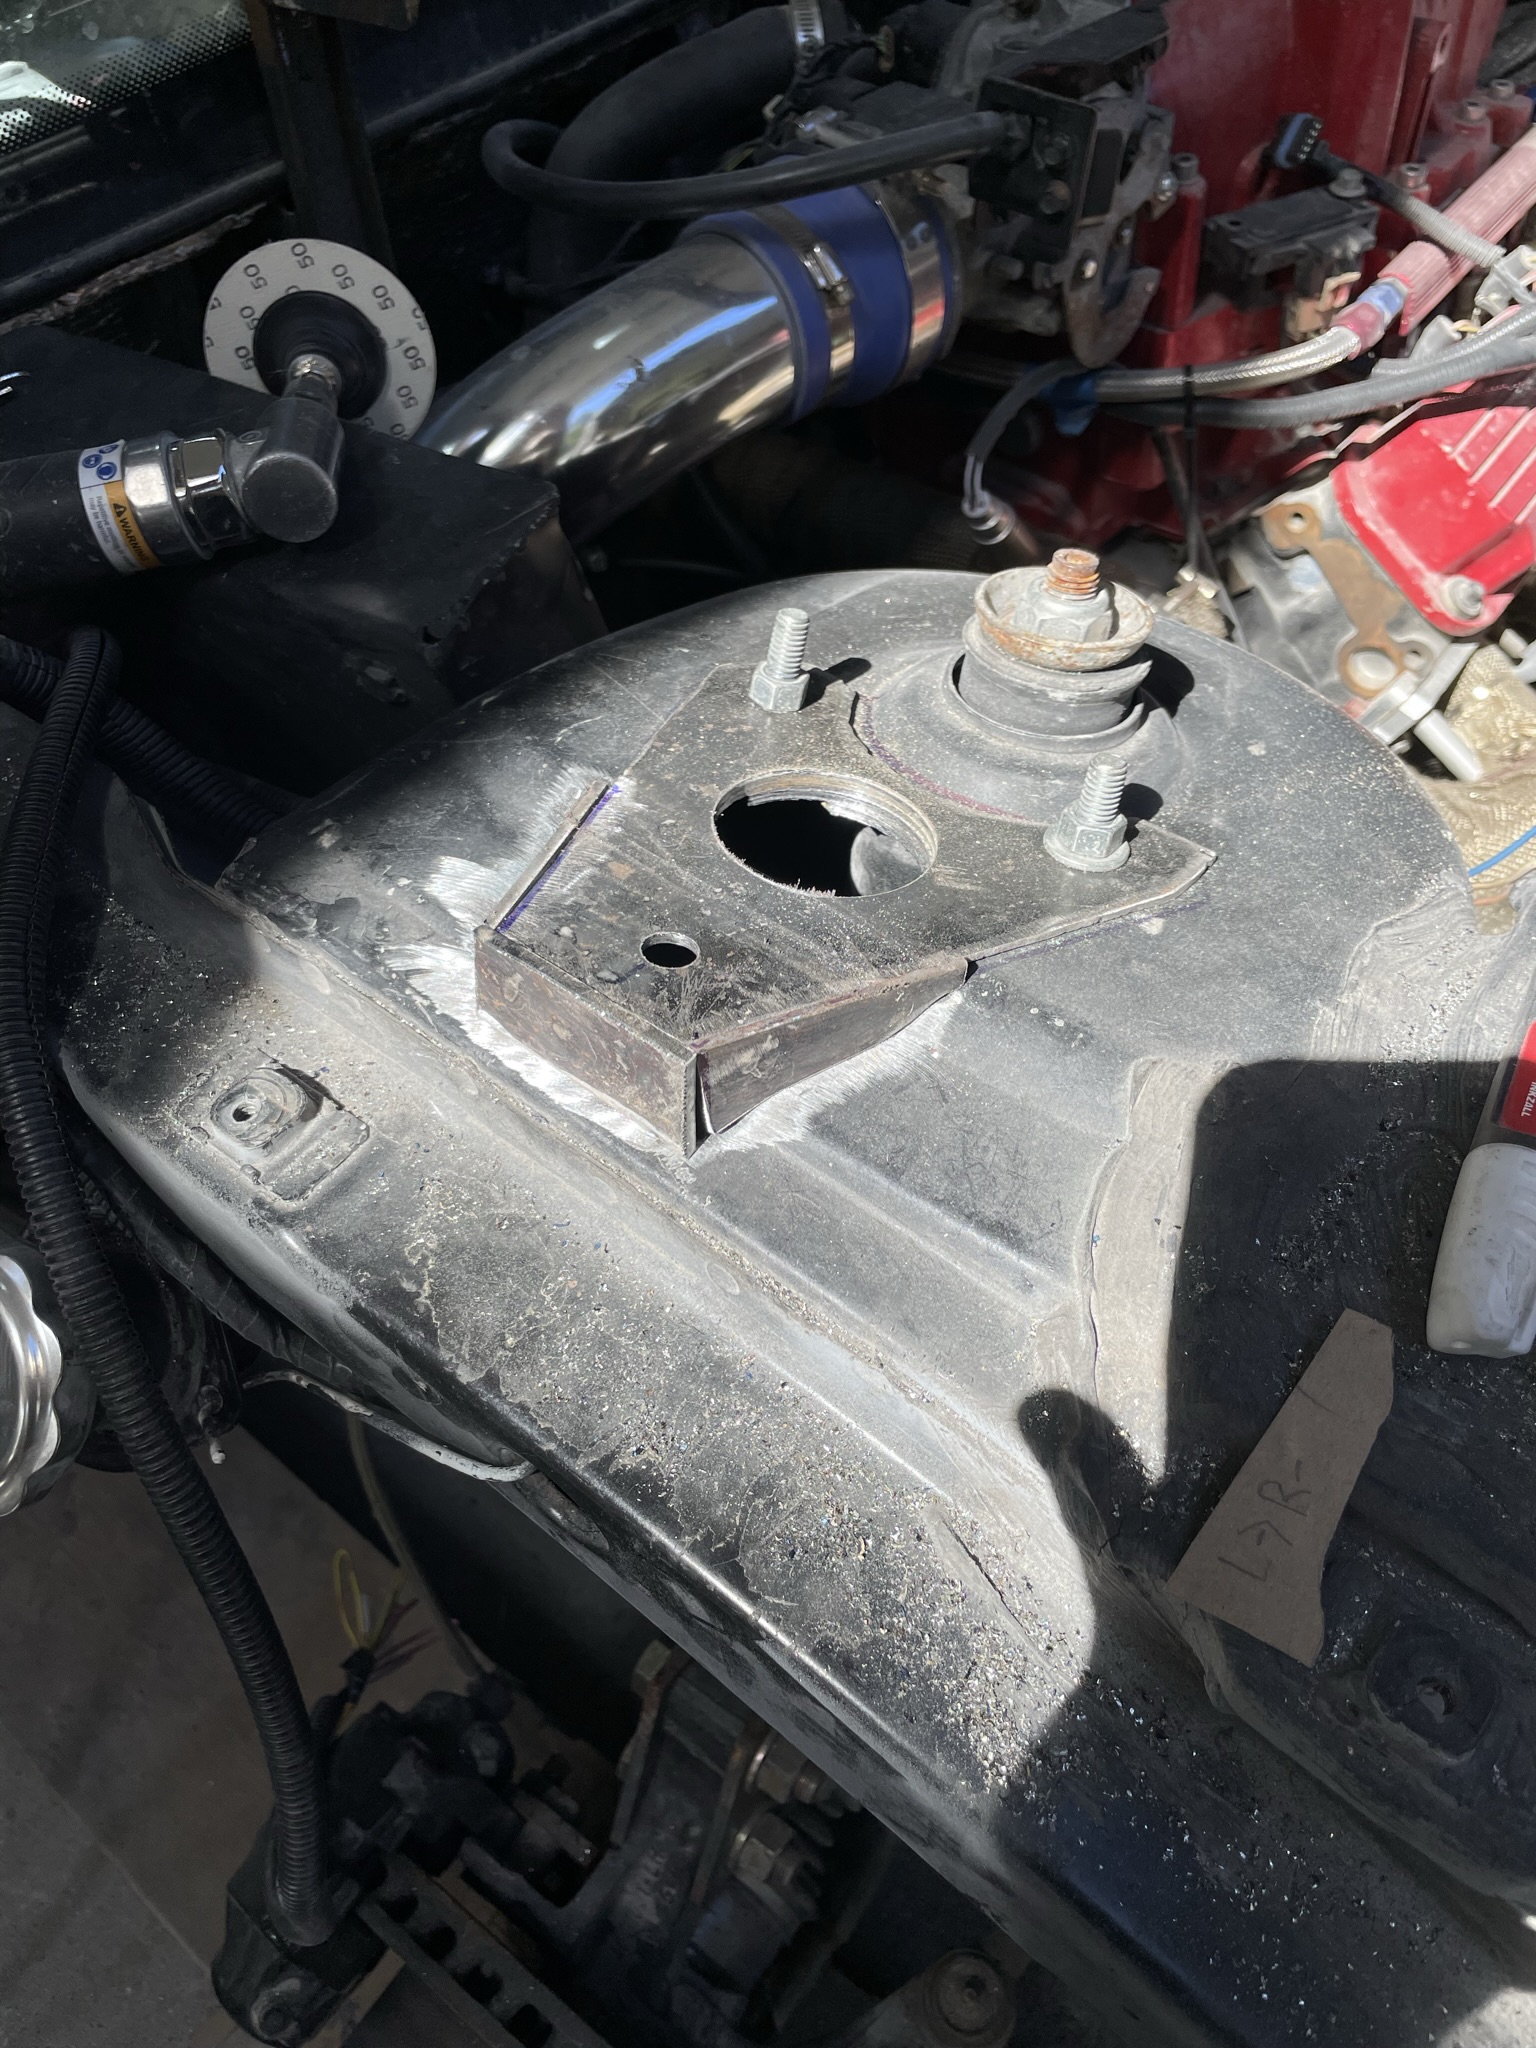
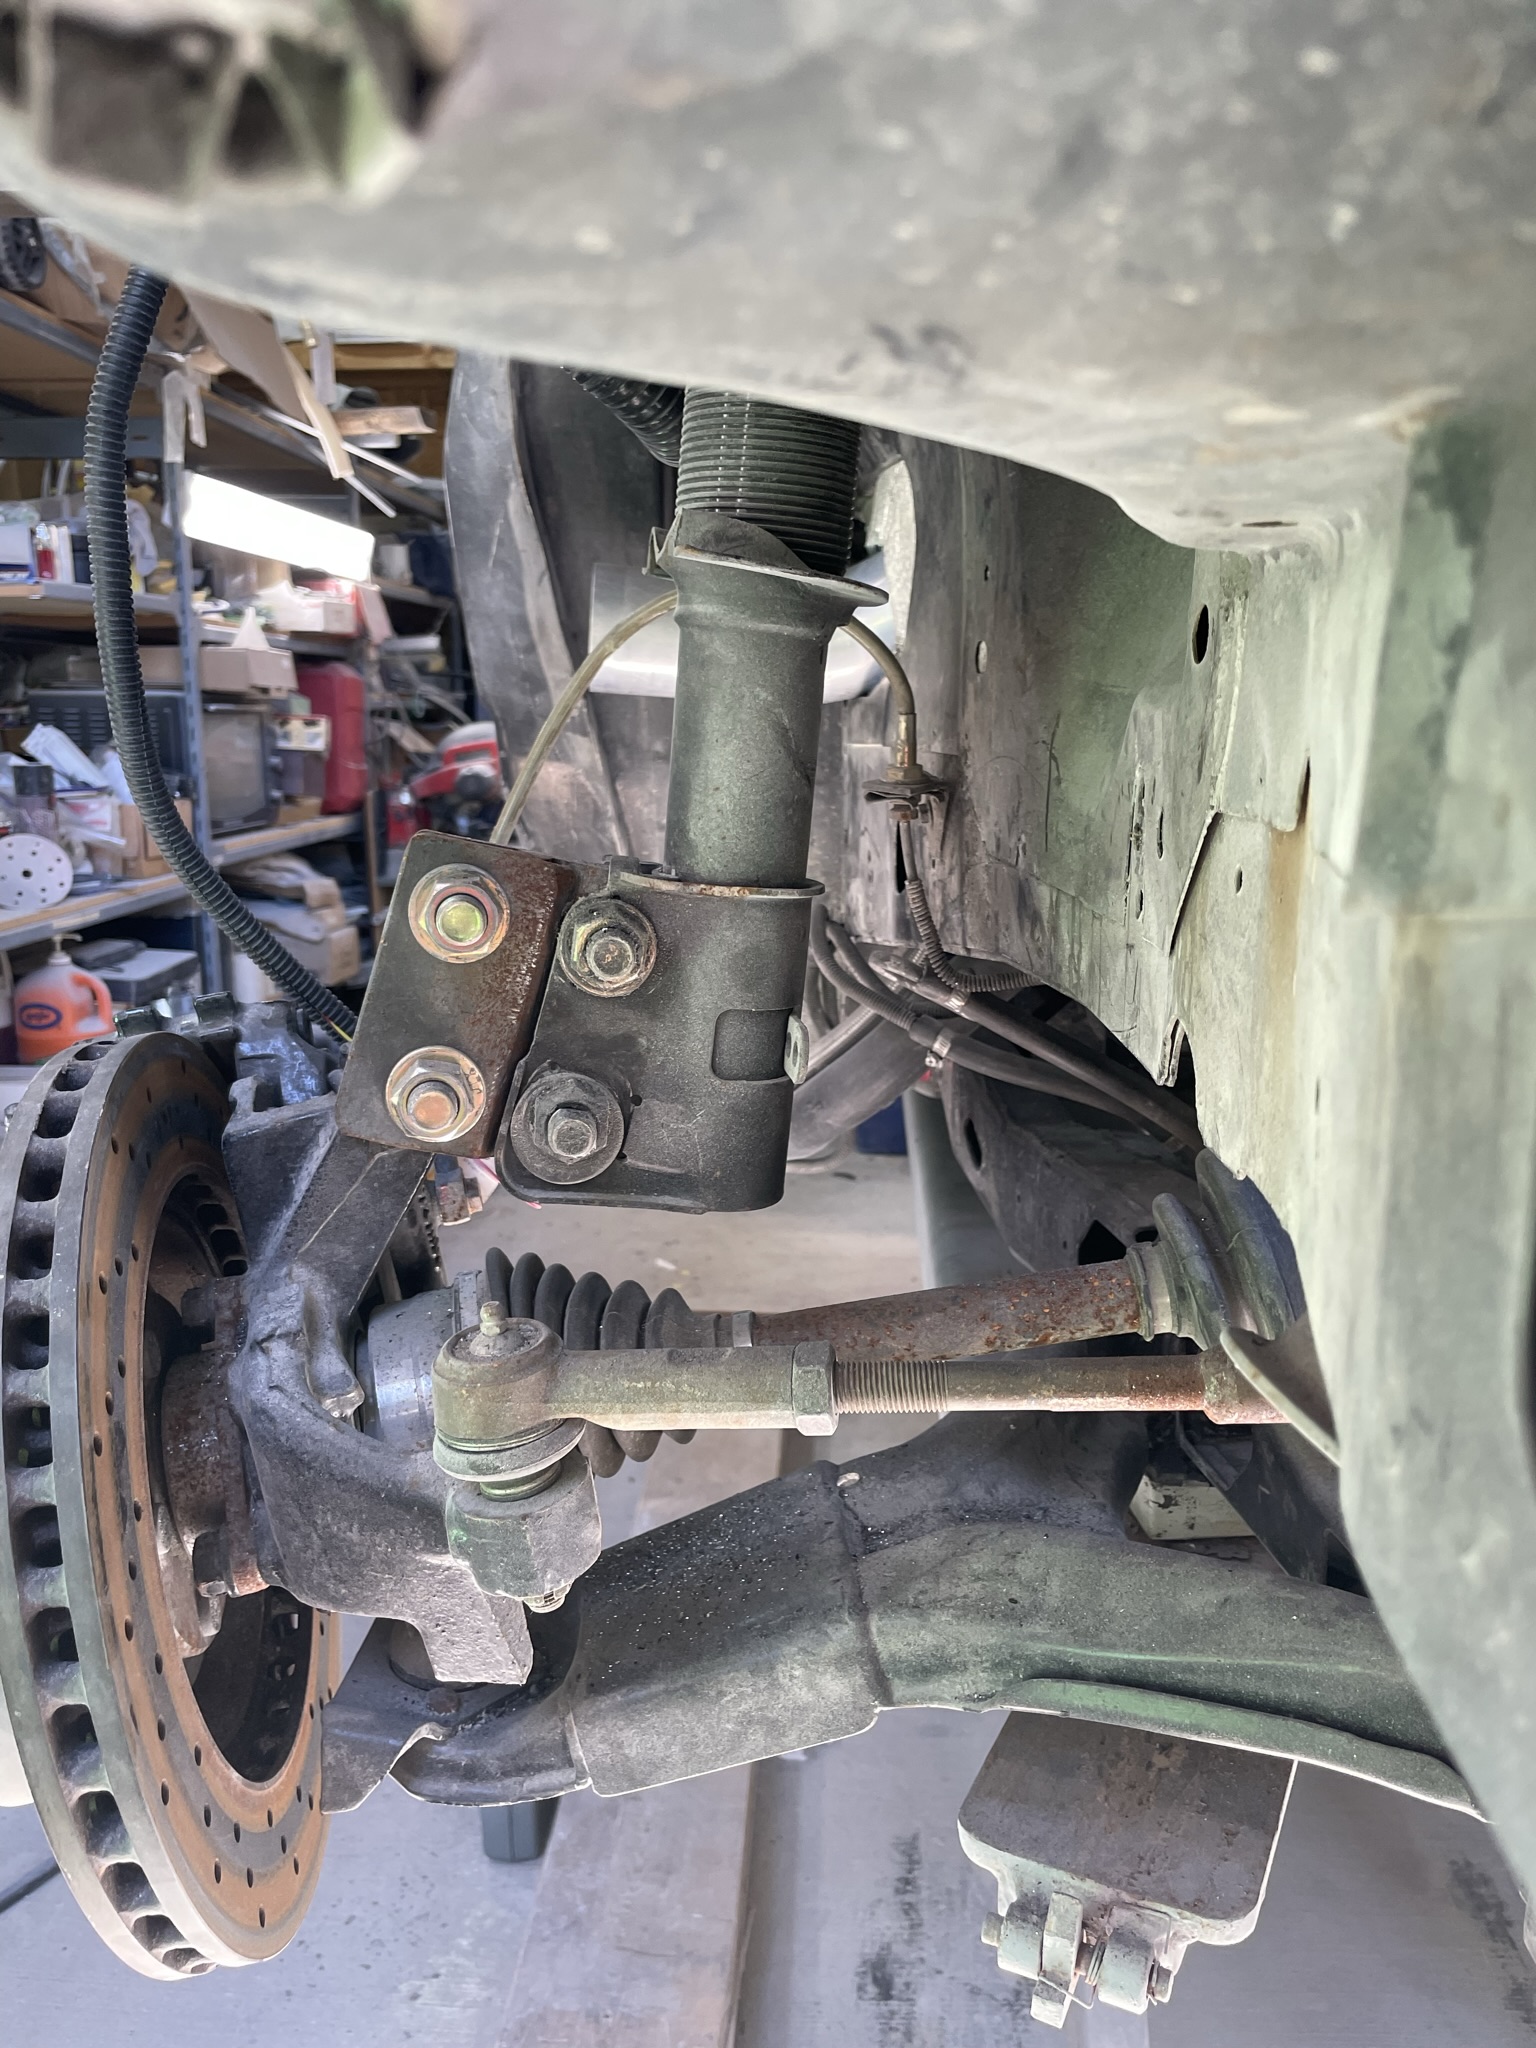
The home stretch man congrats! Paint looks beautiful! Really like the control arm extensions, giving me idears.....
shem
|
|
|
|
dobie1
|
JUL 12, 11:26 PM
|
|
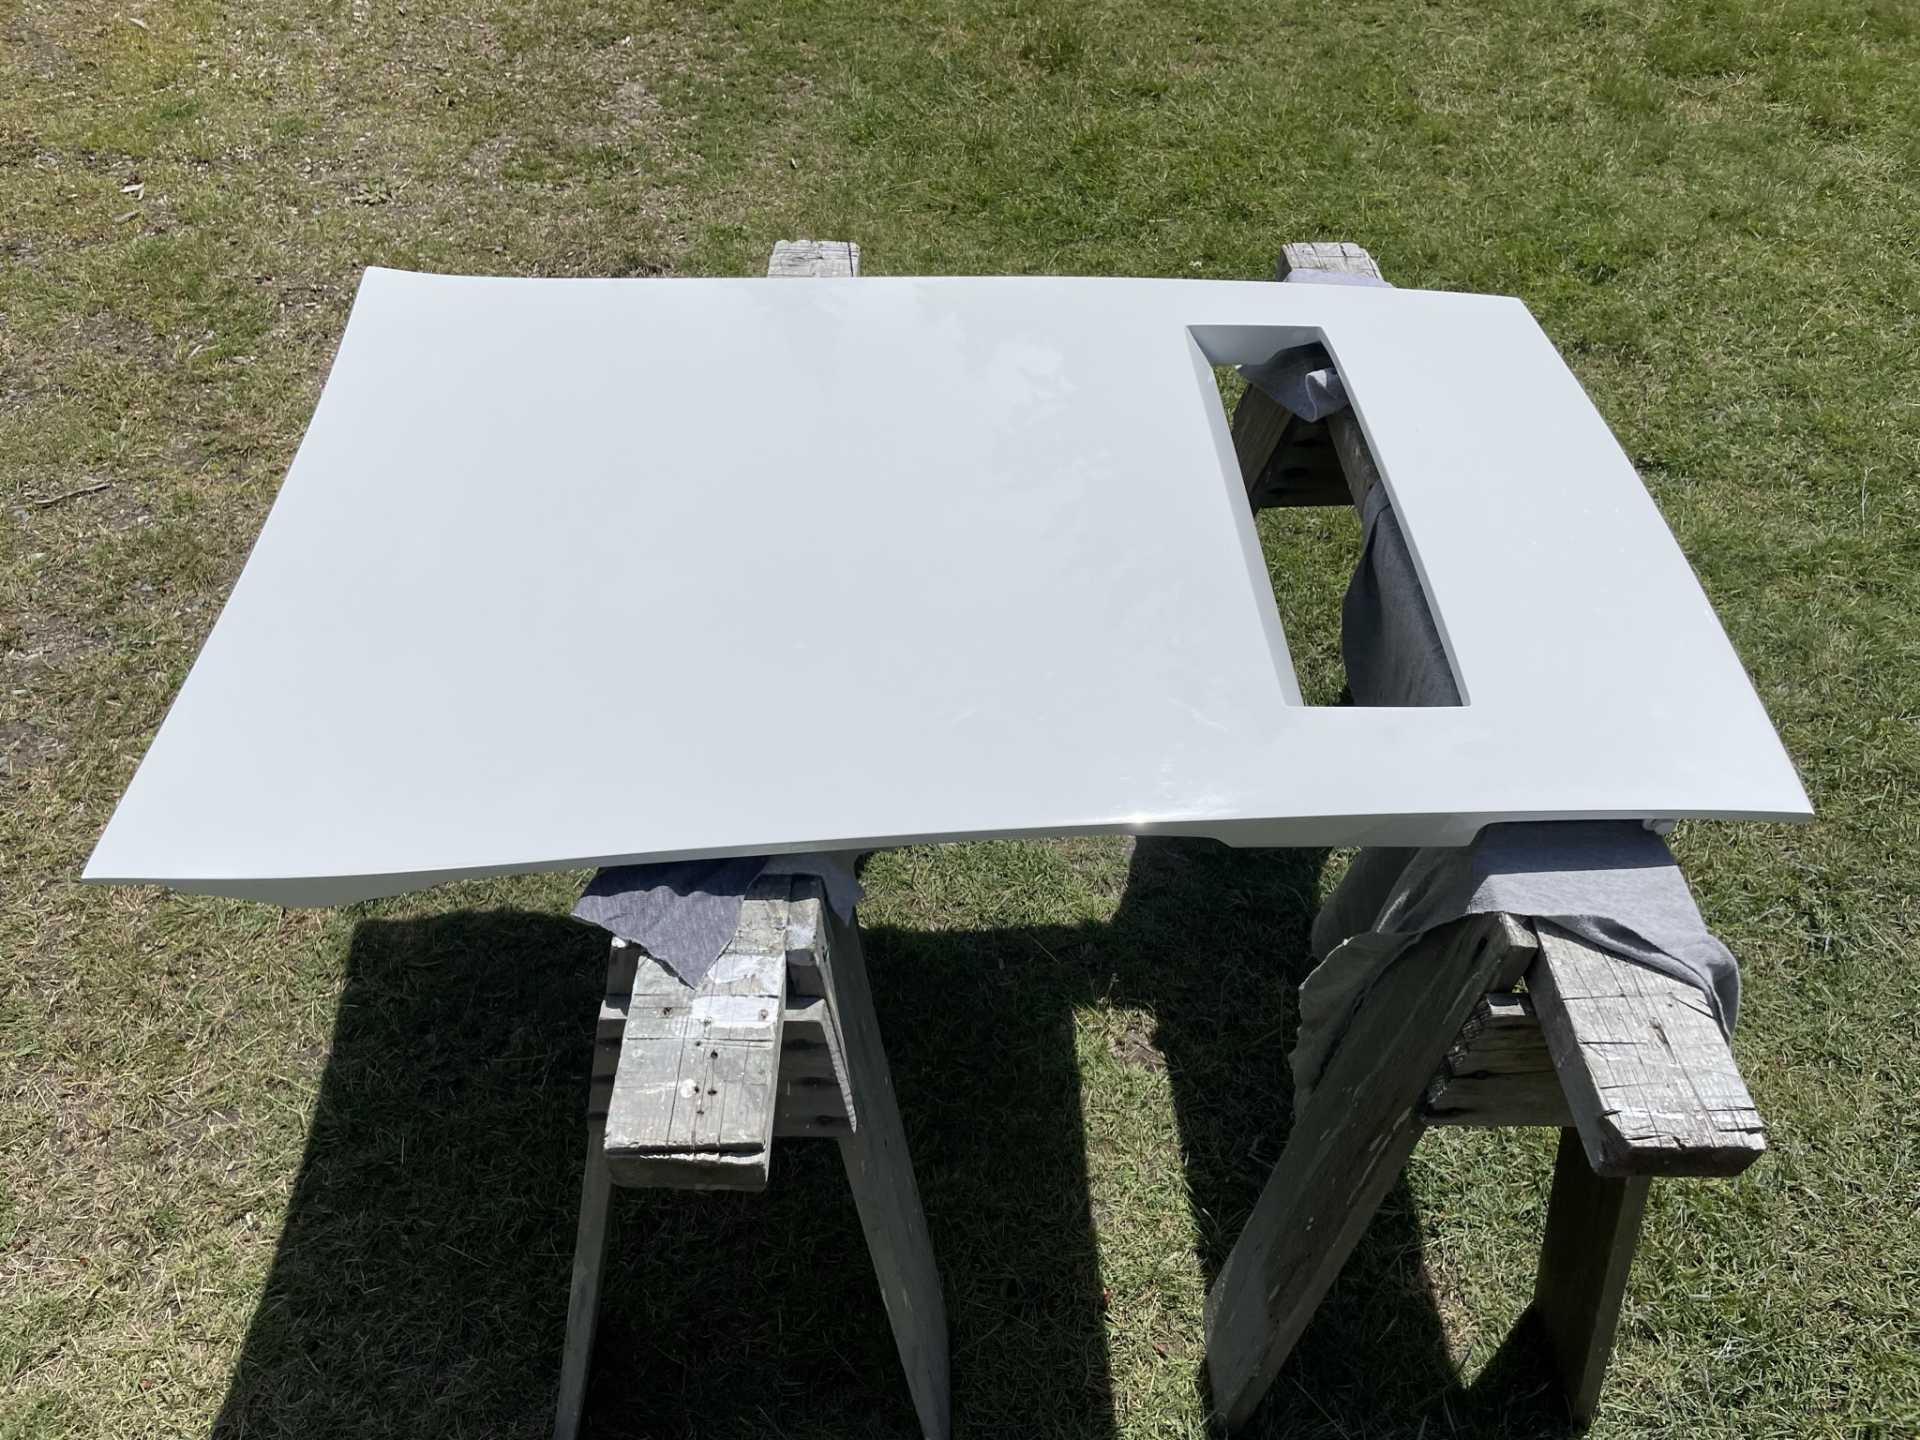
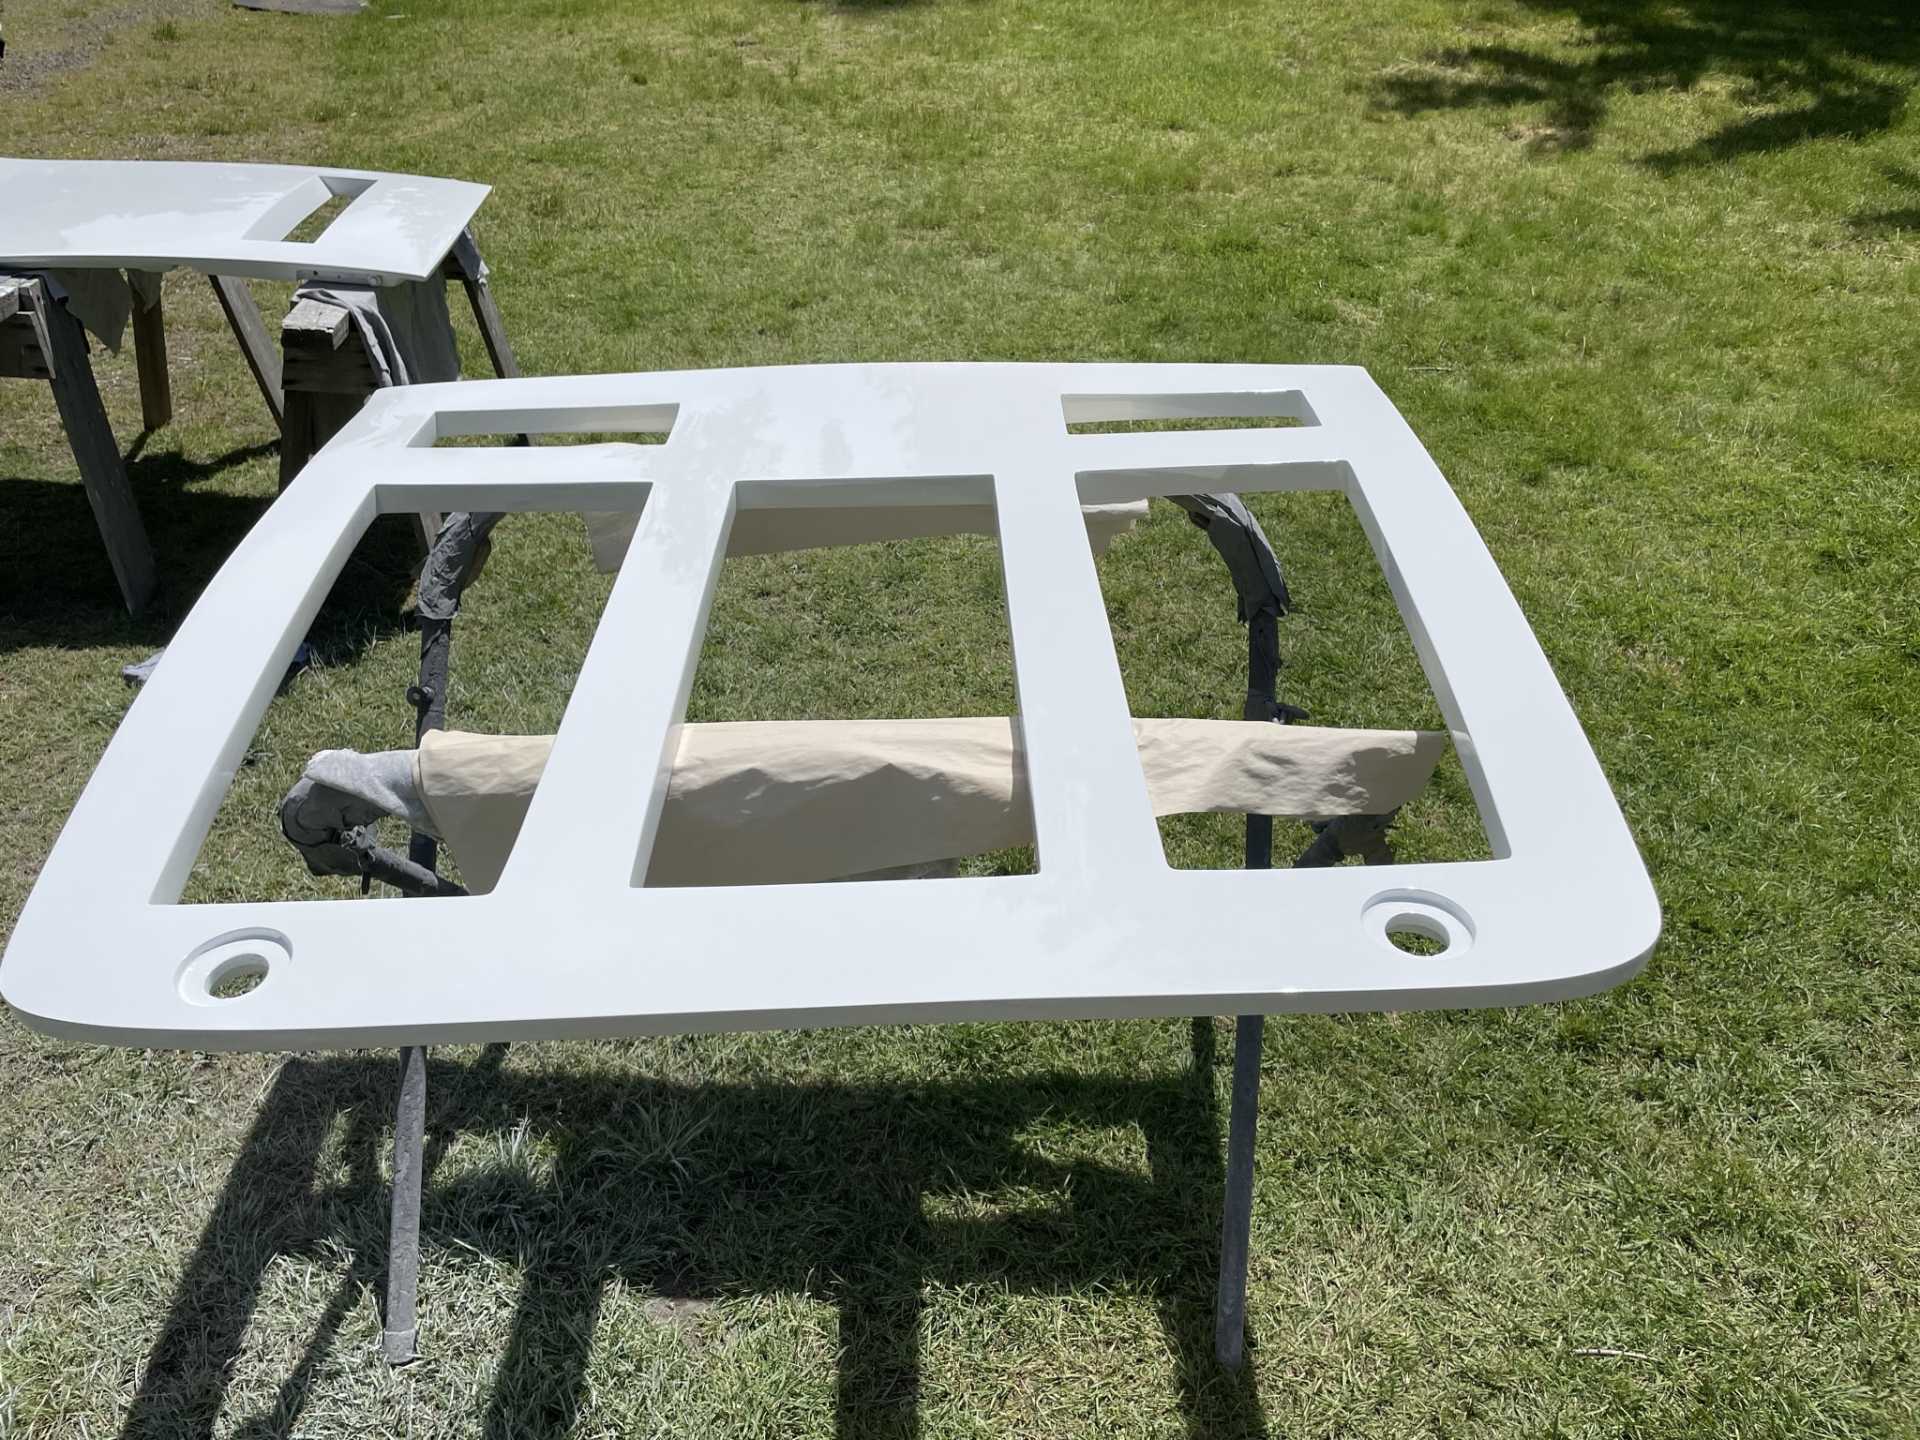
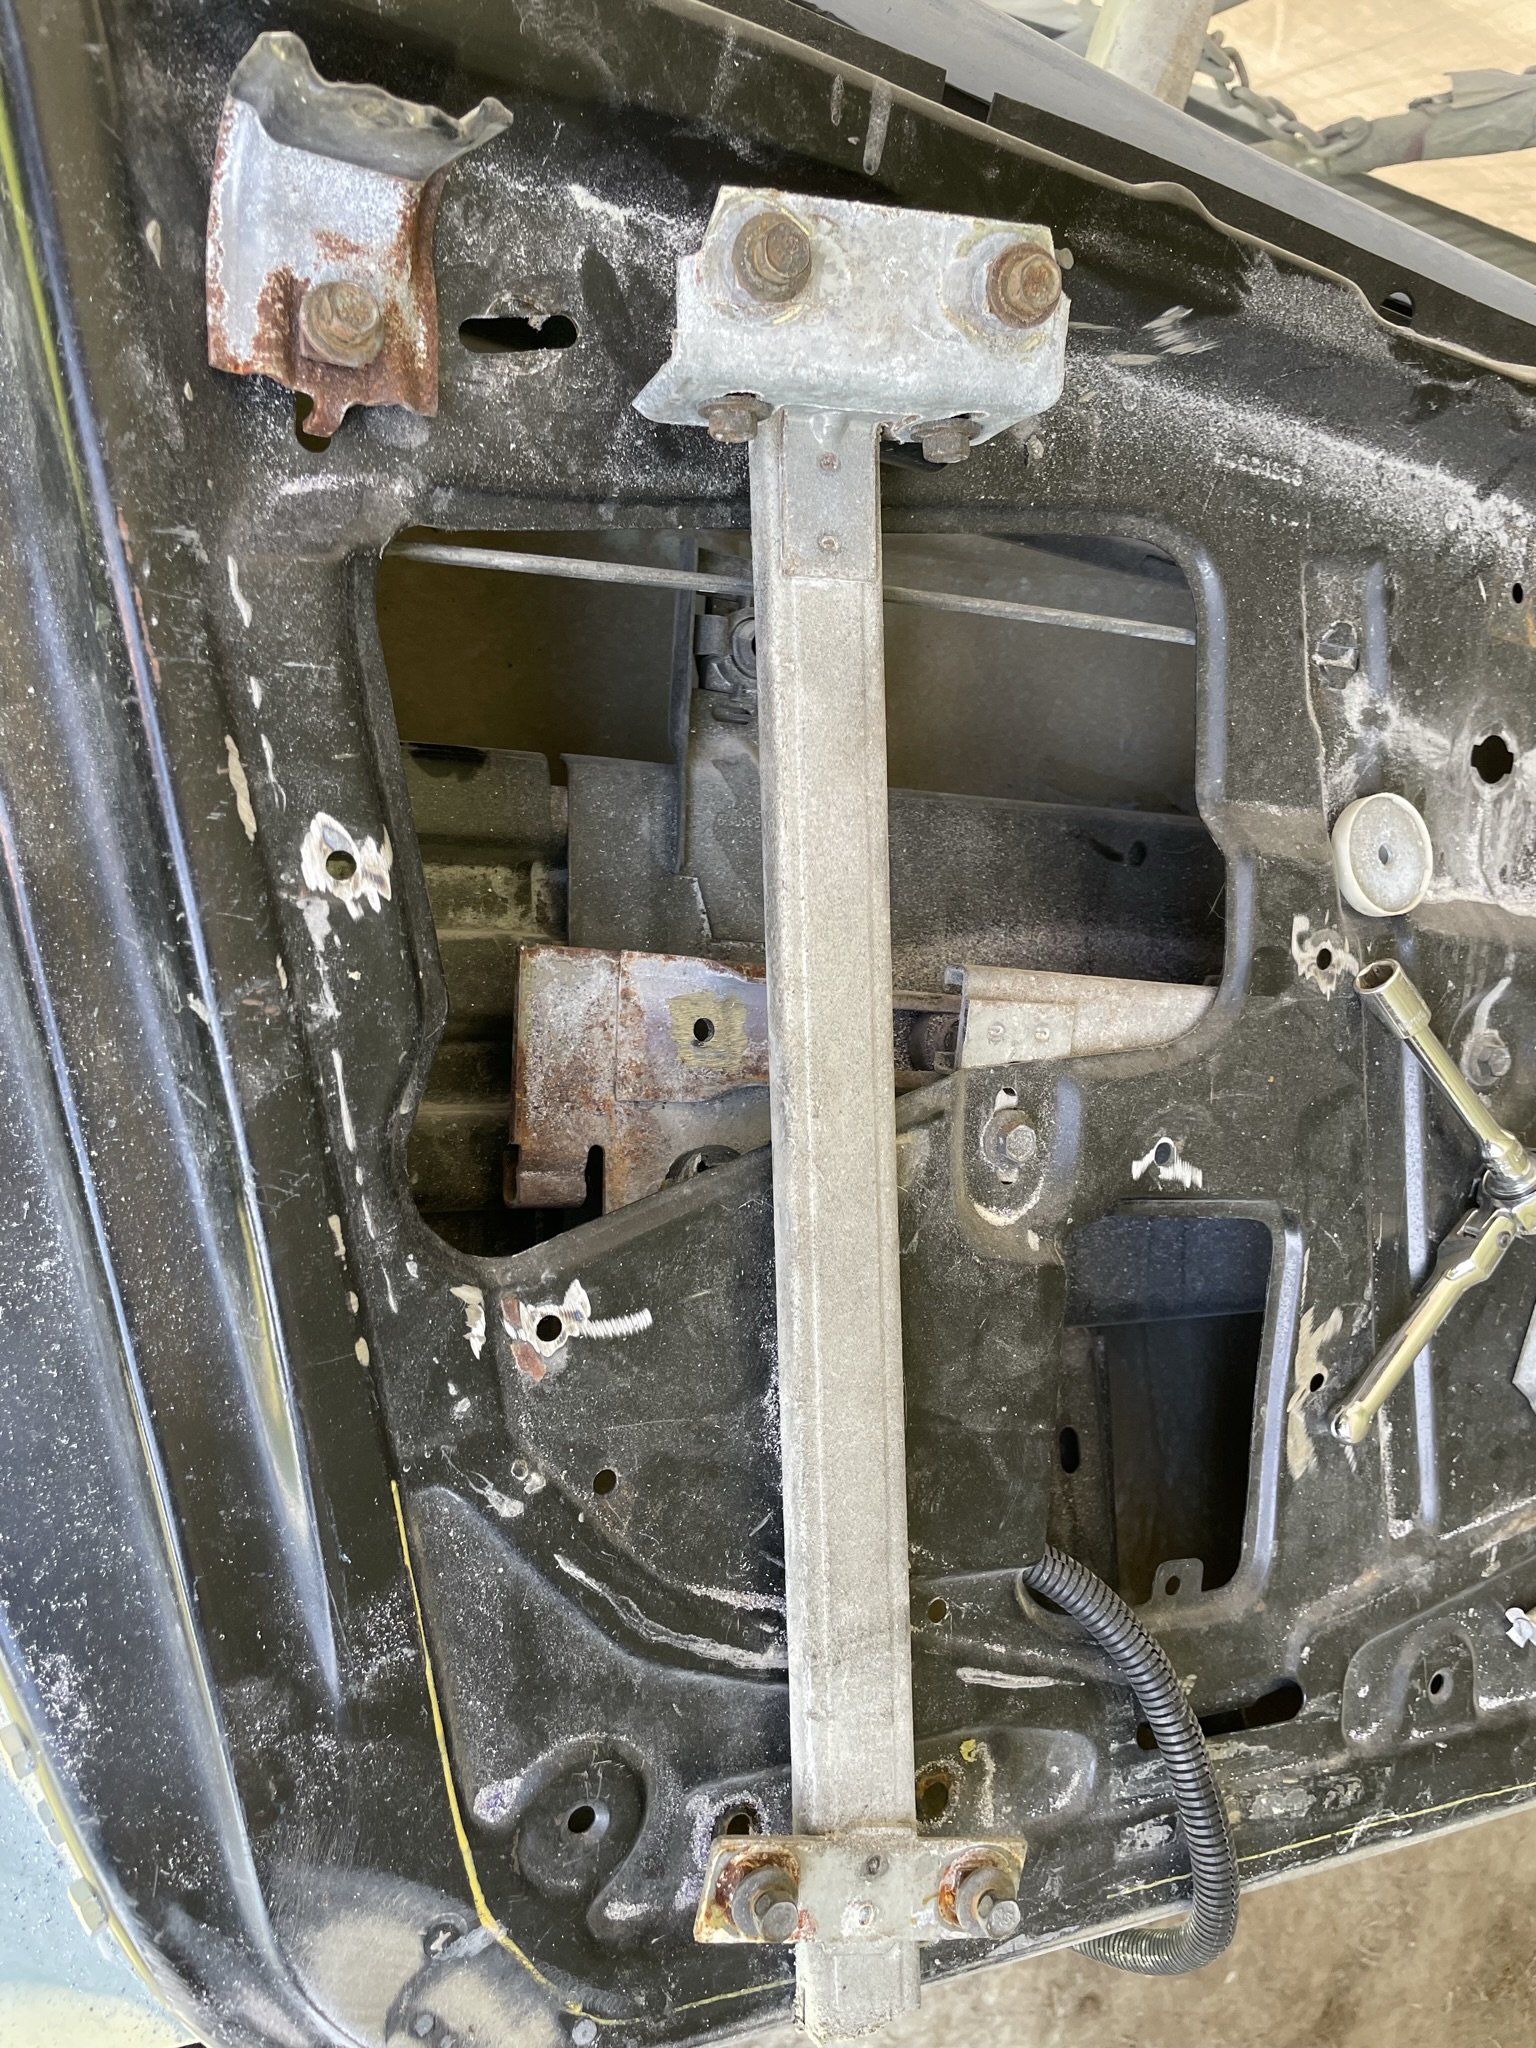
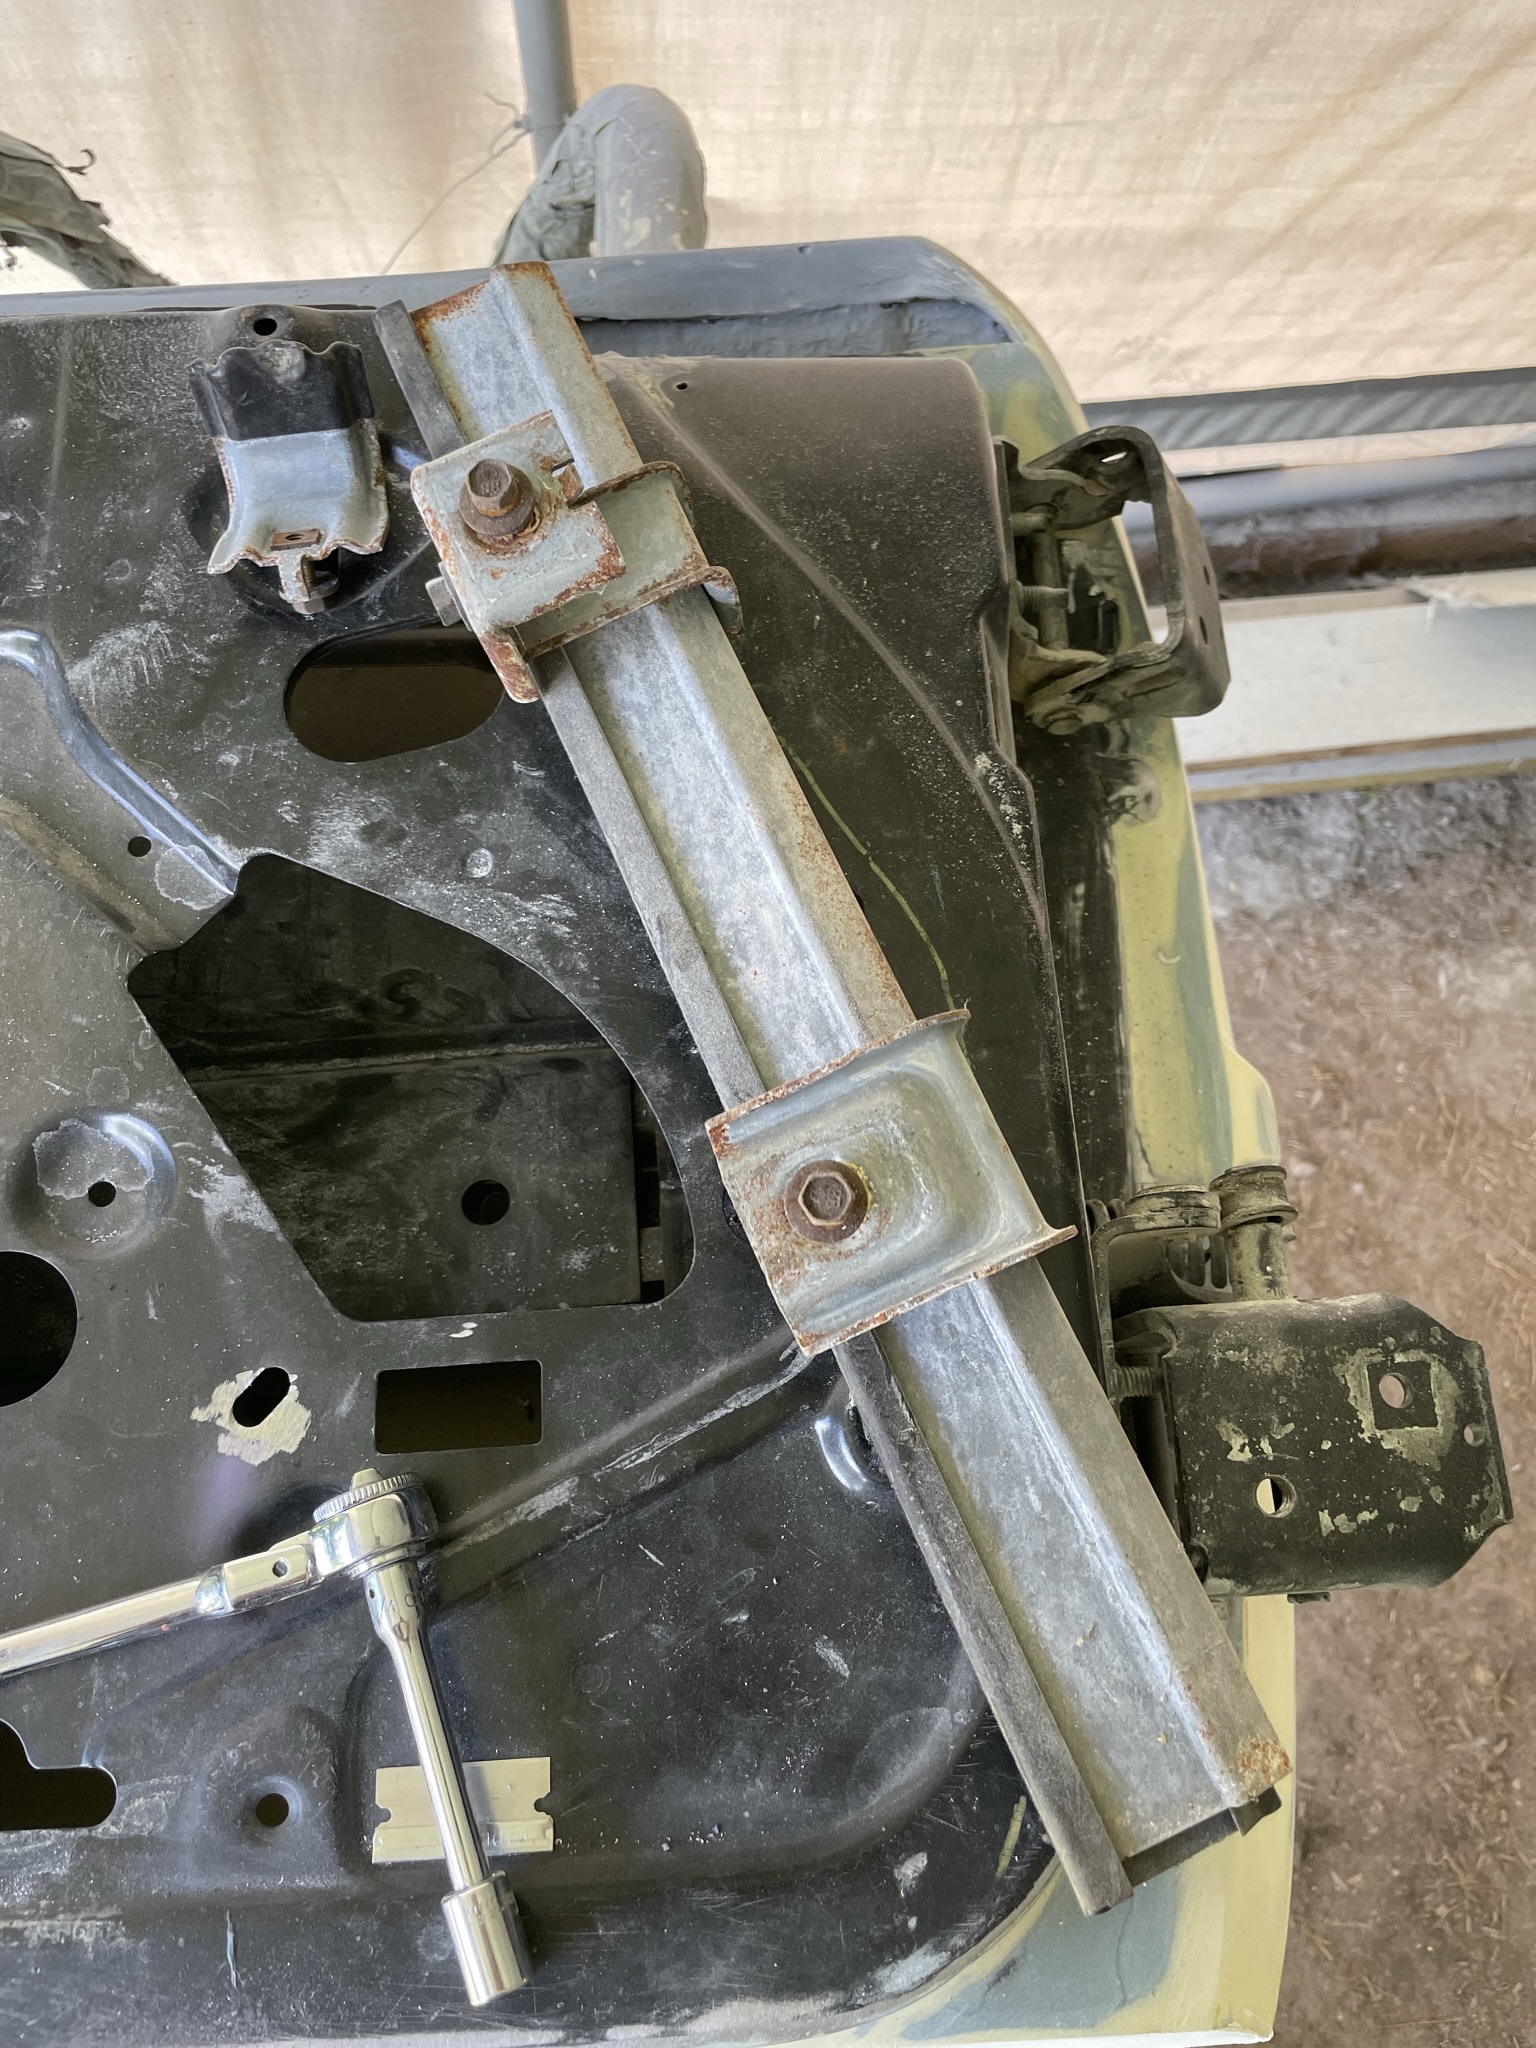
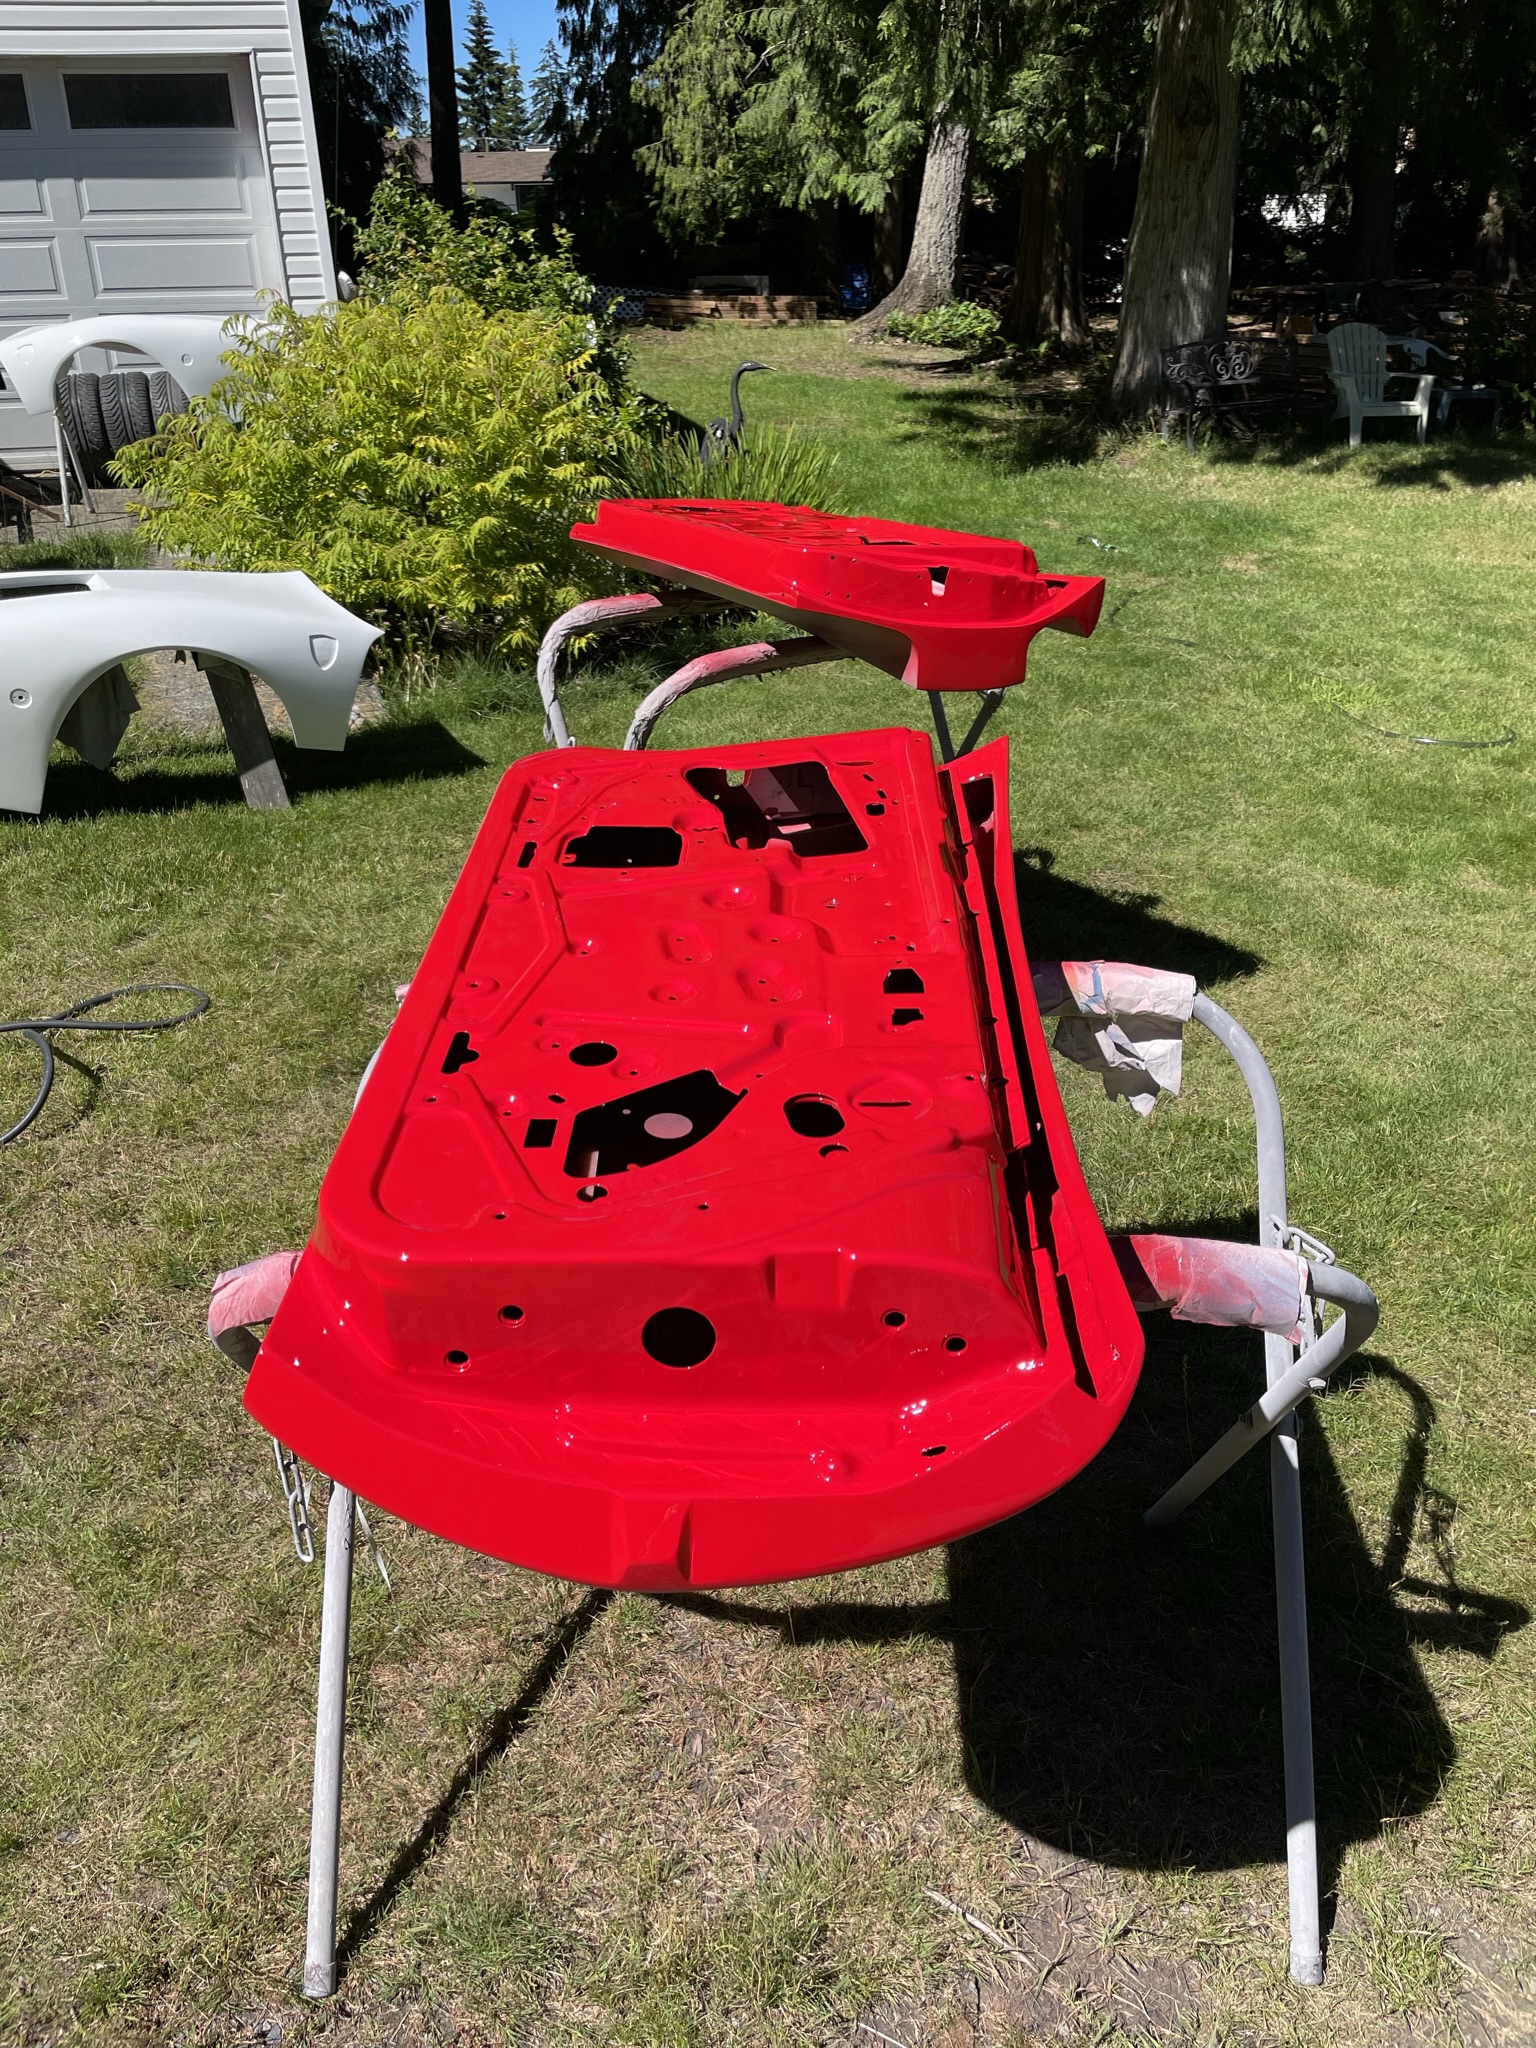
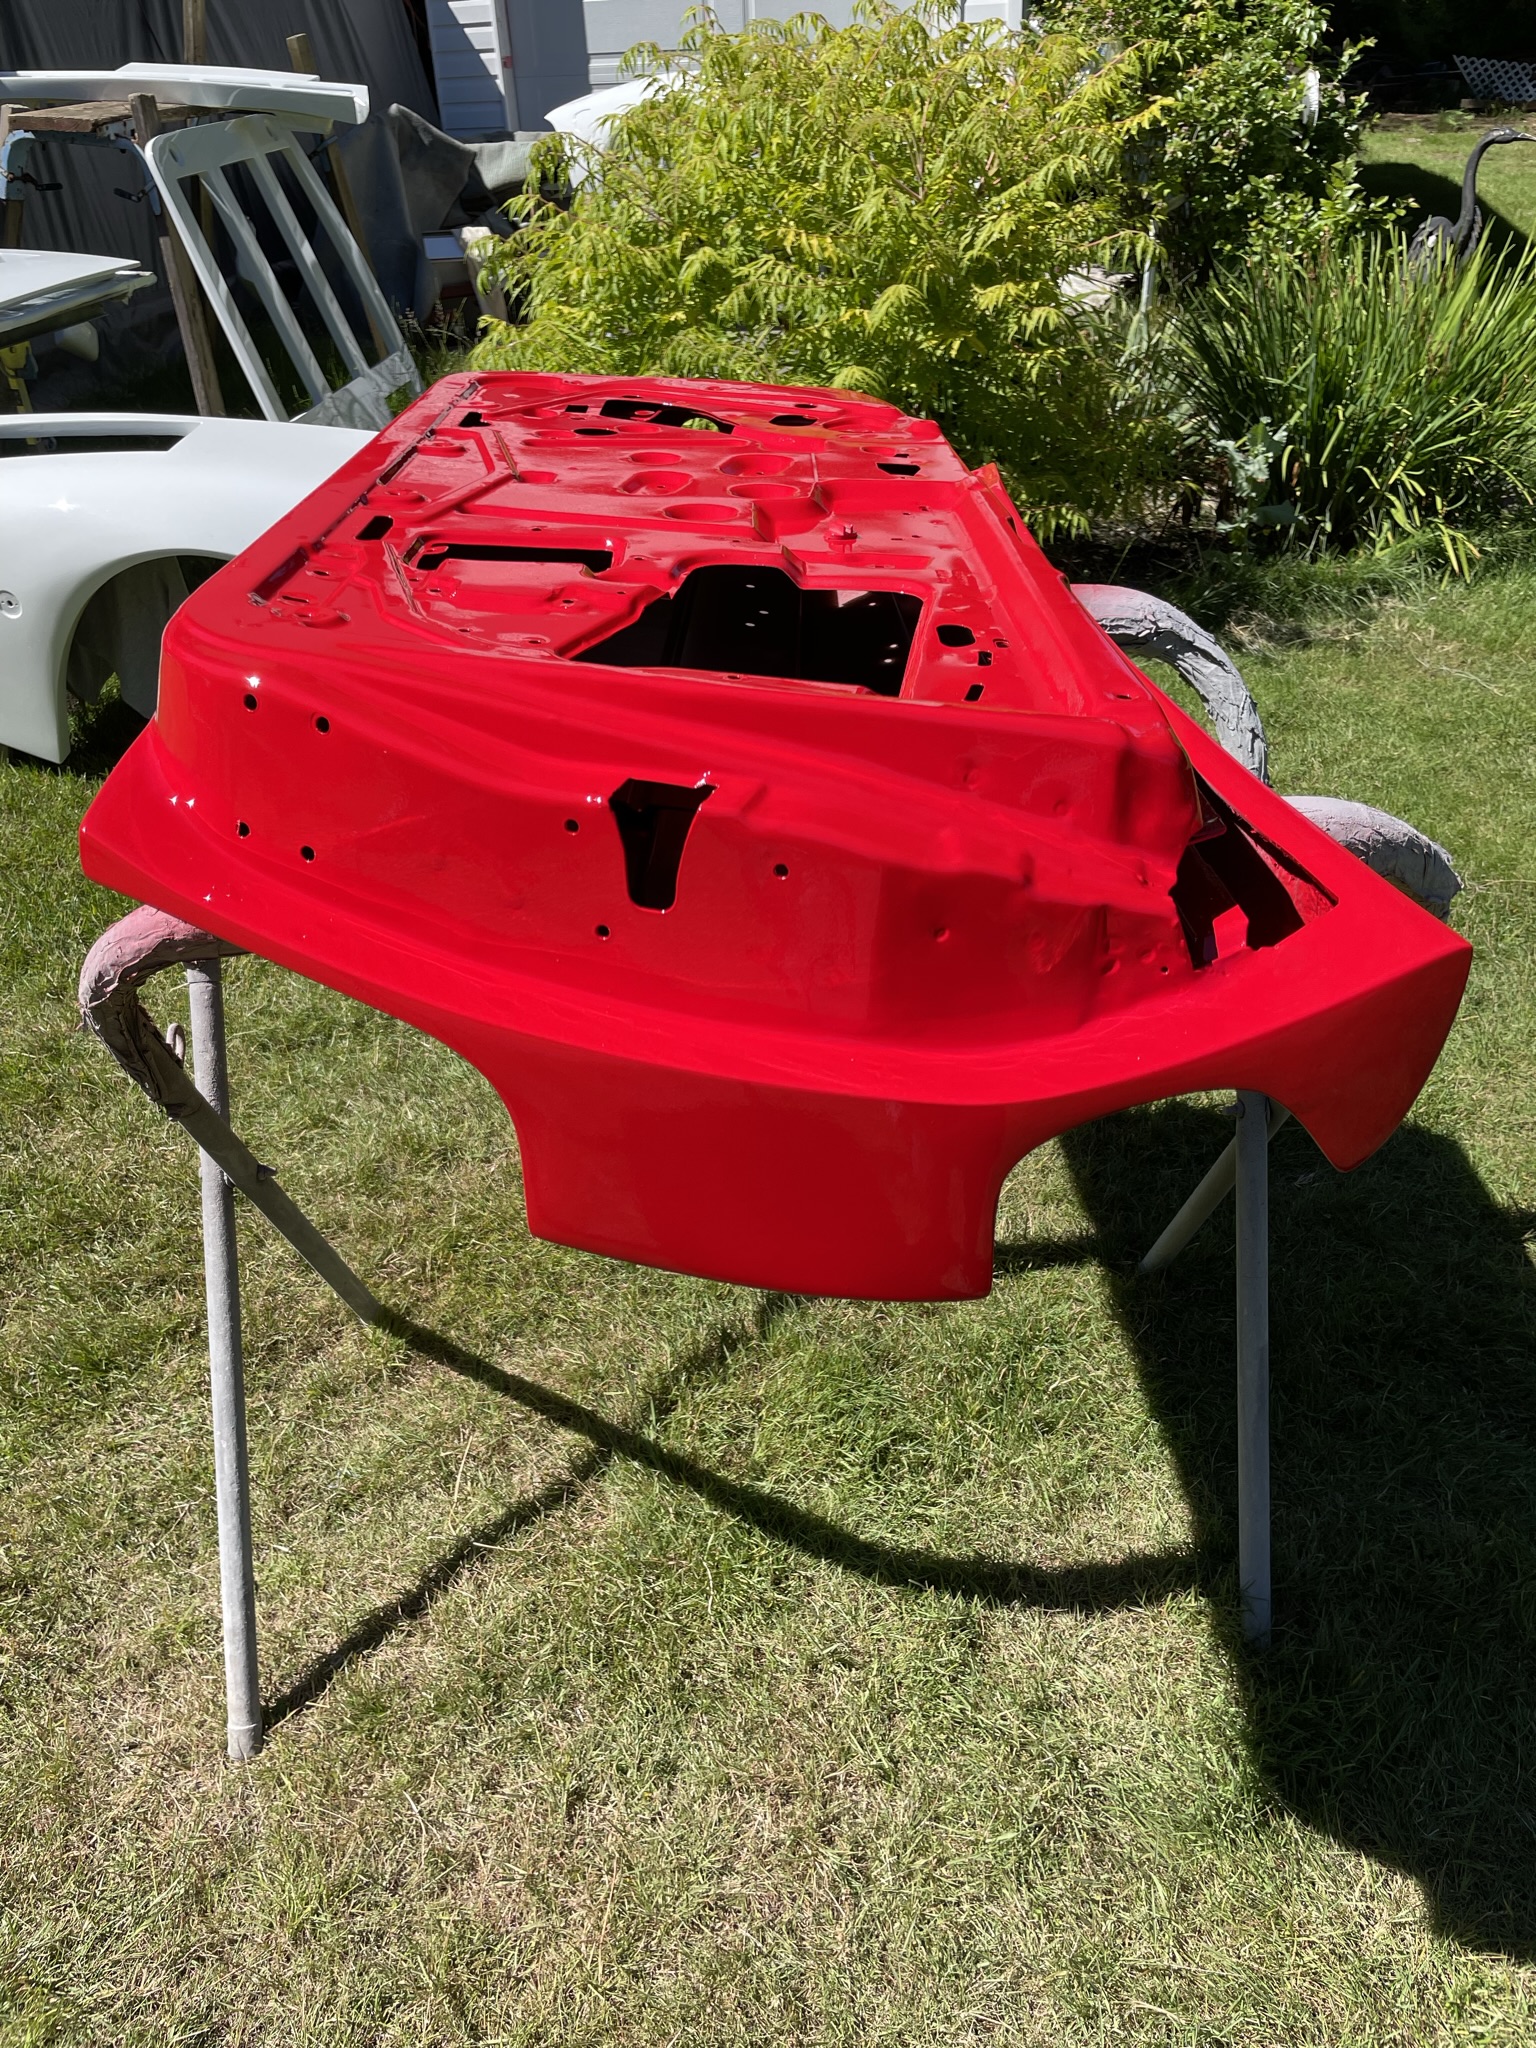
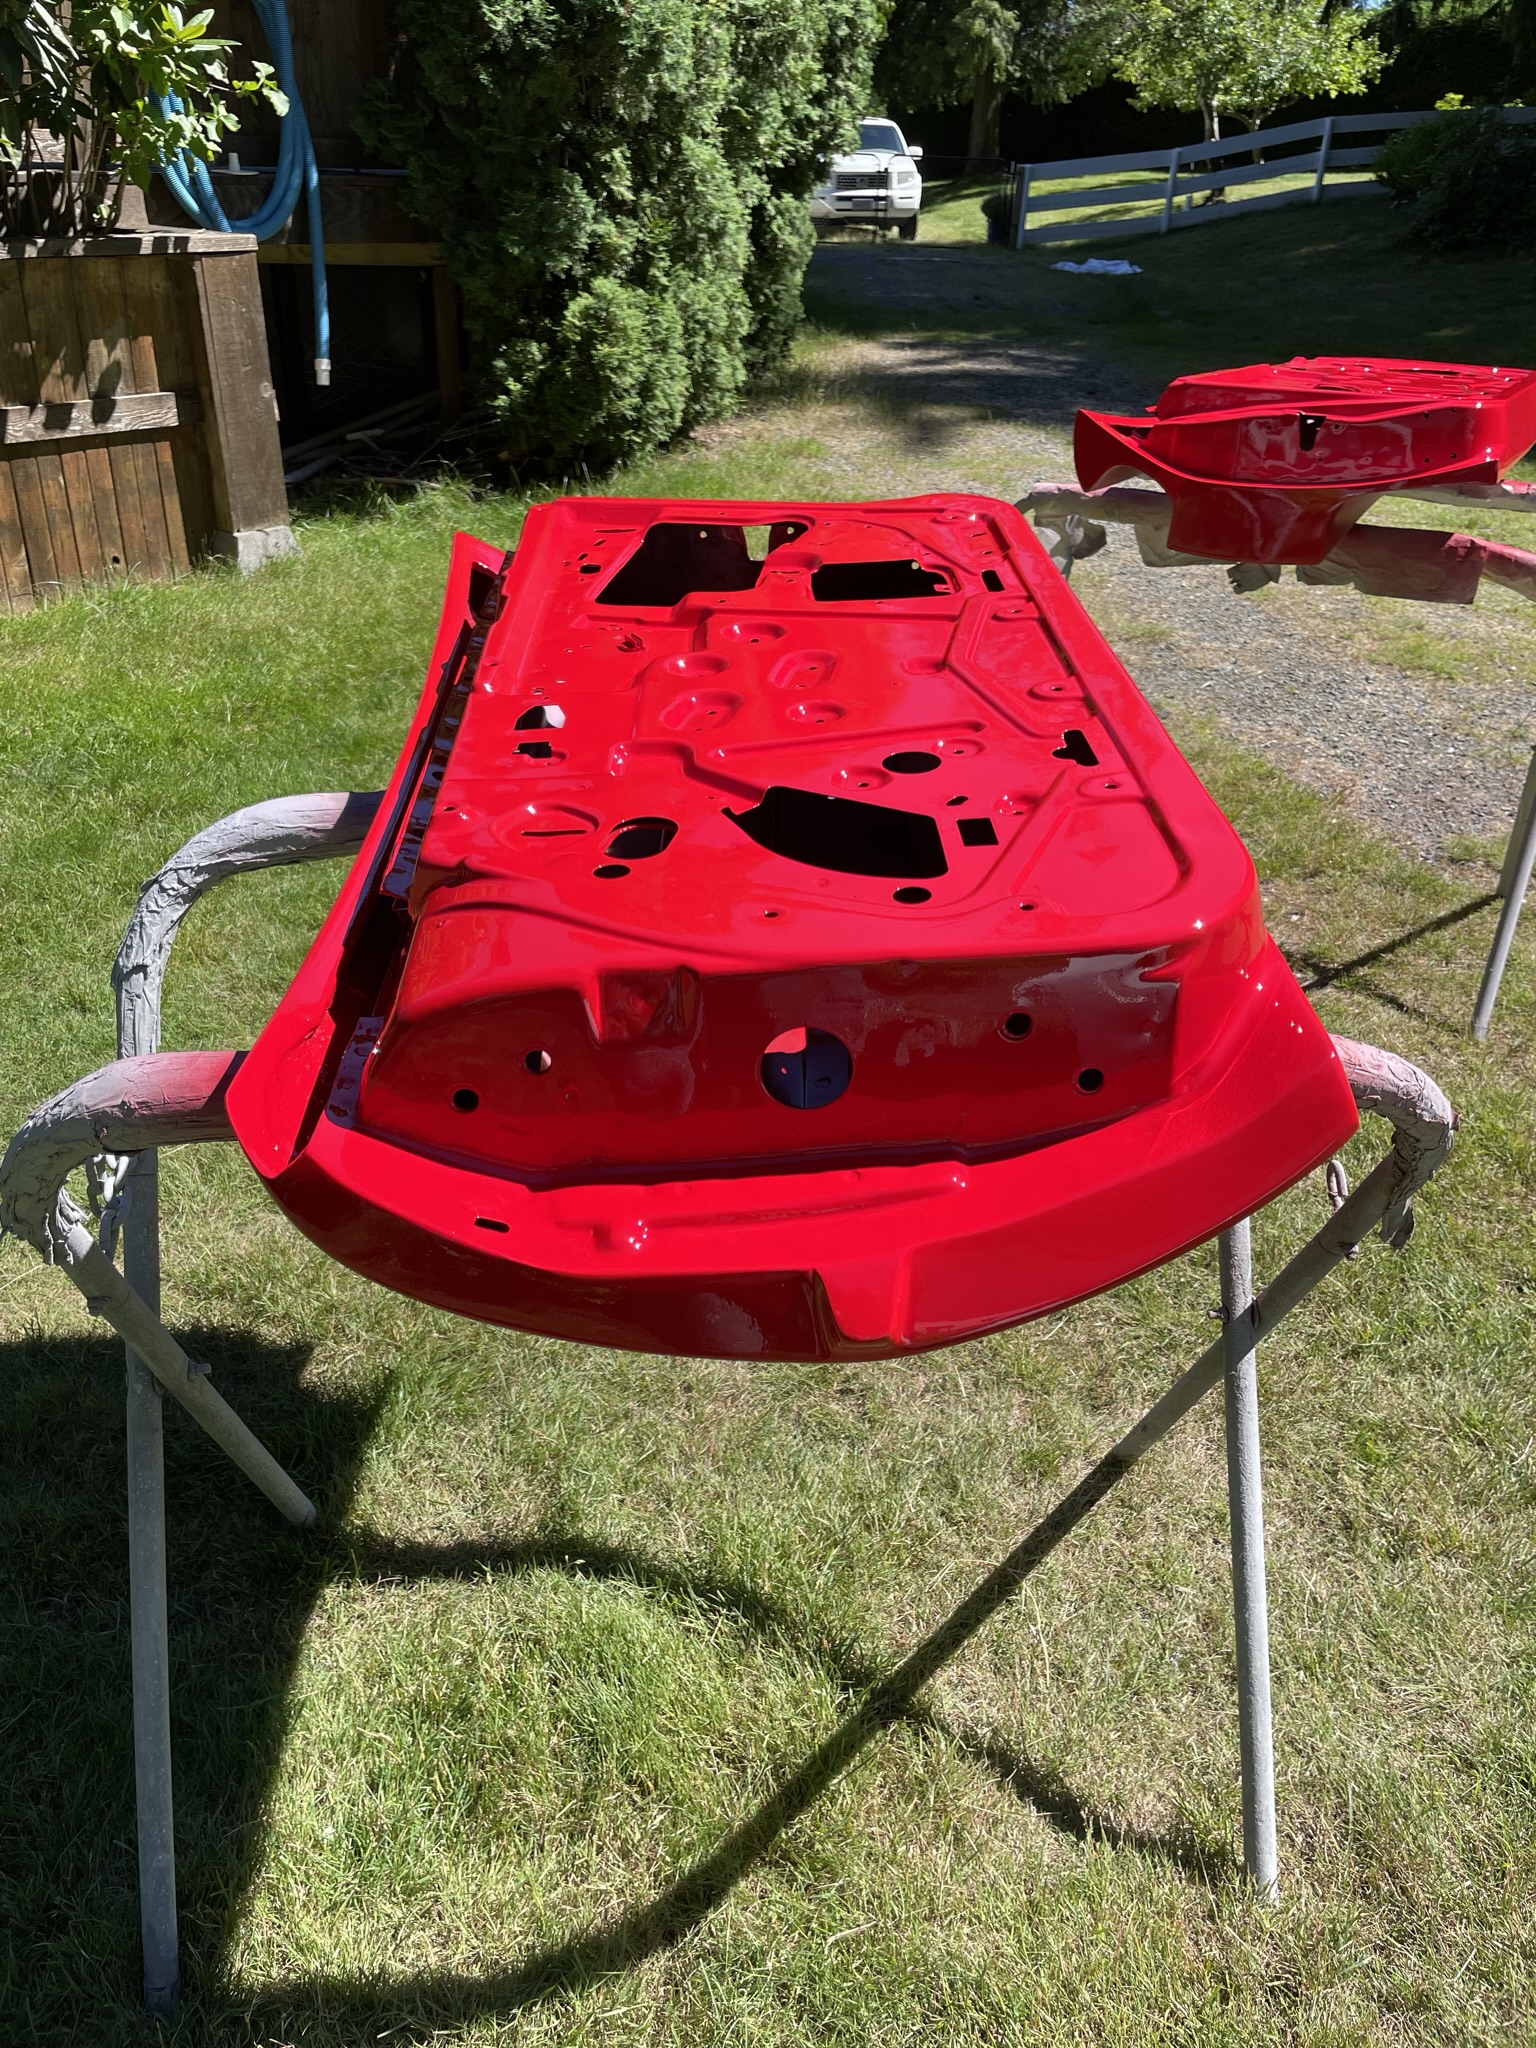
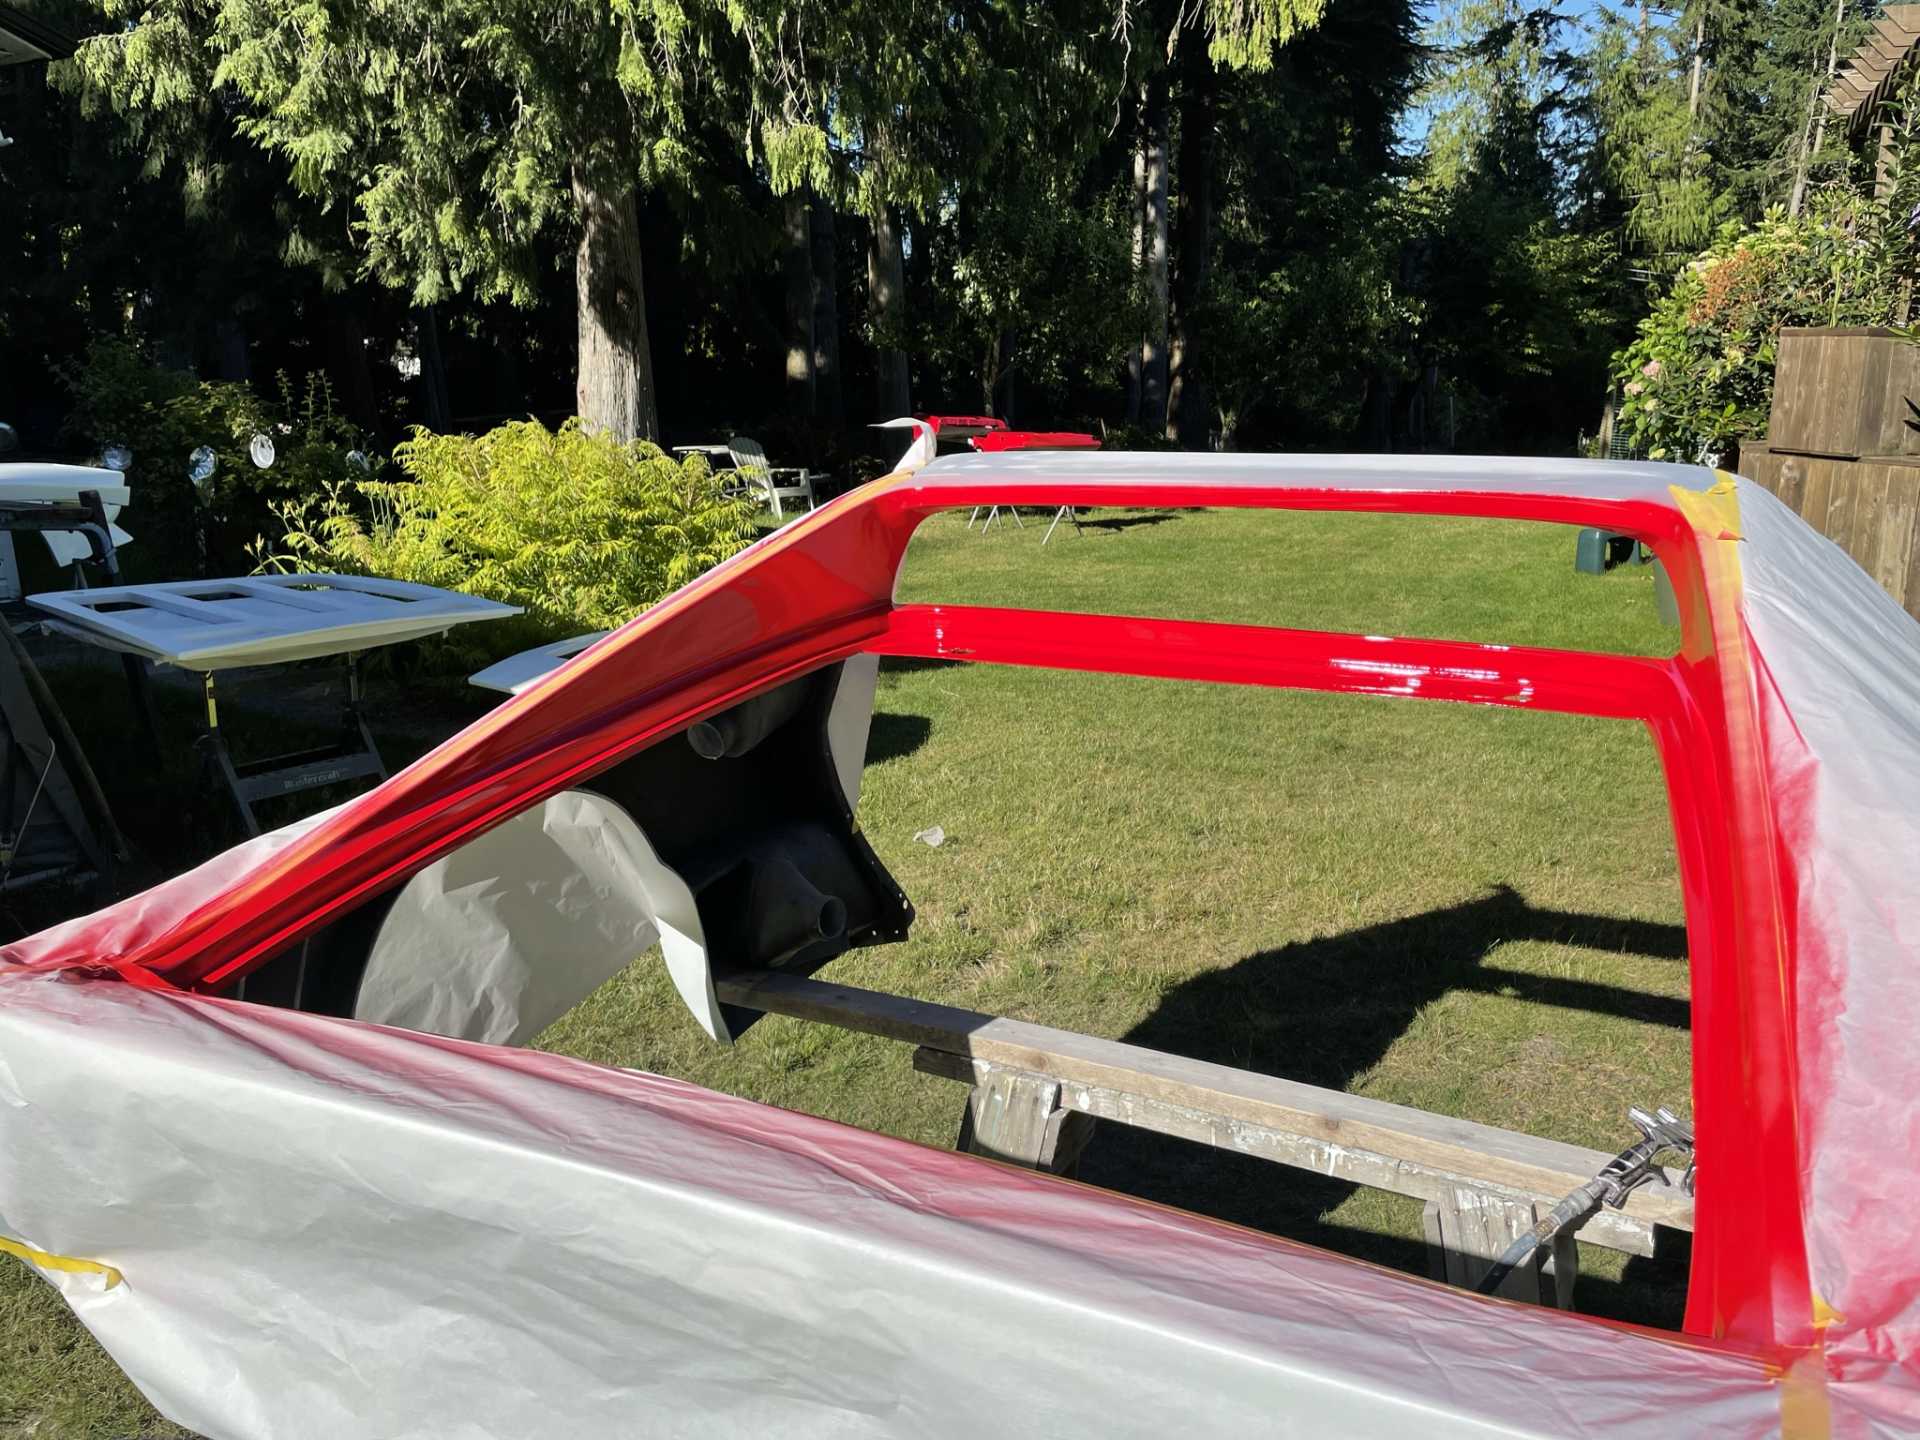
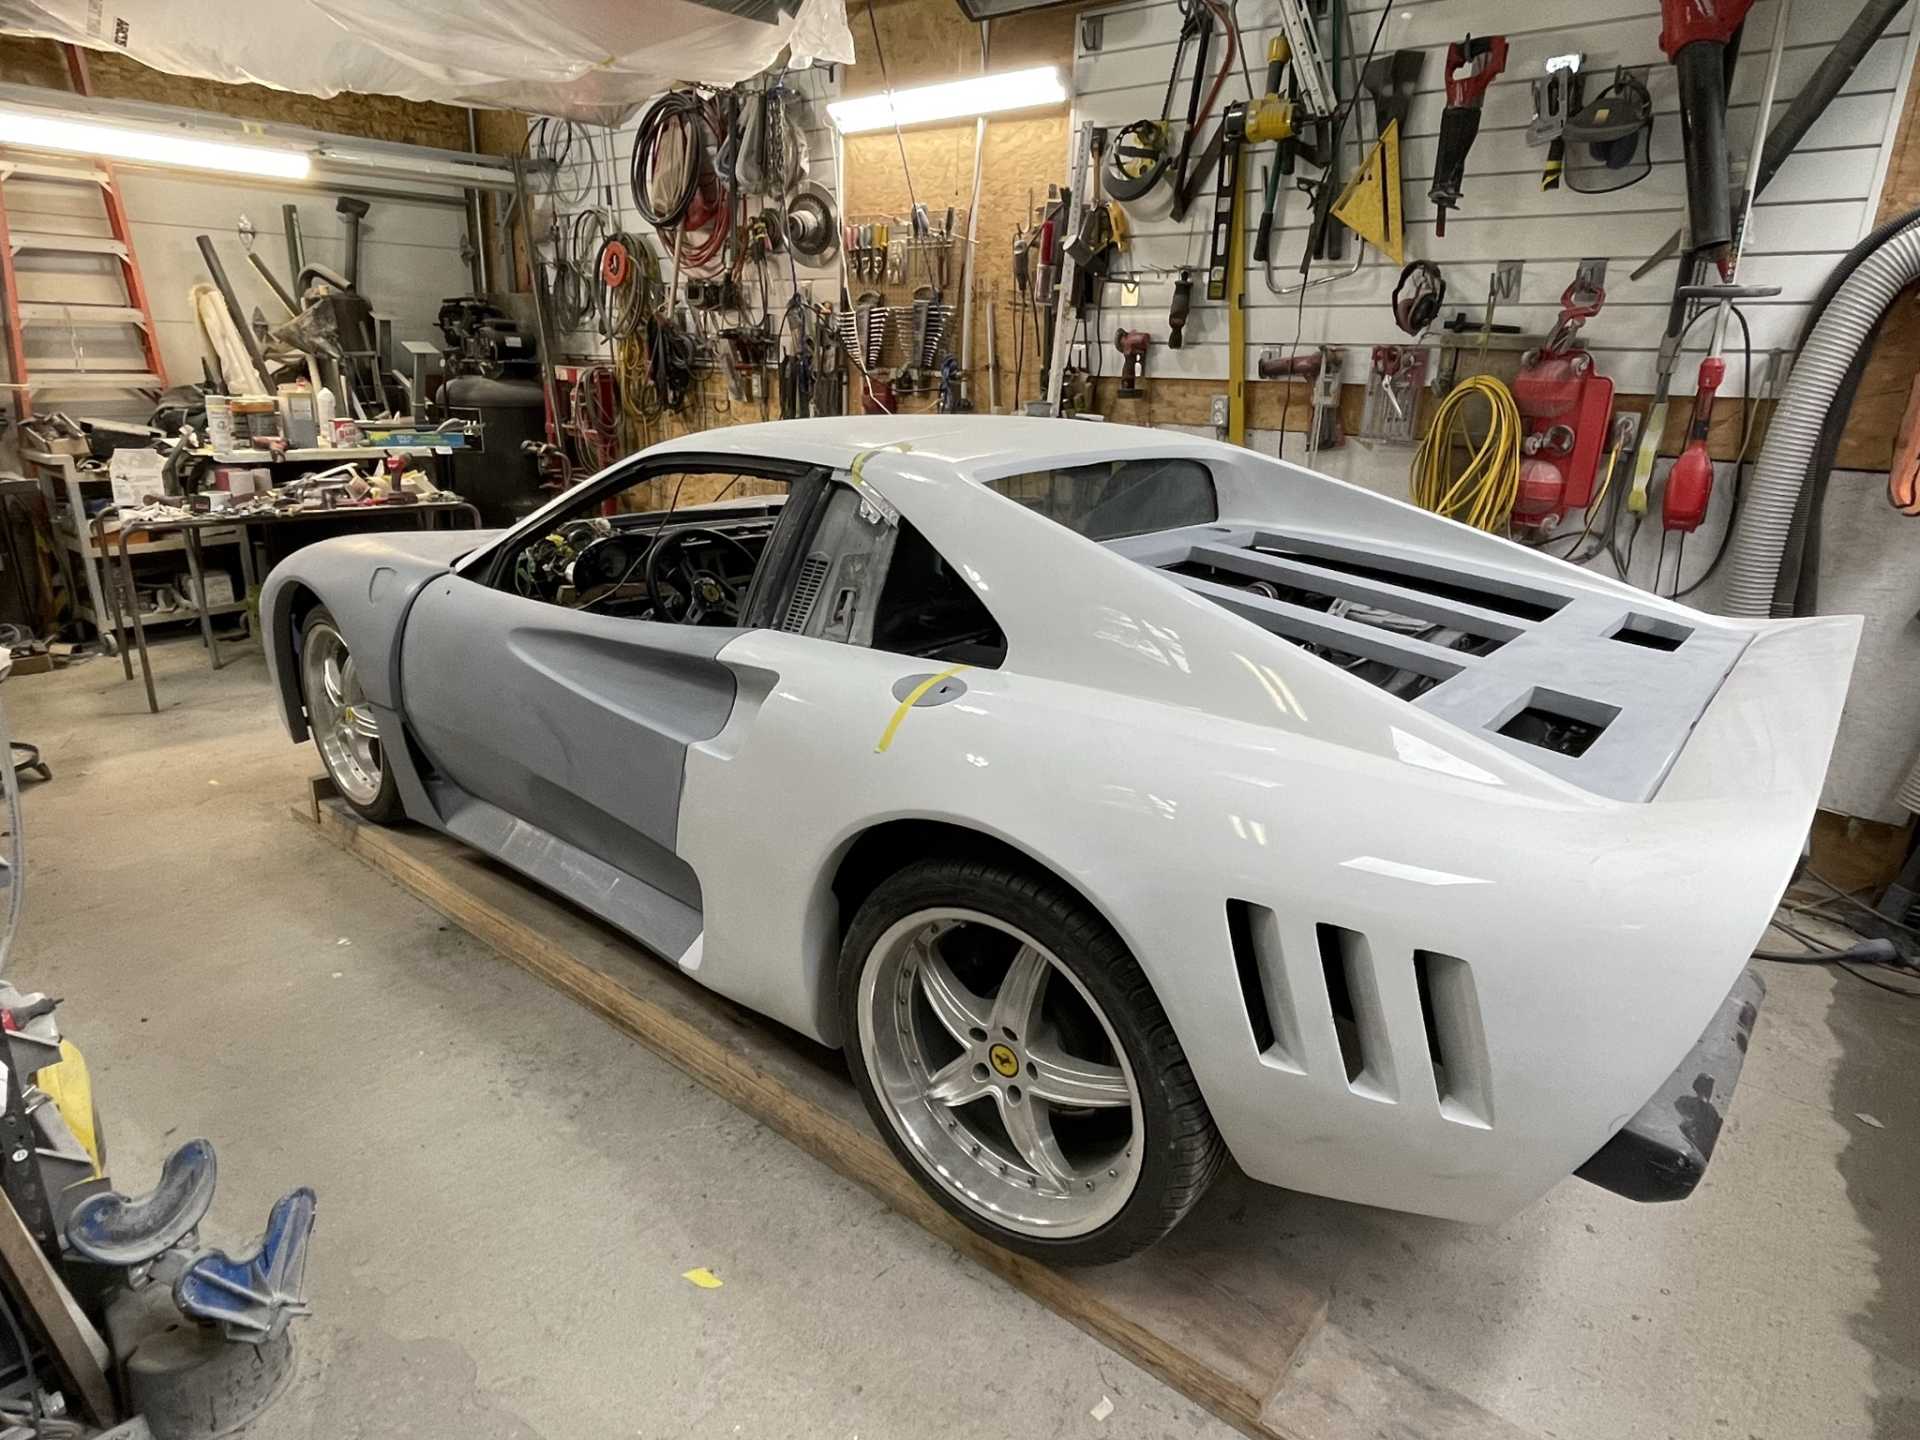
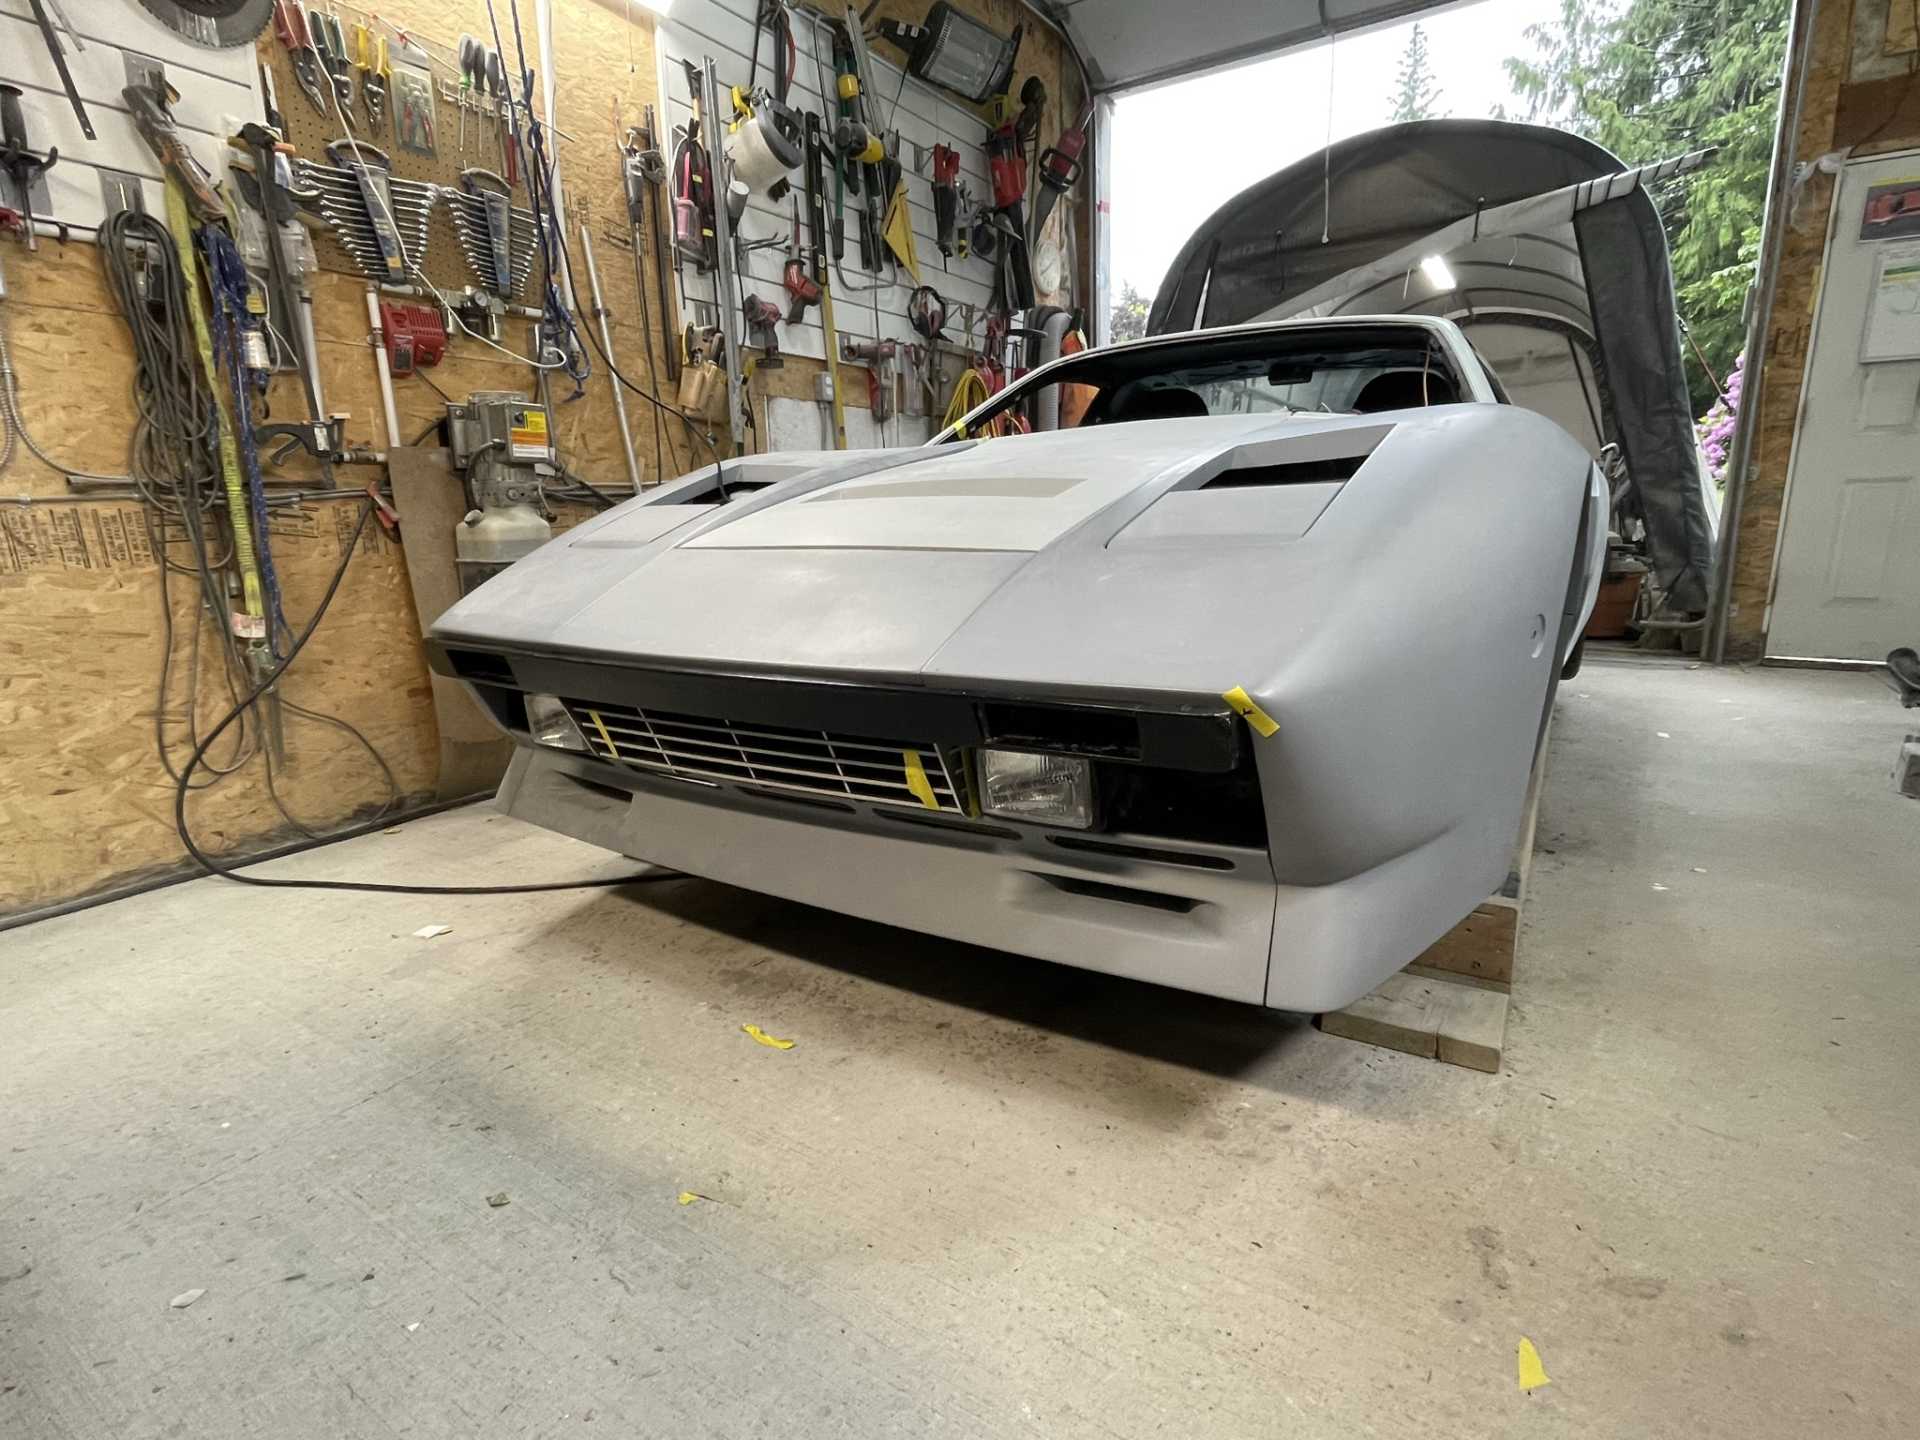
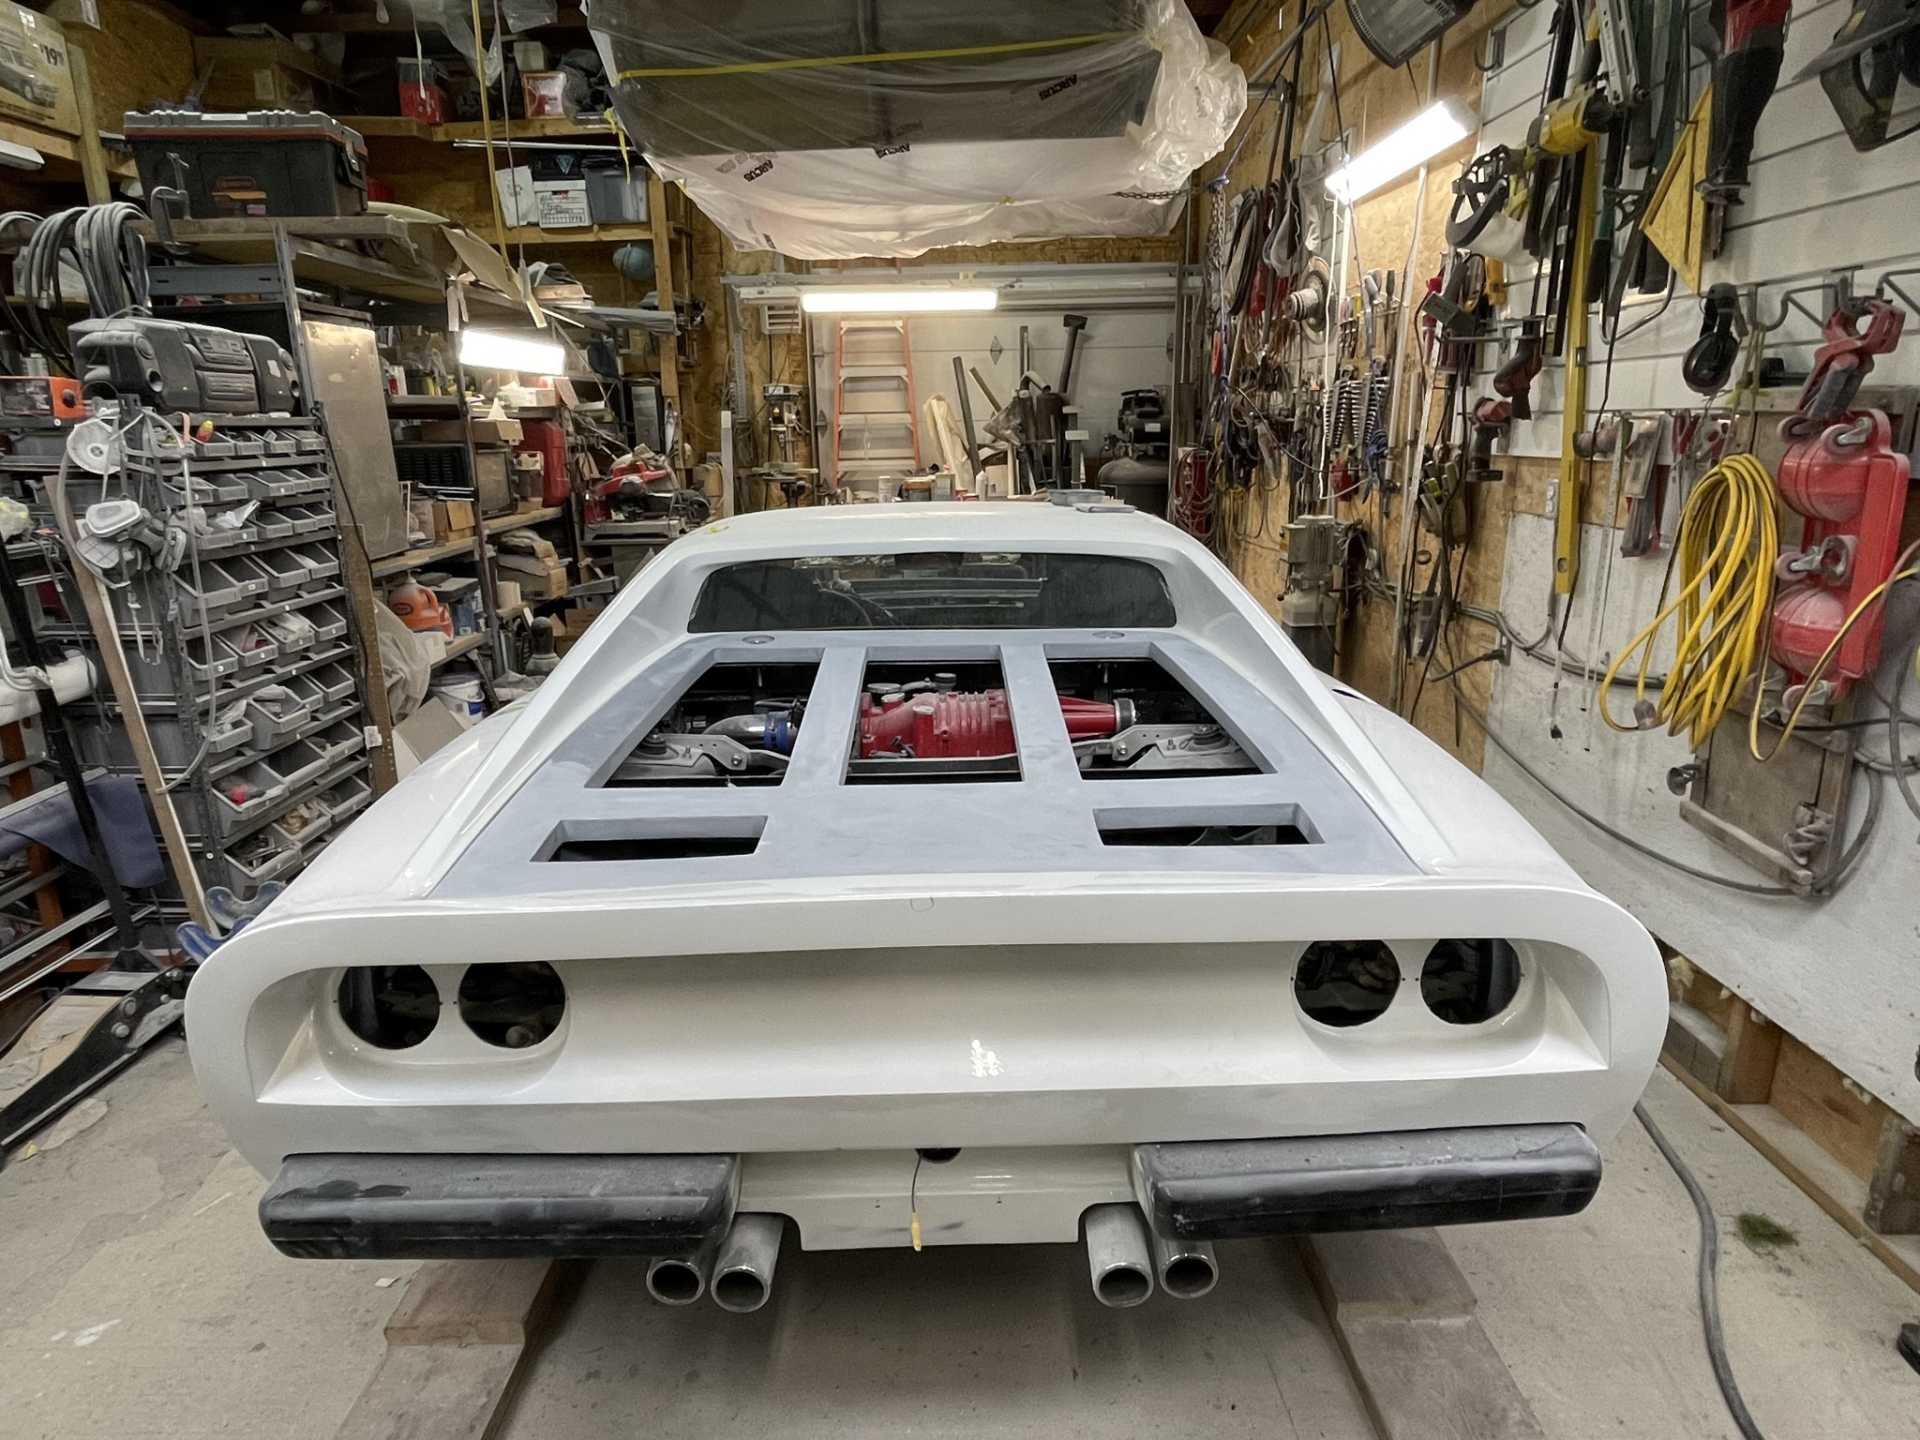
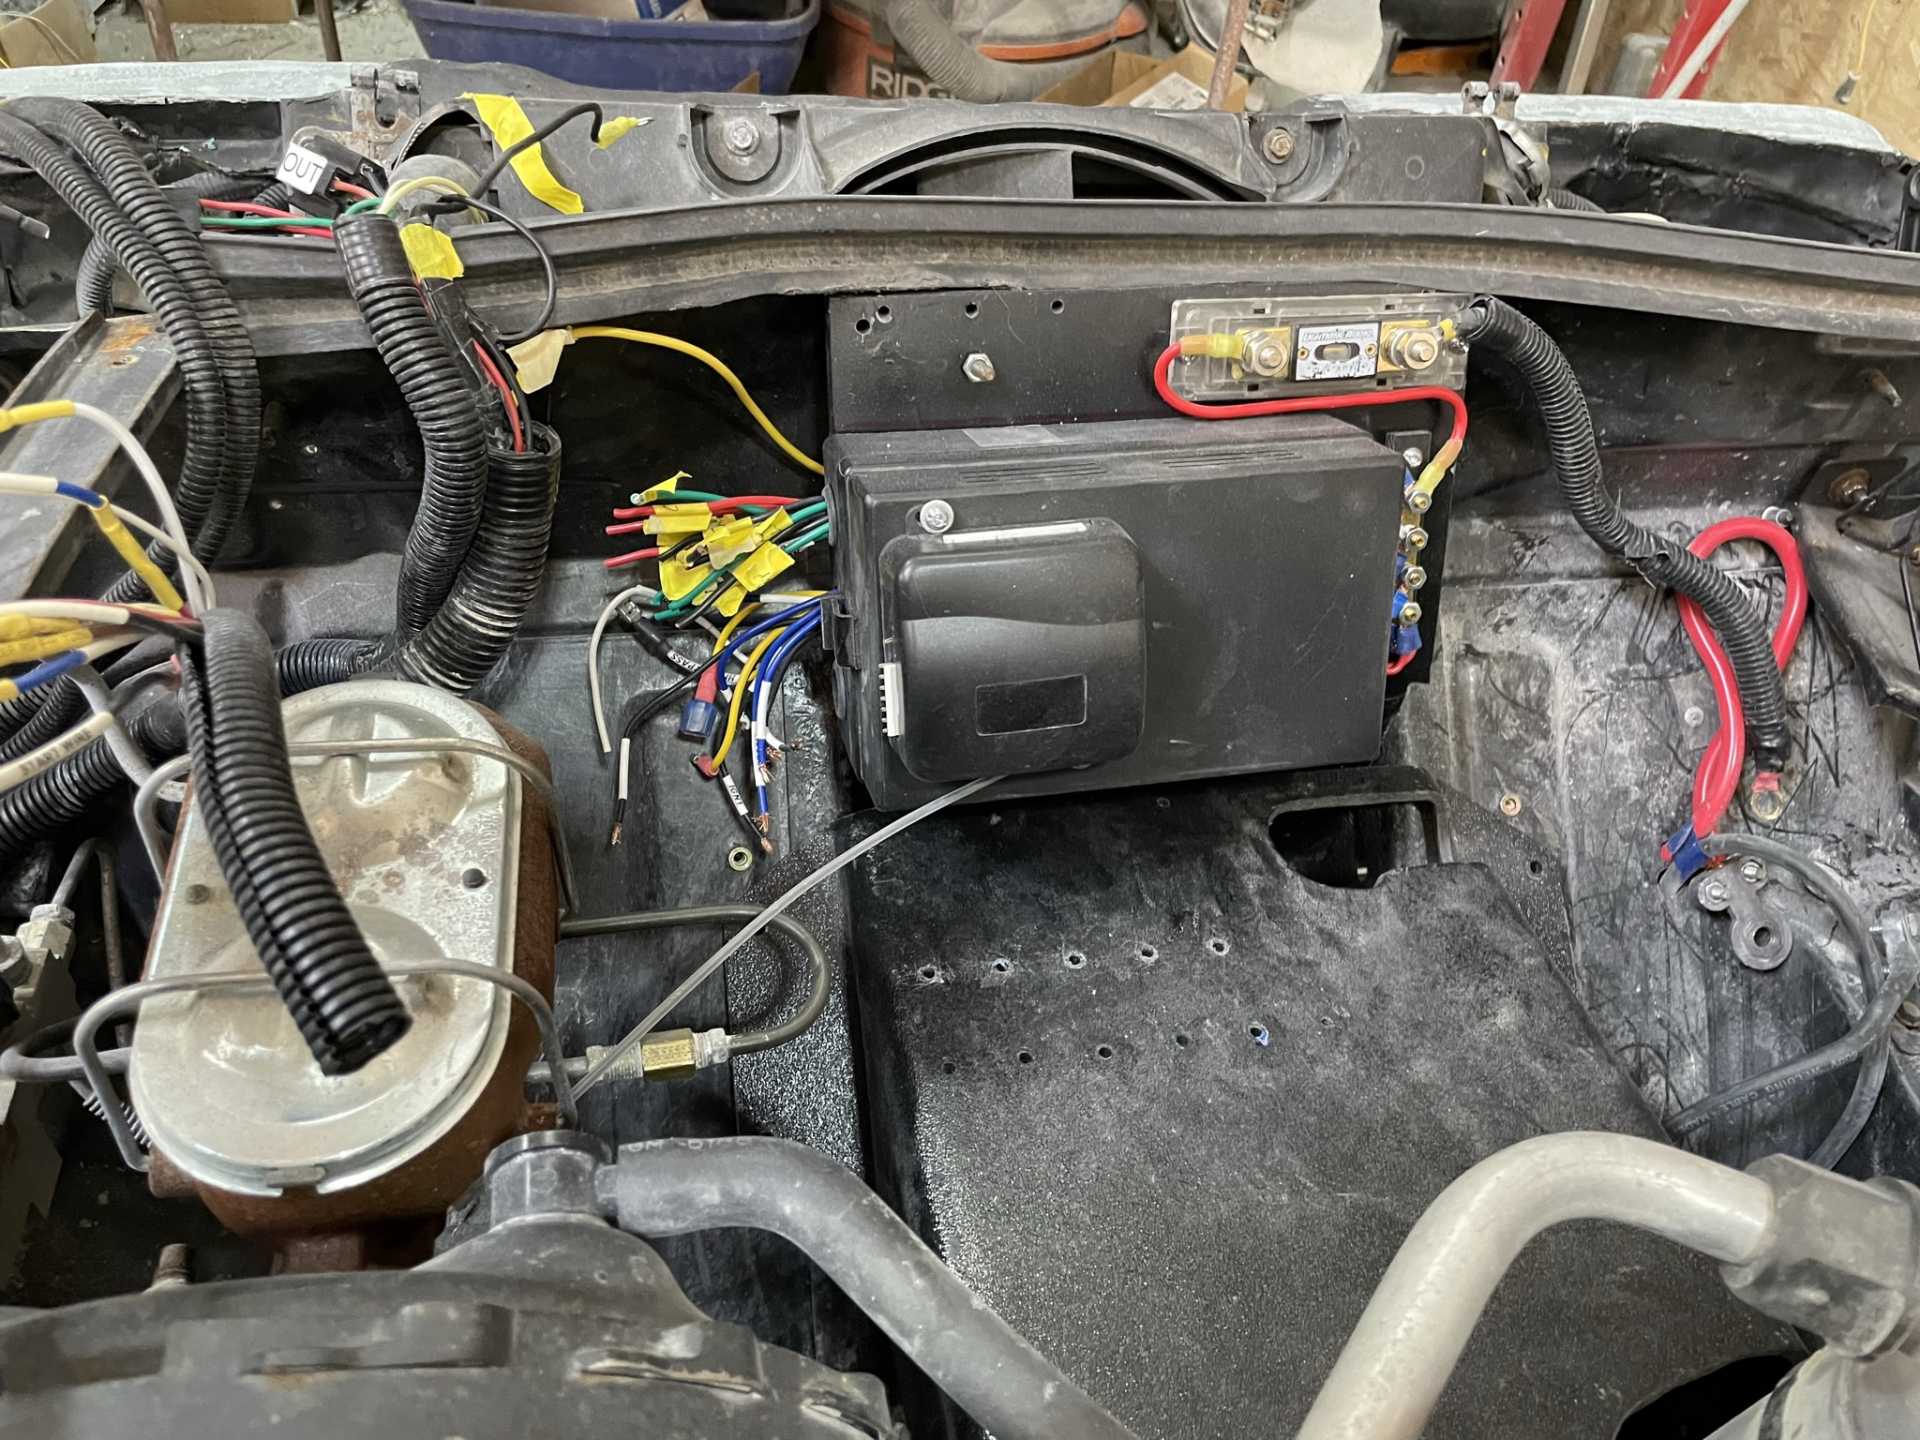
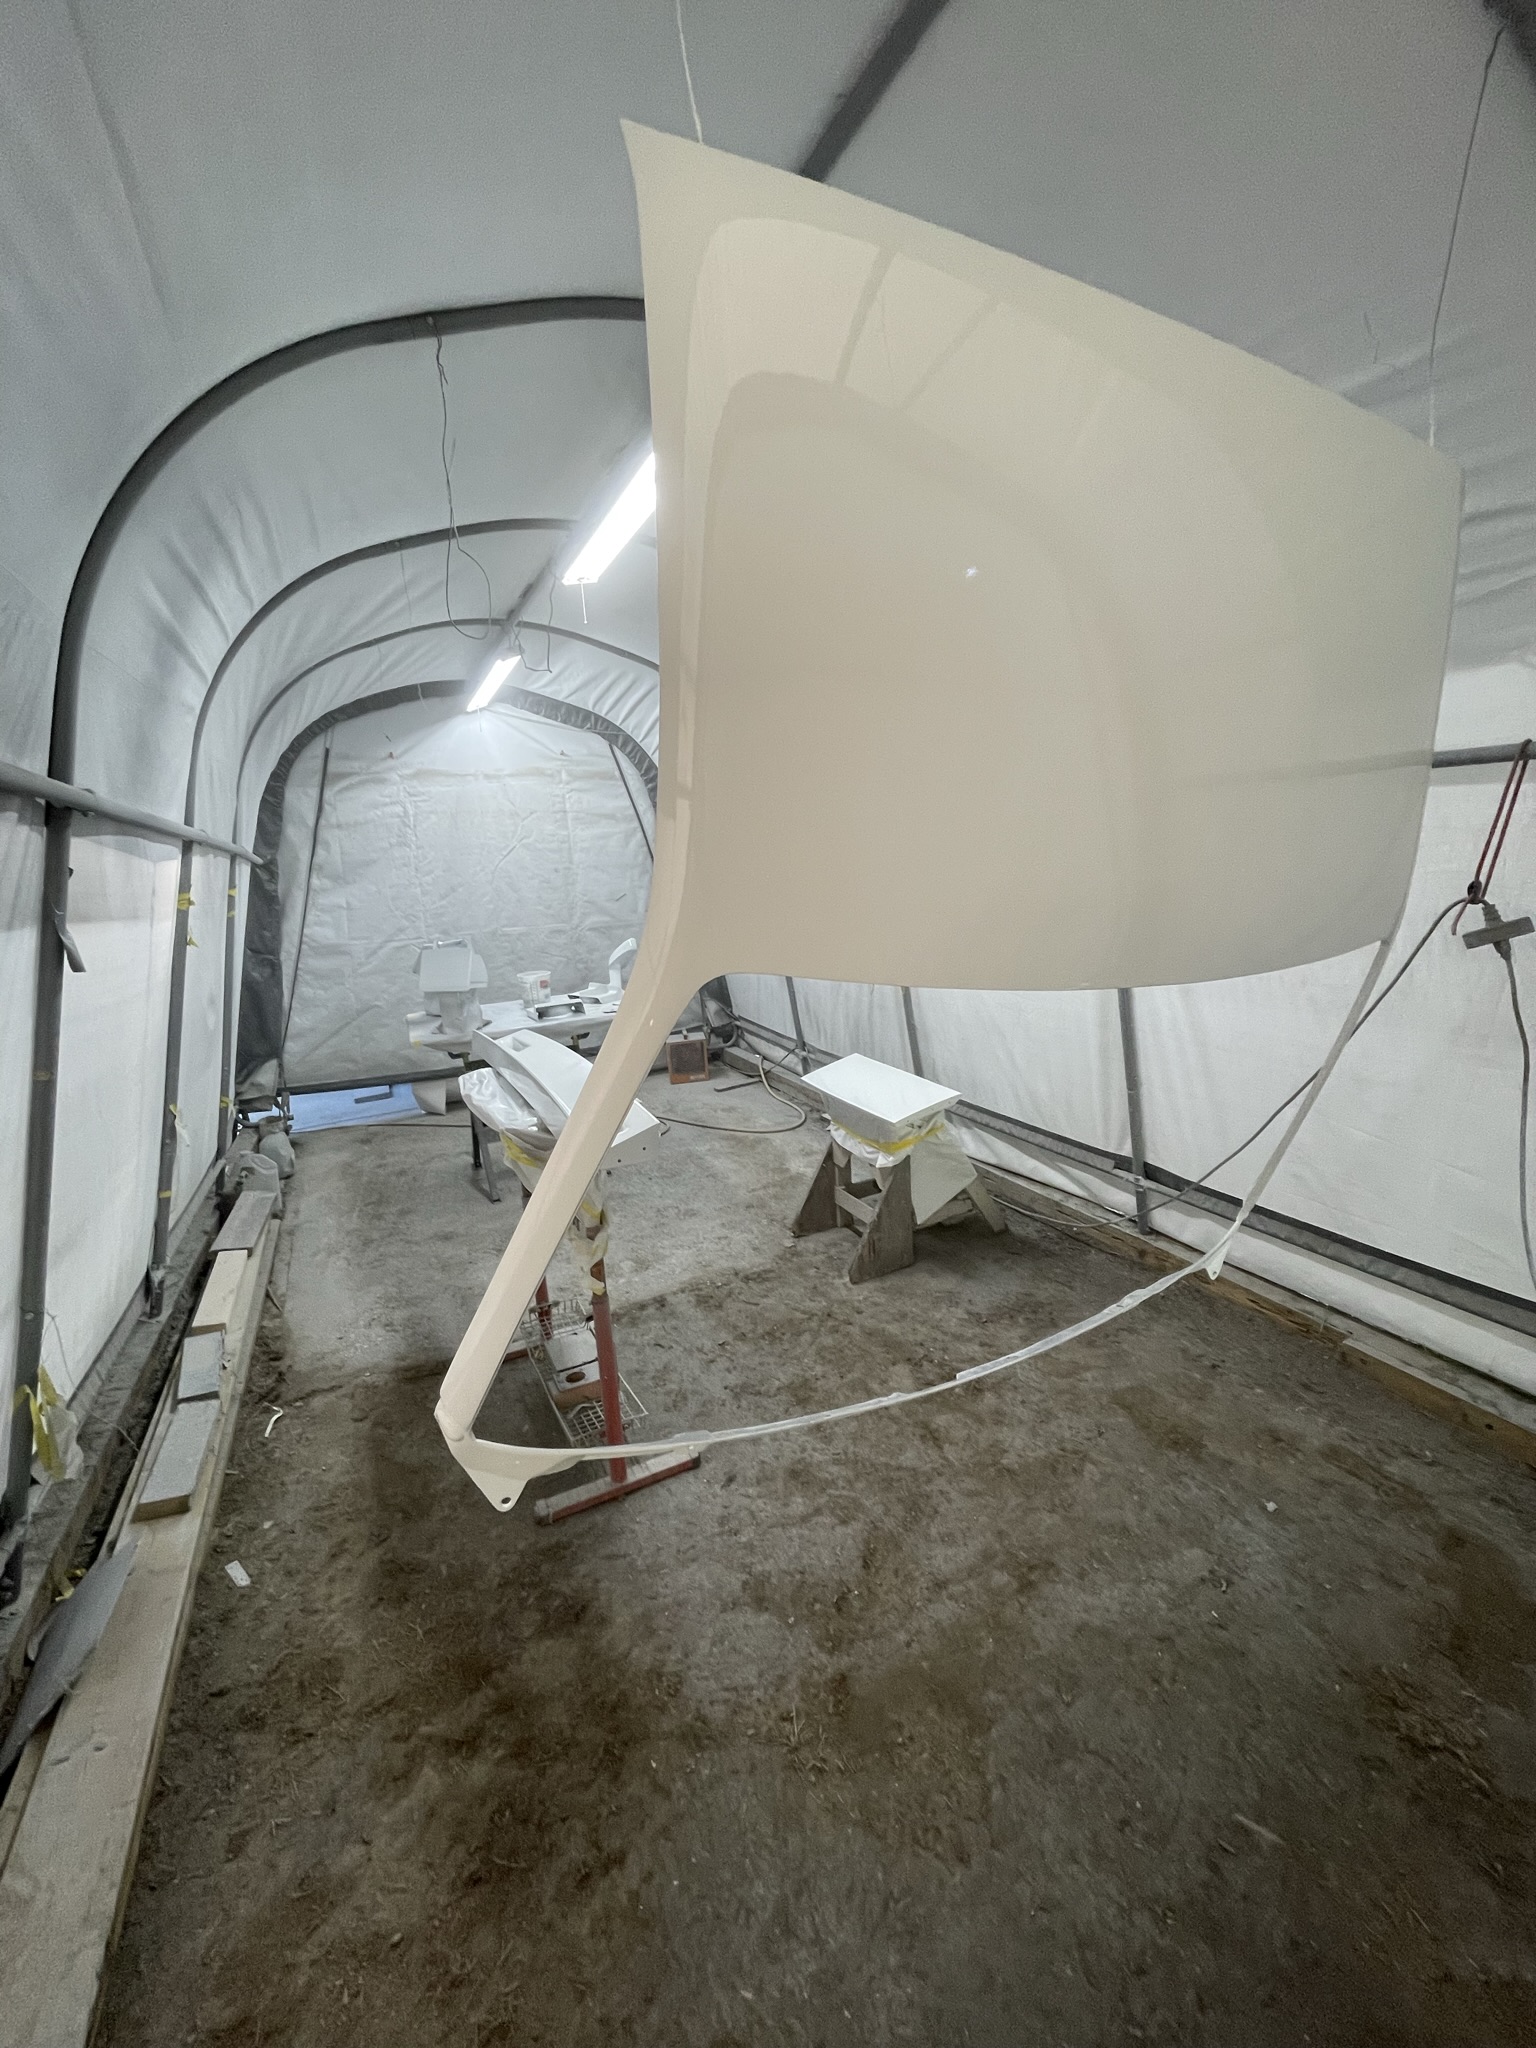
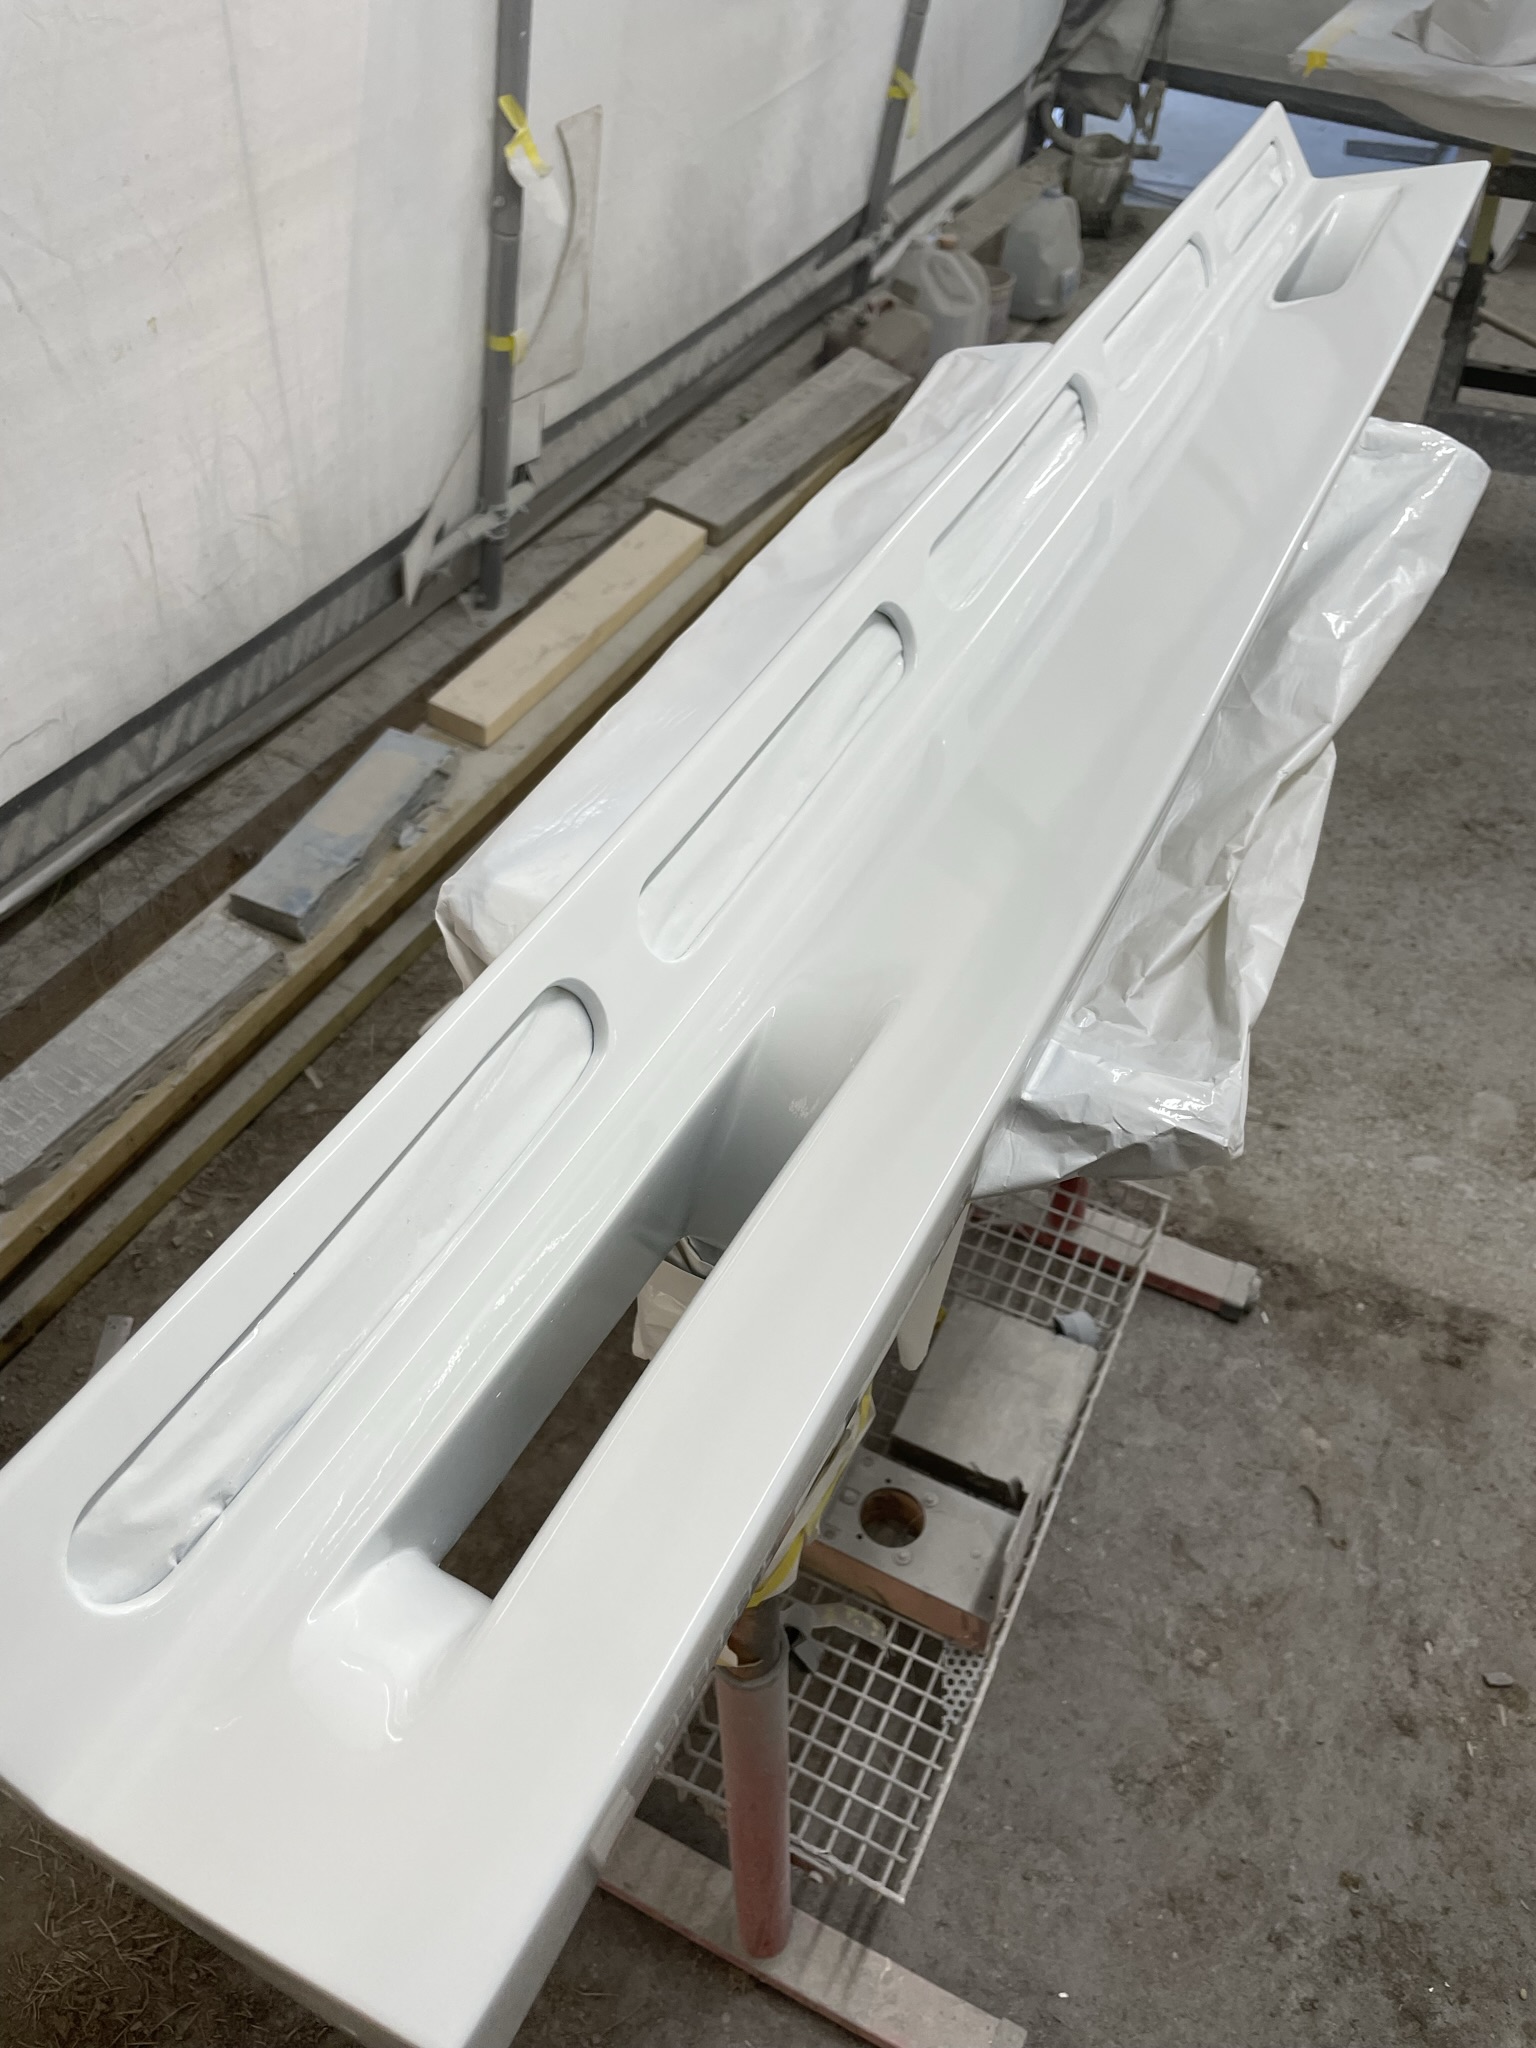
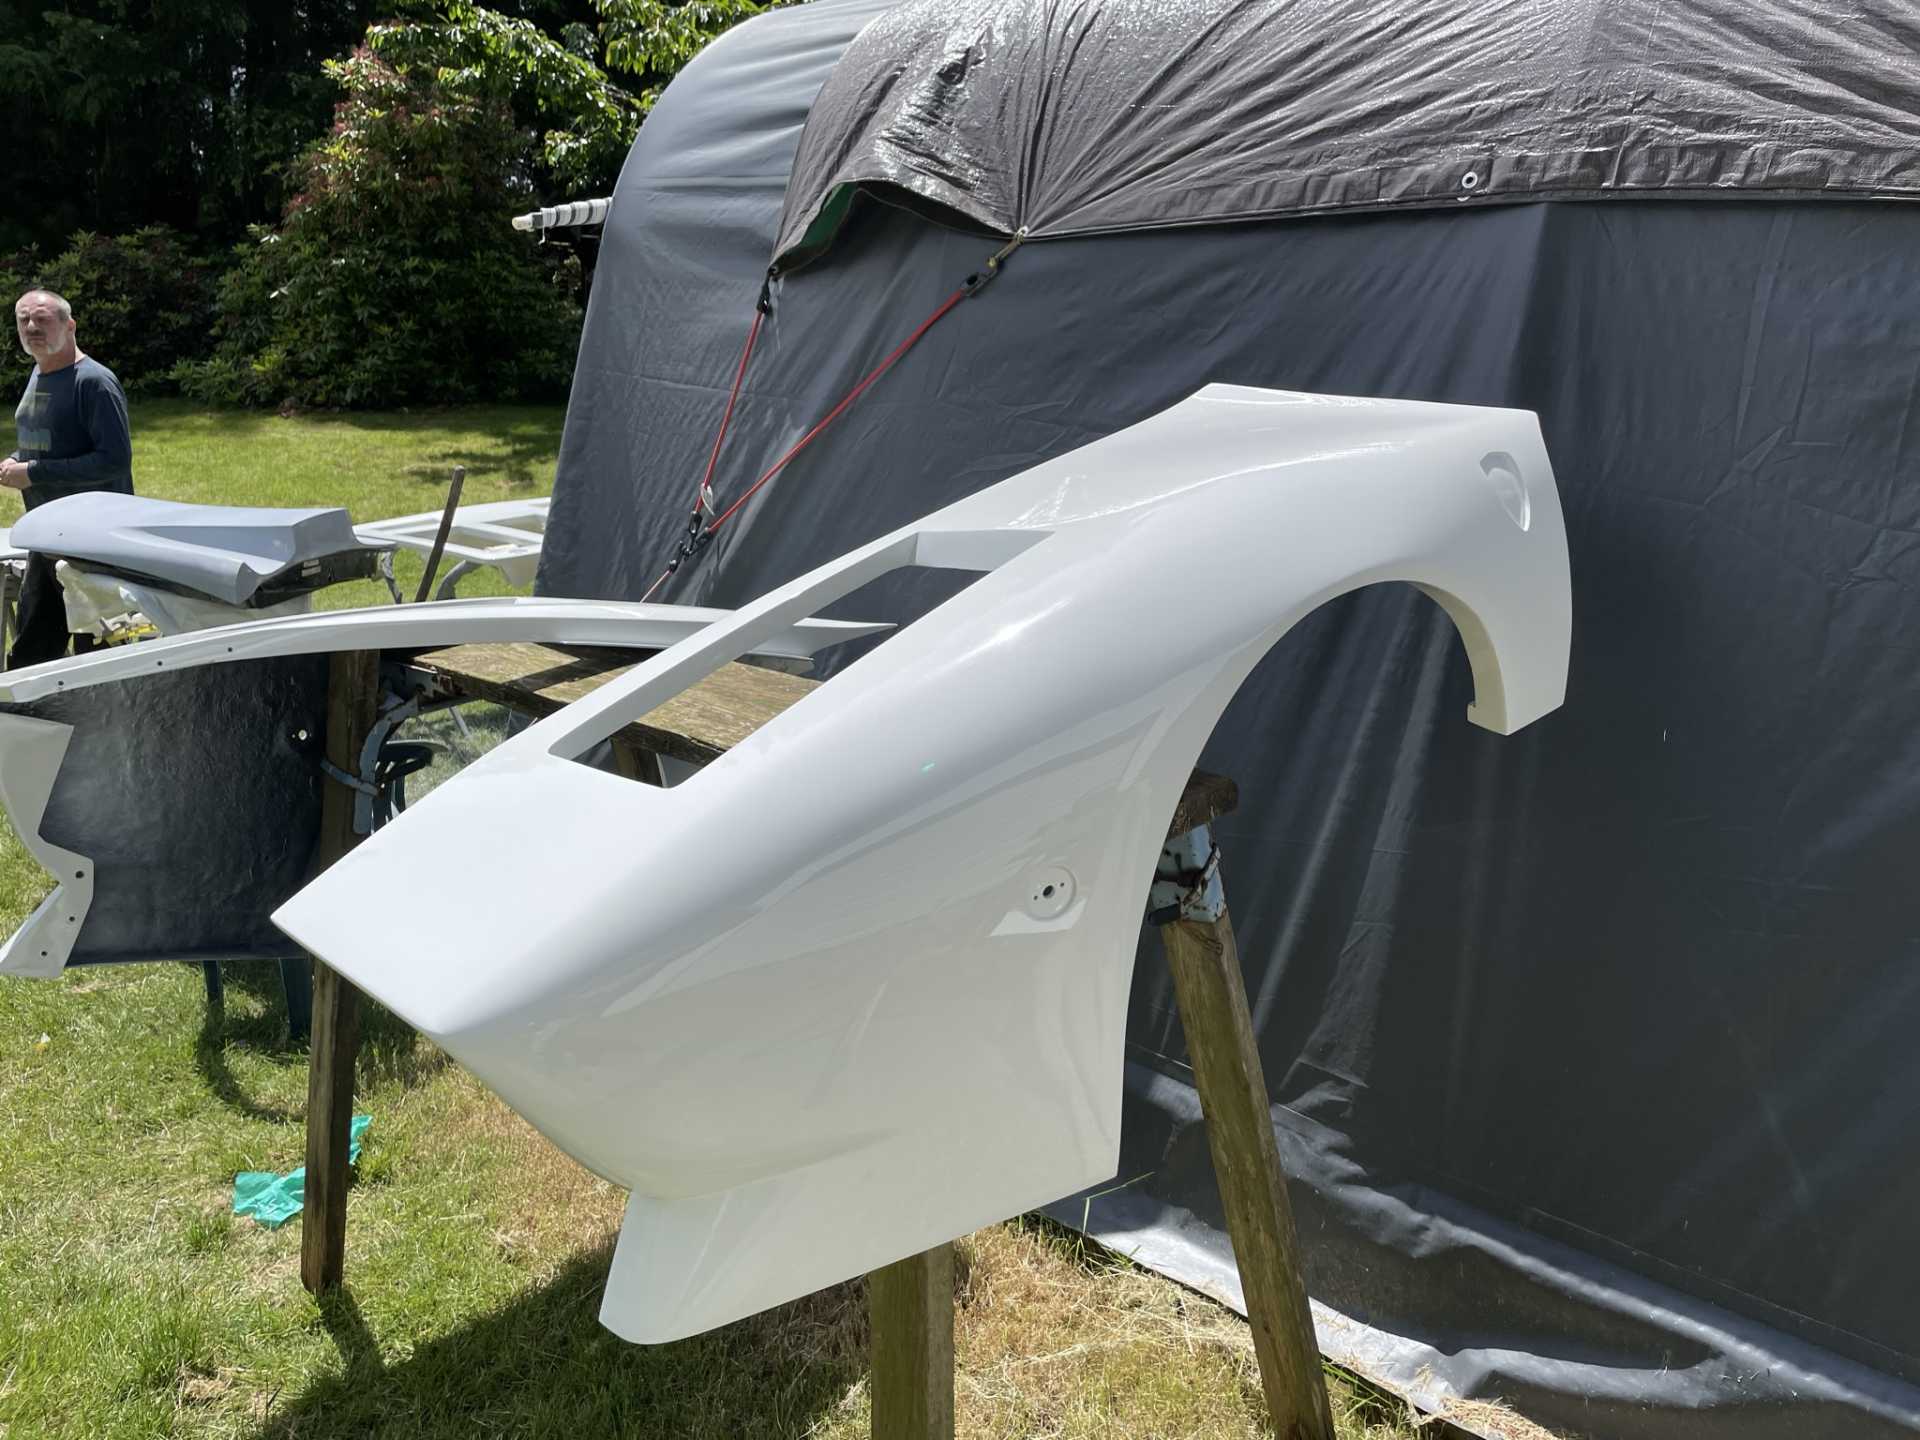
Lots going on, interesting that the last part finished is the first one painted “Red”
After bonding the outside door panels to the steel doors the window assemblies were removed for total cleaning as they were becoming
Sticky and slow over the duration off the build. After taking them assemblies out I found them quite rusty and spent the next couple days cleaning and grinding the rust off everything. I’ll spray everything with epoxy primer and paint everything black.
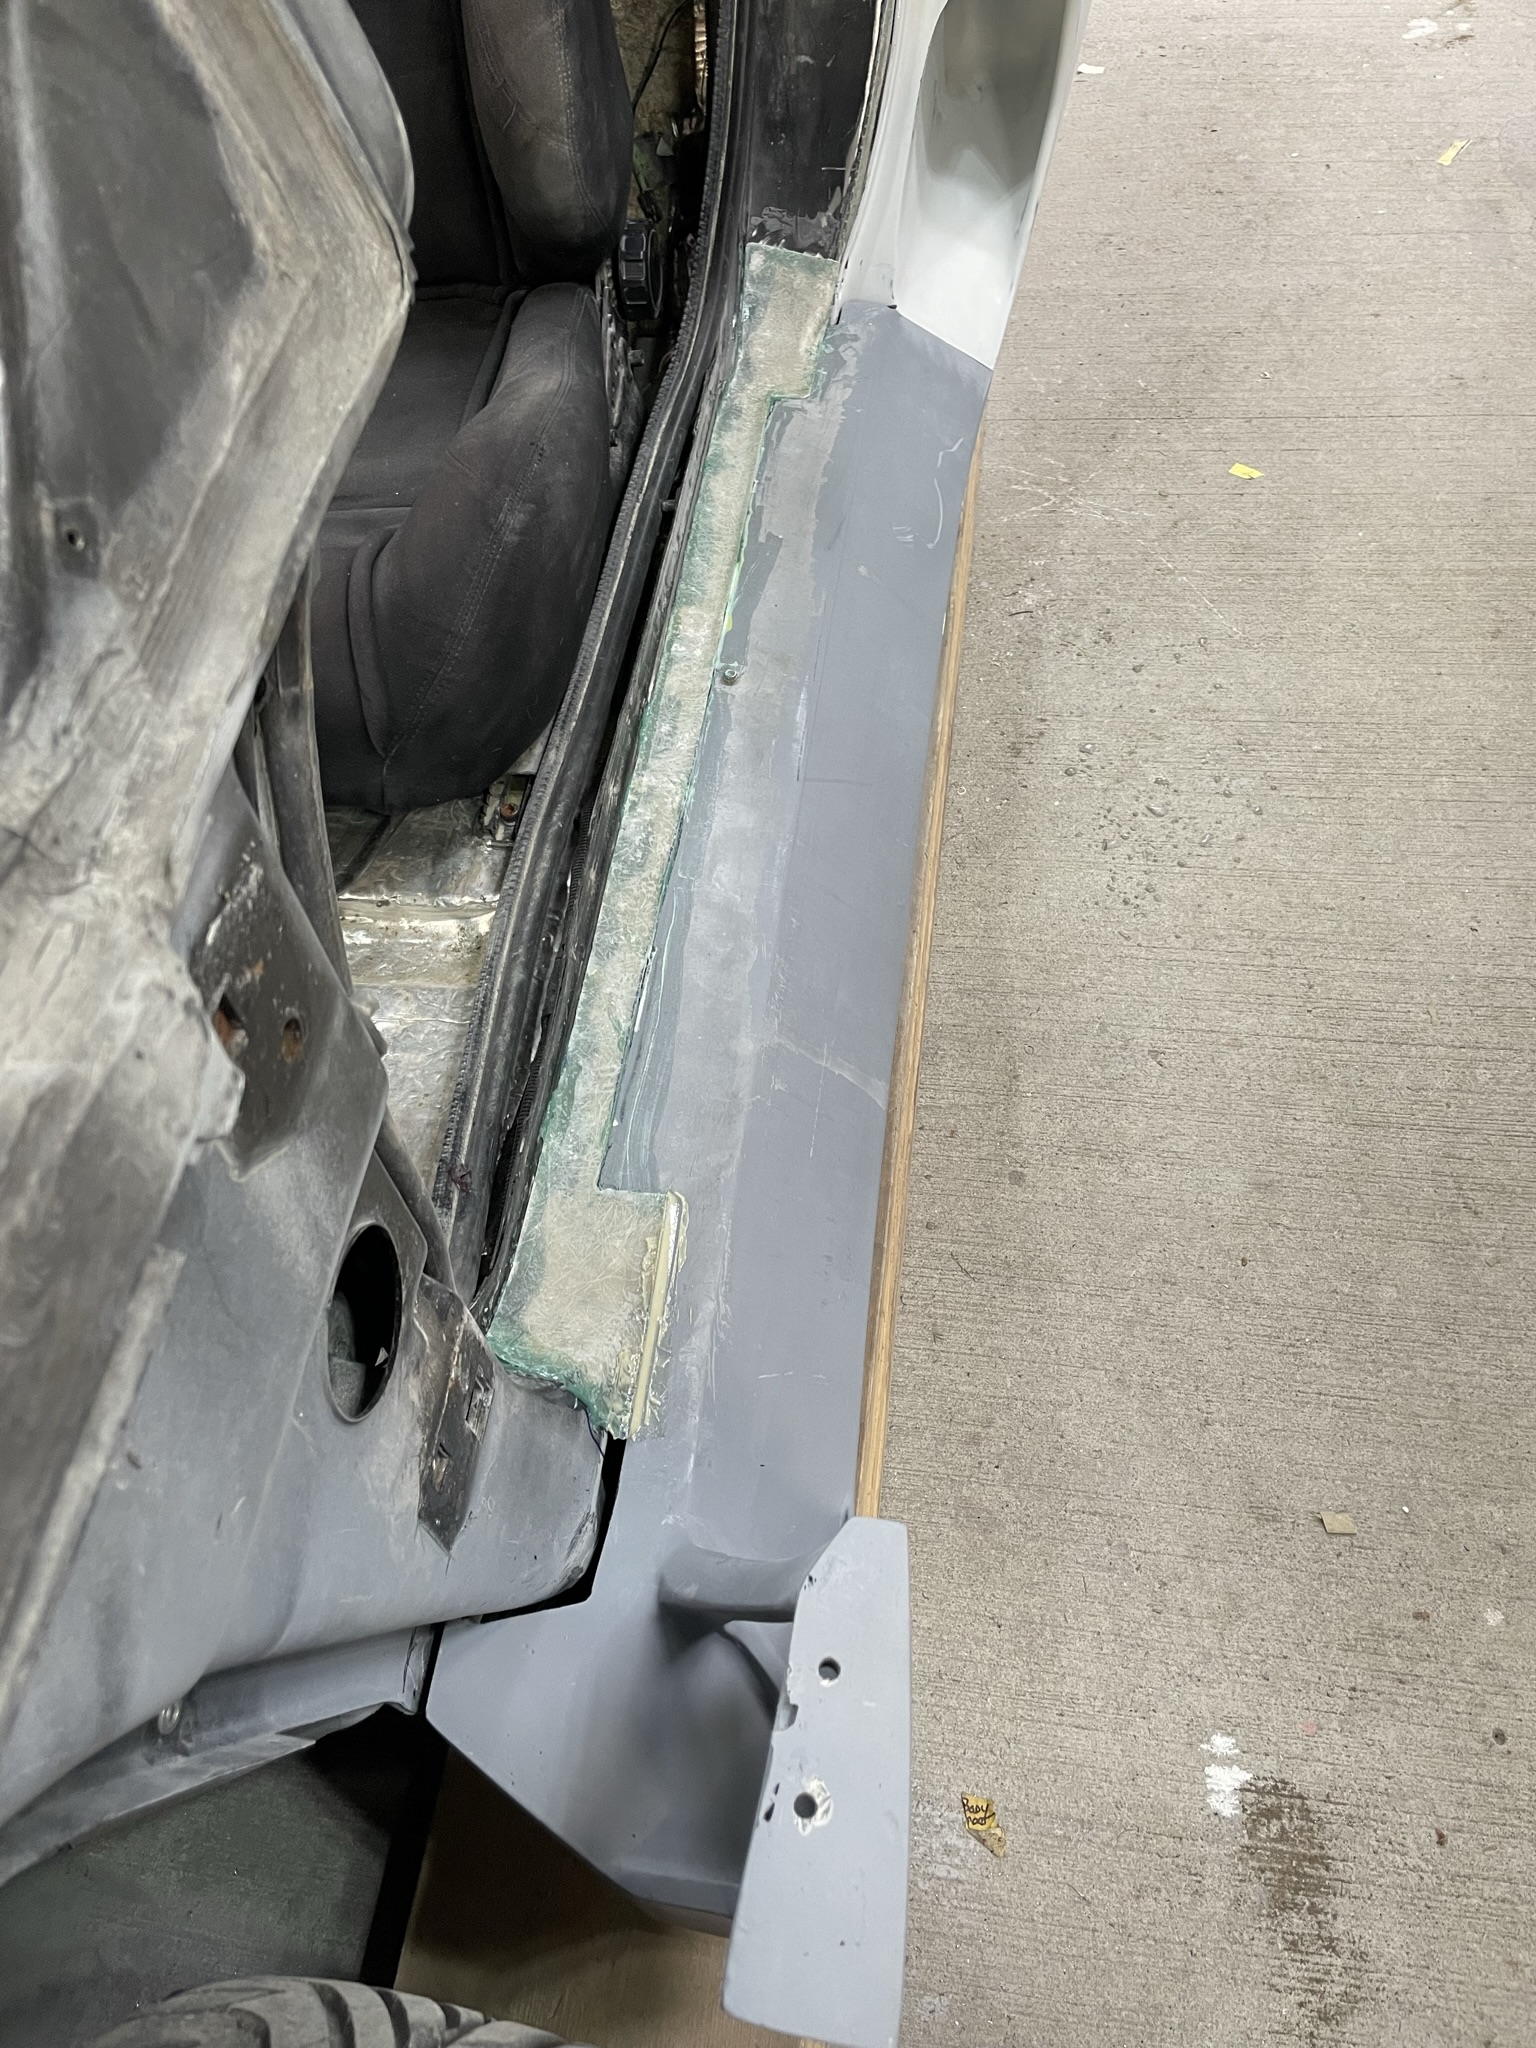
Then All the body work to make the panel and door one without seams.
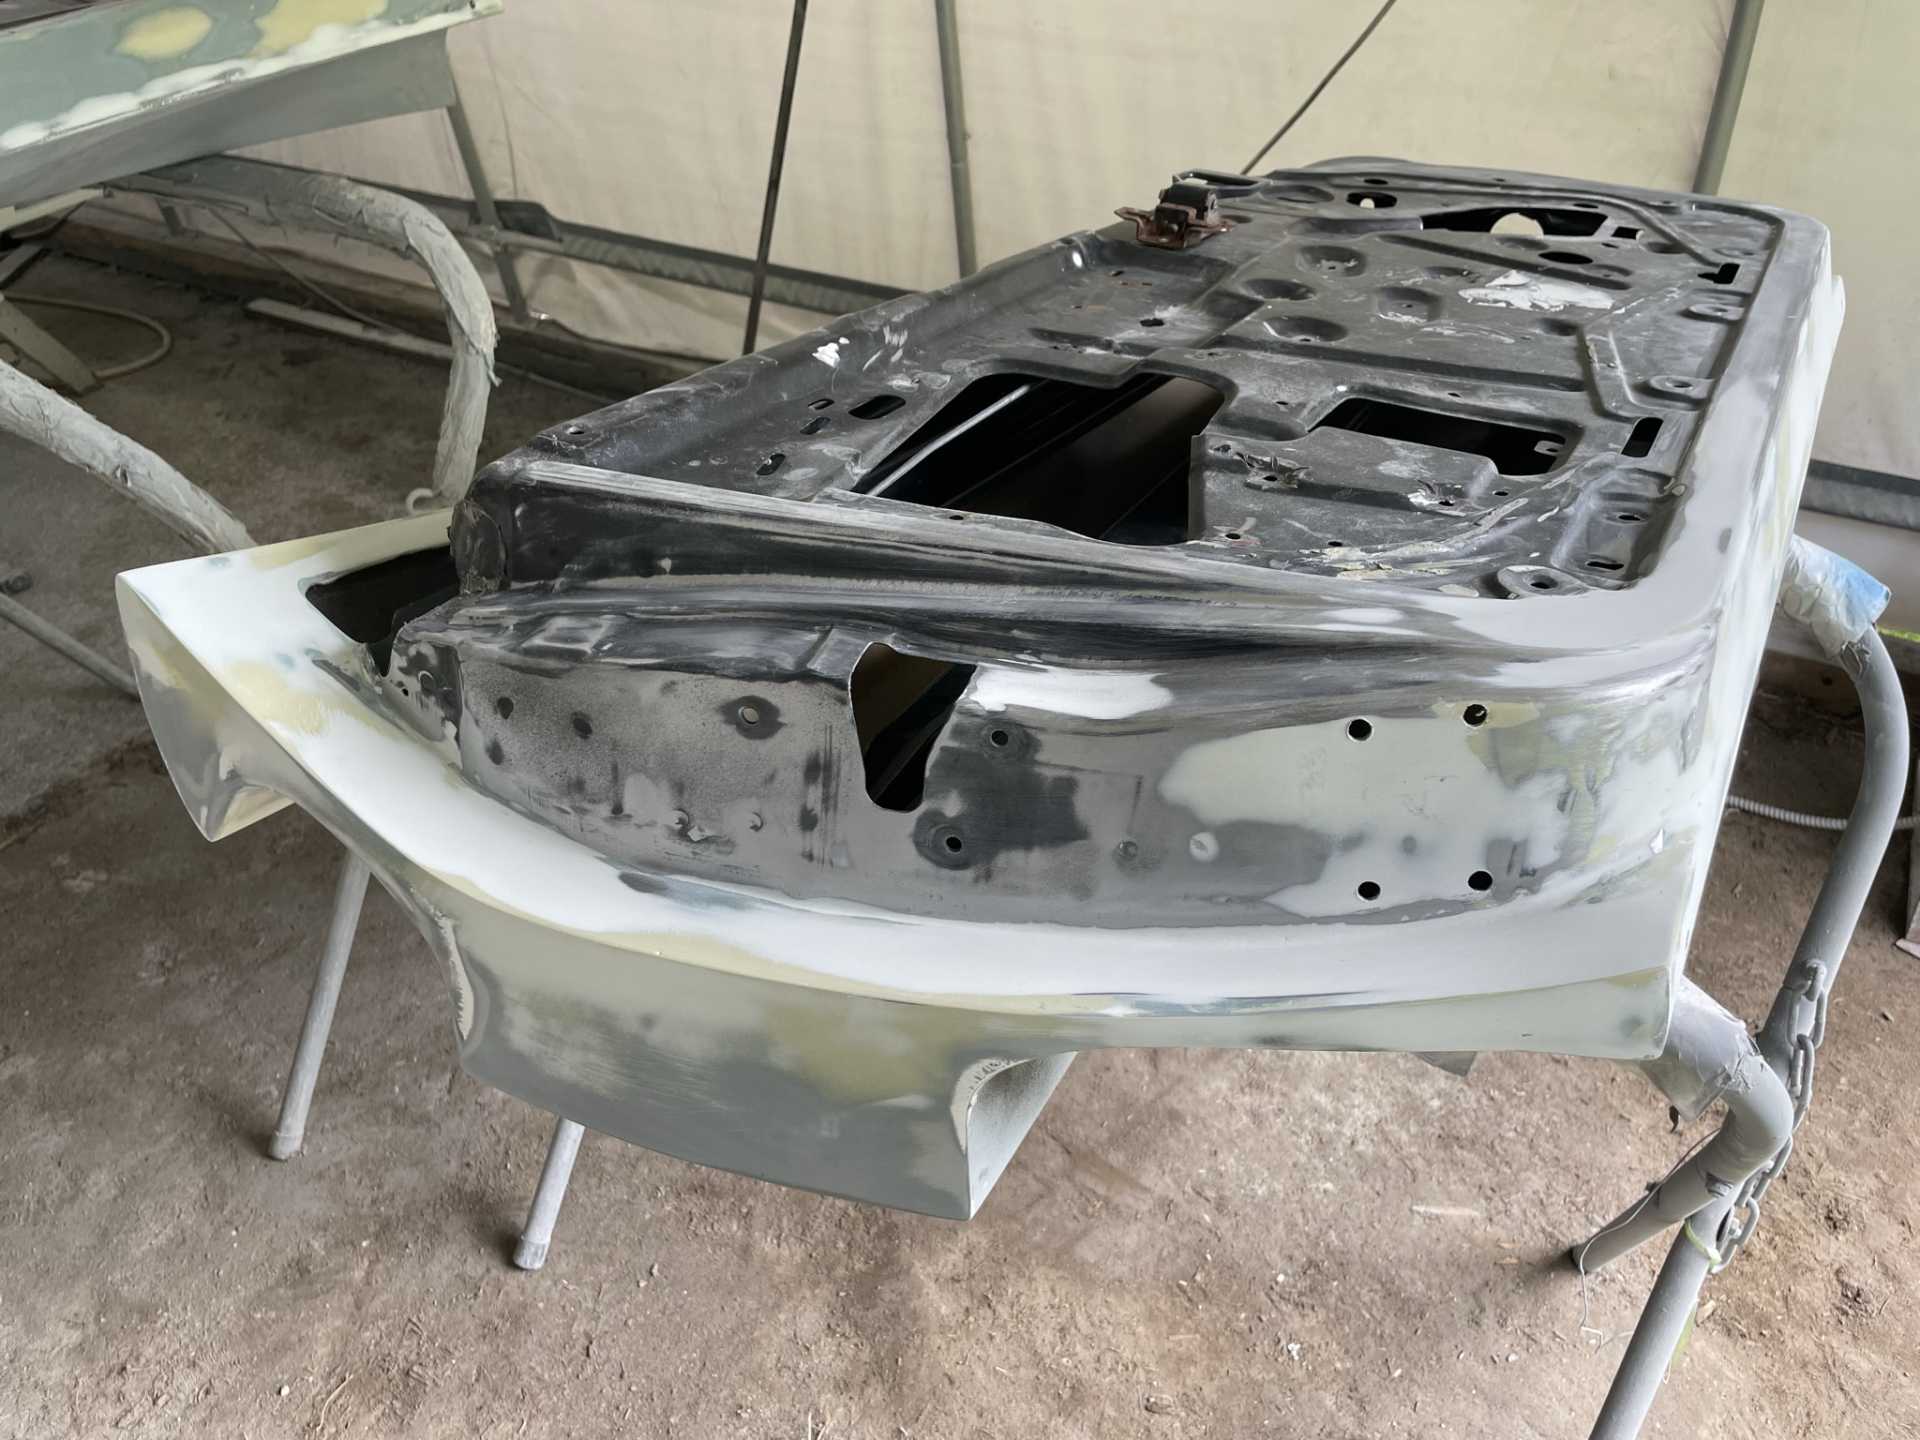
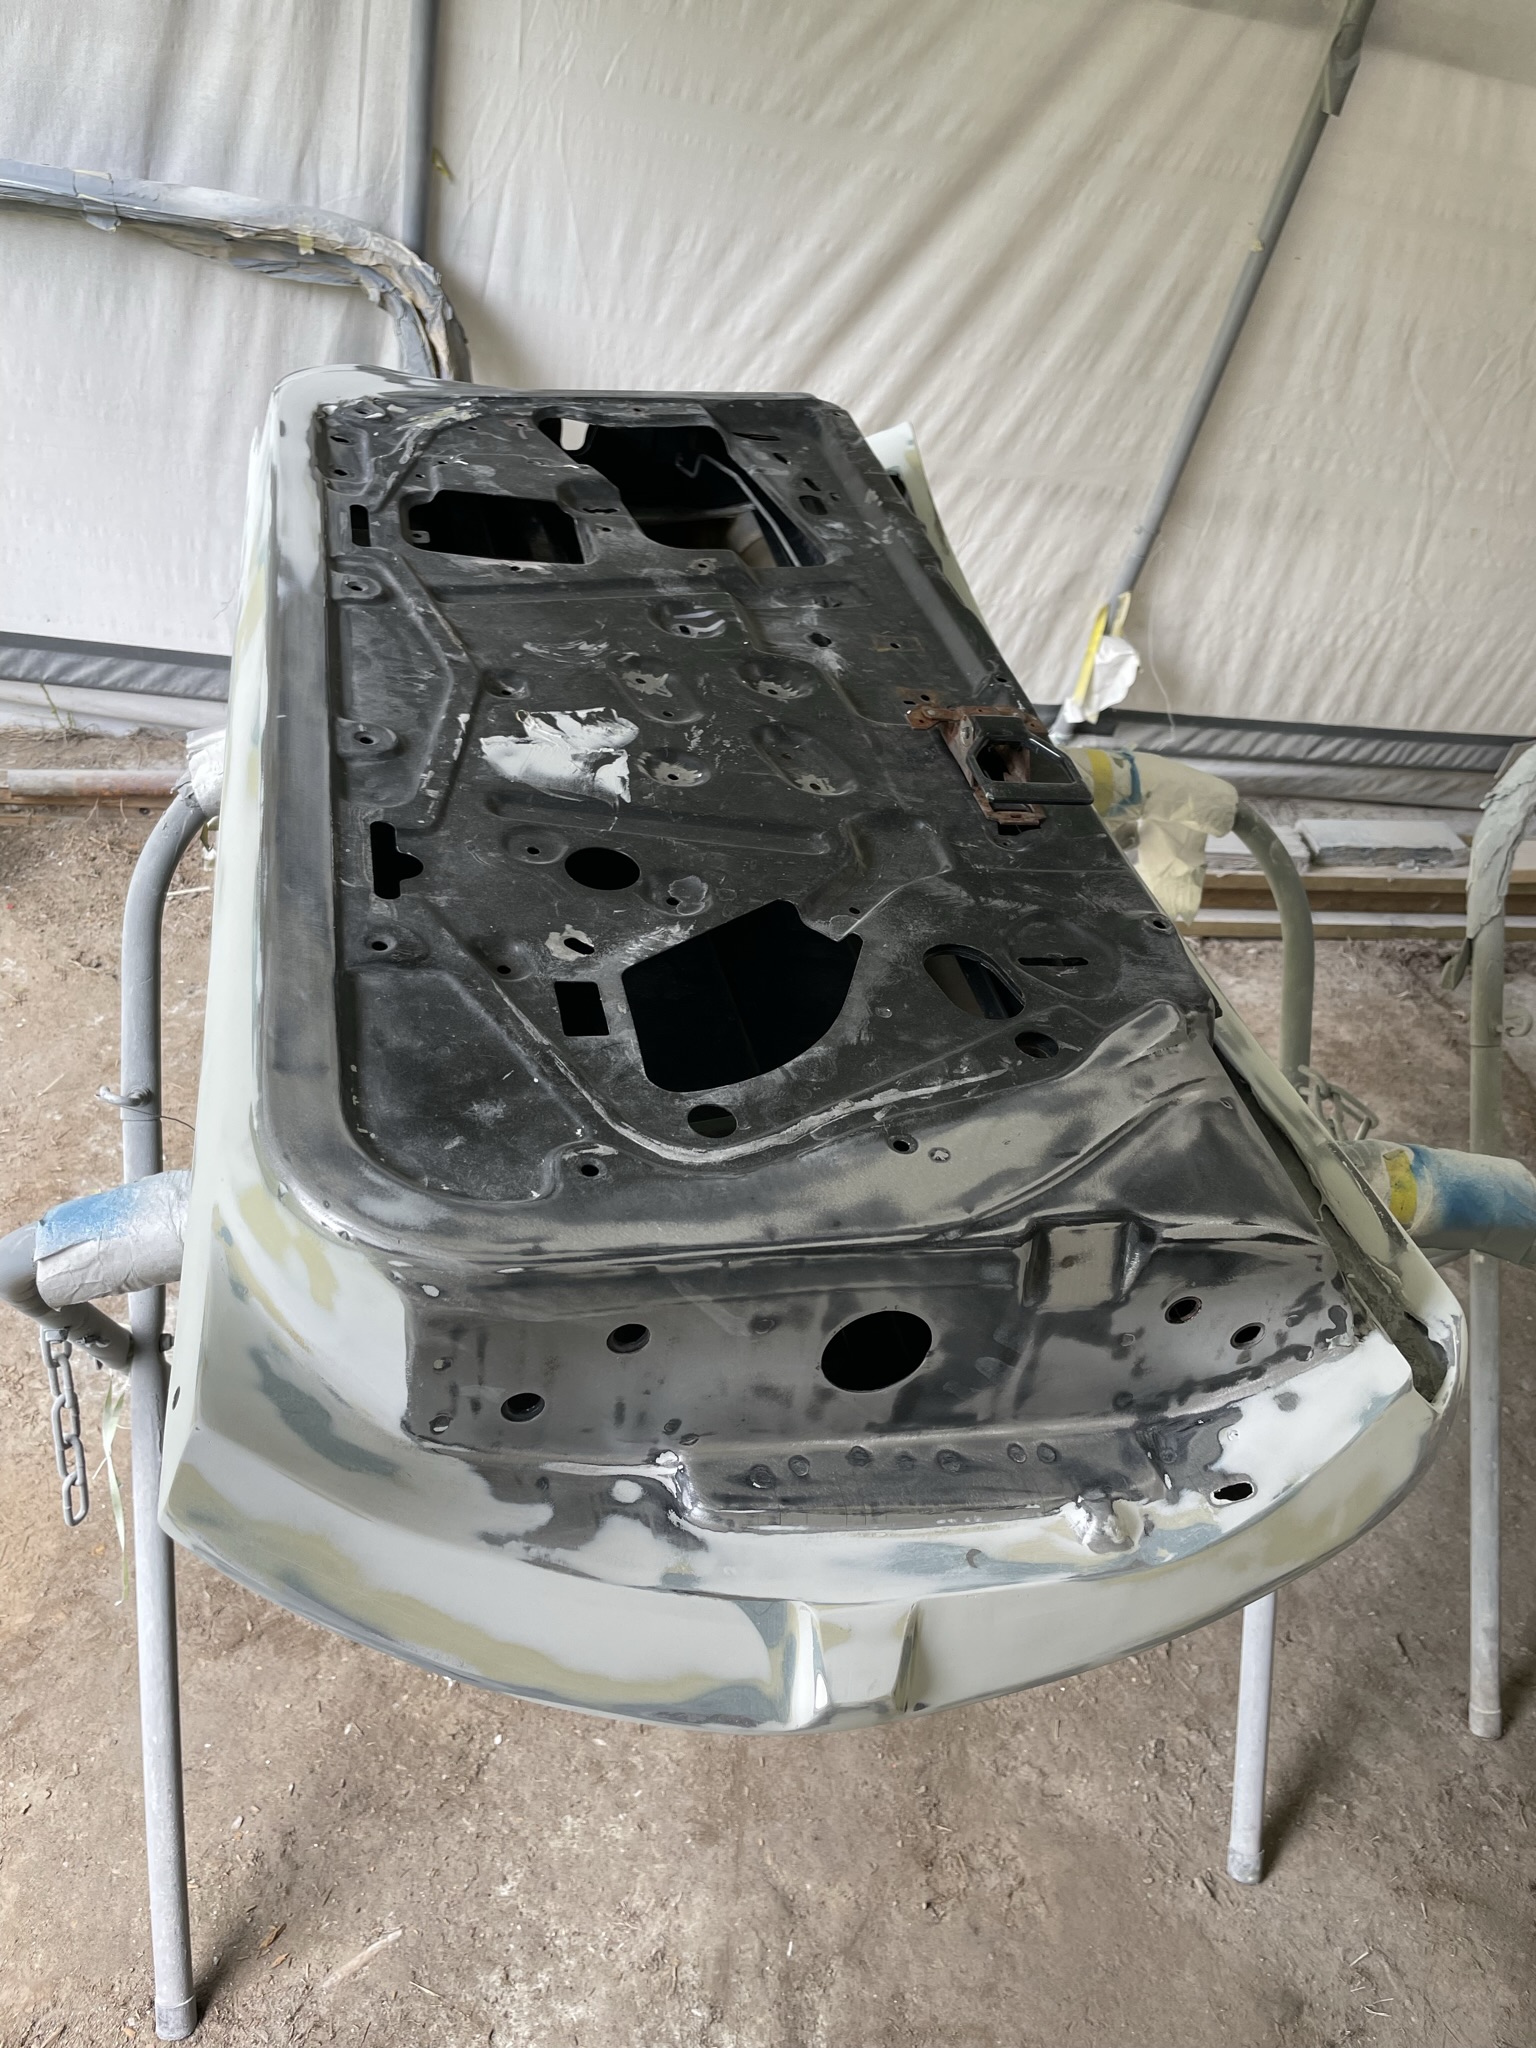
Then came the fun step adding Color to the part, as I posted before everything is painted with epoxy primer then white single stage paint
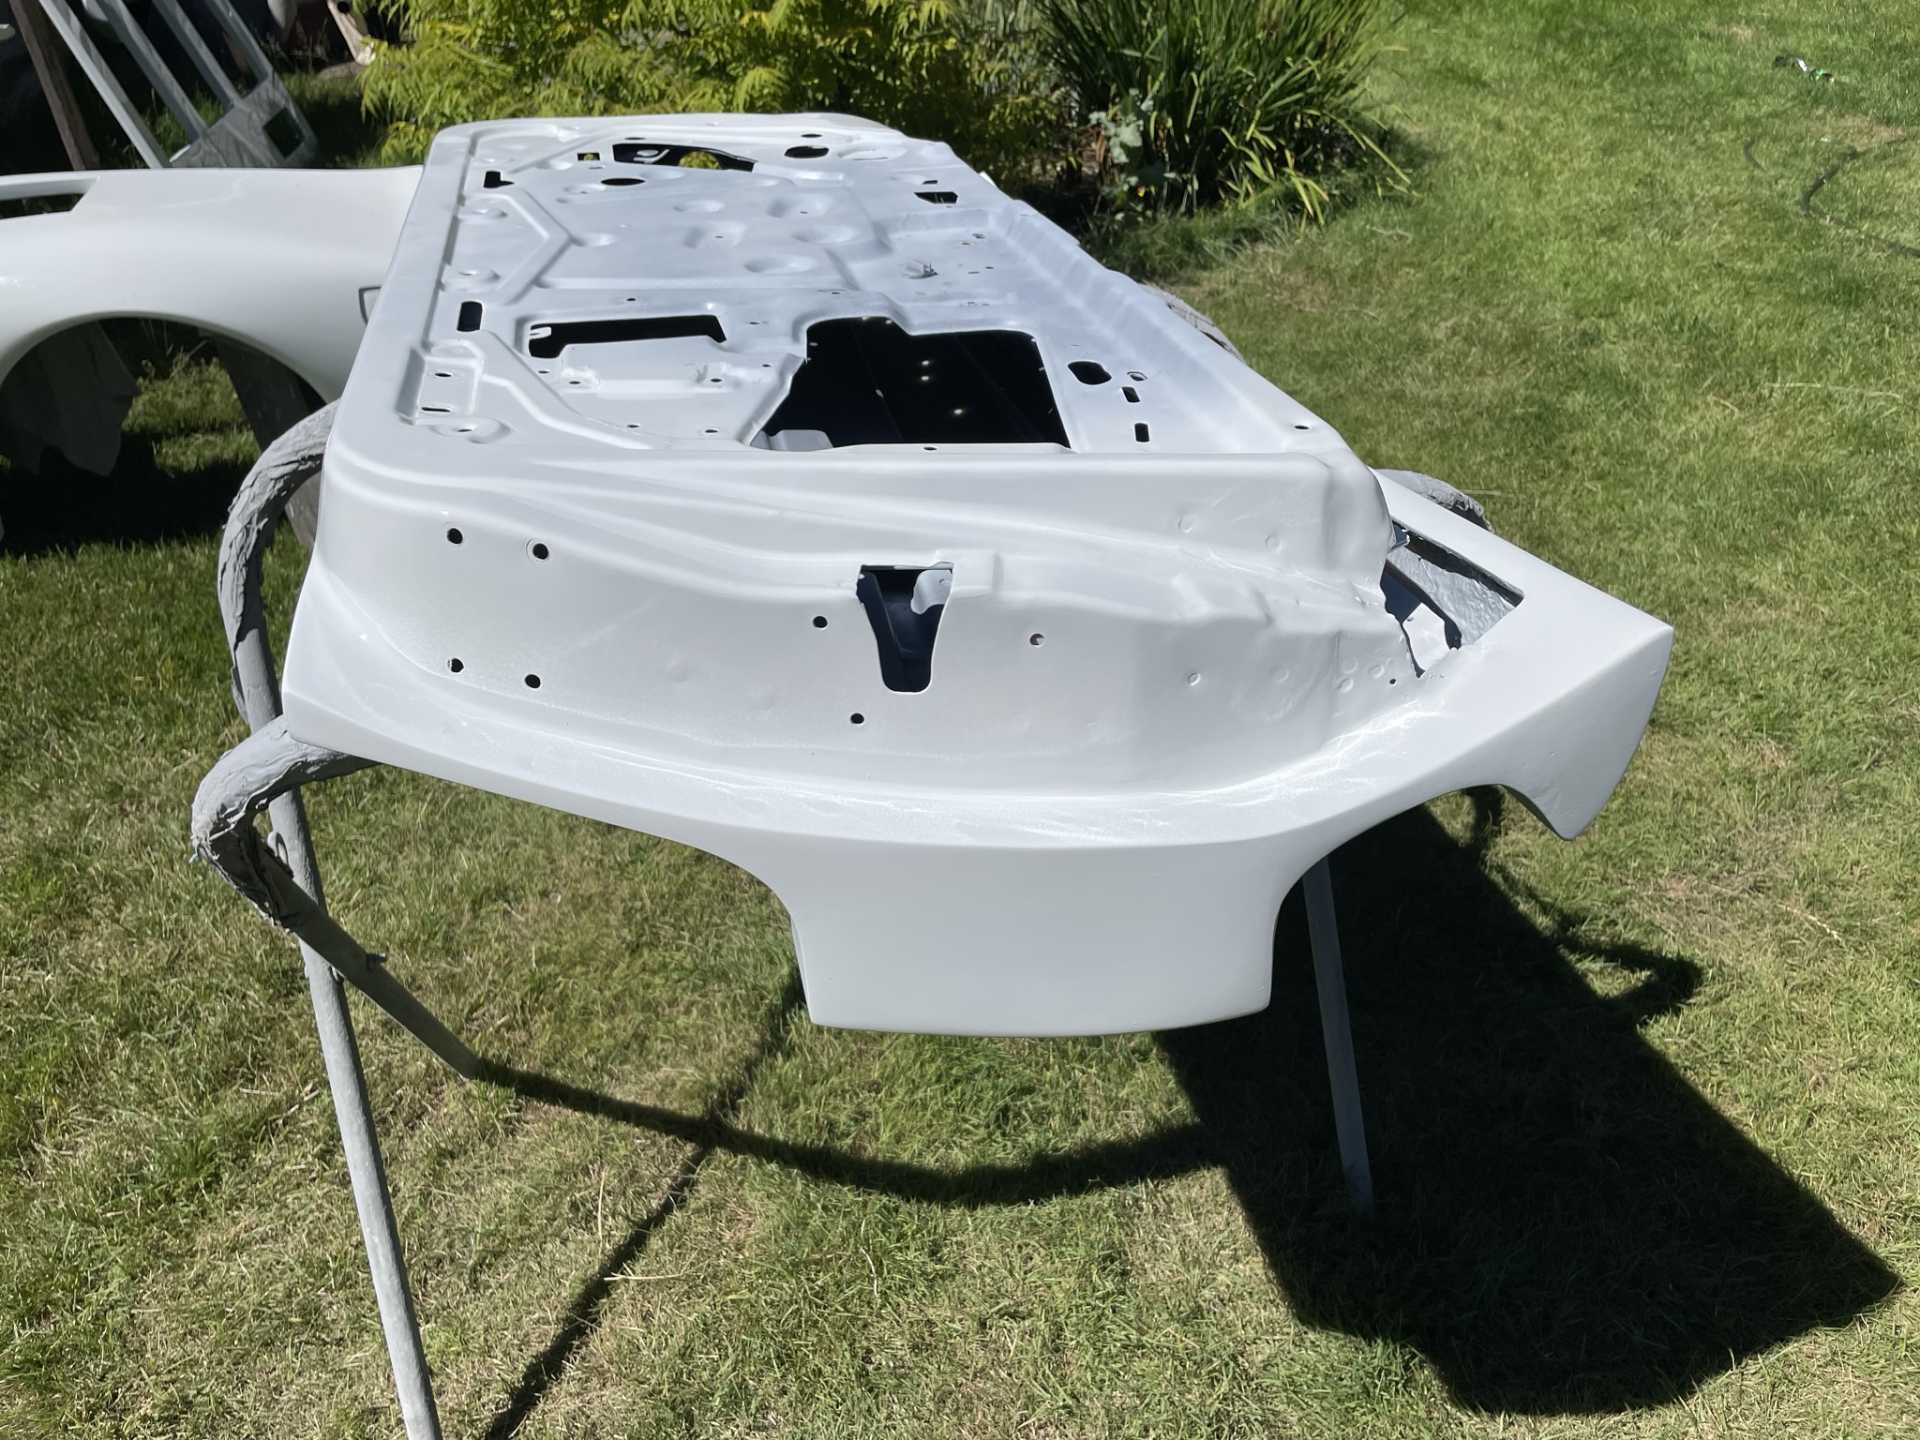
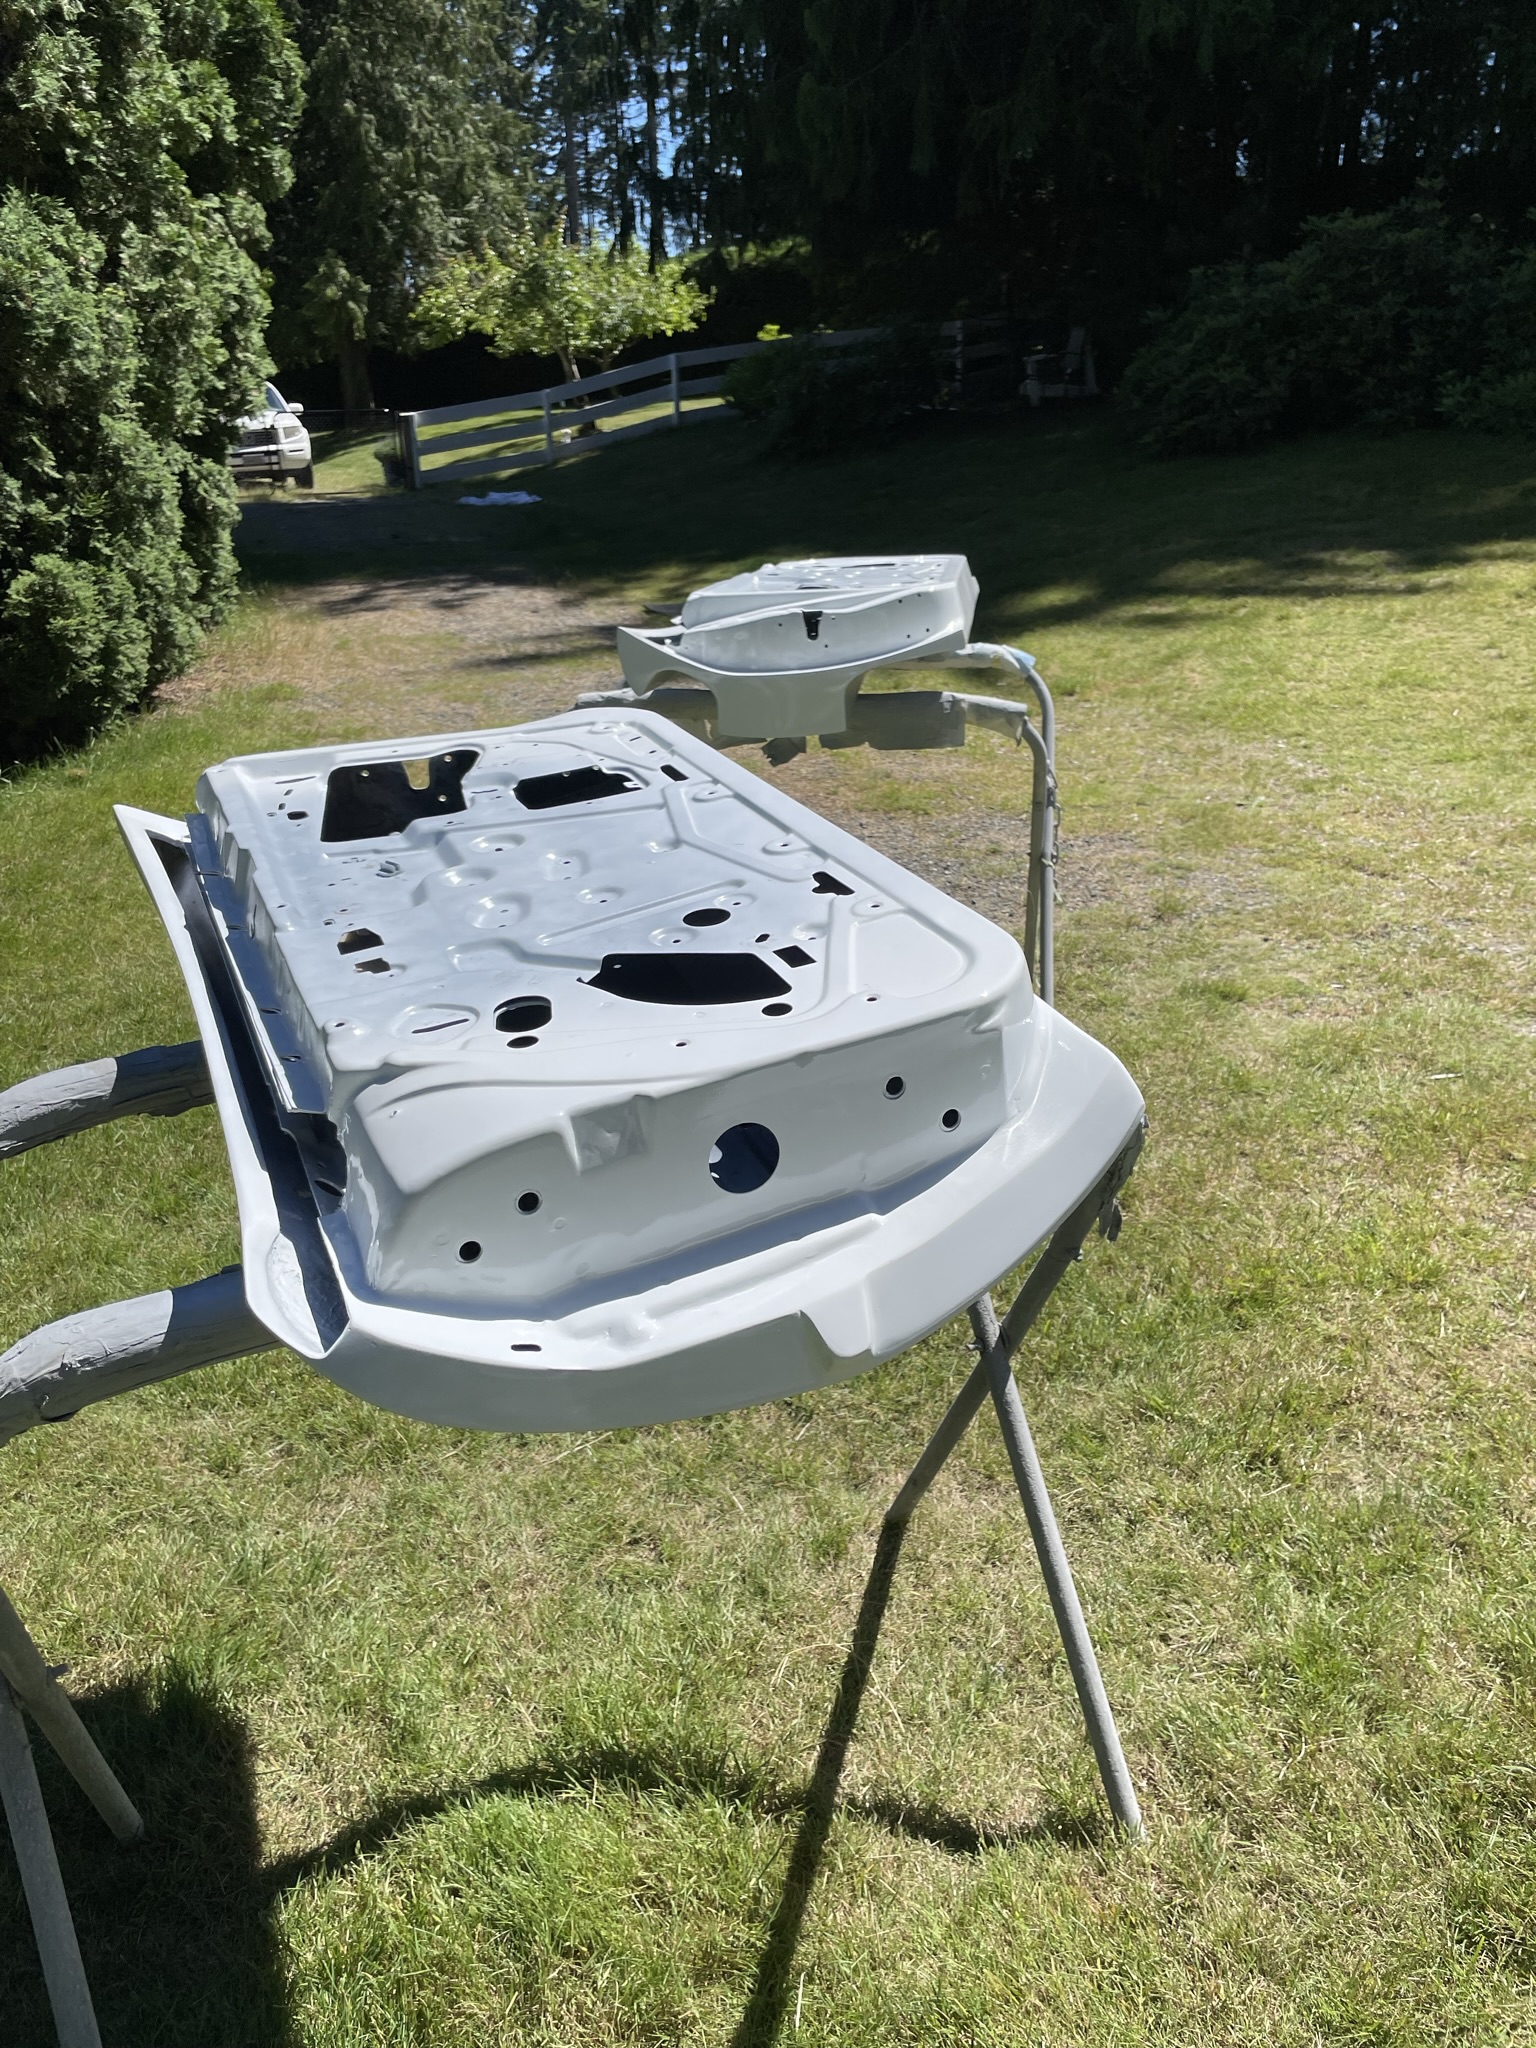
The final step “Rosso Corsa”
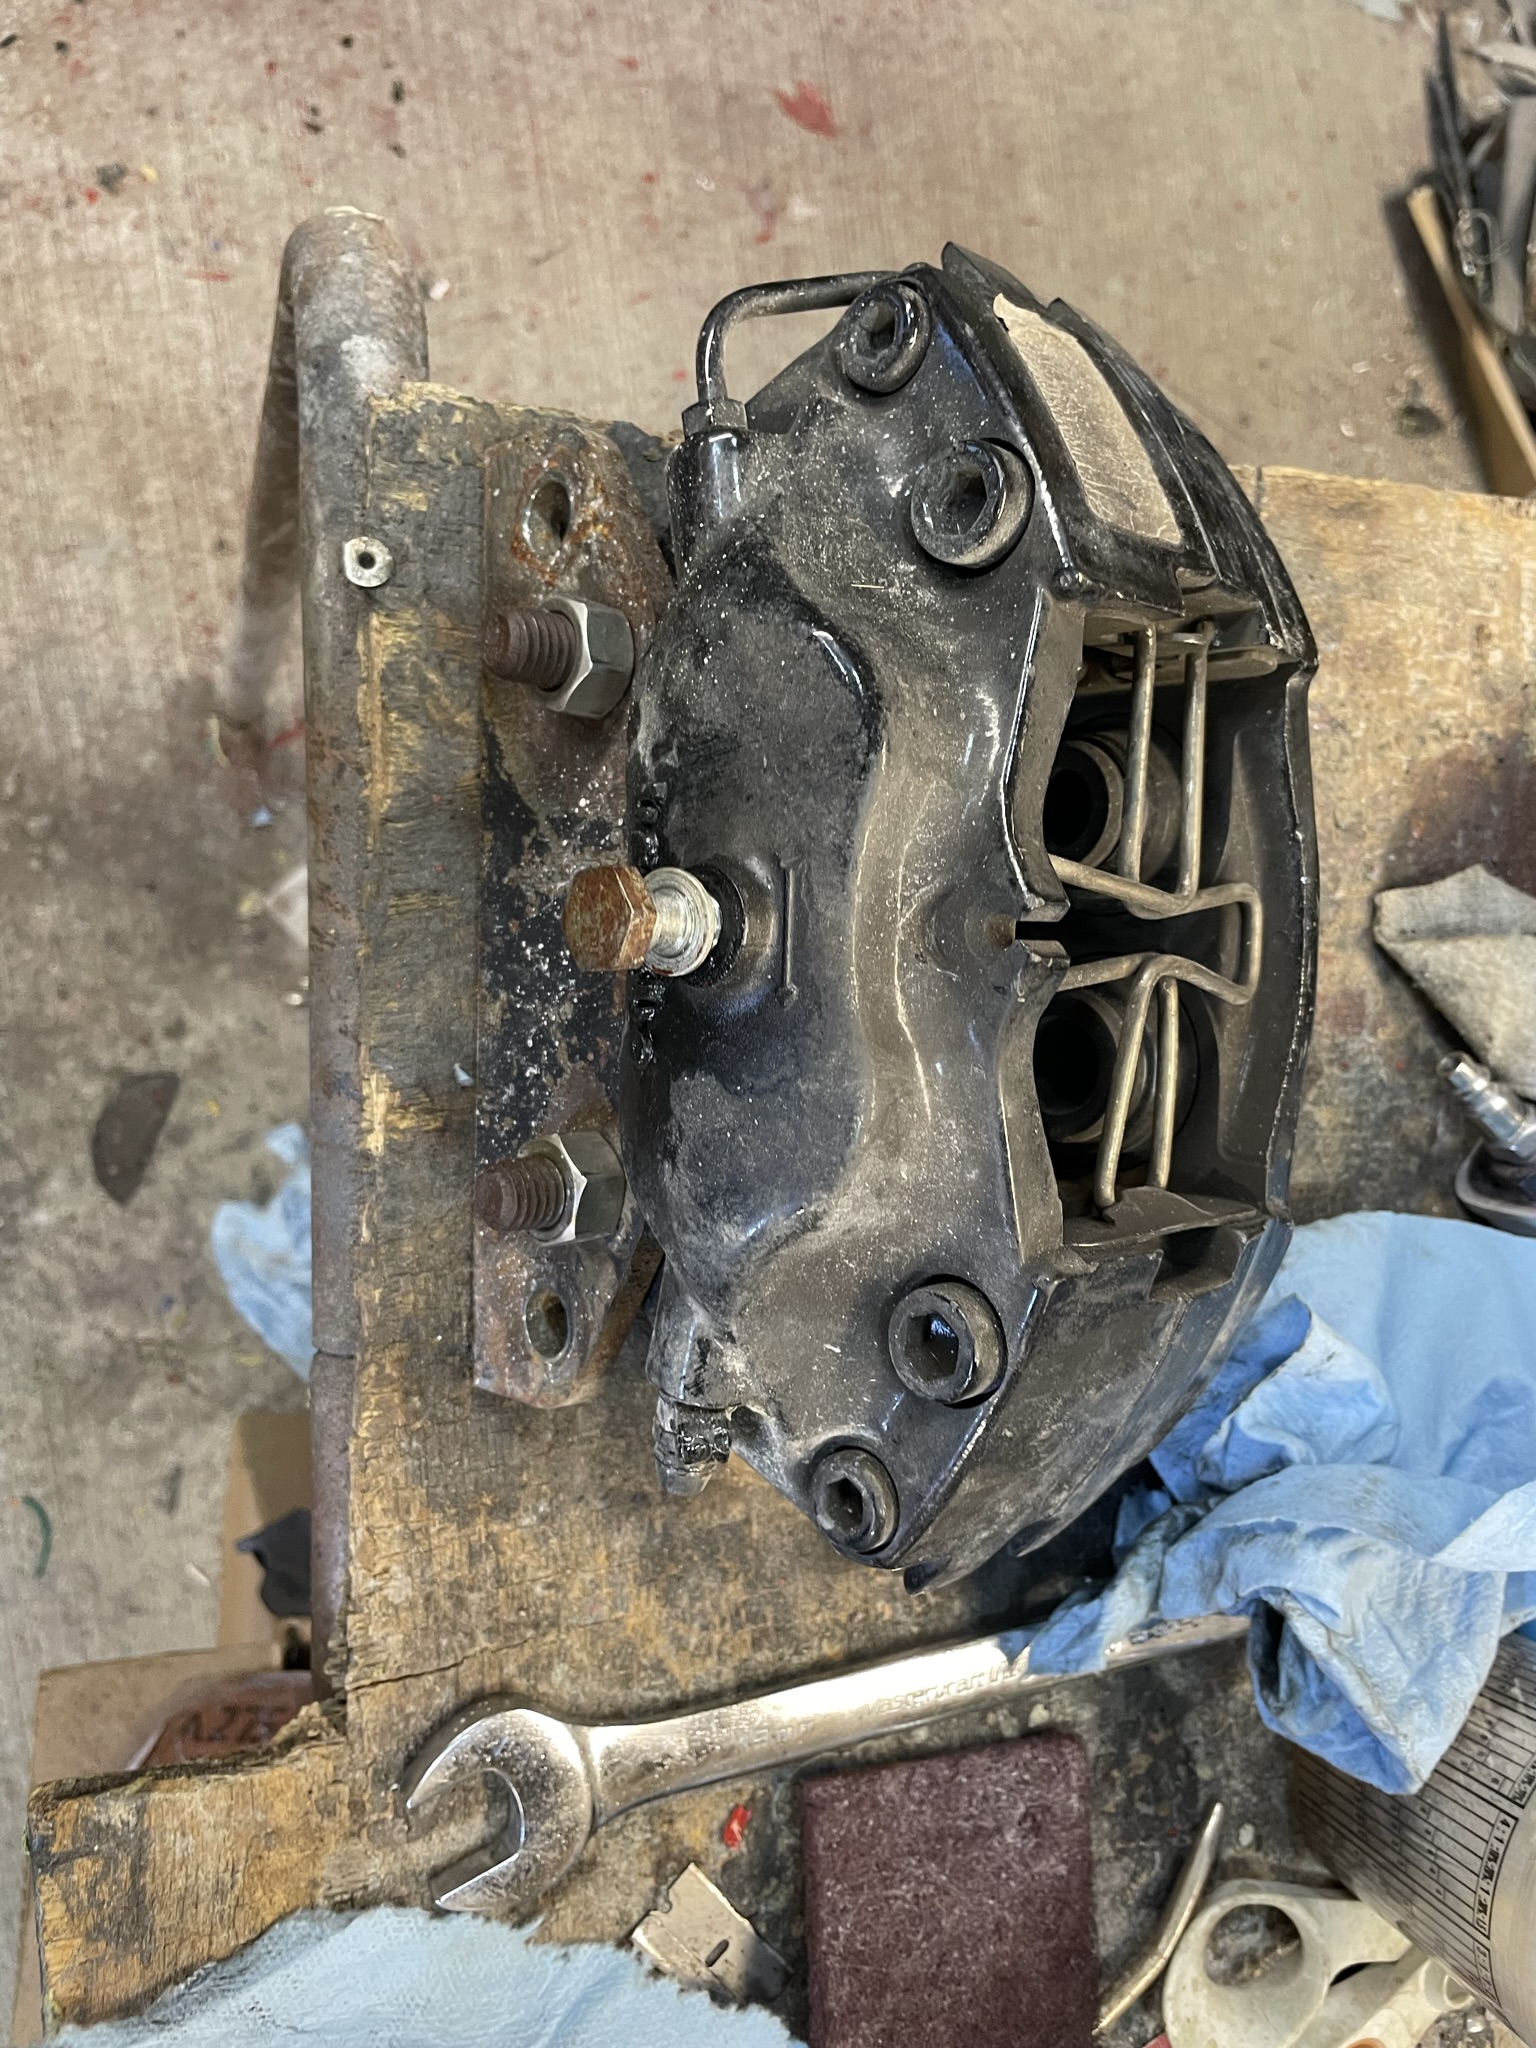
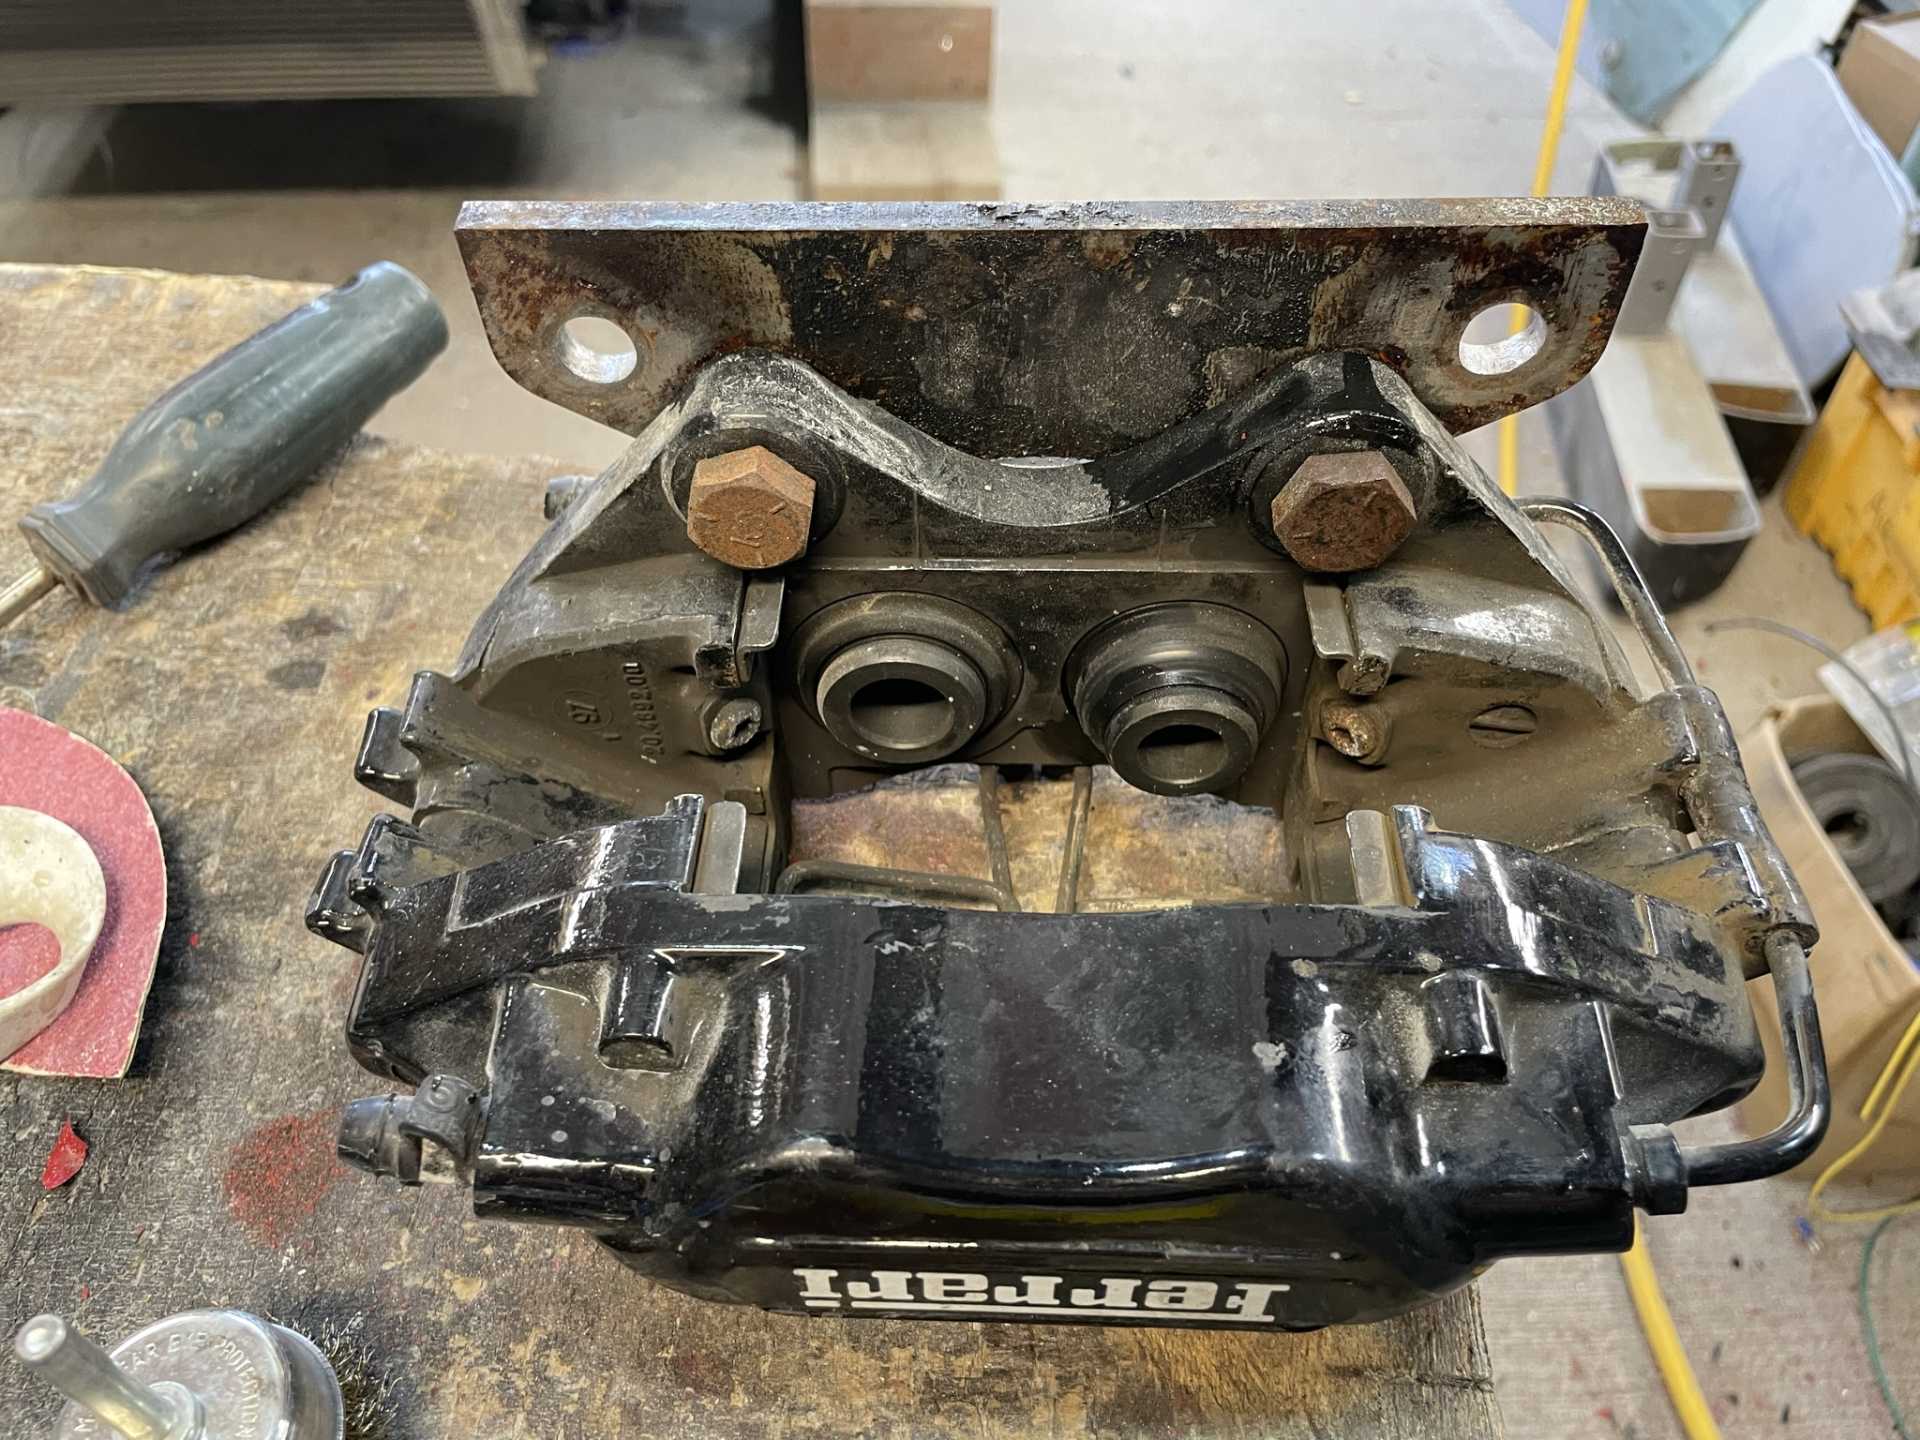
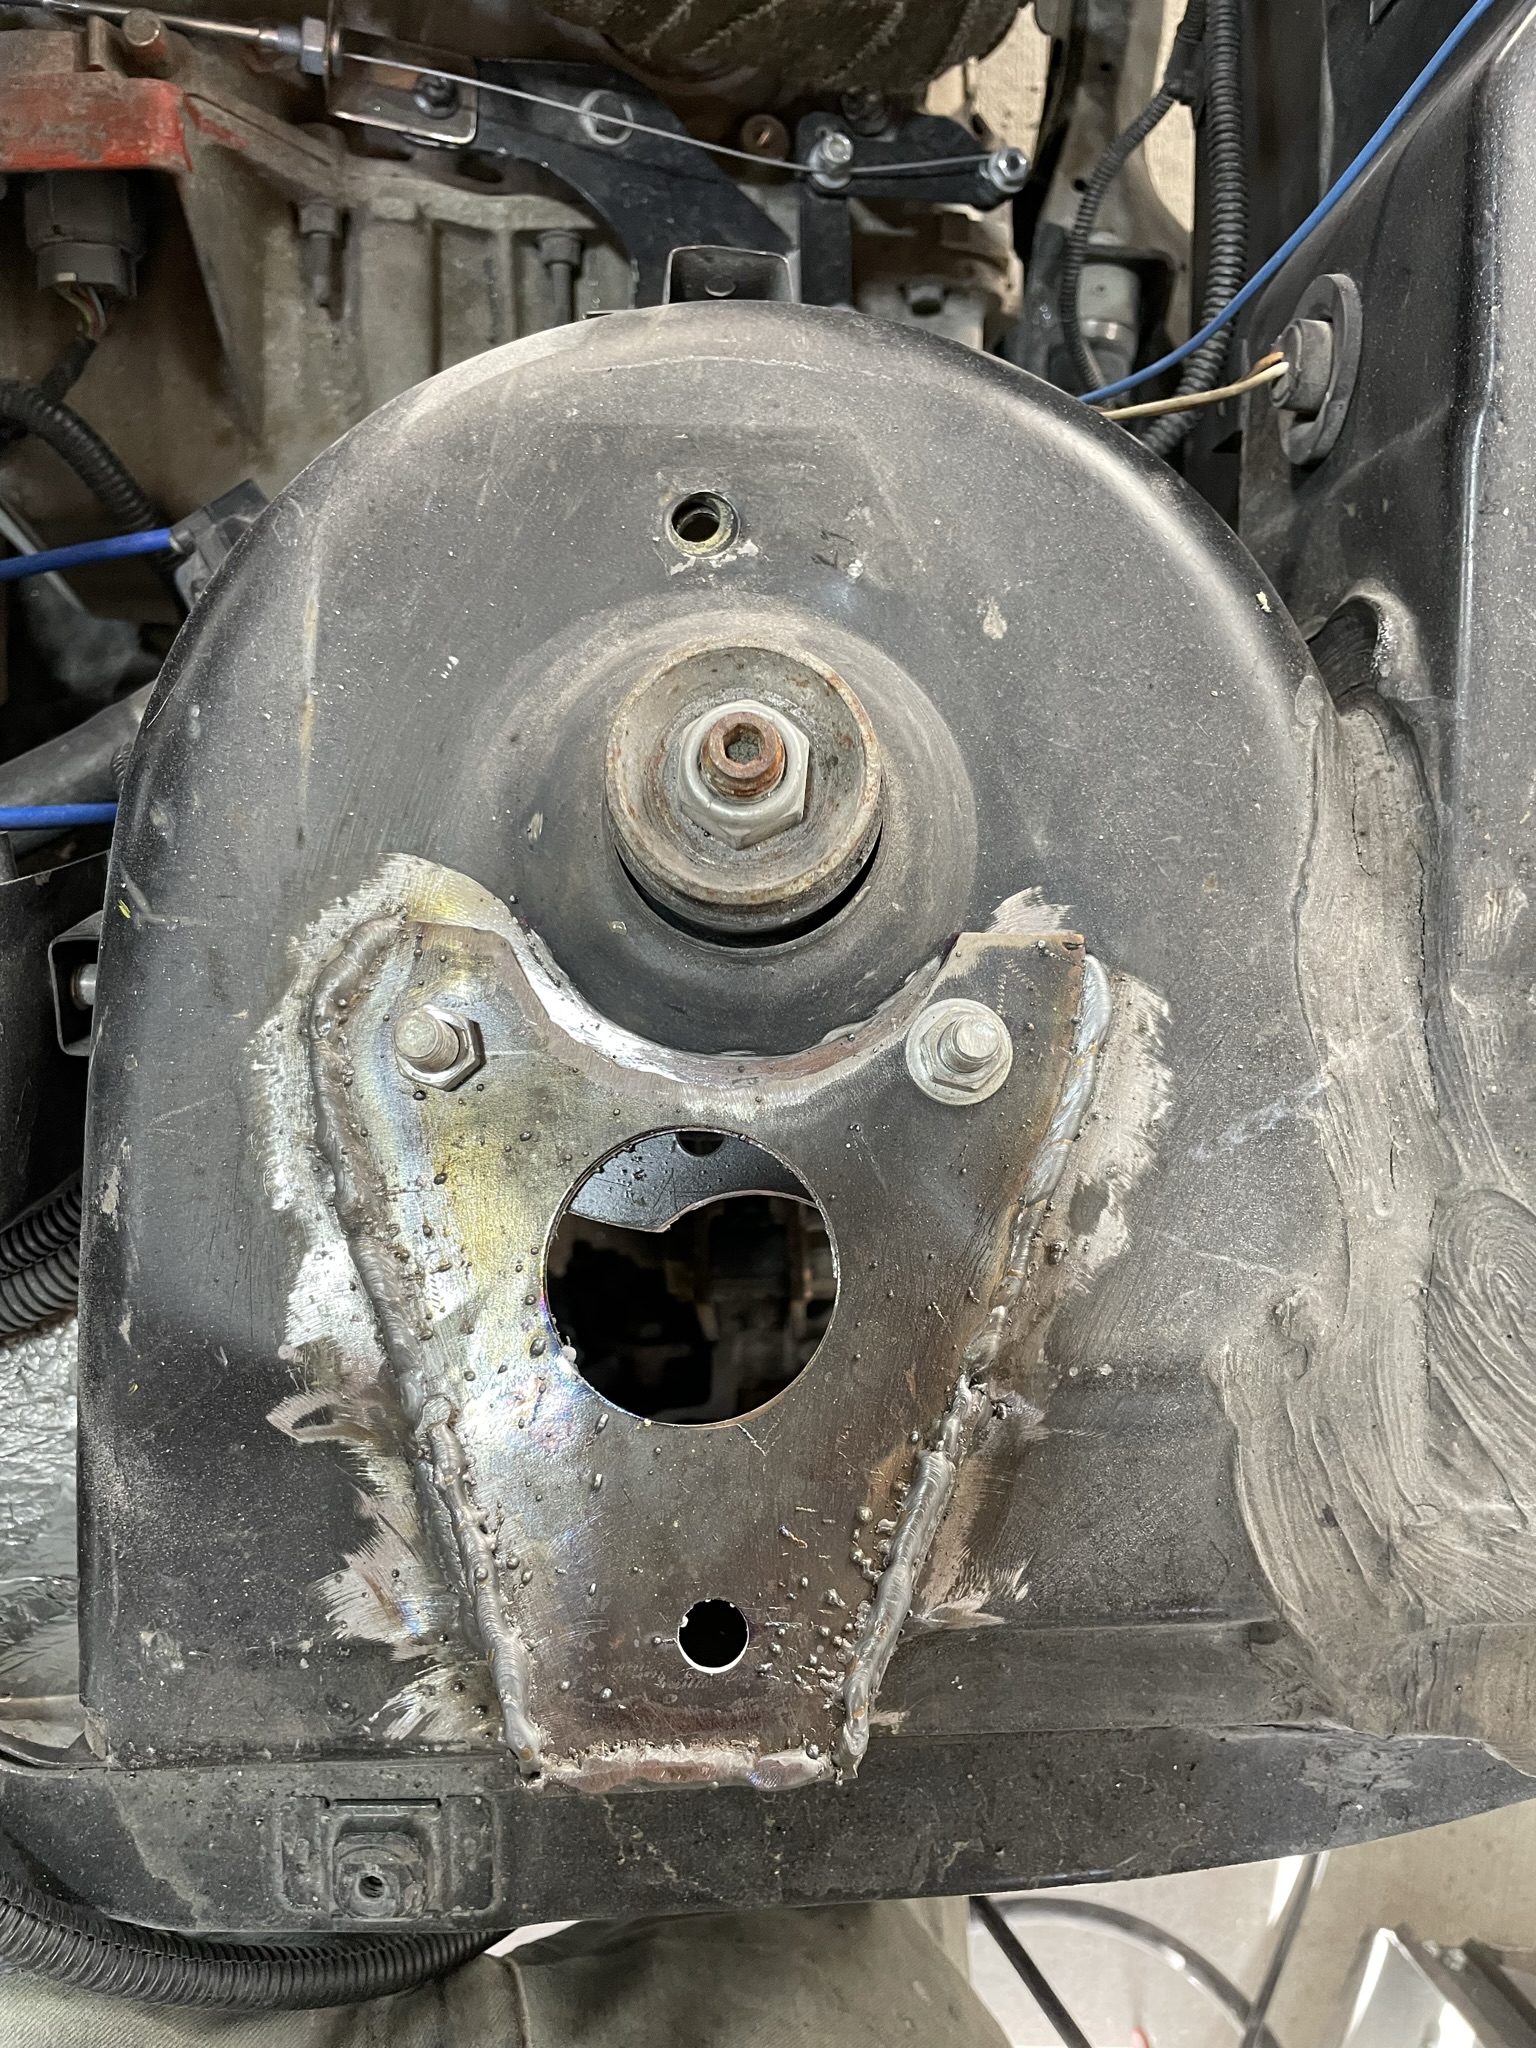
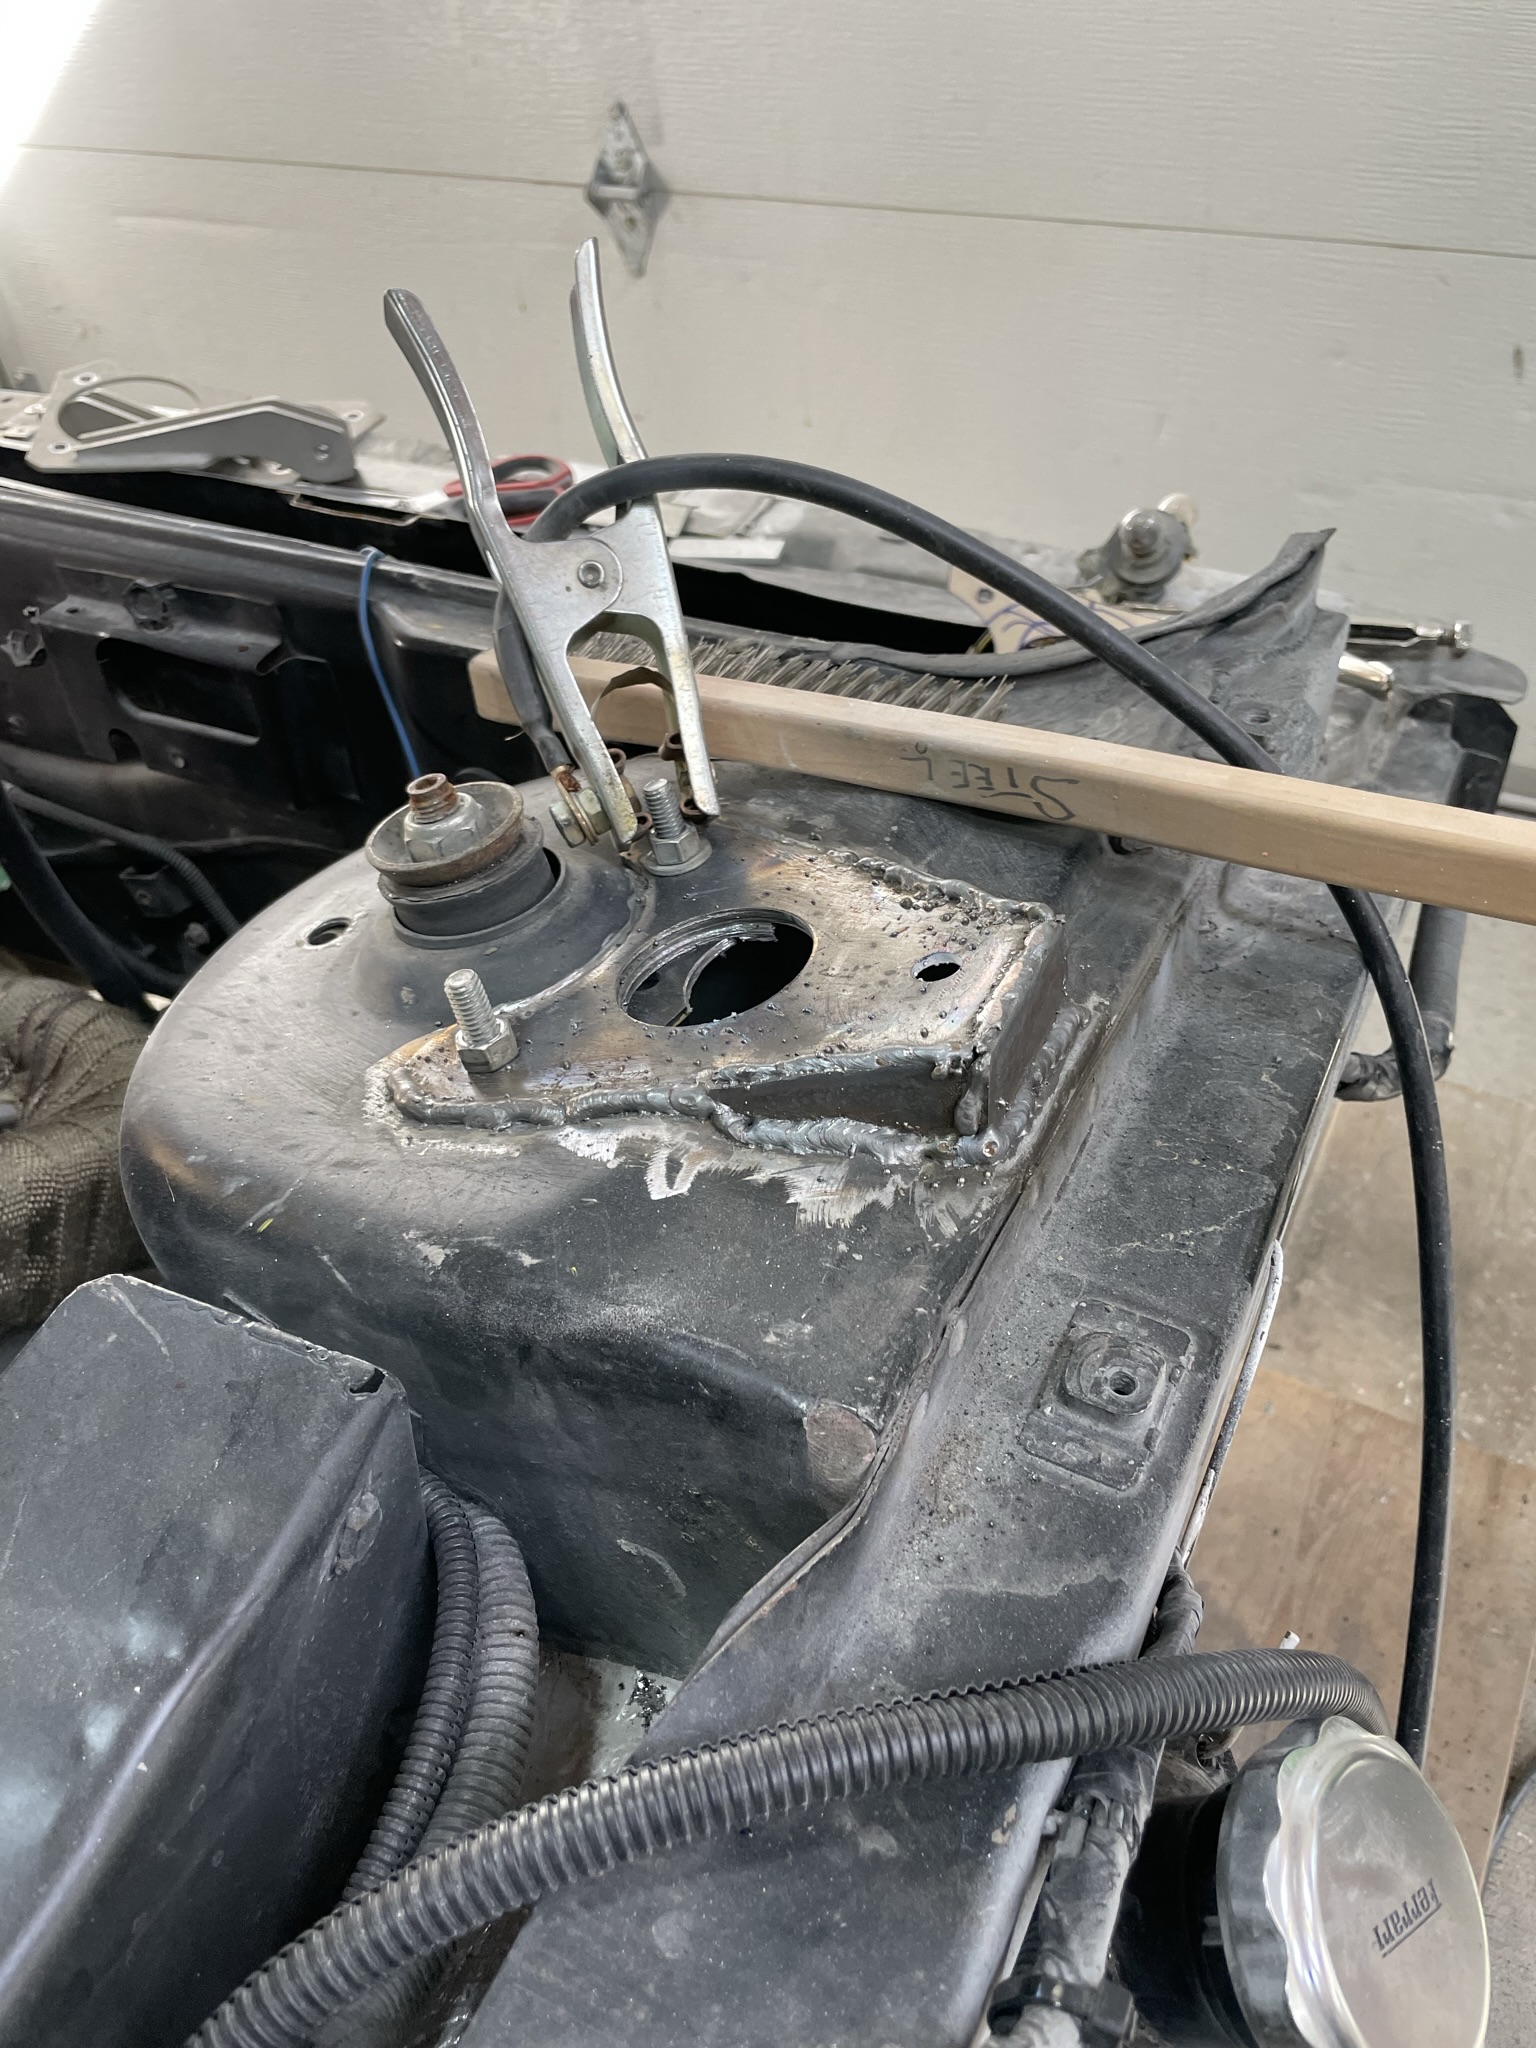
With the body off the car and doing all the suspension I pulled all the calipers off the car and stripped all the paint off them in preparation for
A Color change . I should have them do in a couple days so I’ll keep the Color a mystery until they are finished.
That bring everyone up to date on my progress.
Stay safe
Wayne
|
|
|
|
dobie1
|
JUL 16, 11:14 AM
|
|
So more progress, never as much as I would like but still moving forward.
So the process I used for changing the calliper Colour was degrease and clean really well then scuff everything with a red Brillo tape off everything that I didn’t want painted and wipe everything down with a prewash cleaner and air dry.
Once that was finished and everything was hung I sprayed everything with an epoxy sealer primer
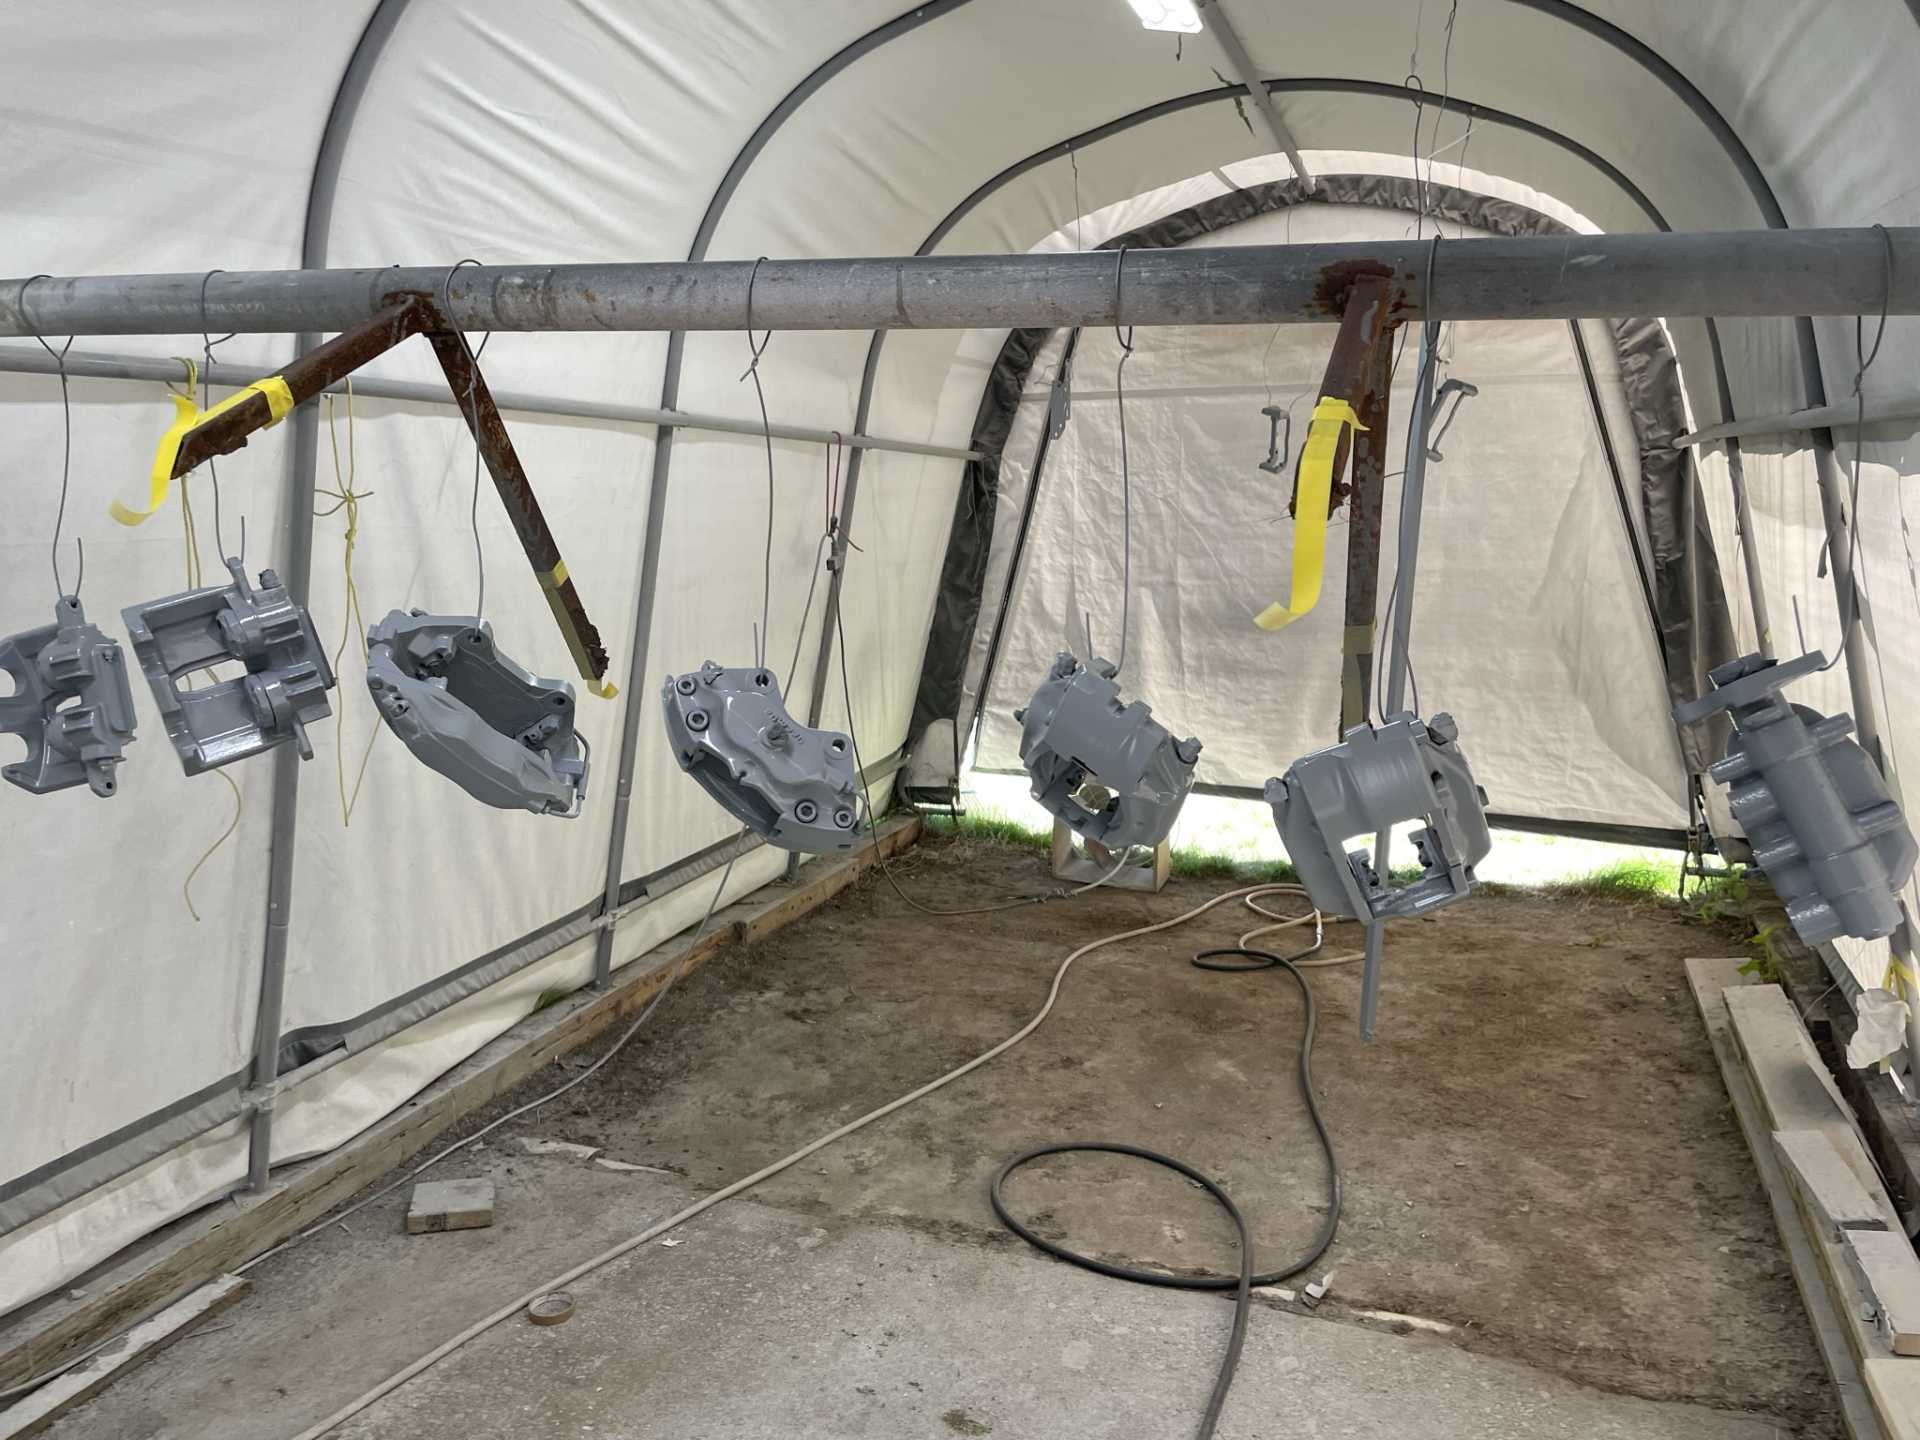
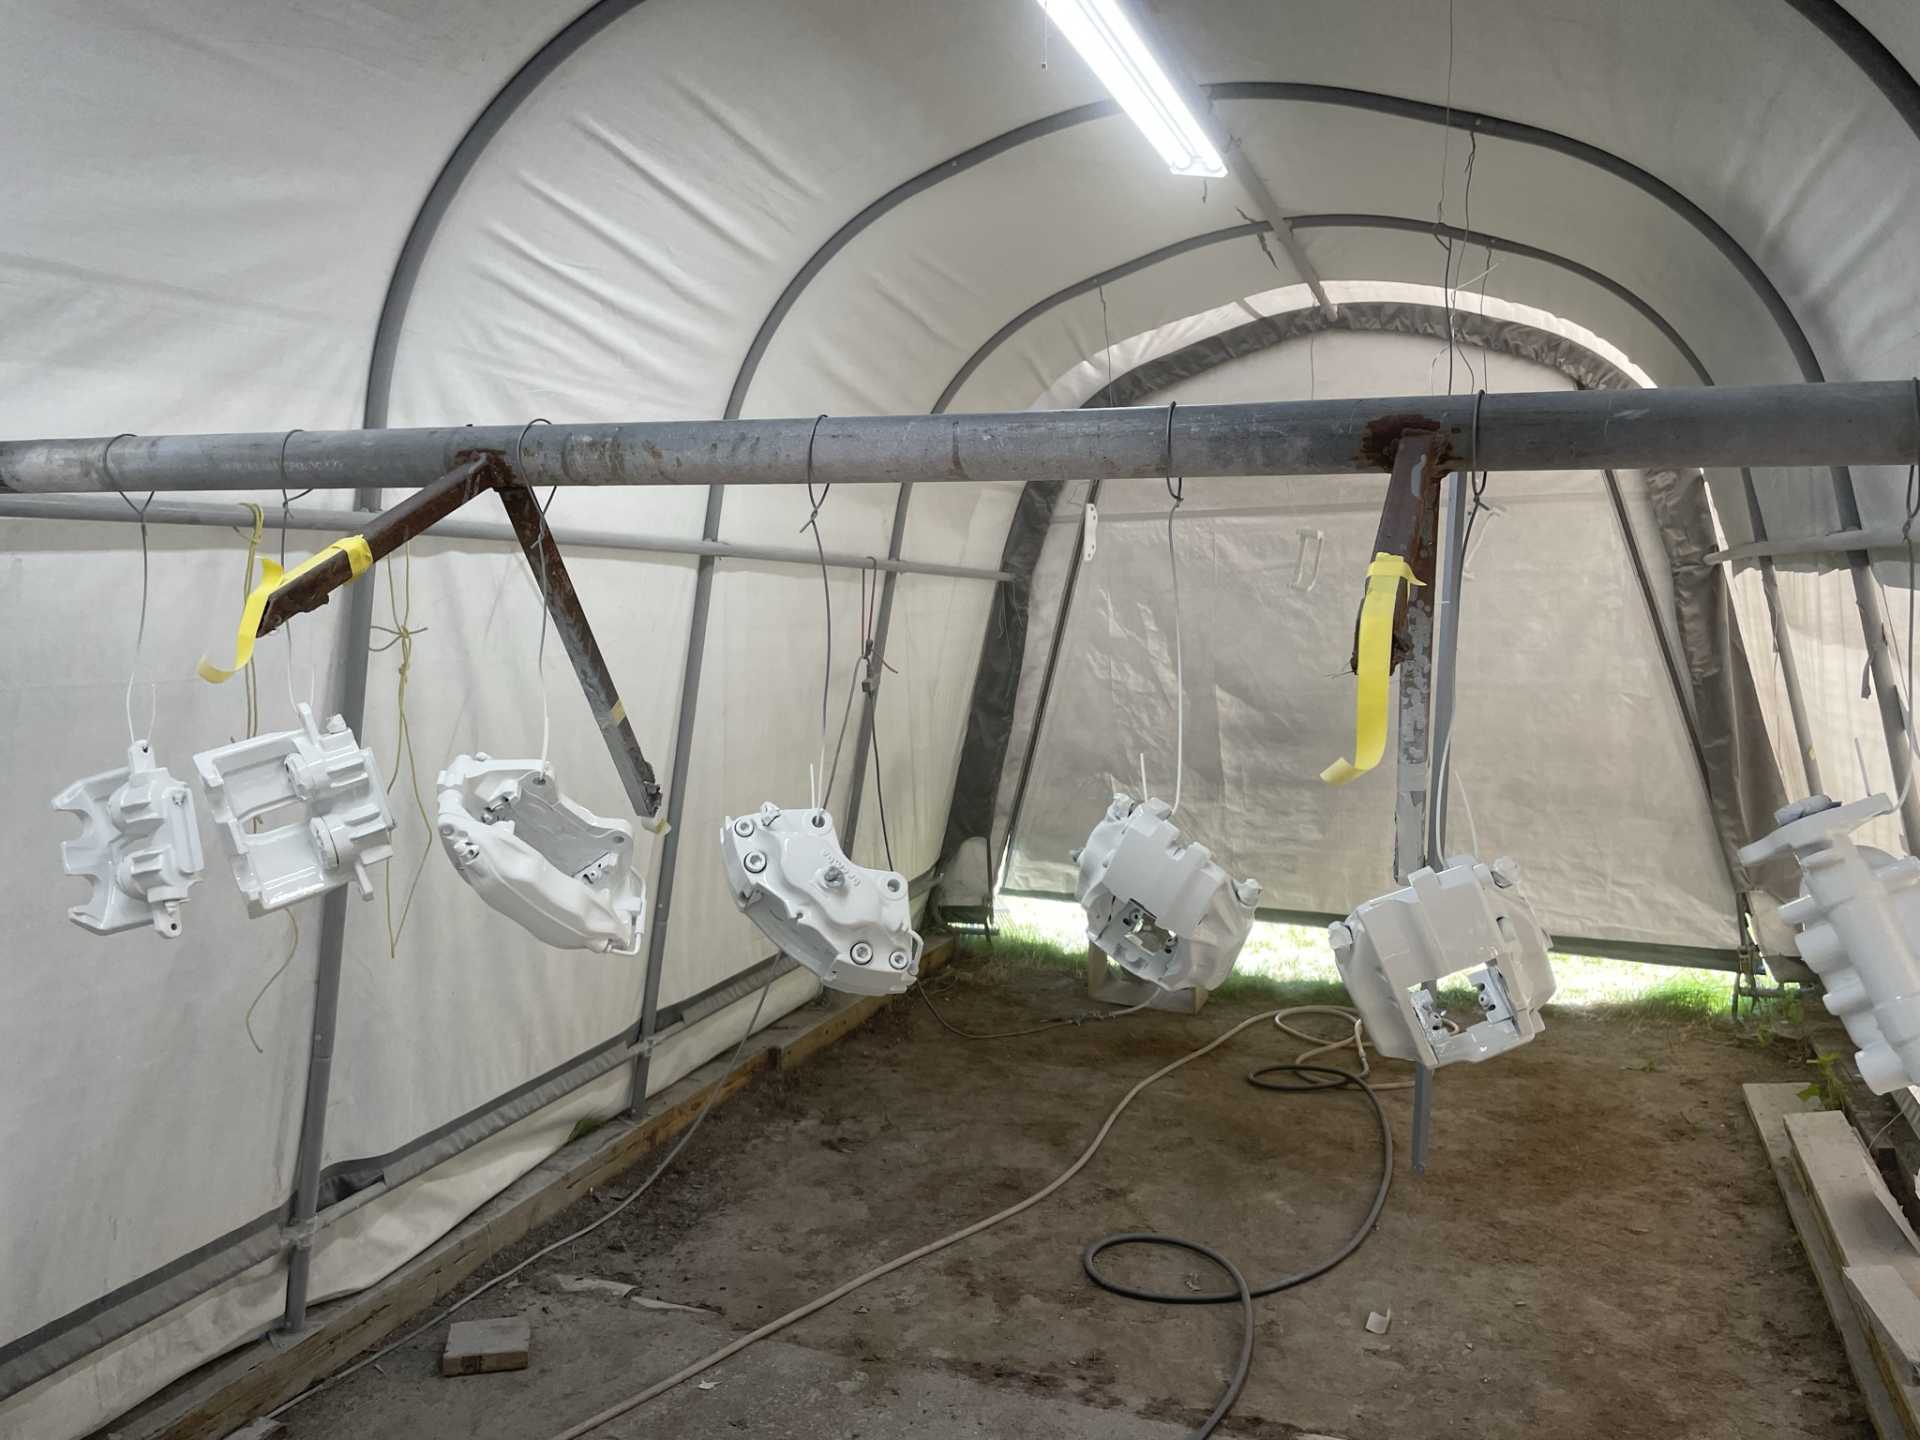
Then as with the red I needed to paint everything white as the value code primer as Giallo Fly is very transparent and needs the Light colour to build on.
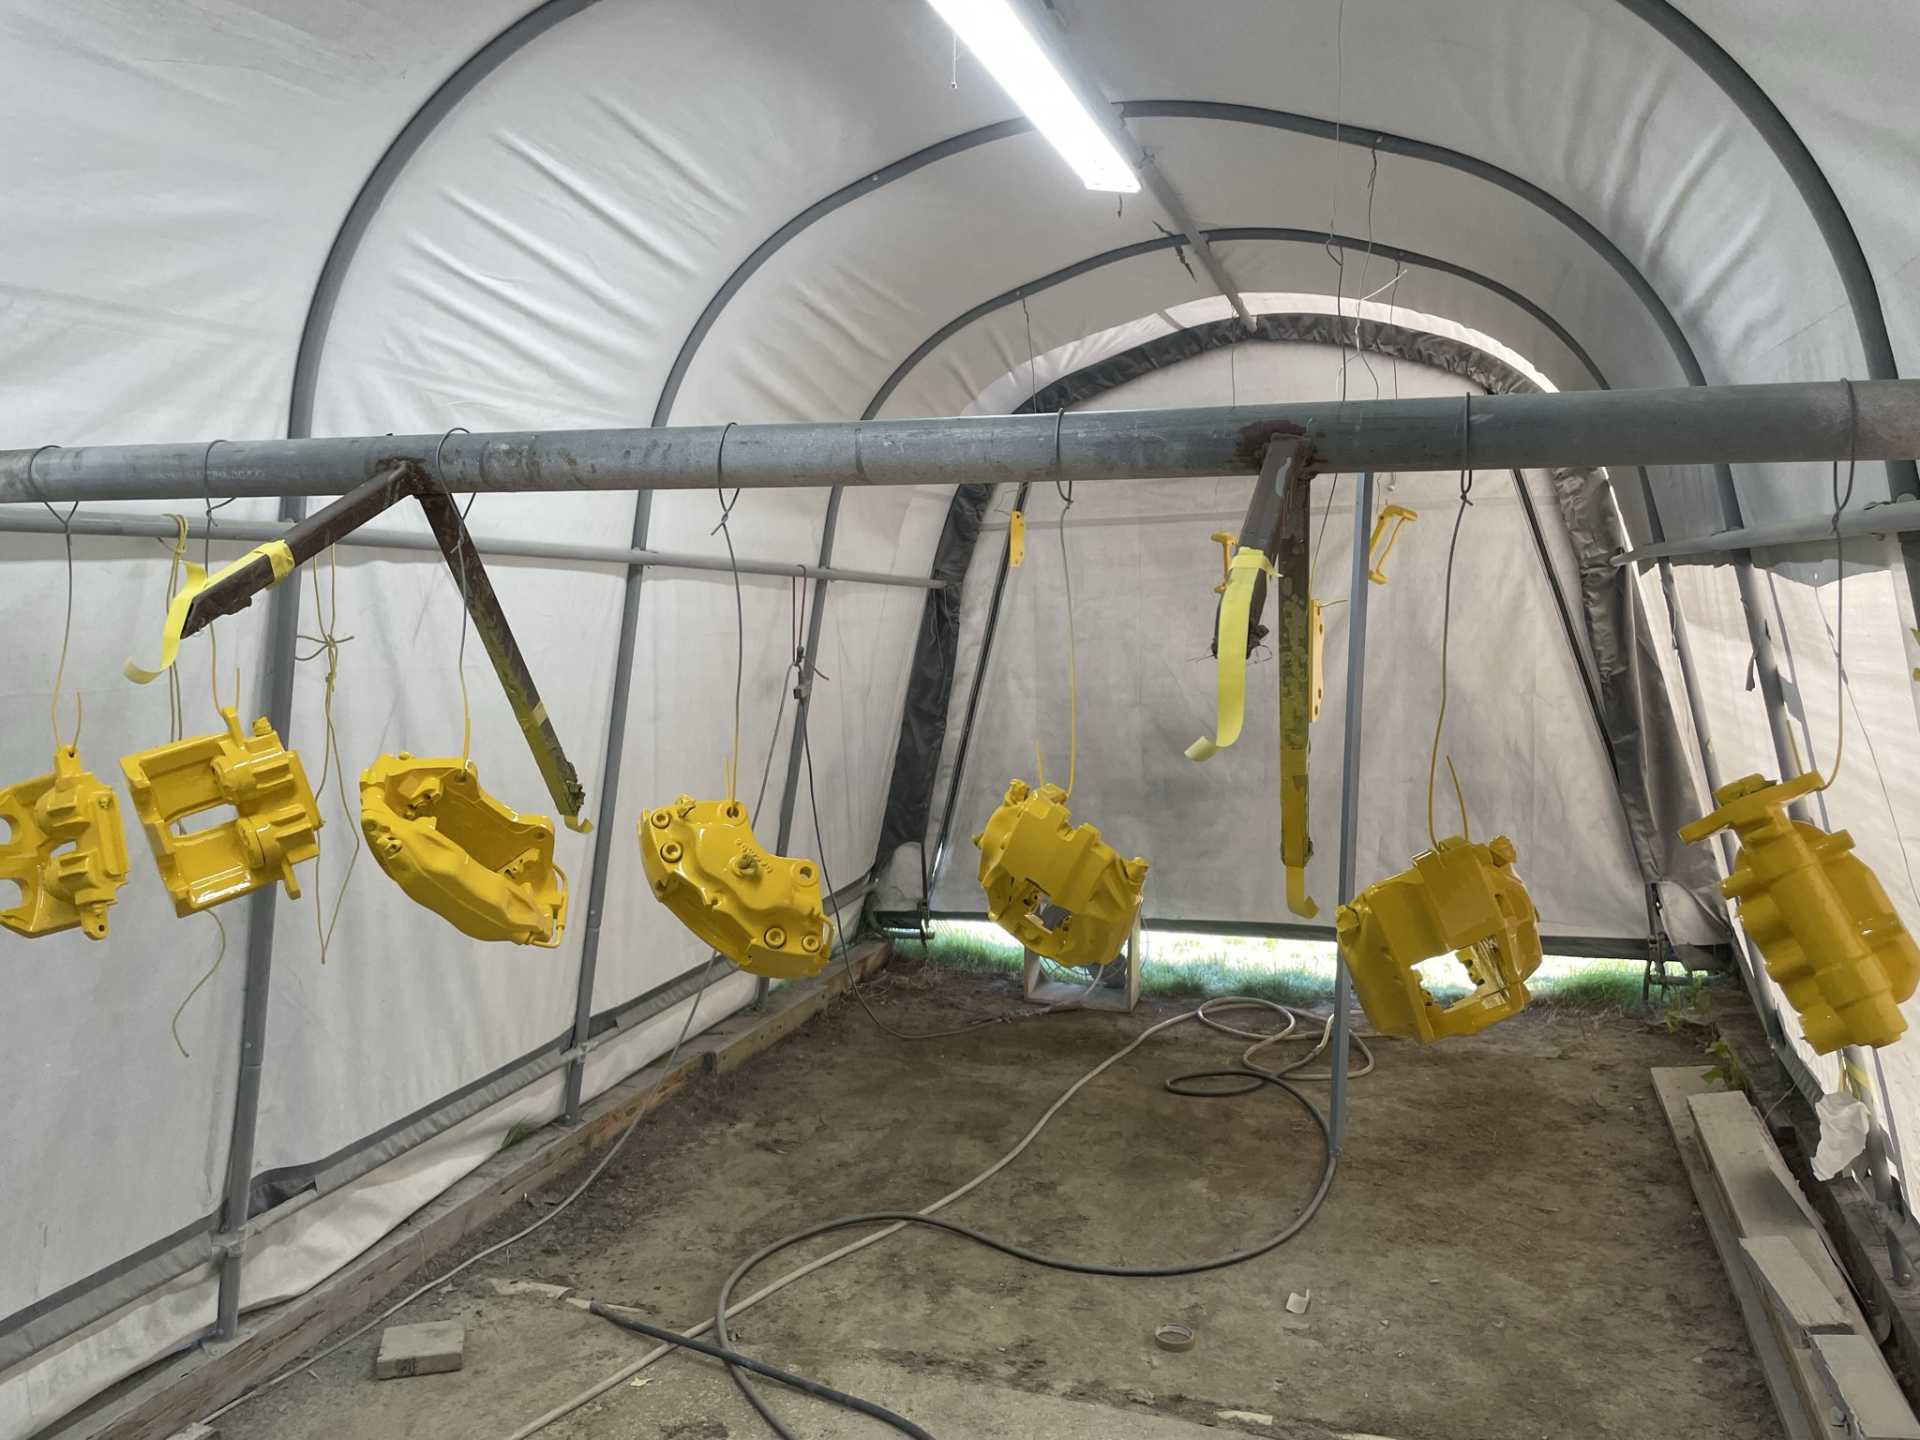
Then two coats of Giallo Fly , they came out beautiful, once I’ll give it a few days then apply the decals and then spray clear coat on the callipers
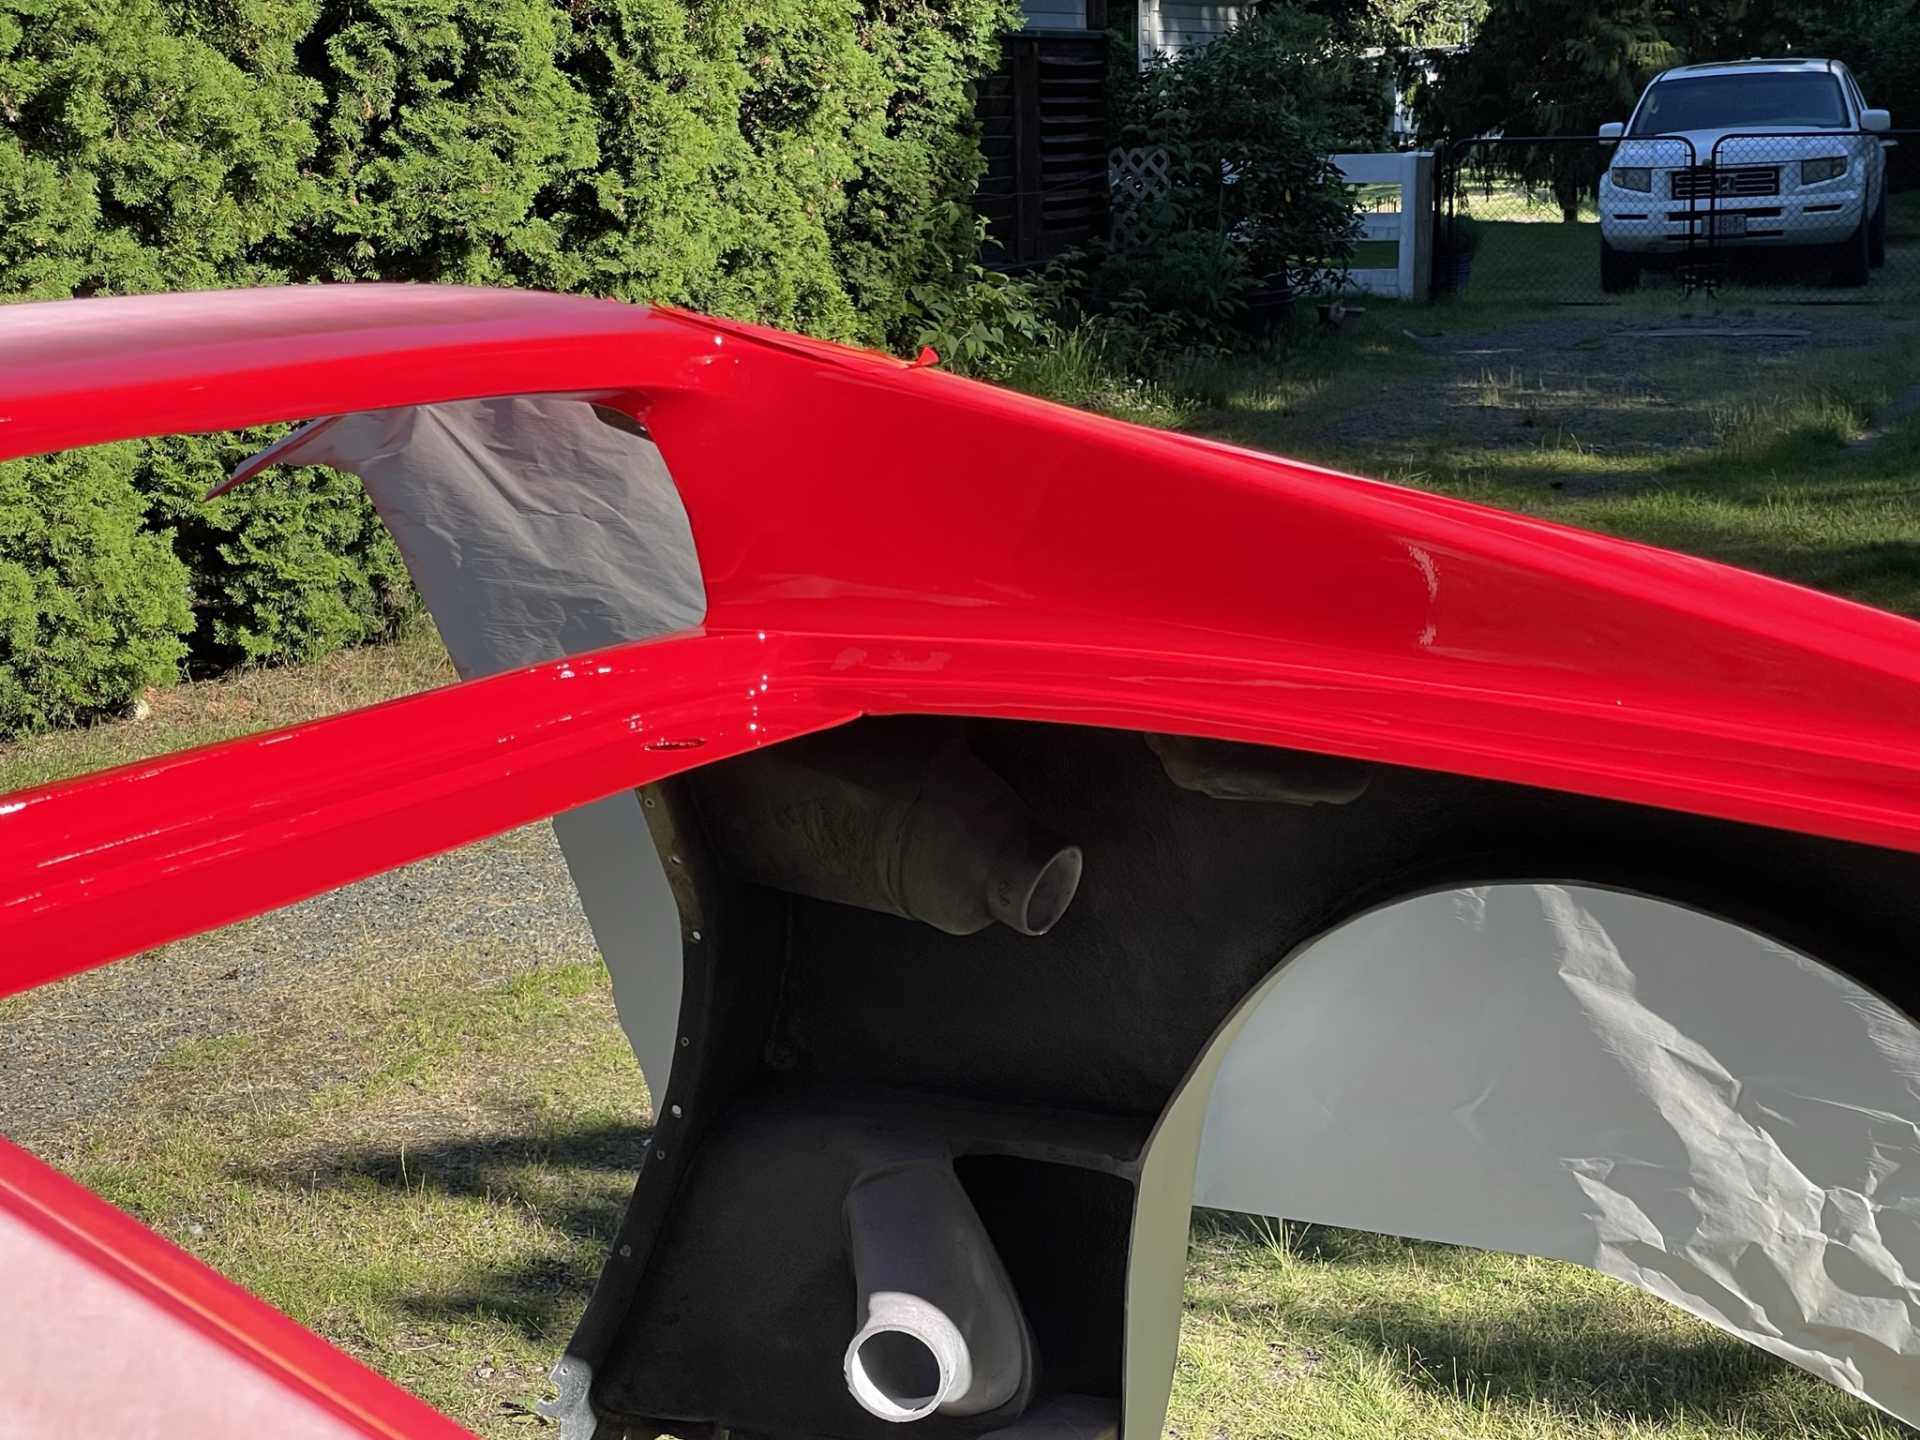
One of the difficult areas to paint on the rear area is the inside of the fast back so it was painted Rosso Corsa off the car it will get a wet sand then clear coated.
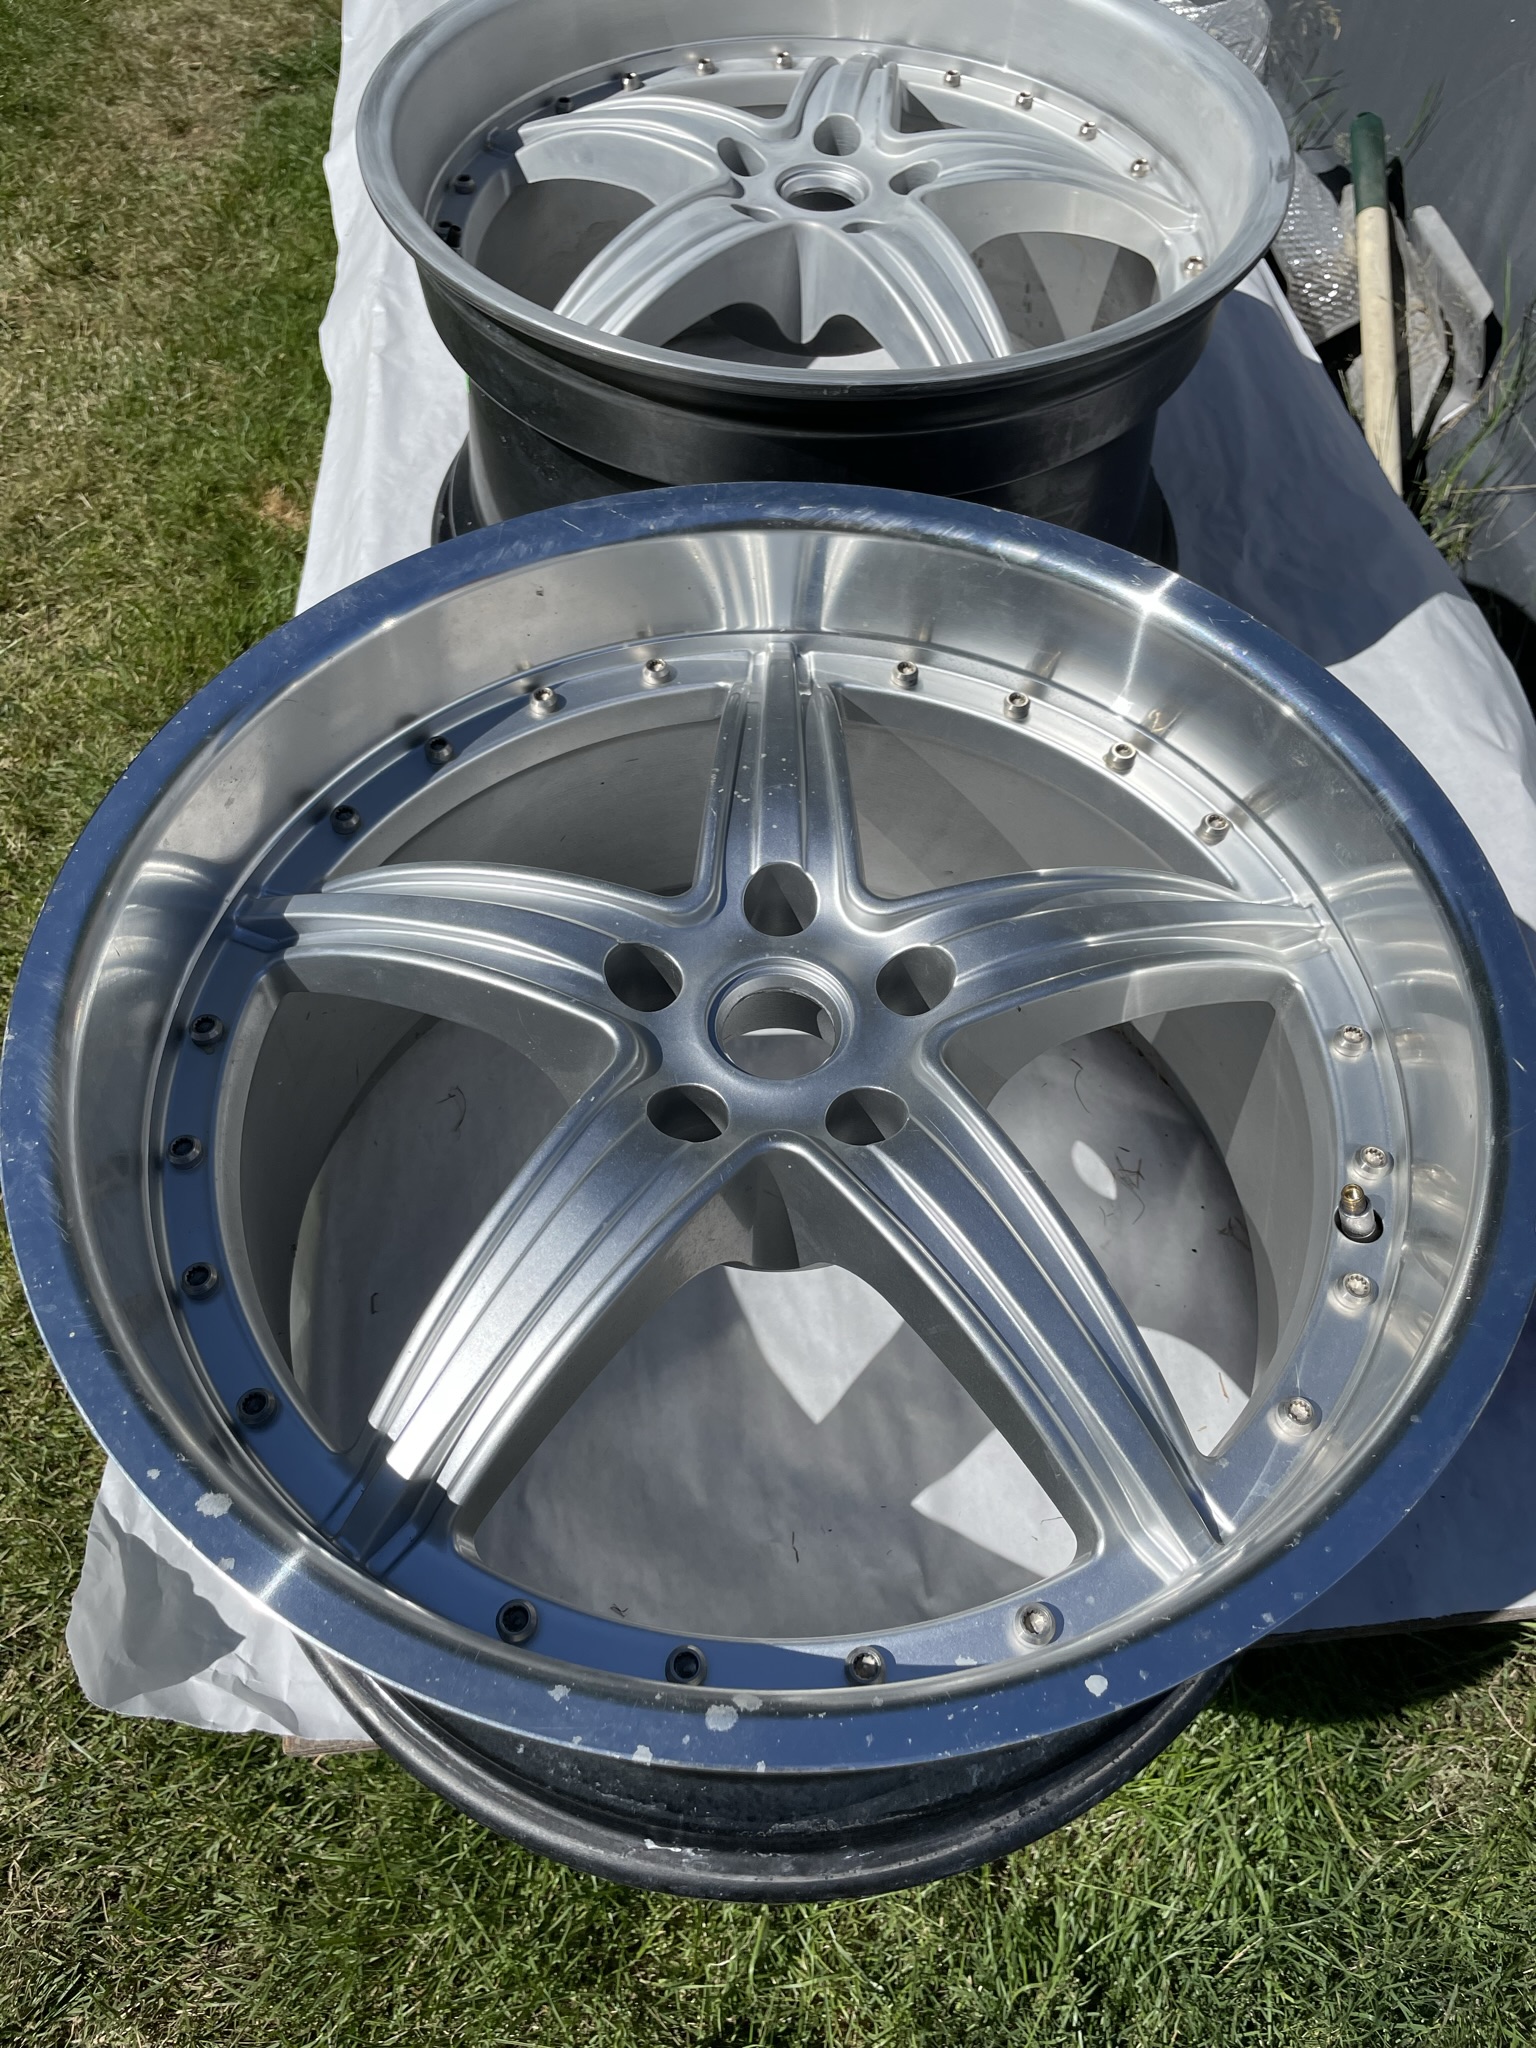
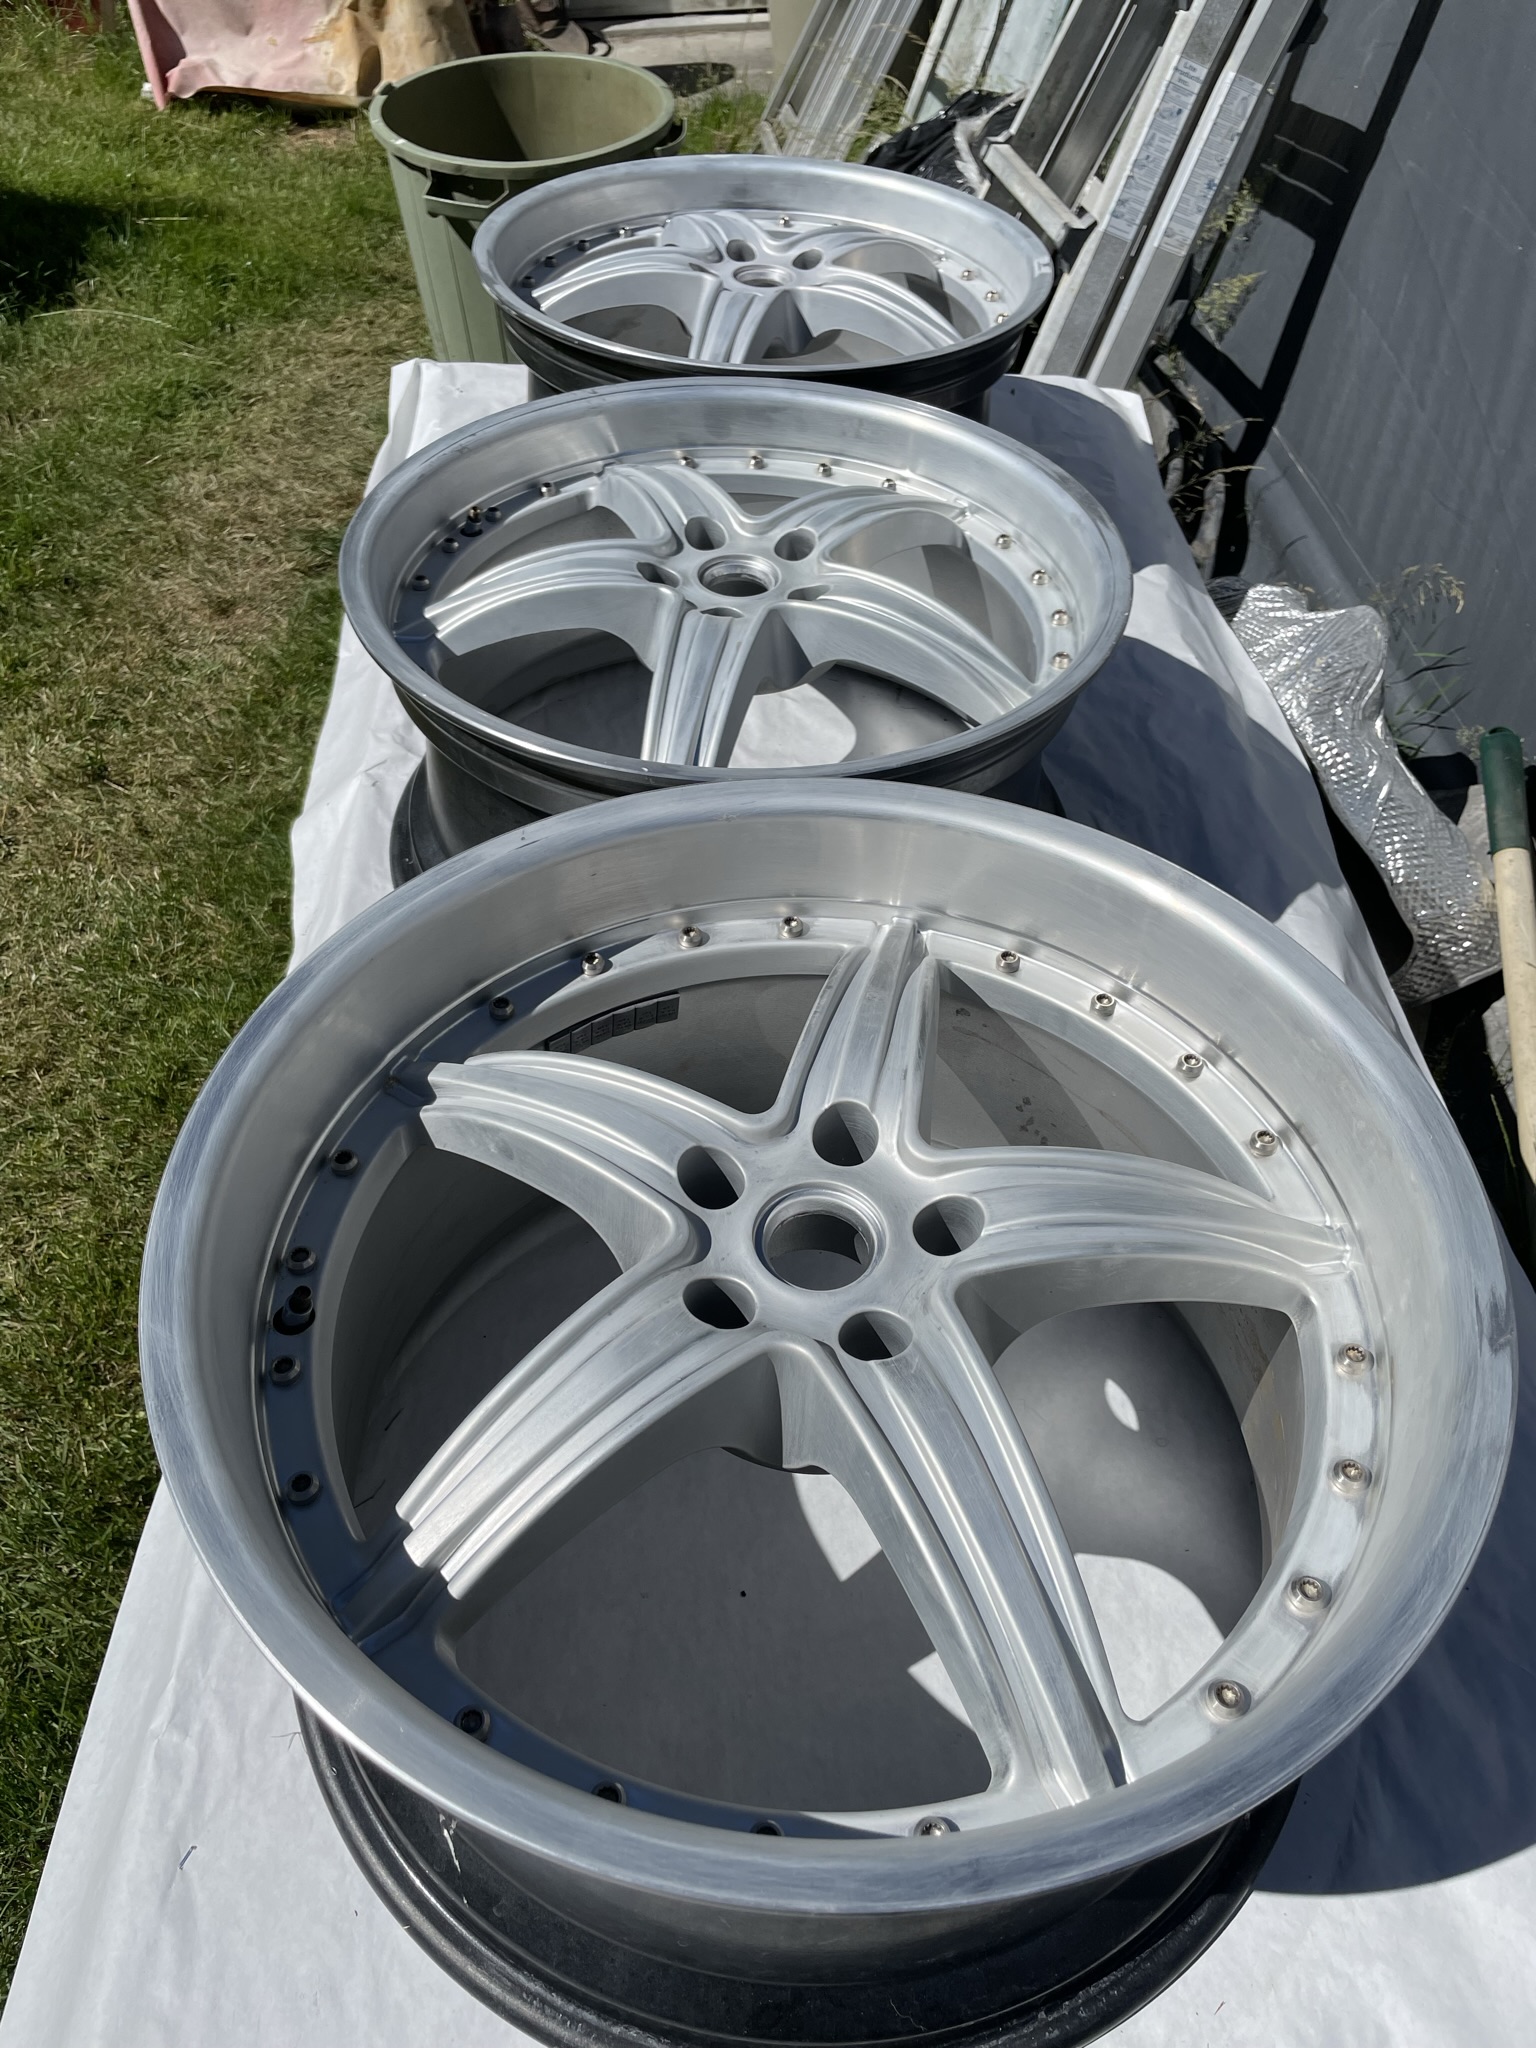
I also had the wheels and tires dismounted in preparation for painting the wheels. I repaired all the small nicks and scuffs with the red brillo pad and hope to paint them soon.
More to come
Stay safe everyone
Wayne
|
|
|
|
andreww
|
JUL 22, 01:04 AM
|
|
|
Looking so great in red Wayne!
|
|
|

 [IMG]https://images.fiero.nl/userimages/dobie1/774D4875-A87E-41CE-92 57-DF527A14FD6C.jpeg[/IMG]
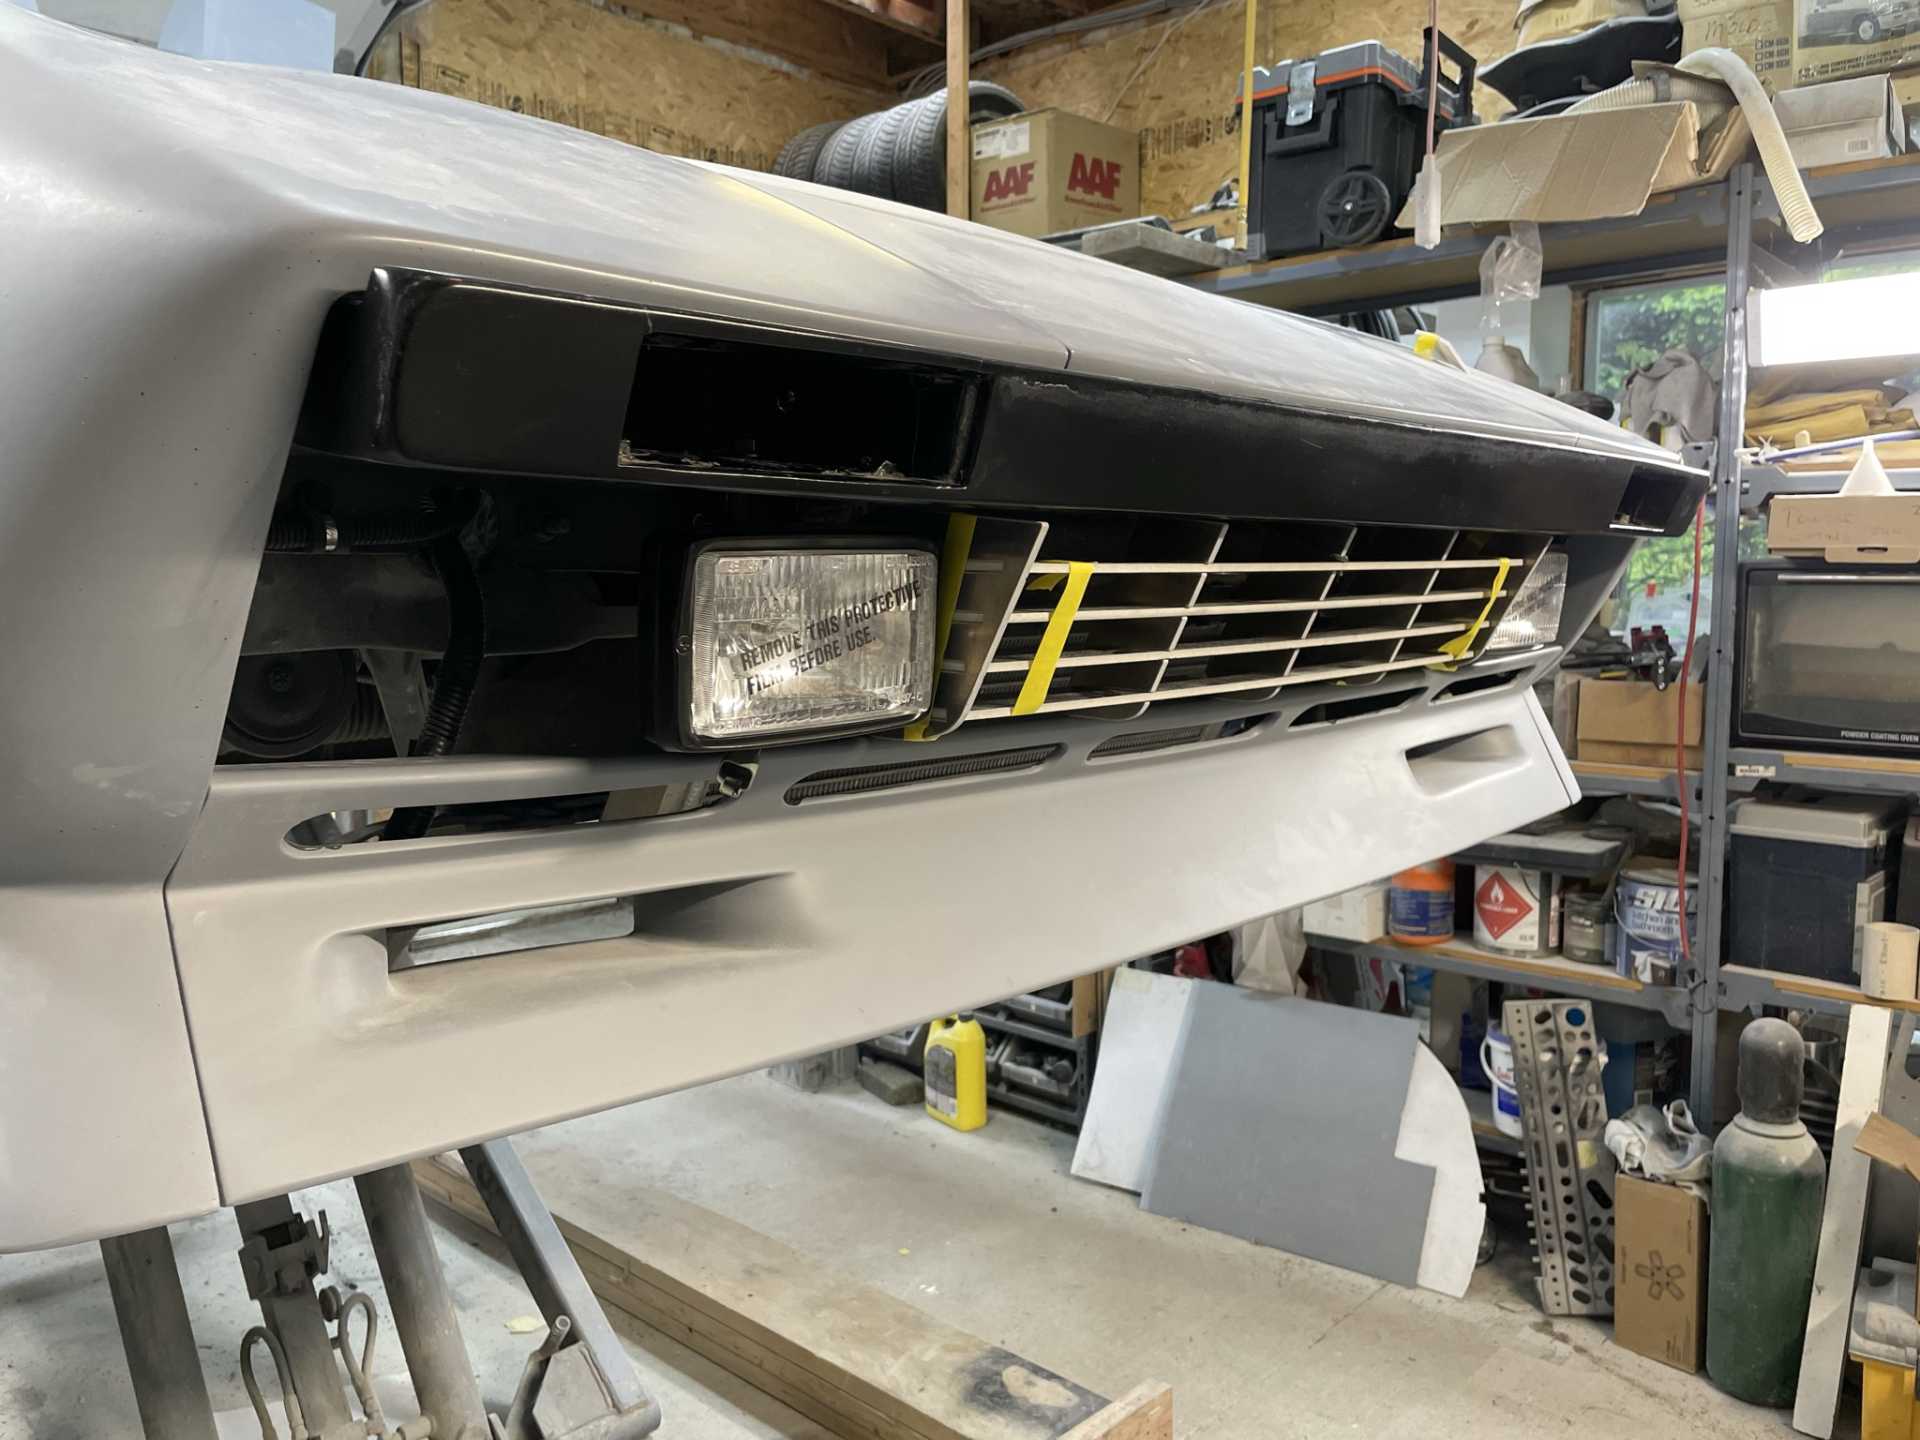
 [img]https://images.fiero.nl/userimages/dobie1/31DB94CE-1C73-424B-82 F7-736B9DE8FF71.jpeg[/img]
 [IMG]https://images.fiero.nl/userimages/dobie1/22299292-638E-4EE6-BB 18-E8B428E2EEC2.jpeg[/IMG]
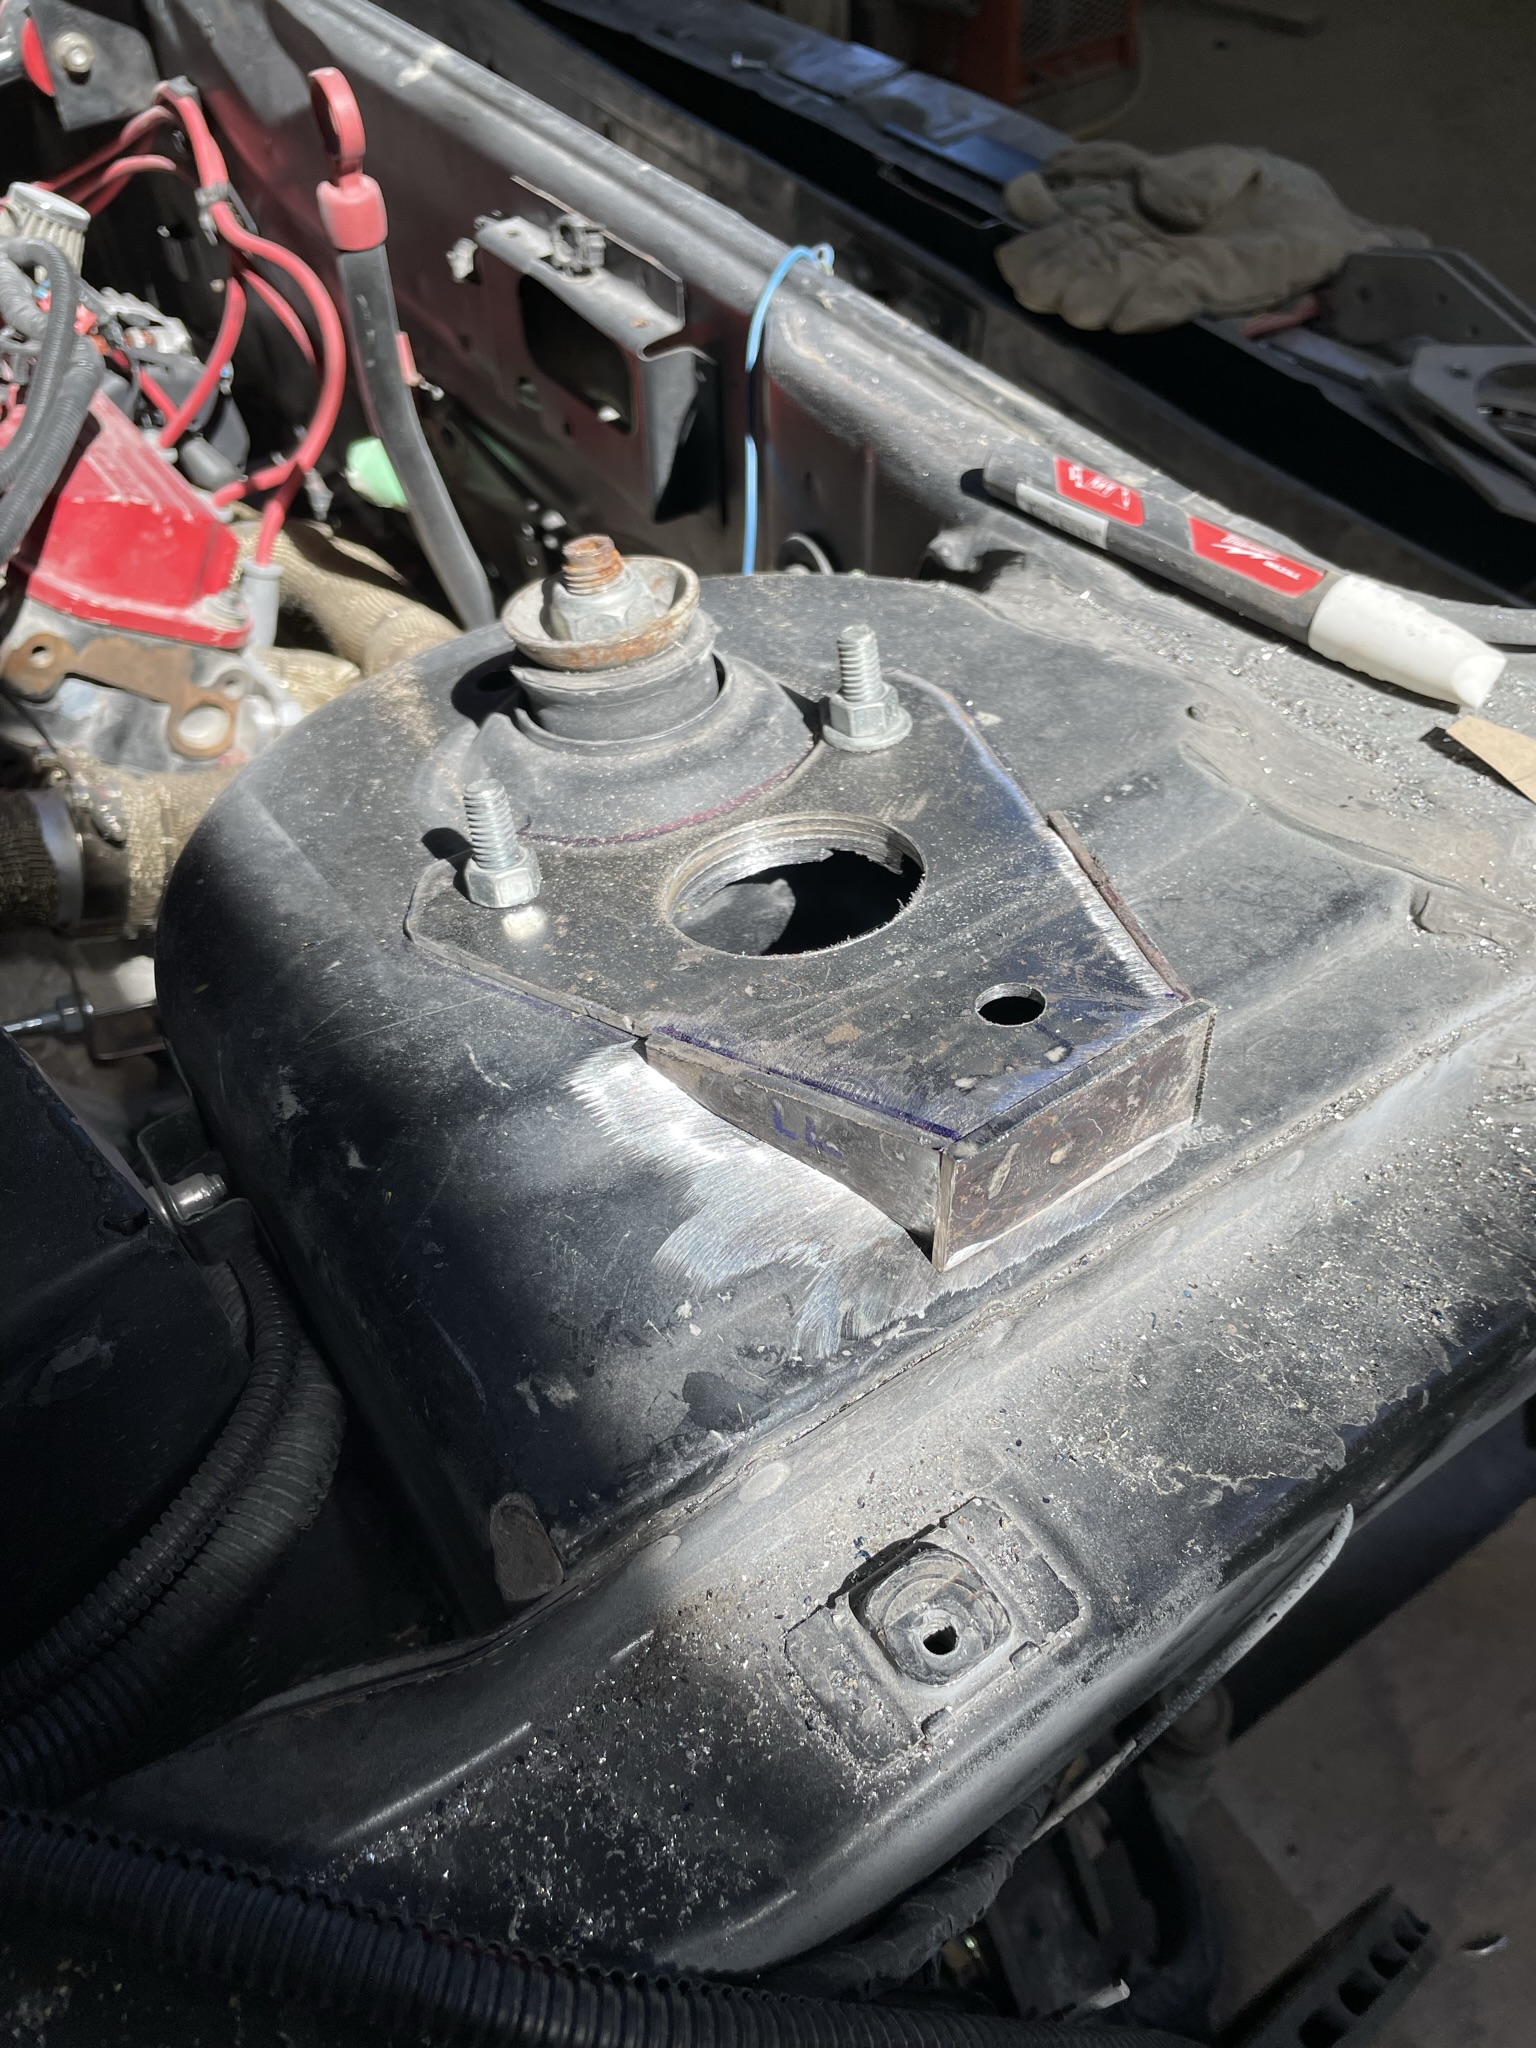
 [IMG]https://images.fiero.nl/userimages/do bie1/C871C34D-6195-47F4-9A34-E8A03B766E3D.jpeg[/IMG]
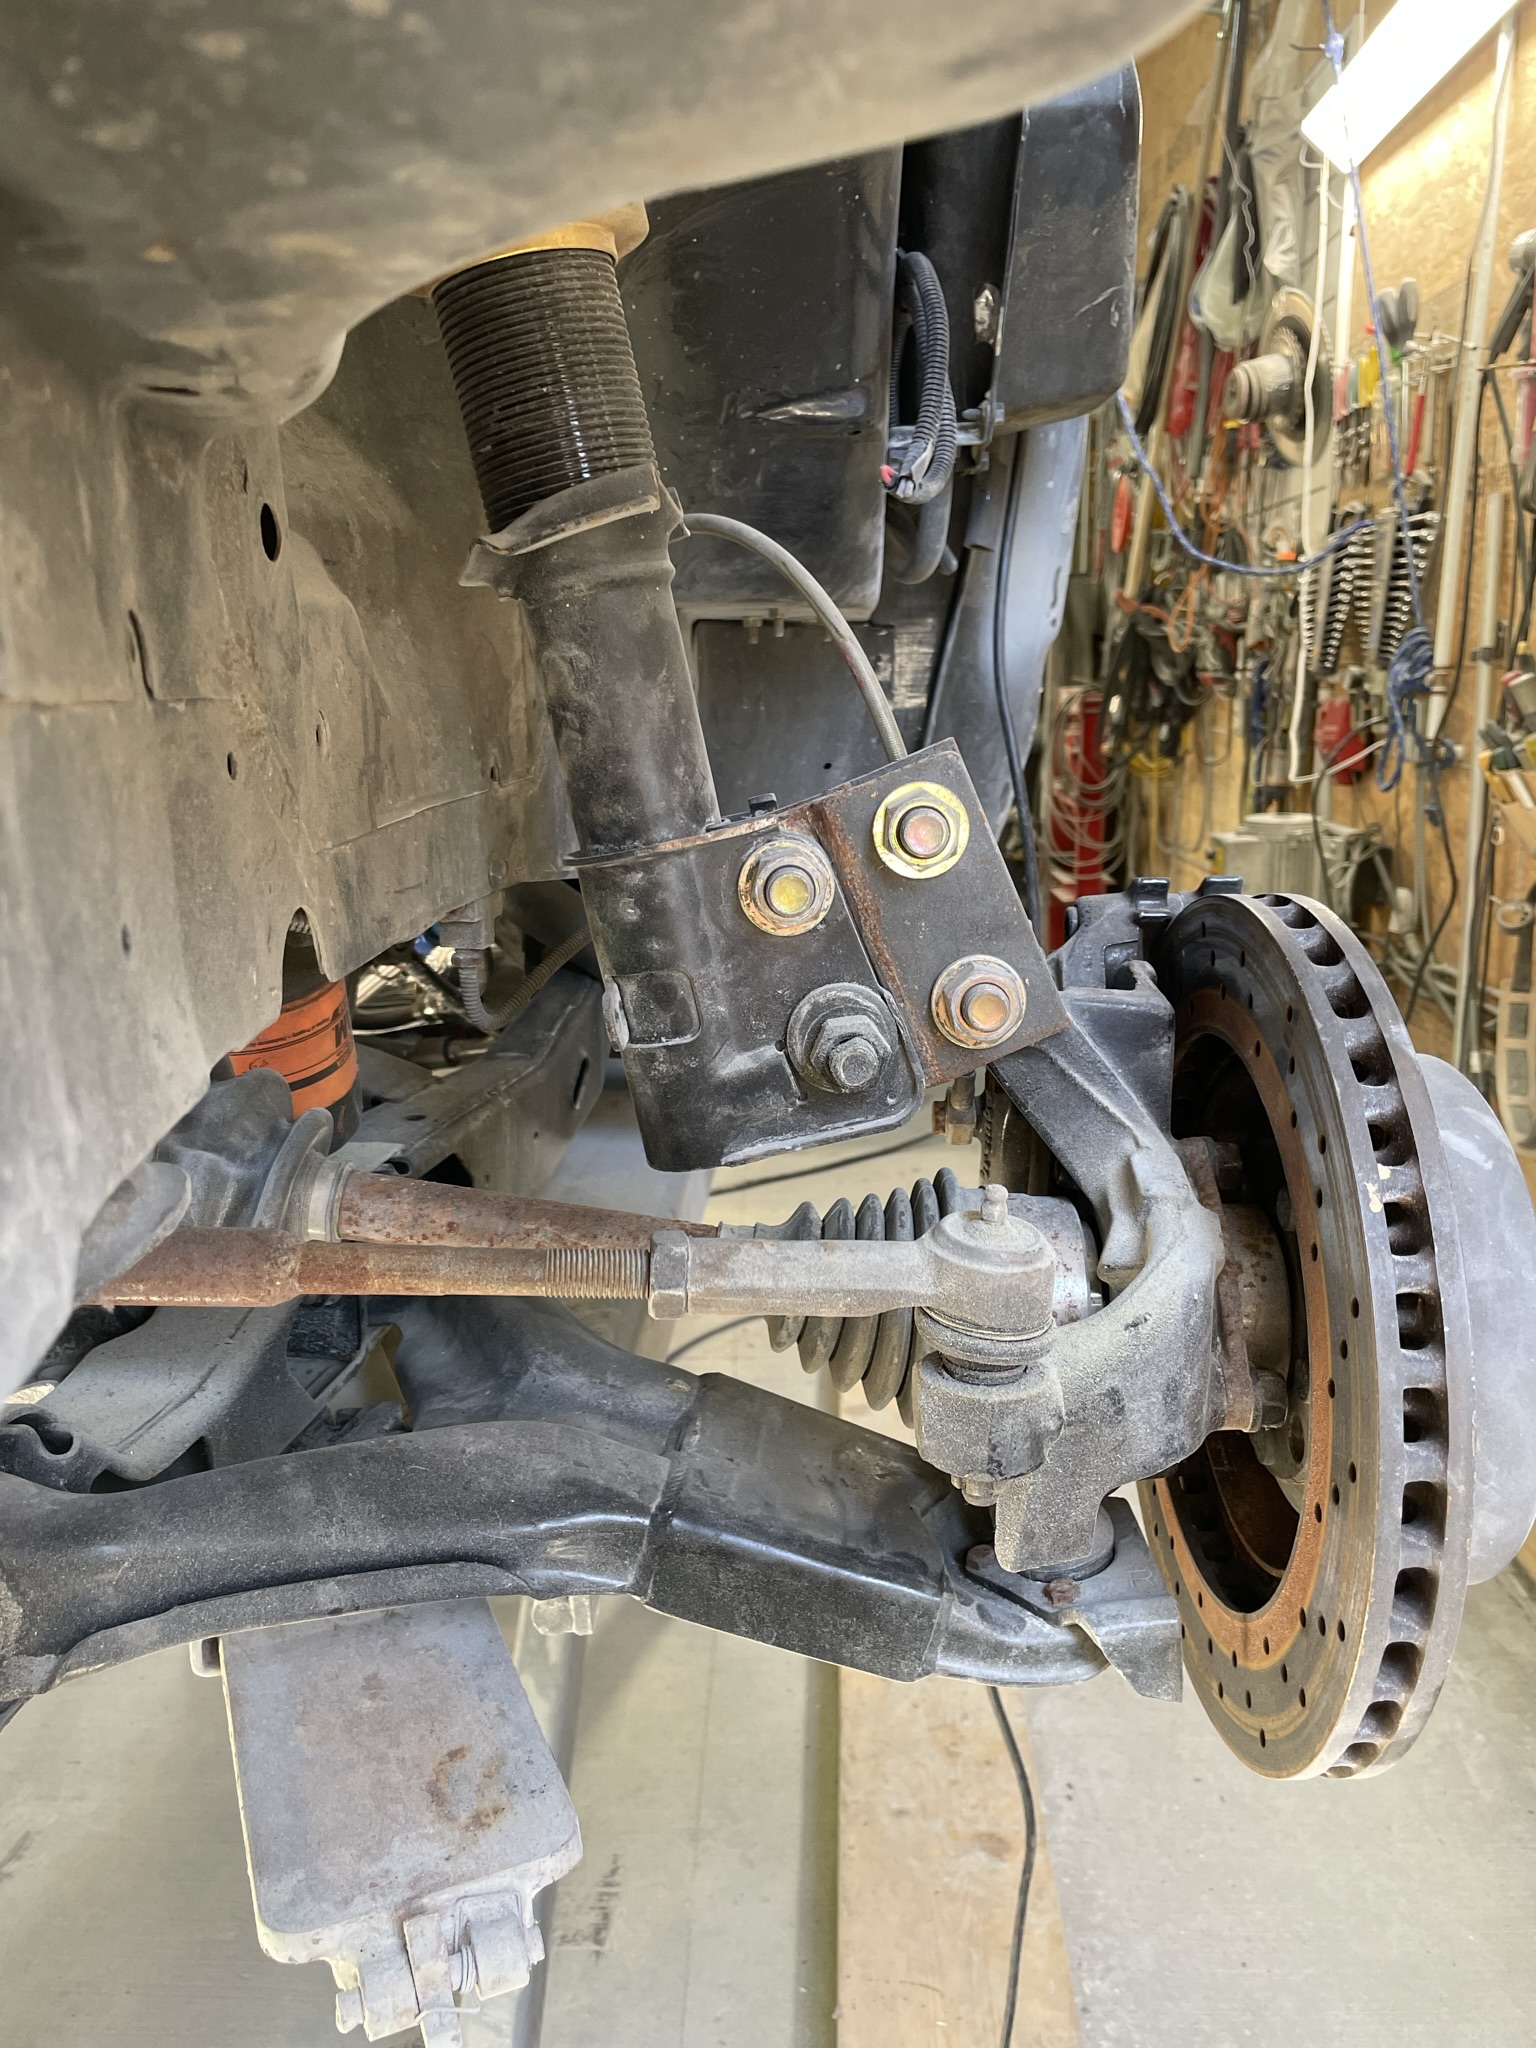
 [IMG]https://images.fiero.nl/userimages/dobie1/F360B242-ECD8-4F57-AD 00-3EBE15FC9F1B.jpeg[/IMG]
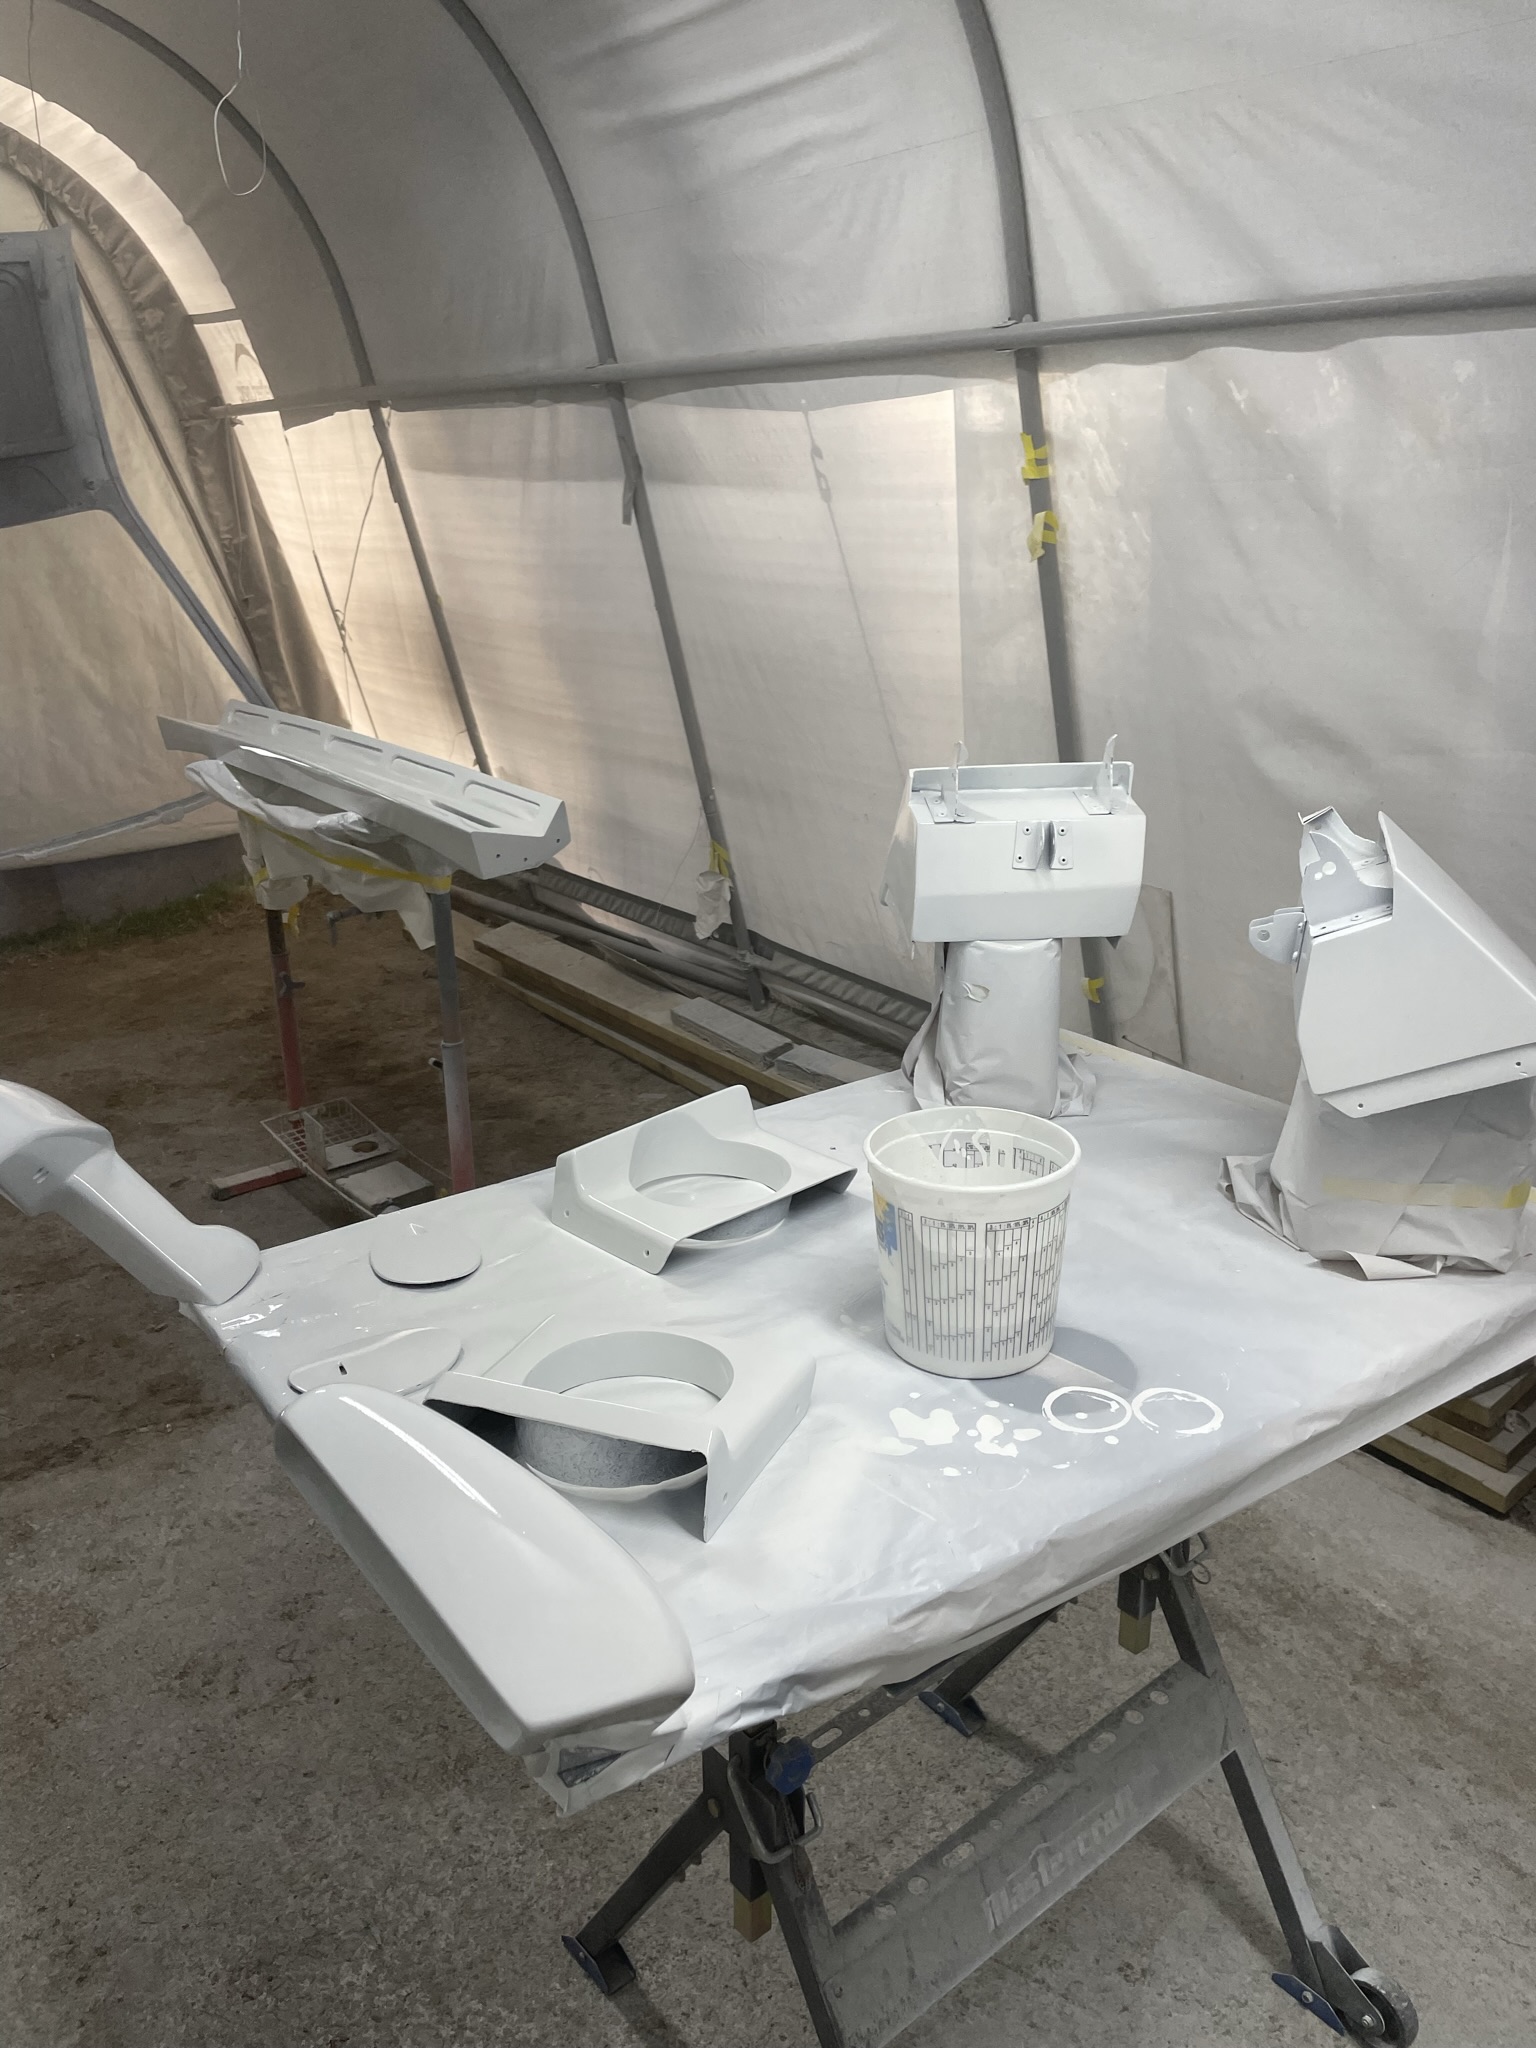
 [IMG]https://images.fiero.nl/userimages/do bie1/AD2BBCD6-D9D3-458A-BB8E-BDD2B23F5A35.jpeg[/IMG]