|
| My 88 Formula Interior Redesign (Page 53/87) |

|
Sofa King
|
MAR 31, 09:21 PM
|
|
|
|
|
Sofa King
|
MAR 31, 09:25 PM
|
|
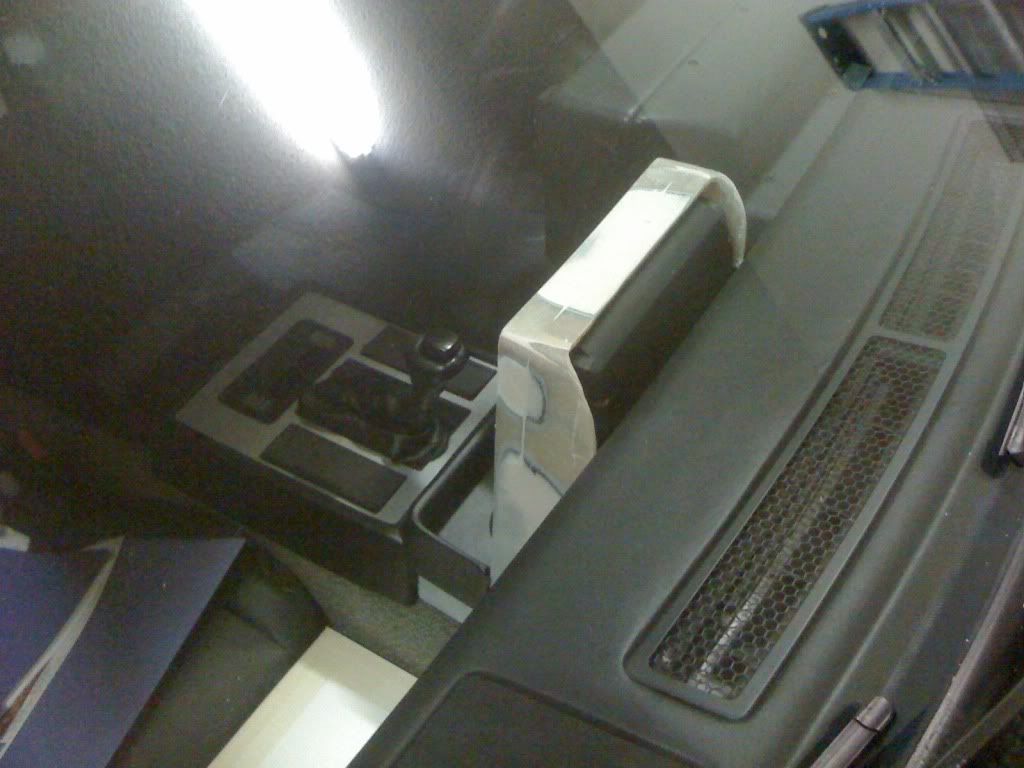
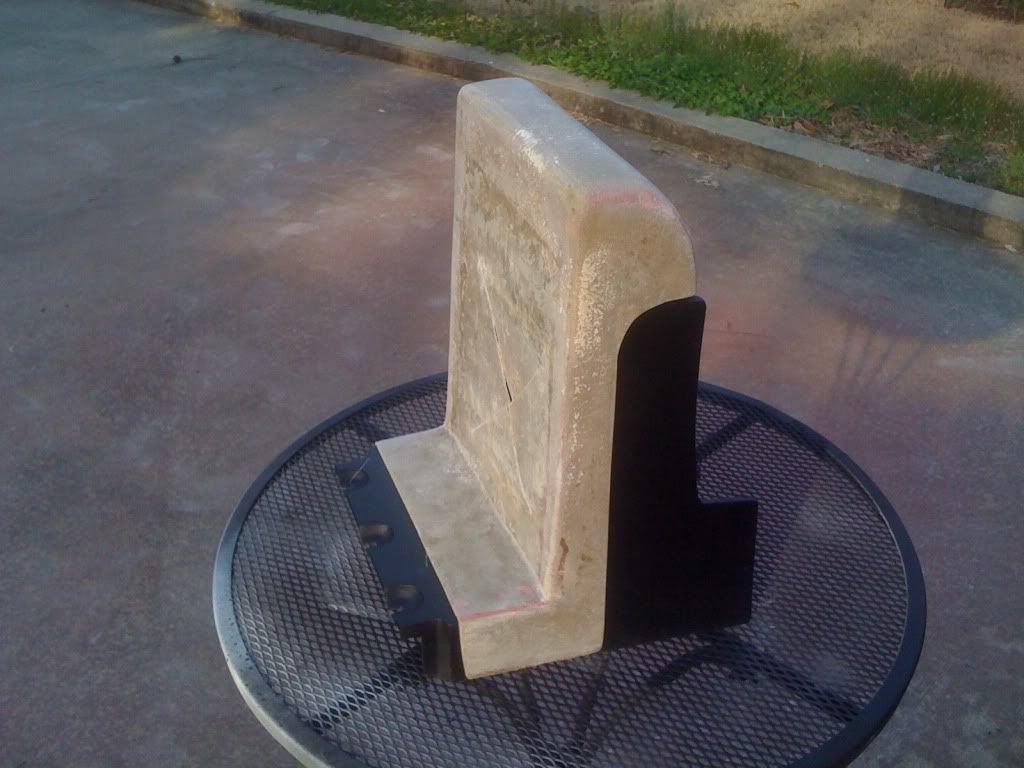
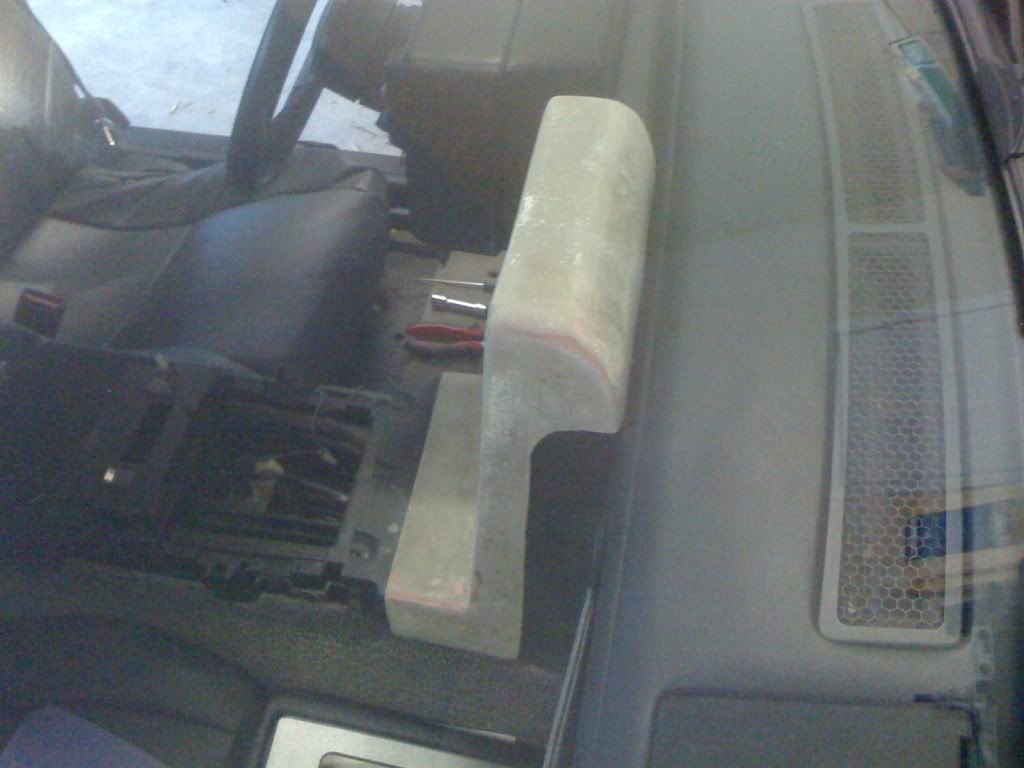
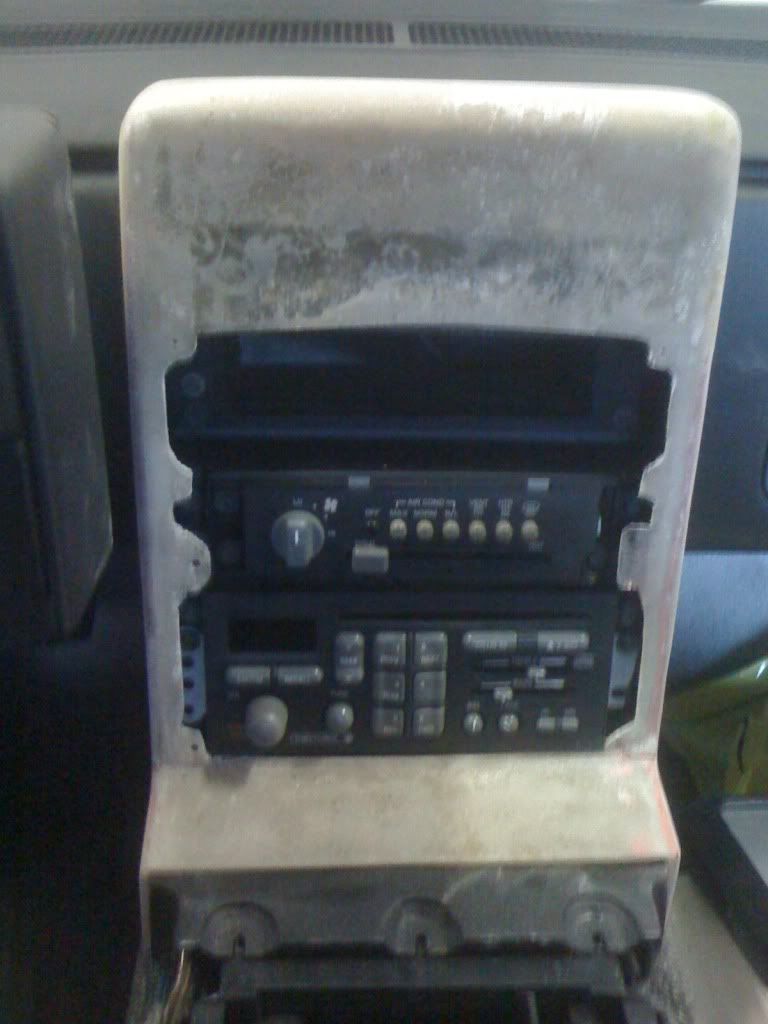
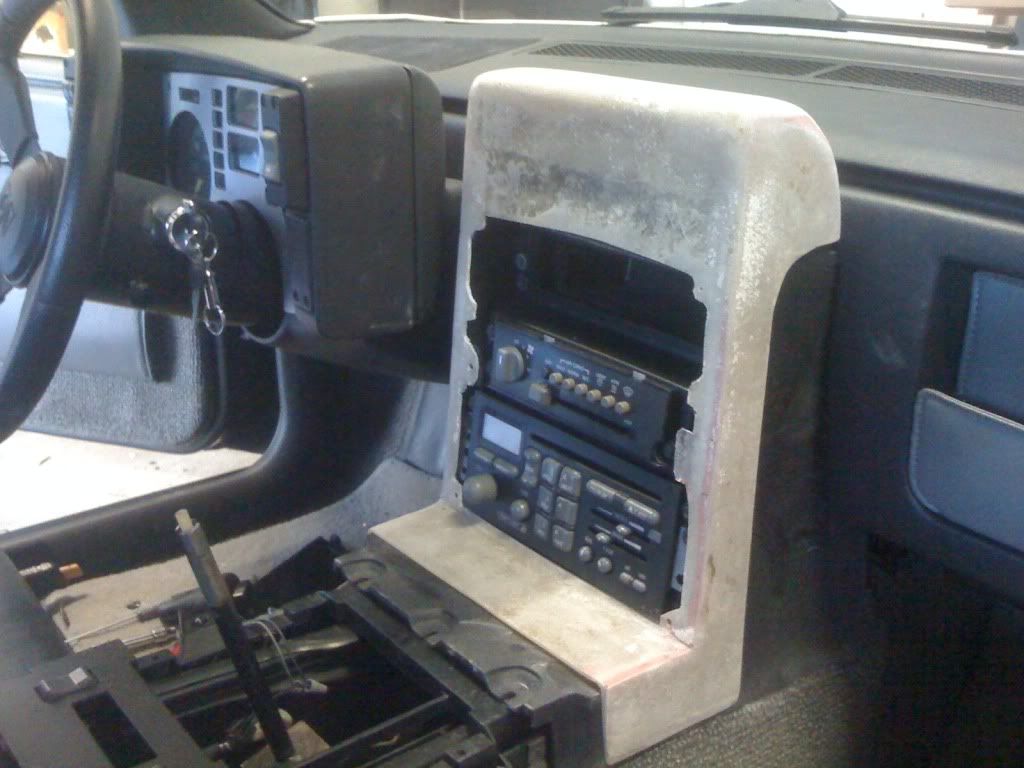
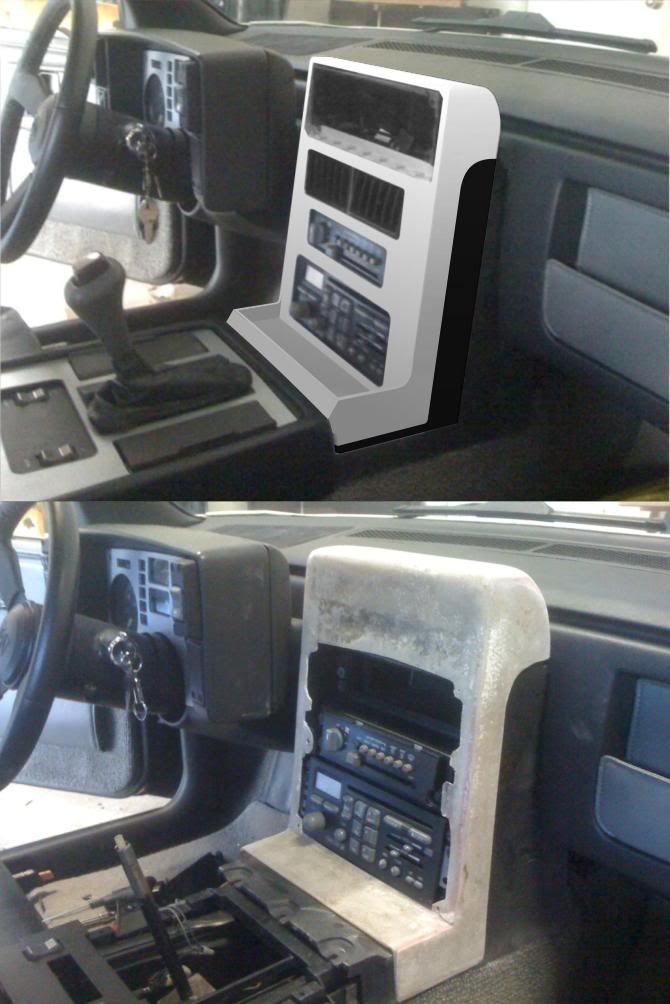
Check this out. I took the concept drawing I did and placed it beside the actual radio cover - pretty close!
It is a heck of a lot bulkier than the concept.
 [This message has been edited by Sofa King (edited 03-31-2010).]
|
|

|
grkboy707
|
APR 01, 12:20 AM
|
|
|
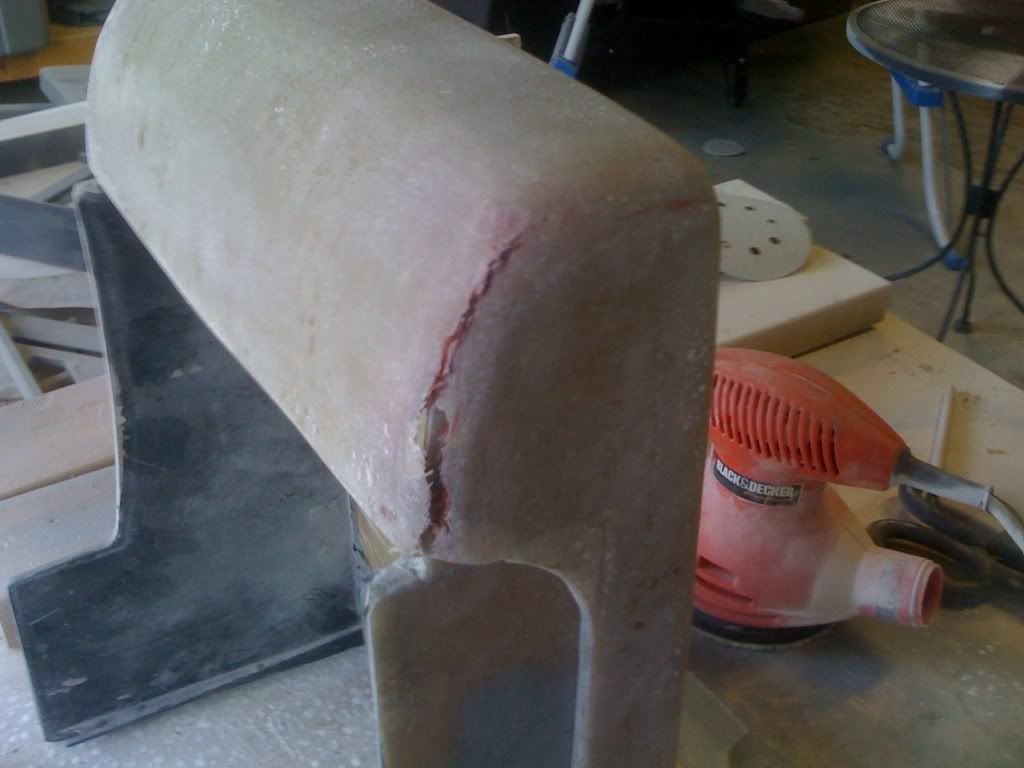
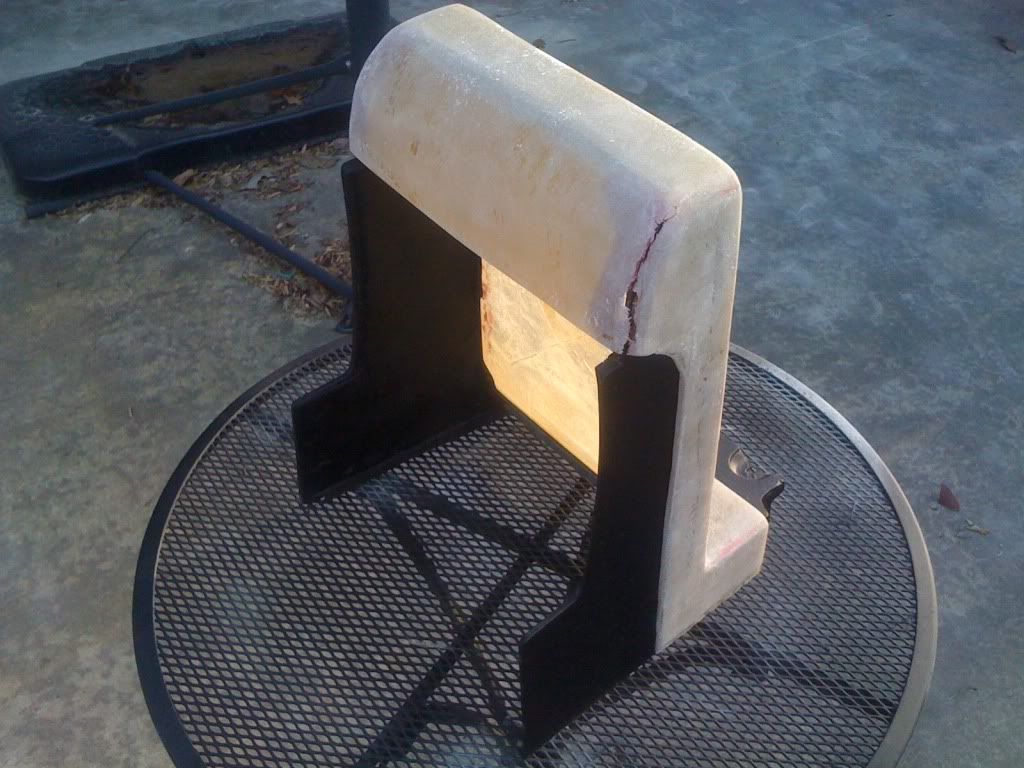
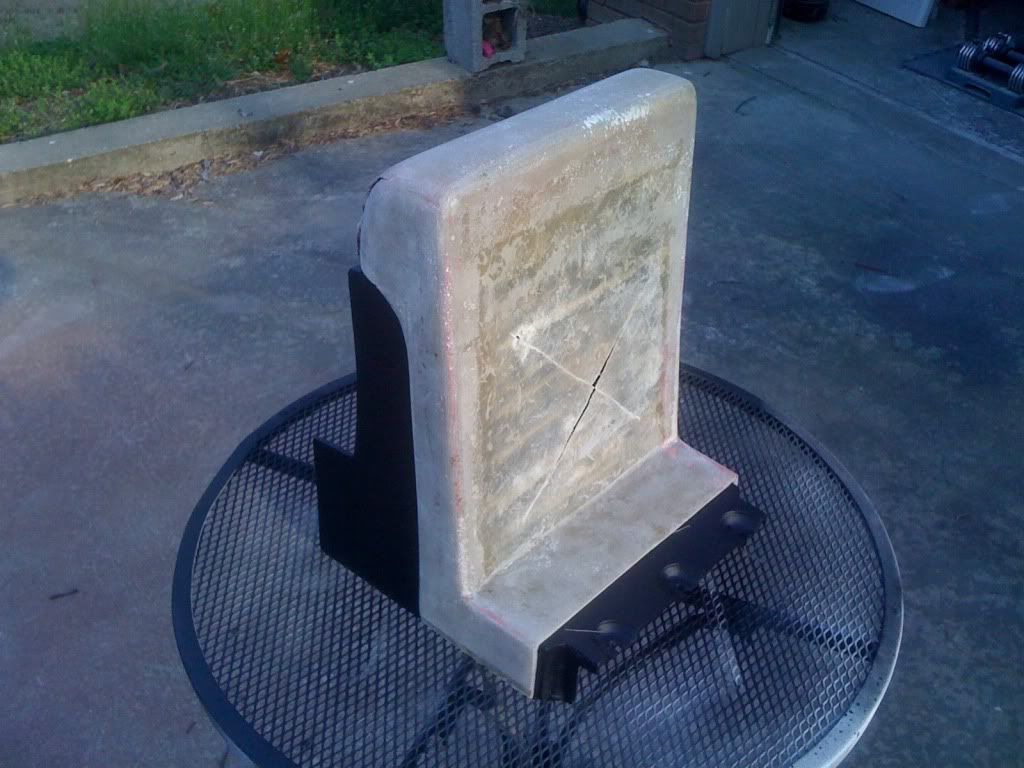
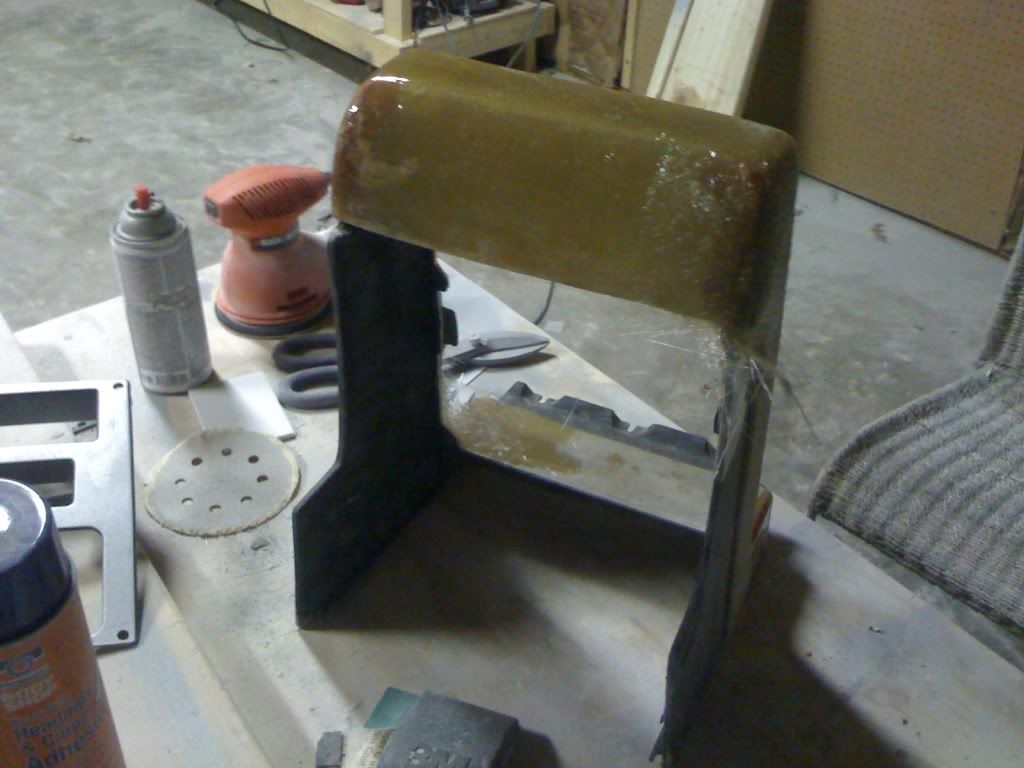
Looks amazing! By the way,today I glassed over the temp gauge pod, with 1.5 coats. After the first one, I sanded it and whatnot, blah blah blah. After the second coat though, I gave everything a hefty glazing of resin. I'll post pctures in my thread tomorrow hopefully. It's gonna kill me to sand down part of it, because of how straight, flat, and perfect most of it looks. The only thing is, with the ".5" coat was just making a larger lip on the small sides. It's gonna look great, thanks for all your advice!!!
|
|
|
|
DeLorean00
|
APR 01, 12:31 AM
|
|
|
I think its very cool how you have a vision and go for it. This is DIY at its greatest. Awesome thread.
|
|
|
|
deloreanant
|
APR 01, 04:09 AM
|
|
|
Very inspiring, keep up the great work!
|
|

|
Sofa King
|
APR 01, 08:31 AM
|
|
| quote | Originally posted by grkboy707:
Looks amazing! By the way,today I glassed over the temp gauge pod, with 1.5 coats. After the first one, I sanded it and whatnot, blah blah blah. After the second coat though, I gave everything a hefty glazing of resin. I'll post pctures in my thread tomorrow hopefully. It's gonna kill me to sand down part of it, because of how straight, flat, and perfect most of it looks. The only thing is, with the ".5" coat was just making a larger lip on the small sides. It's gonna look great, thanks for all your advice!!! |
|
POST THOSE PICS! Remember when sanding to use even strokes and a circular motion (someone might have a different method). Also be sure use varying grits of paper to achieve the look you want. And anything we can to help get your project finished, just let us know. 
|
|
|
|
Sofa King
|
APR 01, 08:32 AM
|
|
|
Thanks for the kind words, gang. It really means a lot.
|
|
|
|
grkboy707
|
APR 01, 09:34 AM
|
|
| quote | Originally posted by Sofa King:
Remember when sanding to use even strokes and a circular motion (someone might have a different method). Also be sure use varying grits of paper to achieve the look you want. And anything we can to help get your project finished, just let us know. |
|
Actually, I have a portable belt sander (I use it as a stationary one...) and its large enough to cover the whole piece I'm doing. Thats how I've been sanding thusfar, and it seems to work nicely. Btw, pics will be up in about a minute
|
|
|
|
katatak
|
APR 02, 12:14 AM
|
|
|
I really like your "Vision"!
|
|
|
|
grkboy707
|
APR 02, 12:18 AM
|
|
| quote | Originally posted by katatak:
I really like your "Vision"! |
|
20/20?
|
|
|
|