|
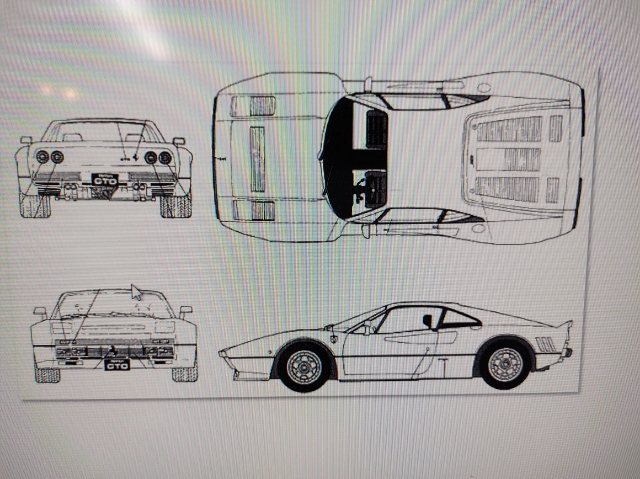
| Ferrari 288GTO build (Page 51/64) |

|
dobie1
|
APR 13, 09:44 PM
|
|
|
|
|
dobie1
|
APR 18, 08:03 PM
|
|
|
|
|
shemdogg
|
APR 23, 12:50 PM
|
|
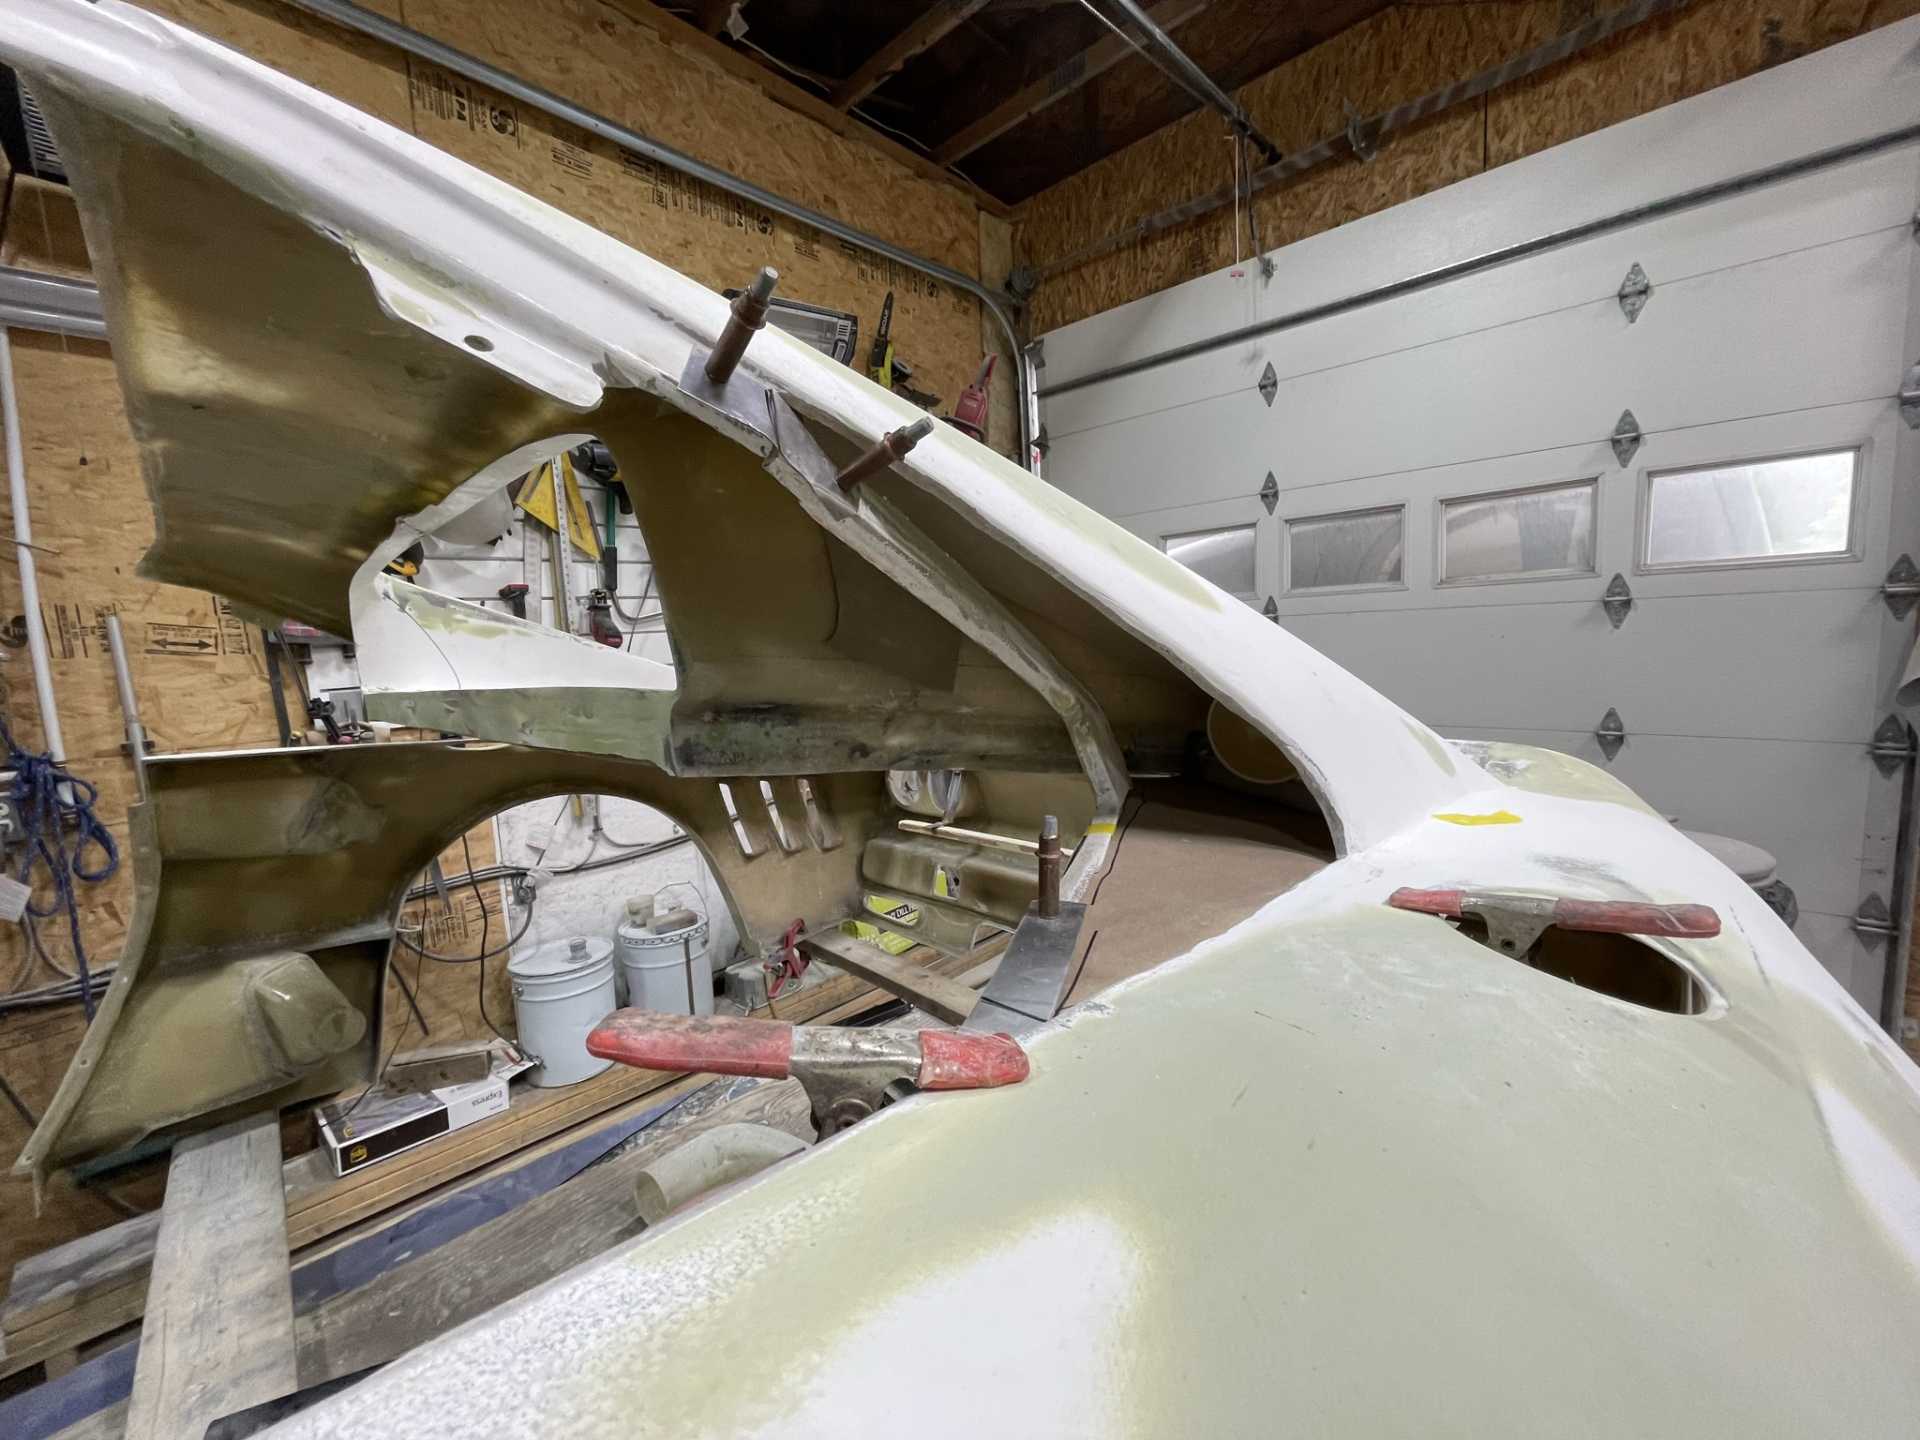
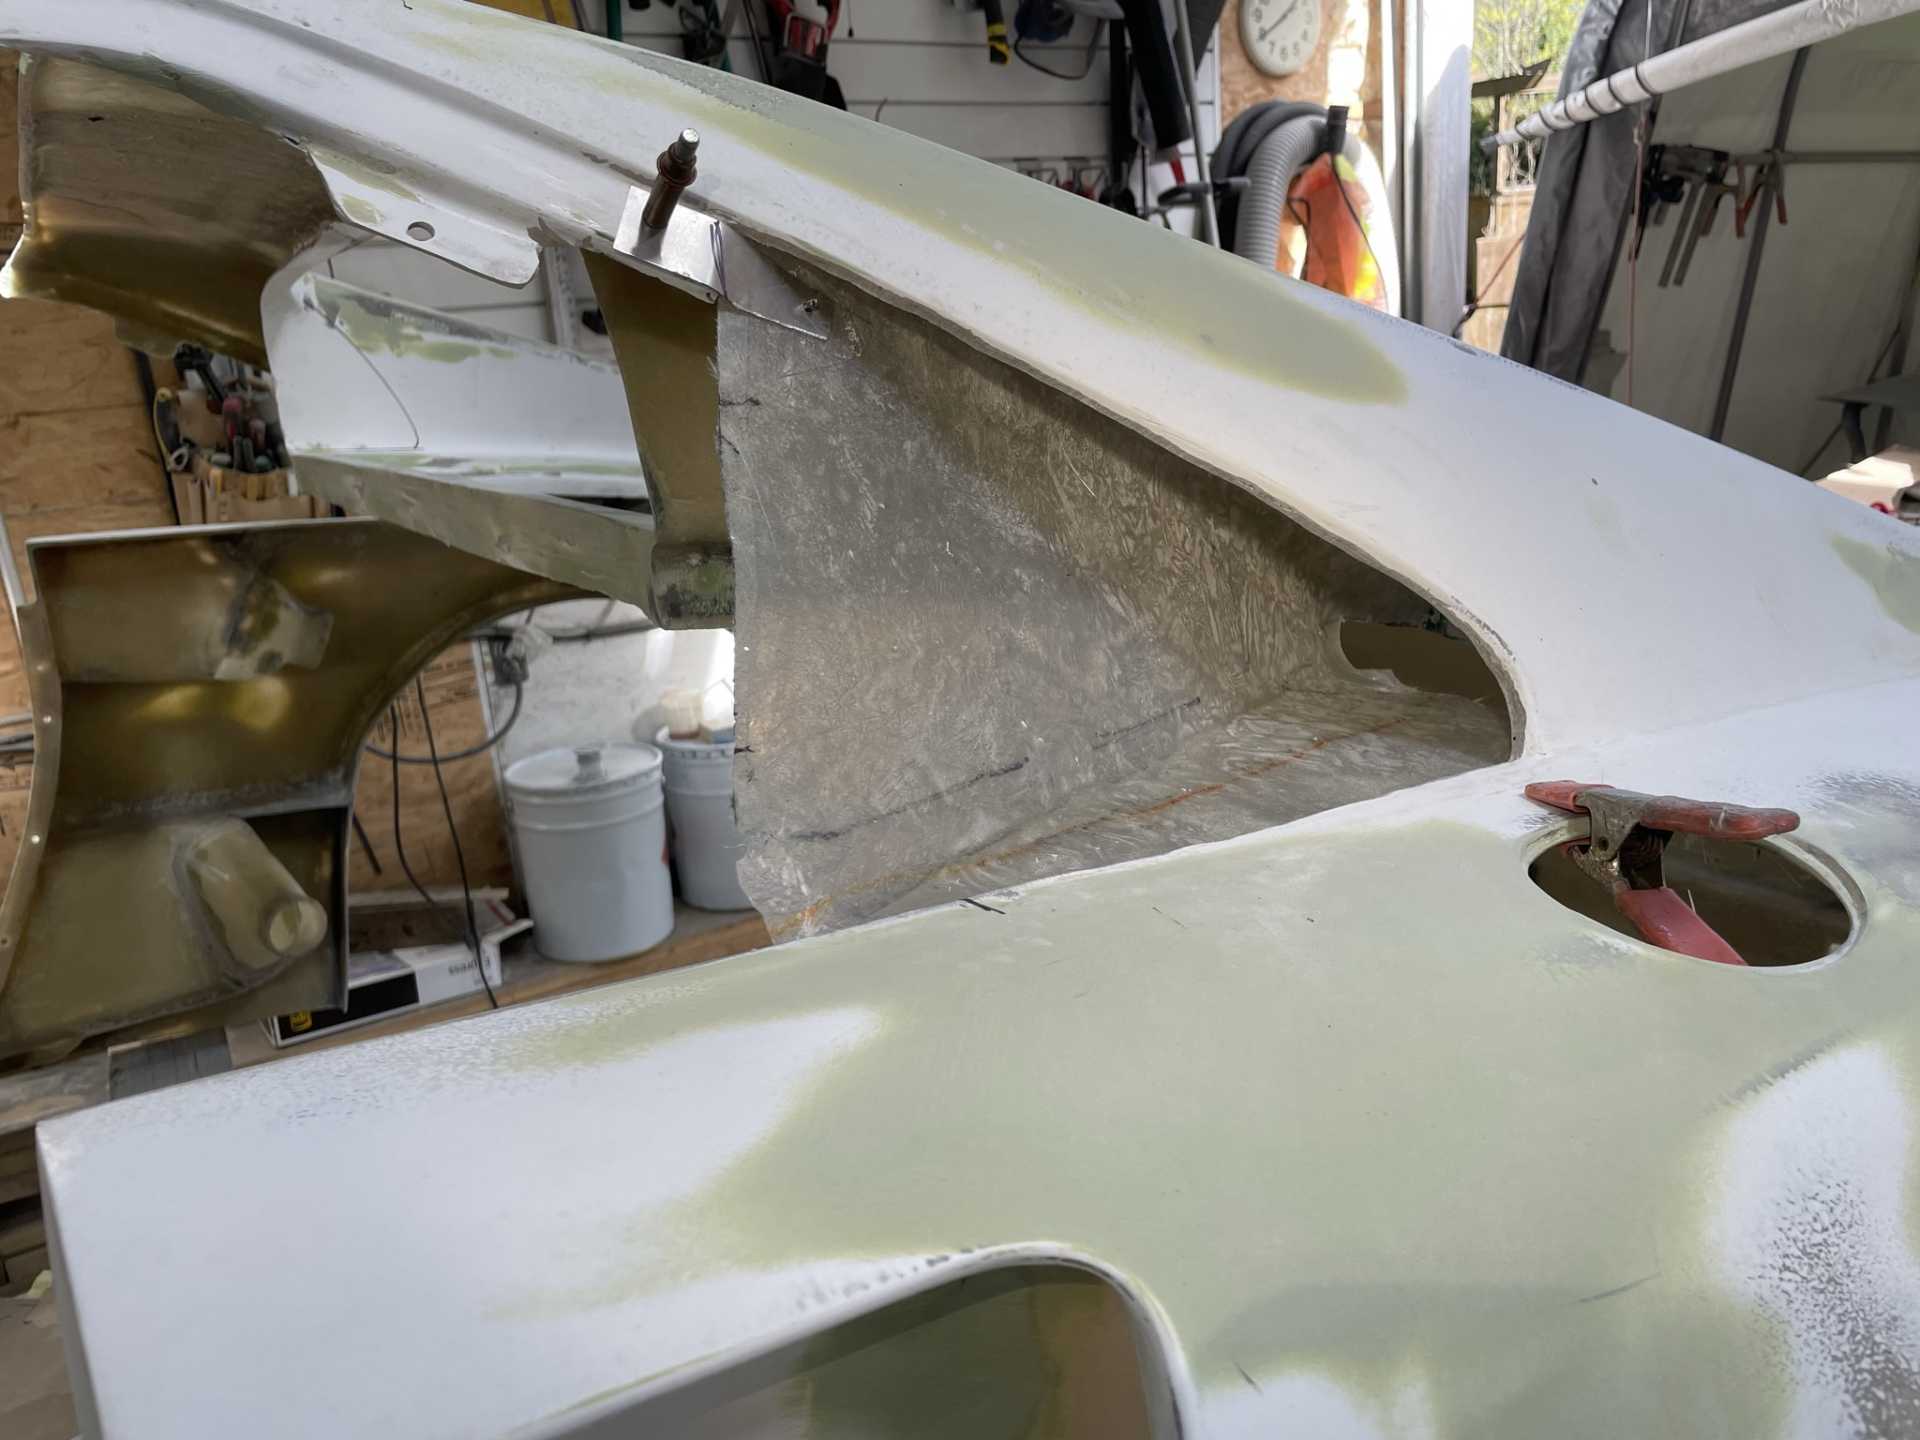
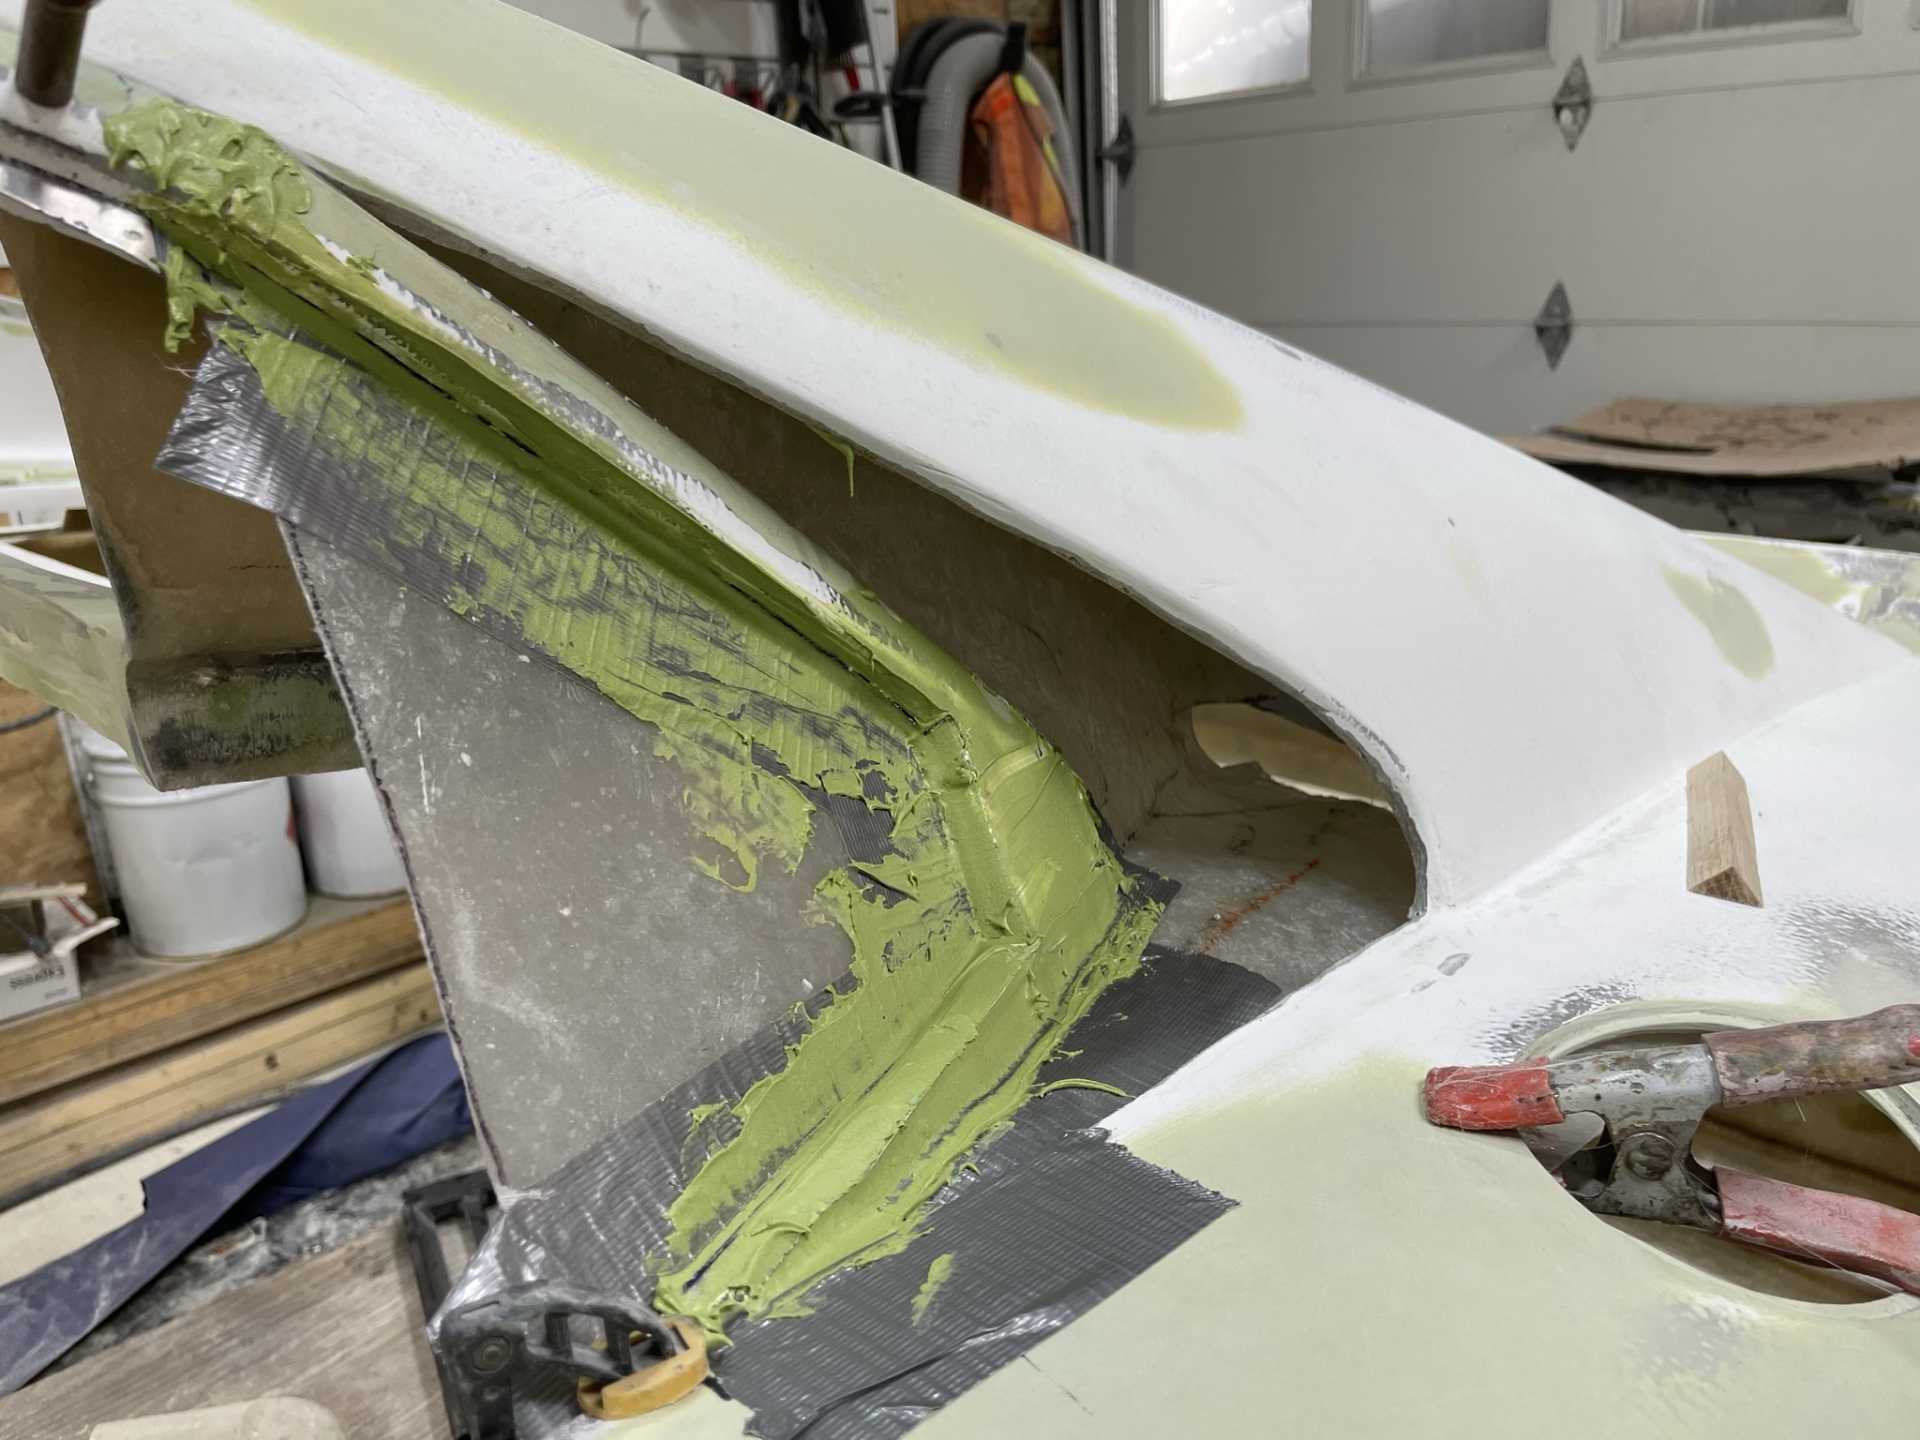
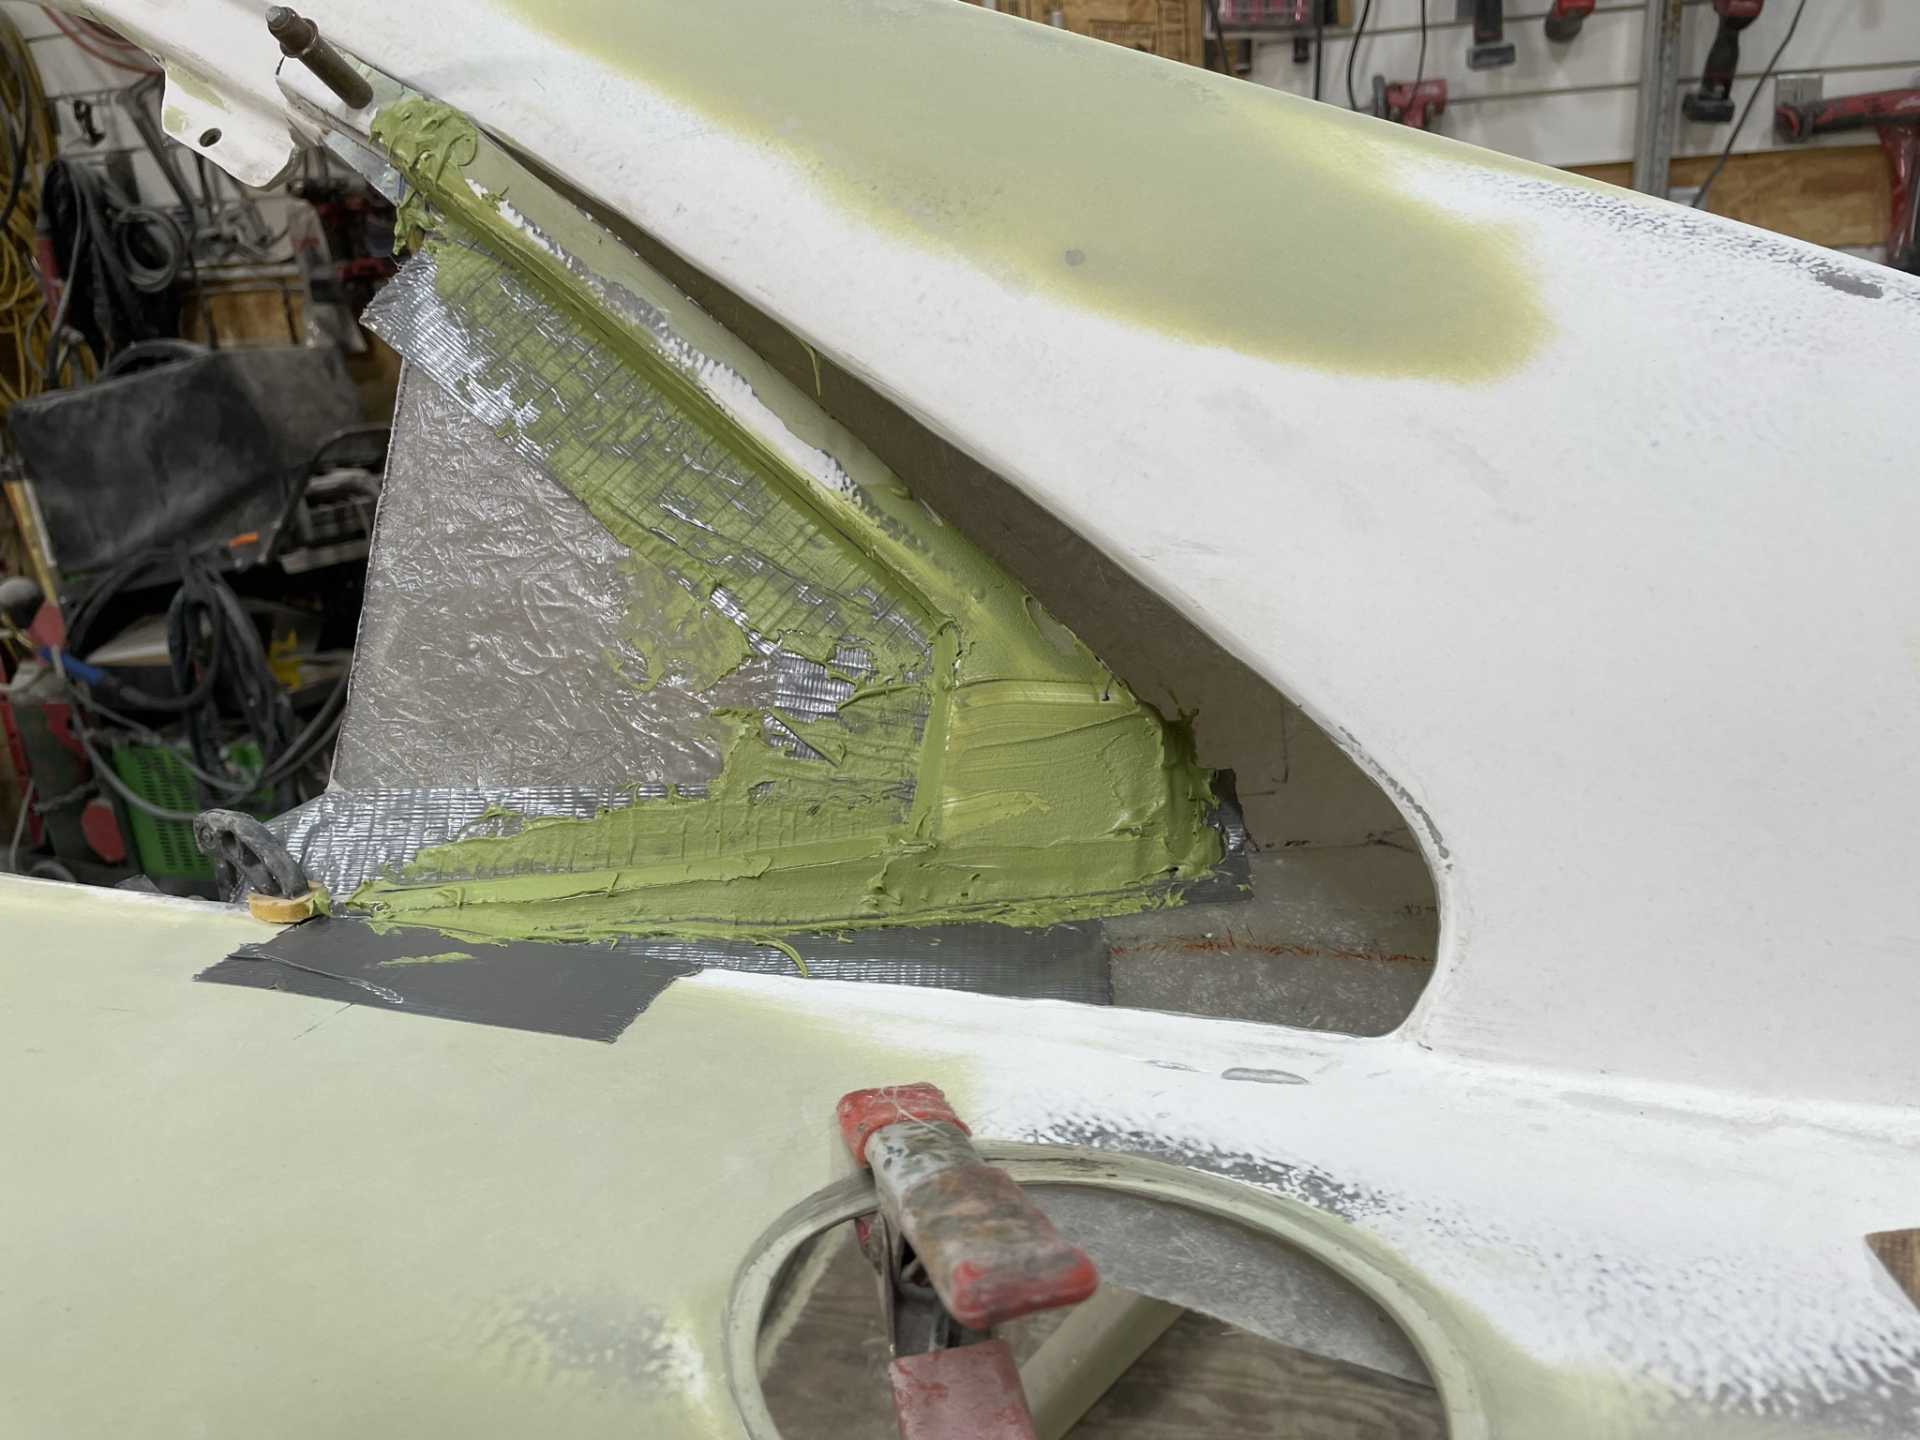
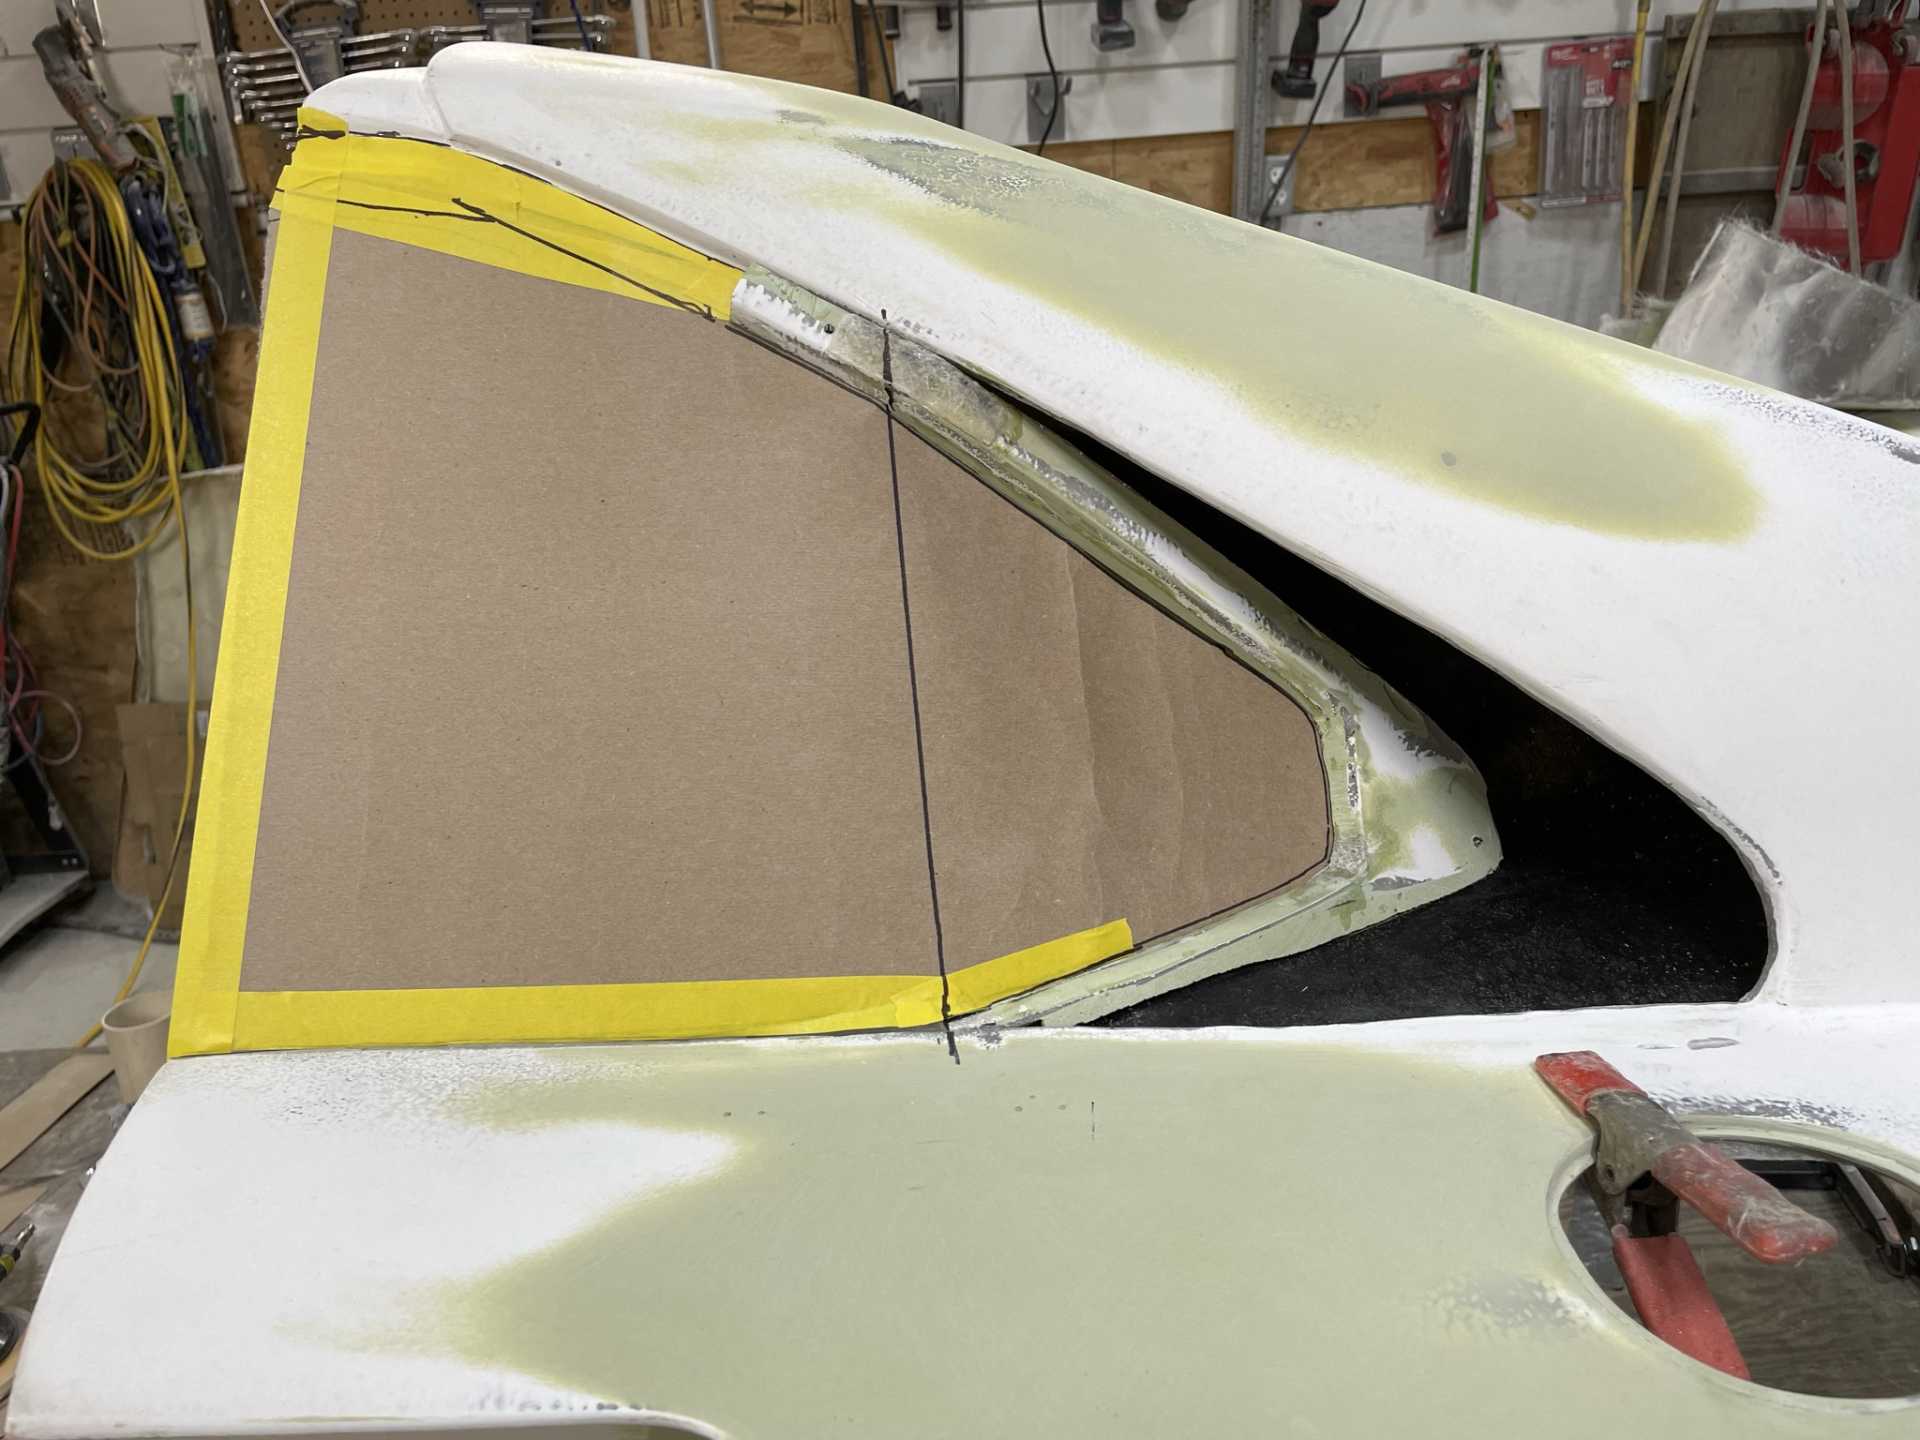
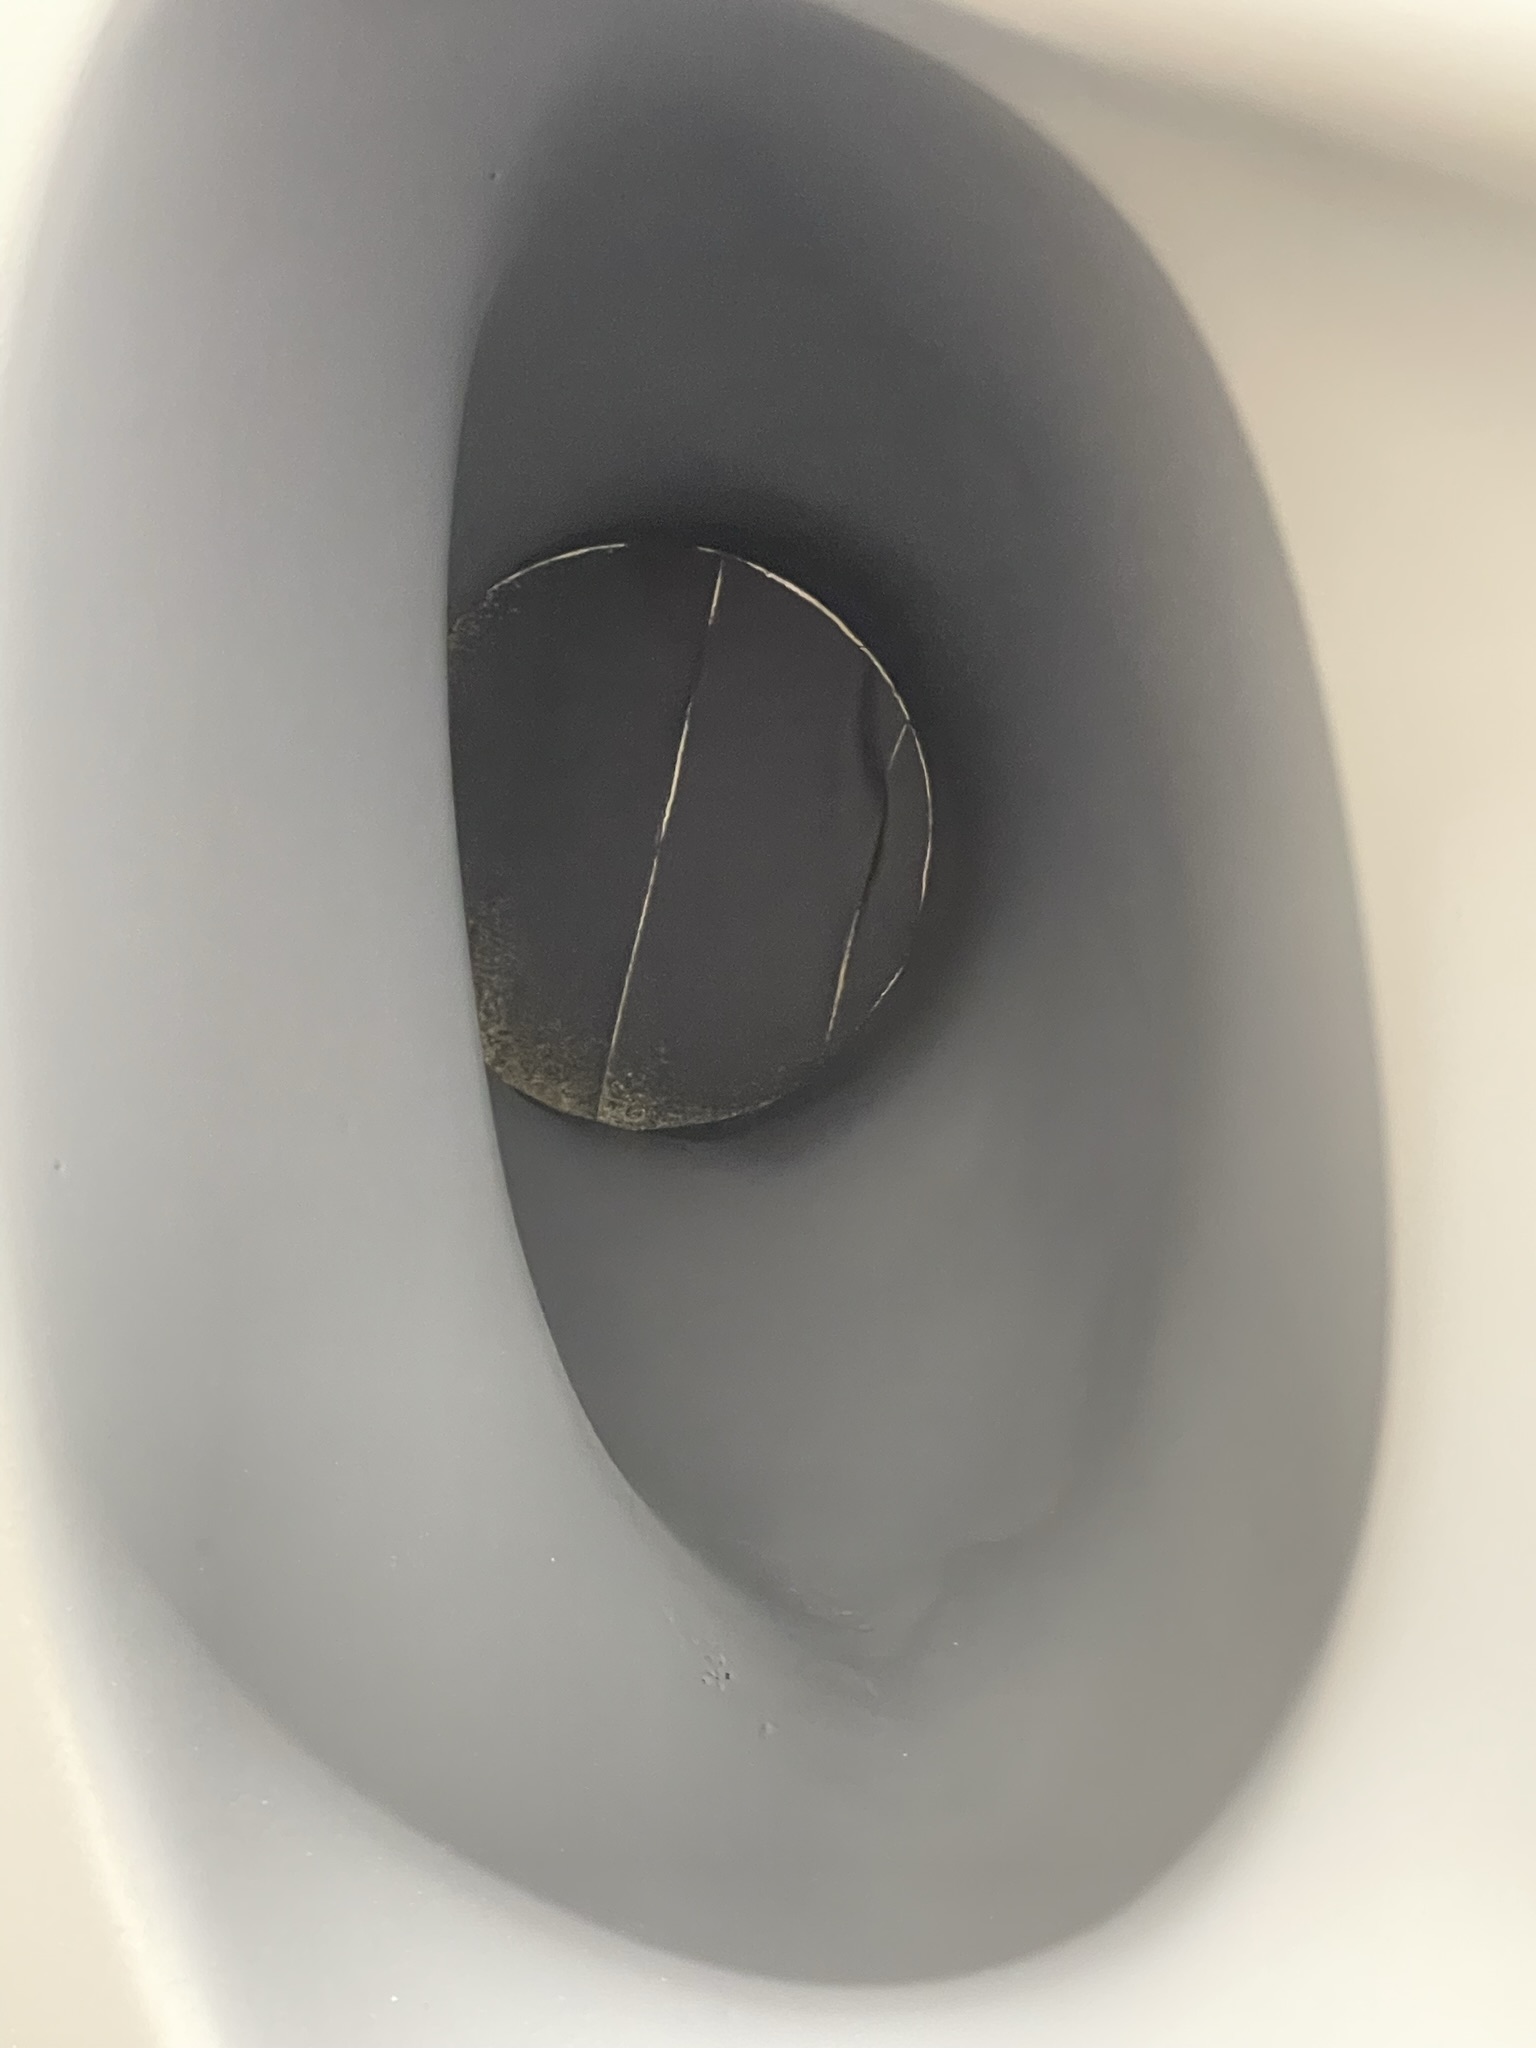
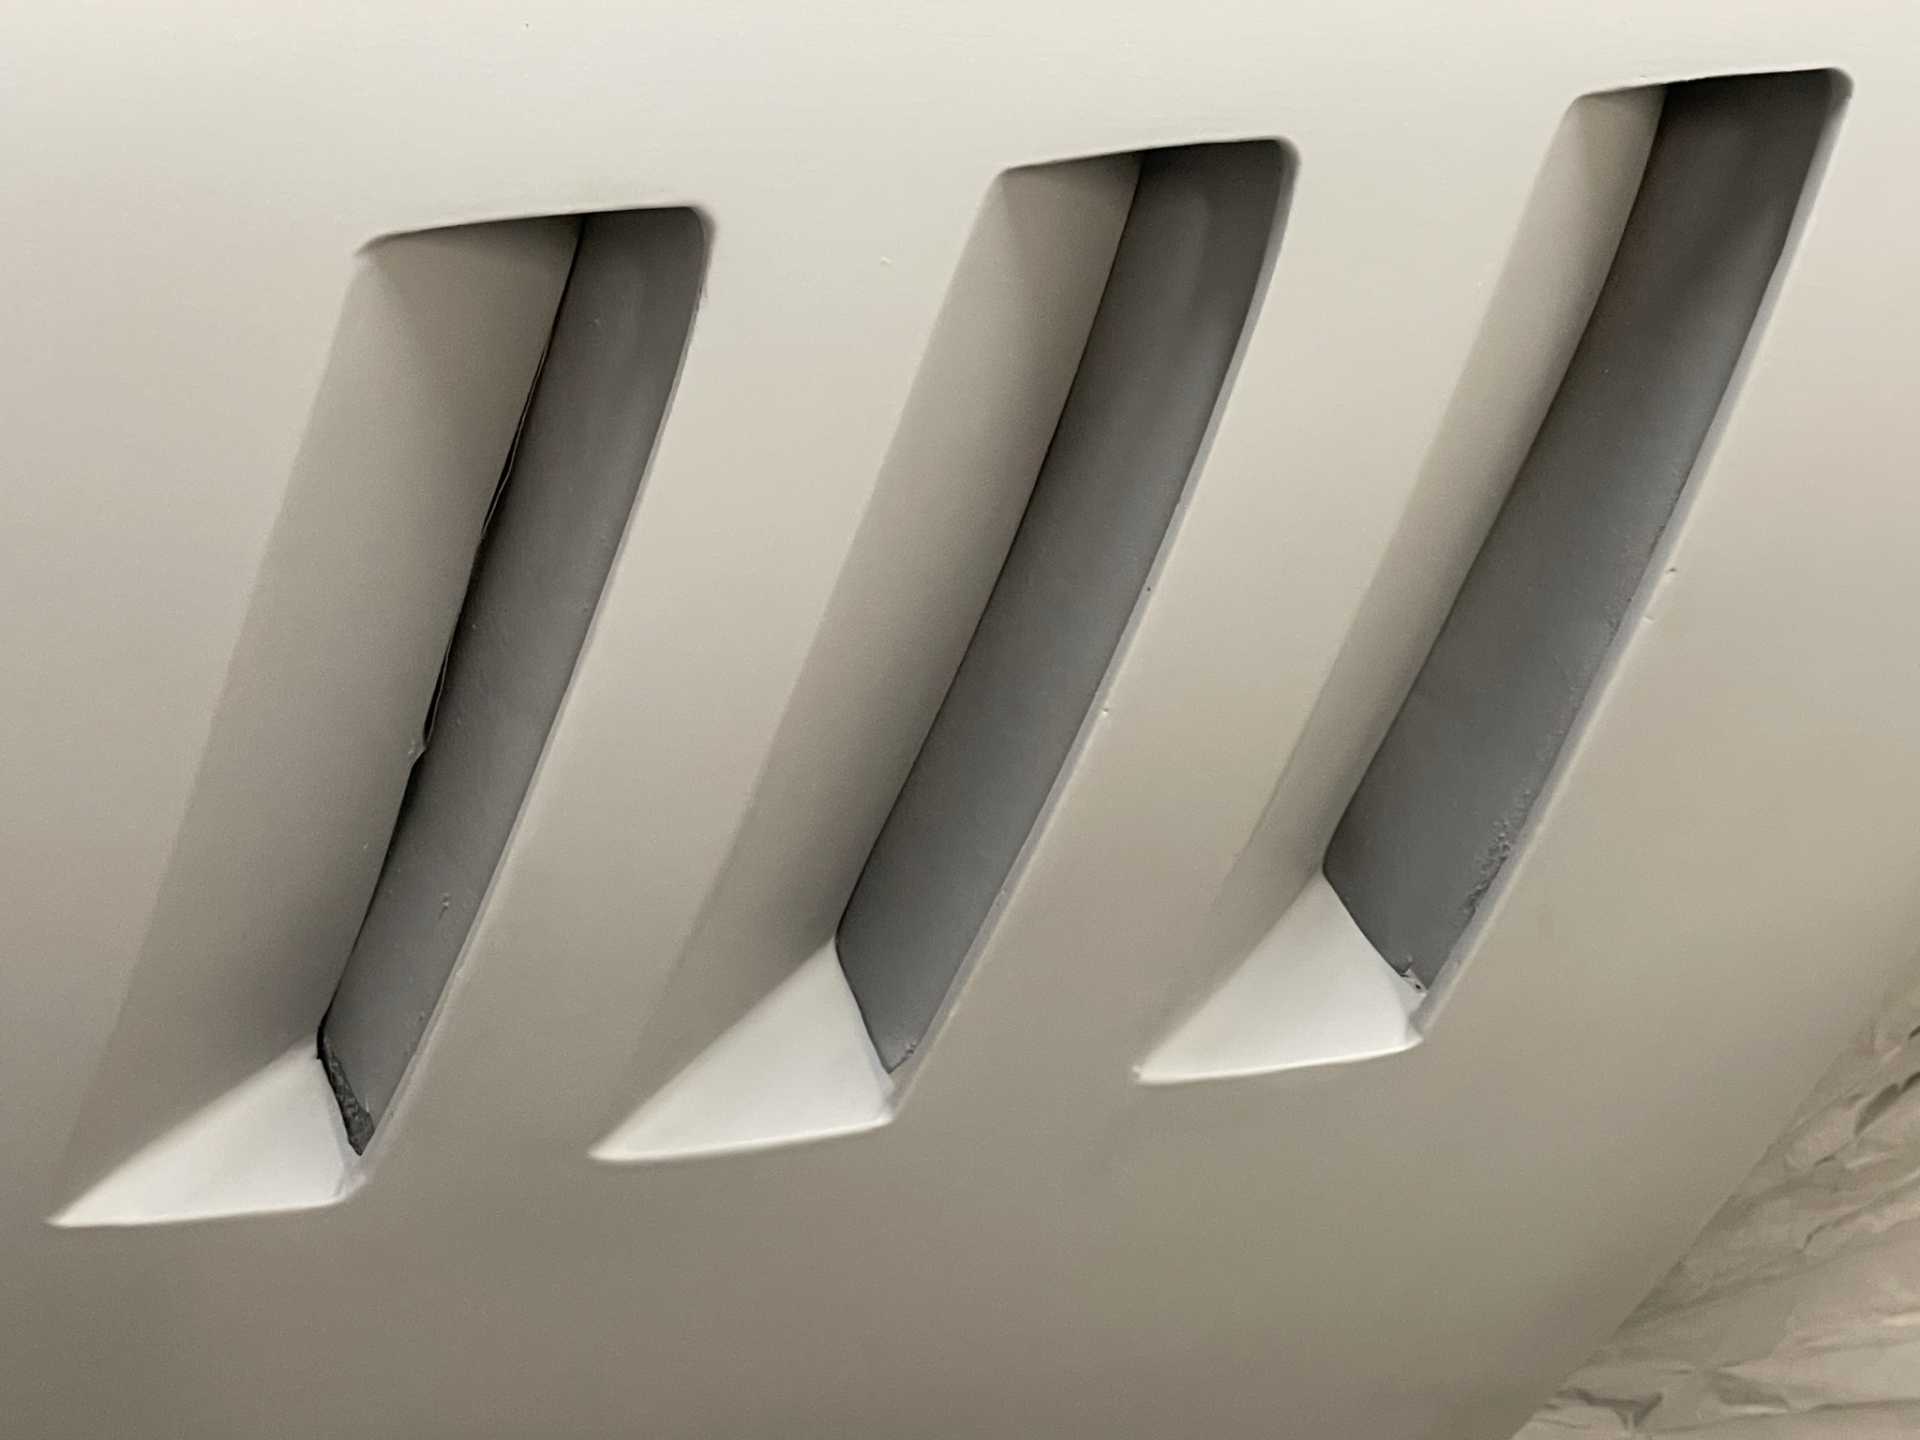
That rear side window youre working on looks great! Much better than mine lol. Great idea to seal the inside of the body, ill do that too. Someday. Like the custom paint booth too, your build gives me lots of great ideas. Keep it up
shem
|
|
|
|
dobie1
|
MAY 04, 10:57 PM
|
|
|
|
|
dobie1
|
MAY 06, 02:24 PM
|
|
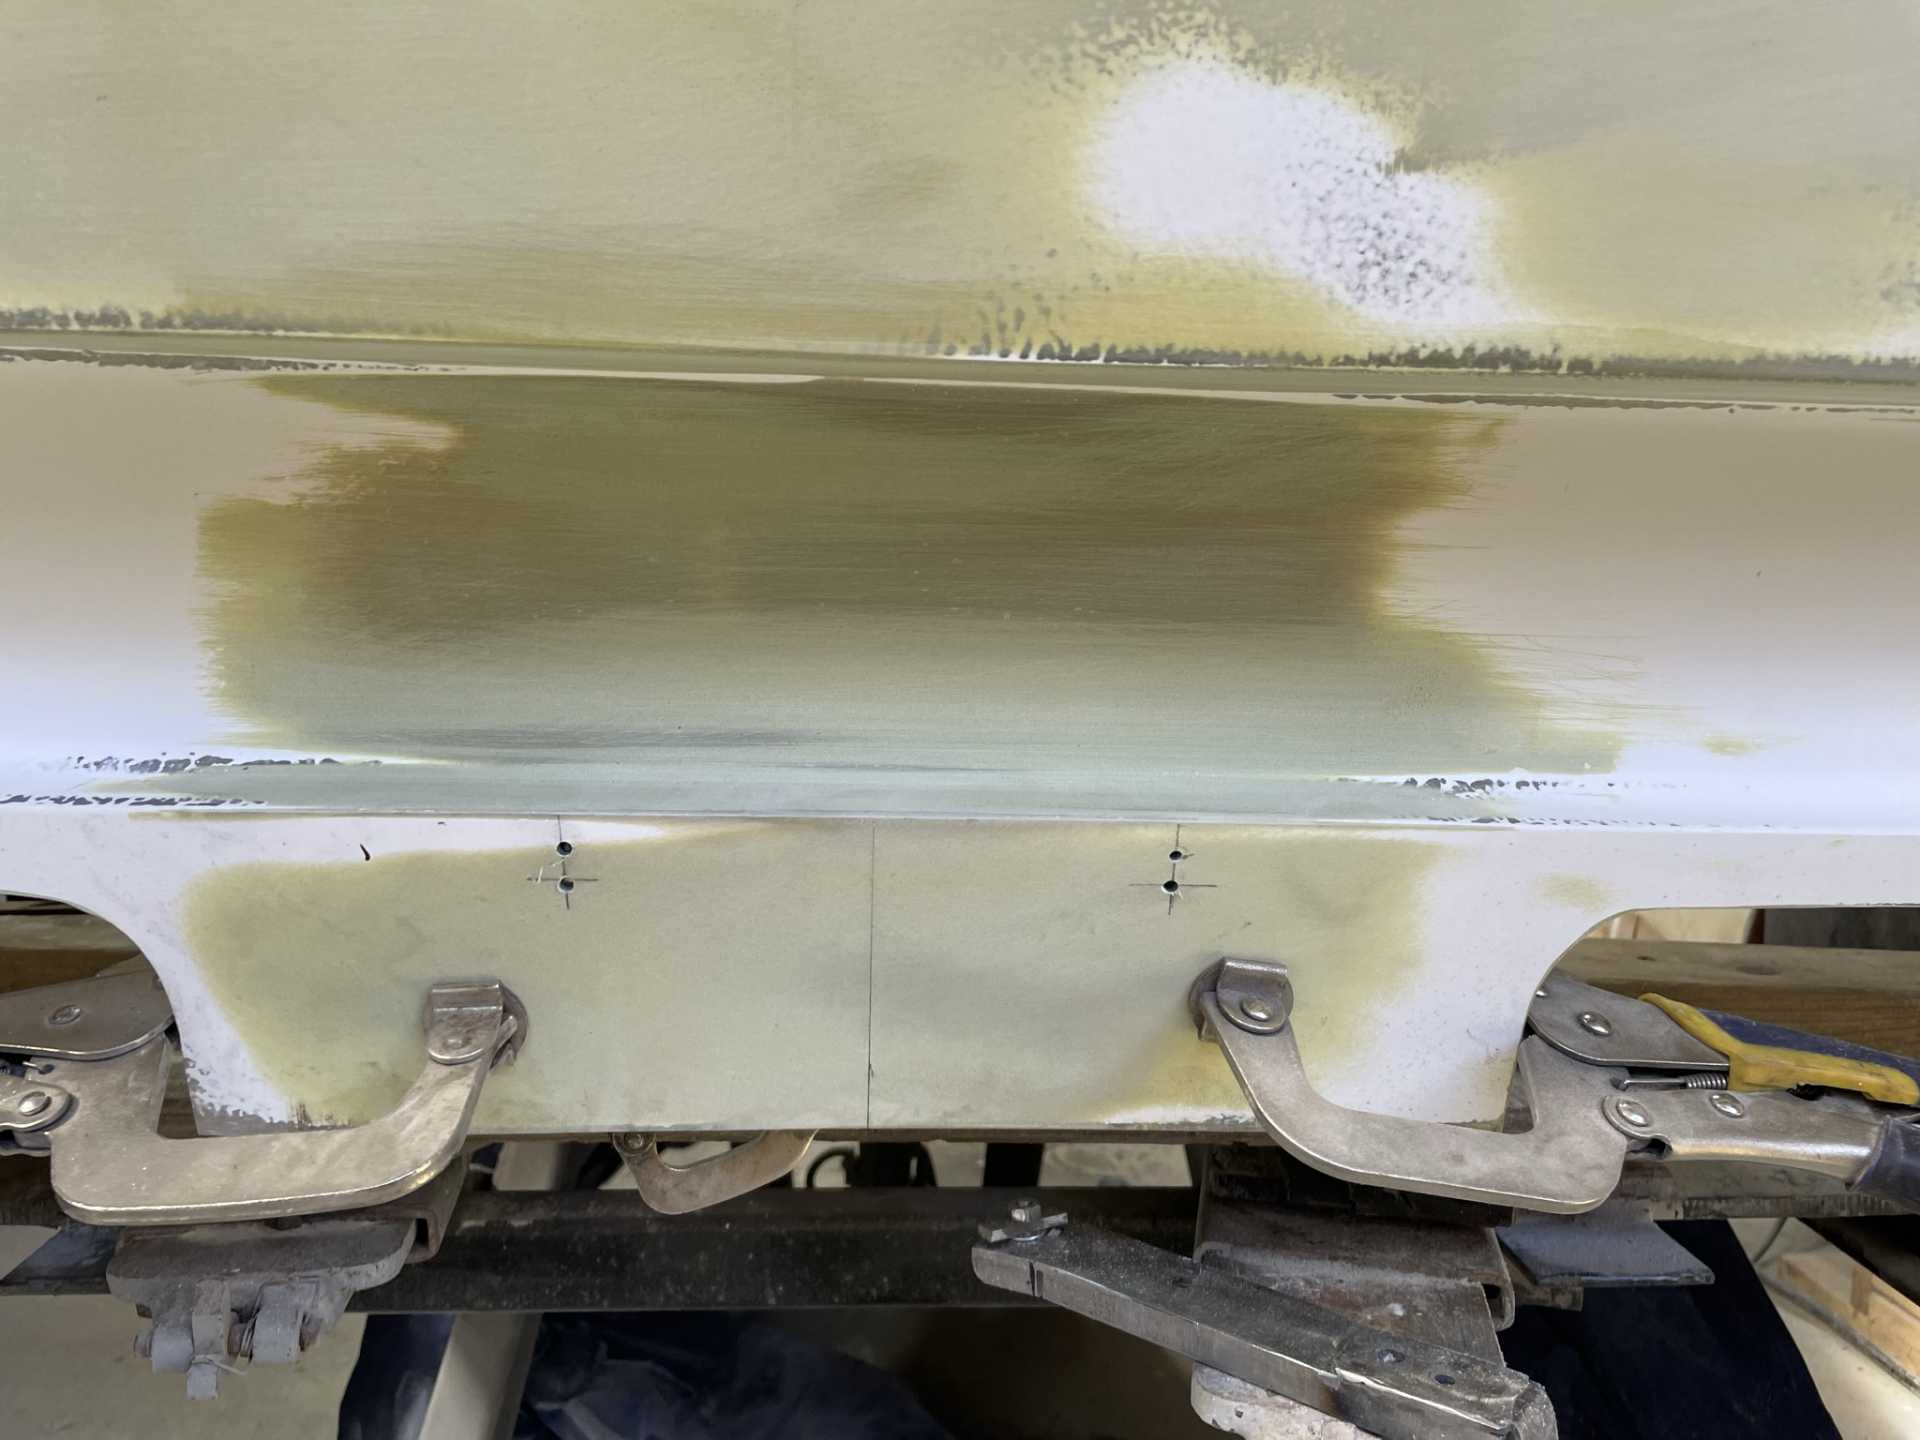
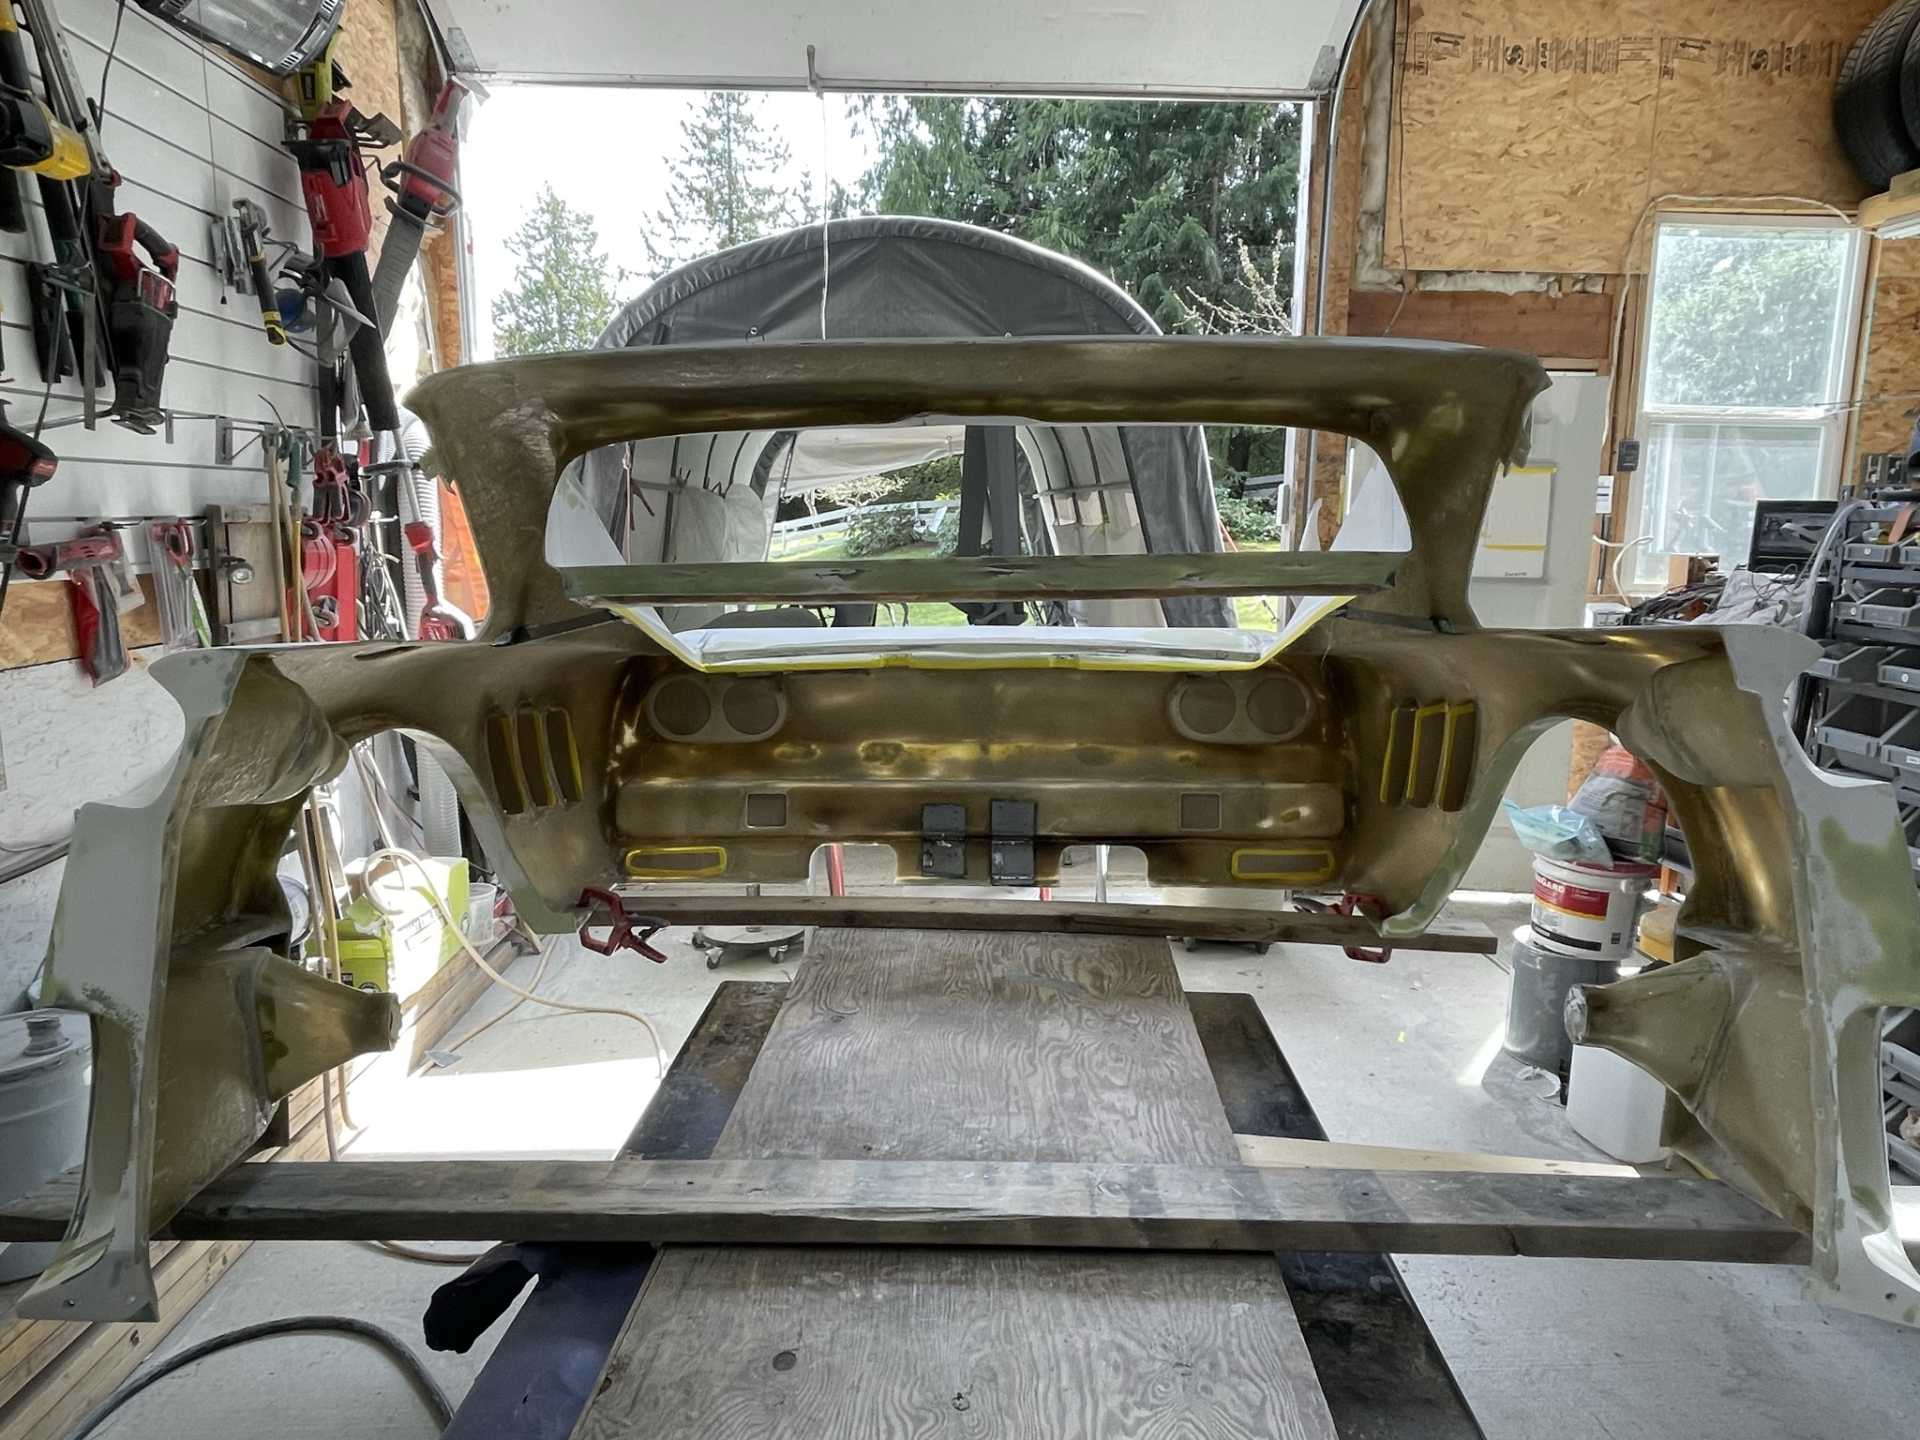
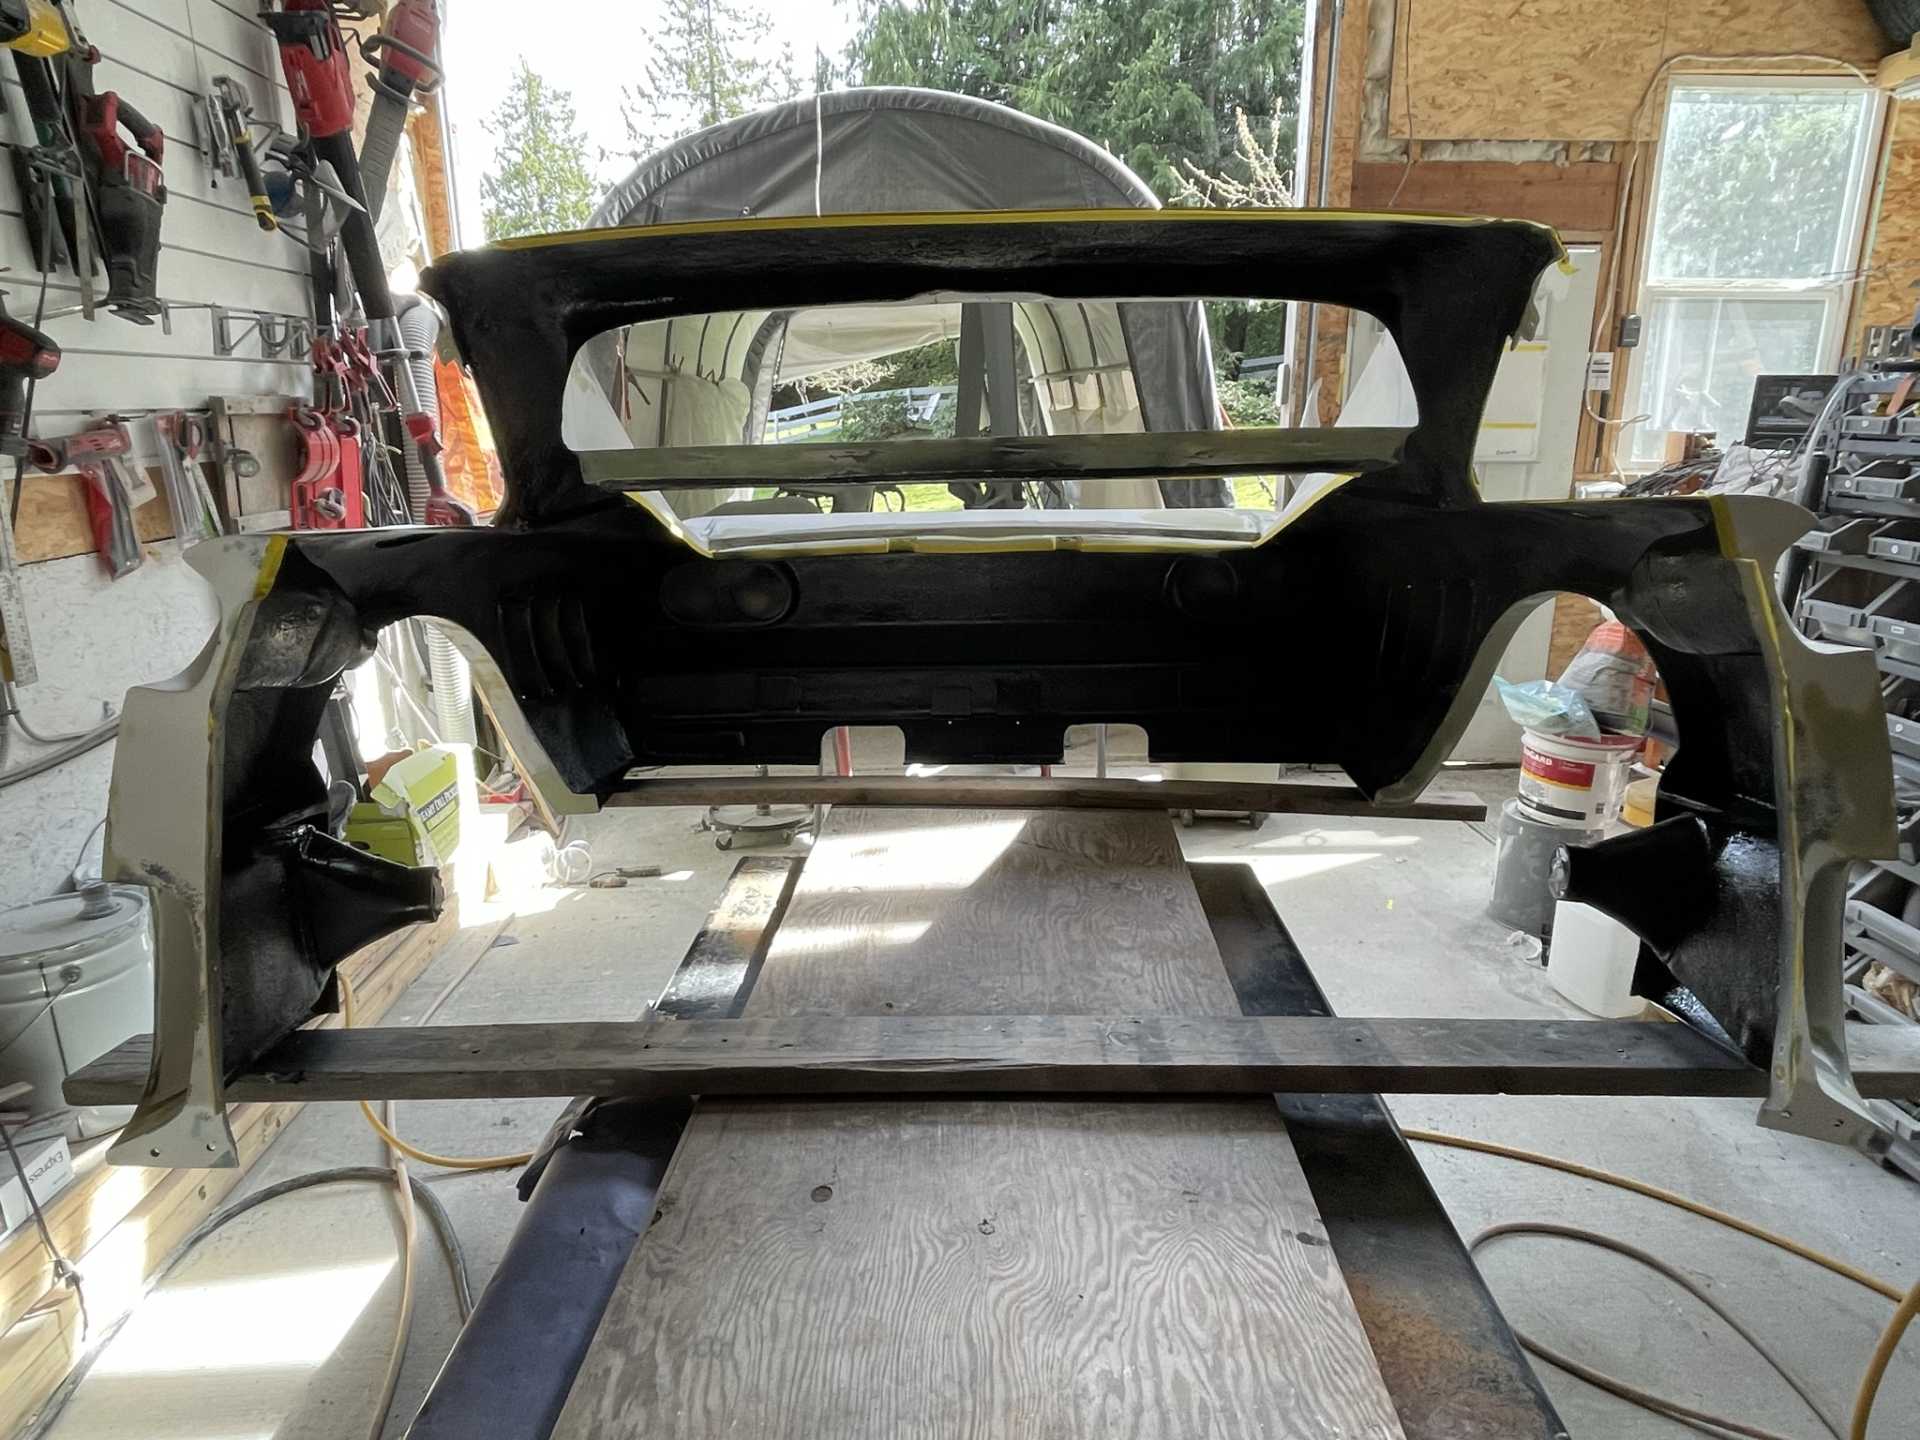
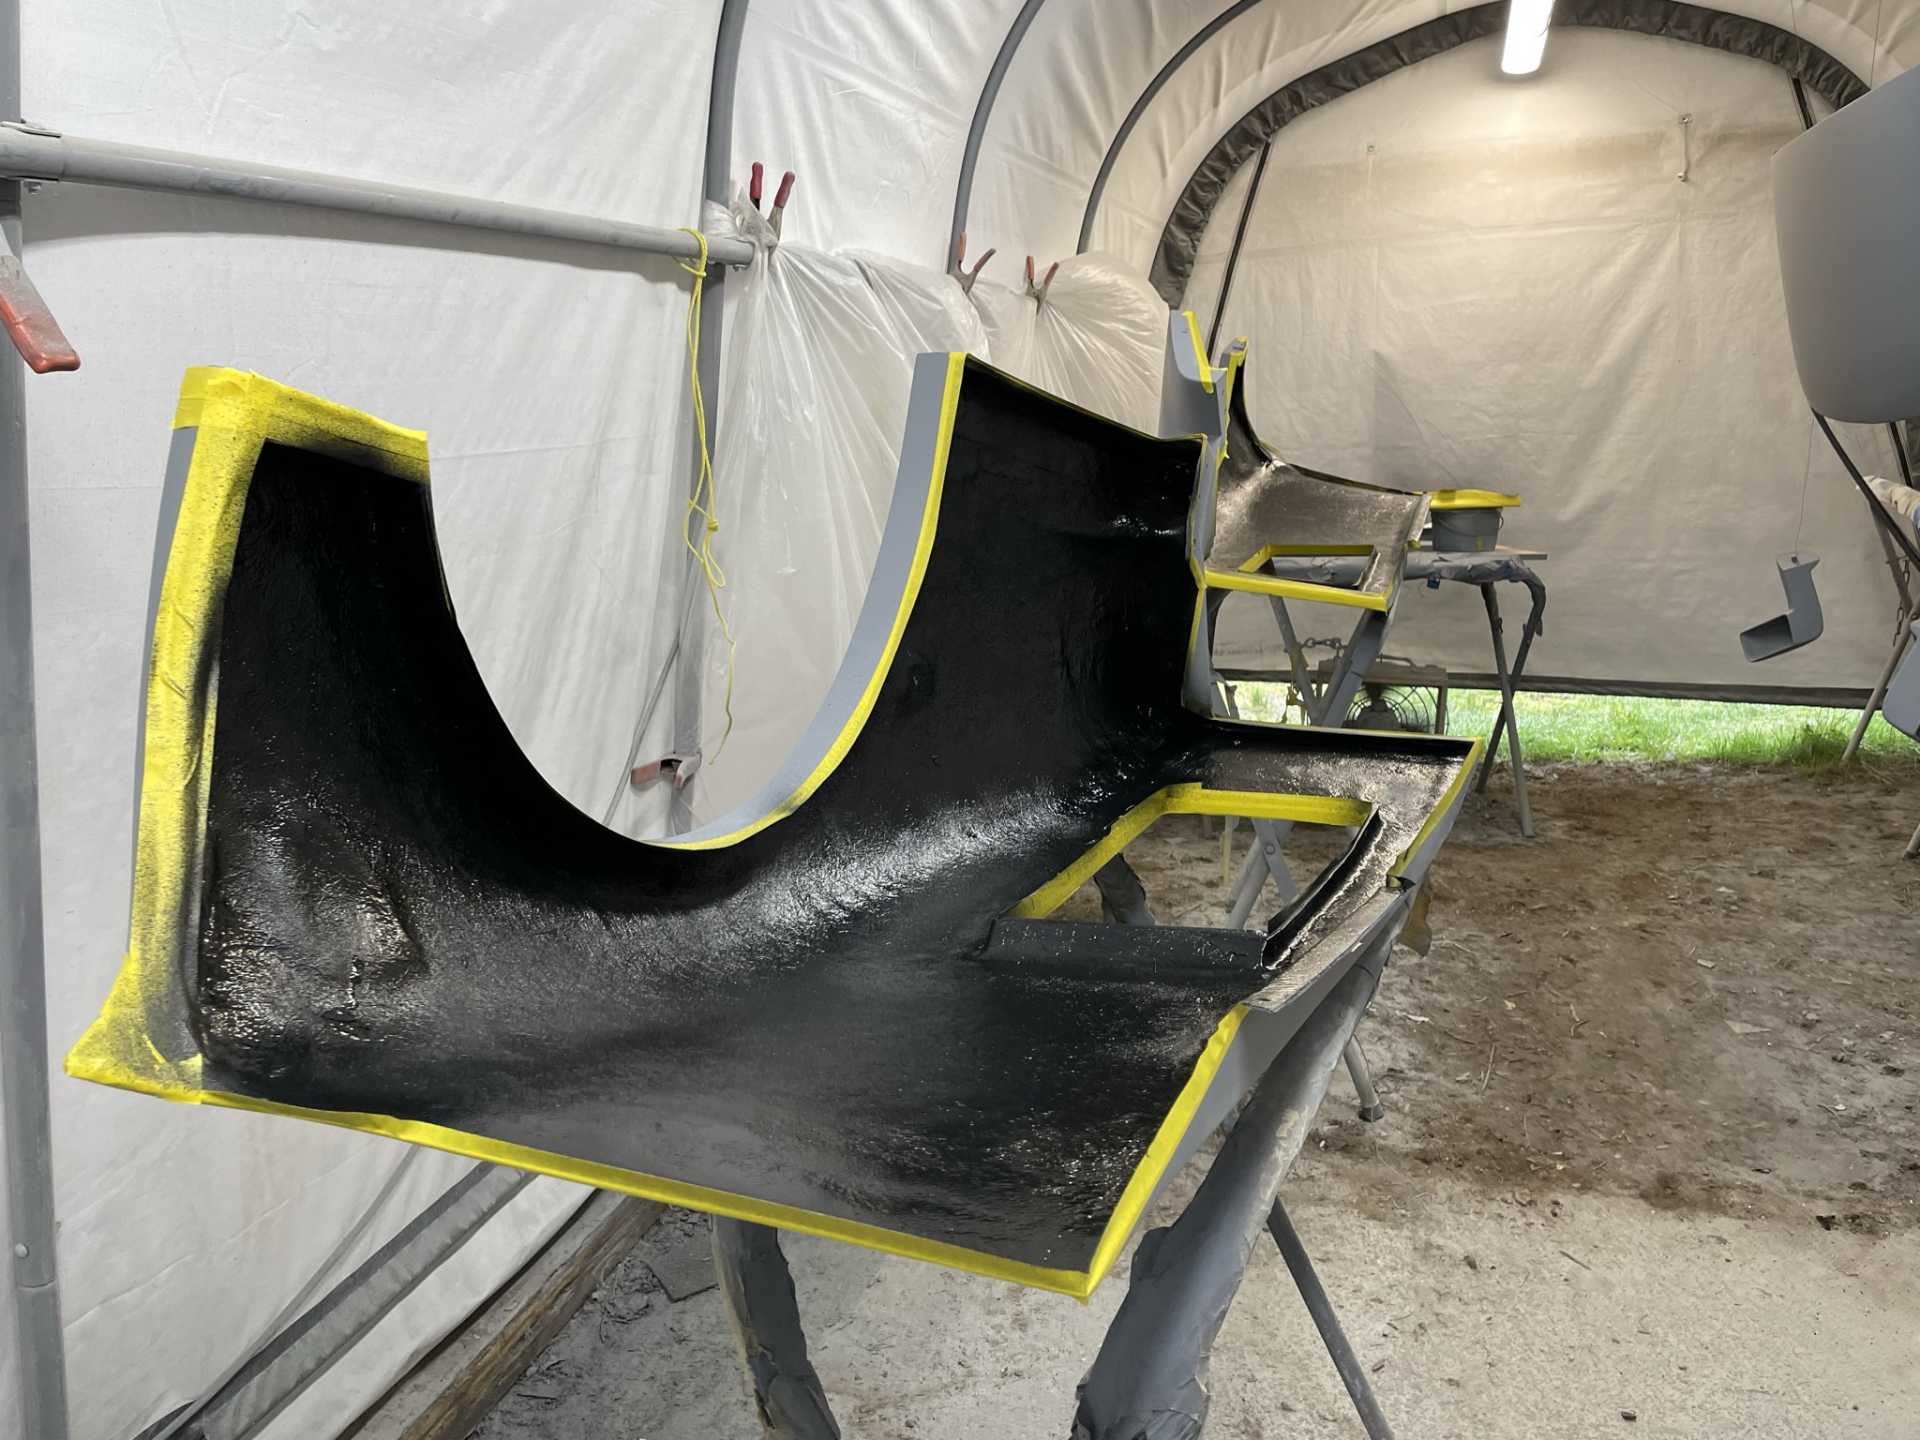
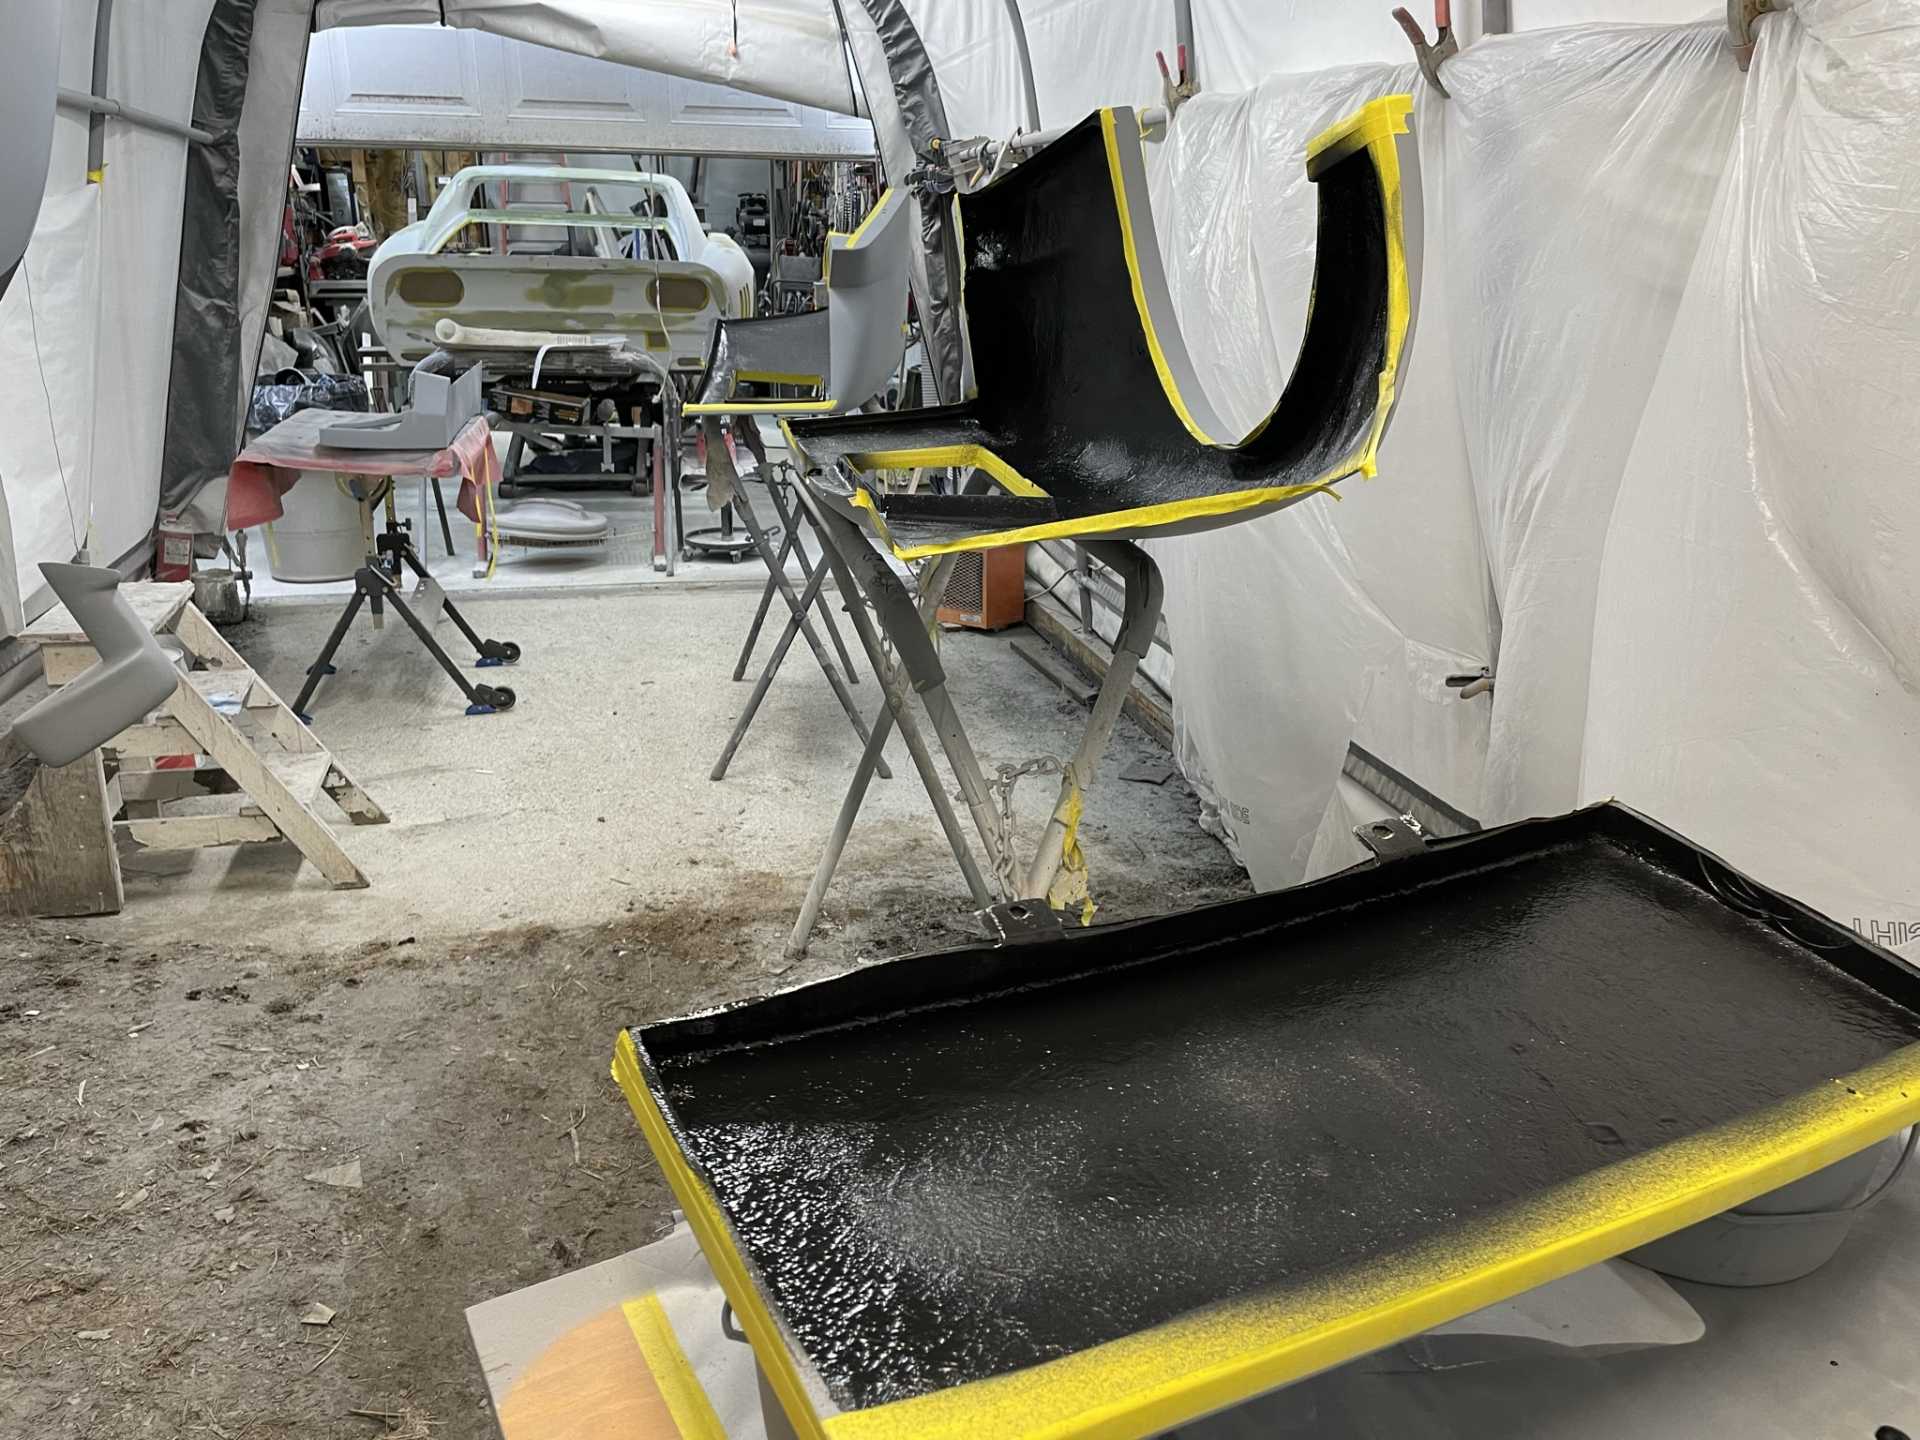
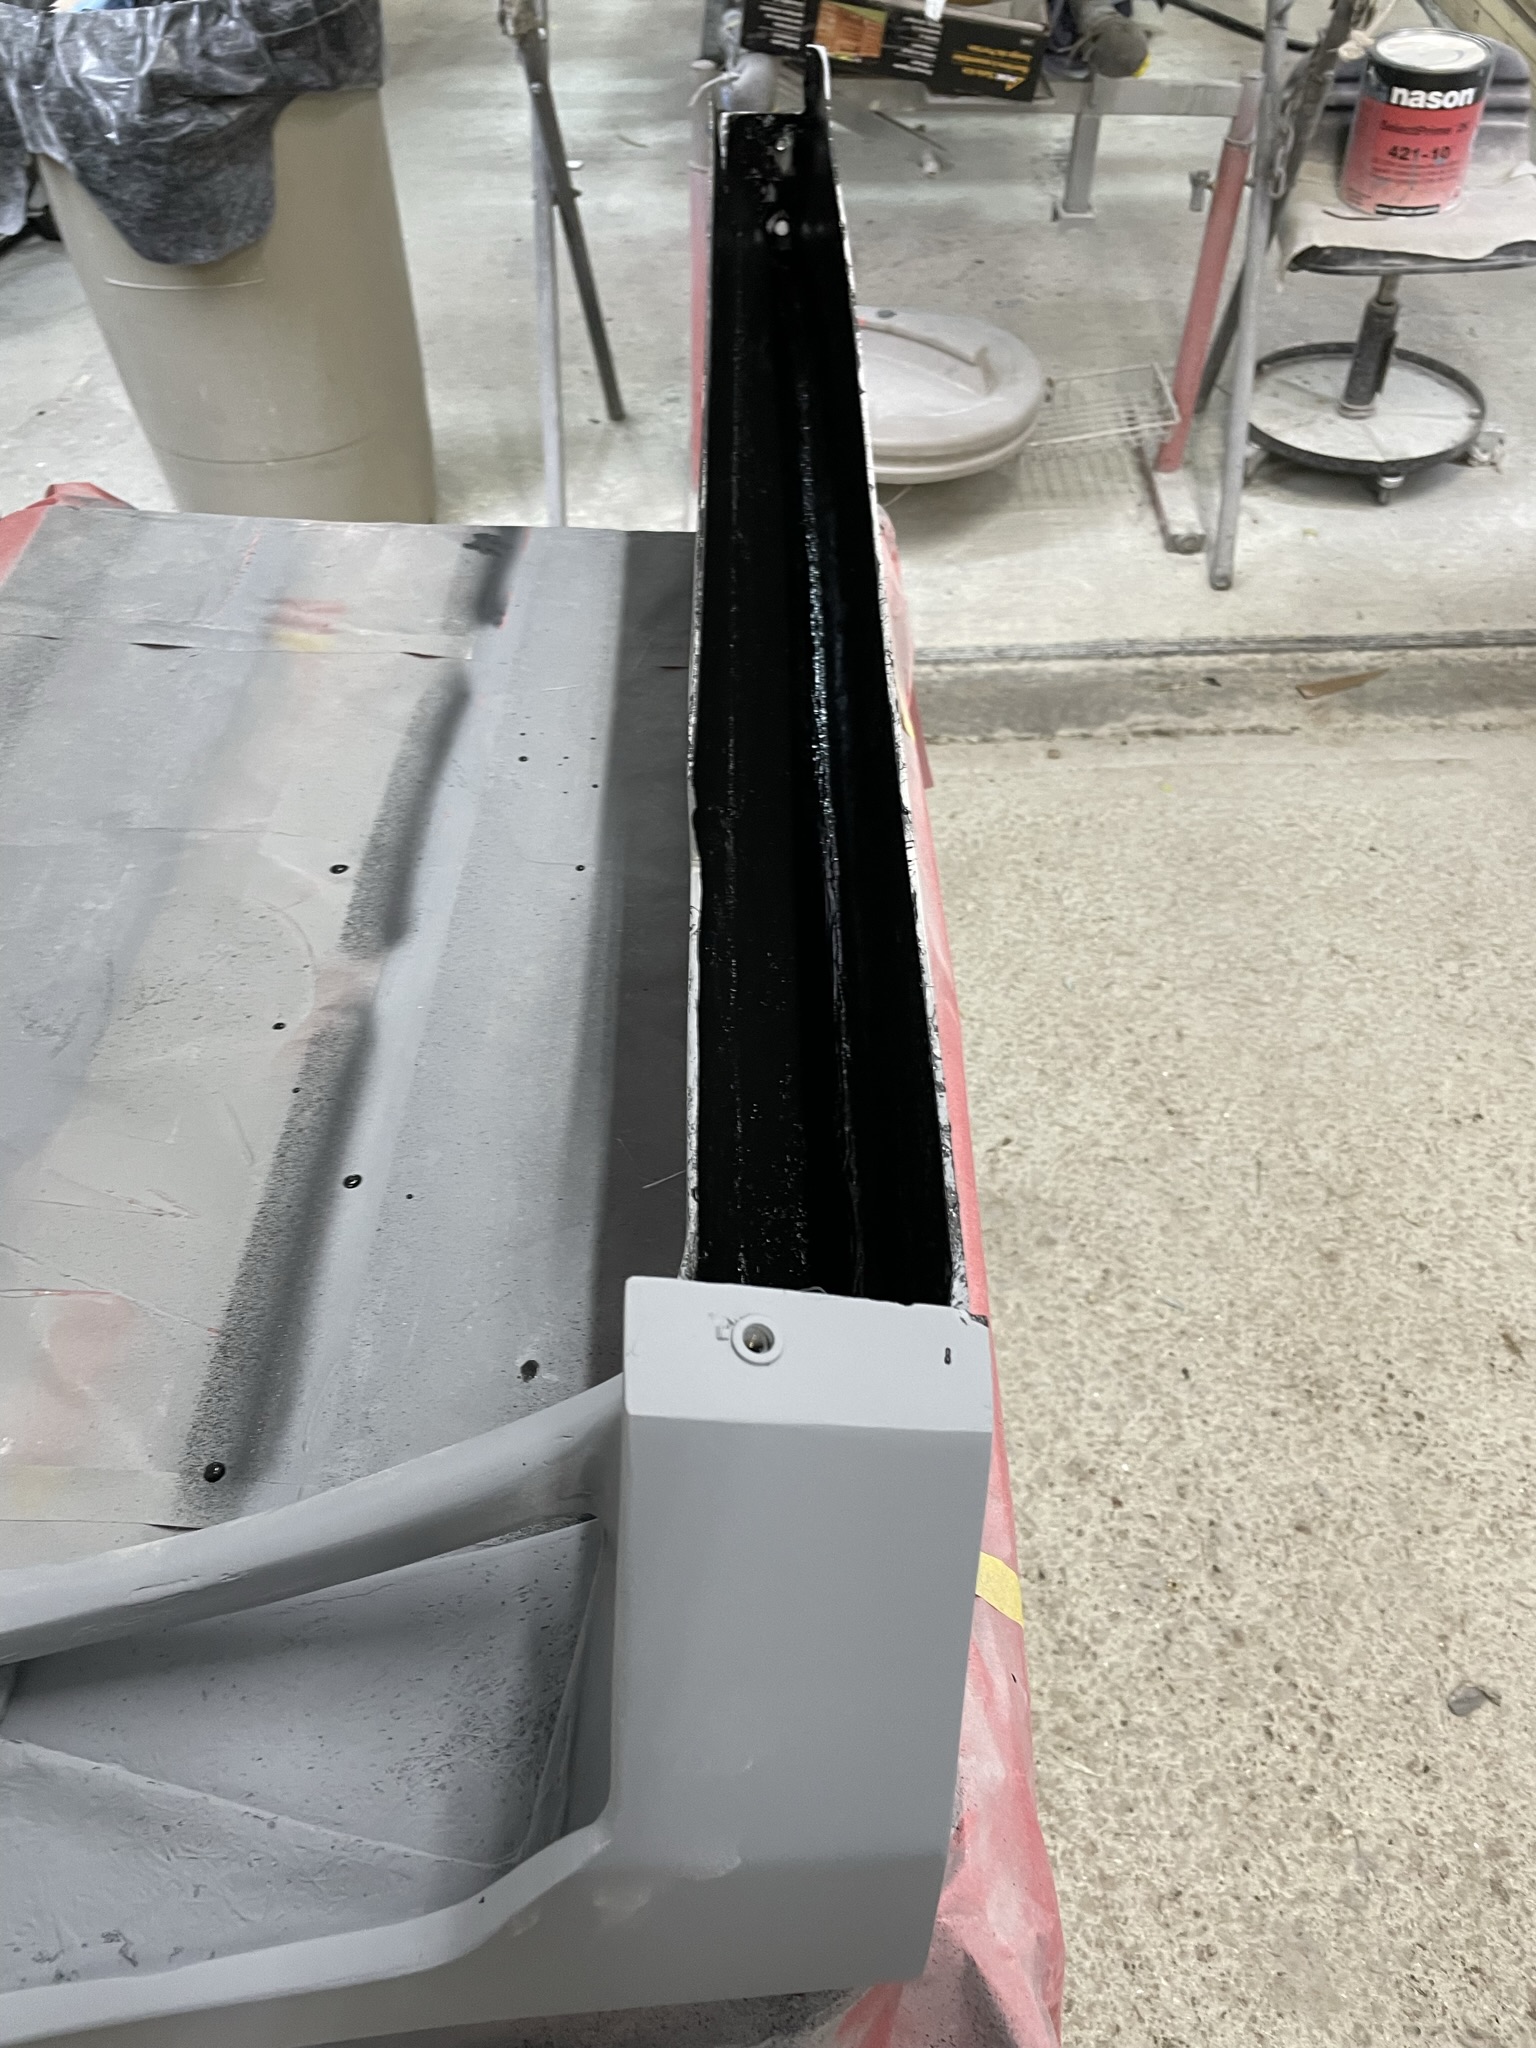
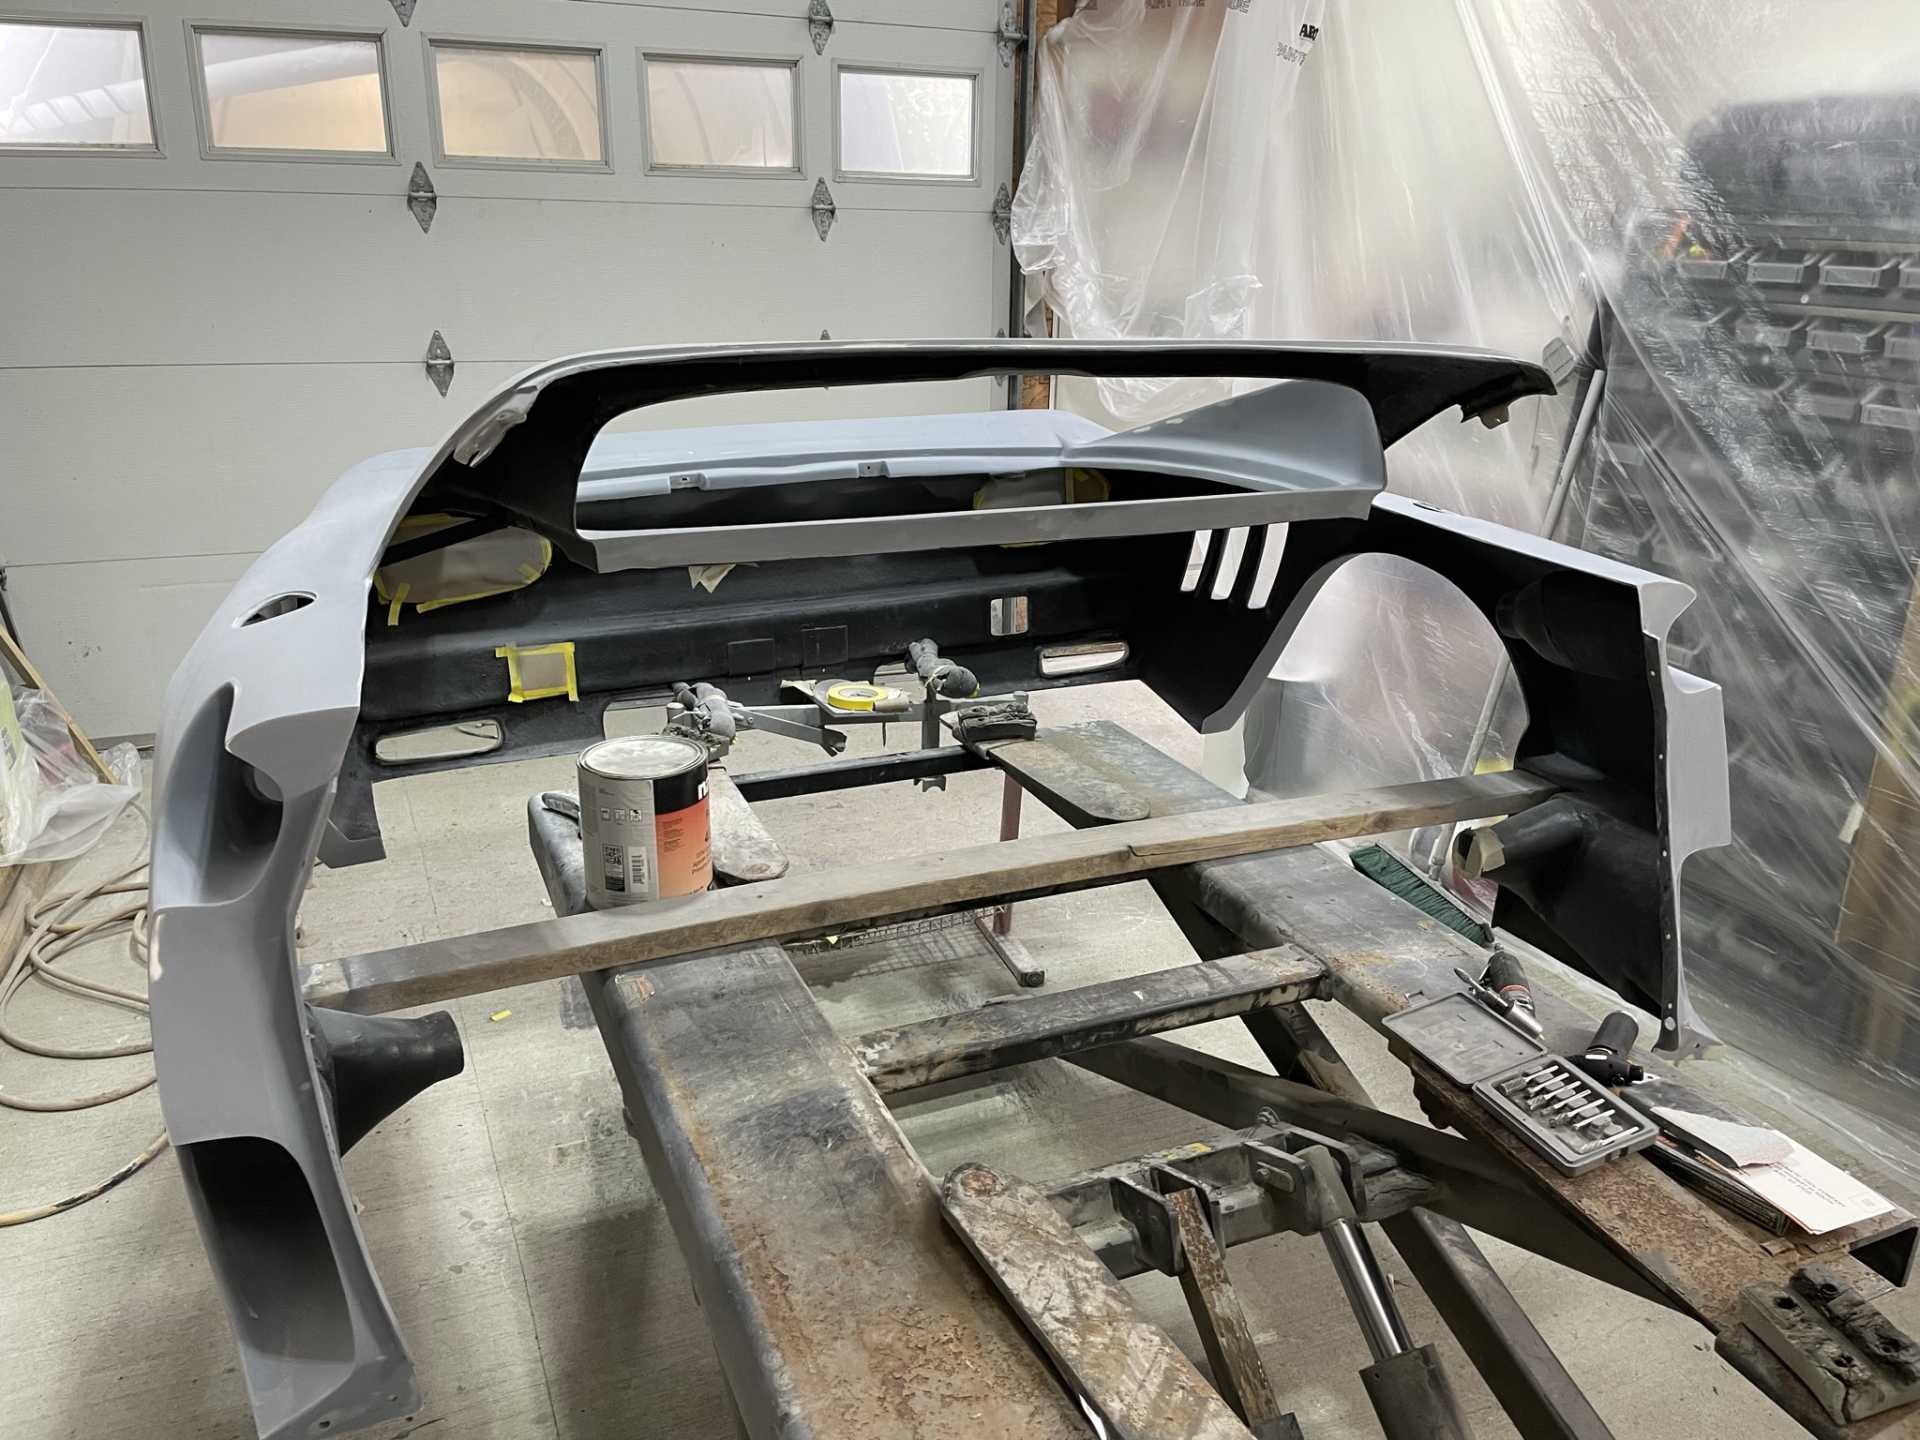
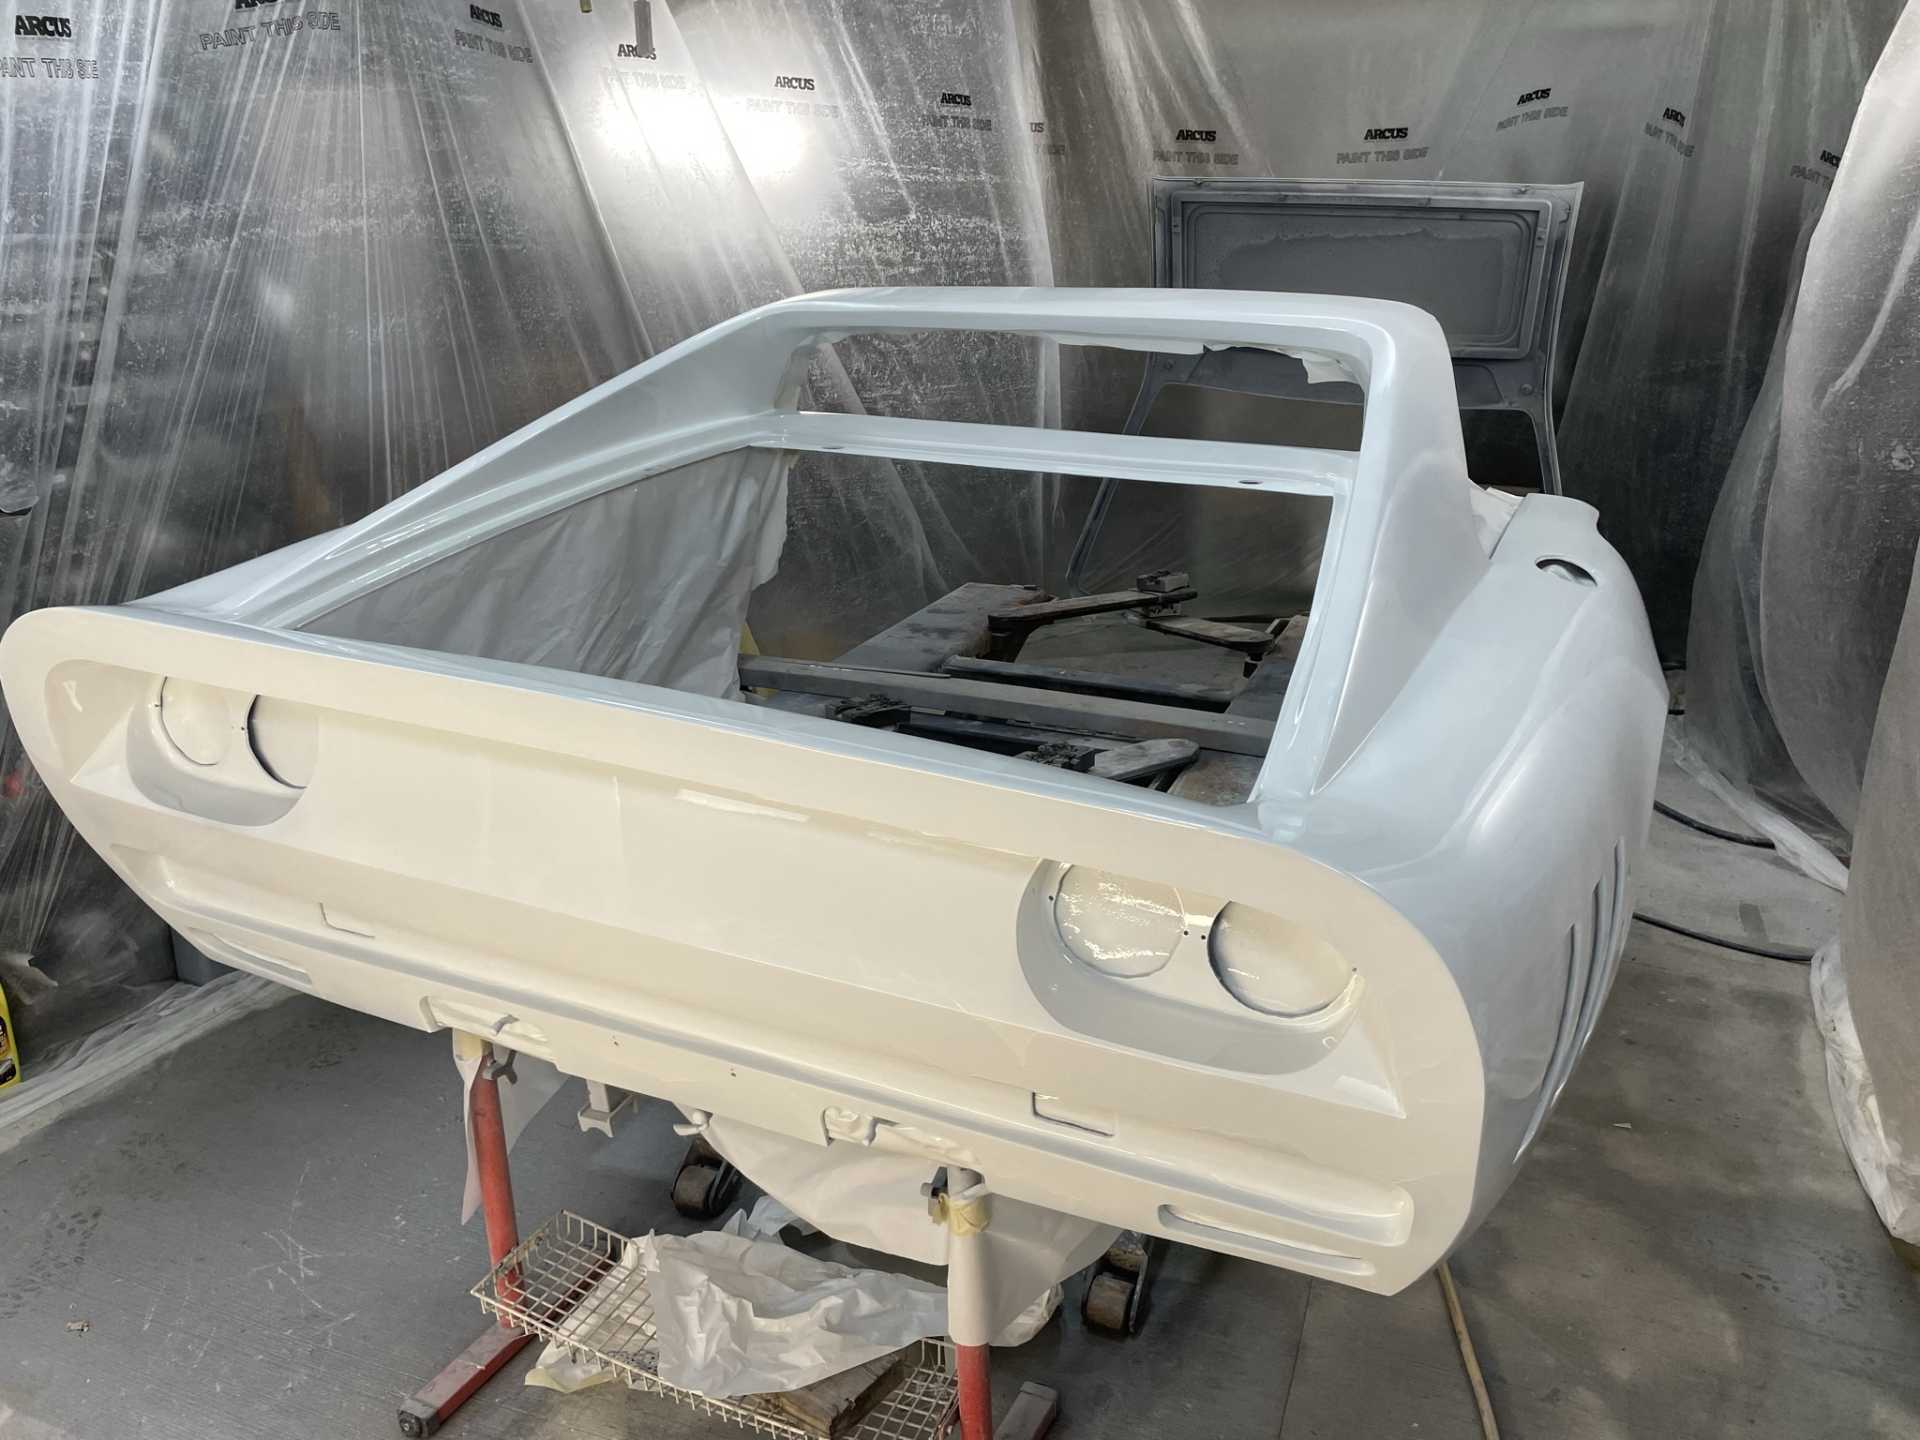
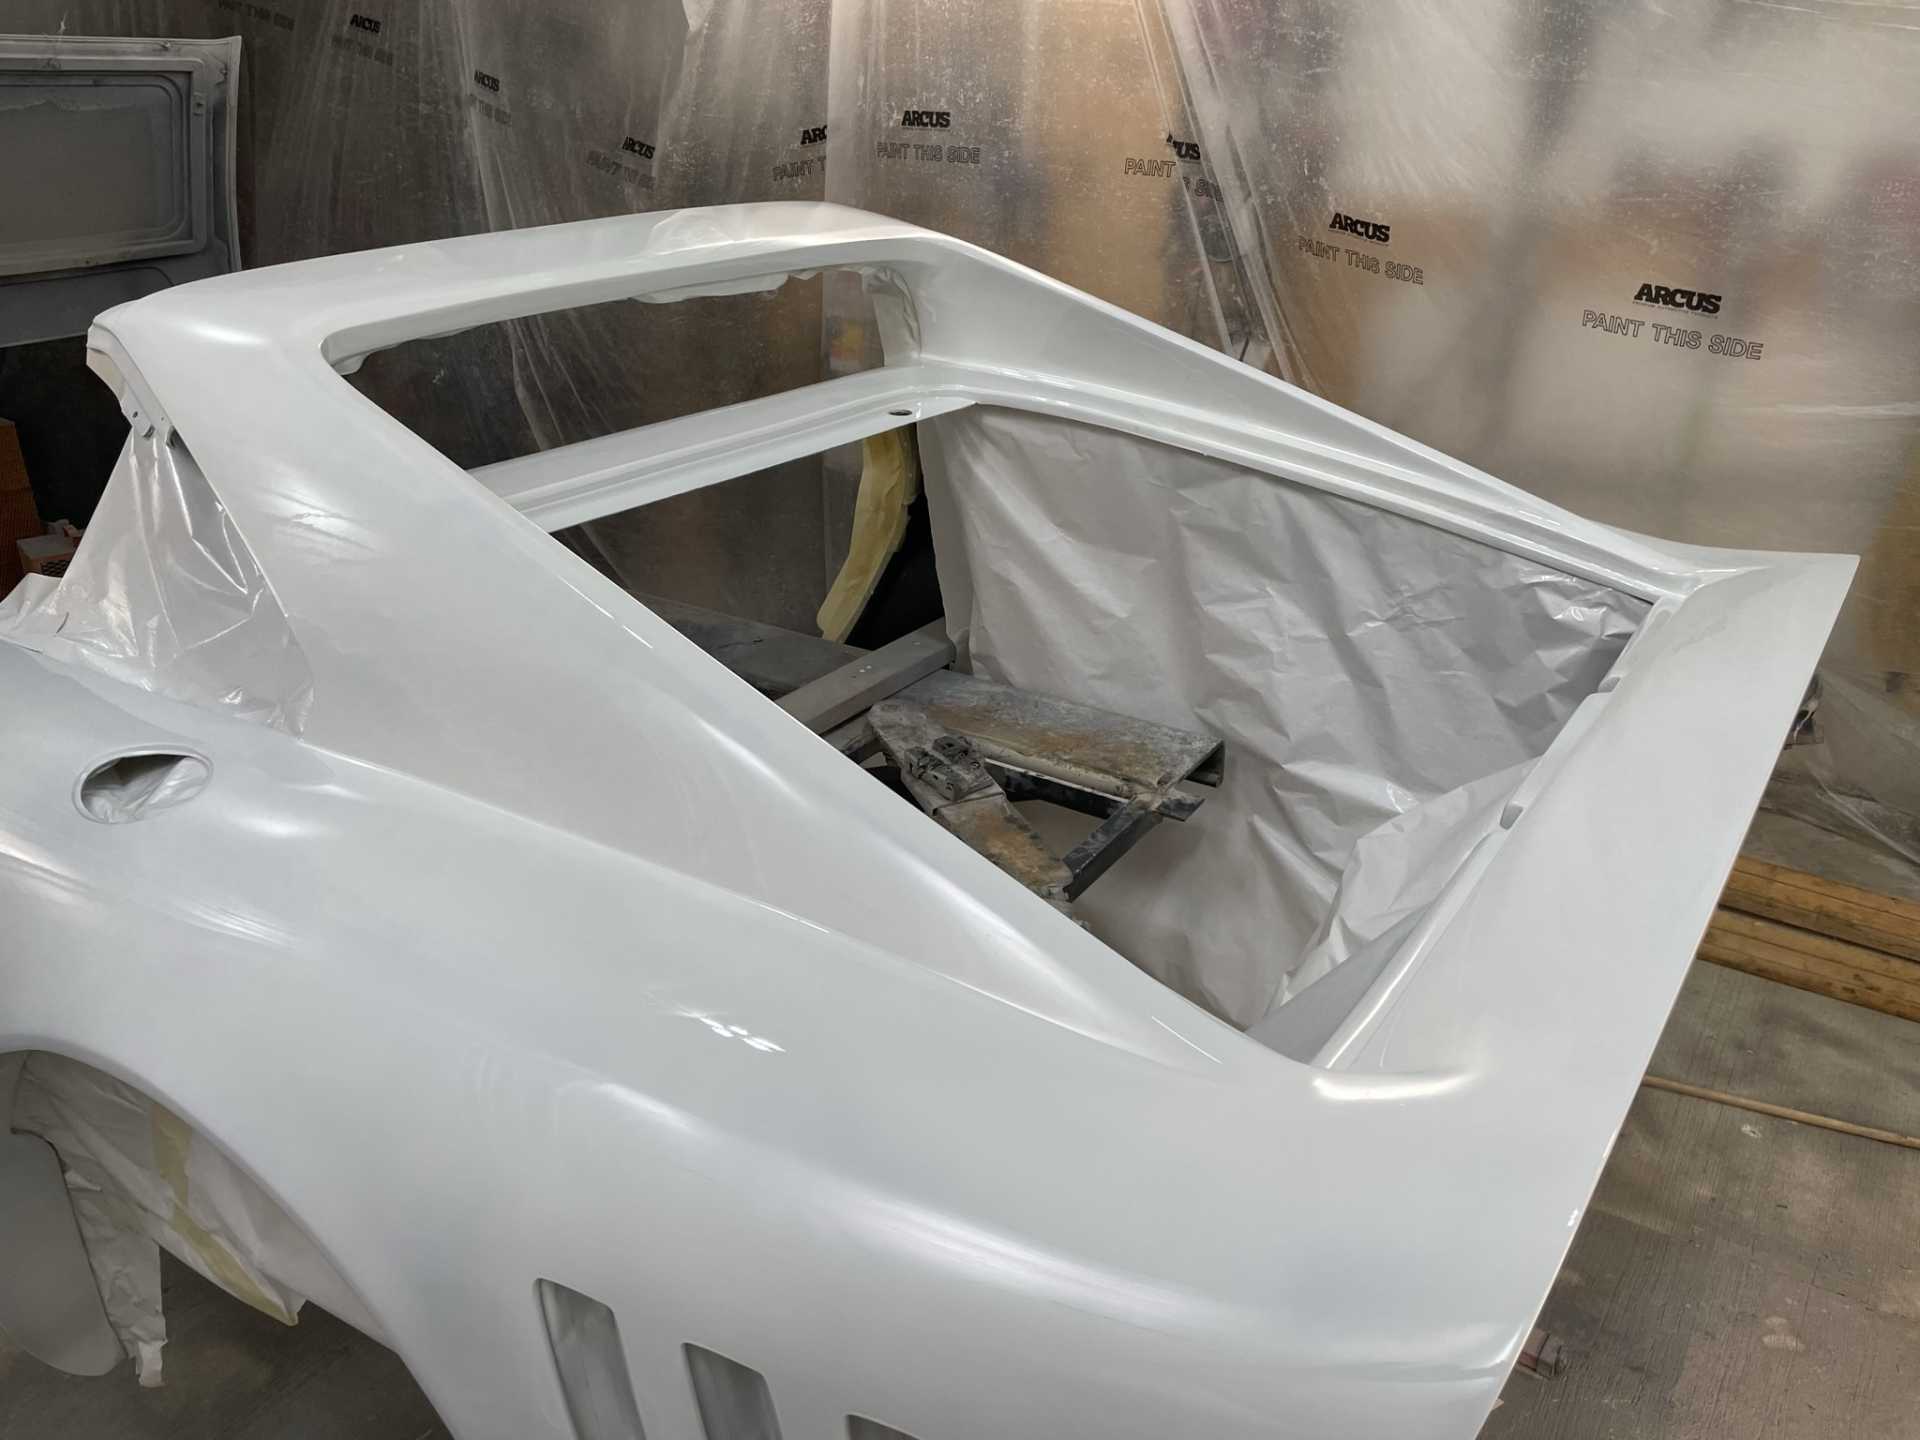
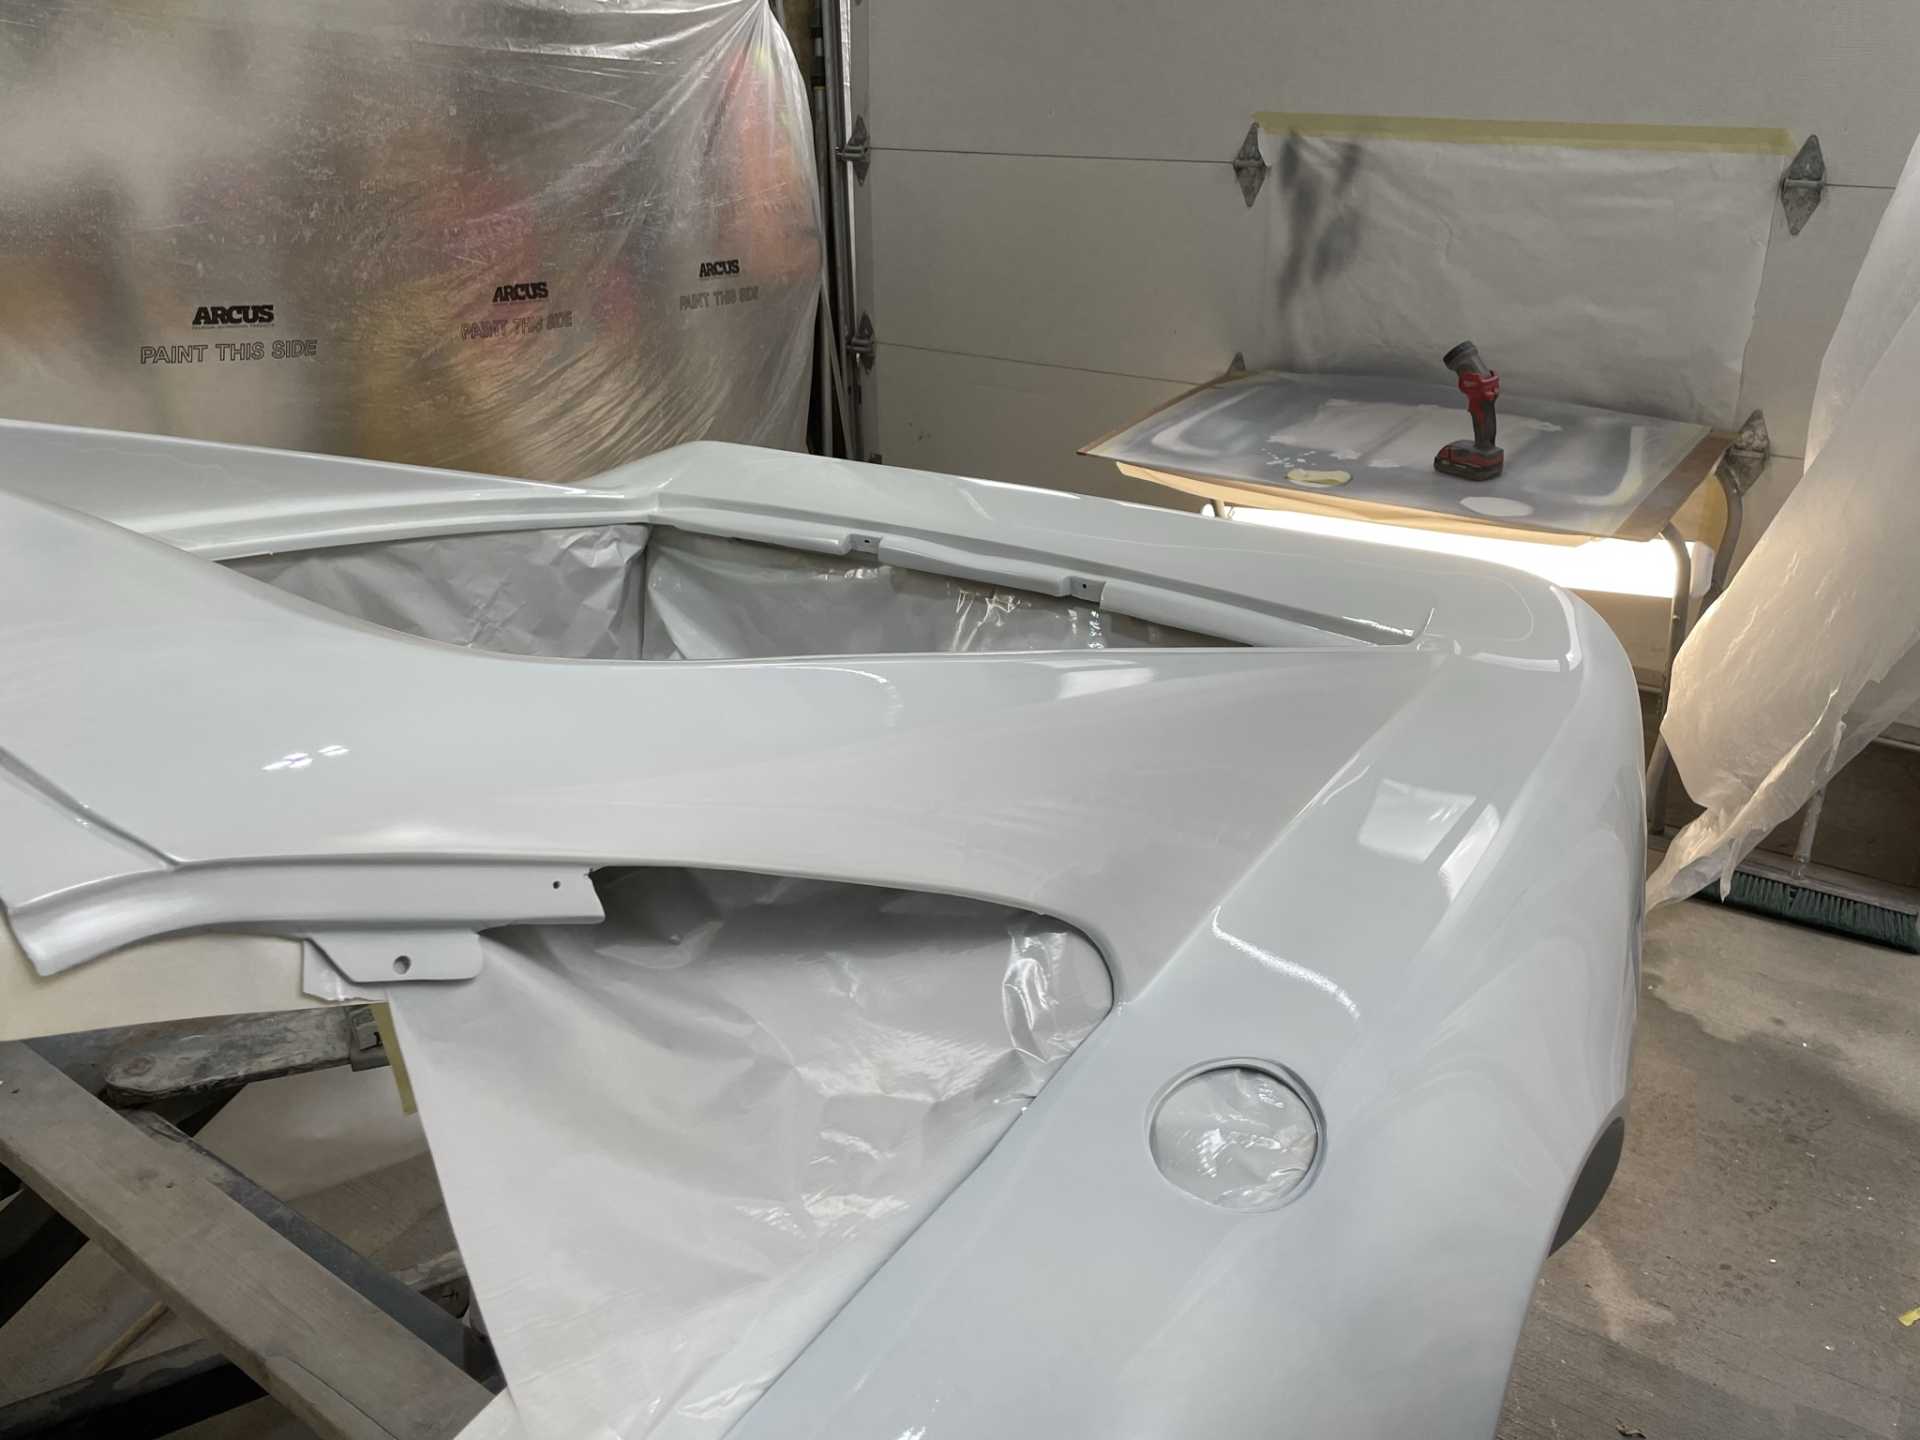
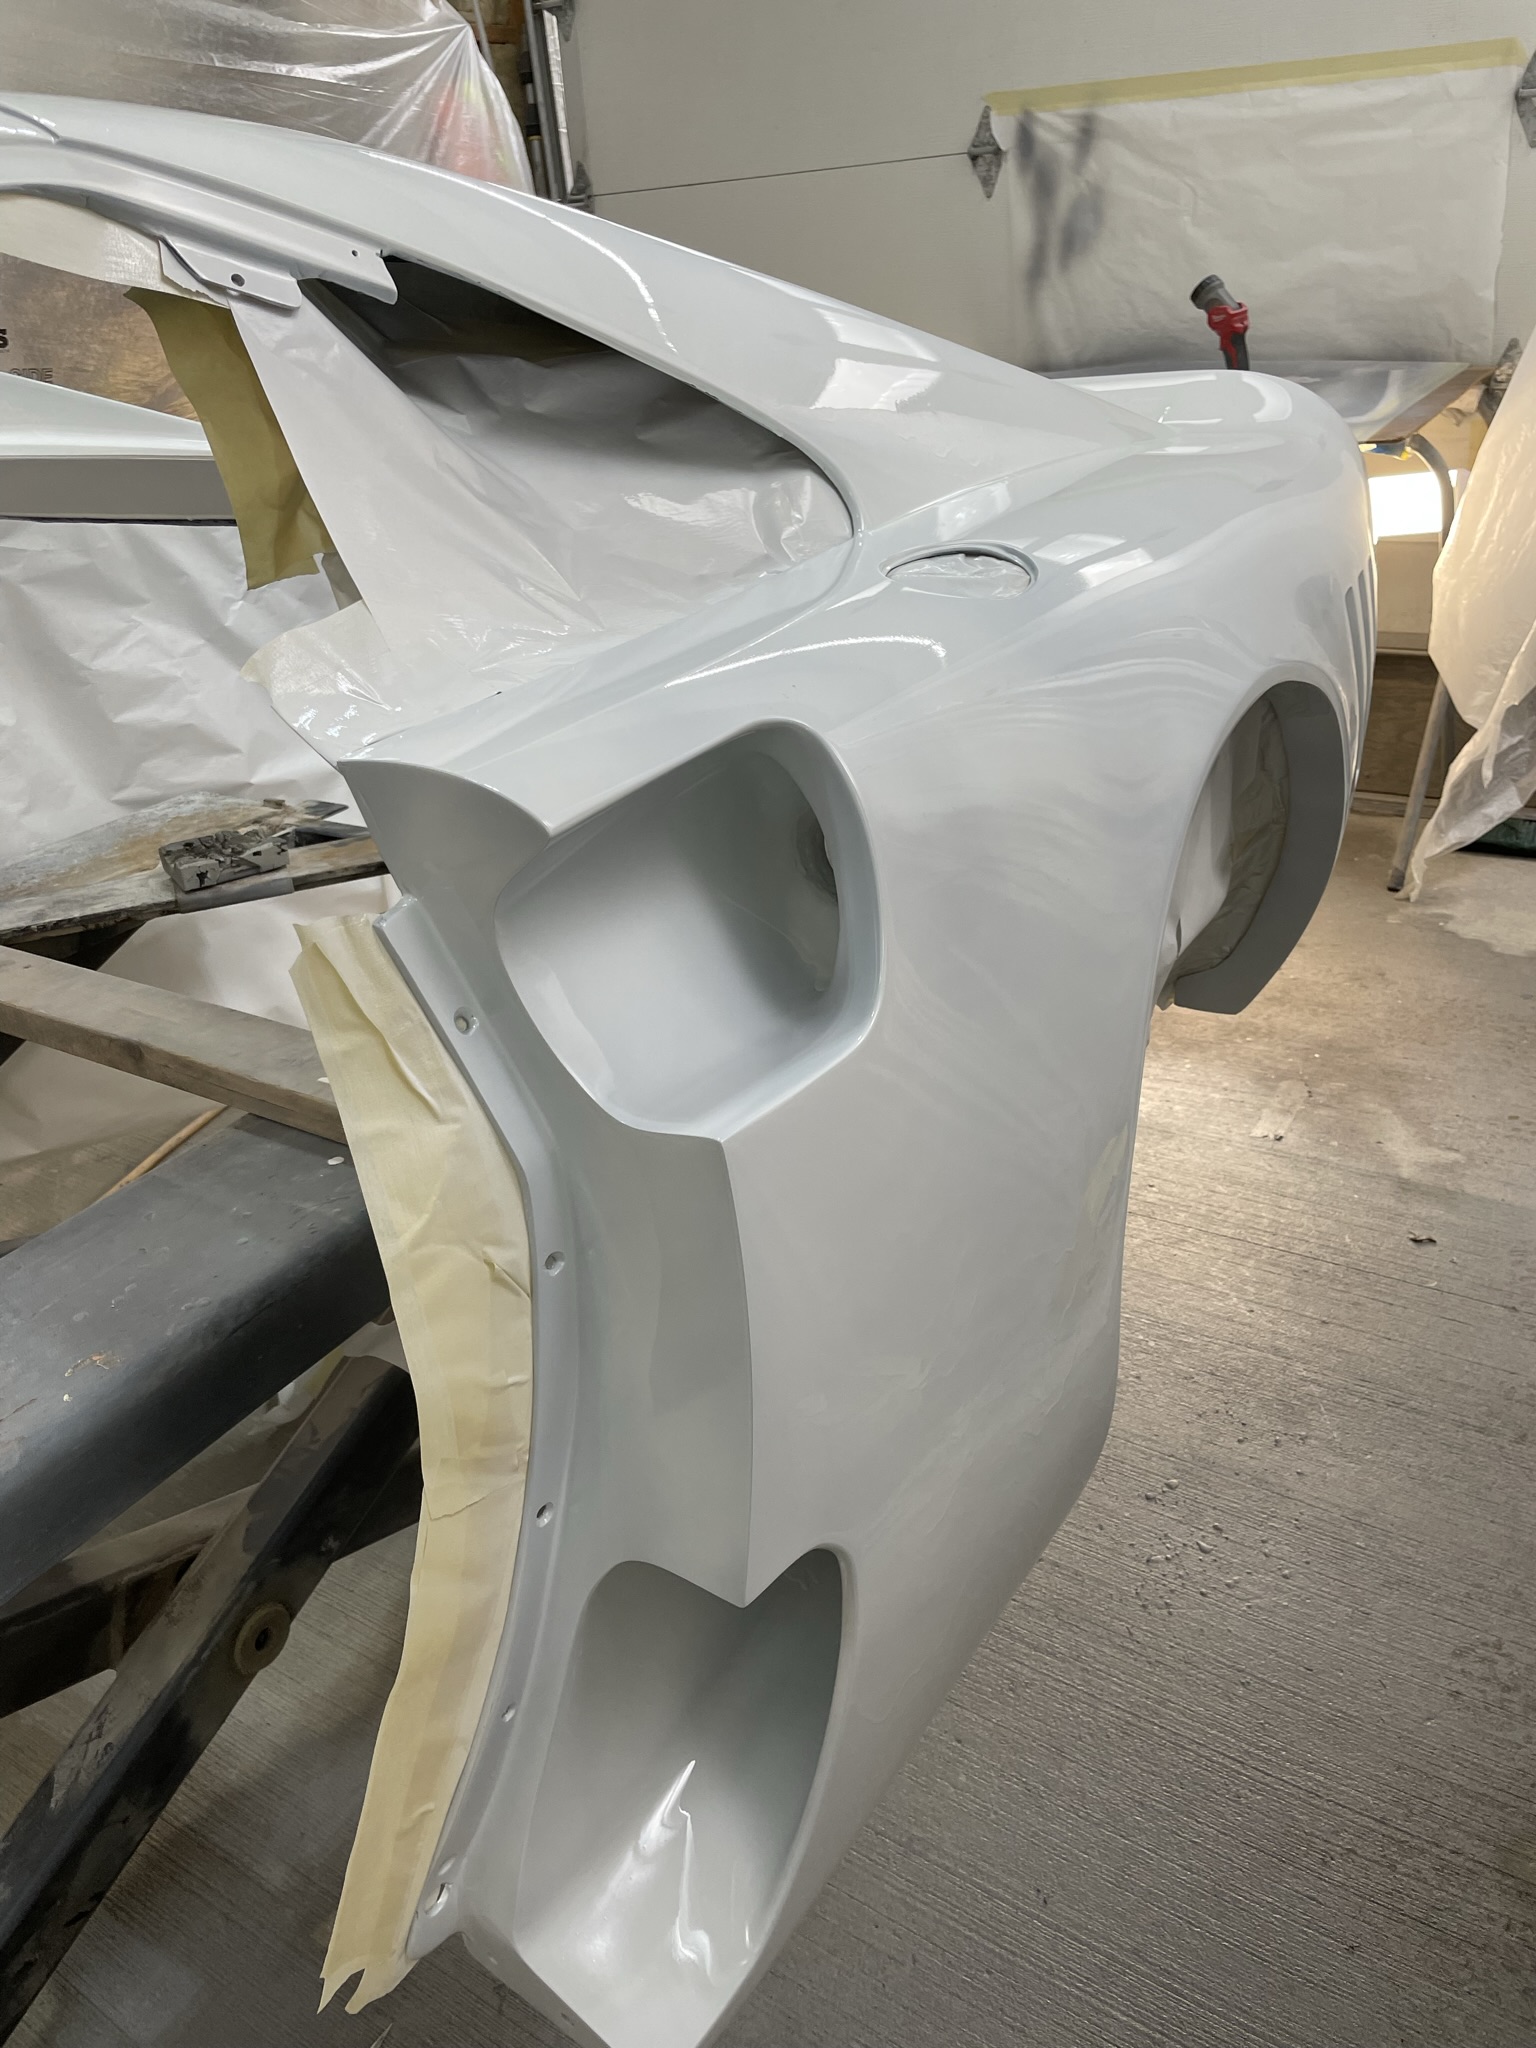
Well only one day late in painting my car, after accumulating all the products to paint I neglected to get a the paint activator. Fortunately it was delivered this morning by an employee of the paint supplier. So after two hours painting I’m pretty happy a couple runs I will have to address. I’ll give it a couple of days to cure then mount the body and it’s back to the muffler man to finish his install.
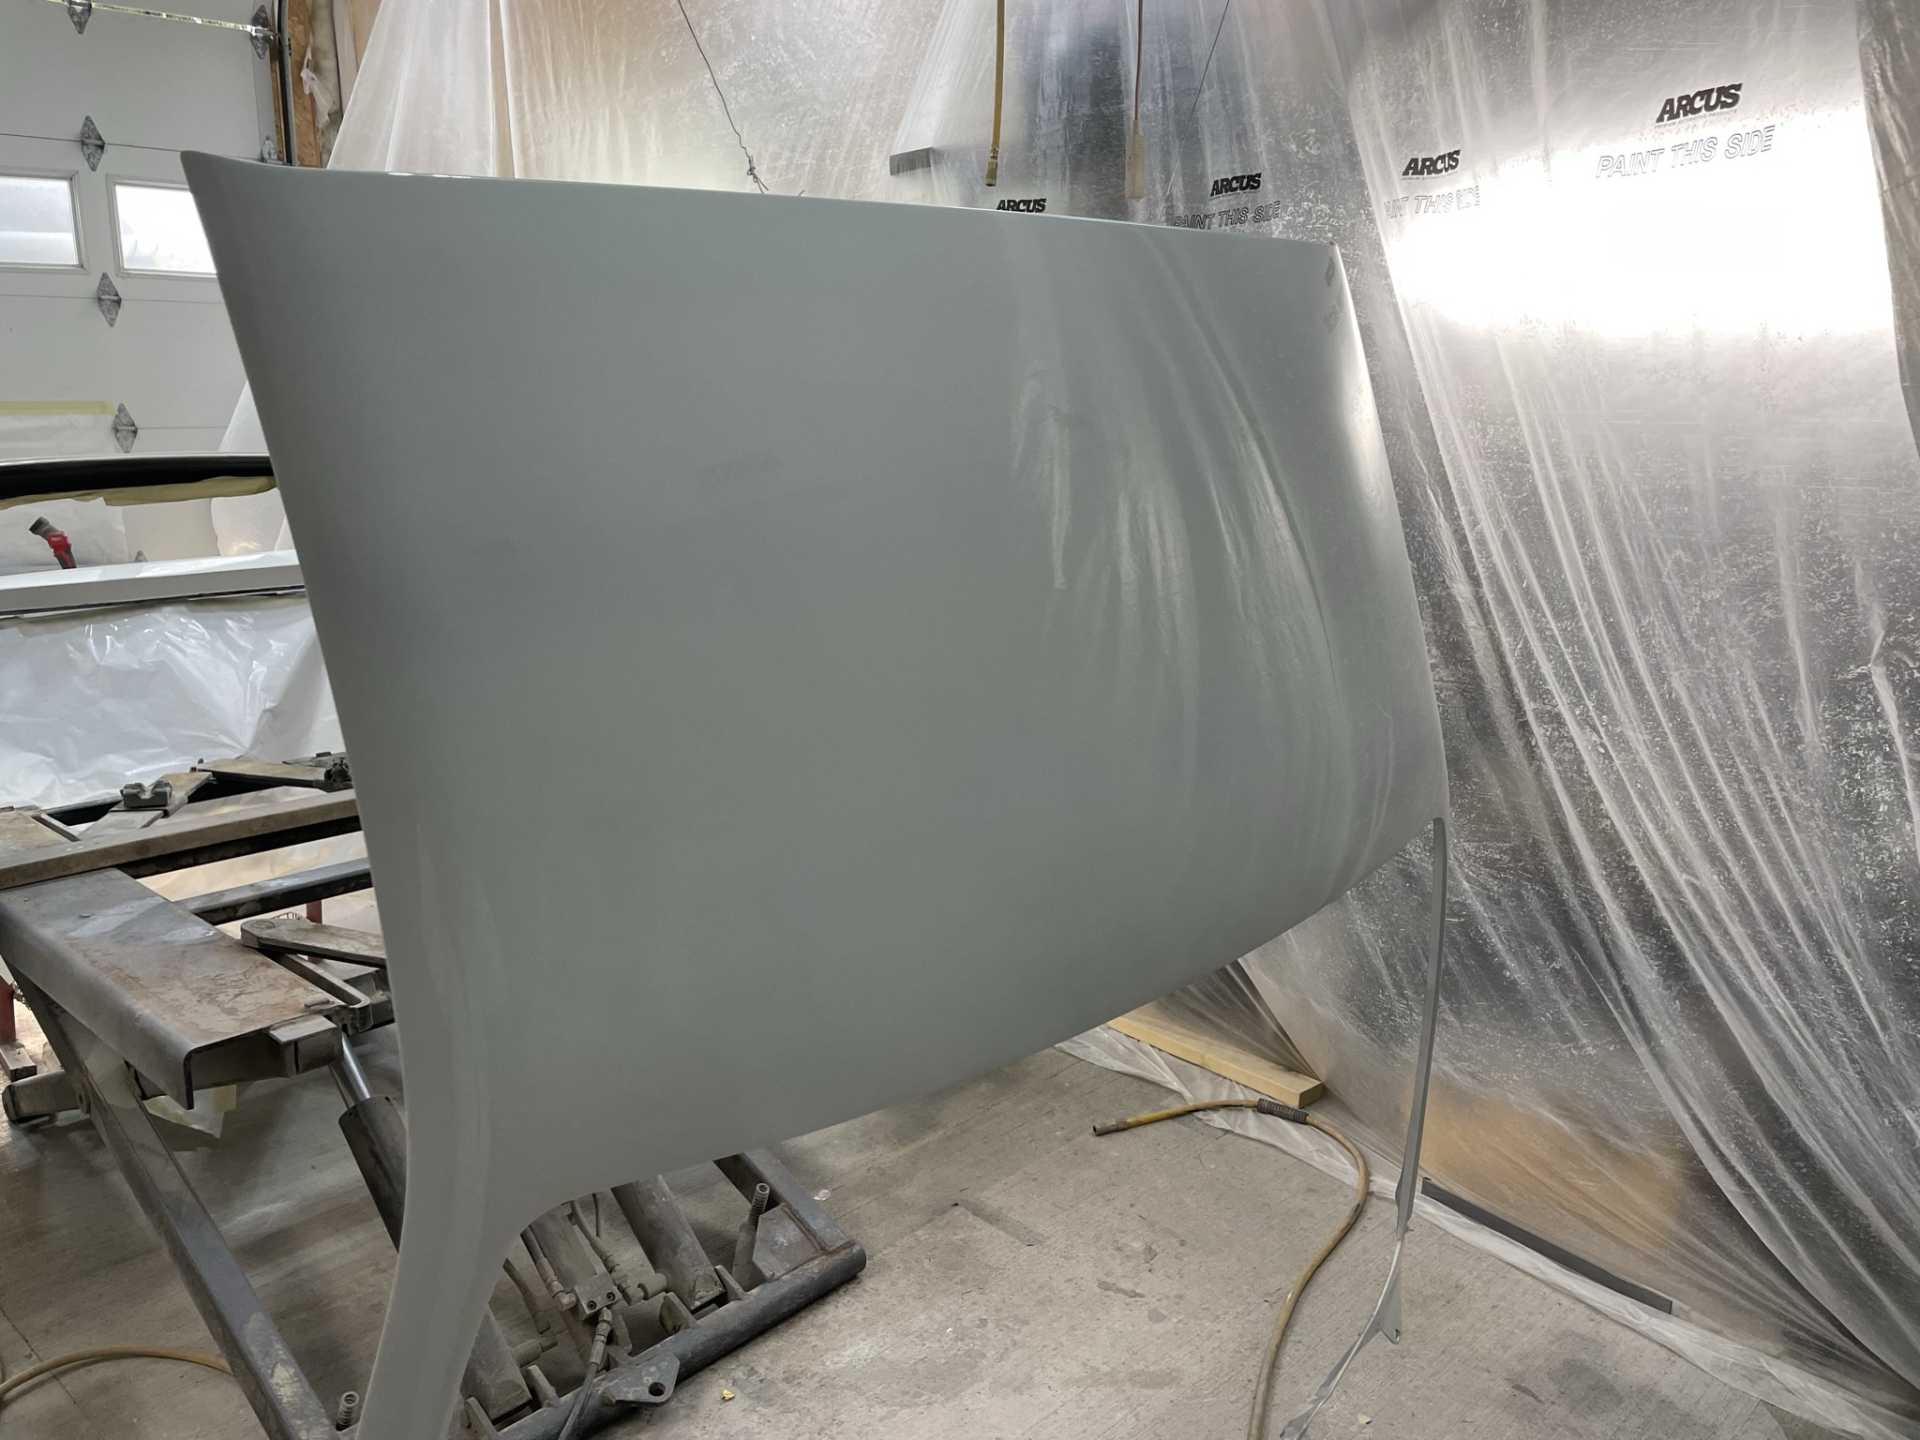
More to come
Stay safe
Wayne
|
|
|
|
pcgold
|
MAY 07, 12:35 PM
|
|
|
Beautiful. Simply beautiful.
|
|
|
|
shemdogg
|
MAY 07, 03:25 PM
|
|
|
|
|
dobie1
|
MAY 07, 08:15 PM
|
|
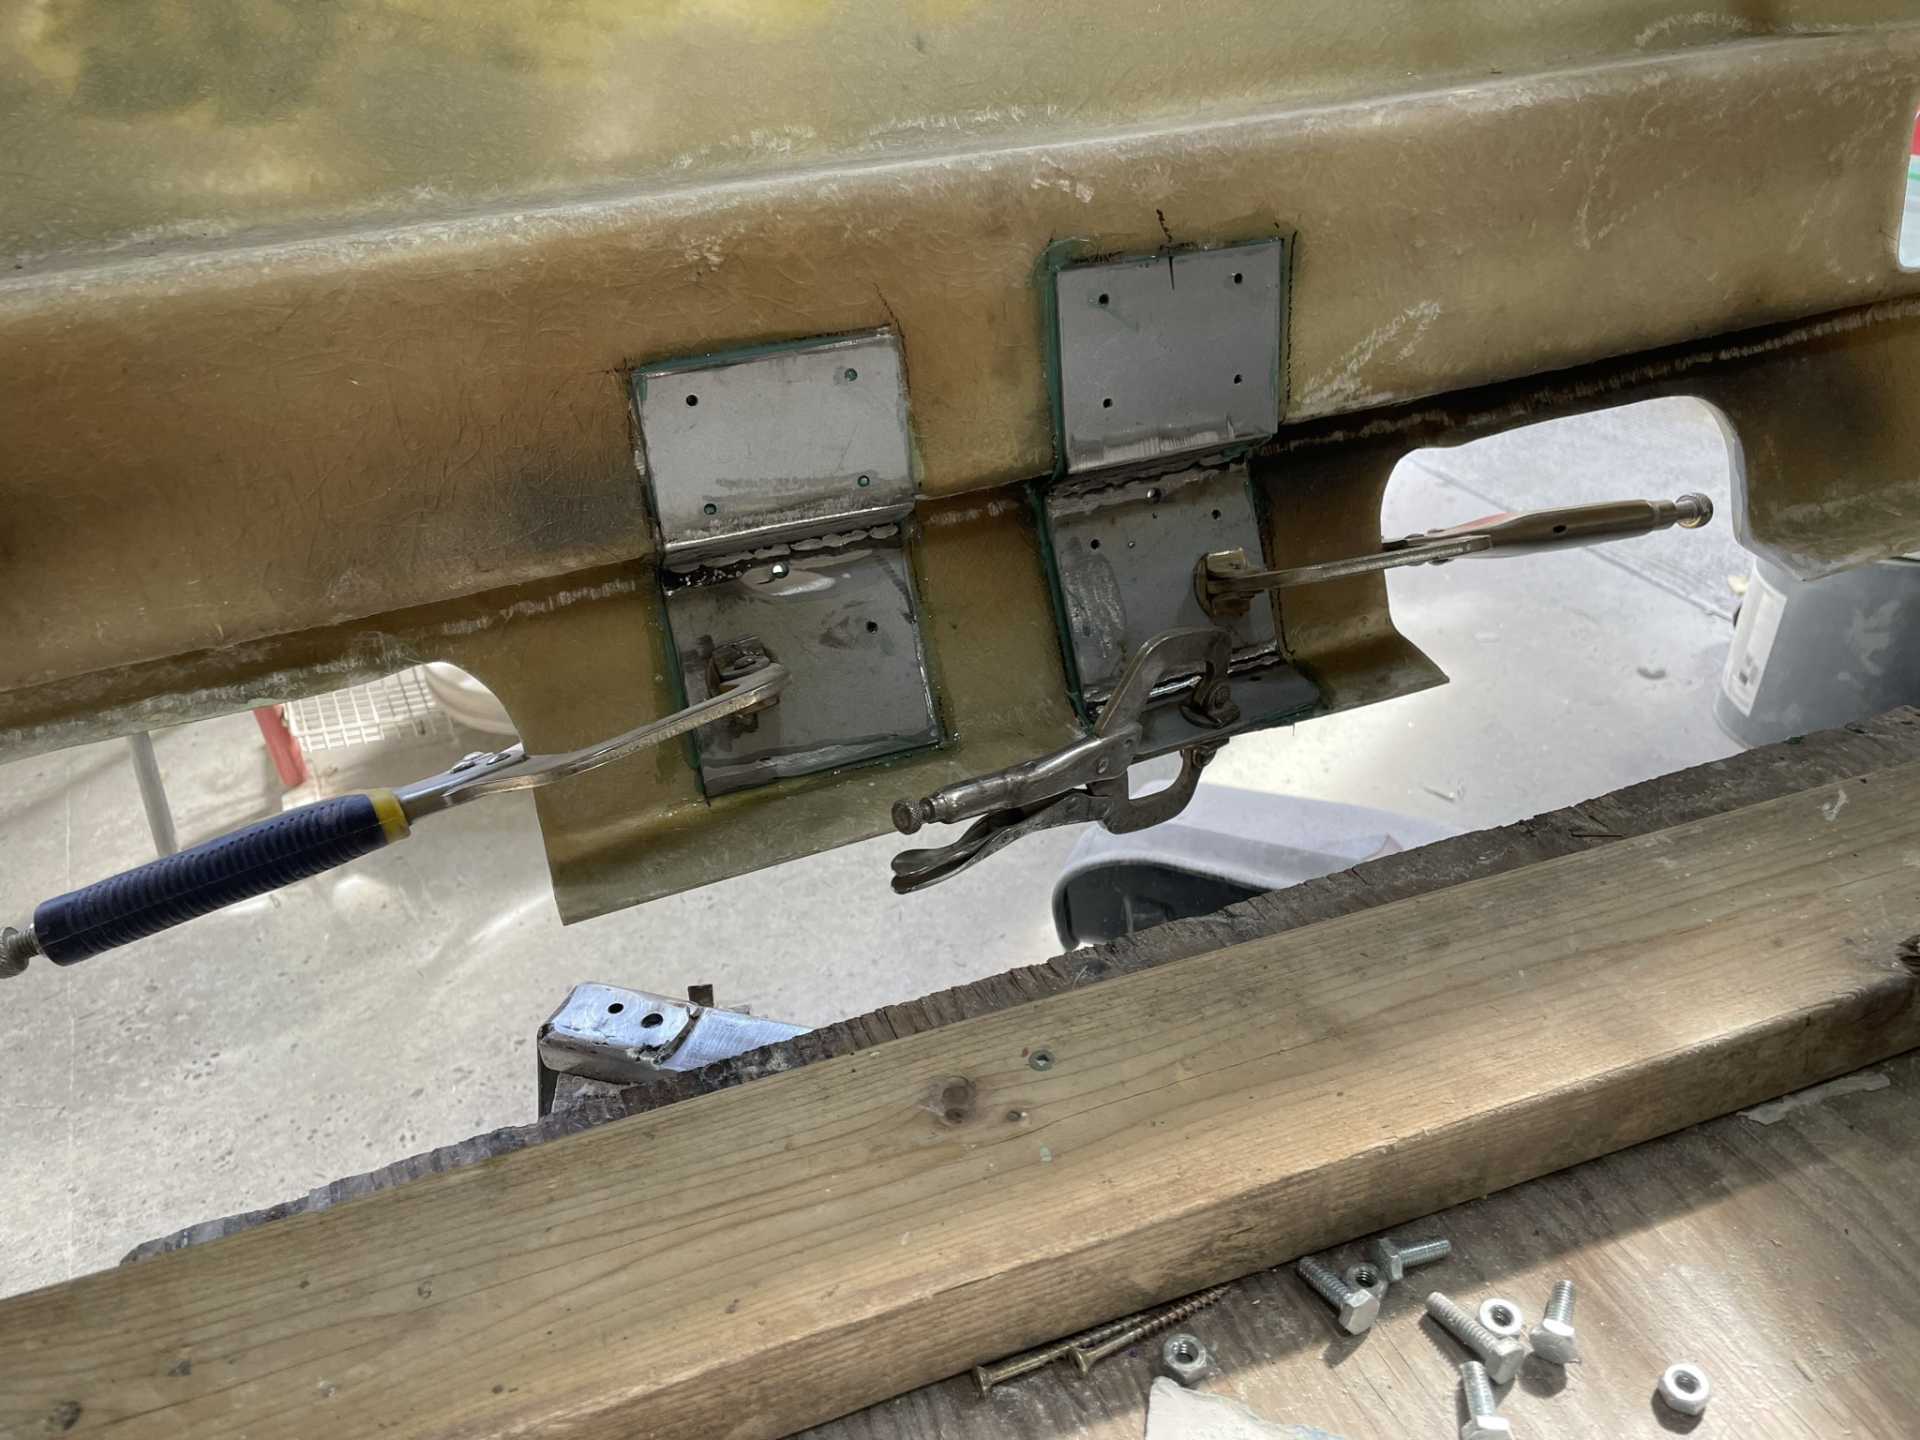
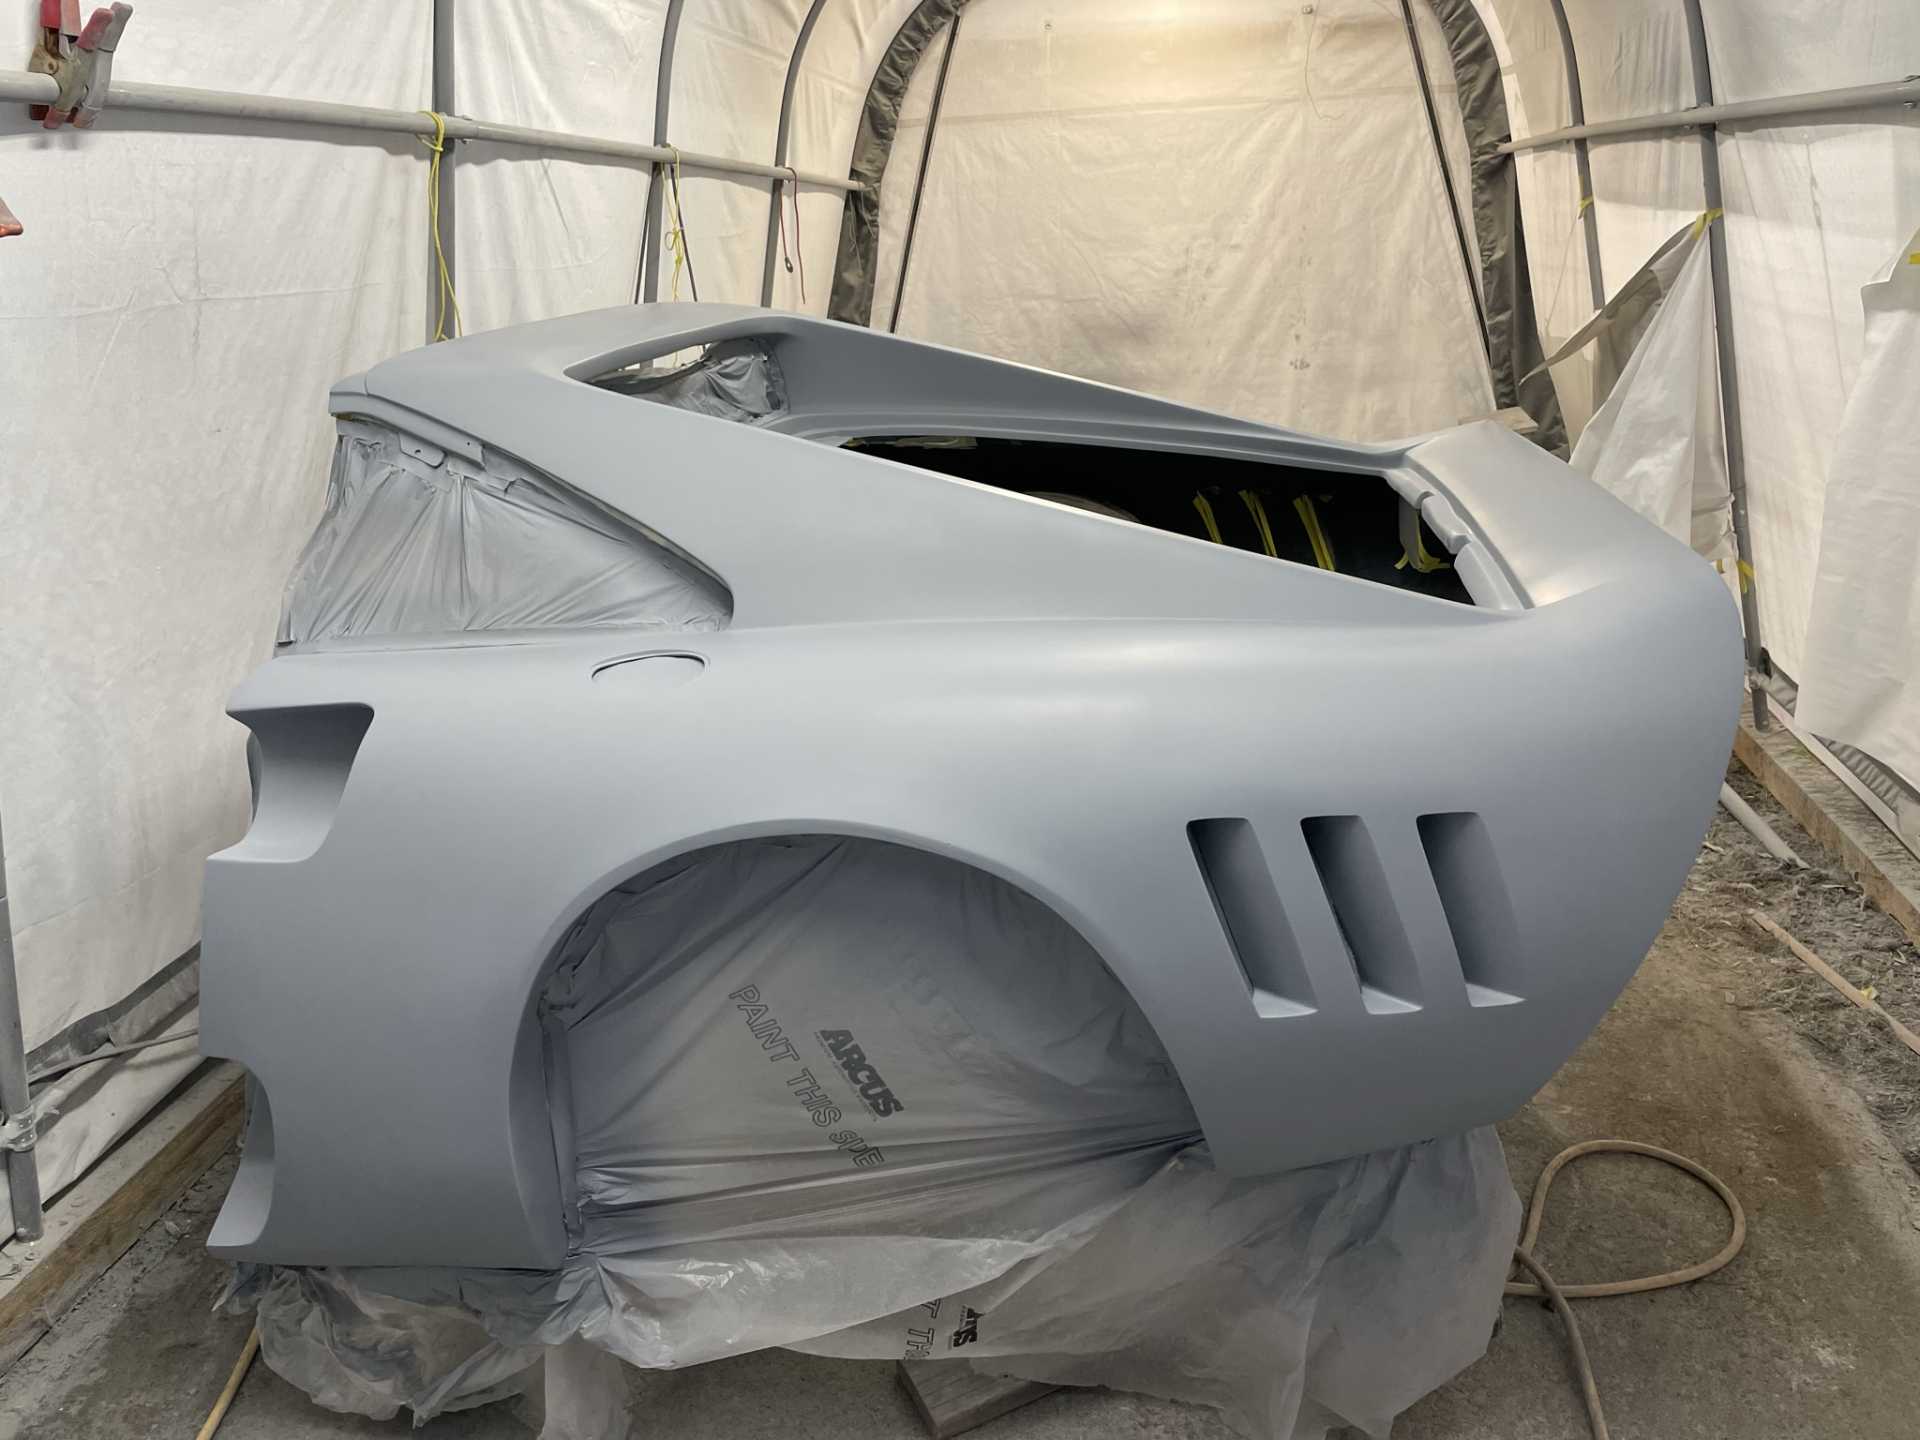
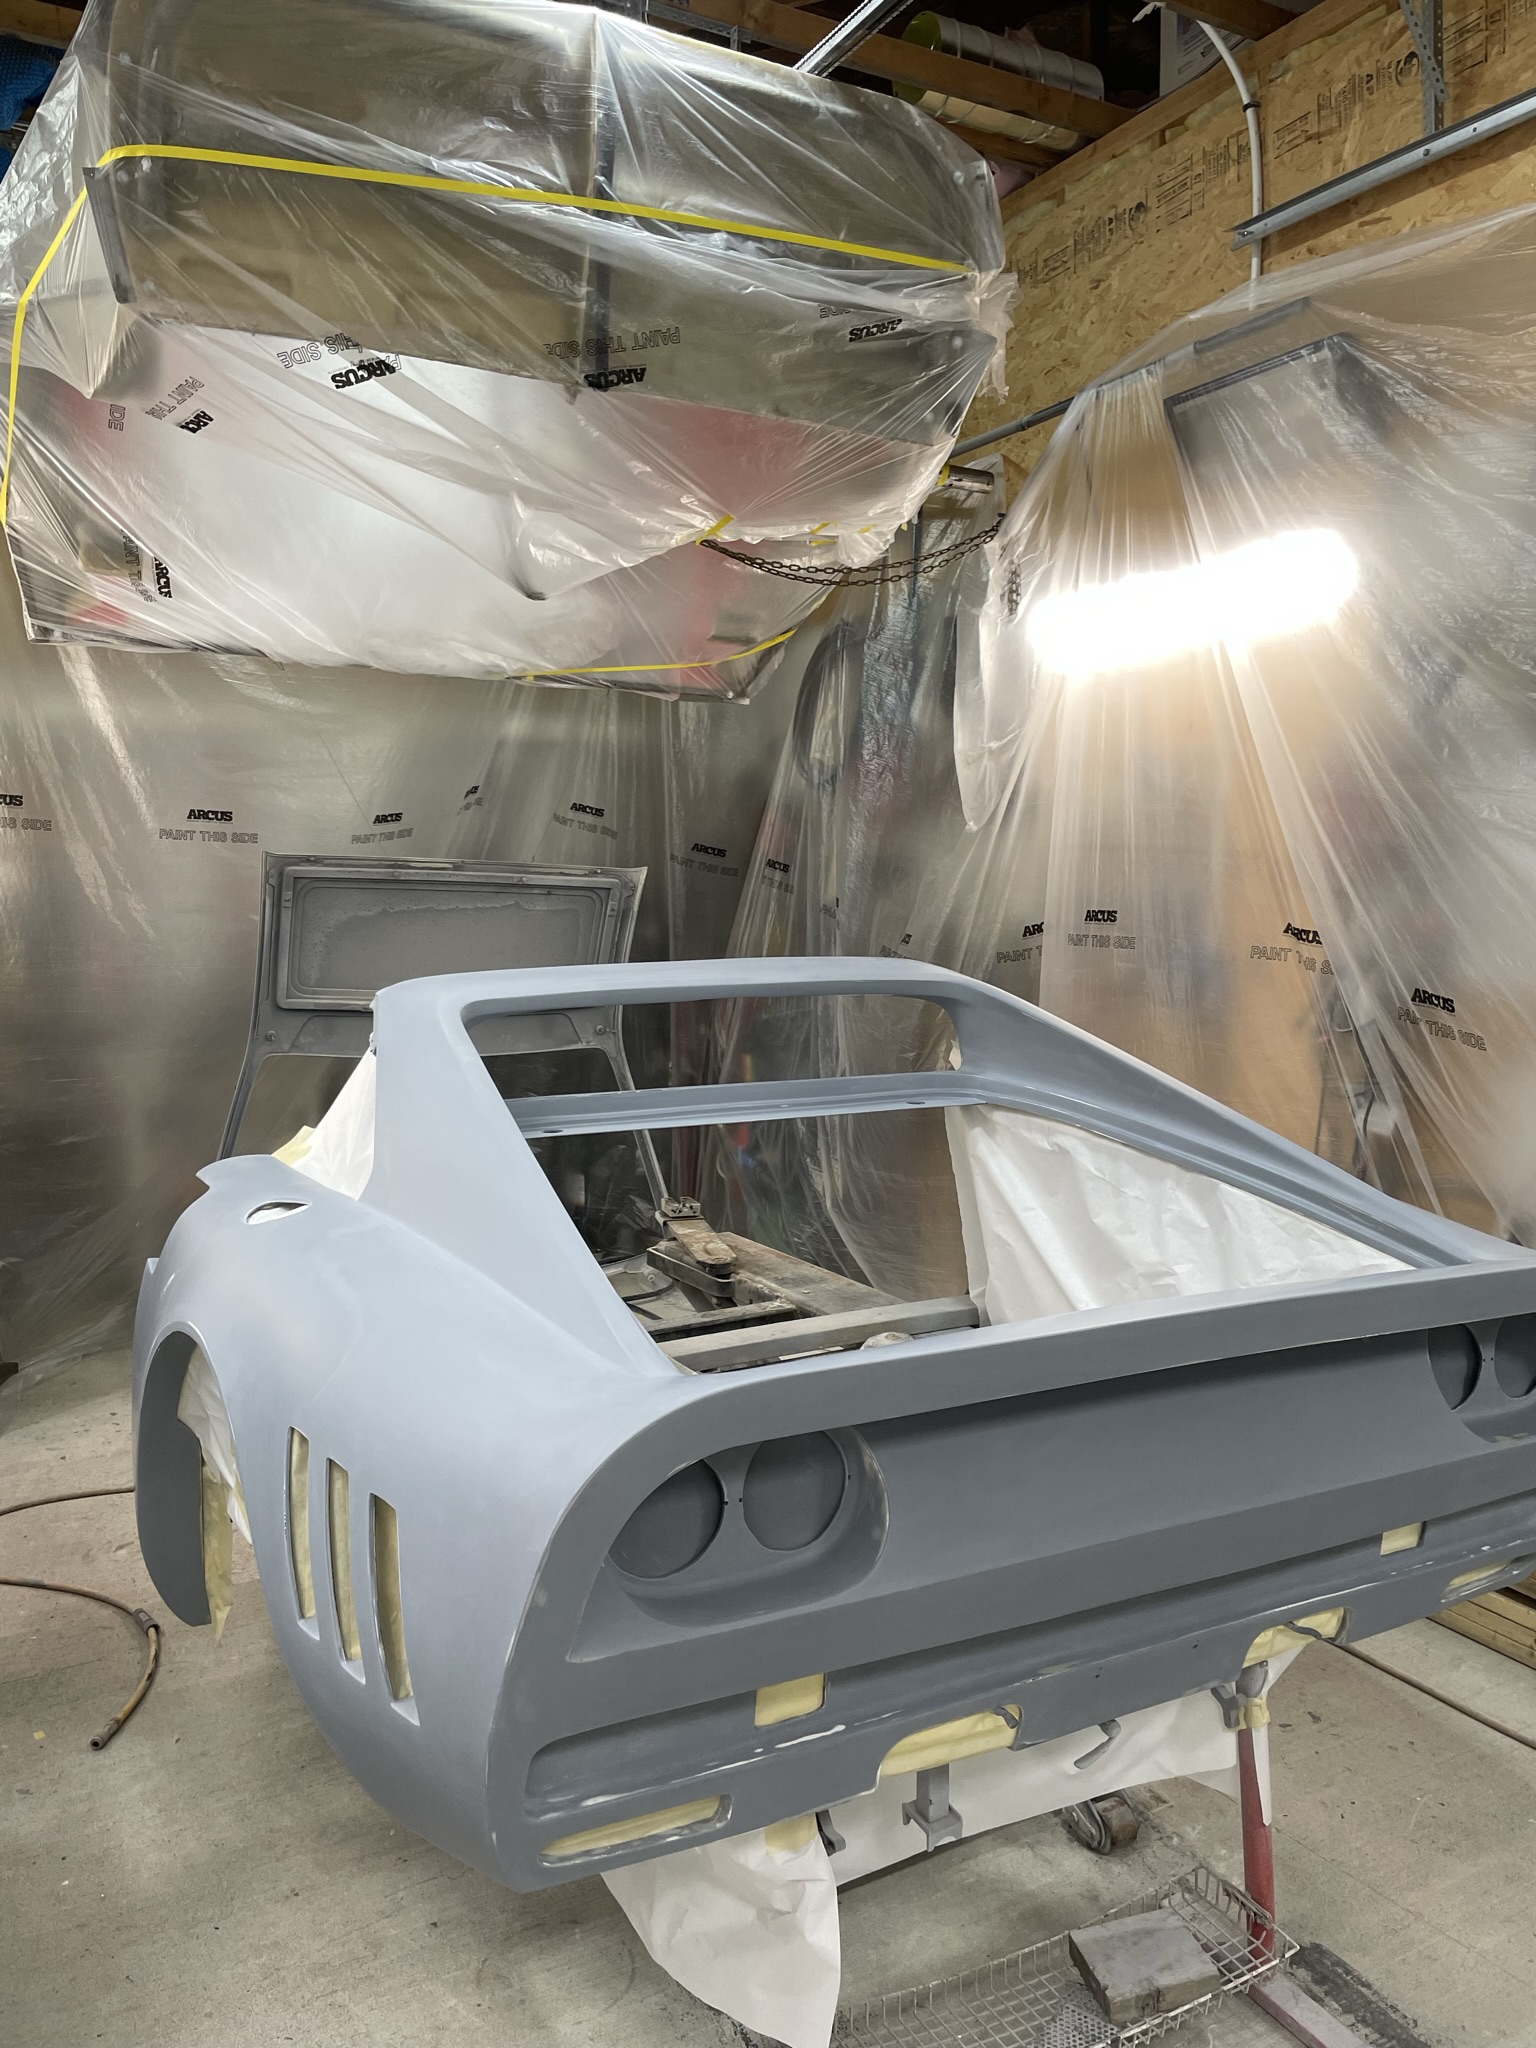
I put the rear body on today with the help of Don O and another friend nothing is secured just sitting there but we were tickled pink with the overall look.
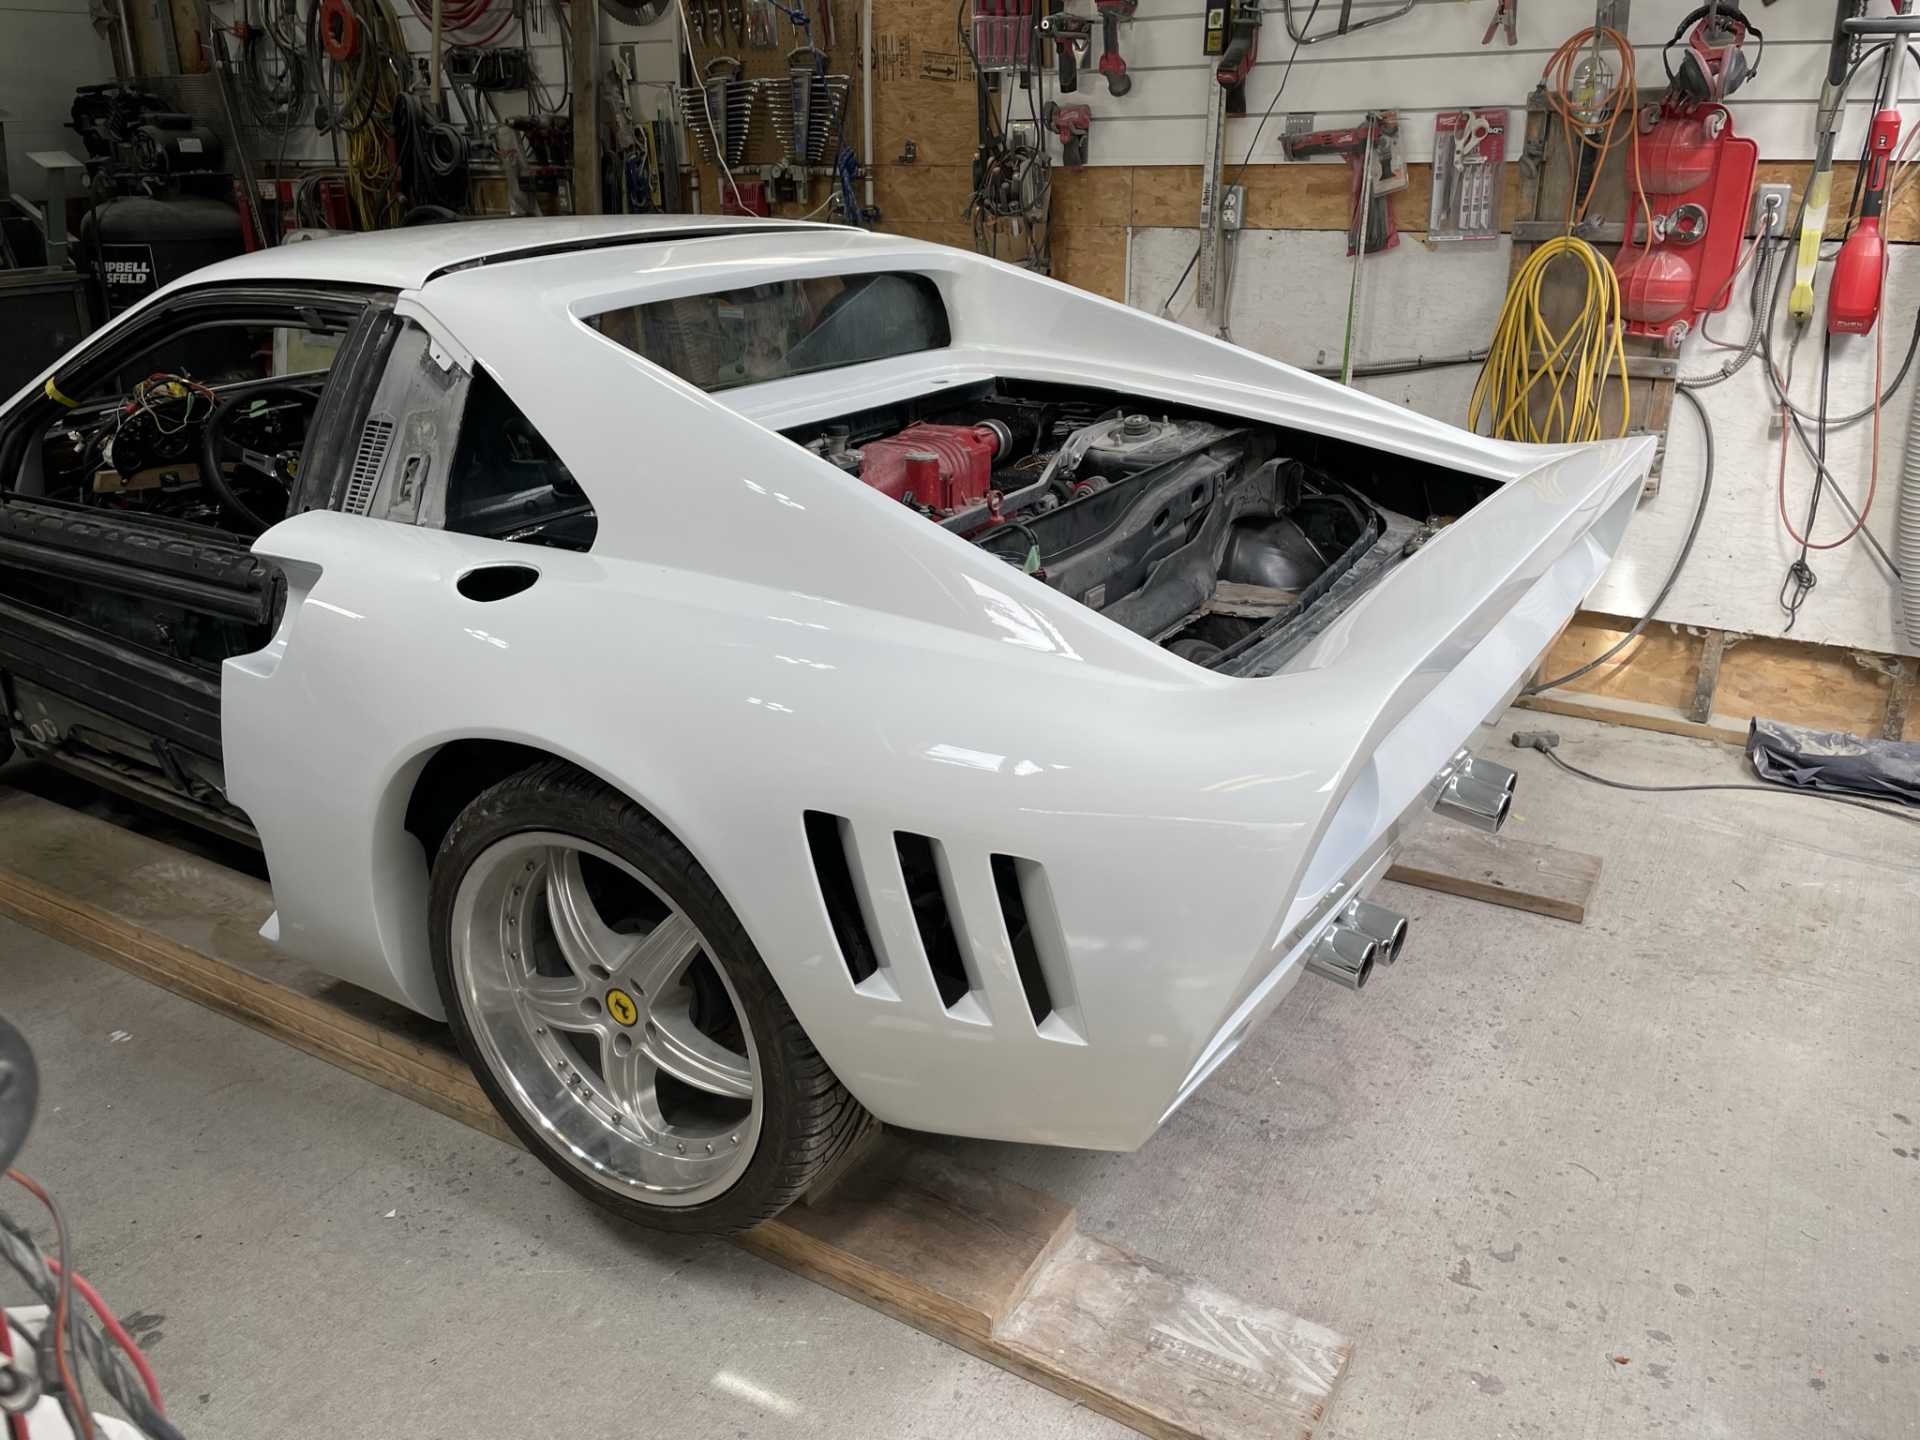 . .
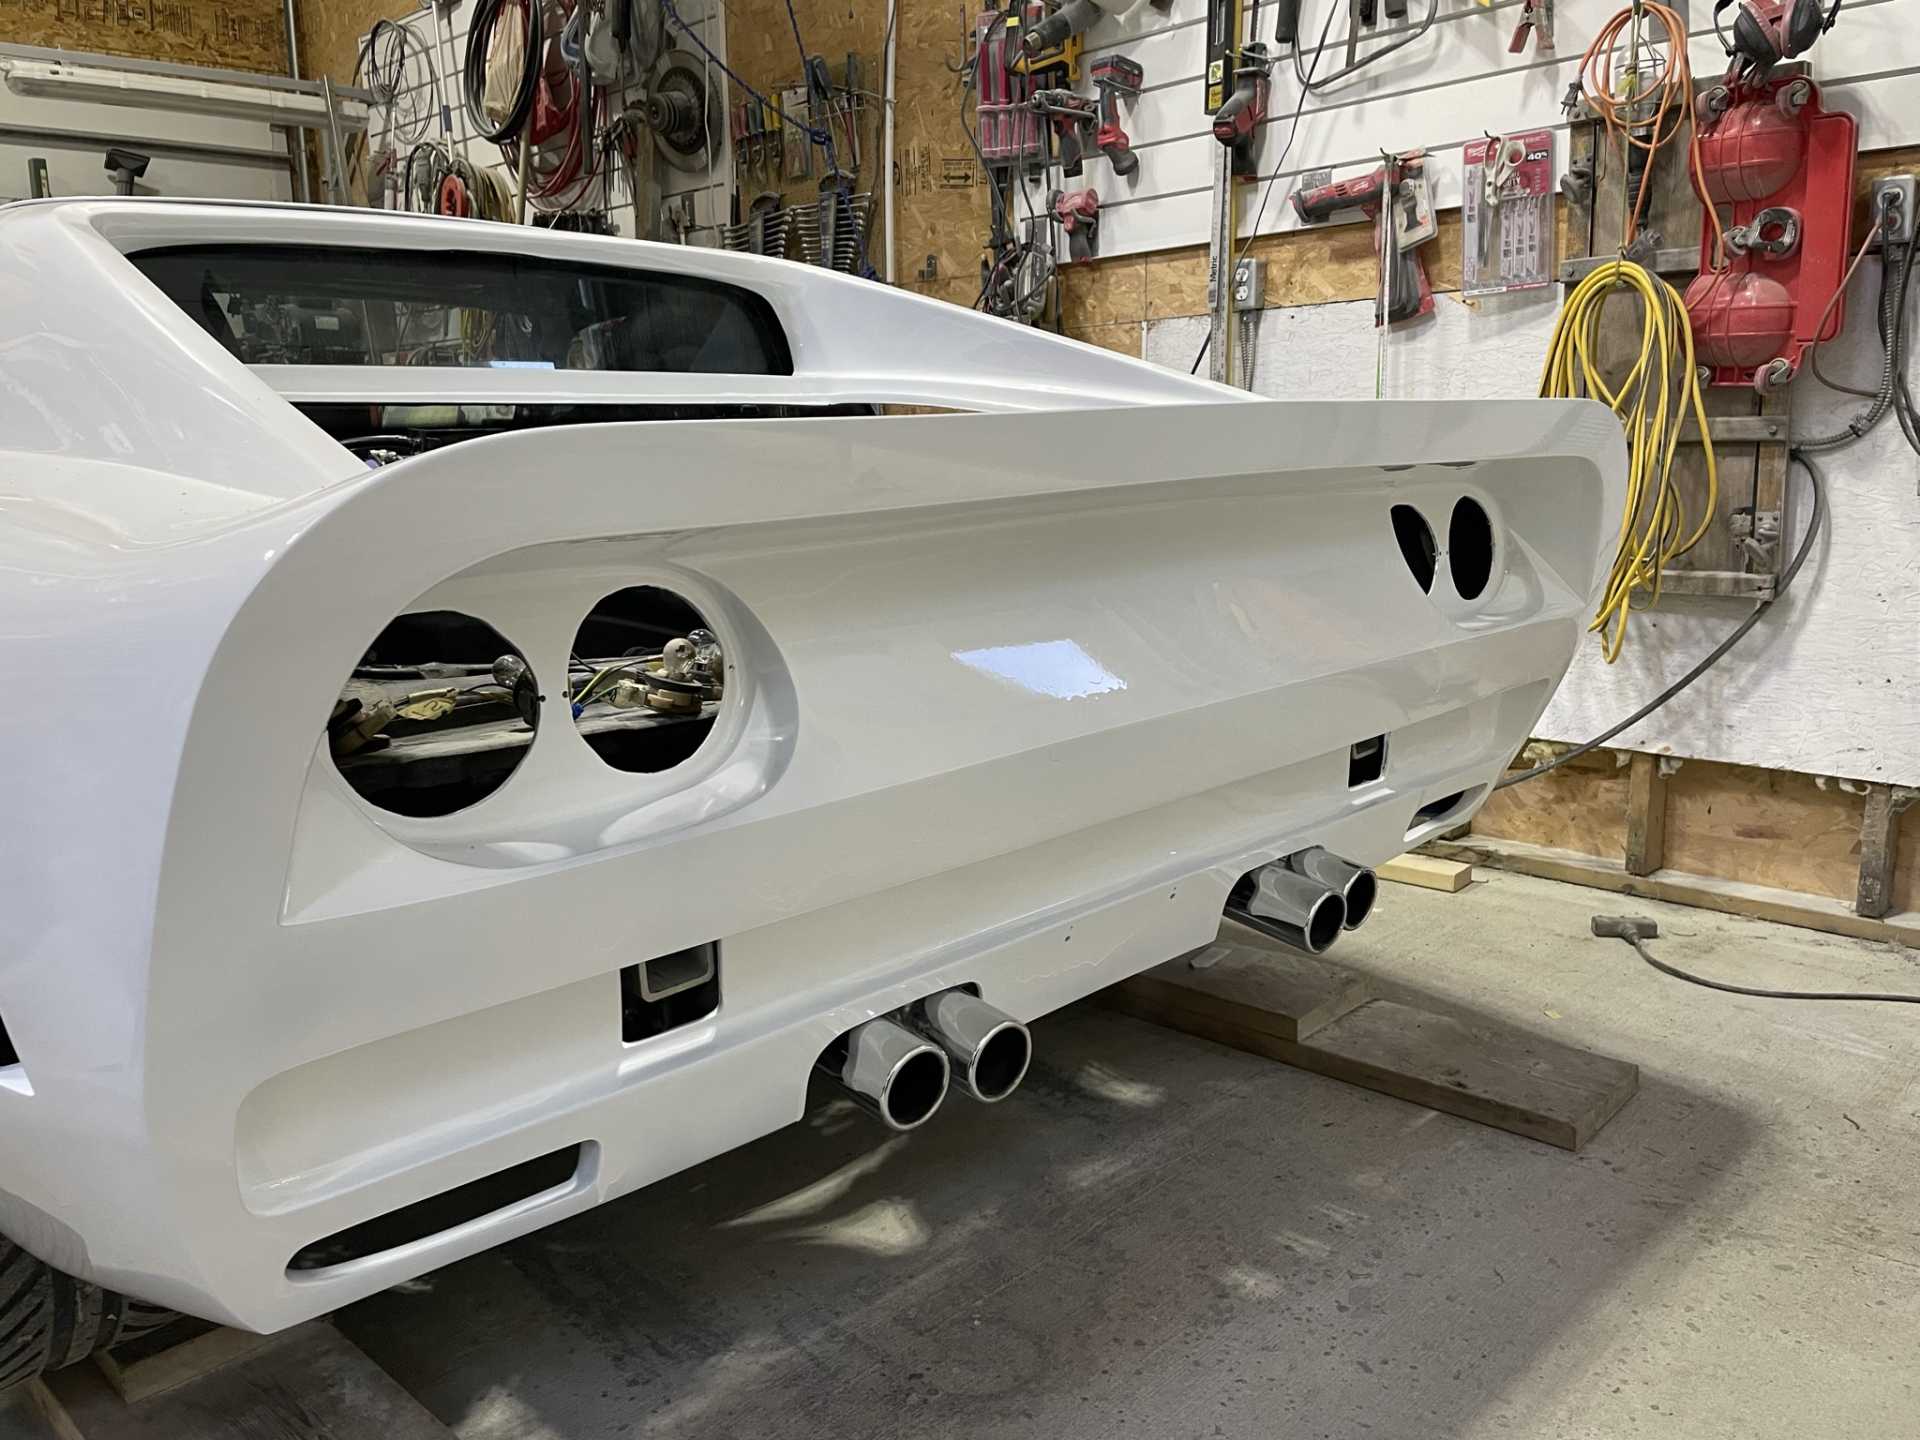
Wayne😎[This message has been edited by dobie1 (edited 05-07-2022).]
|
|
|
|
ace5514
|
MAY 07, 08:45 PM
|
|
|
Just Awesome. I can't wait to see it finished.
|
|
|
|
Falcata
|
MAY 08, 11:43 AM
|
|
Hi Wayne
It's looking fantastic !!!
I guess if we never see another piece of sandpaper it will be too soon lol .
Getting closer , how are you doing with the plexiglass forming ?
Cheers Phil
|
|
|