
 
     |
| LS4 / F40 swap - fieroguru (Page 51/216) |

|
fieroguru
|
NOV 03, 05:43 PM
|
|
Spent most of the day prepping the chassis wiring... relocating the pass through firewall connector and eliminating the 500 connector.
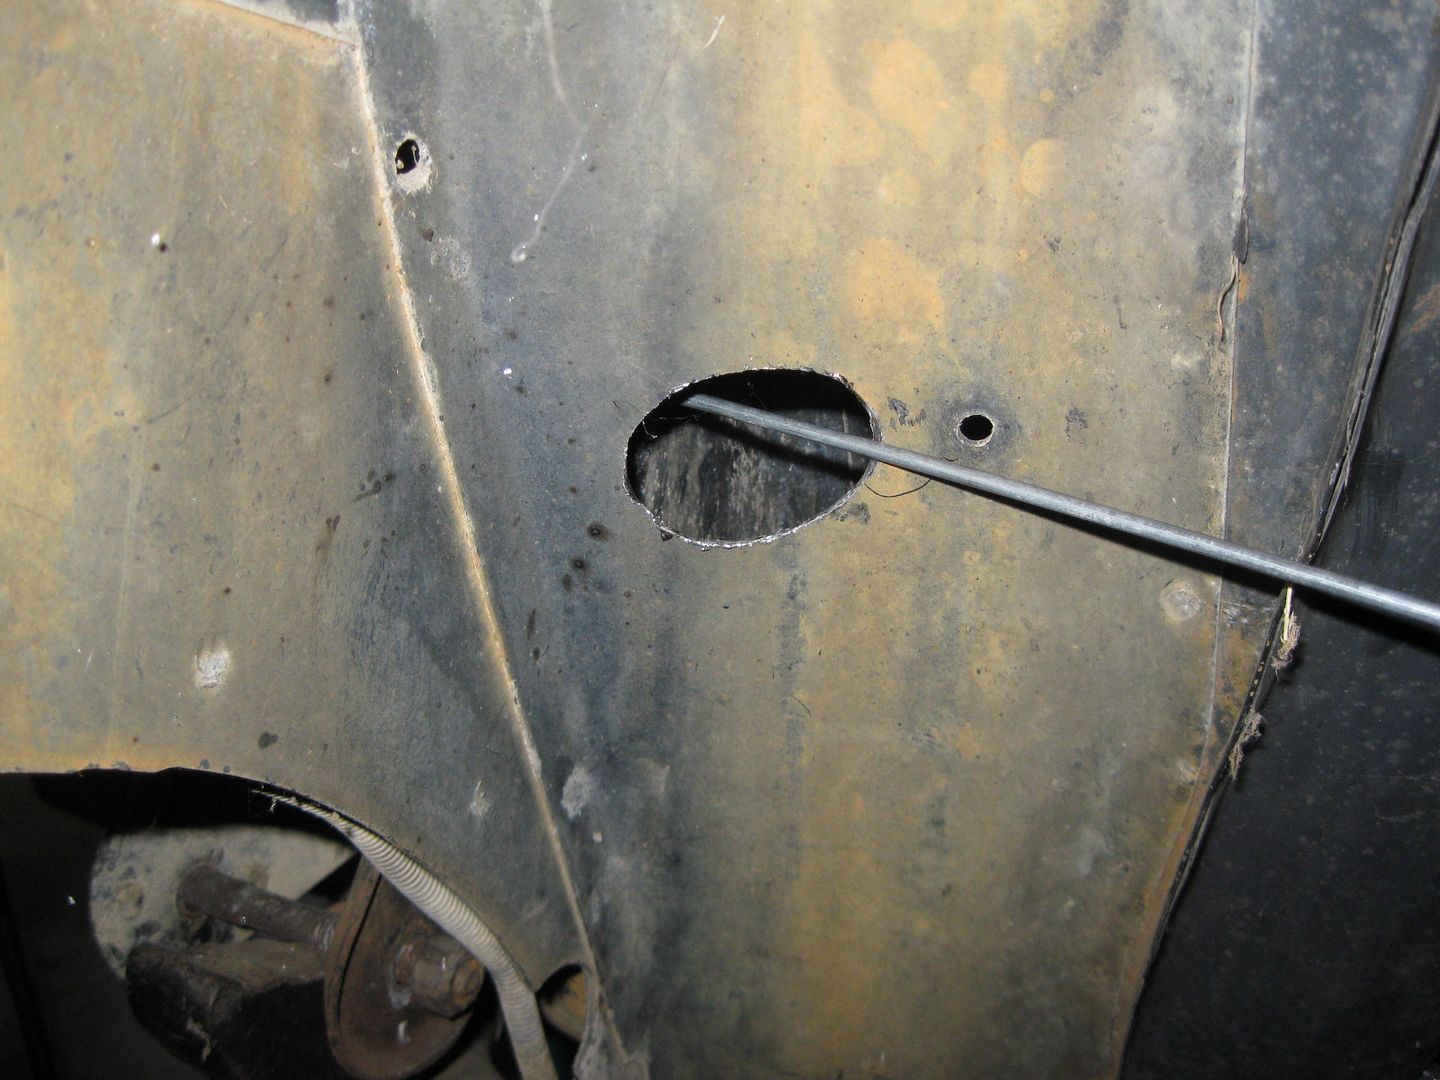
Here is the stock firewall where the single pass through connector will go:

My drill guide to round the corners of the cutout:
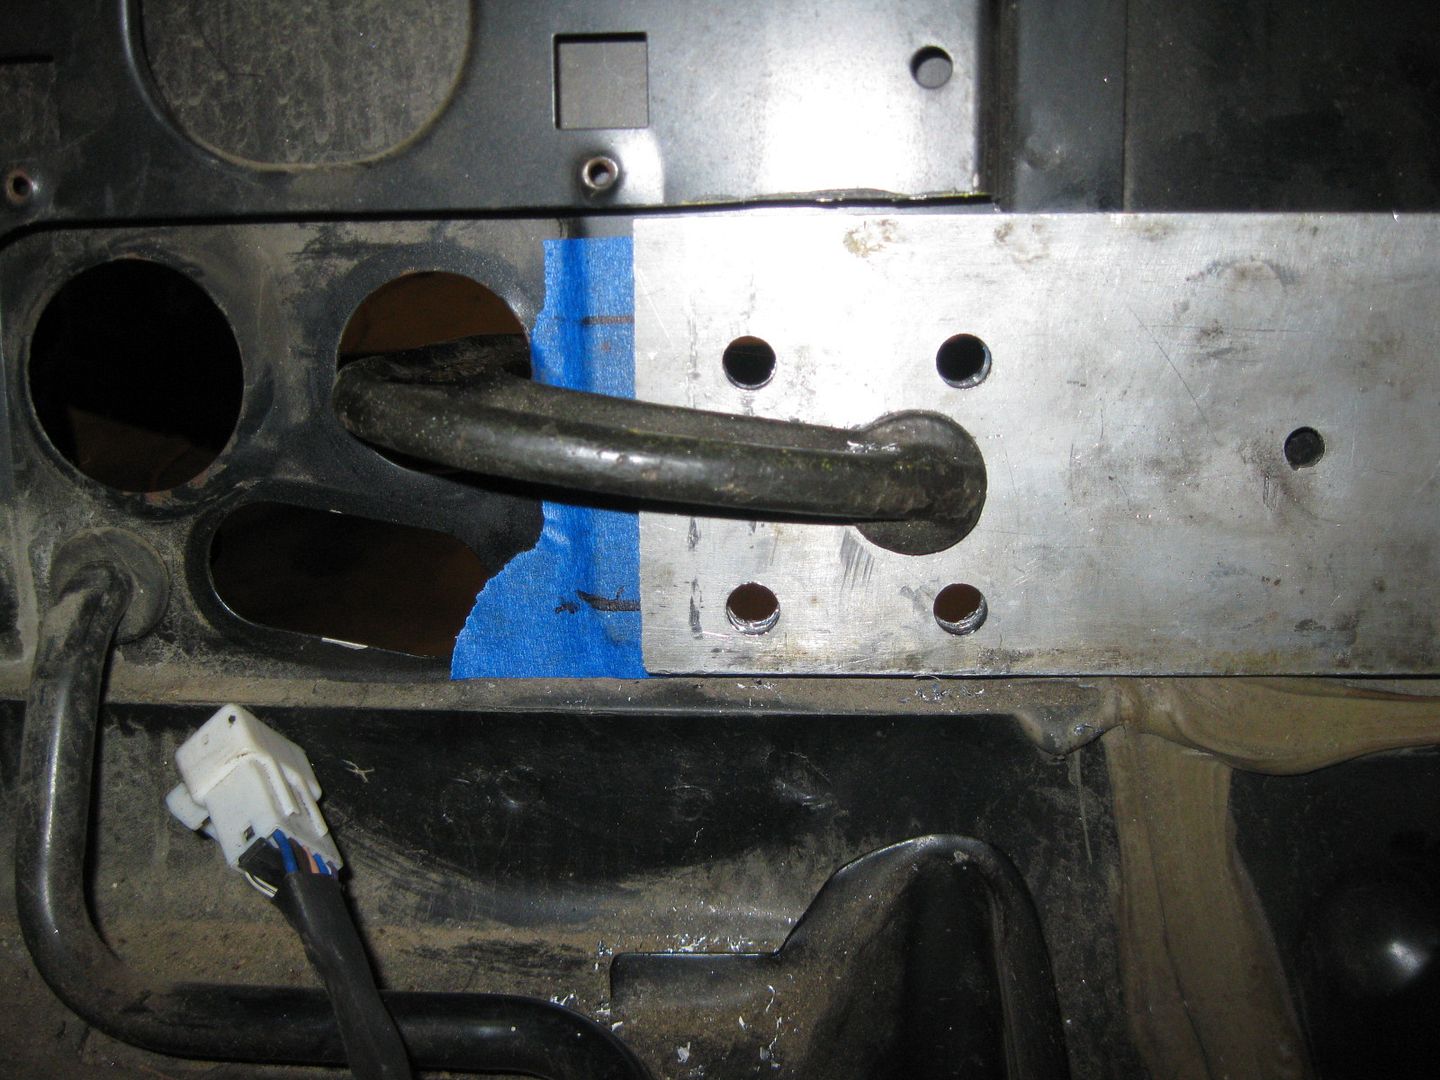
Connector in its new home:

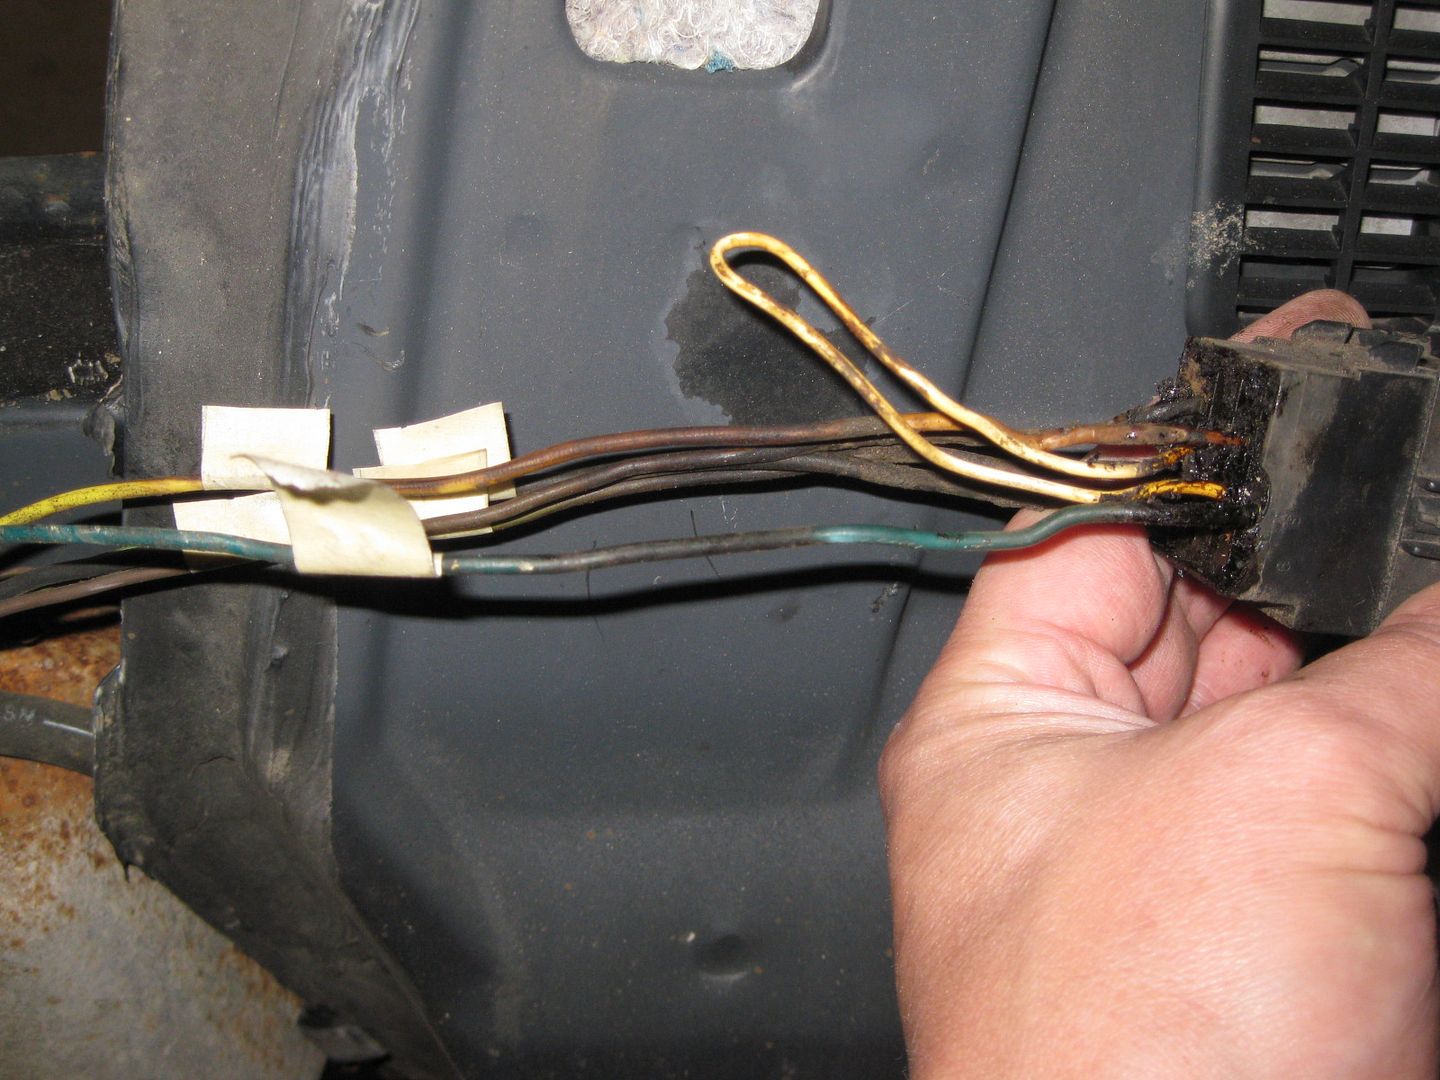
Then it was time to work on the 500 harness and prep it for removing the actual 500 connector:
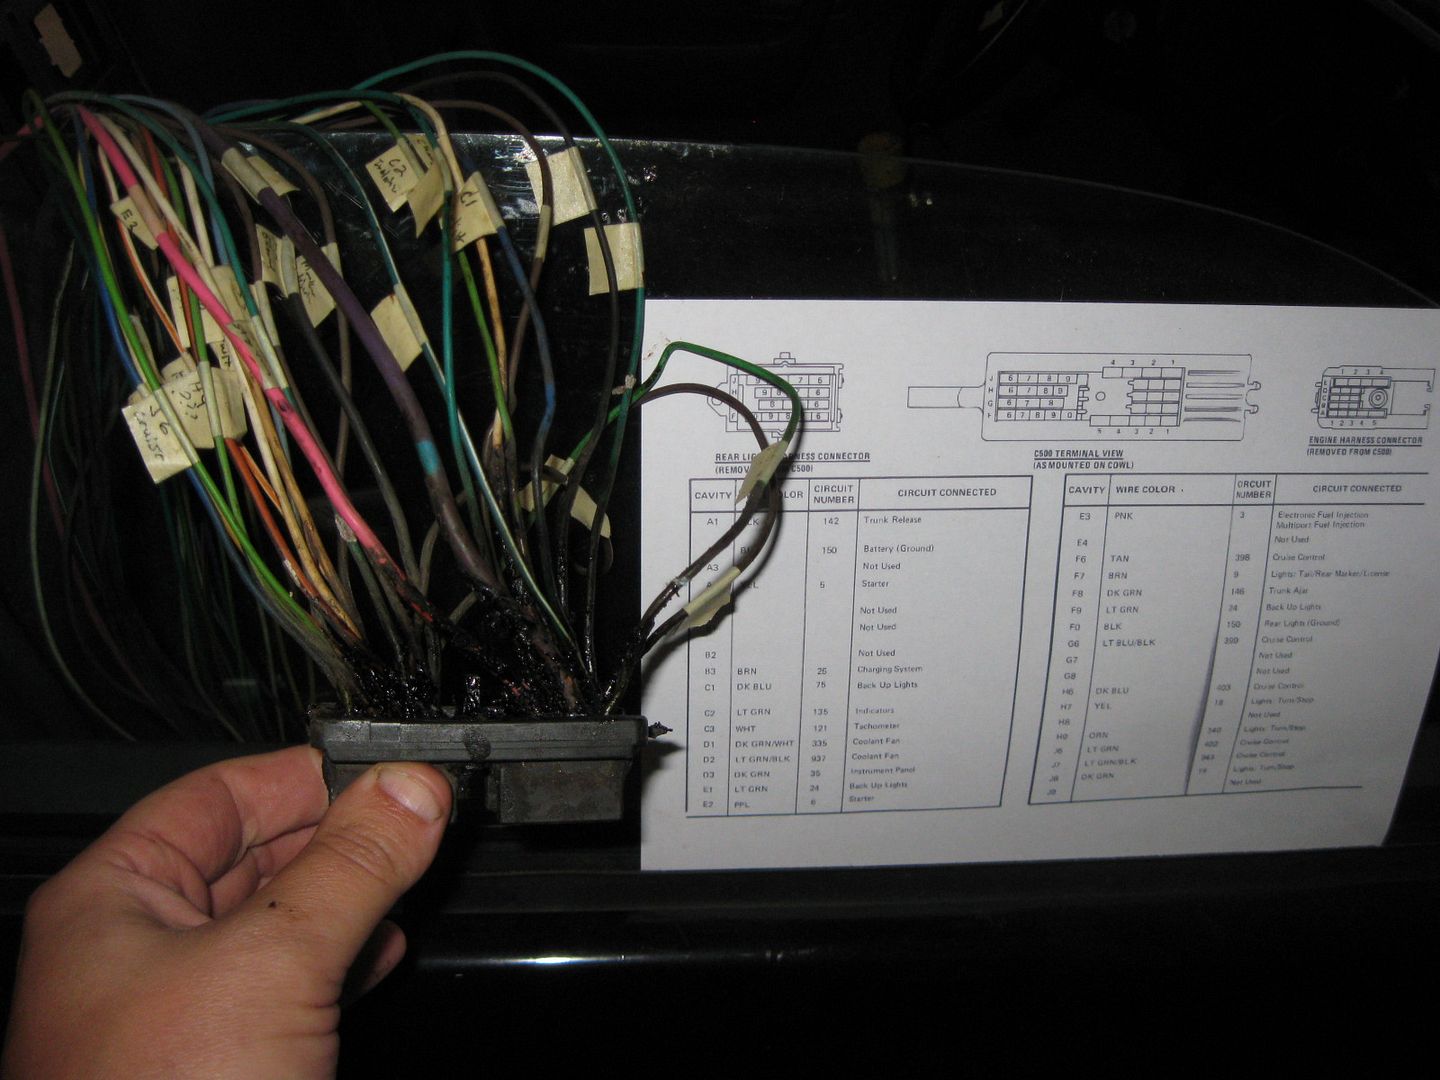
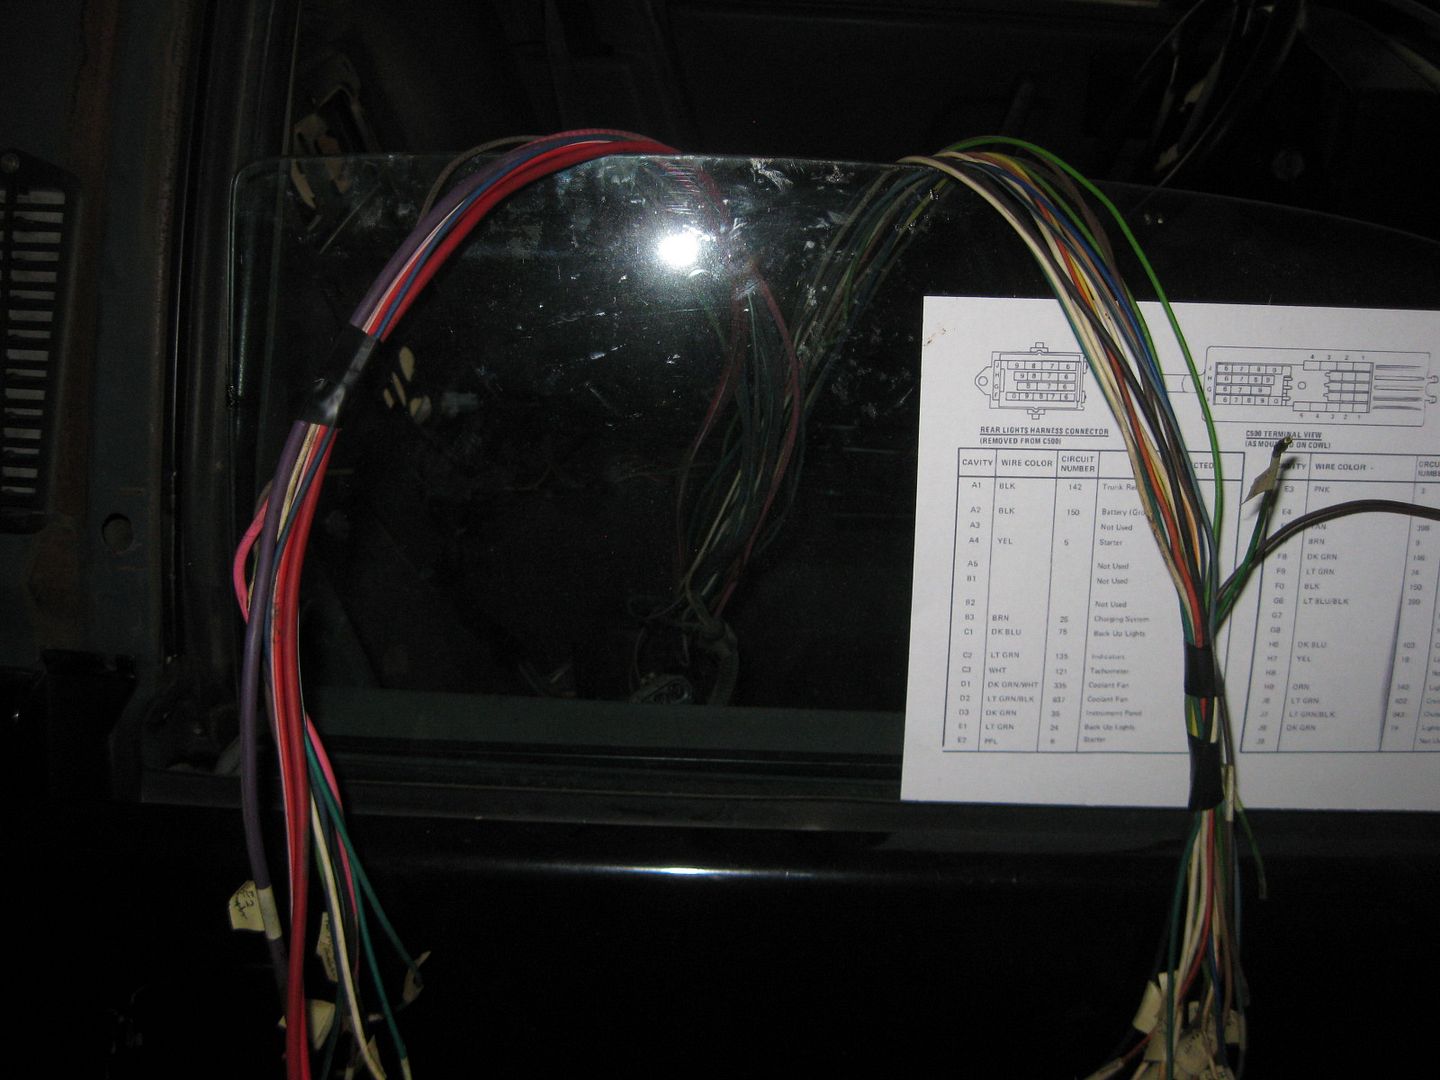
Once the connector was gone, I separated the wires from engine side to tail light side:
The bulkhead connector on this harness needed to be removed, so boiled some water in a pot and then set it in the car (on a rotor). Soaking the connector for about 5 minutes in hot water softens the glue to the point that is is fairly easy to disassemble the connector:

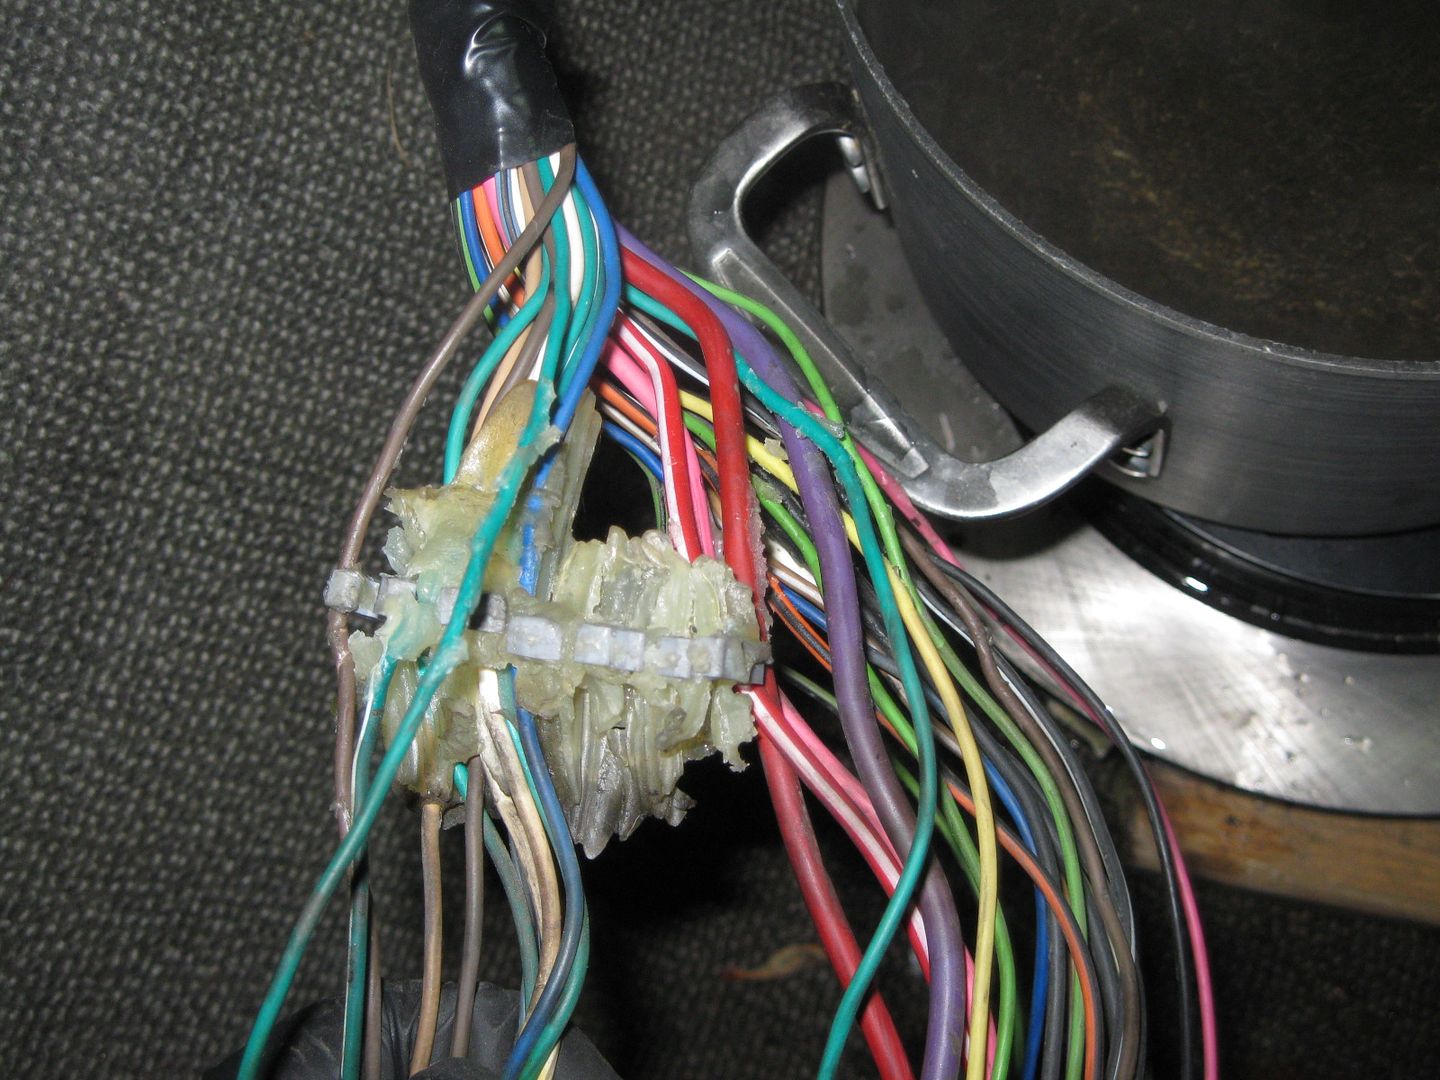
Did the same to the tail light harness 500 connector:
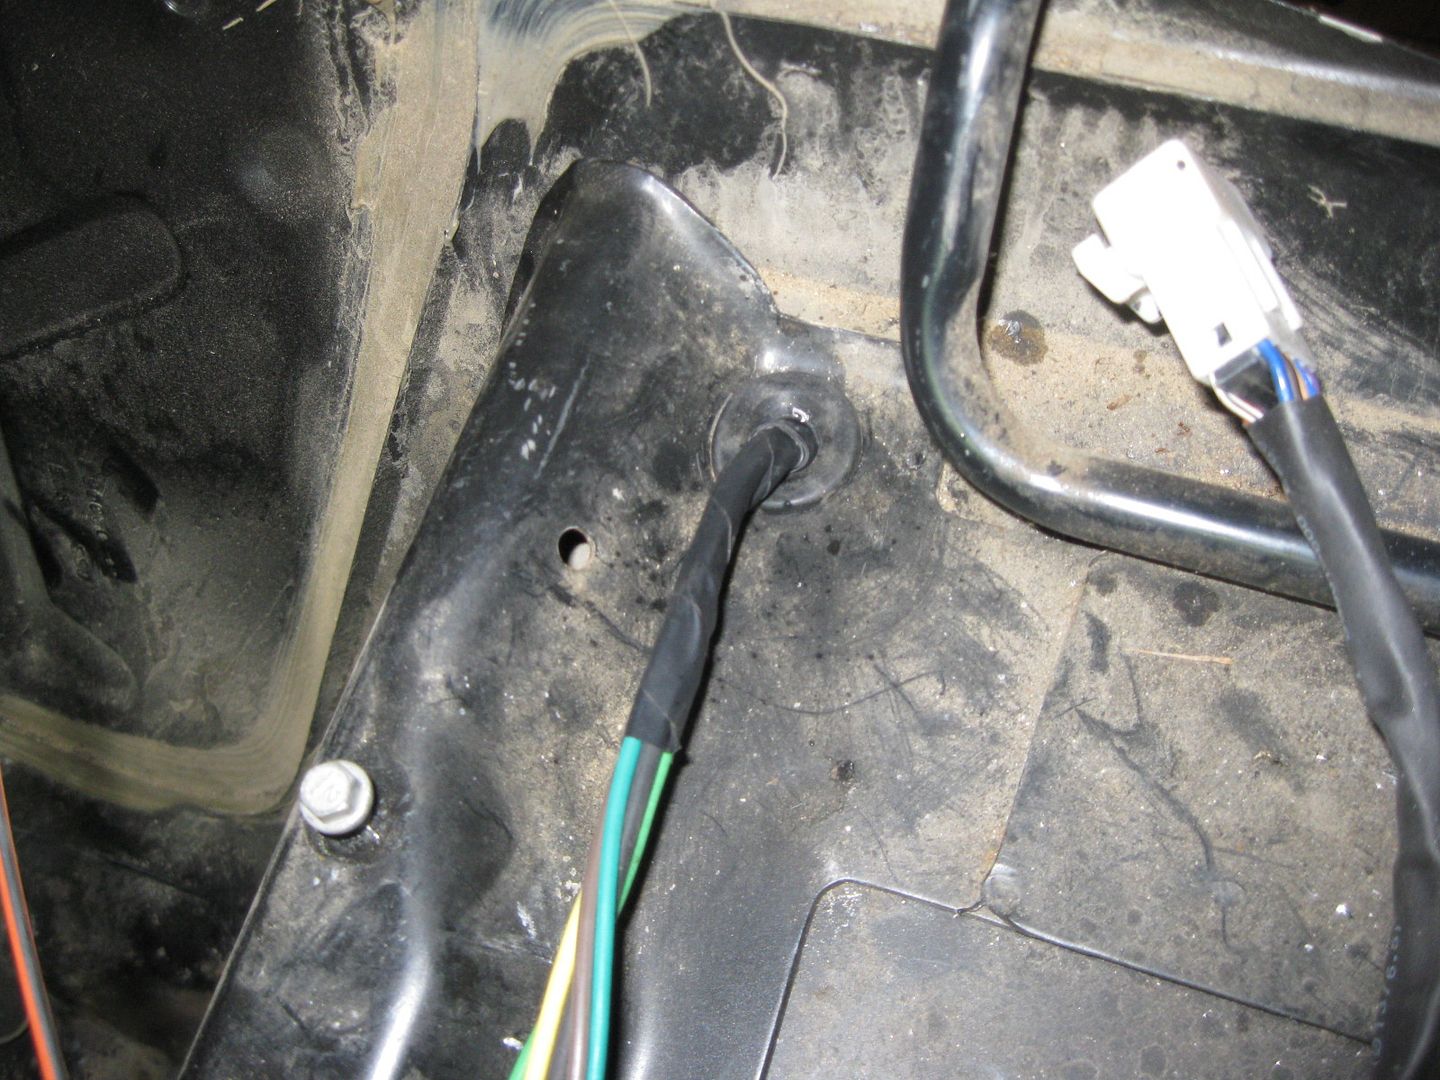
Using a hole saw, I cut through 2 sections of steel below the B-pillar area which gave me access to the double firewall section. I fished a piece of steel rod through there and taped the tail light harness to it. Also drilled a 5/8" hole in the console area to pass the wires into the fuel tank/double firewall section. Tape the wires to the steel rod and pull it back out:
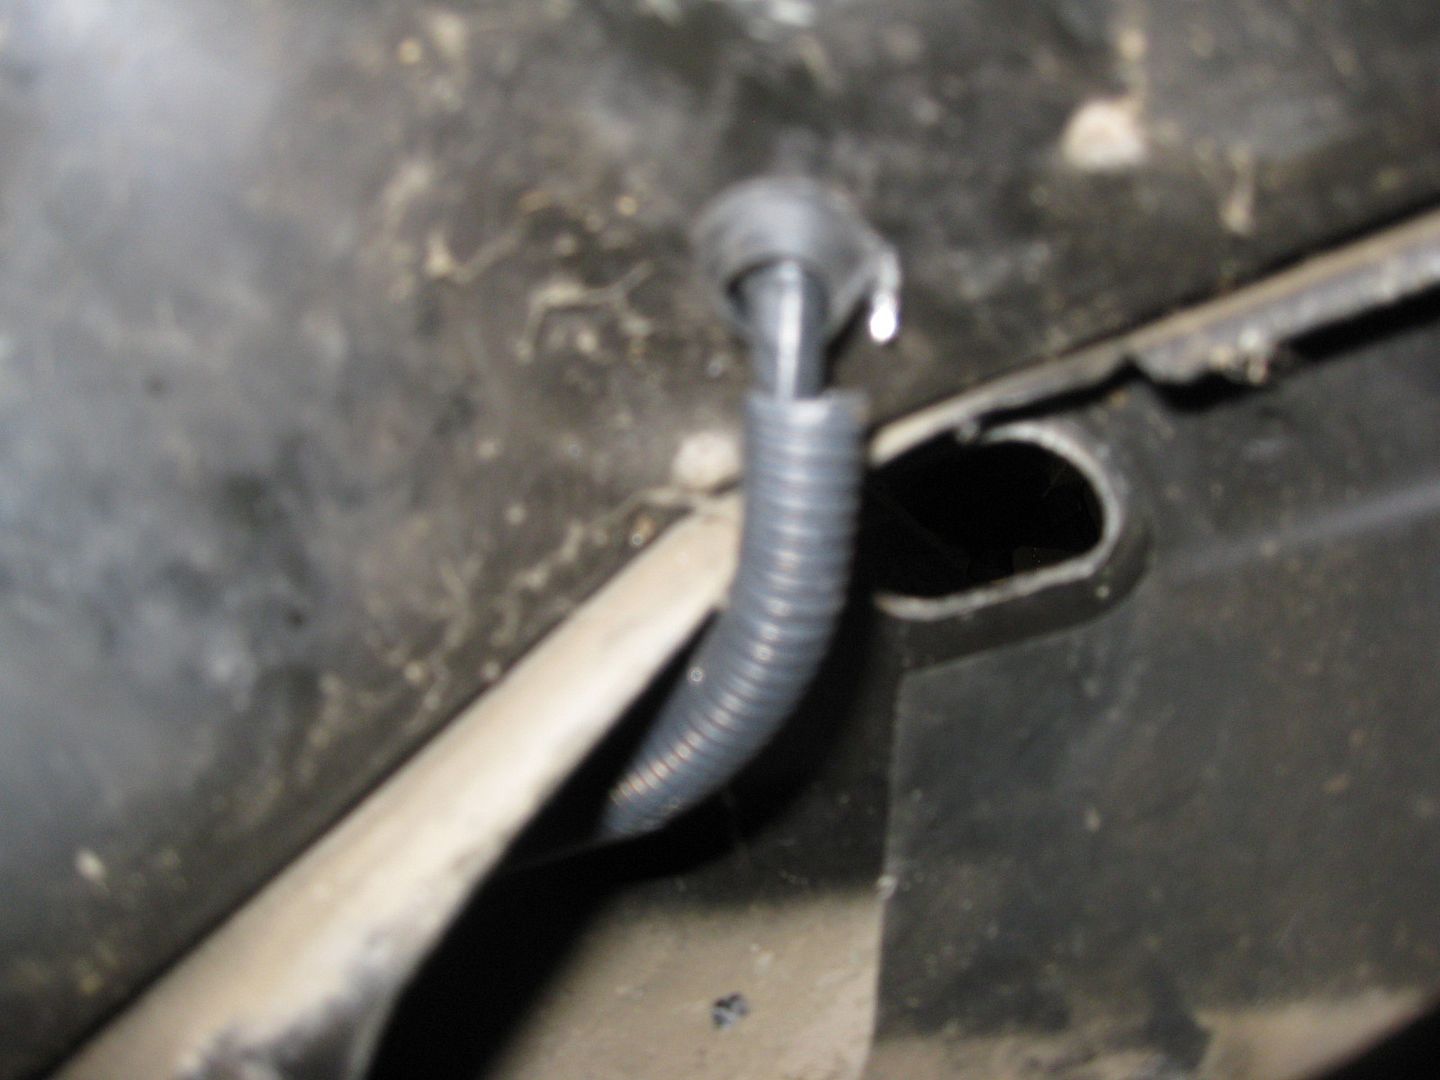
Underside of fuel tank/double firewall area:
The the tail light harness wires were cut to the proper length and splices, soldered, shrink wrapped and loomed:
|
|
|
|
Trinten
|
NOV 03, 06:01 PM
|
|
|
Wow... at some point, we all need to chip in and get you just a completely mint, stripped down Fiero frame/cradle... and just let you re-engineer the whole thing from the ground up, and sell the new designs to GM. The attention to detail is just that good... always impressive updates man.
|
|
|
|
F355spider
|
NOV 05, 09:56 PM
|
|
|
|
|
fieroguru
|
NOV 06, 06:11 PM
|
|
Nothing new to report from Sunday to today... spent 3.5 hrs moving the grass for the last time (hopefully) and doing the honey-do list for winterizing. The only thing productive was moving all the removed parts from the 88 to the attic and crawl space so there was room in the garage to walk around.
Not much will happen till this weekend as I am swapped with work. Hopefully this coming weekend the engine/transmission will be back in the car to finish the harness and fuel system plumbing.
|
|
|
|
fieroguru
|
NOV 07, 09:19 AM
|
|
|
...Accidental bump! [This message has been edited by fieroguru (edited 11-07-2012).]
|
|
|
|
Bloozberry
|
NOV 07, 03:47 PM
|
|
Great tip about removing the resin block from the wire bundle that passes through the firewall... boiling it off. 
I'm sure I missed it earlier on in your thread, but what's the reason you're keeping the TCM? Is it to avoid reprogramming the stock PCM by fooling it into thinking the automatic tranny is still there?
|
|
|
|
fieroguru
|
NOV 07, 04:38 PM
|
|
| quote | Originally posted by Bloozberry:
I'm sure I missed it earlier on in your thread, but what's the reason you're keeping the TCM? Is it to avoid reprogramming the stock PCM by fooling it into thinking the automatic tranny is still there? |
|
I have HP tuner and will be fully tuning the engine for the MAF, Injector, Camshaft and exhaust changes, but there are limitations as to what the tuning packages can manipulate.
Keeping the TCM is all about keeping Displacement on Demand or Active Fuel Management functional. The ECM must see 3 inputs from the TCM to enable DoD and those inputs happen over the GM High Speed LAN... which I can't manipulate. So I kept the TCM to fake the inputs into it so it will send the right signals through the GM LAN... or atleast that is how I "think" it will work.
If I can't get DoD to work, then I will probably swap out the cam to something more agressive and retrofit the engine to variable cam timing (I started with a Gen 4 engine, so I can swap over the parts and use the same E67 ecm with a different application code pretty easily).
|
|
|
|
fieroguru
|
NOV 07, 06:13 PM
|
|
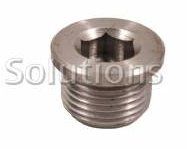
The oil fill hole in the F40 is threaded for a M18-1.5 plug... just like an O2 Sensor plug.
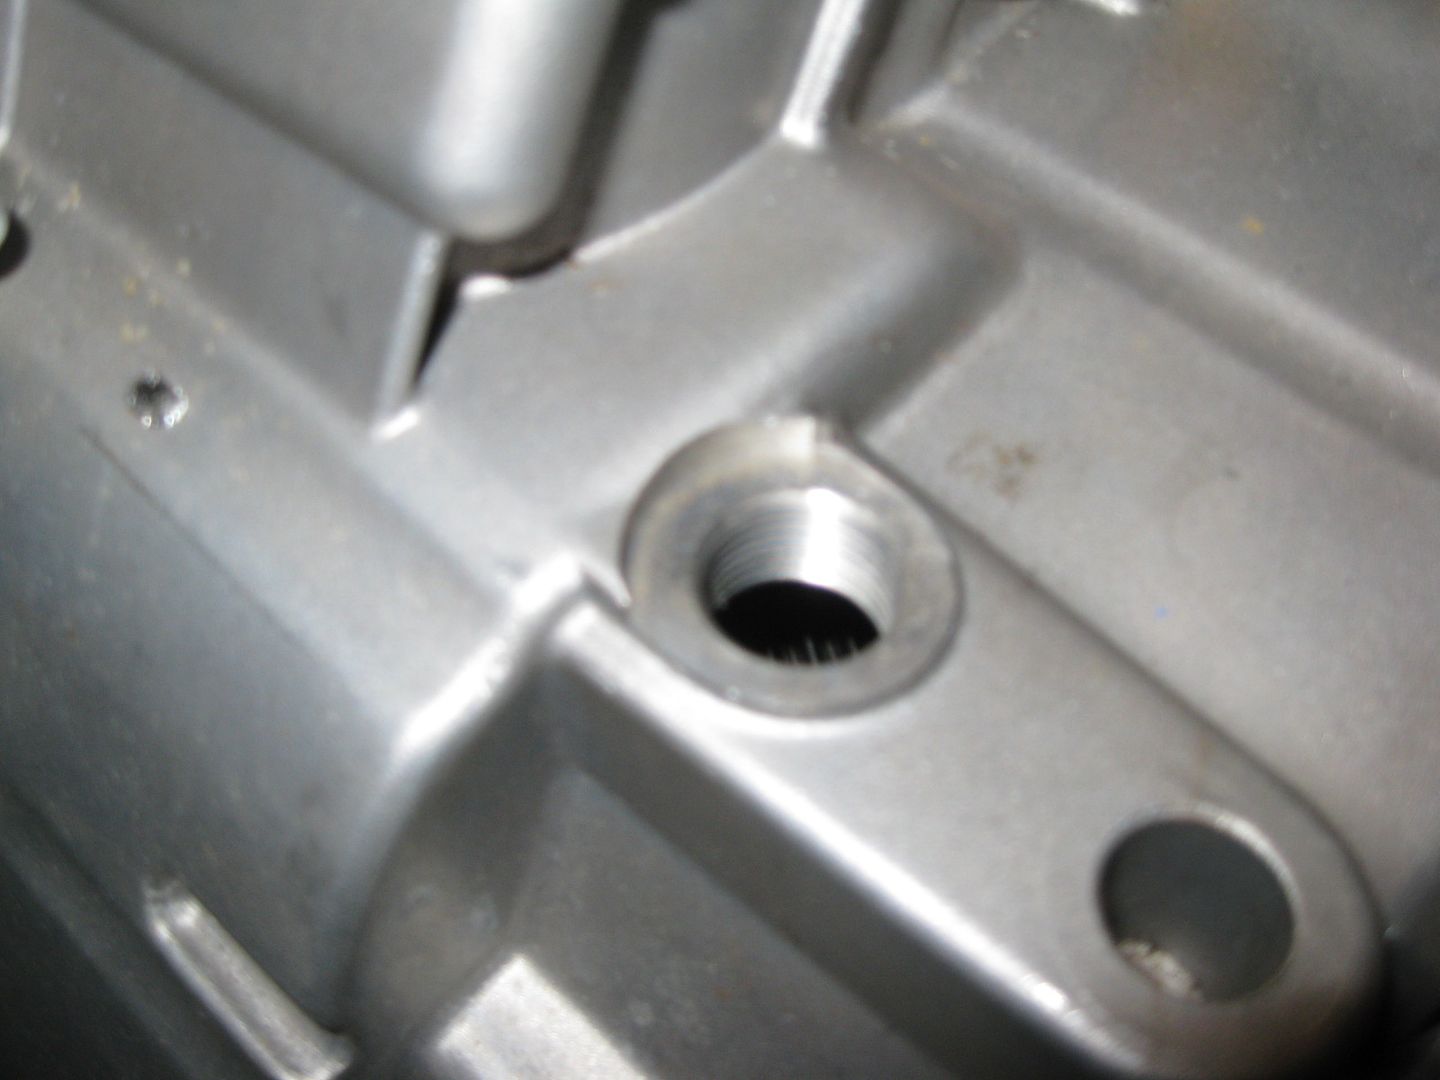
So I ordered 2 stainless steel ones ($12 shipped) like this to confirm:
 [This message has been edited by fieroguru (edited 11-07-2012).]
|
|
|
|
fieroguru
|
NOV 10, 06:45 PM
|
|
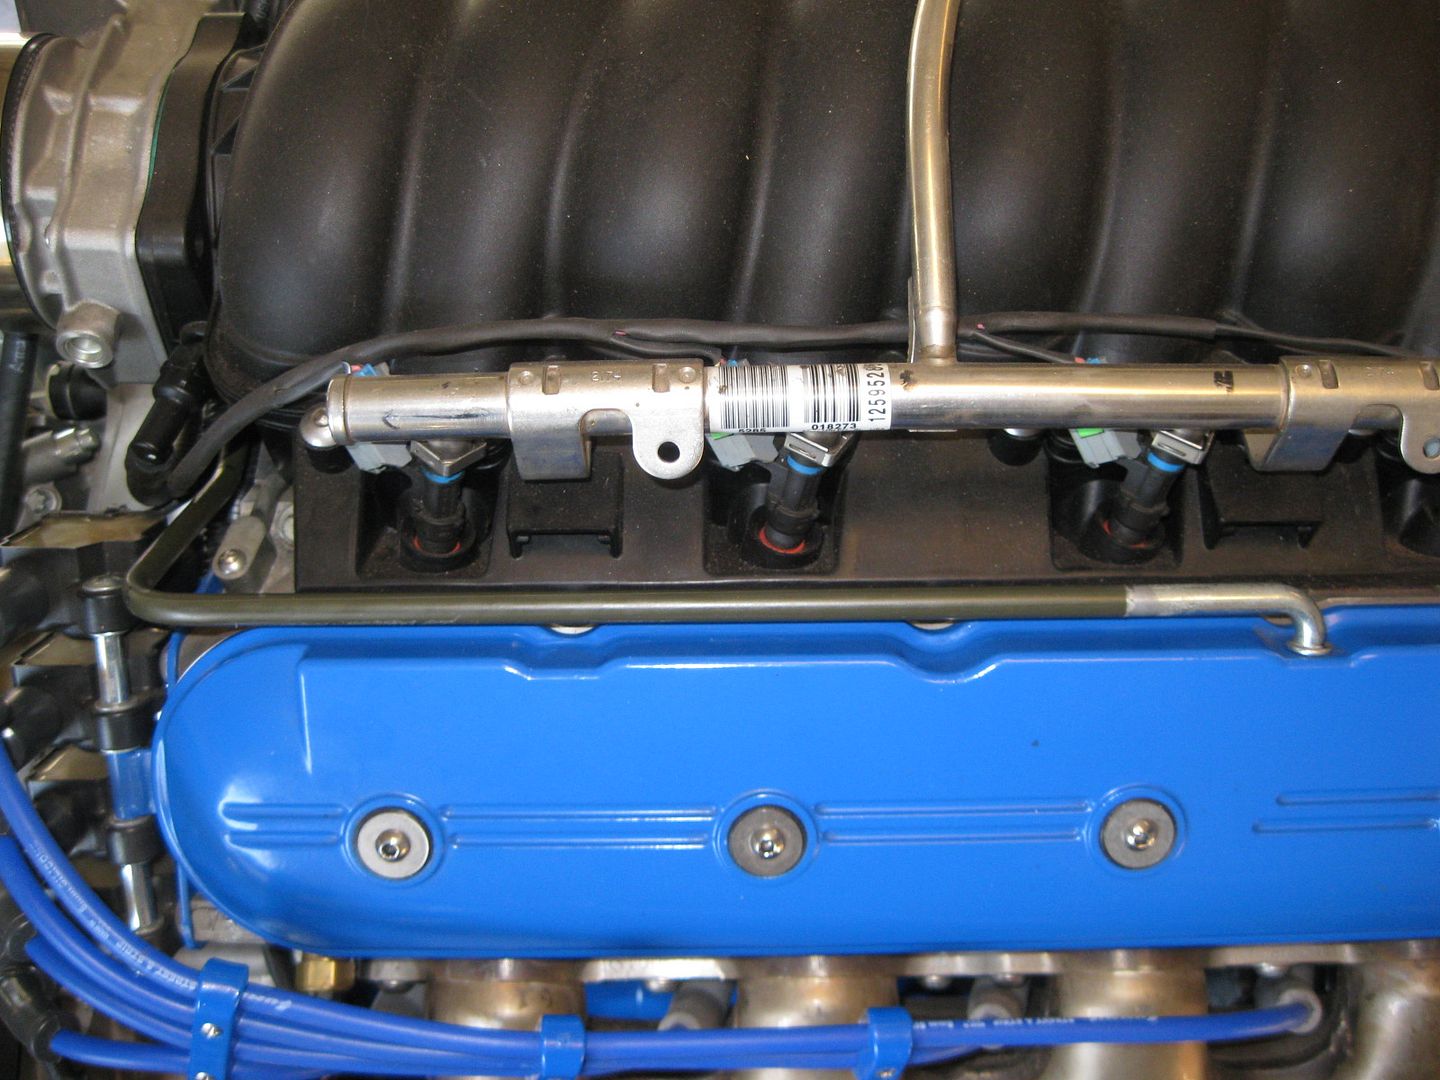
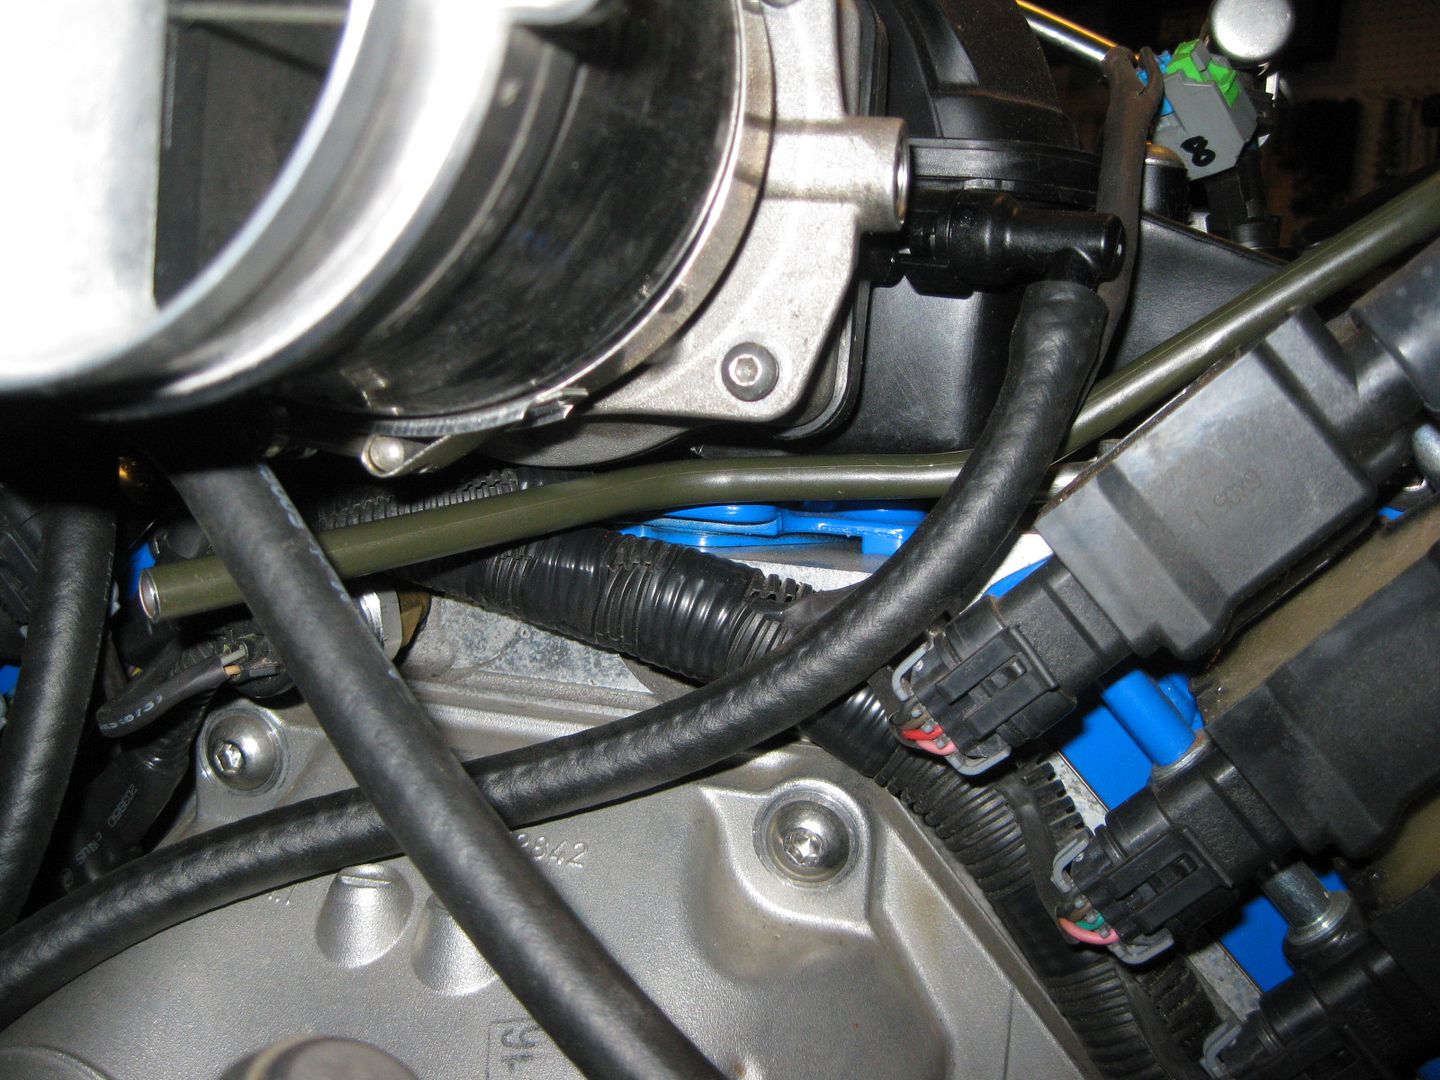
After cleaning up the garage again, I was able to spend a couple of hours working on something that was "done" but I didn't like the looks of it. I wasn't feeling the rubber hose going from the throttle body/maf coupler to the rear valve cover. So I decided to redo it with 3/8" hard steel line. Once it was went into the proper shape, I cut the barb portion off the valve cover end, fabbed up a 5/16" internal tube splice, then silver soldered the valve cover side, and JB welded the other side. I didn't silver solder the other side due to the paint/primer on the tube and I wanted it to have as little movement as possible while setting up.
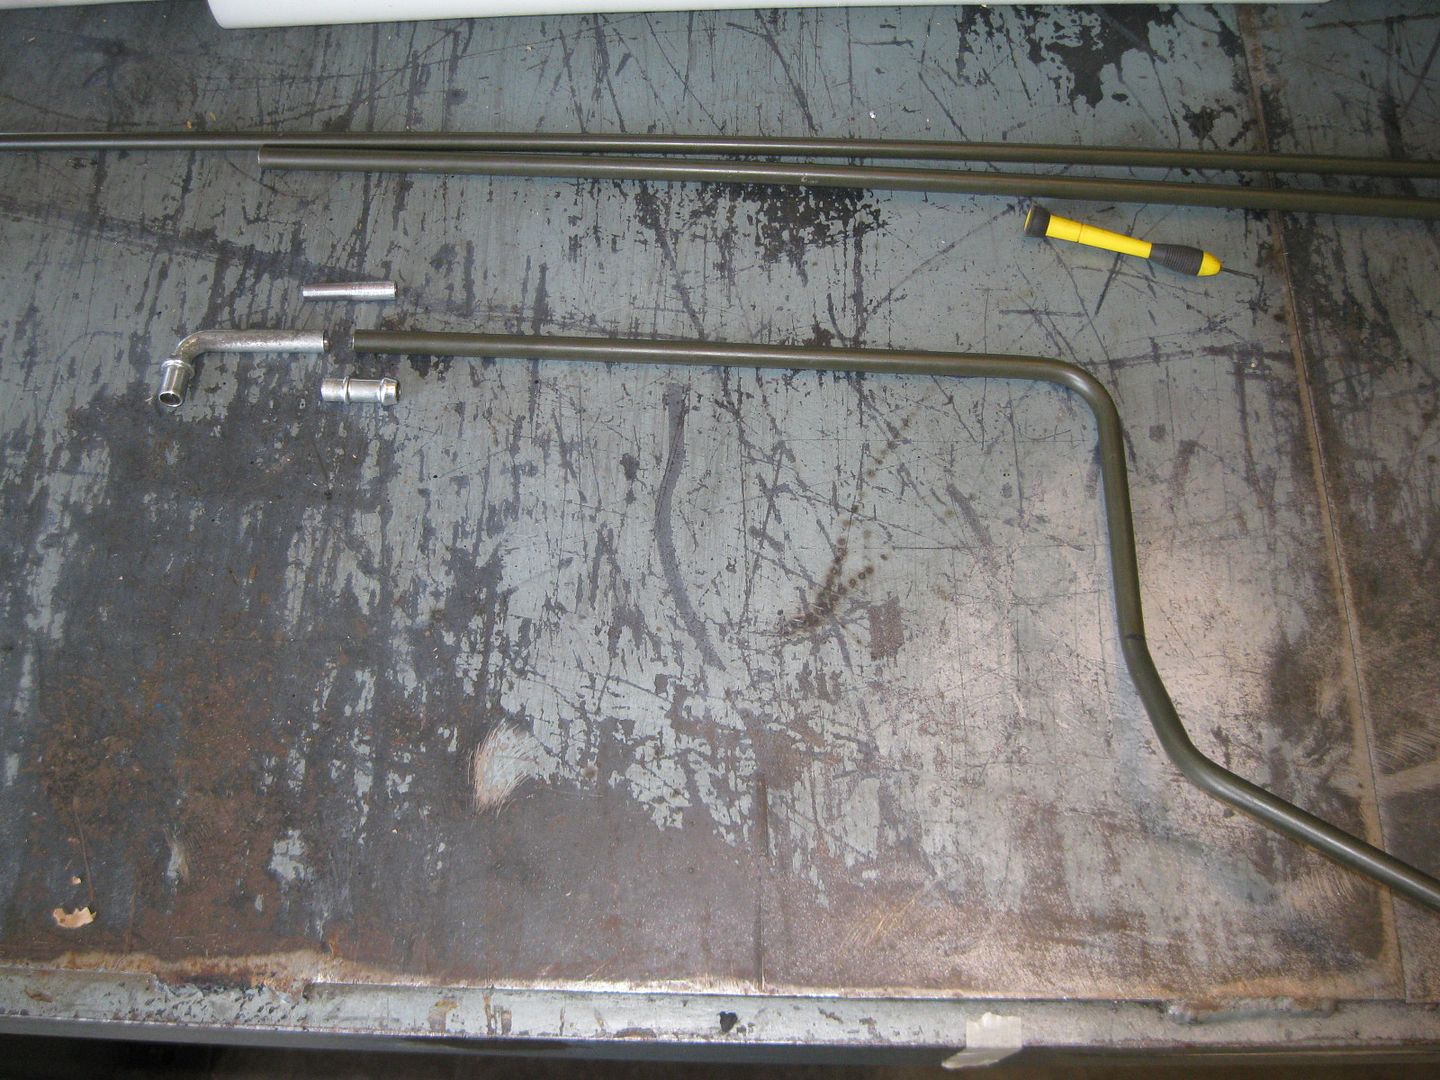

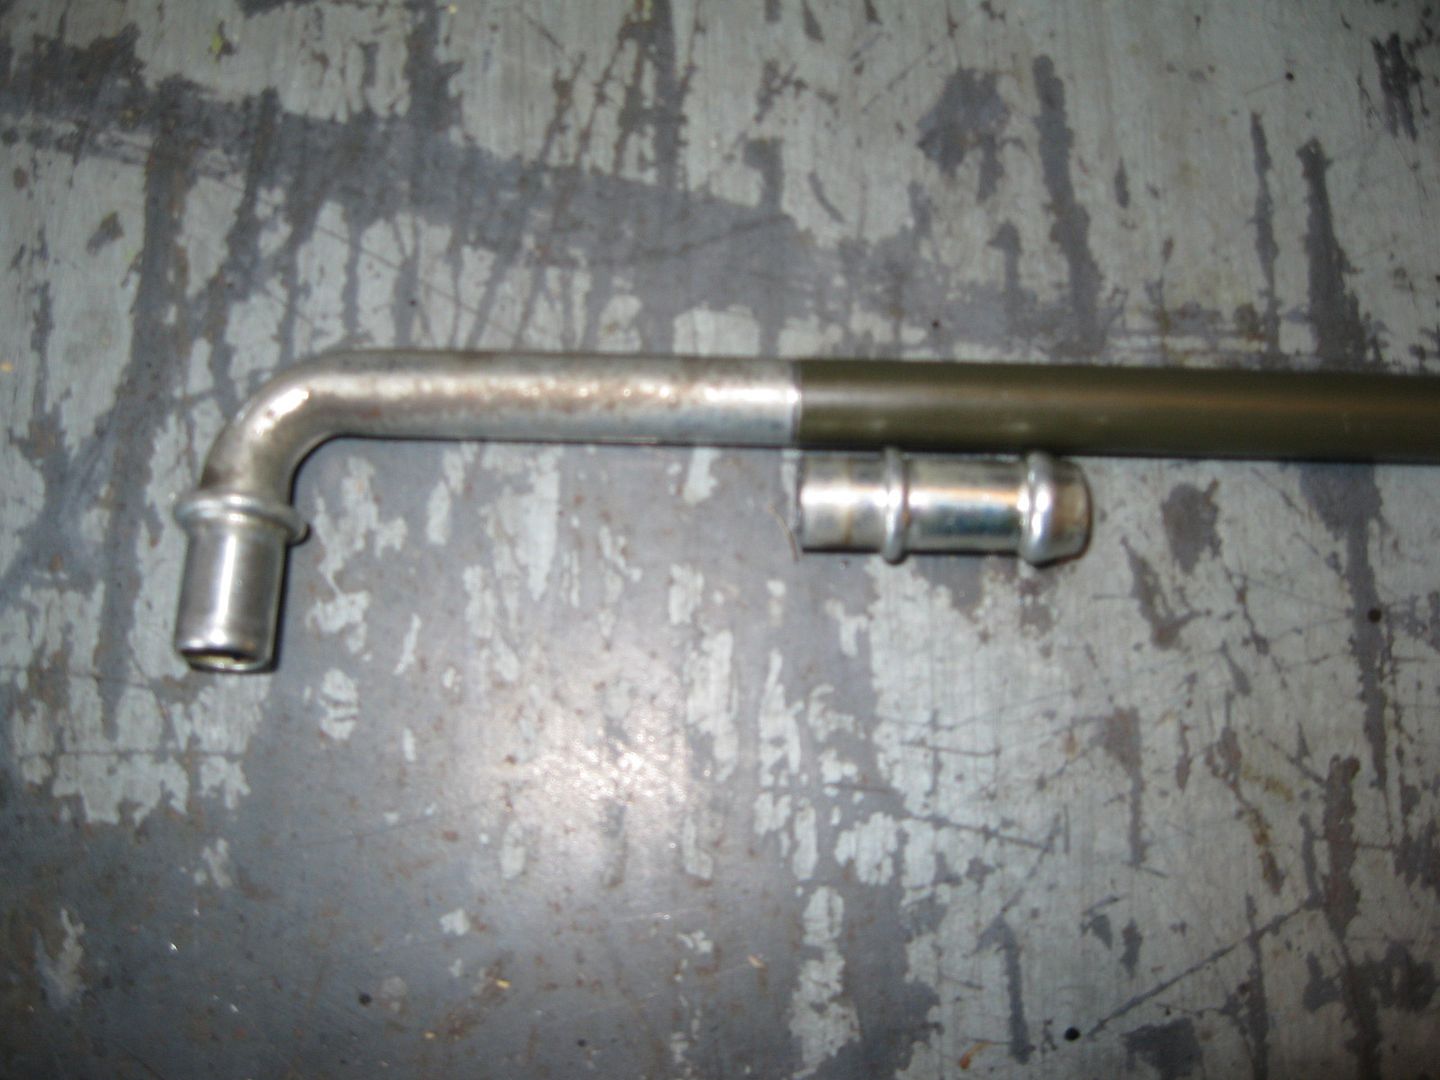
I am much happier with this setup. Once the tube is painted semi-gloss black it will fade away into the intake manifold. I still need to trim the end at the throttle body and run a short section of hose to connect it.
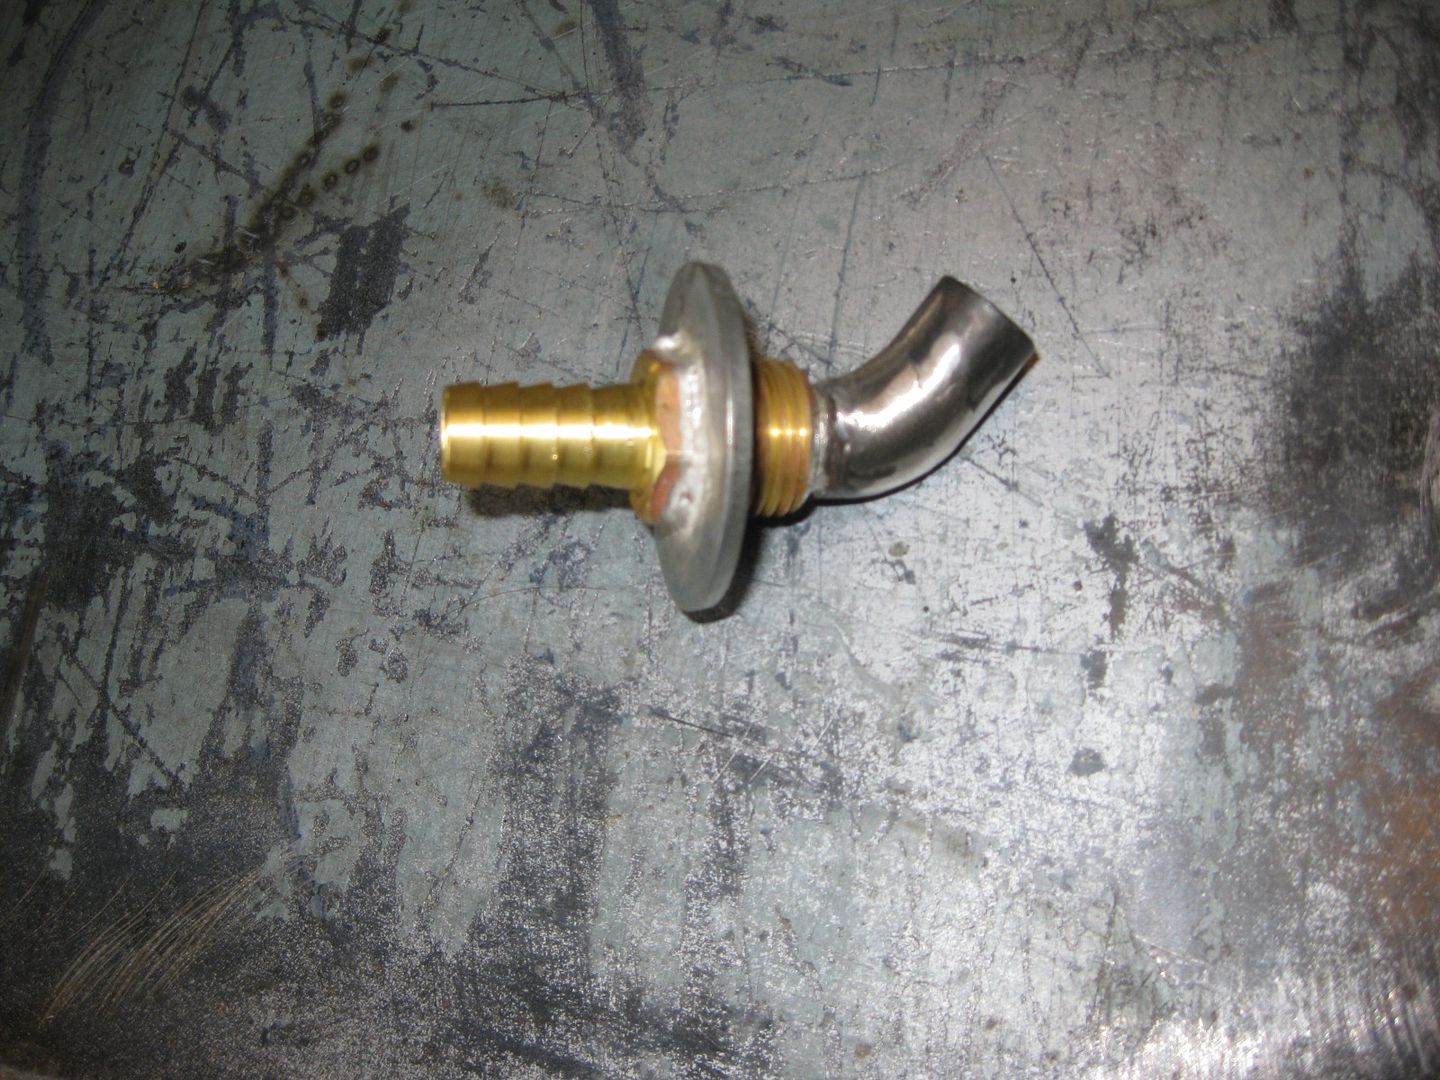
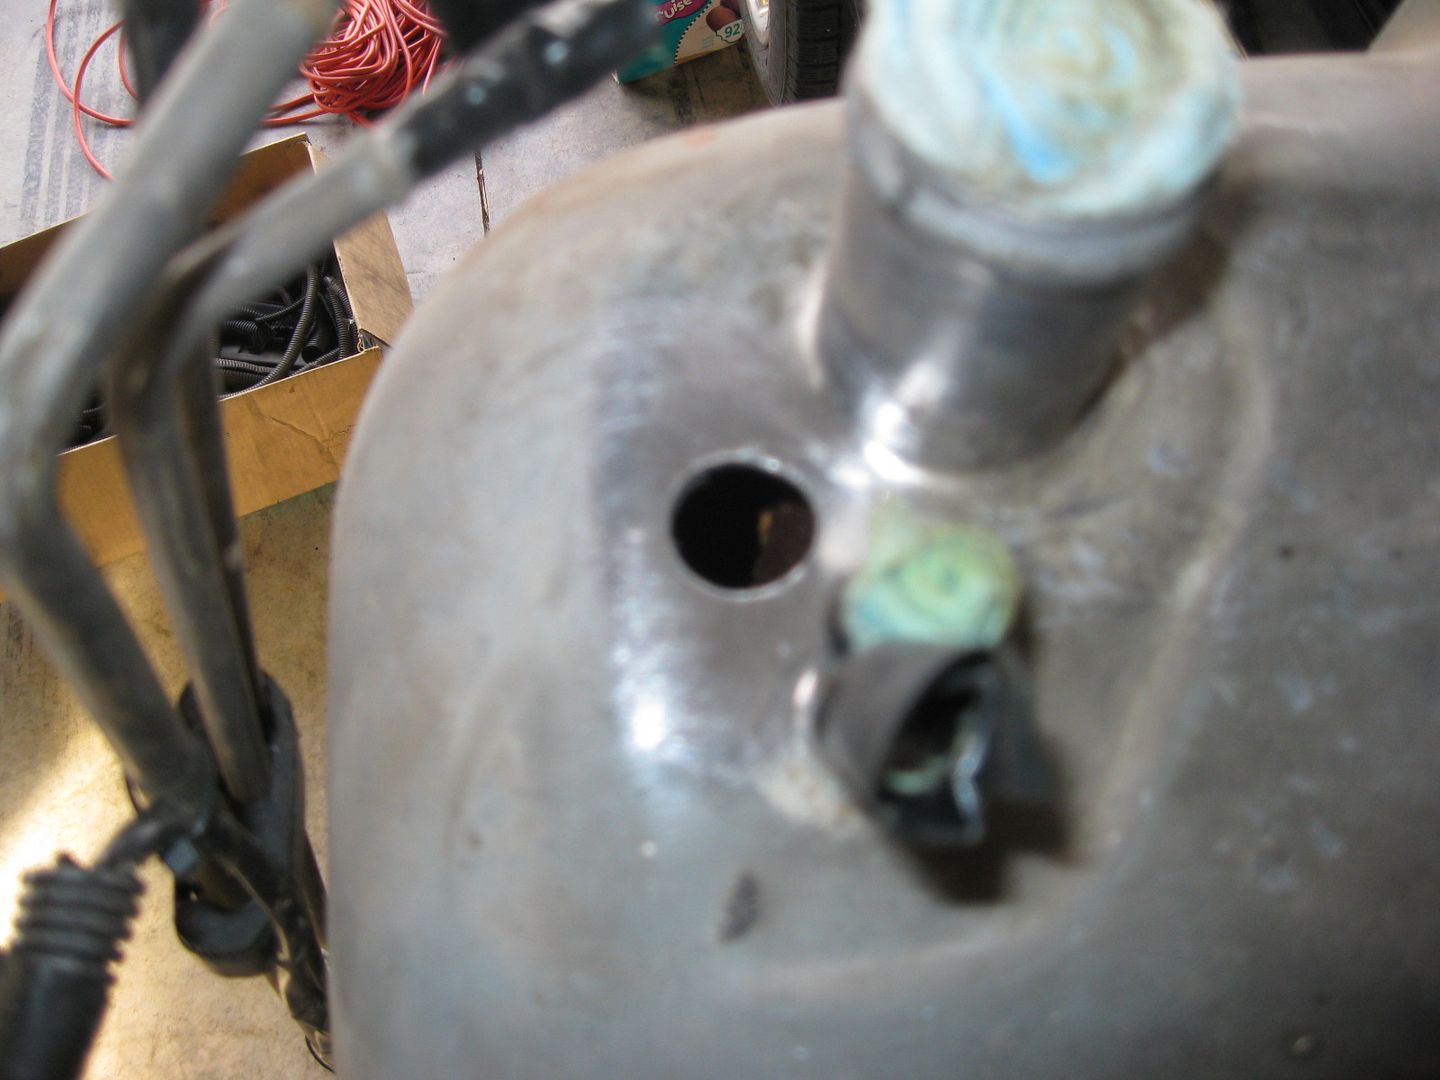
I also started work on the fuel tank mod/vent tube relocation very similar to what 84bill did:
http://www.fiero.nl/forum/A...100421-2-082612.html
I spent an hour working on the thread-in nipple/washer to raise the vent, but I was too aggressive with the feed speed on the lathe and broke it. I have a new one to start over with, but that will have to wait till Sunday.
|
|
|
|
fieroguru
|
NOV 11, 04:11 PM
|
|
Busy day...
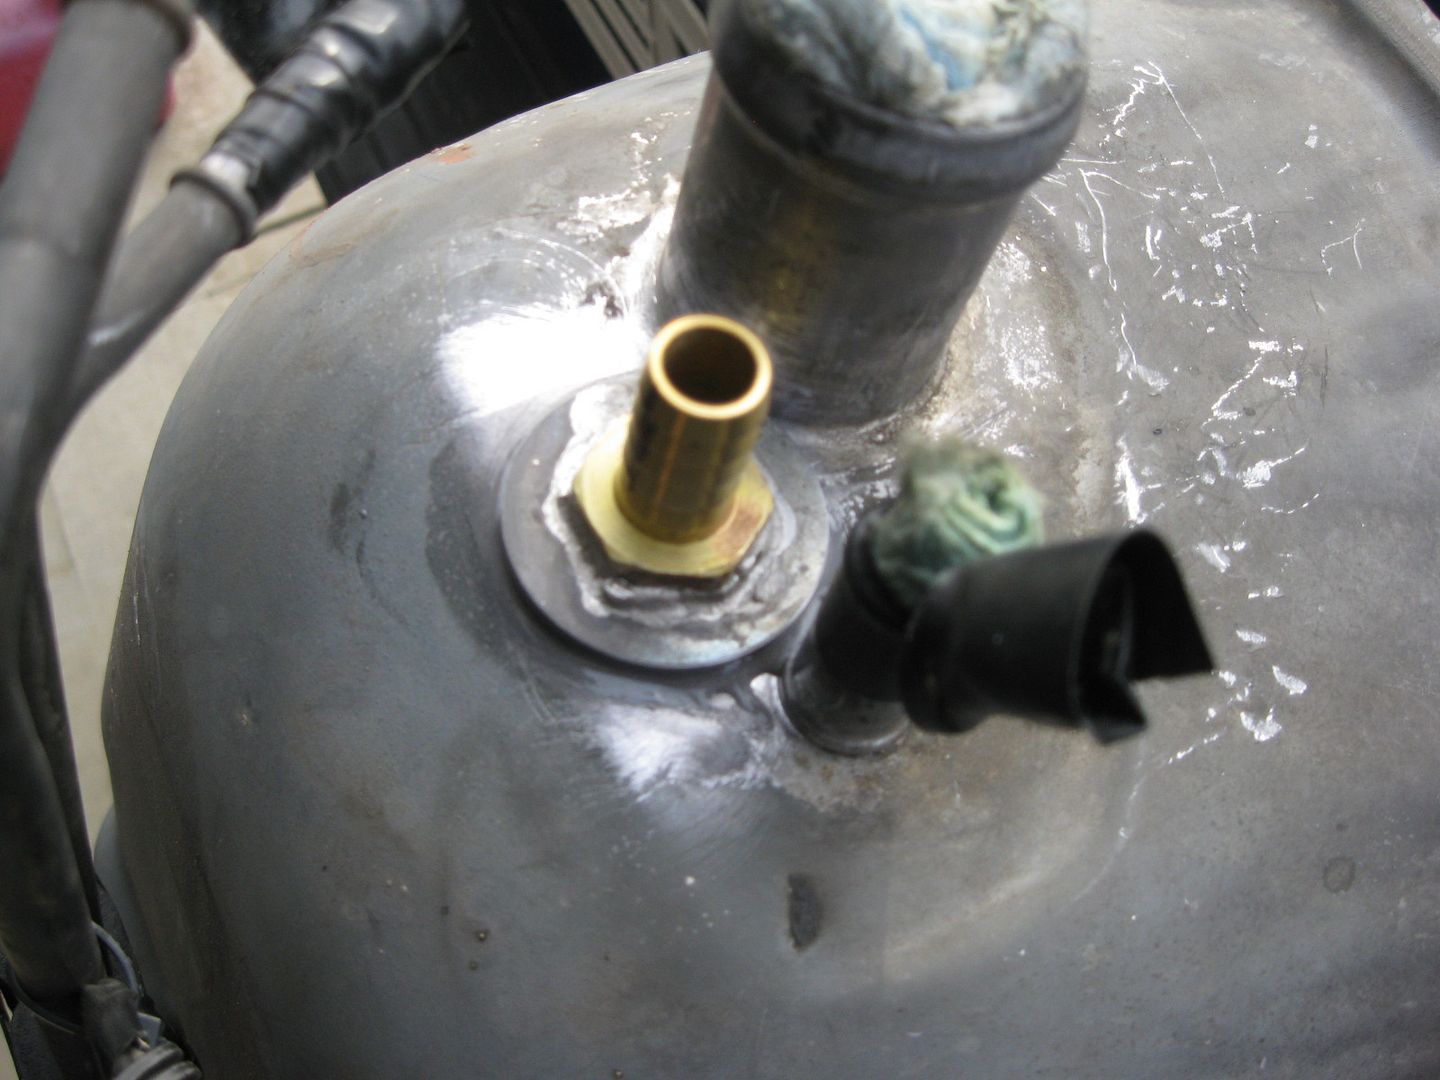
I finished the fuel tank vent mod which should get me .6 gallon increase in usable capacity.
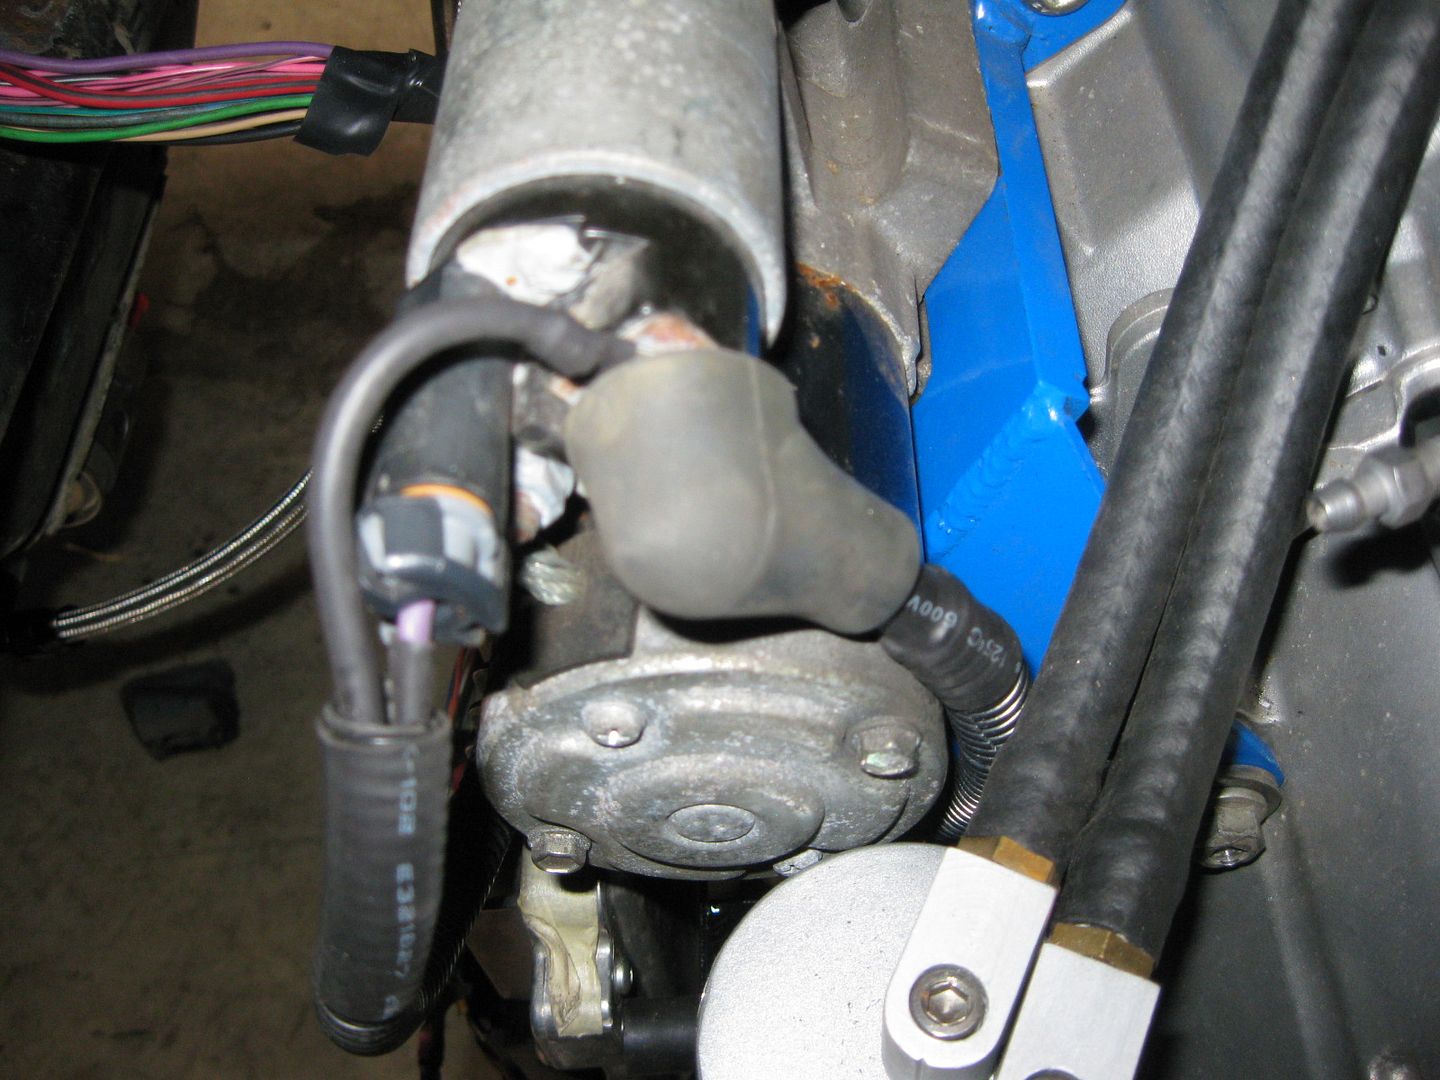
Soldered on the terminal for the battery cable at the starter:
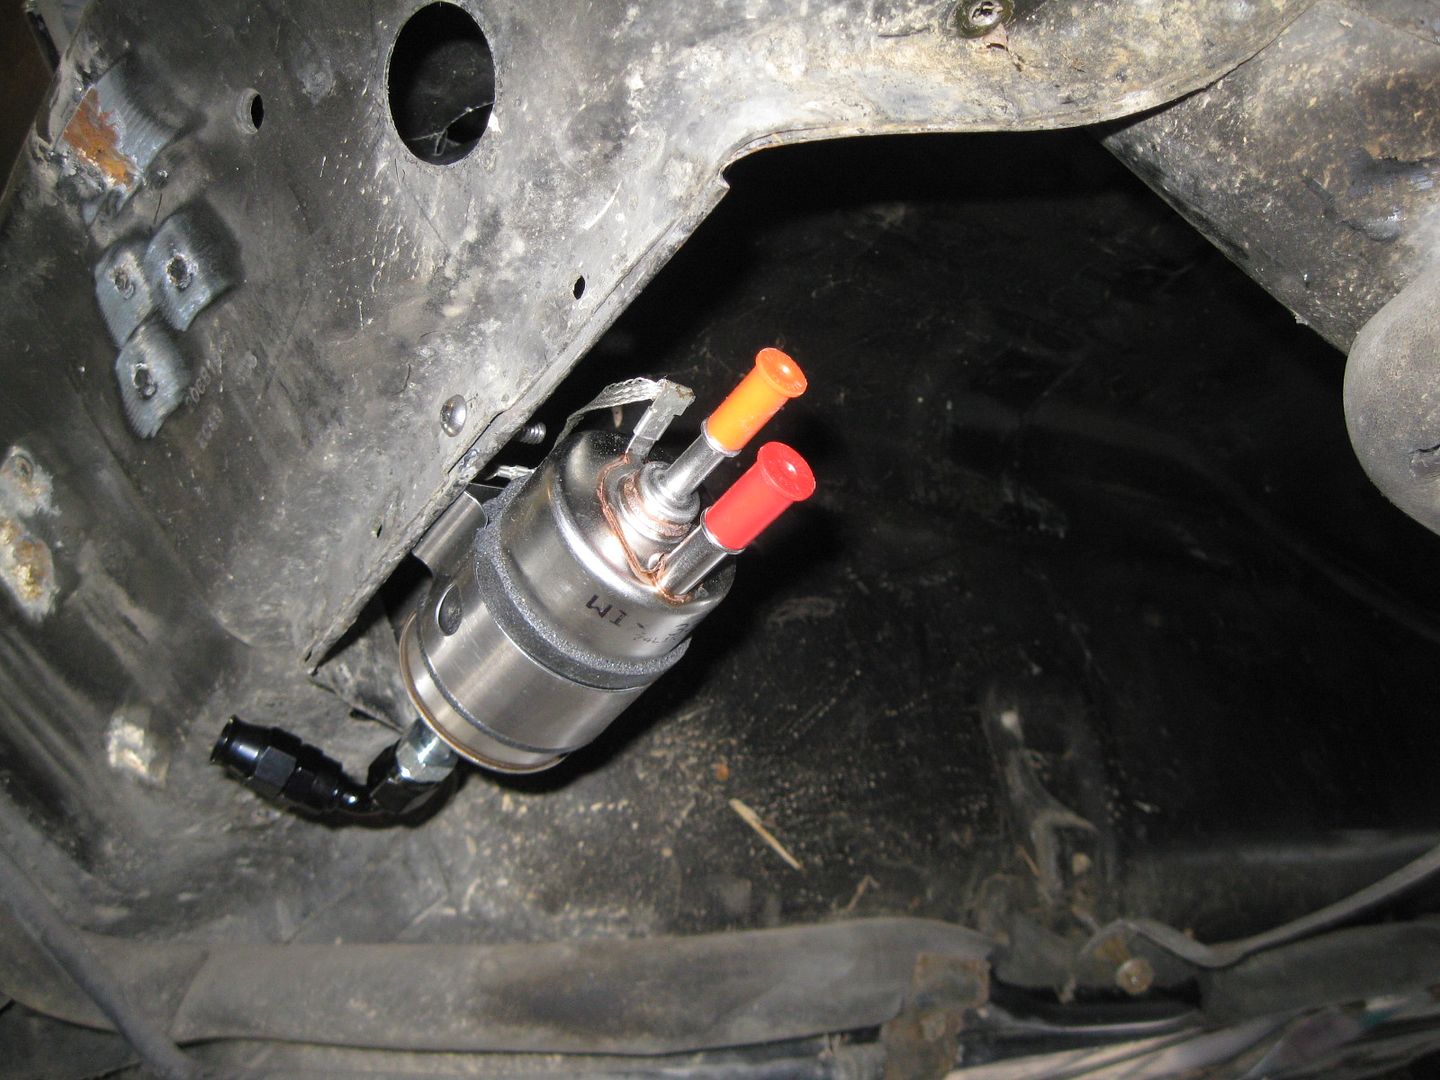
Mounted the fuel filter (I slid the bracket that comes with it off and flipped it around):

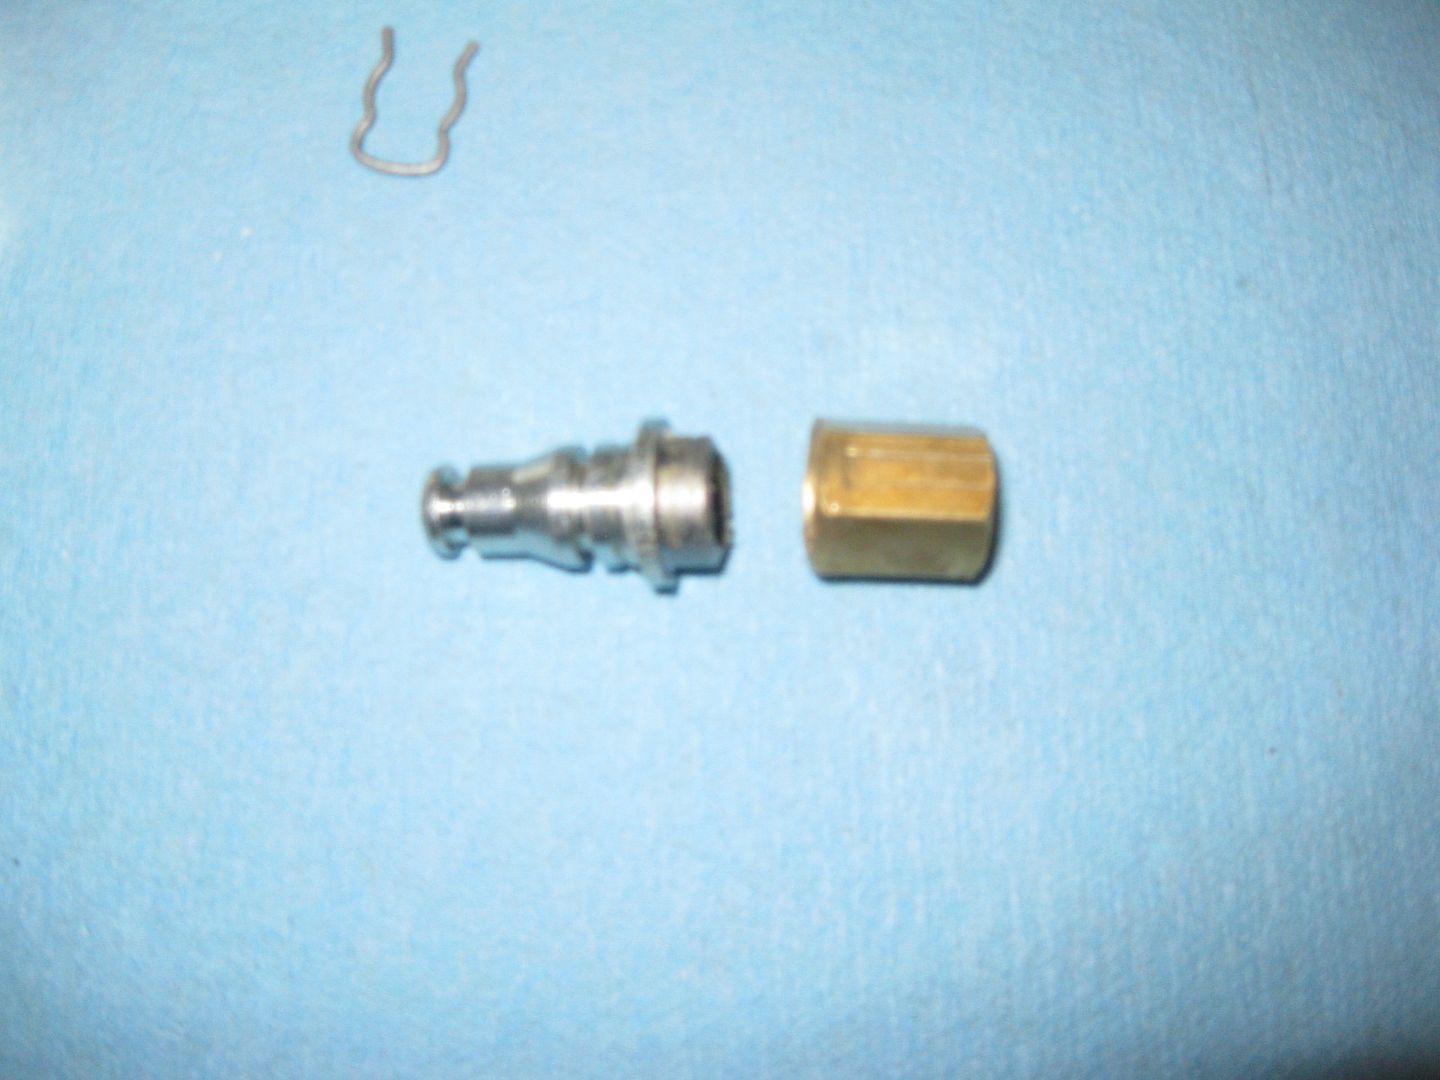
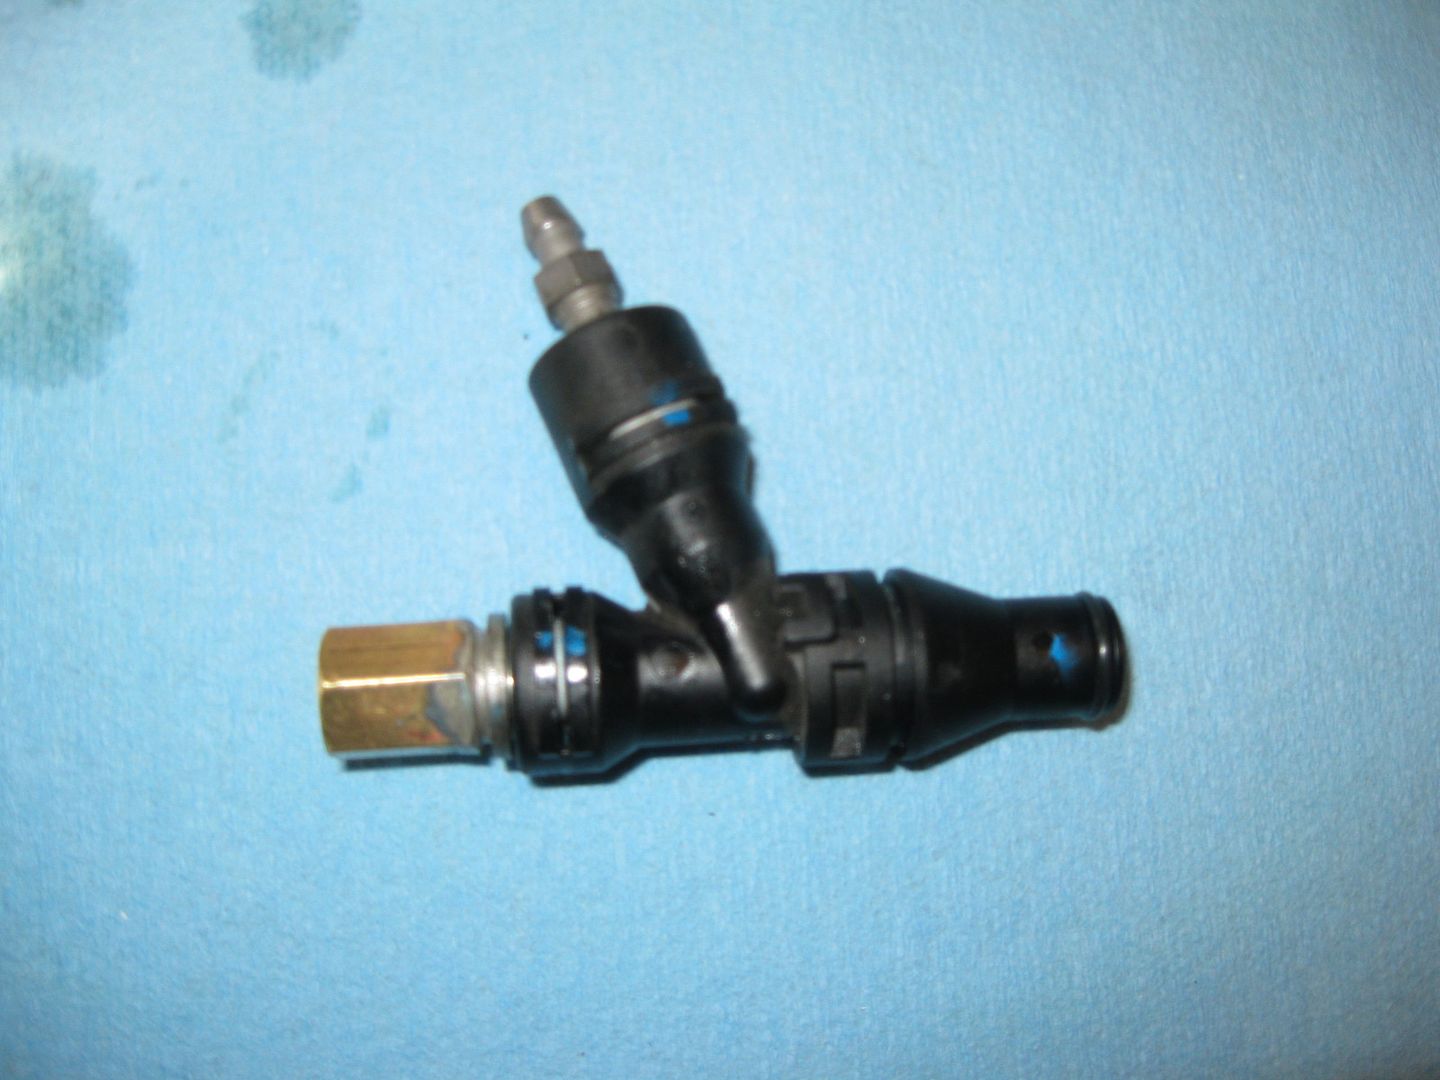
Took apart the G6 clutch master/bleeder assy and modified it to take a traditional flared line. Machined both pieces for a press fit then silver soldered them together:

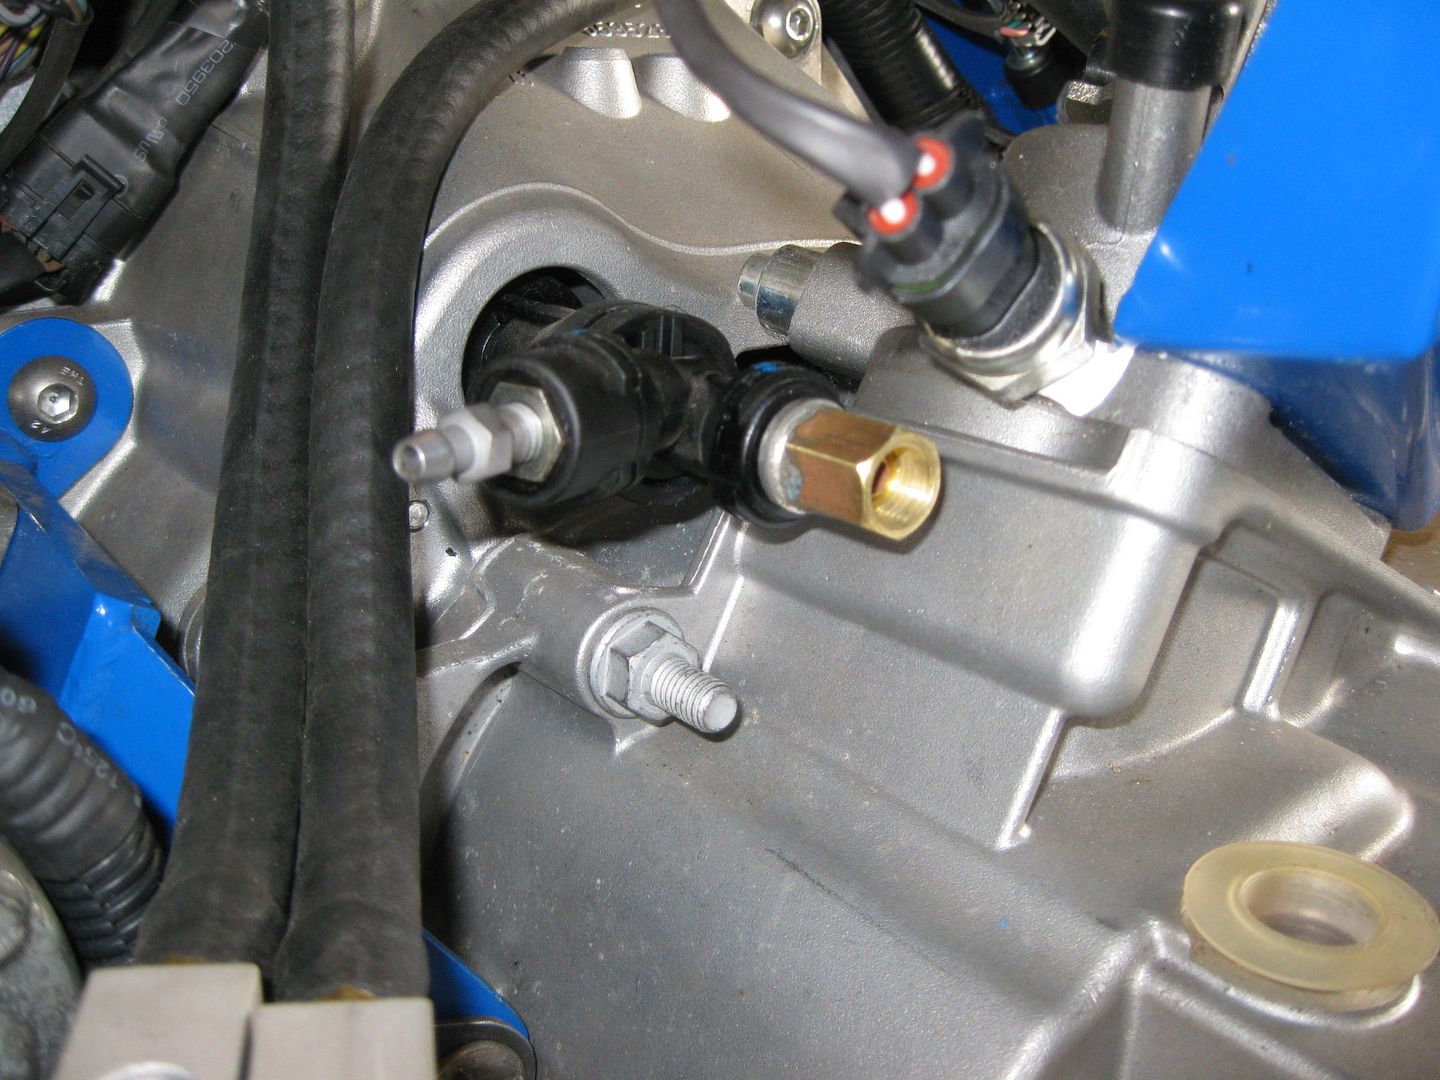
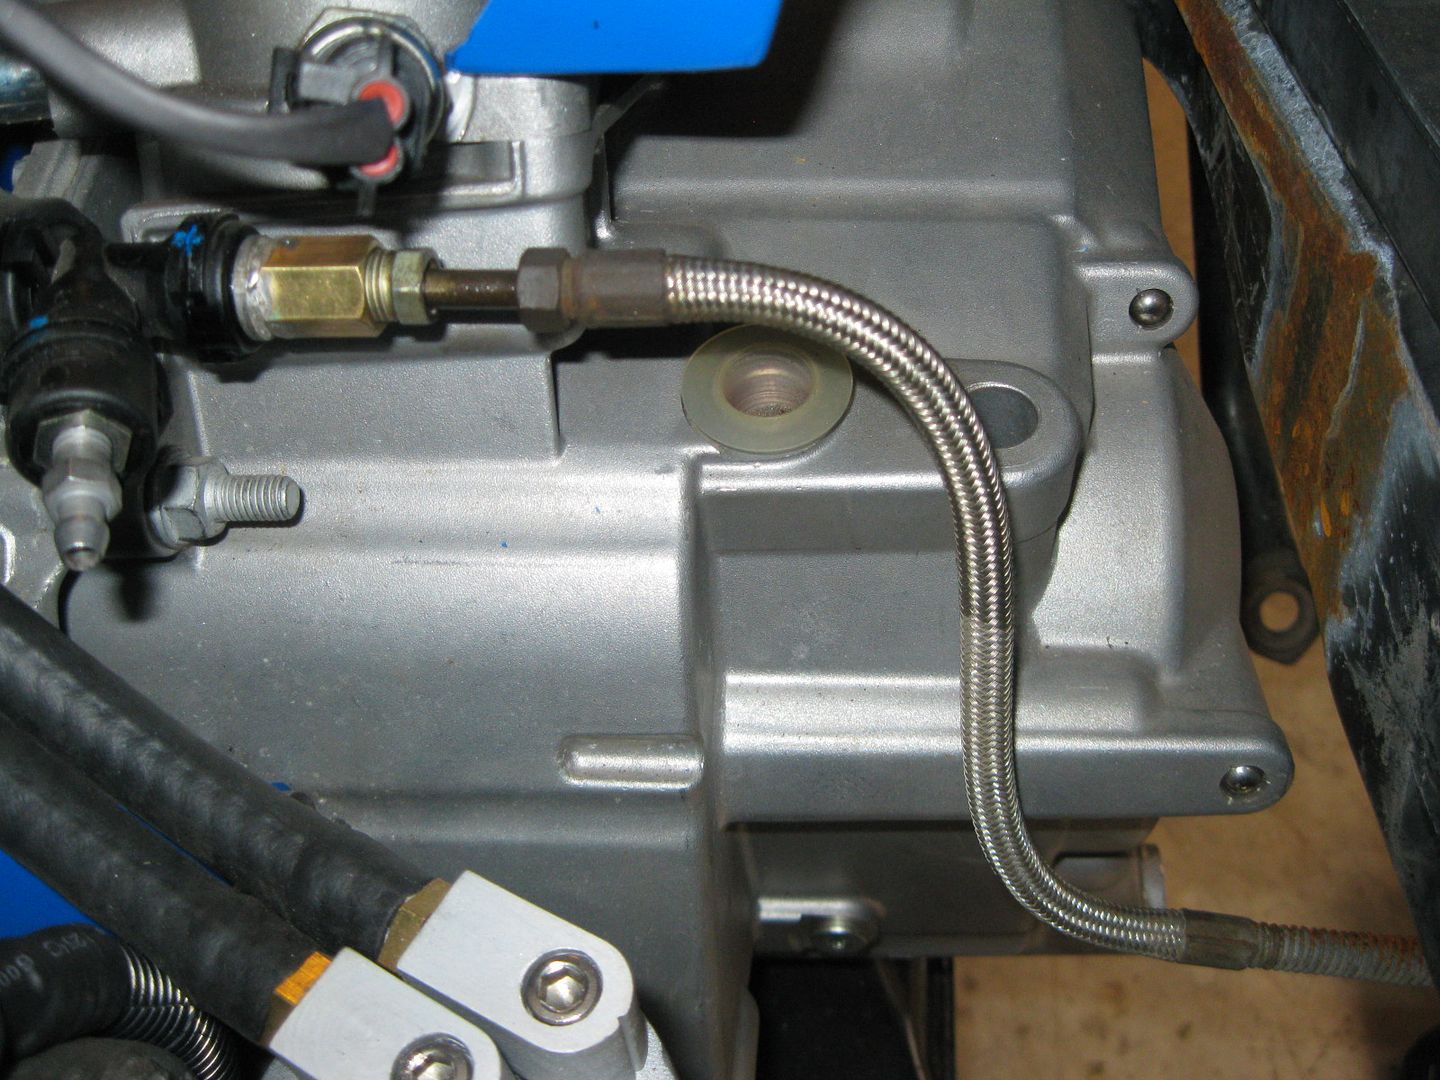
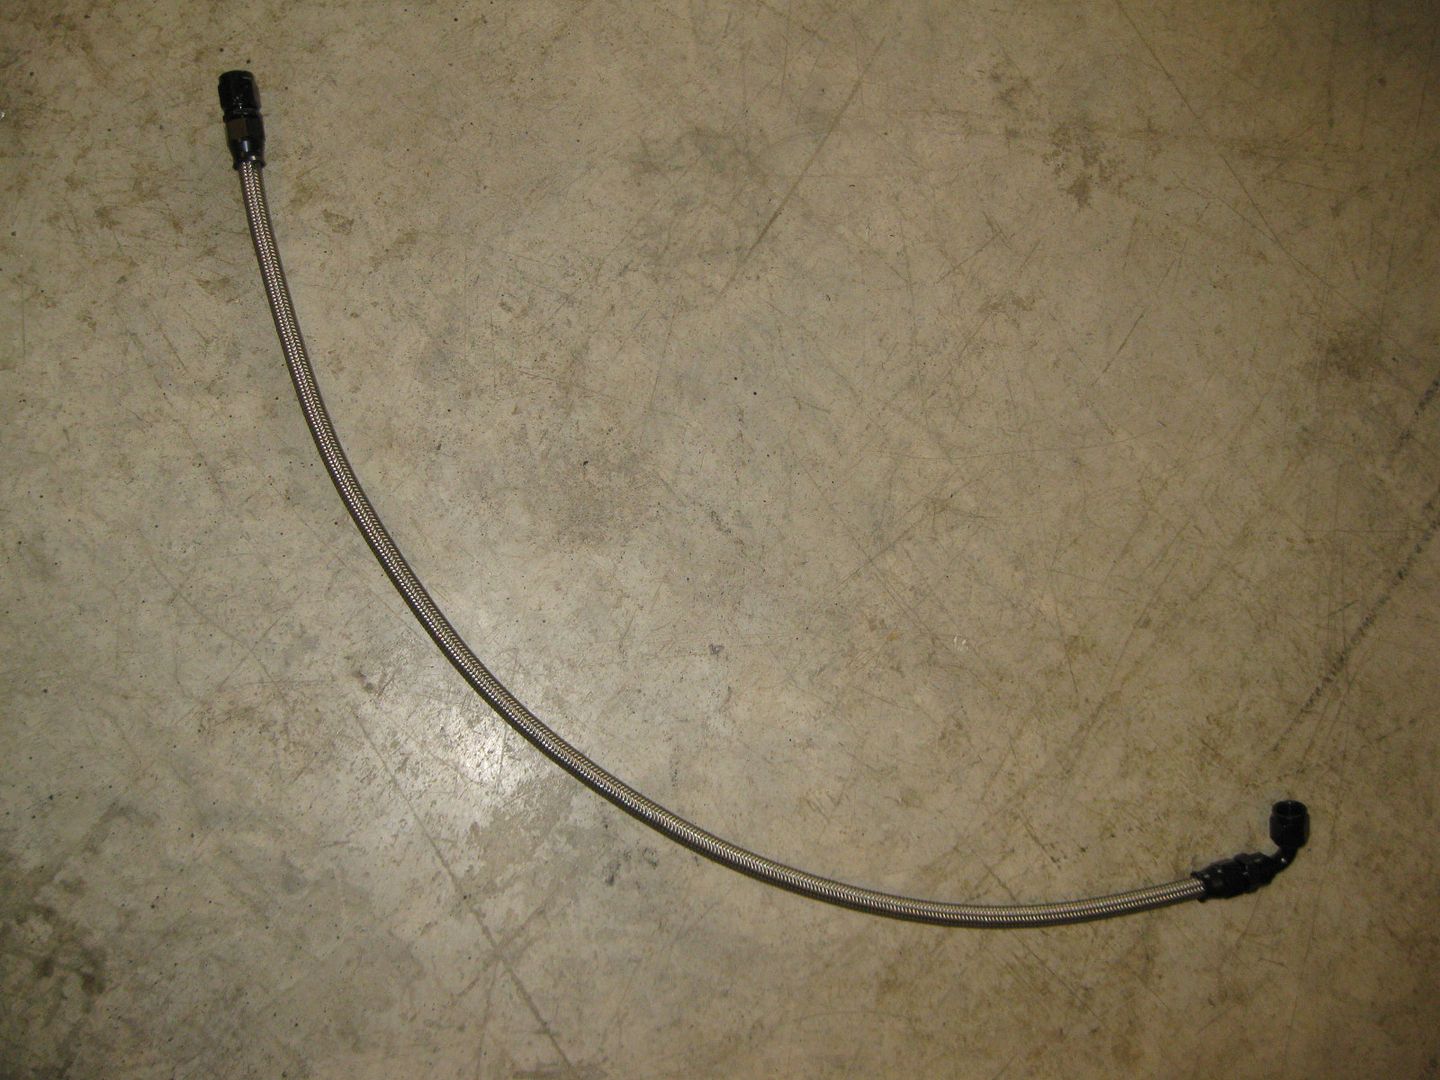
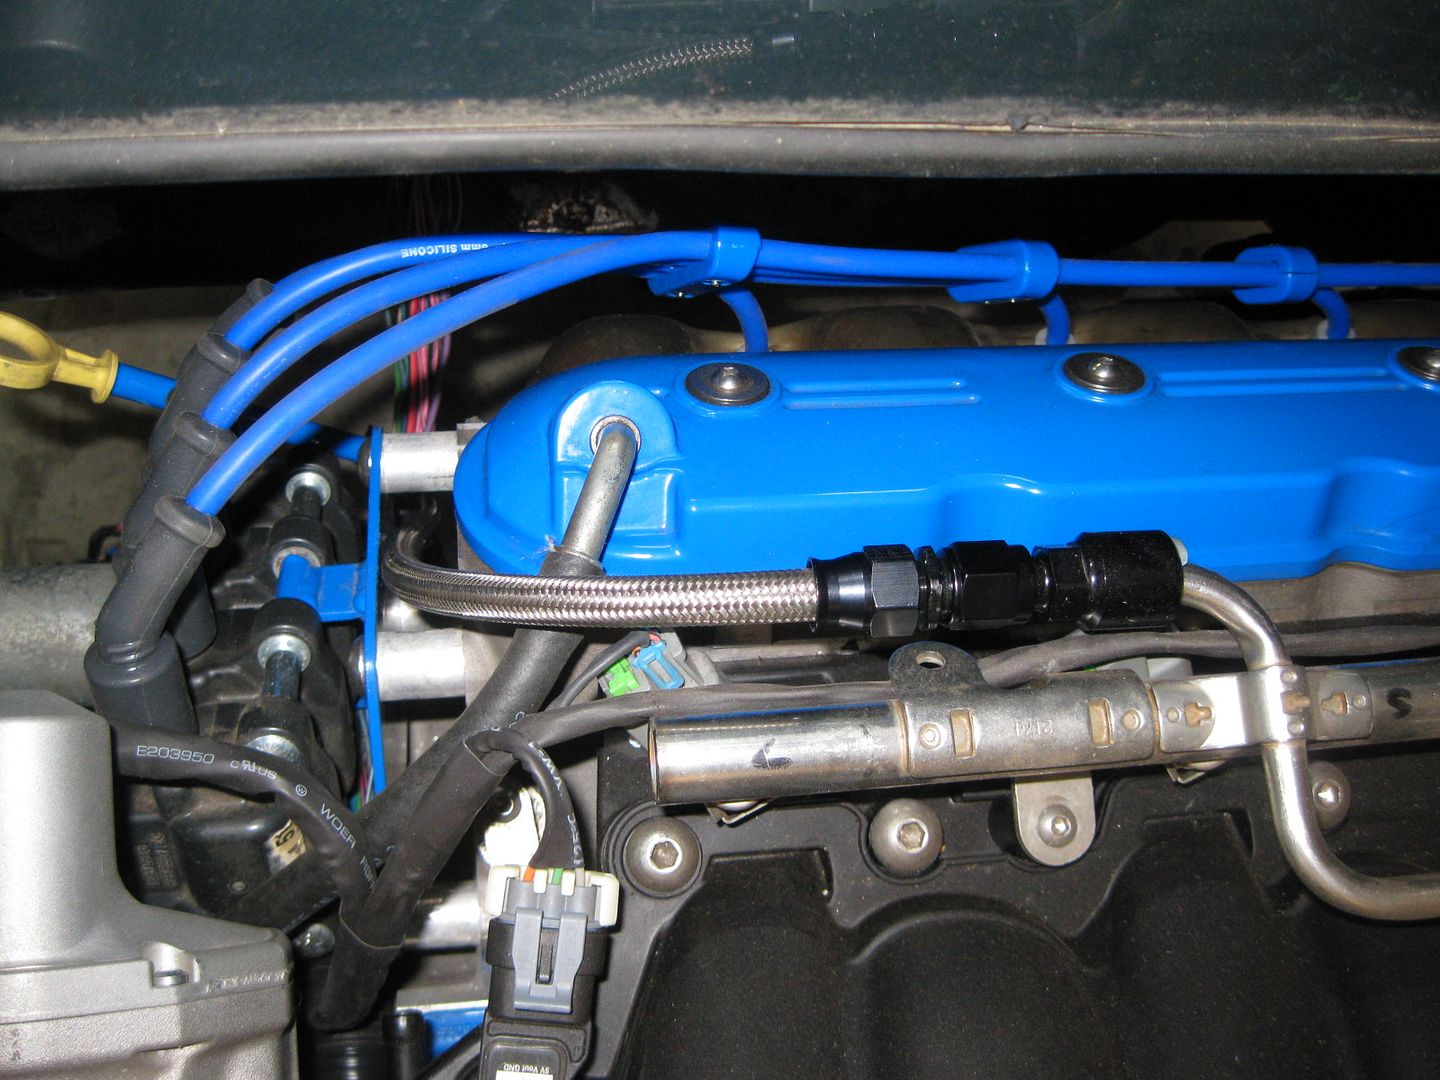
Since the engine was put back in place for the wiring, I also took the opportunity to make the fuel hose:
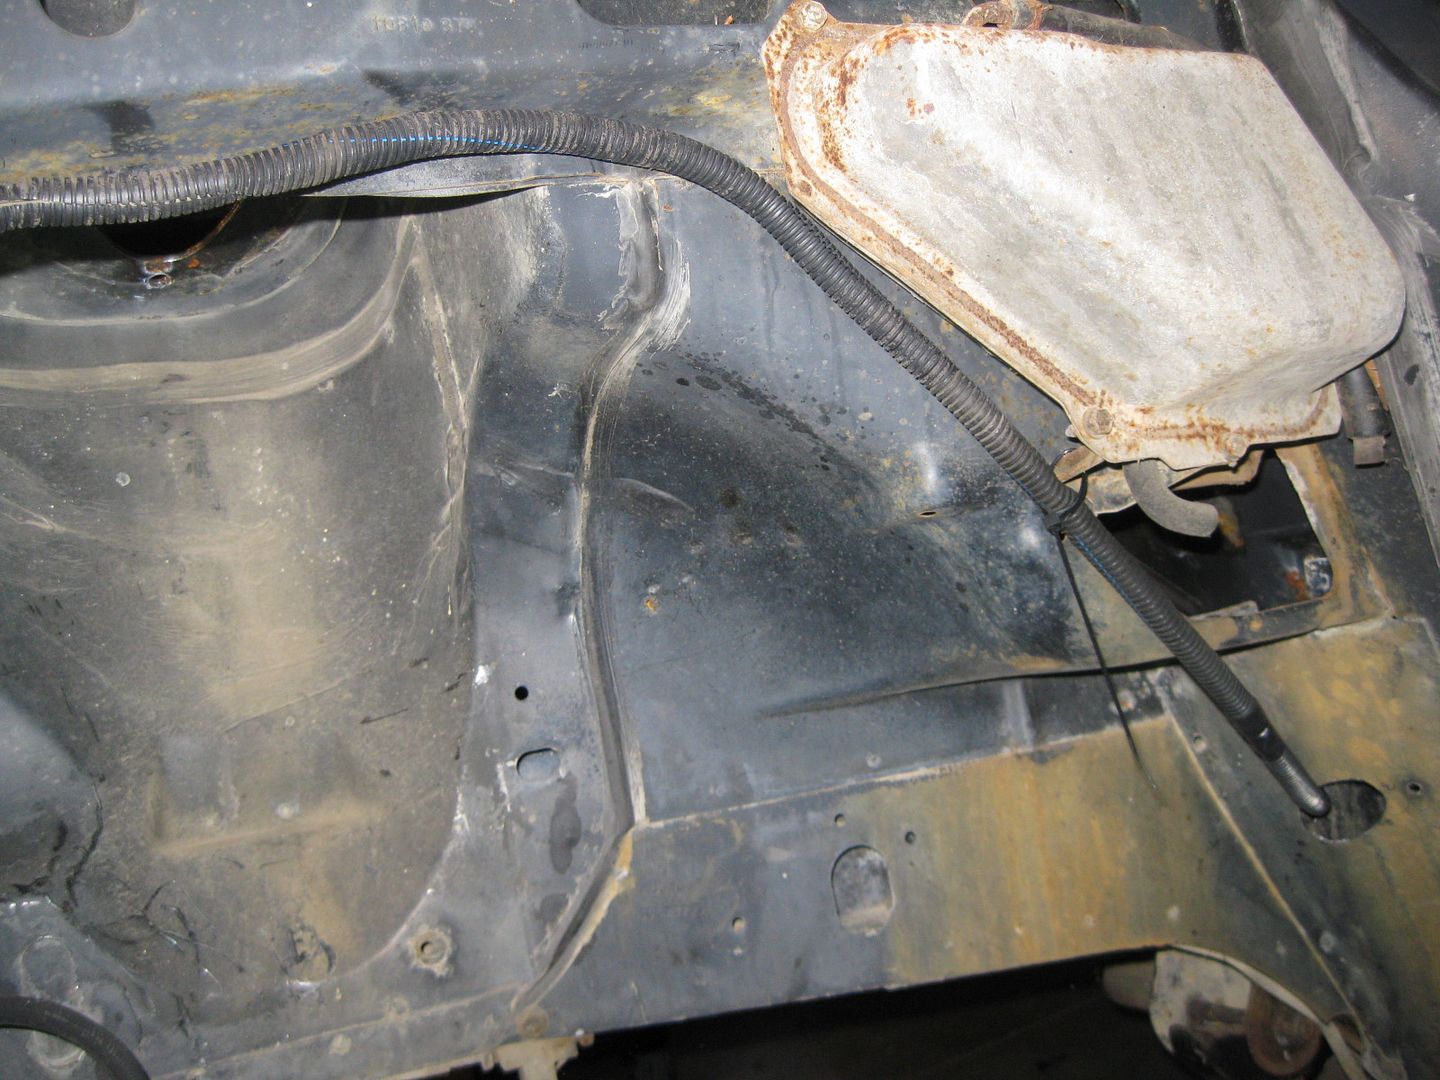
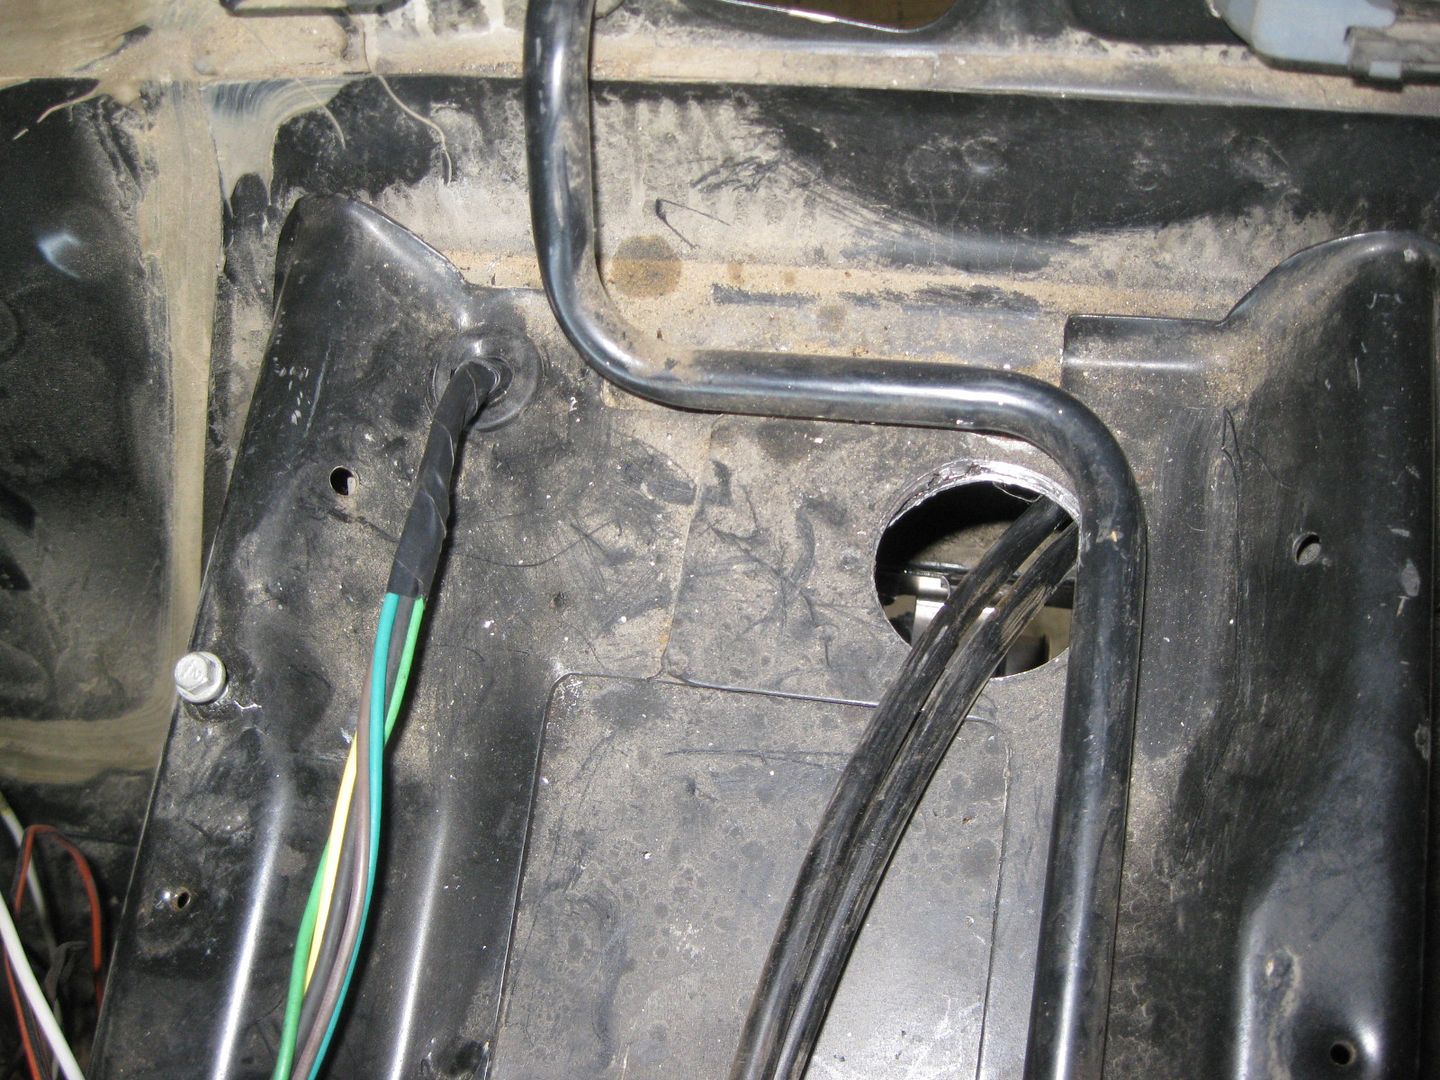
I wanted to keep the shifter cables as far from heat as possible, so I routed them down into the double firewall section and out by the fuel fill tubes. I will probably remove the insulation on them.
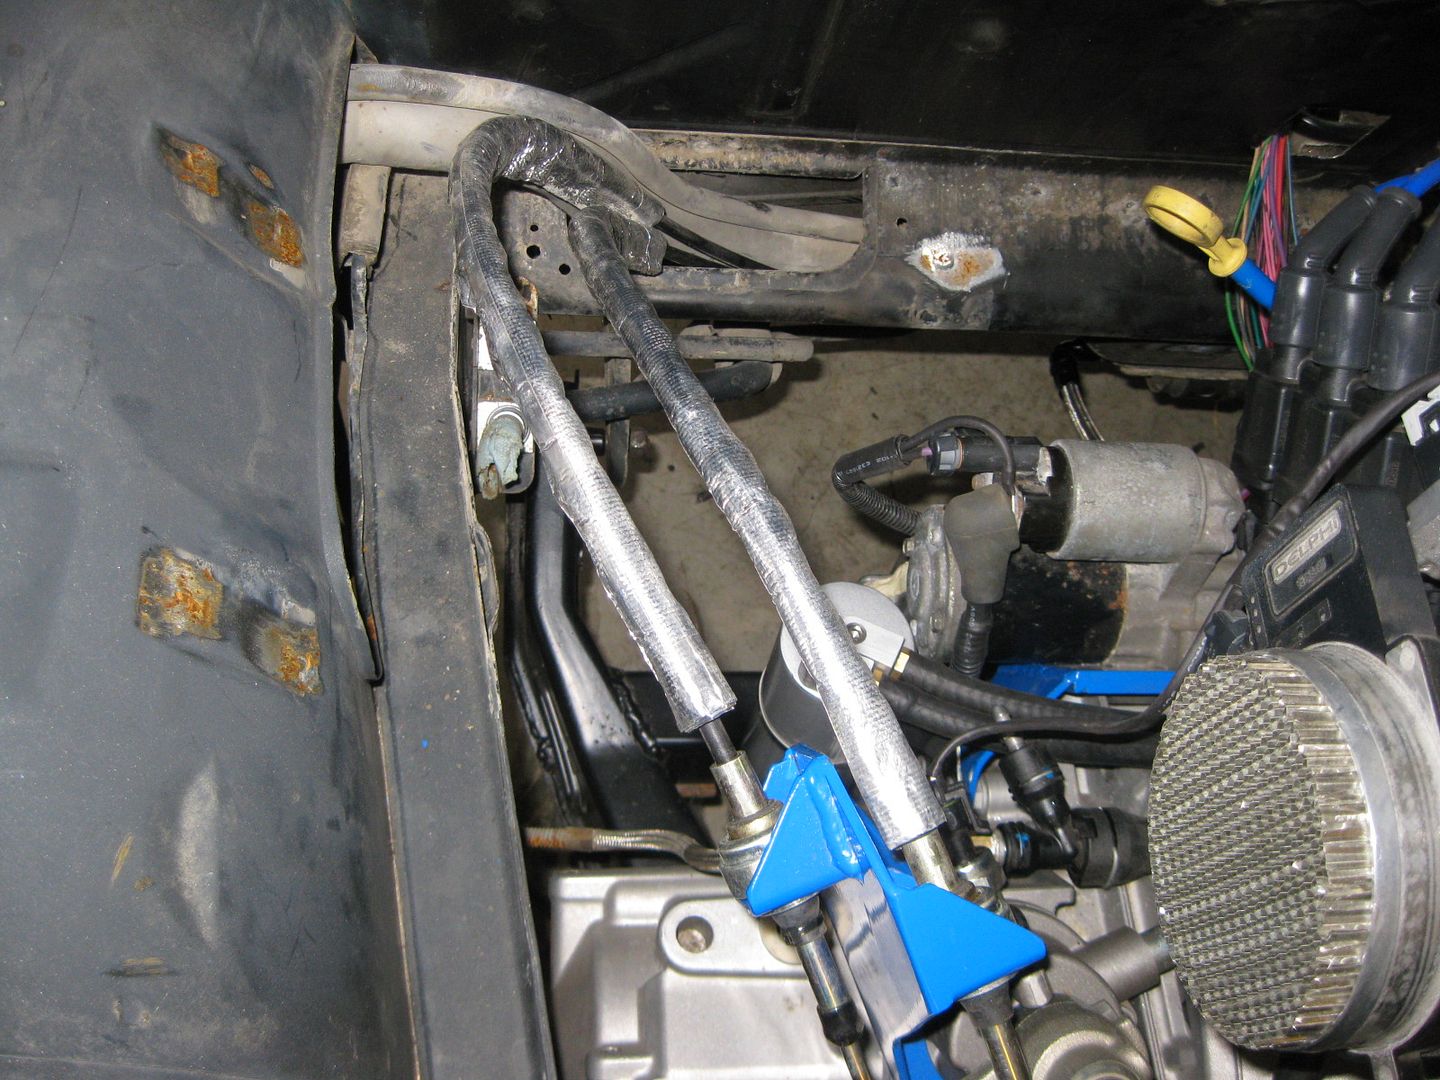
Here are some overall pics:
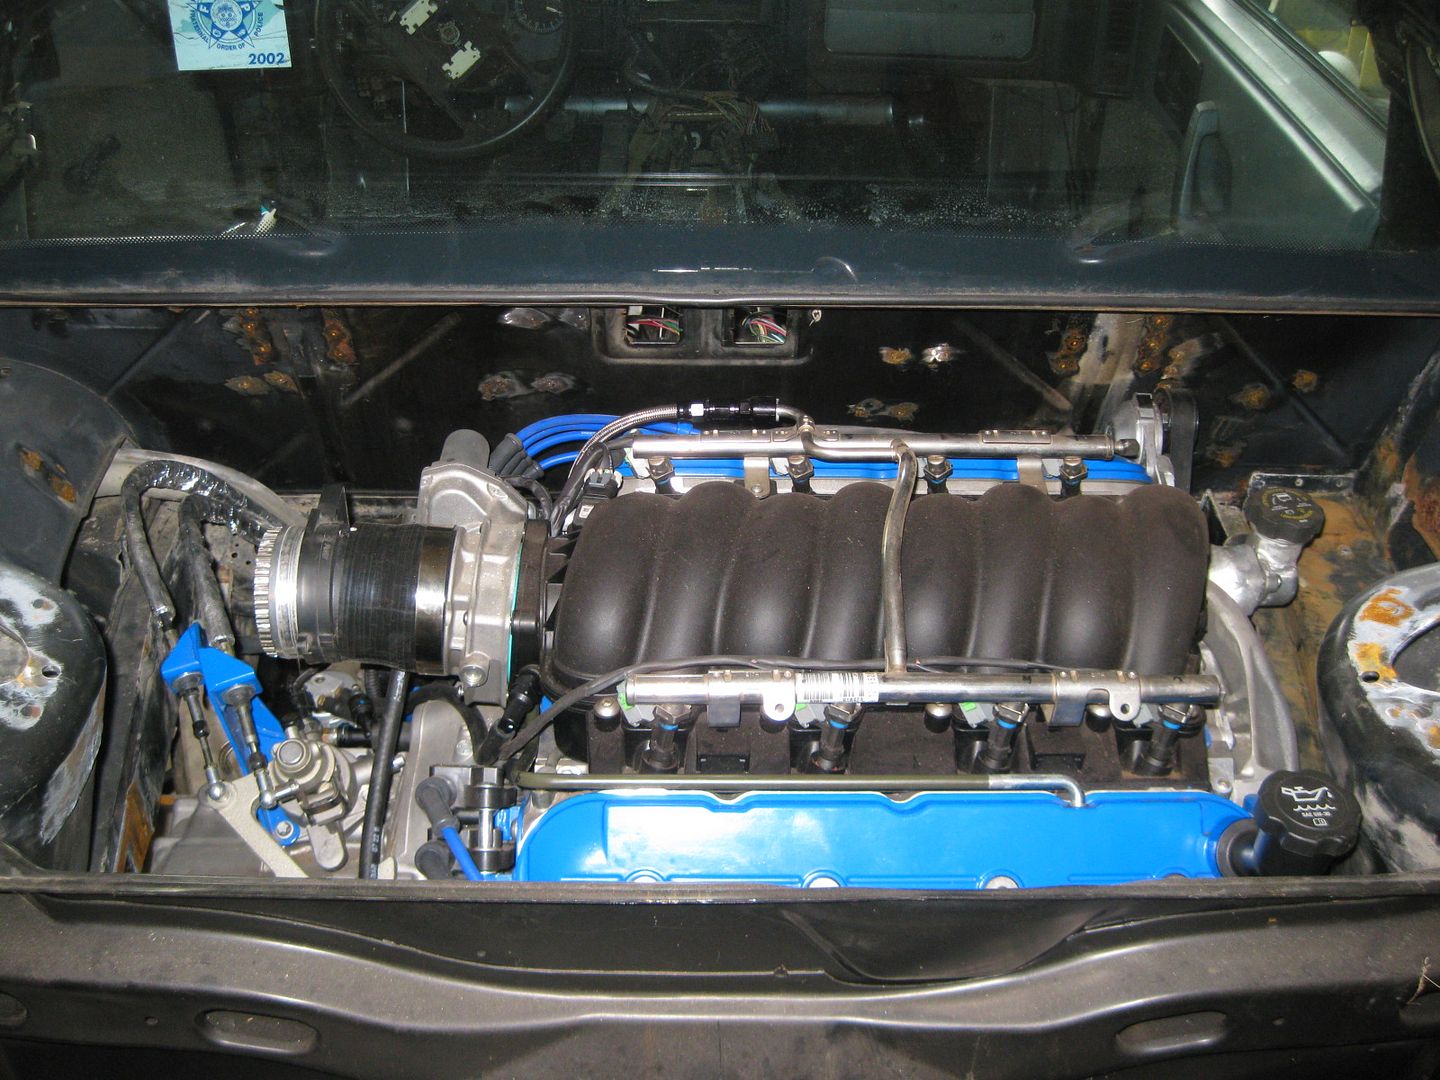

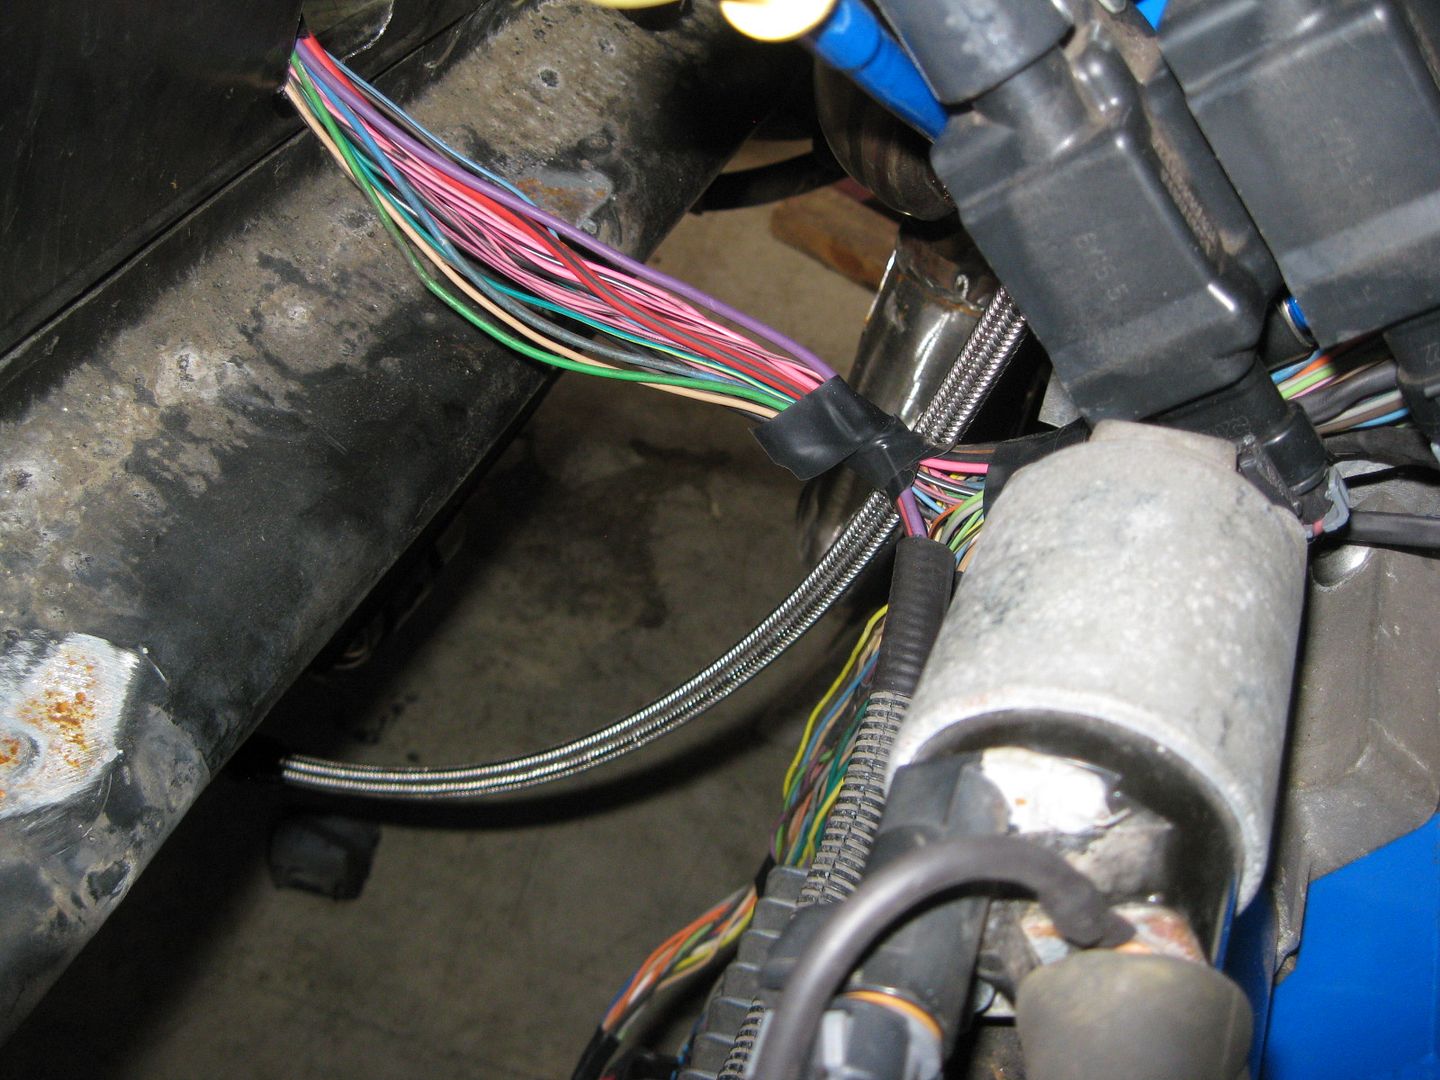
While the engine is in place, I need to finish the wiring harness, coolant connections, A/C hoses and fabricate a cold air intake (the GM truck one doesn't quite fit and I don't want to cut it up and have more couplers, I will get some exhaust tubing and weld something up). Then it will come back out to finish all the detail work in the engine bay.
|
|
|
|