|
| Ferrari 288GTO build (Page 50/64) |

|
dobie1
|
MAR 01, 10:50 PM
|
|
|
|
|
dobie1
|
MAR 09, 10:21 PM
|
|
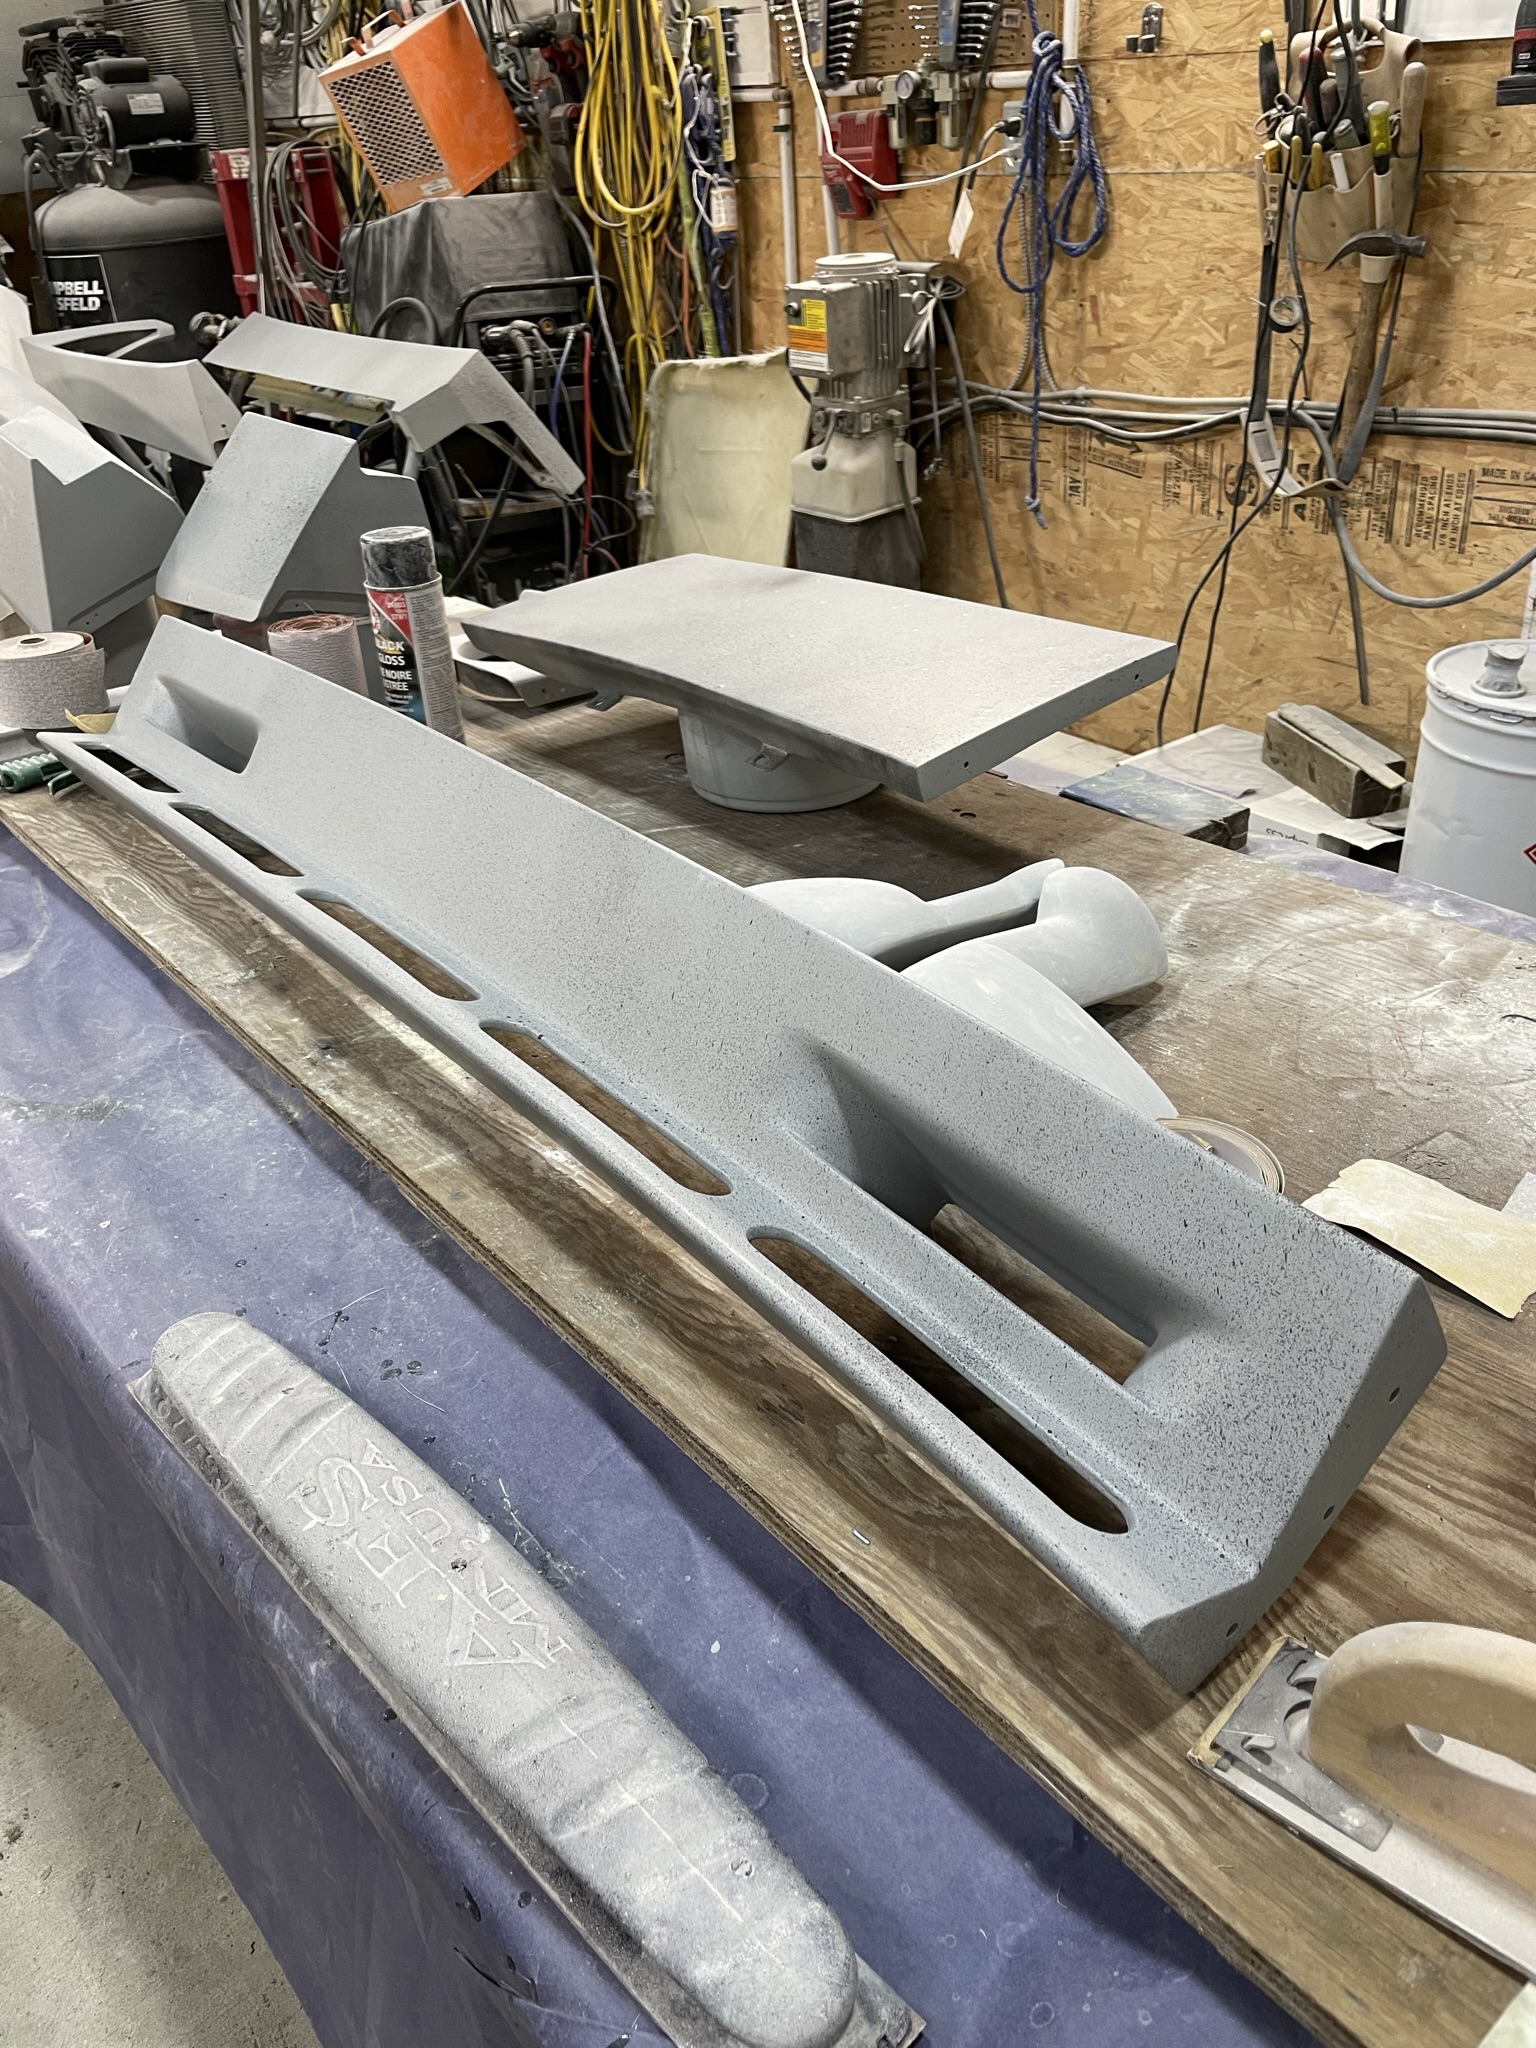
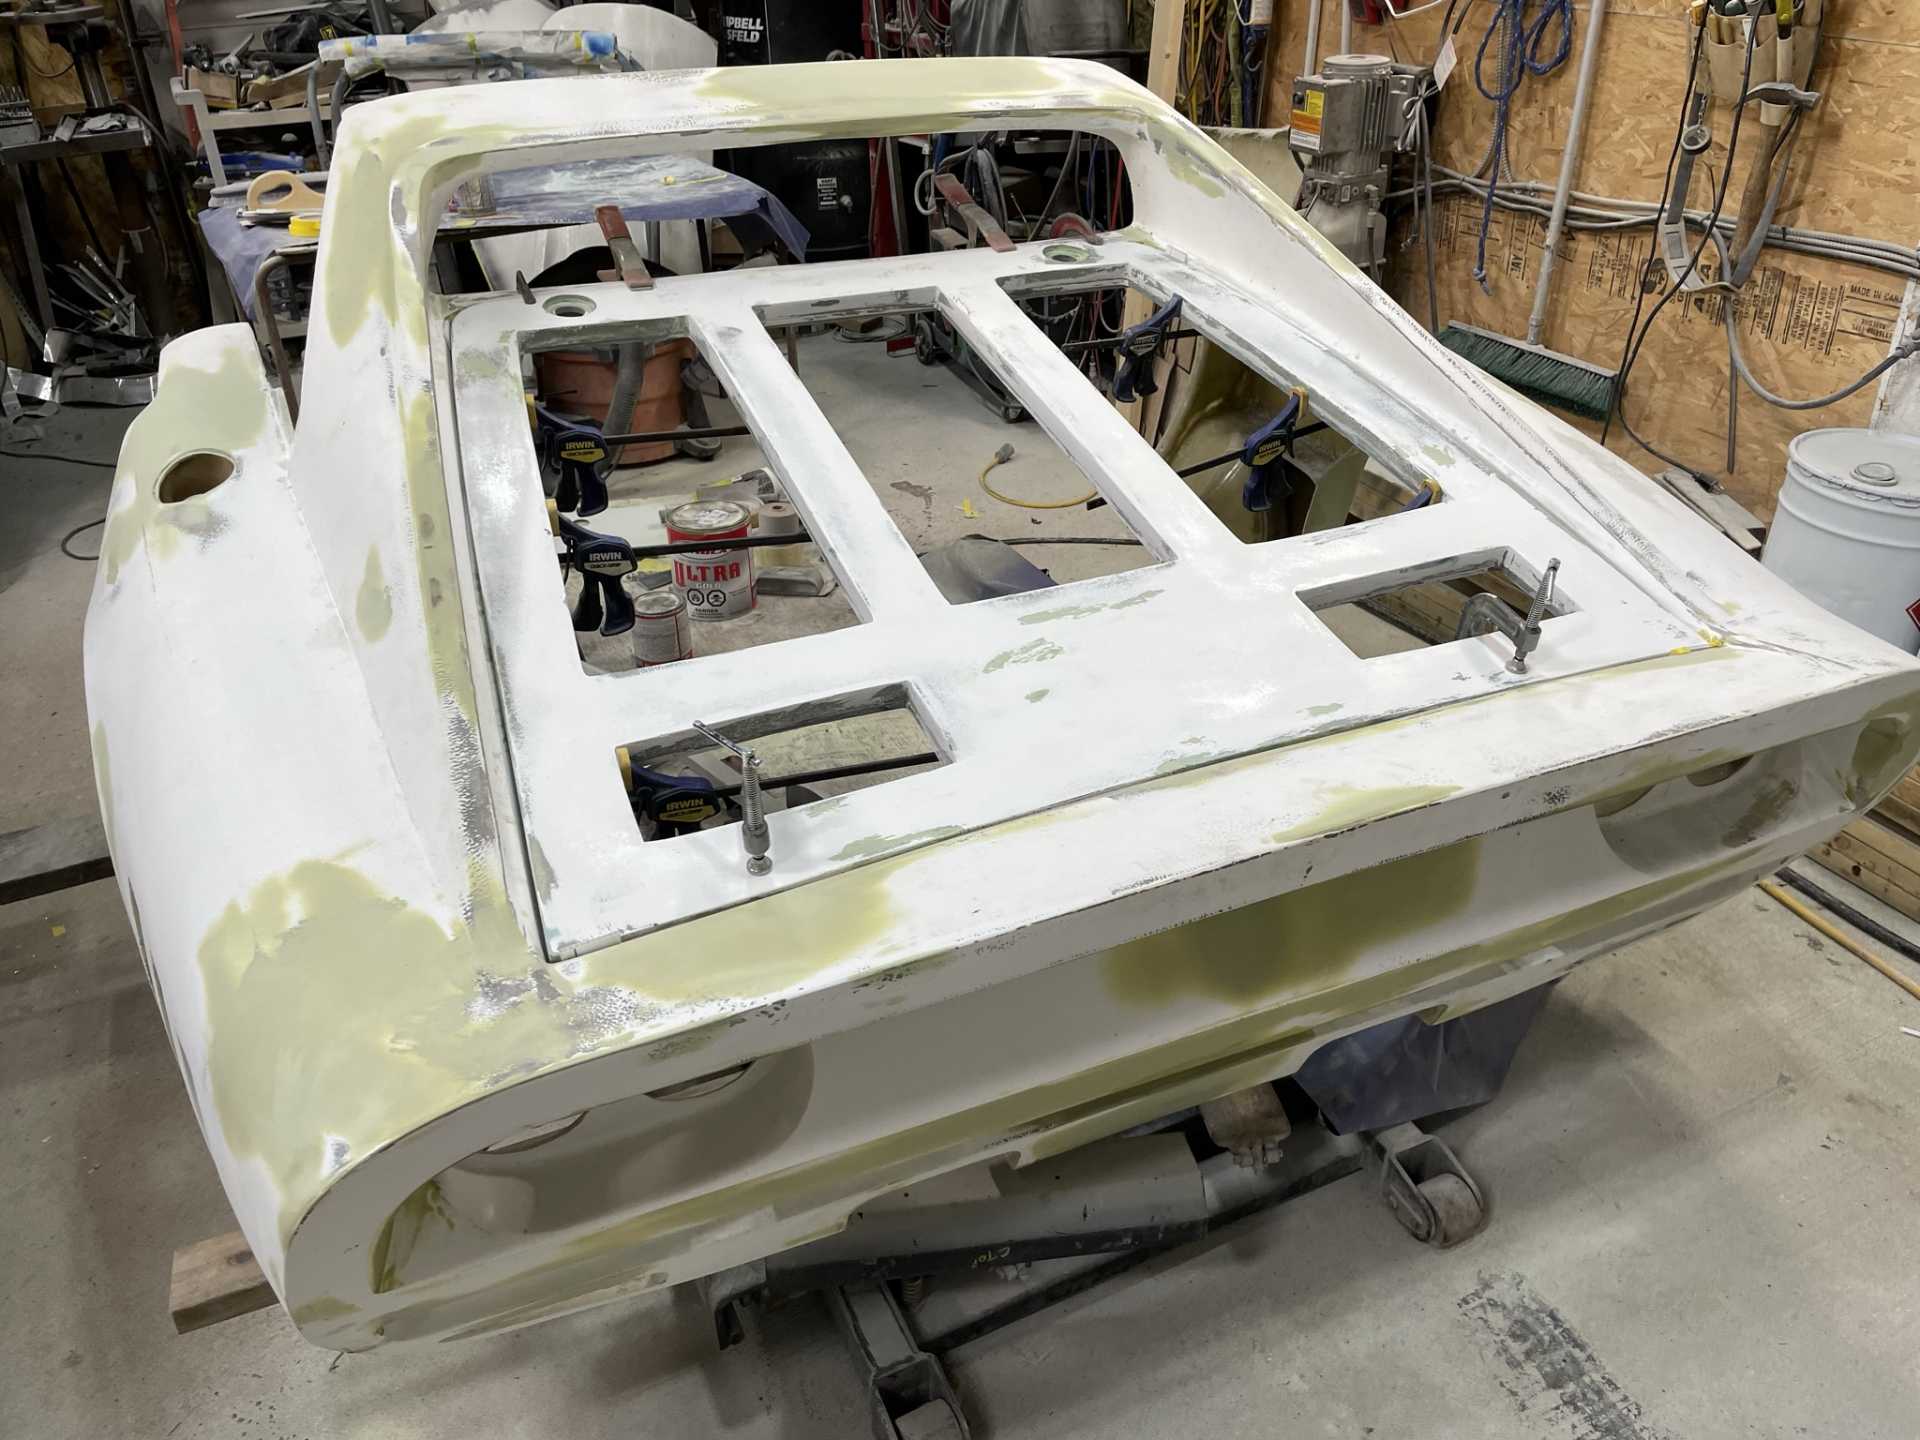
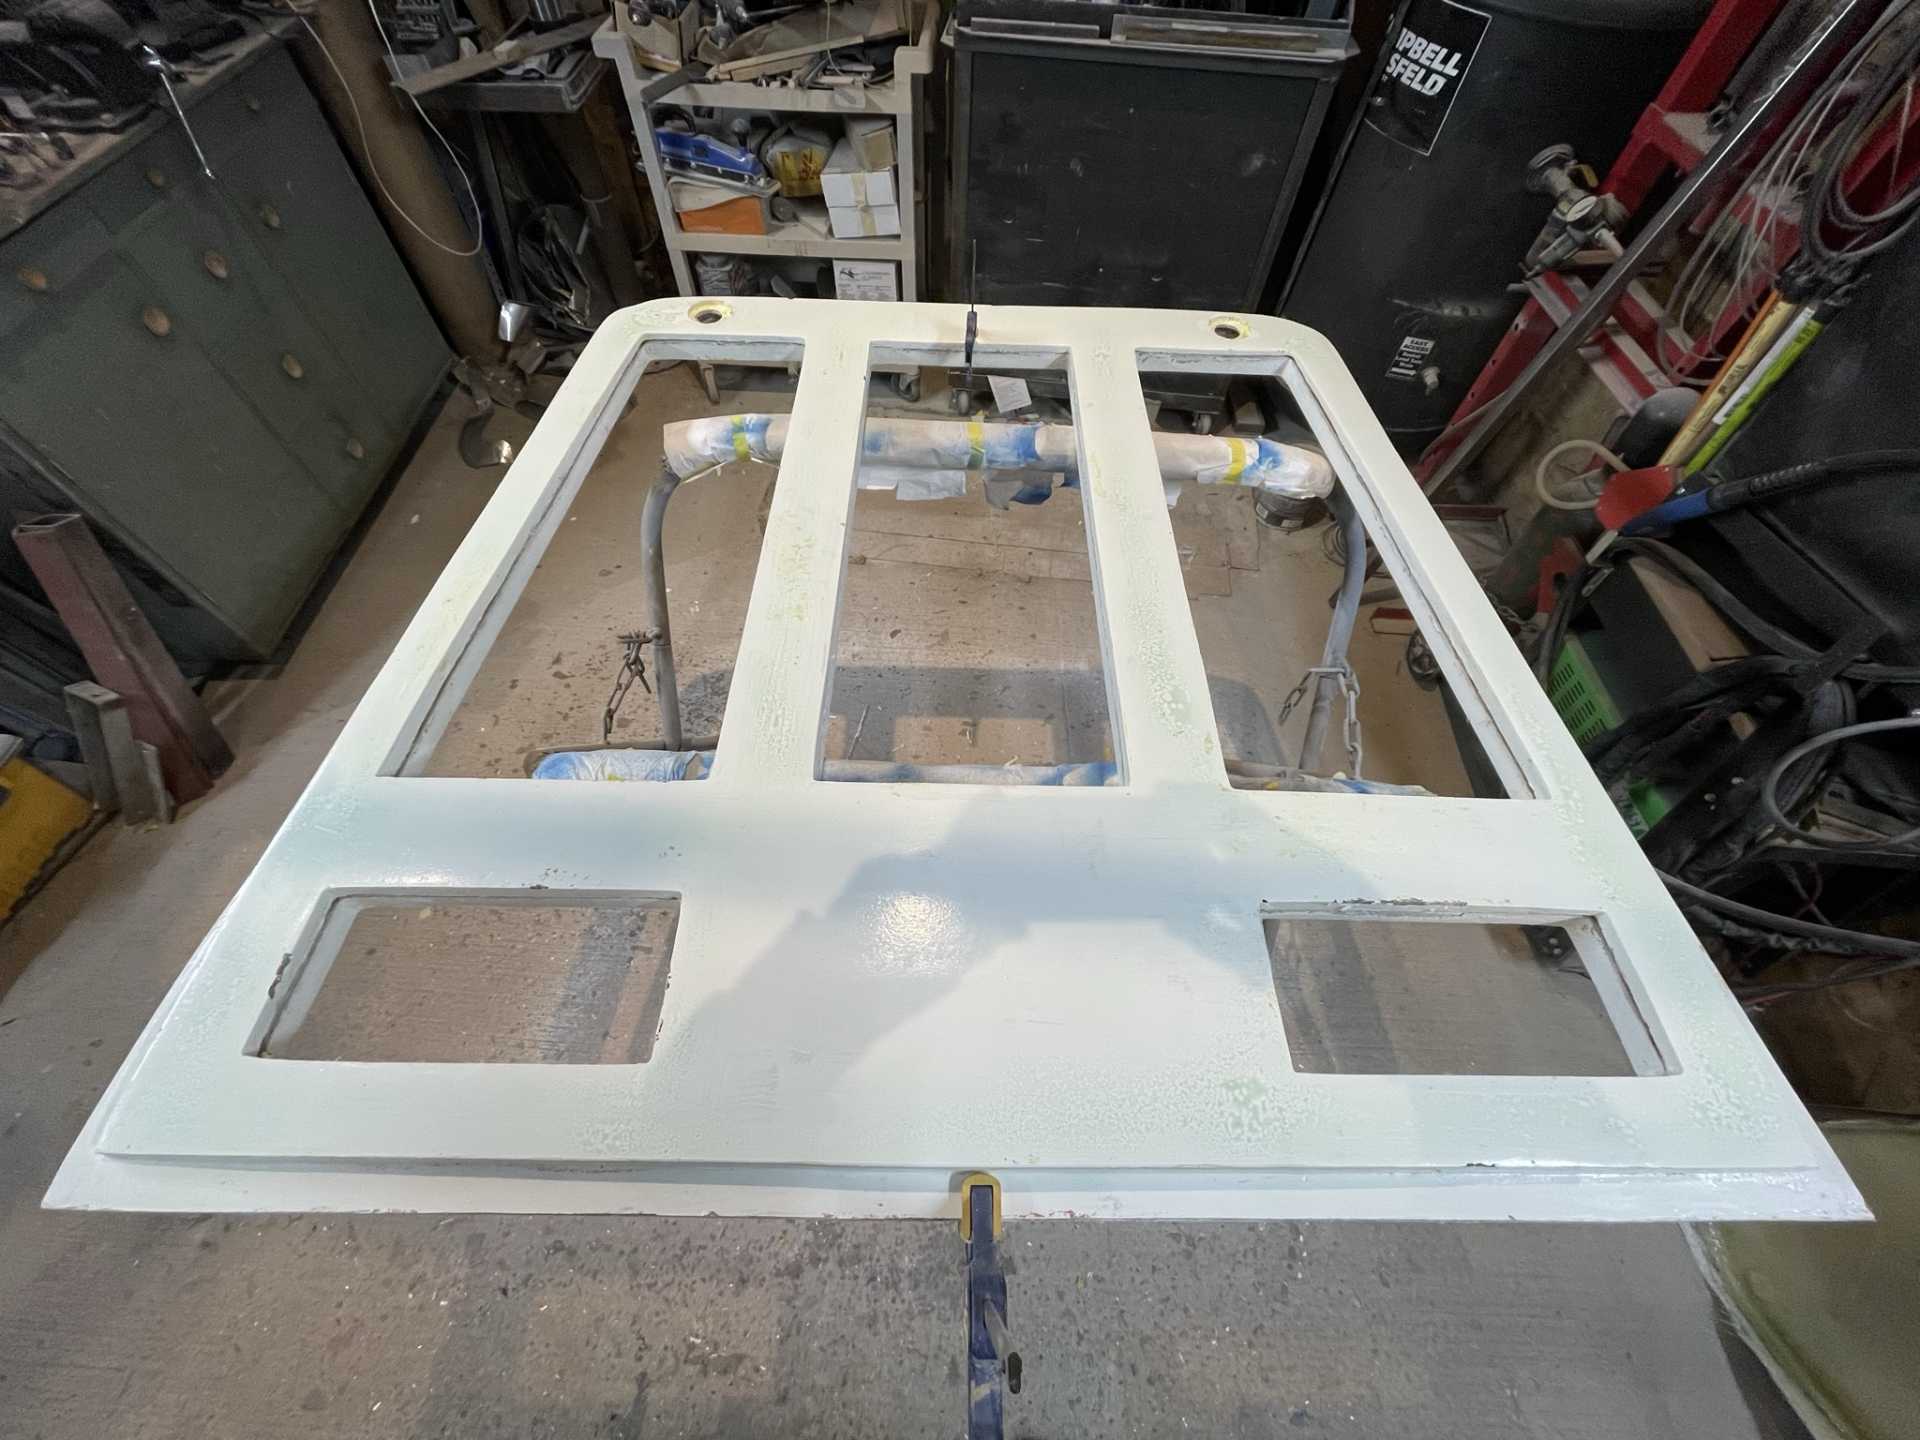
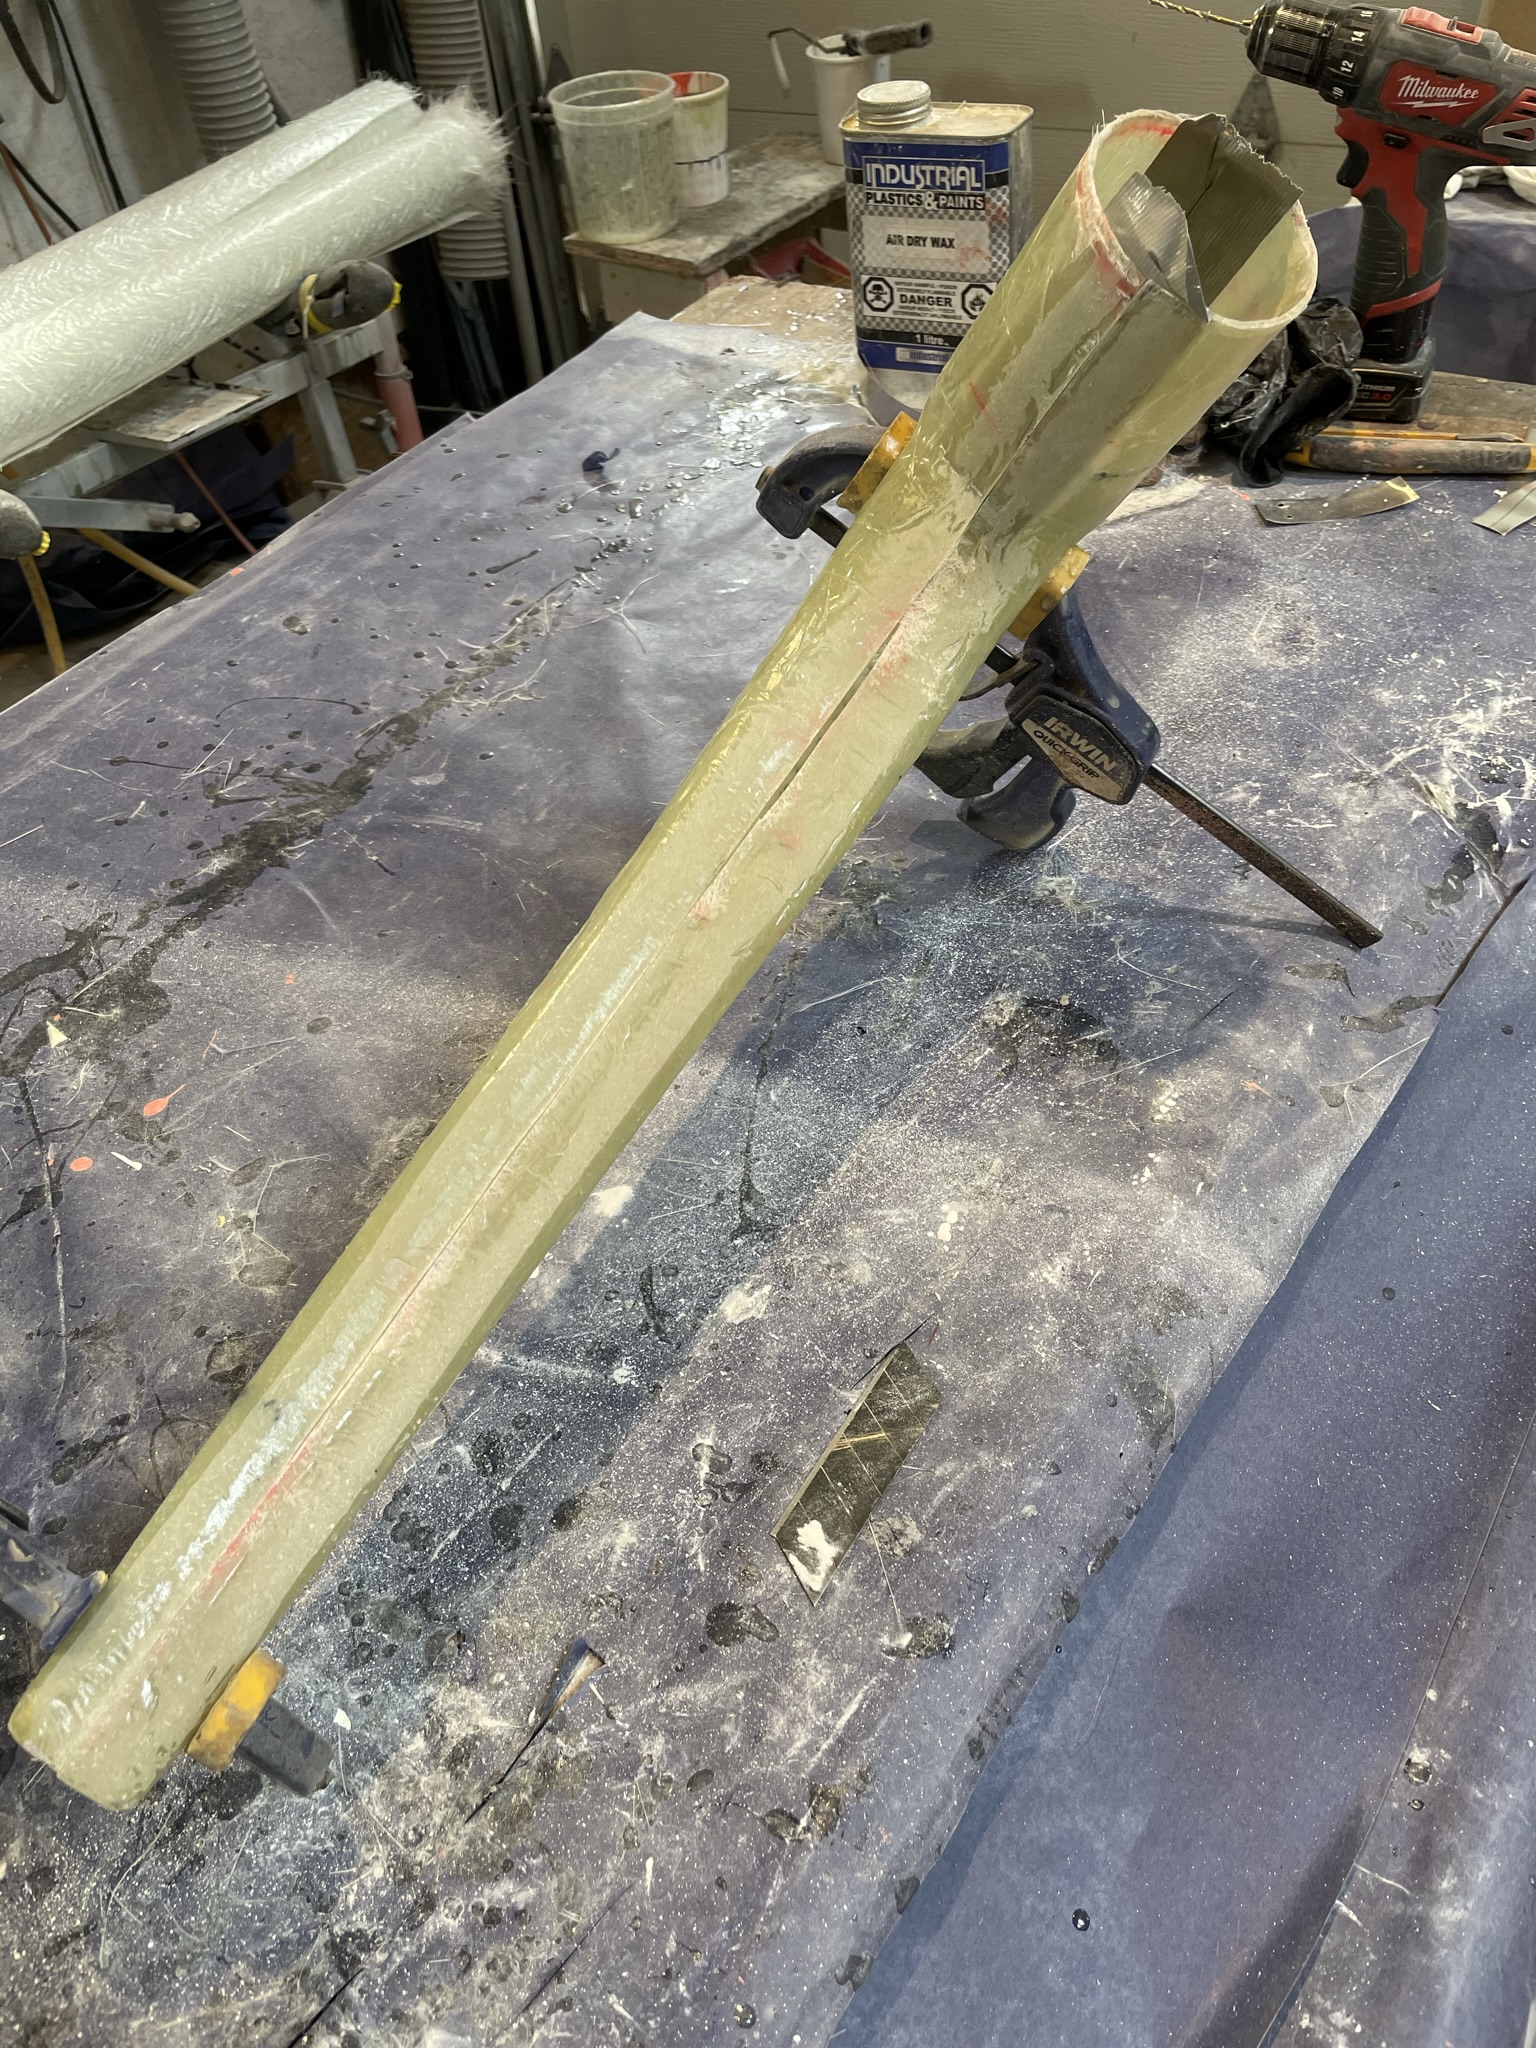
Here is the latest update, for those that have been following for soooo long🤪
I finally got all the metal strips attached to the 24 edges of the top half of the rear hood.
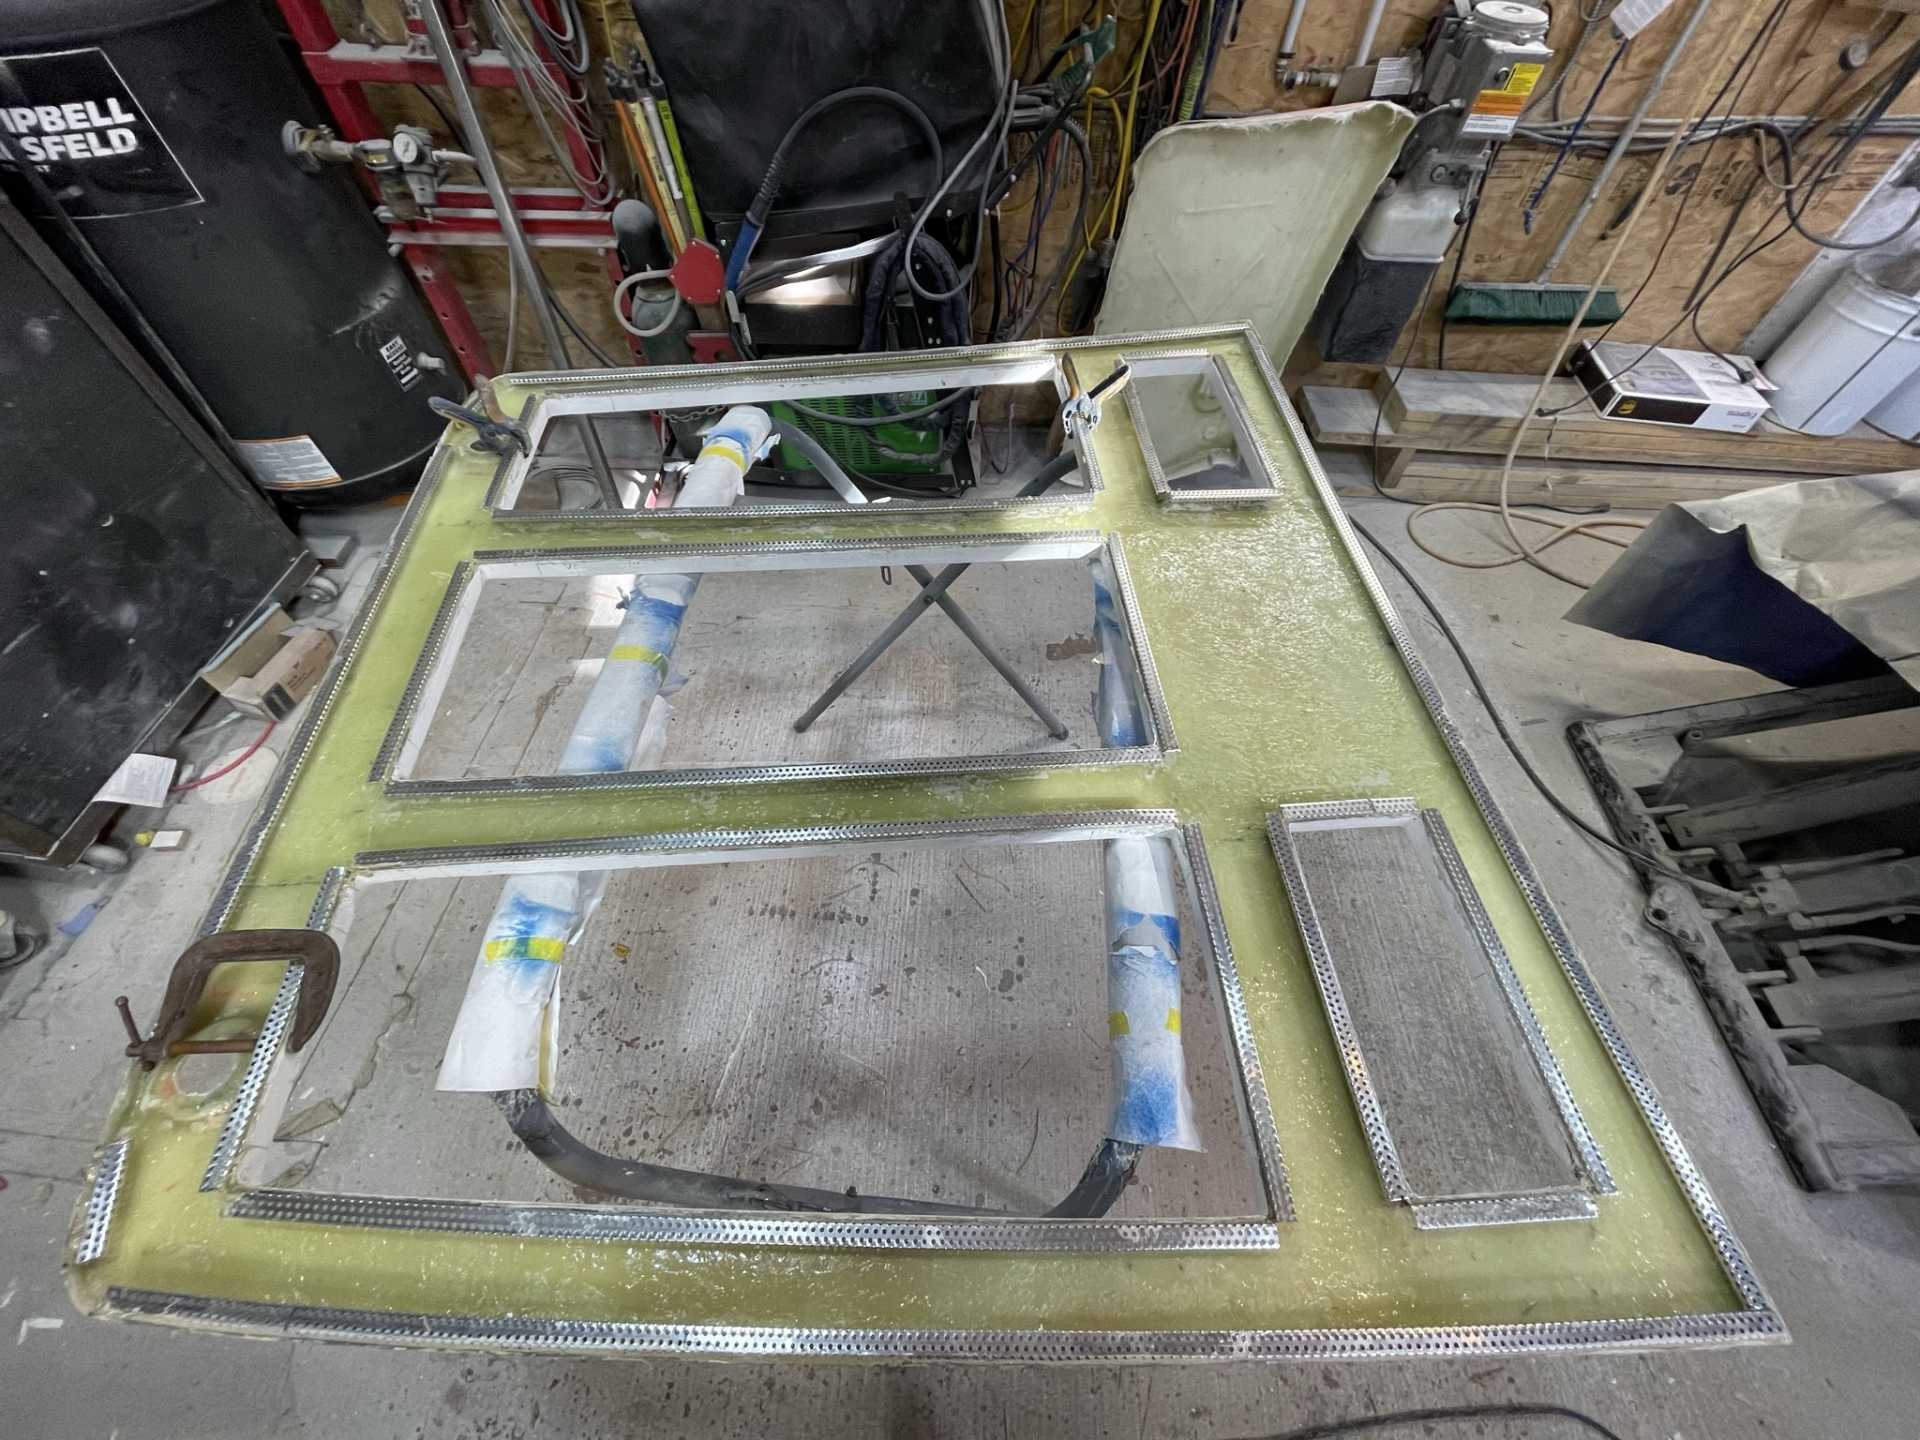 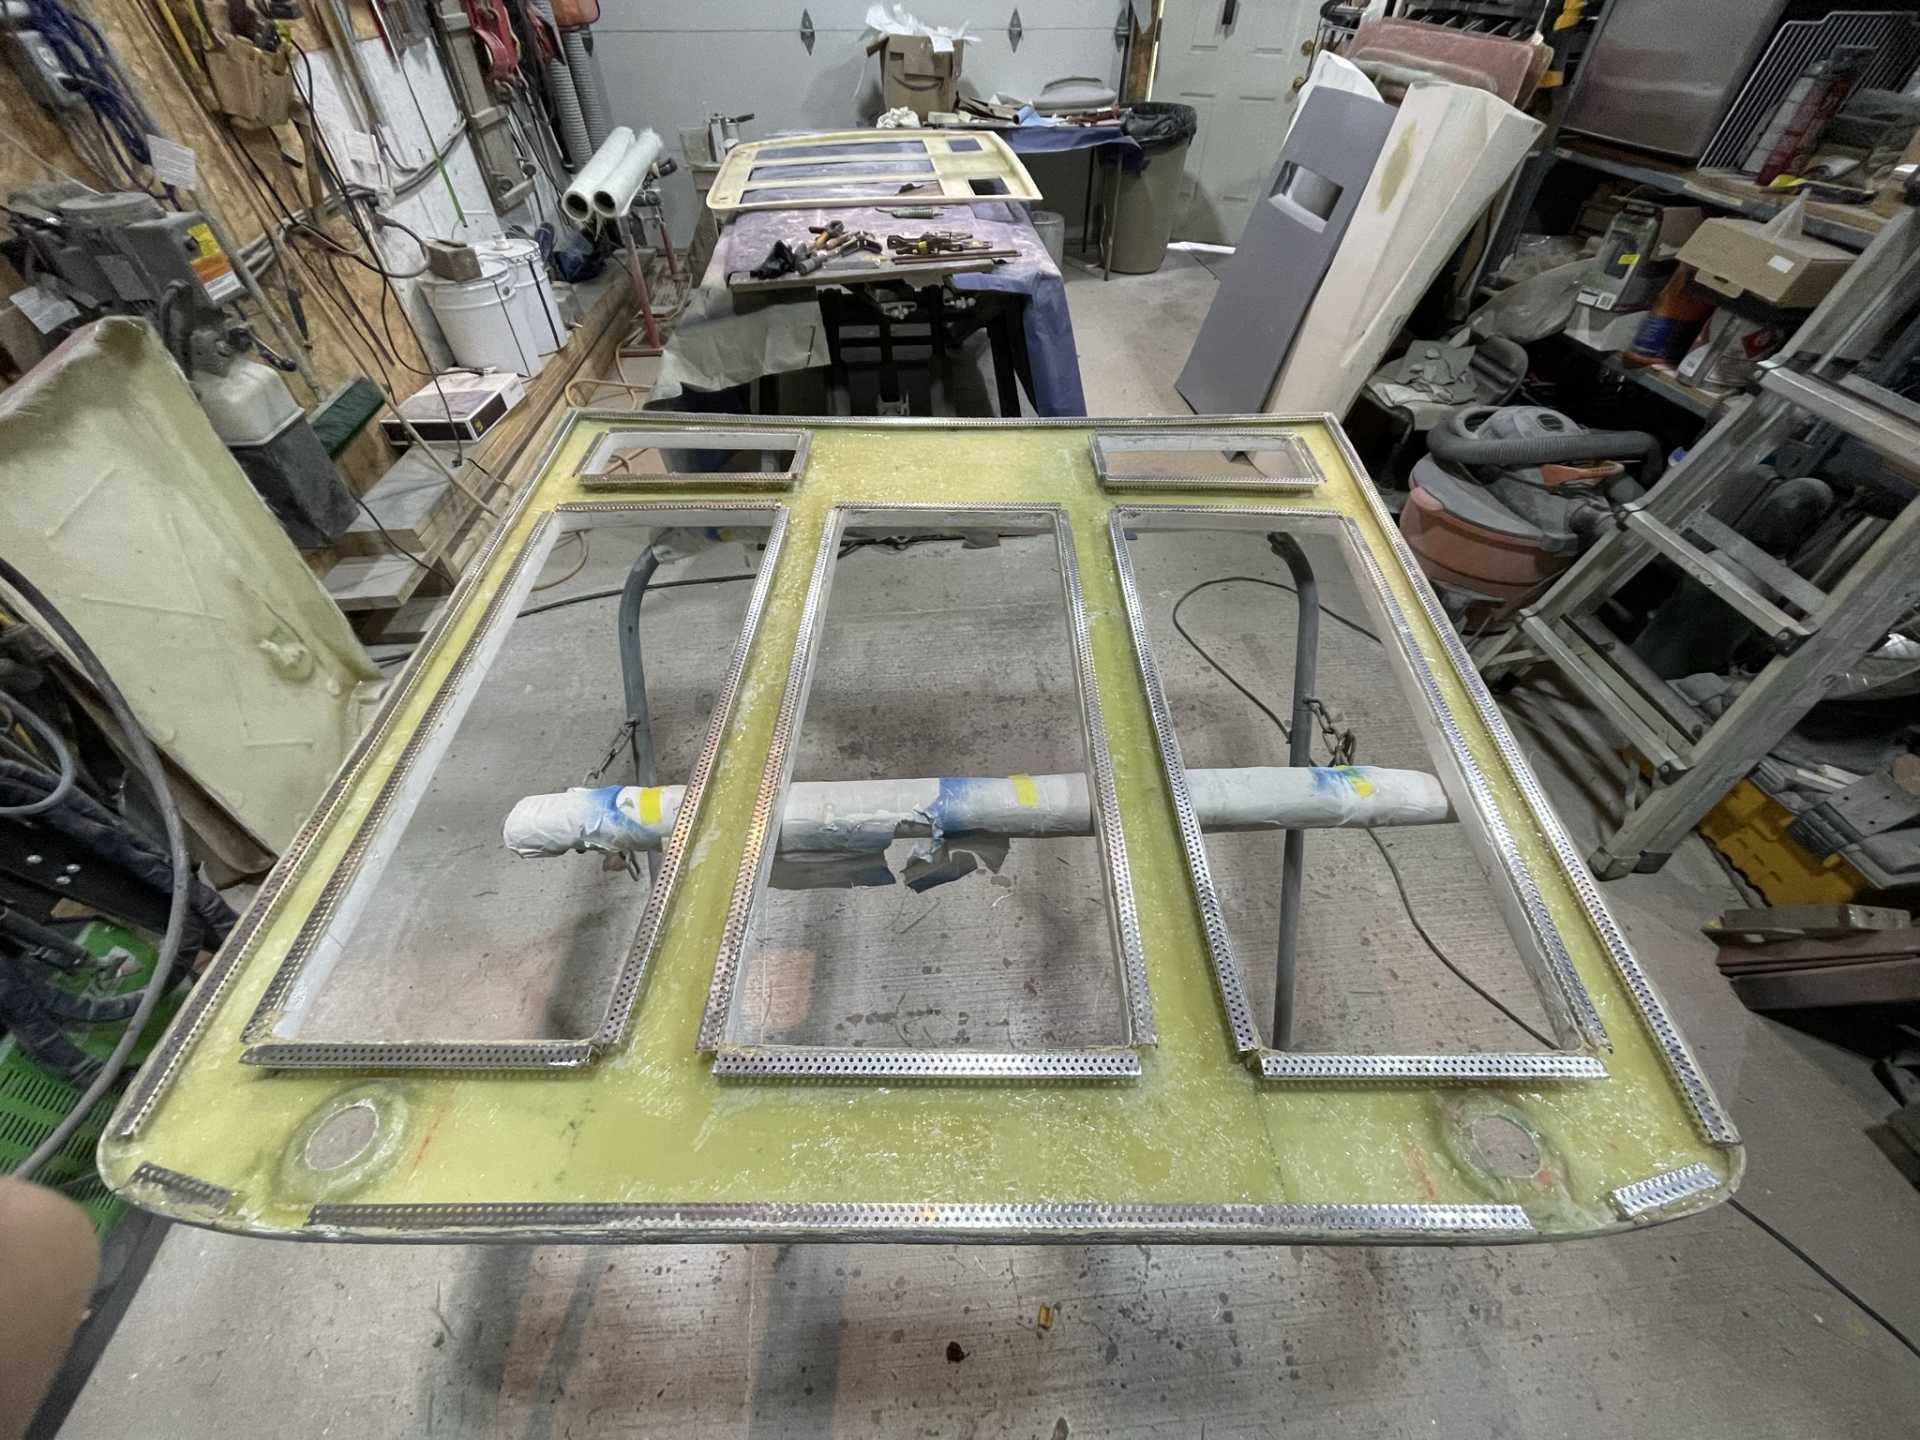
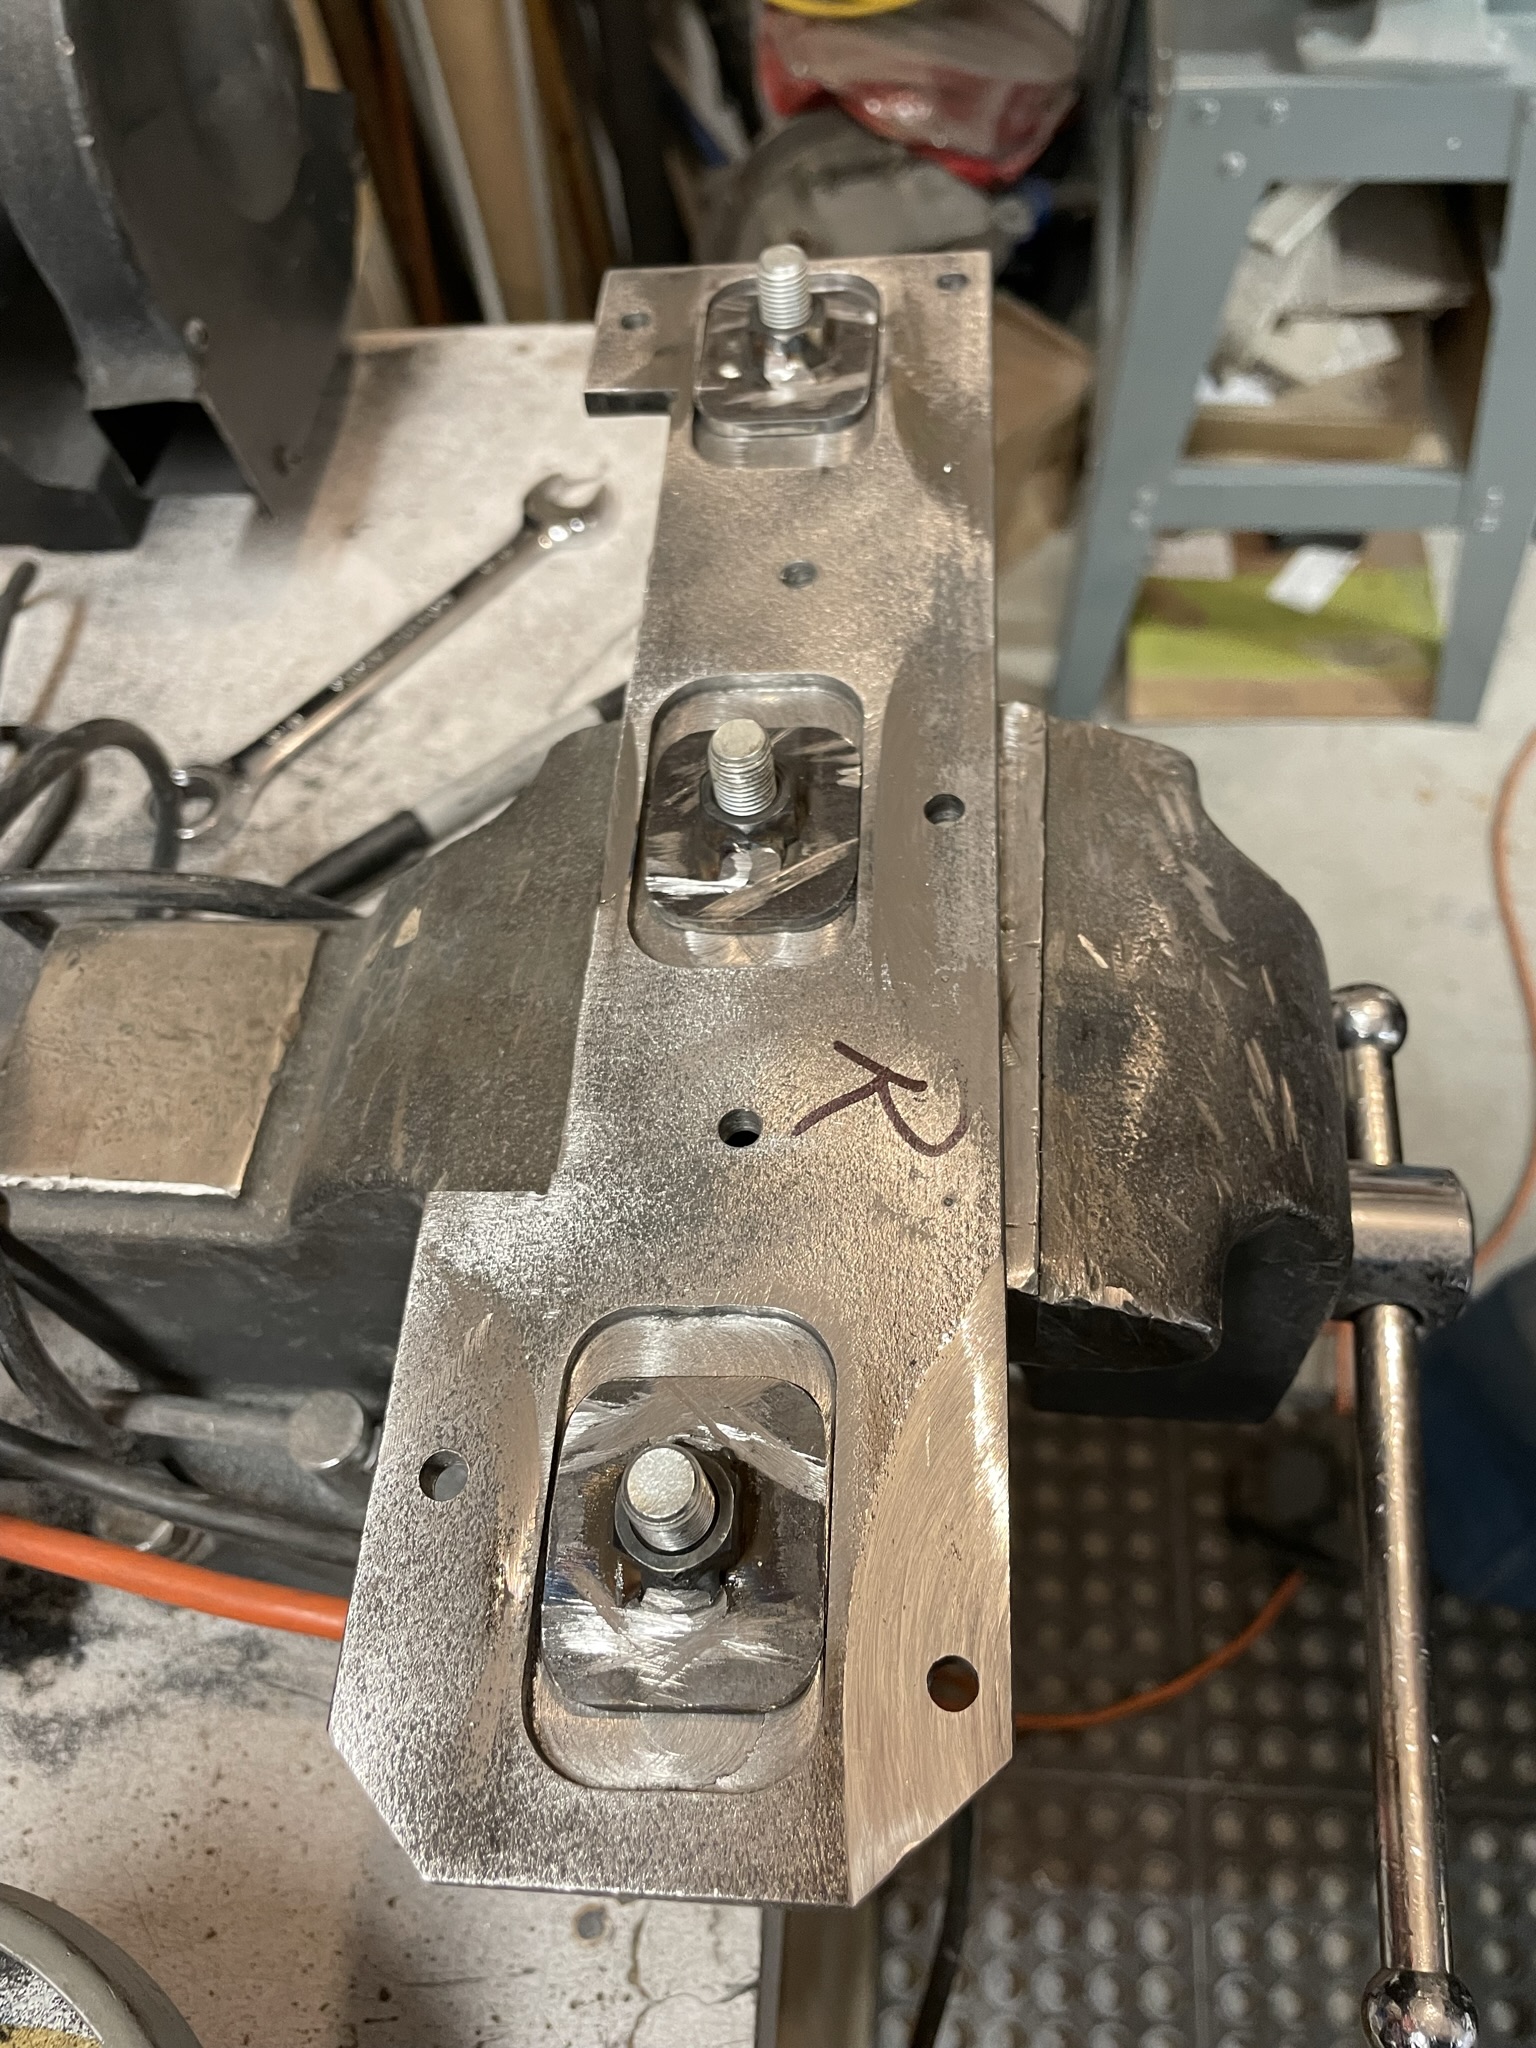
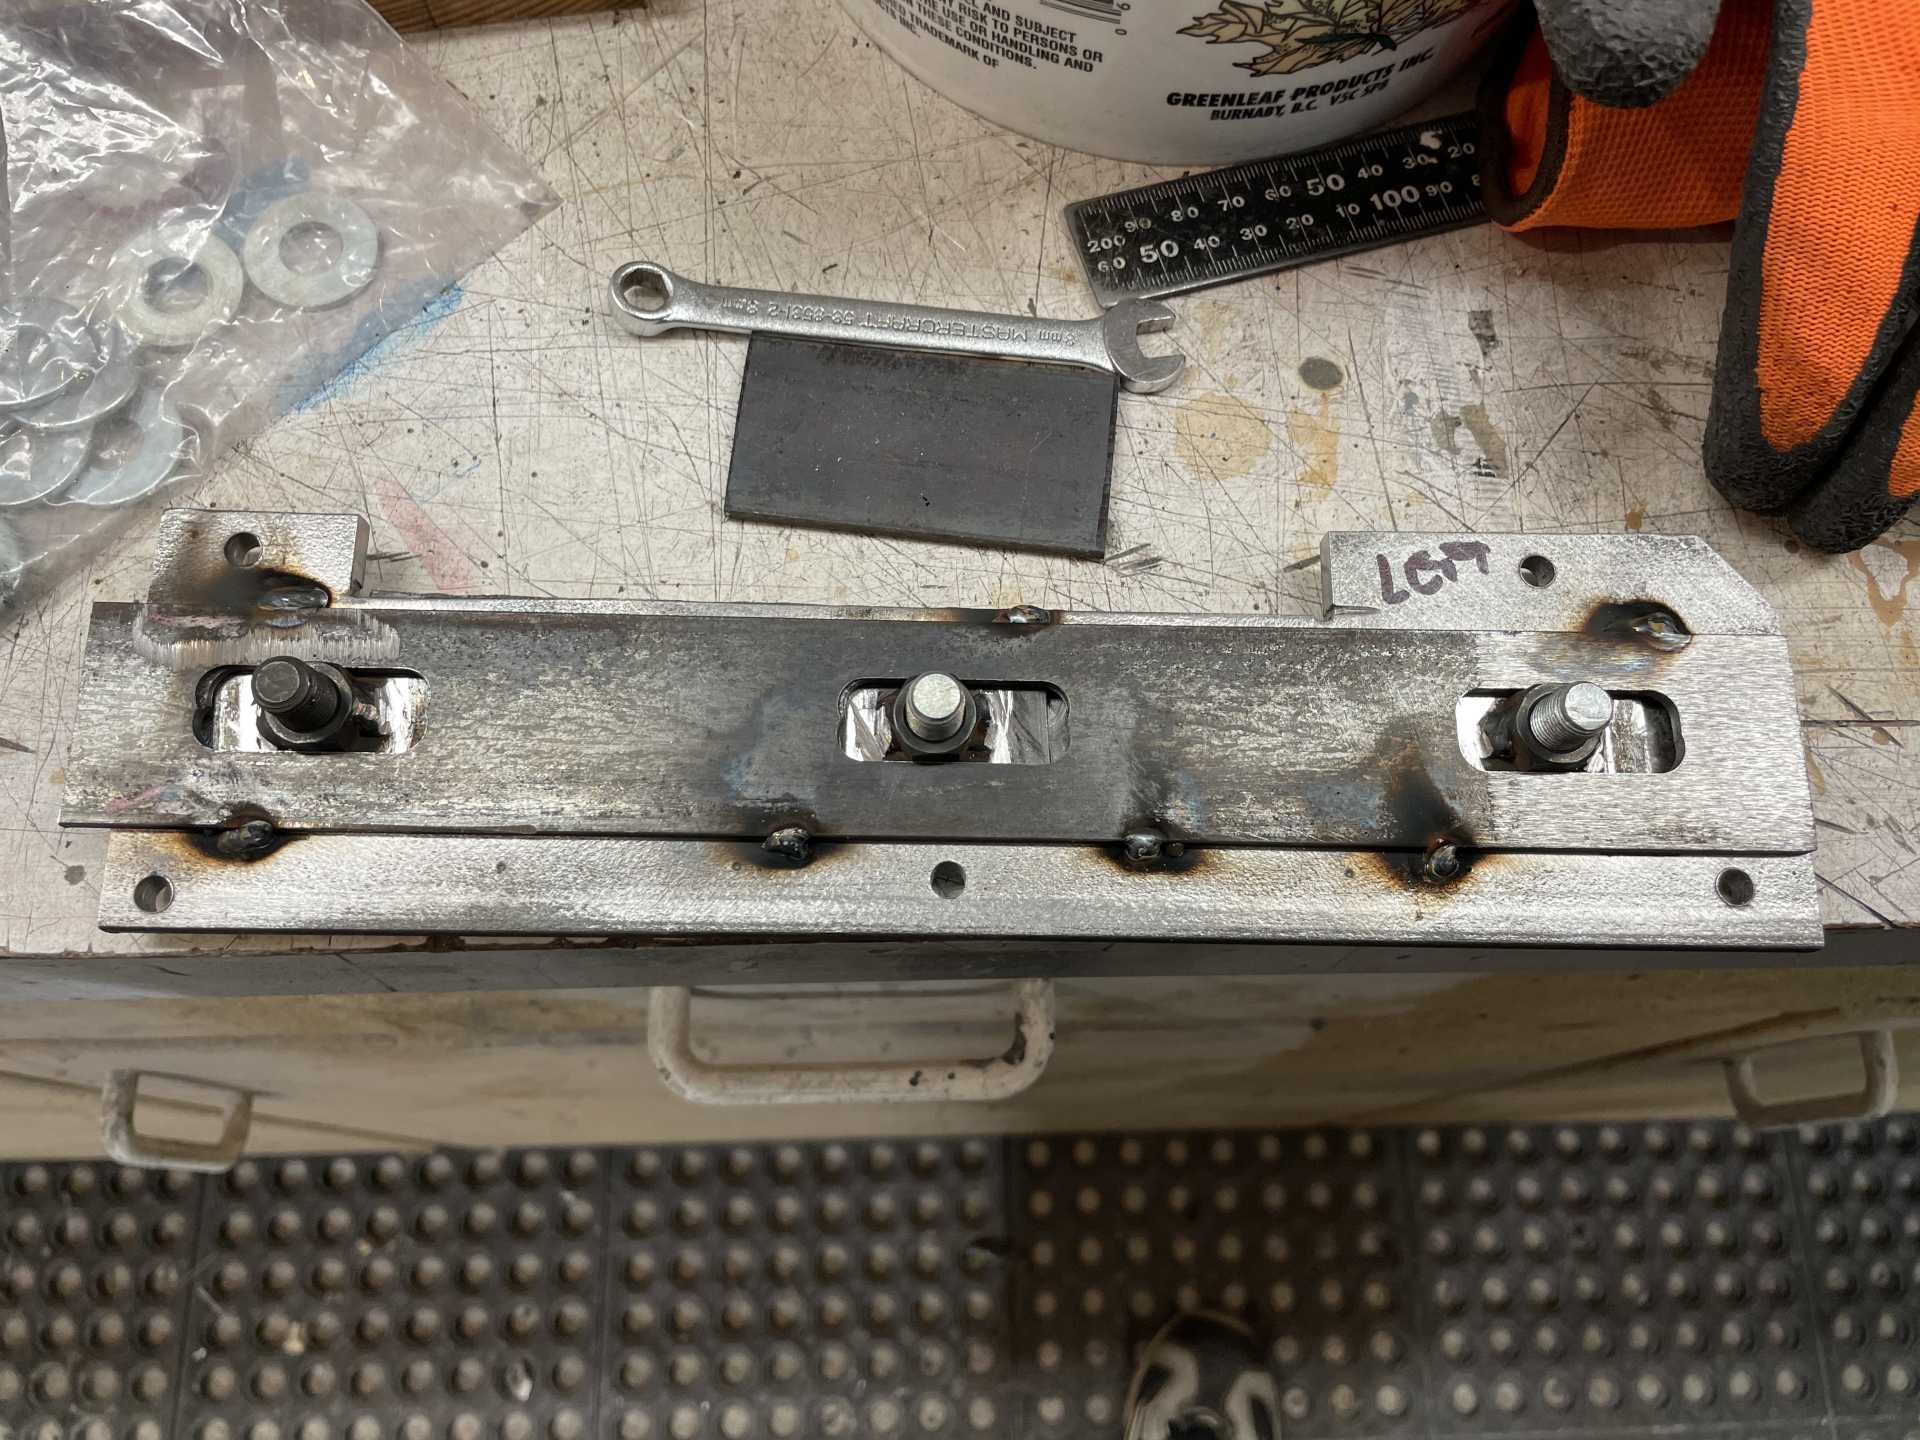
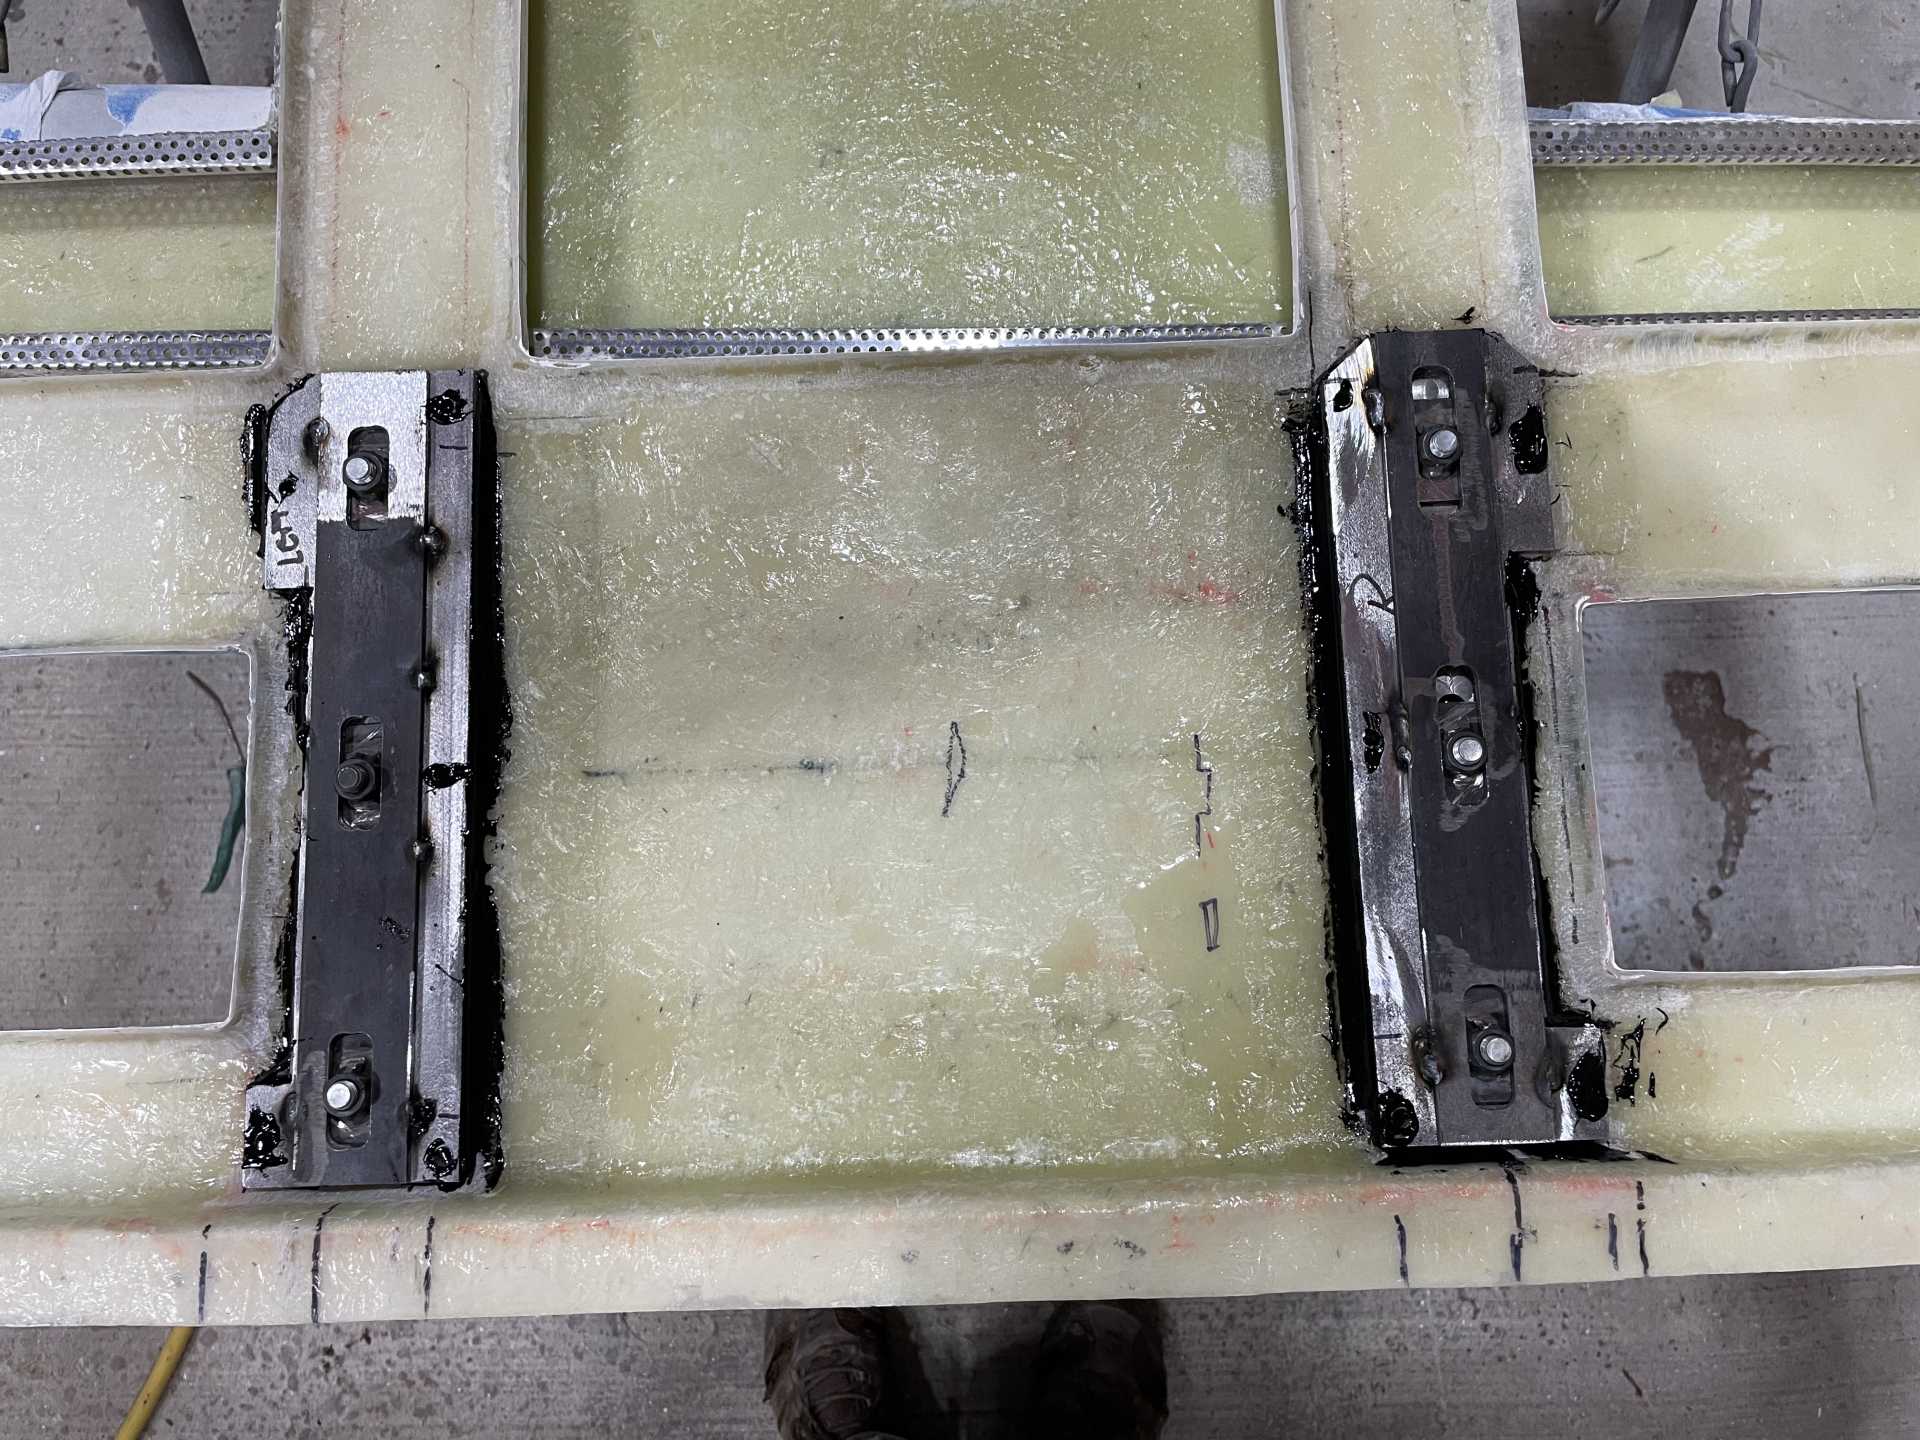
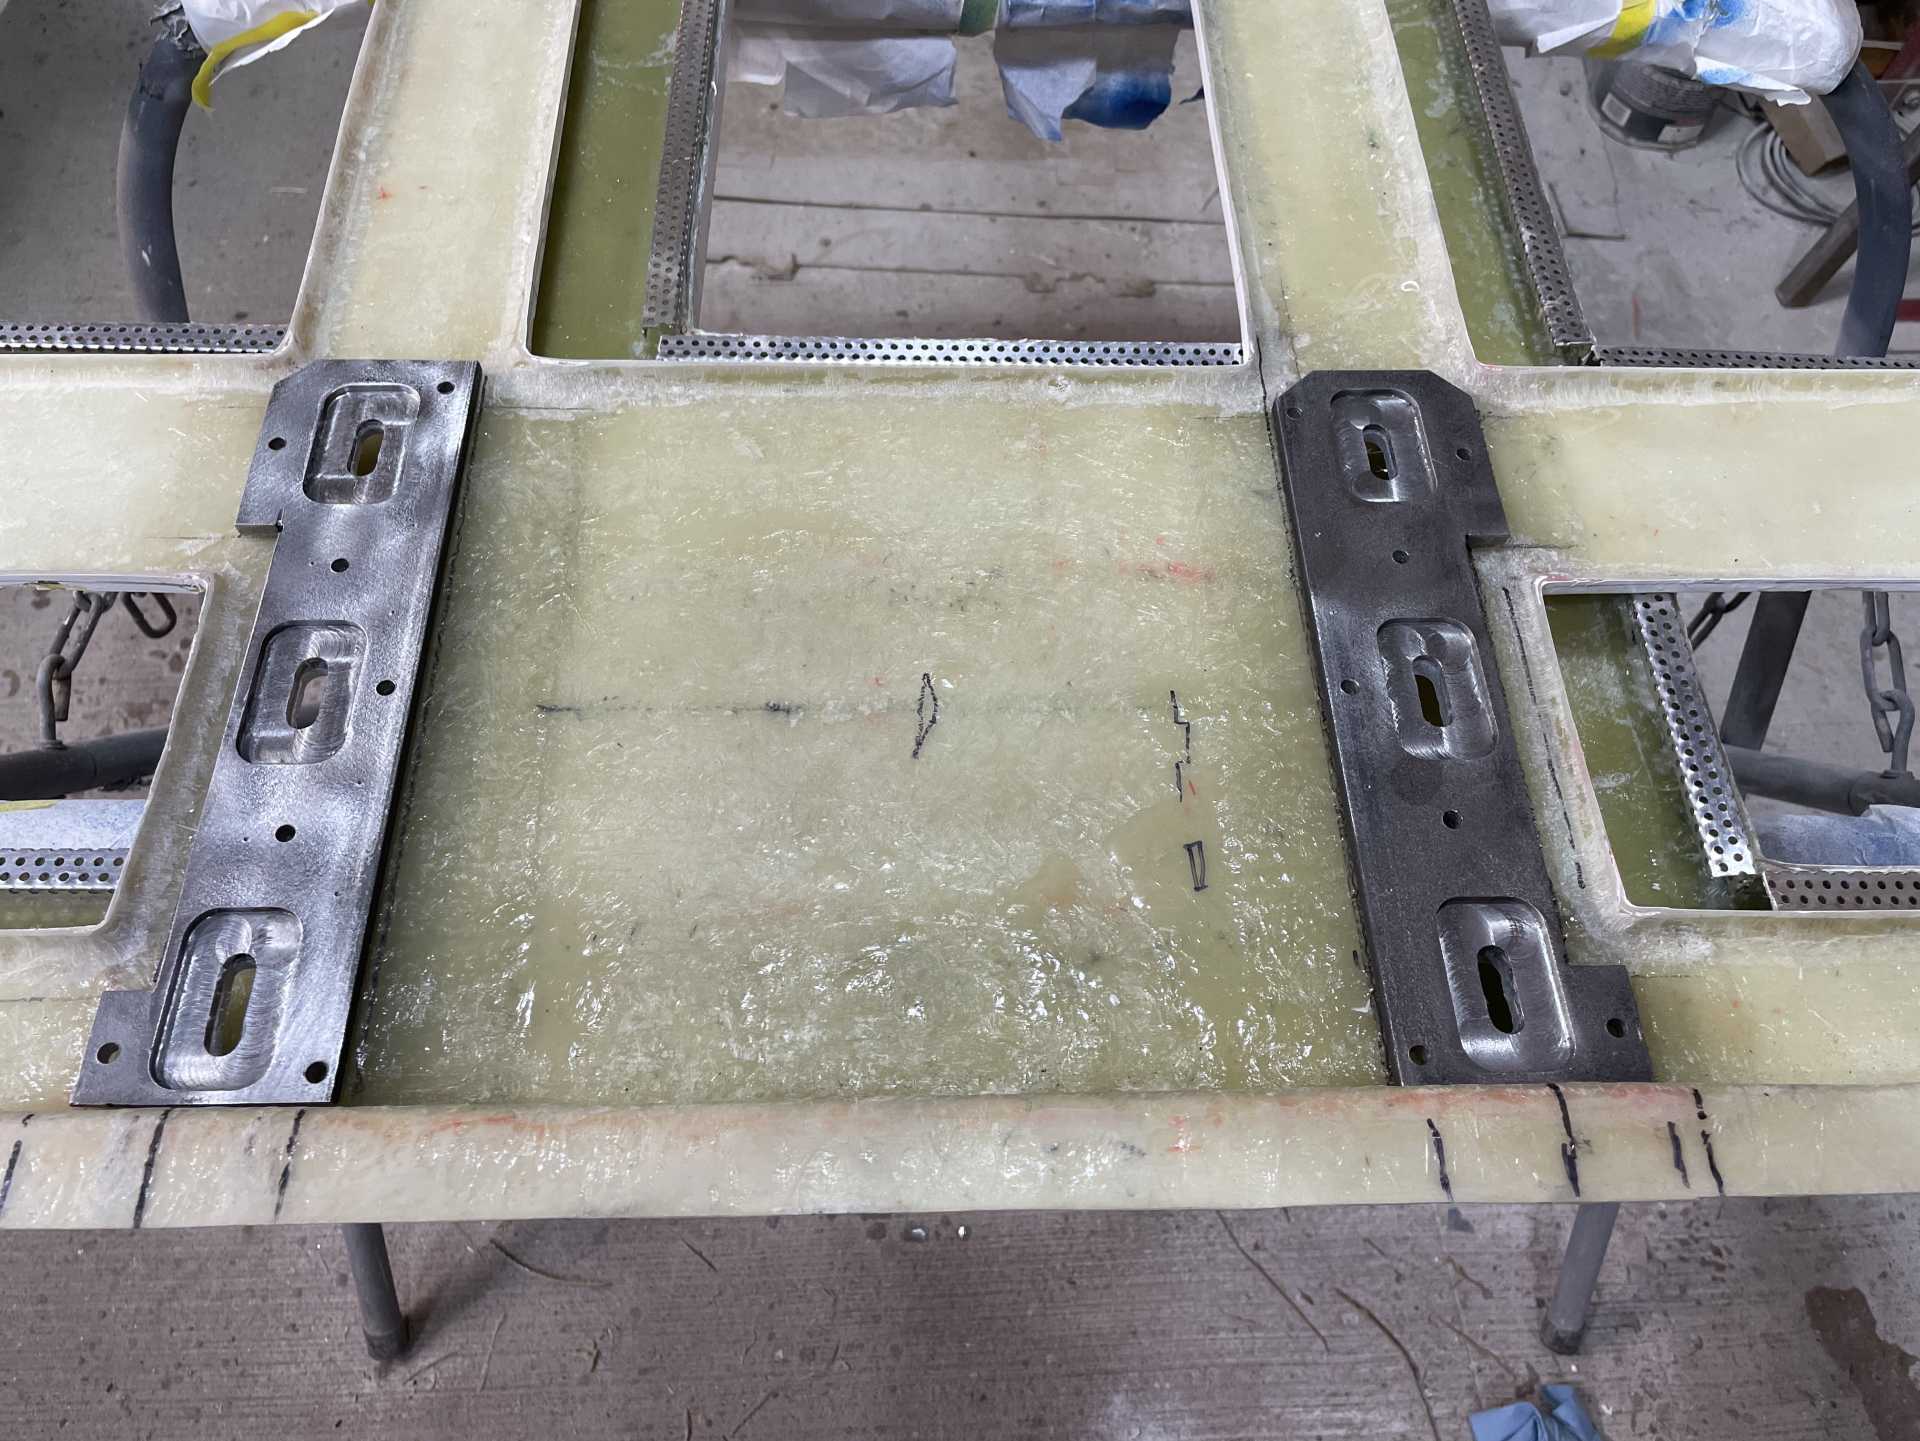
For the bottom half I took 2 pieces of 1/4” plate steel 3”x12” . I milled 3 recessed areas that a welded nut/washer will be secured
To allow it to slide for adjustments. I’ll then bond the steel plates to the fiberglass , before bonding the two hood half’s together prior to finishing the bonded edges for primer and paint.
I was fortunate to visit Bloozeberry this summer out in Nova Scotia and see his extraordinary build, I wish I had his talents.
Anyway I did a swap with him and got a set of hinges he designed for his car that will work perfectly for my build.
That’s it for now guys .
Stay safe
Wayne
|
|
|
|
dobie1
|
MAR 20, 03:21 PM
|
|
|
|
|
dobie1
|
MAR 23, 11:35 PM
|
|
|
|
|
Sage
|
MAR 24, 07:23 AM
|
|
WOW!.......now I have to clean my keyboard....after salivating all over it.
That's the reaction I had to your pics...it just looks SOOOOOO good! 
I believe you should compile all your pics from when you started, assemble them into book form with instructional text accompanying the pics and publish it as a "how to" for building a proper fiberglass body from an existing car.
Your work is just plain superb.
Thanks for documenting your progress...it serves to inspire those of us who just can't seem to get motivated...or just plain don't have enough hours in the day to do everything that "has" to be done and leave a little bit of time for what we'd "like" to get done.
I can't imagine the anticipation of wanting to see it painted, assembled and on the road...but I know I for one am champing at the bit to witness it.
Congratulations on getting there.....it WILL be worth it in the end.
Thanks again for inviting us along for the ride.
HAGO! 
|
|
|
|
dobie1
|
MAR 28, 11:54 PM
|
|
Wow thanks for the kind words Ted. My hope has always been writing this blog that anyone interested would get most of the information from it they would need to build a car. But your right there isn’t a lot of how to info on the hobby!! But you never know!!
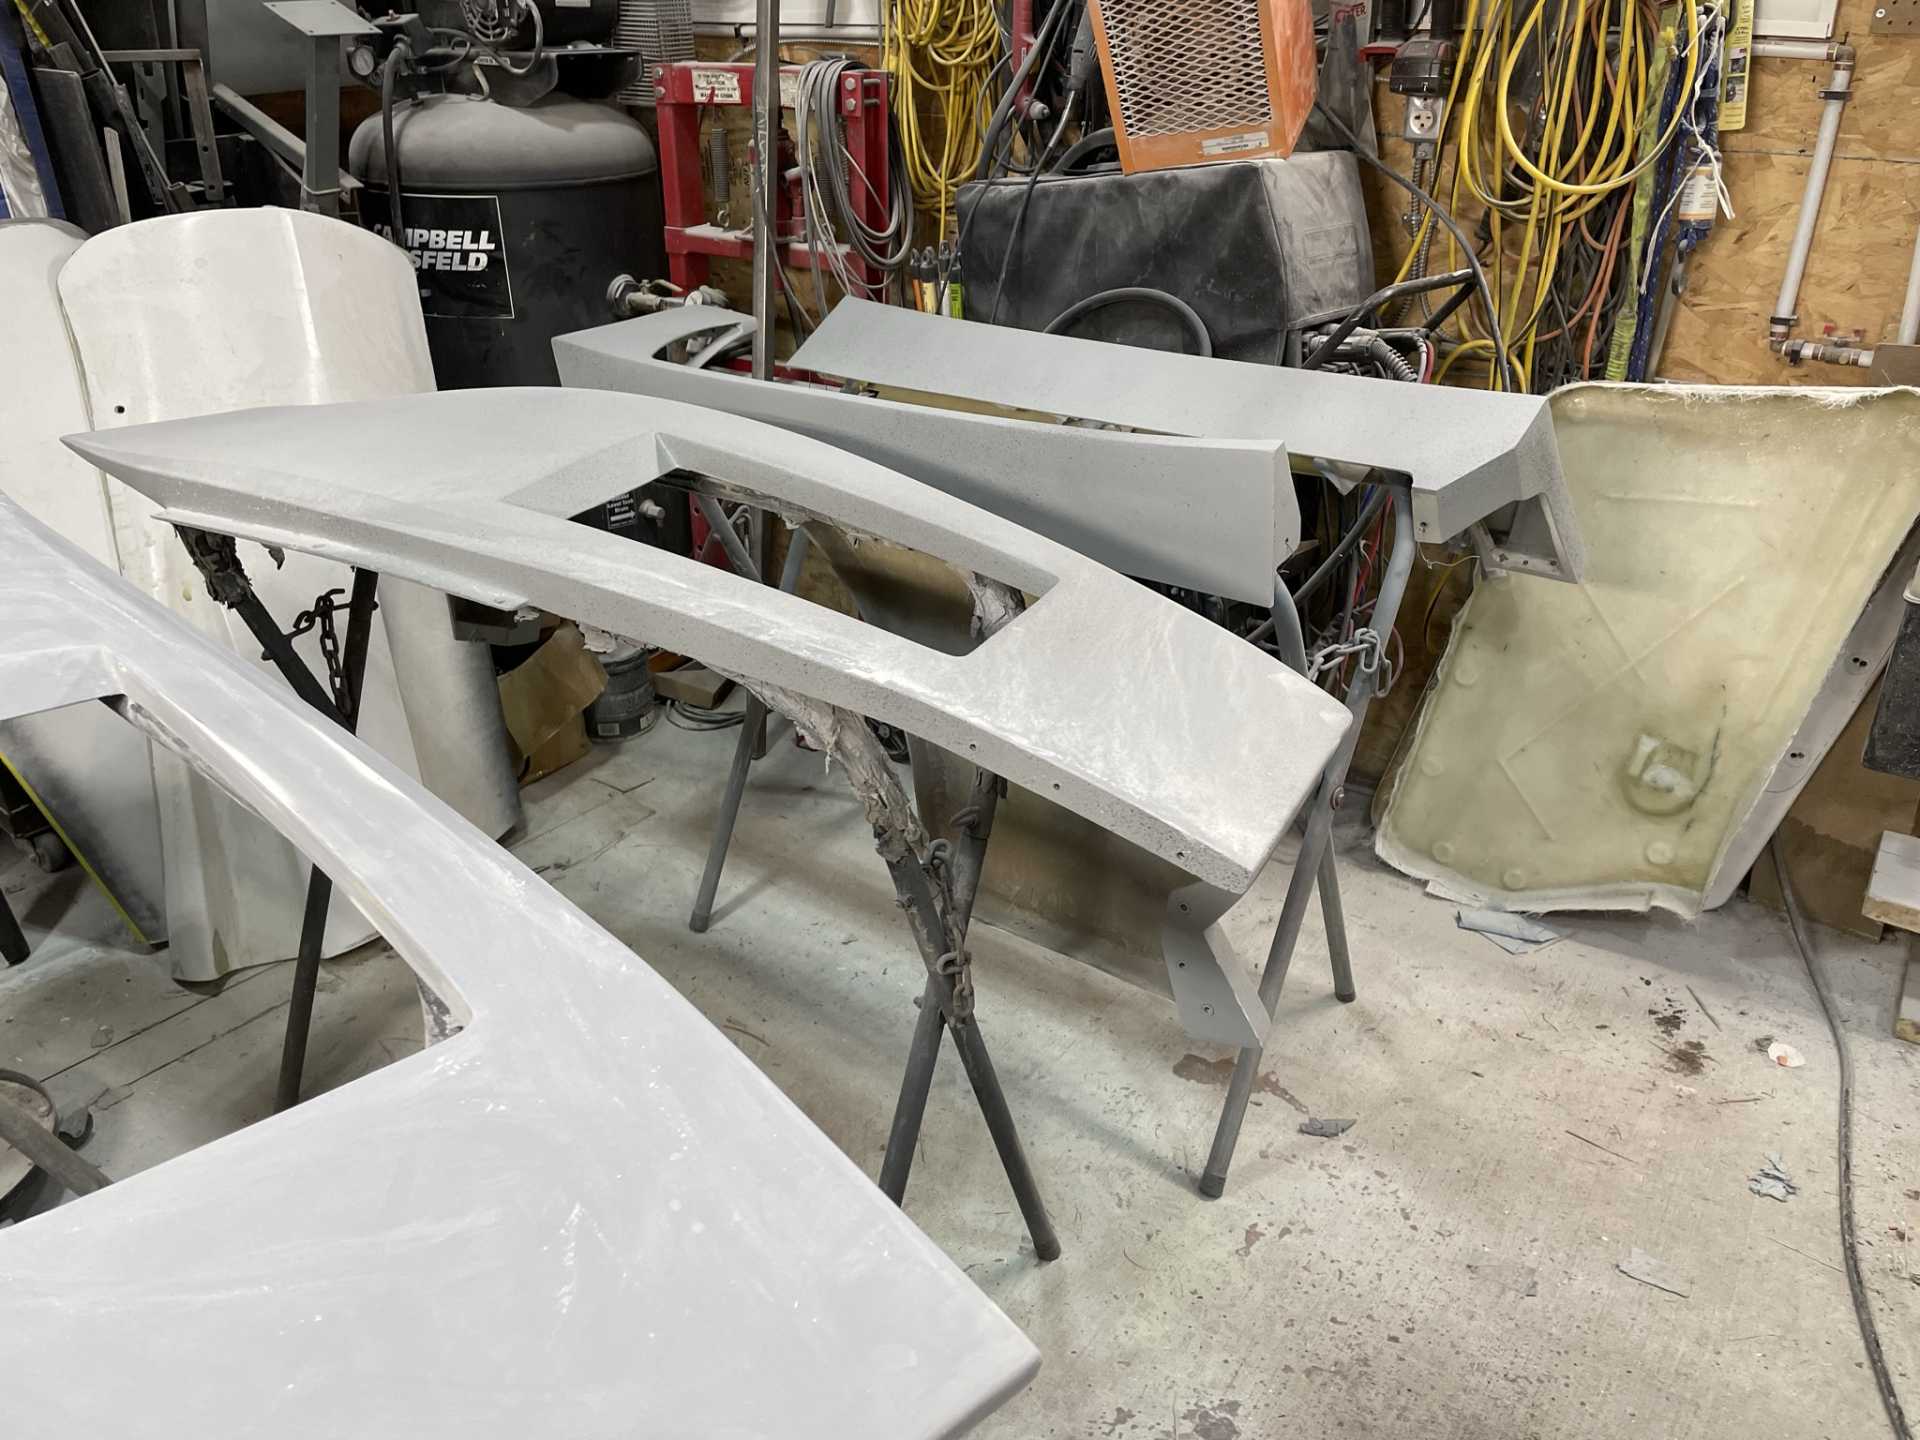
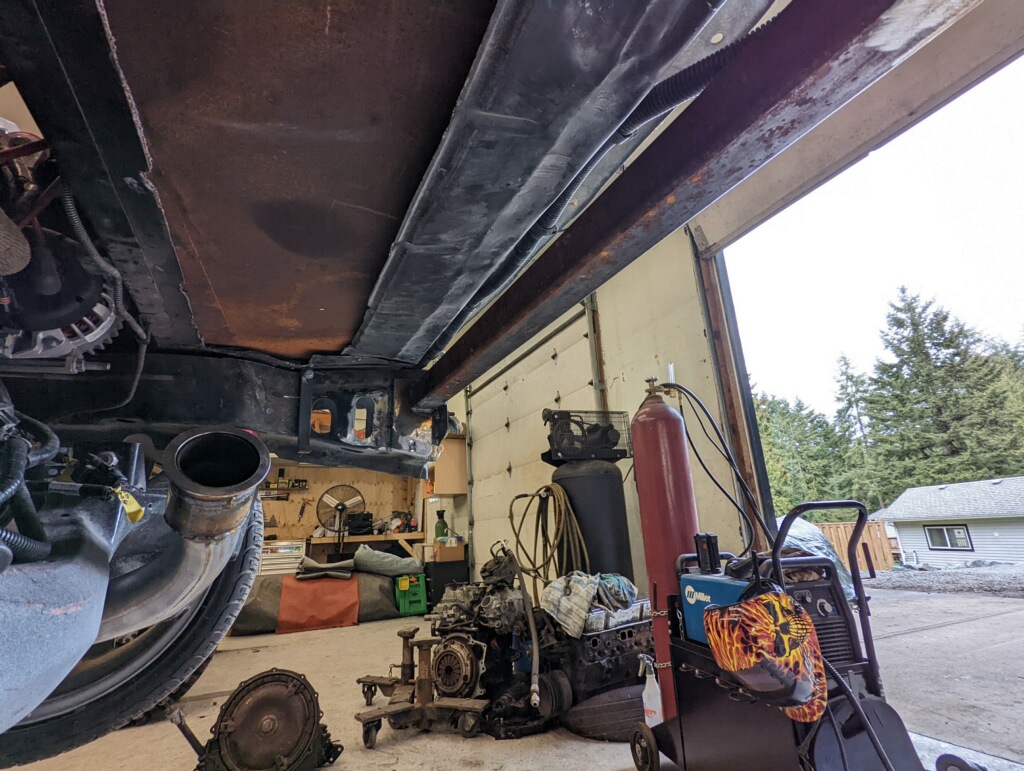
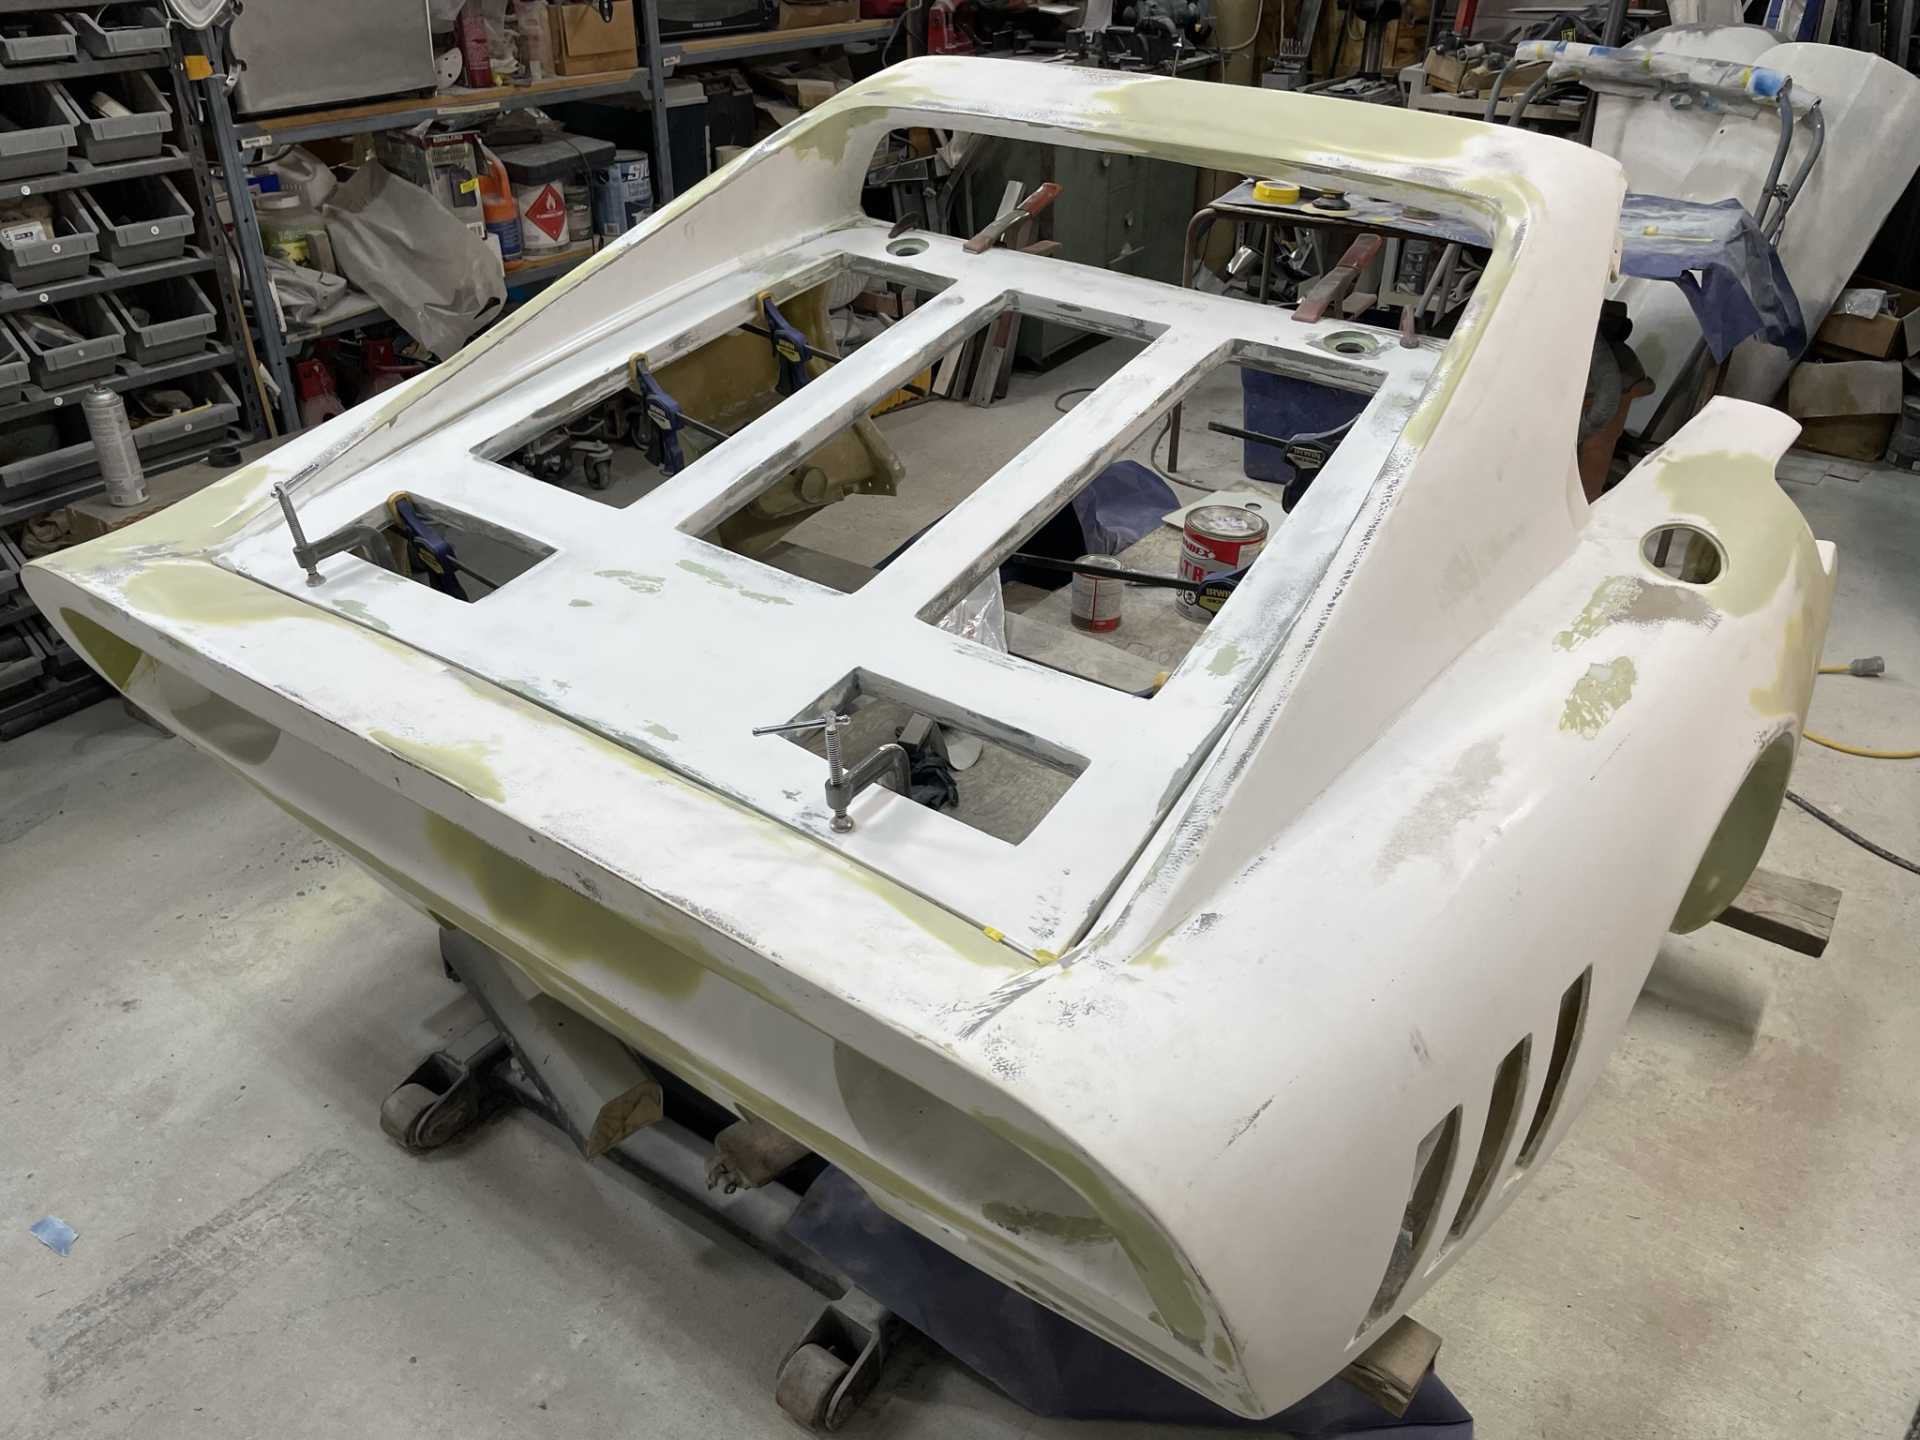
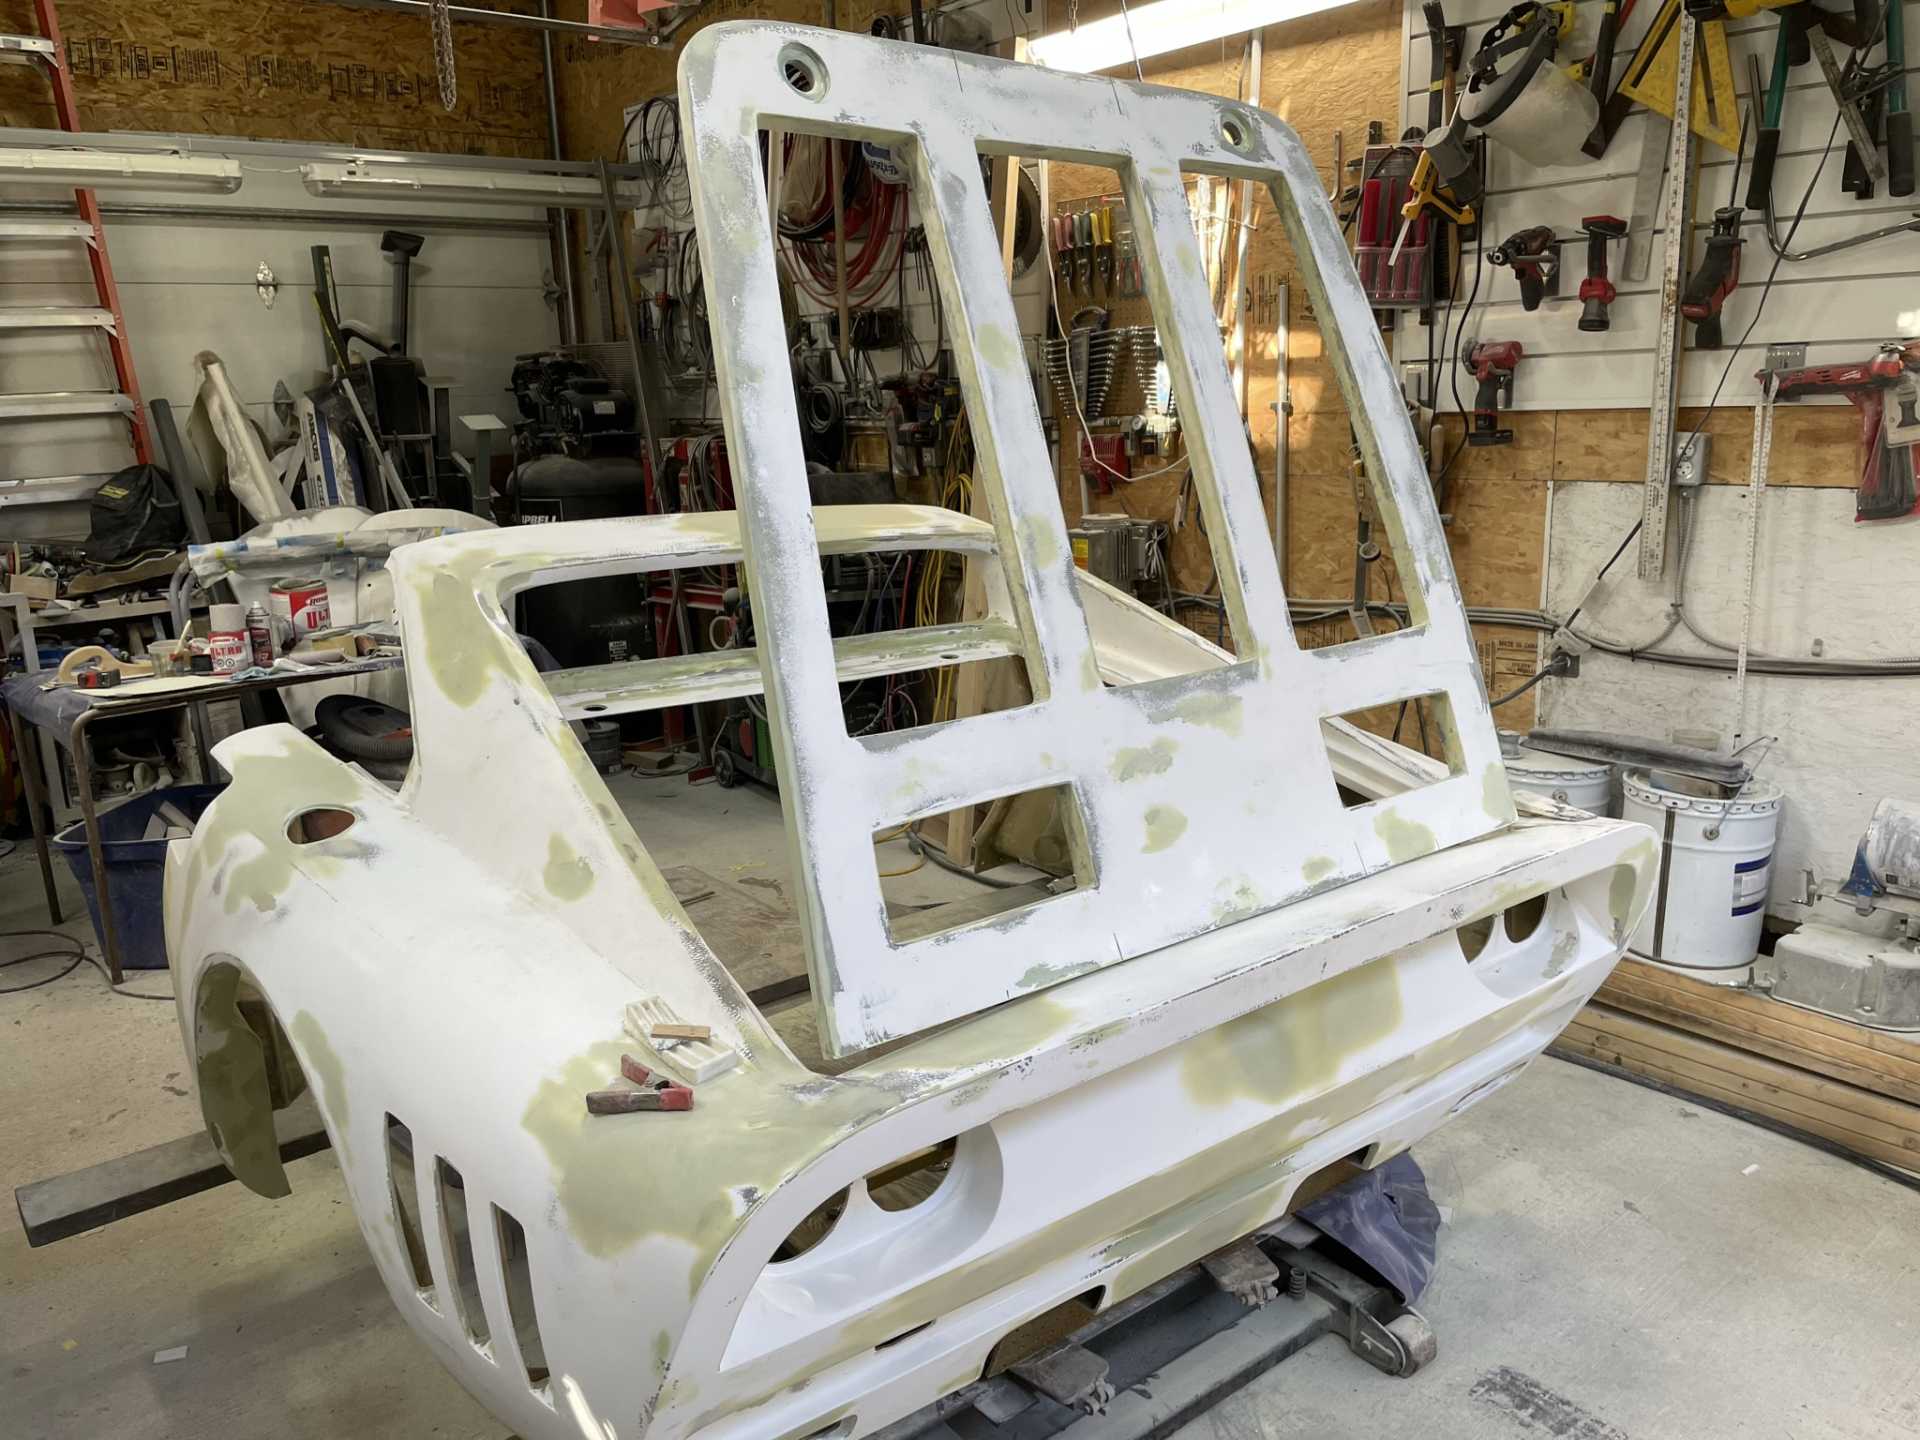
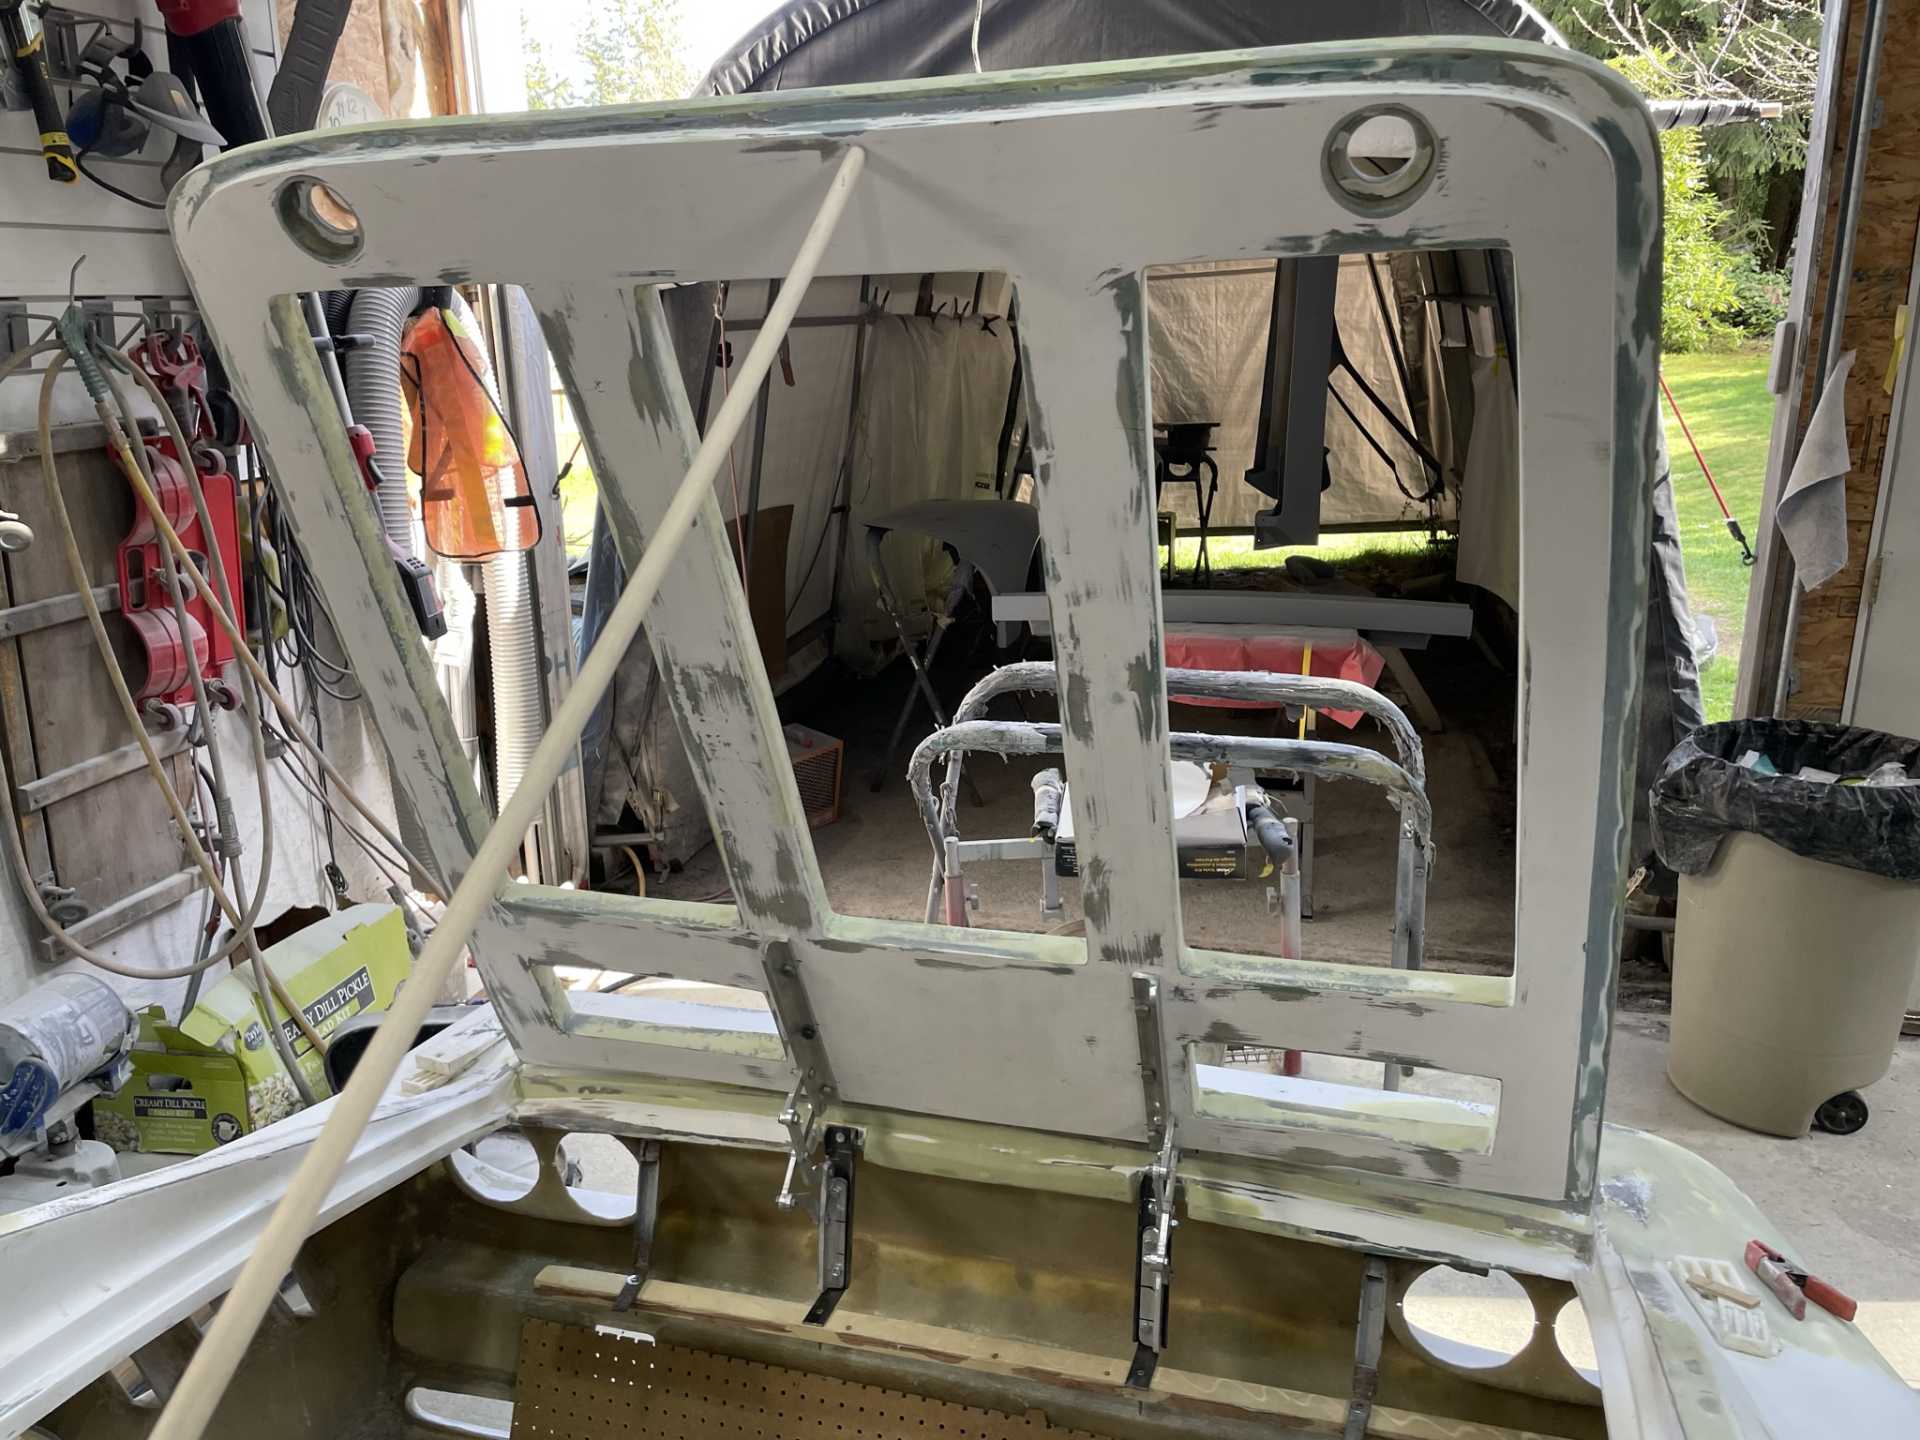
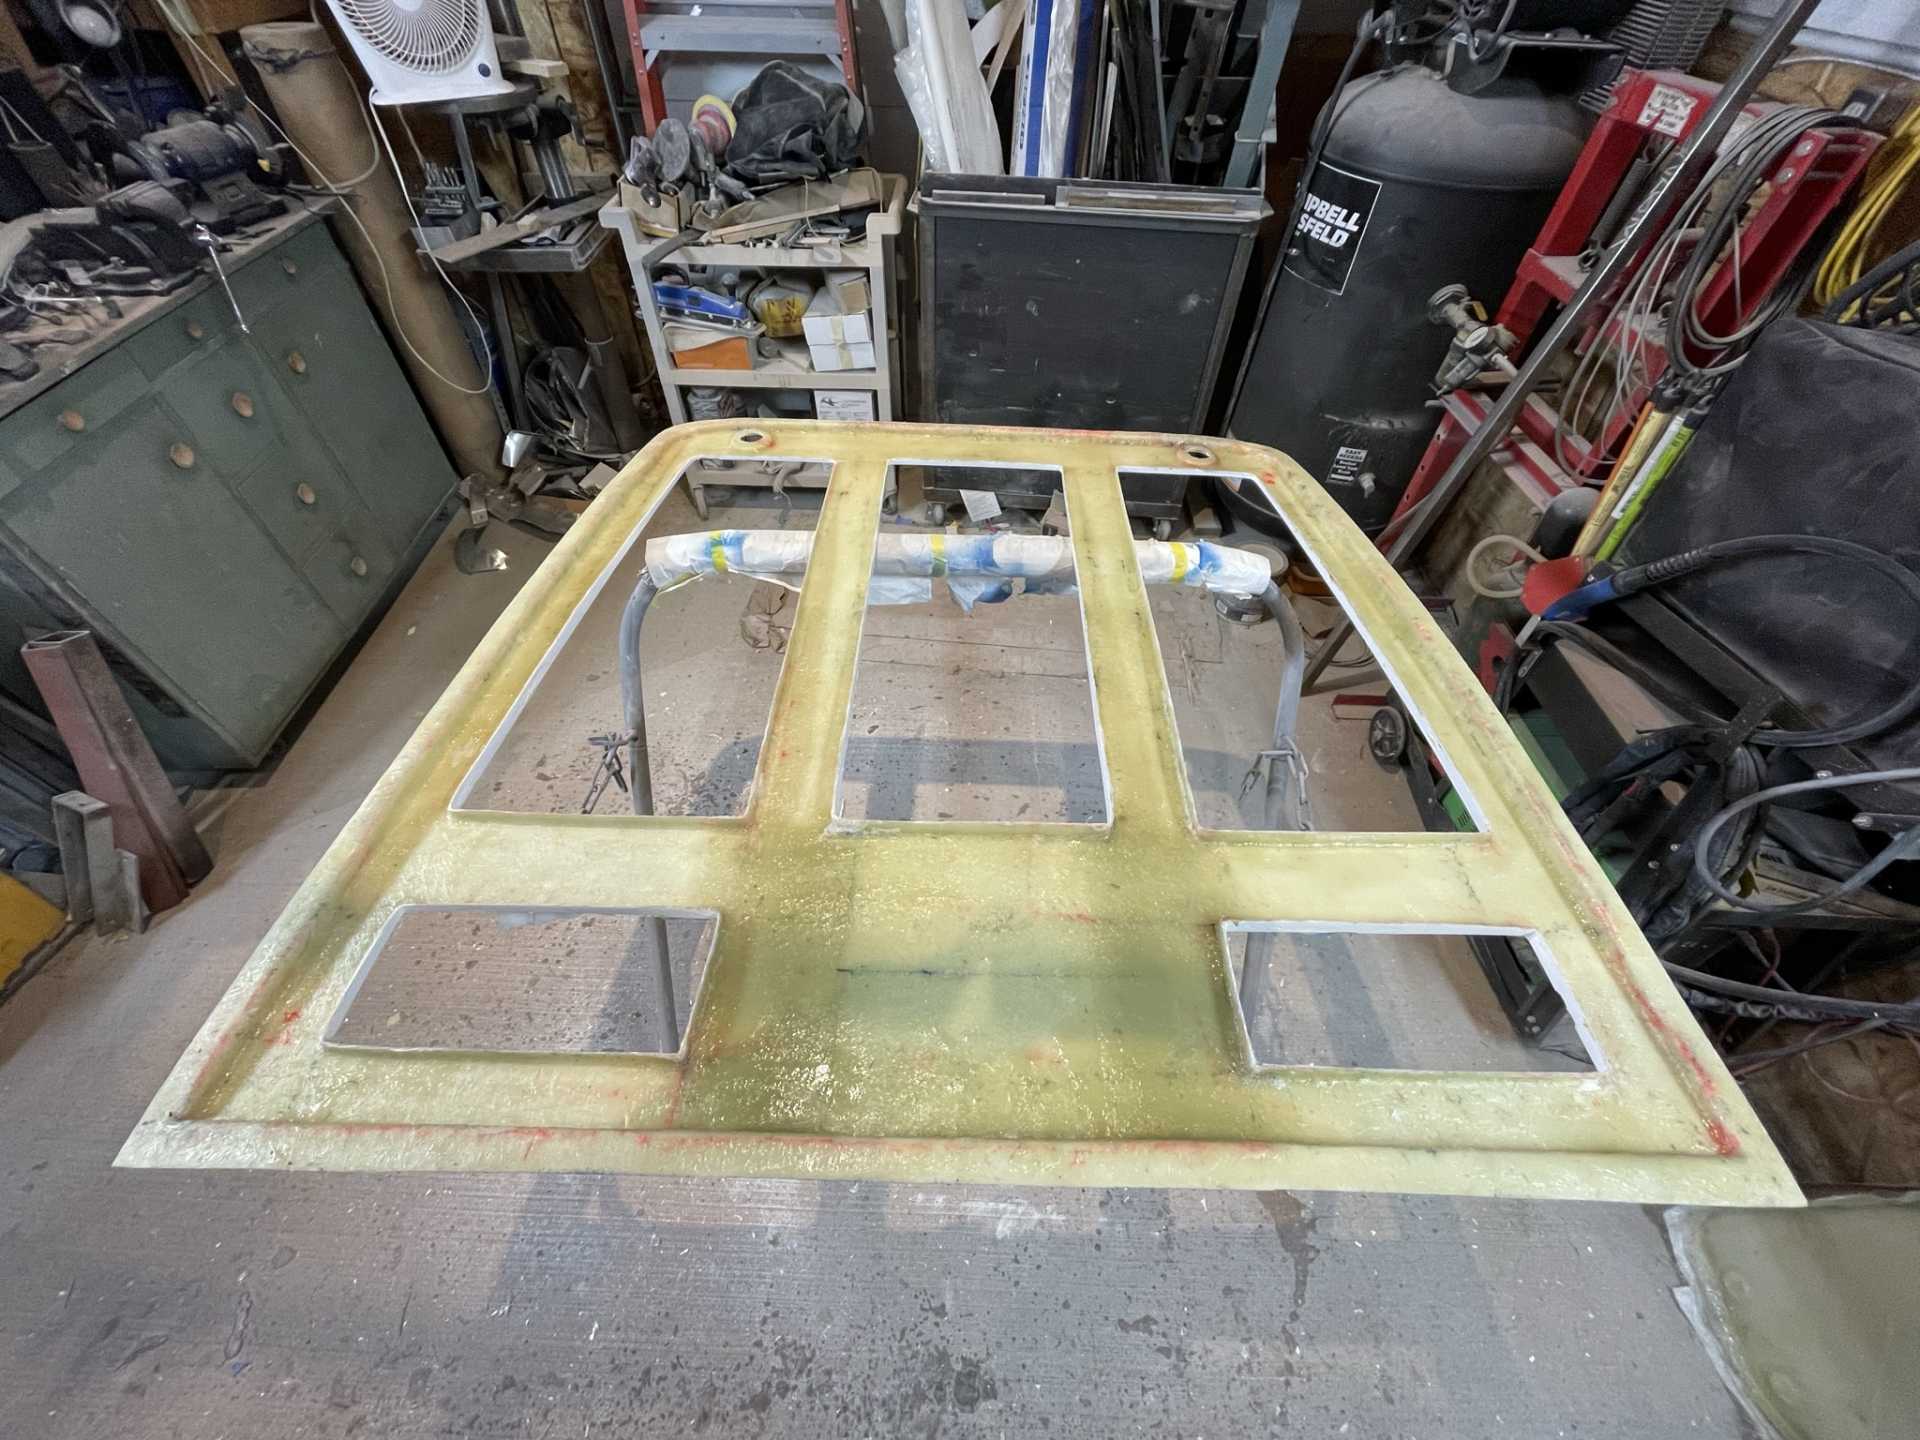
Here is a update on this week’s progress.
I’ve been doing the final fitting on the rear deck hood before completing the body work. And hinge placement and installation.
Stay safe
Wayne
|
|
|
|
Trinten
|
MAR 30, 12:45 PM
|
|
Wayne that is going to look awesome when it's done.
I really envy the patience and dedication it takes to become skilled at things like this. Not to mention innate talent. I simply don't have it. This is going to look awesome. I hope you are able to have it at the 40th - even if you have to trailer it there!
|
|
|
|
jdv
|
MAR 31, 04:33 PM
|
|
|
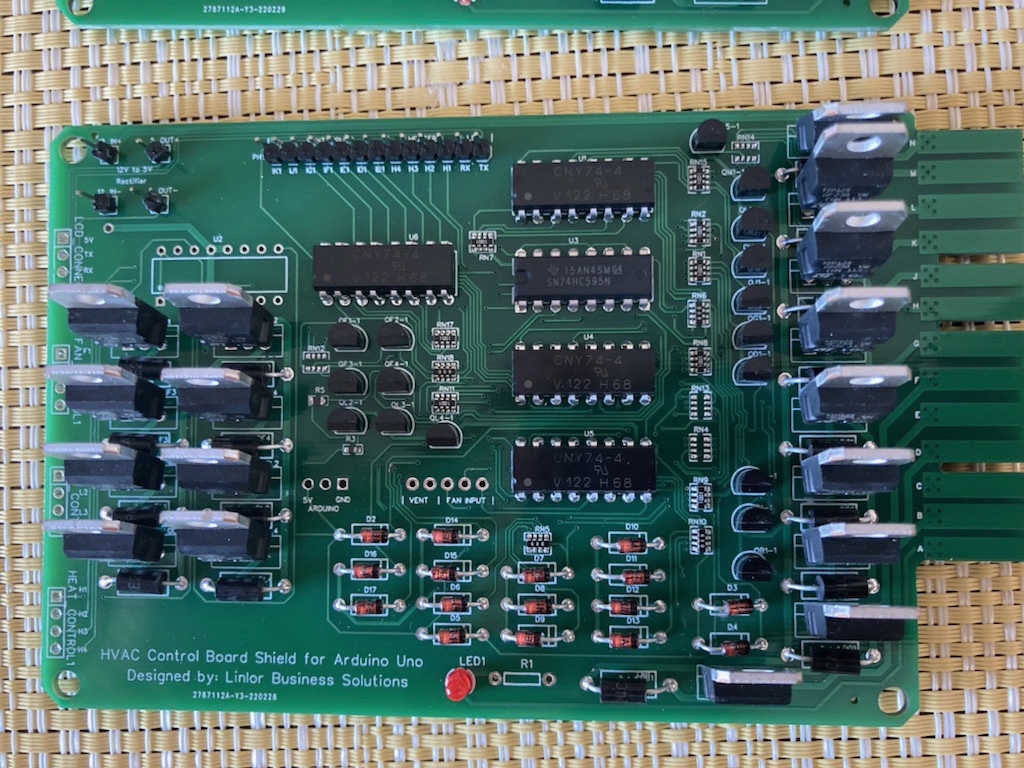
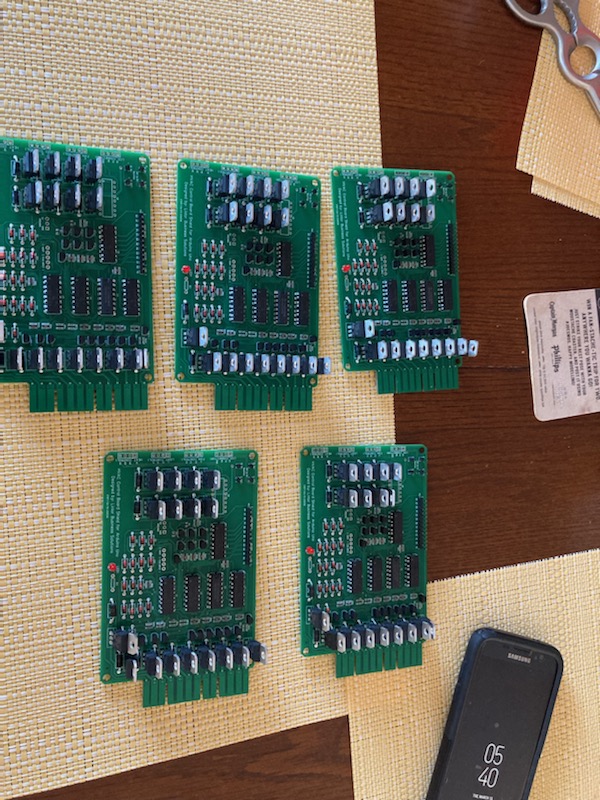
Awesome build Wayne. Do you have any plans on selling the HVAC/ Light switch touch pad controller ?
|
|
|
|
RCR
|
APR 02, 06:15 PM
|
|
Bravo, Wayne... I'll dream through your posts...
Bob
|
|
|
|
dobie1
|
APR 05, 10:39 PM
|
|
Thanks Trinten for the comments always appreciated!
jdv thank you as well , as for the controller, I’ll ask my buddy Don O. If he is interested in selling any controllers once we gets everything worked out with my car.
Bob , I’ve been wondering where you are on your build , did you ever use the inner scoop ducting I Sent you?
I’m looking forward to a update!!
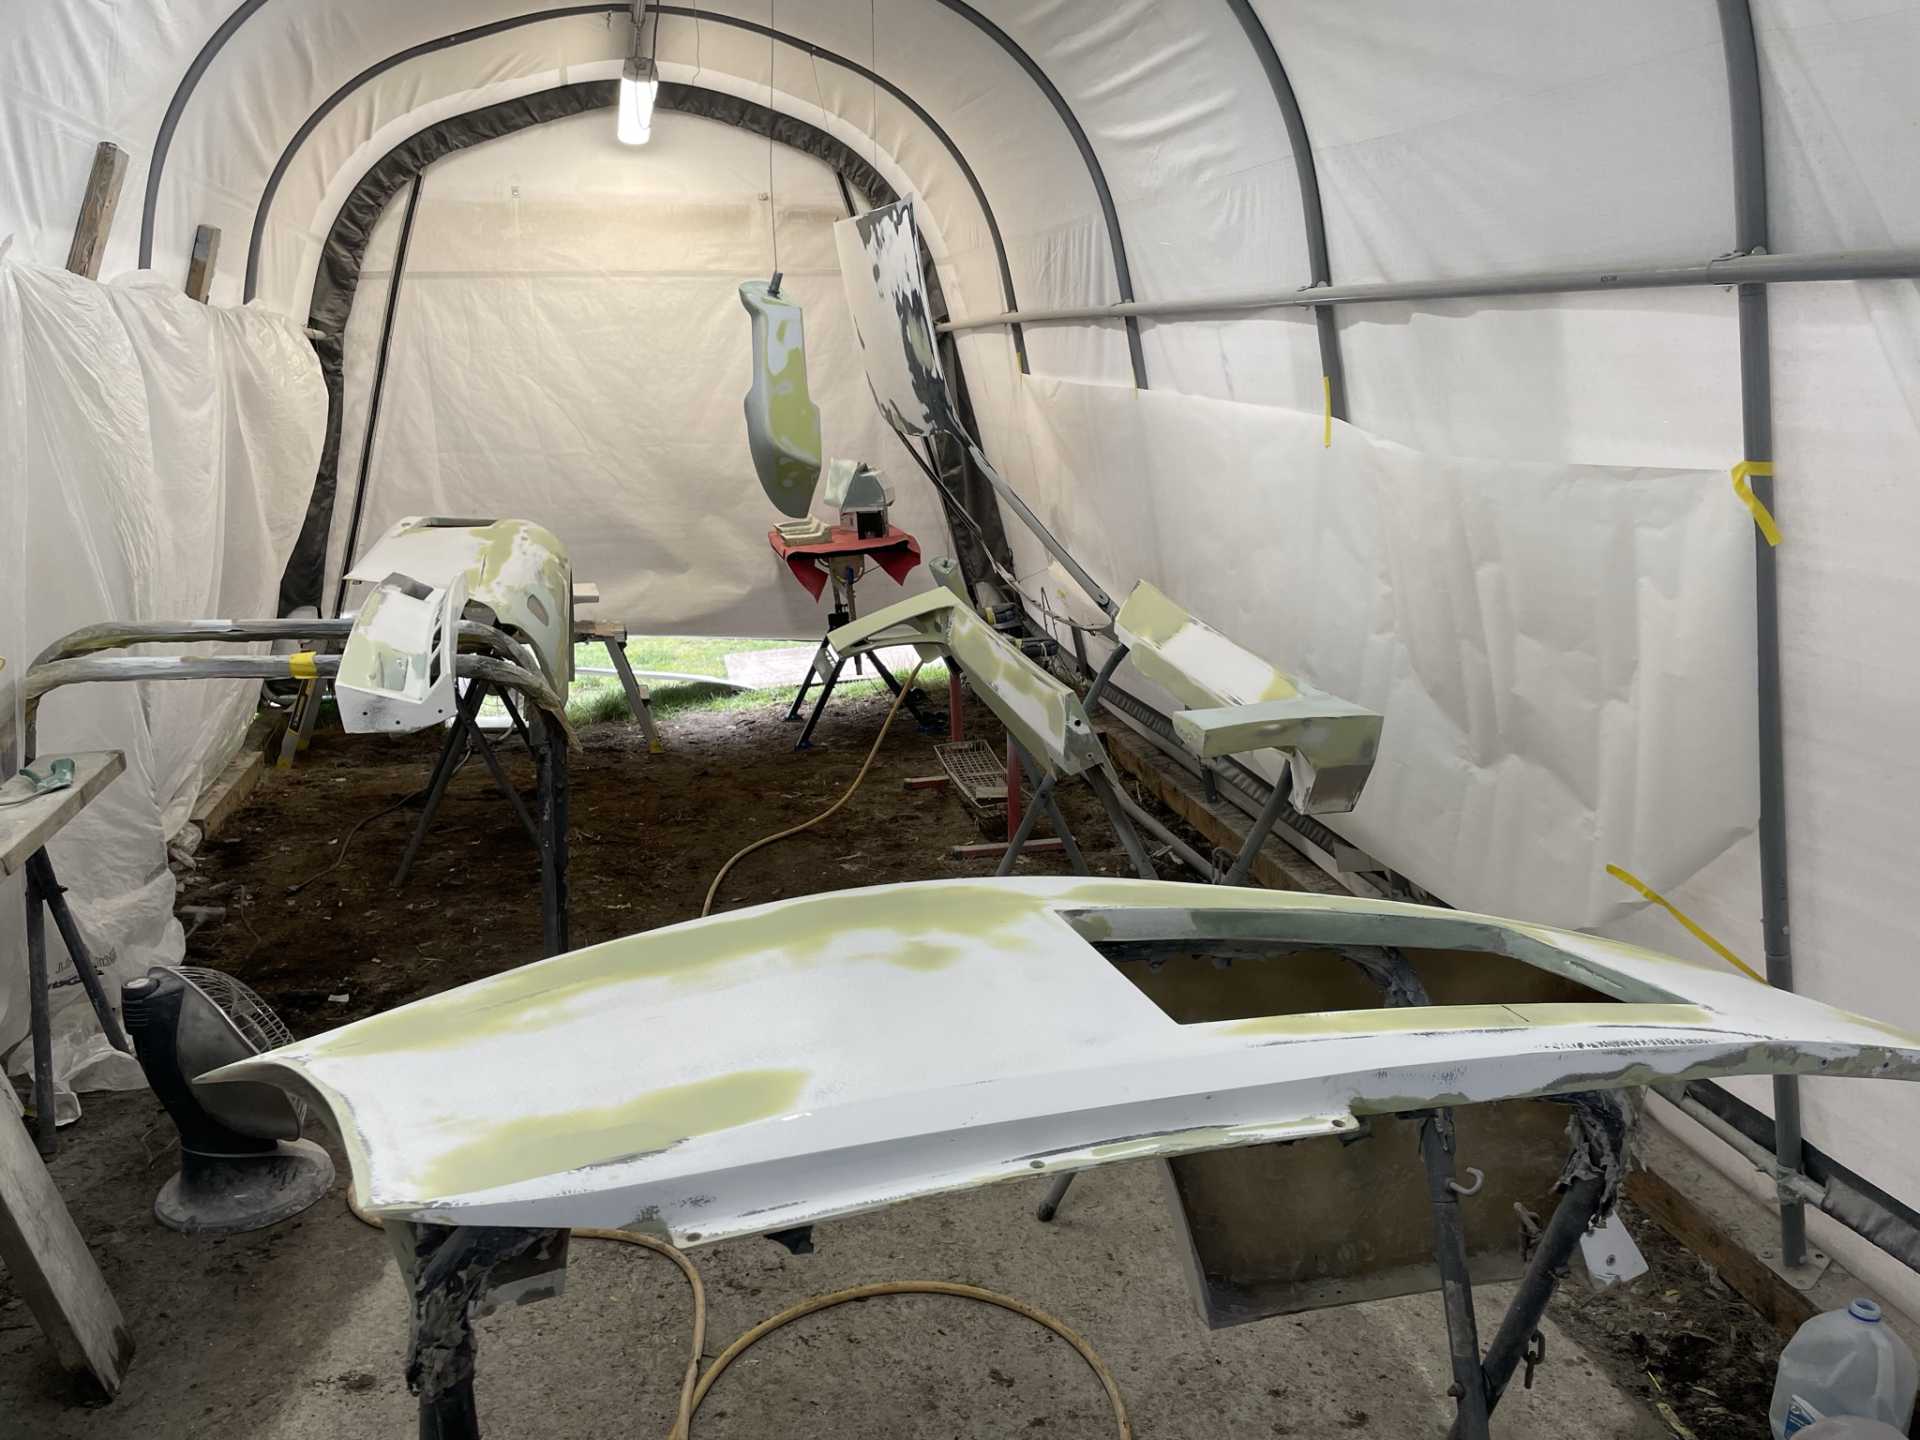
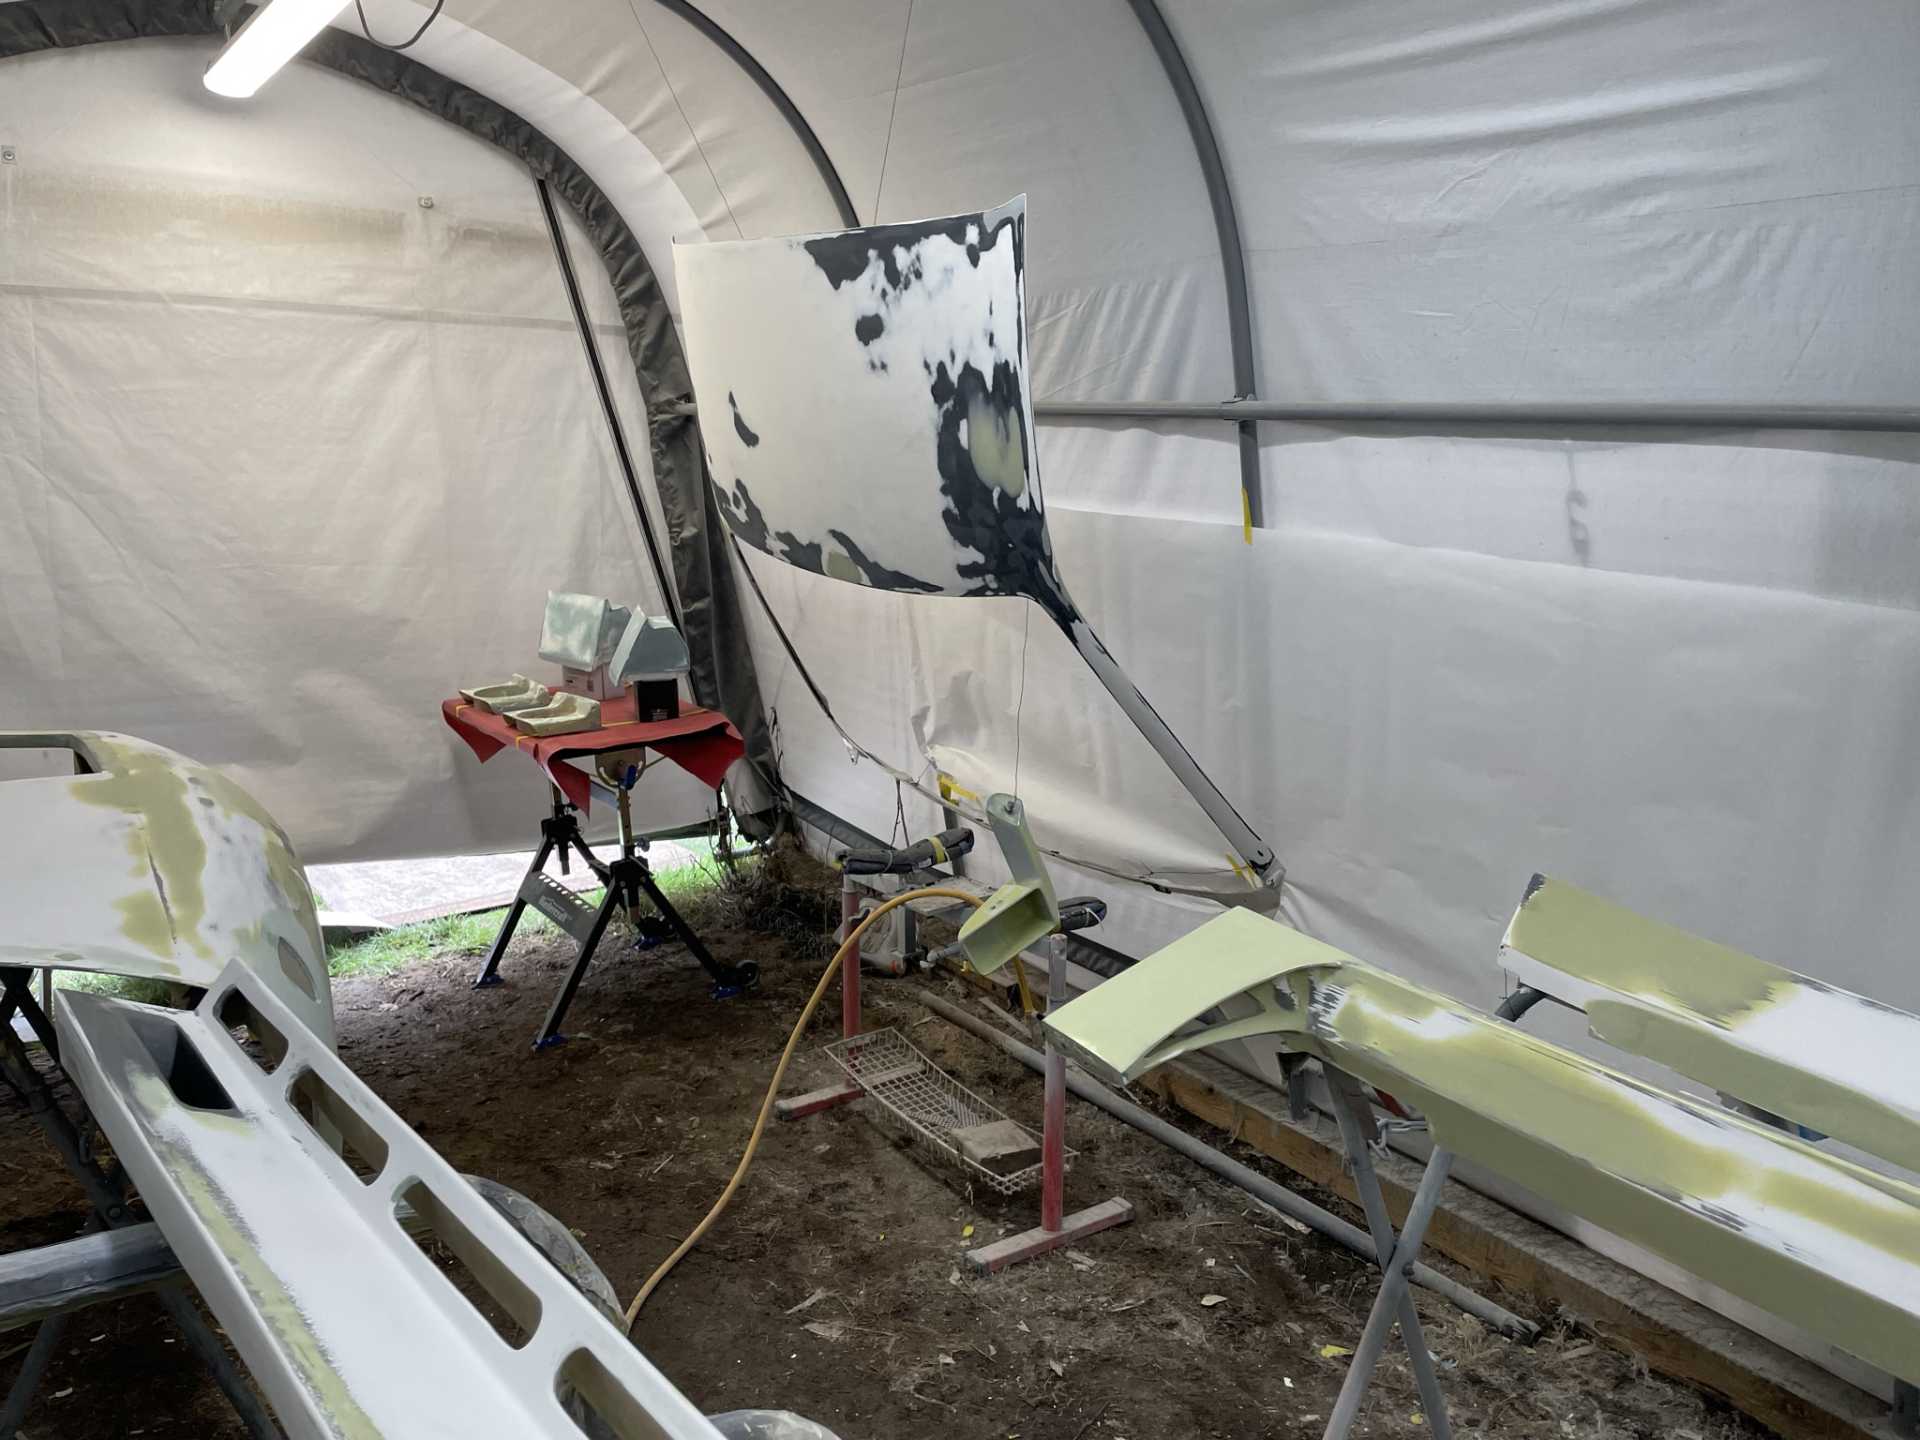
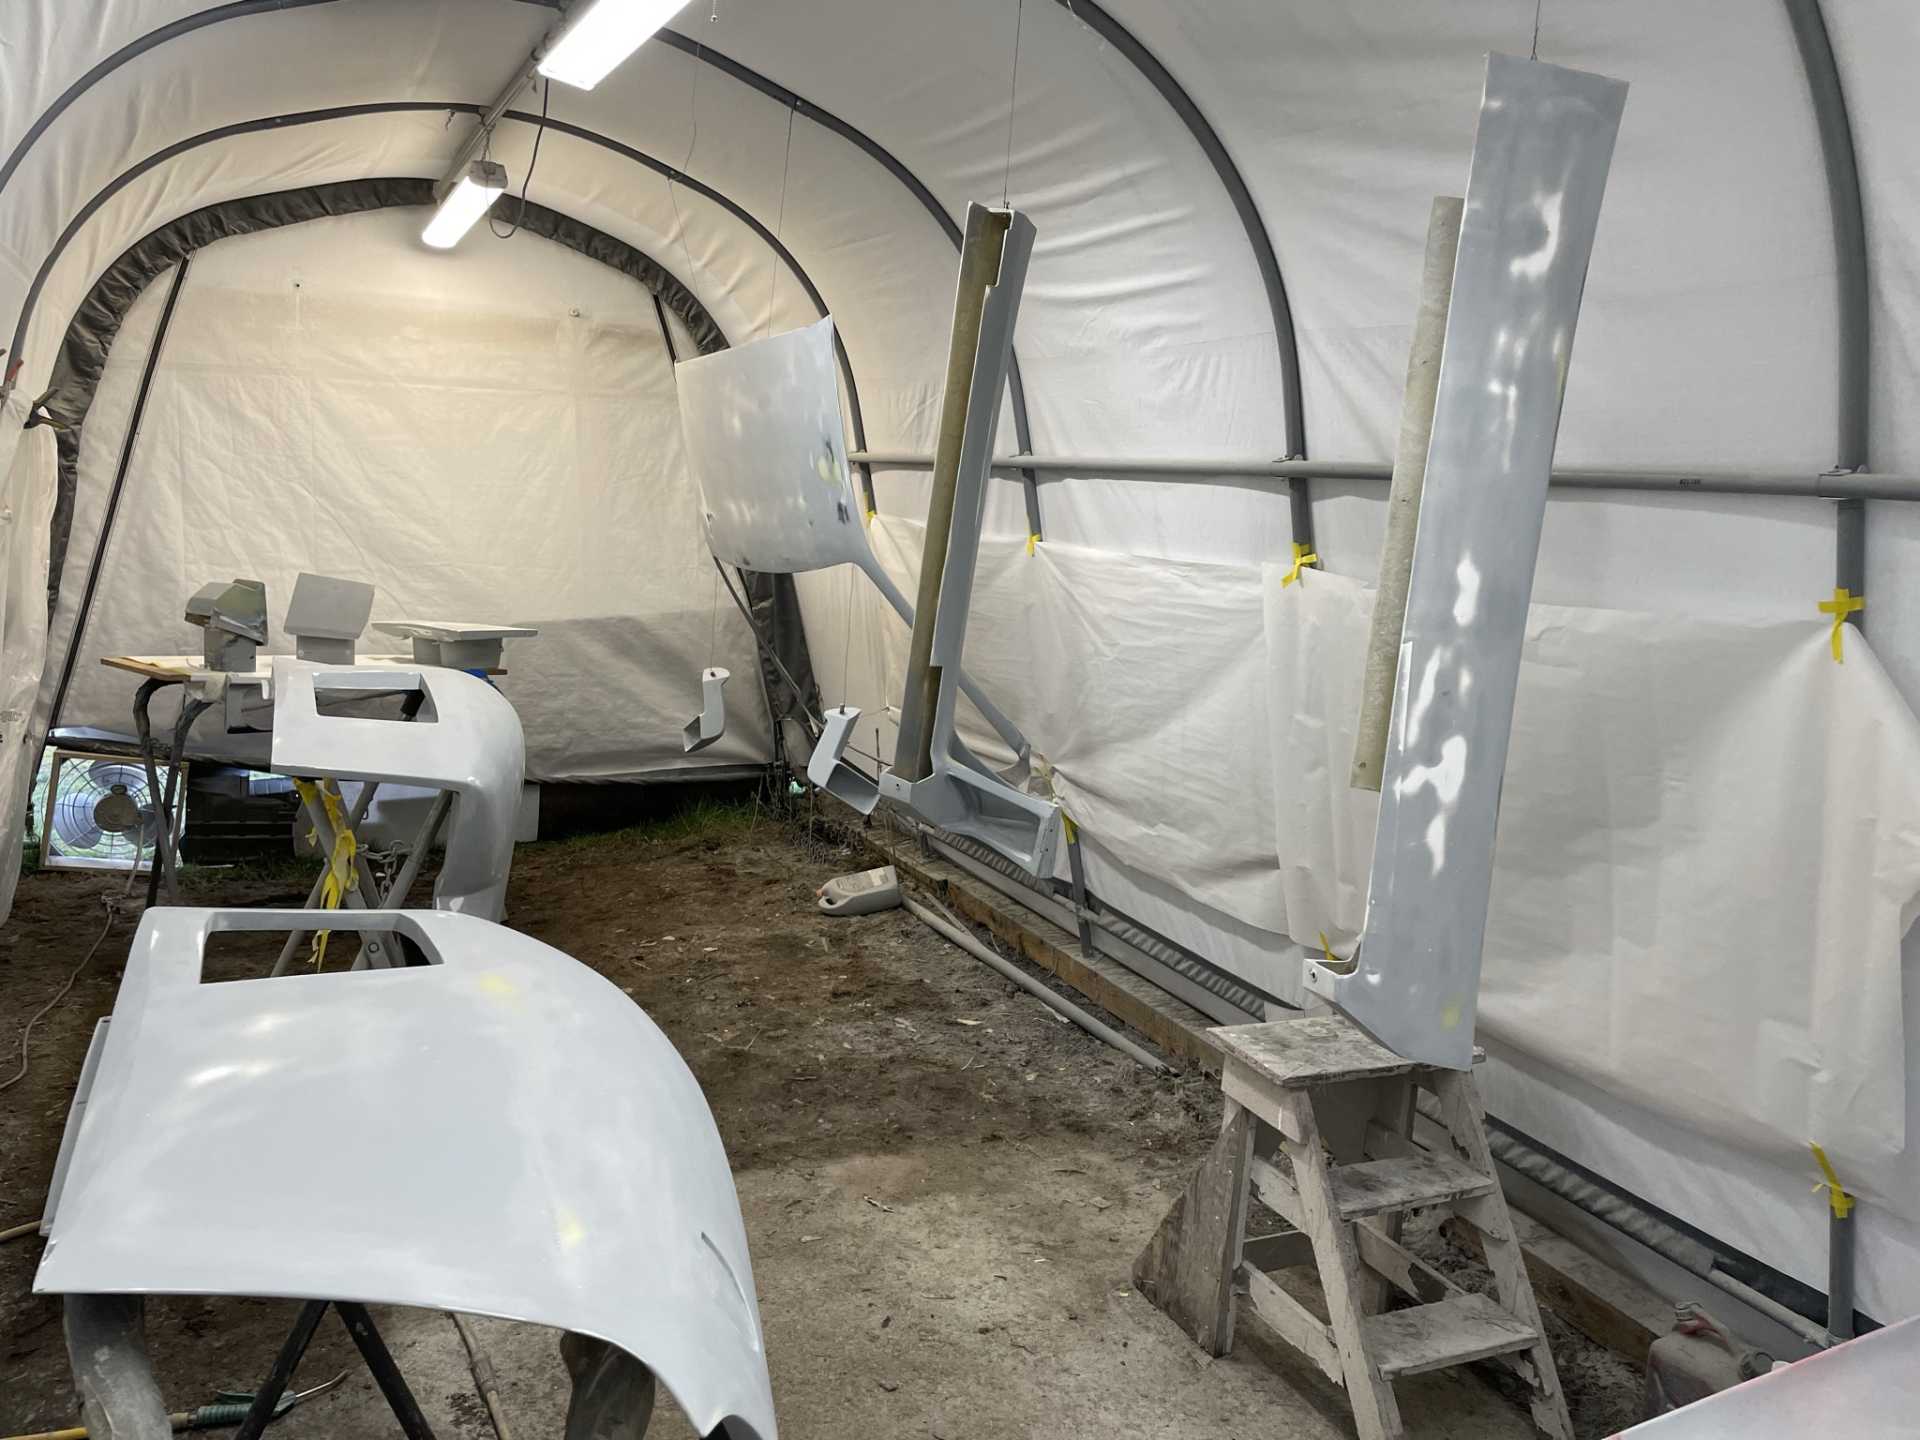
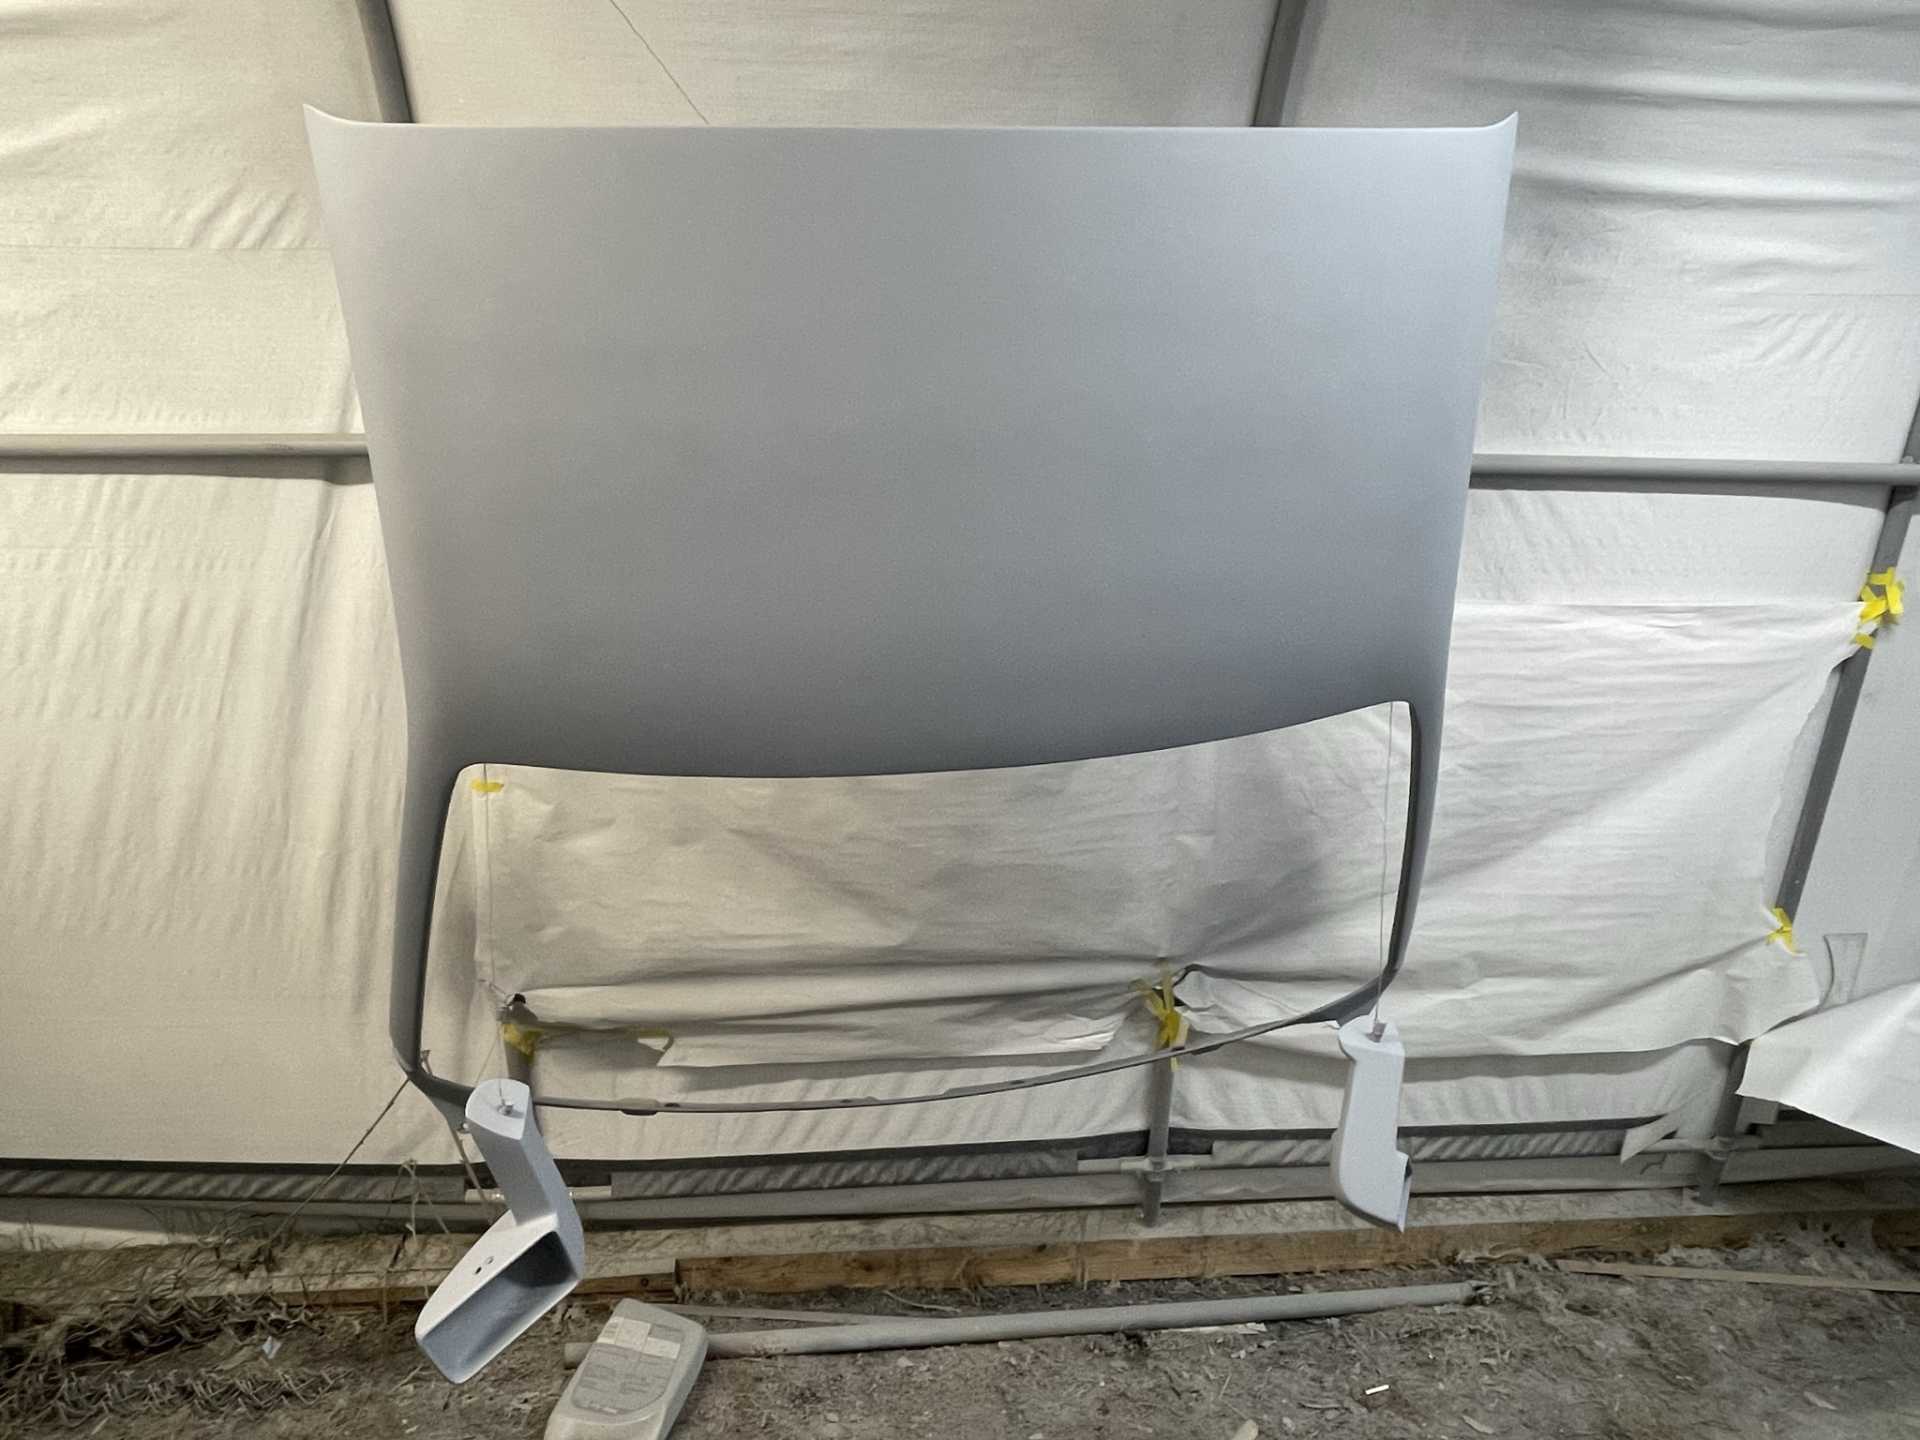
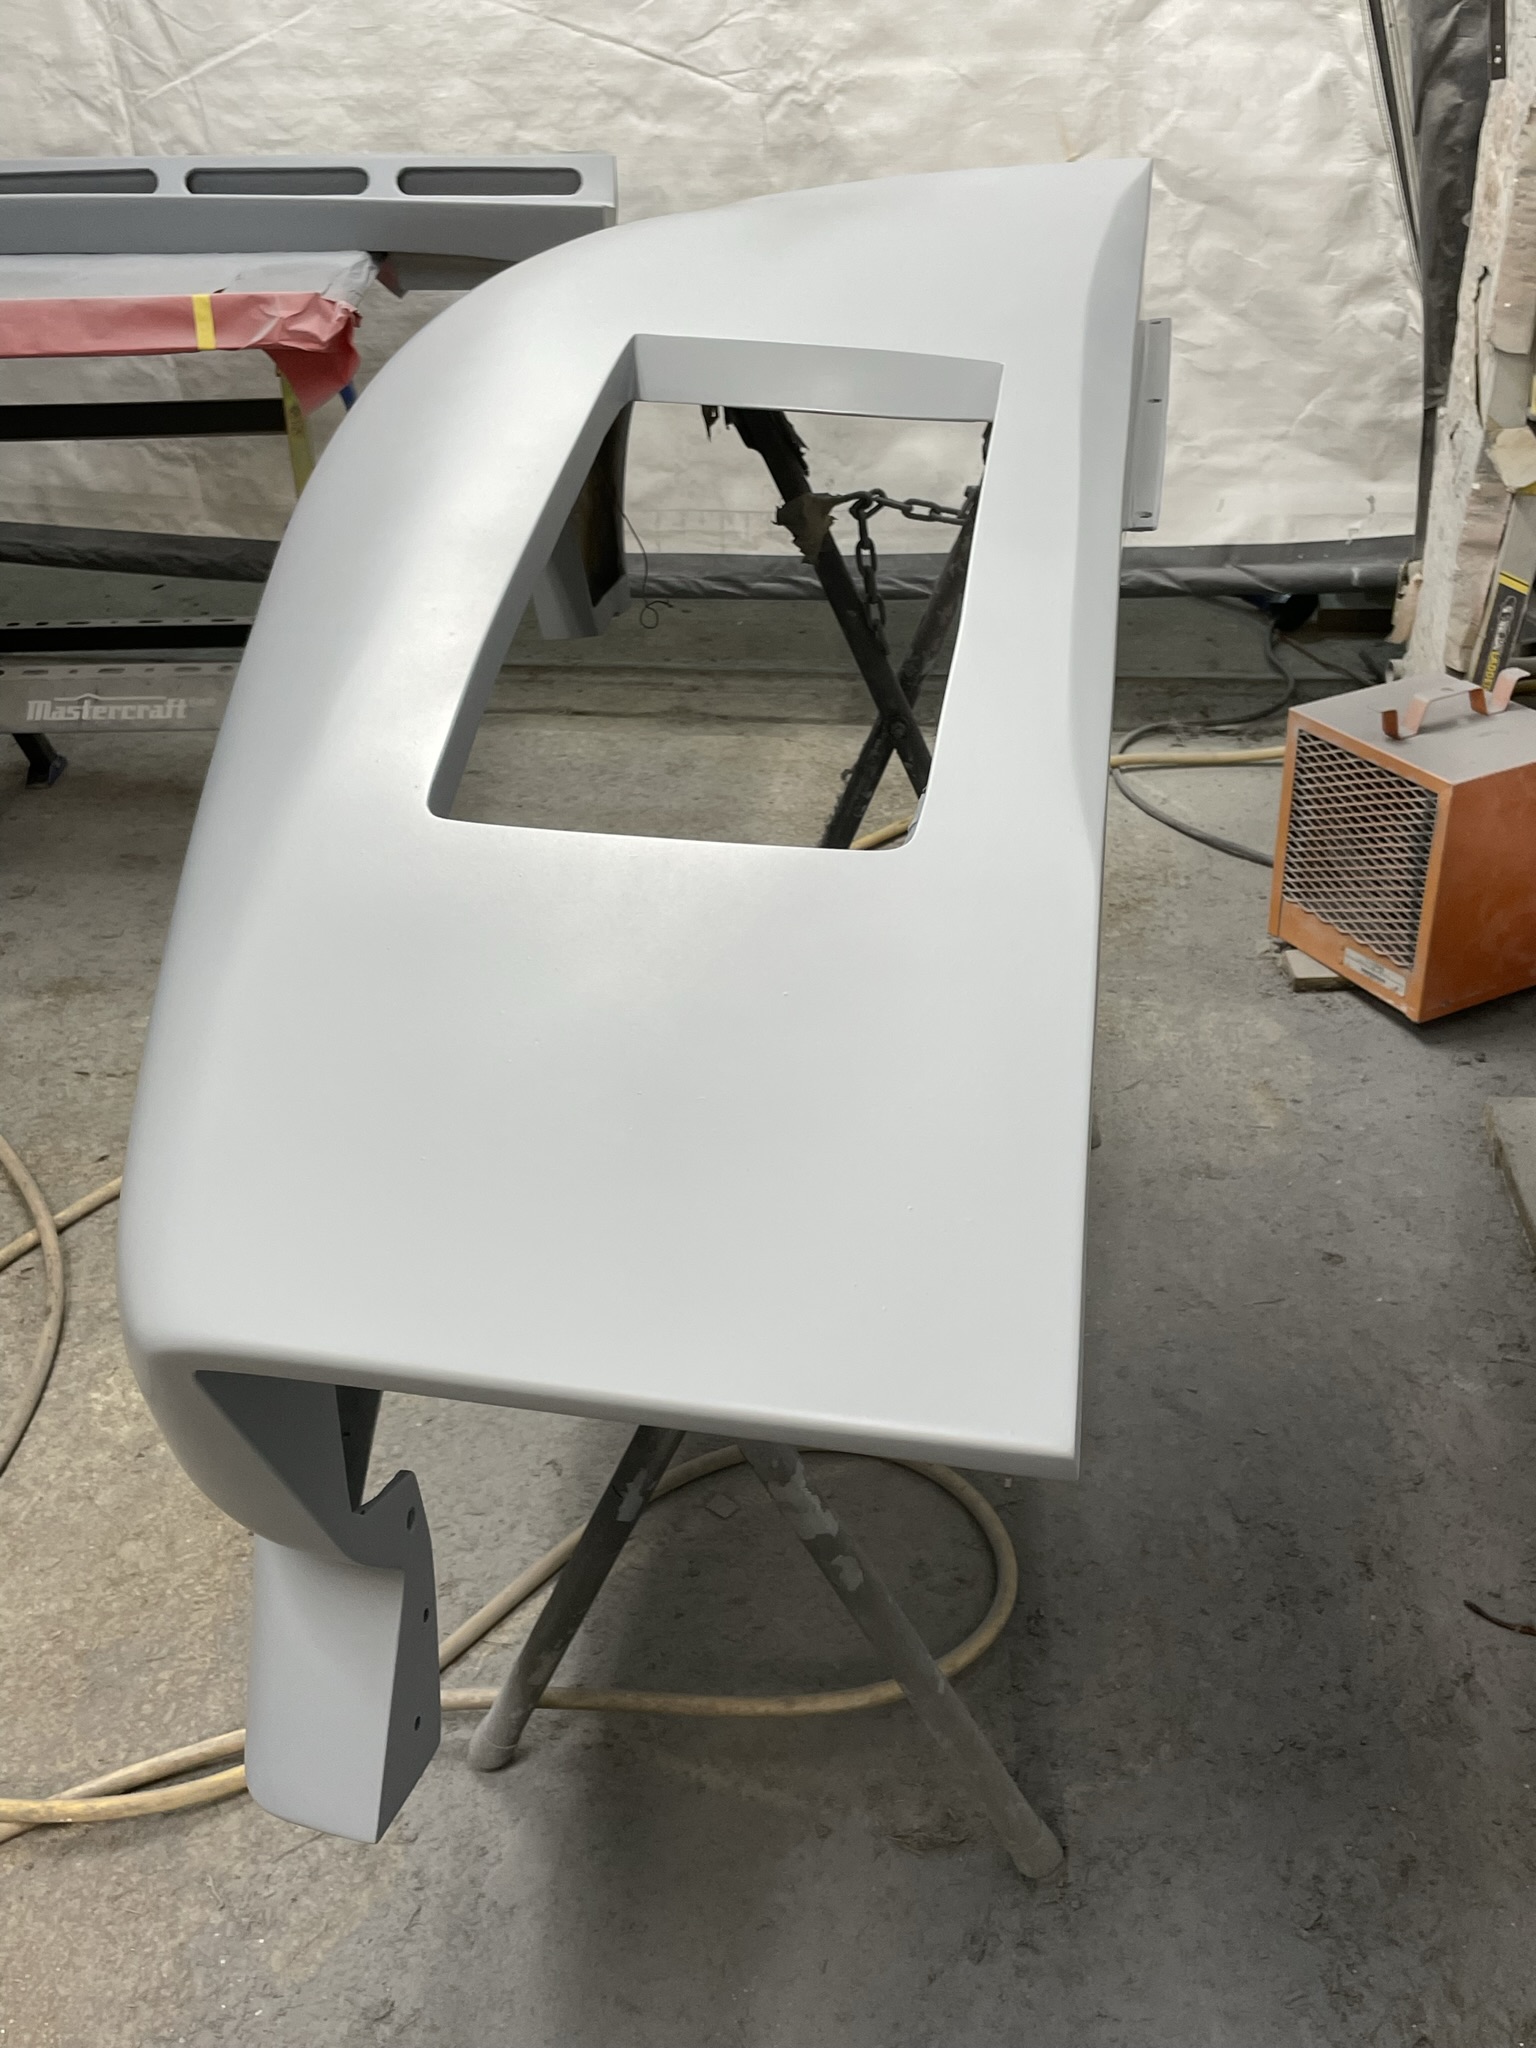
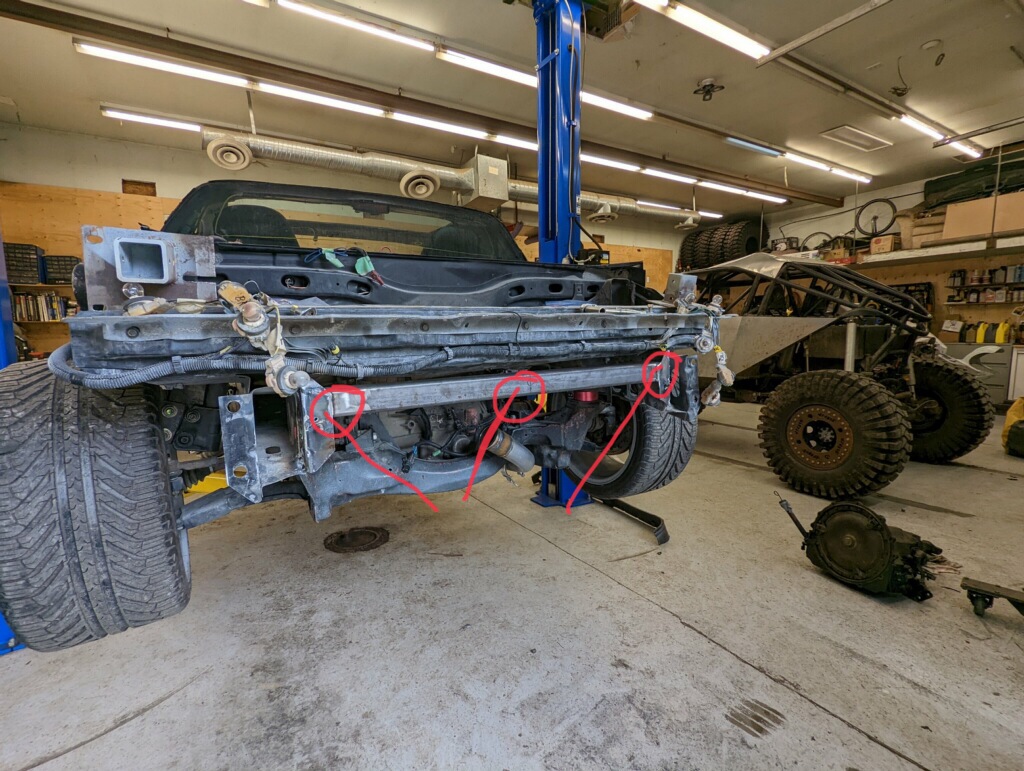
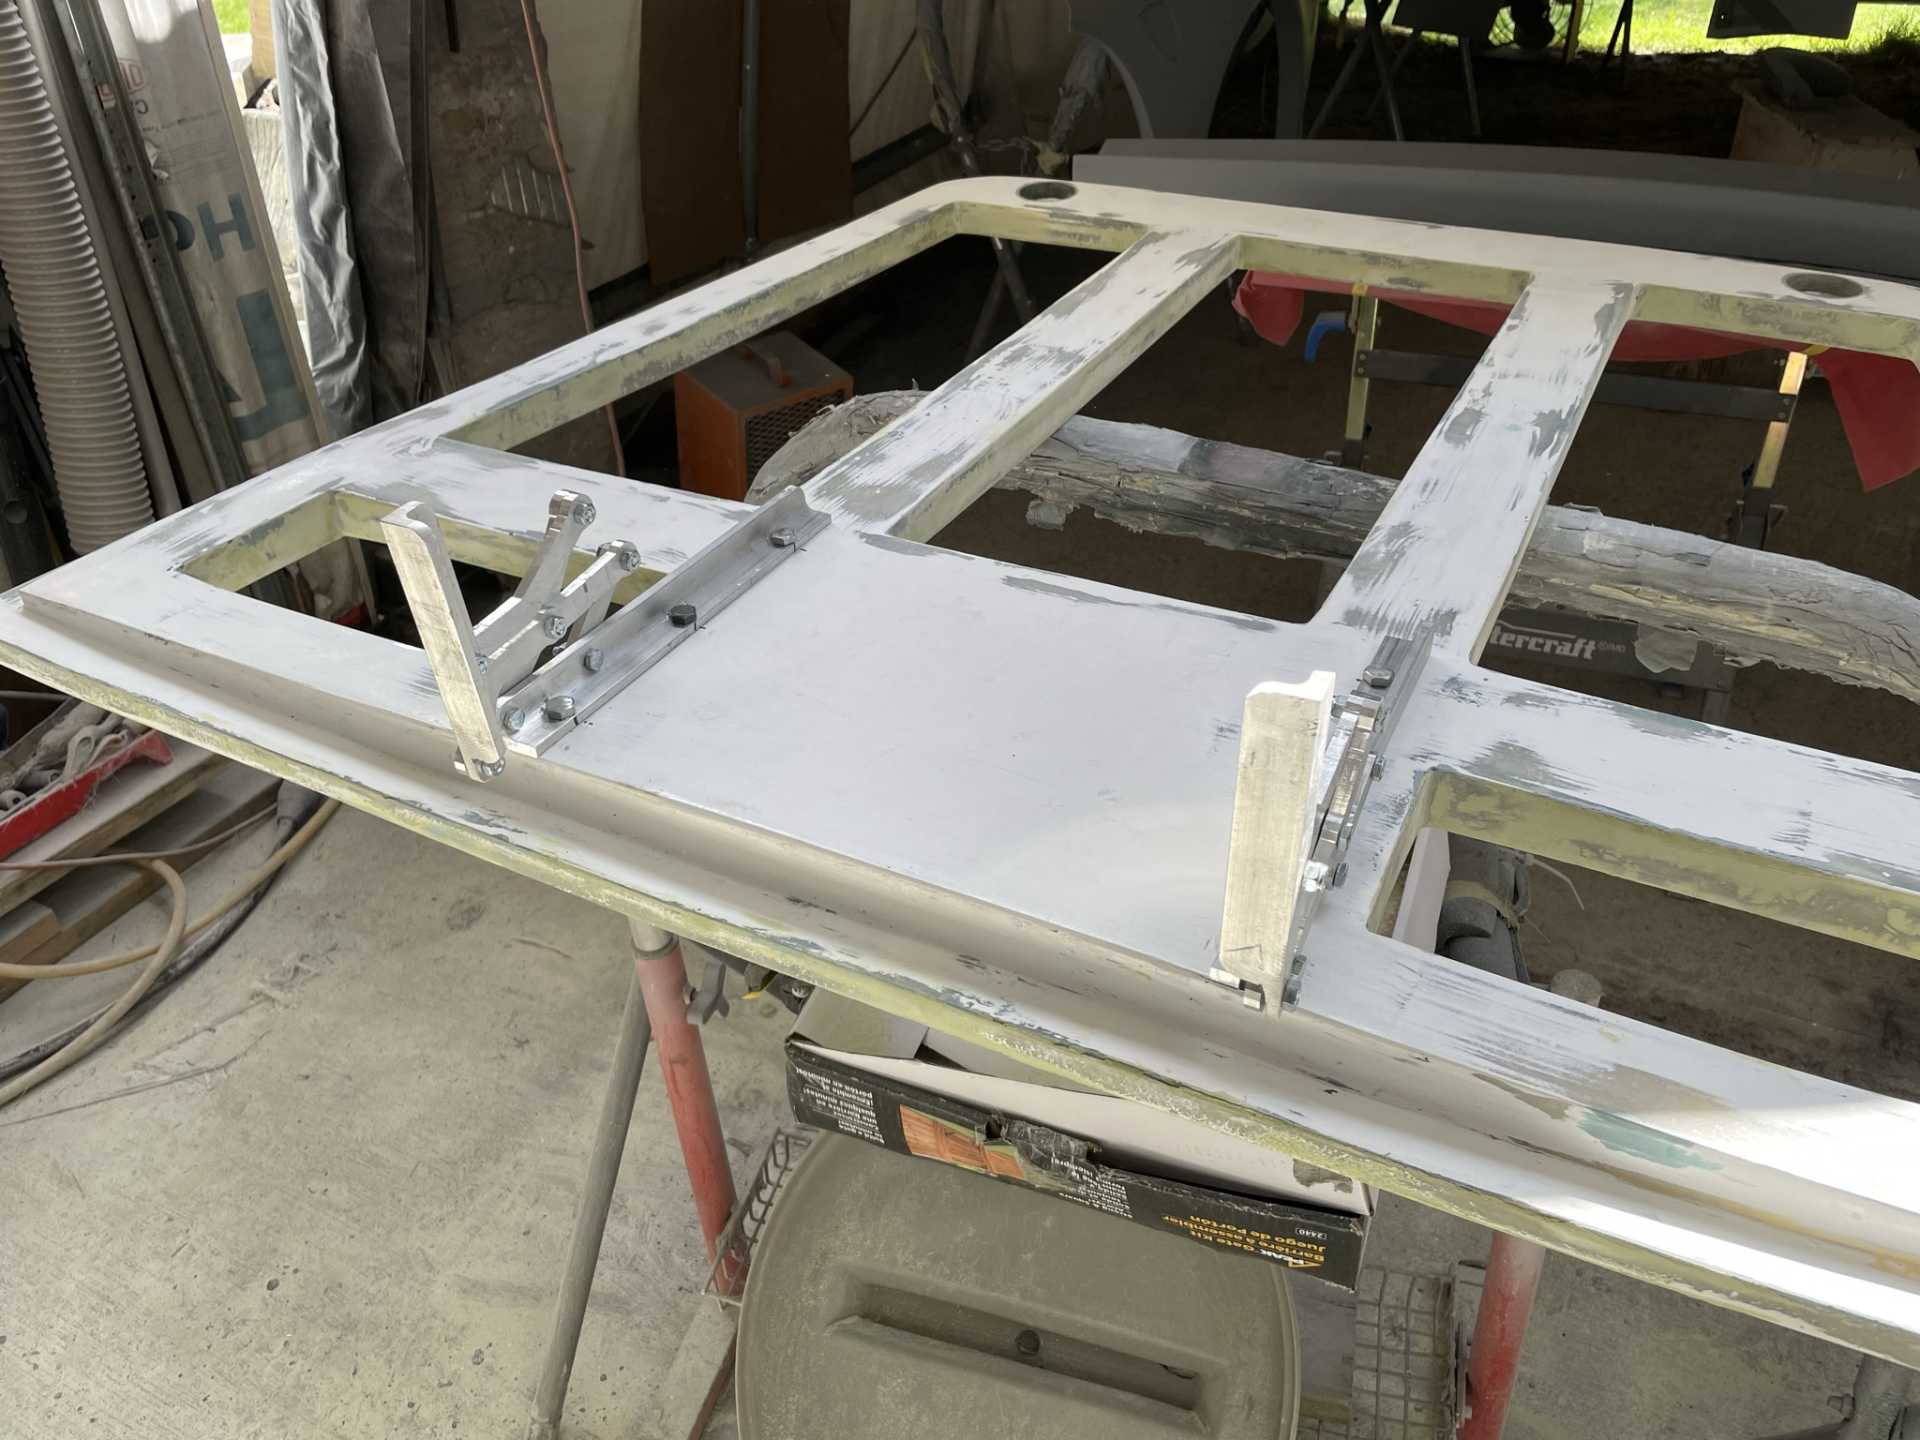
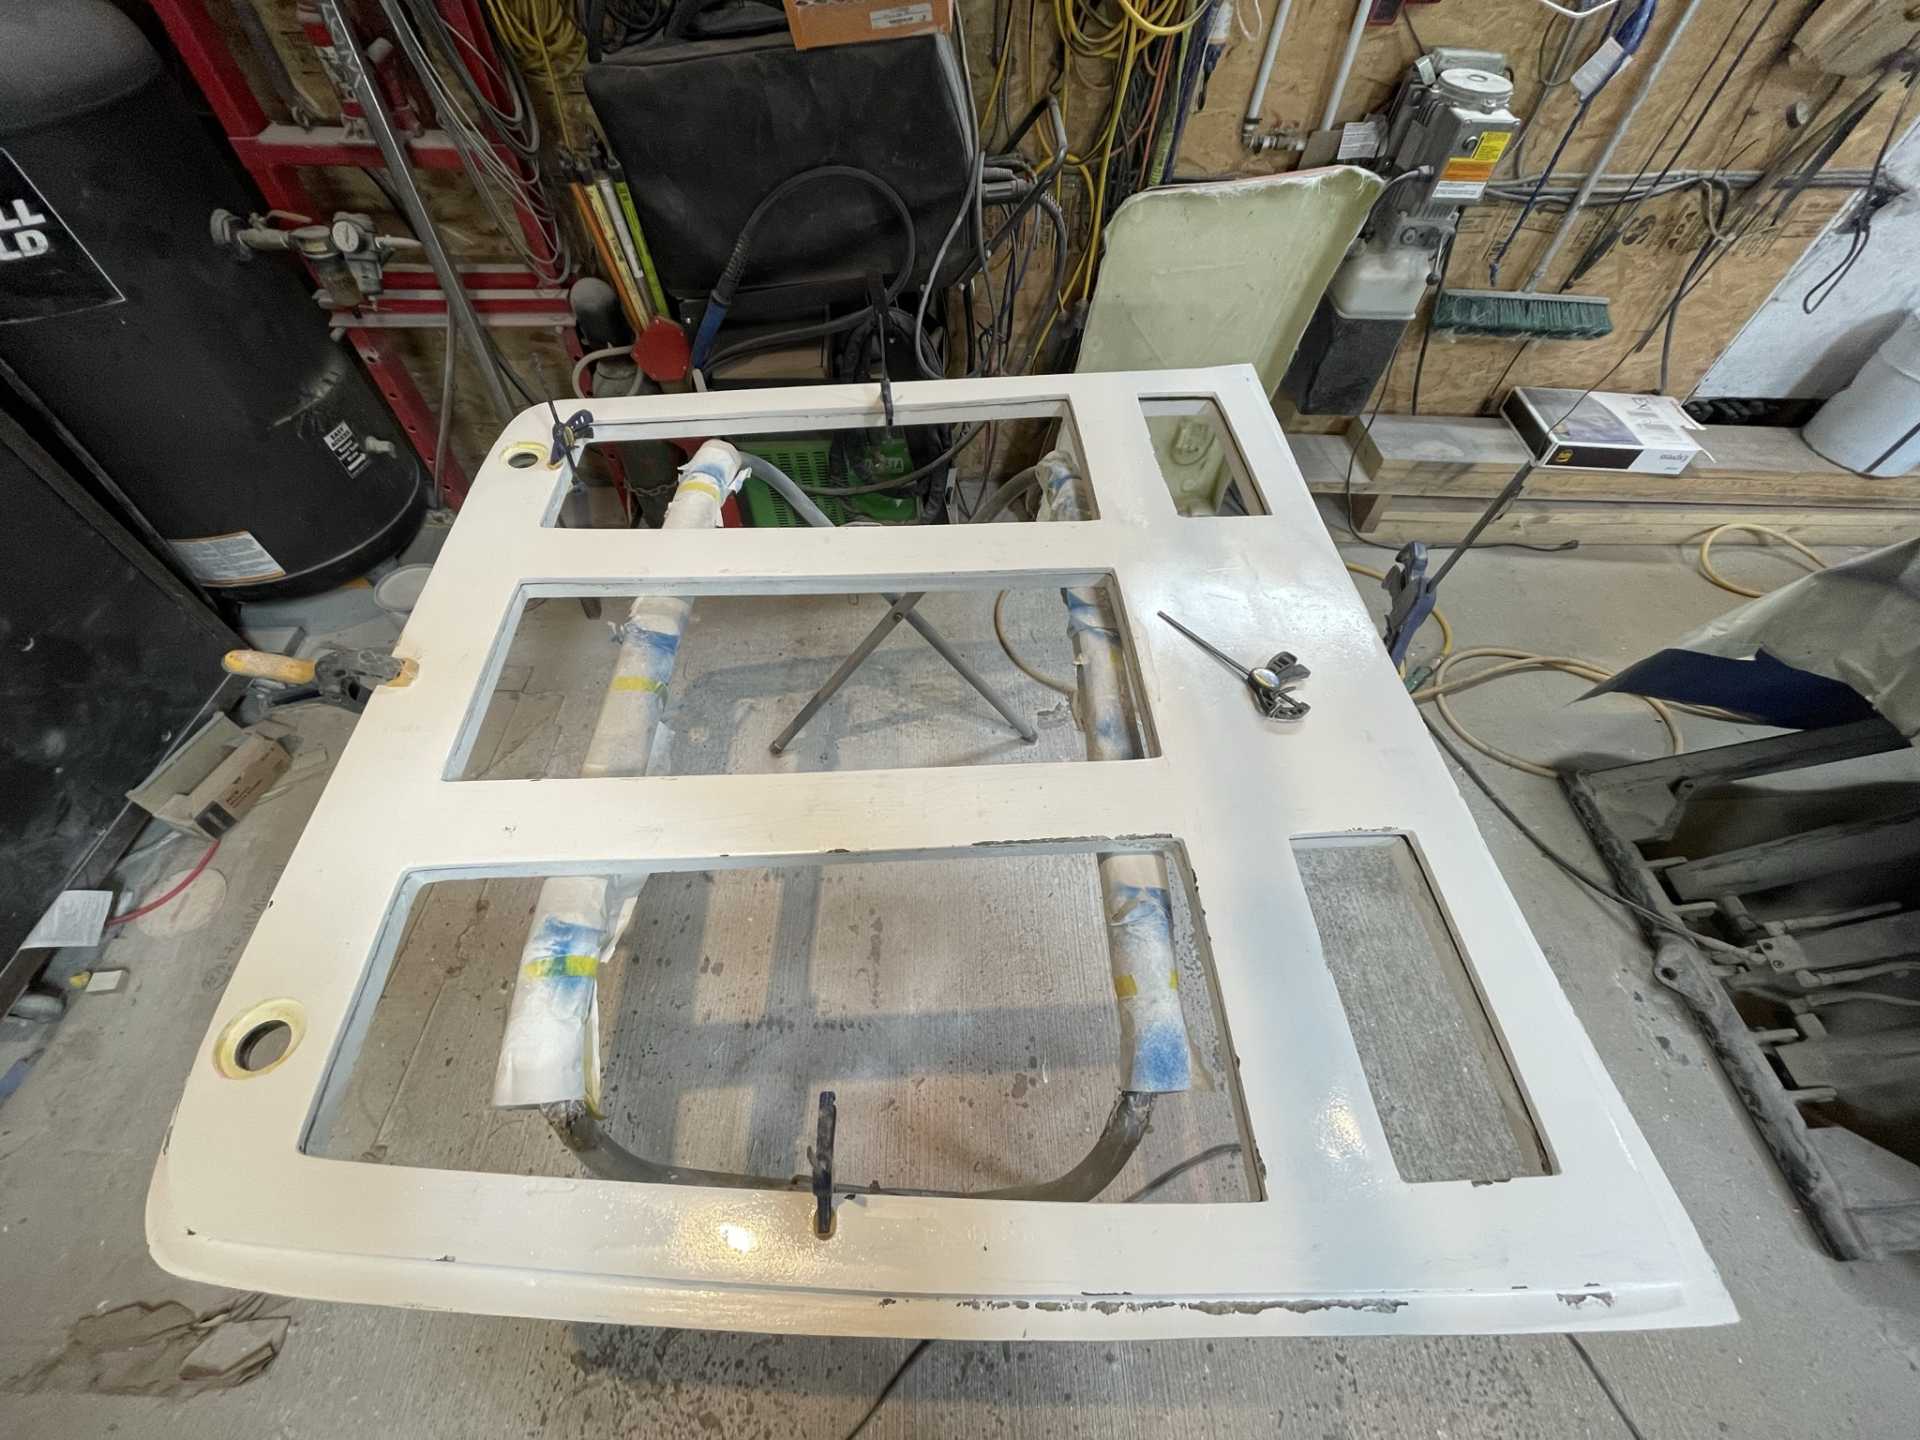
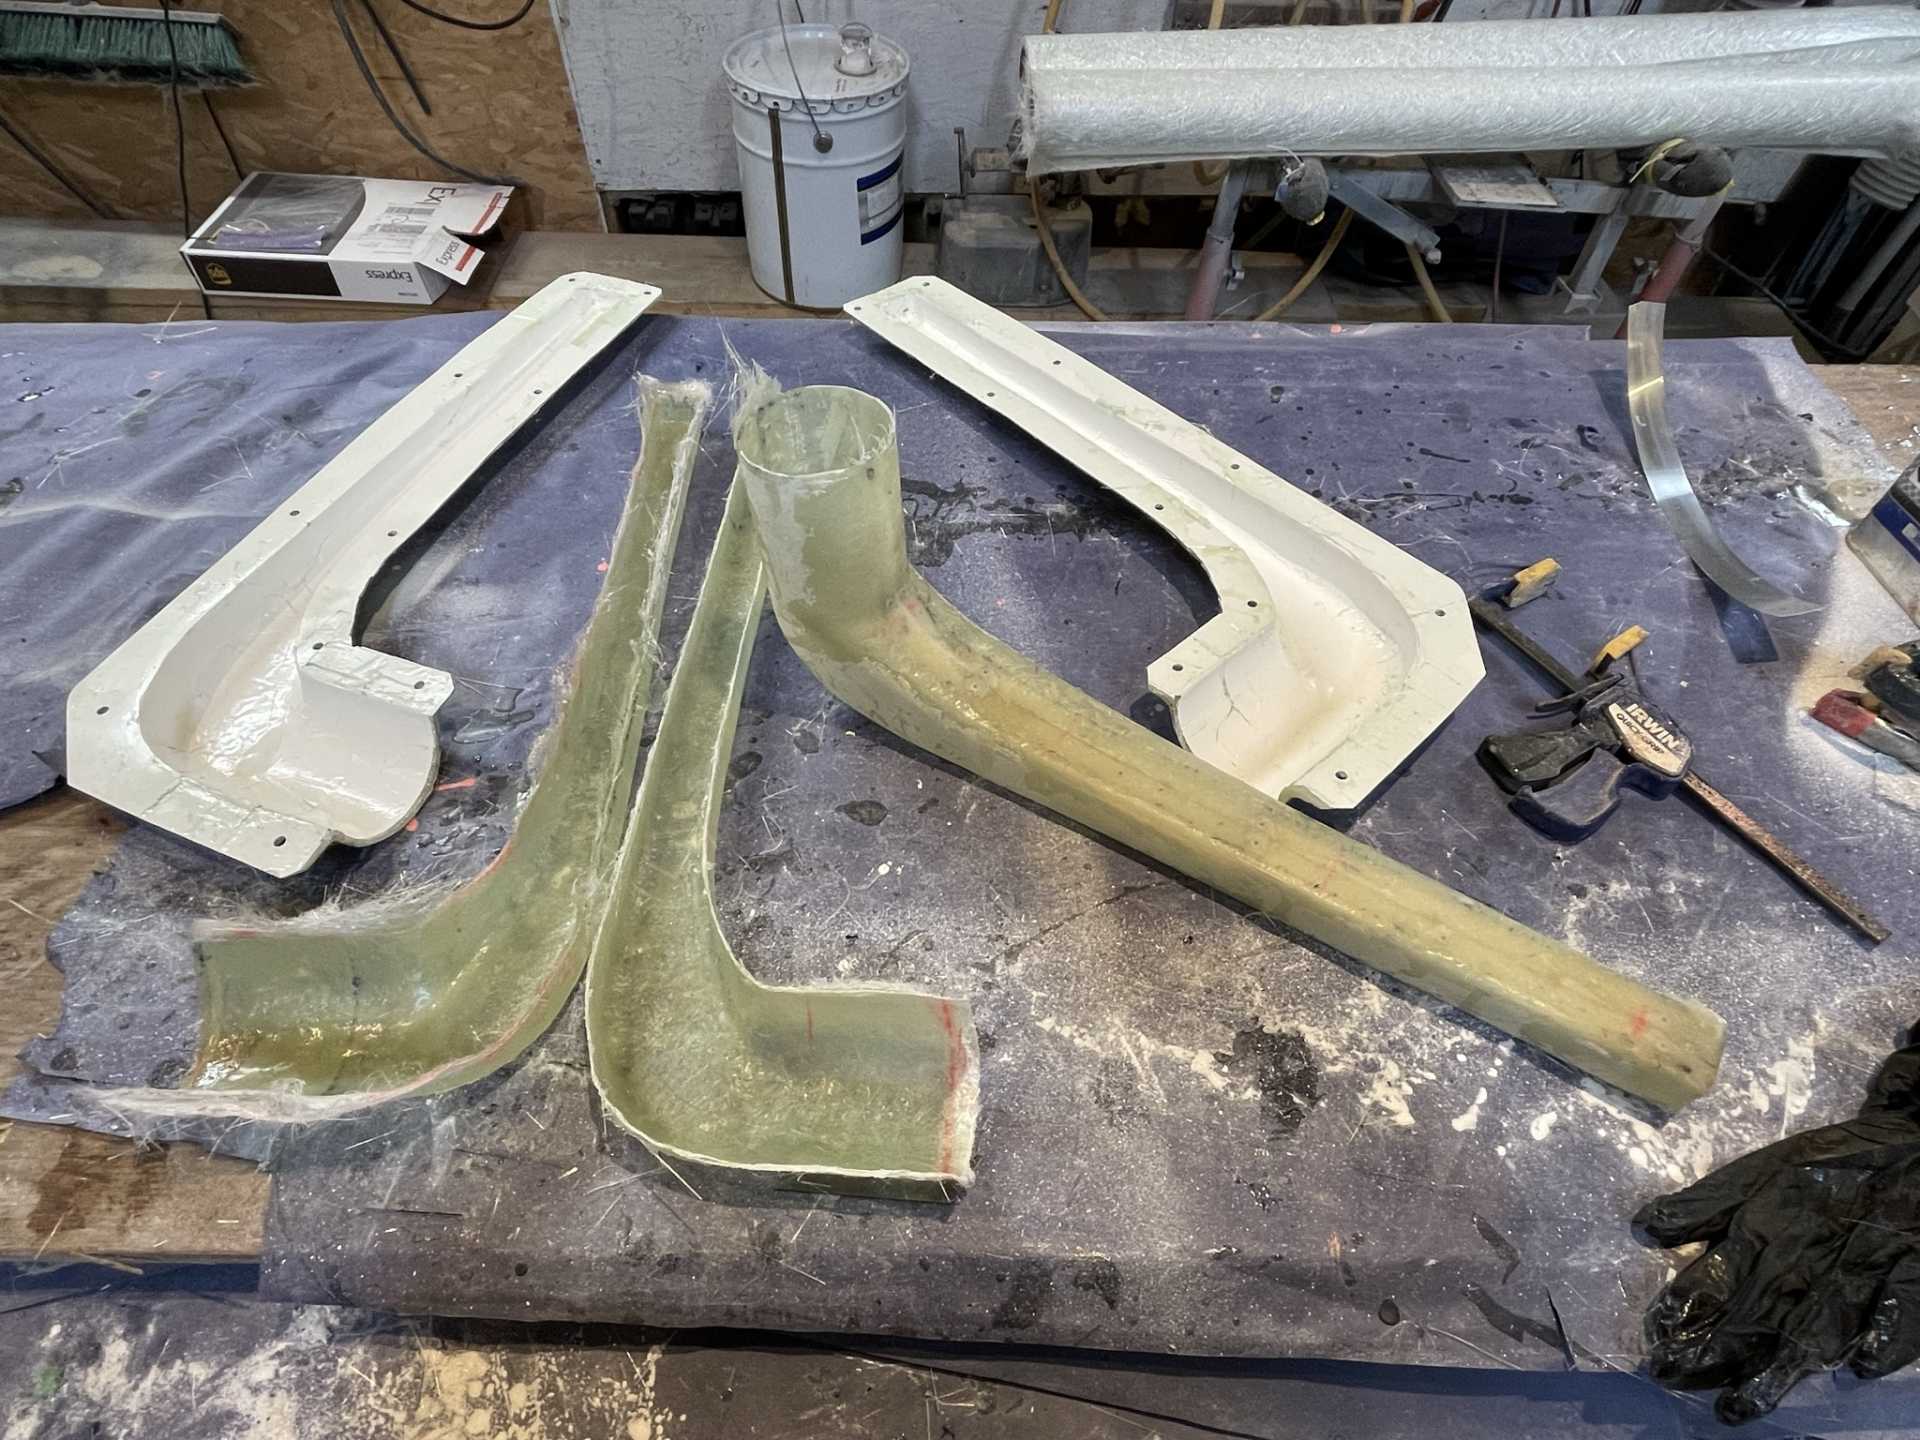
Here is the last est updates on my build, I haven’t gotten anymore done with spraying the rest of the parts as planned.
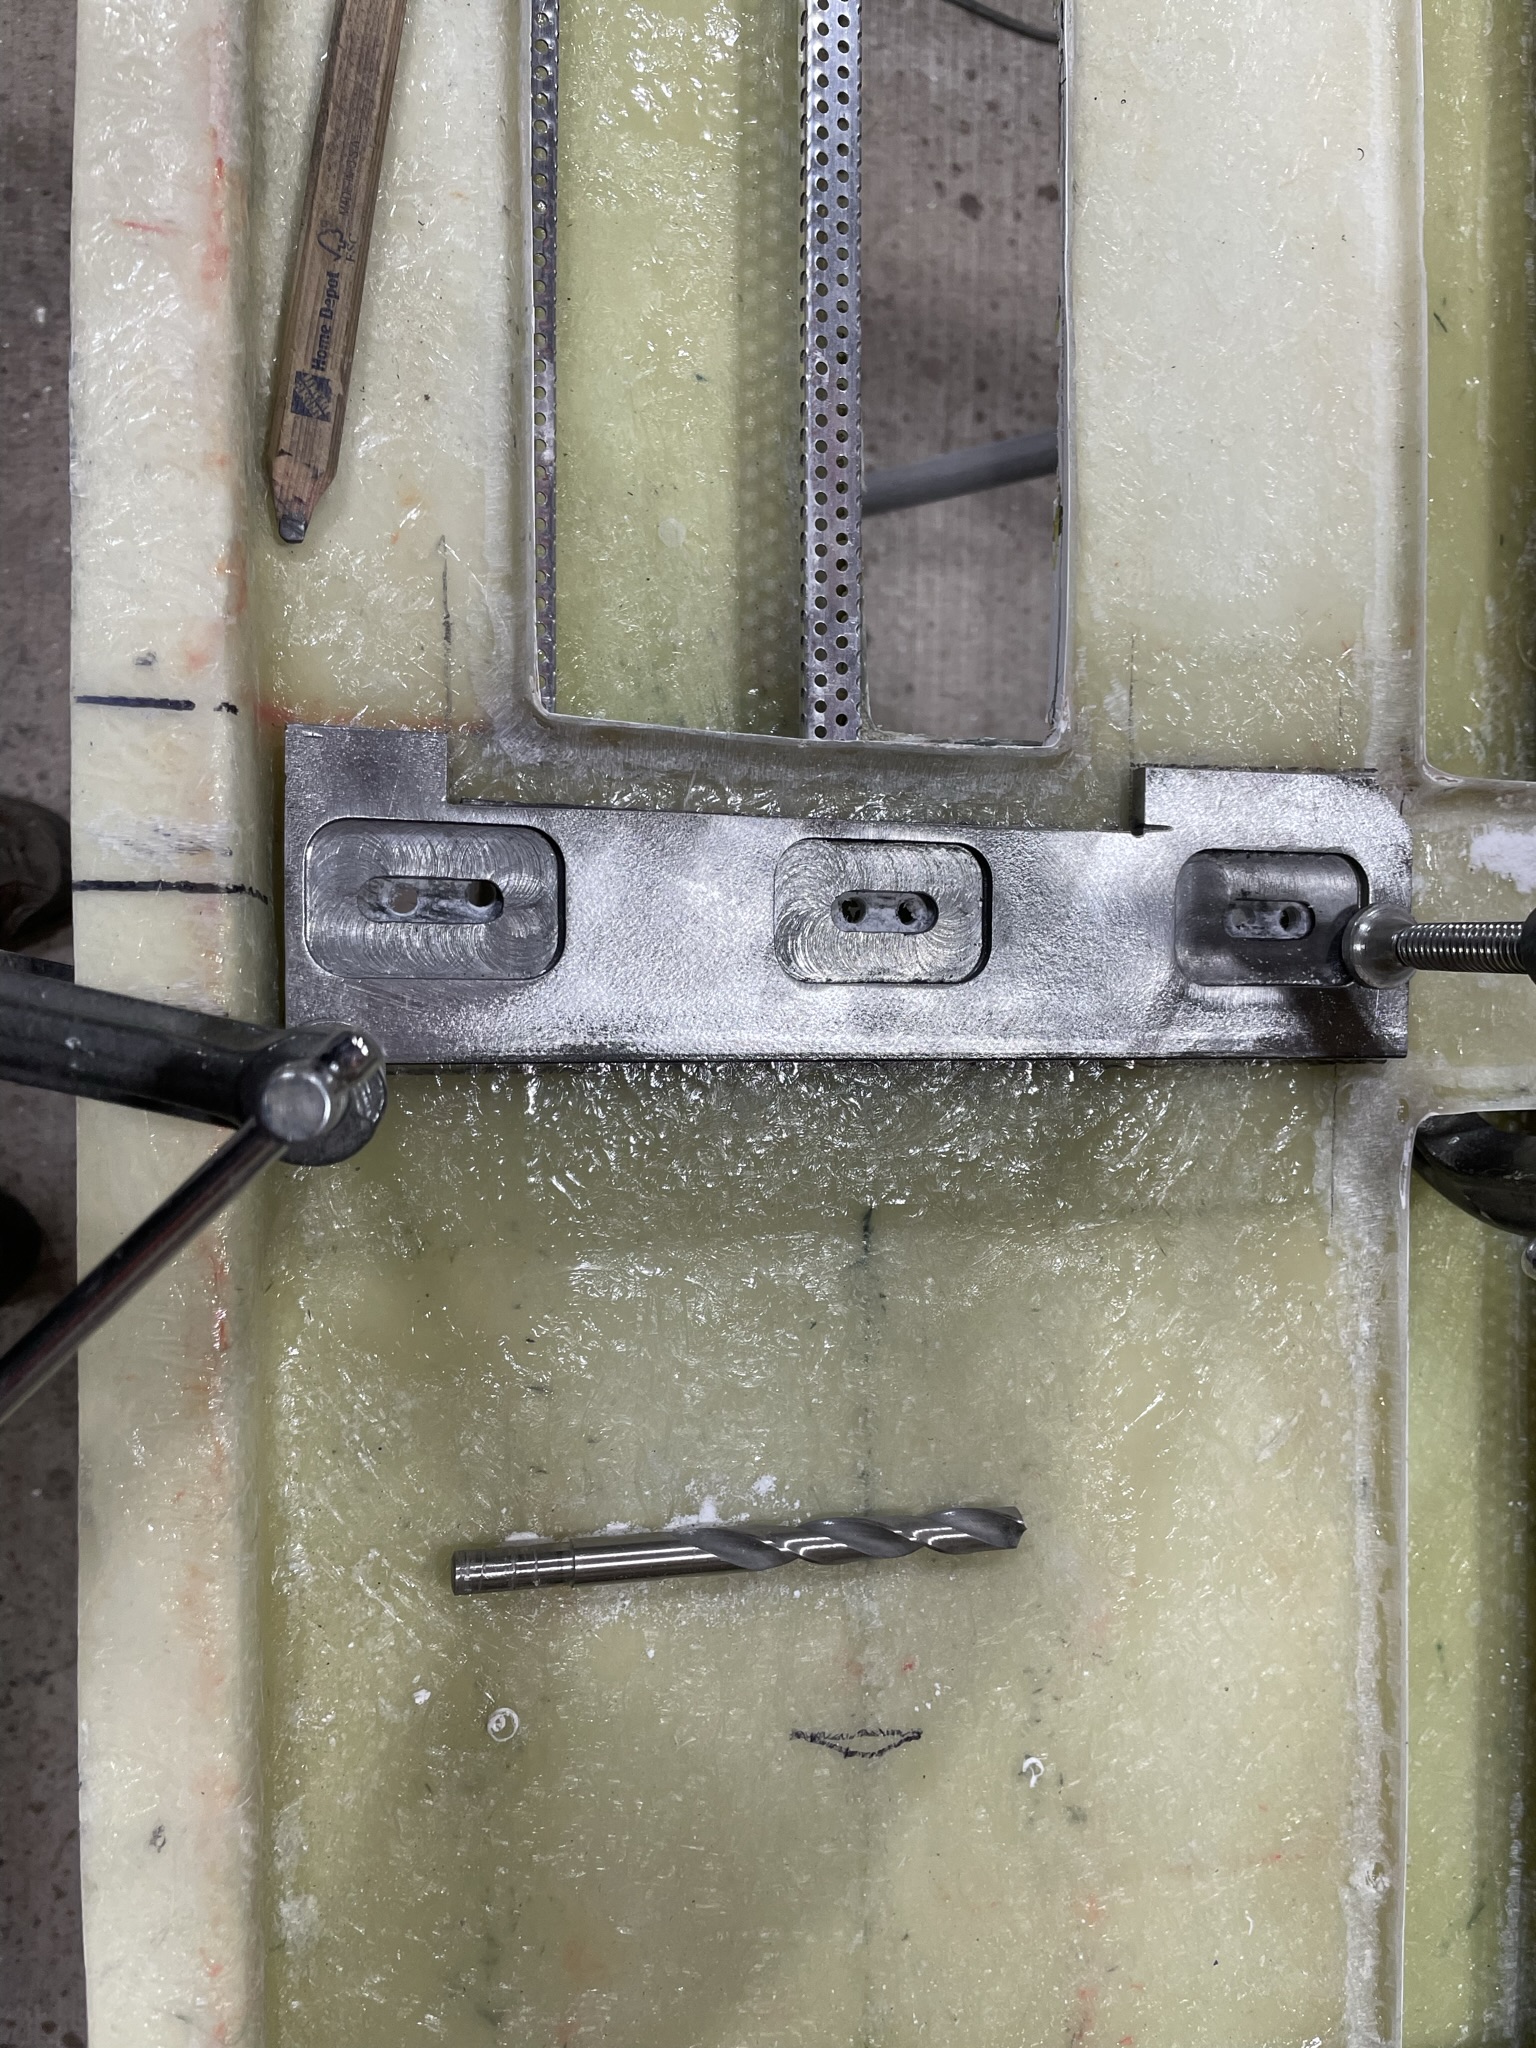
I decided I needed to figure out and finish the rear deck hood hinge mounts and test the operation in case I needed to do any mods.
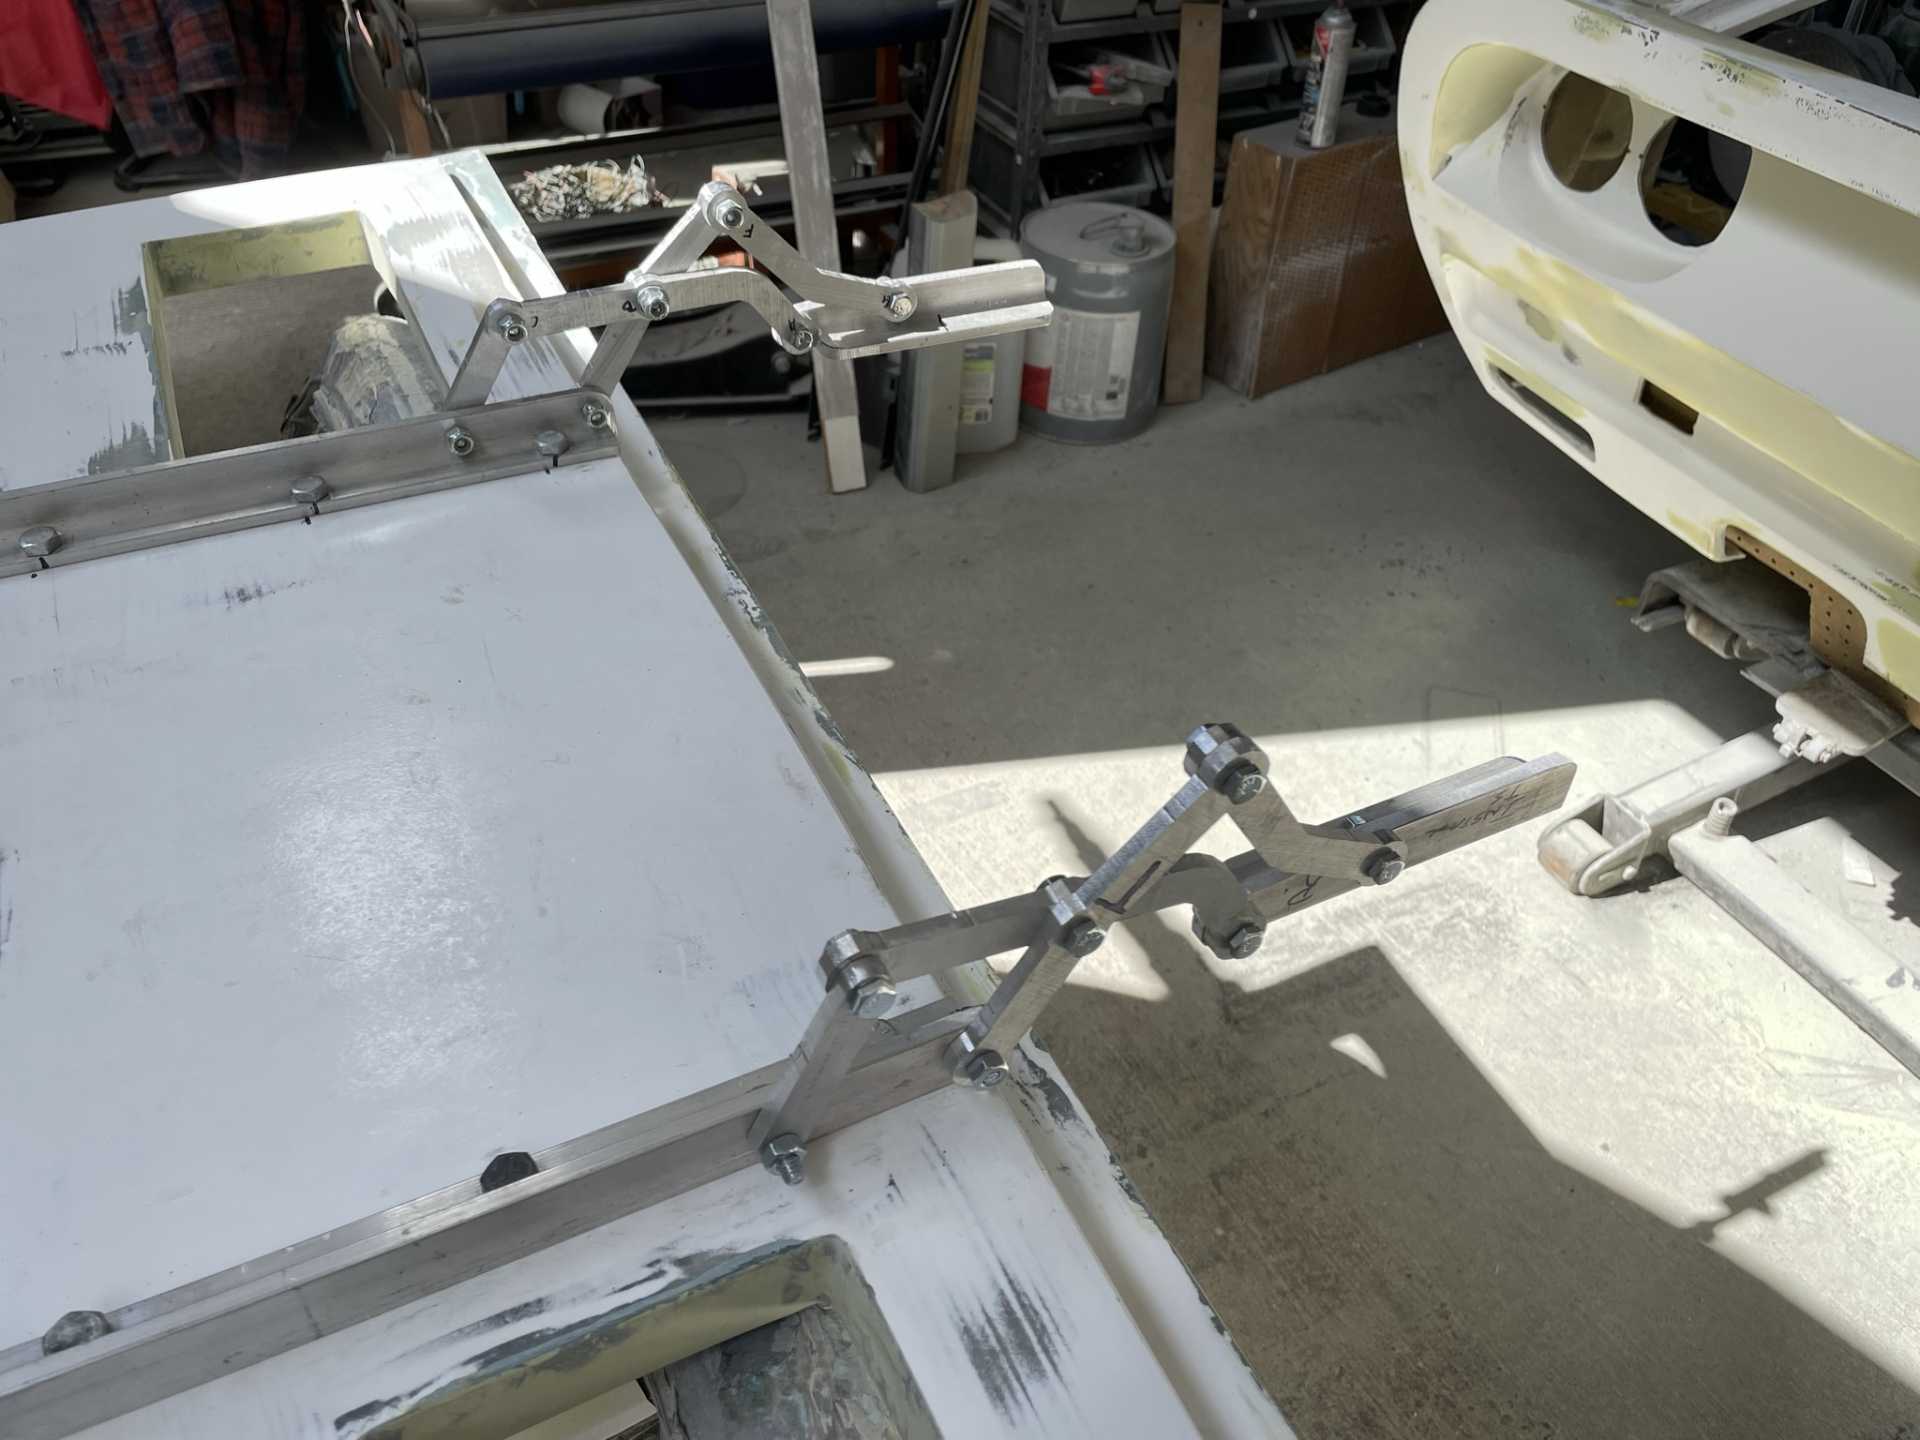
I mounted the hinges to the hood tested for full range of movement
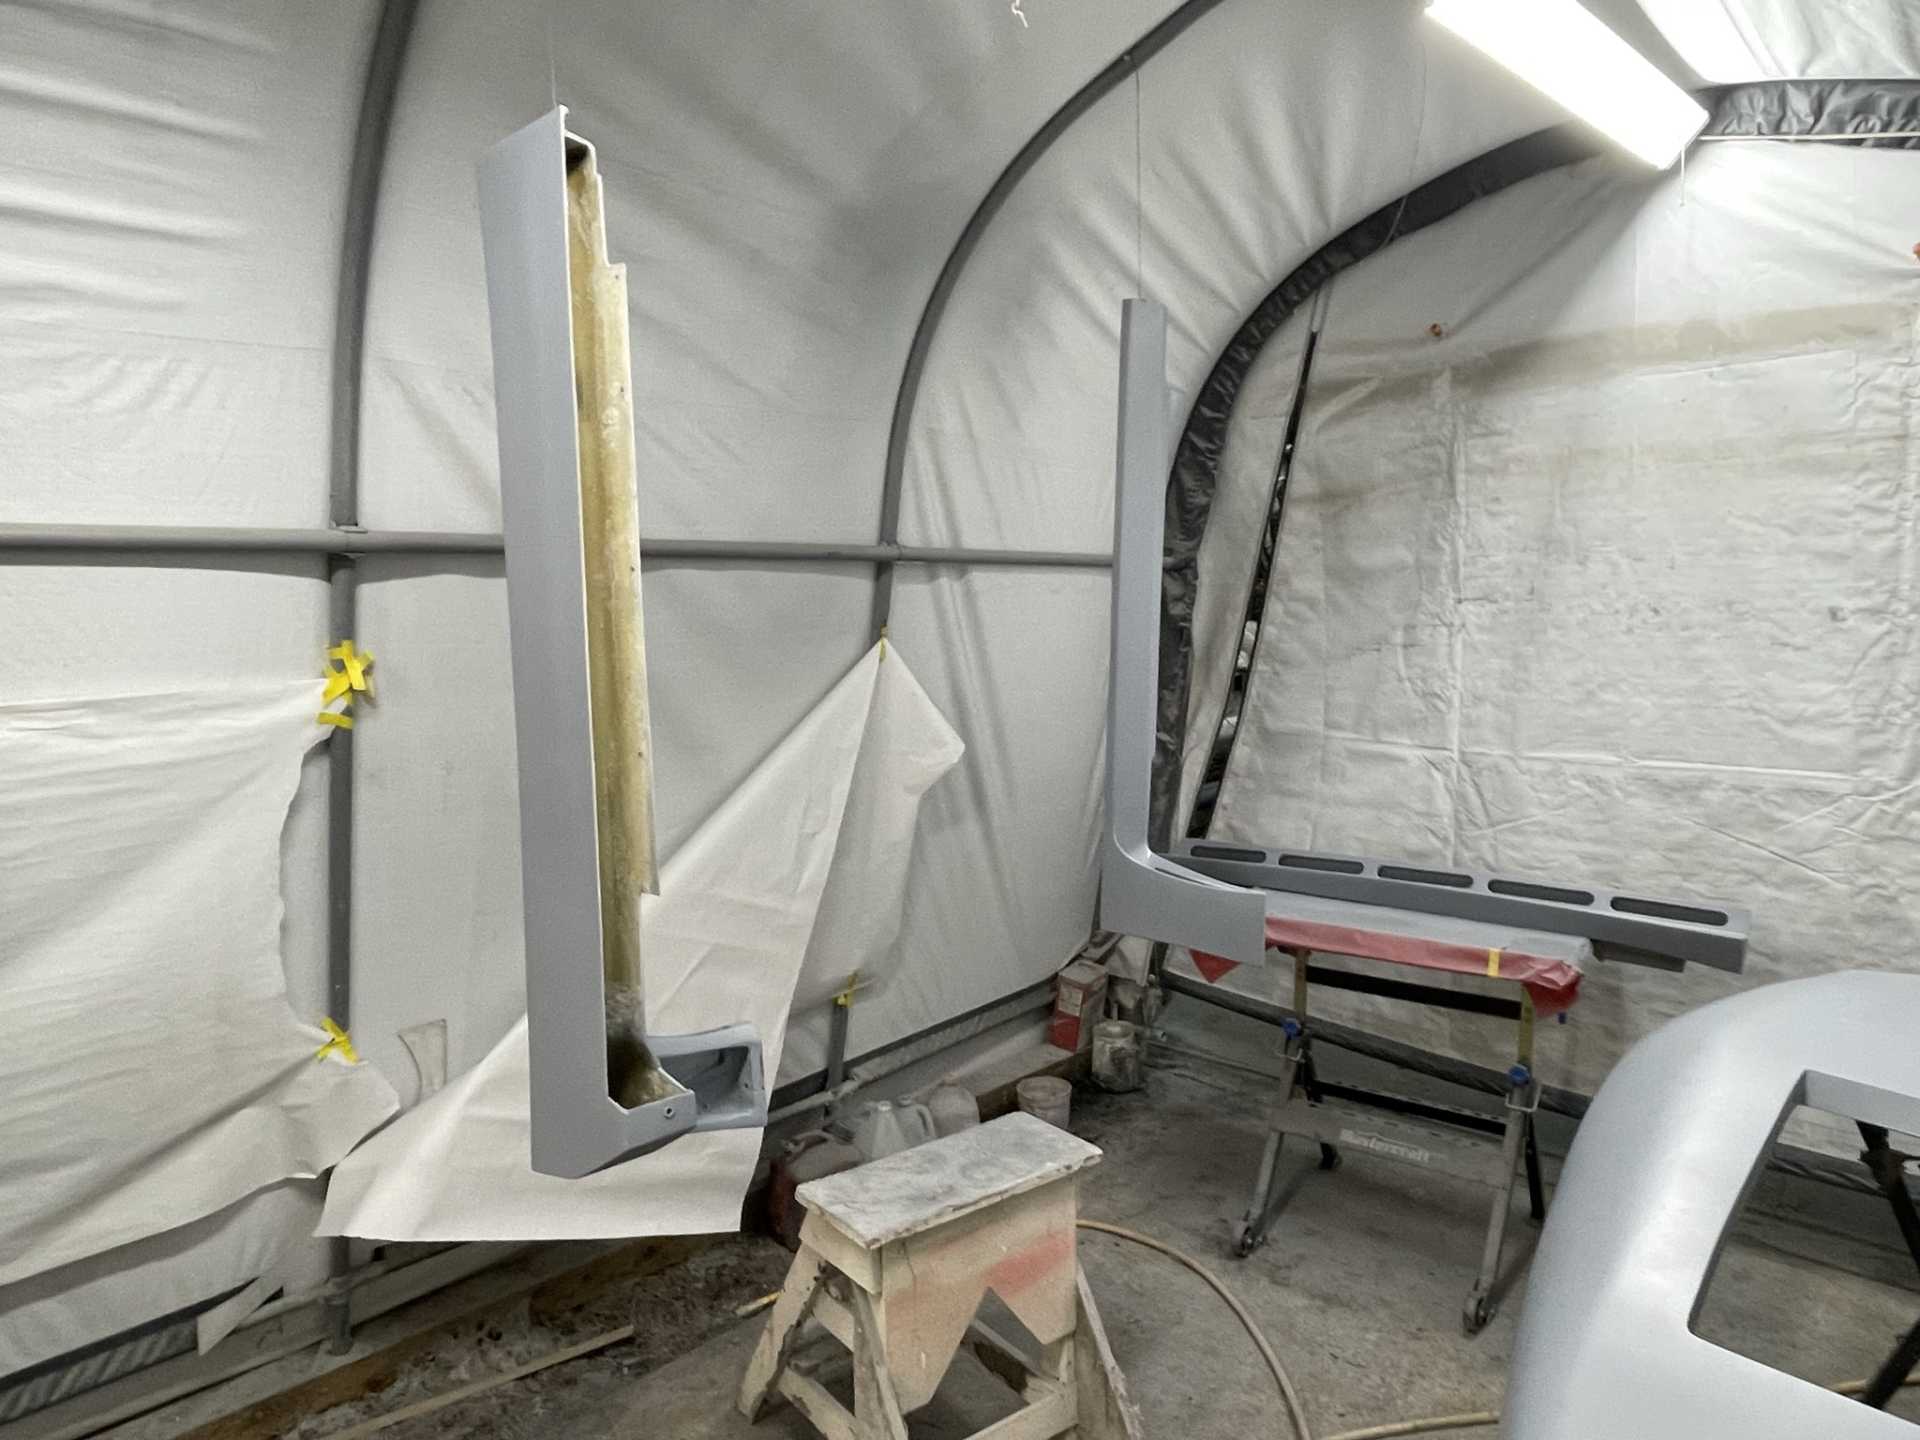
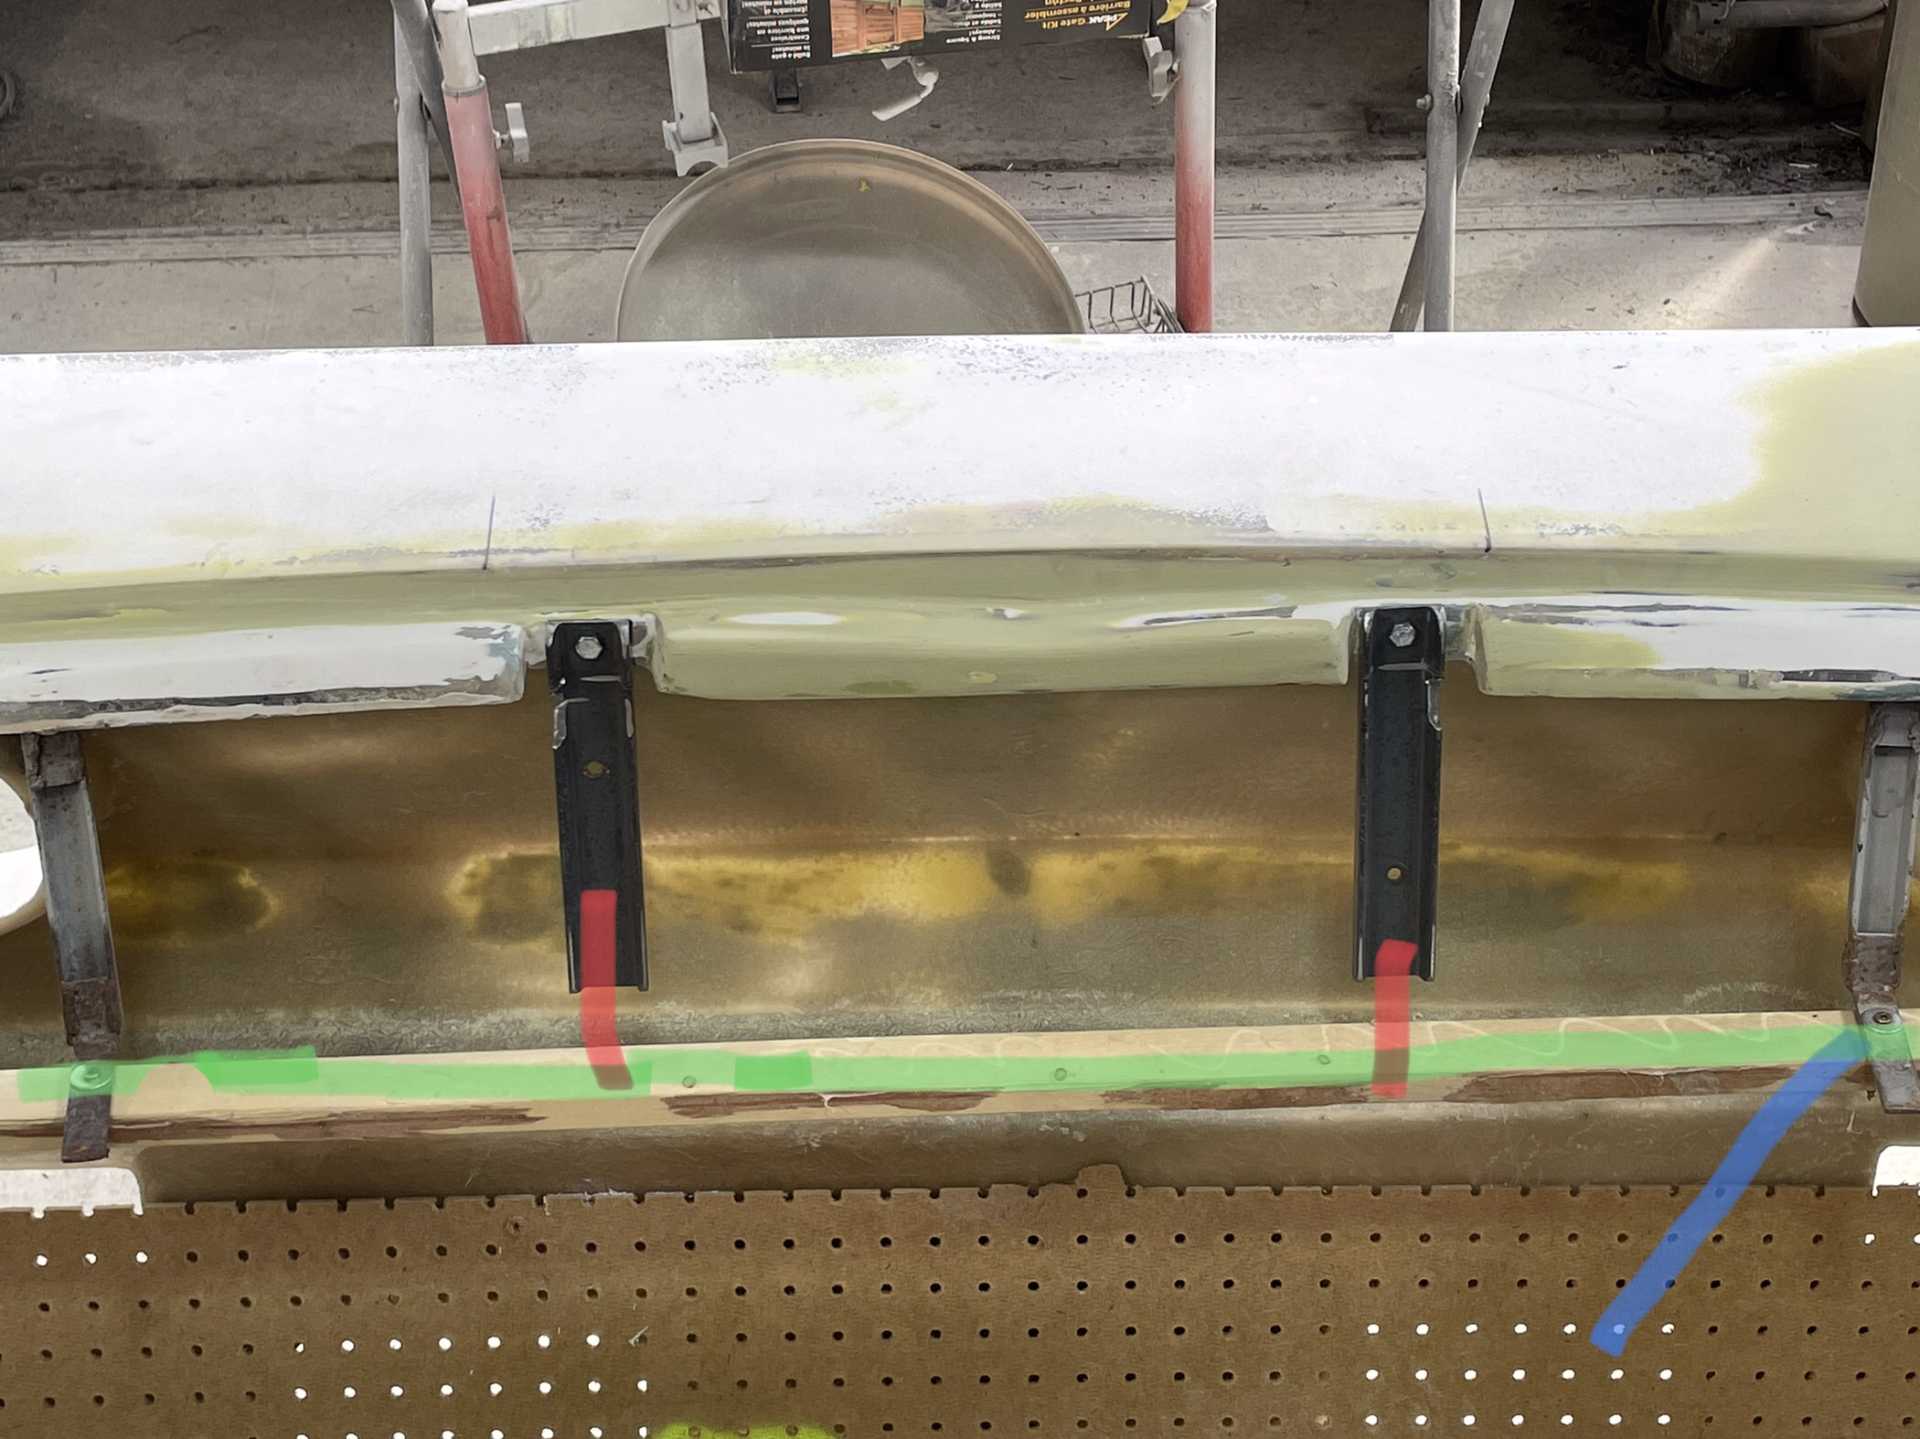
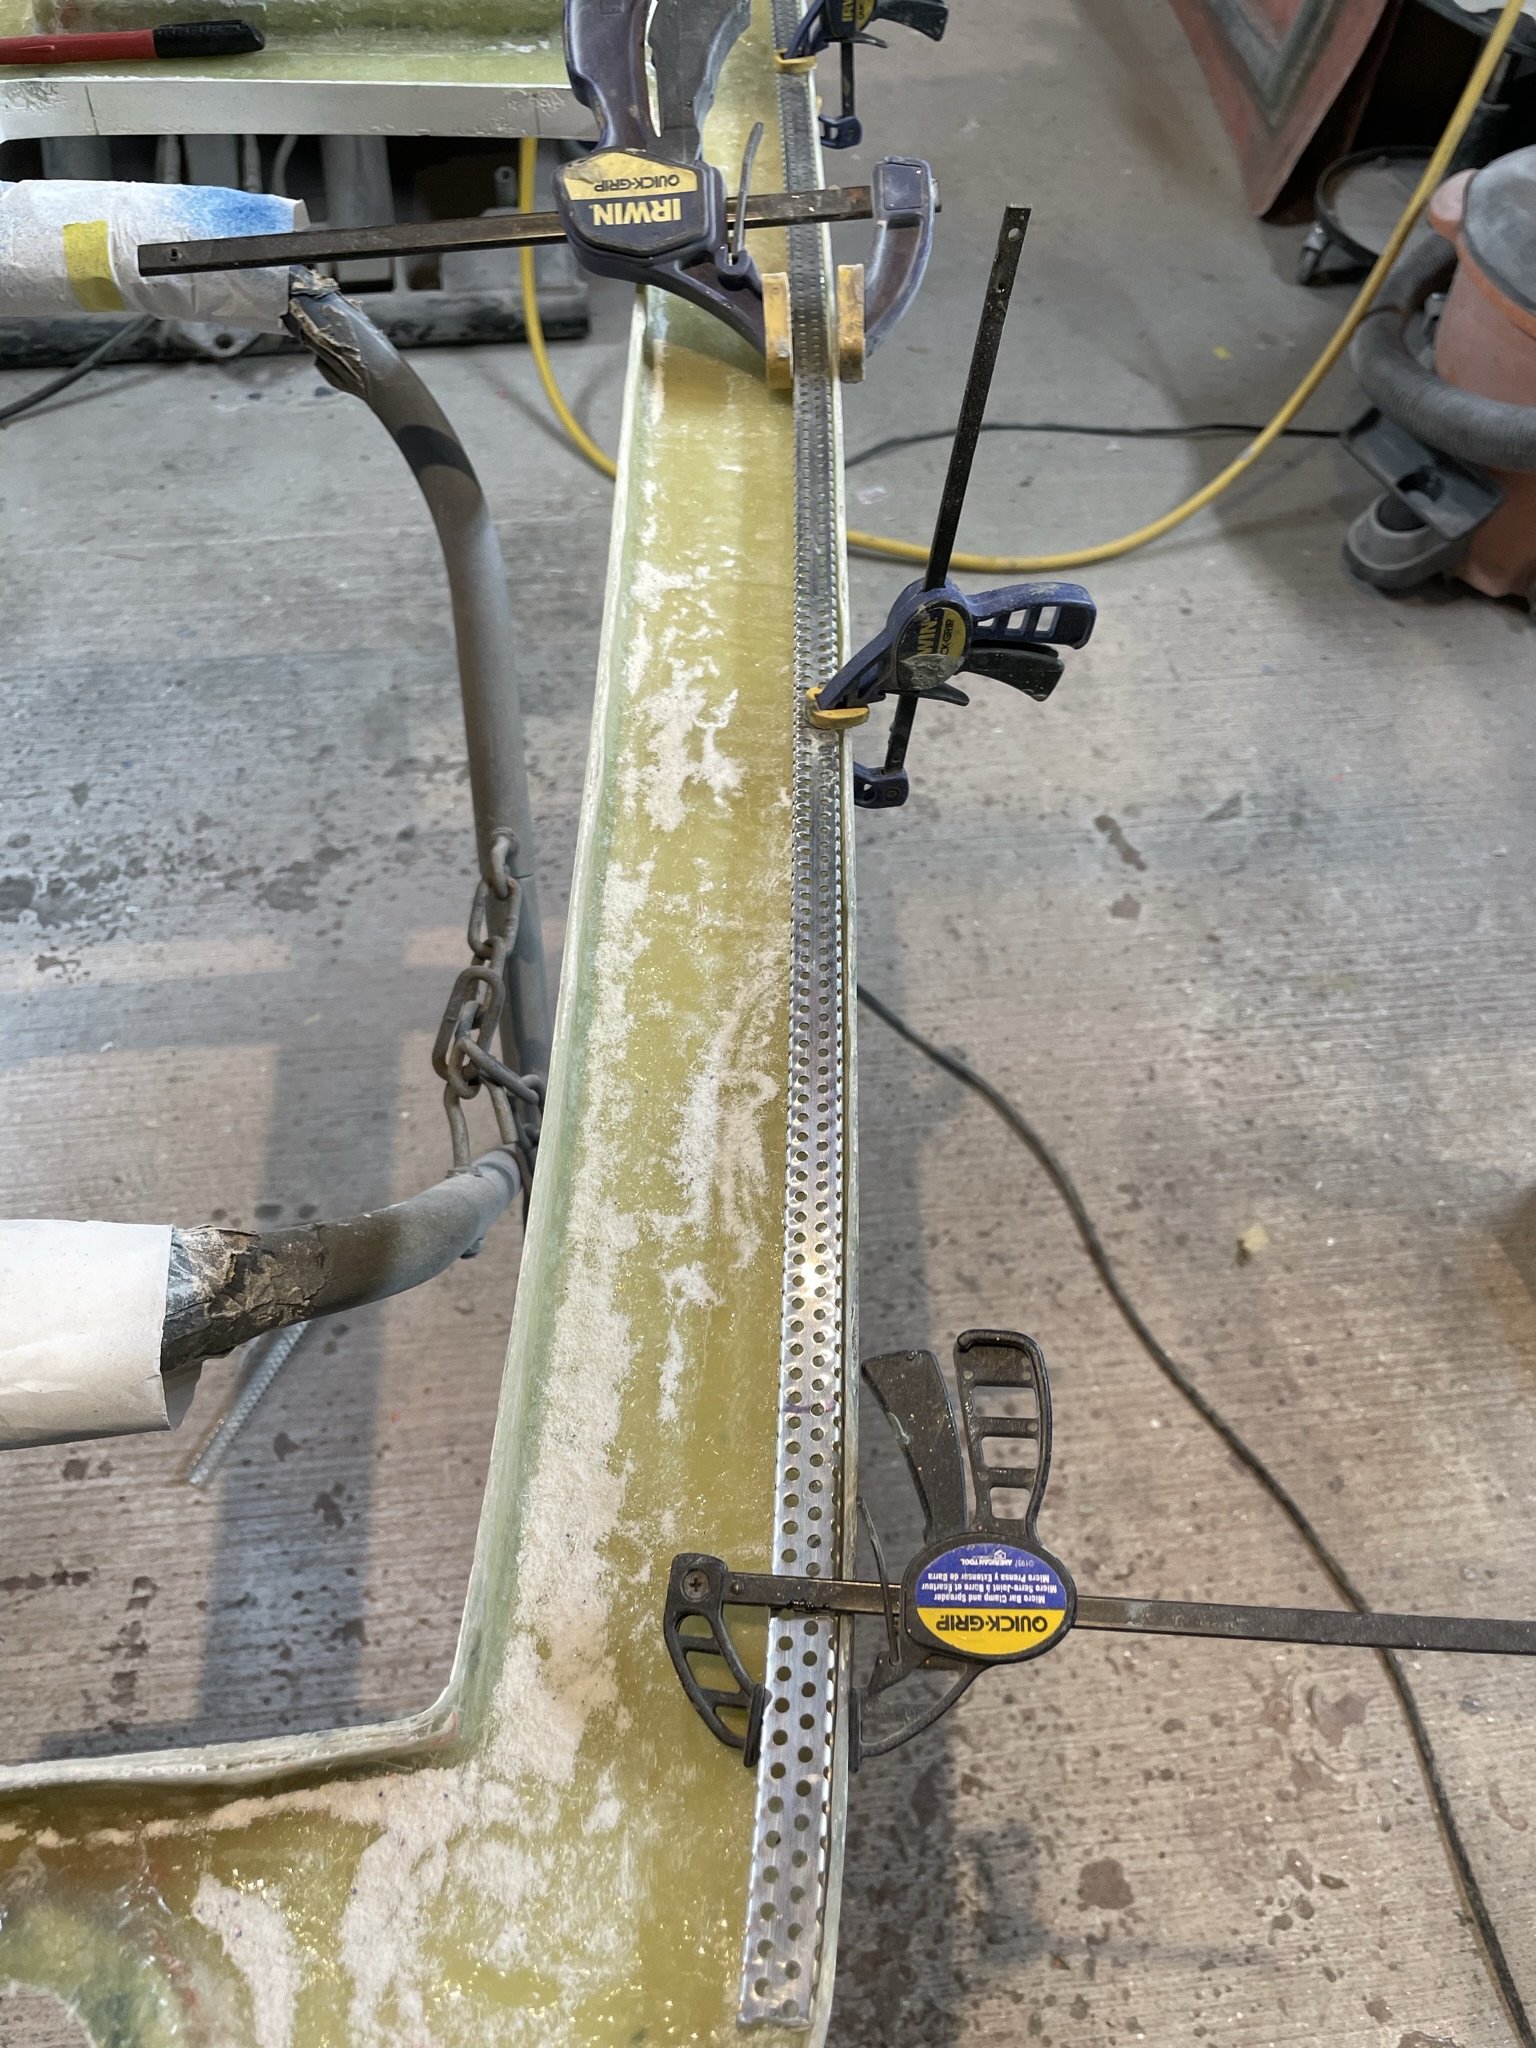
Next I needed To start And establish the mounting point for the brackets, which in this case is the wood highlighted in green. This is a steel plate that I mount the body supports too highlighted by the blue line. The two black bars attached to the body are then supported to the same steel plate as the body supports. Highlighted in red.
Once that was established I then proceeded to mount the hinges to the support discussed above.

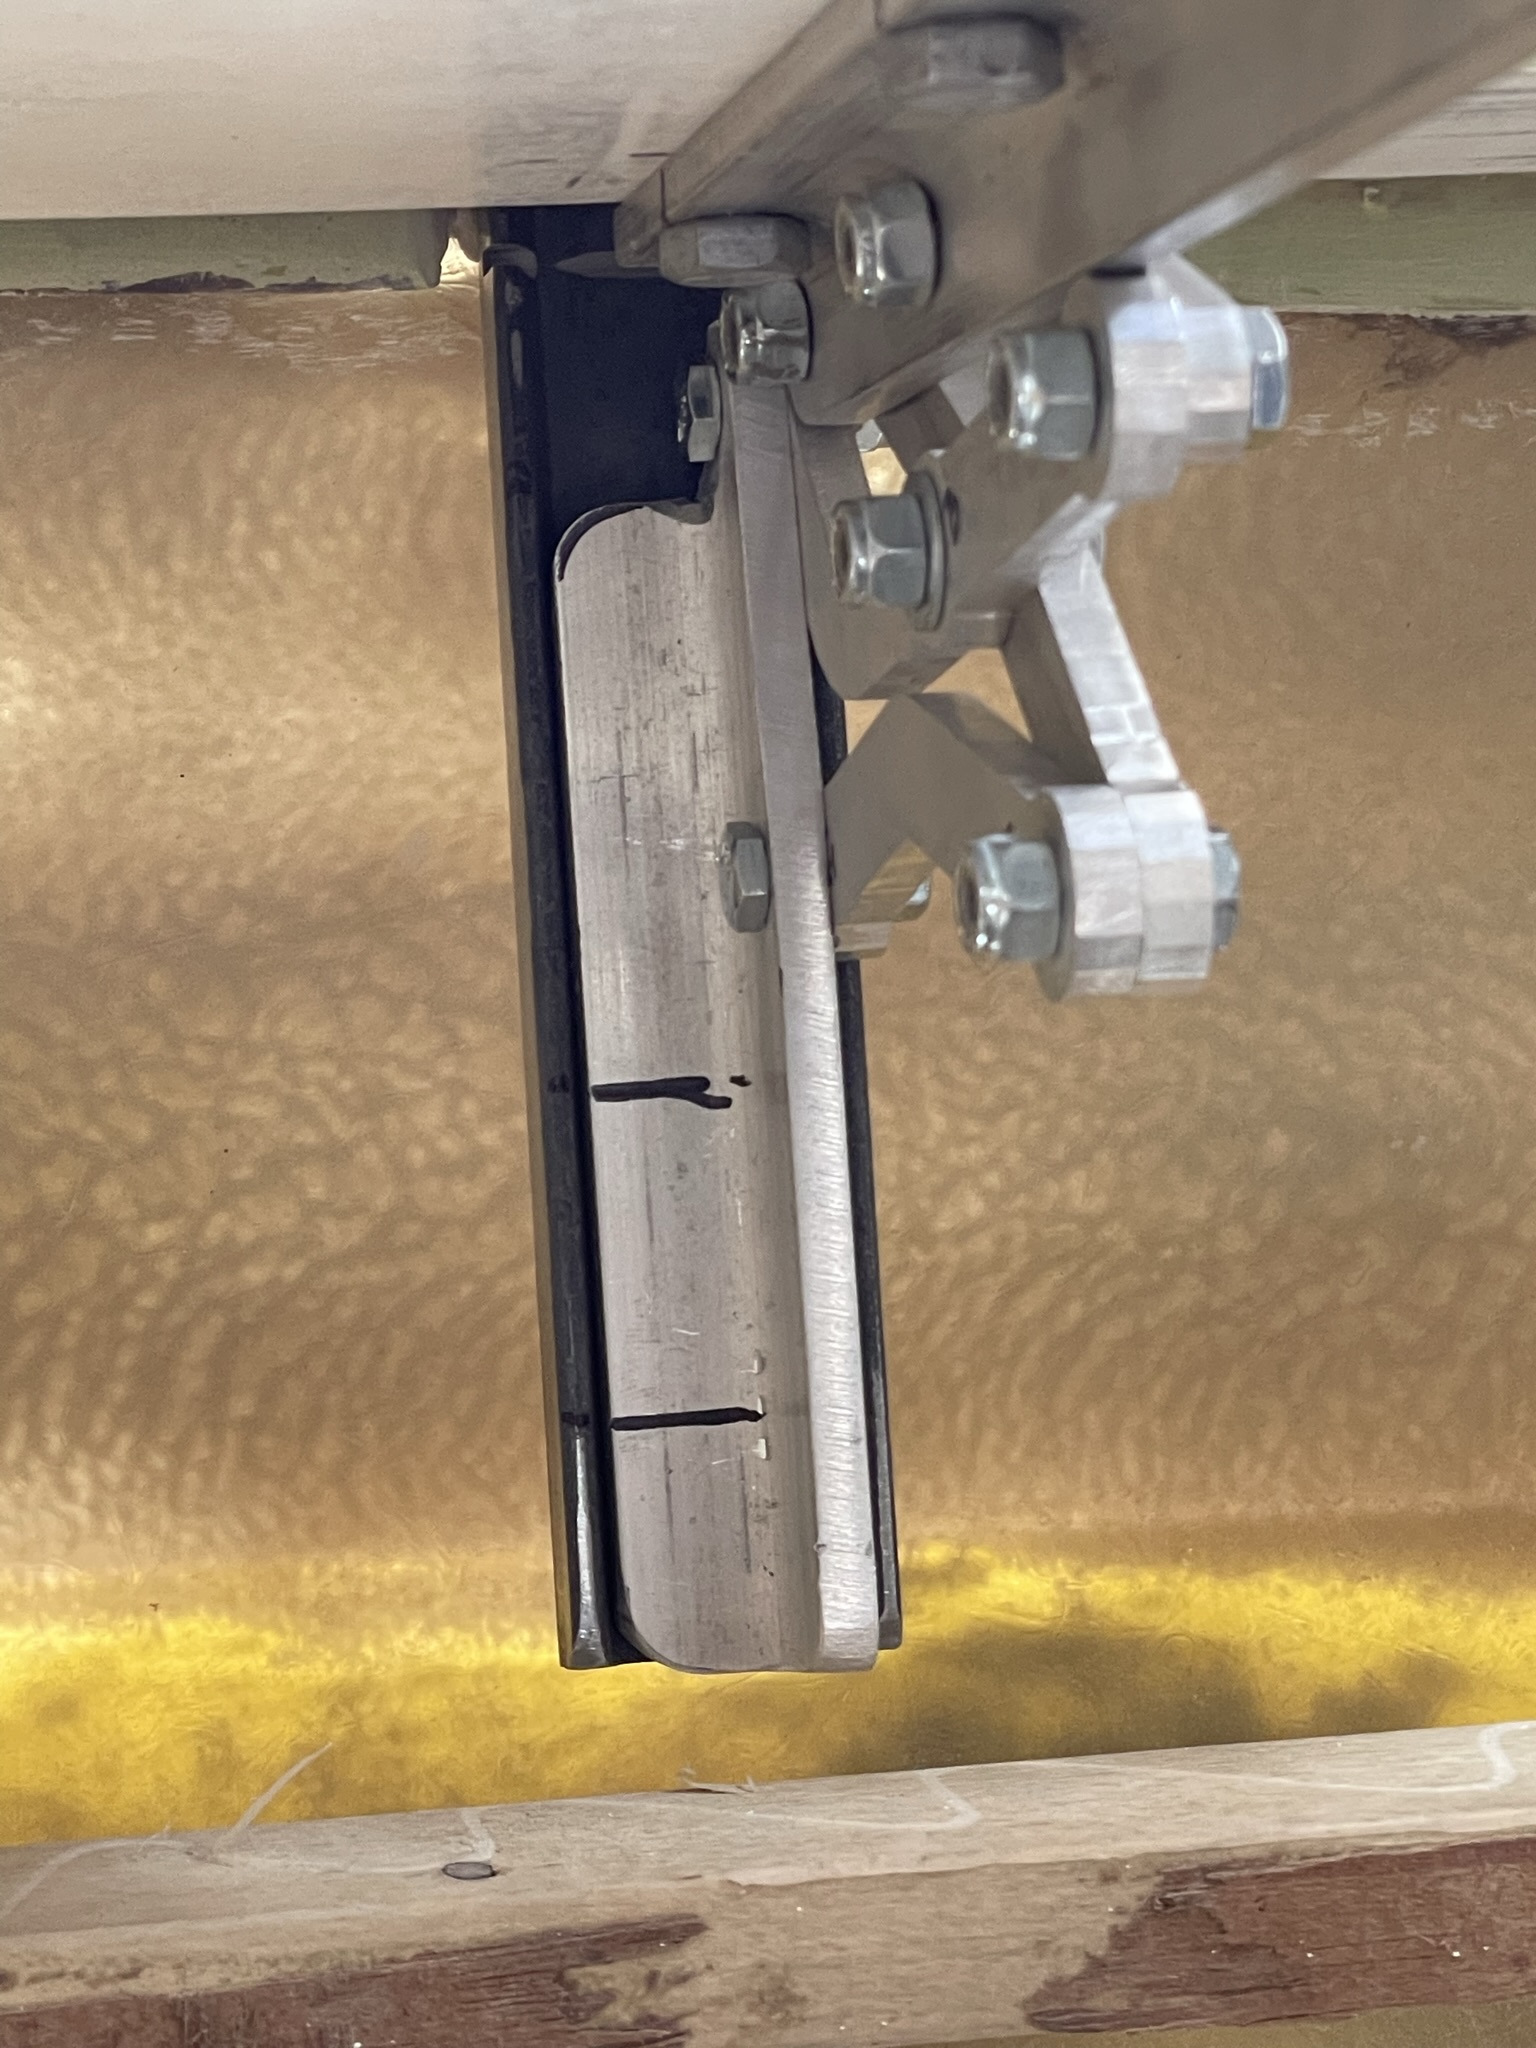
I drilled into the steel support and attached the aluminum hinges in place.
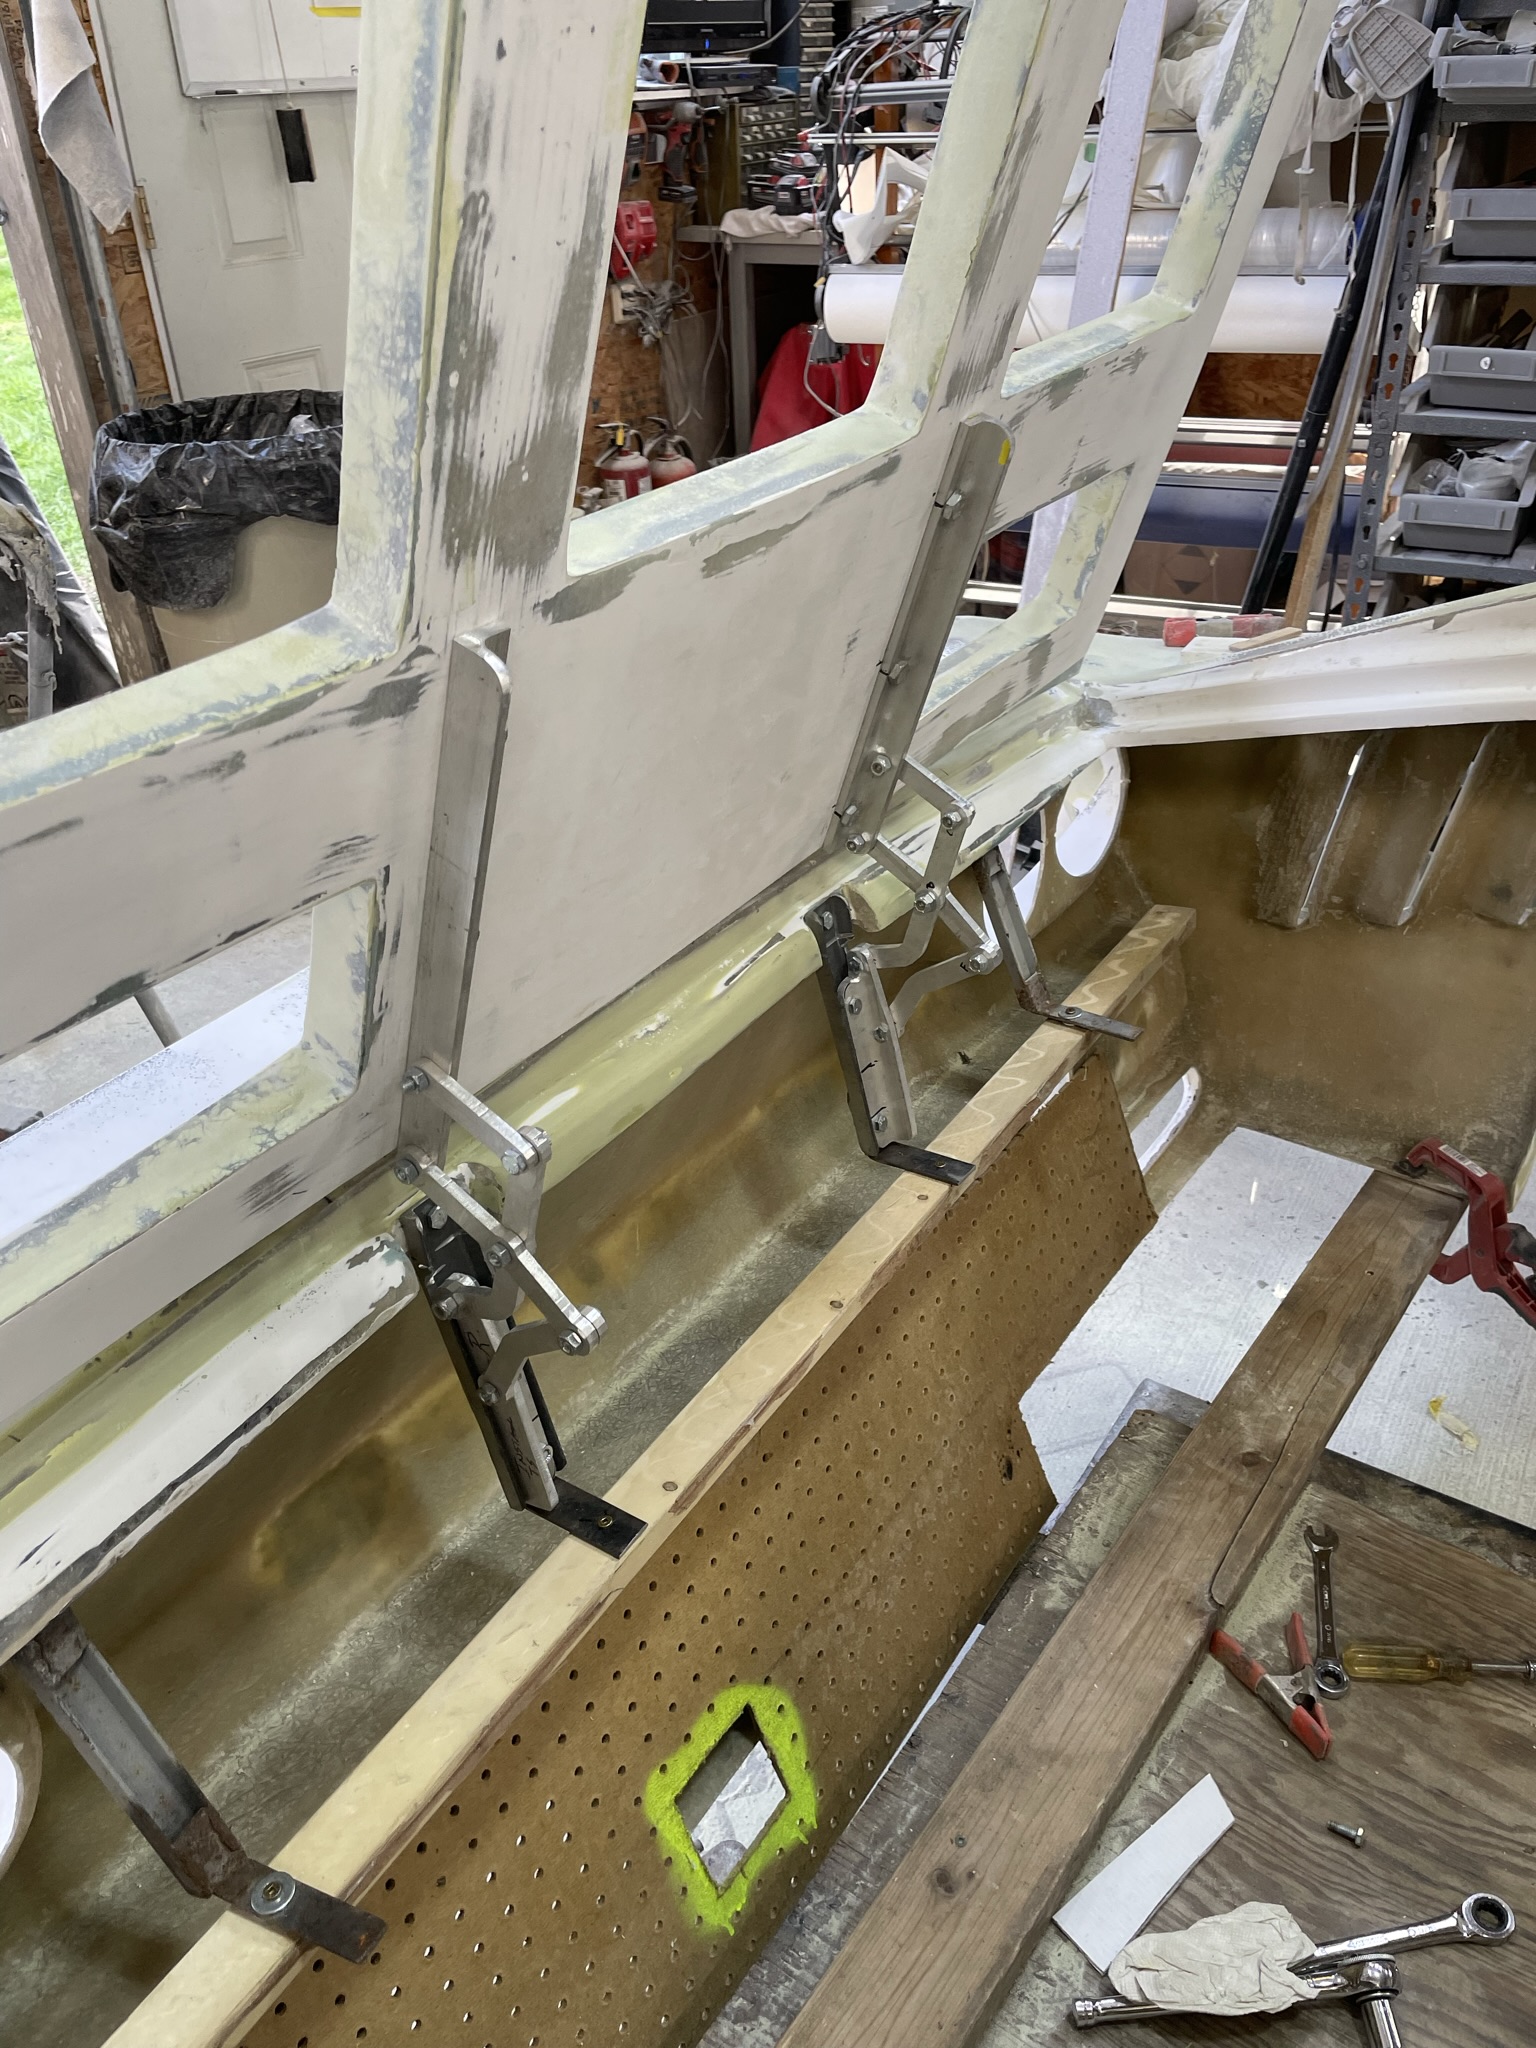
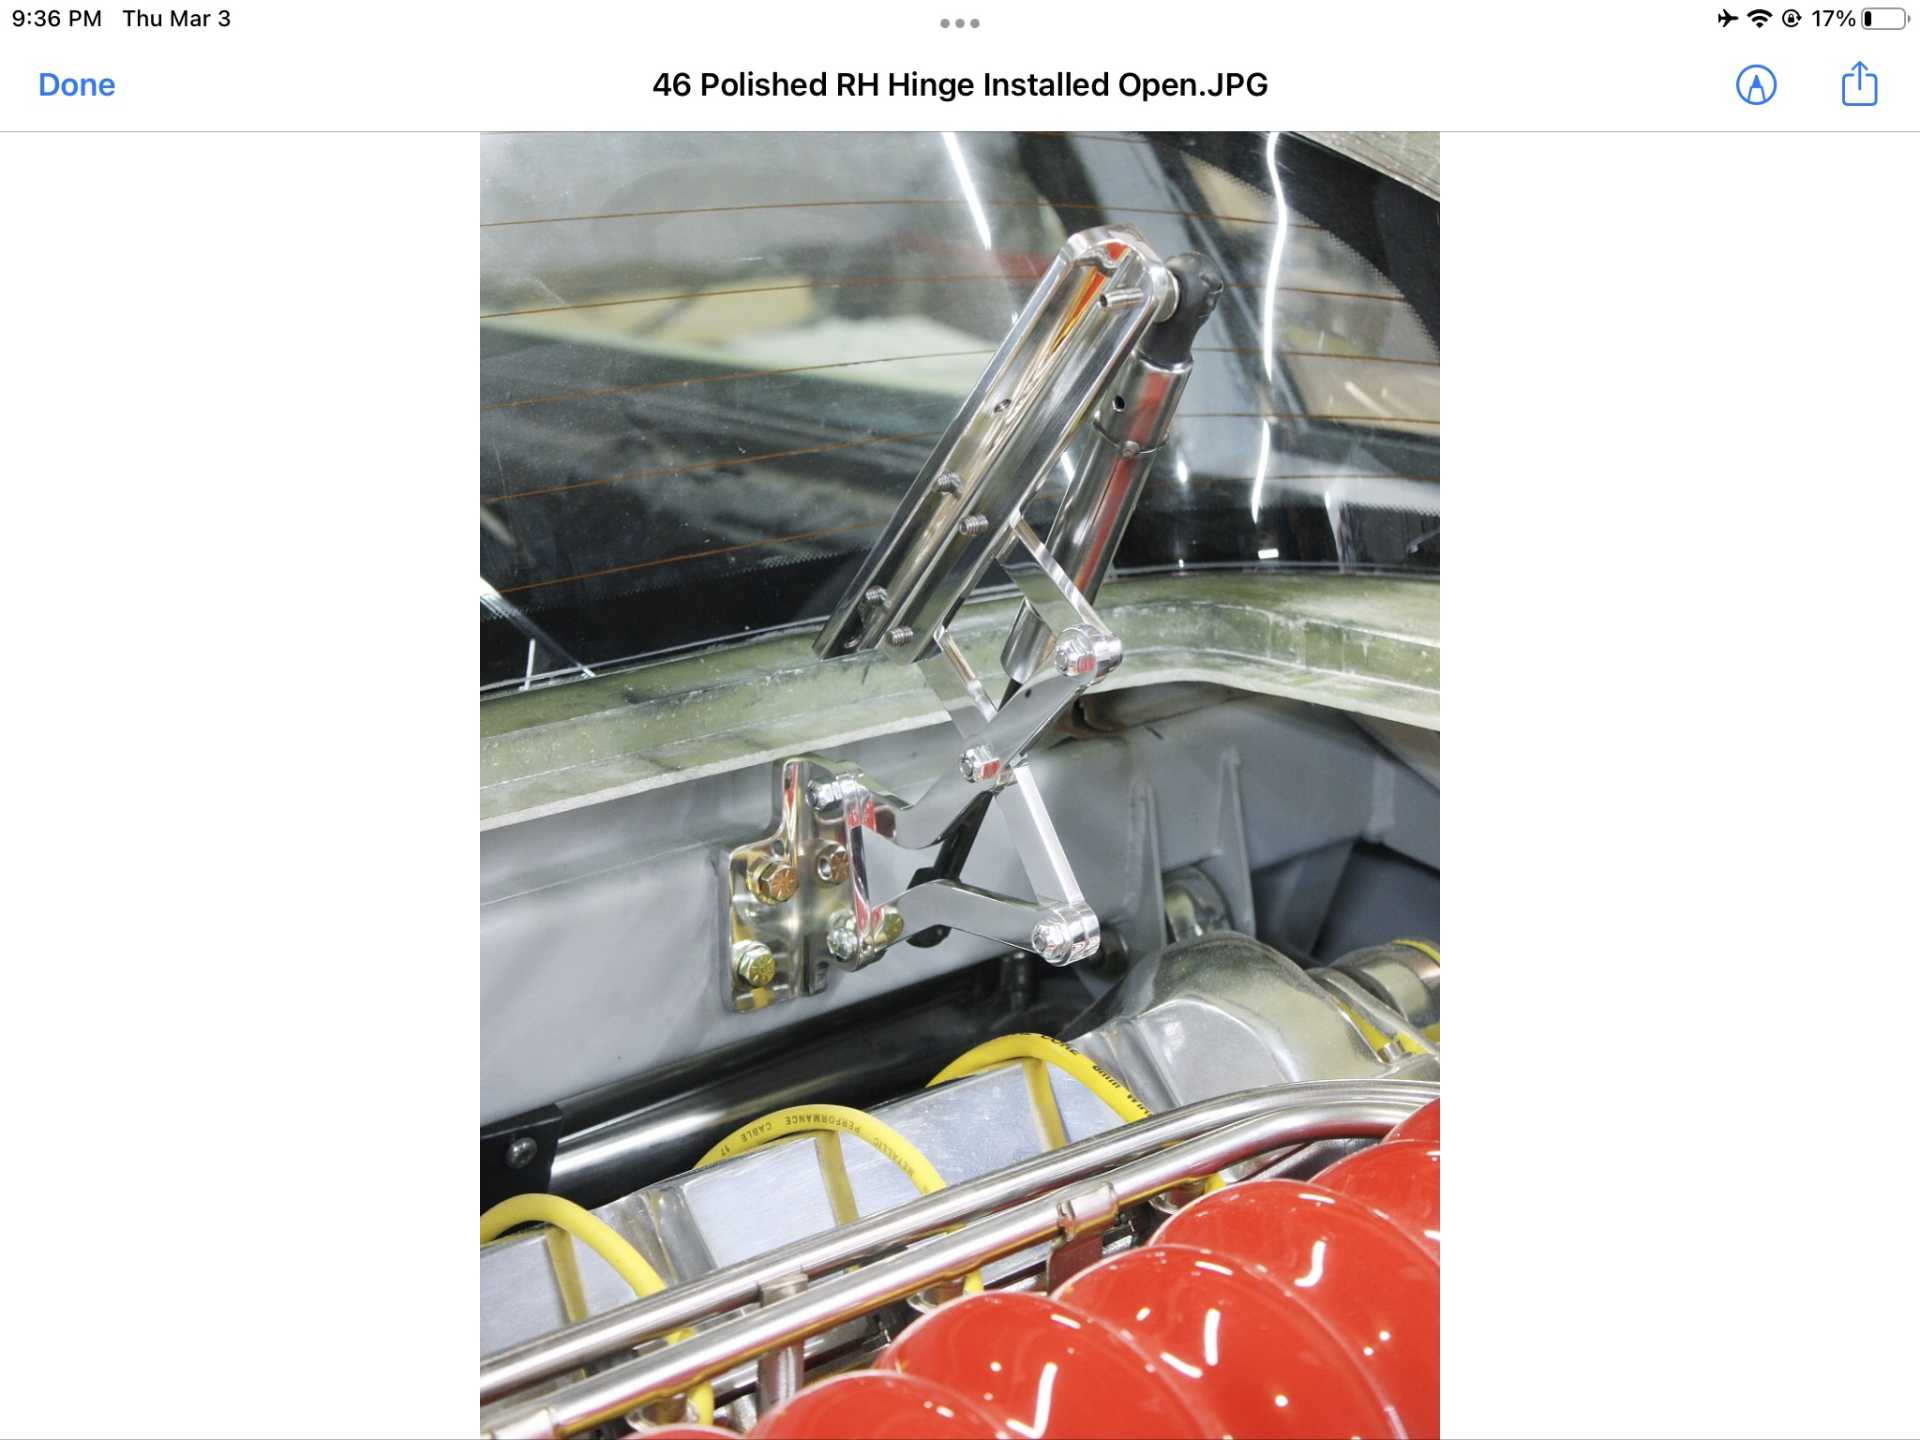
I still need to do some adjustments and mount a spring air arm to keep the hood up when opened. The real cars use
A manual arm to keep it open this is my upgrade.
Stay safe everyone
Wayne
|
|
|


 [IMG]https://images.fiero.nl/userimages/dobie1/100DA58A-FC1F-4D83-9D 5C-14321D84E9BA.jpeg[/IMG]