|
| Enterra "Dark Shadow" Restore Thread (Page 50/65) |

|
troyboy
|
FEB 21, 02:13 PM
|
|
|

|
85SEnochie
|
FEB 21, 02:18 PM
|
|
|
|
|
TXOPIE
|
FEB 21, 02:50 PM
|
|
My vote is for the middle one!
Want to see how the front is going to look as well 
|
|
|
|
troyboy
|
FEB 21, 02:58 PM
|
|
|
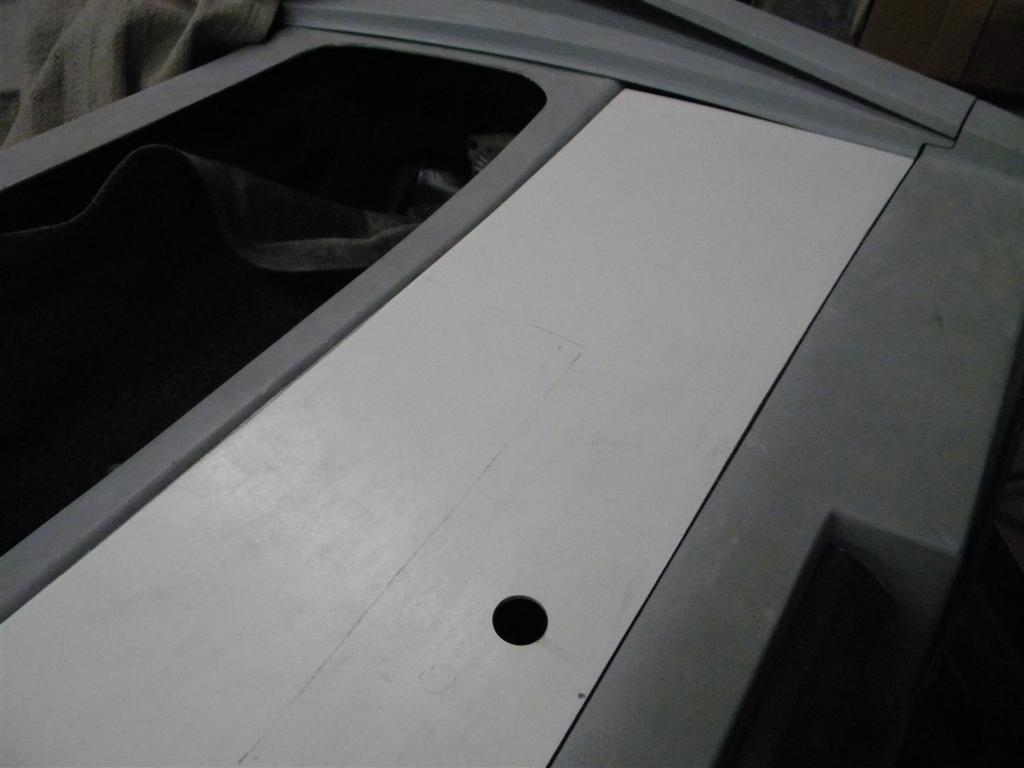
to play it safe we are going to paint it all white except the vent that matches up to the t-tops. We can always add the black later
|
|
|
|
Amida
|
FEB 21, 03:53 PM
|
|
White bumpers black border, but black may be easier to repair chips/cracks.
|
|
|
|
troyboy
|
FEB 21, 04:50 PM
|
|
|
If Lisa keeps the bumpers white I will have the clear 3m protective film put on them. I also like the Black around the tail lights but the boss is up in the air about it until she sees the car . Even if she says black I'll have it wrapped in black vinyl first to make sure .
|
|
|
|
TXOPIE
|
FEB 21, 05:47 PM
|
|
|
|
|
85LAMB
|
FEB 22, 12:25 PM
|
|
the car is coming out great !!!!
I love the engine 
|
|
|
|
Archie
|
FEB 26, 11:50 AM
|
|
|
|
|
Archie
|
FEB 26, 01:35 PM
|
|
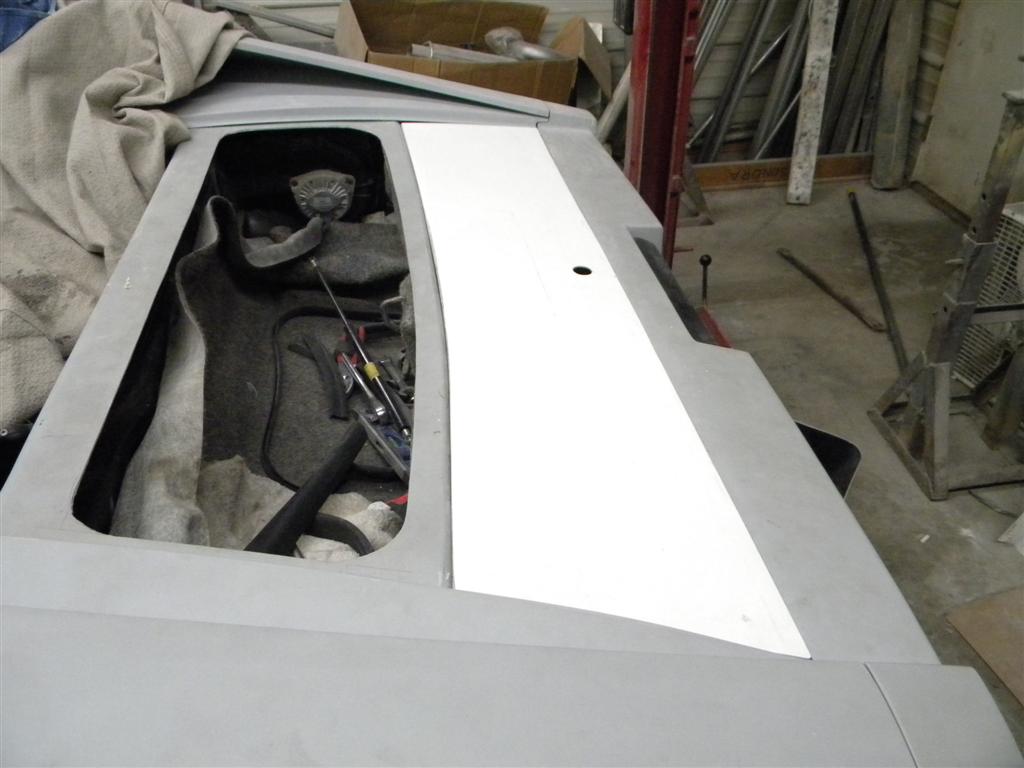
Right after Troy left here from his last trip, it was decided that we were going to do the final paint on the body. We are not a paint shop & have never painted a Pearl paint job. The only Pearl we've done is Lisa's engine & front compartments. I have to admit that they did come out pretty good.
Originally Troy & Lisa had planned to have the car painted when they got it home. But, they'd have to make an appointment with a paint shop near them. Then, after waiting for the appointed date, they'd have to wait a month or more to get it back from paint. We would have also had to put together some instructions for the paint shop on how to take the car apart & put it back together & Troy would have to pay their labor rate for that too.
So, for a good customer & friend, we agreed to do the best we could here. While it might not be 100% perfect when we get done, we think we can get it to 95%.
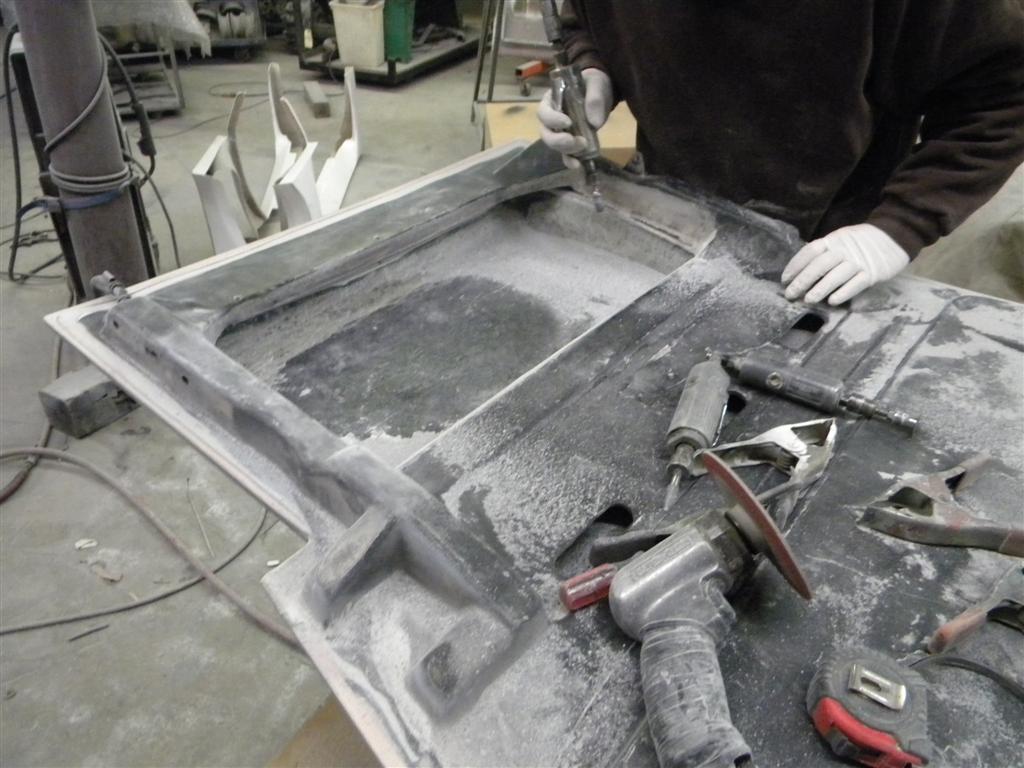
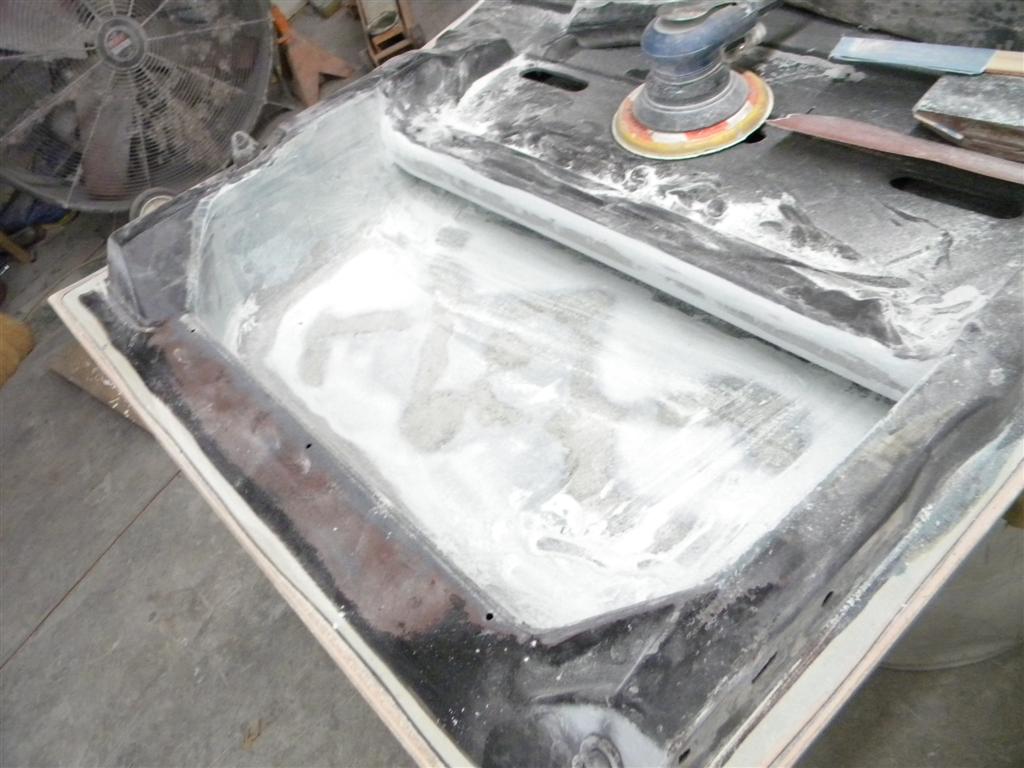
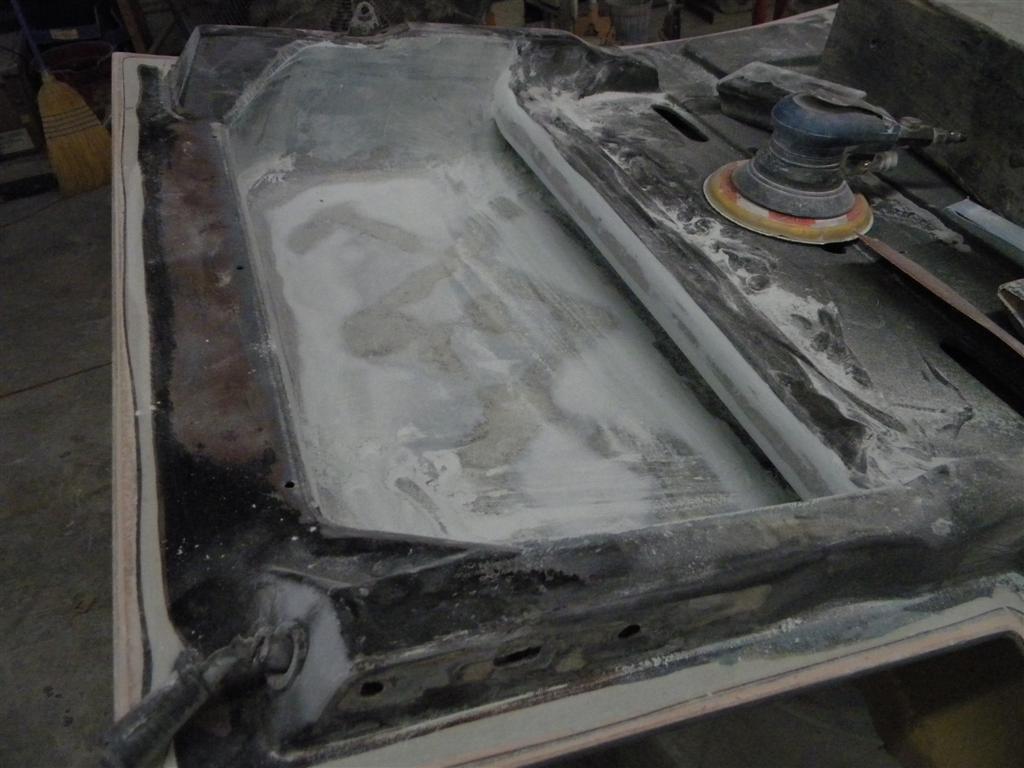
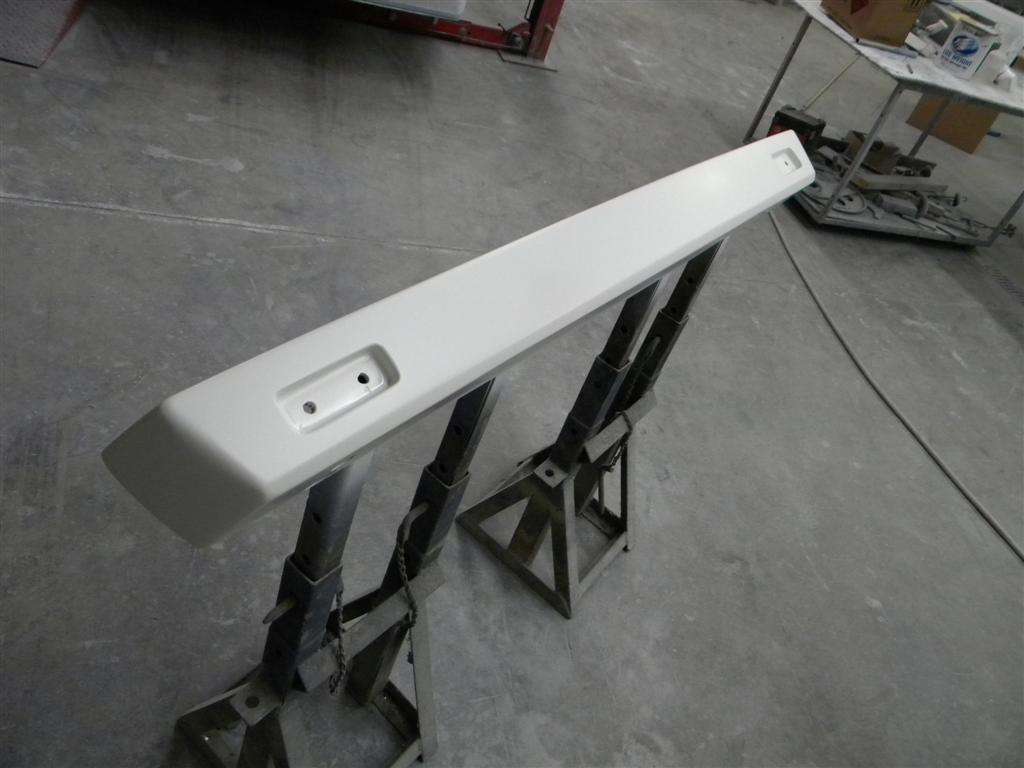
So, prep begins for that part of the project.
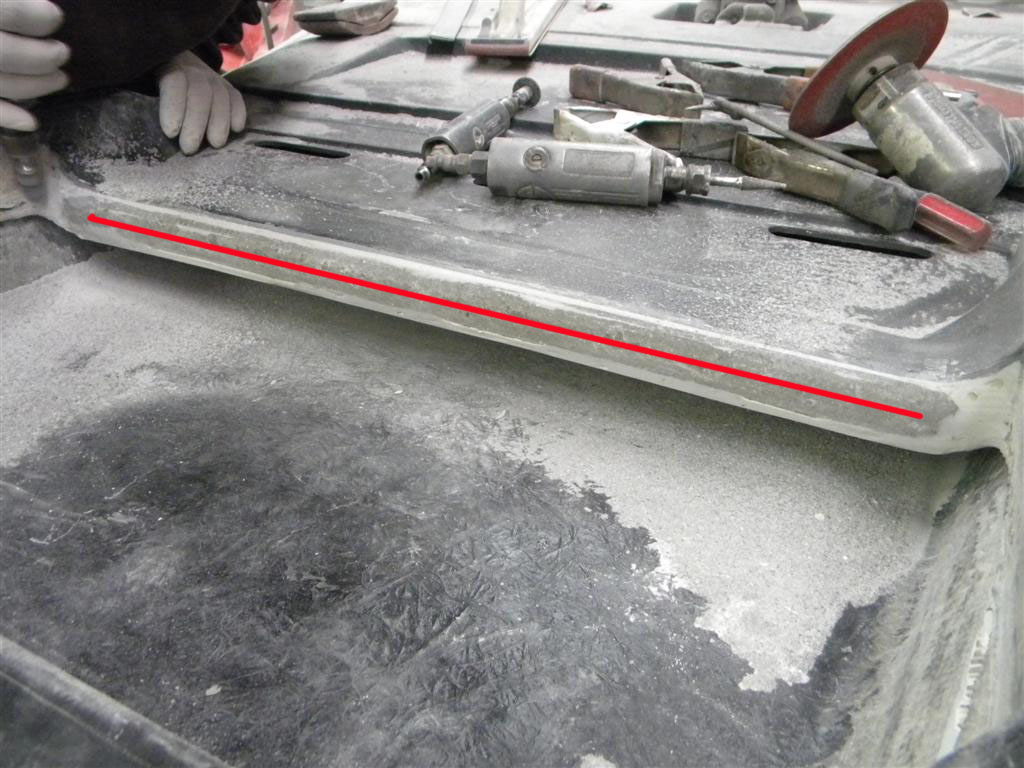
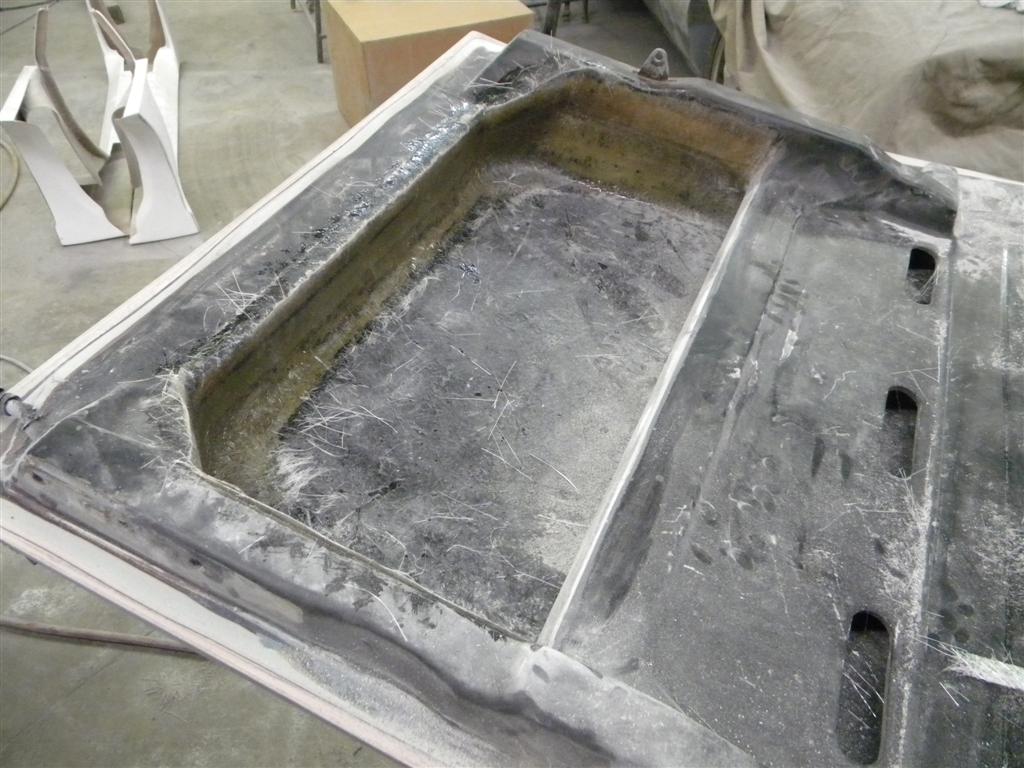
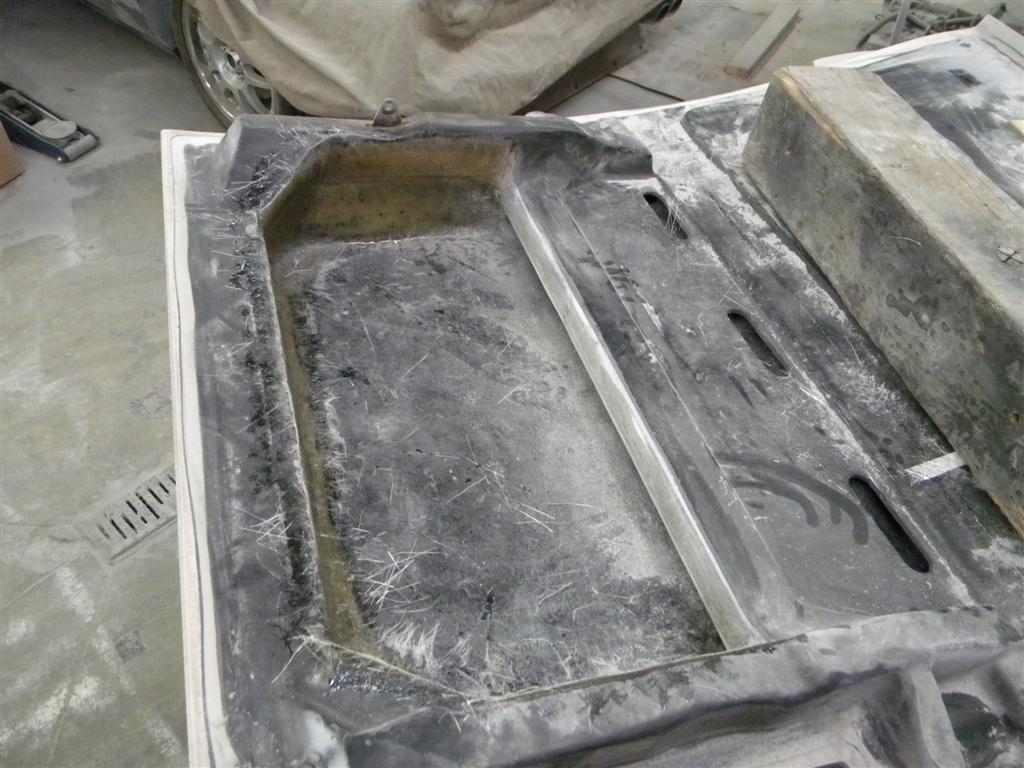
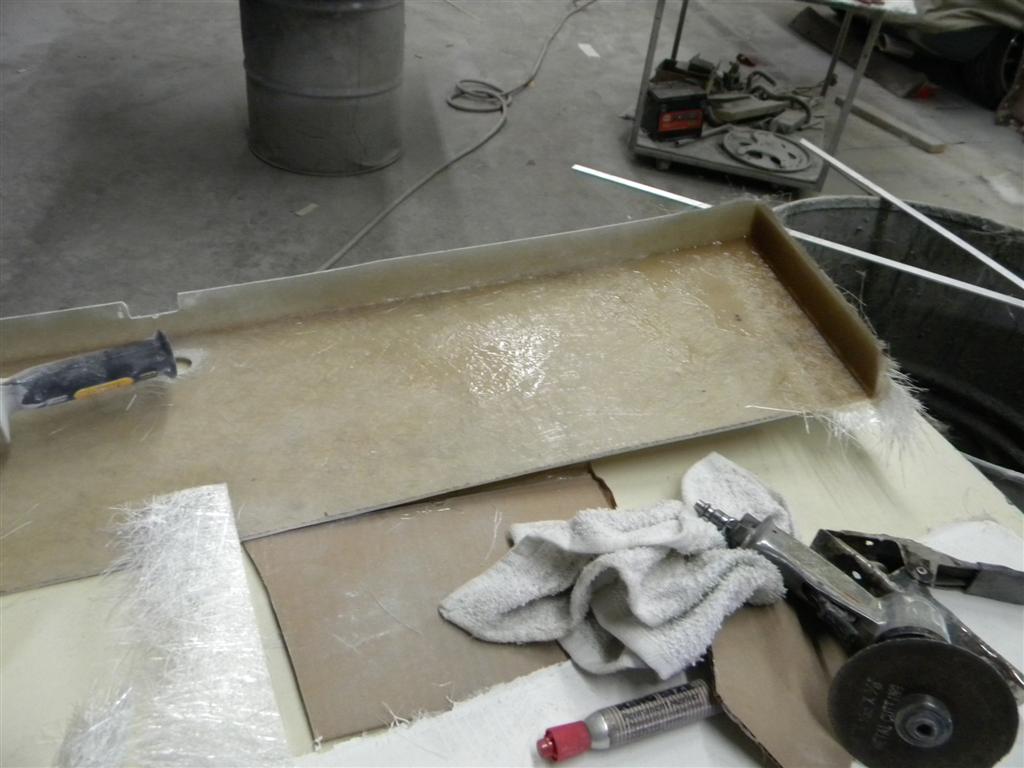
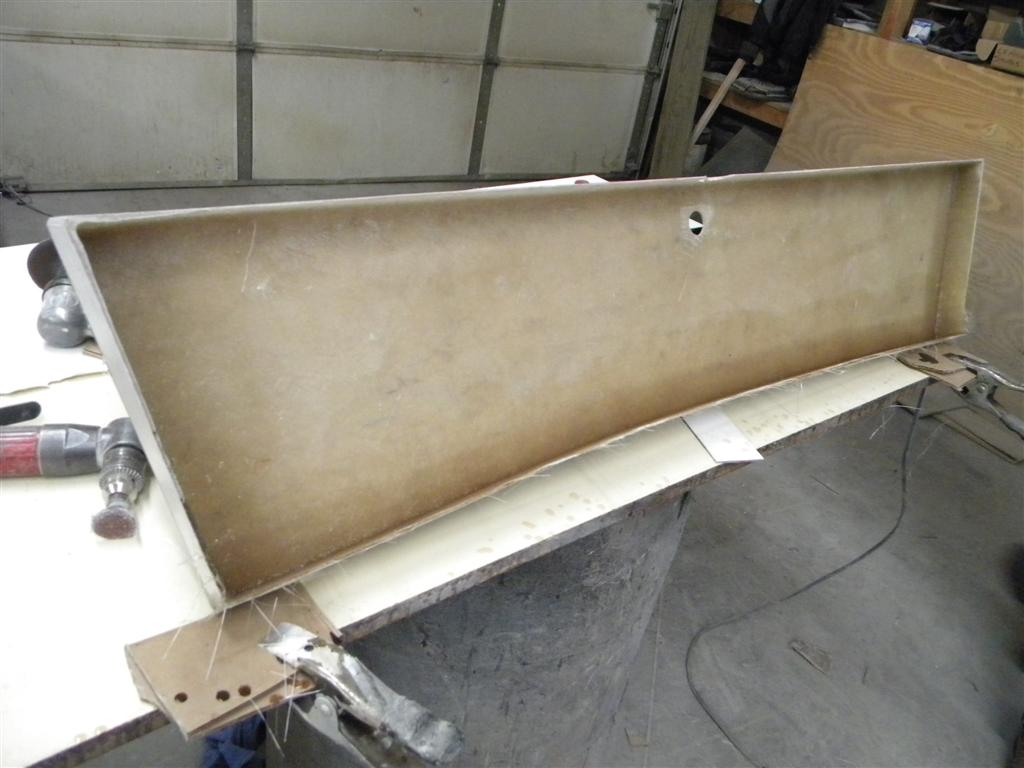
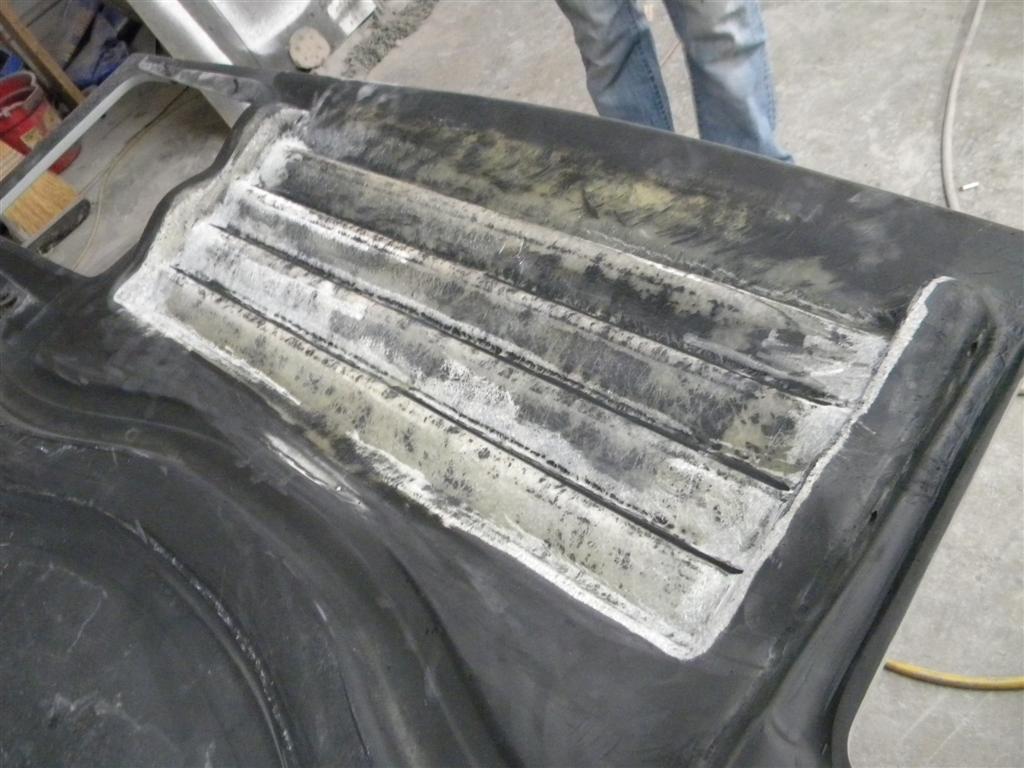
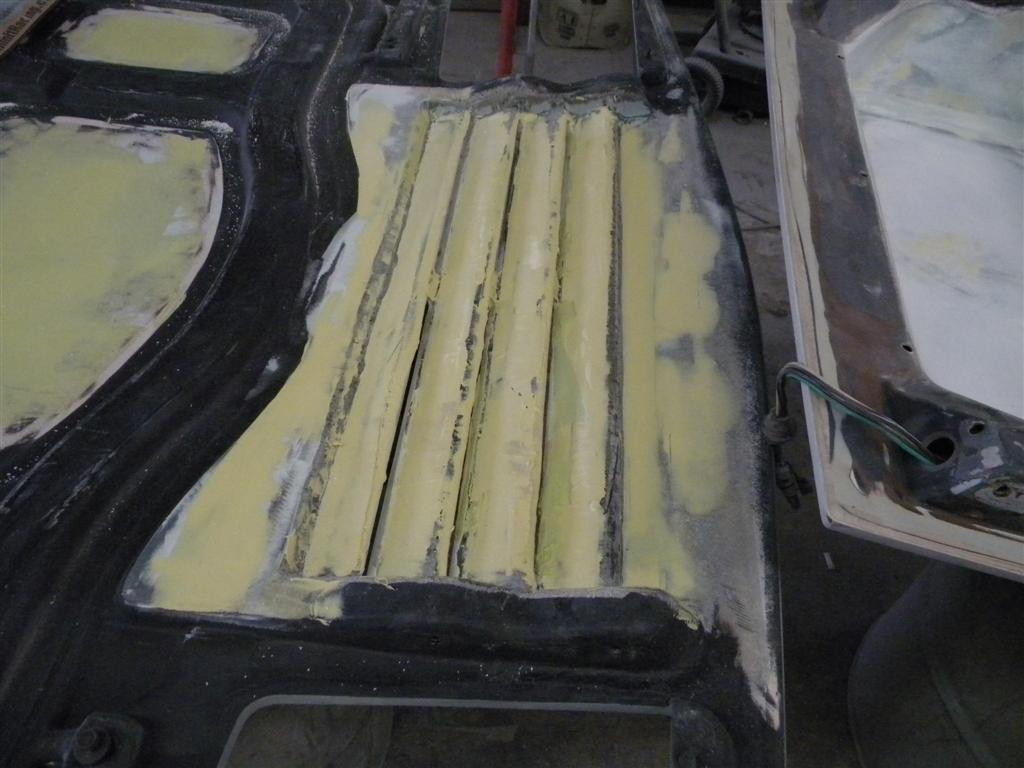
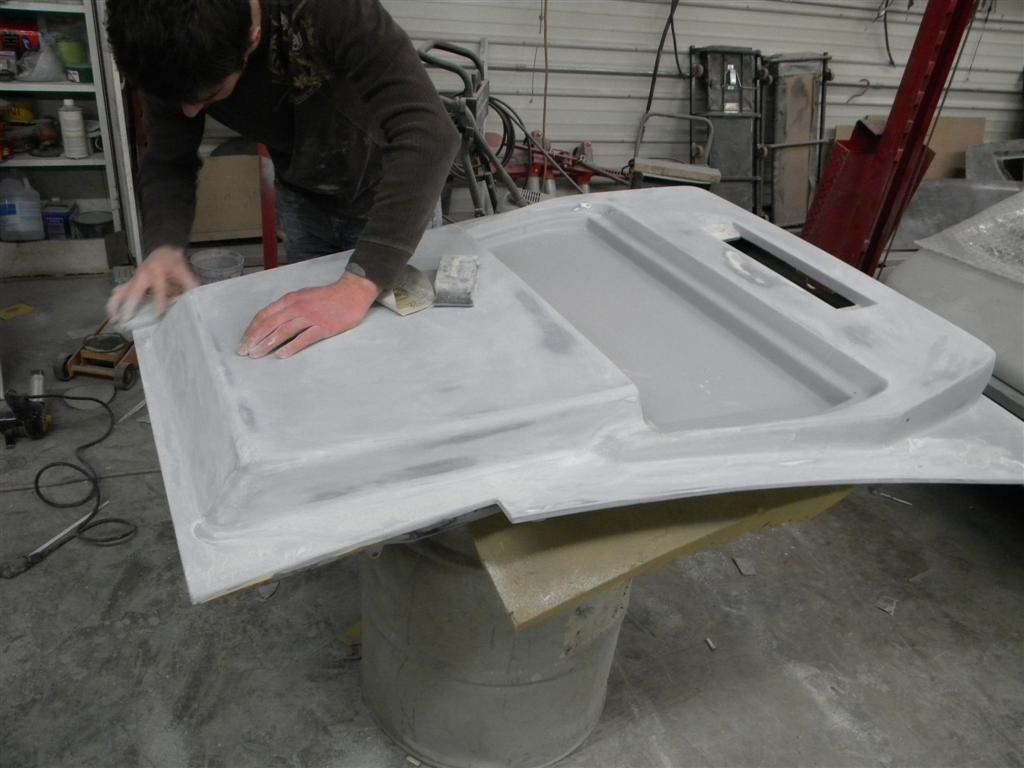
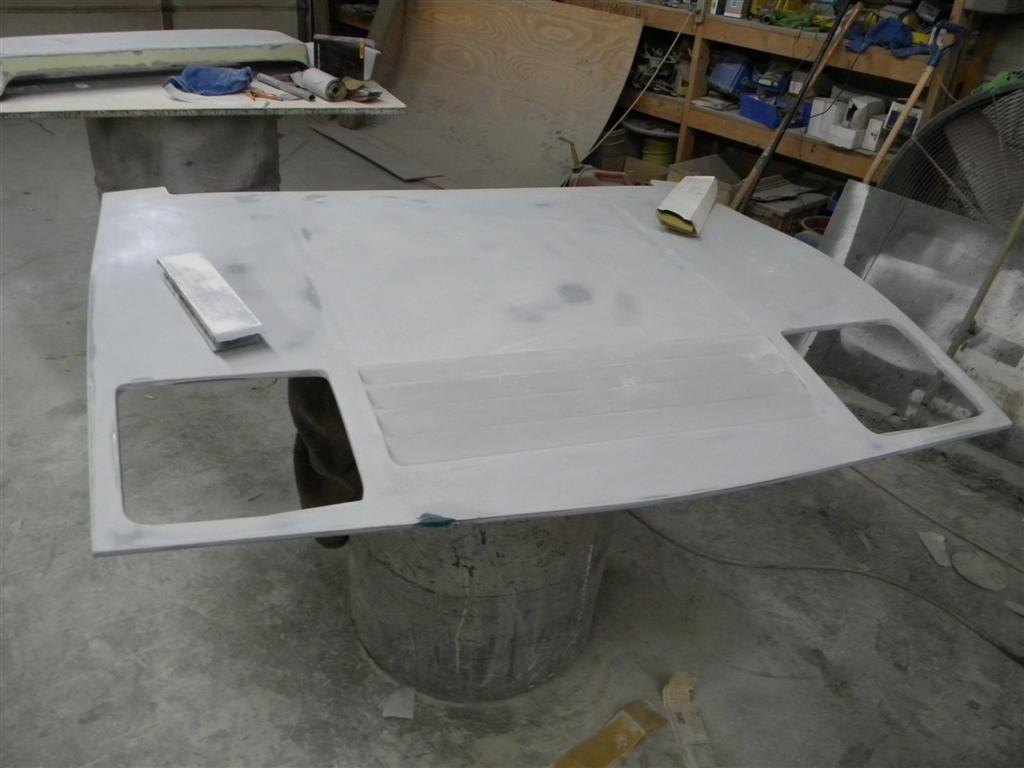
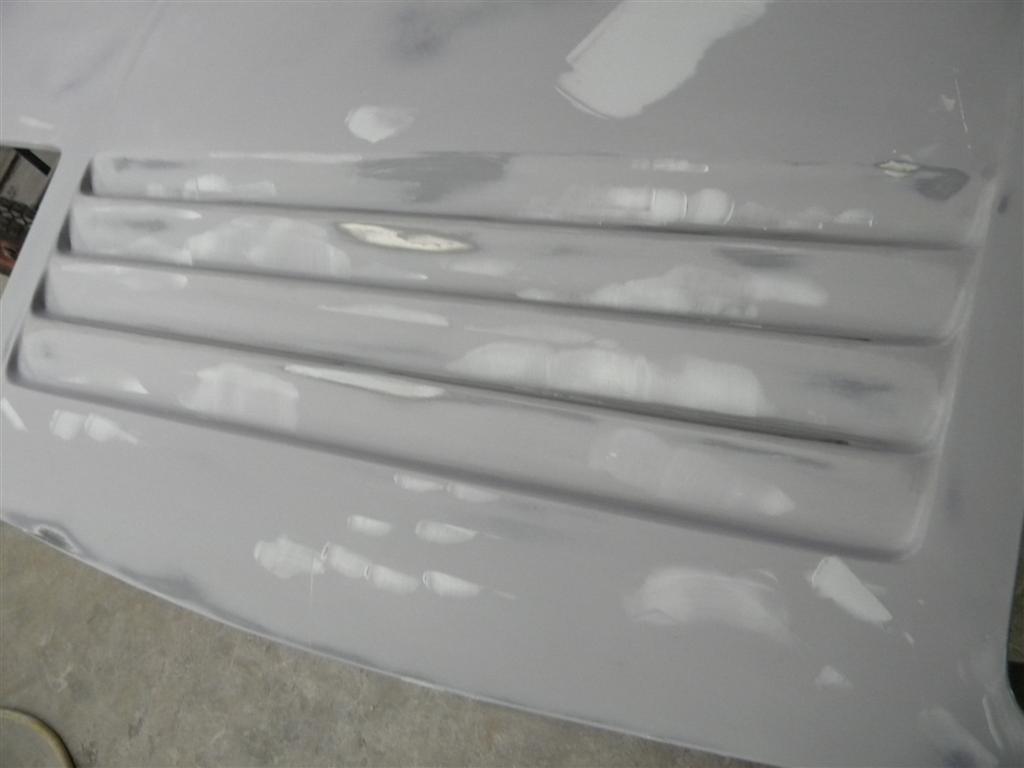
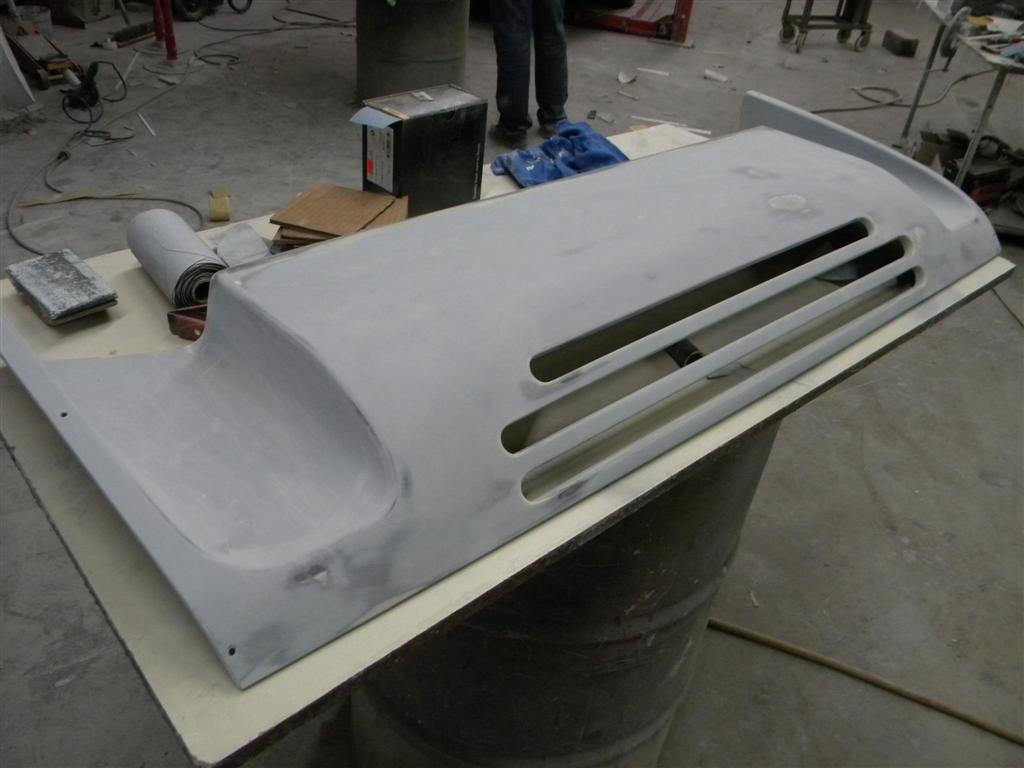
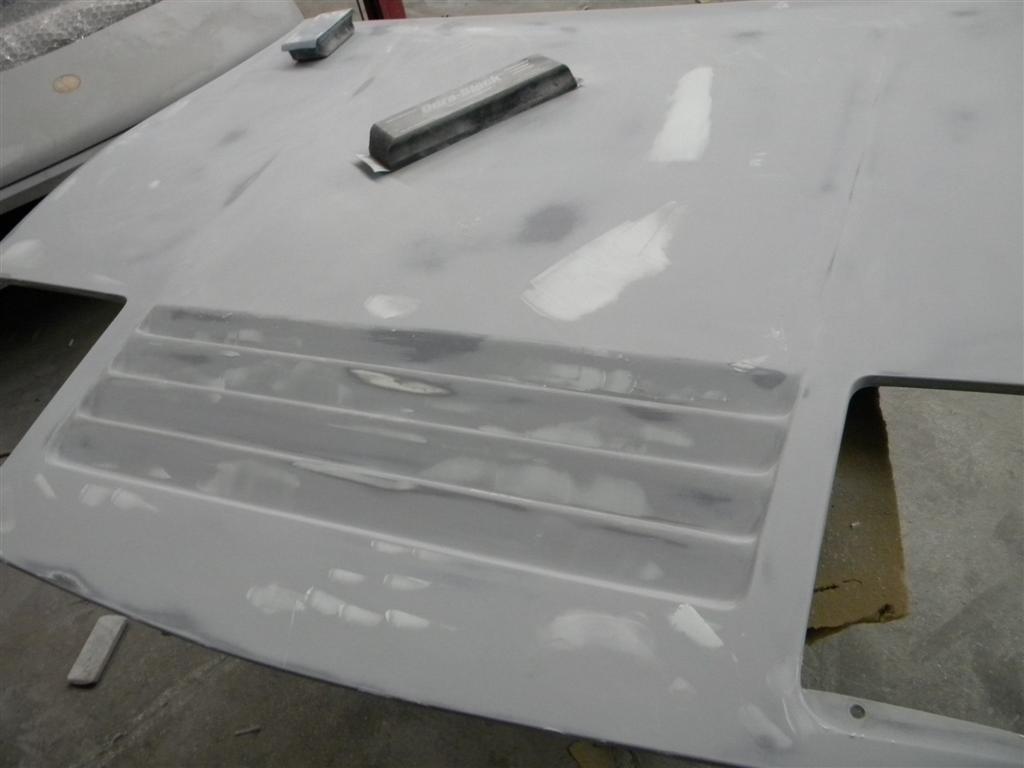
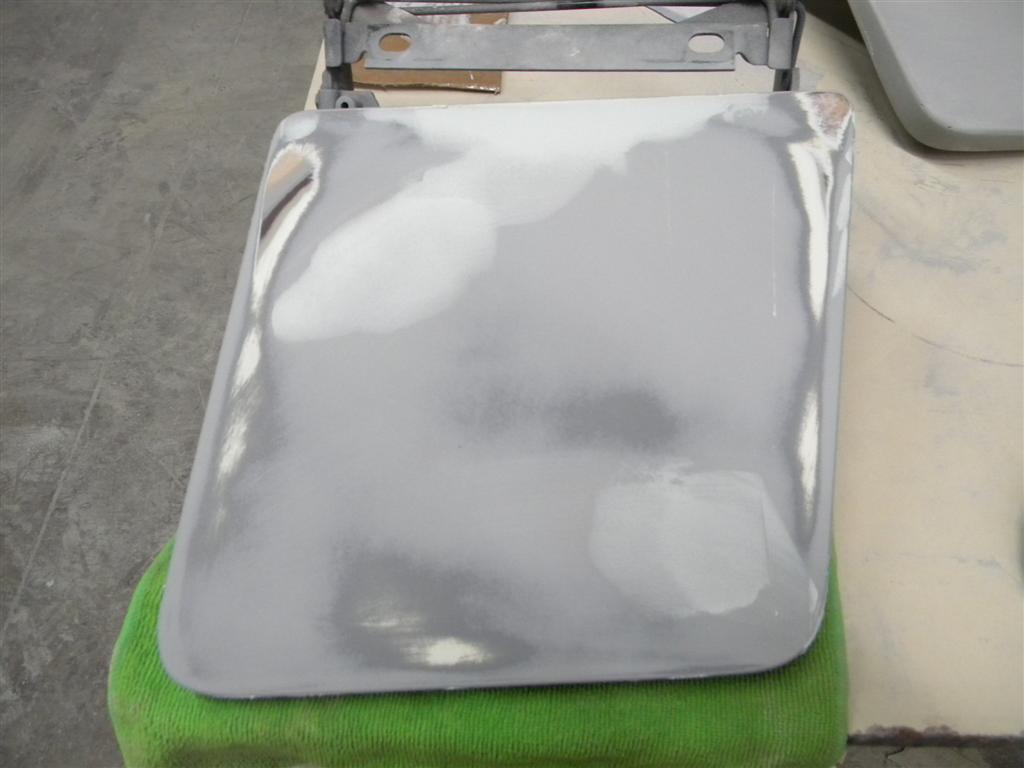
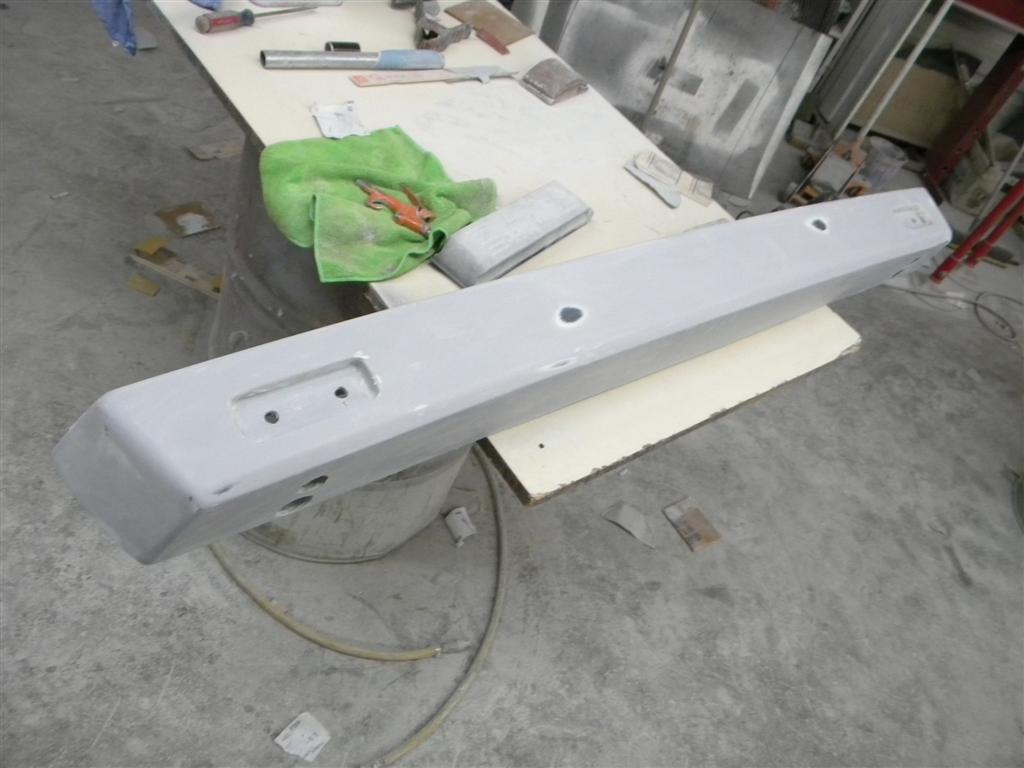
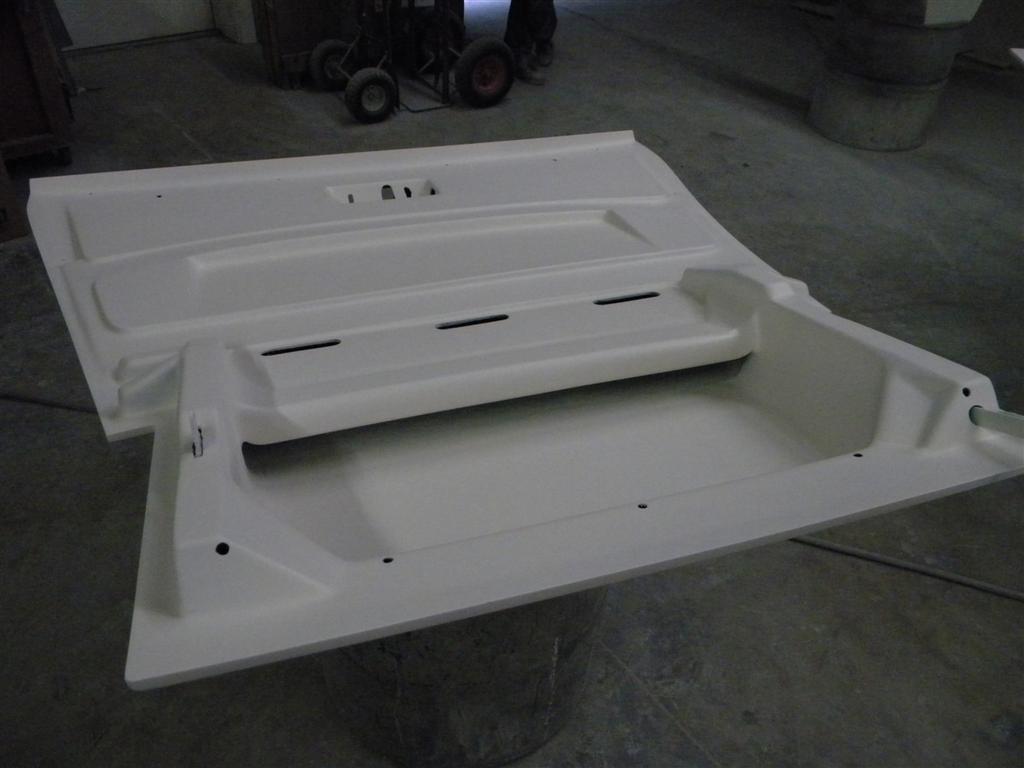
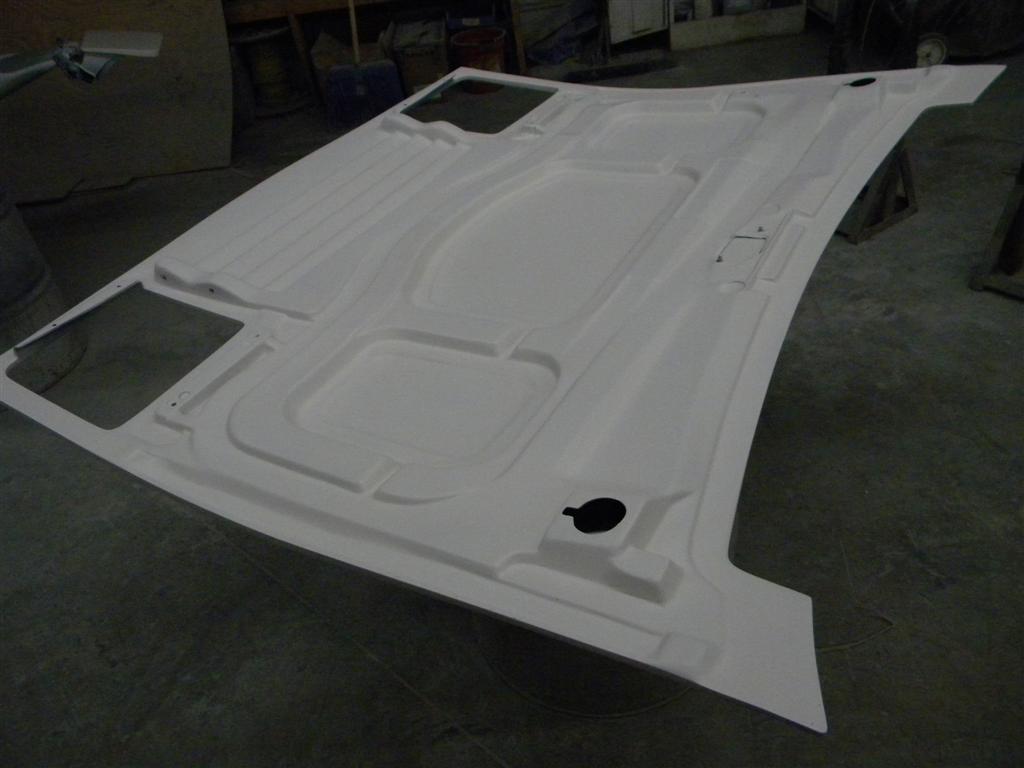
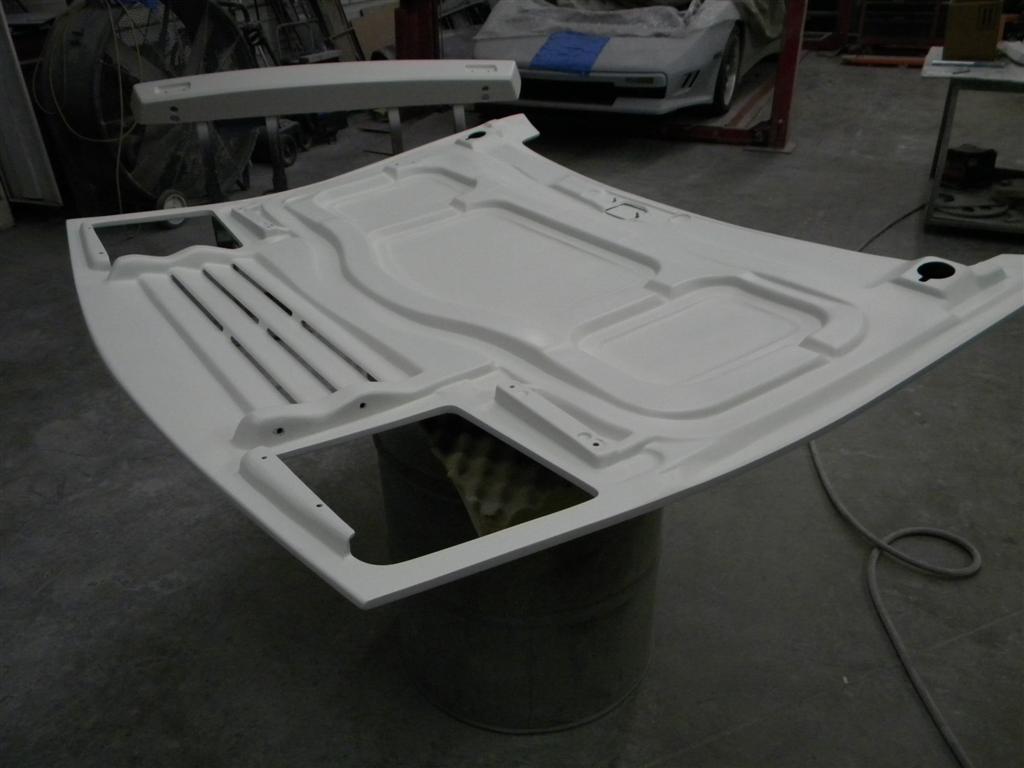
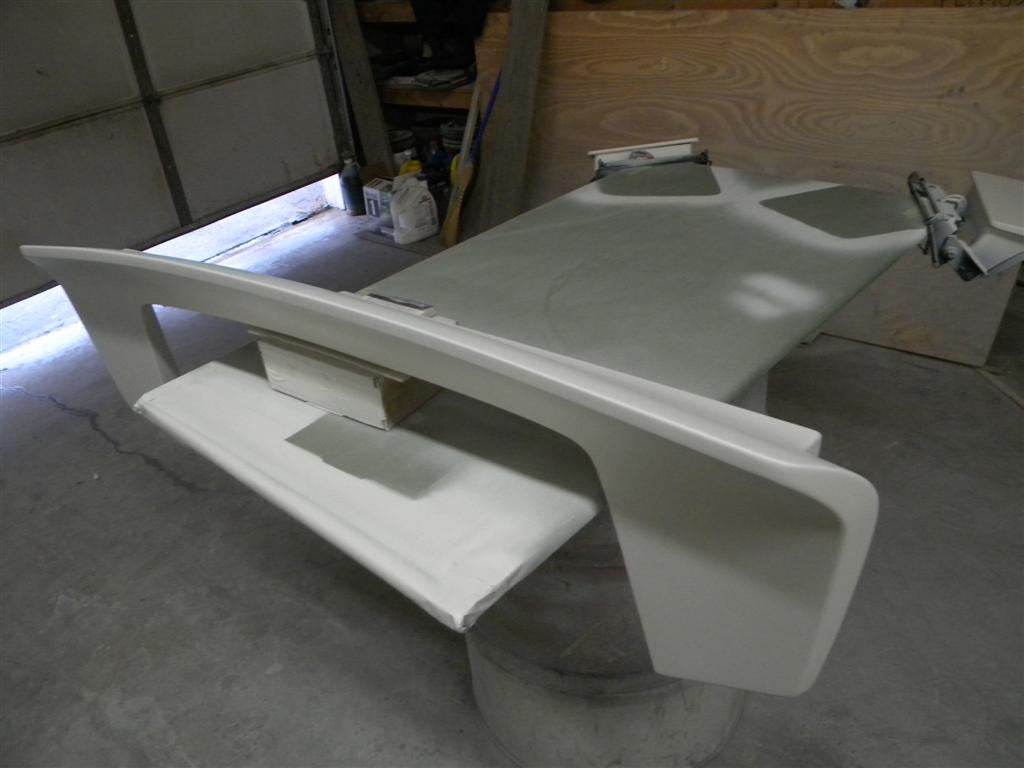
Since we are going to paint the underside of the hood & decklid, that means that we are working on a lot of different surfaces. Going over all of the surfaces with 220 grit. getting into all pockets, like the hood louvers into all corners & lands & the long slots in the muffler cover etc.. Also in all the vent slots.... we have to sand to make them uniform & straight with good radii in the corners.
Then we inspect the surfaces for pin holes or imperfections & fill those as we find them. Then we sand those areas again with 220 G. Once we have all the pin holes eliminated, we will be priming them & then sanding the primer with 600 Grit. Filling any new pin holes we find & repeating the process as needed. Then we'll be ready to put down the paint.
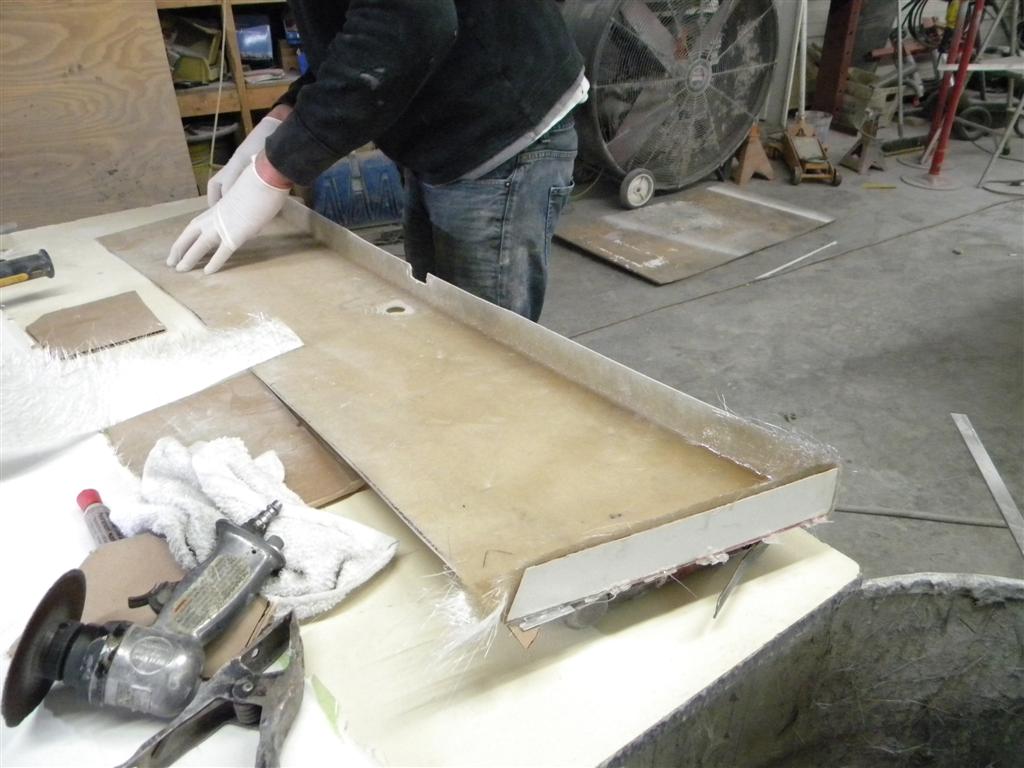
On Fiberglass parts, you get pin holes that show up as you sand the surfaces. You can't help but get them....... you only hope is that you find & fill all of them.
As we surveyed the project, we find that the body consists of some 29 Fiberglass parts. Some of them will have to be painted inside & outside.
So, that amounts to plenty of work.
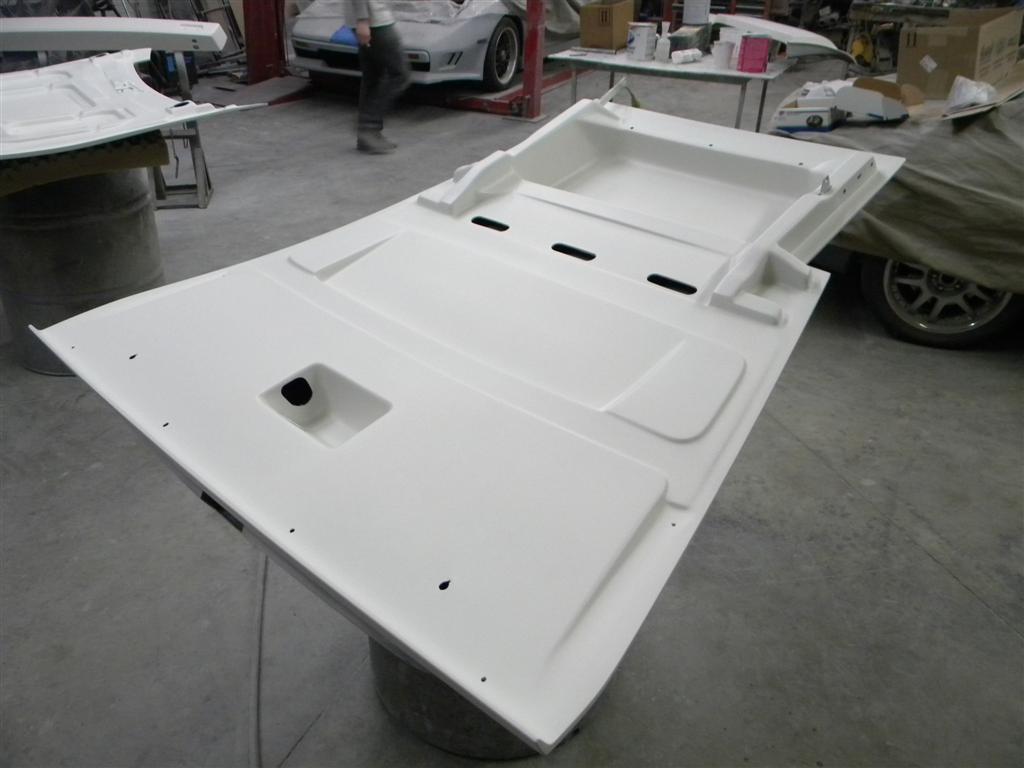
Continuing from where we left off, we began by preping the undersides of the decklid & hood.

Working on the outsides of the hood, decklid & muffler cover.
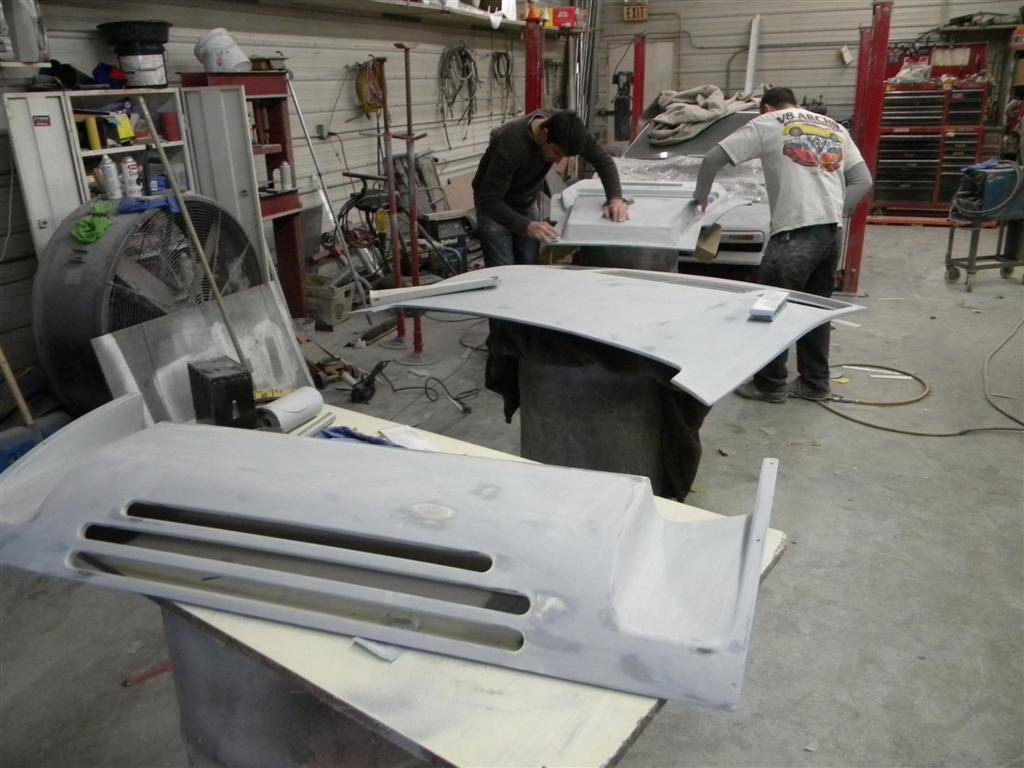
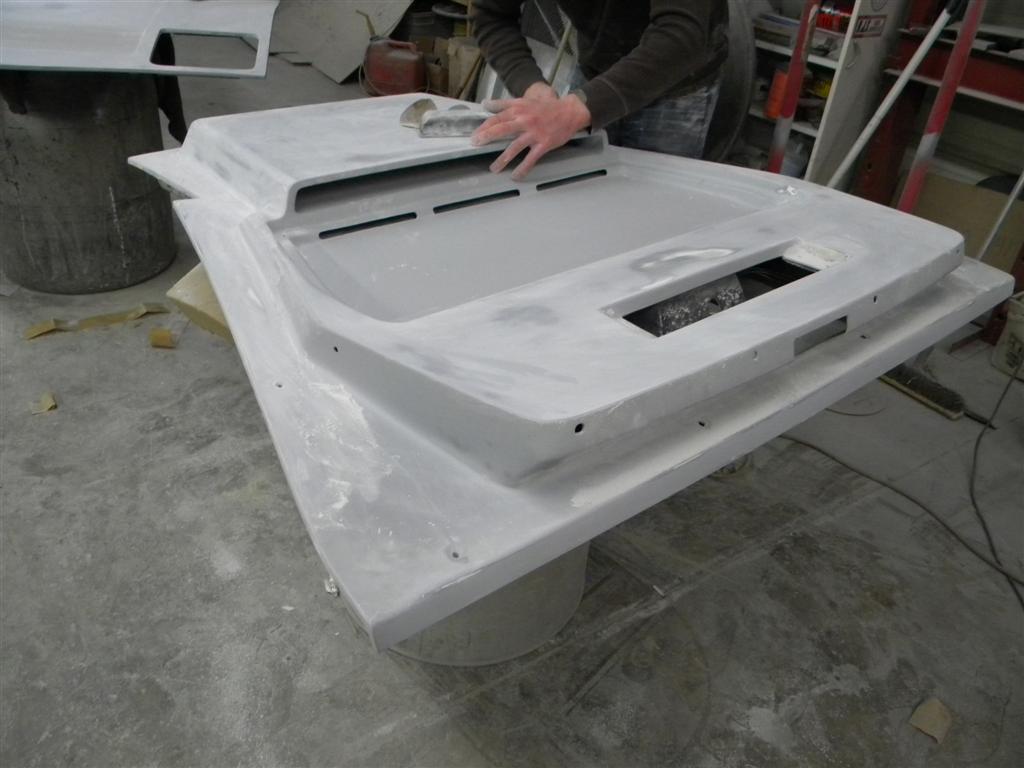
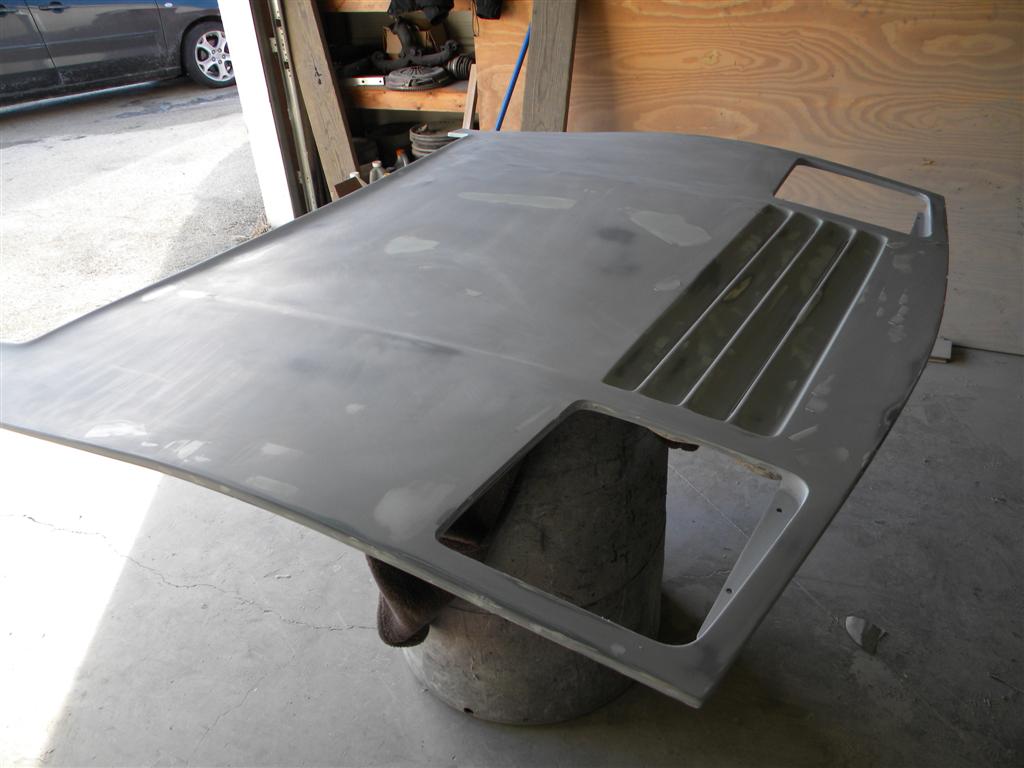
Filling pin holes then sanding again.

Then we did the proper primer on the 1st batch of parts.
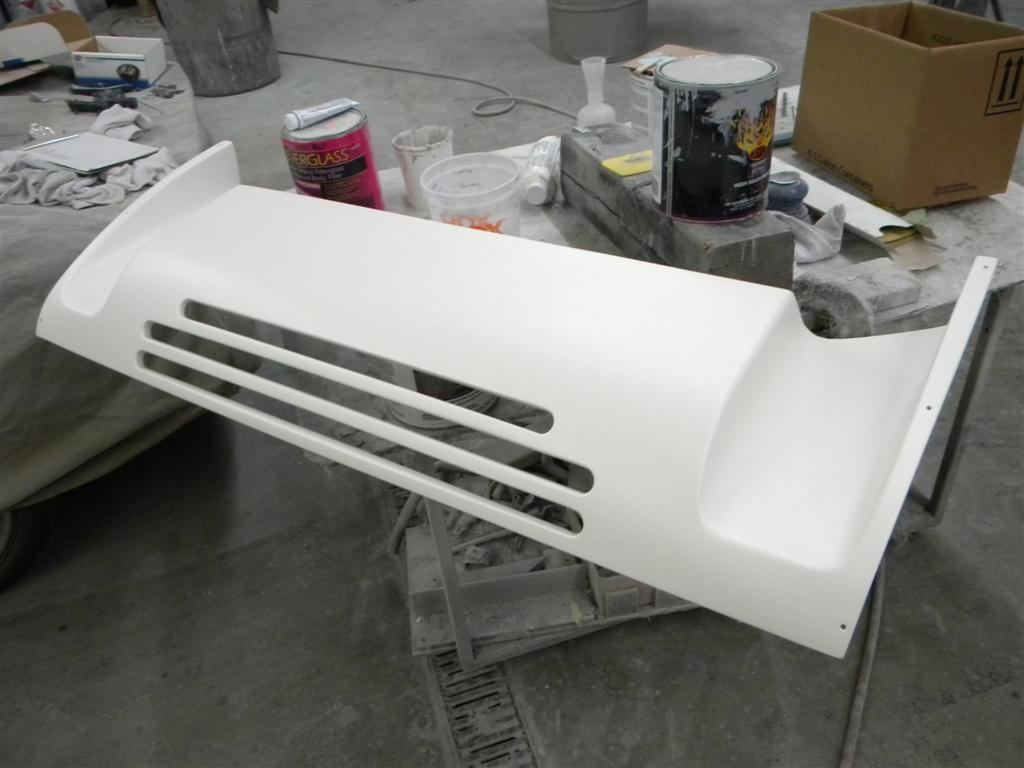
More to come...
Archie[This message has been edited by Archie (edited 02-26-2014).]
|
|
|
|