My 88 Formula Interior Redesign (Page 5/87)
Sofa King NOV 13, 11:20 PM

quote
I'll be picking up some glass supplies tomorrow and will be heading into the unknown.


Good luck young grasshopper.

Take lots of pics and let us know what you're planning.

G(SK)

Sofa King NOV 13, 11:23 PM
Hey Revin,

I took your advice and used both a roller and waxpaper with the fiberglass cloth. What a difference! There's little sanding to do. Thanks for the great info!
Sofa King NOV 13, 11:31 PM

quote
I am on my second redesign of modified Bonneville door panels and the first redesign of a custom console, to mate to my 94 Camaro dash.

Jim


Hi J,

I would love some pics of the interior build when you get a chance

katatak NOV 14, 12:41 AM
I used the Rustoleum "Textured Plastic" paint in flat black. I cleaned the pieces with hot soapy water rinsed well then after they were dry, I scuffed them with a red scotch brite pad then I wiped them down with some thinner then applied 2 coats. I'll get some close ups in the daylight.

After looking at that ZR1 today, I think you are right about the glossy clear coat. The pieces on the Vette look like they are an inch deep. I won't be doing any of this on this project but I have some more parts to do for the XTC. I might have to "re do" the ones I have already done. Practice practice practice....... I just hate doing things twice....

Pat
RCR NOV 14, 09:20 AM
A little tip for you while sanding...Use the shop vac in one hand, the sander in the other. Reduces the dust by about 90%.

Looks pretty good, so far. Keep it up.

Bob

edit: or attach it to the dust collector on the sander.

[This message has been edited by RCR (edited 11-14-2009).]

Sofa King NOV 14, 01:20 PM
Hi Bob,

I have the opposite - a leaf blower. Maybe it's time to purchase a new shop vac?
Sofa King NOV 14, 01:36 PM
Hi All,

Tip - if you haven't fiberglassed, remember these few tips:

1) Wear gloves and old clothes
2) Be sure to have a clean work area
3) Cut ALL your fiberglass before applying because you only have so long to work the resin before it begins to harden
4) Make sure you have all the necessary tools (since I'm a beginner - old paint brush, foam roller and gloves)
5) Make sure you use packing tape or waxpaper to help remove the fiberglass from the shape / surface
6) apply a thin layer of resin to the entire working surface of the object
7) USE fiberglass cloth
8) gently lay the fiberglass down it the appropriate position using the brush to help guide the glass
9) tap the fiberglass into place and then coat with resin - then use the roller to help spread
10) make sure the fiberglass receives a solid coating

I am sure there are other steps, but since I'm a novice, I hope this helps anybody trying it for the first time.

Here are some updates. I spent the morning reinforcing the inside and then sanding down to prep for the glovebox.

Starting to reinforce the inside one last time


Another shot


You can see how the resin just soaks into the glass


After sanding down the inside I taped the inside to prep for the glovebox


Another


I applied a thin layer of glass and let it sit in the sun to dry - this piece will become the part of the glovebox that is seen when the lid is lifted. I still have a long way to go - lots of cutting and fabricating to do


I have 3 hinges to choose from. One from the original glove box and the other 2 are from the Grand Prix center console I found at the junk yard. Which ever I choose I need to make sure the glass is strong enough to support the flex from opening and closing the lid


I'm off the begin work on the glovebox - enjoy

[This message has been edited by Sofa King (edited 11-14-2009).]

Sofa King NOV 14, 02:12 PM
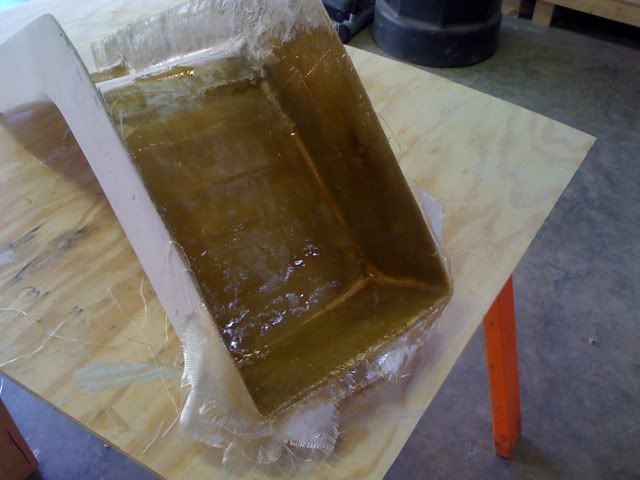
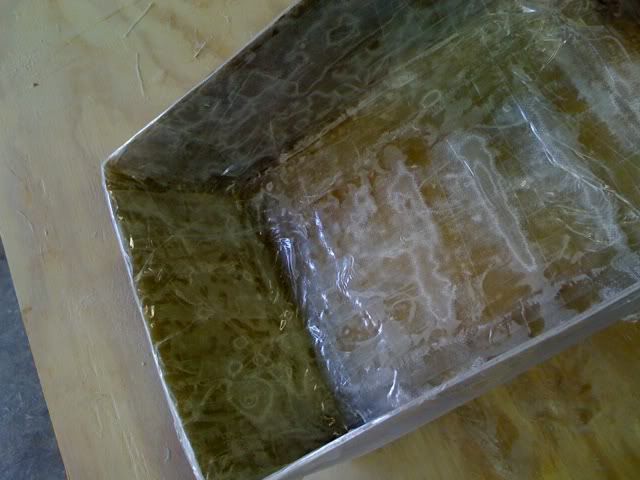
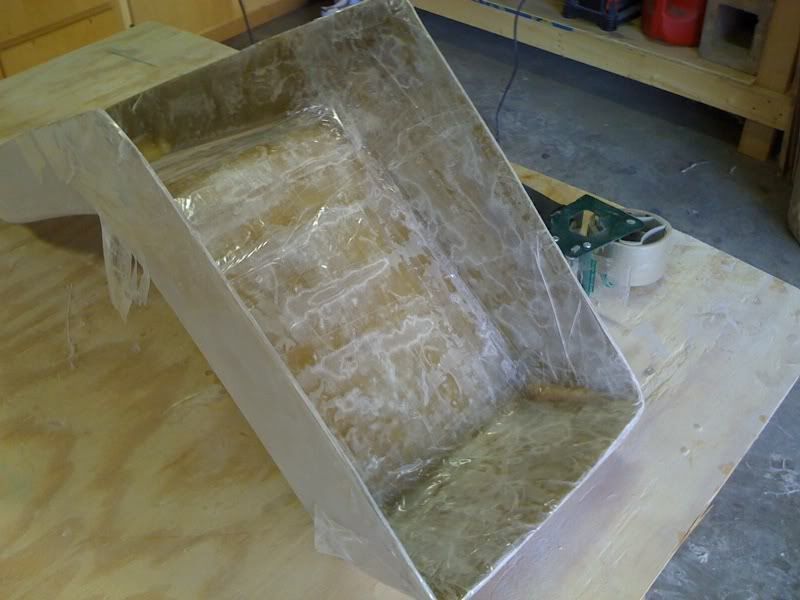
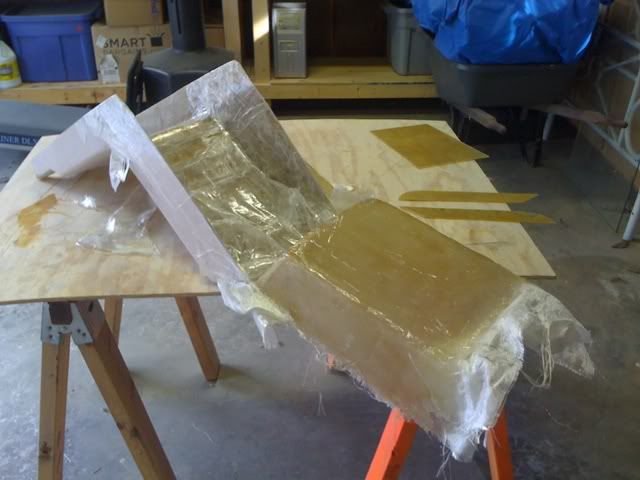
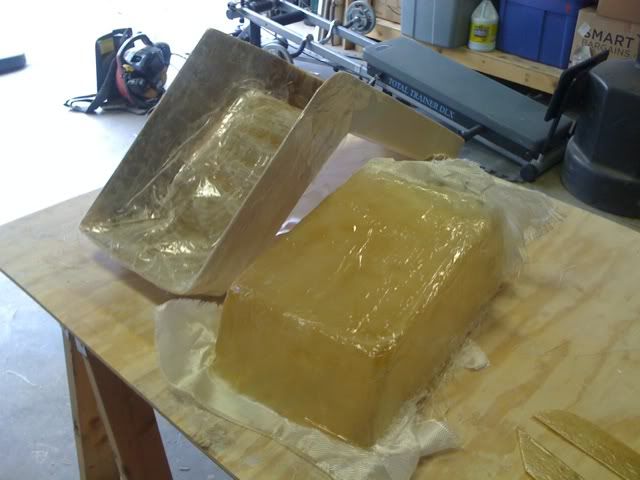
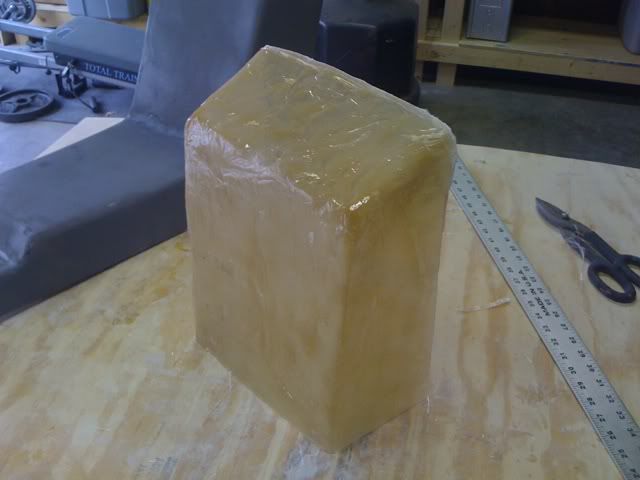
I realized after trying to pull the plug from the mold that 1 layer of glass will not be enough to safely pull away without cracking or warping the piece. The mat was a little firmer when I first used it on the console. So I laid 2 more layers and it's sitting in the sun now. I also put an extra layer of resin on the armrest pieces - there were a few white strands of glass showing through. I'm going to have to hold off on the armrest until the cup holder arrives - frustrating.

More layers


Extra resin


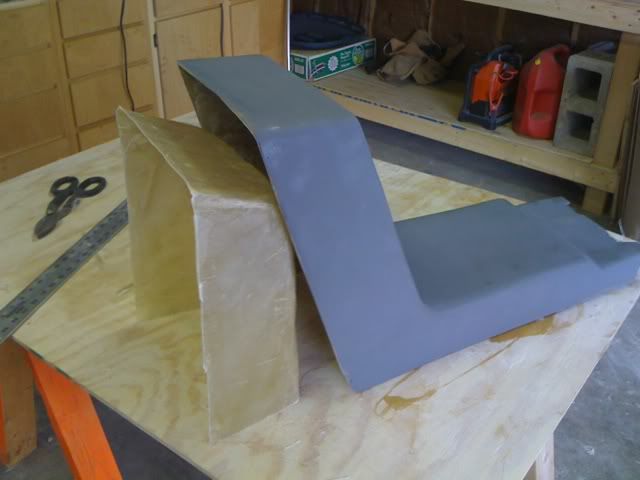
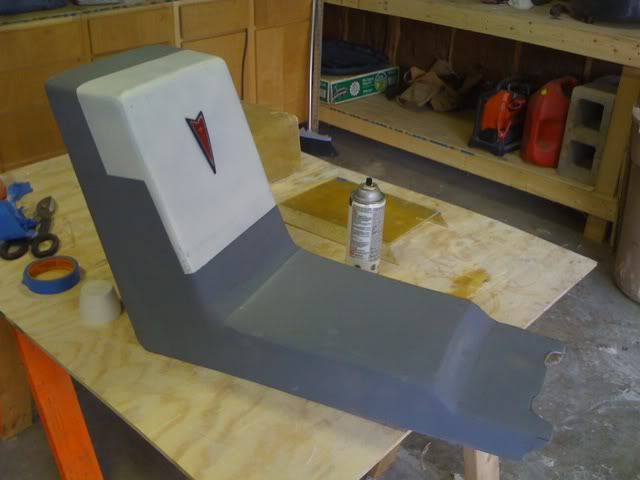
I might throw a layer of primer on the console this afternoon
Sofa King NOV 14, 04:22 PM
Hi All,

Here's an update. I popped the glovebox mold and I am now beginning to reinforce the inside of the box. Once the glovebox is durable I will begin sanding and filling the structure. I'm still unsure whether to paint or upholster the console. Whatever I decide I will have a shop take care of the final steps. I want it done right.

Peeling it from the mold


Almost there...


Out of the mold and ready to be trimmed


Trimmed and ready to be strengthened and sanded


An almost perfect fit


As you can see from the above image I went ahead and primed the center console. I then painted the "glovebox lid" to help me better visualize what it will look like. The first paint job looked really nice. I even put the logo on the front for maximum effect


This image shows the console in the car. The lid bottom lines up with the seat covers - the horizontal line.


But the lid looked too short so I lowered the paint line. I like this much better. I will use the paint line as a guide to help me cut the lid


So far so good...

[This message has been edited by Sofa King (edited 11-14-2009).]

Sofa King NOV 14, 04:29 PM
I'm tired

[This message has been edited by Sofa King (edited 11-14-2009).]