|
| Ferrari 288GTO build (Page 49/64) |

|
dobie1
|
JAN 30, 11:40 PM
|
|
|
|
|
dobie1
|
FEB 05, 10:17 PM
|
|
|
|
|
Sage
|
FEB 06, 12:17 PM
|
|
|
|
|
dobie1
|
FEB 11, 09:32 PM
|
|
|
|
|
RCR
|
FEB 12, 12:24 PM
|
|
Awesome to see some progress, Wayne.
Getting close...

Bob
|
|
|
|
dobie1
|
FEB 16, 12:02 AM
|
|
|
|
|
dobie1
|
FEB 17, 11:54 PM
|
|
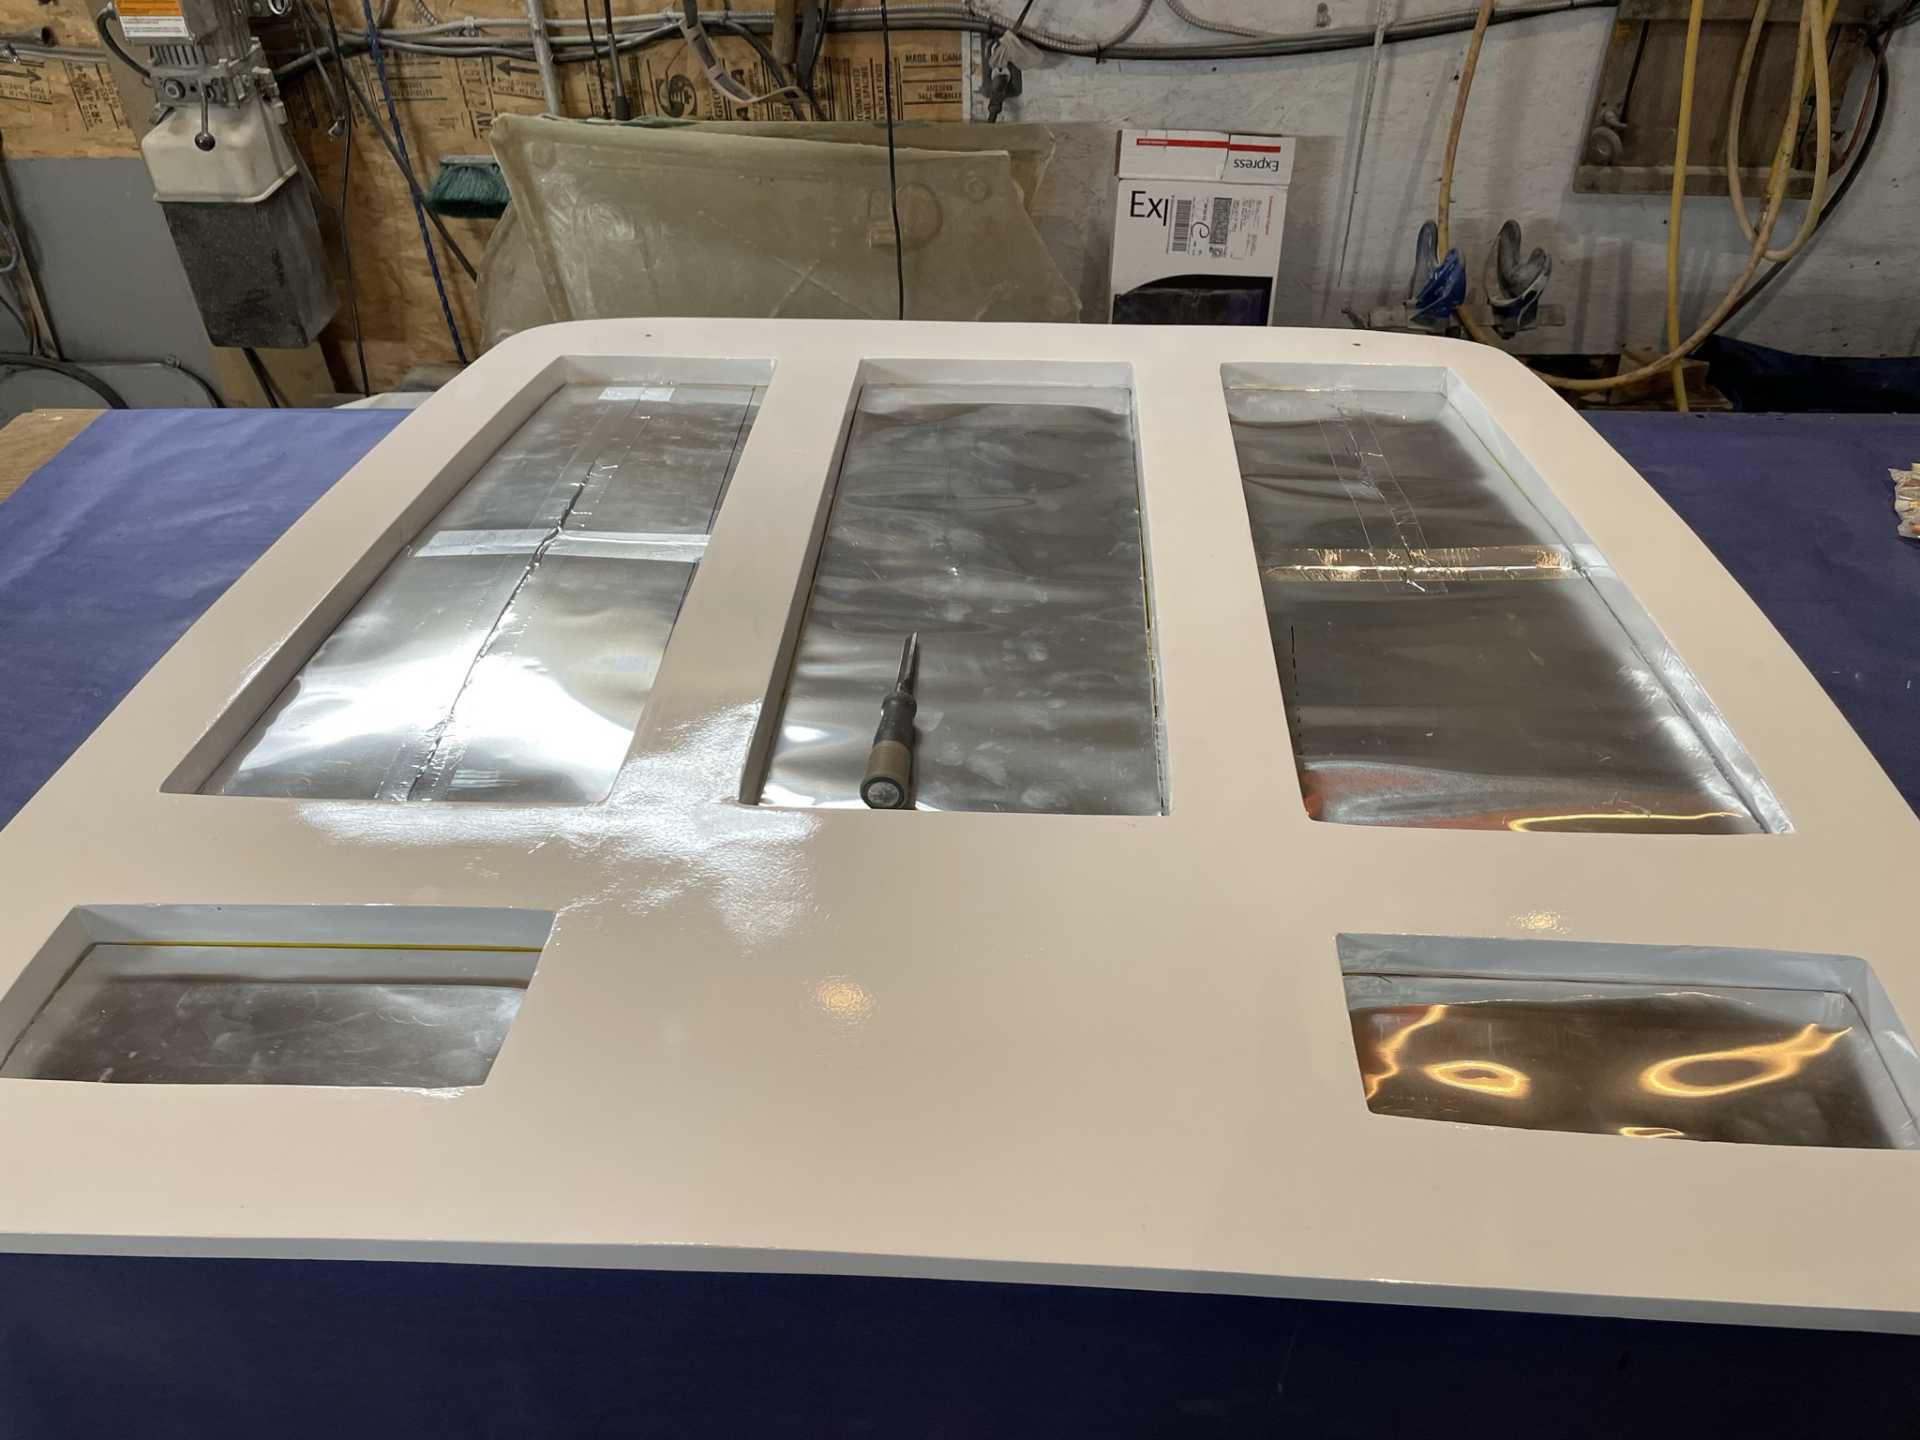
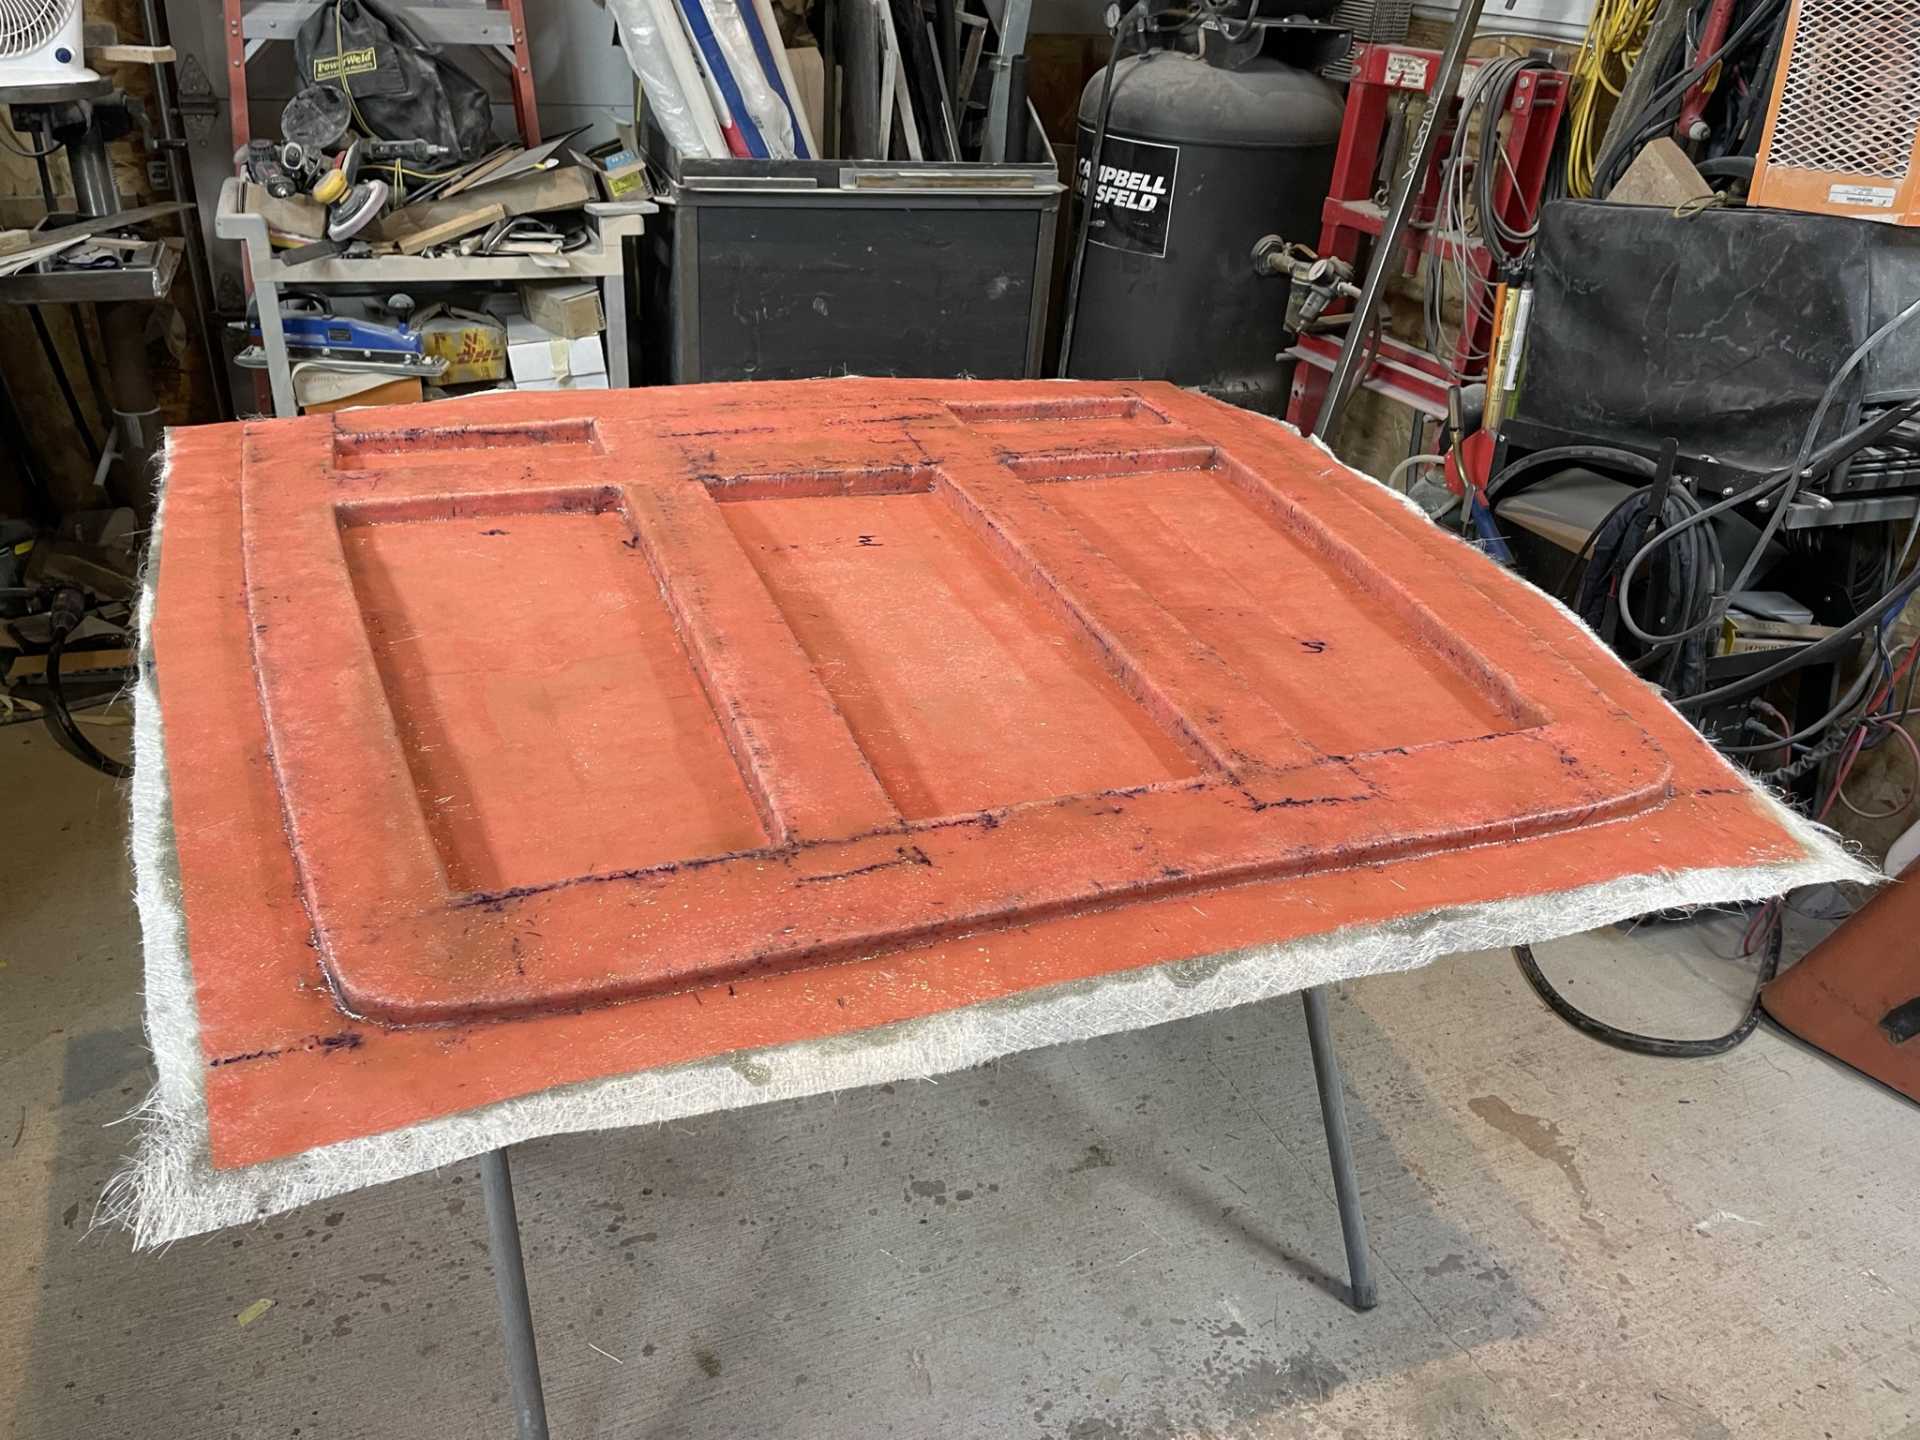
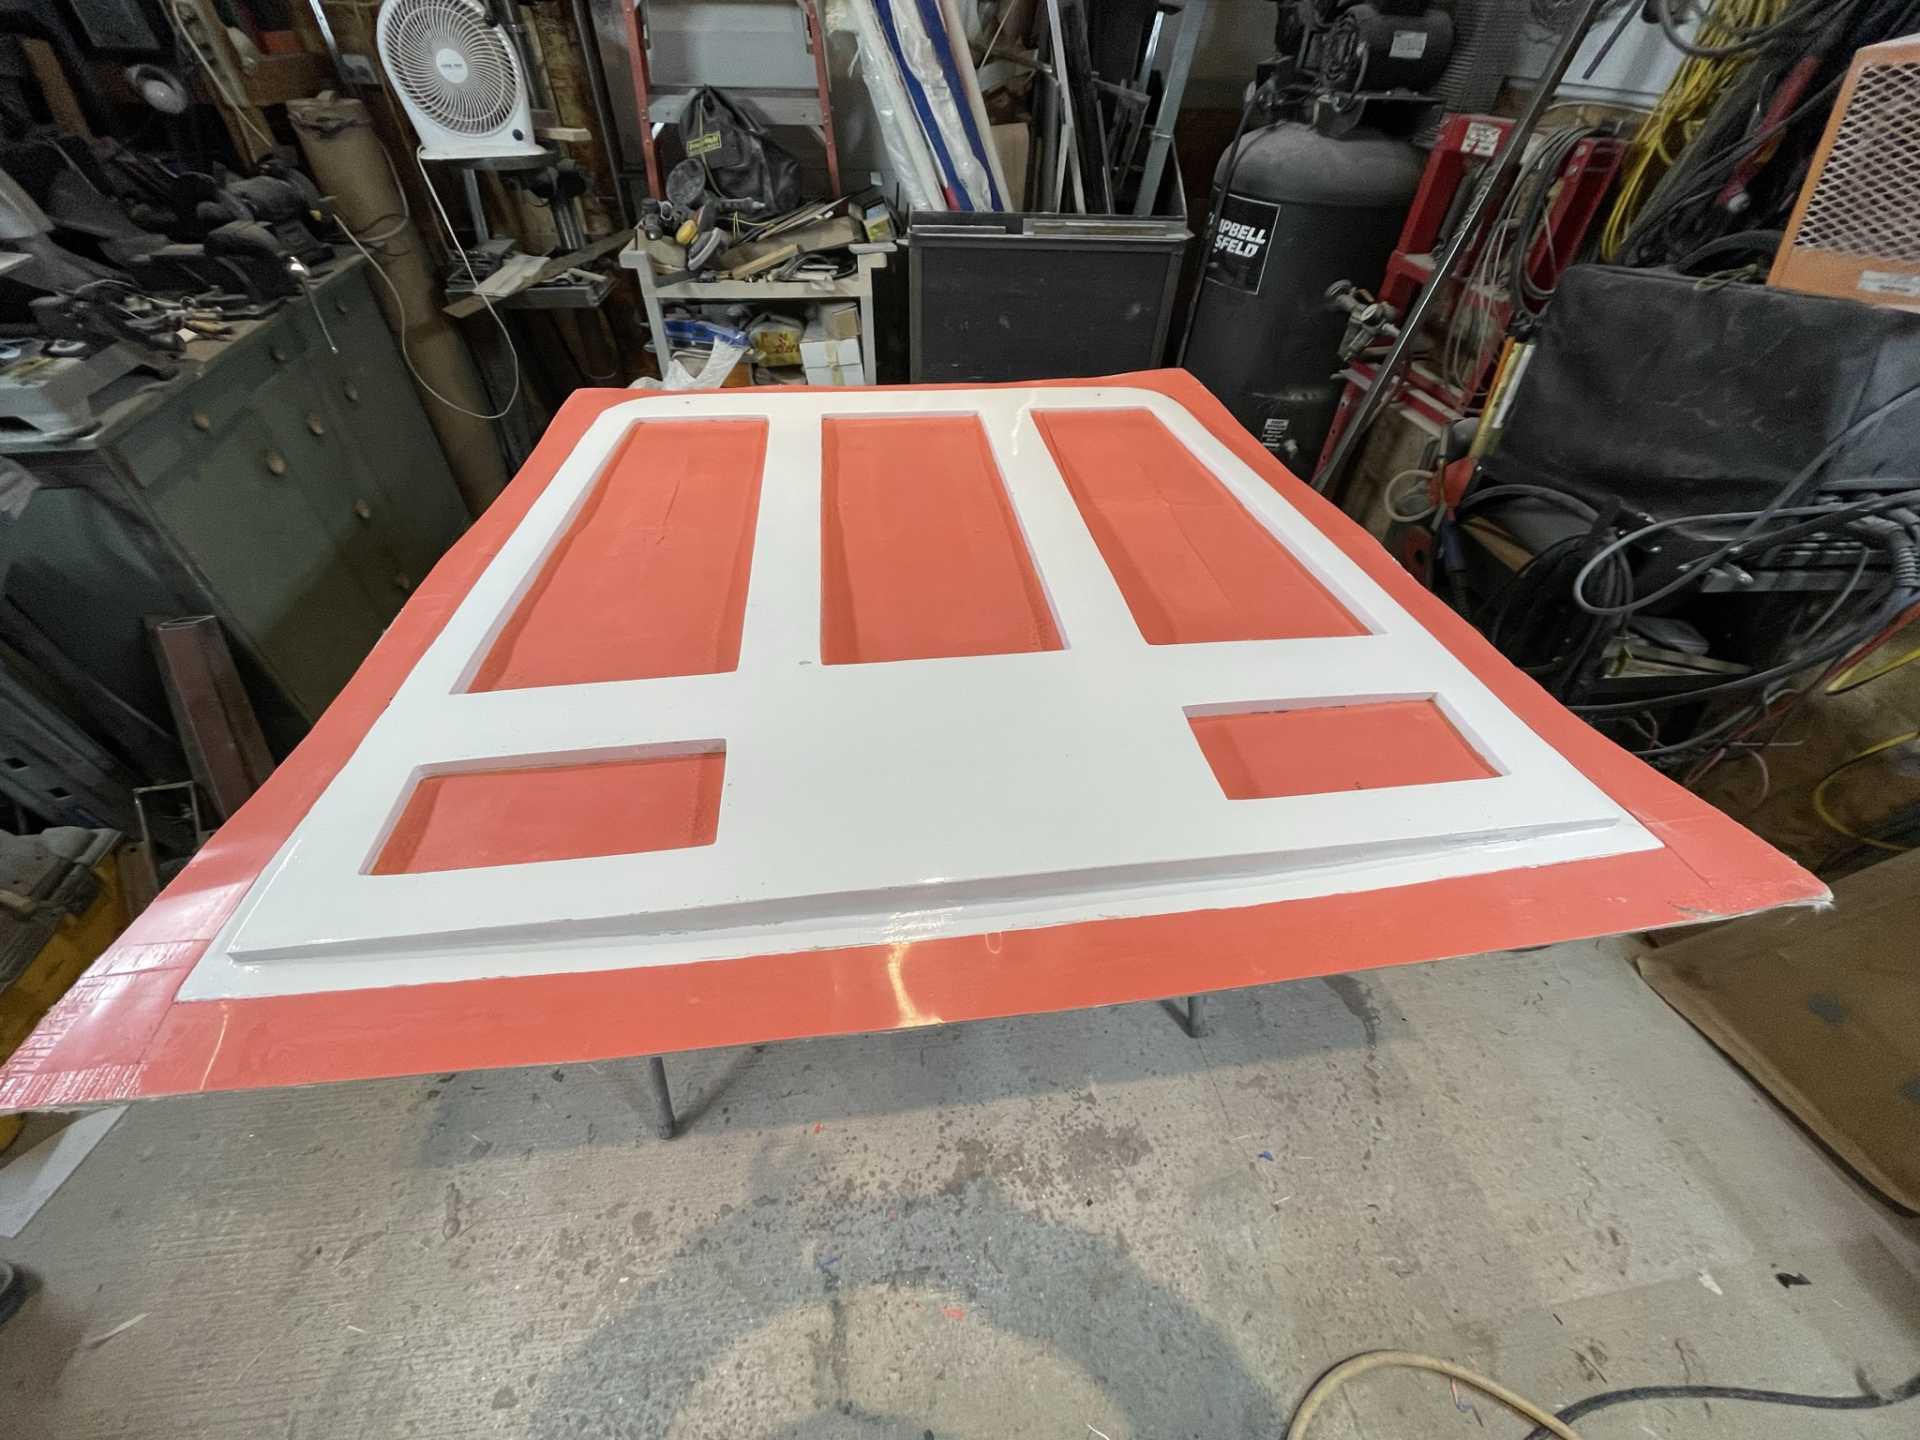
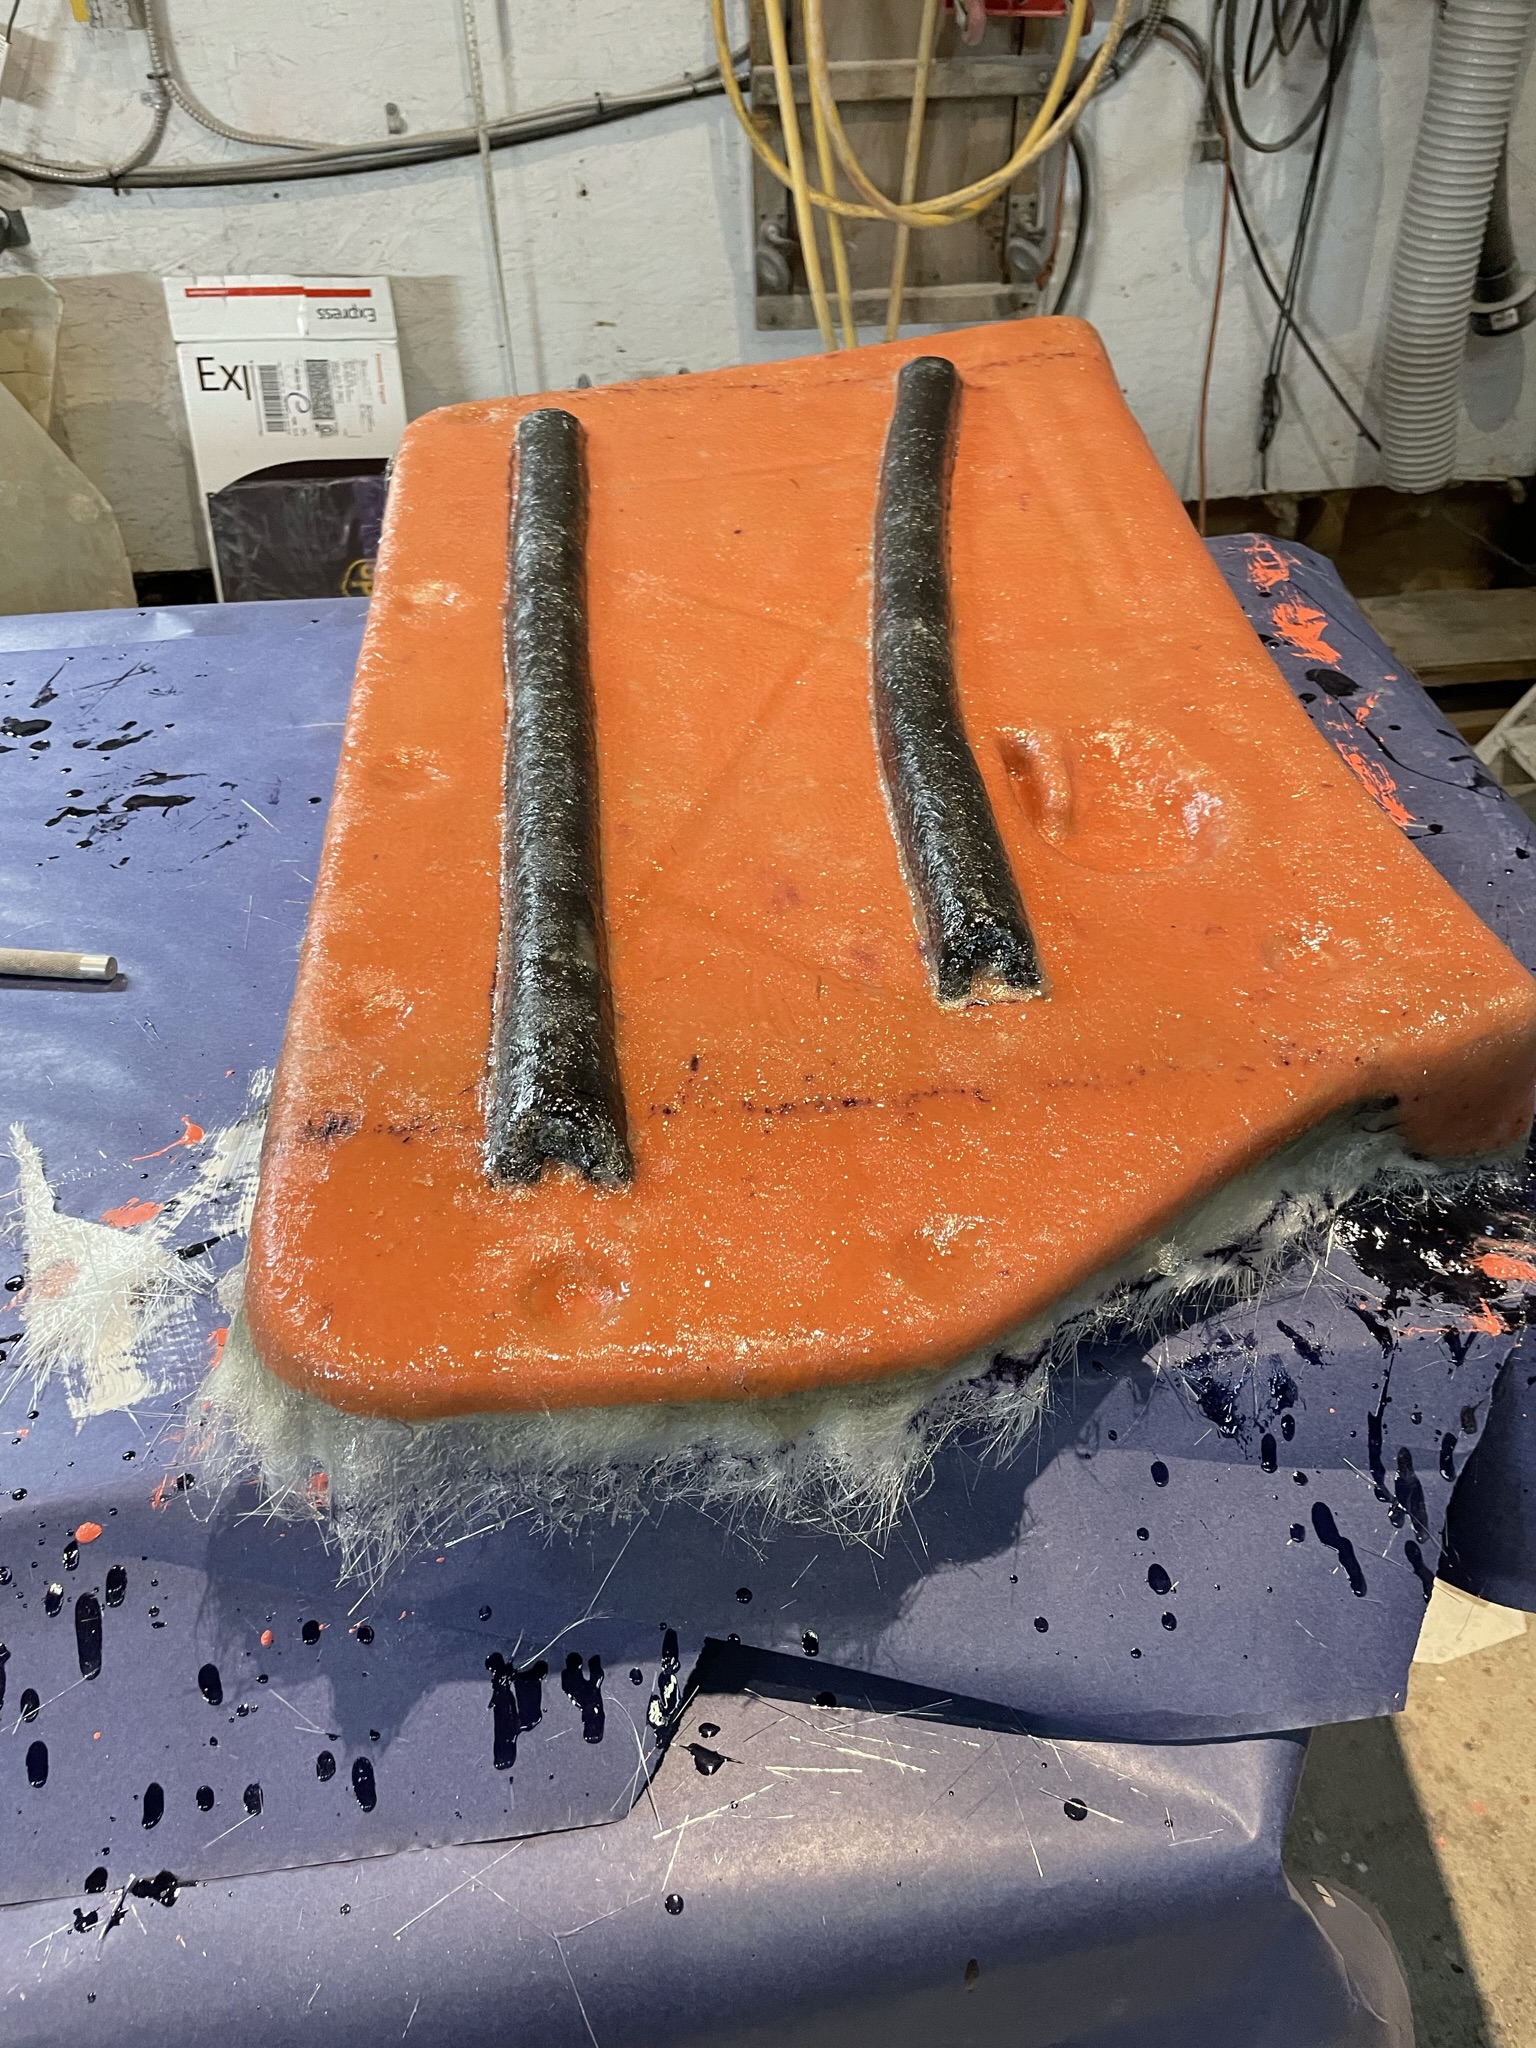
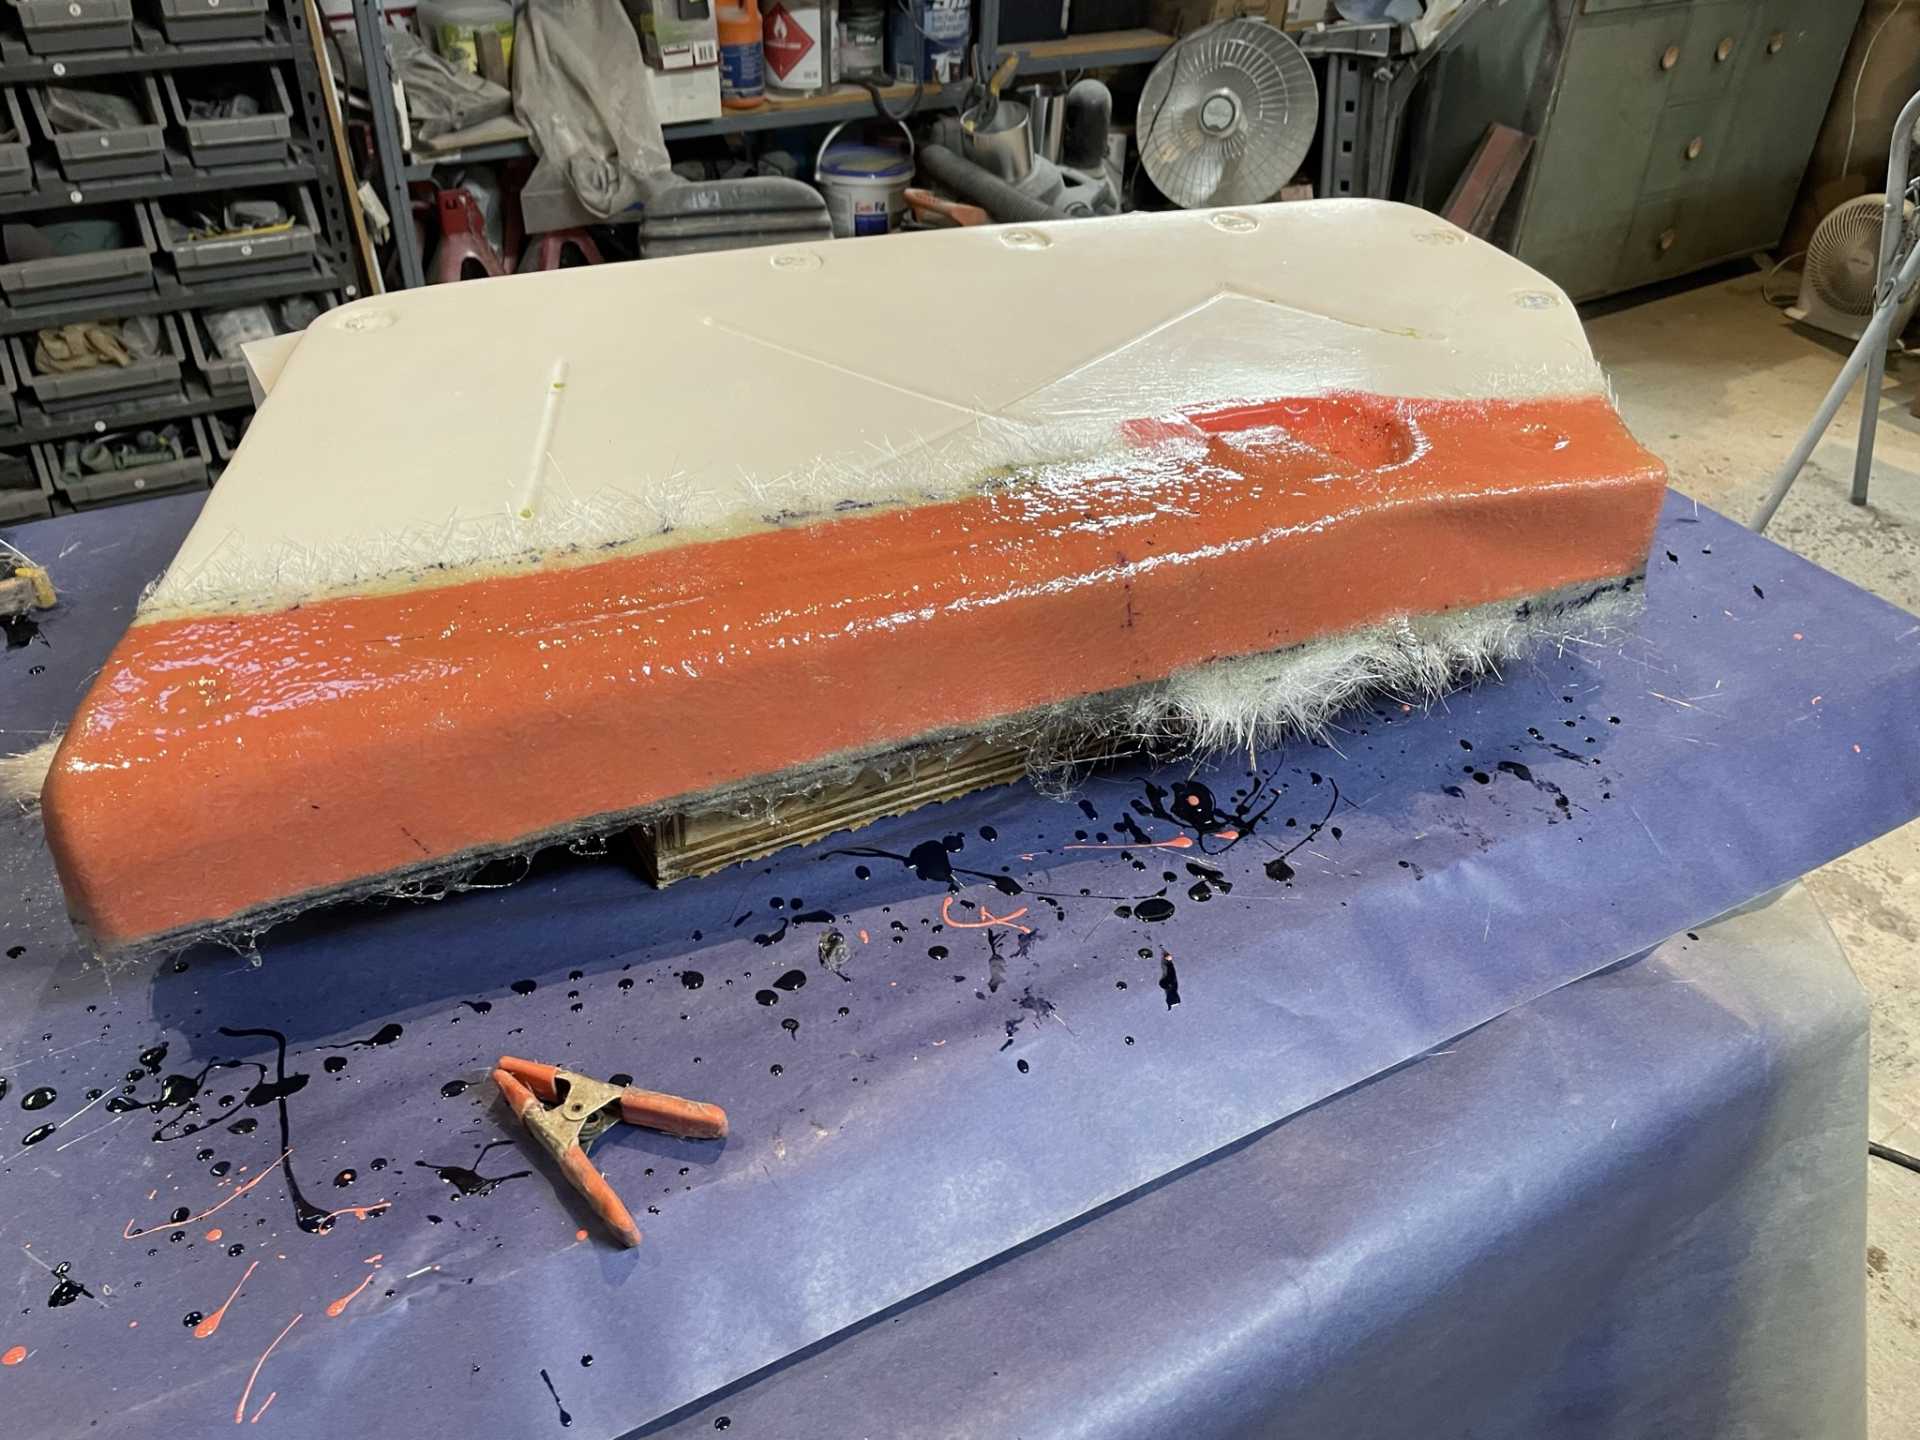
Hi everyone
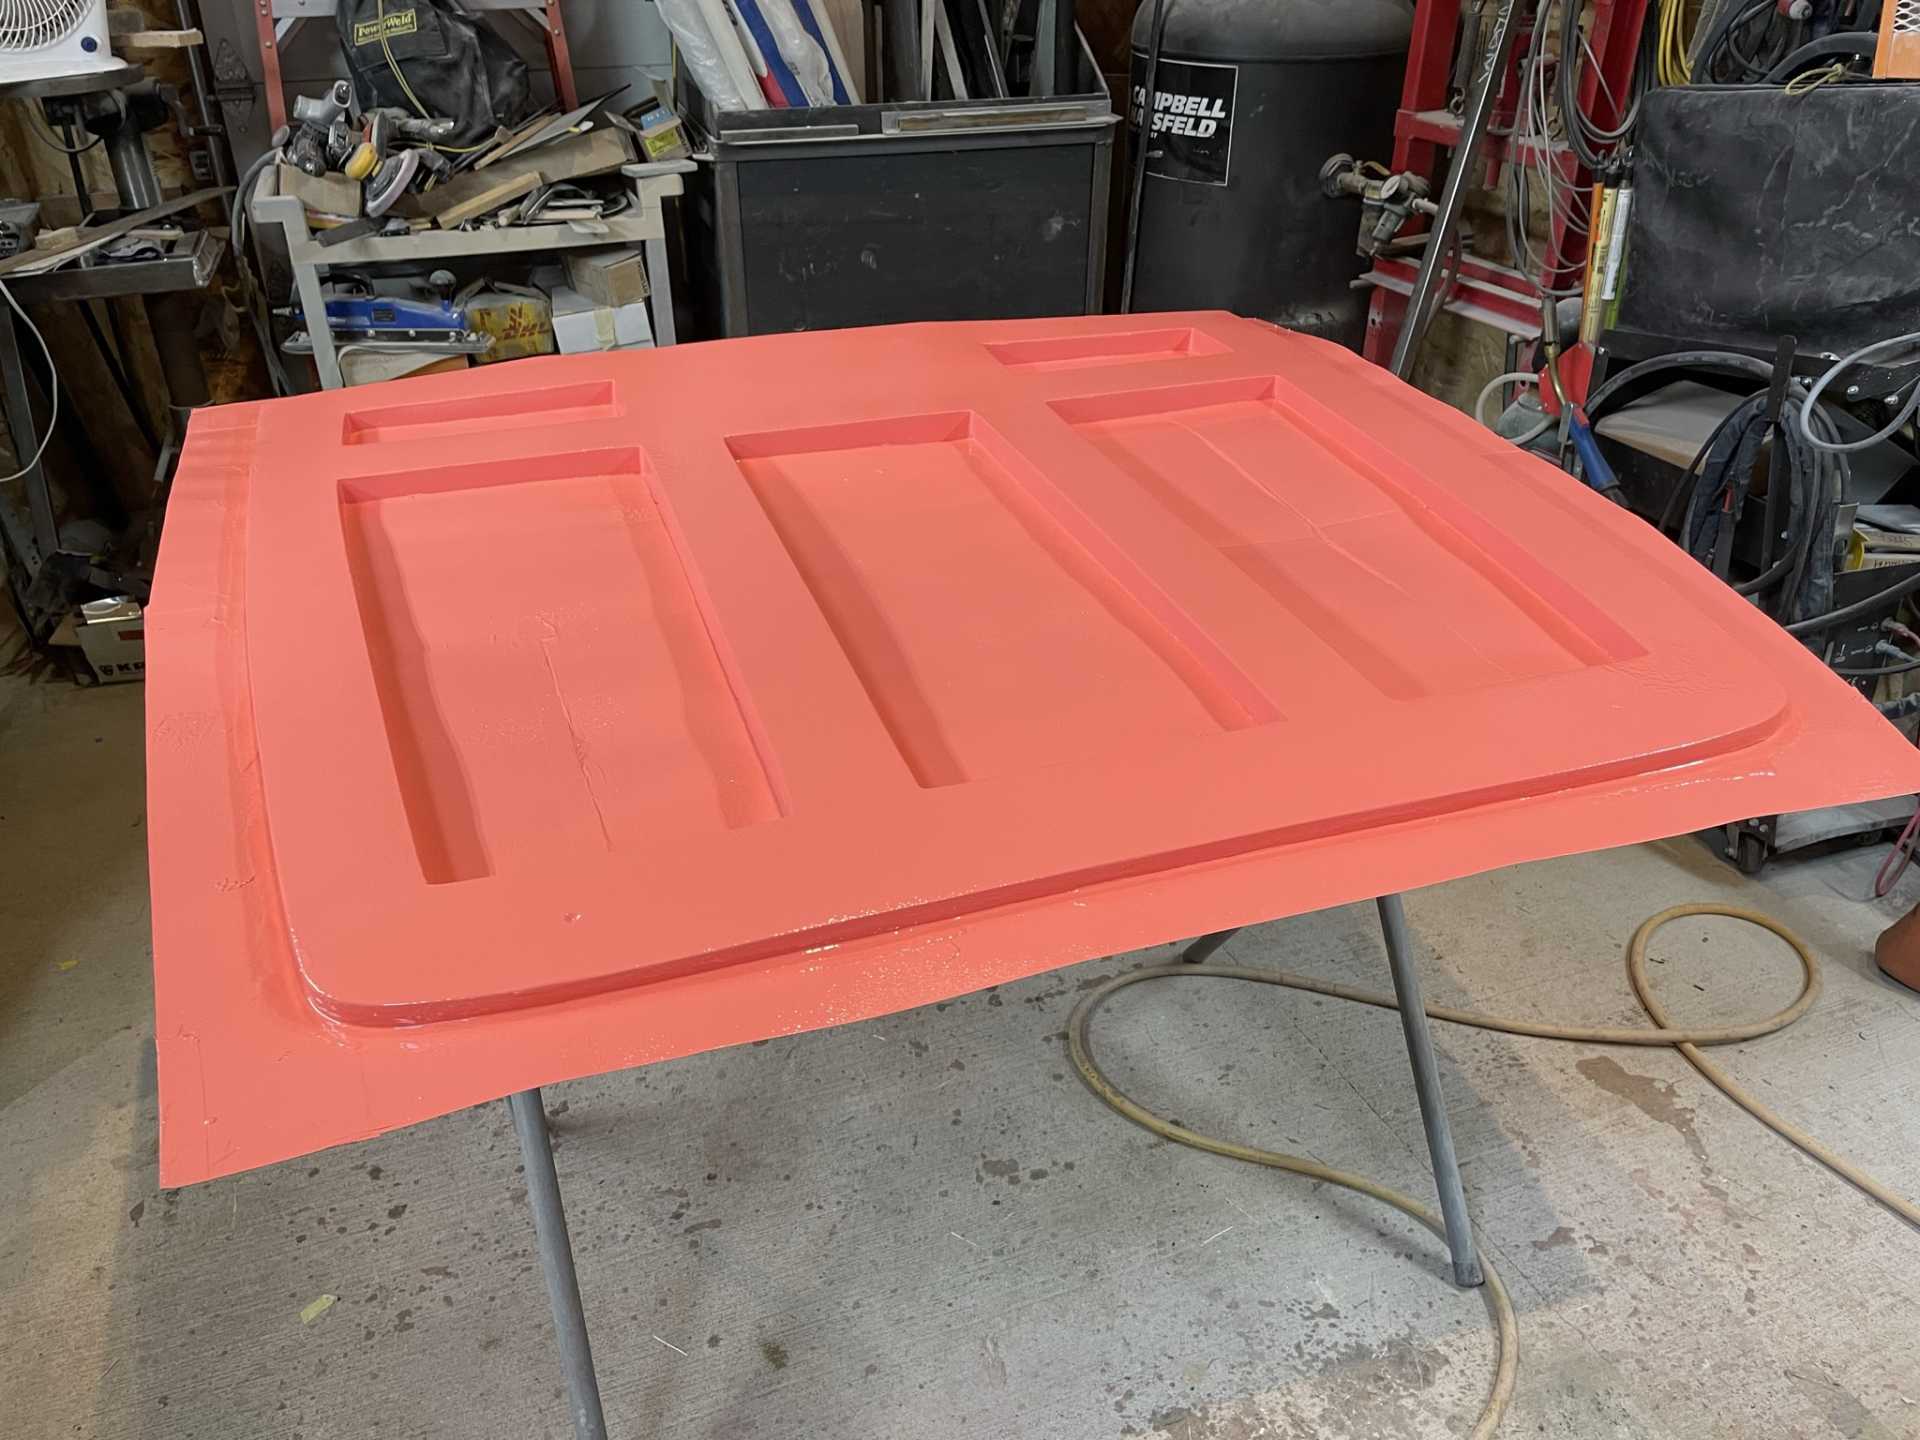
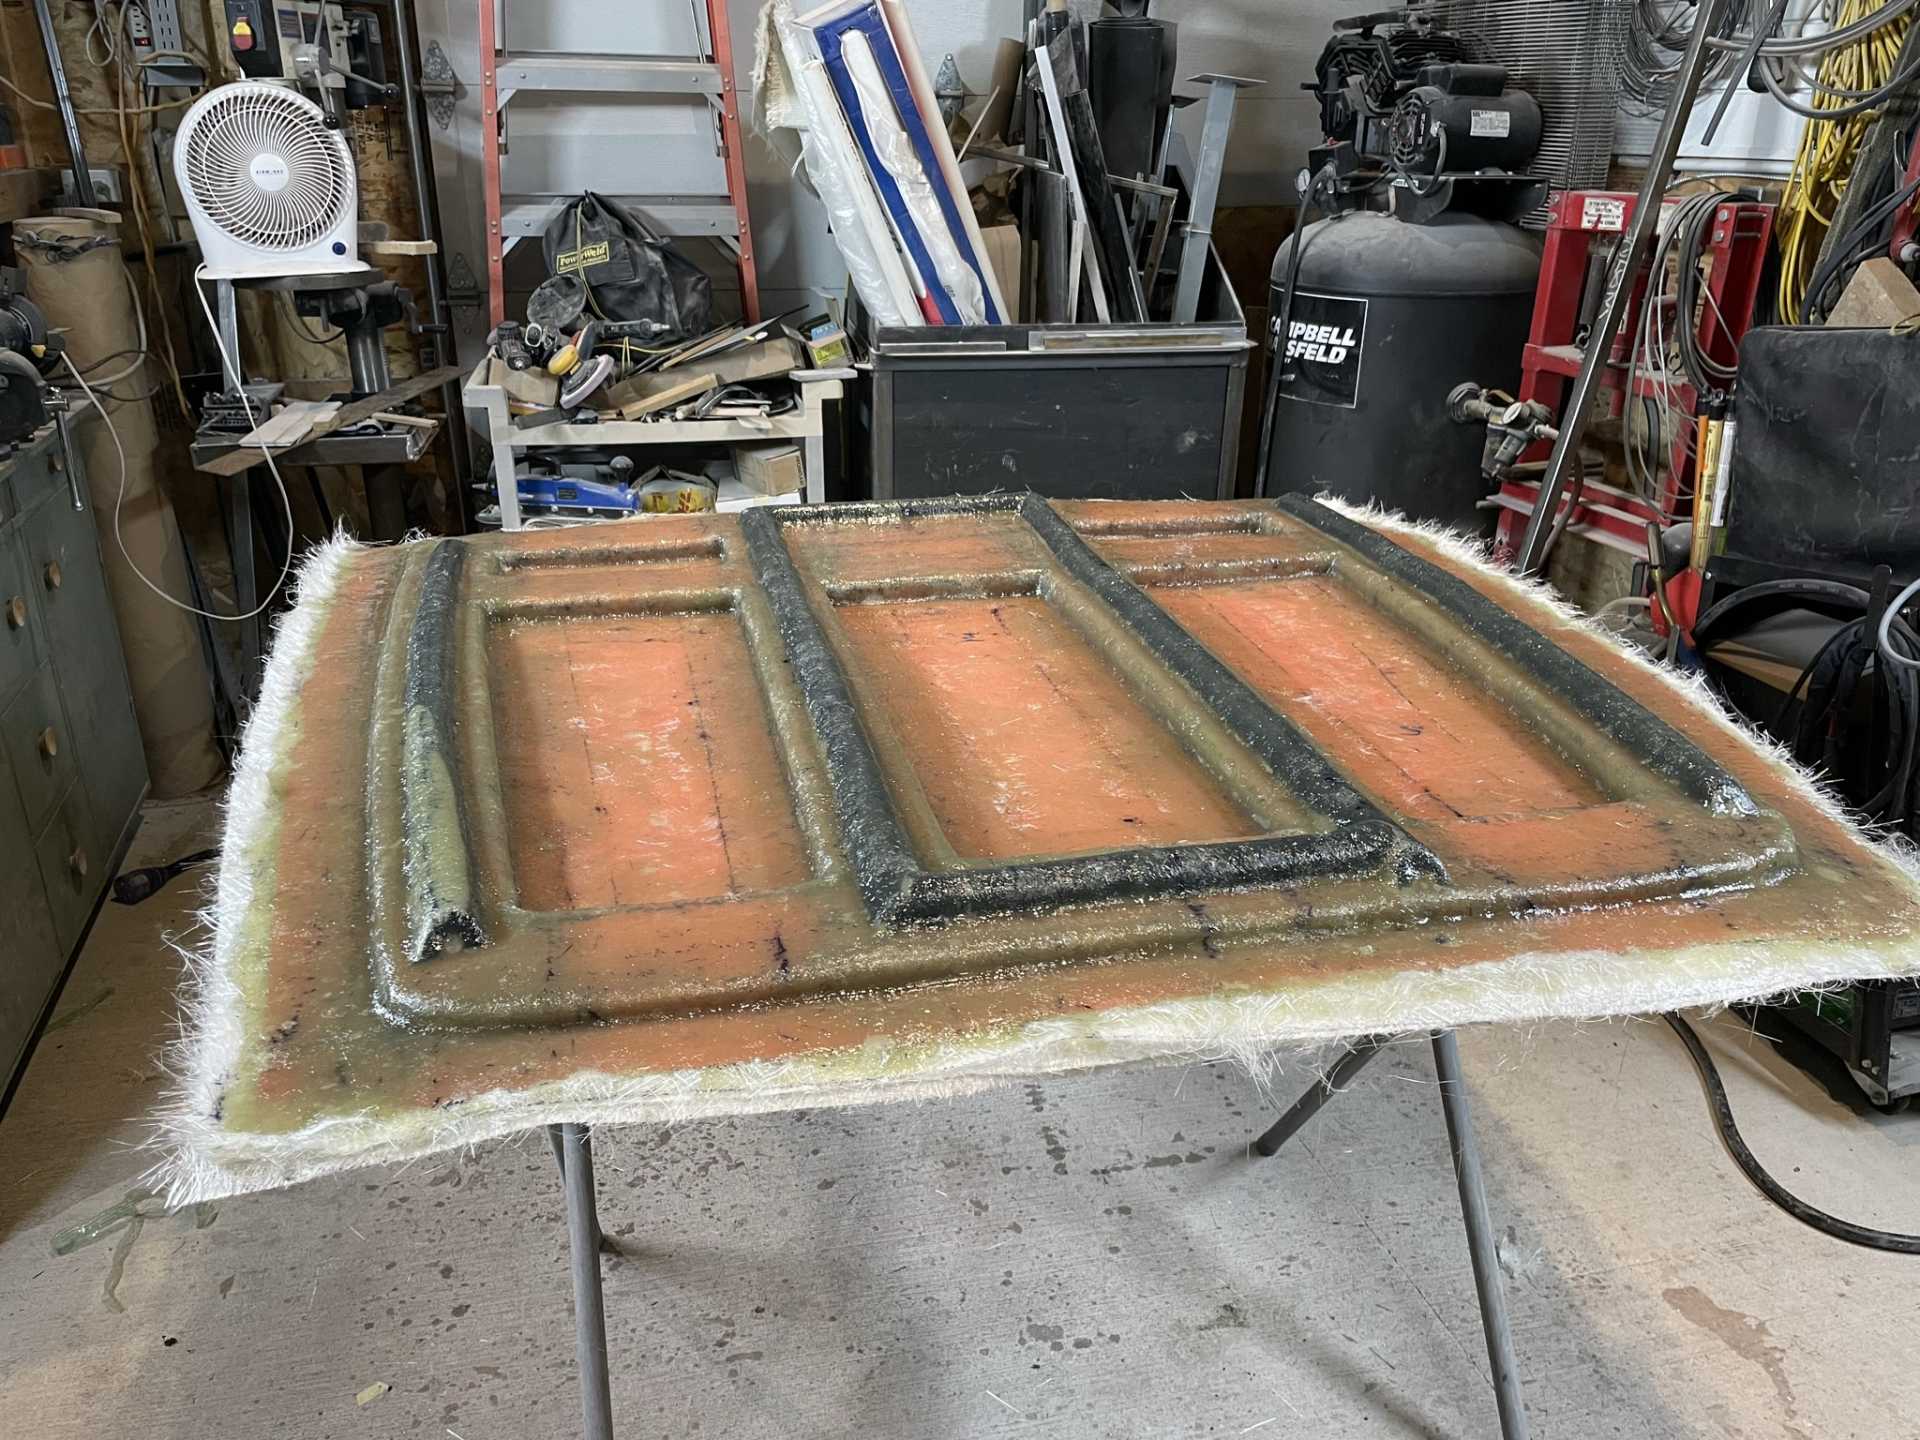
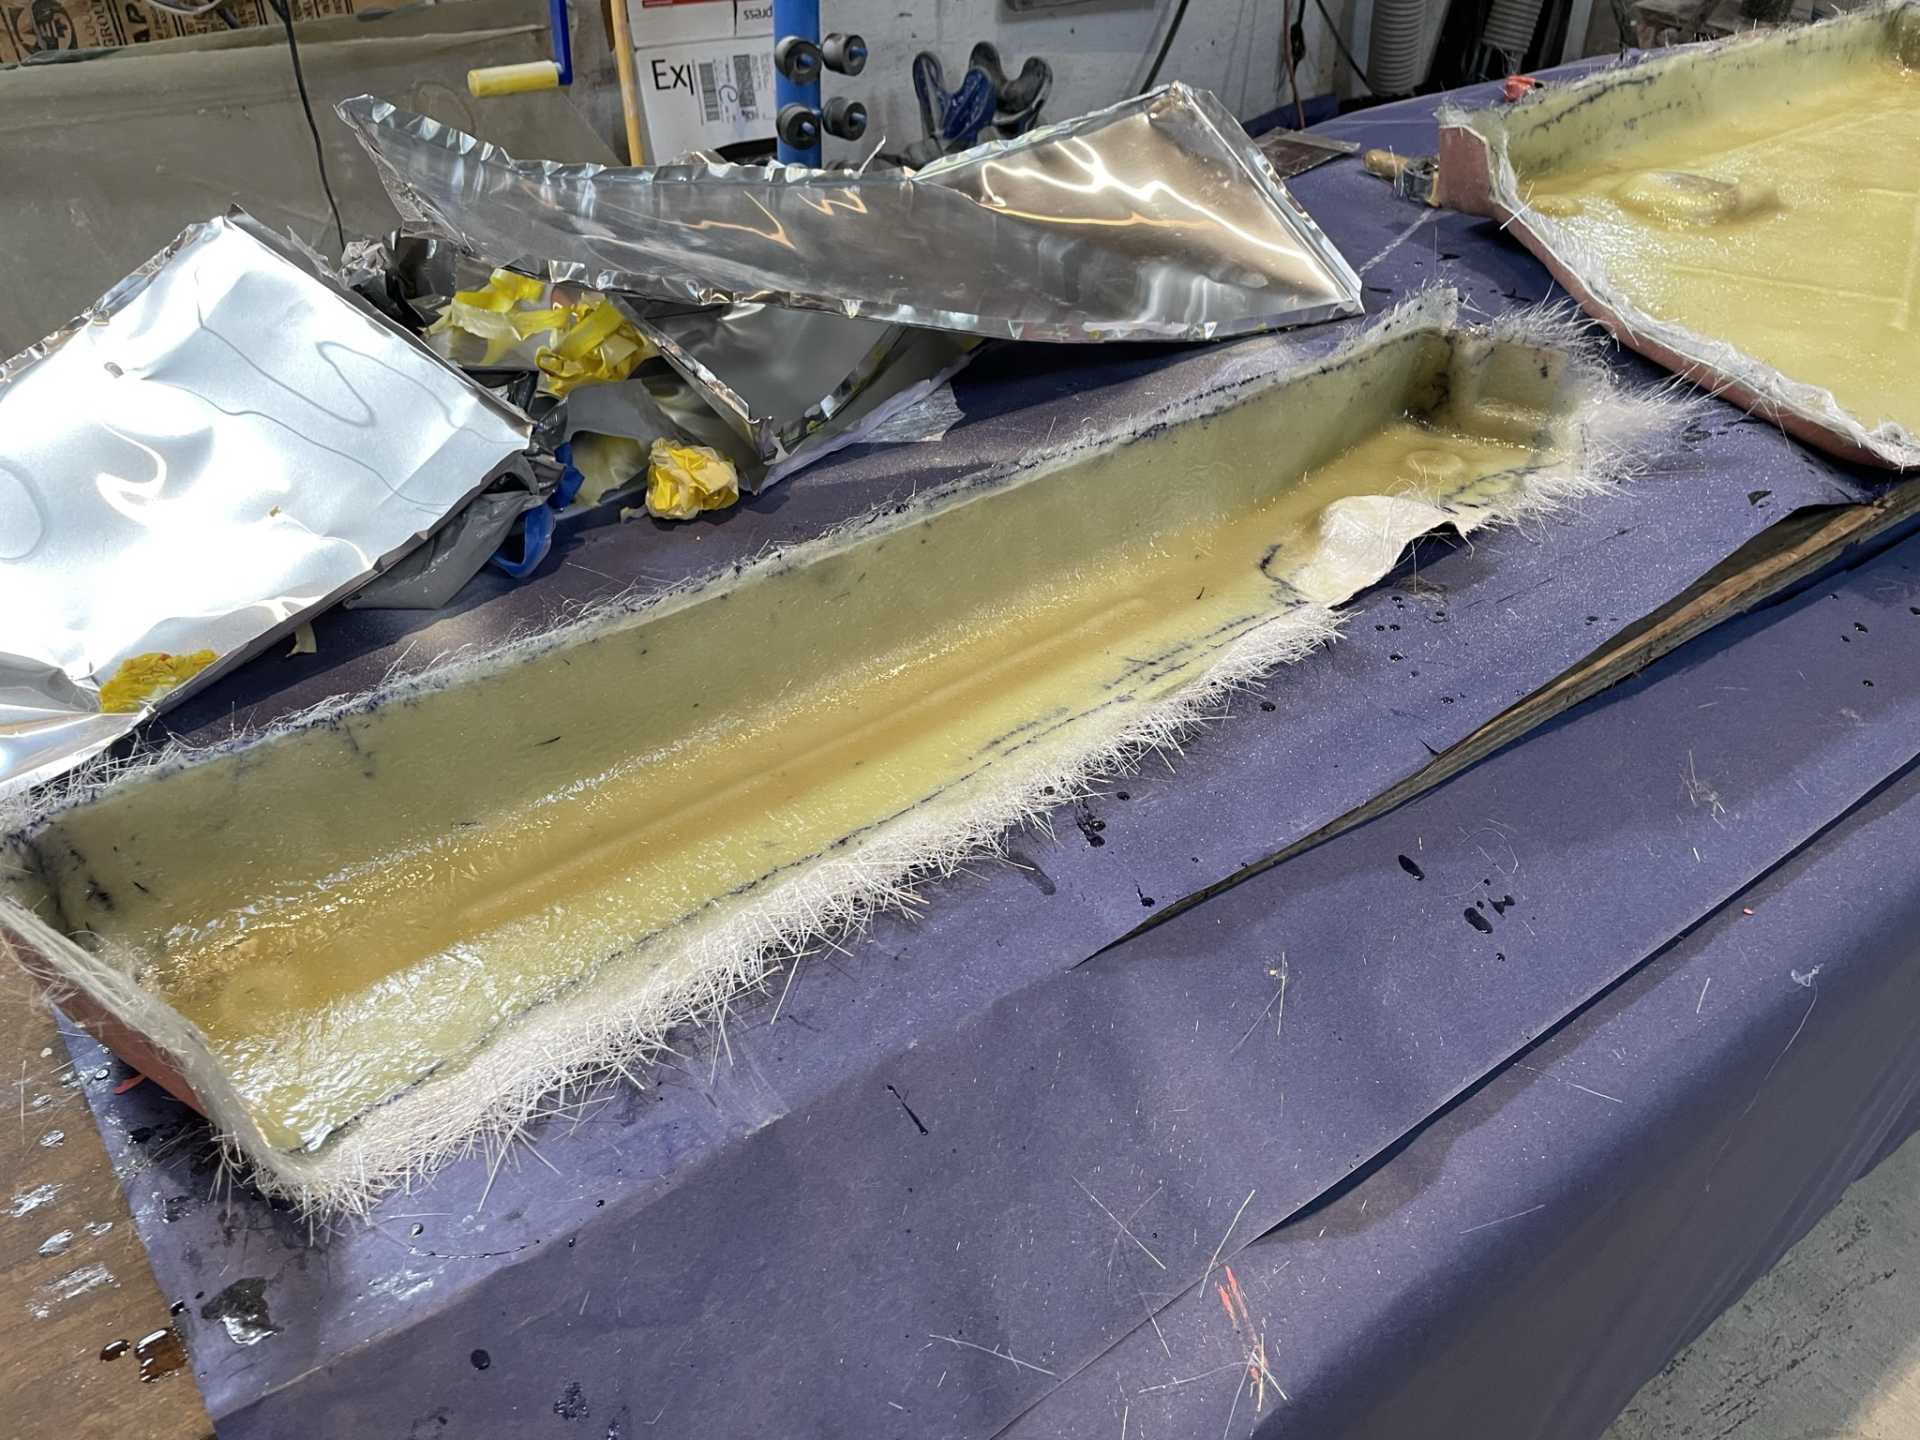
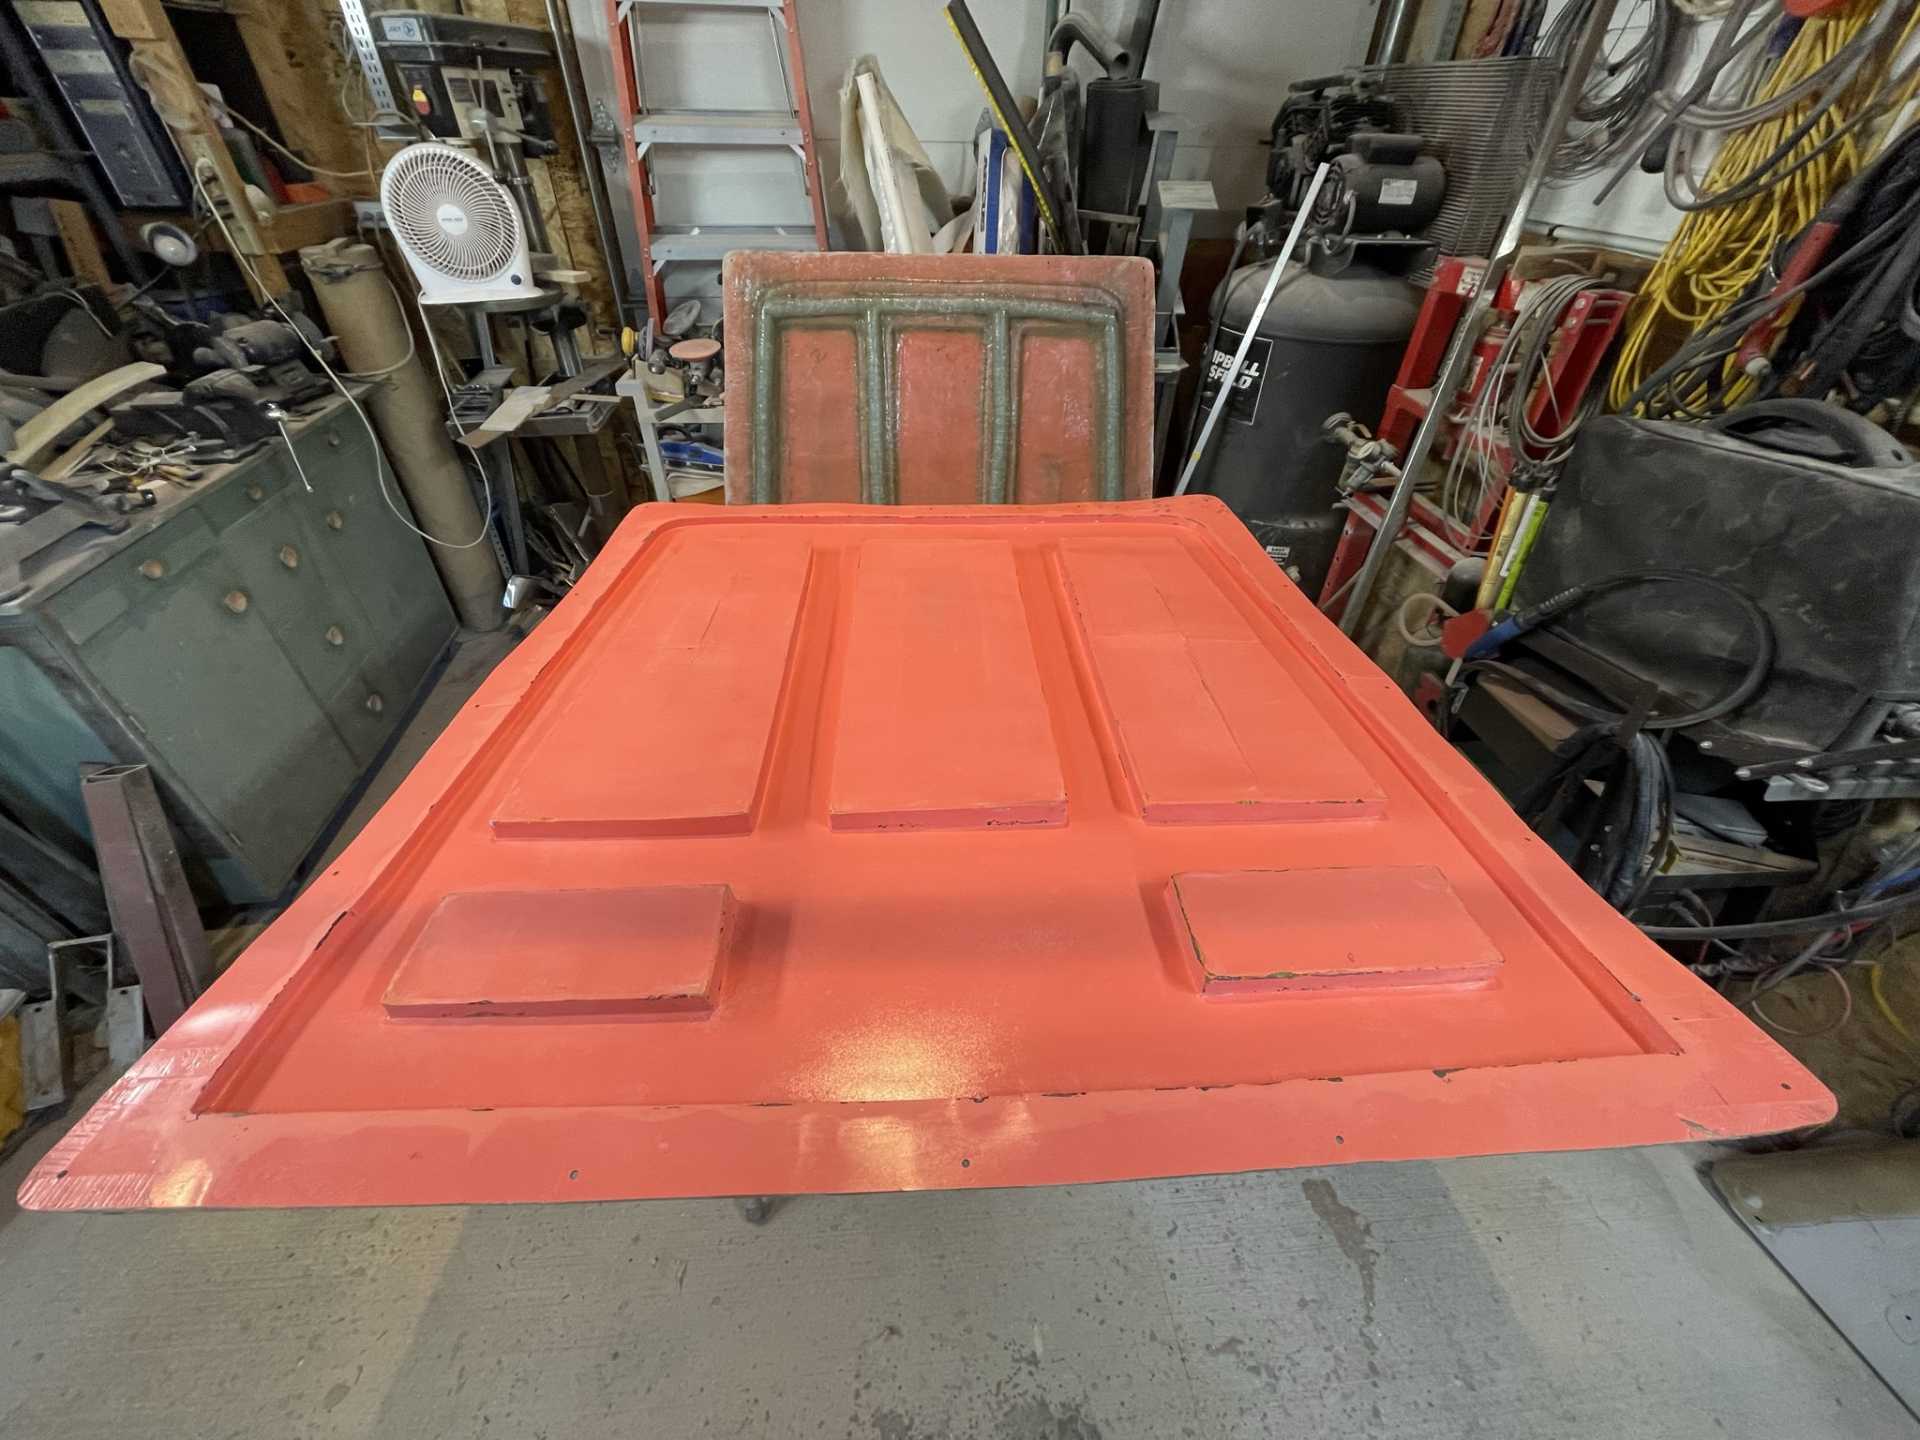
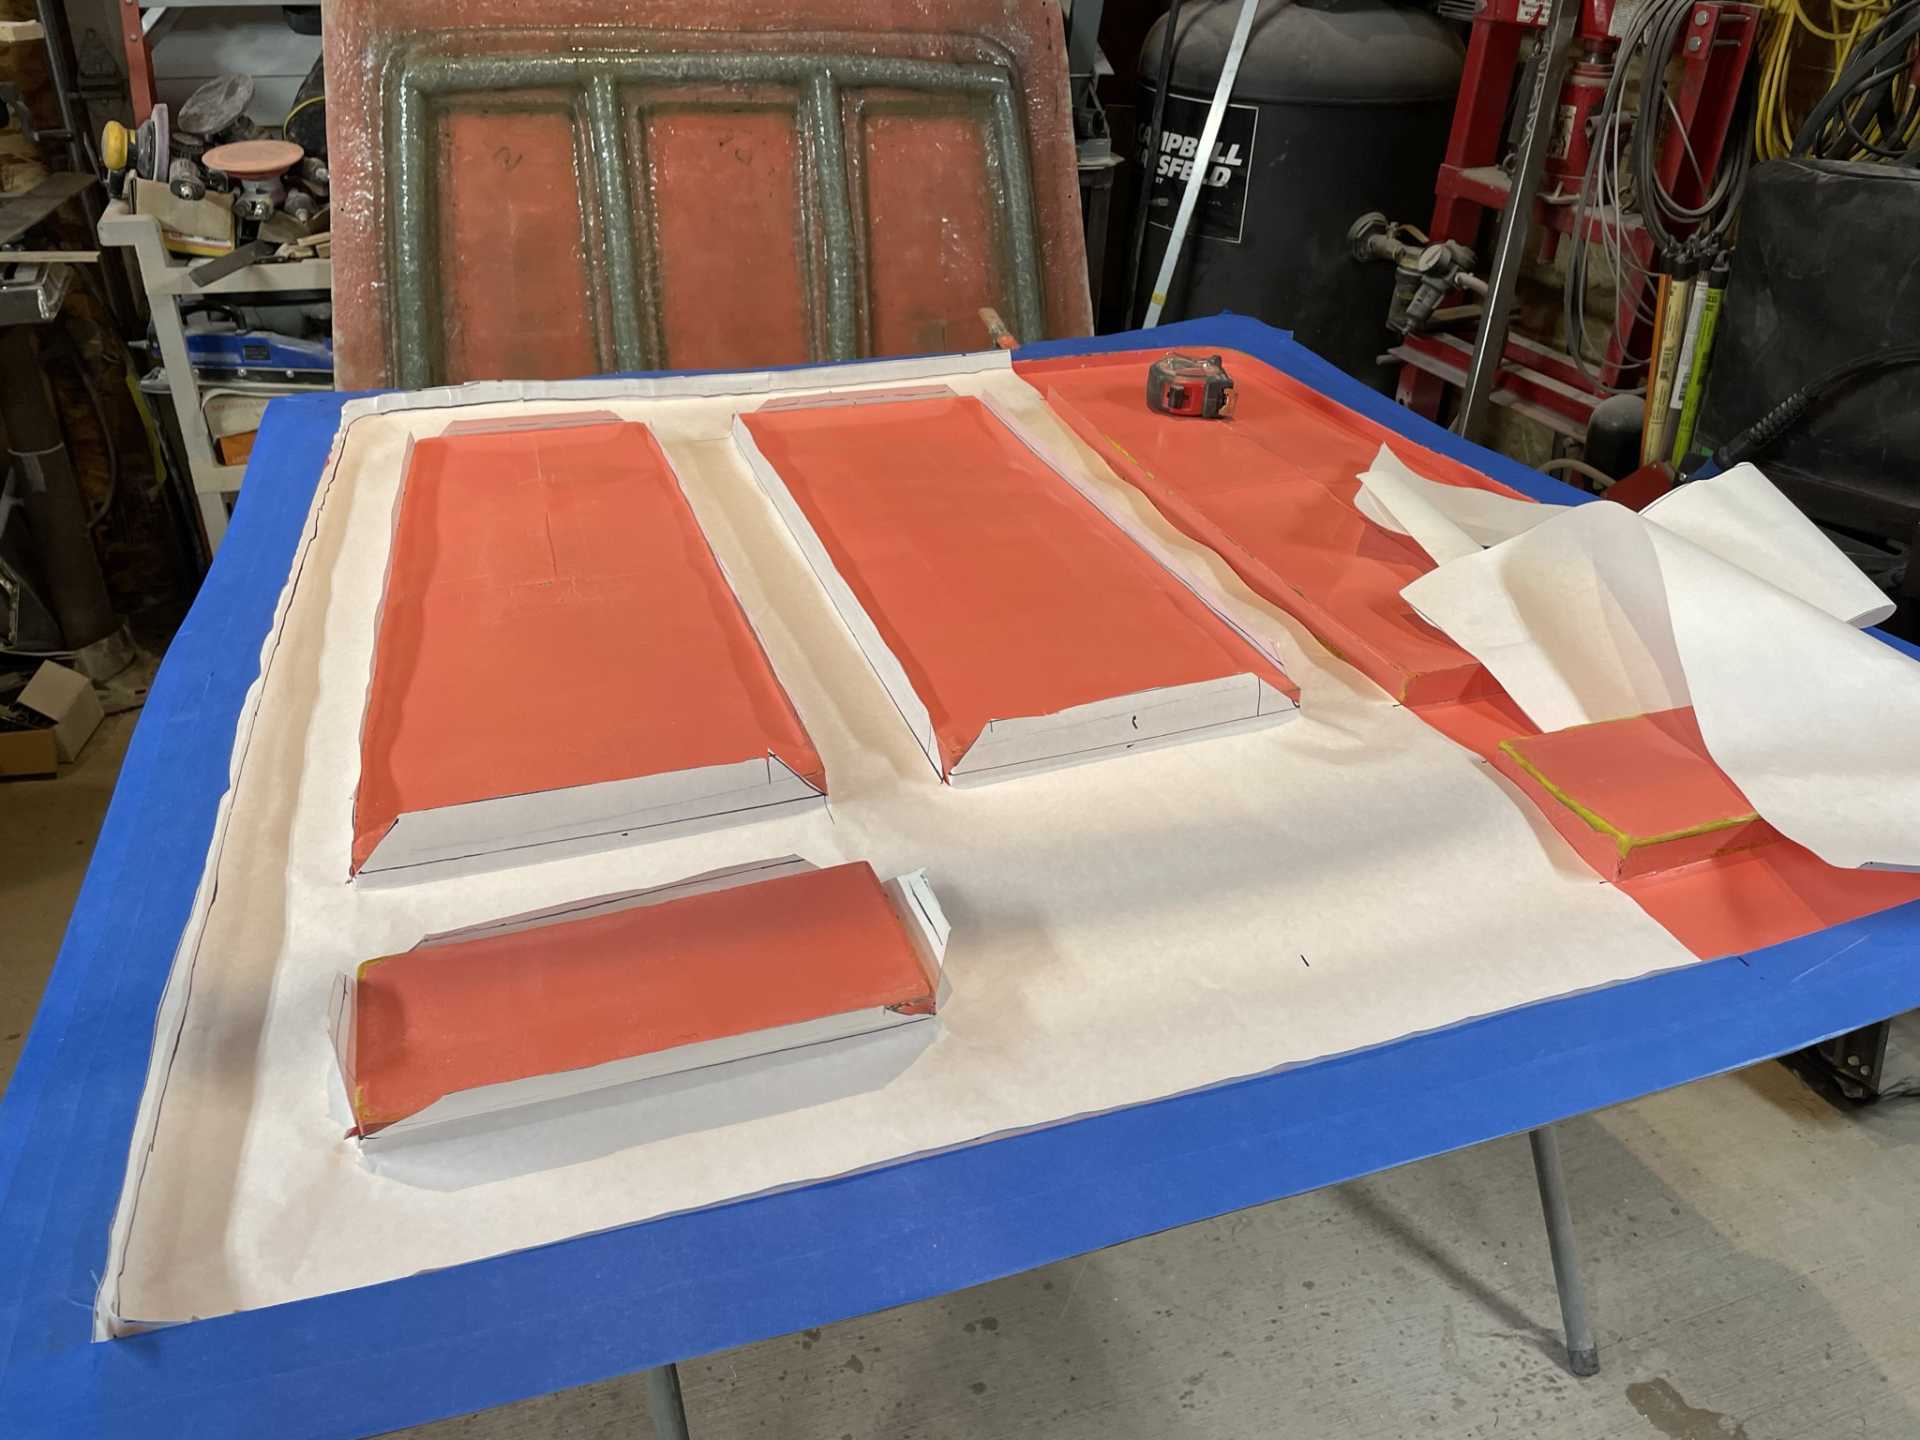
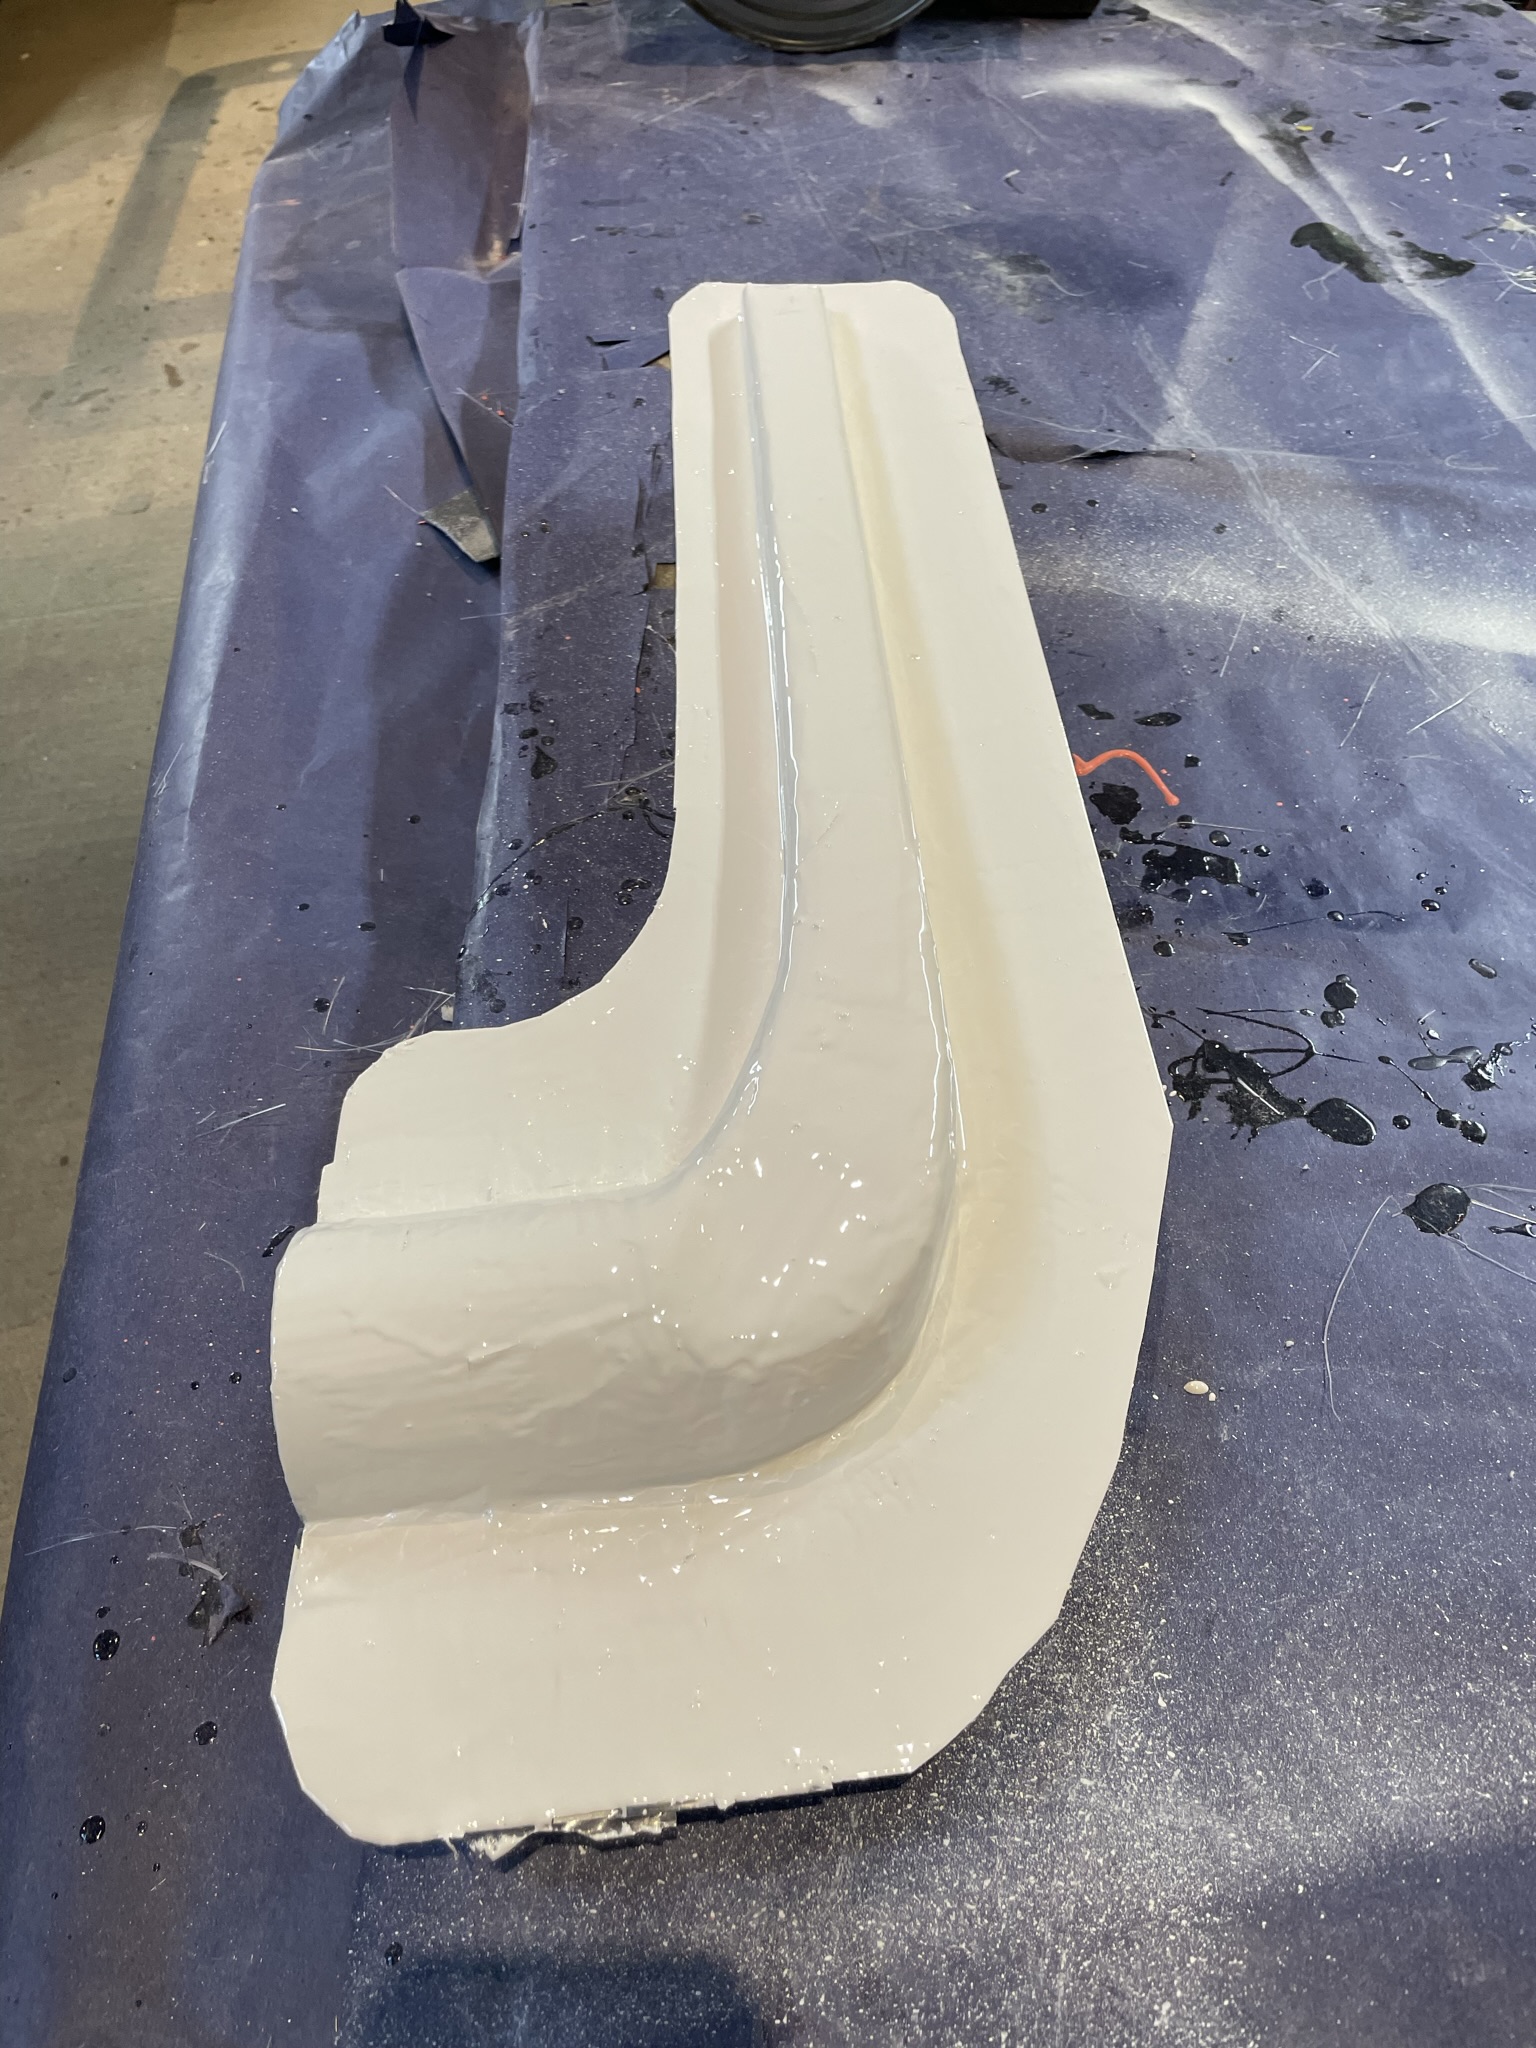
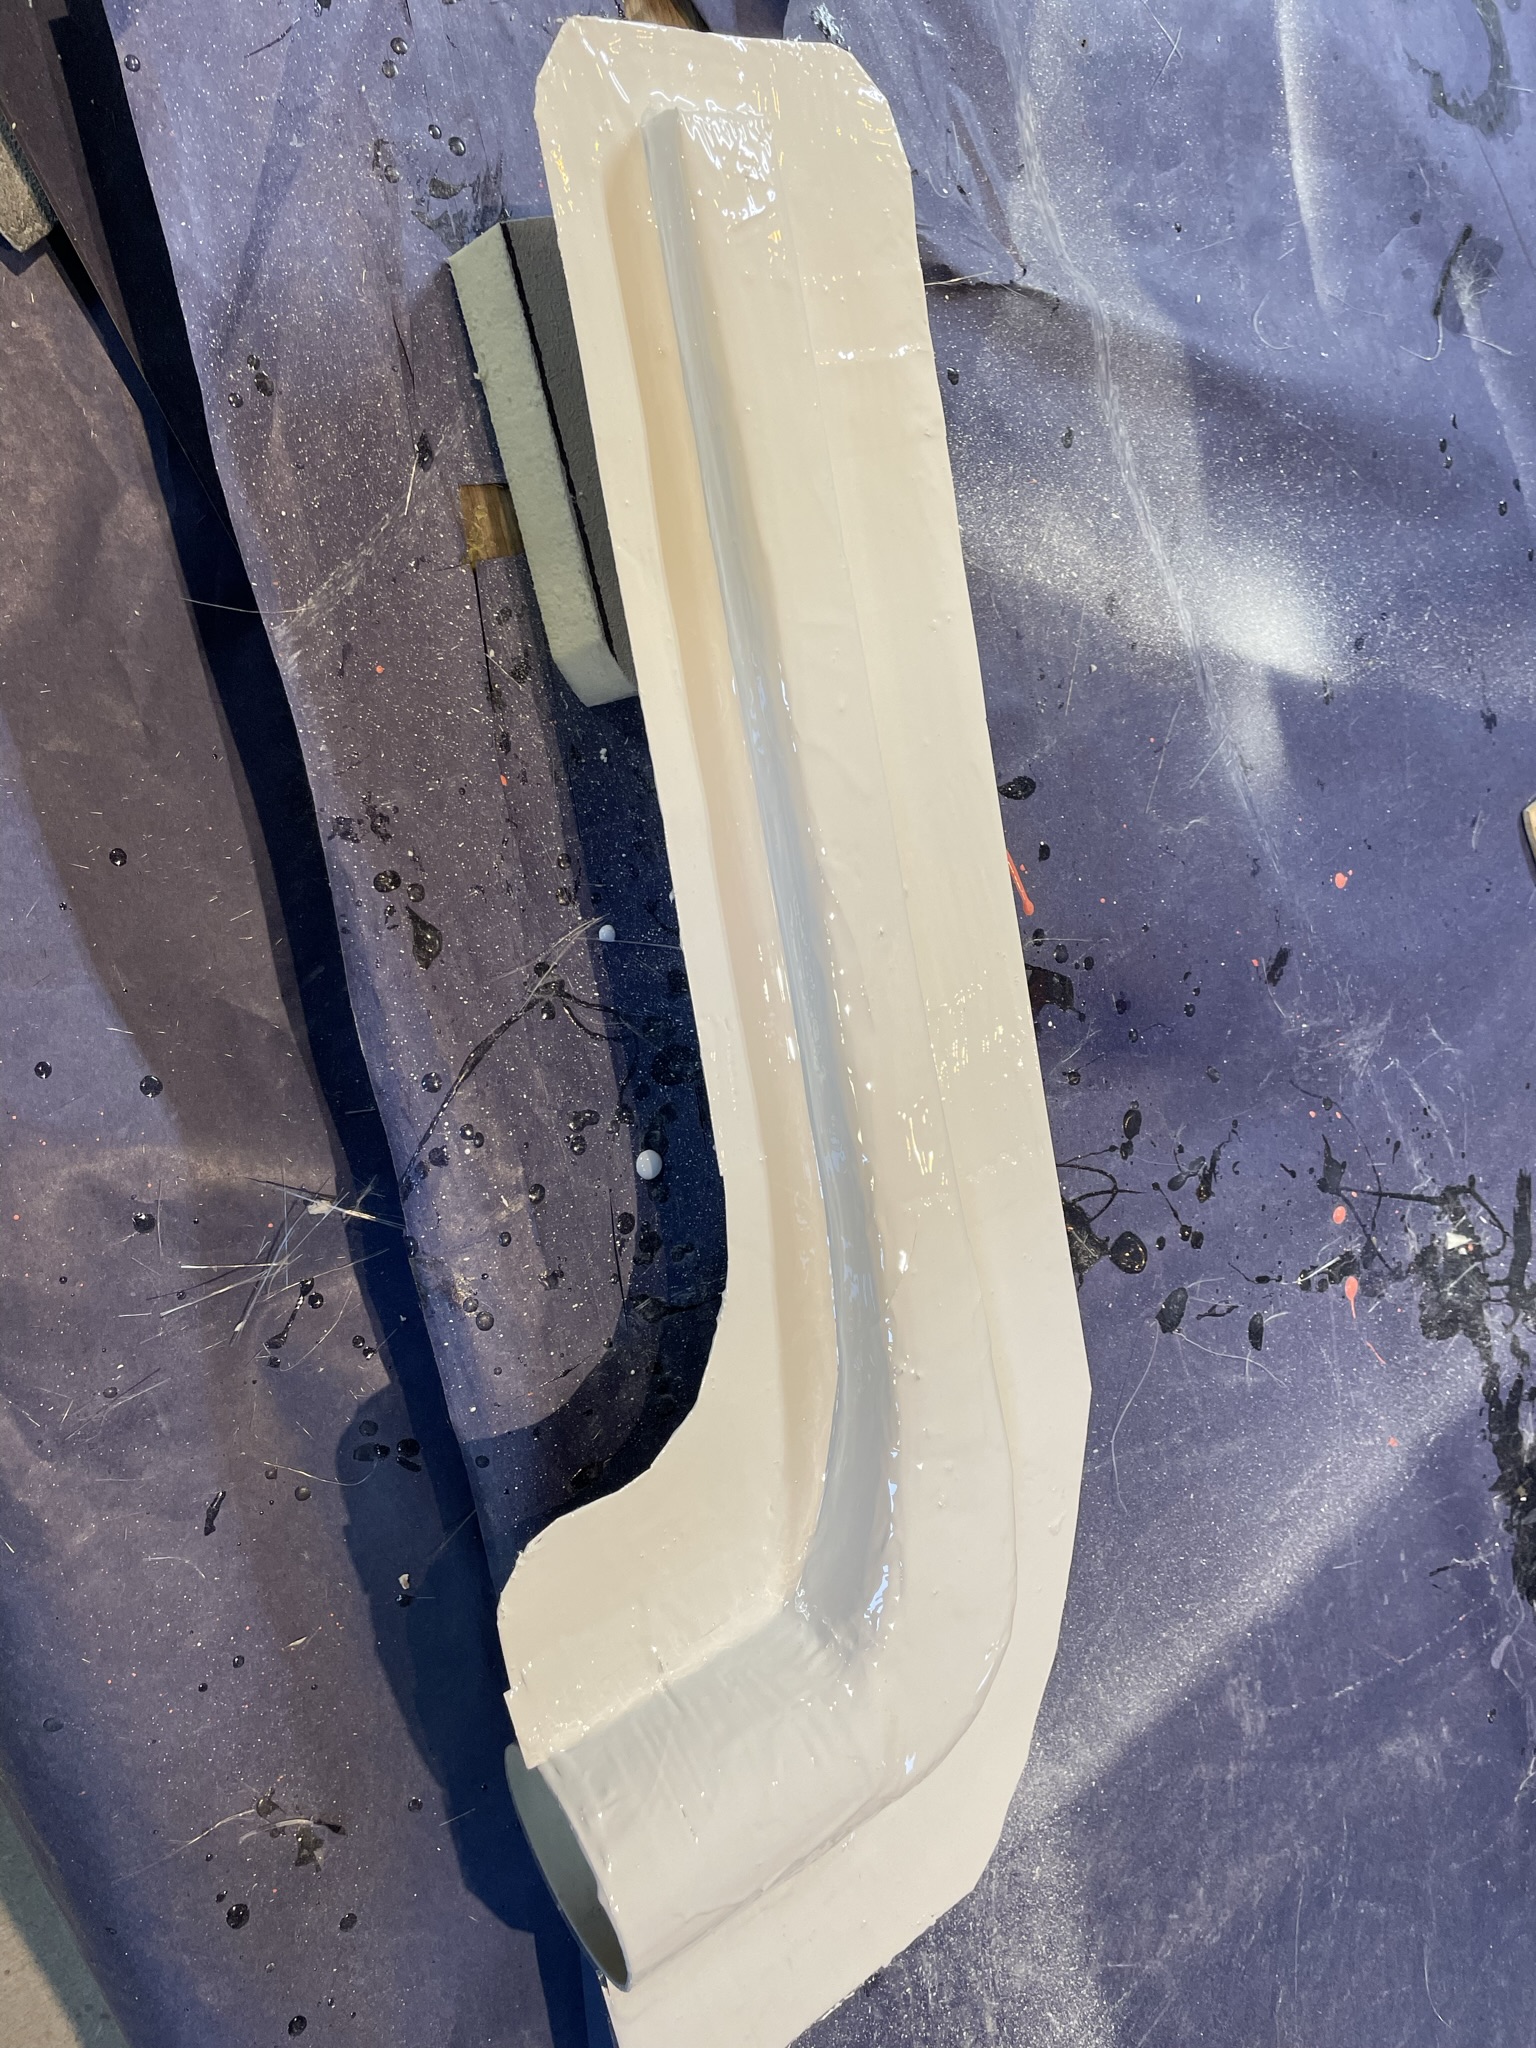
Here’s a bit of a update on the layup on the rear deck hood.
I sprayed a layer of white gelcoat into the mold and let it set up
I laid the first layer of 1 oz fibreglass Matt and allowed it to setup
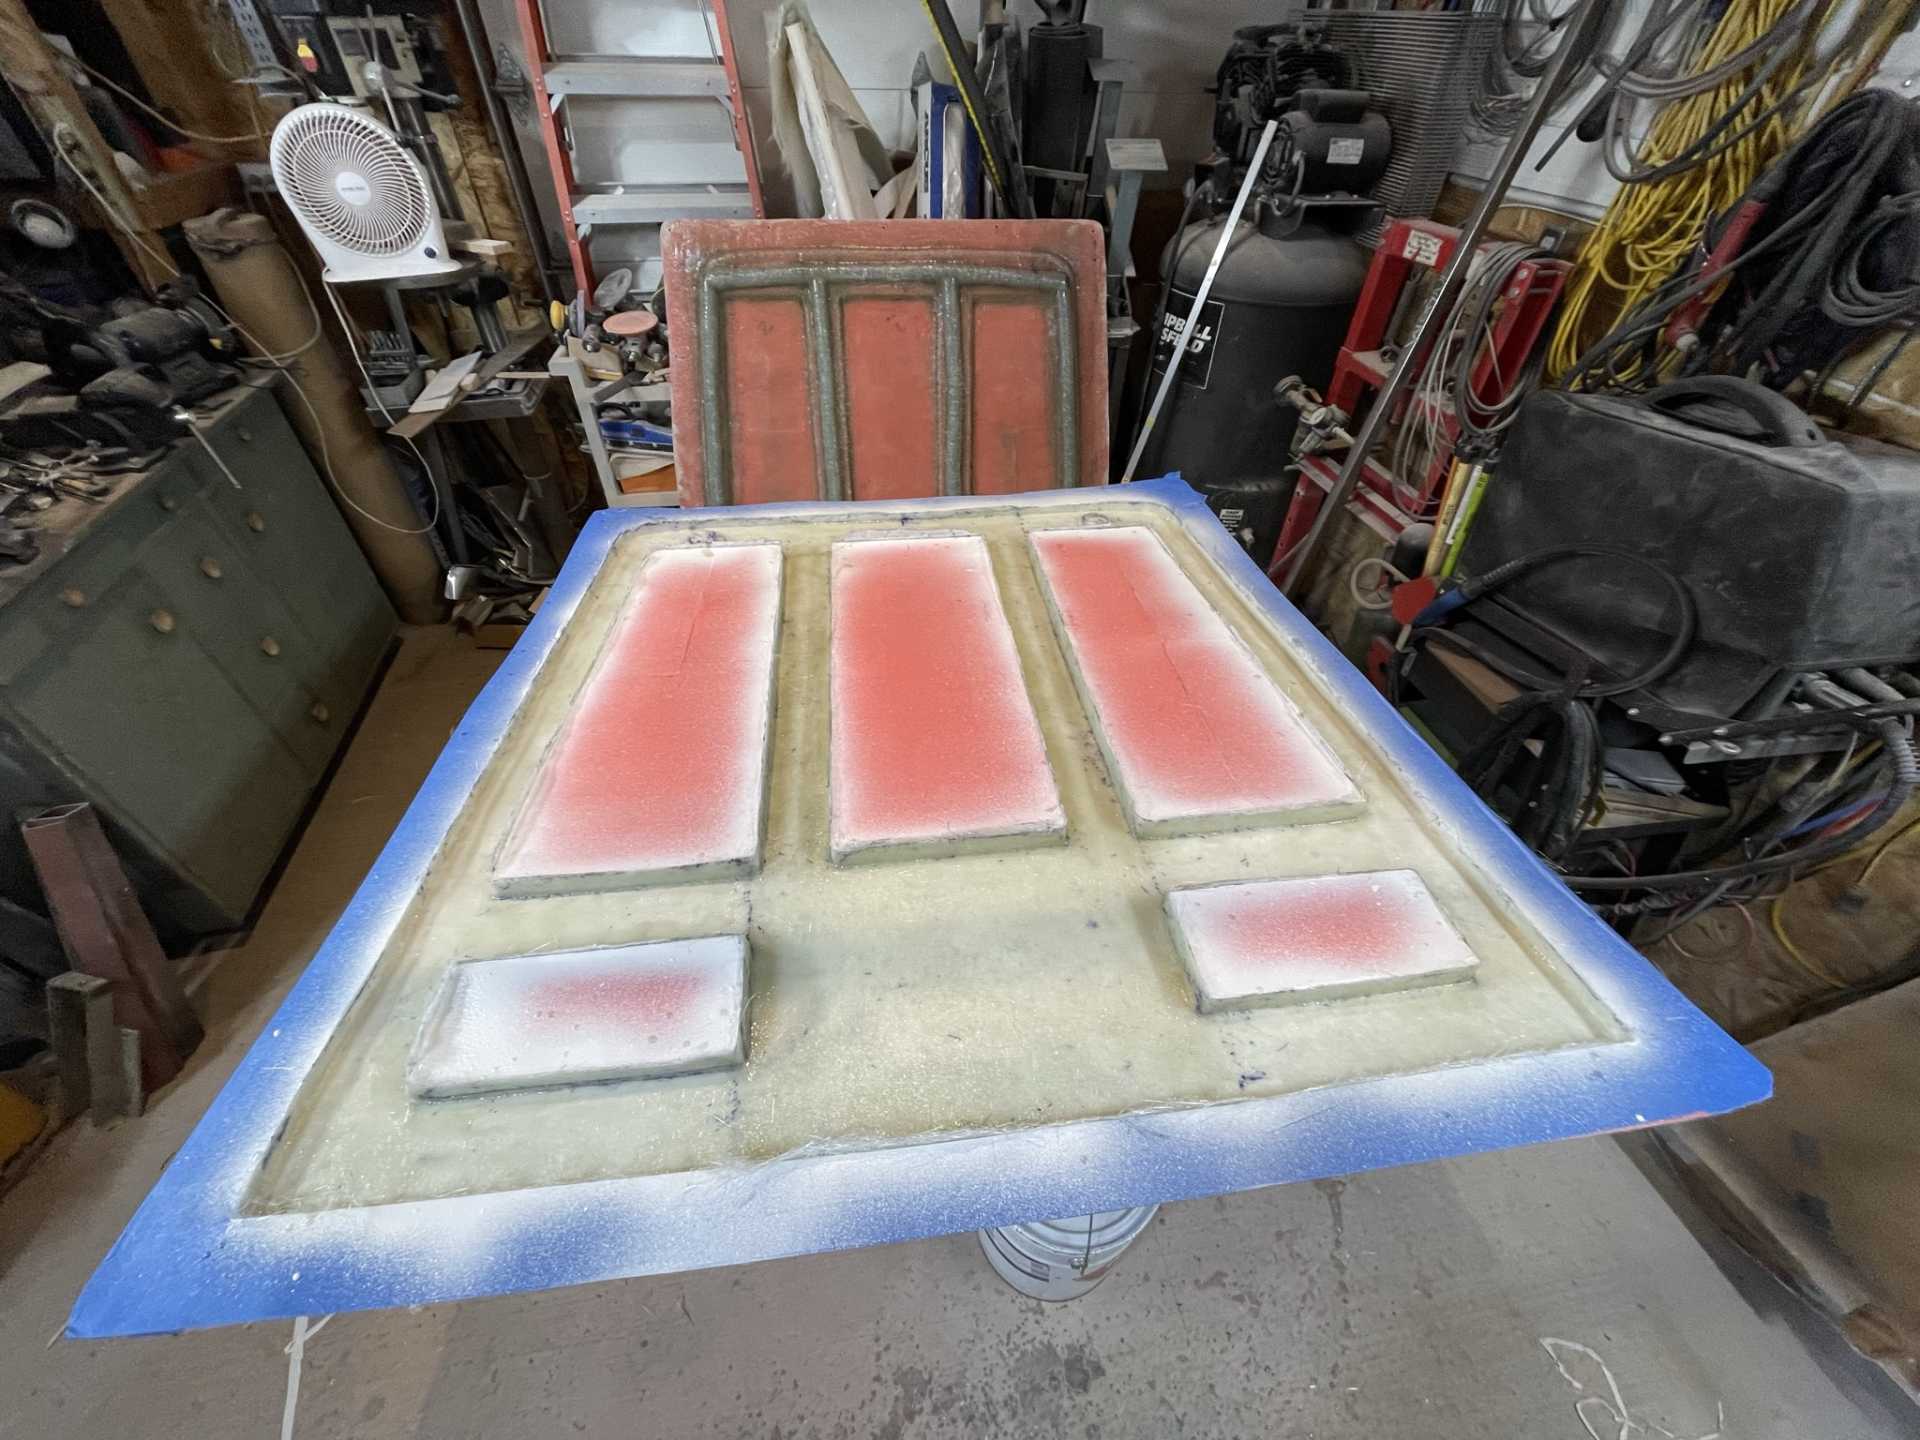
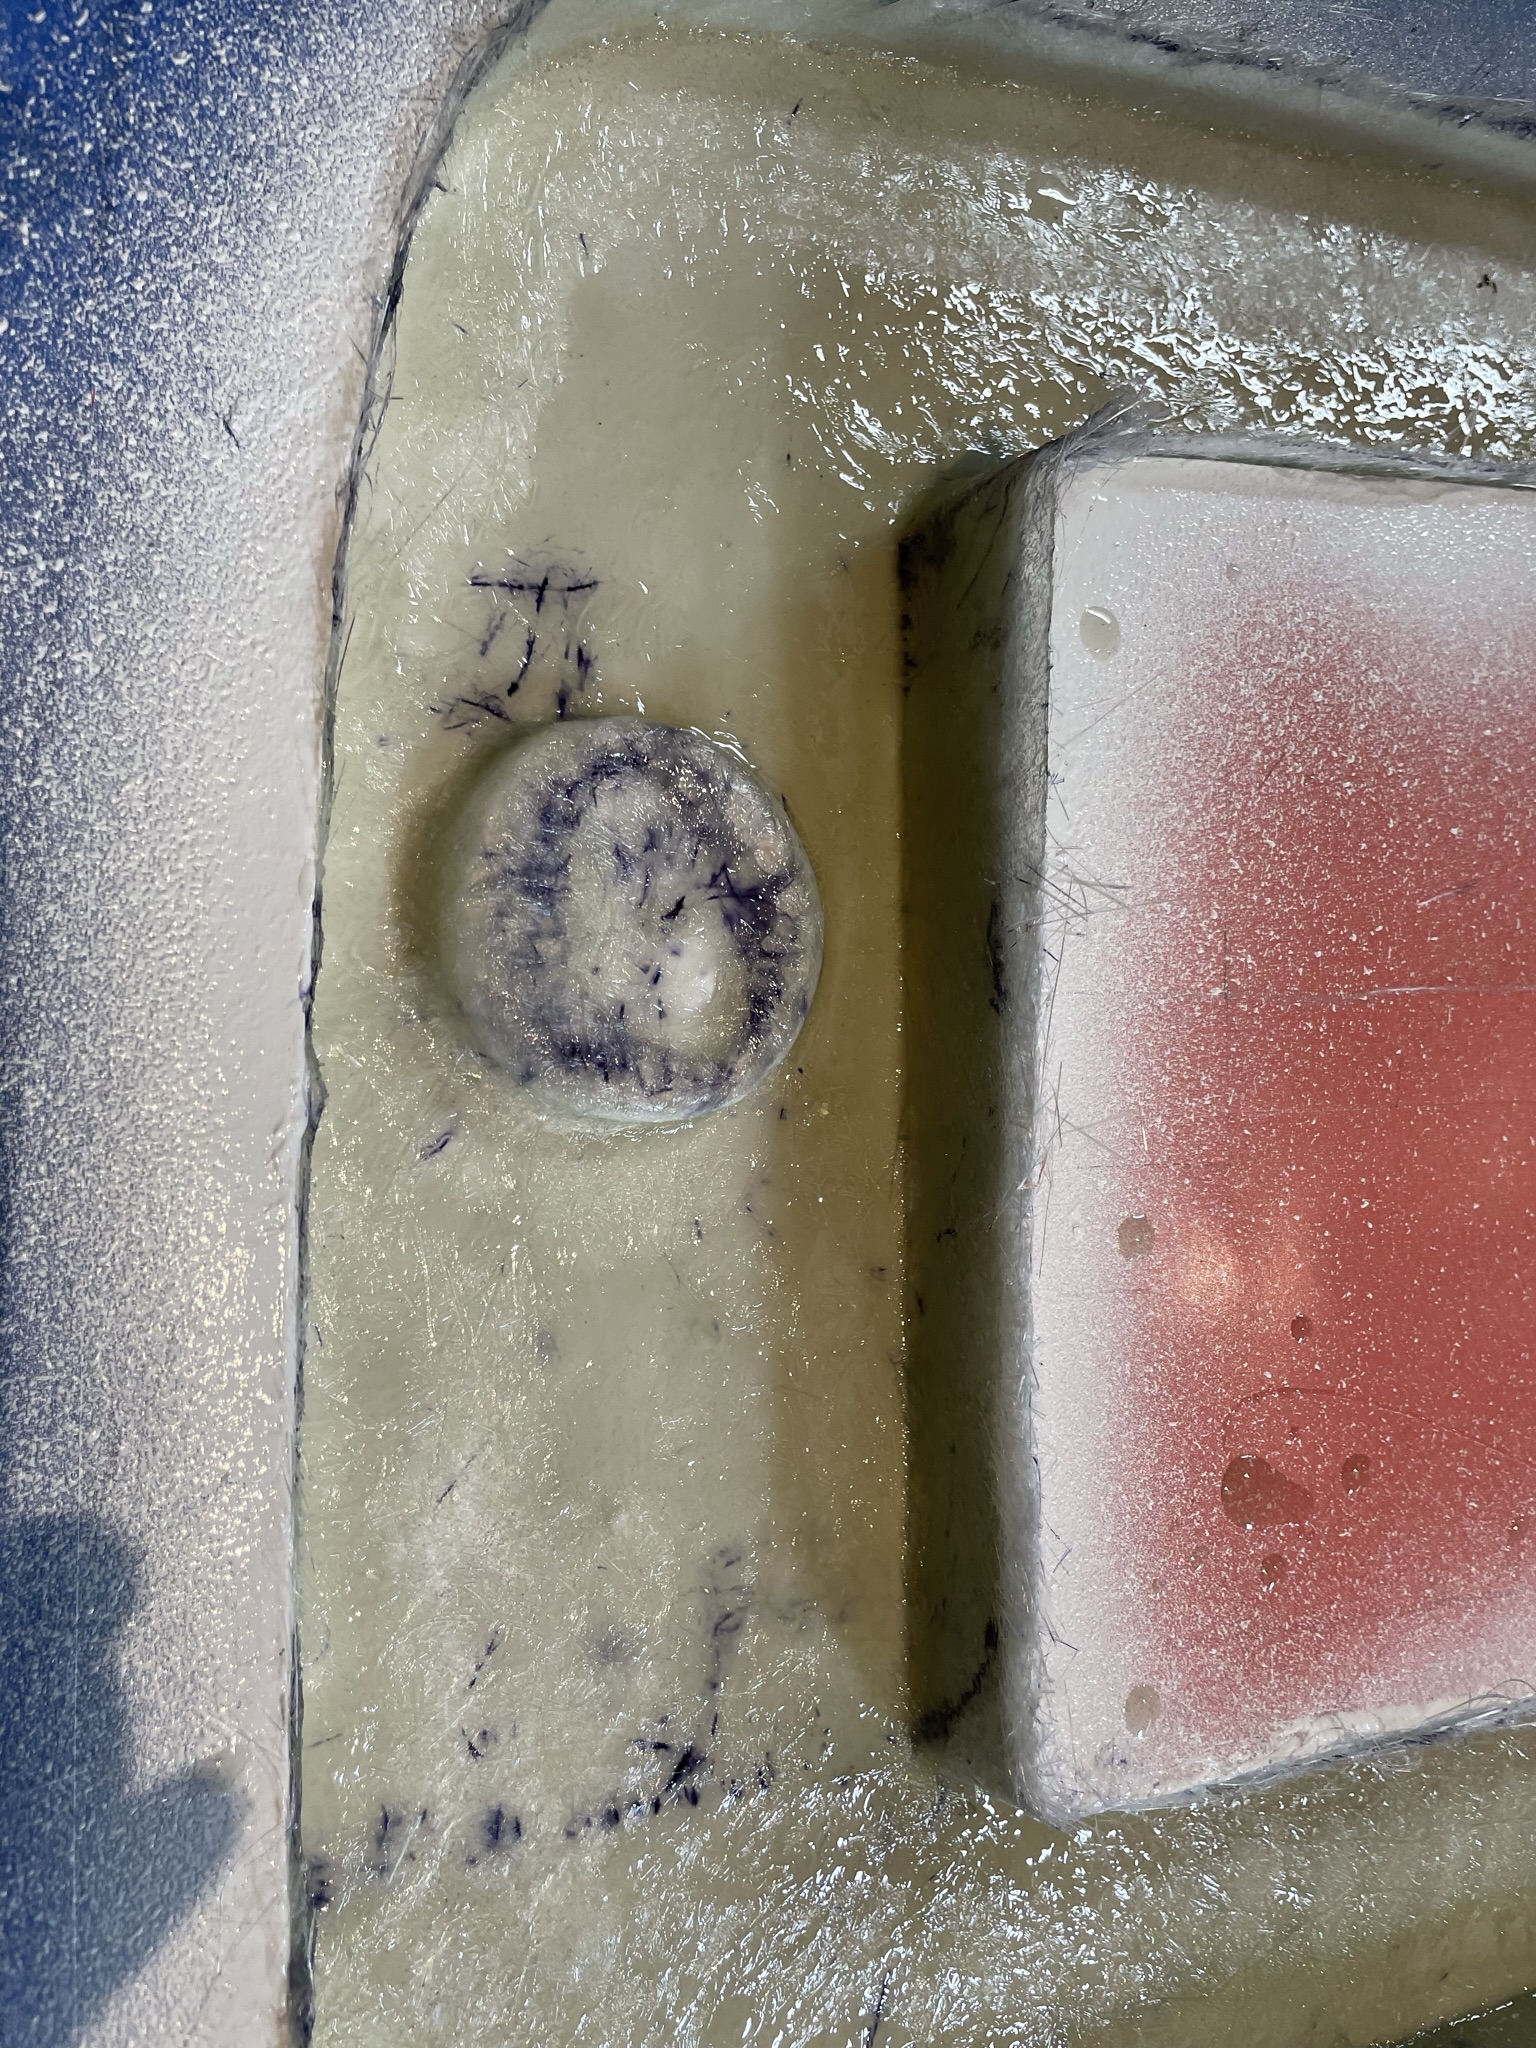
I’m using a couple of hood hold downs that I need to recess into the hood.
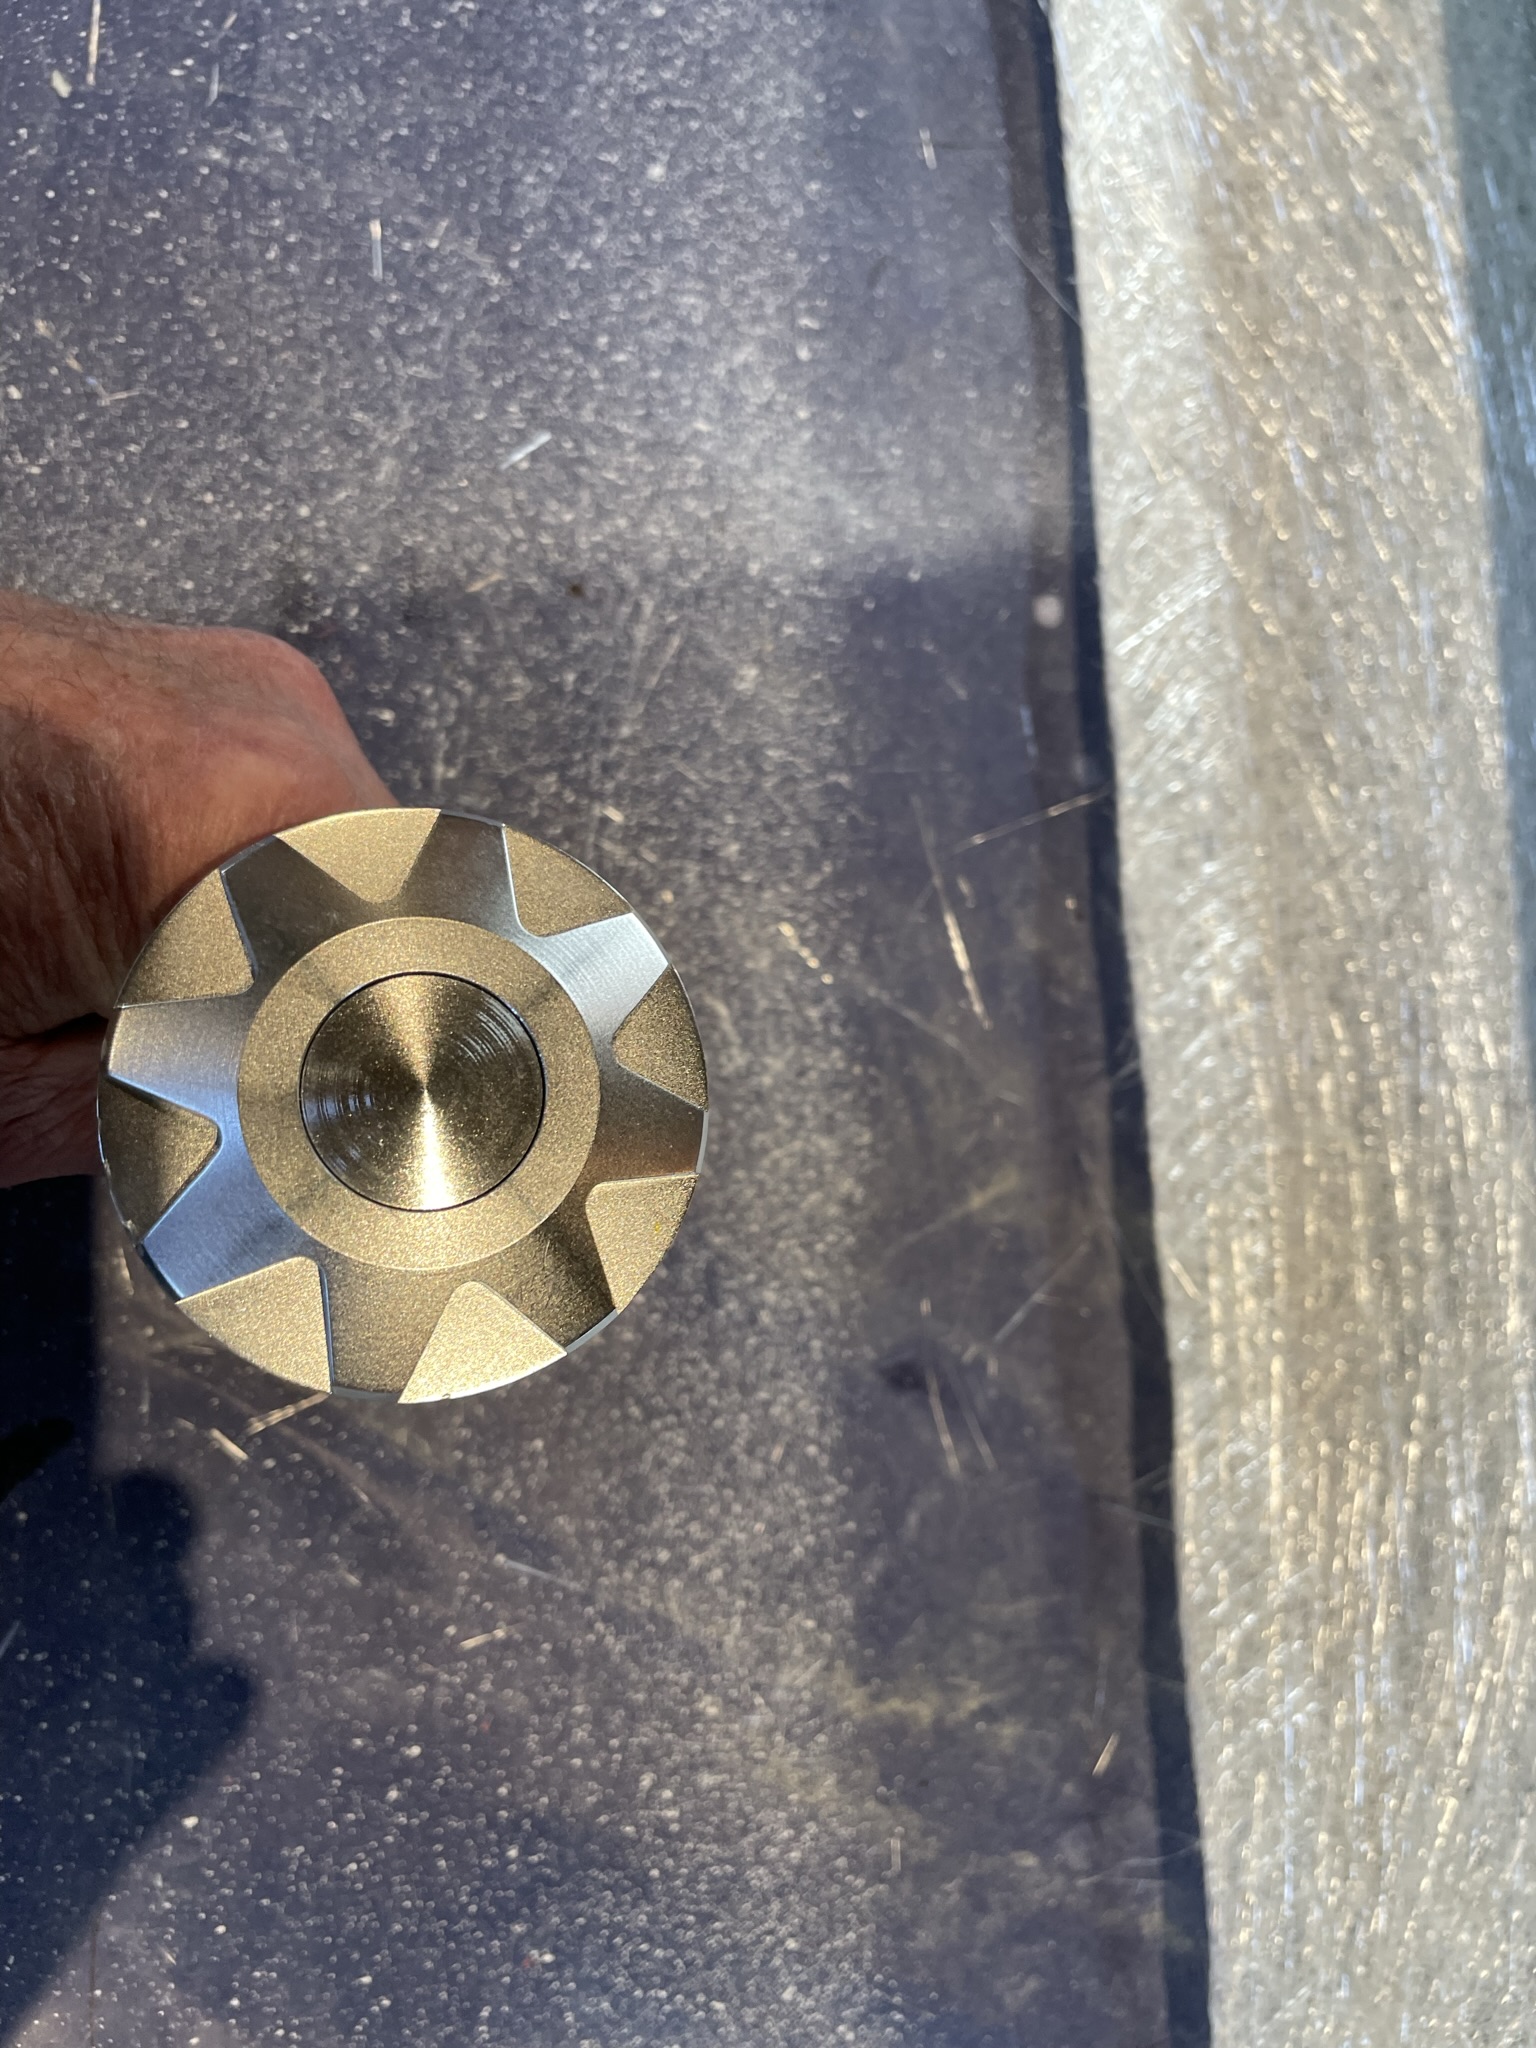 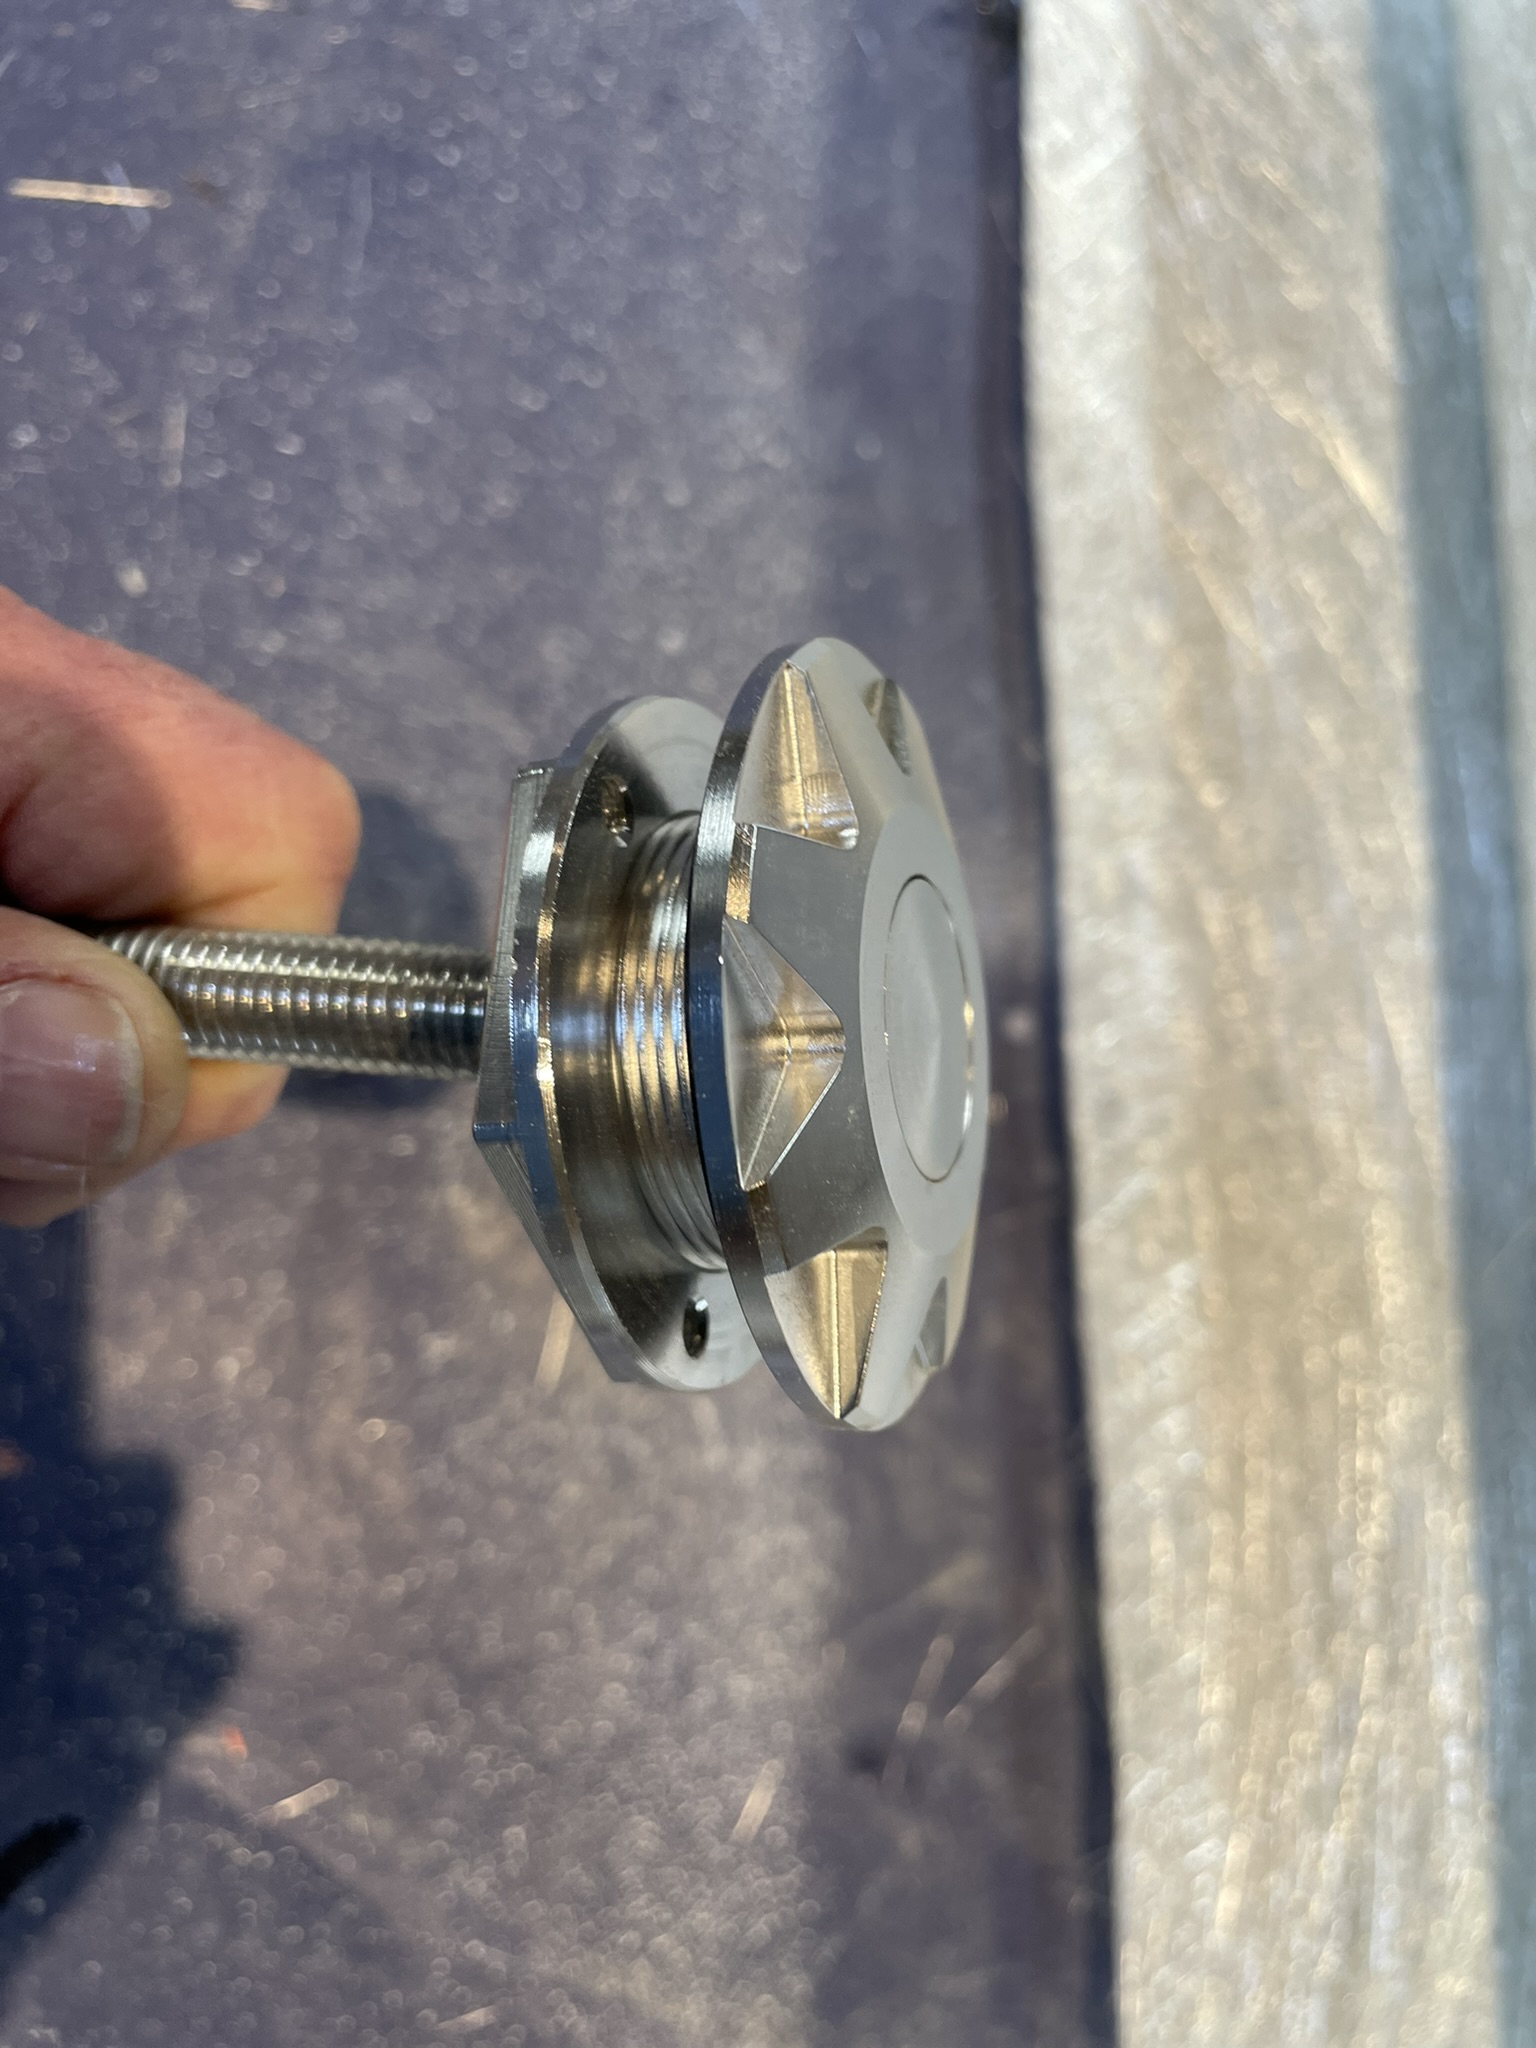
The method I’m using to allow the head to be recessed and flush to the top surface was to take a piece of wax formed to the
Correct dimensions and do the layup over the wax. Fingers crossed !!
 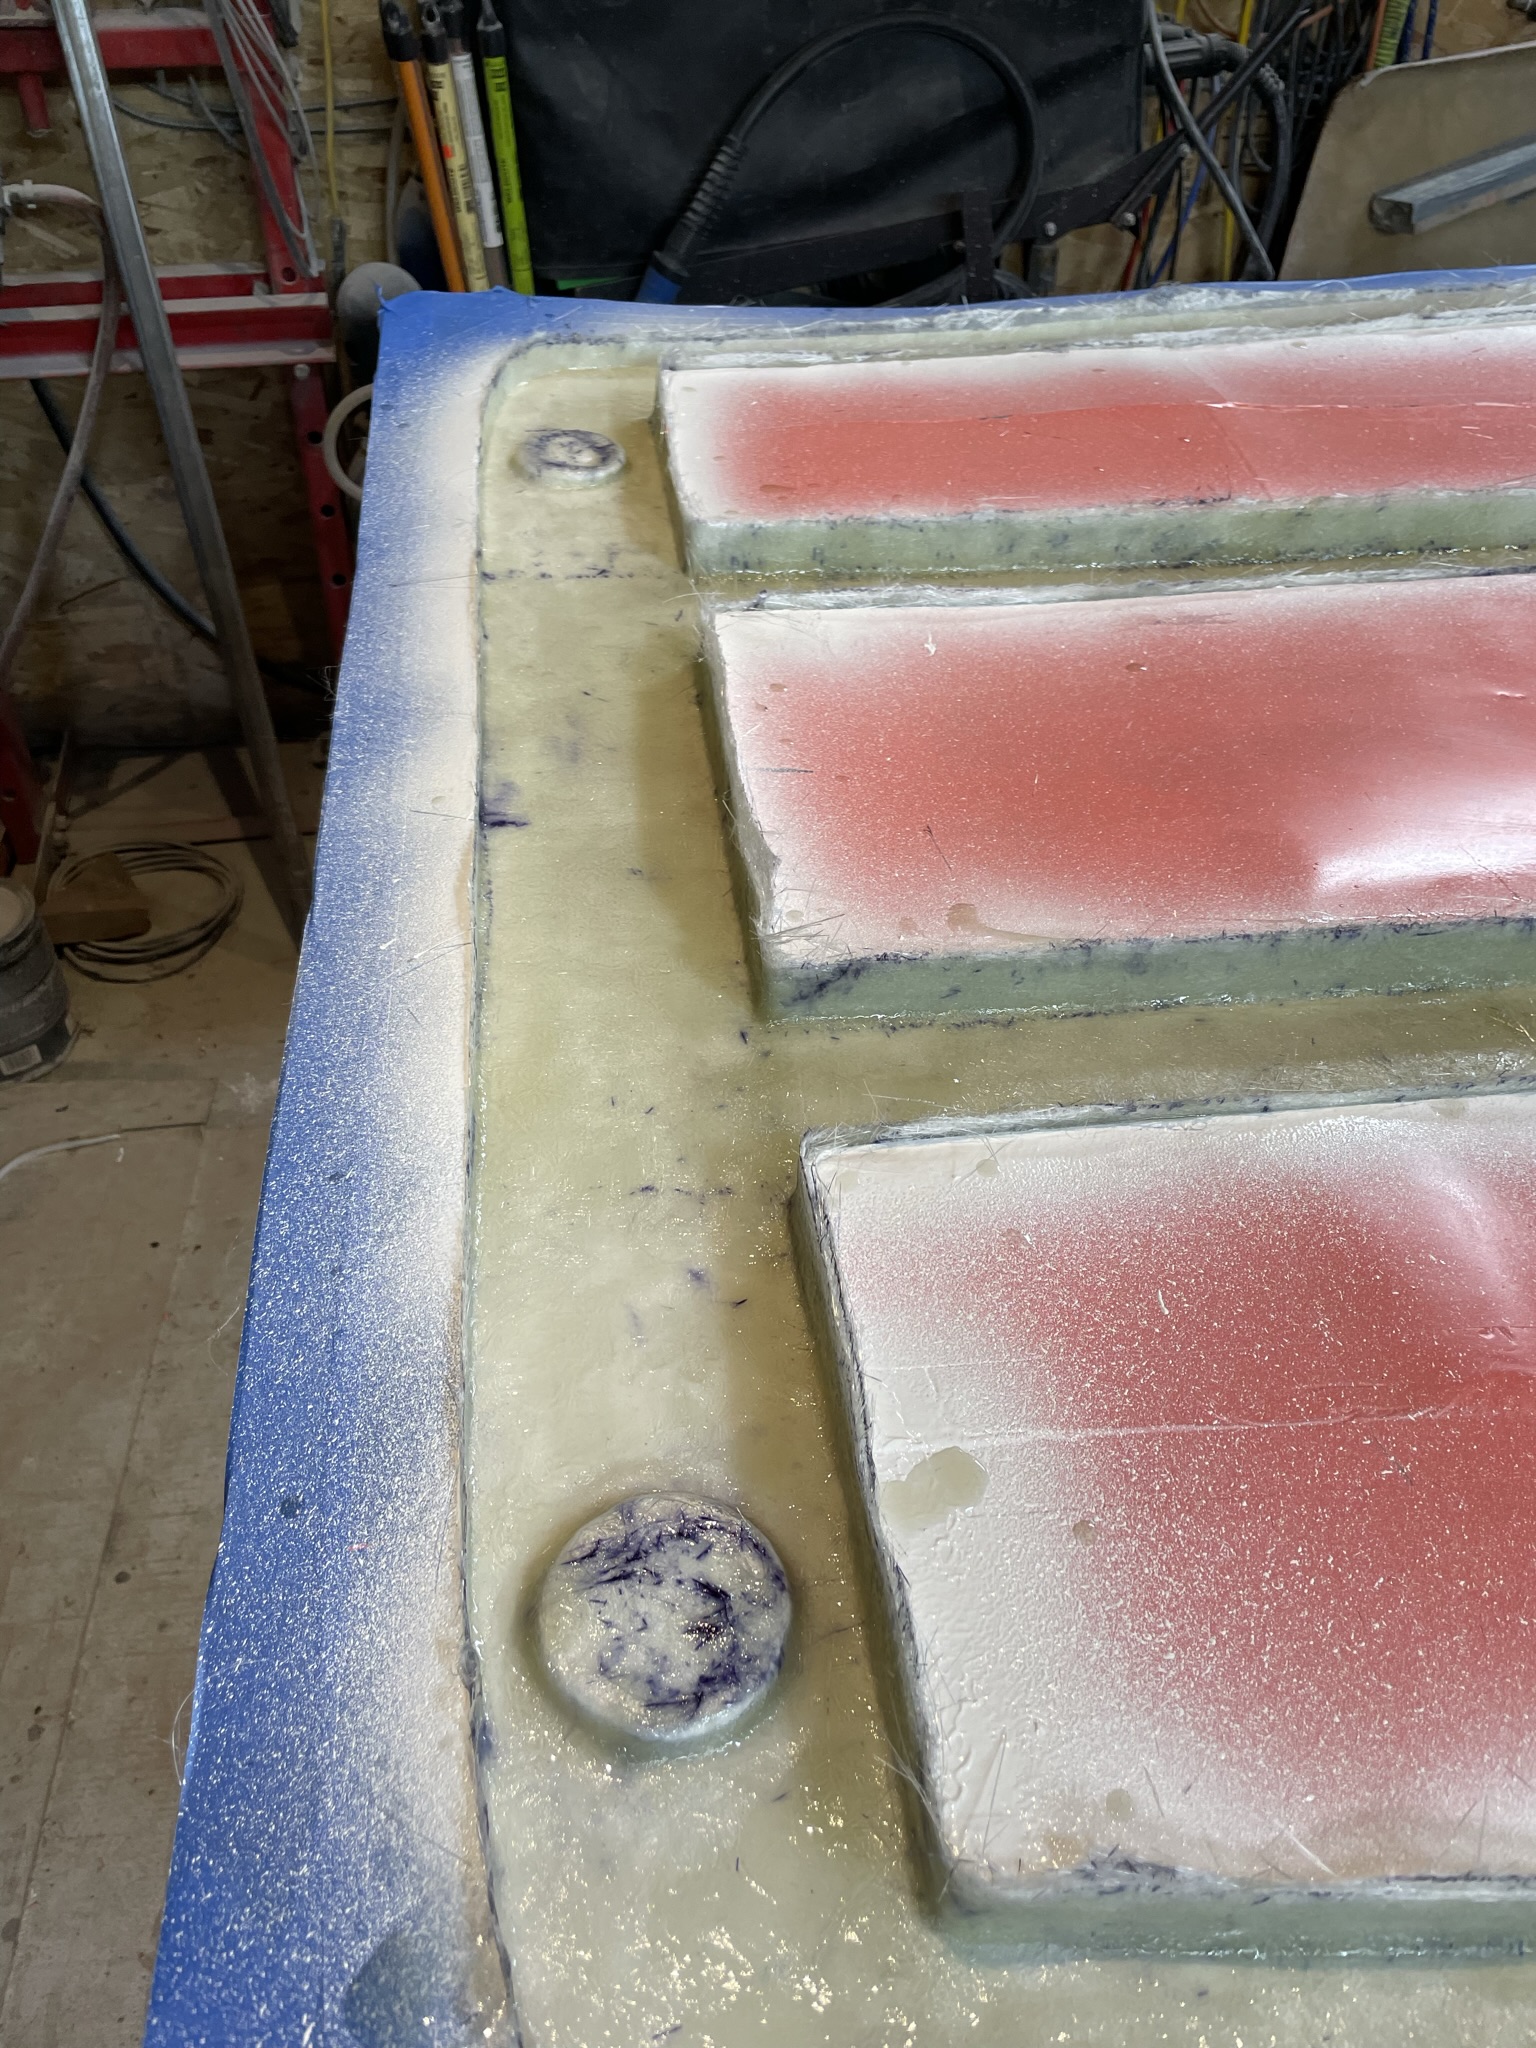
The layup is completed I’ll wait a week and pull the part from the mold, I’ll start the bottom tomorrow.
Stay safe everyone
Wayne
|
|
|
|
dobie1
|
FEB 23, 12:43 AM
|
|
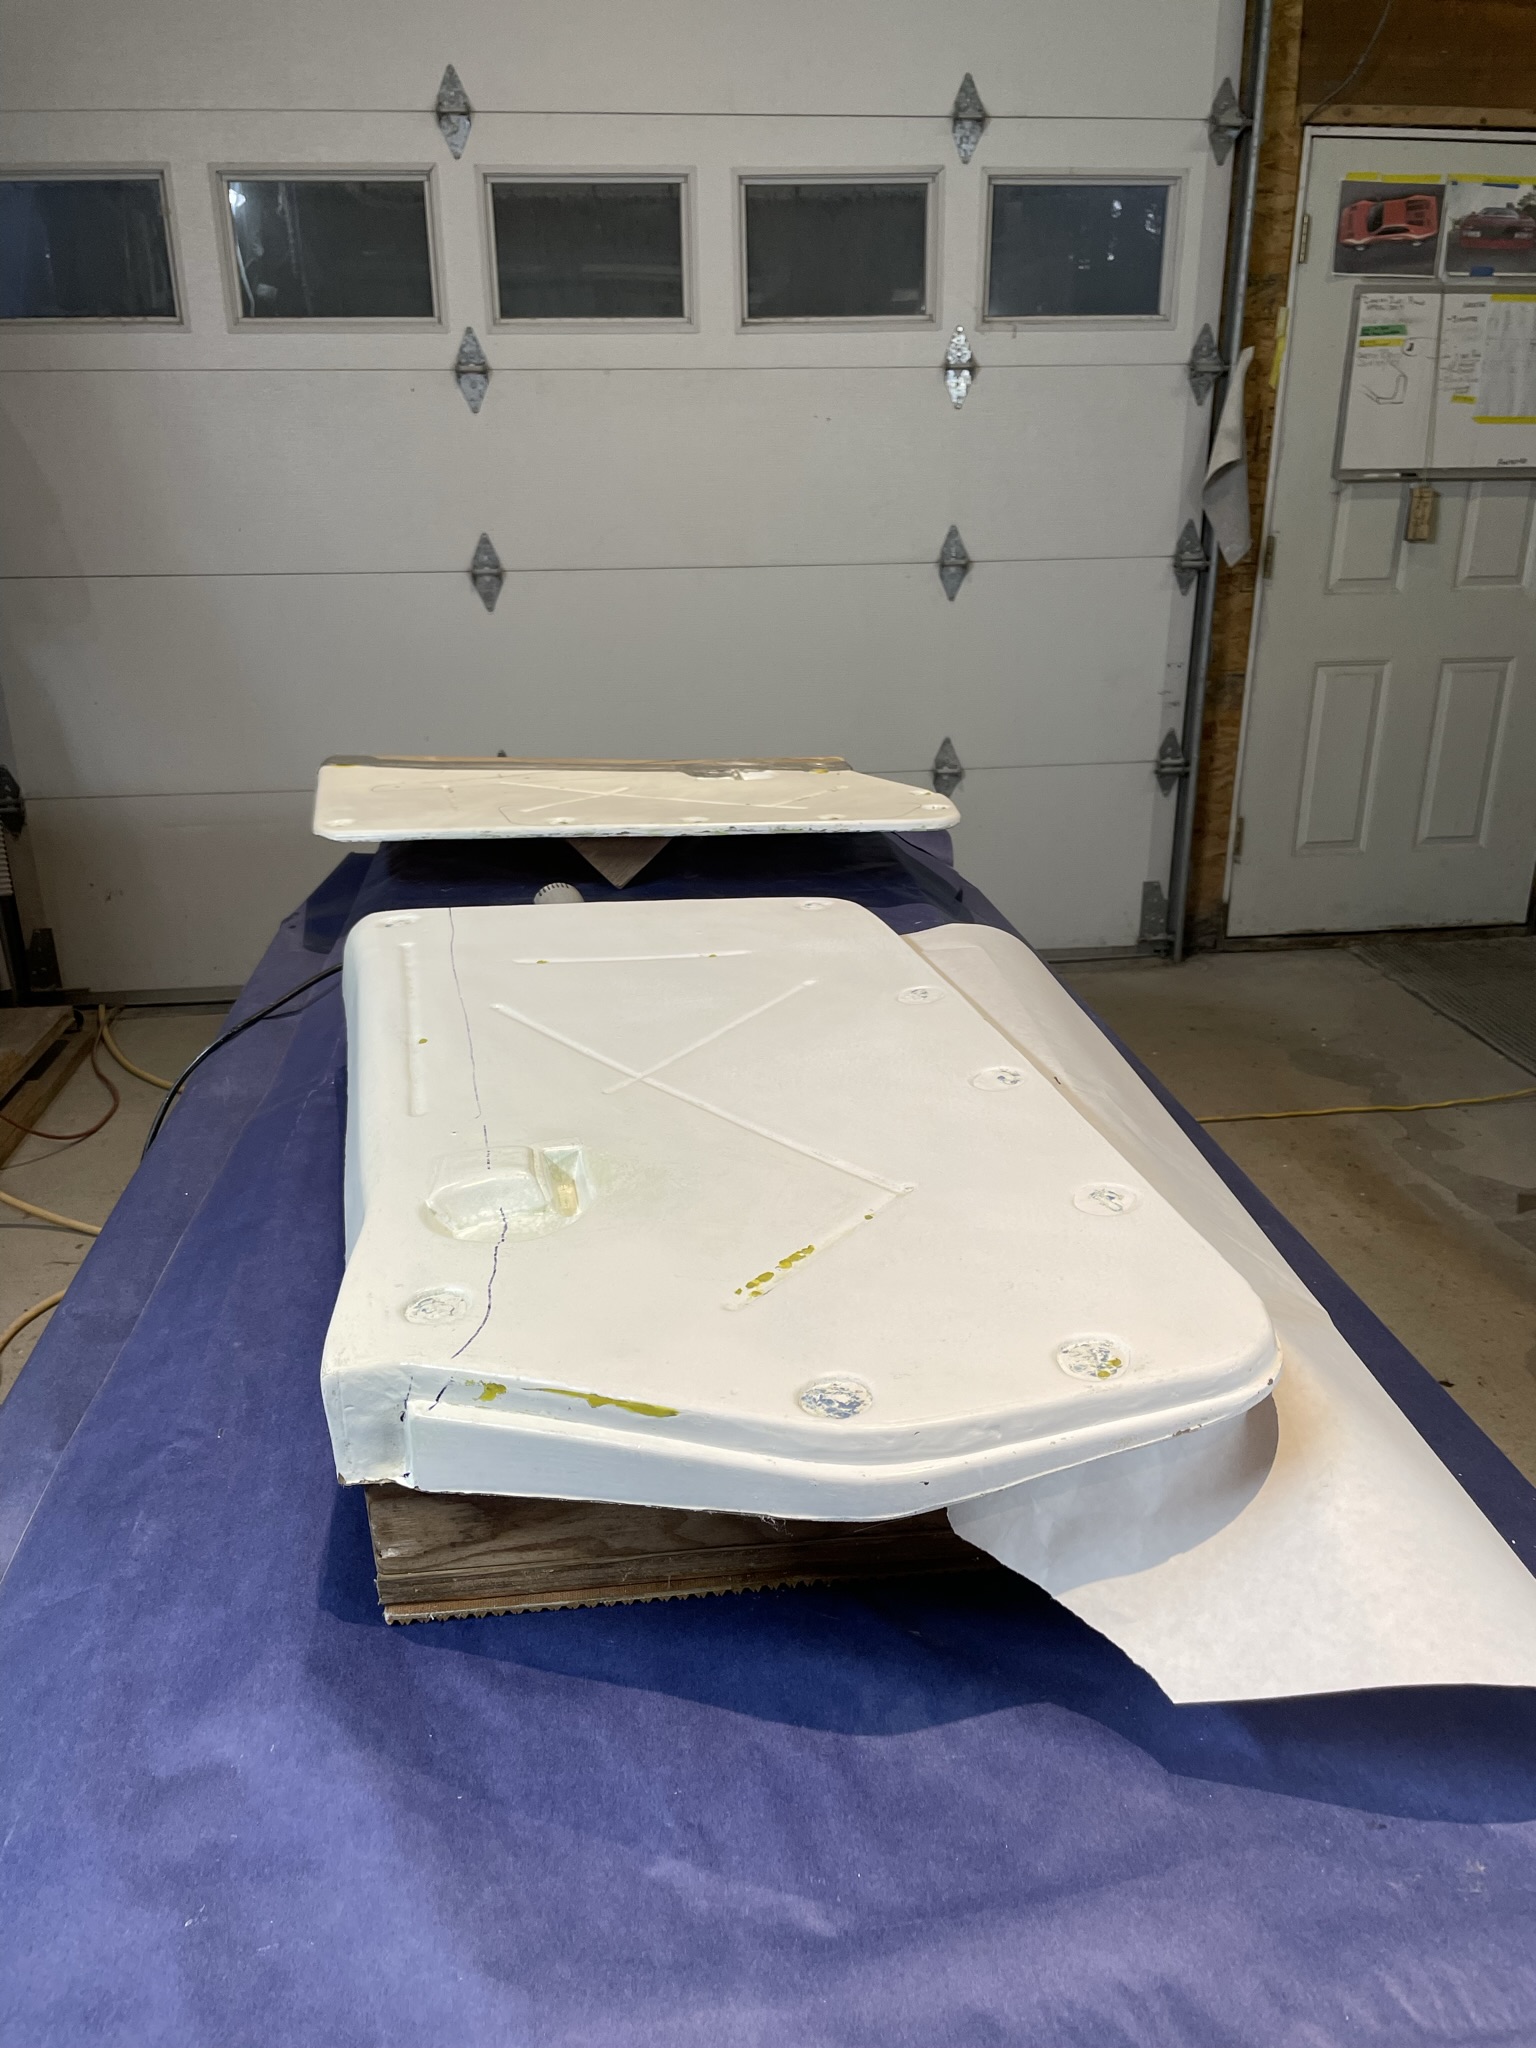
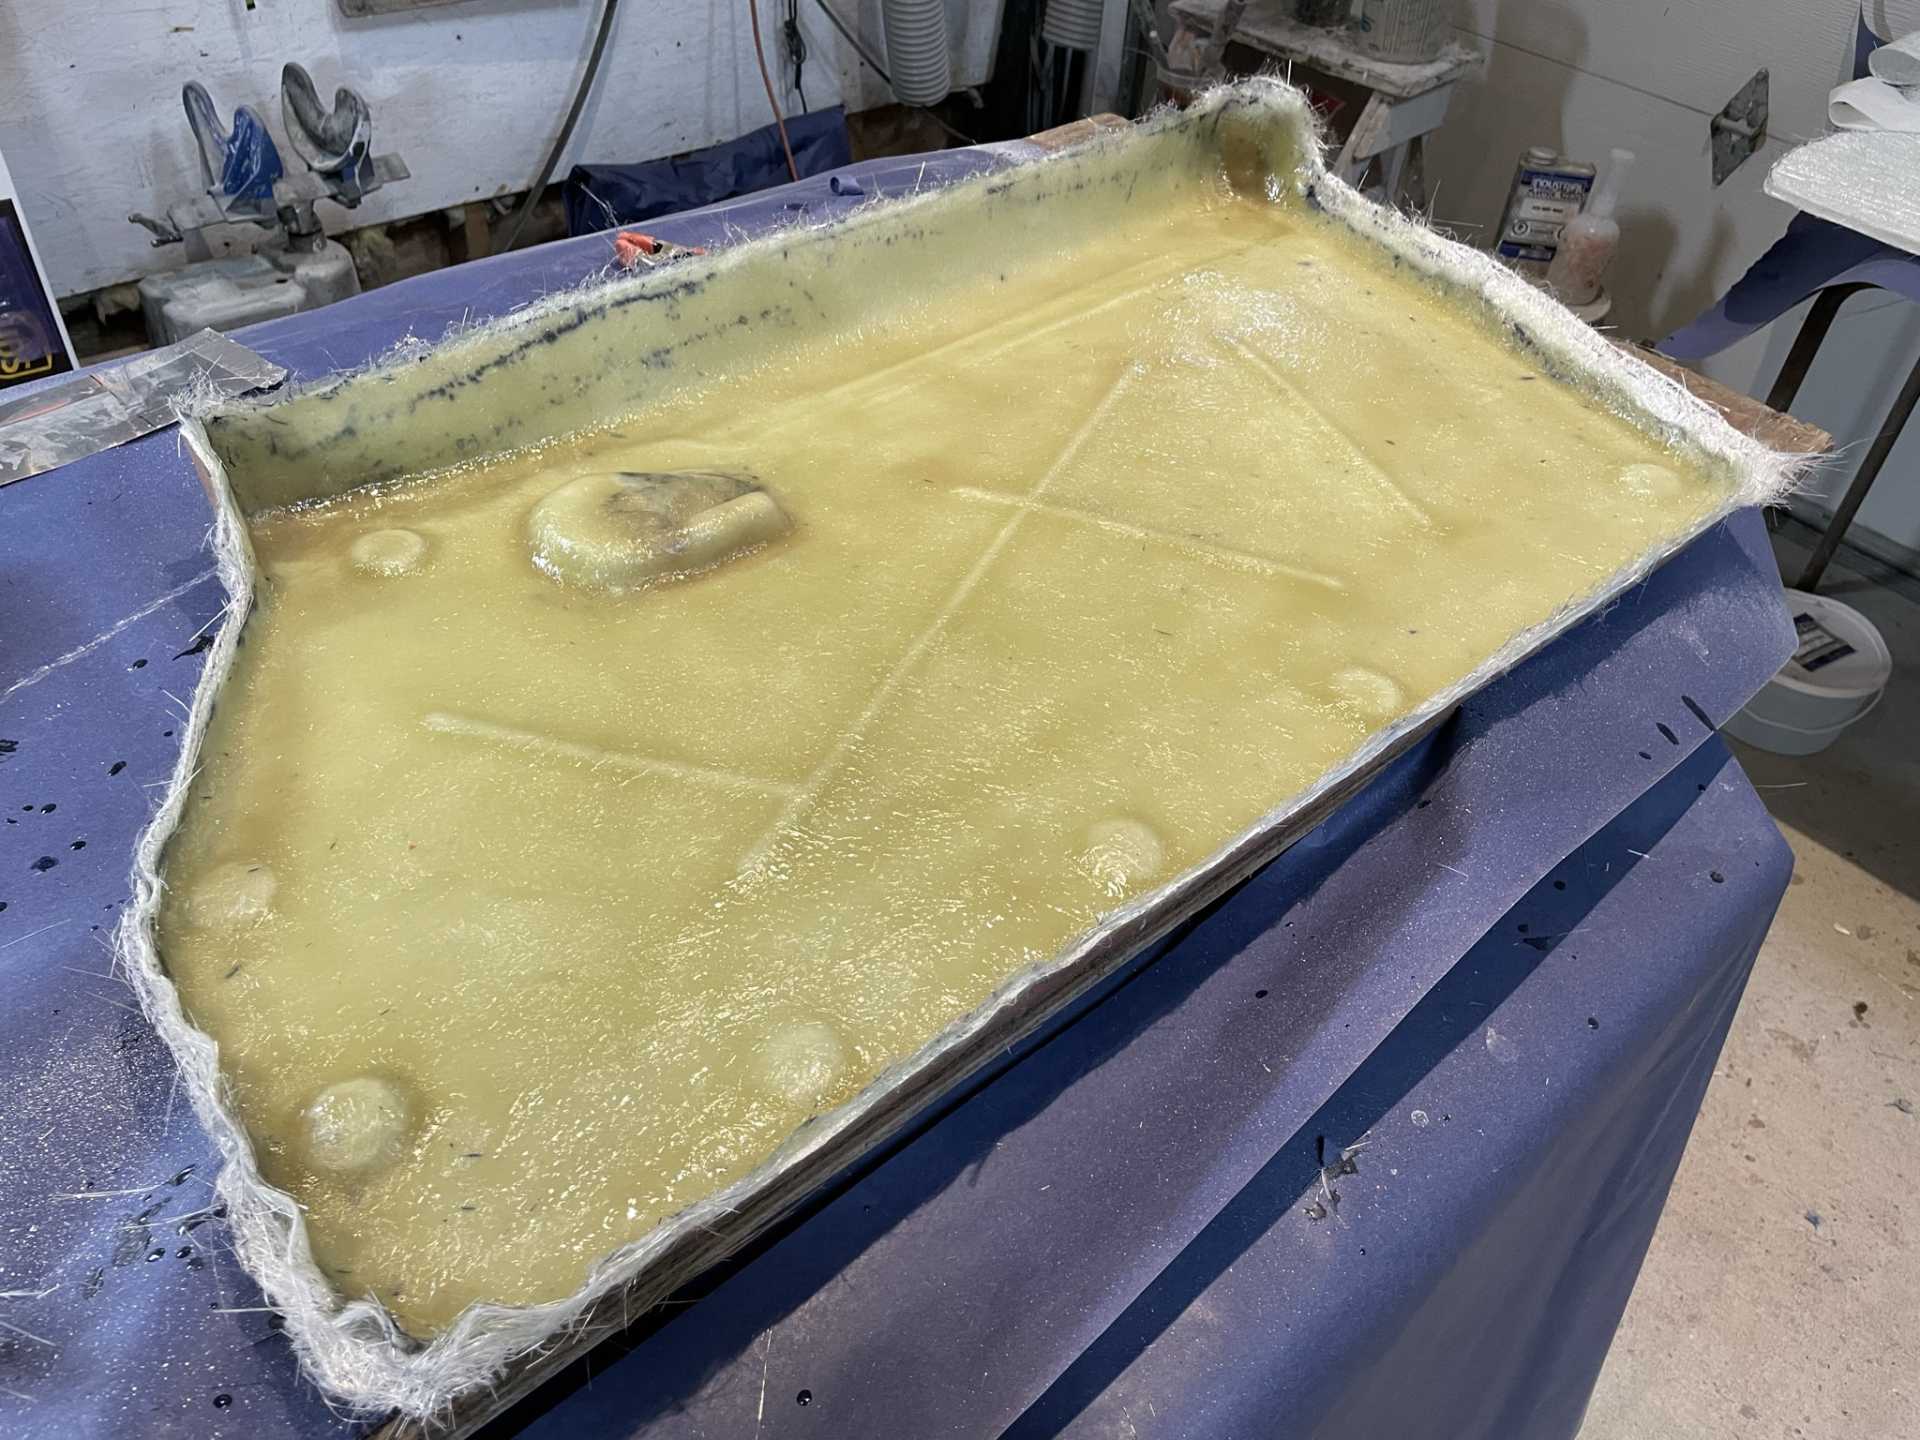
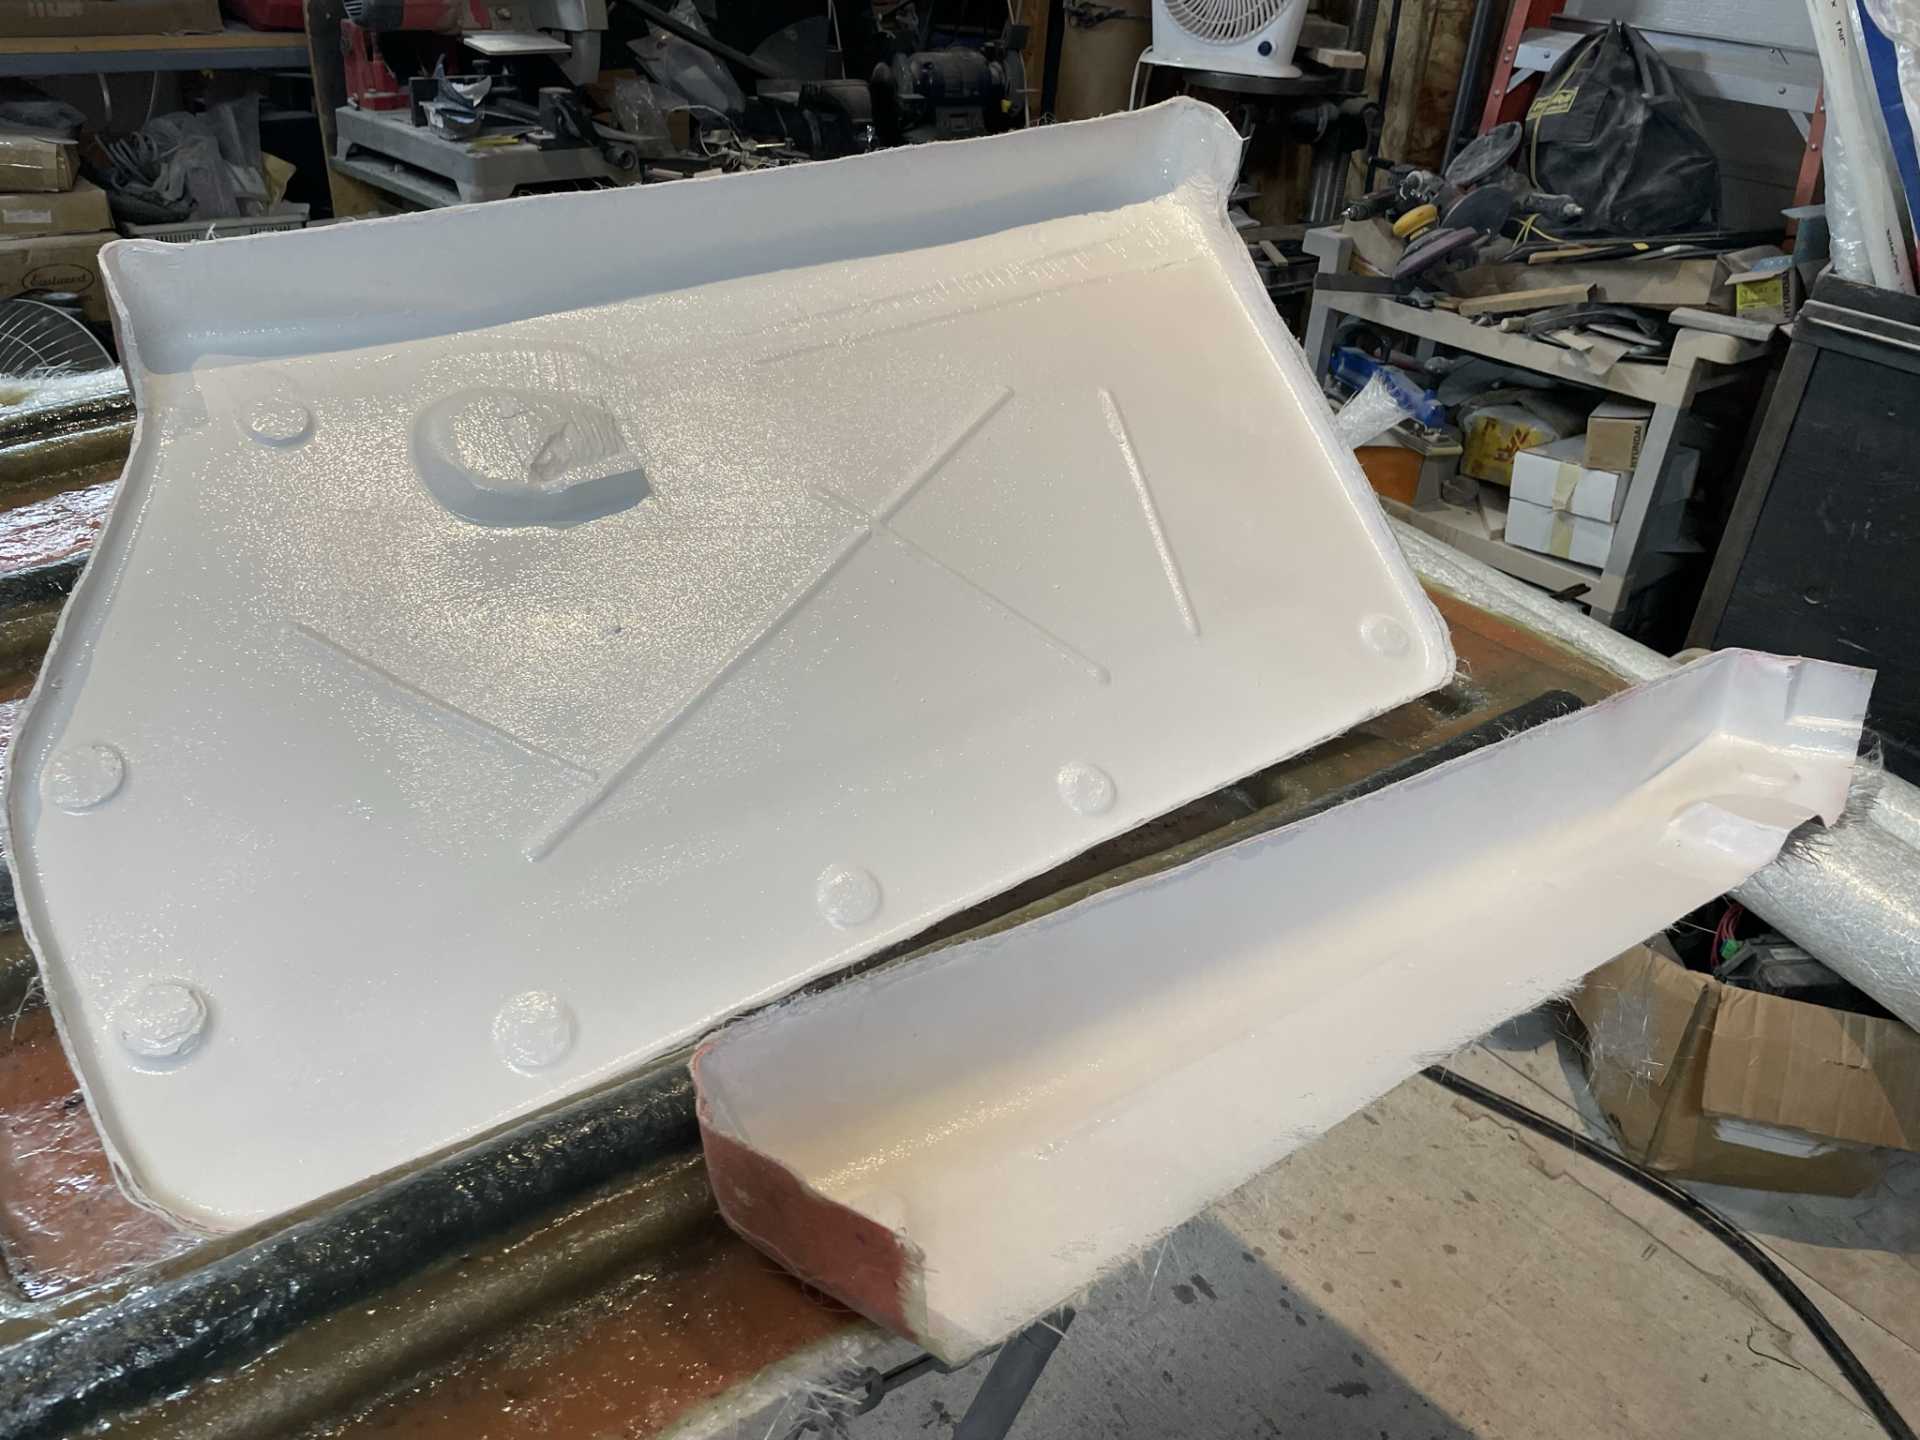
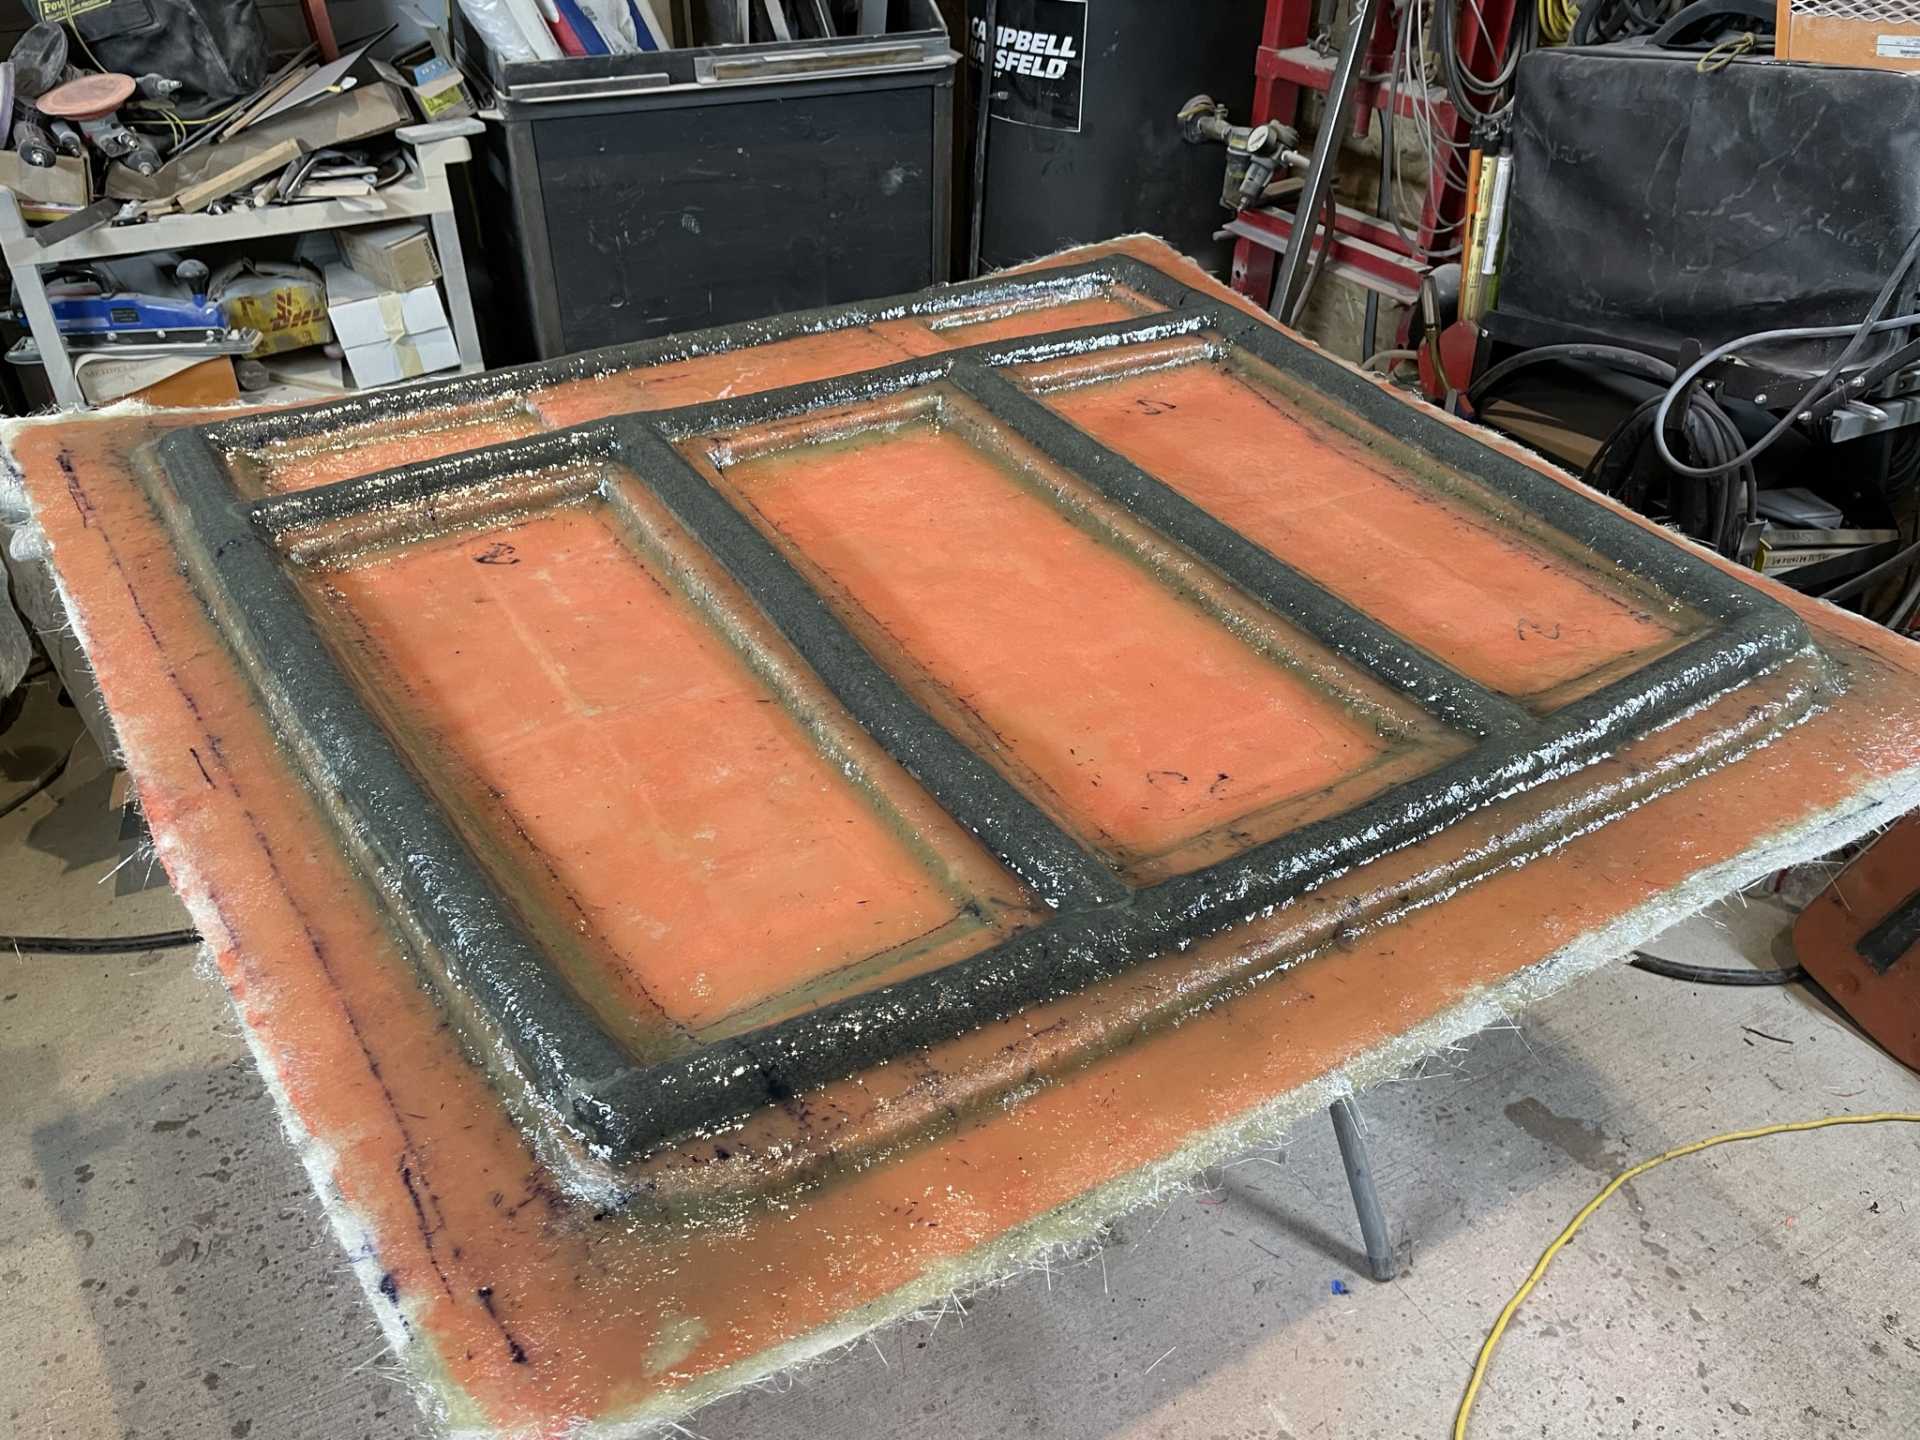
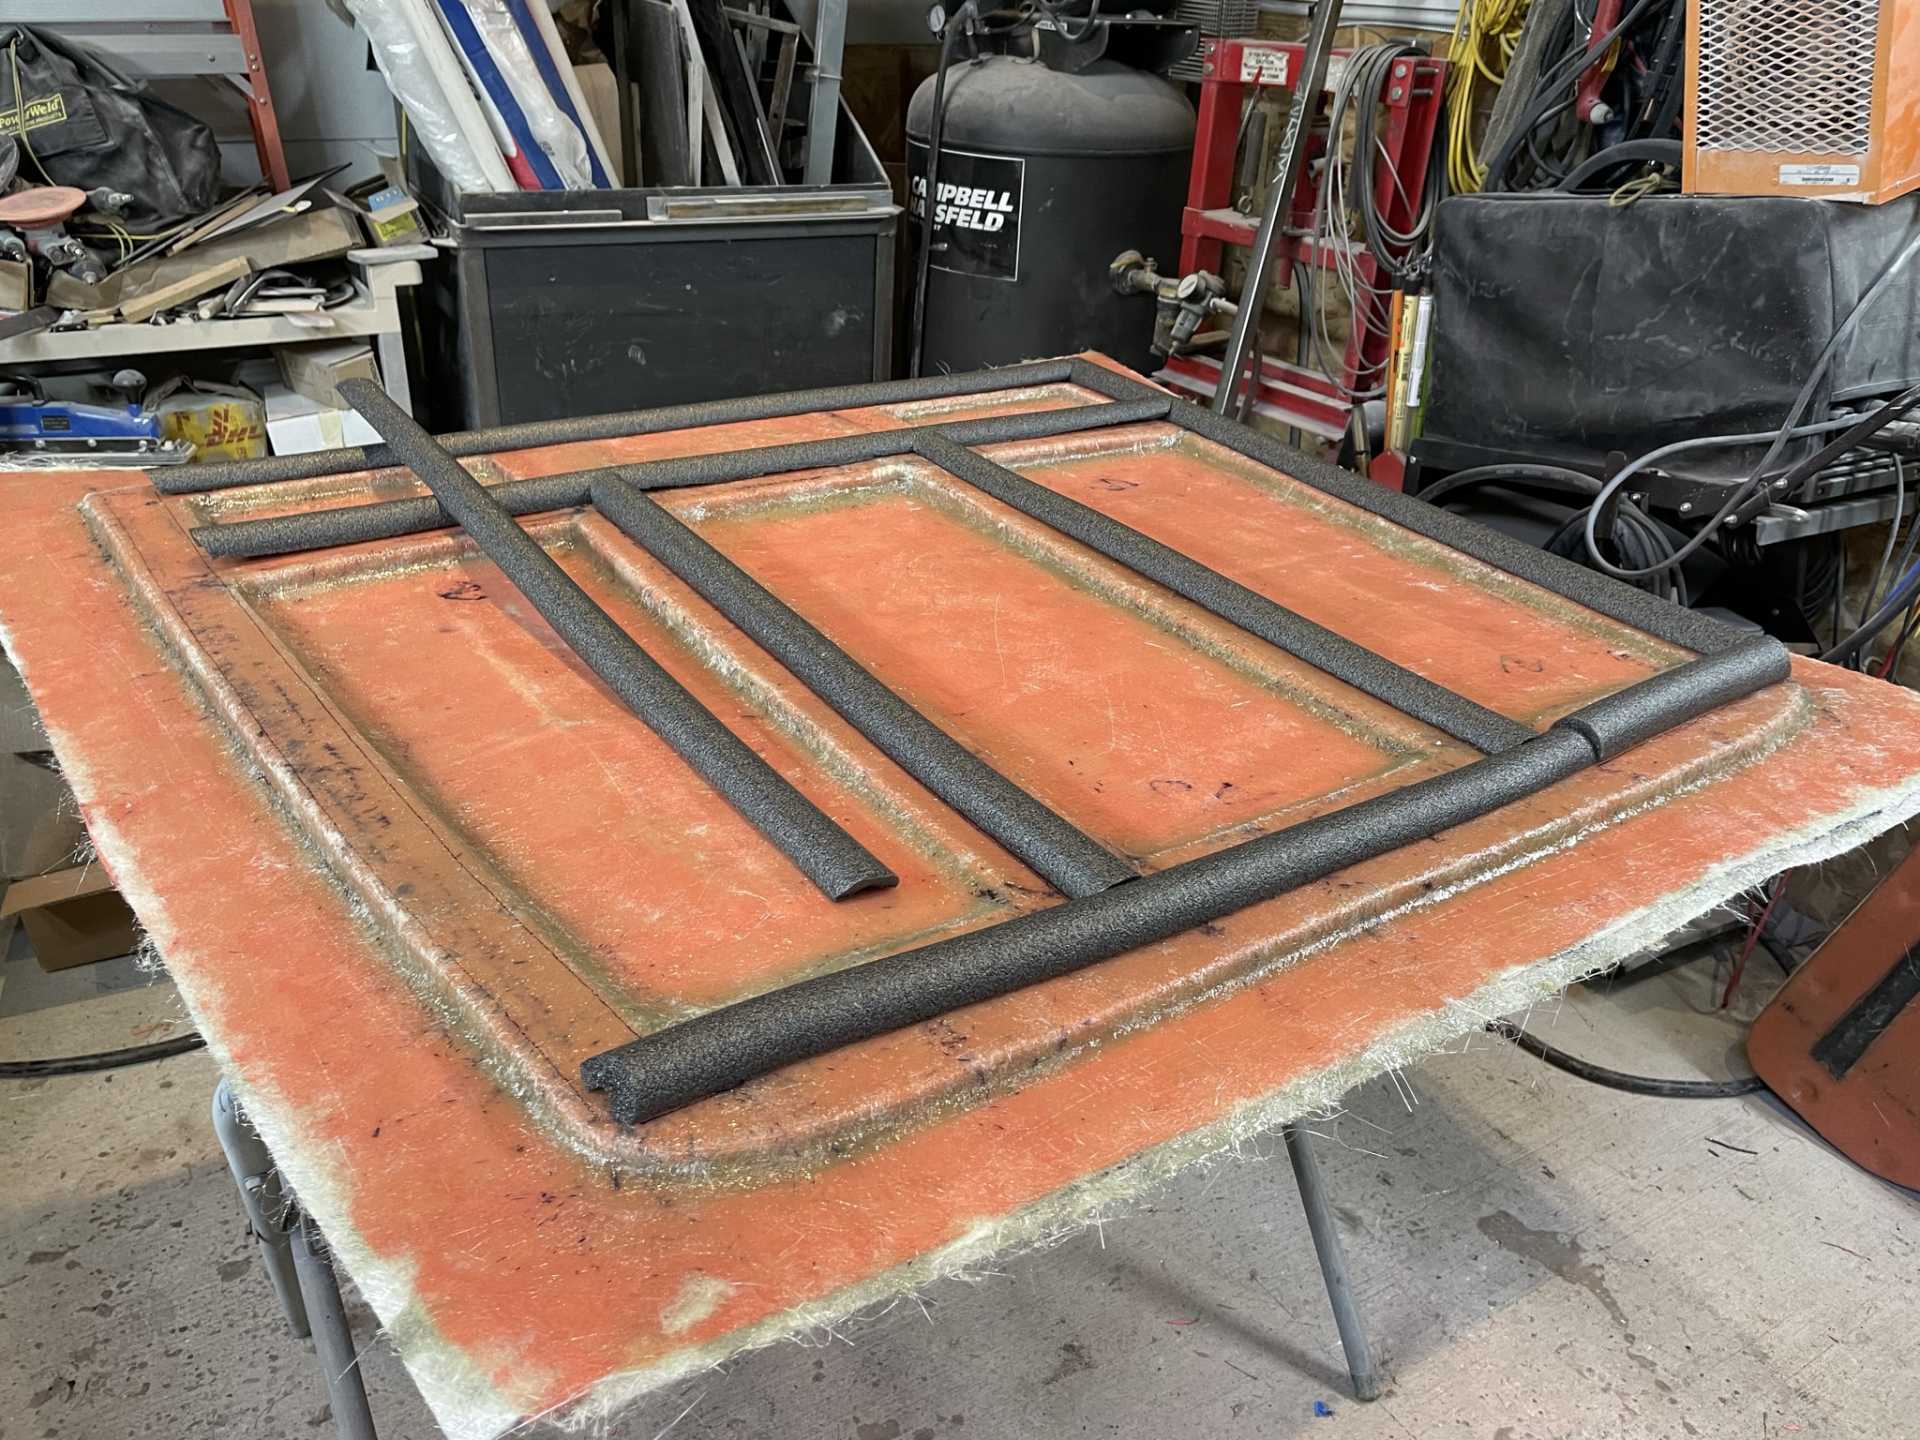
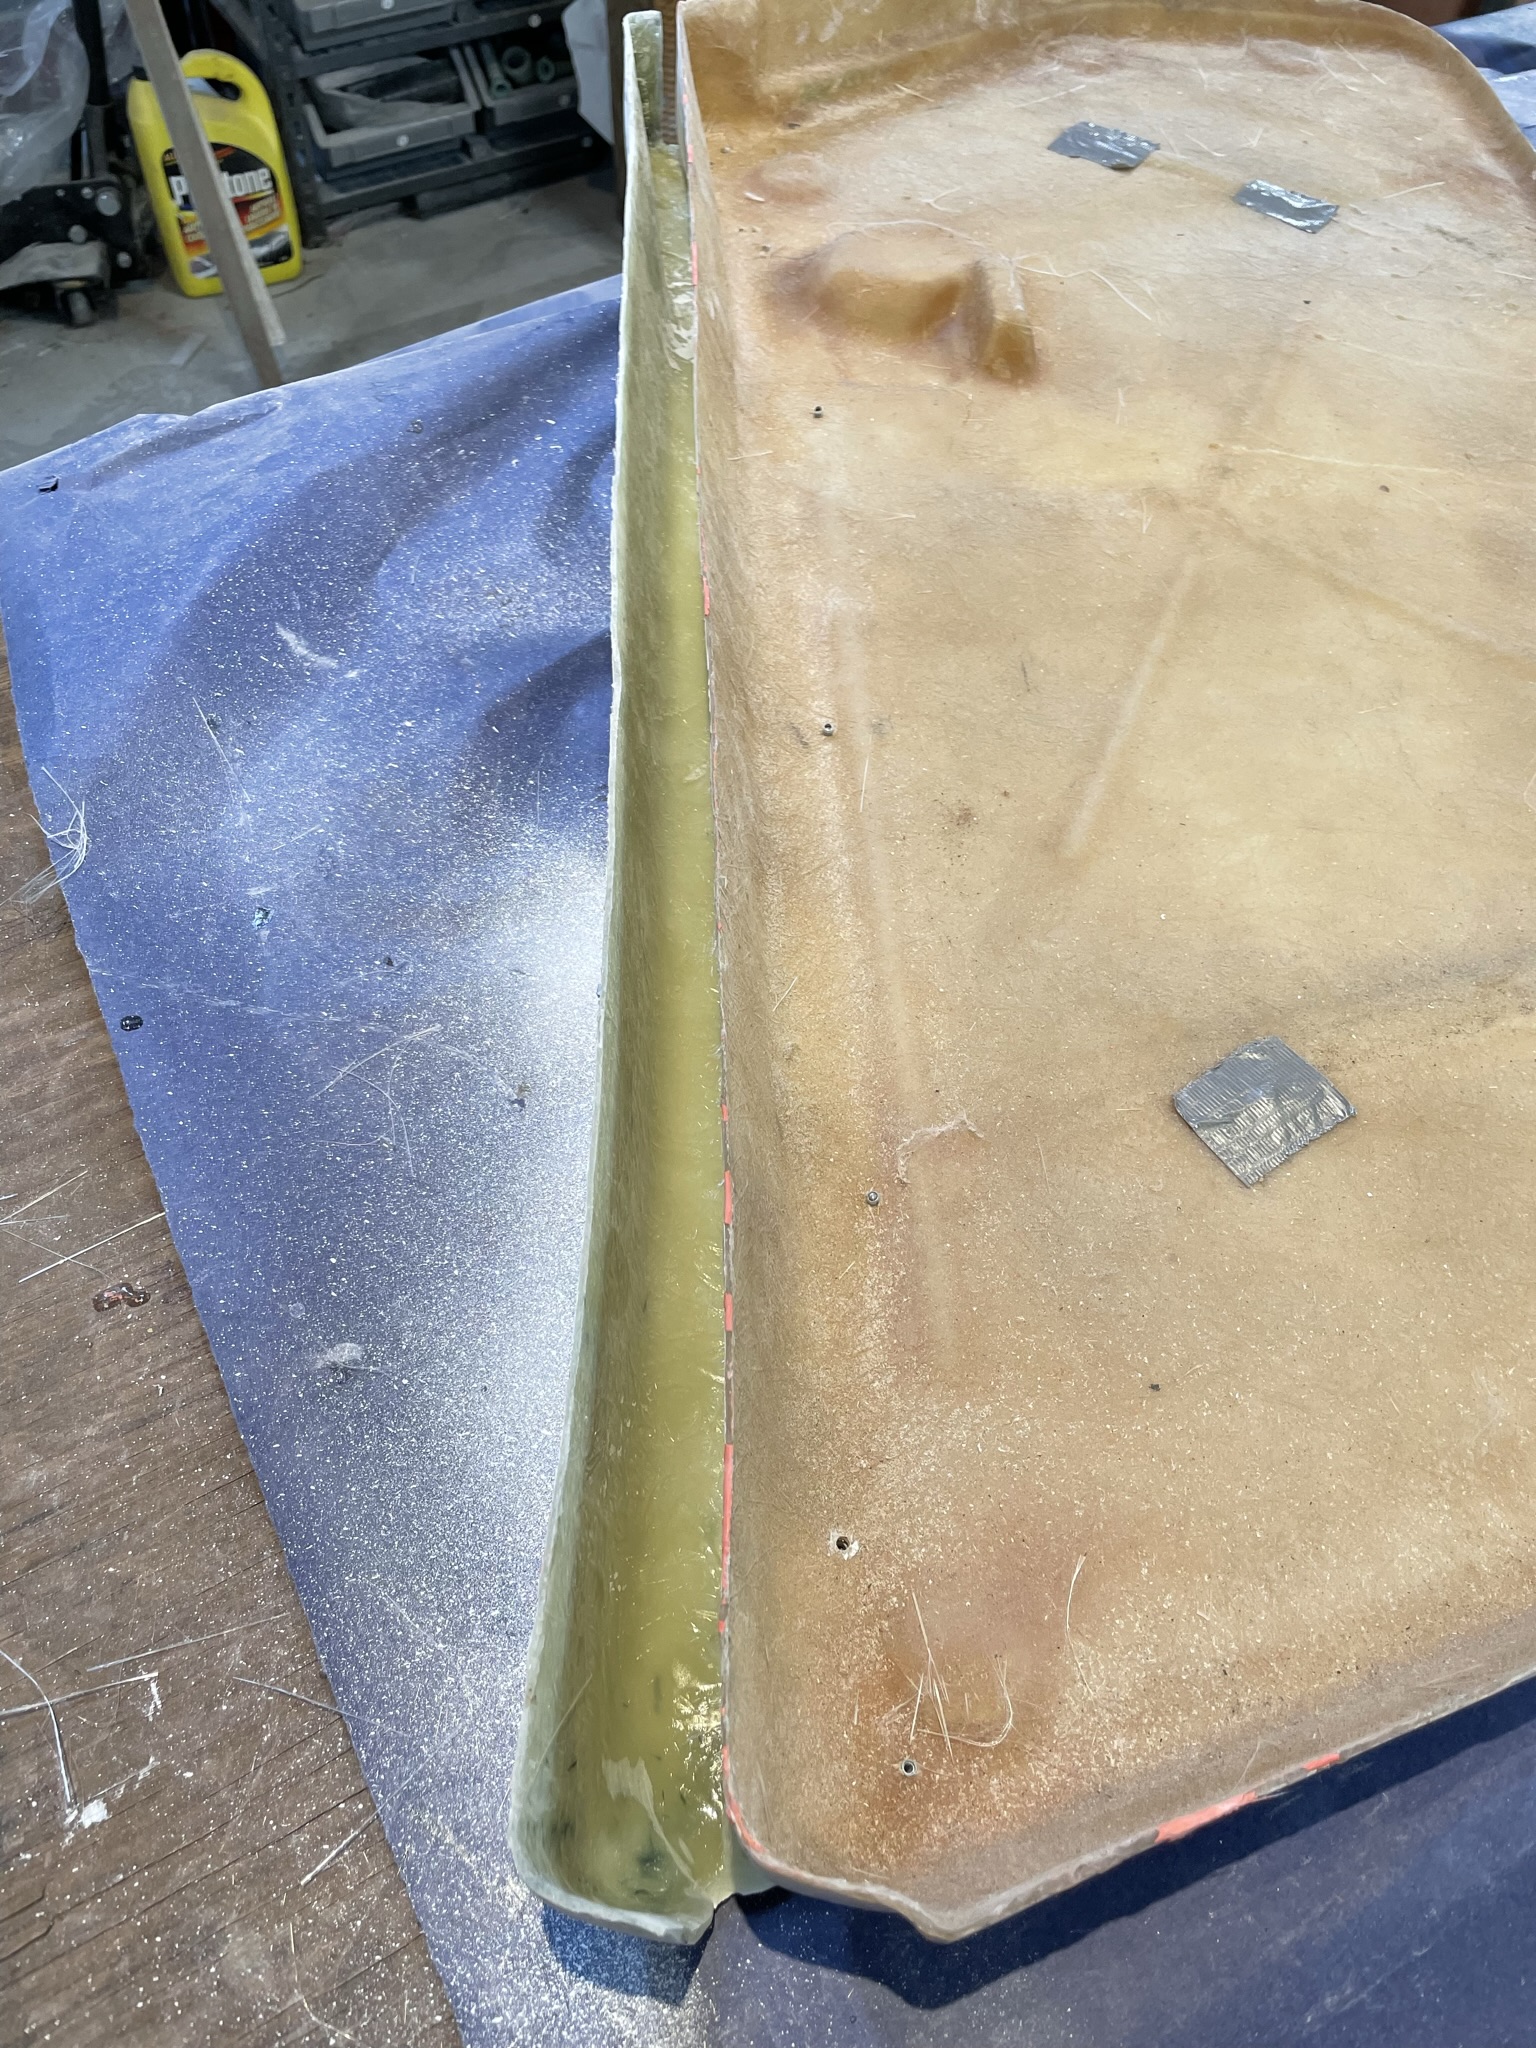
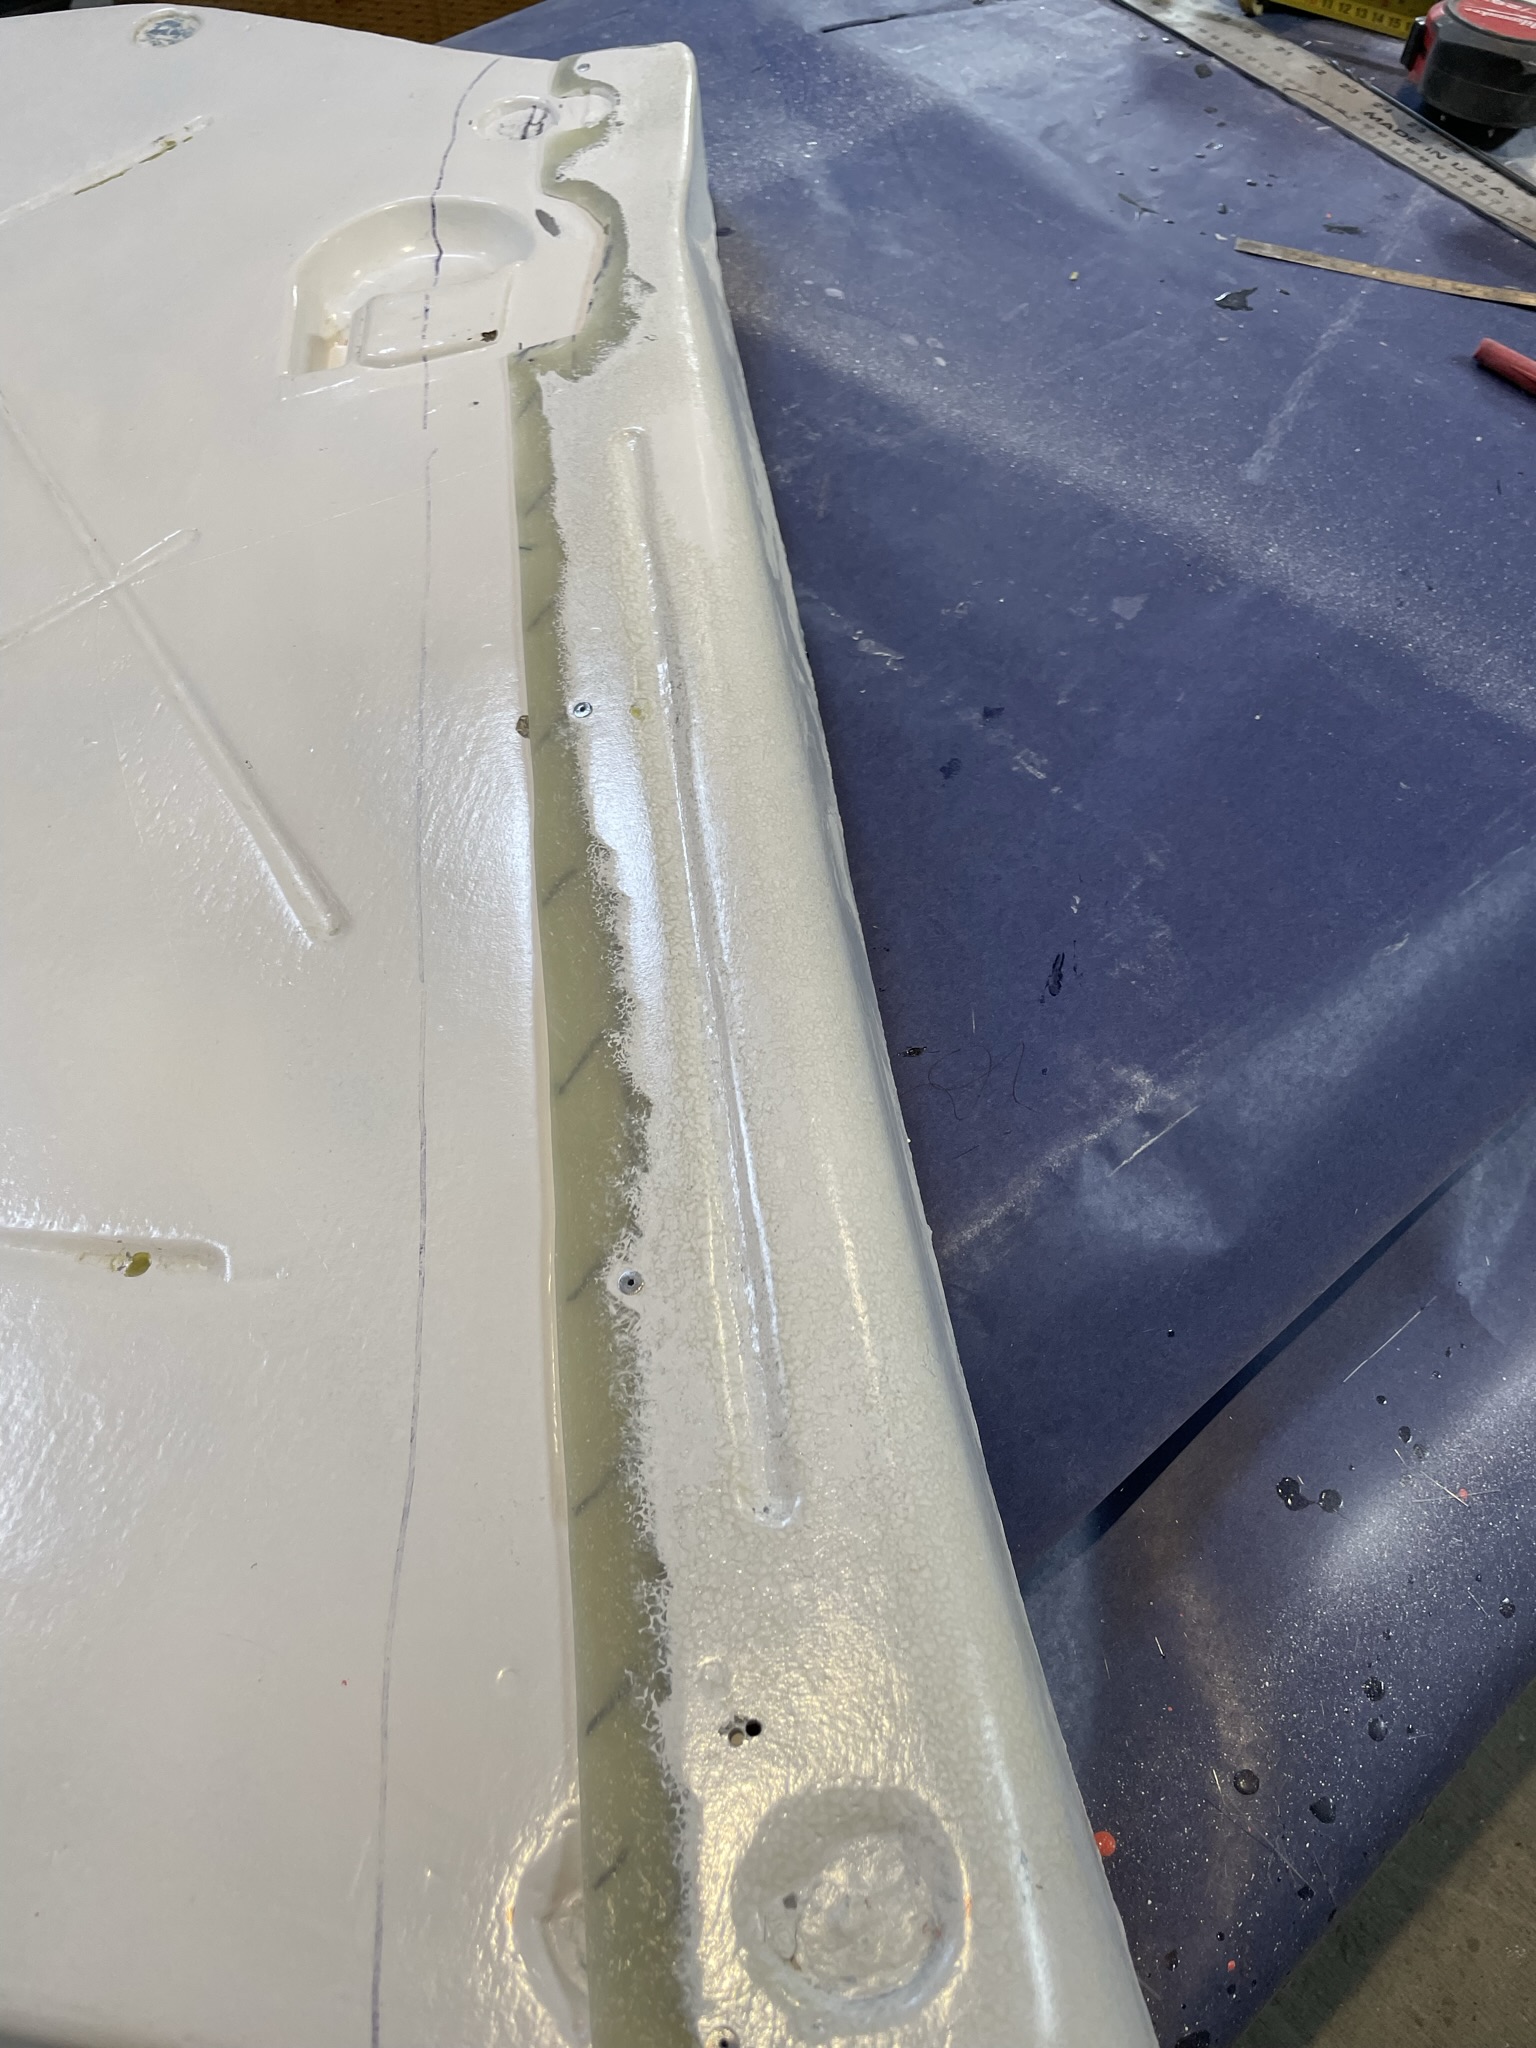
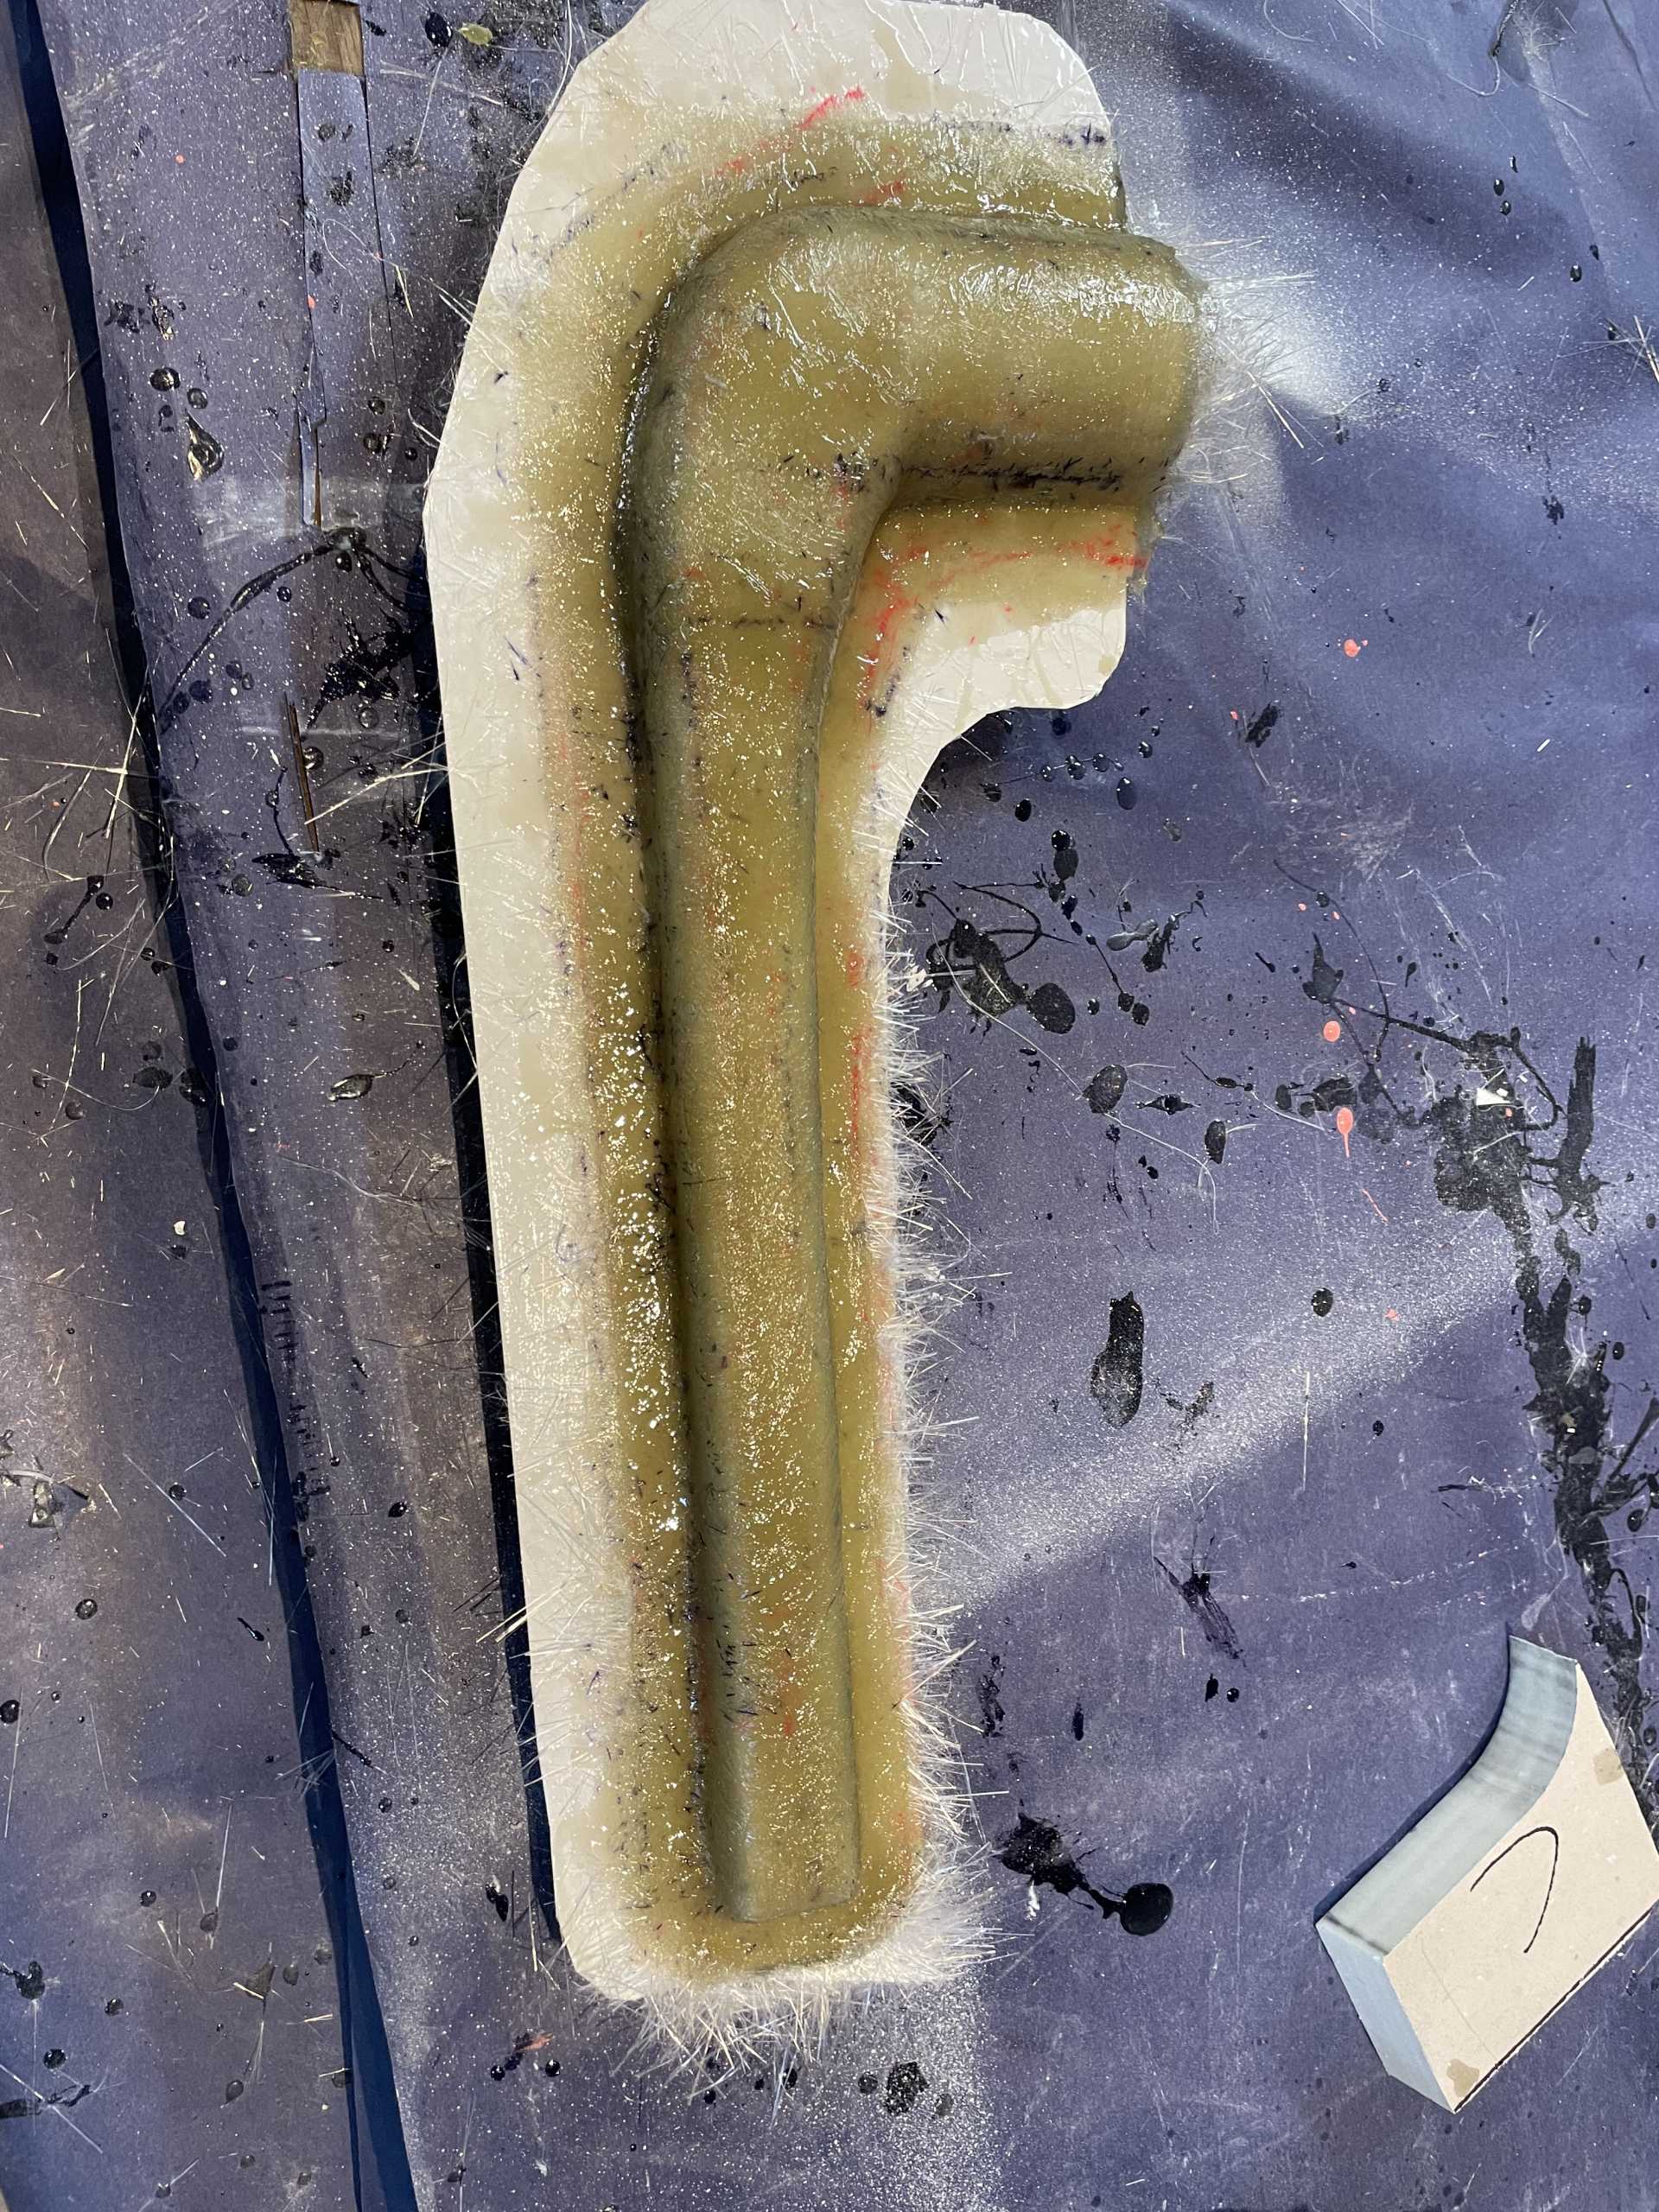
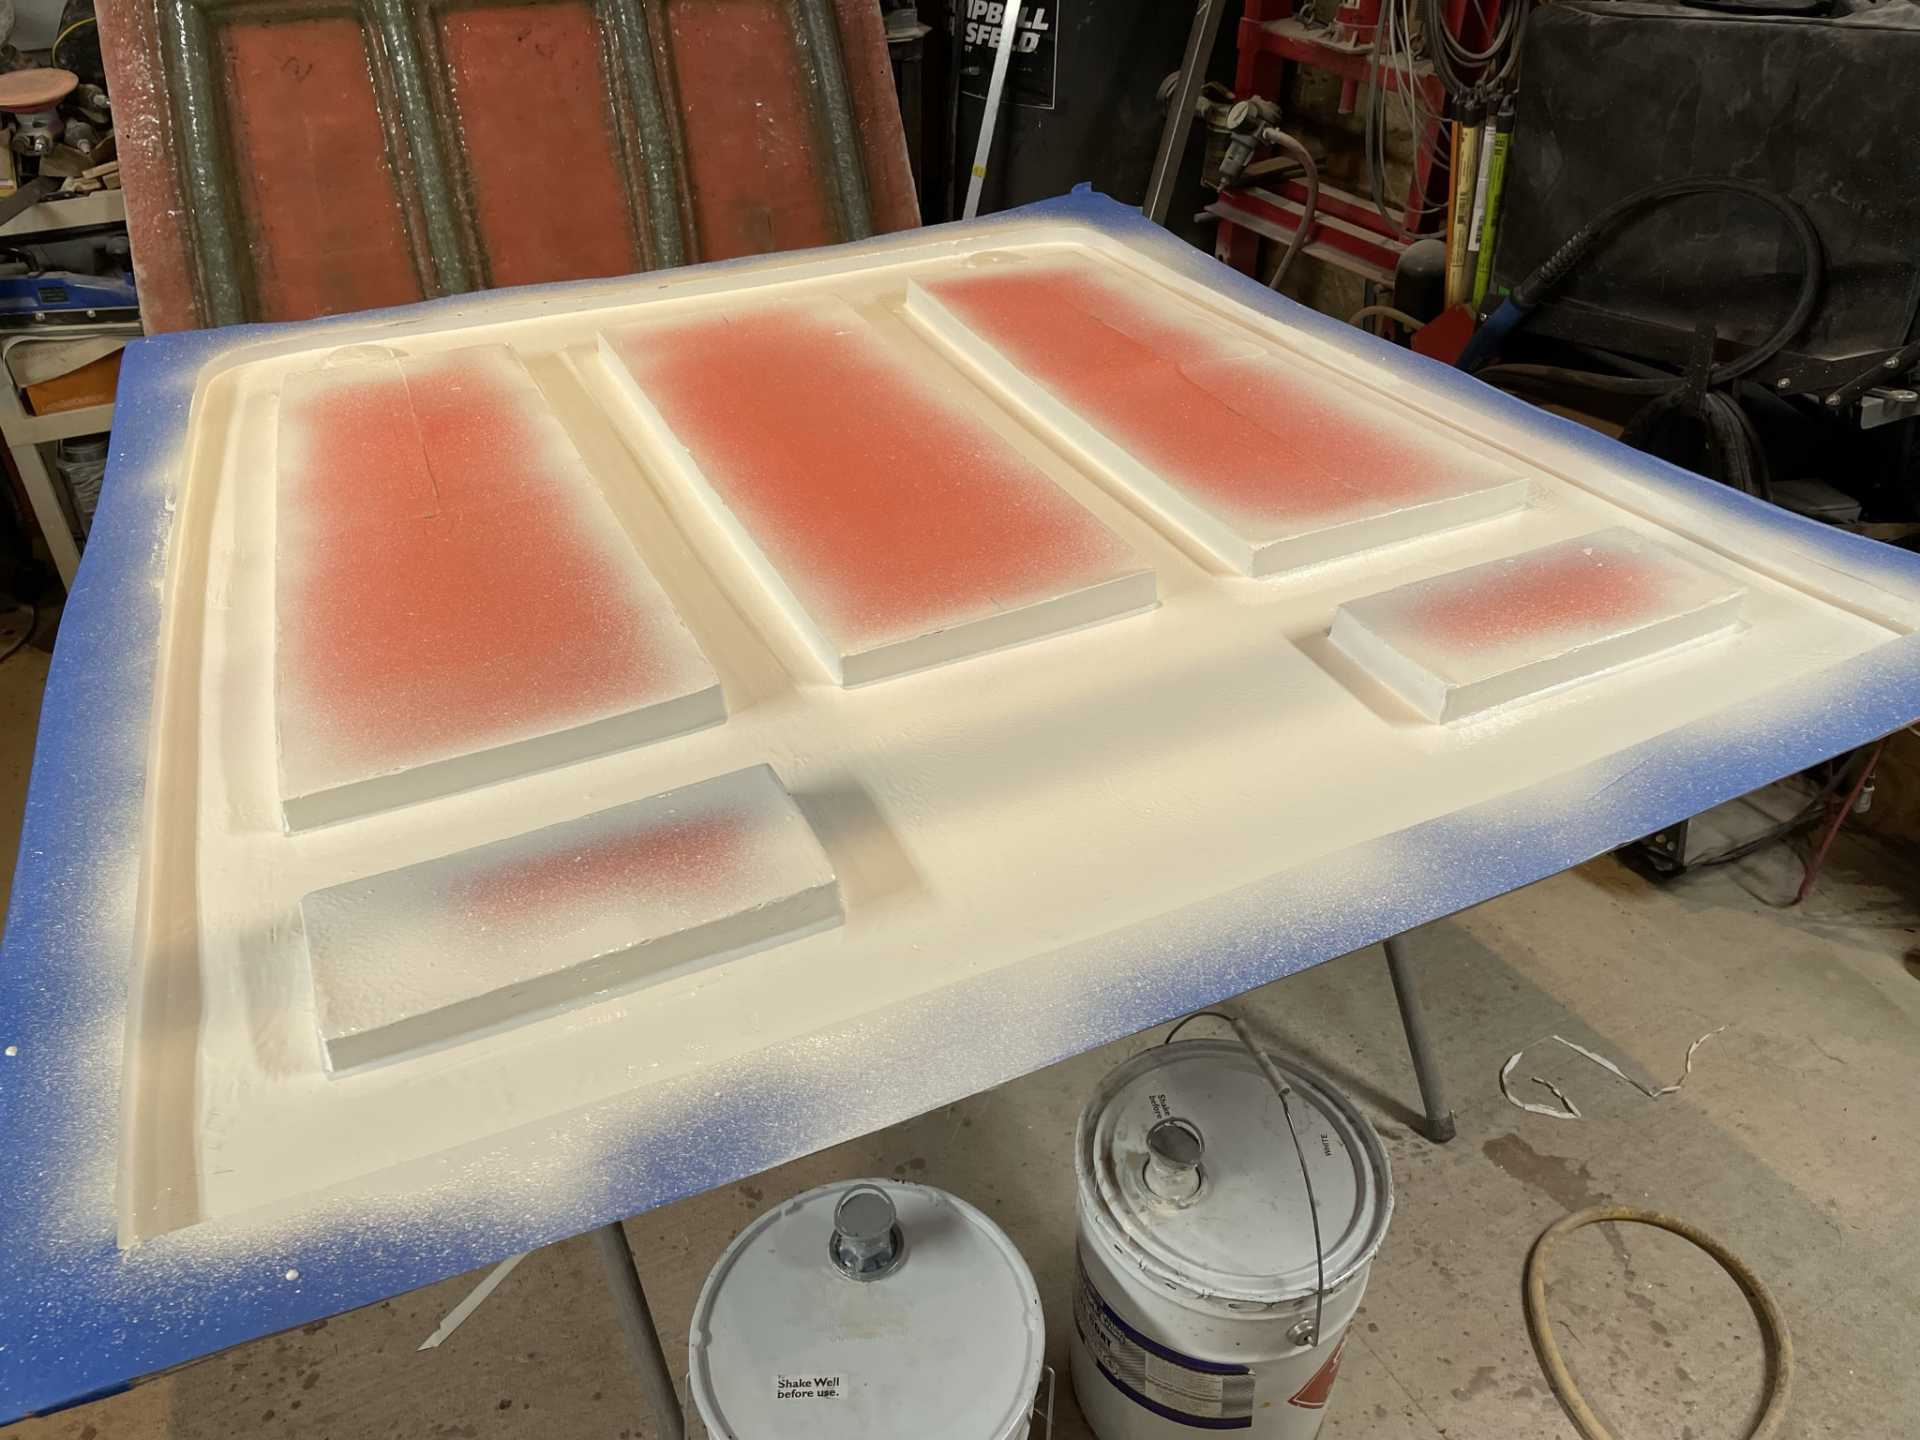
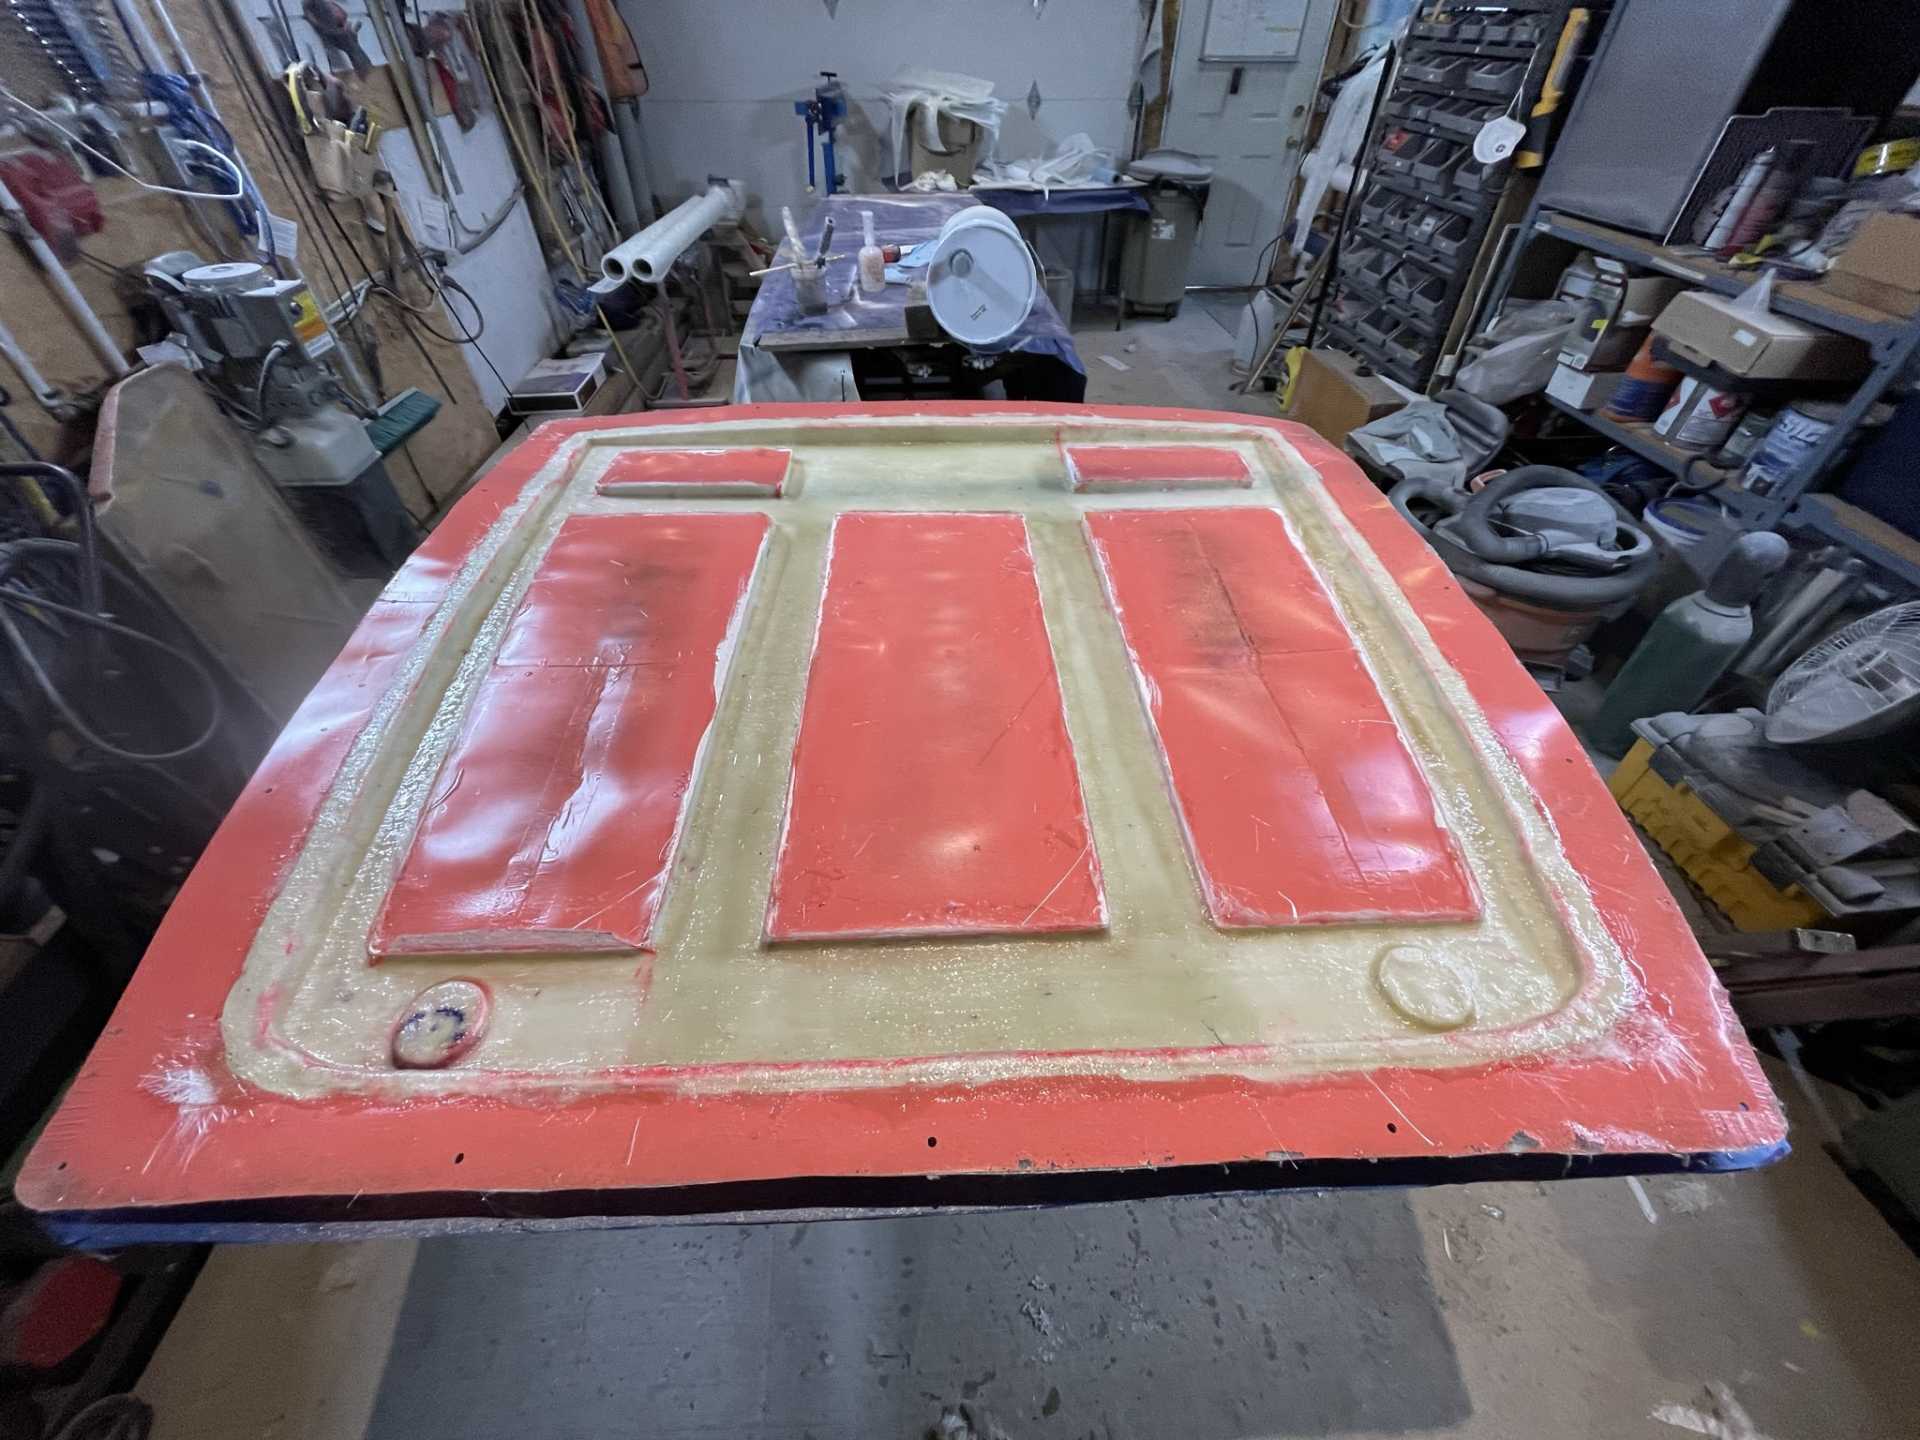
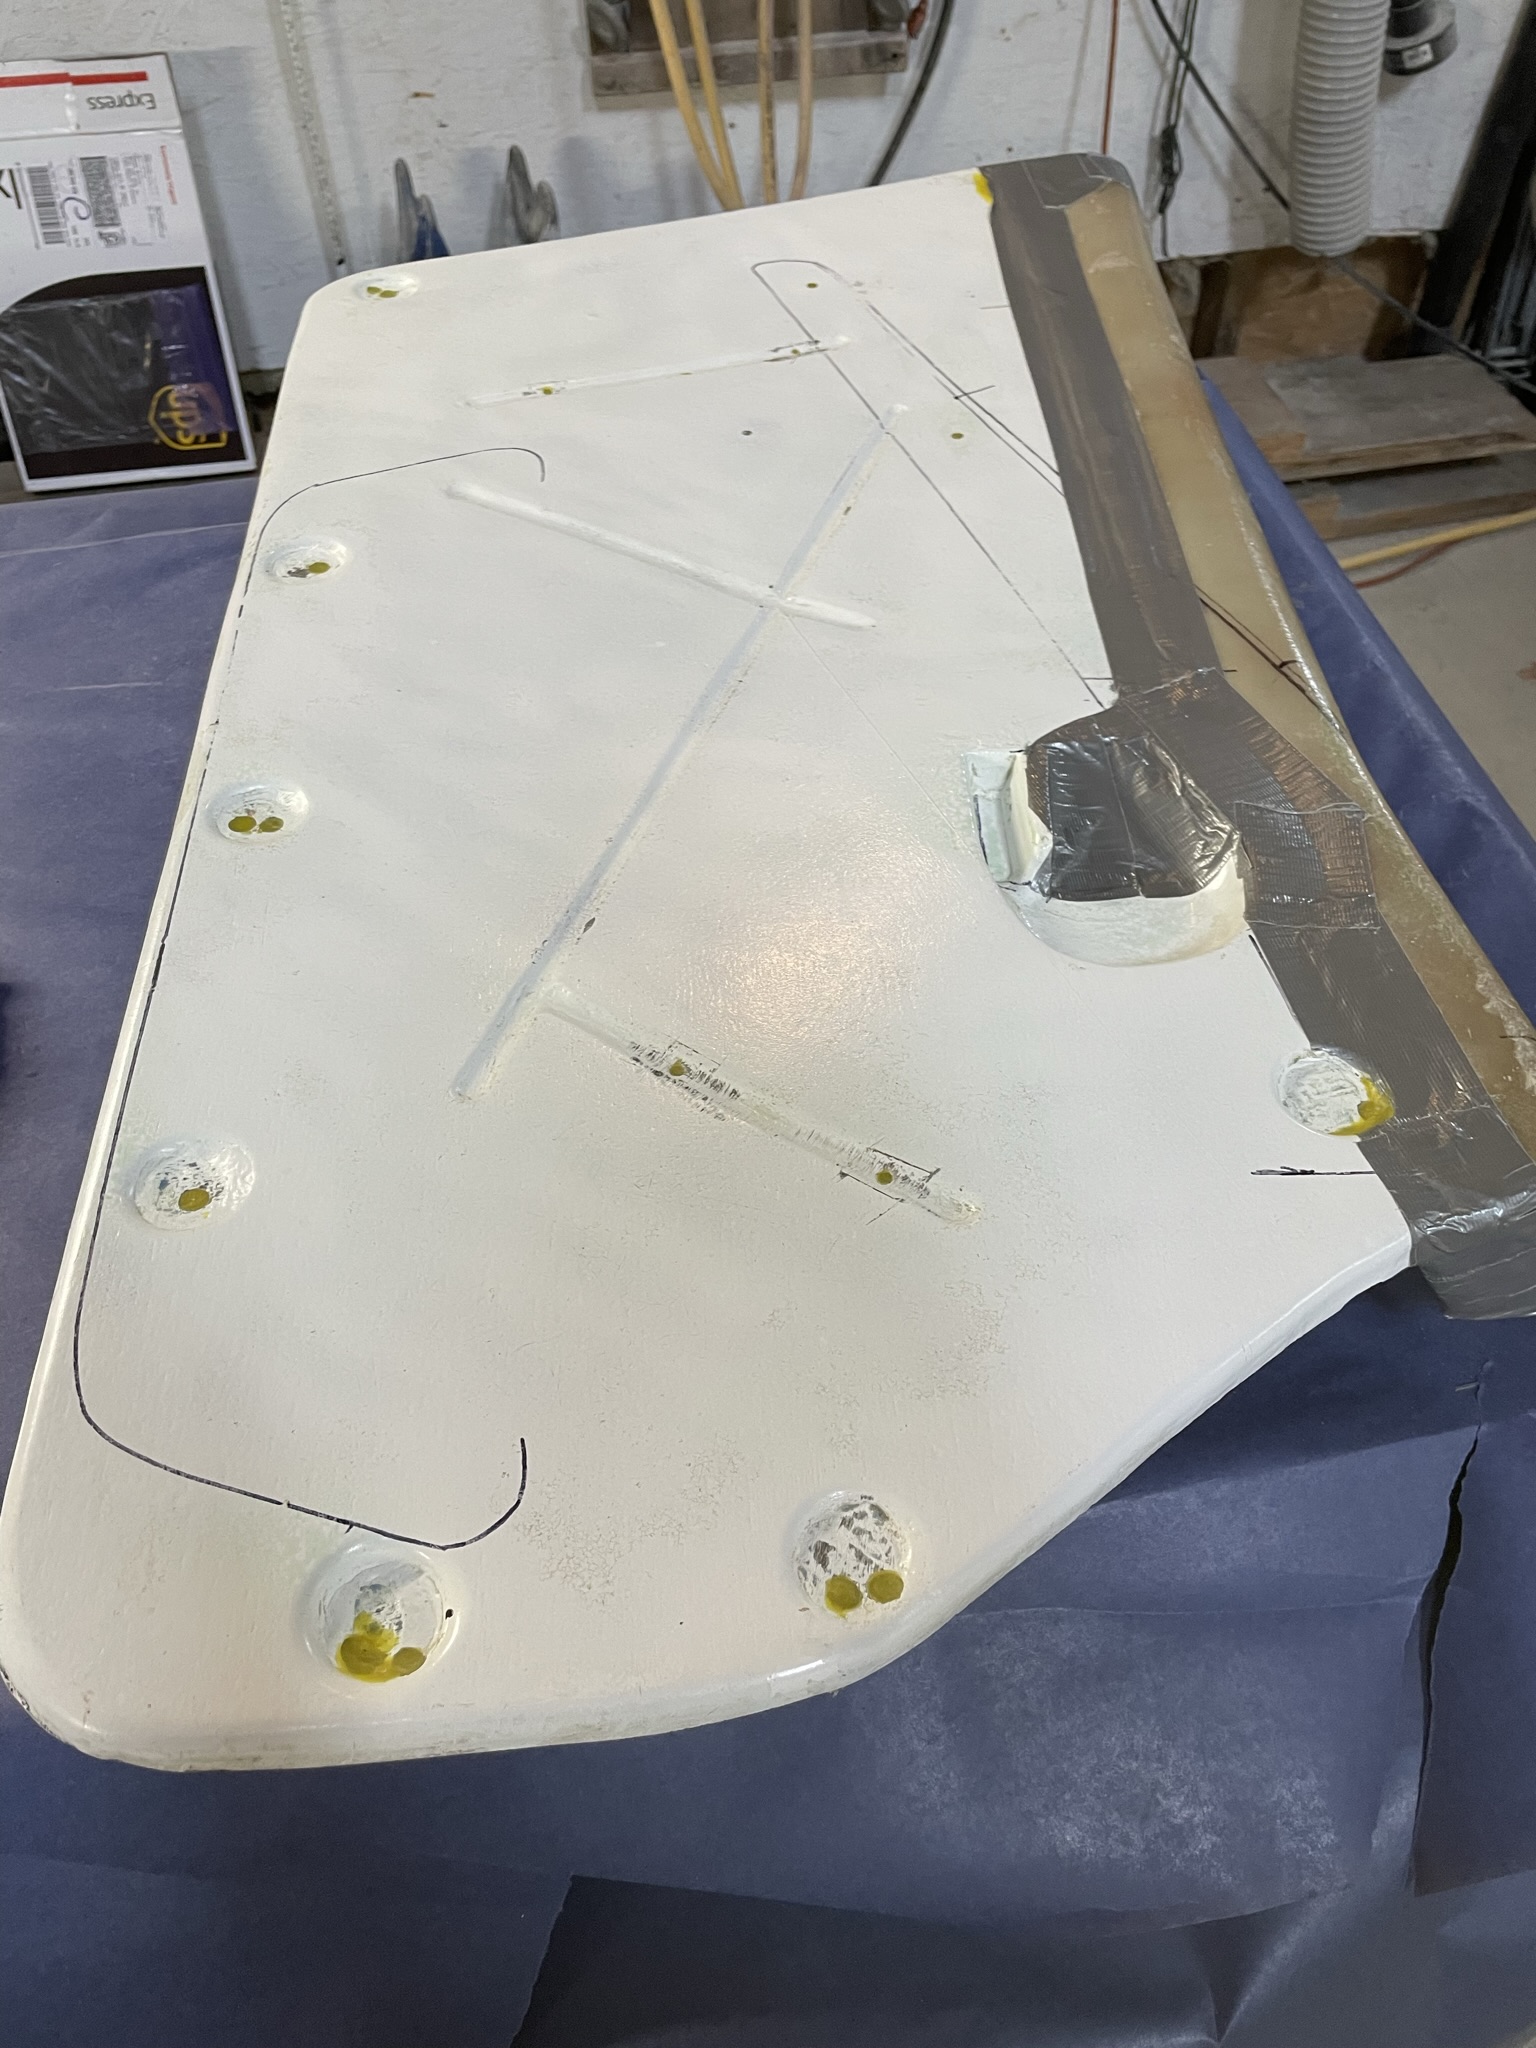
Lots happening on the project, I’ve finished the rear deck parts, just waiting to get the final setup for the hinge positioning before putting the two halves together.
My mechanic friend was having a problem with starting my car, we found the battery almost dead after a couple days of sitting. For no reason it
Seems I have a heavy draw somewhere!!! We checked the alternator only to find it’s not putting out a charge seems like things just keep happening and not always good🤪
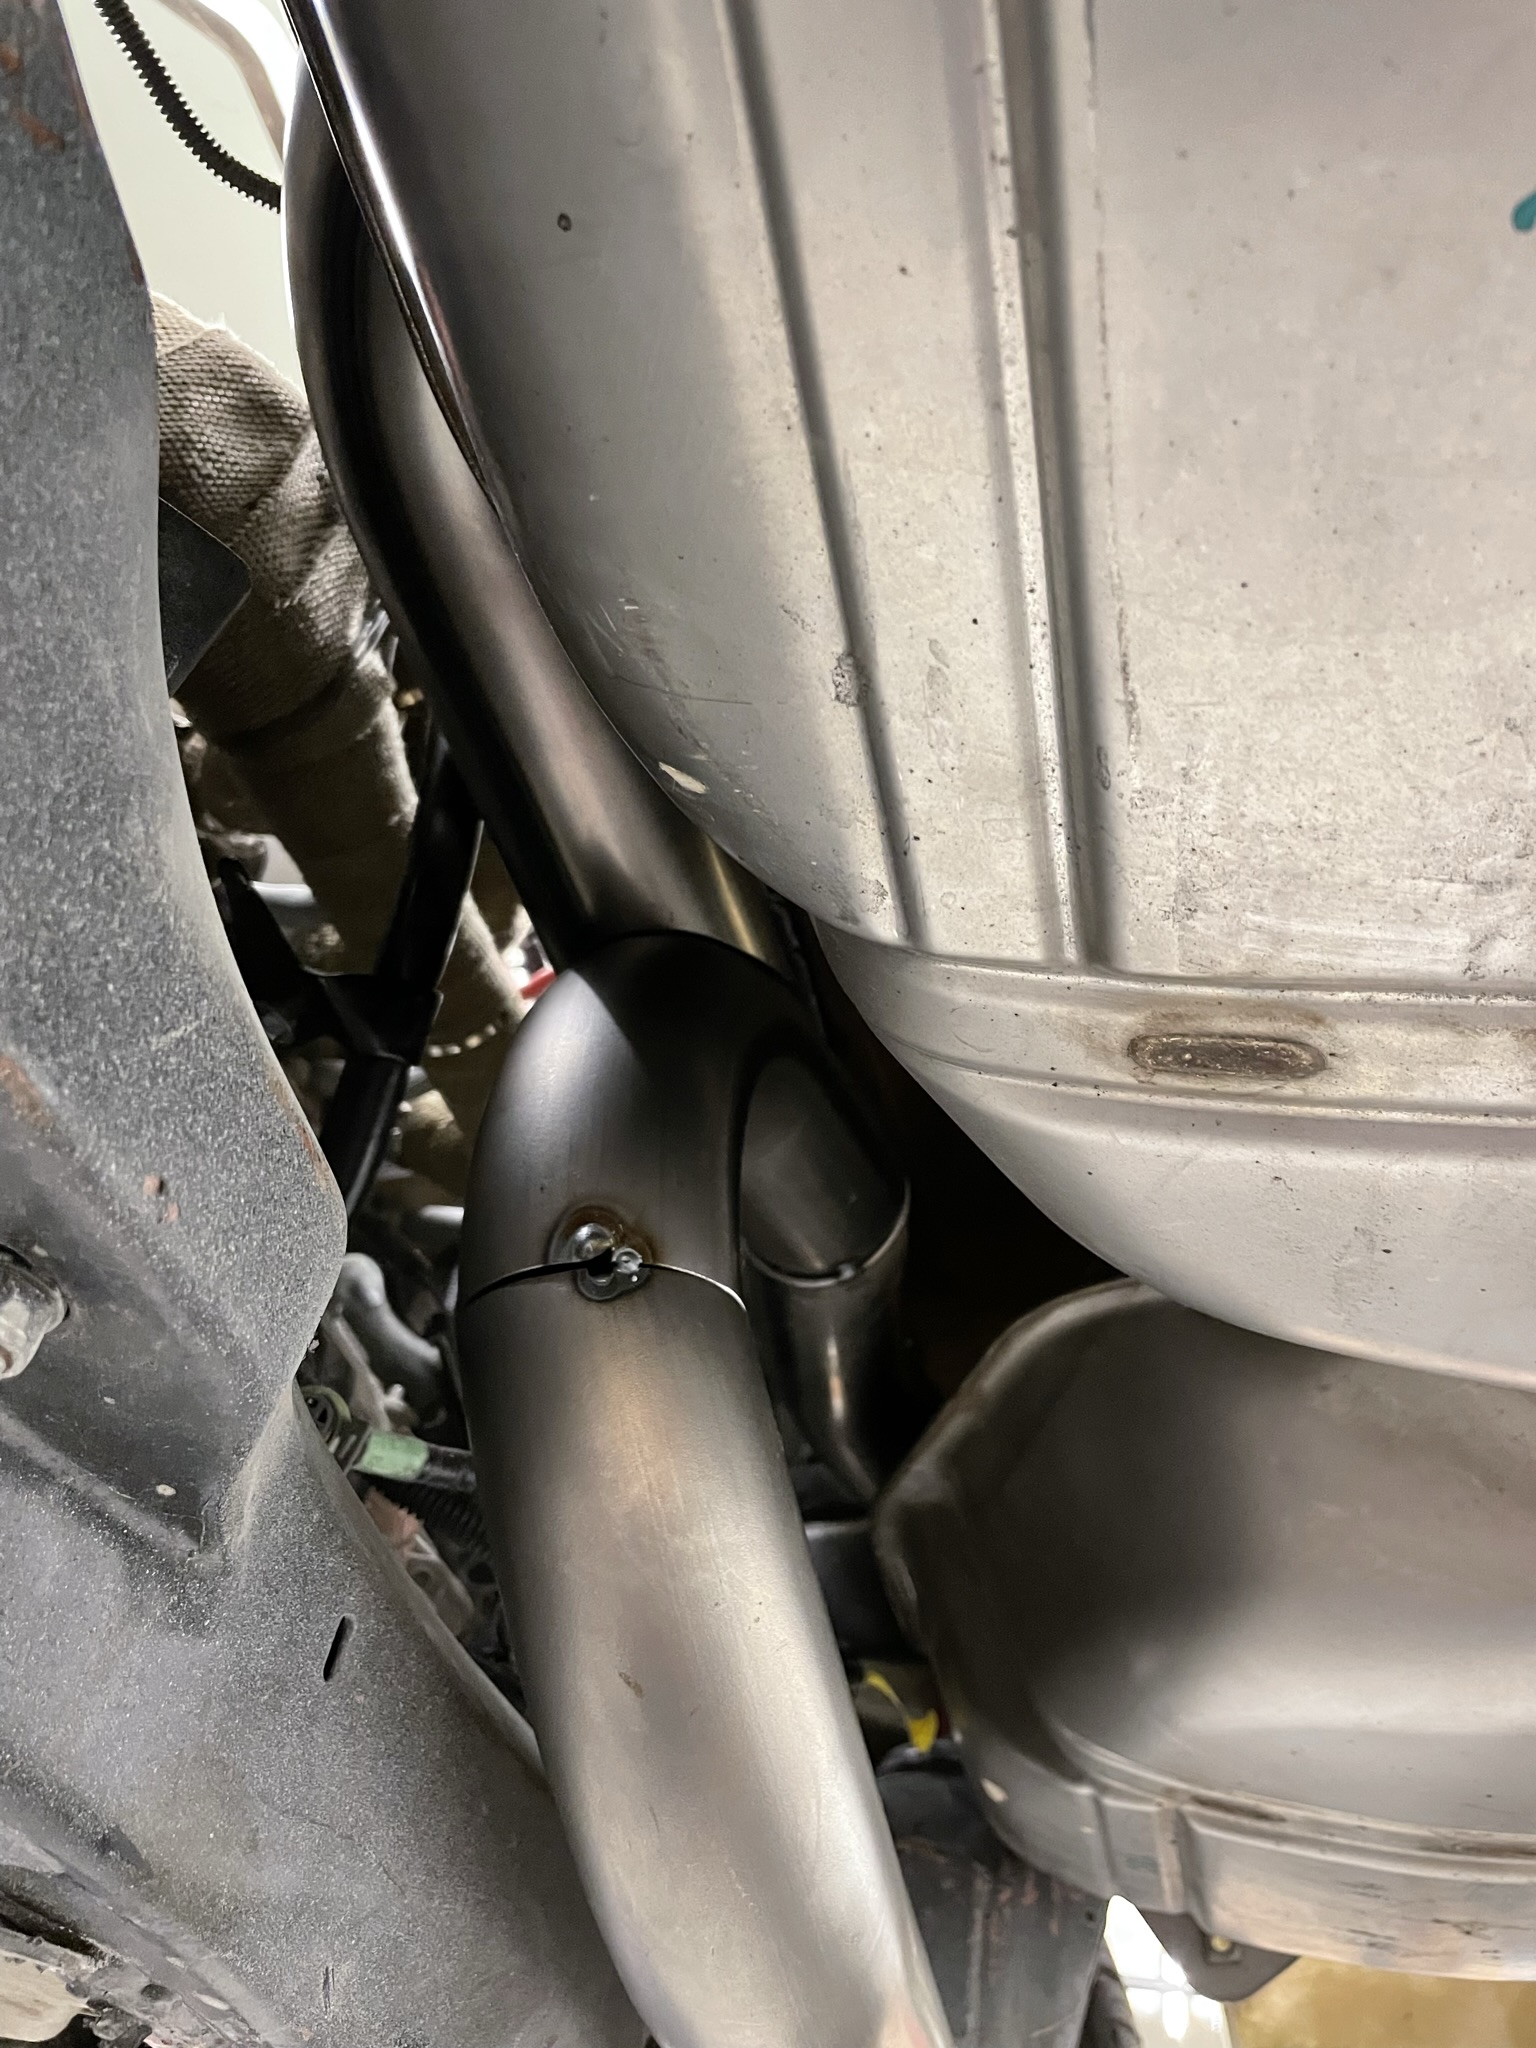
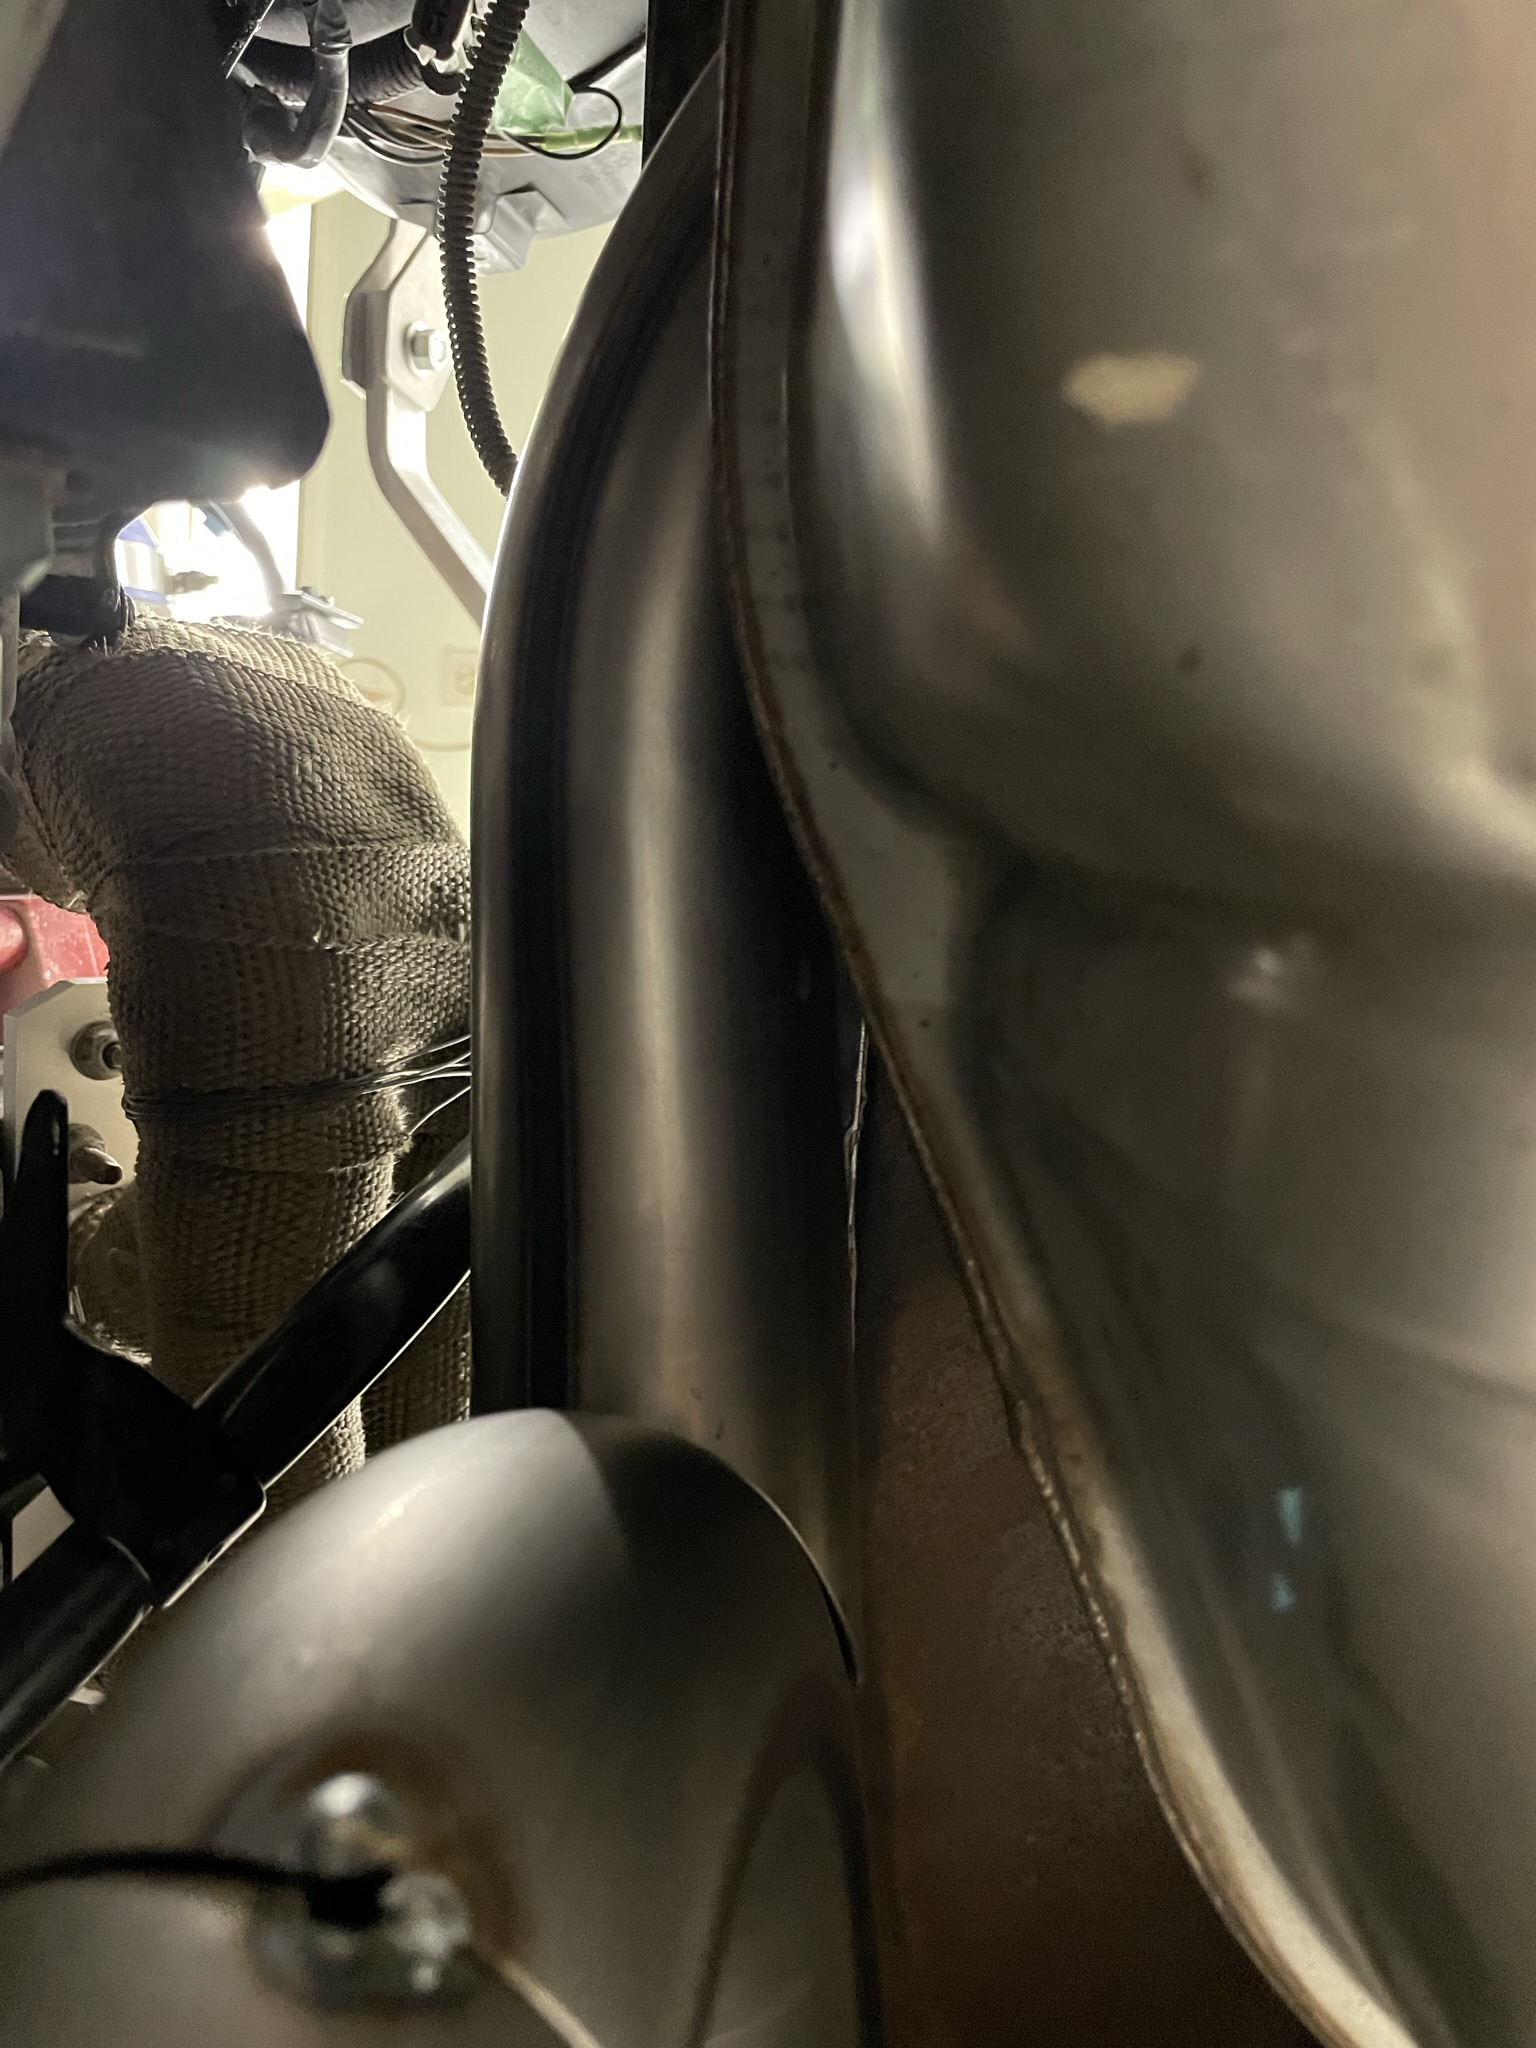
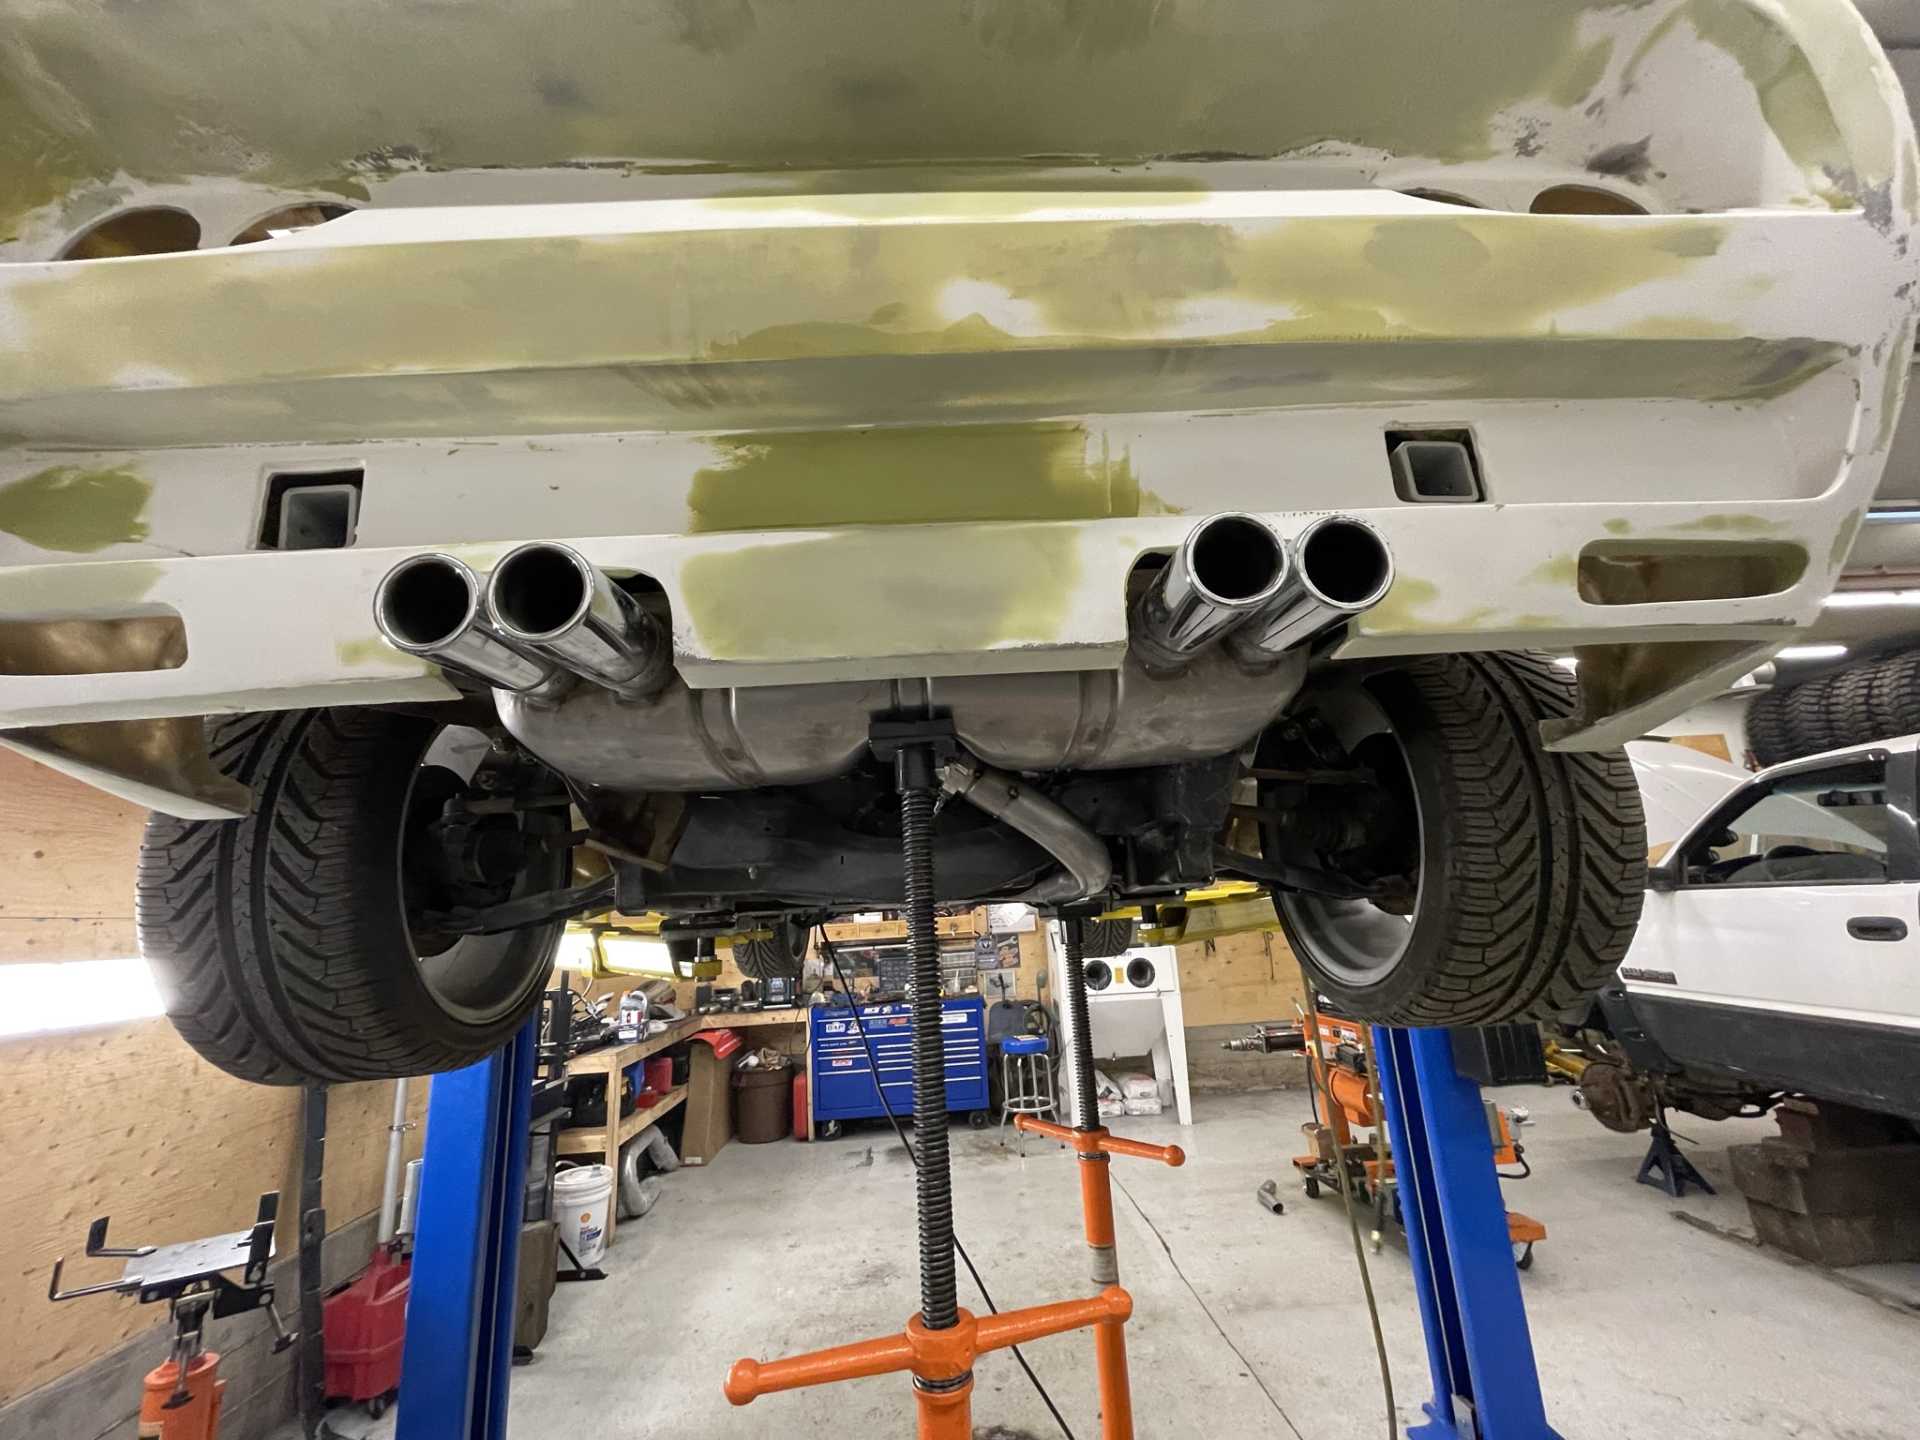
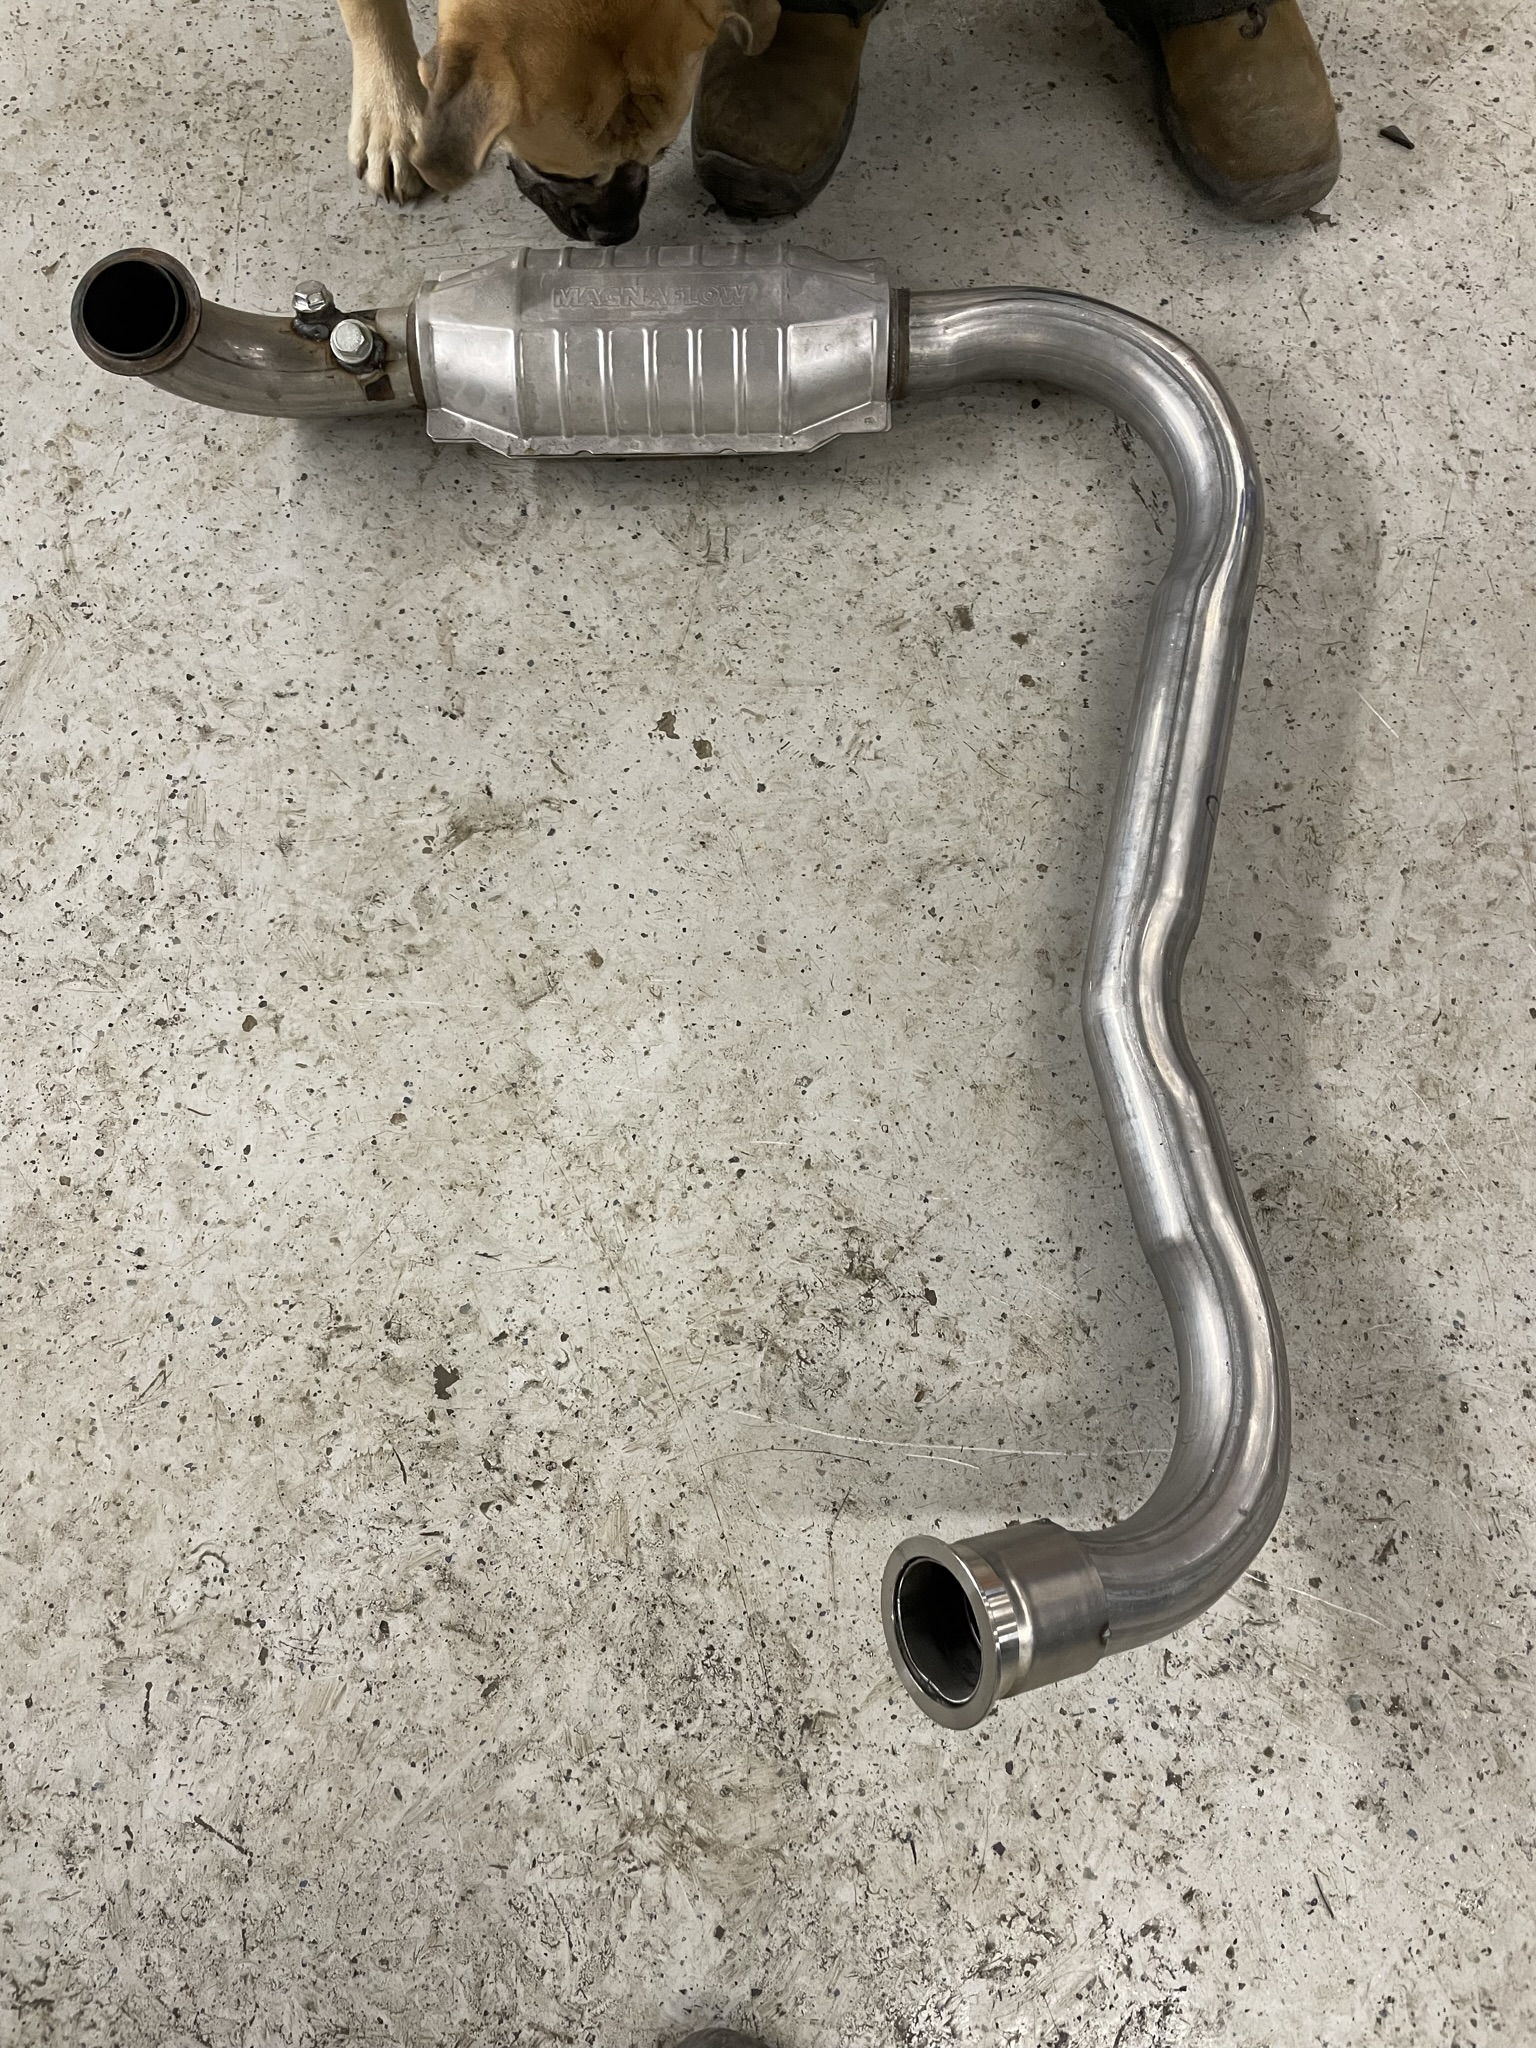
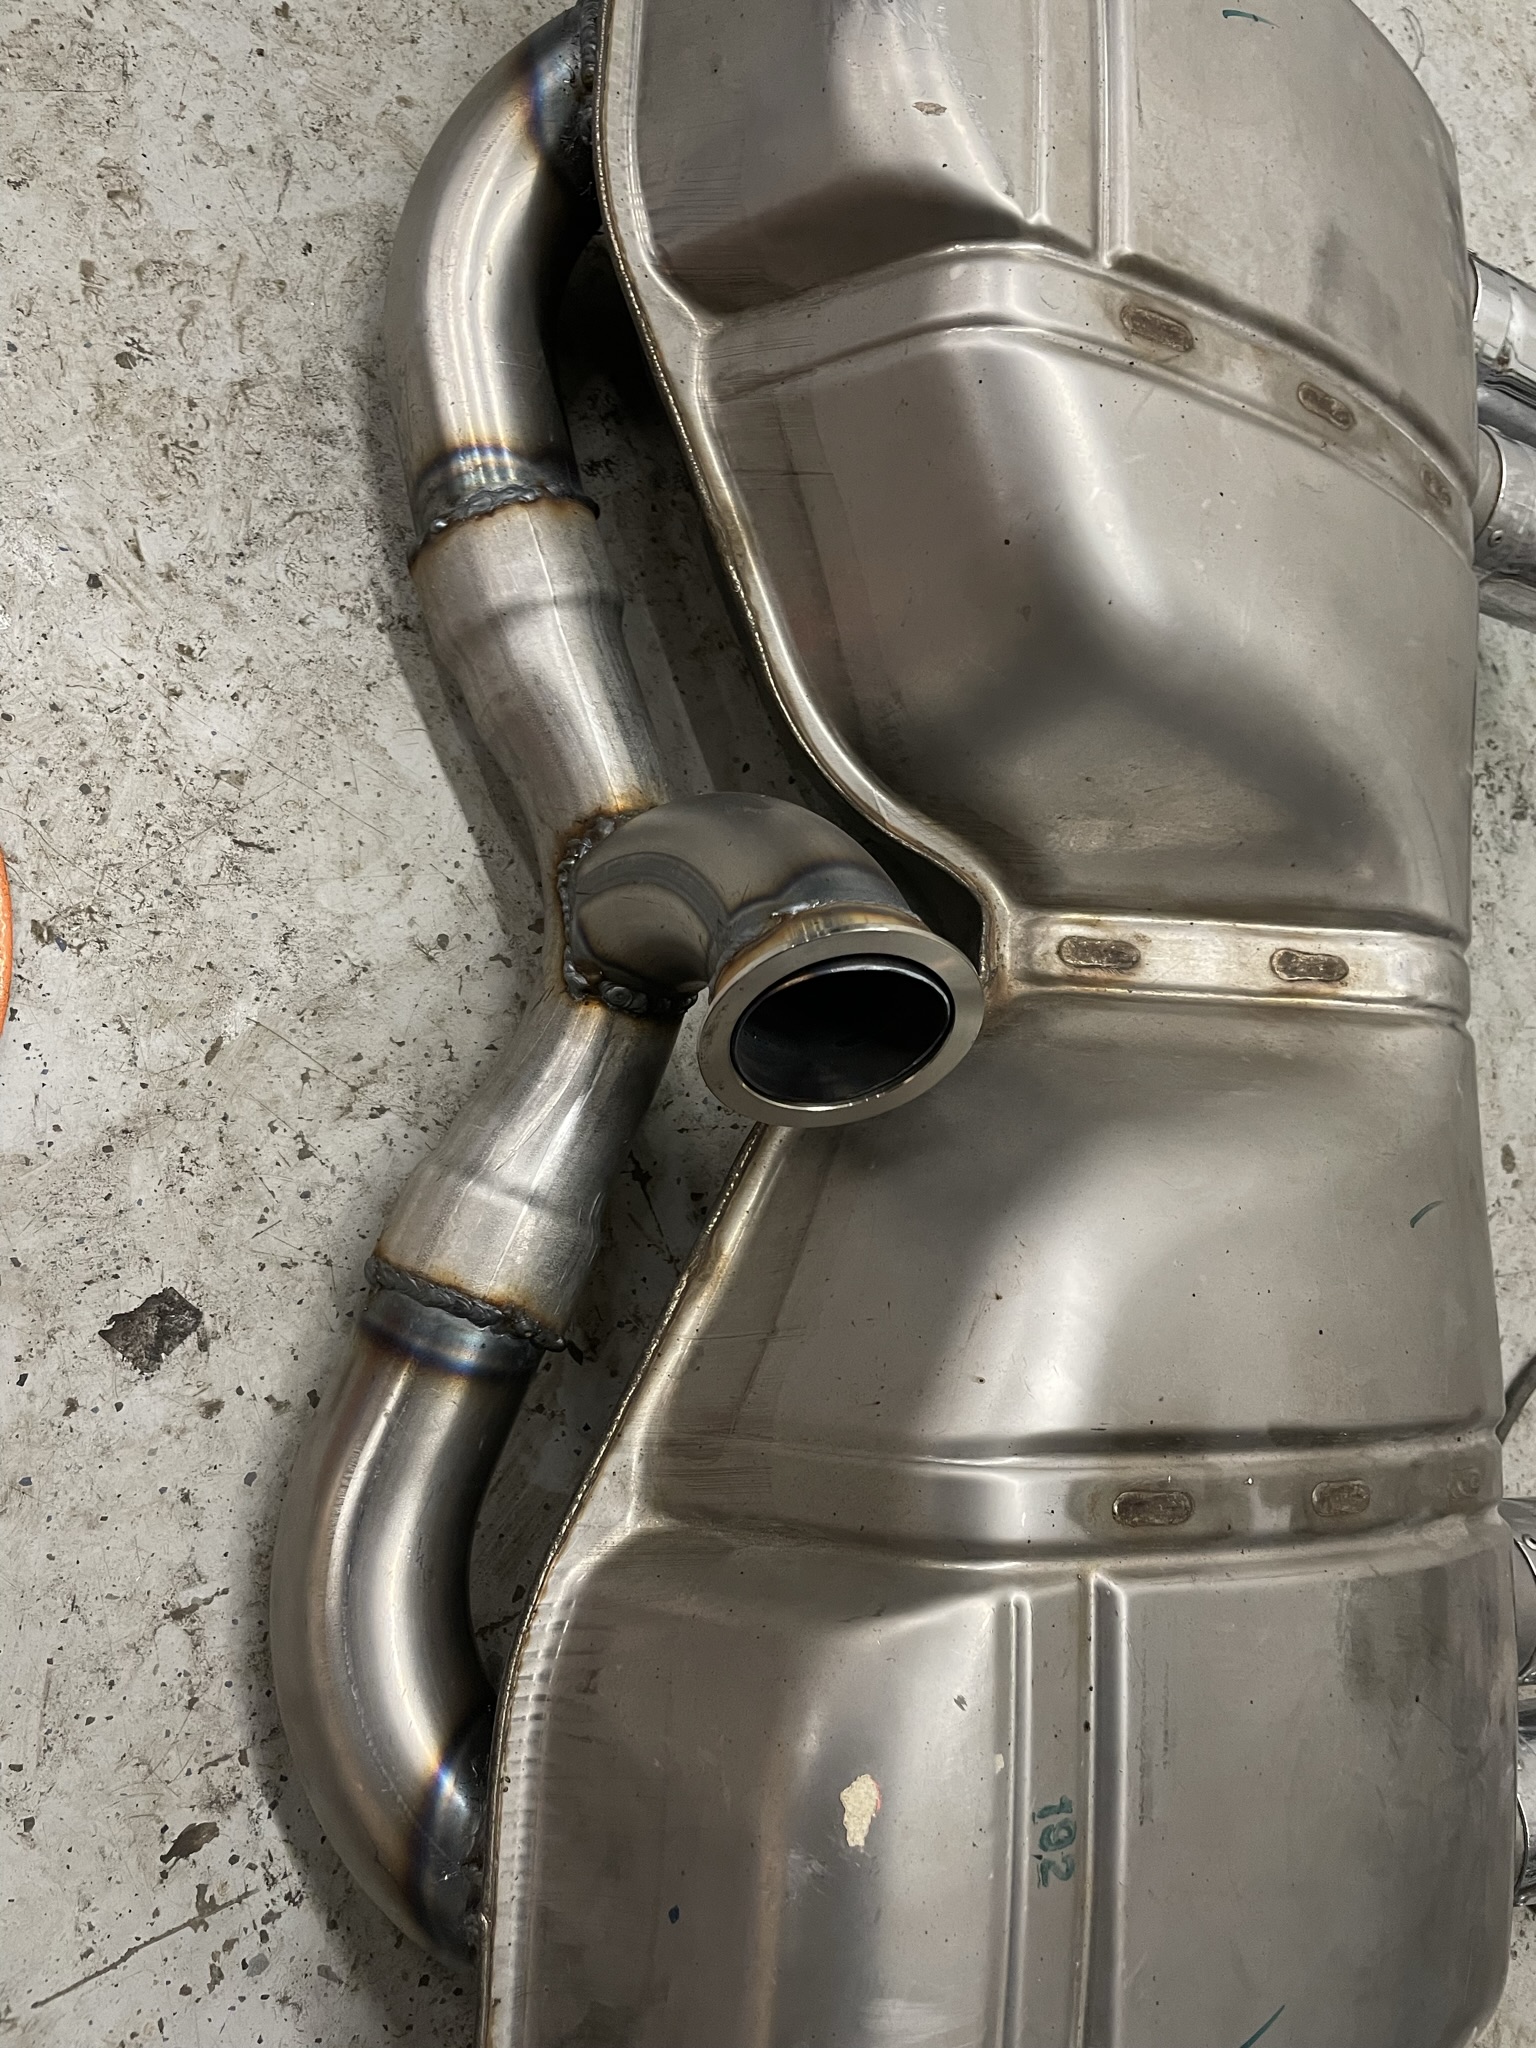
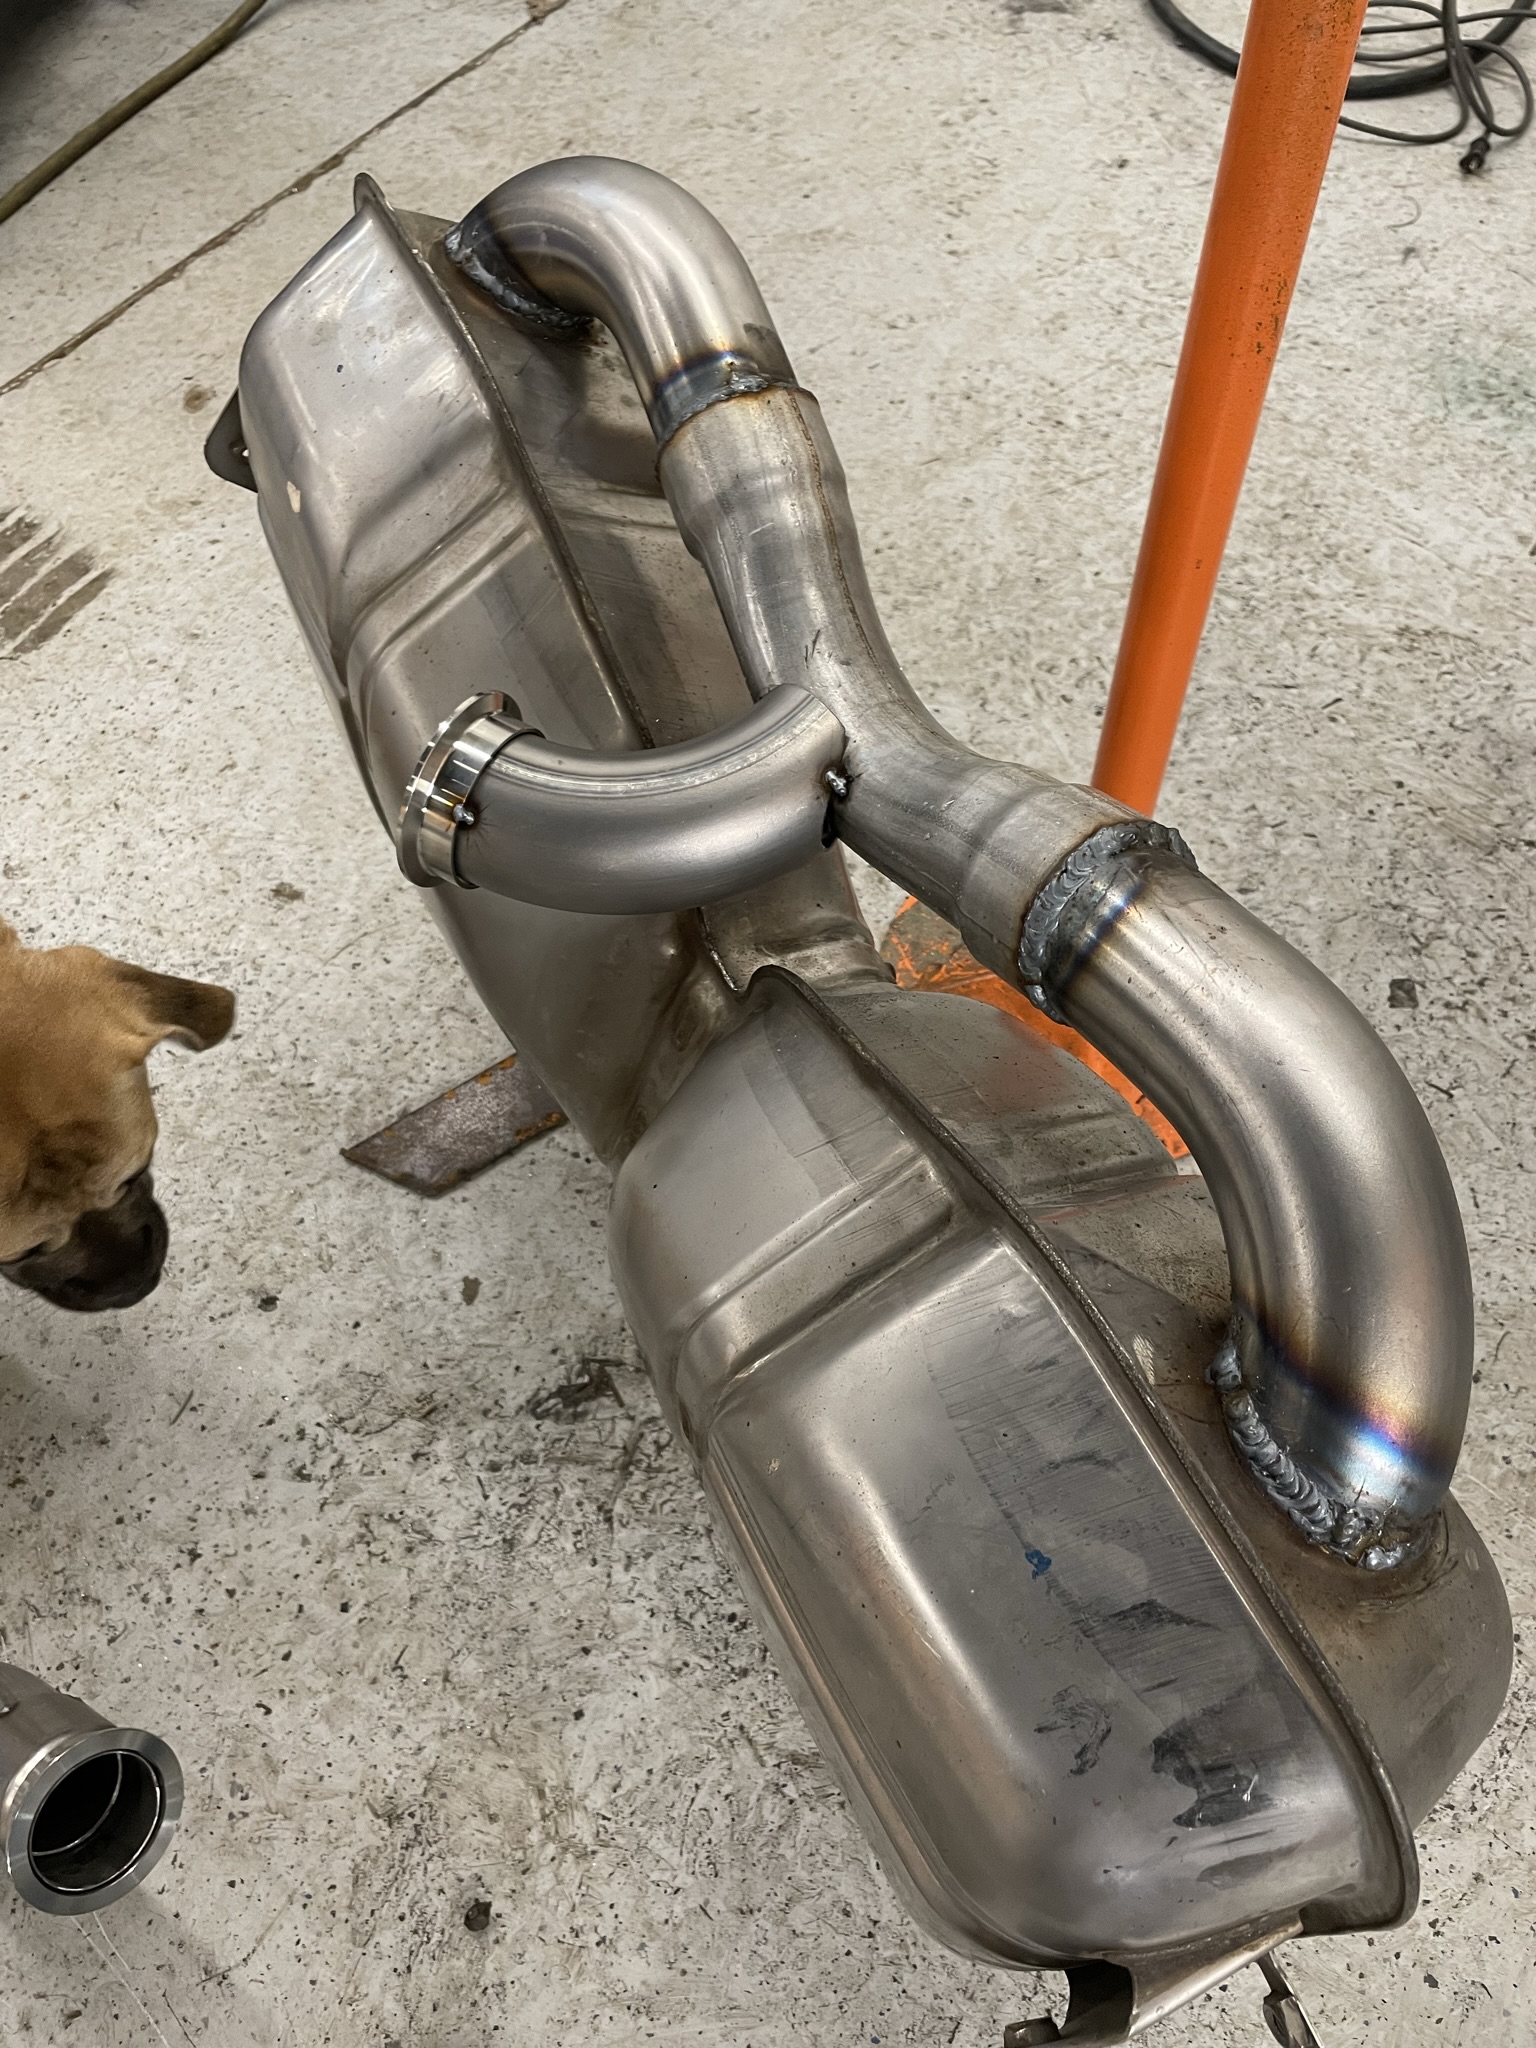
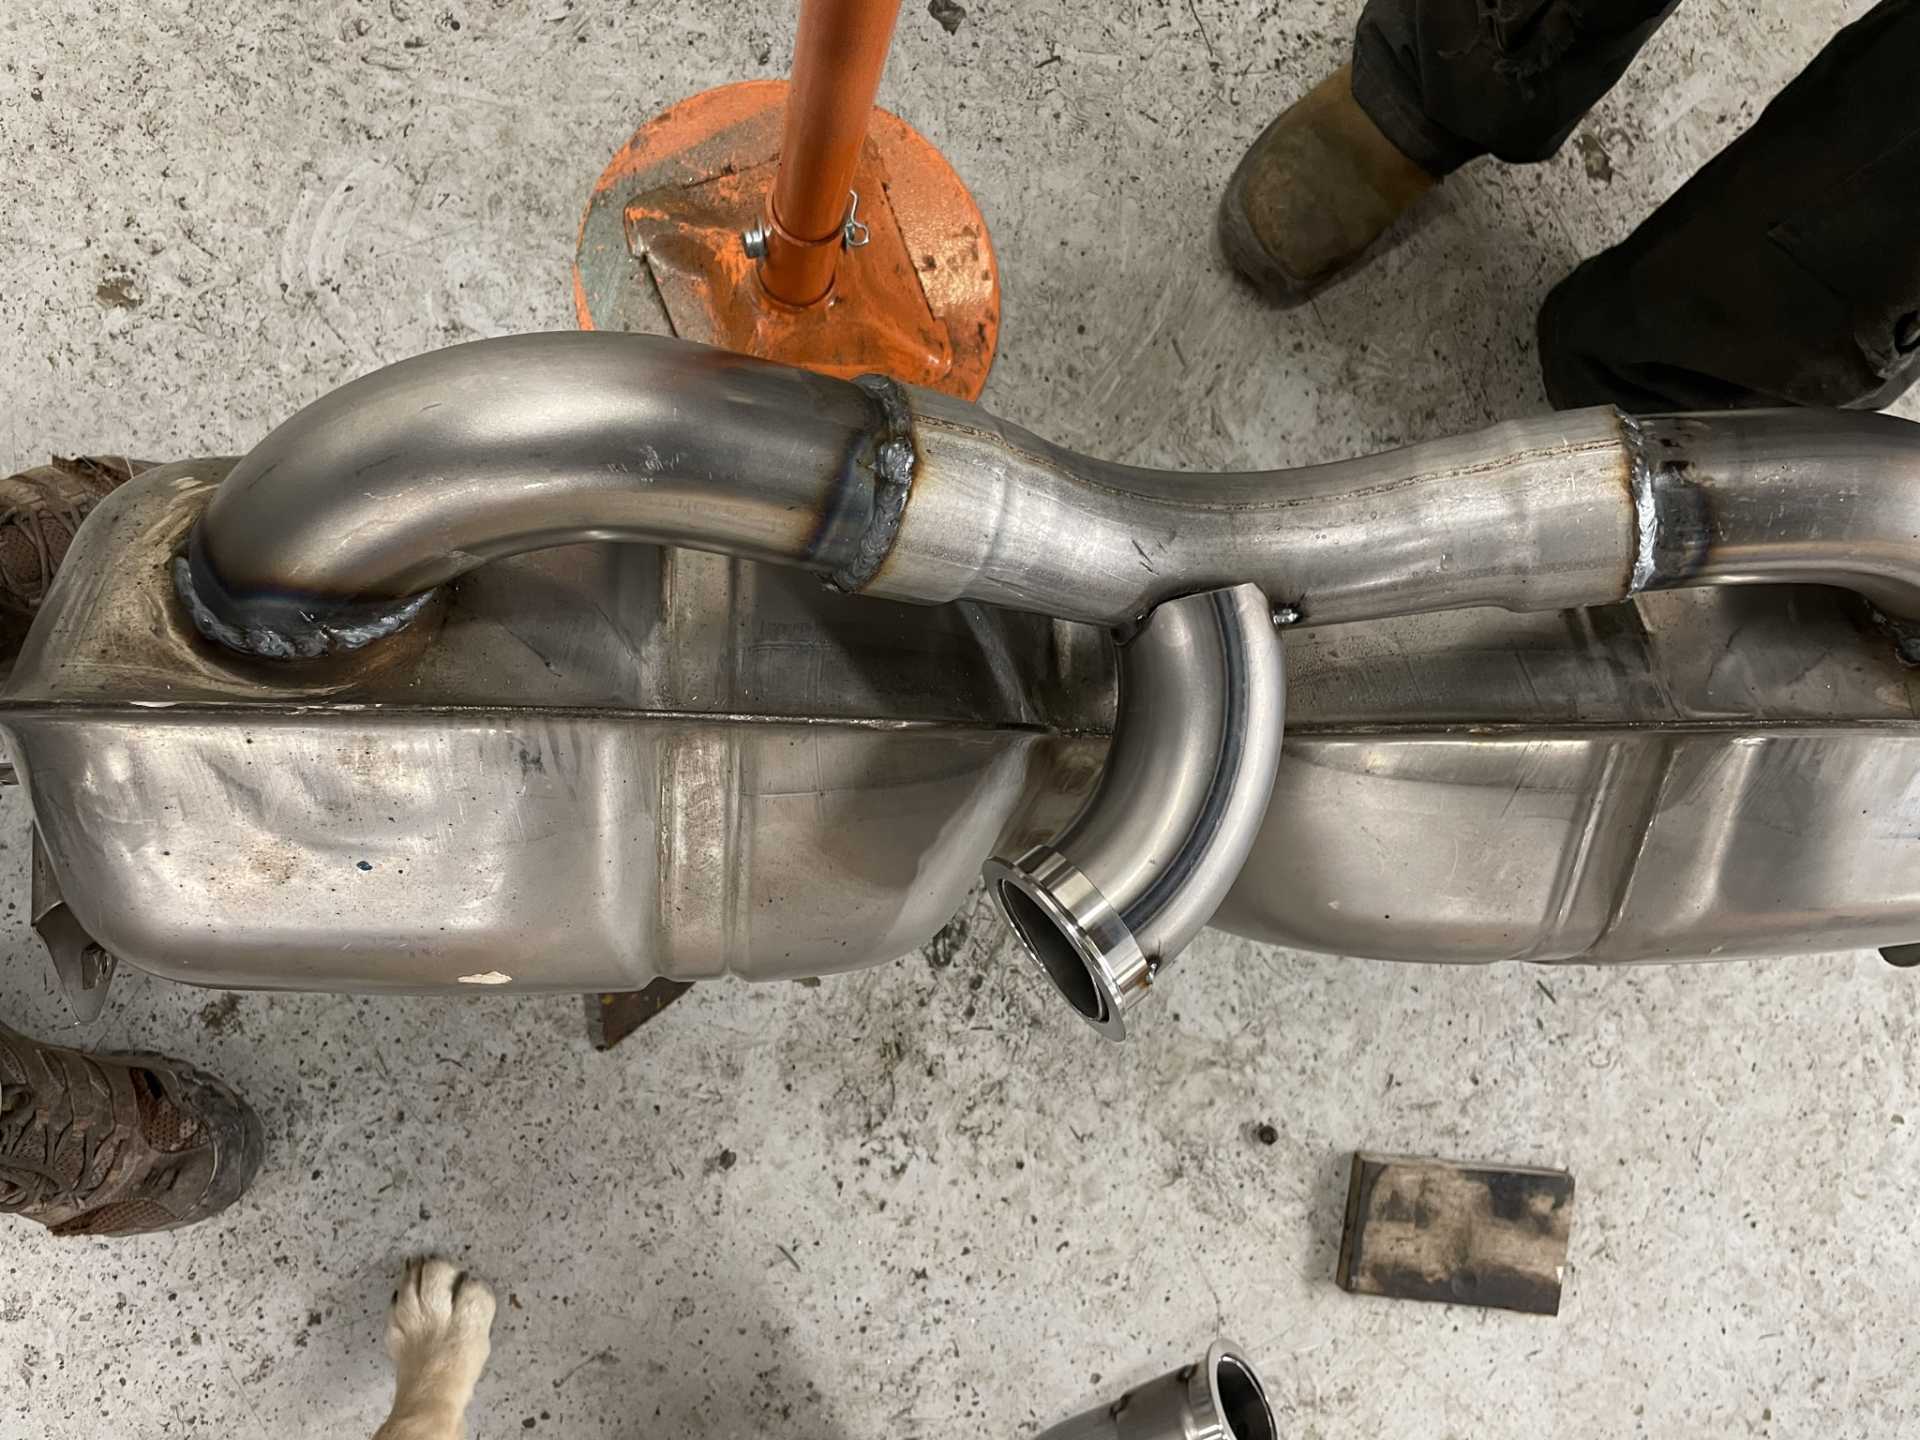
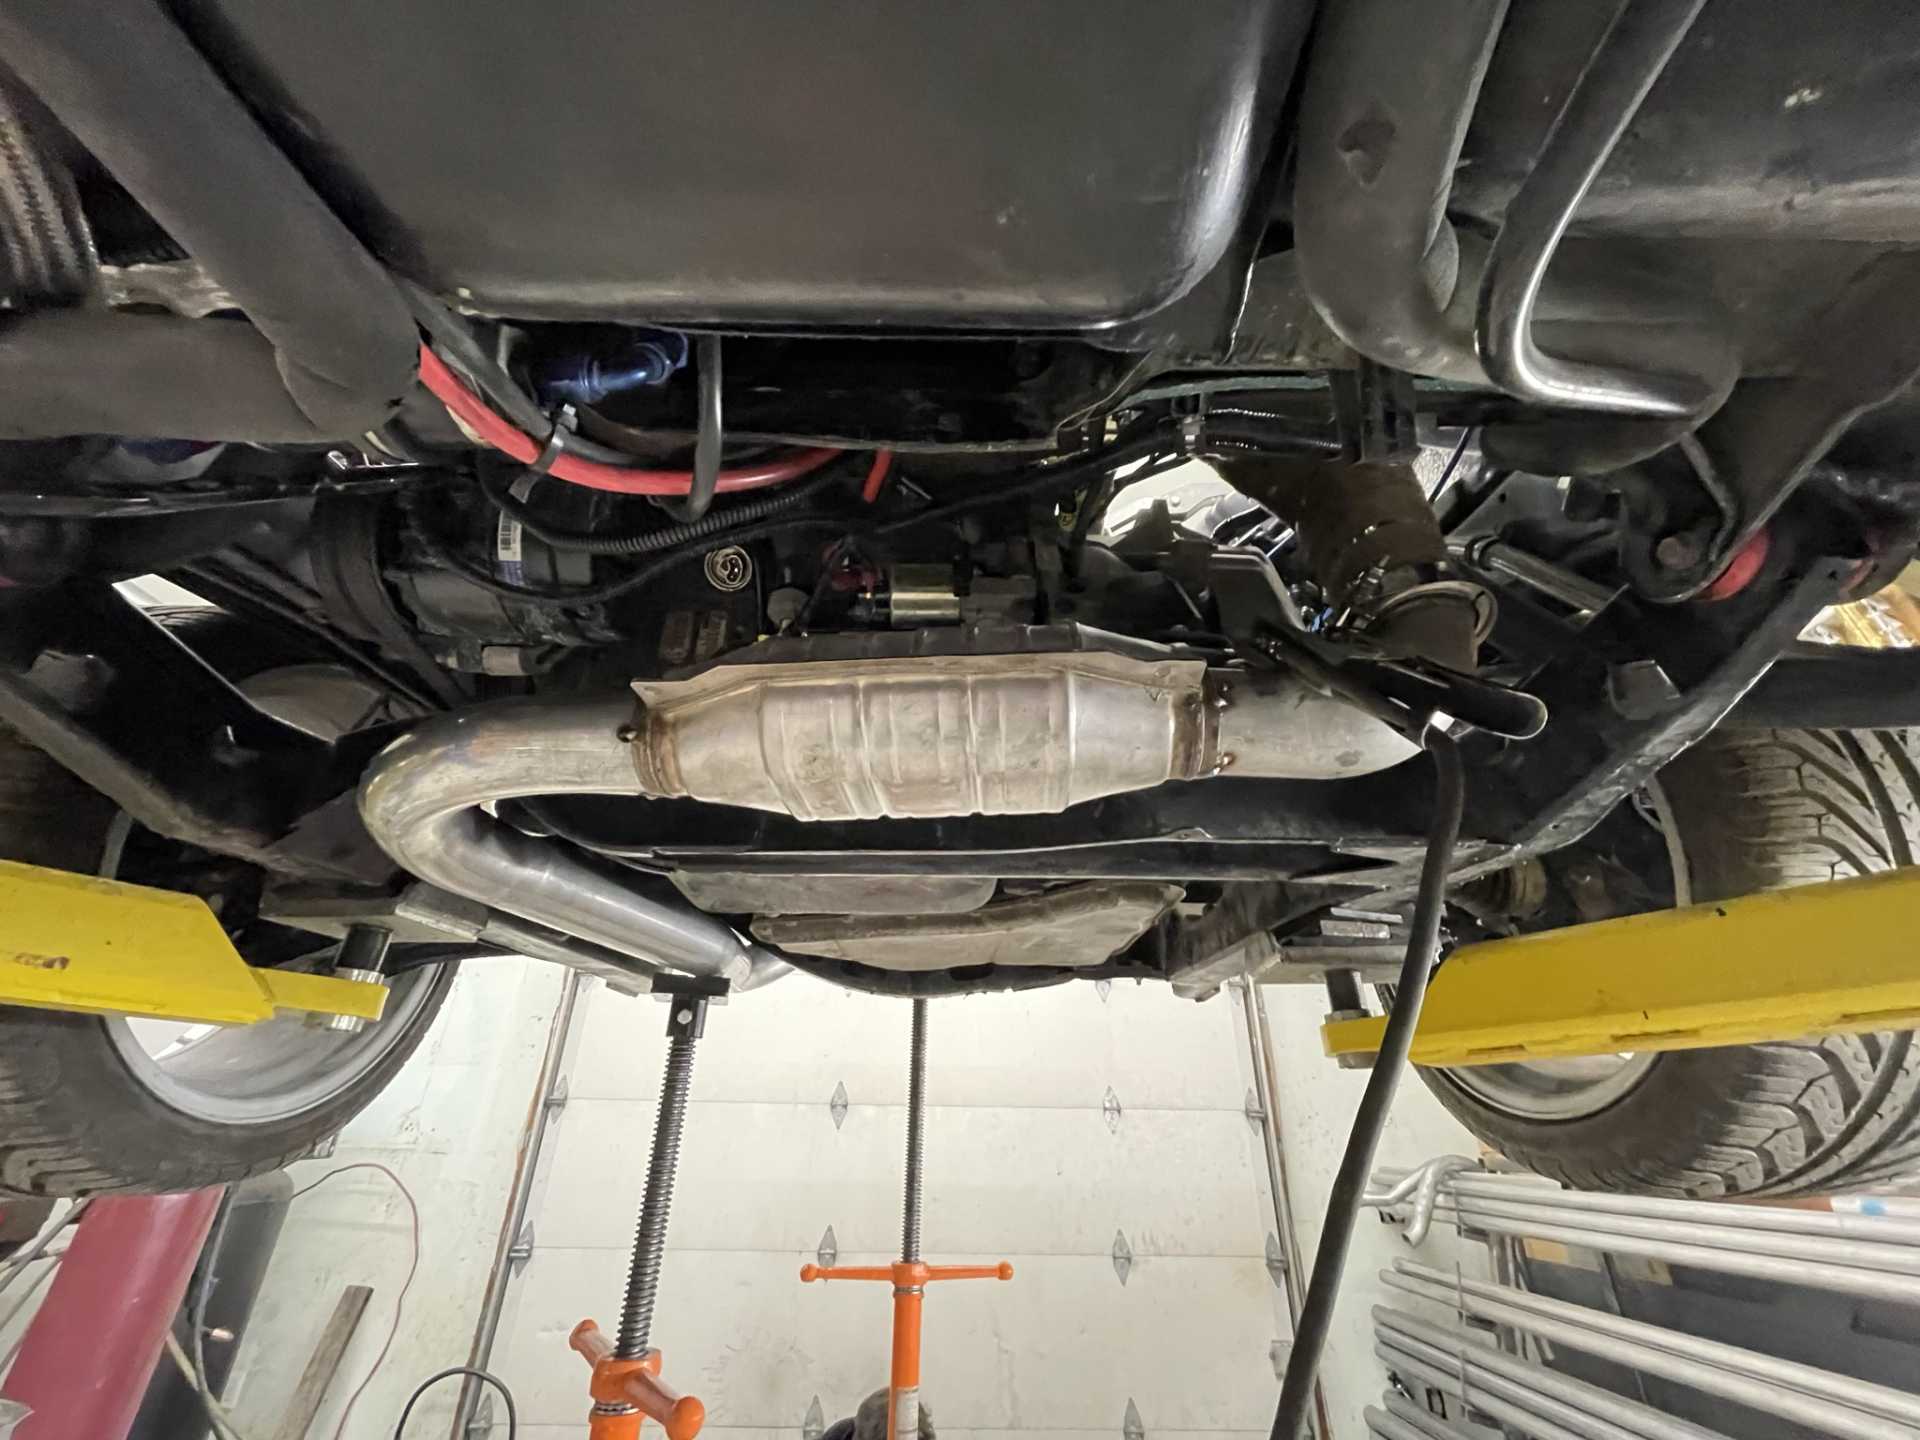
I got to hear the new custom exhaust running tonight!! everything I’d hoped for ,very quite.
Stay safe everyone
Wayne
|
|
|
|
dobie1
|
FEB 25, 11:58 AM
|
|
|
|
|
Sage
|
FEB 26, 09:34 AM
|
|
|
|

 [img]https://images.fiero.nl/userimages/dobie1/757D2A95-5B91-4D0C-9D 64-49ADA29D9C8A.jpeg[/img]
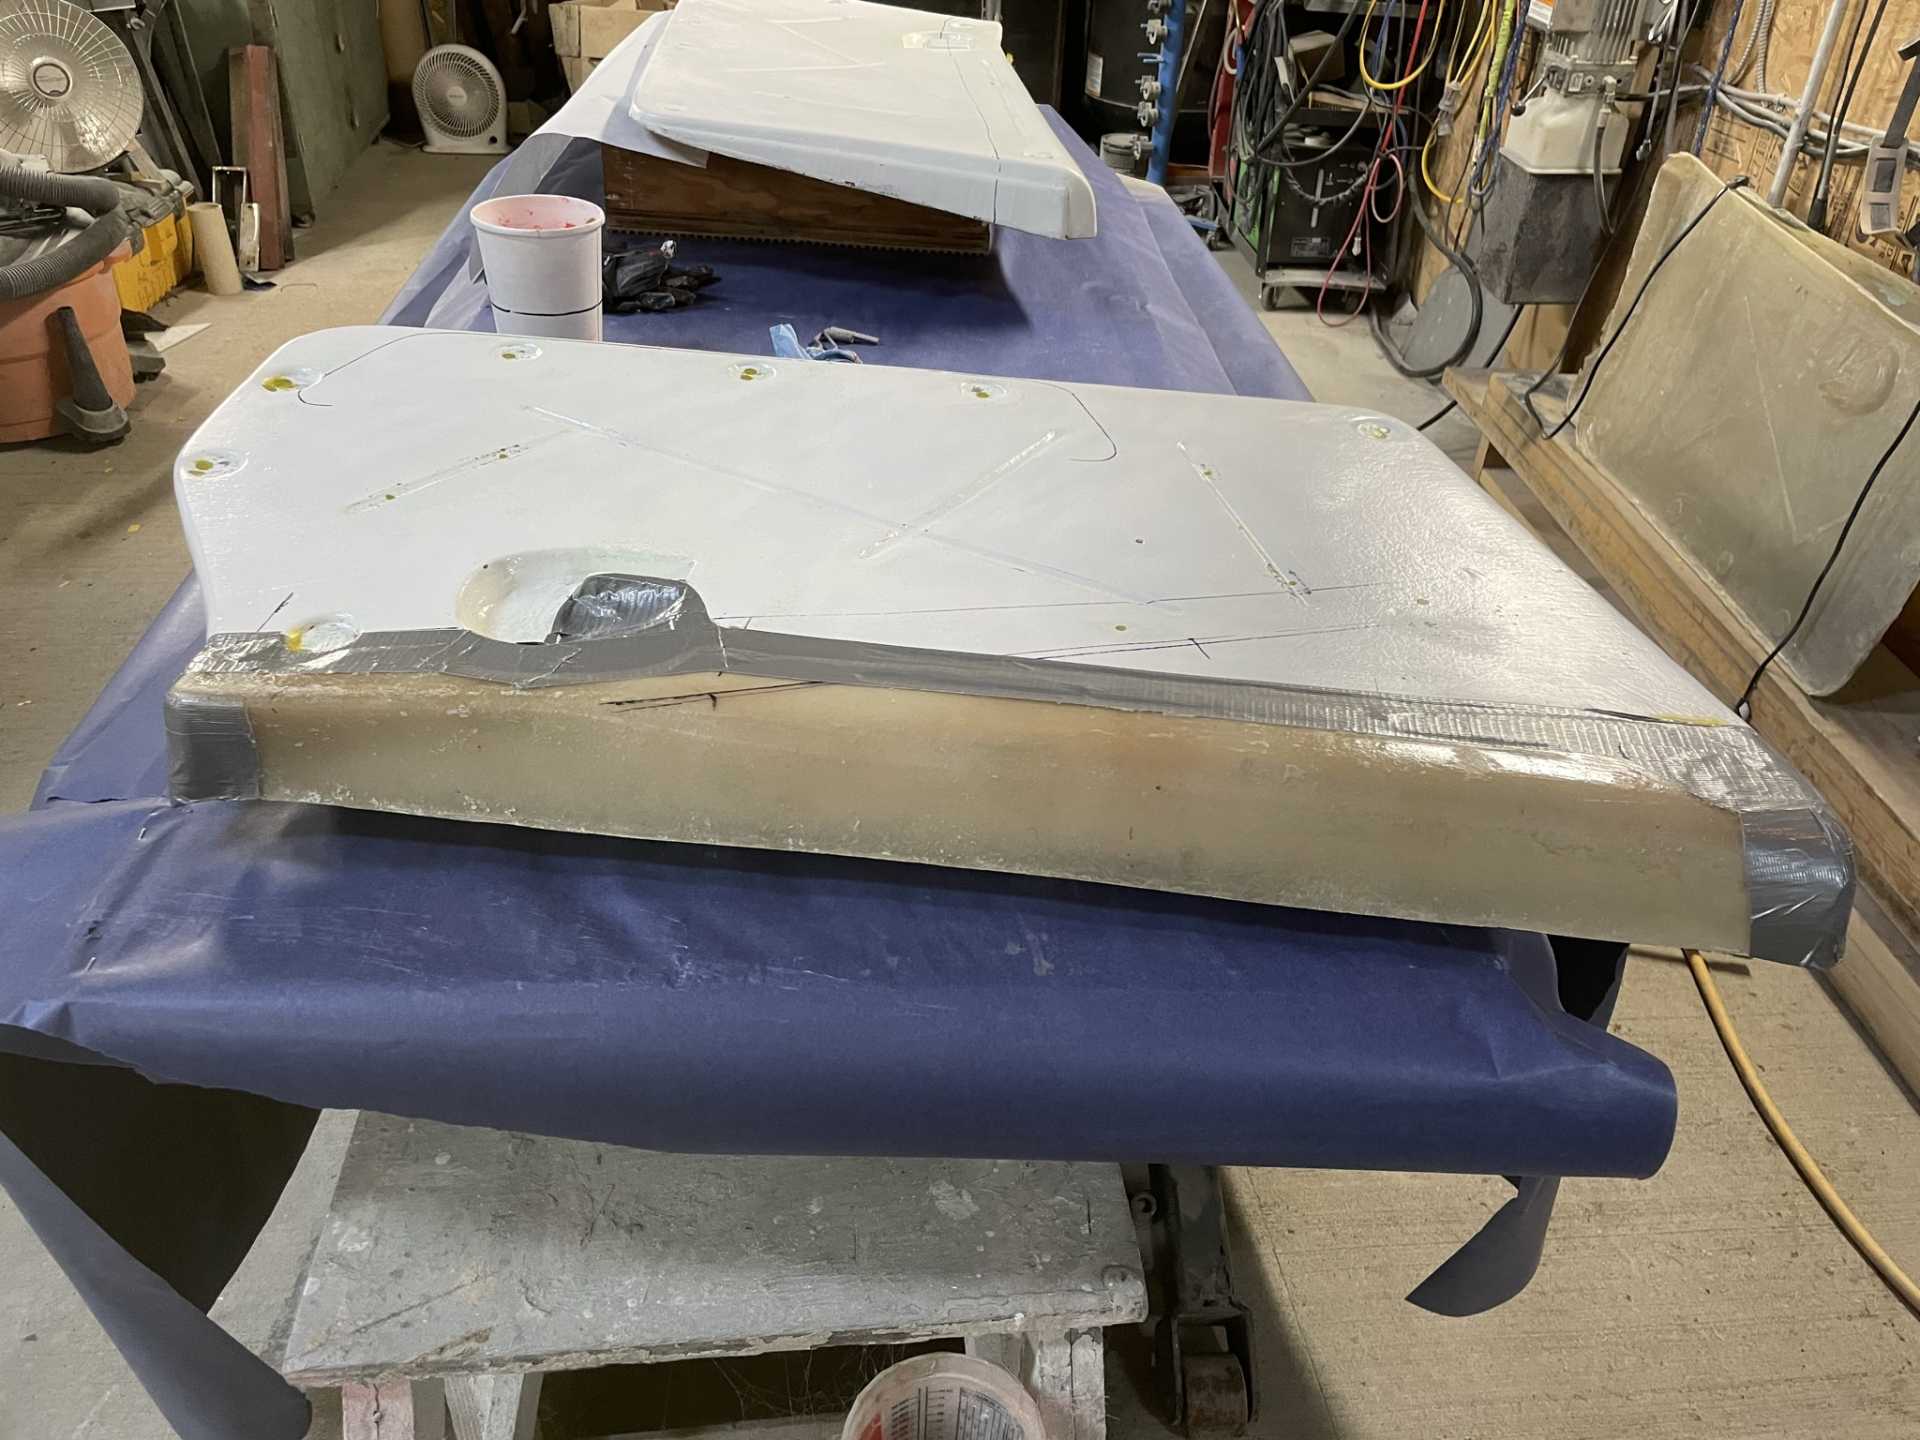
 [img]https://images.fiero.nl/userimages/do bie1/D7C6D29F-ACB3-490C-B31F-42F6336010D1.jpeg[/img]