|
| LS4 / F40 swap - fieroguru (Page 45/216) |

|
fieroguru
|
FEB 11, 08:19 PM
|
|
Drilled one of the front wheel bearings for the 5 x 4 3/4" pattern:
Removed the old wheel studs:
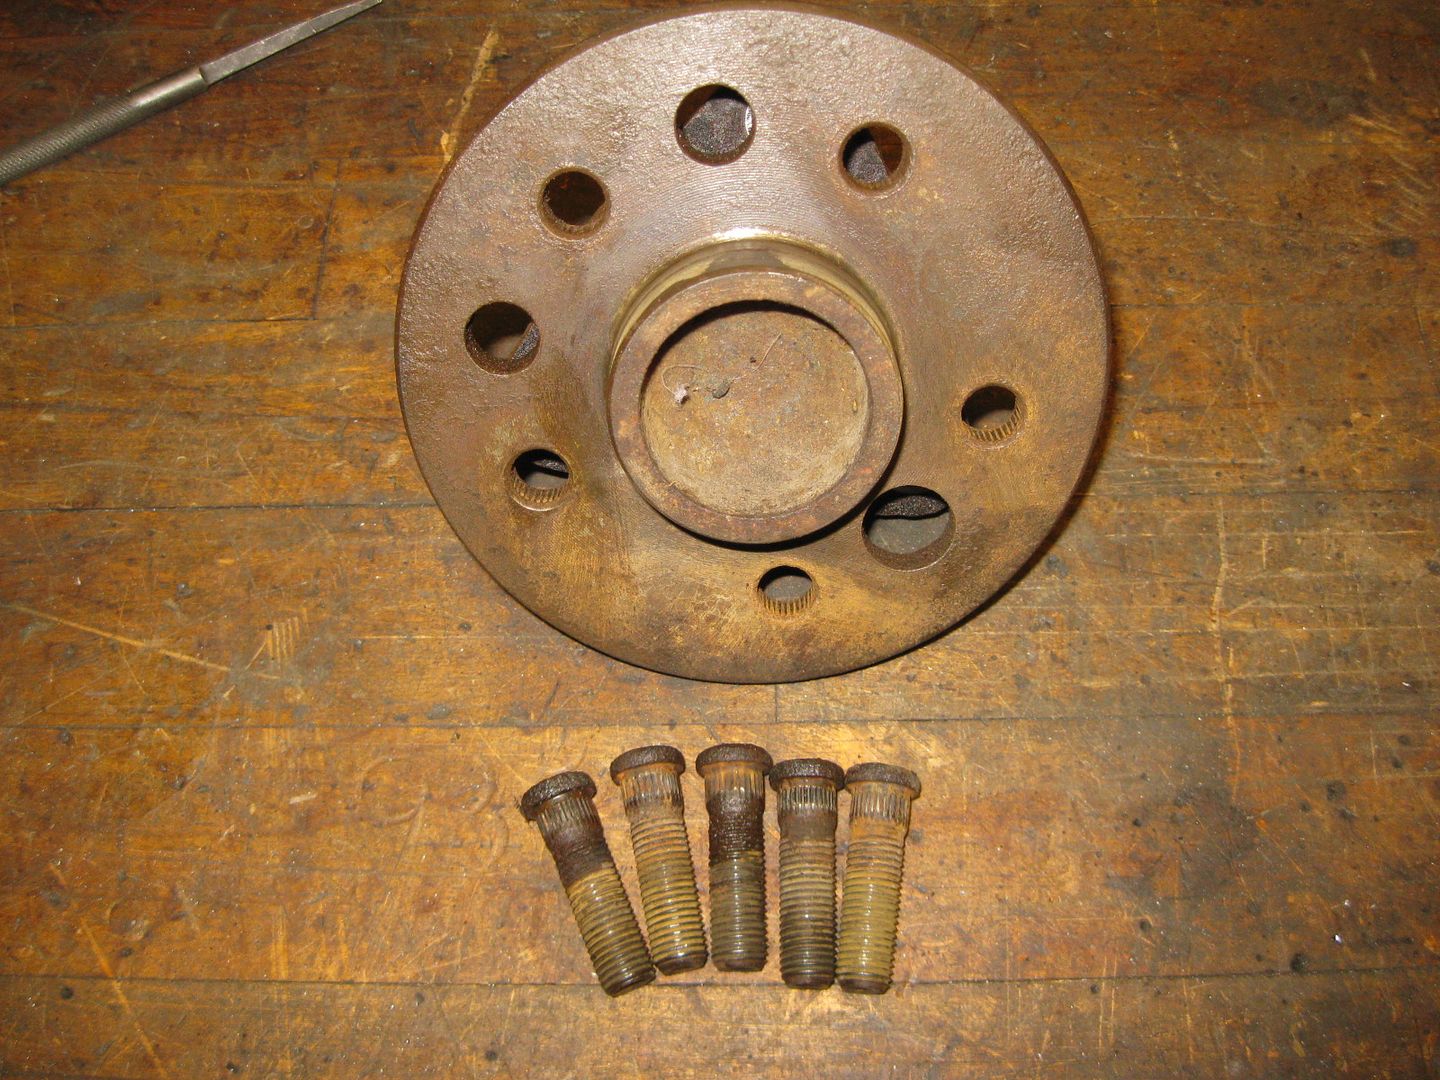
Set it up on the mill, dial indicated off the wheel pilot, locked the flange from spinning, and the drilled the flange to the required dimensions:
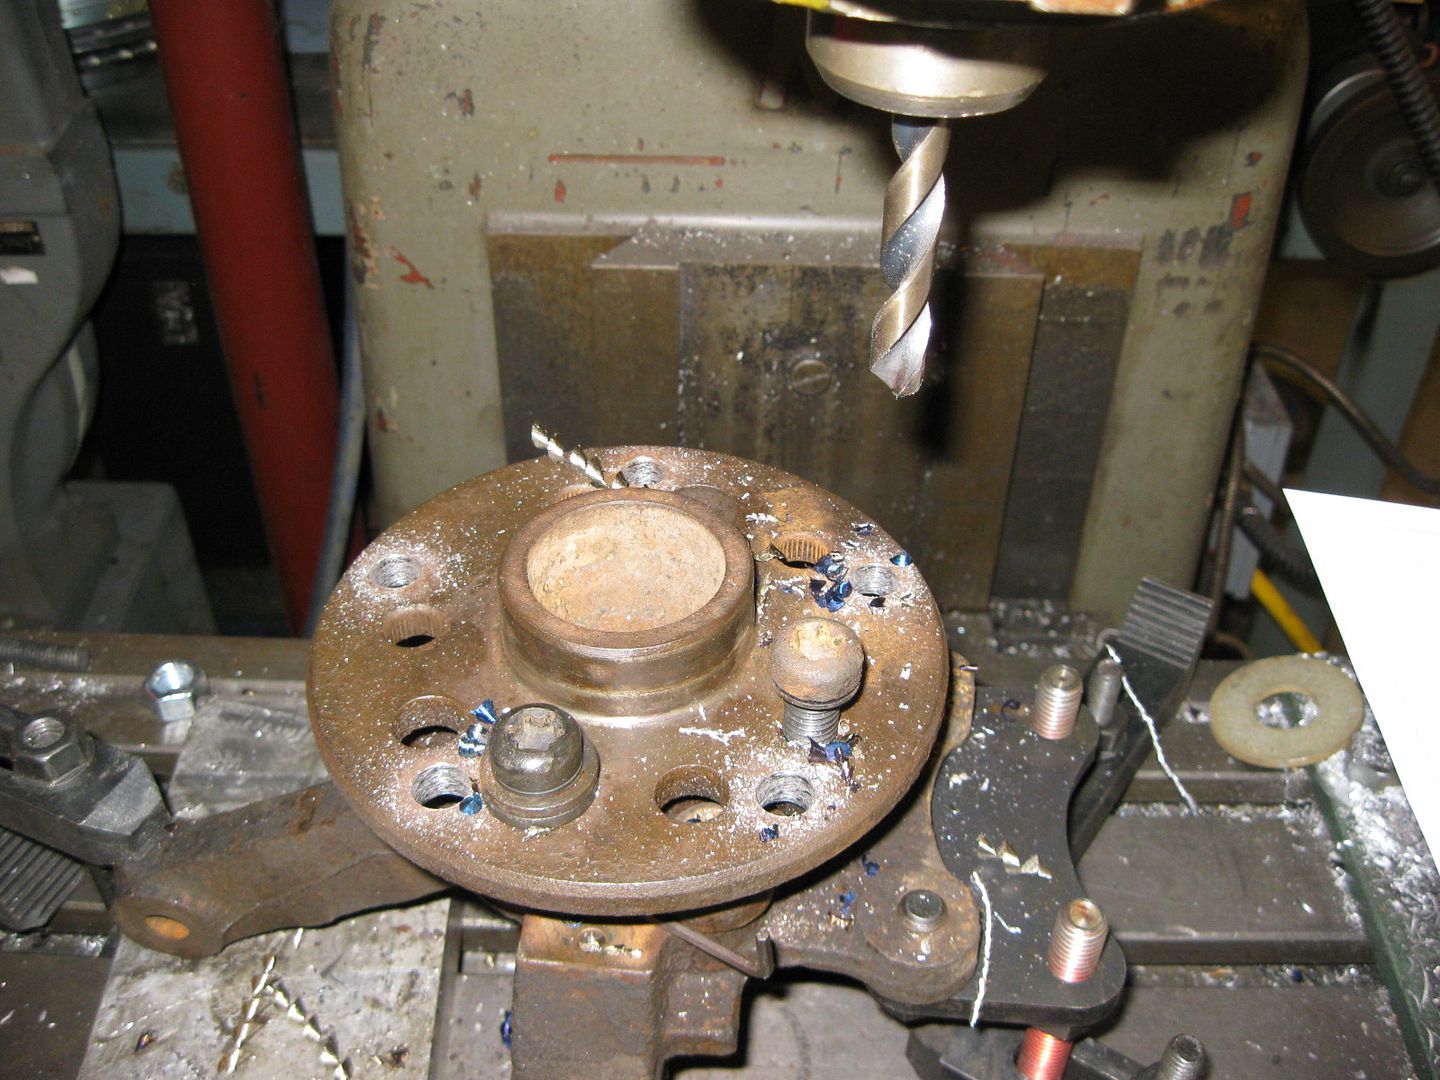
Reinstalled the wheel studs:
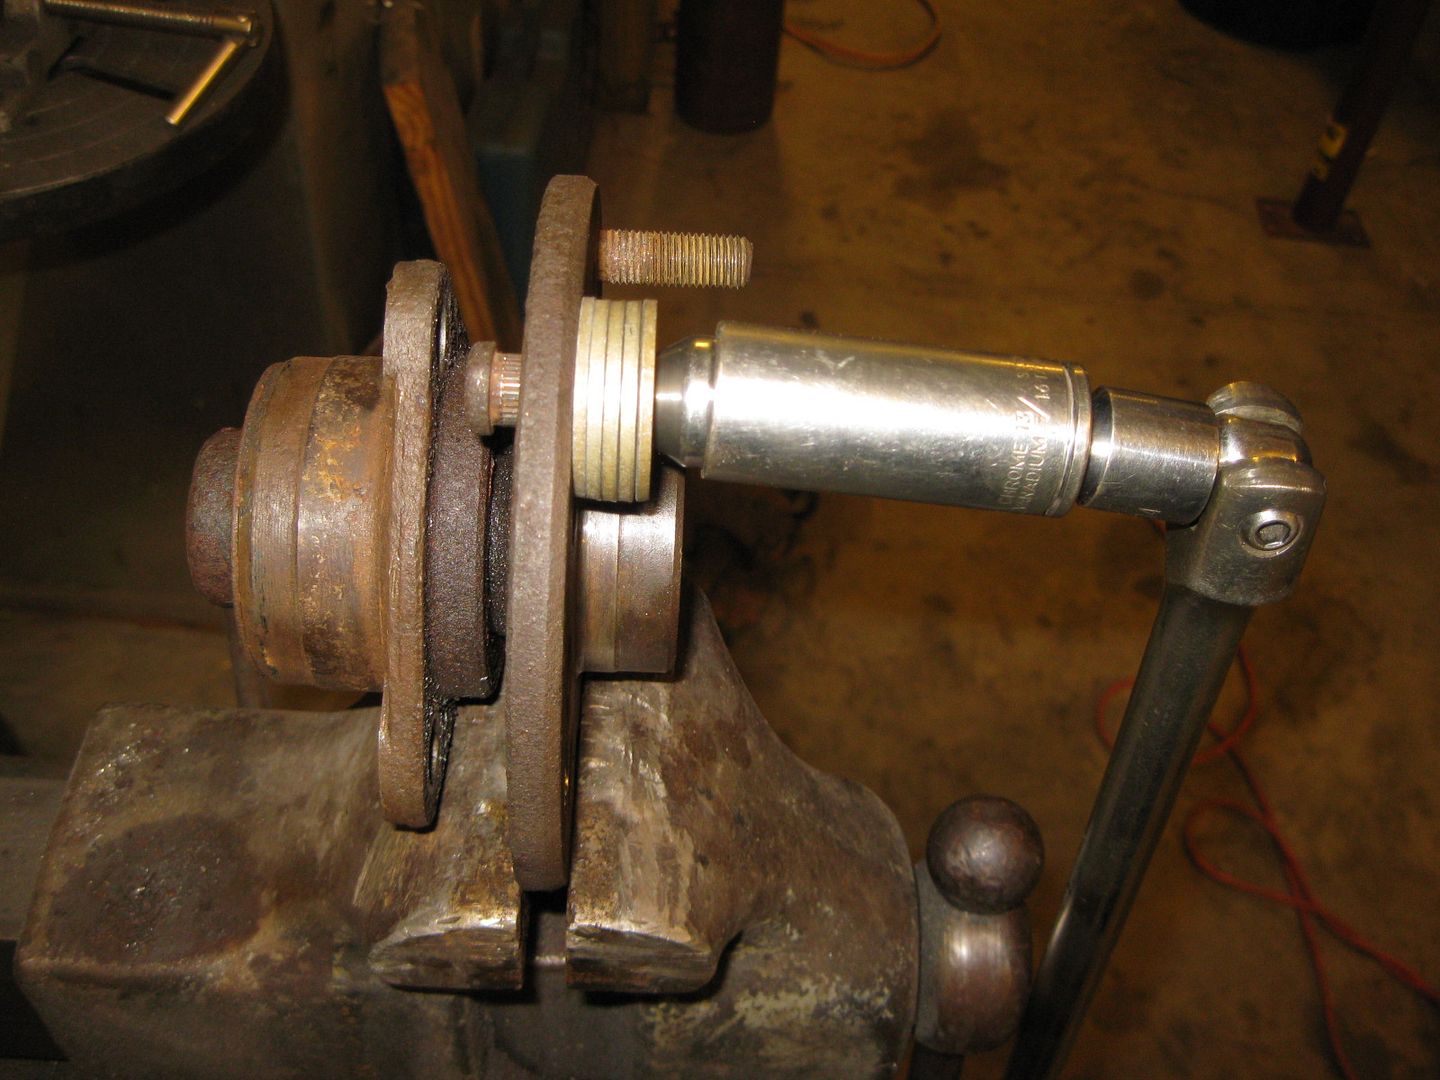
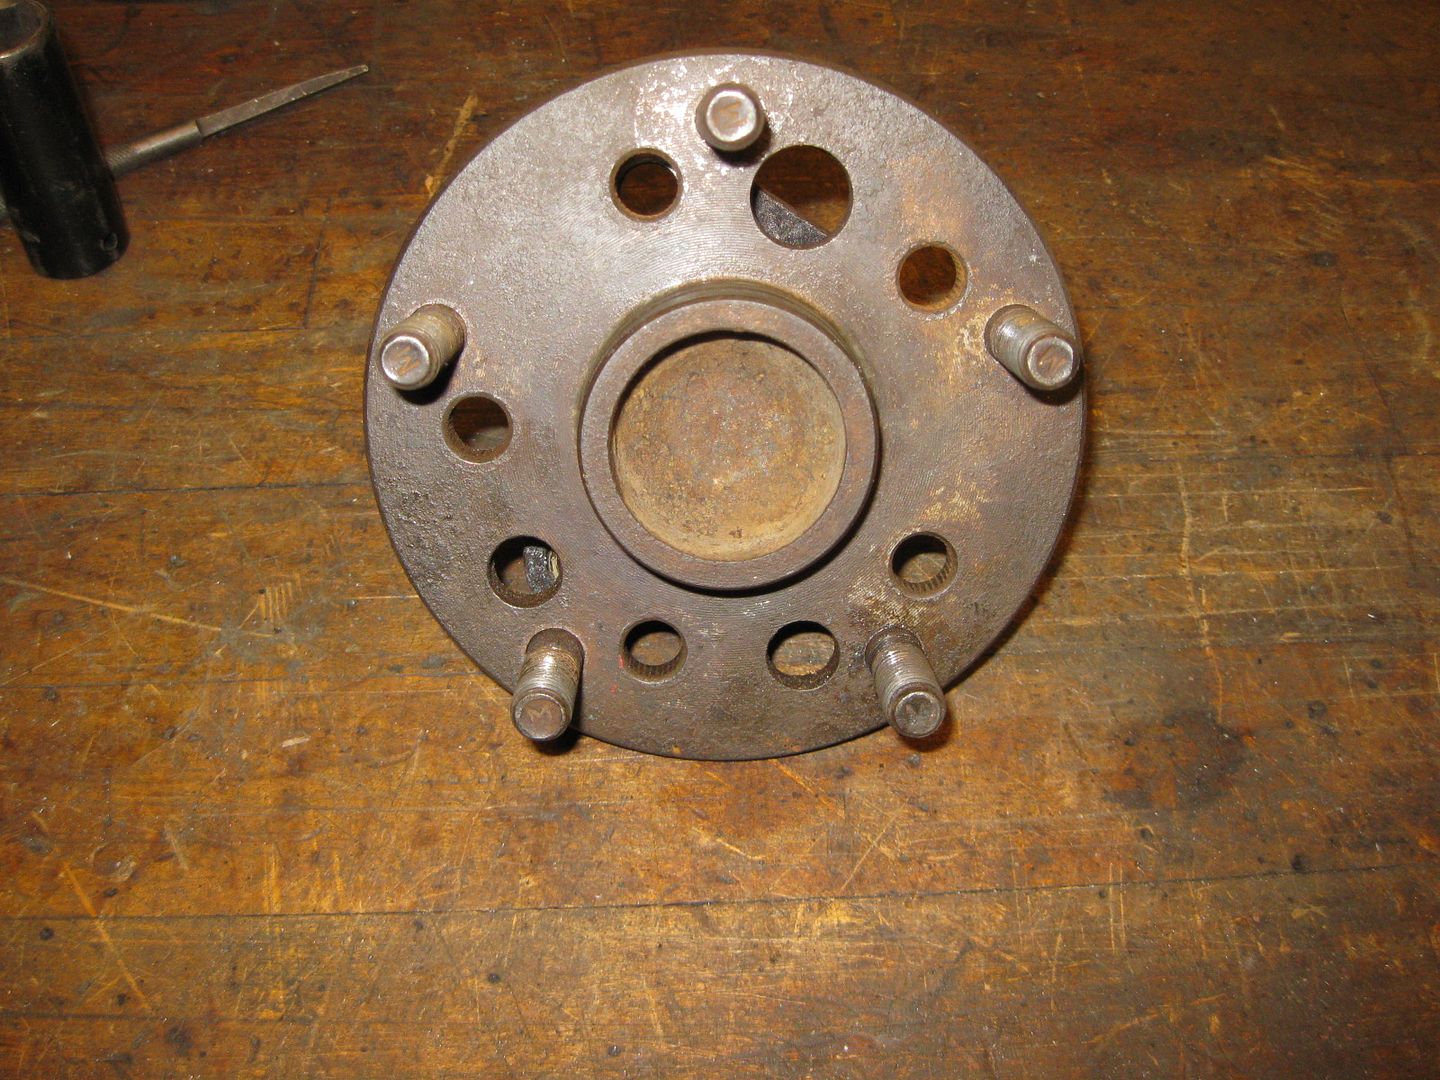
Test fit with my old C4 rotors:

|
|
|
|
fieroguru
|
FEB 11, 08:25 PM
|
|
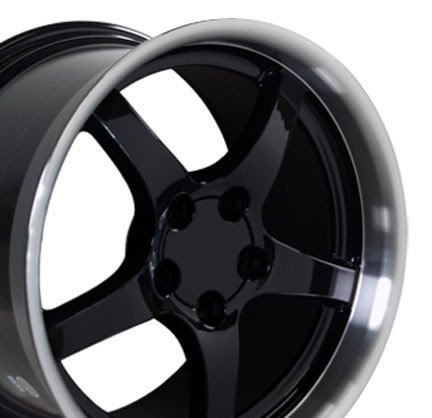
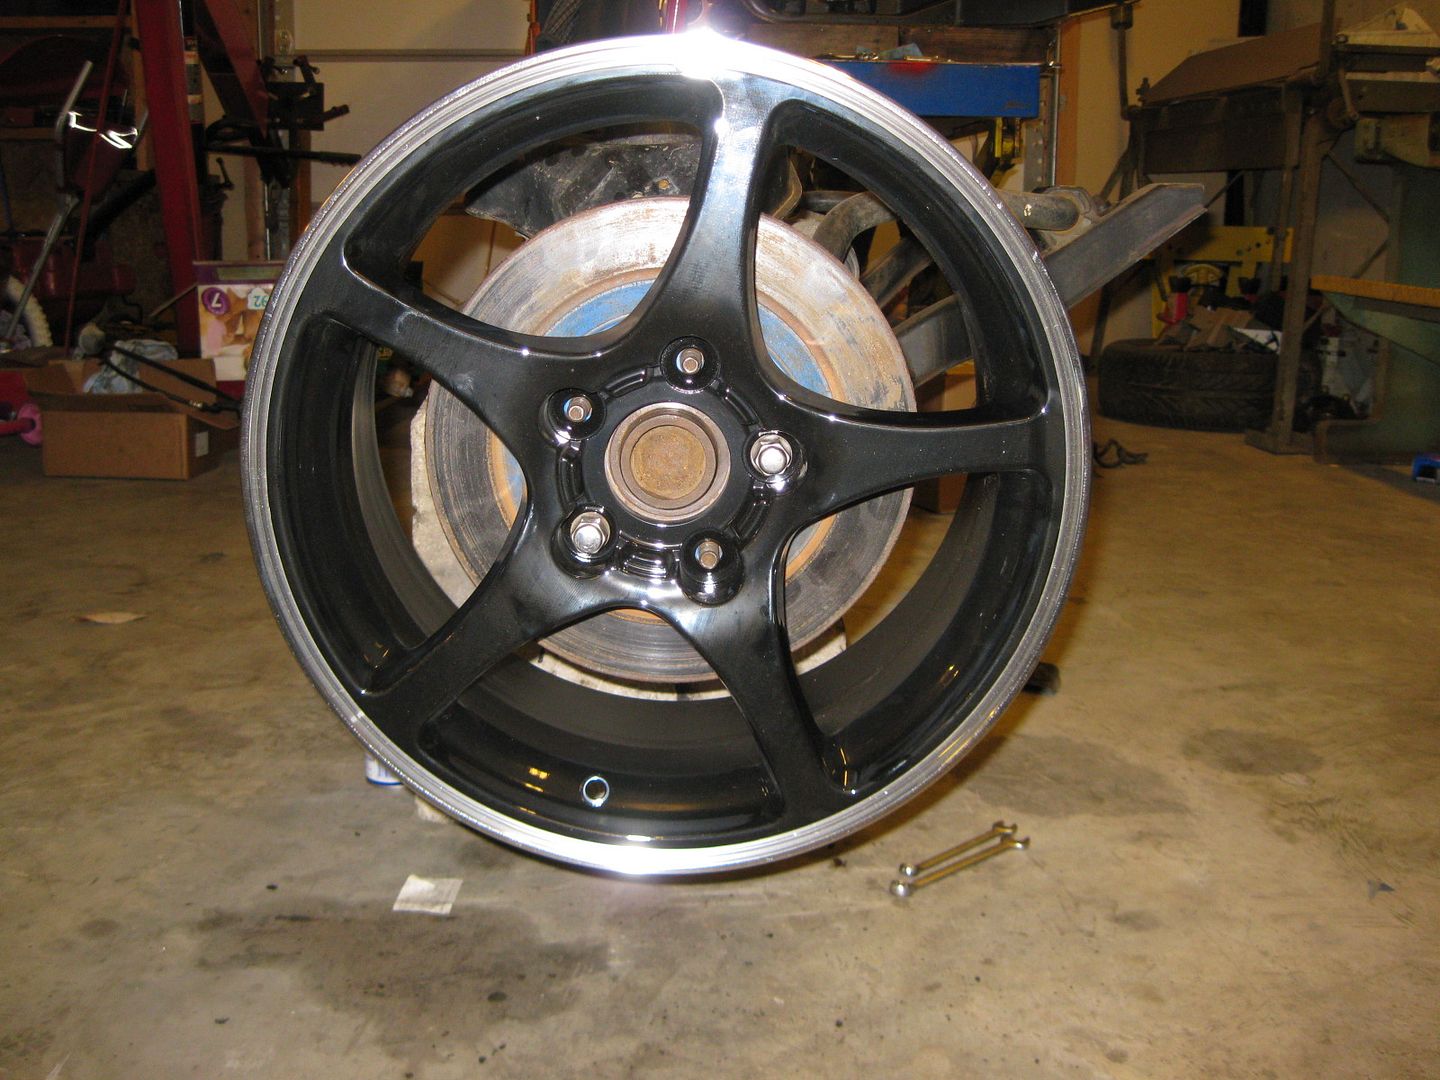
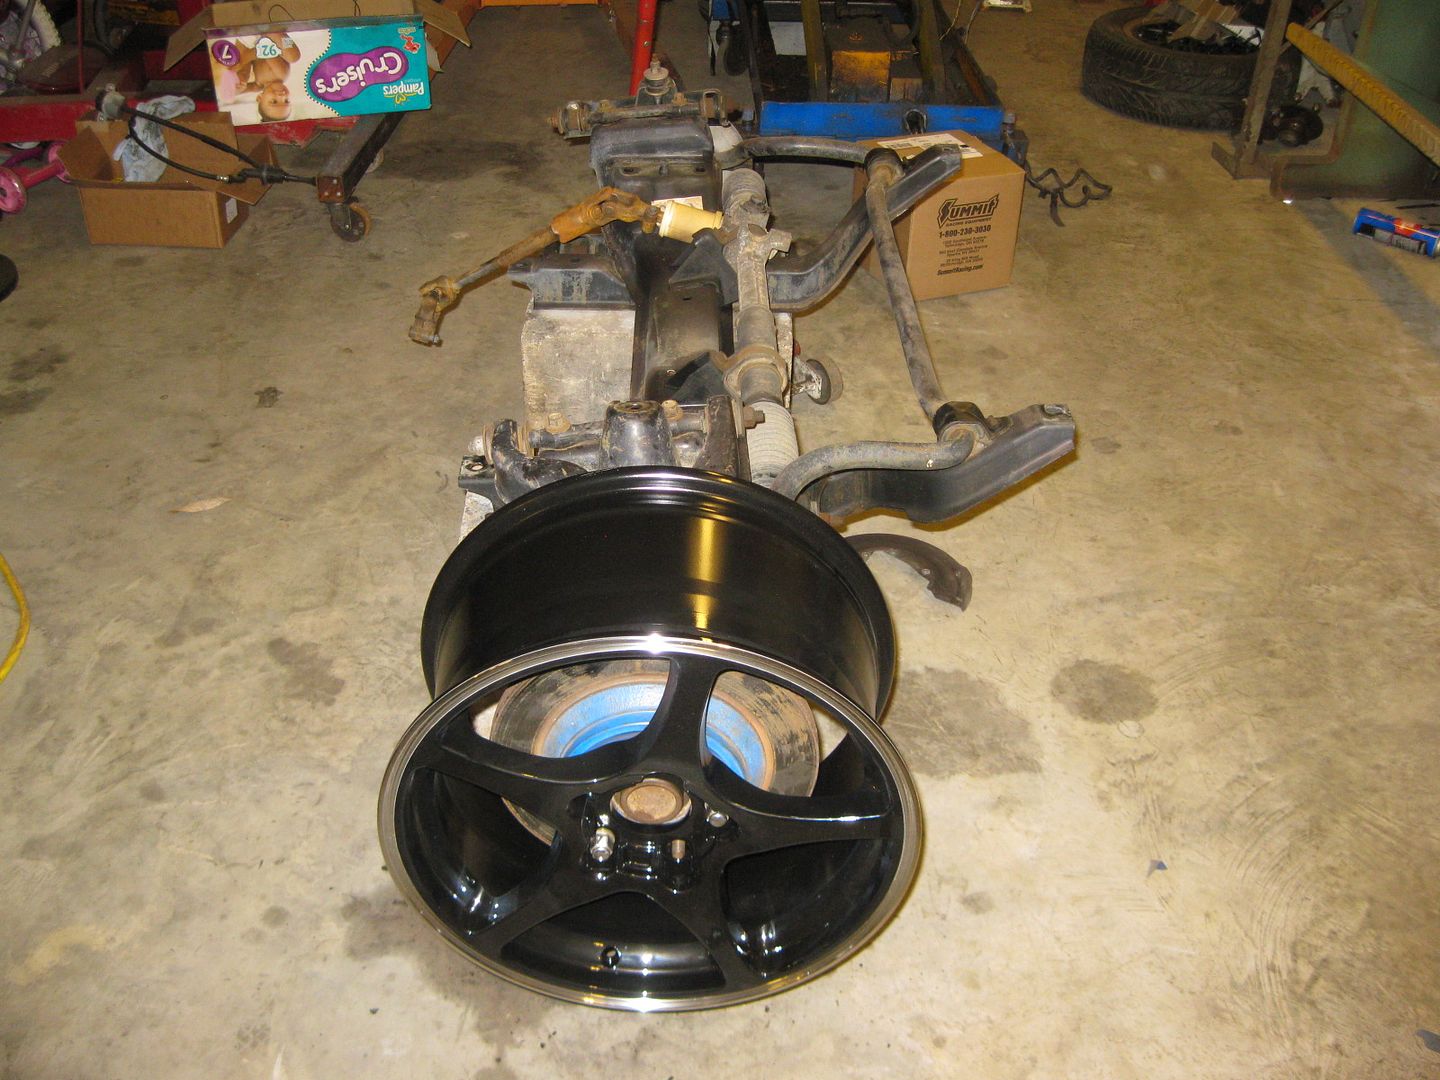
Ordered one 18 x 10.5 wheel for the back and one 17 x 8.5 wheel for the front. I will use these wheels to confirm fitment before I buy the other 2.
This is the rear wheel. I went with the polished lip and black powder coated center. The black color should allow the 13" rotors and by colored calipers to really stand out:
|
|
|
|
fieroguru
|
FEB 12, 06:35 PM
|
|
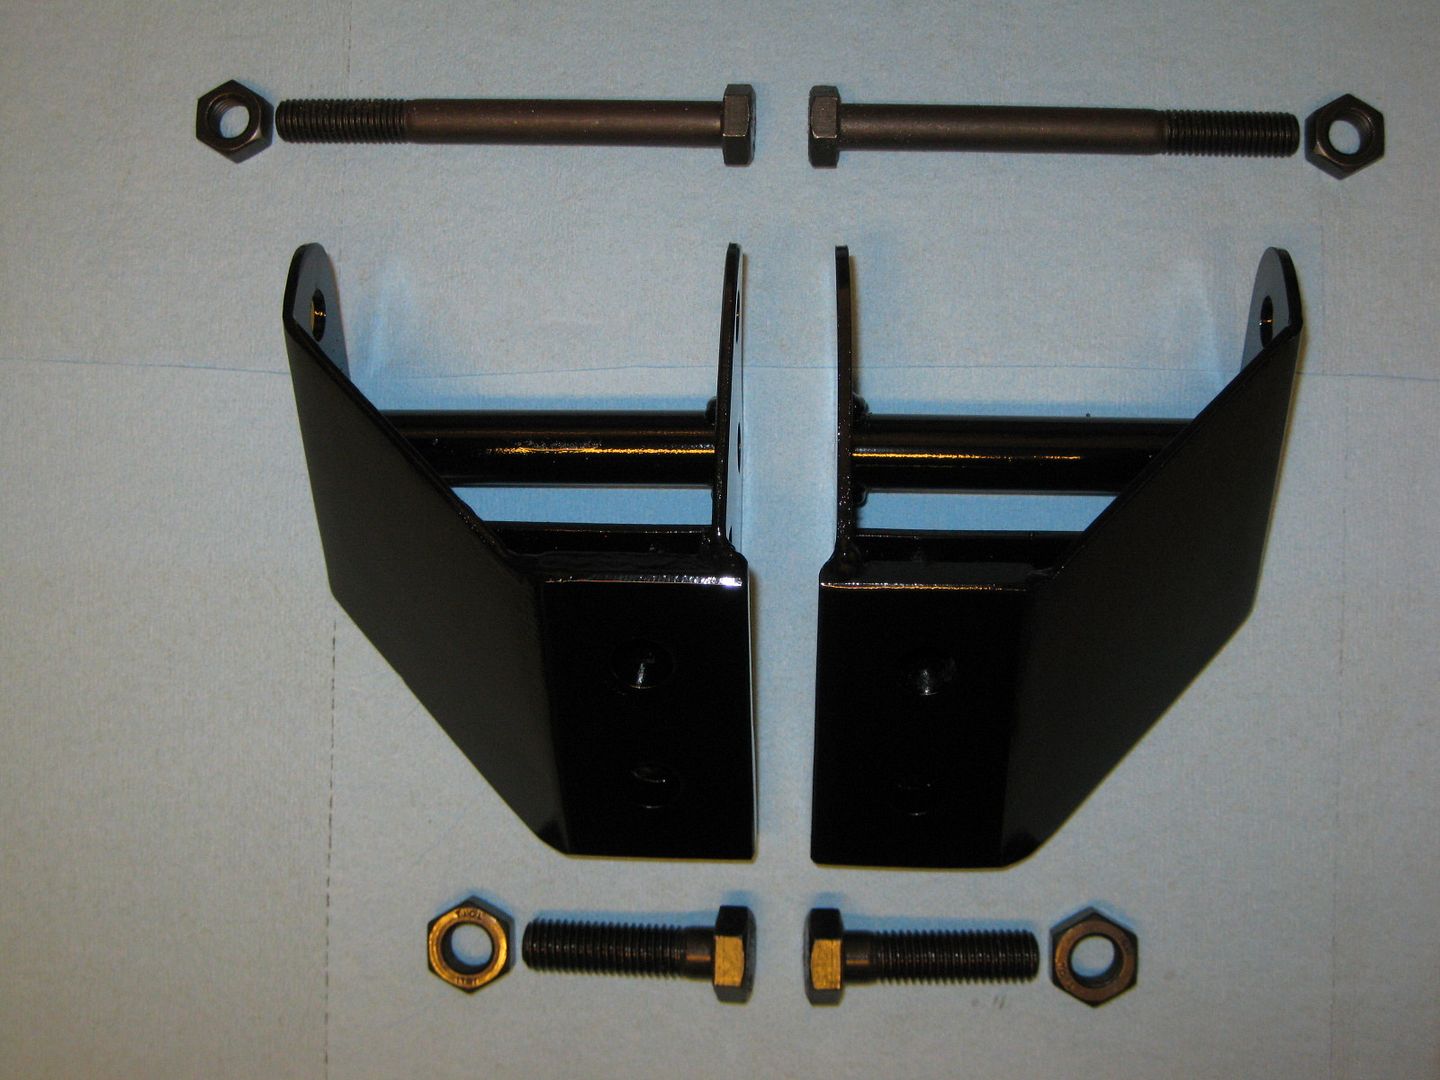
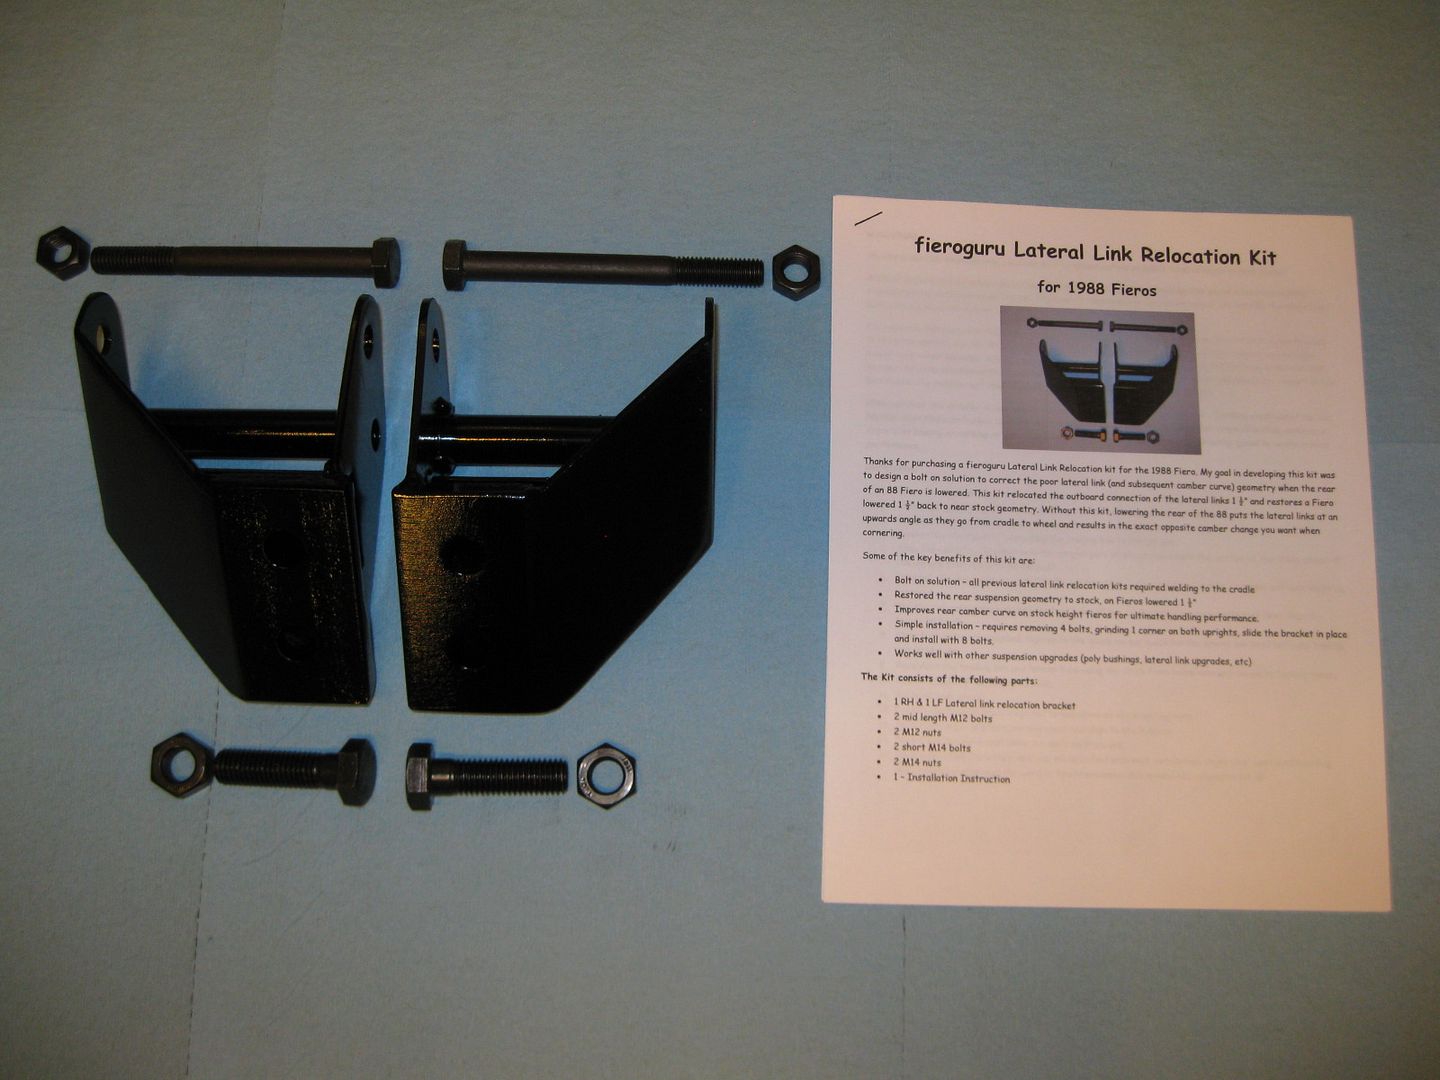
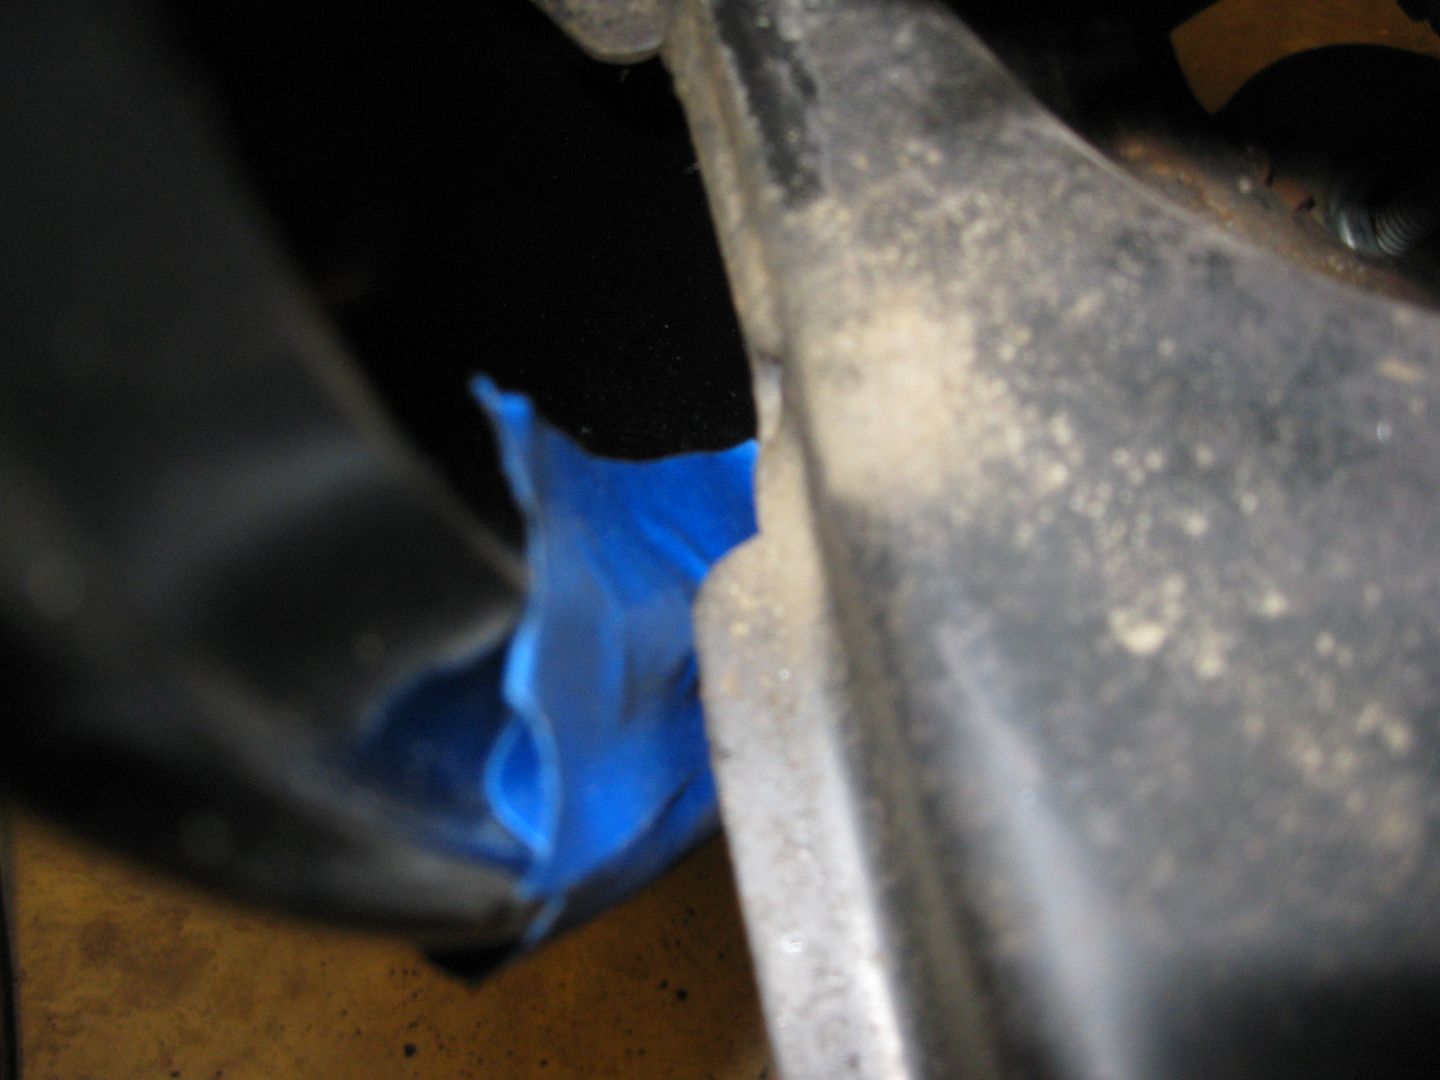
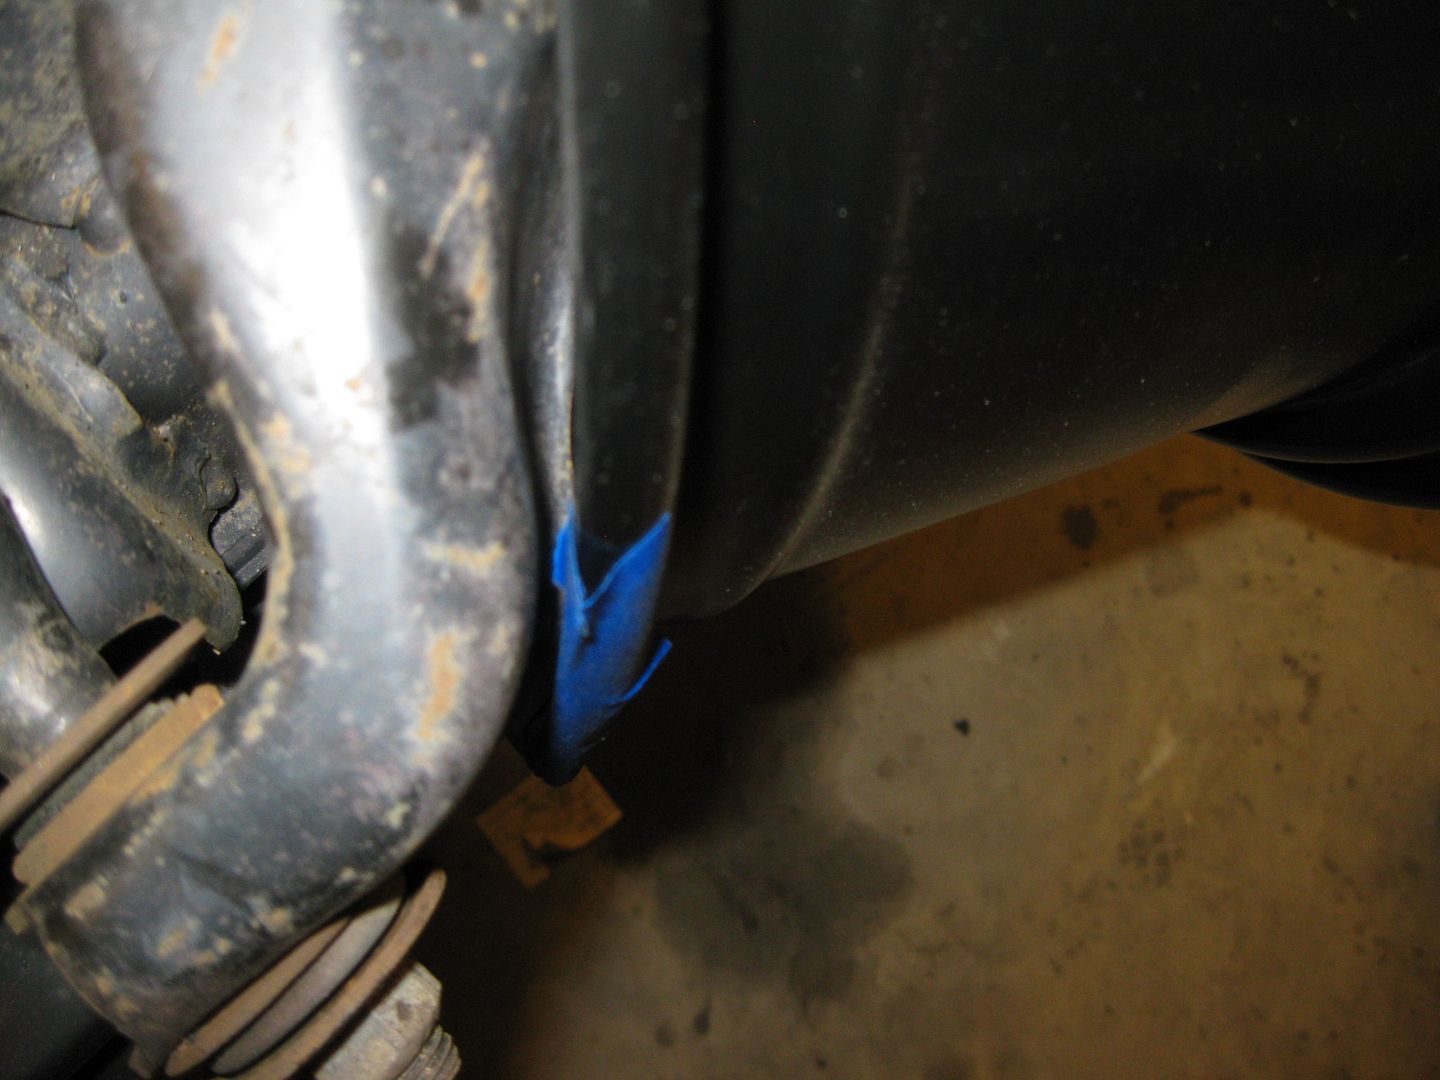
Sold my first set of lateral link relocation brackets:
|
|
|
|
F355spider
|
FEB 18, 09:32 AM
|
|
|
bump [This message has been edited by F355spider (edited 02-24-2012).]
|
|
|
|
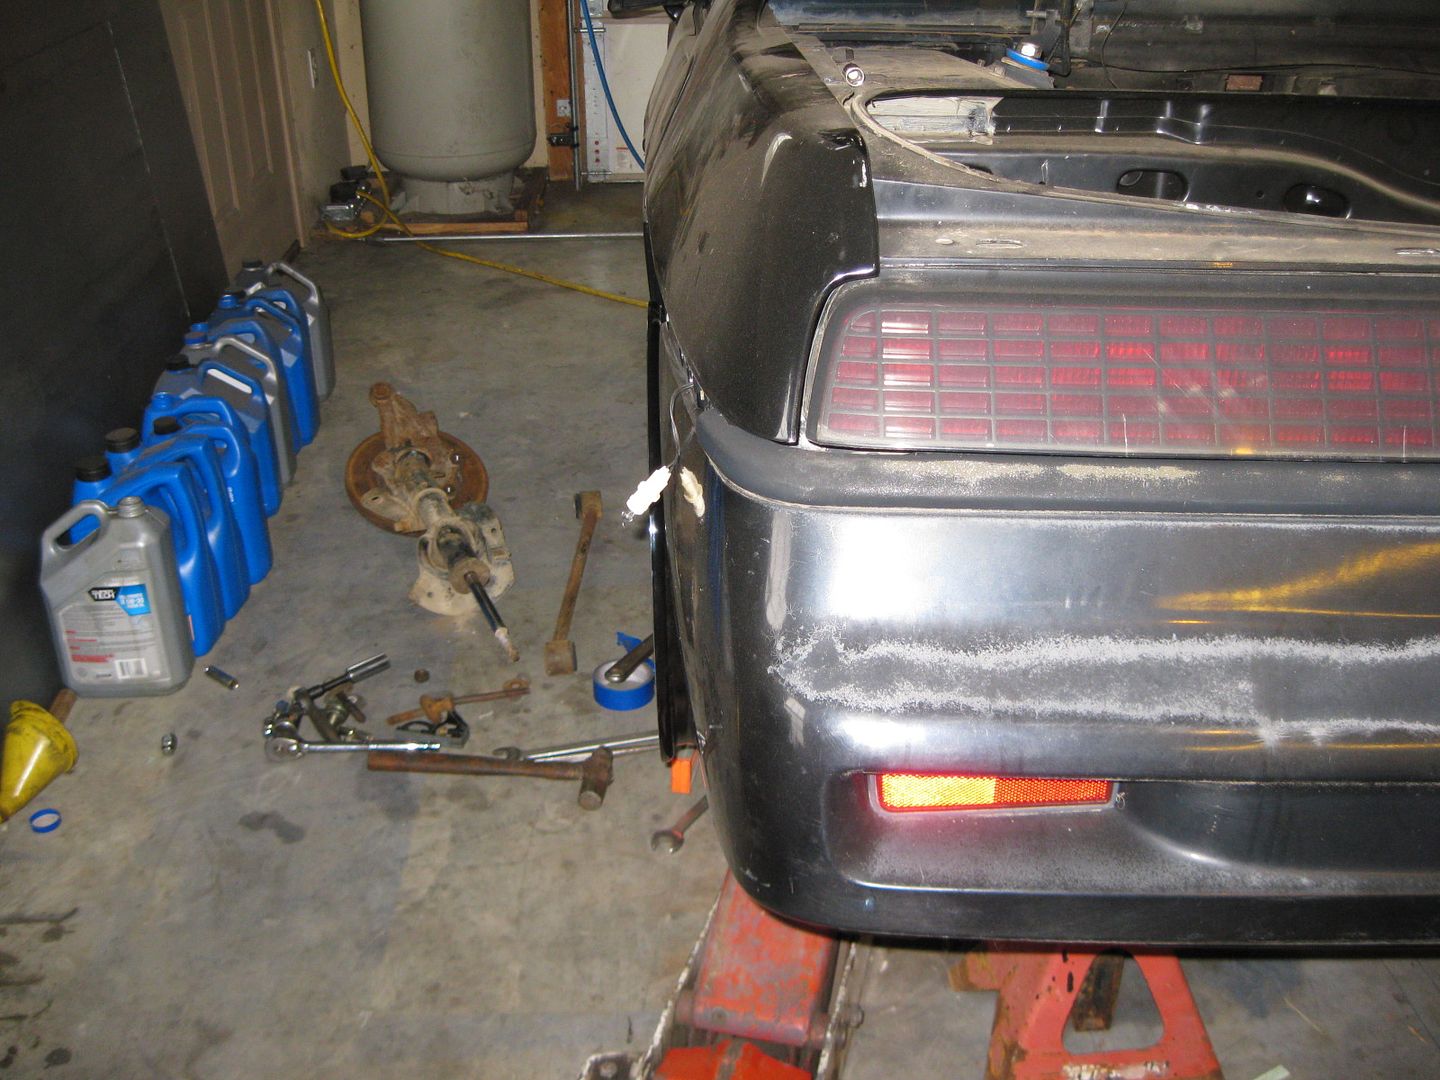
fieroguru
|
FEB 19, 05:02 PM
|
|
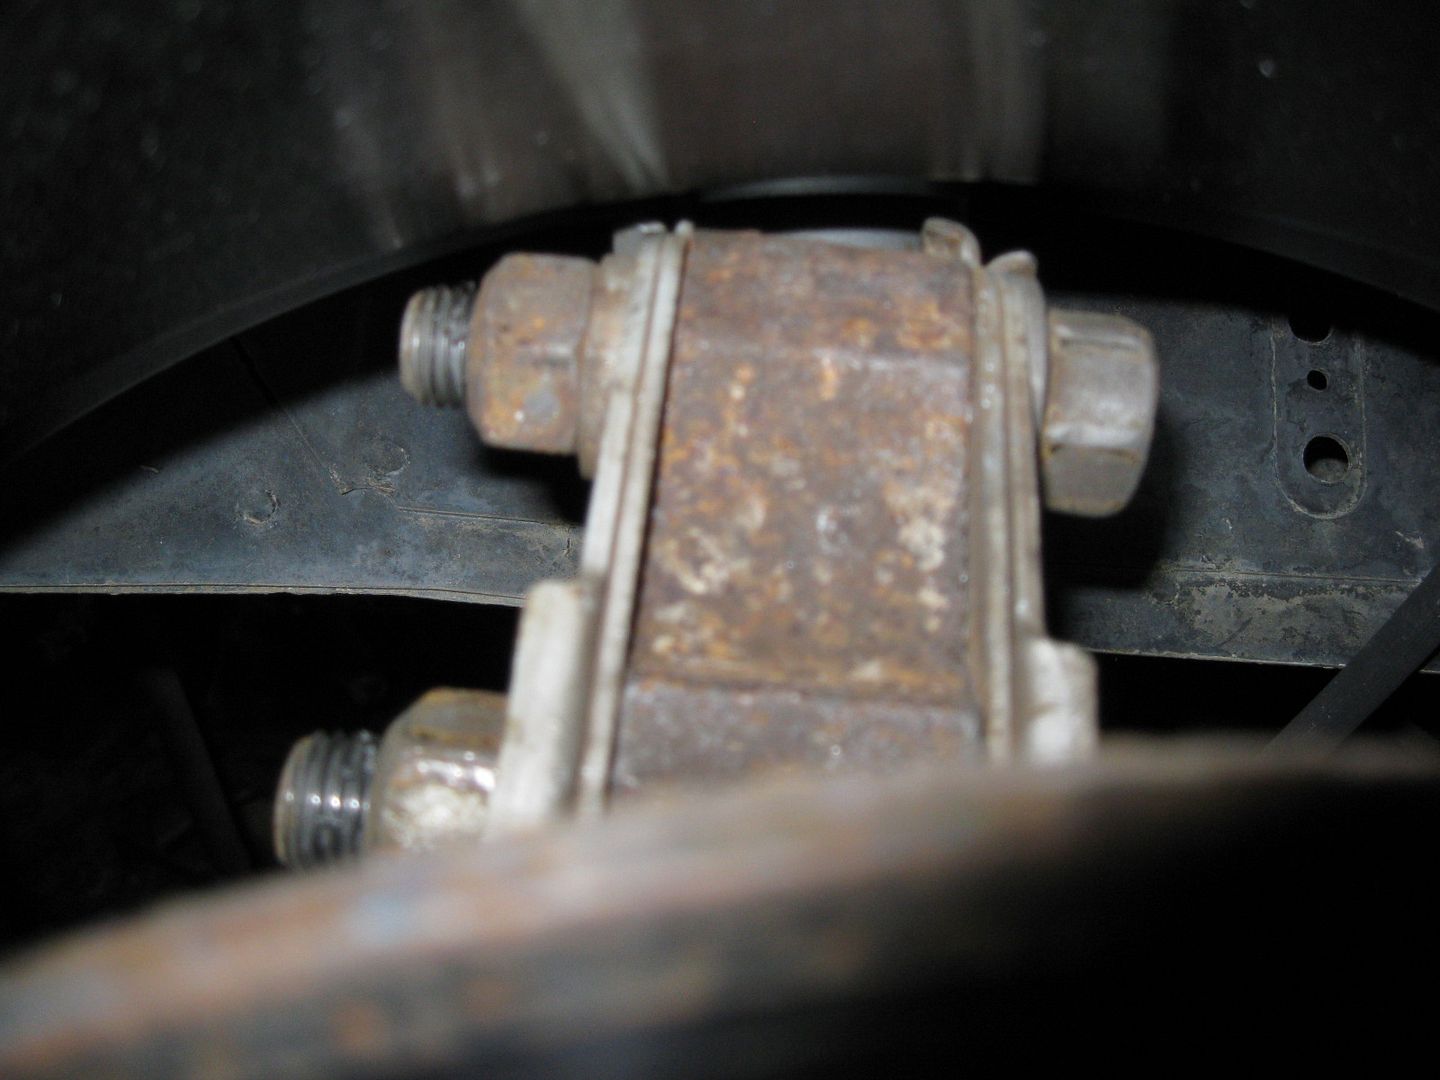
Started test fitting the wheels. The fronts will need some slight clearance work to the upper and lower a-arms to clear the 17x8.5 (ET 58). The rear will require about 1 5/8" shorter lateral links, a custom trailing link and most likely relocate the tops of the struts inboard 1 5/8" as well:


|
|
|
|
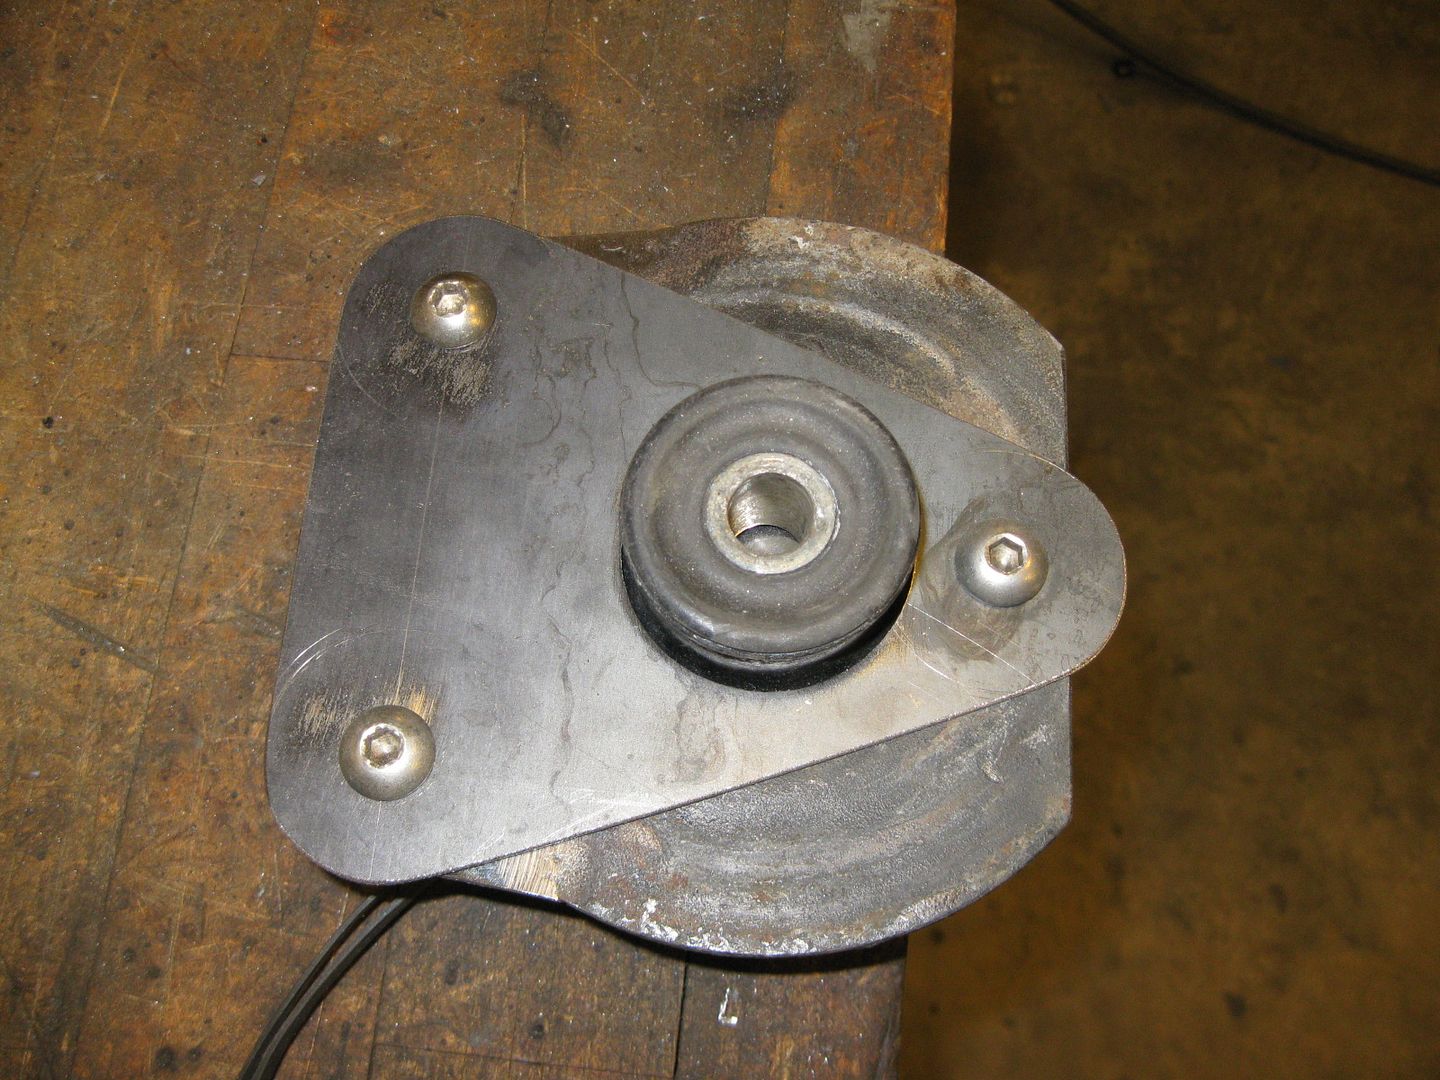
fieroguru
|
FEB 23, 08:19 PM
|
|
|
|
|
fieroguru
|
FEB 24, 07:13 PM
|
|
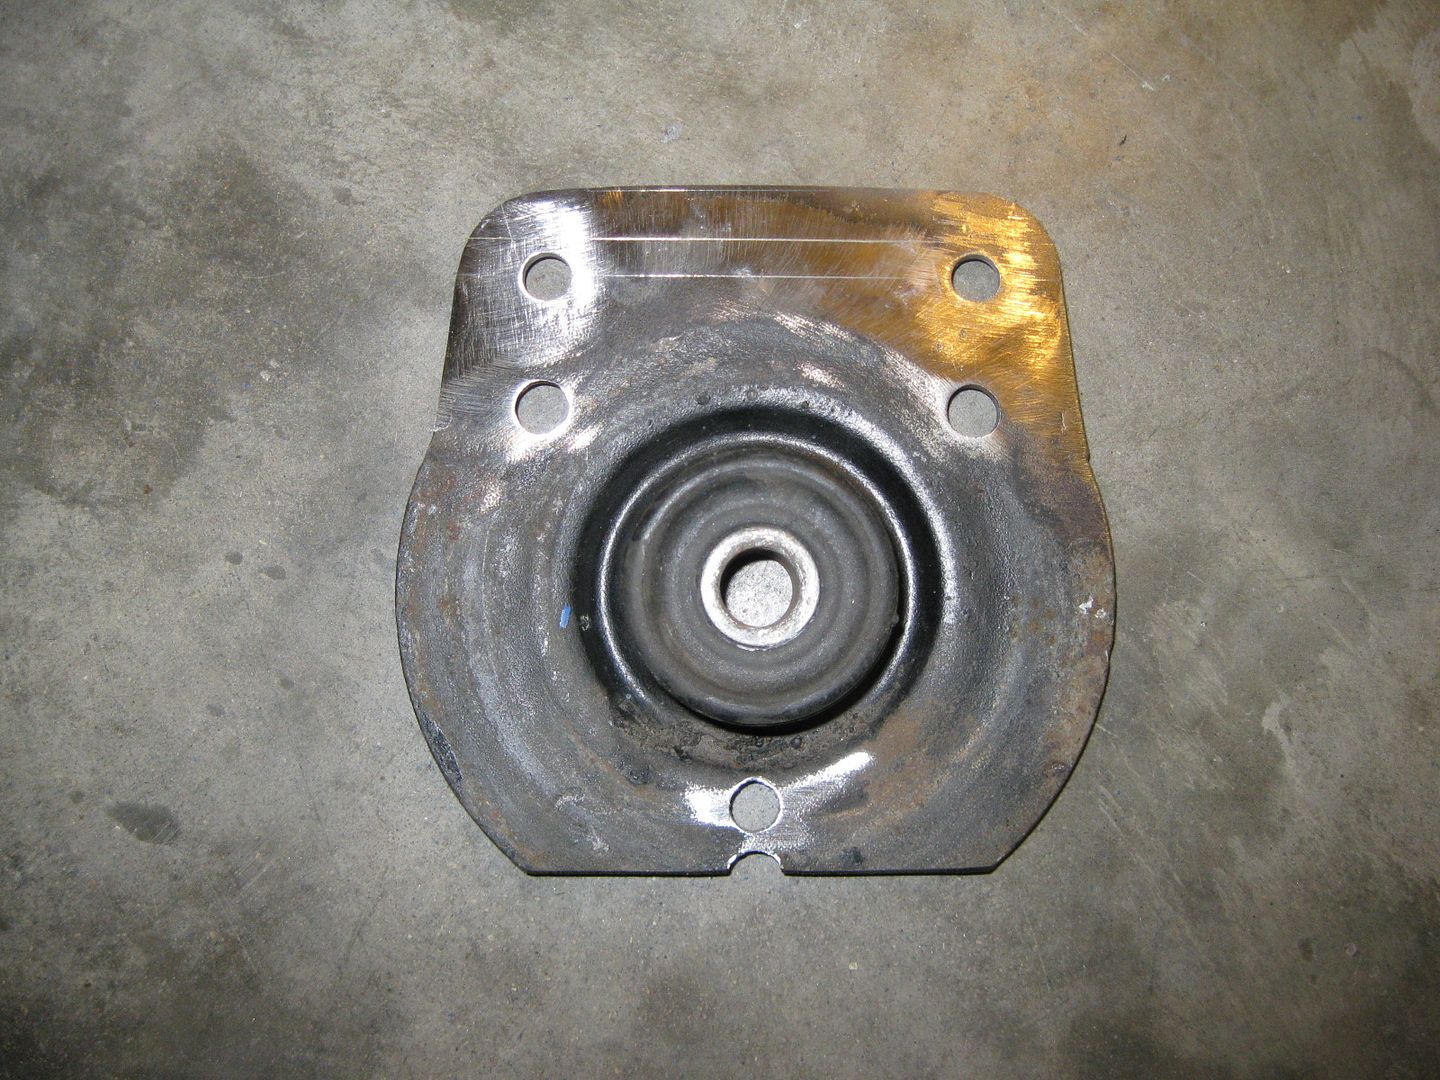
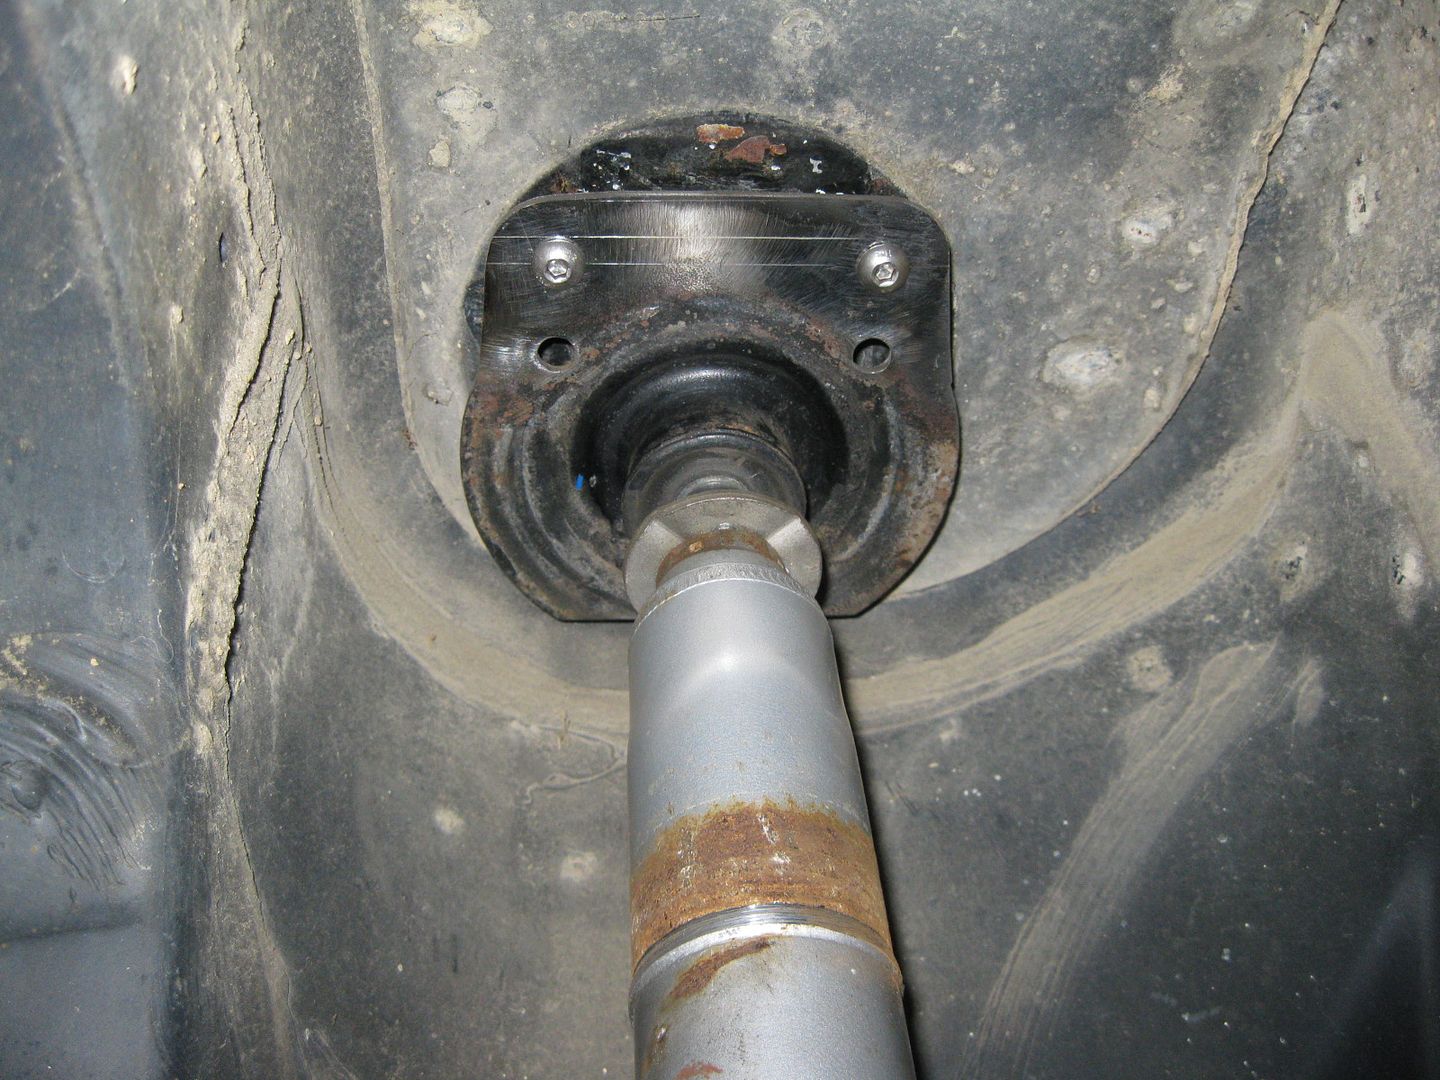
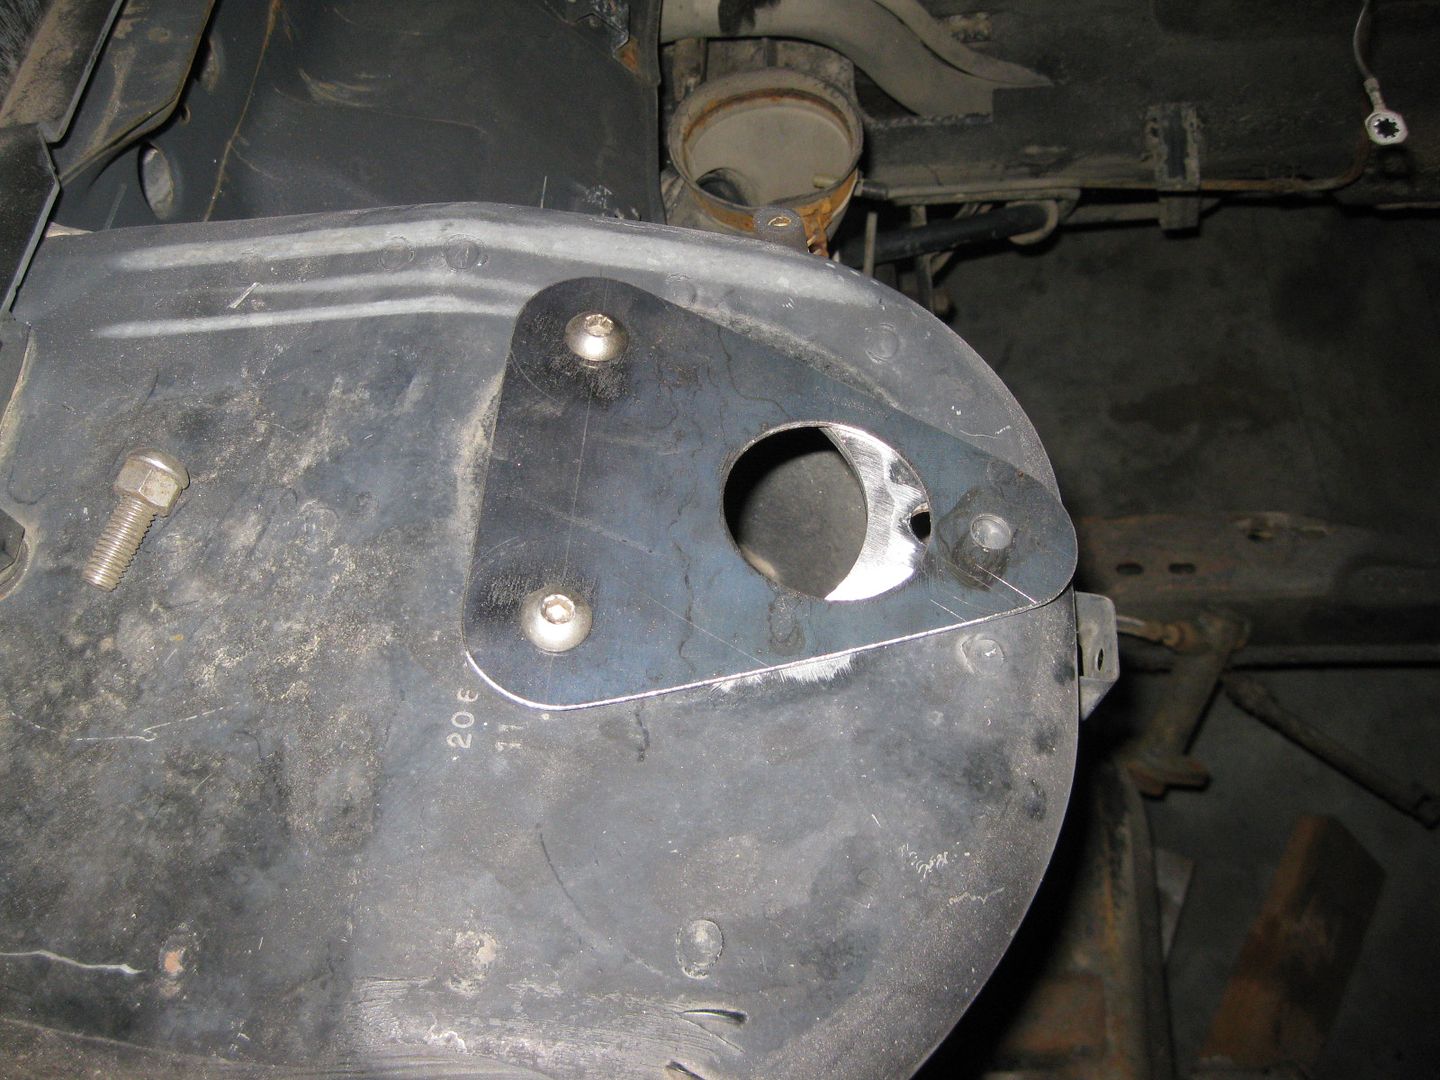
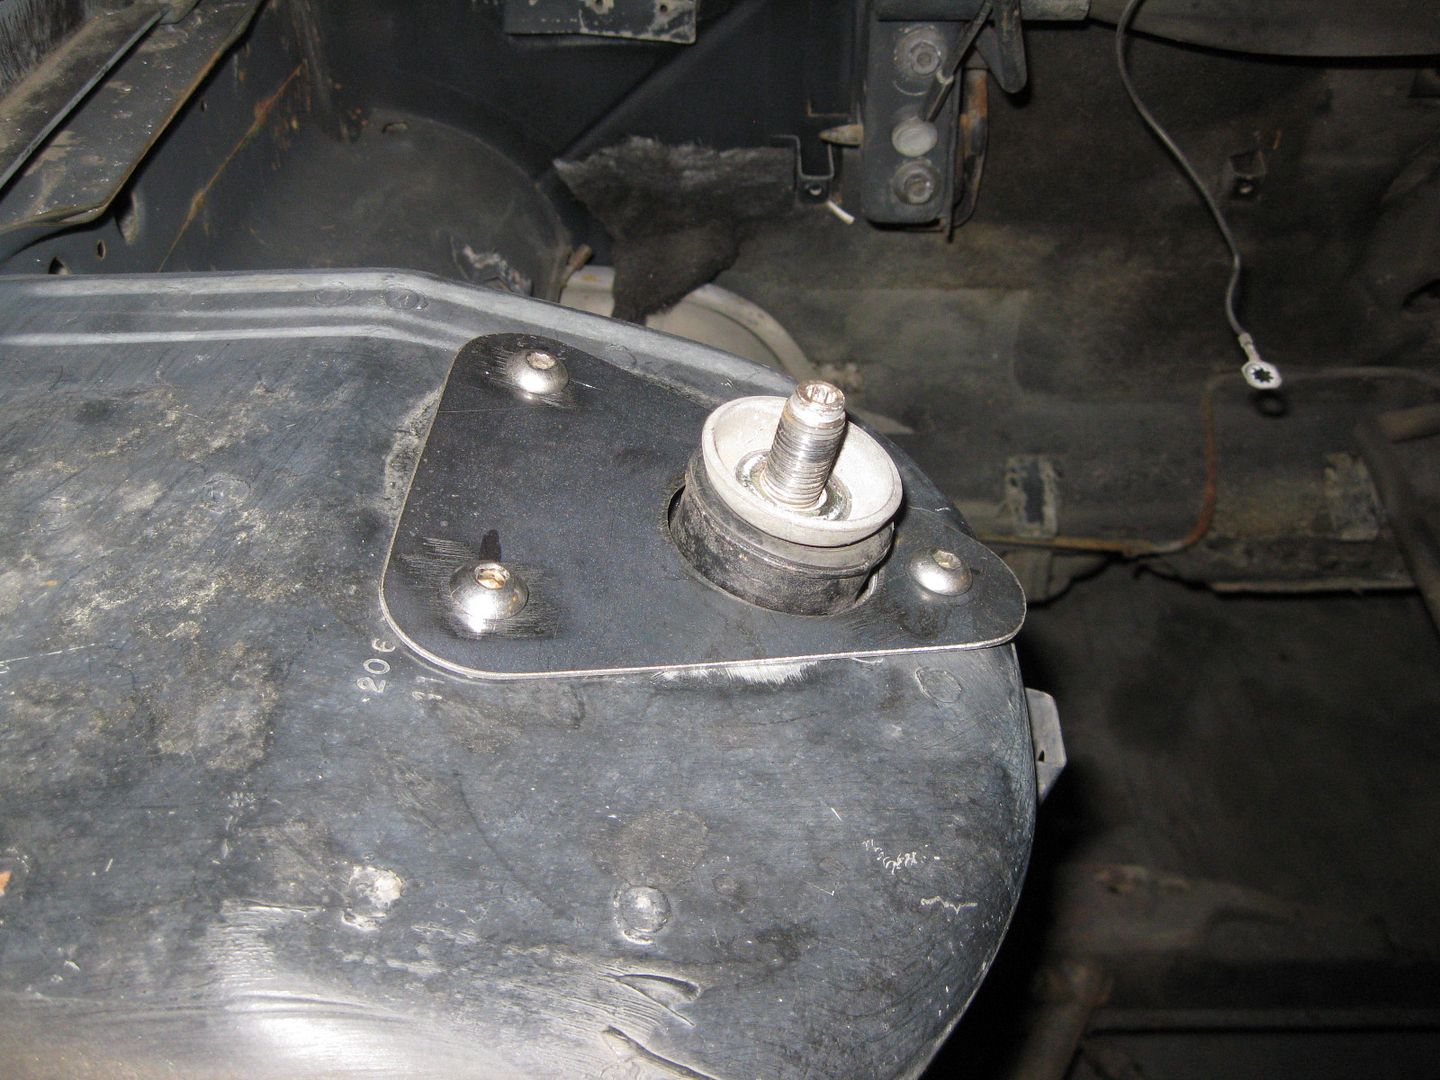
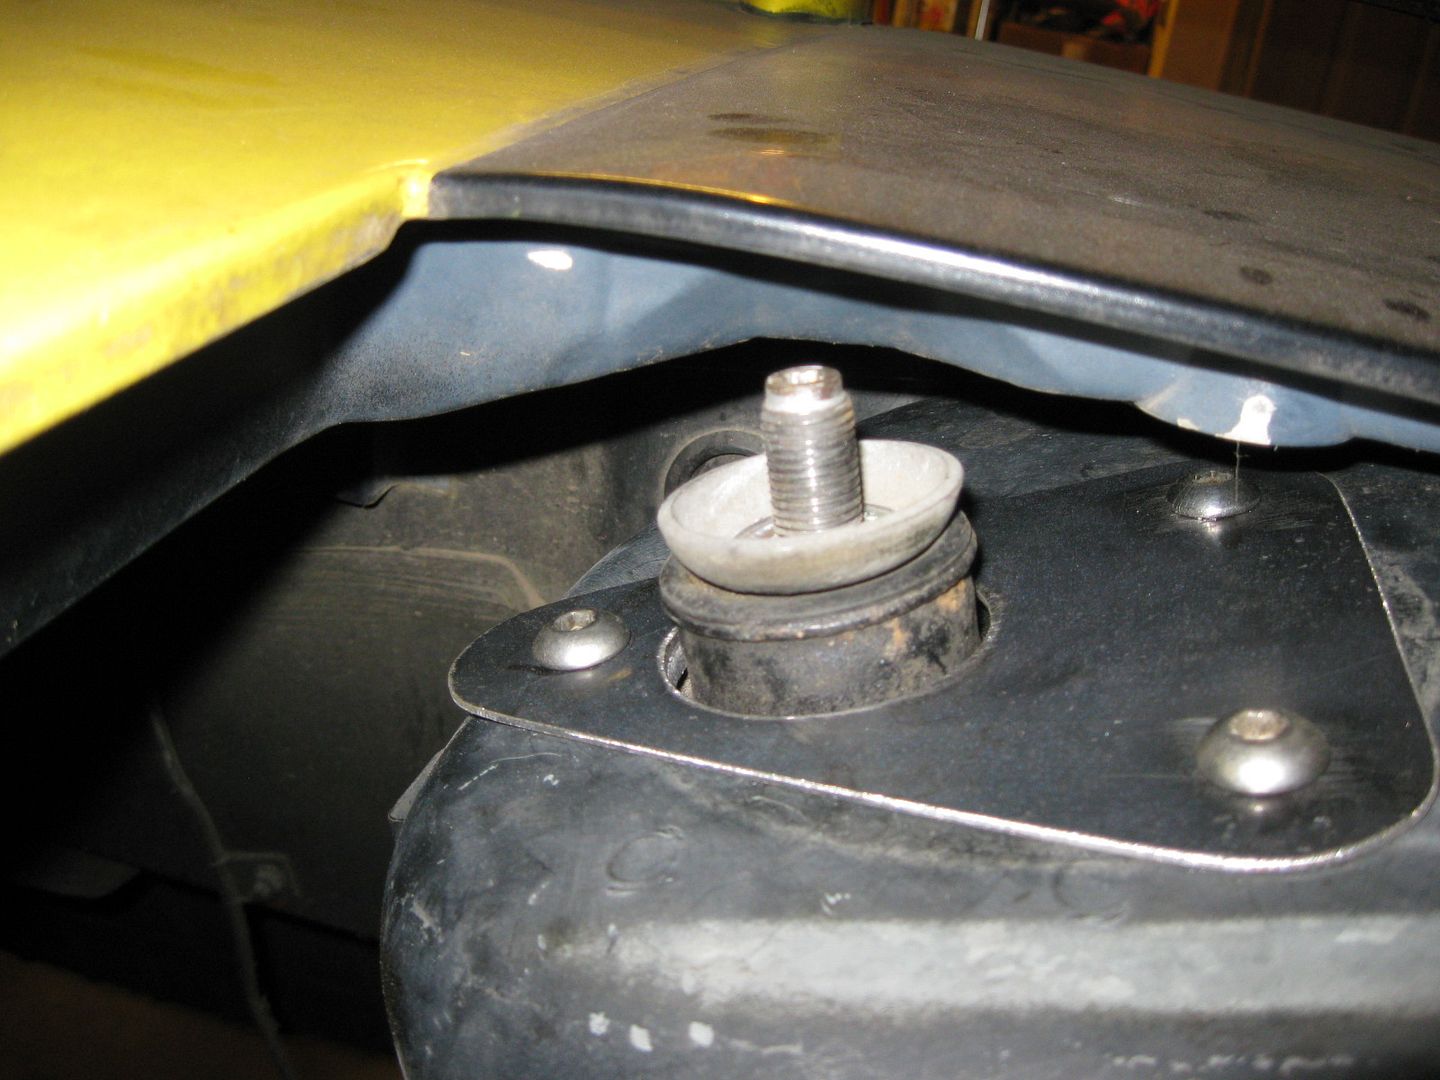
Once side of the strut relocation is nearly done (need to make the final beauty plate vs. the 16ga mockup template):
Fabbed up the beauty plate for the top side:
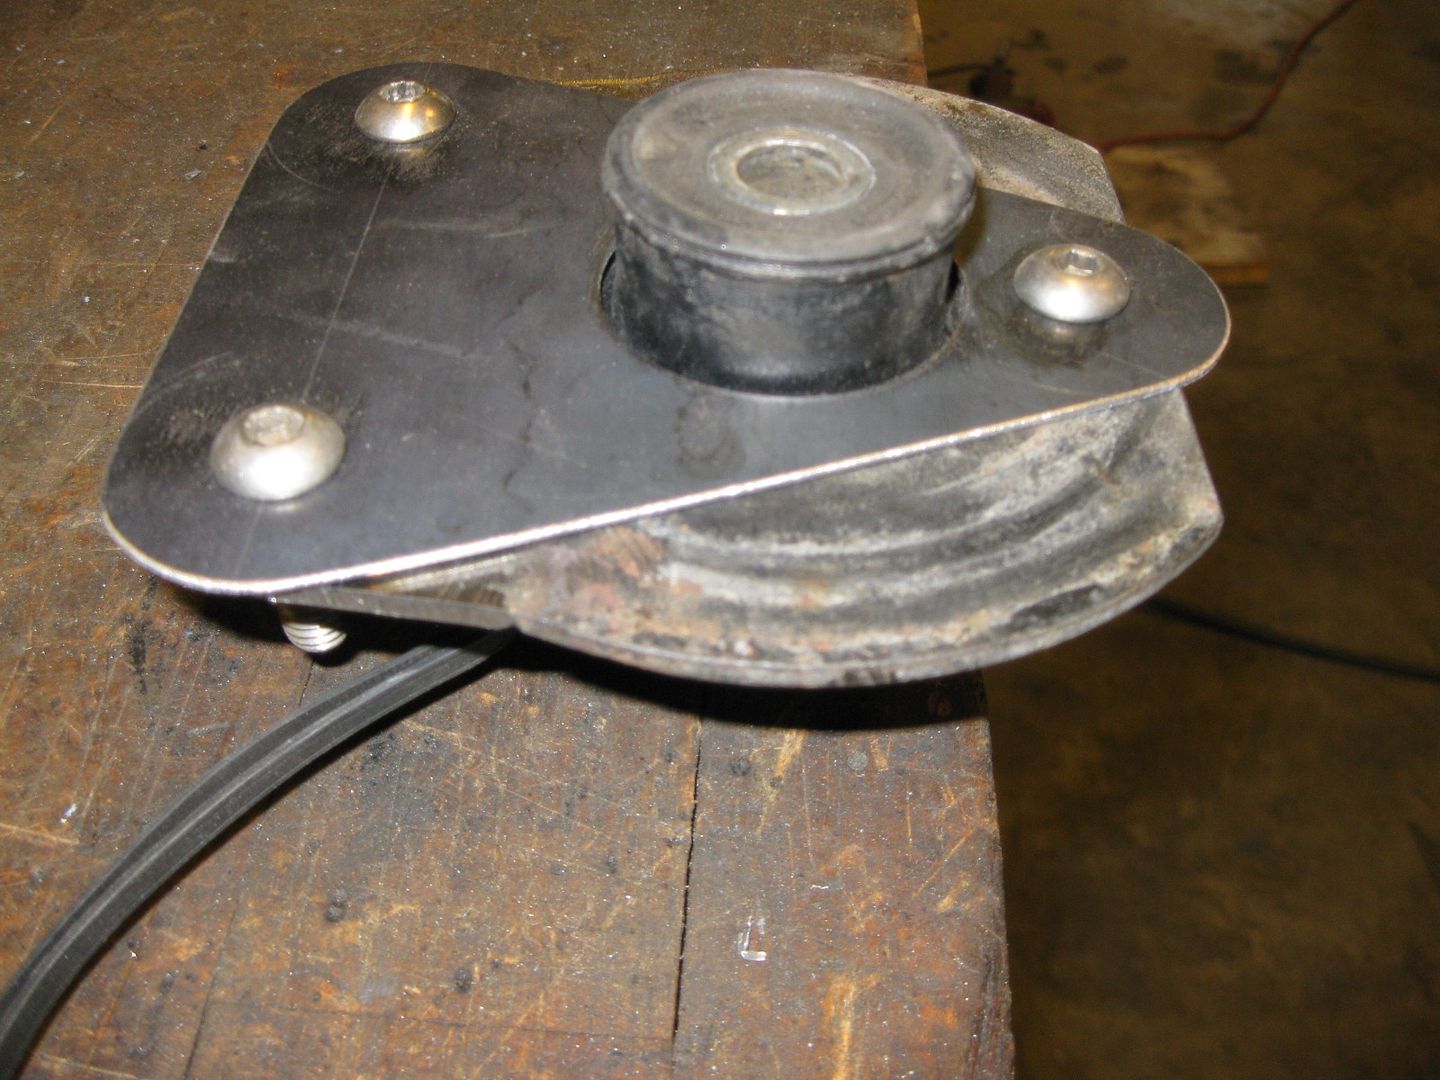
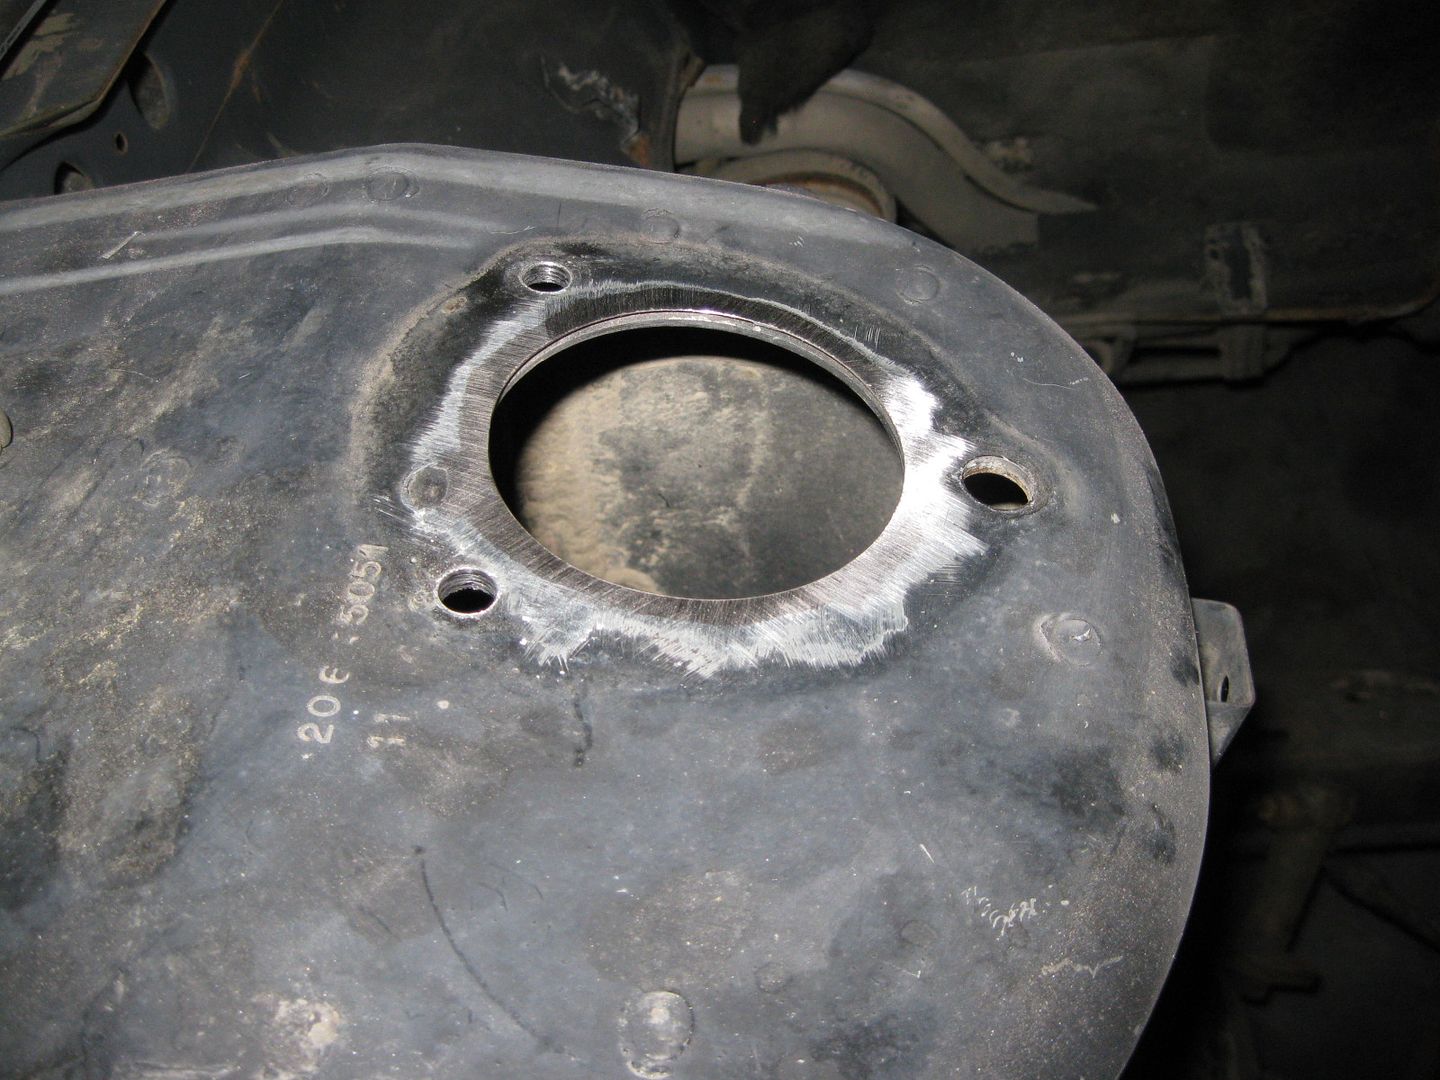
Flattened the top of the strut towers with a grinder. The strut tower is 2 layers of steel. After the top panel is flat, its hole matches that of the lower panel:
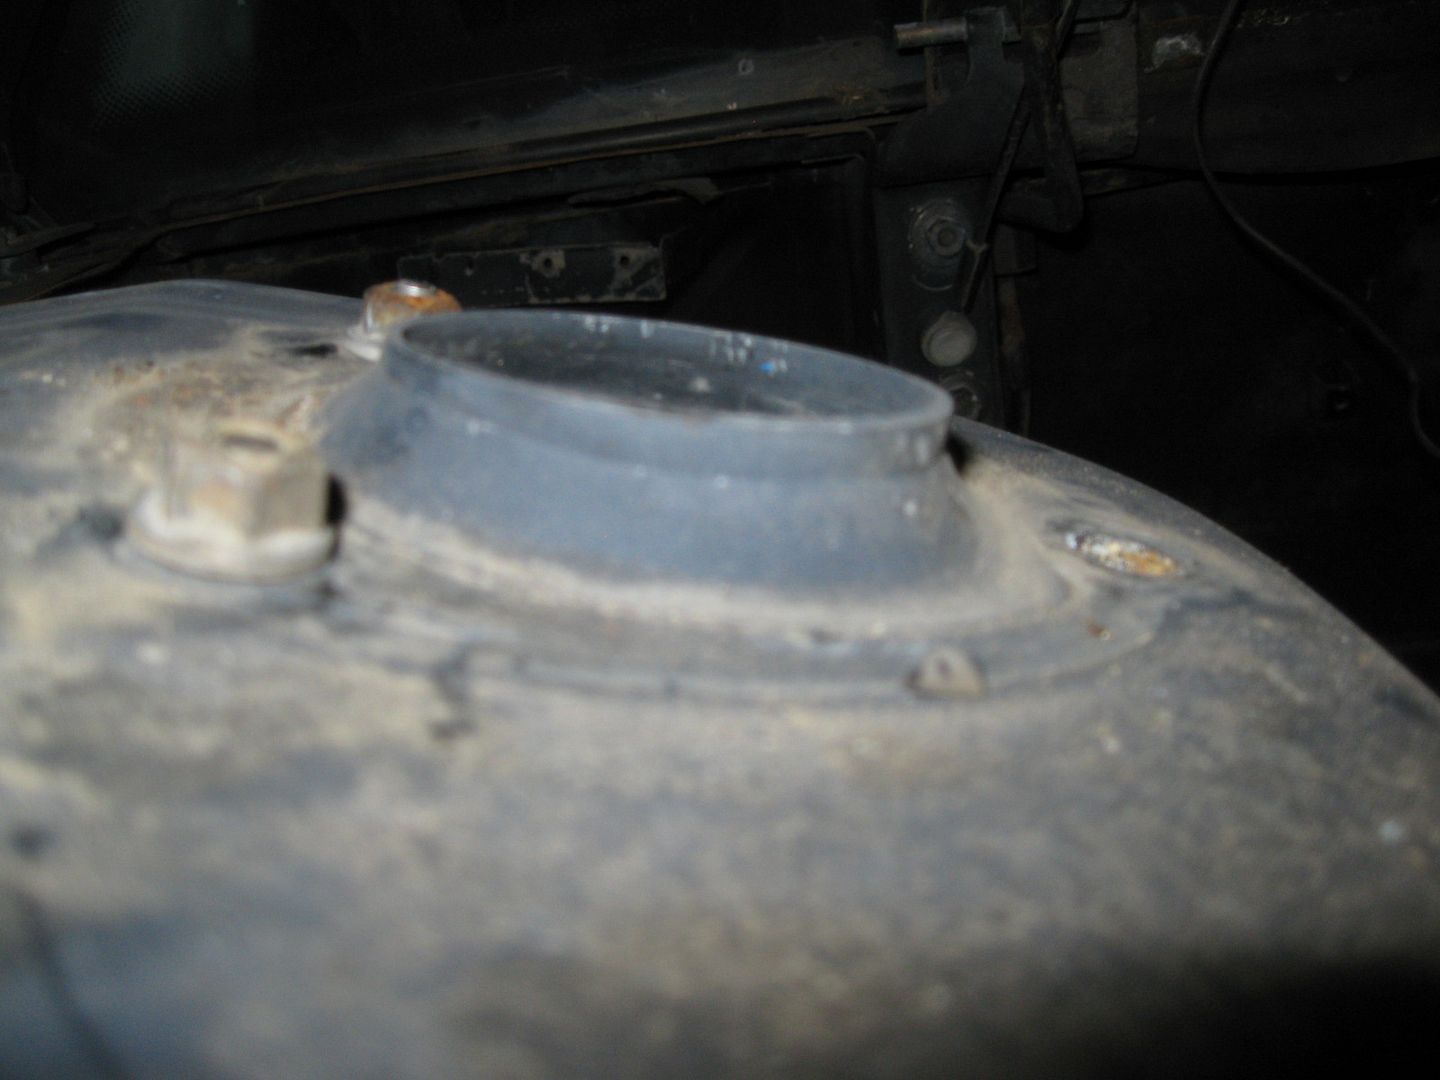
Still need to remove some more material:
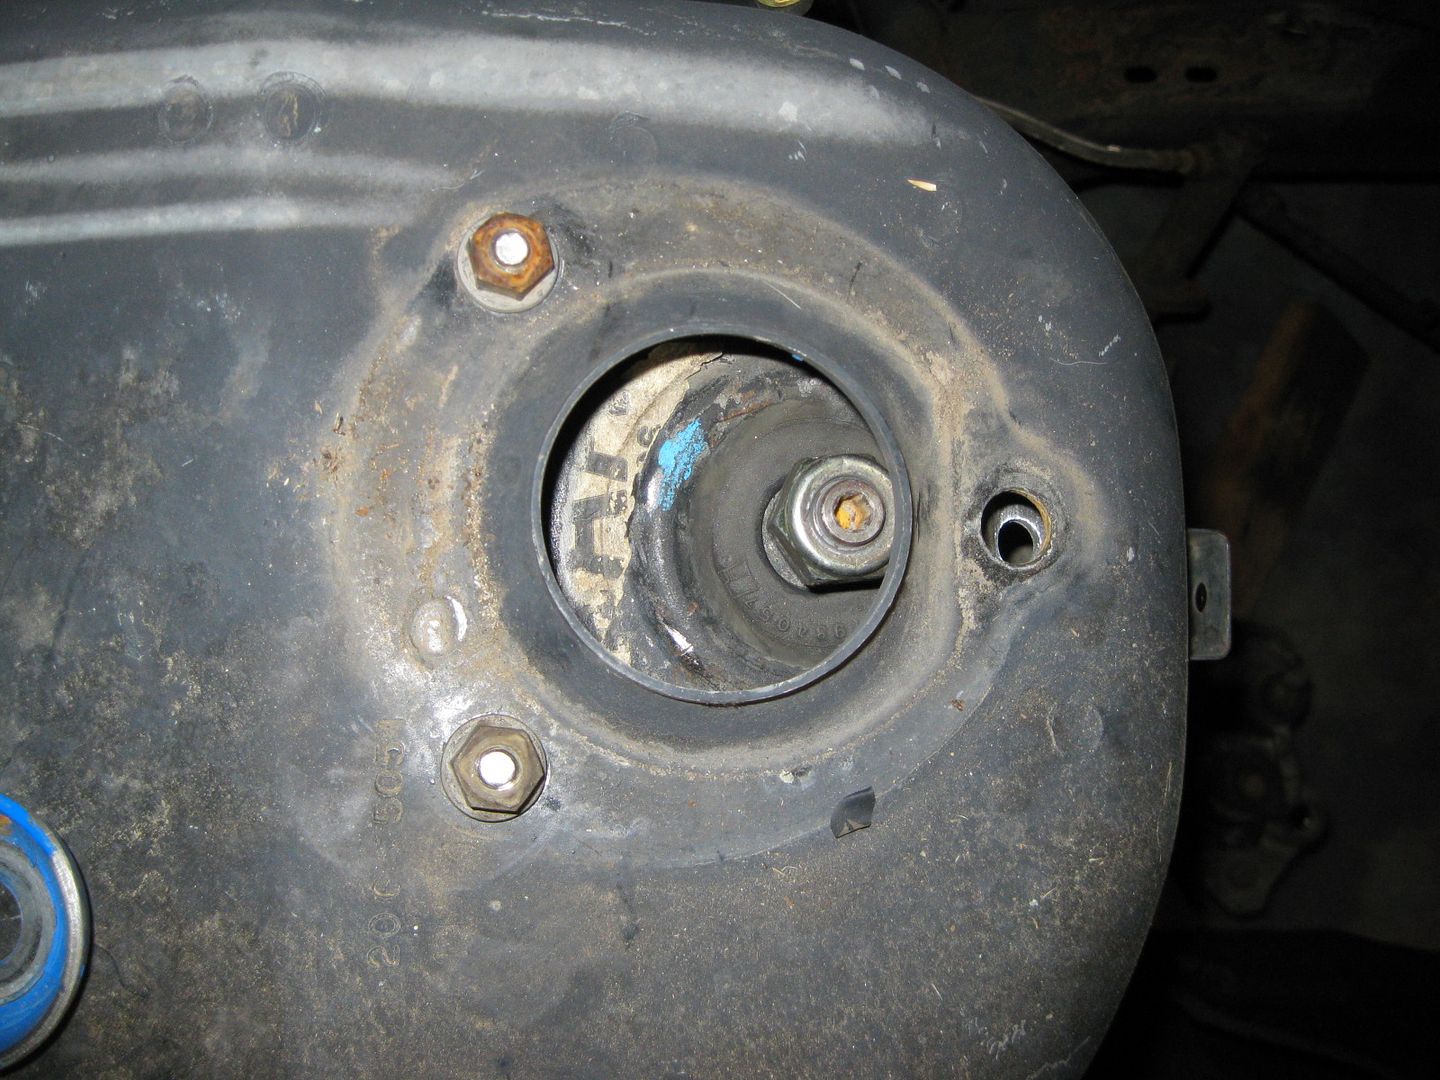
The stock inboard bolt hole was quite larger and very close to where the new one needed to be, so I clamped some aluminum in place and welded up the original bolt hole:
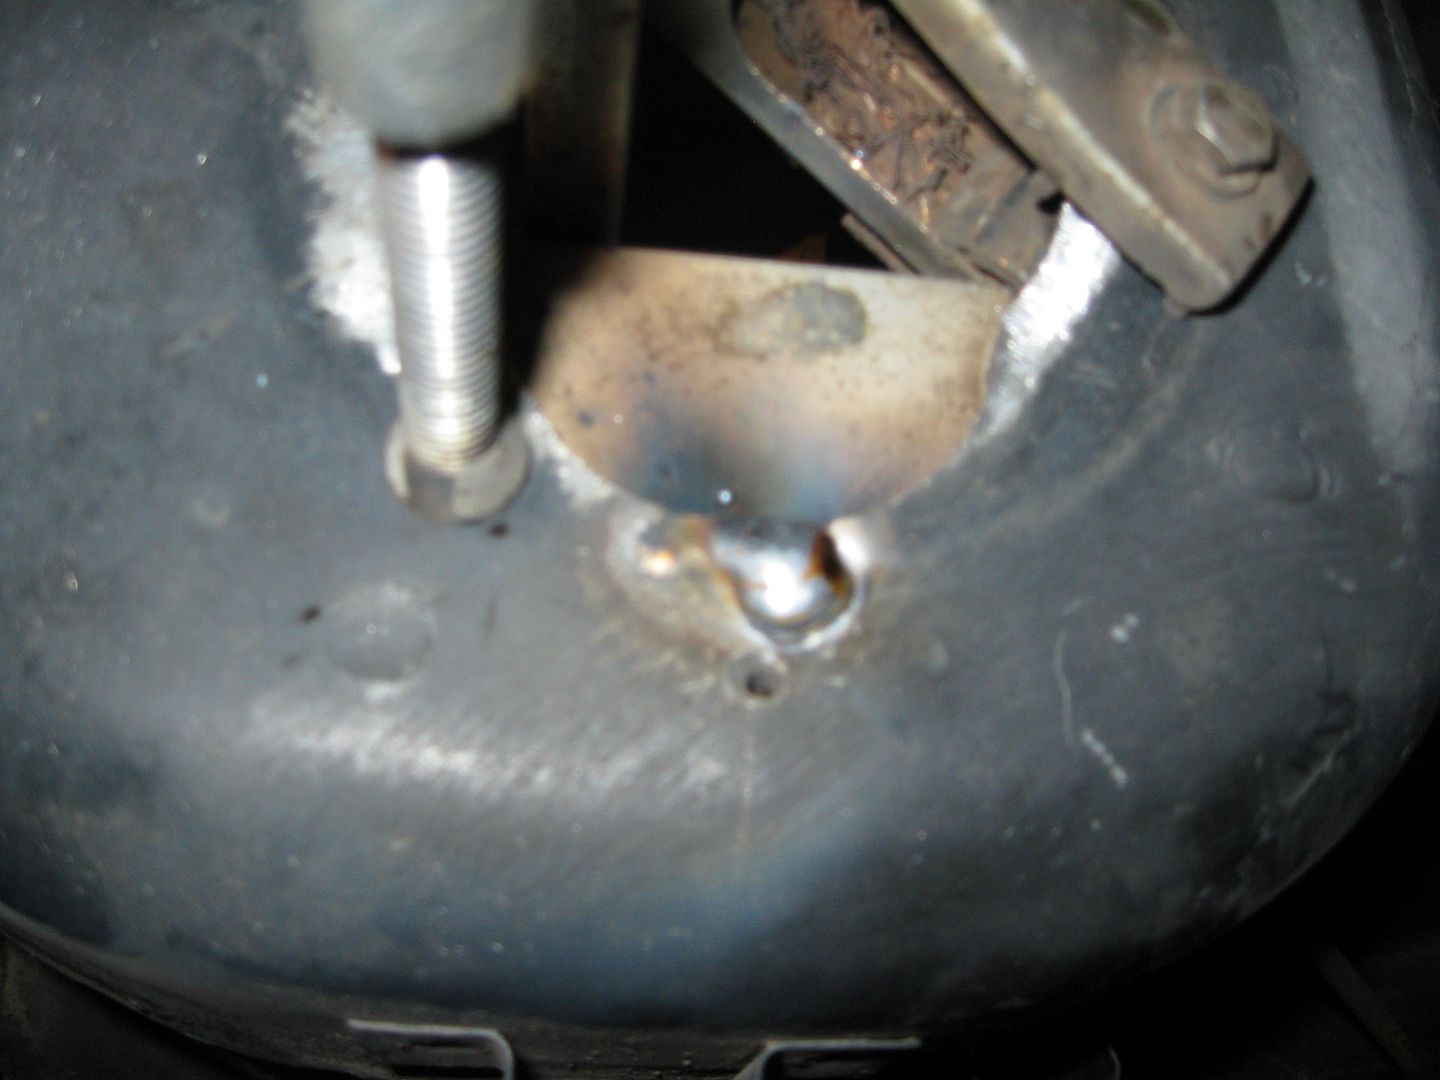
Test fit:


On Saturday, I should be able to get the other side done and make both of the beauty panels for the top.
|
|
|
|
fieroguru
|
MAR 04, 08:24 PM
|
|
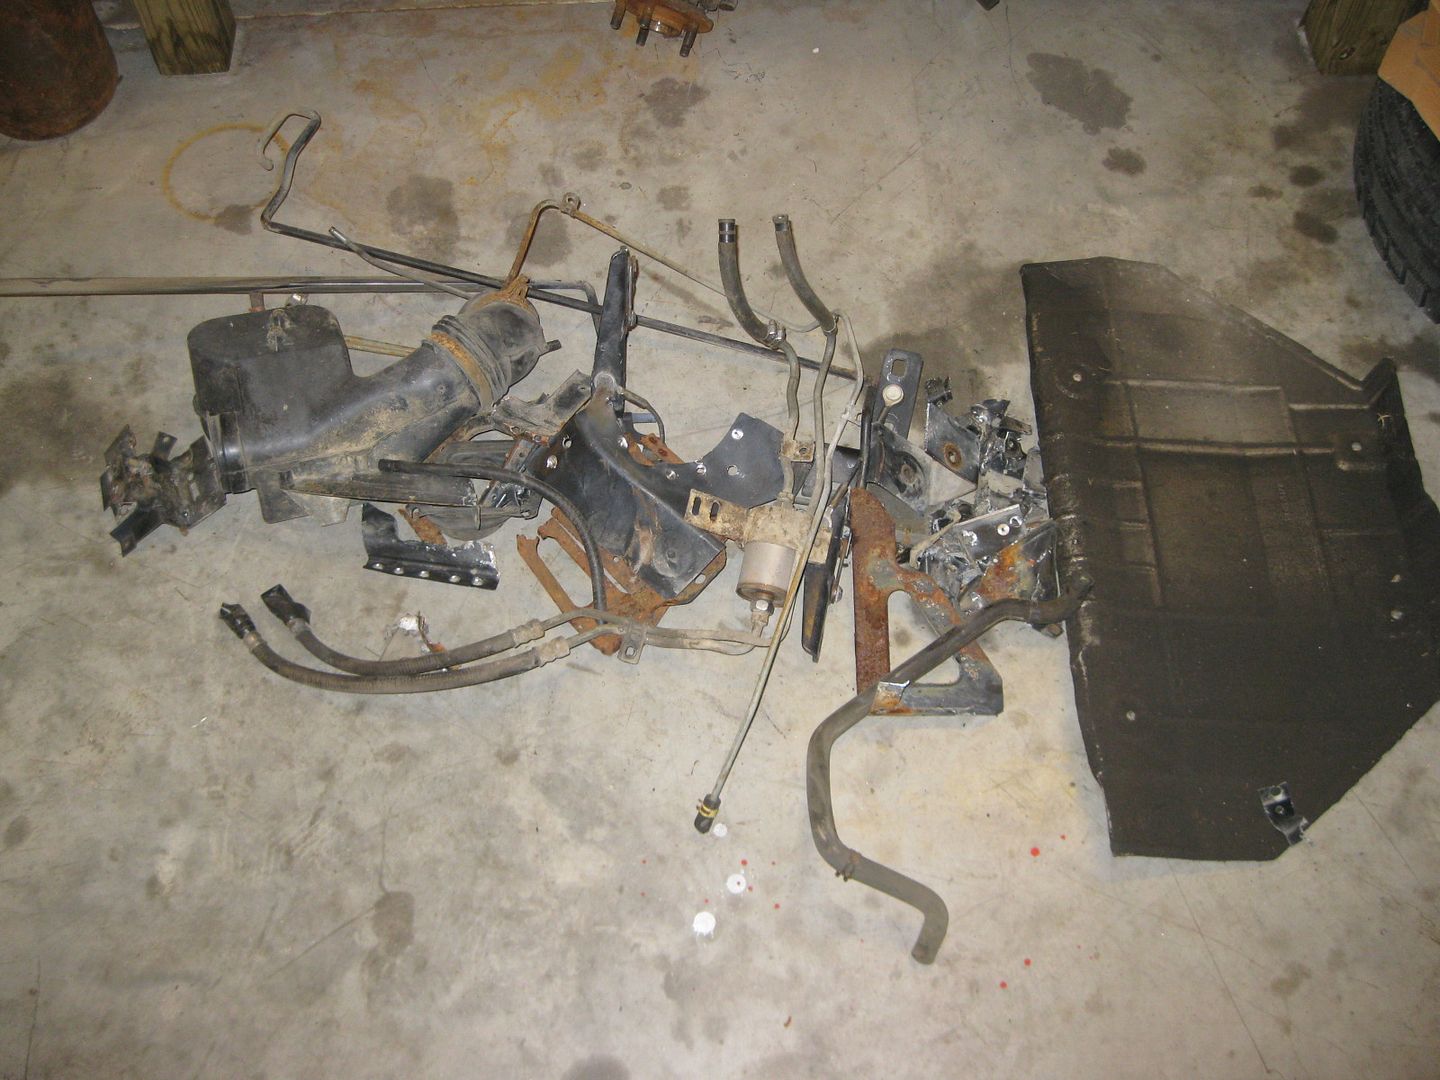
Since I needed to remove the dogbone bracket for the passenger side strut relocation, I went ahead and worked on cleaning up the engine bay.
Before:
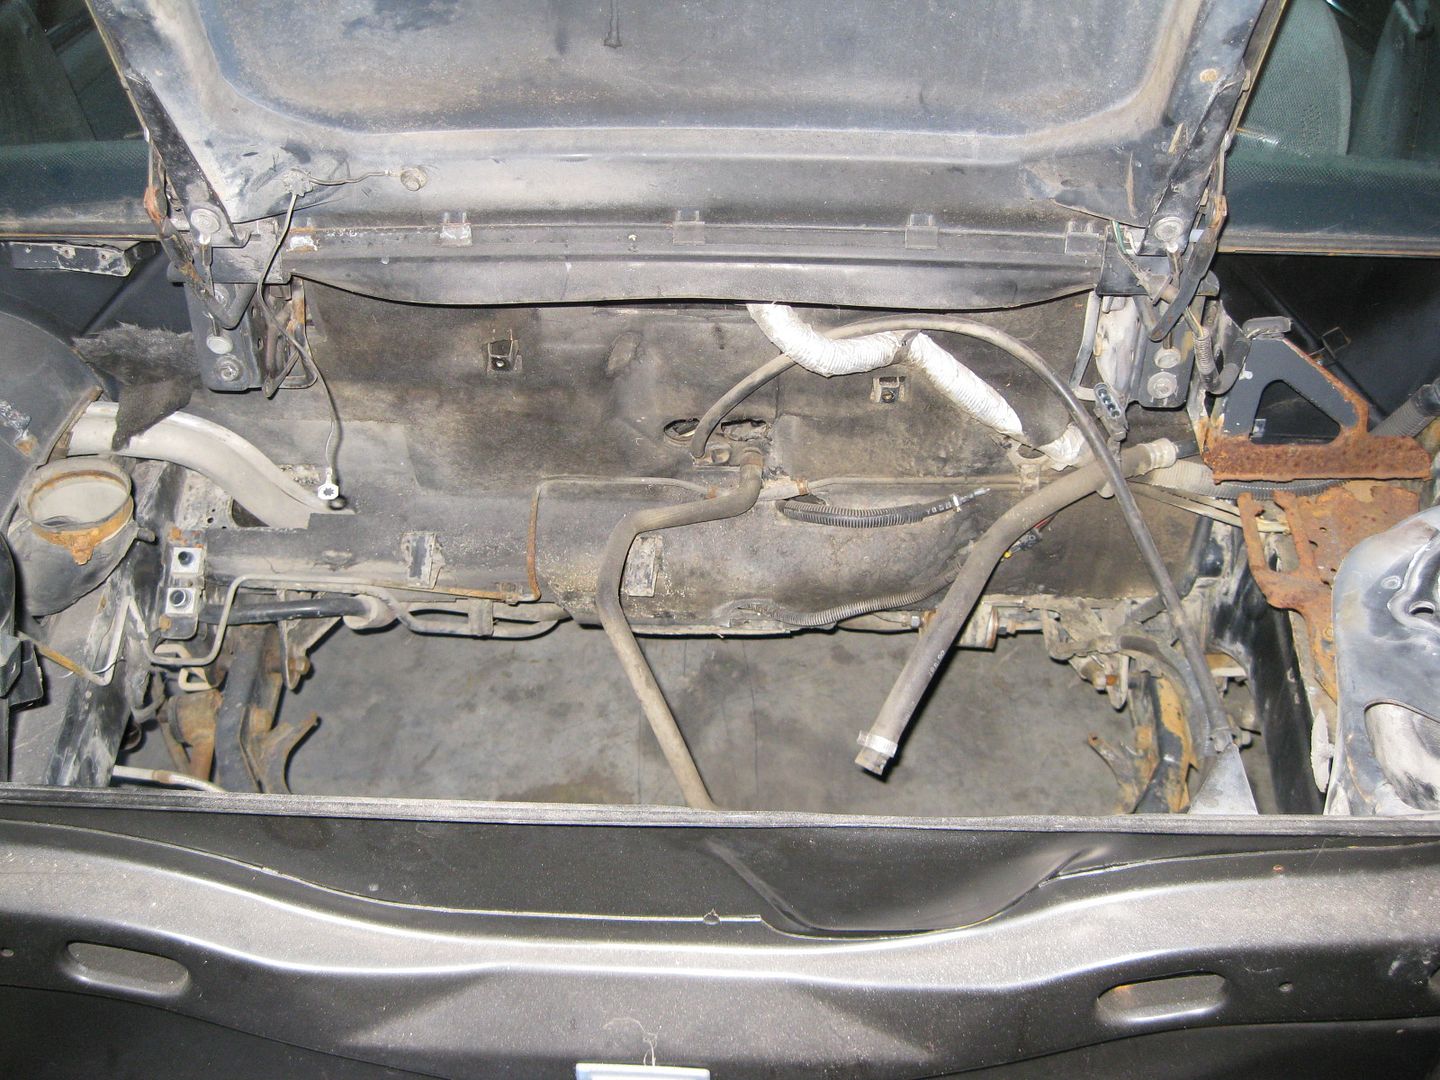
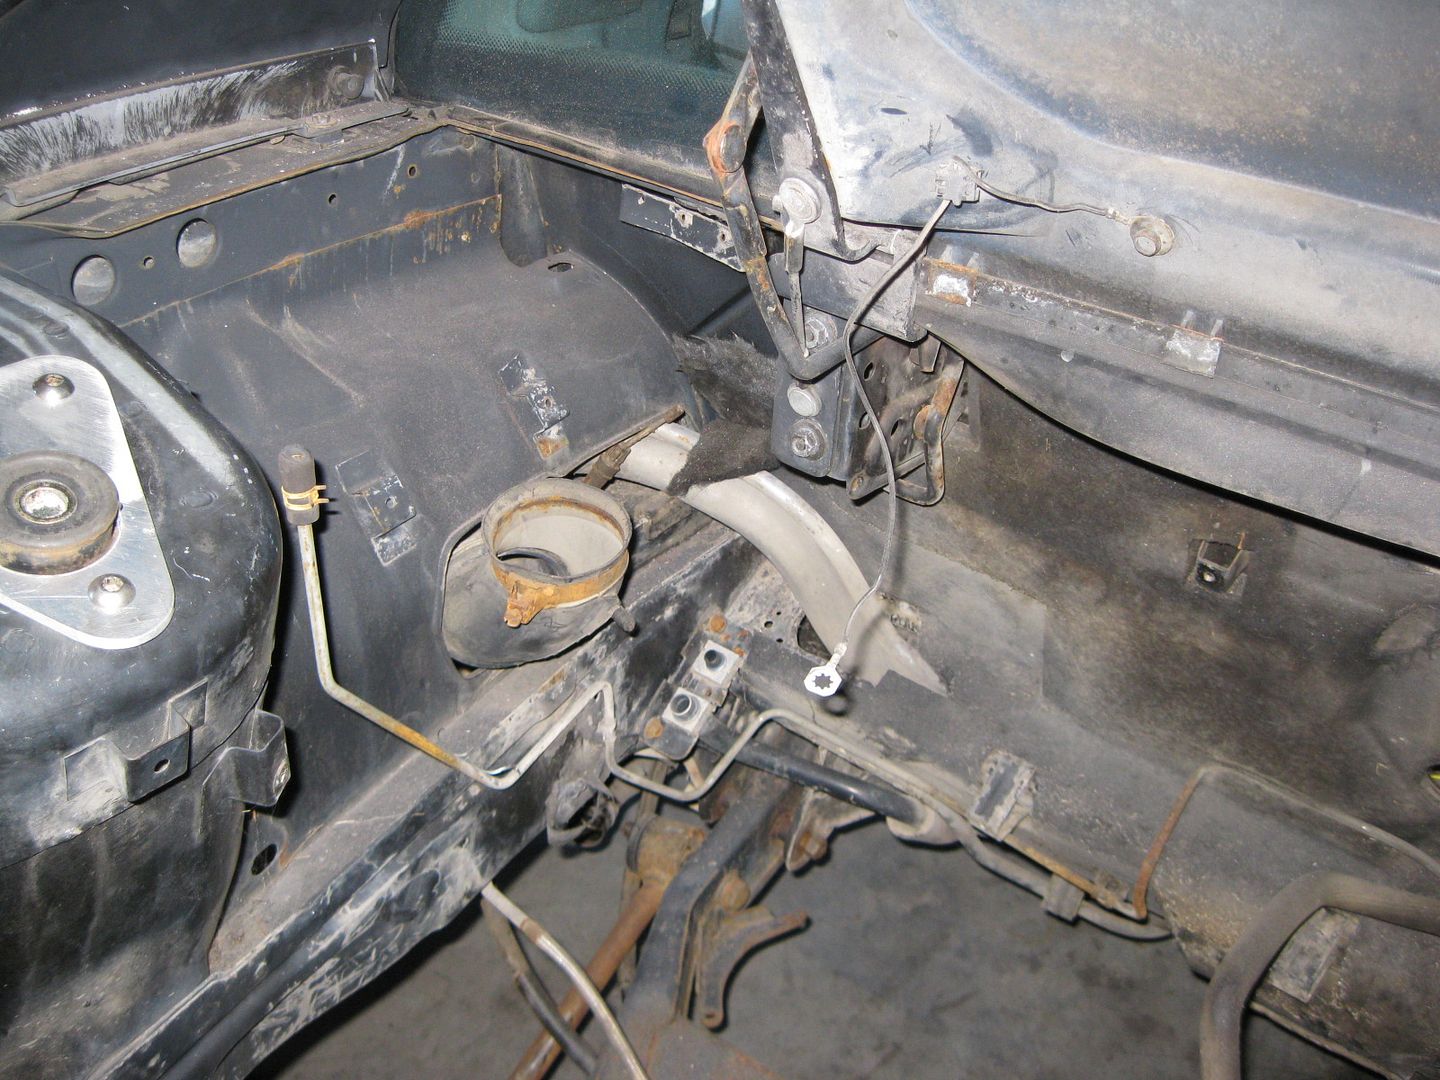
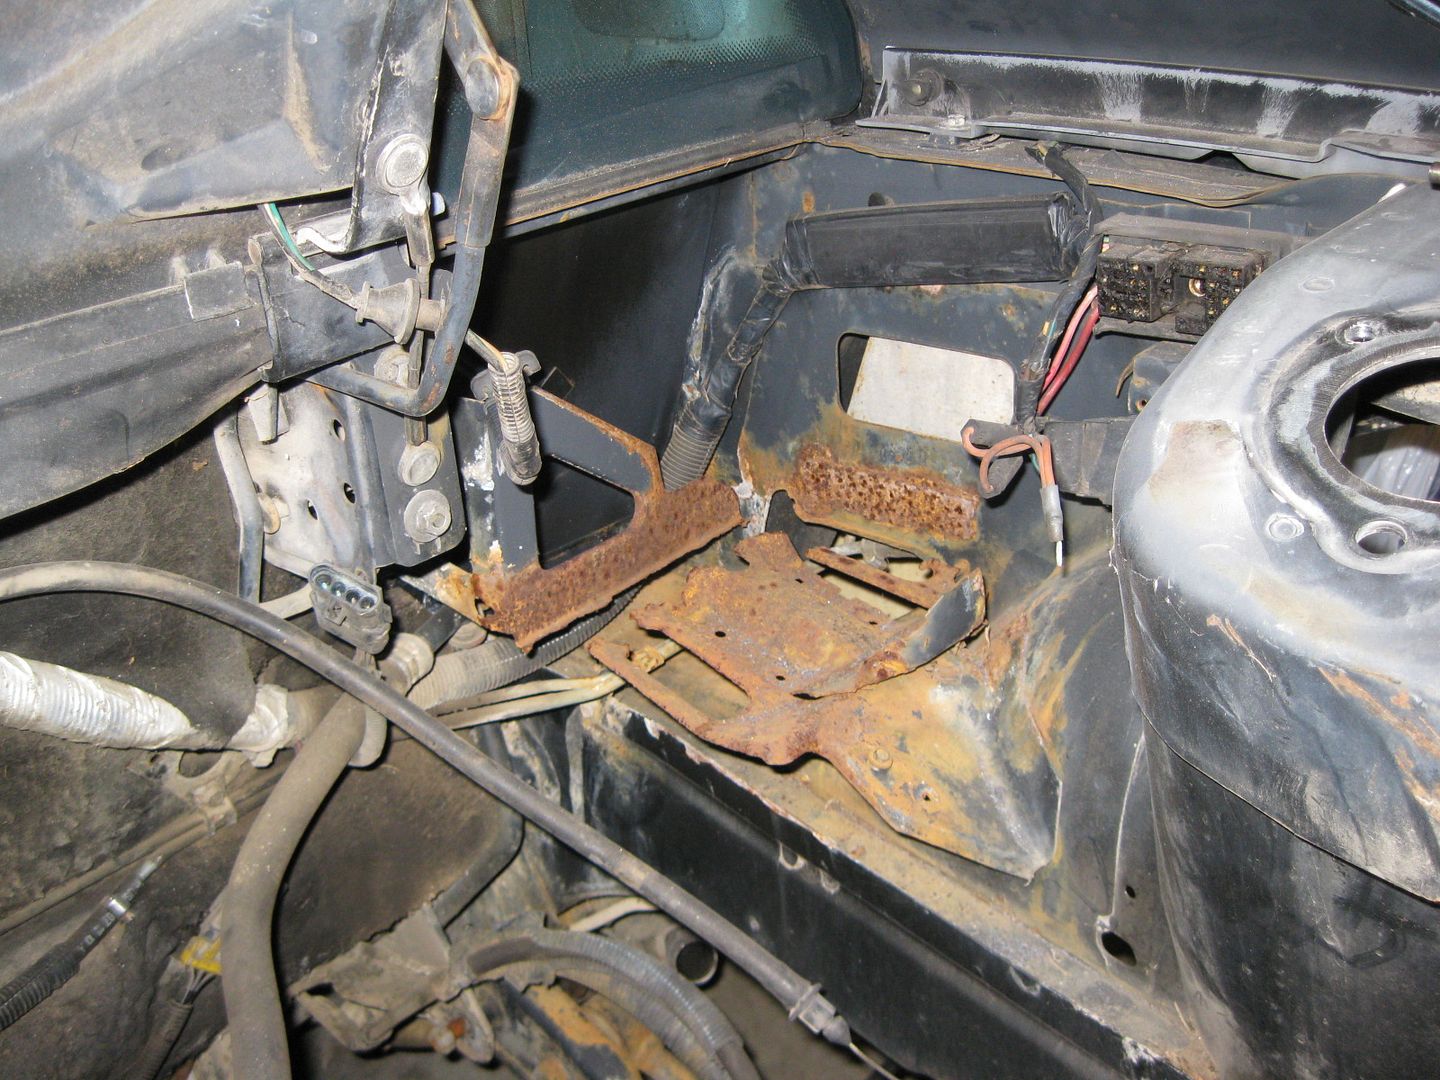
After:
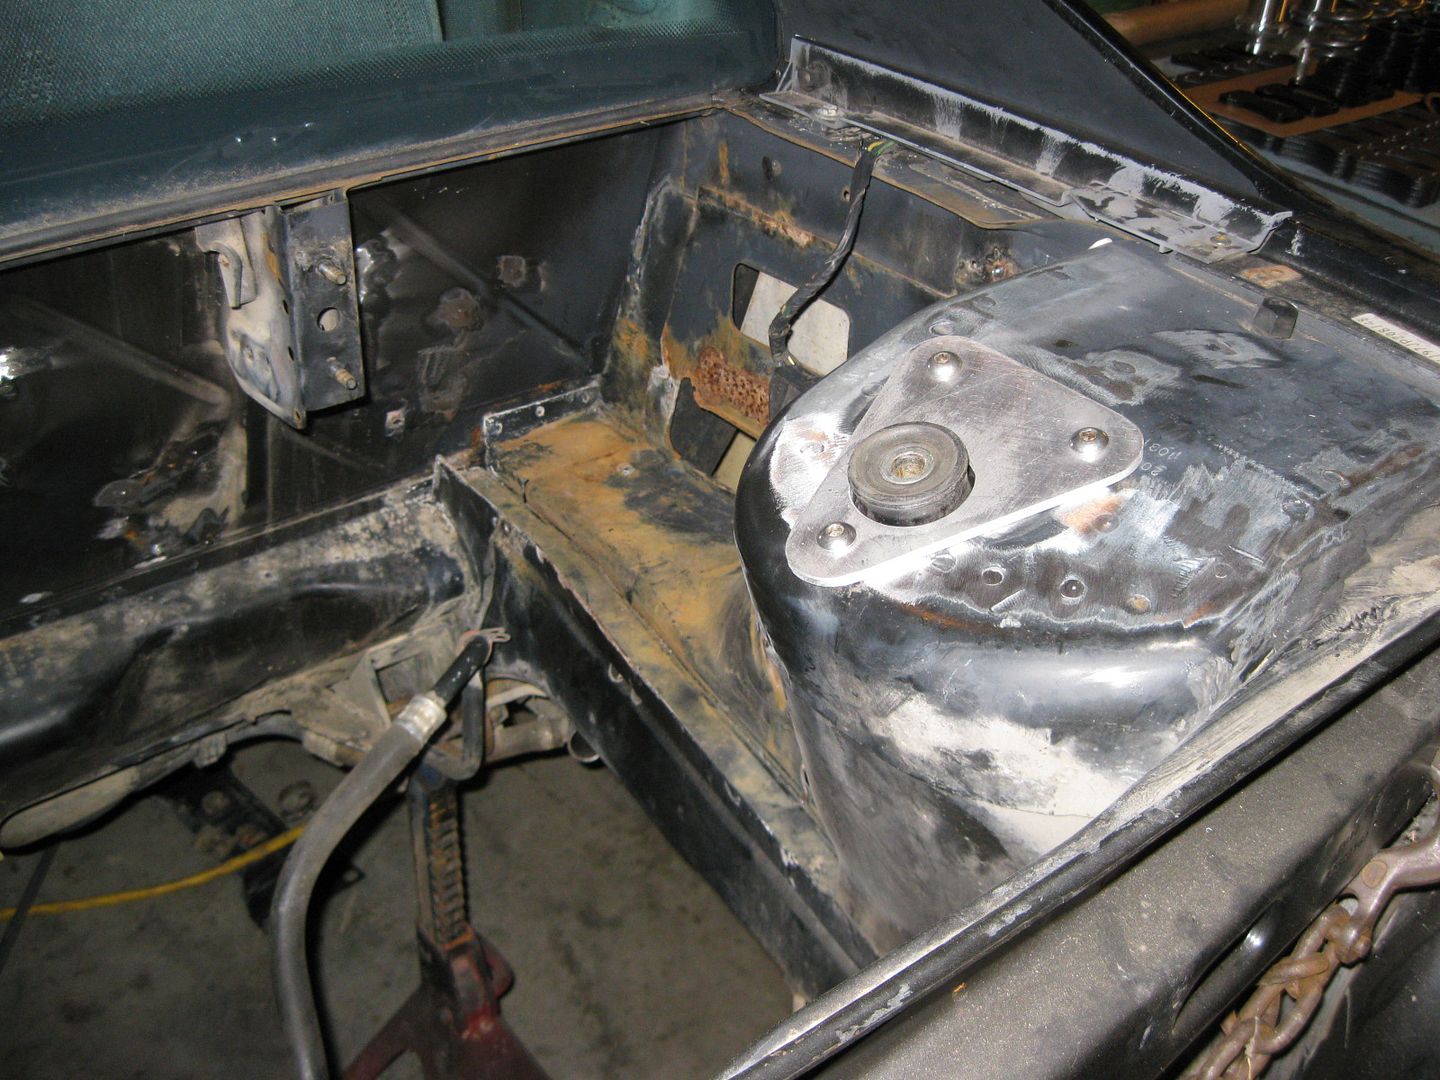
Removed crap:
I still need to remove the decklid hinge boxes and move the transmission bulge back about 3/4"... then it will be time to clean/paint the engine bay.
|
|
|
|
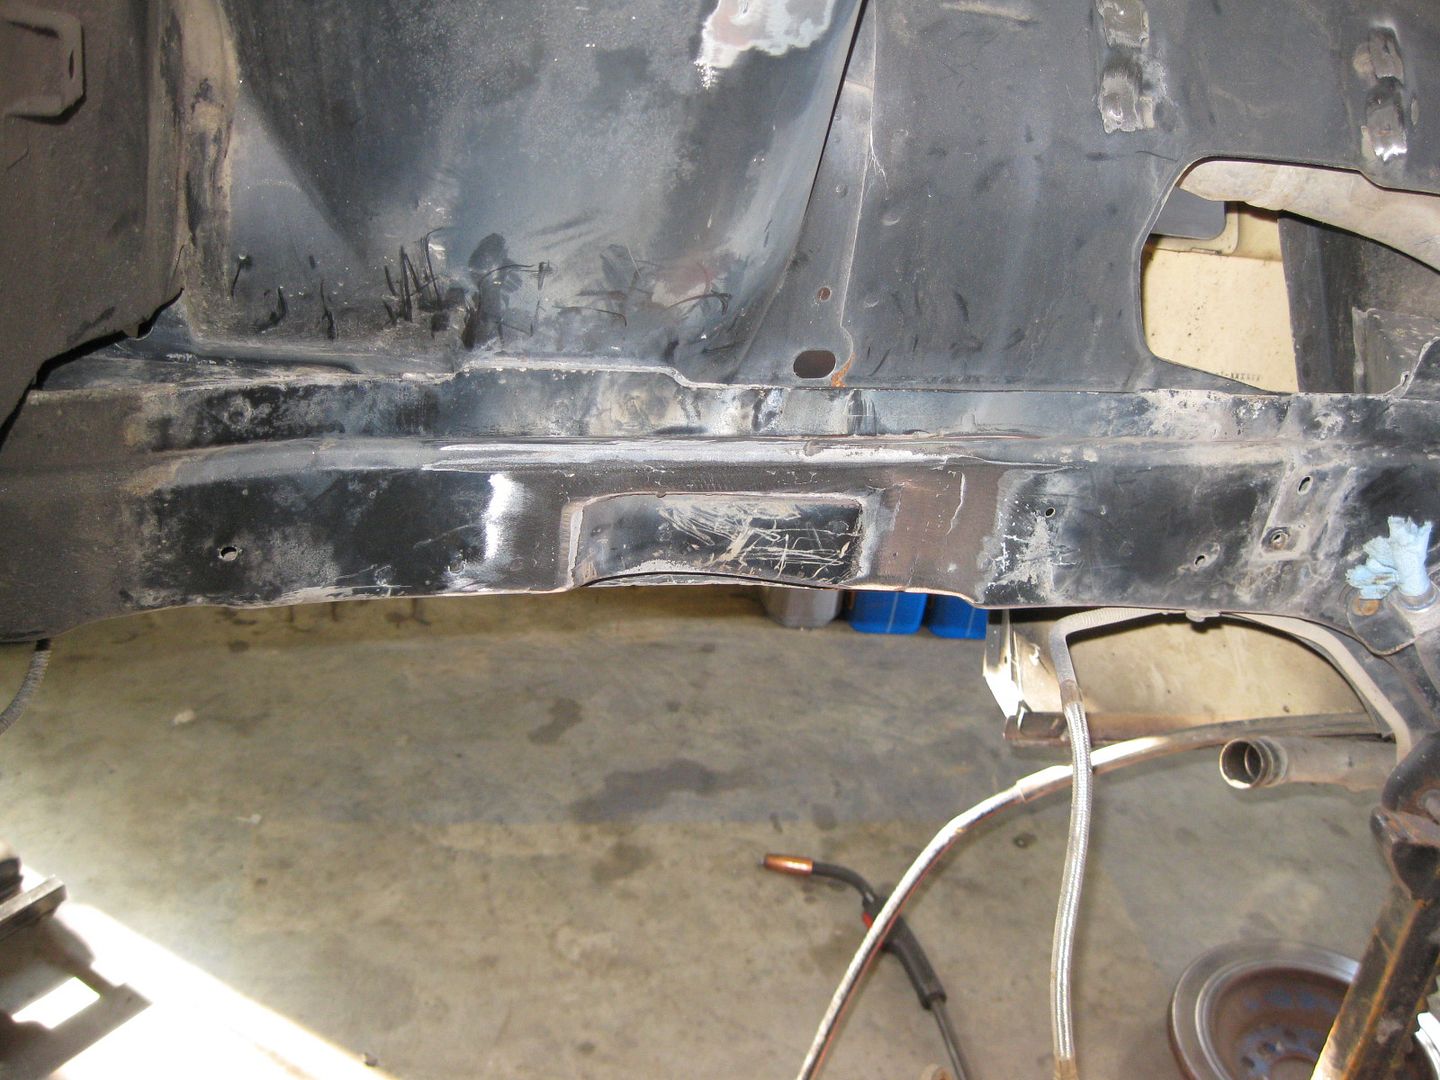
fieroguru
|
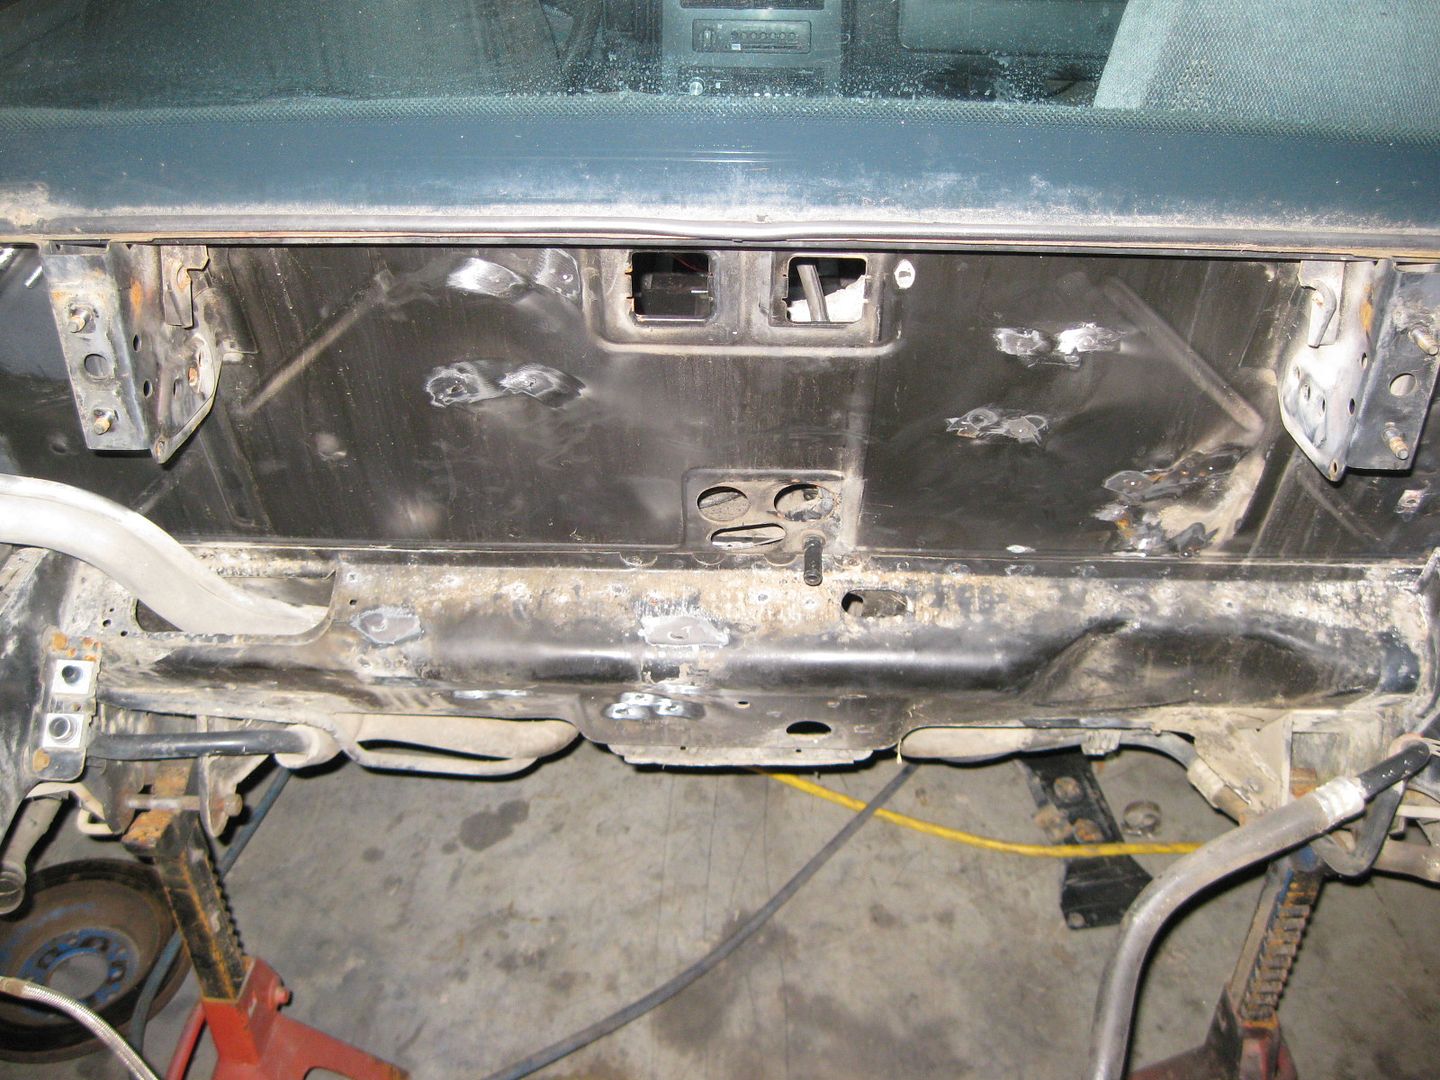
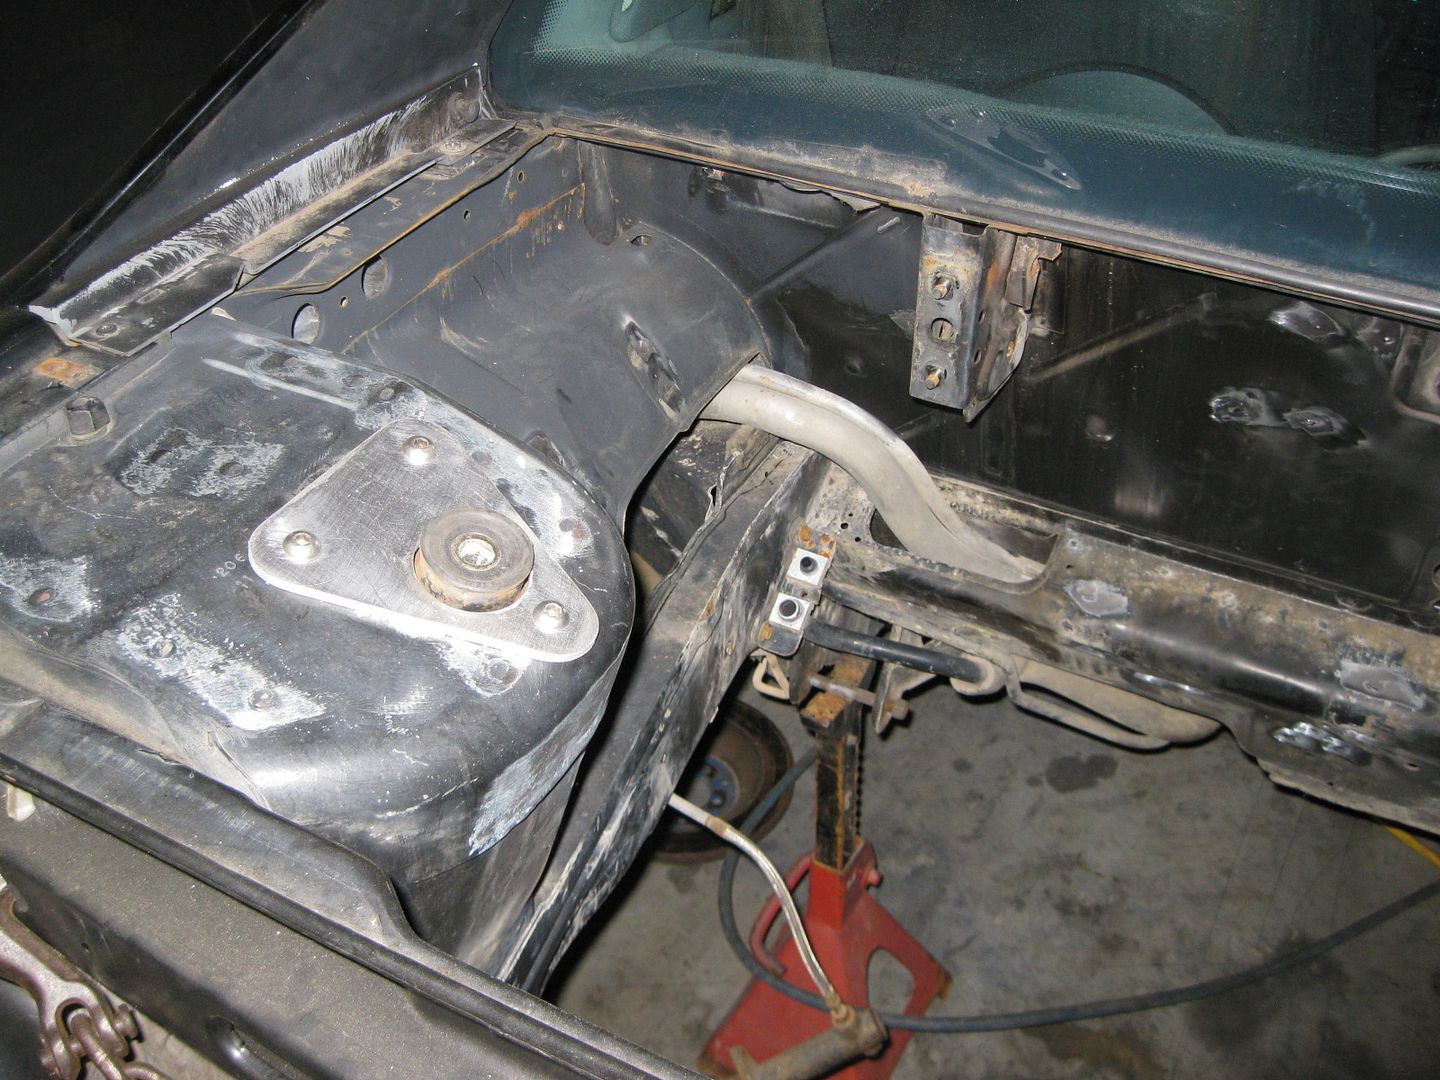
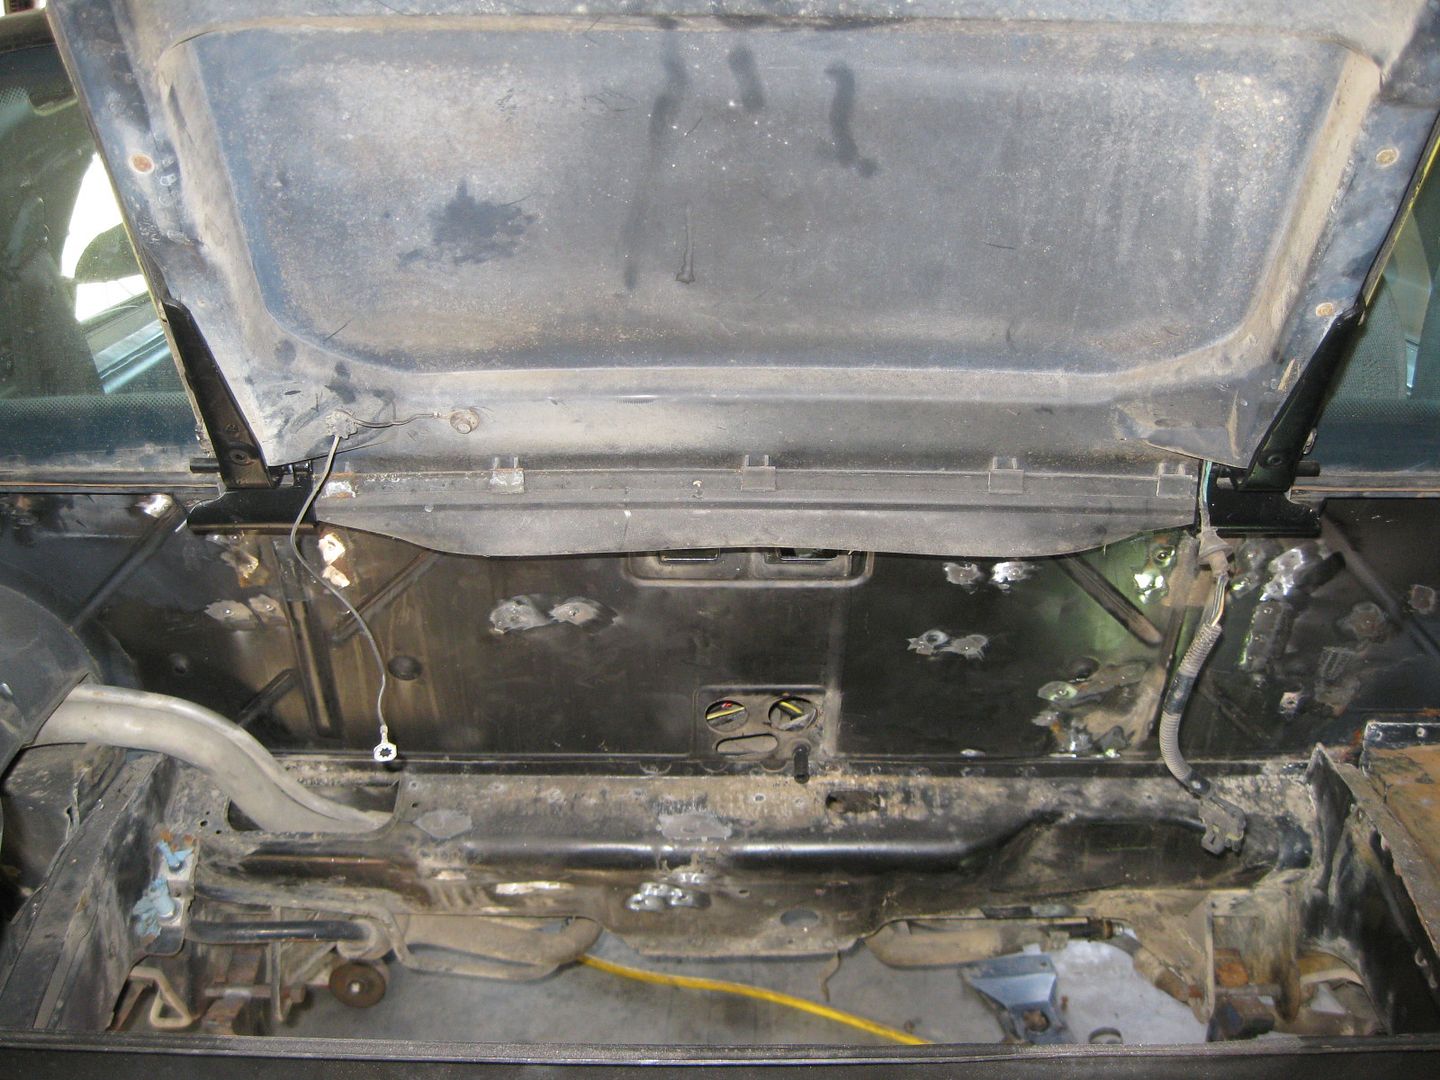
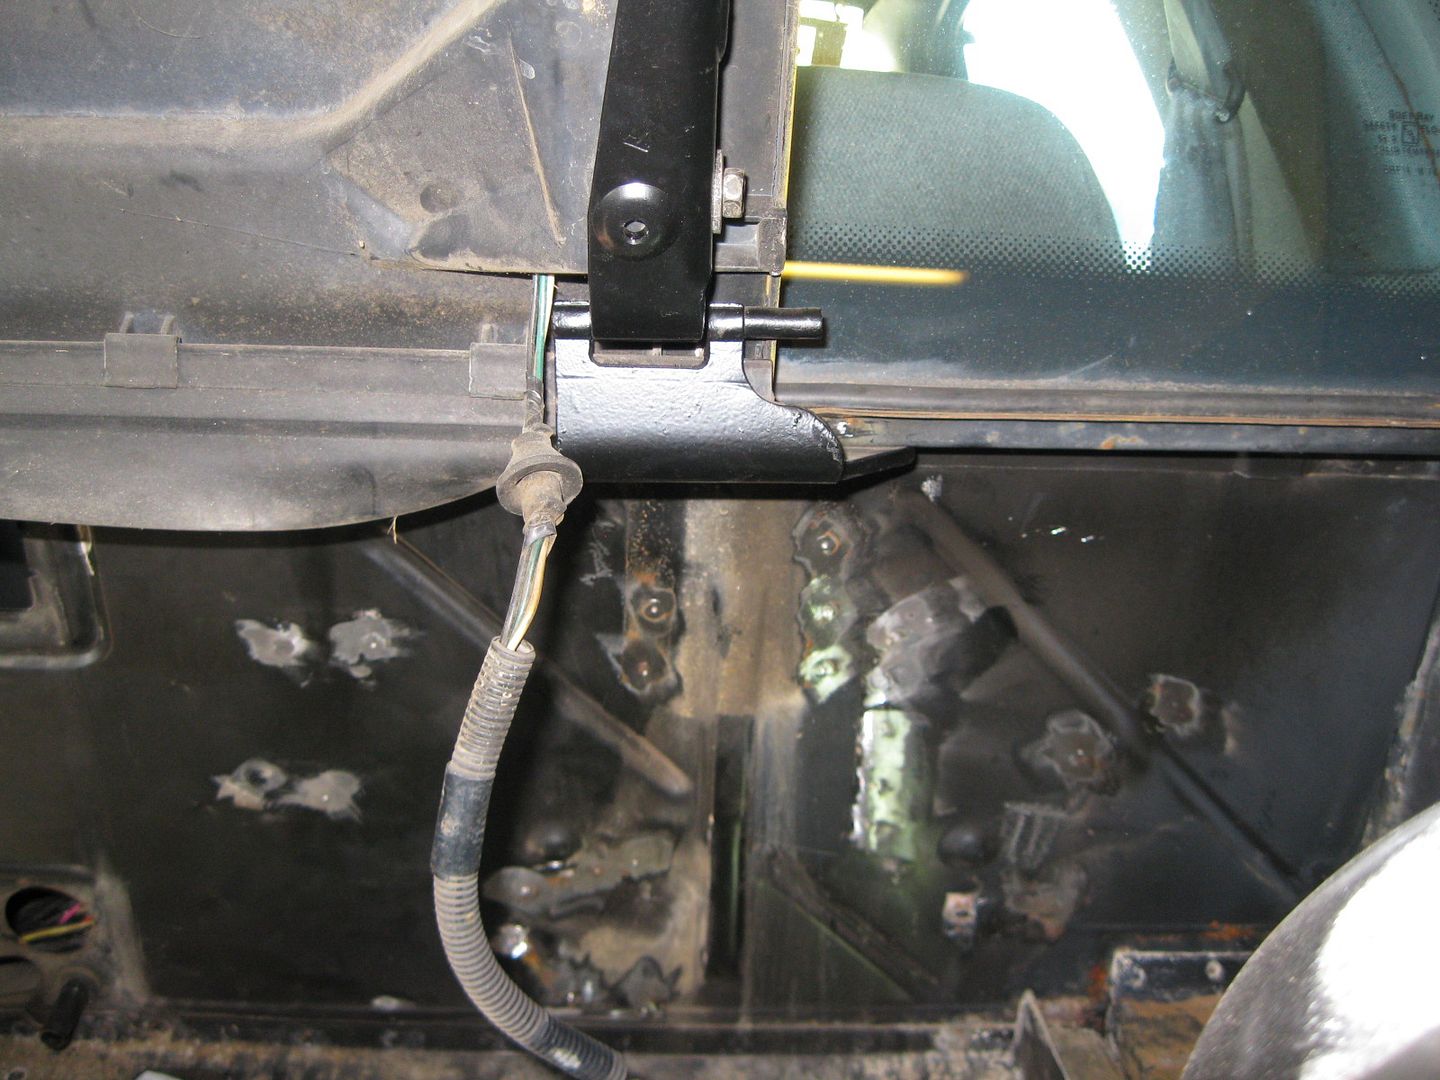
MAR 17, 03:43 PM
|
|
Finished cutting out the decklid hinge boxes and installing the new low profile hinges. Also moved the stock transmission bulge in the driver side frame rail 1/2" to the rear and smoothed out the welds... engine bay of this new car is getting ready for a test fit of the LS4/F40 (possible custom route for the shifter cables., then it will be time to paint this engine bay.
|
|
|
|
Syn
|
MAR 25, 12:28 PM
|
|
|
|