Ferrari 288GTO build (Page 44/64)
dobie1 FEB 18, 08:09 PM
I got the first layer of 1oz mat landed down today 6 1/2 hours no stopping for one layer, 😳
It took me 3 days to clean up the parting lines between sections taking as much time as needed as I would like to eliminate any and all line s on the finished part. I know it’s impossible but will save time in the end when preparing for finishing and paint.
Polishing the mold took 1 day 1 day and 3/4’s of a gallon of gelcoat and today1 day so total time todate 6 days. I’m figuring each layer will be 1 day barring any problems.

First pic is the mold waxed and ready for gelcoat


Next picture is gelcoat completed


Next shot is first layer of 1 oz mat as of today so 3 more layer of 1 1/2oz mat to go.


Stay safe everyone
Wayne

[This message has been edited by dobie1 (edited 02-19-2021).]

dobie1 FEB 22, 11:50 PM
Well I suppose a celebration is in order 🎉 the back half of the car has now been laid up and is going through is full cure


I’ll leave it for 3 weeks giving me time to finish the other pieces. 1 fender , remaining rocker ,door panel and remaining lower scoop.

As I indicated previously there were a couple areas on the back lay up that gave me some concern due to the space confinement’s around the rear spoiler. This caused me to have to do a two part layup the first part was the actual spoiler.


This is show’s the spoiler area at the bottom with the final mold pieces are added.


once that was completed then I added the final part of the mold which when in place is the hinge bumps for the rear hood , this layup is for that piece as well as attaching the parts together. I found using a mini paint roller extended handle enabled me to roll the resin into the area followed up with a consolidation roller.


I also finally pulled the fender/rocker that I laminated , it turned out very nice no alligatoring just a bit of cleanup from the two halves being glued.


Next I need to make up the part that will cover the reddish area where the wax left the joggle as I wrote about in a previous post this is due to the horn area that locks into the mold.


And attach the back inner fender


Stay safe everyone

Wayne

[This message has been edited by dobie1 (edited 02-28-2021).]

dobie1 FEB 25, 11:37 PM
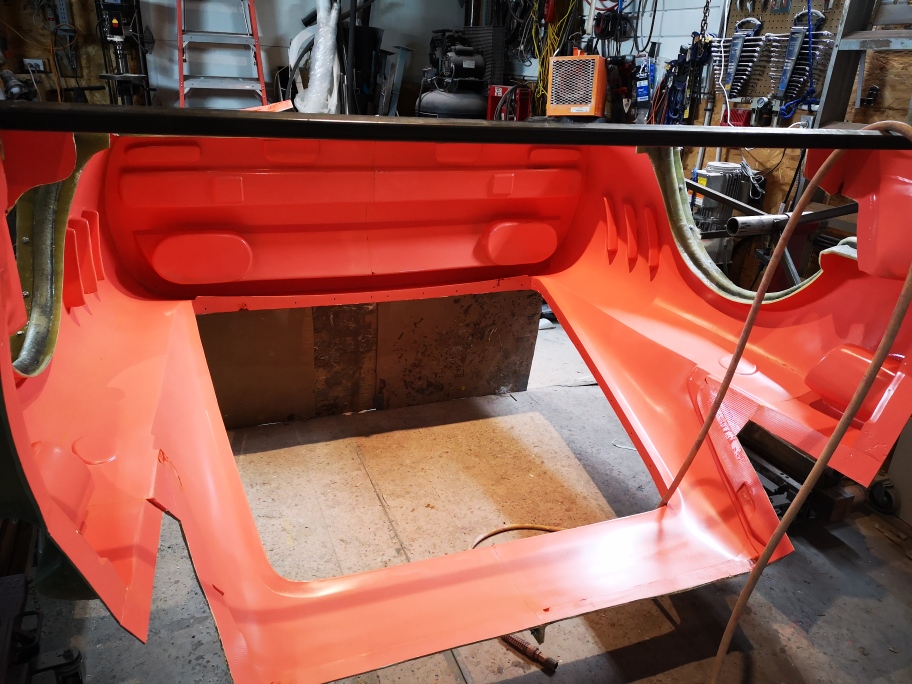
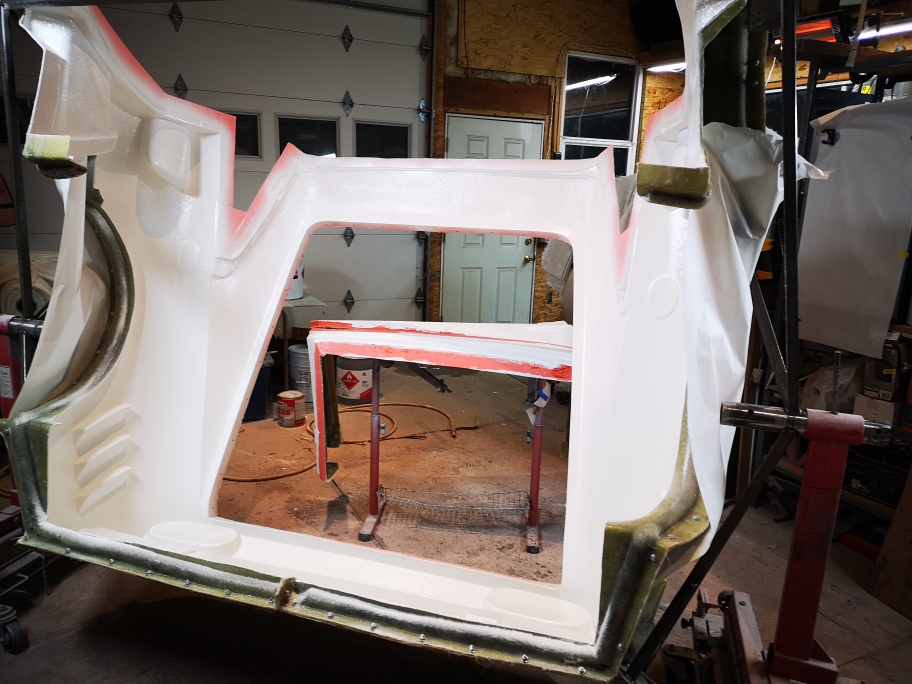
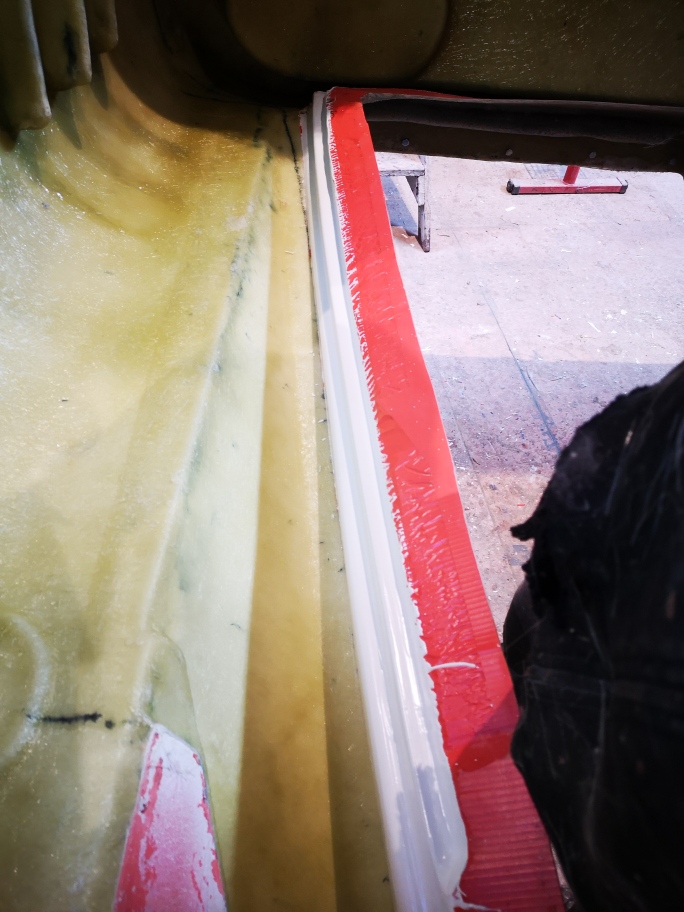
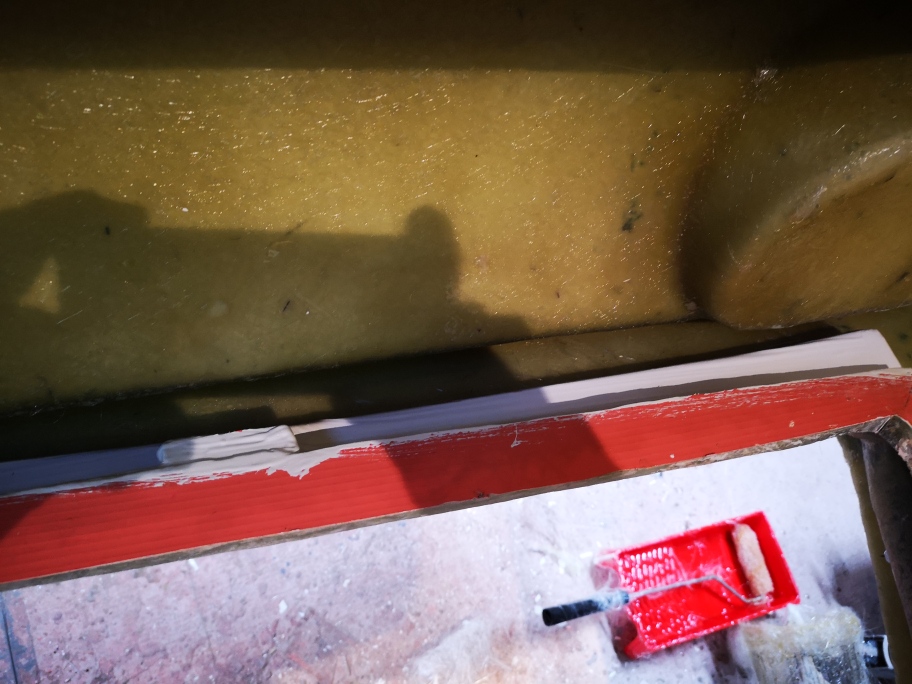
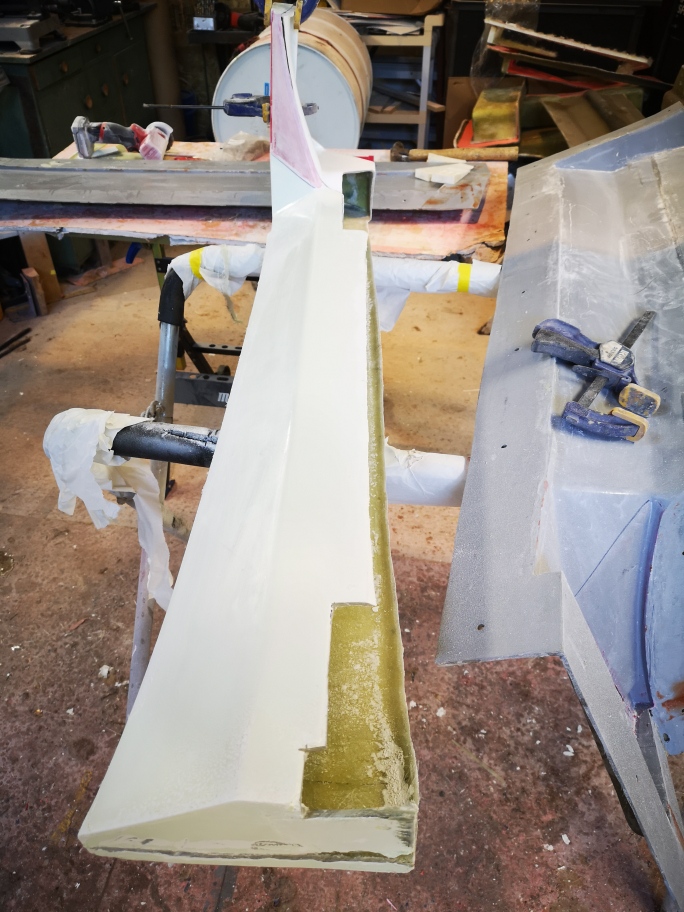
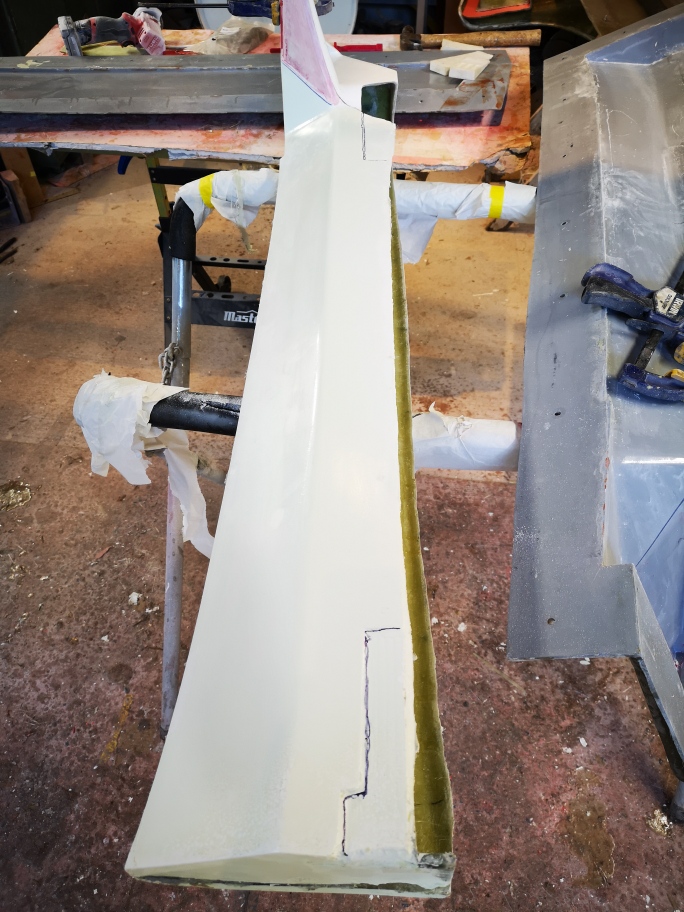
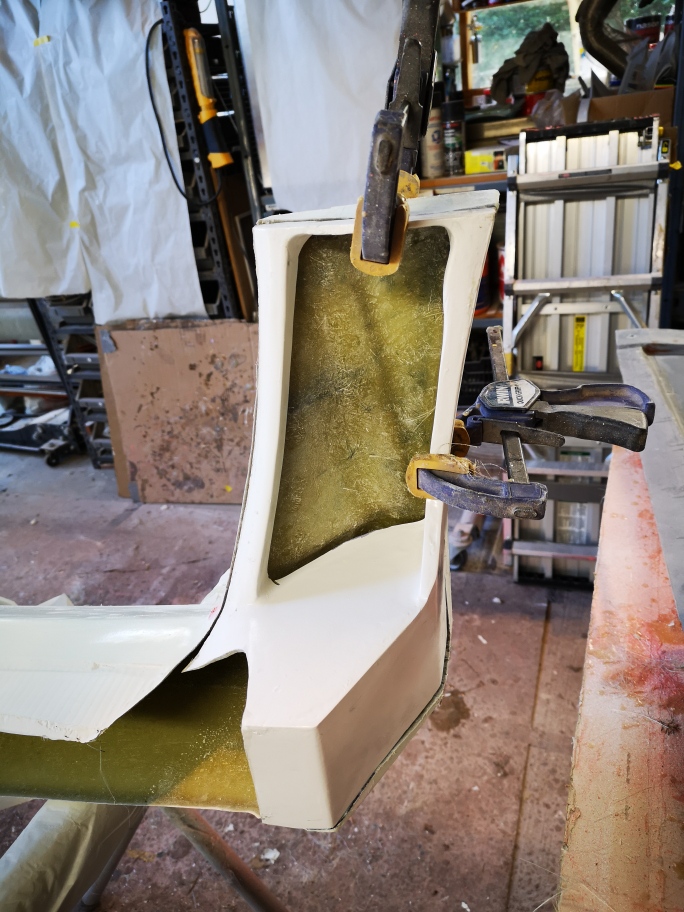
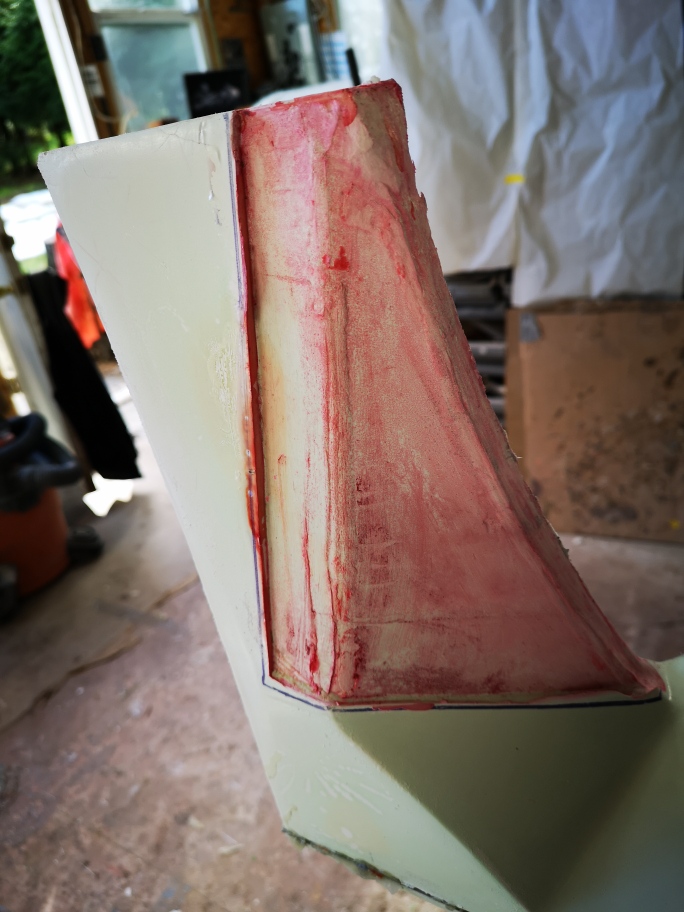
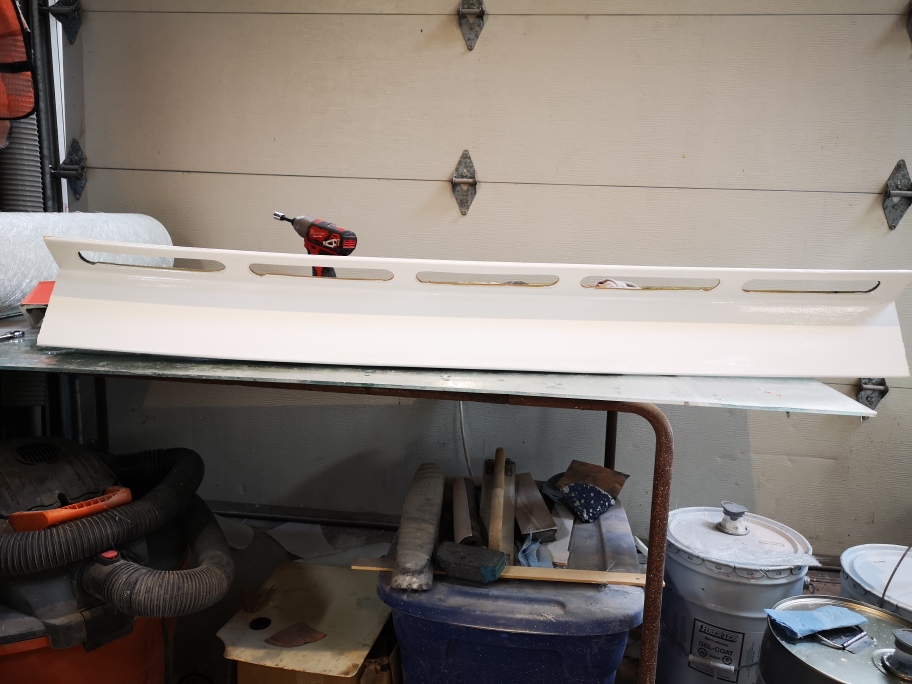
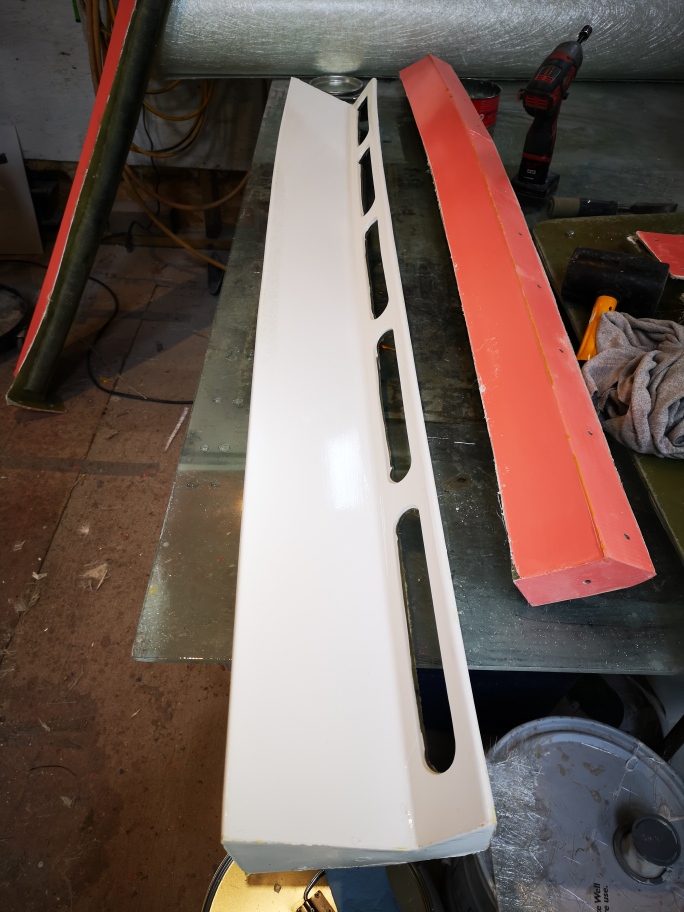
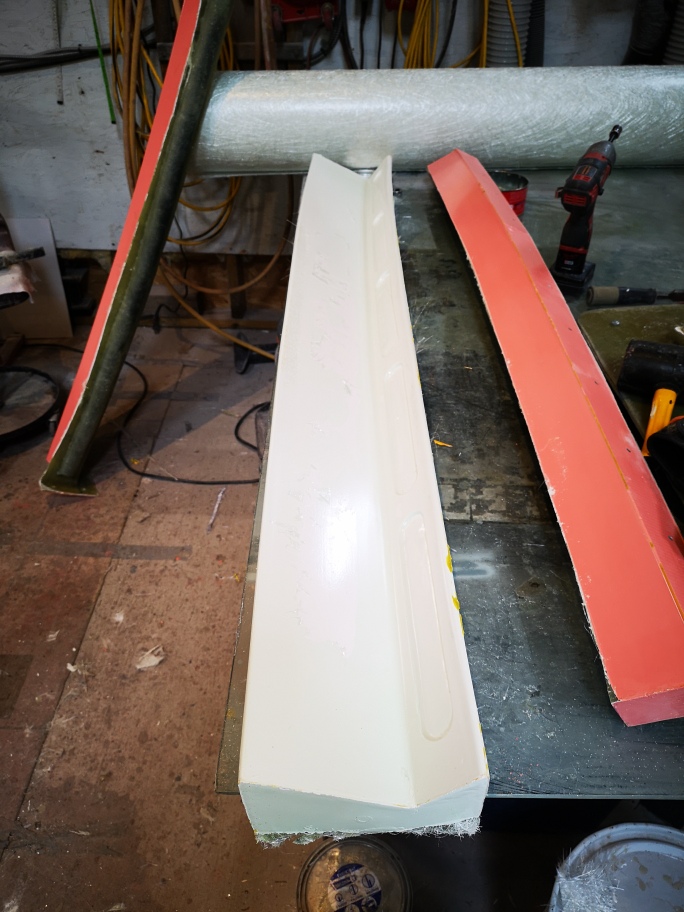
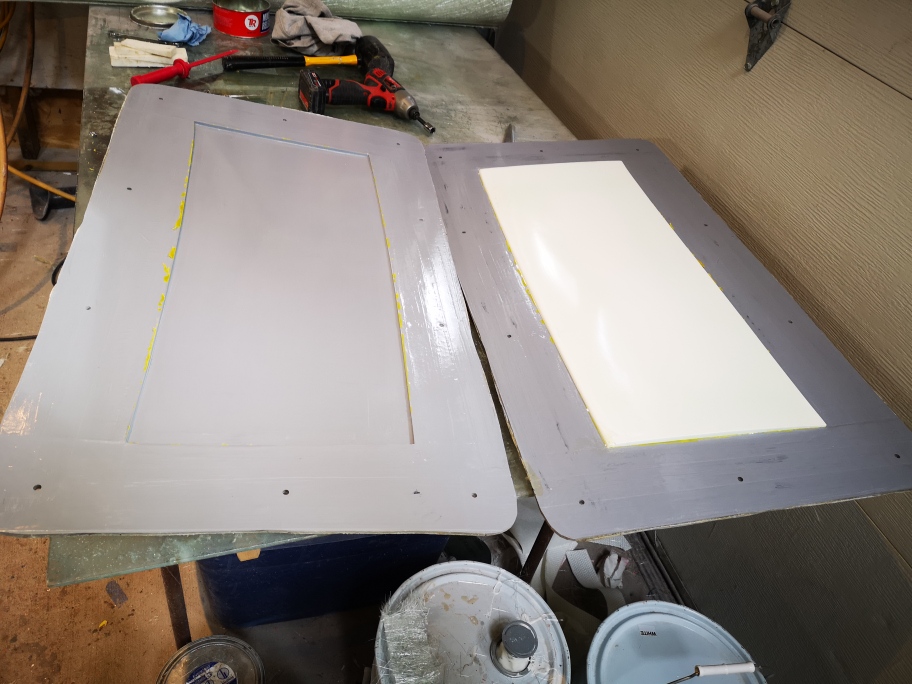
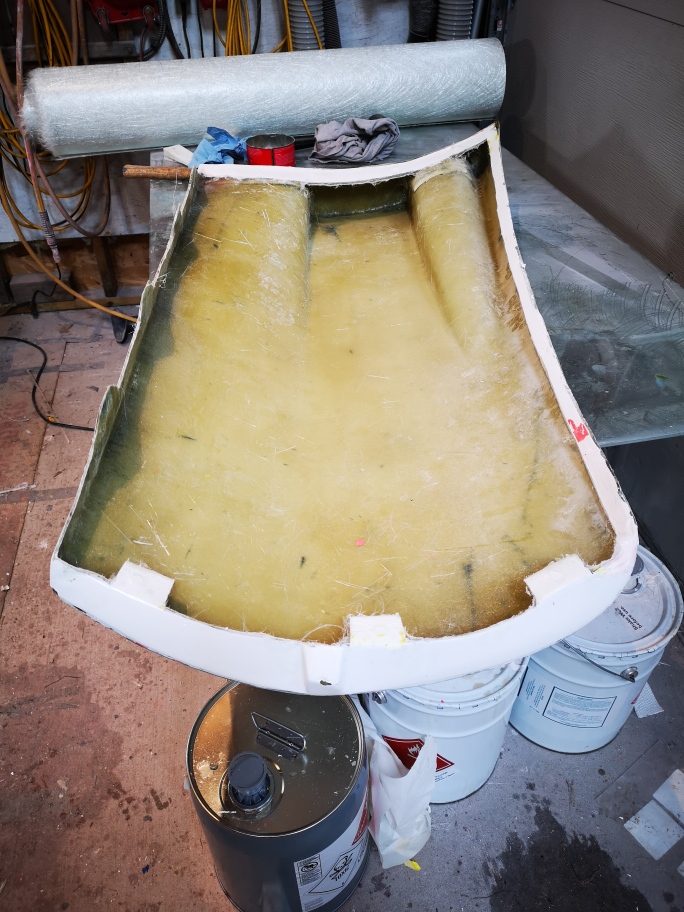
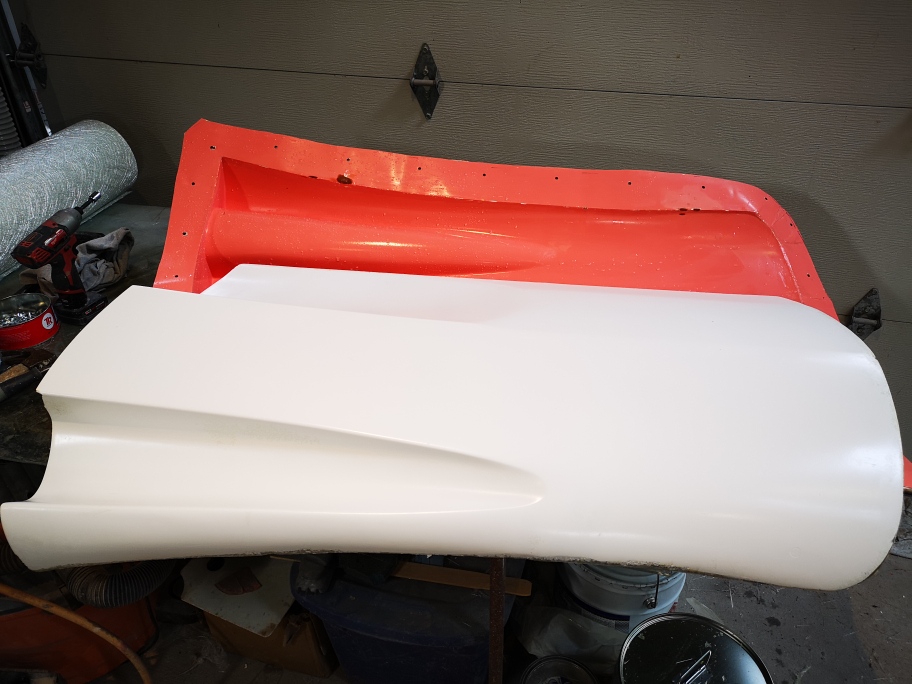
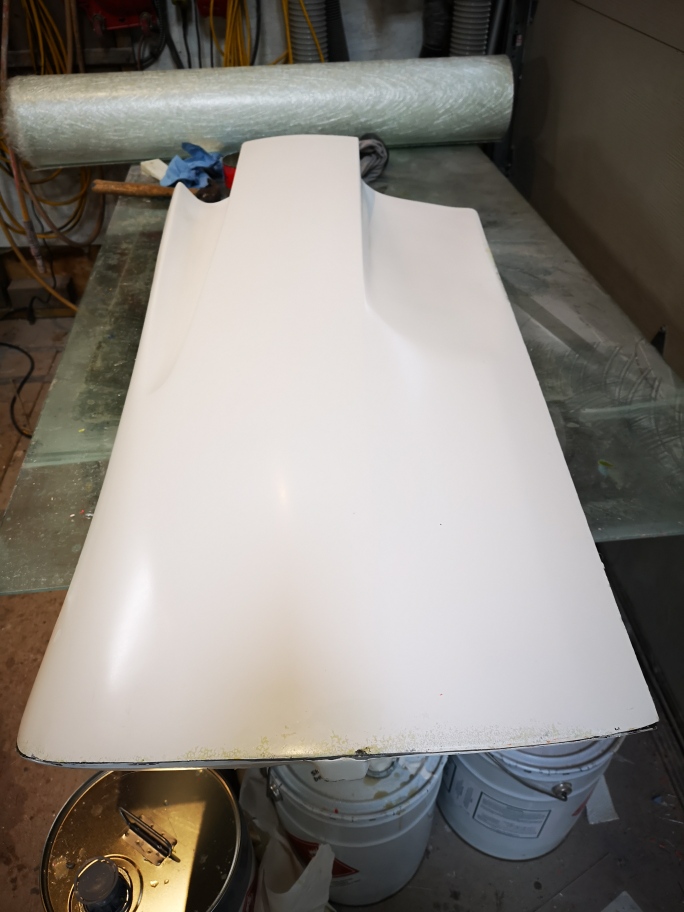
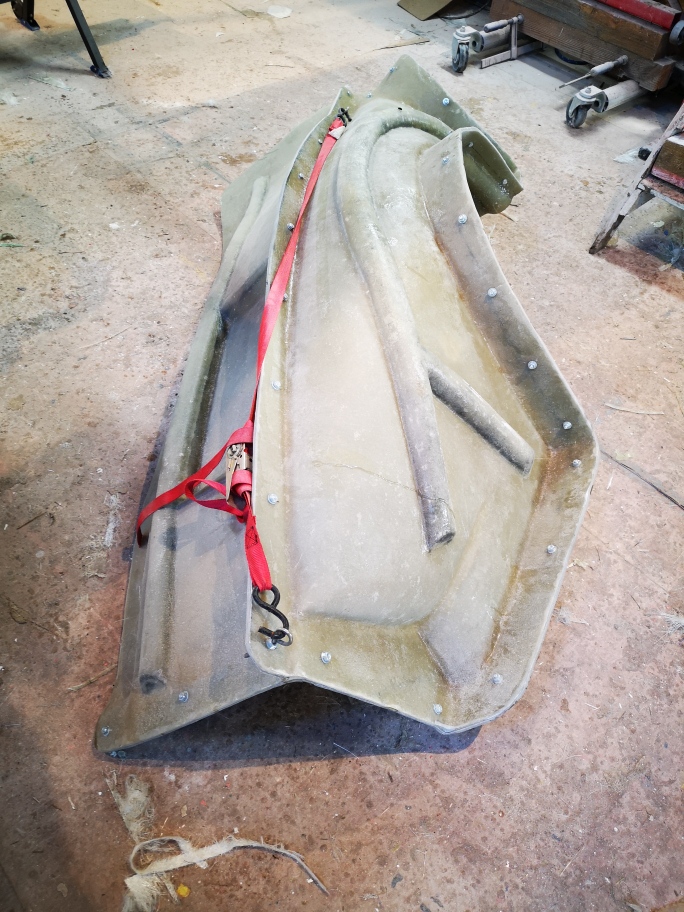
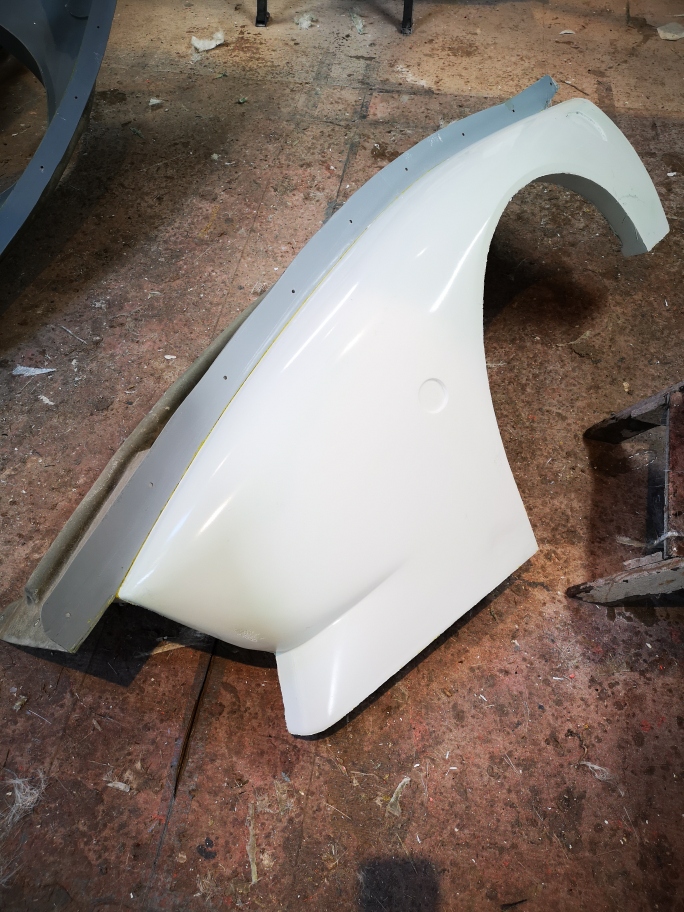
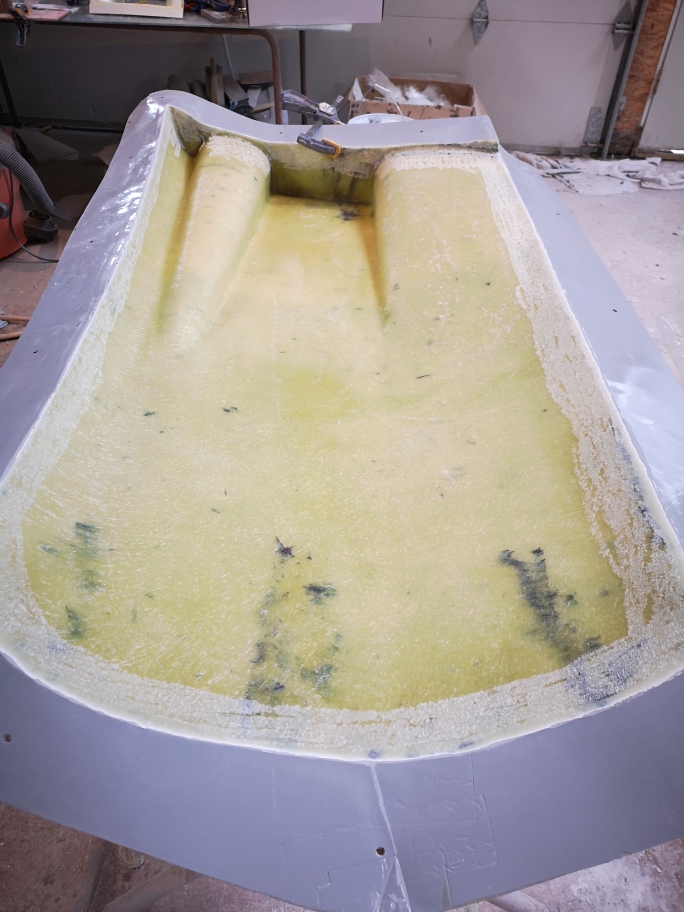
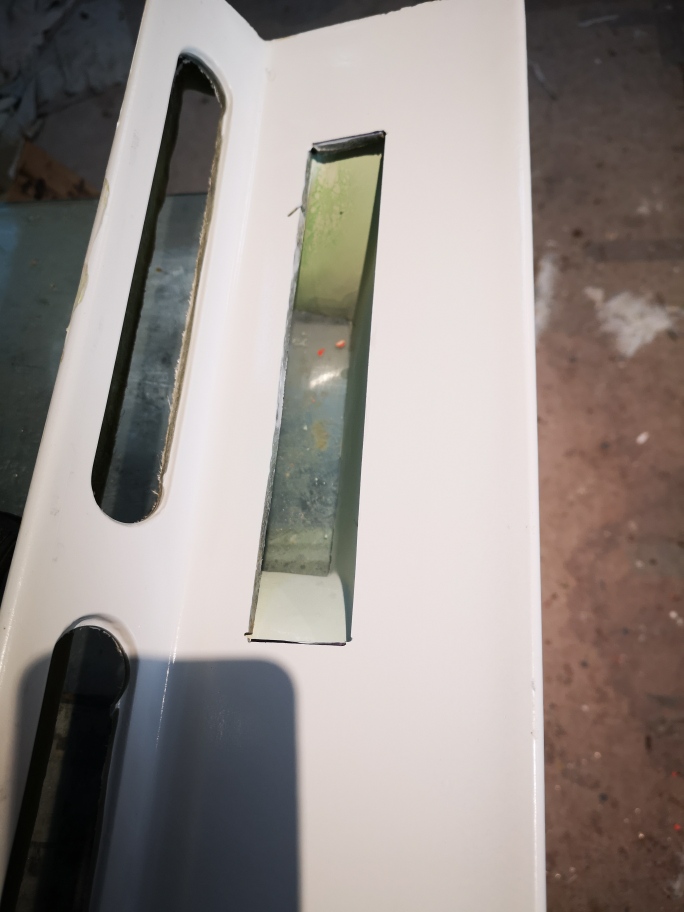
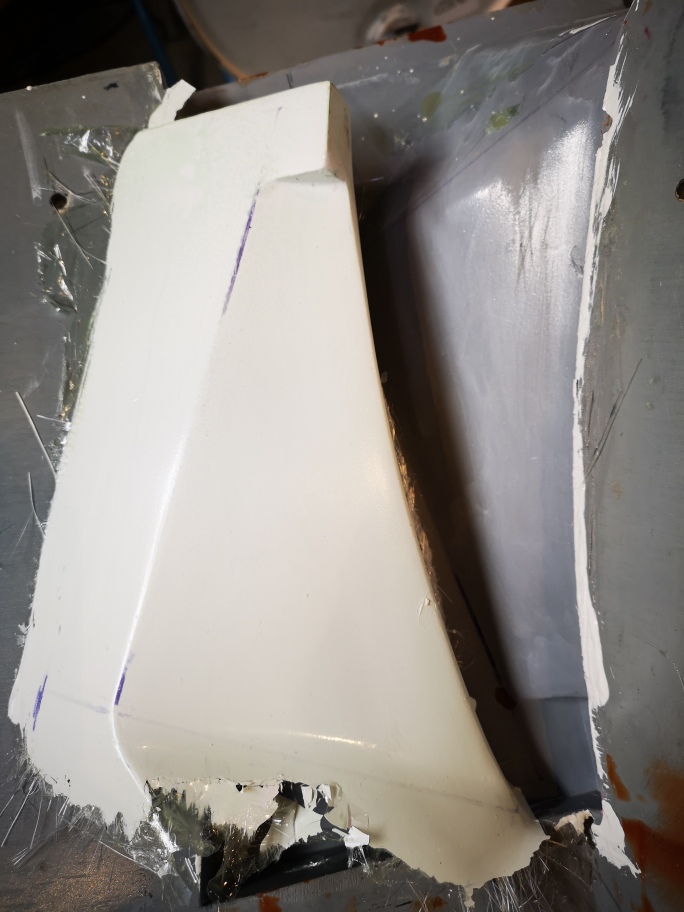
I’ve had a busy week I finished up laying the passenger side fender. It took the normal 3 days to do the layup.
It is a fairly awkward part to work with with so many different angles to work but in the end it worked out.


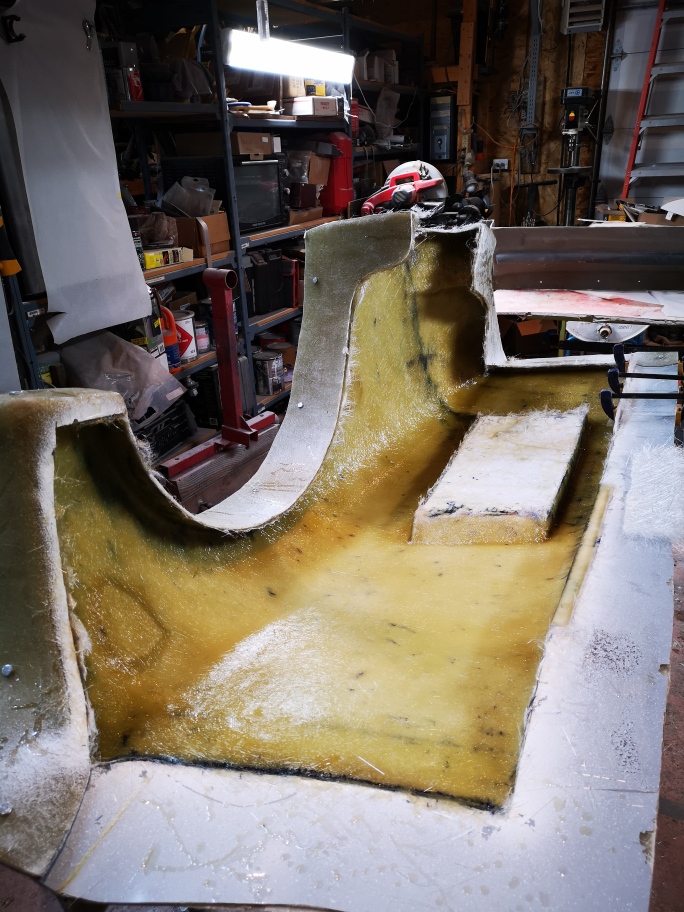
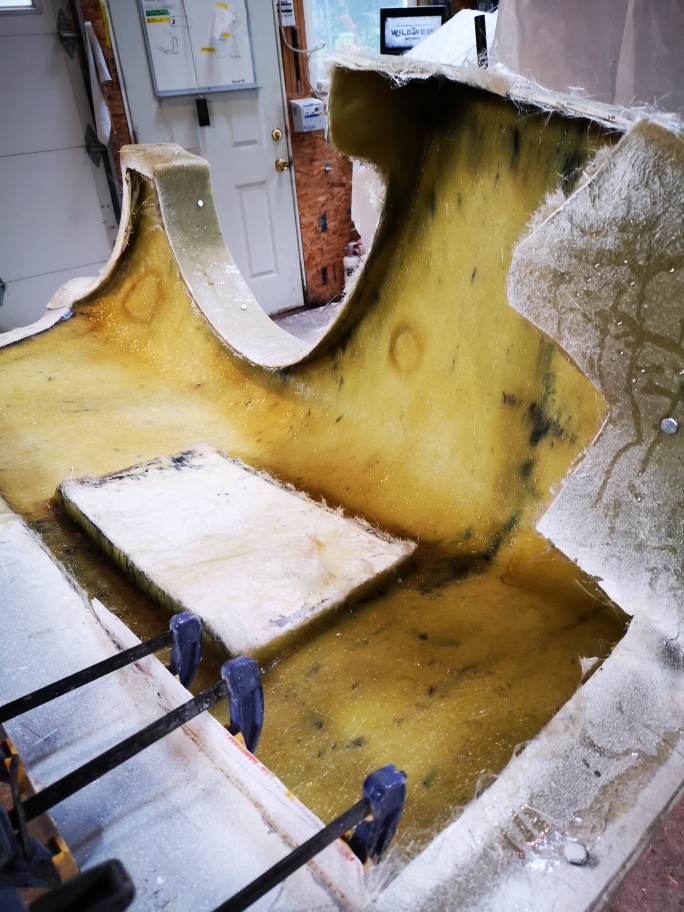
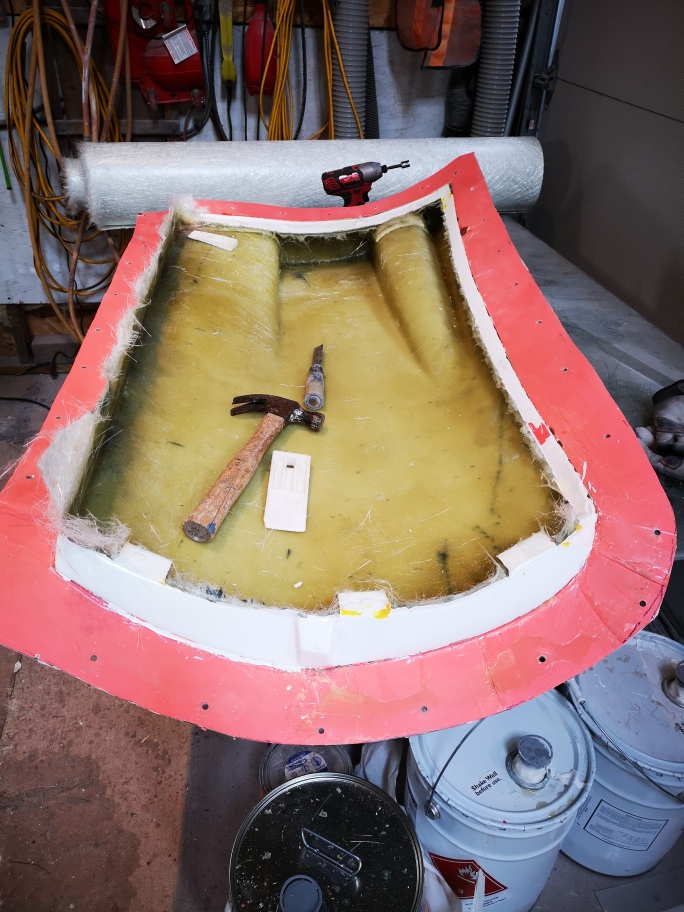
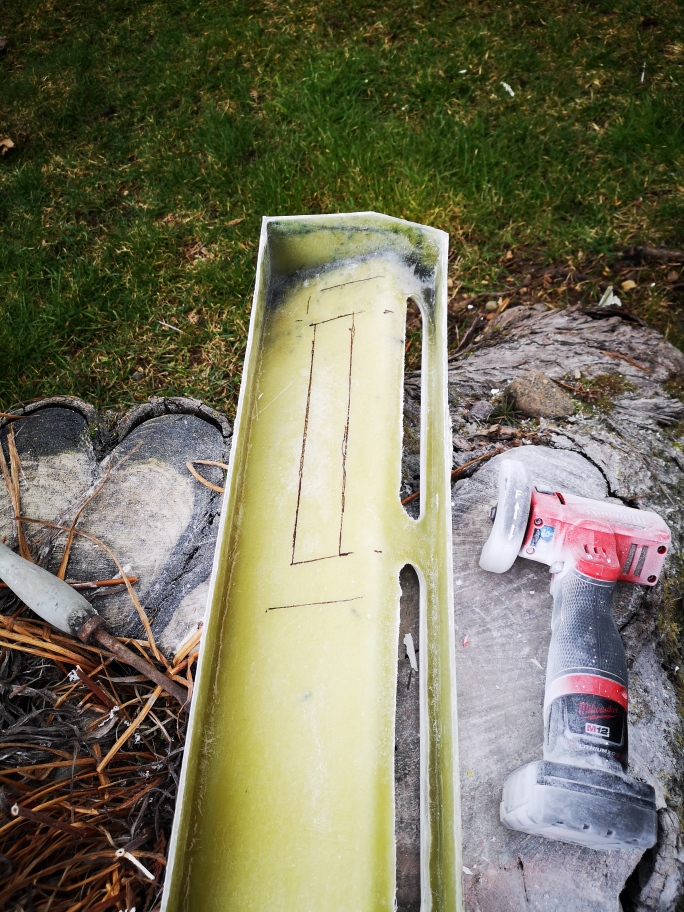
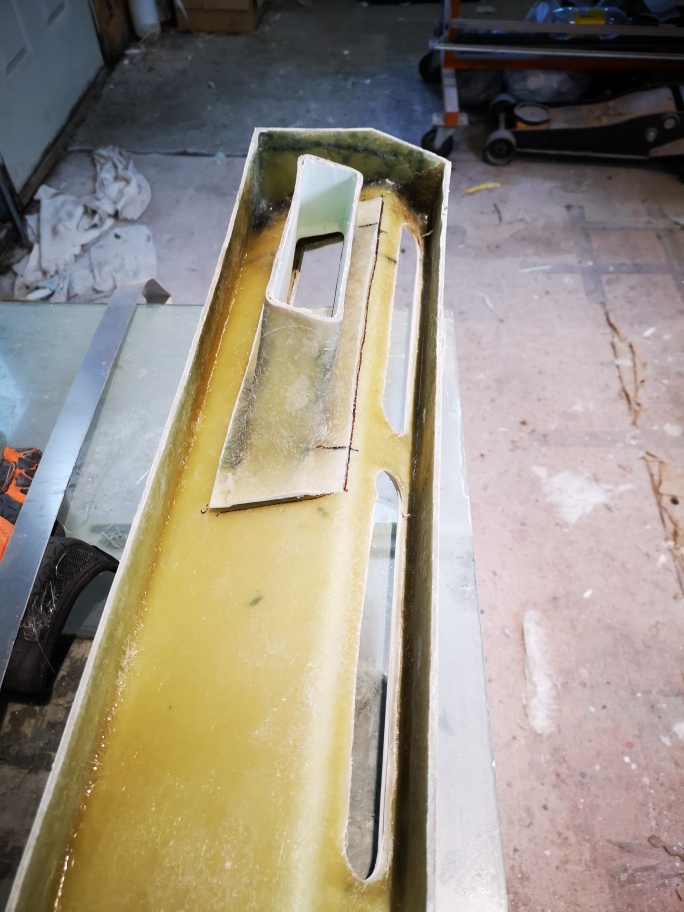
I also started on the last fender/running board getting it to the gelcoat stage and planning on completing the layup tomorrow.
As with the previous running board it is done in three stages.
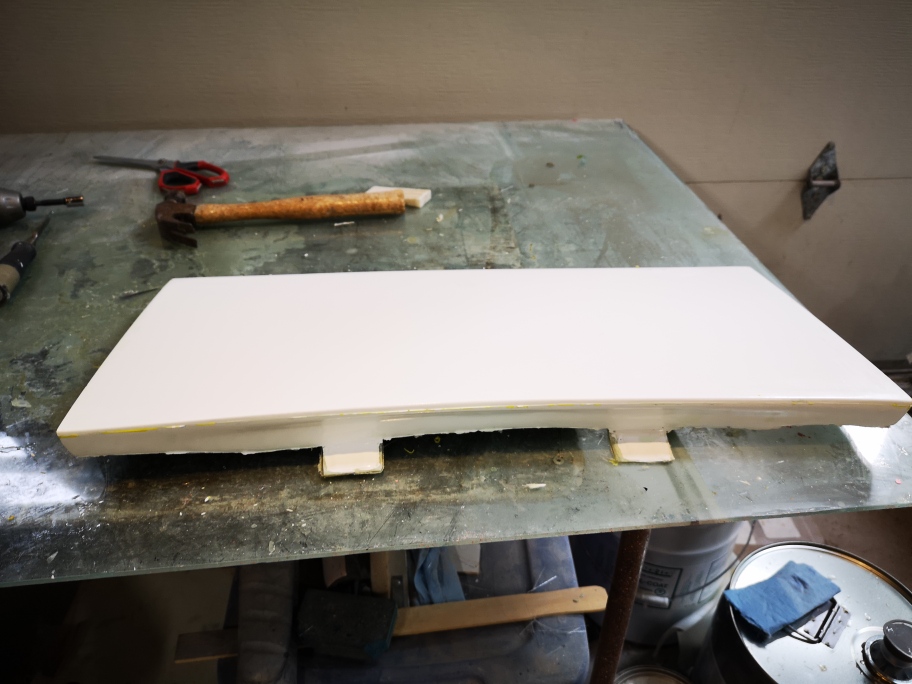
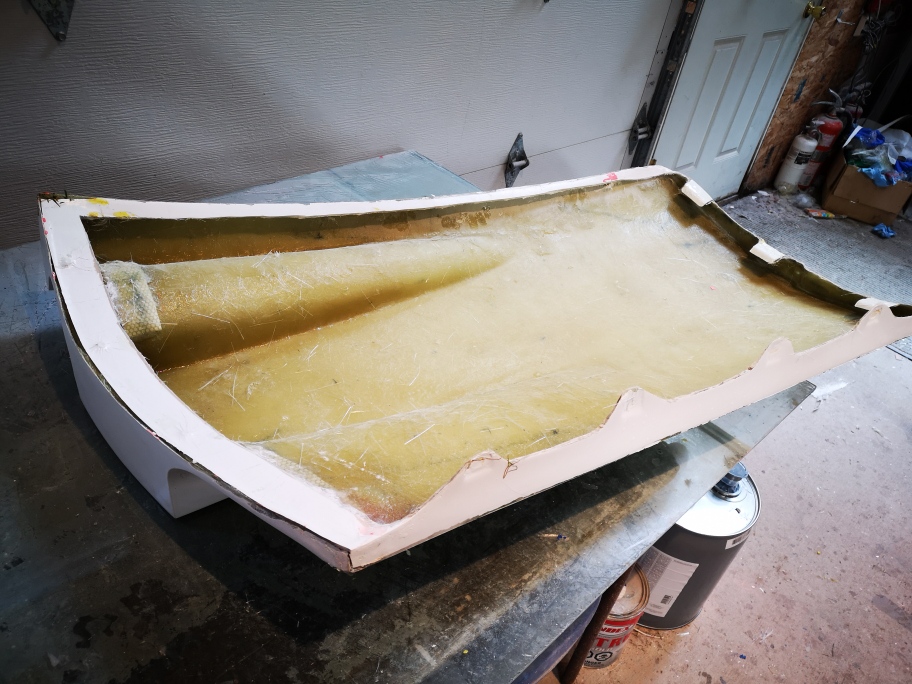
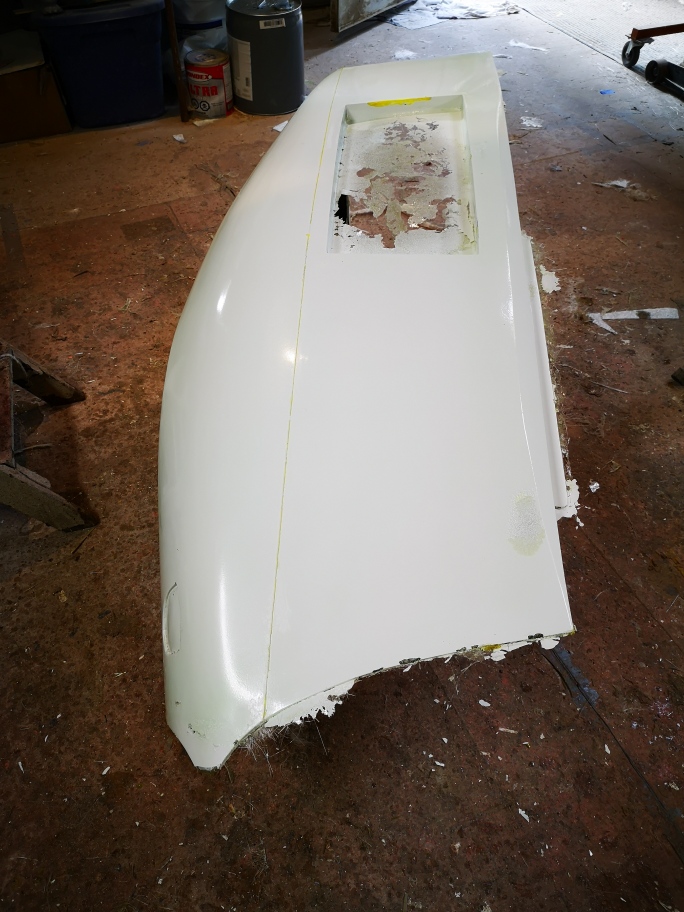
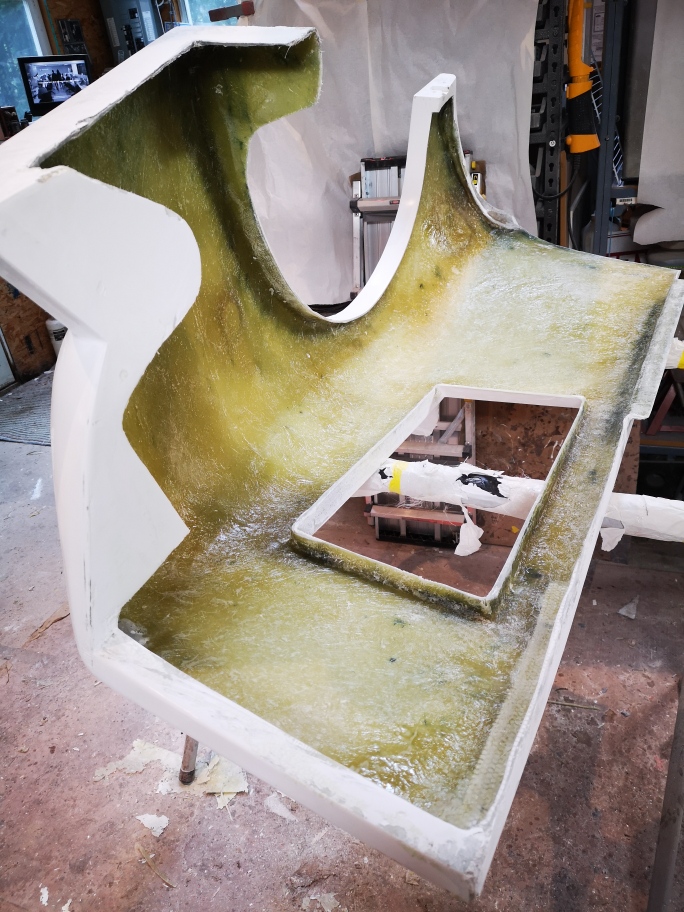
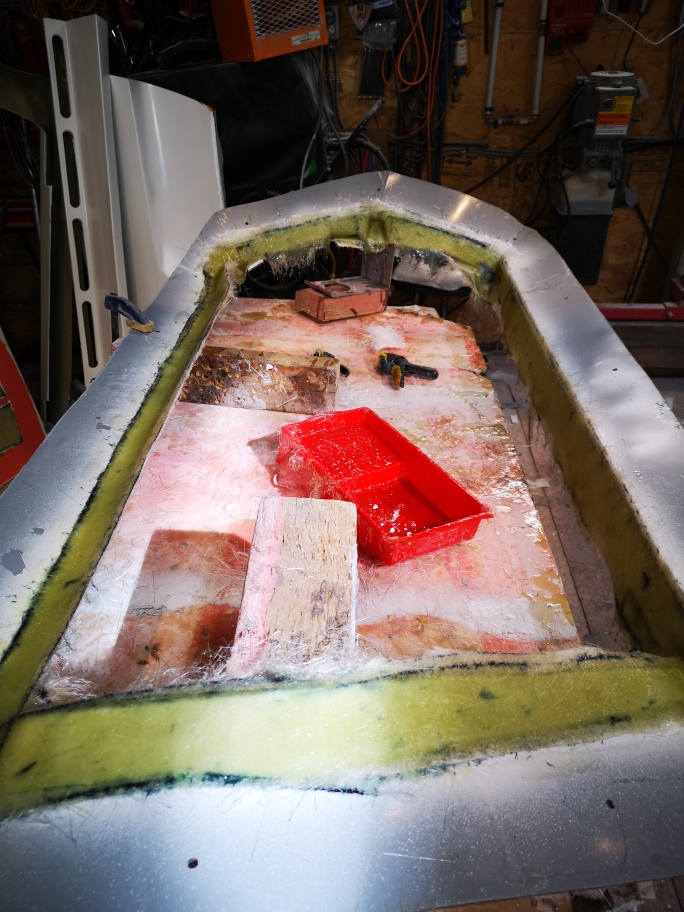
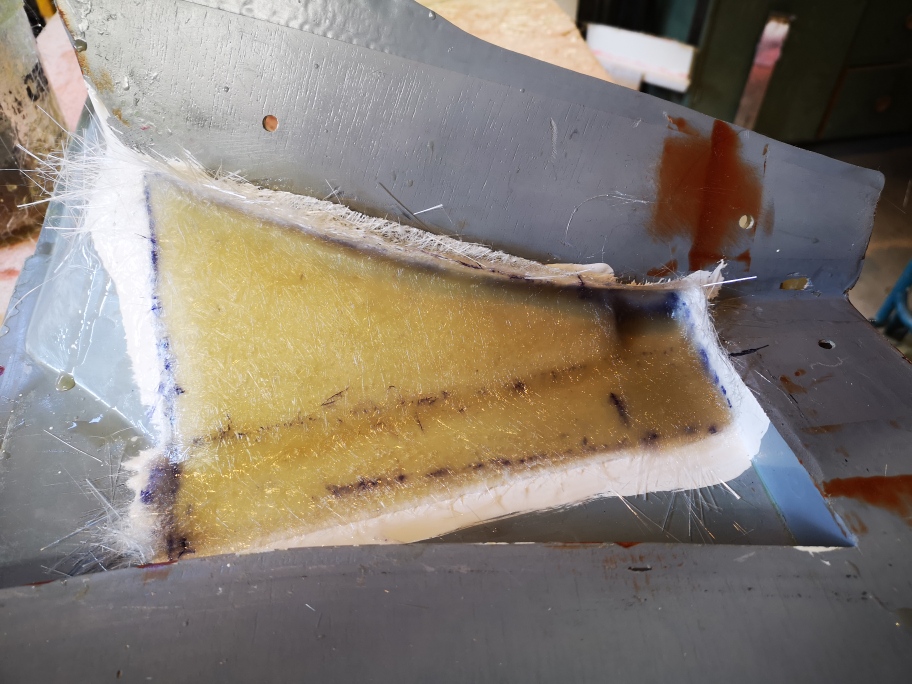
I completed the layup of the cover part for the goggle I had created came out great


0nly 3 more parts to finish and I can finally get to the place everyone is waiting for mounting everything for the final figment before I paint the car
And move to finishing the interior and start driving fingers crossed for this summer.

Stay safe everyone
Wayne
dobie1 FEB 27, 11:31 PM
It was an exciting day , I pulled some of the parts I laid up a couple weeks ago. They came out great.

The front spoiler .
it still needs some finishing around the openings.


Then I pulled the hood fill ,the part between the fender tops .


The last part was the drivers side door panel, it was a complicated part and overall came out pretty good.


Tomorrow I’m going to pull the first of the front fenders, fingers crossed.

Wayne

[This message has been edited by dobie1 (edited 02-27-2021).]

dobie1 FEB 28, 11:15 PM
Today was another good day!!
The fender came out great a bit of cleanup and ready to install.

Mold and part have sat for about 5 weeks so everything has fully cured


Great having a great surface as the part just about fell out of the mold


Clean up went pretty good


Onto finishing the second running board more pics to come.

Wayne

[This message has been edited by dobie1 (edited 02-28-2021).]

Sage MAR 01, 08:45 AM

HAGO!
Steel MAR 01, 02:25 PM
That's very well done.. enjoying the pictures. Makes me feel a bit guilty with the minimal amount of mods I've done to my Fiero's!

JOE 4RE MAR 03, 05:03 PM
WOW, awesome job!

The 288 GTO is my all time favorite prancing horse and when the Alden-Thomas GTO appeared on the cover of KIT CAR magazine, I knew the body kits I was going to fit to my Fiero once I got one. Well Enzo stepped in and forced Alden-Thomas to make changes to the kit that just ruined it in my opinion. I heard A-T produced 5 or so of the kits before they were stopped by the lawsuit. (I believe Captain Midnight here on the forum owns one of the original A-T GTO's)

Keep up the good work and am enjoying watching your progress!
sourmash MAR 04, 09:39 PM
A major milestone was passed. Congrats.
dobie1 MAR 09, 11:48 PM
First off thanks Sage , Steel, JOE 4RE and Sourmash for stopping and taking the time to comment I appreciate it.

Family duties with the grandchildren took a few days of my time. I have to say as I turn 70 this year two infants two and under are the most exhausting humans for a grandpa and grandma. Not sure how my daughter does it.

I was able to layup the last major component for the build.
Still working on the best way to join the two panels parts together, this part is the door panel , I’ll know how it worked out once It fully cures and I pull it from the mold.
I trimmed up all the edges.


Then using a slurry mixture attached the second half and secured the two halves of the mold together.


I also pulled the spoiler brake vent from its mold and started to install it into the spoiler ,sure hopes it turns out the way I’ve visualized this.
Taking the and grinding it totally flat.

I measured and cut a parallel slot


I then attached it to the back with a slurry adhesive


I’ll grind down the edges and finish it up tomorrow. But all in all I think this will work.

Stay safe
Wayne

[This message has been edited by dobie1 (edited 03-09-2021).]