|
| Ferrari 288GTO build (Page 41/64) |

|
dobie1
|
OCT 09, 07:50 PM
|
|
|
|
|
Rickady88GT
|
OCT 13, 10:49 PM
|
|
I LOVE IT.
If I haven't said it before, one of my favorite Ferraris is the 288.
I wish I could build an exact clone with a modern more powerful drive train. Even better is a kit that was added to the original 288 that flares the wheel wells out 3" each side.
Chop the Fiero roof 1.5" and install a curved rear window..ohhhh yah, money well spent.
Never mind me, I am just daydreaming.....
Keep up the good work. This is some high class stuff.
|
|
|
|
dobie1
|
OCT 15, 09:30 PM
|
|
|
|
|
RCR
|
OCT 18, 12:20 PM
|
|


Looks amazing, Wayne.
Take care
Bob
|
|
|
|
dobie1
|
OCT 23, 08:58 PM
|
|
|
|
|
ace5514
|
NOV 05, 08:49 PM
|
|
|
I love this thread. Nice work!
|
|
|
|
Rickady88GT
|
NOV 05, 09:03 PM
|
|
| quote | Originally posted by dobie1:
Thanks for the comments Rick ,I'd love to see a fellow hobbiest build one. I've thought about doing a second build and doing a longitudinal engine install something along the lines of Bloozeberry's 355 build.
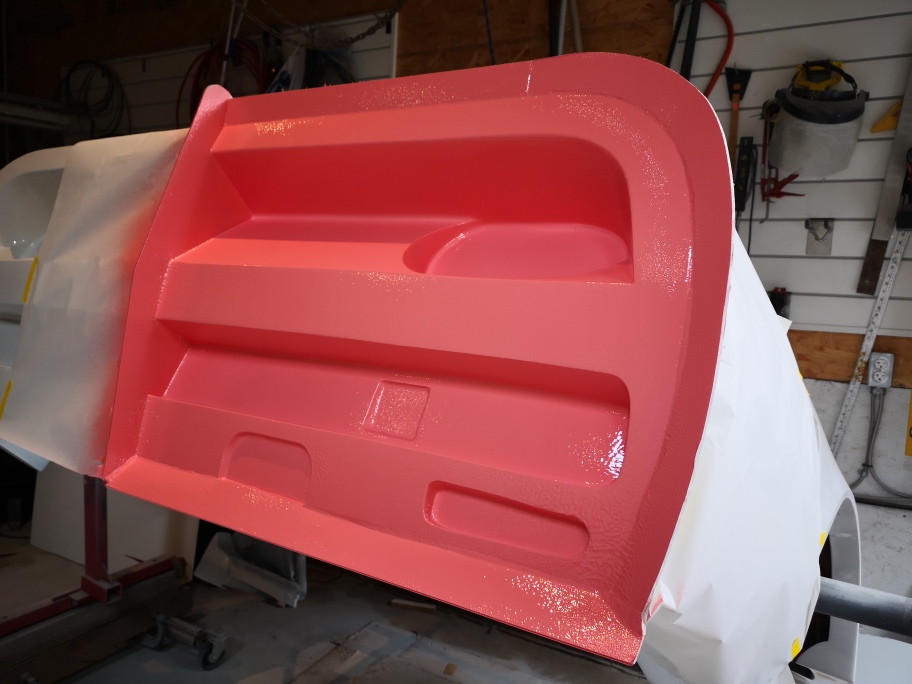
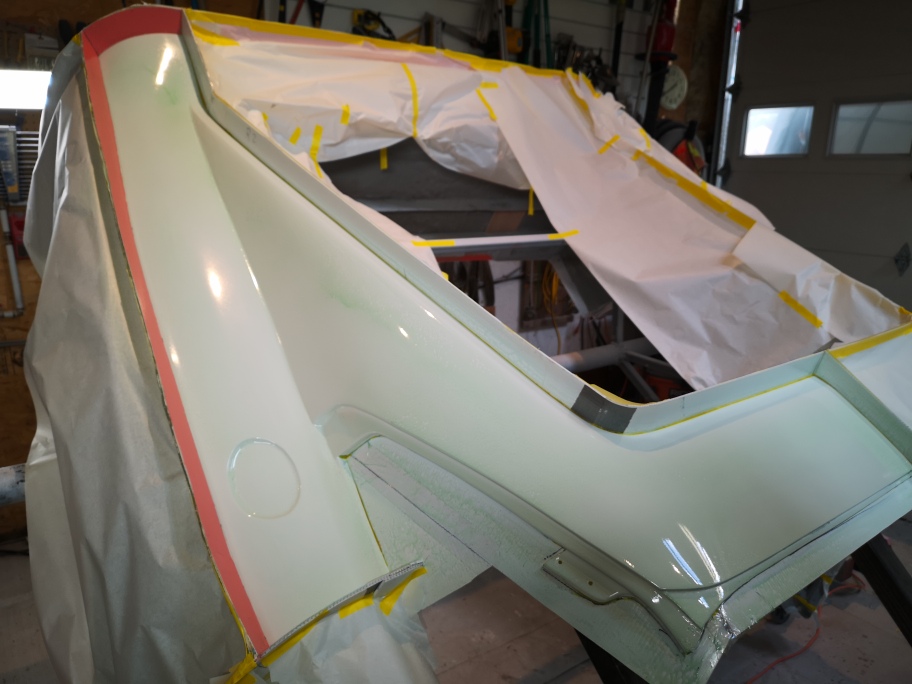
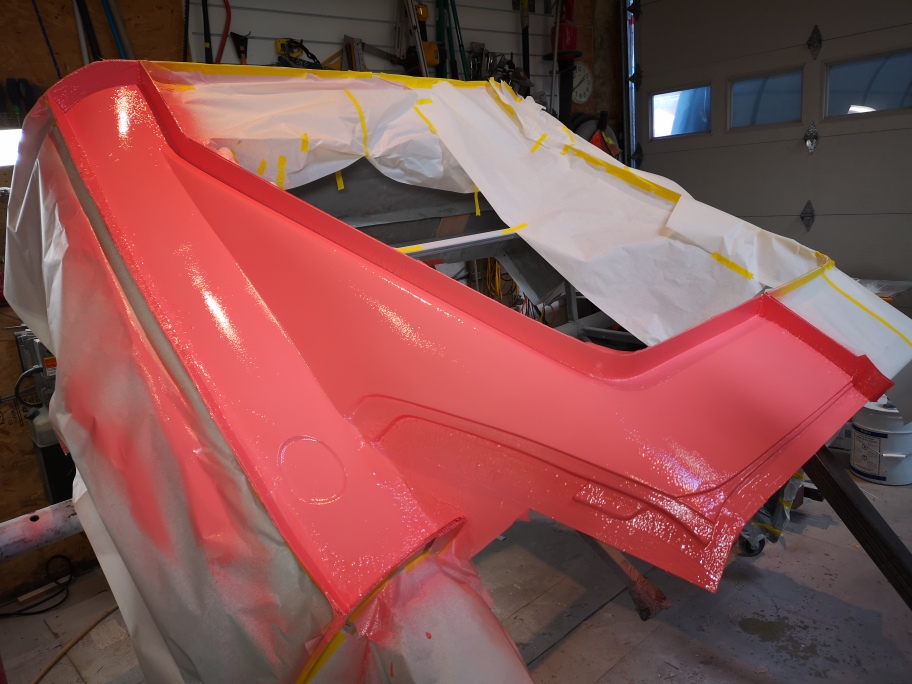
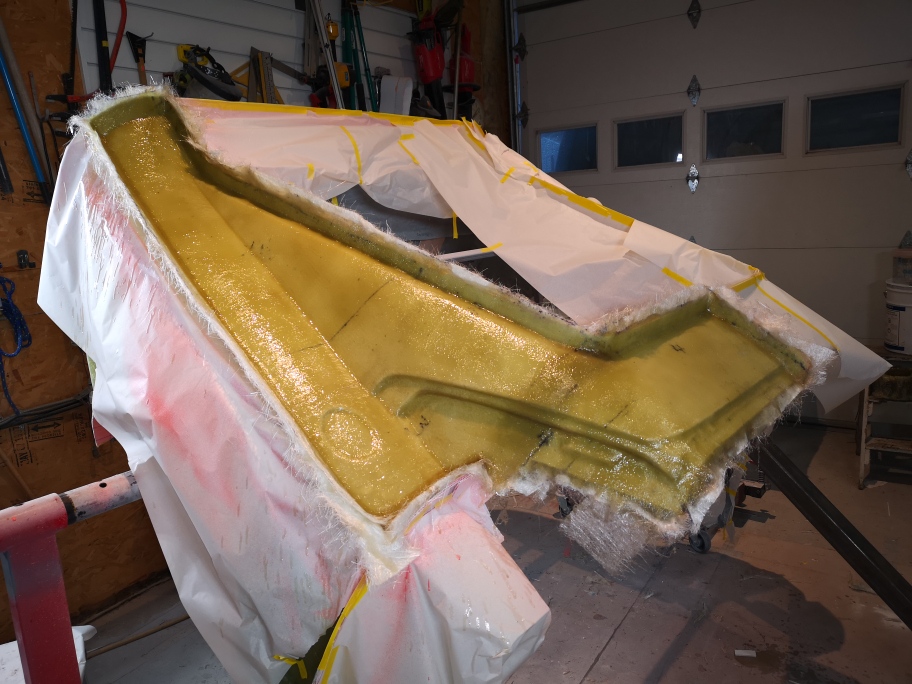
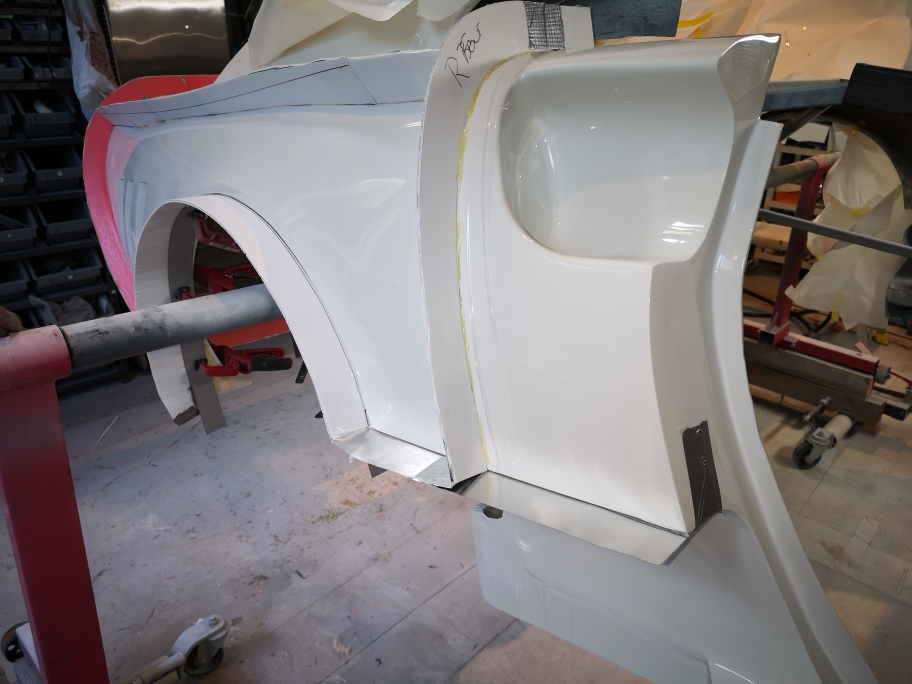
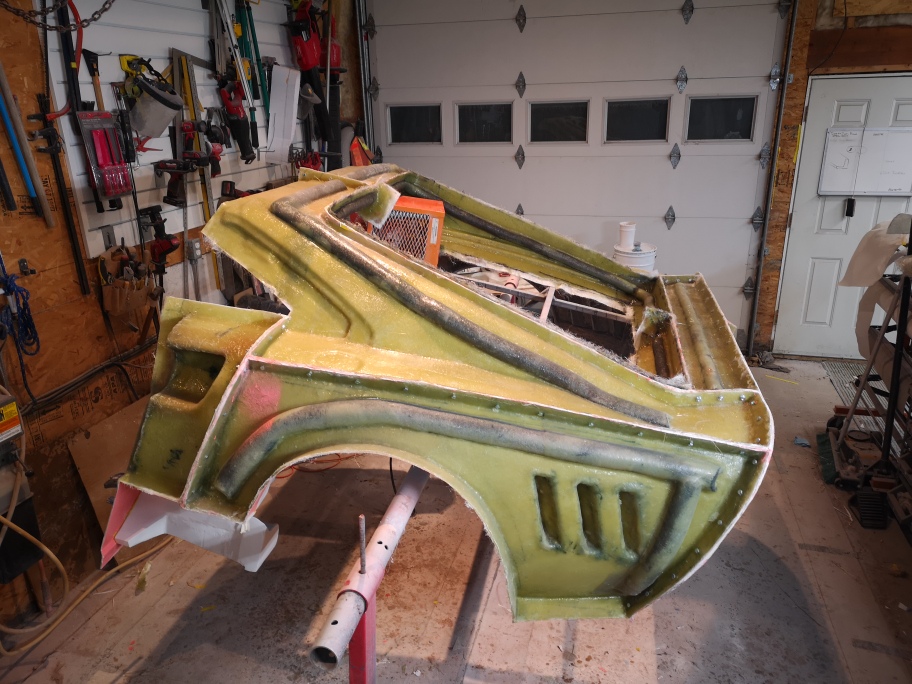
I do have a bit of a update , things are moving along fairly well .I completed the rear two piece mold and am now onto the first of the side molds after some input from Don I added an additional flange along the fender to help facilitate a easier pull with the rear side vents.
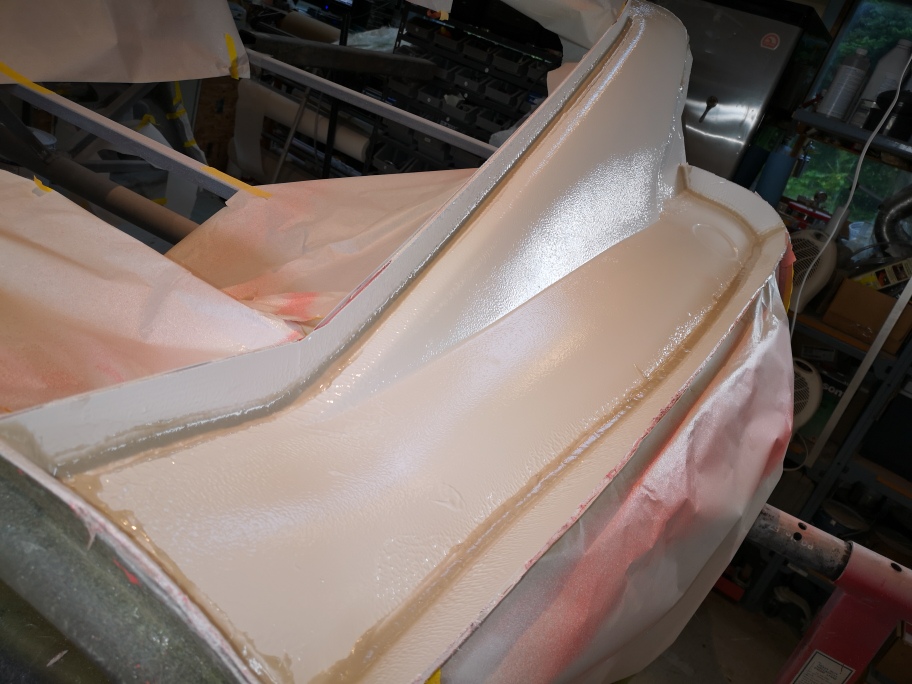
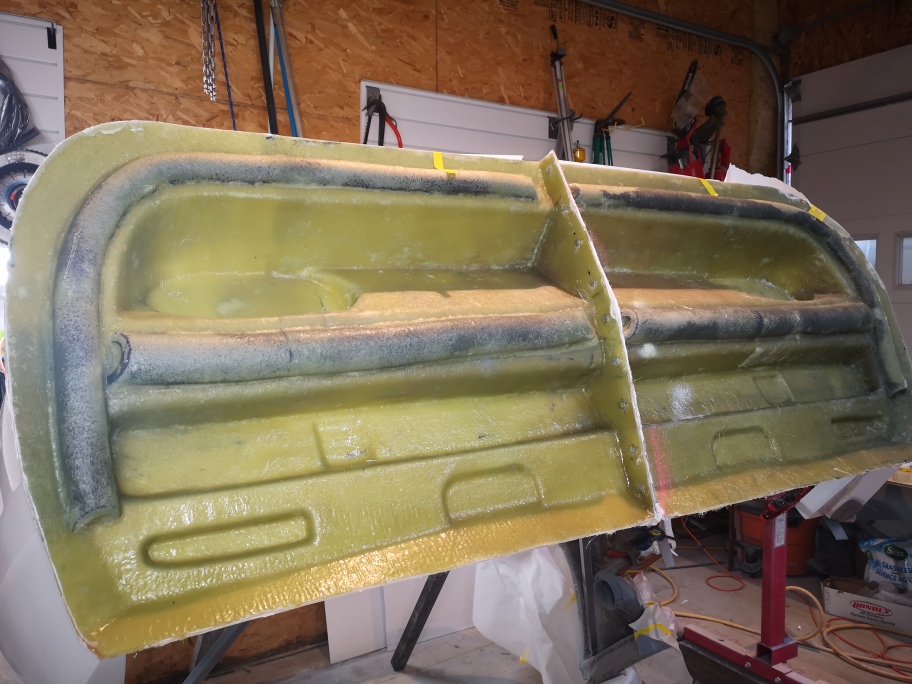
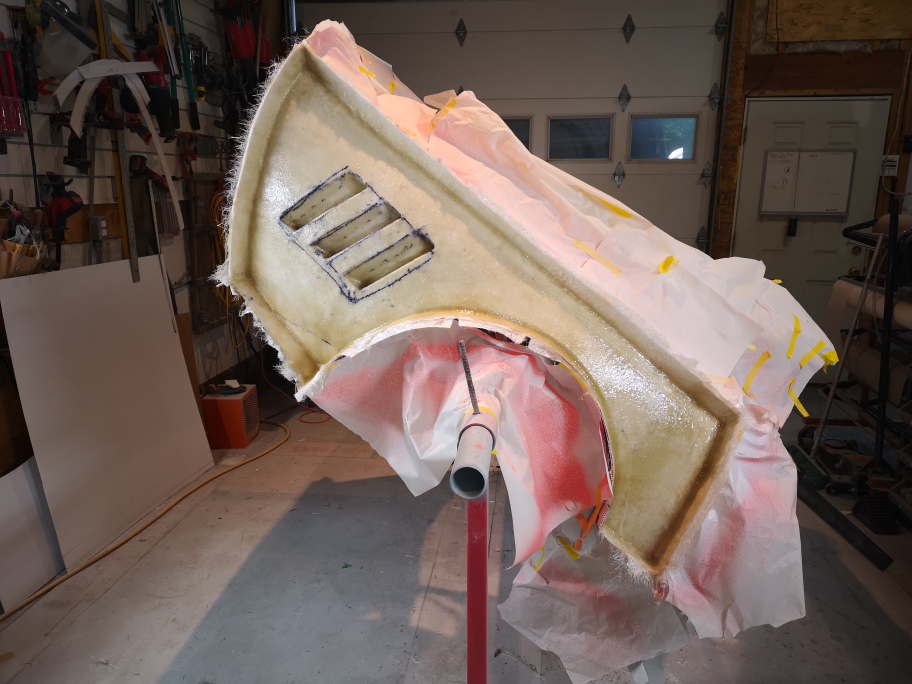
first picture of the finished rear mold
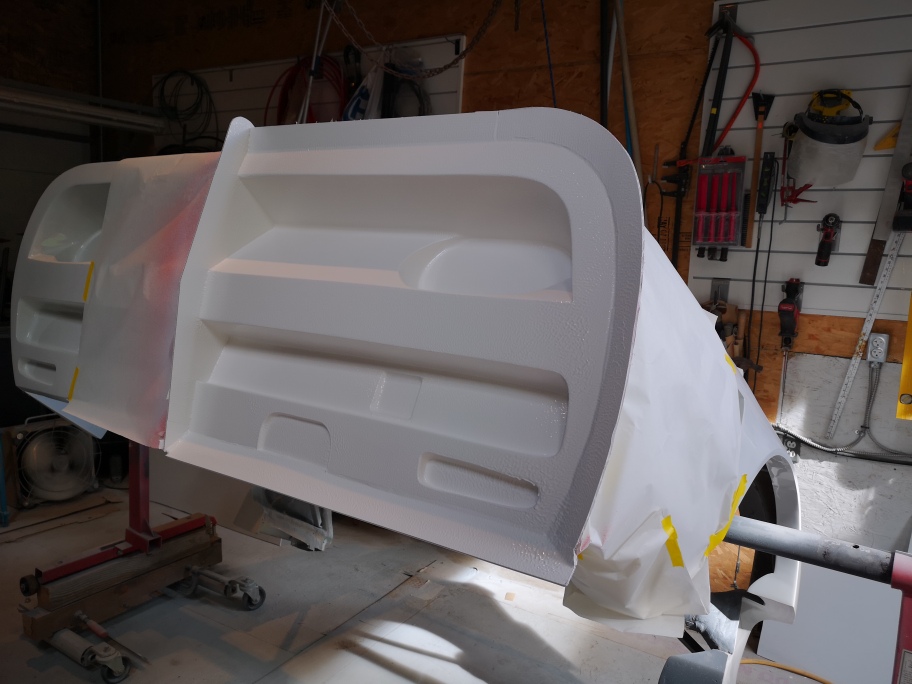
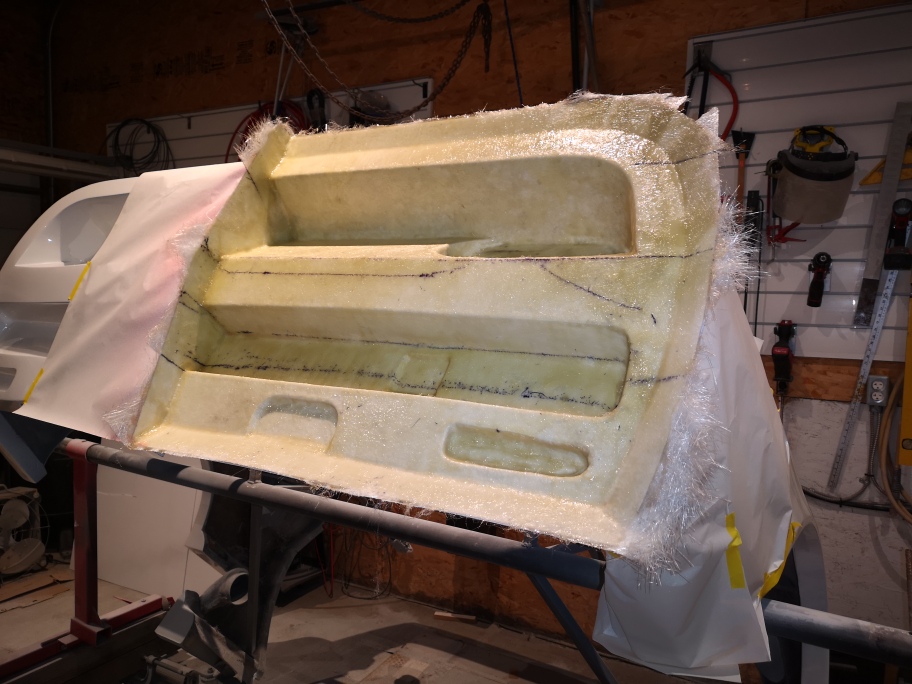
The next are with the final flanging installed and waxed and PVA on
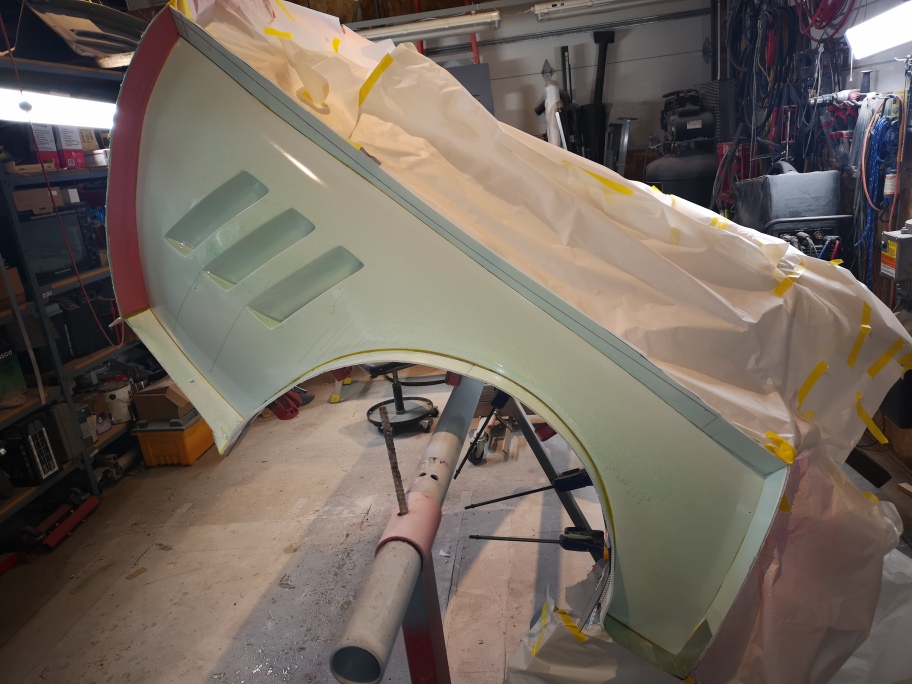
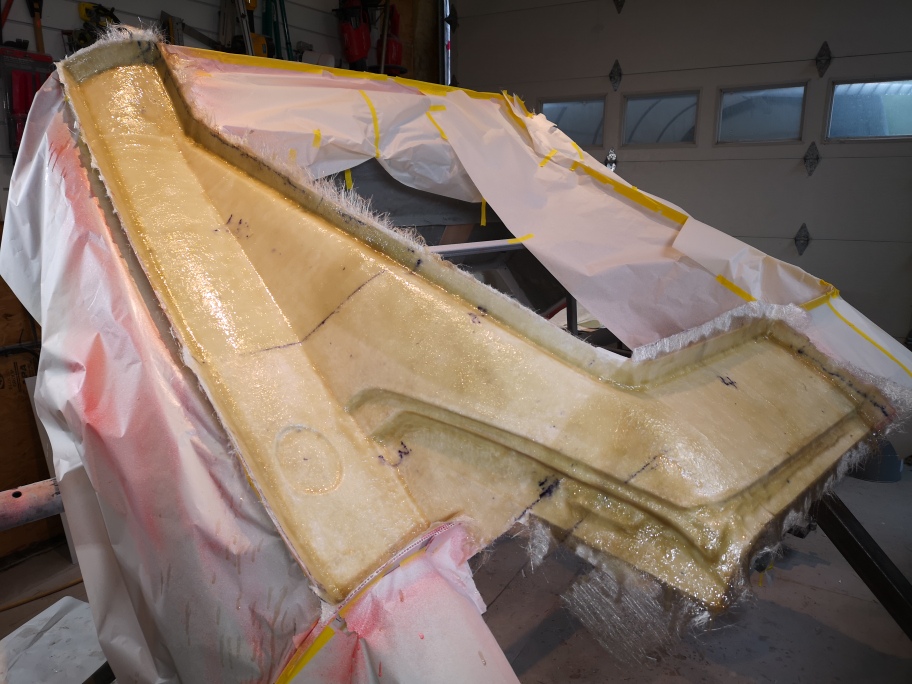
Gelcoat was applied and this is with the first layer of fibreglass matt laid.
Stay safe everyone
Wayne
|
|
My idea of the "best" v8 swap in a Fiero is longitudinal. A 6 speed manual and some tricky Vette type suspension.
Or even an S10 type differential oil pan assembly and a Vdrive 6 speed ZF.
I LOVE this body you are doing. great job.
|
|
|
|
shemdogg
|
NOV 08, 10:05 AM
|
|
Insanely high quality work man wowsers as always. Looks like you will be pulling parts soon, cant wait! Take care
shem
|
|
|
|
dobie1
|
NOV 08, 11:30 PM
|
|
Thanks Guys I really appreciate all the positive comments, it does keep me going.
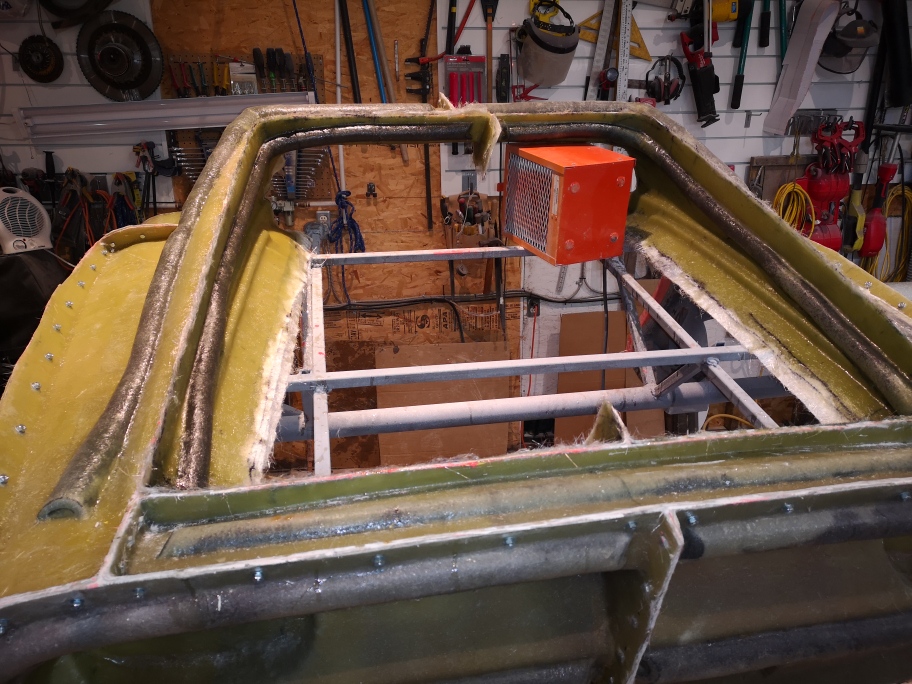
I have been very busy on the build.
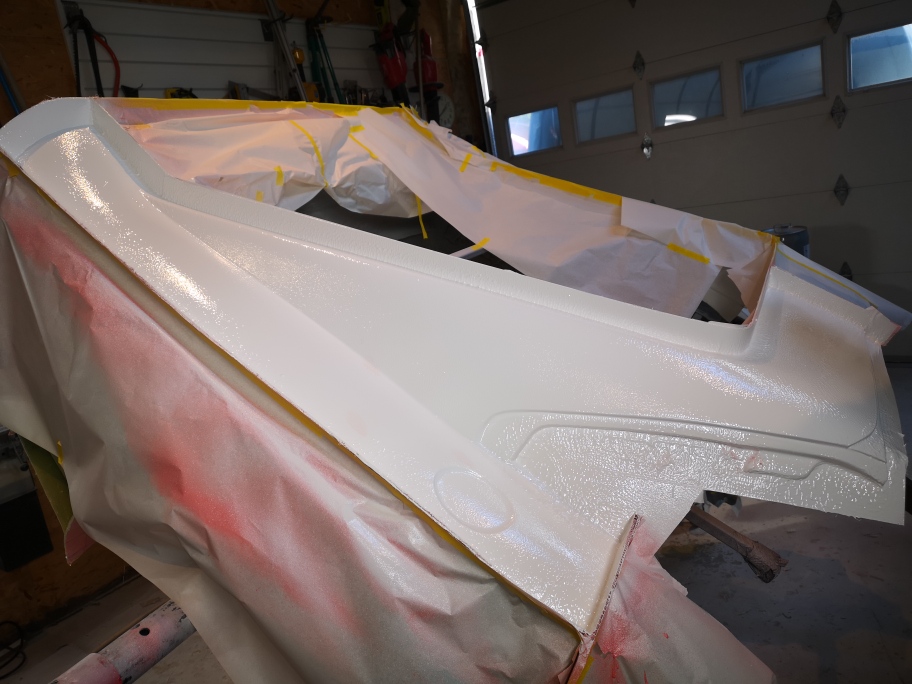
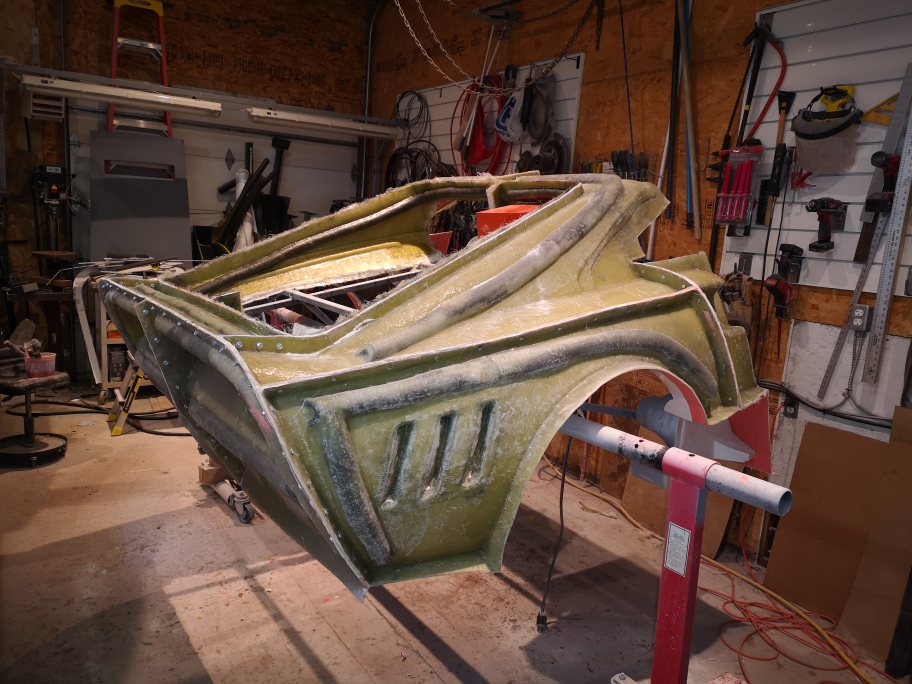
I am almost finished the rear mold for the car, its taken longer than I originally estimated due to the extra pieces I built into the mold.
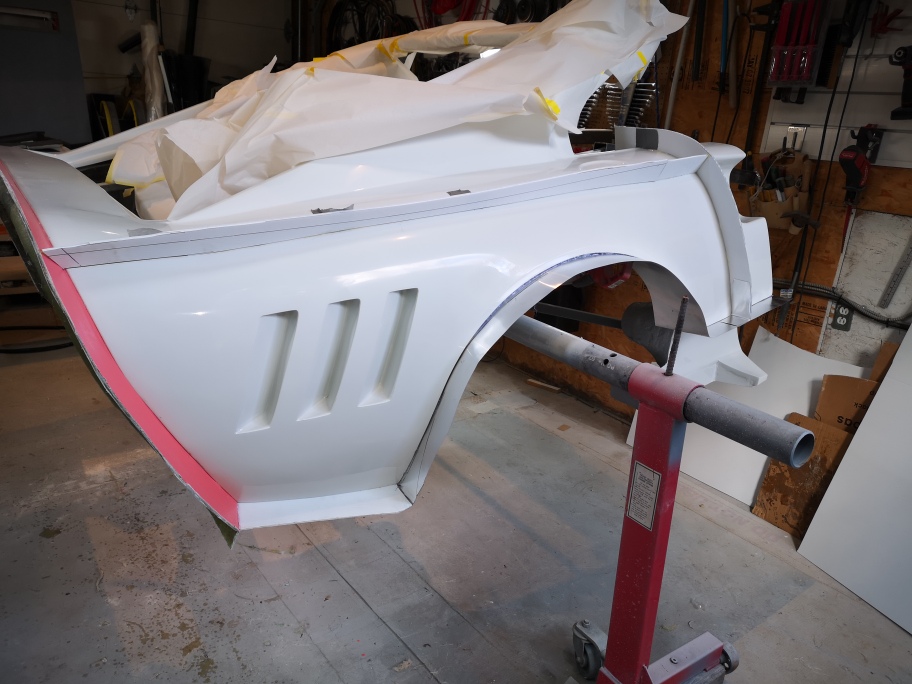
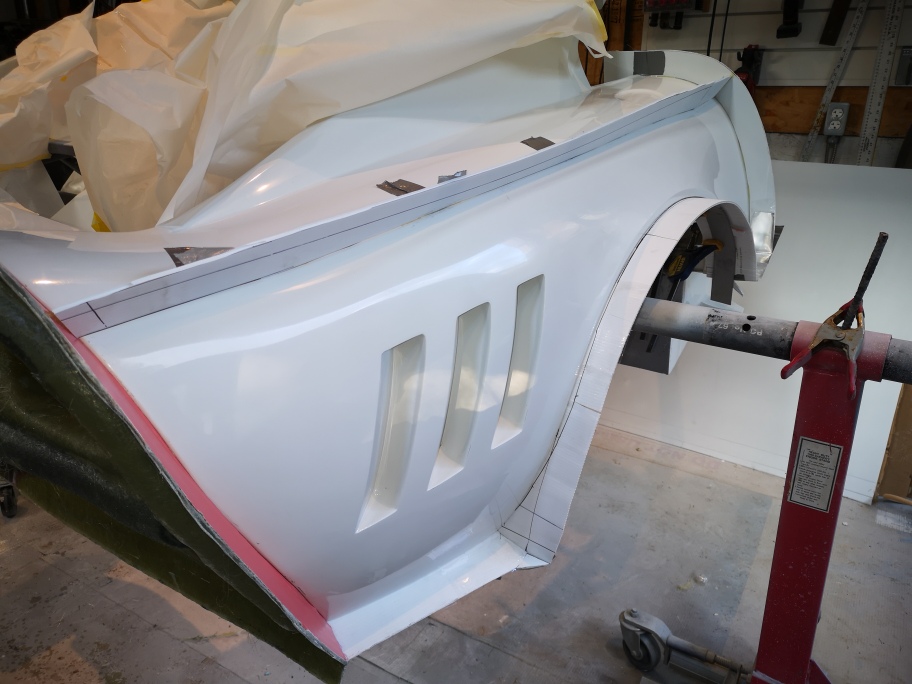
The top part is completed, I now need to rotate it upside down to do the last parts both inner scopes and both wheel lips then it will finally be ready for the first parts to be pulled.
The journey has been long but I'm down to the last parts of the mold build, then I can actually finish the build.
Stay safe everyone
Wayne
|
|
|
|
Sage
|
NOV 09, 08:31 AM
|
|
That is the most beautiful plug I've ever seen...and I've seen a few!
Mold is looking great, do you mind my asking how thick you made it? (How many layers did you end up putting on altogether)
I've not used the foam "noodles" before for reinforcement/stiffeners, but looks like they should work ok, as the glass makes them "rigid" but light. I'll have to try that!
I'd love to be able to come up there and help you lay up the first body out of those molds. You've done soooo much work over such a long period of time, don't scrimp on the mold curing, finishing!LOL Yea...I know..."preaching to the choir"!LOL 
It just looks fantastic to me at this point.
Make sure to take some pics as you pull the plug from the molds, or pull the molds off the plug...er...well...you know what I mean!
Great job on everything from where I'm lookn'.
Keep up the good work and keep the updates/pics comin'!
HAGO!
|
|
|
|