|
| My 88 Formula Interior Redesign (Page 4/87) |

|
Sofa King
|
NOV 13, 08:50 AM
|
|
|

|
revin
|
NOV 13, 09:00 AM
|
|
how about using the "stock" console hinge?
or go get a "piano" hinge cut it to where you want and tada.
build up the area the hinge will go, so you won't rip it out someday.
do you have any cloth to cover it yet?
|
|
|
|
johnyrottin
|
NOV 13, 09:13 AM
|
|
|
Me Likey...how is the carbon fiber paint done?
|
|
|
|
Sofa King
|
NOV 13, 09:49 AM
|
|
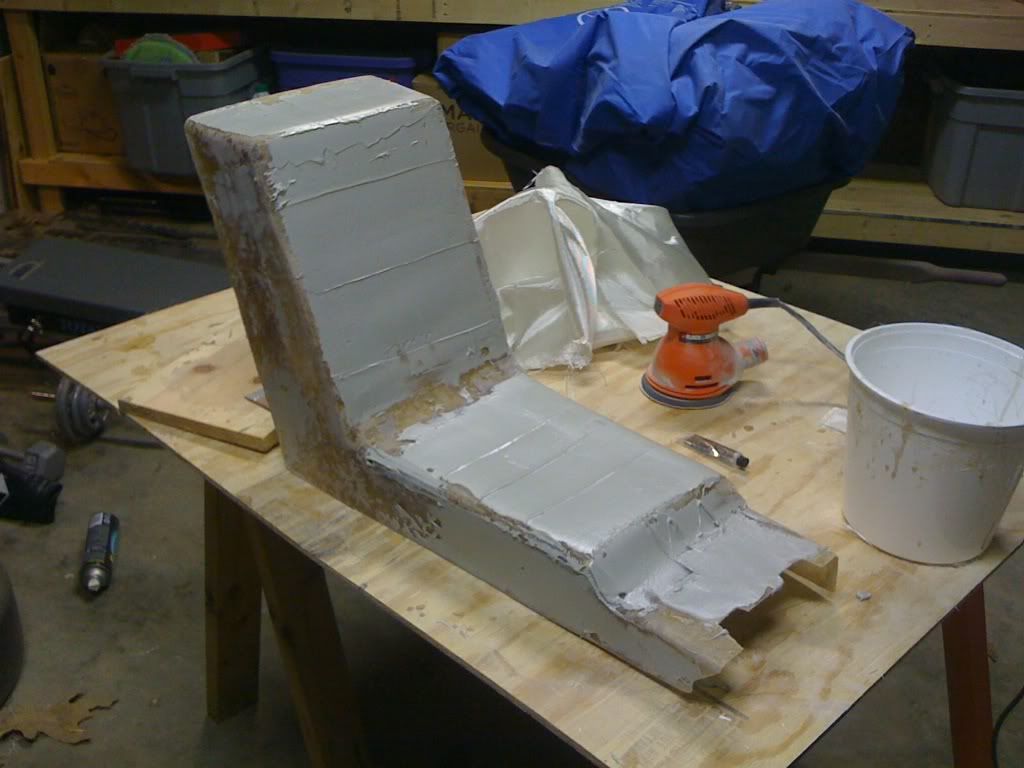
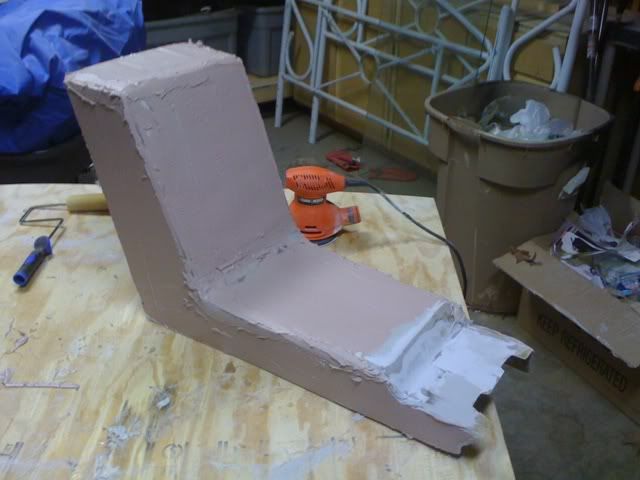
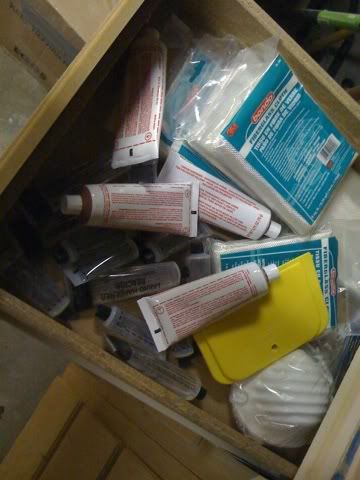
Right after work today I am going to Lowes to buy tons of fiberglass cloth, resin and hardener. The Mrs won't be happy but I always say...
"Its easier to ask for forgiveness than it is to ask for permission"
The nice thing... the kids are going away for the entire weekend and the Mrs is out of town until tomorrow night. I have the next 36 hours all to myself.
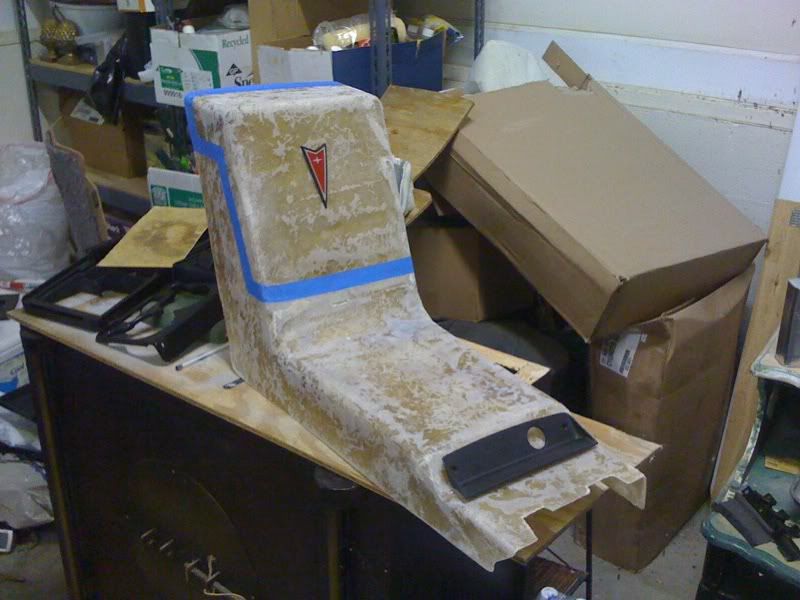
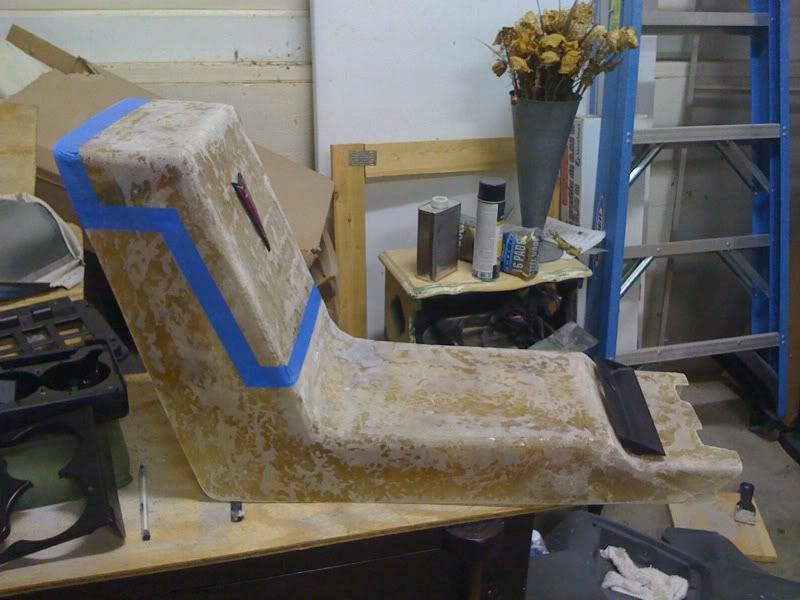
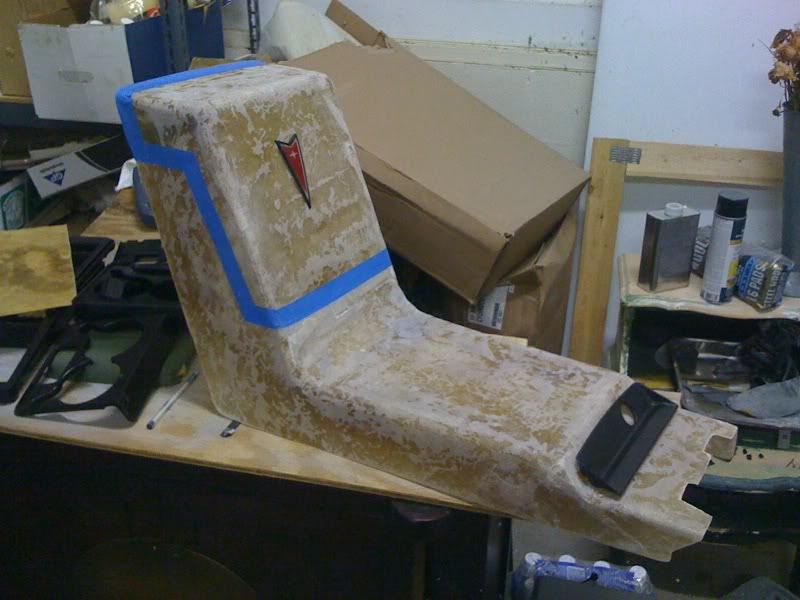
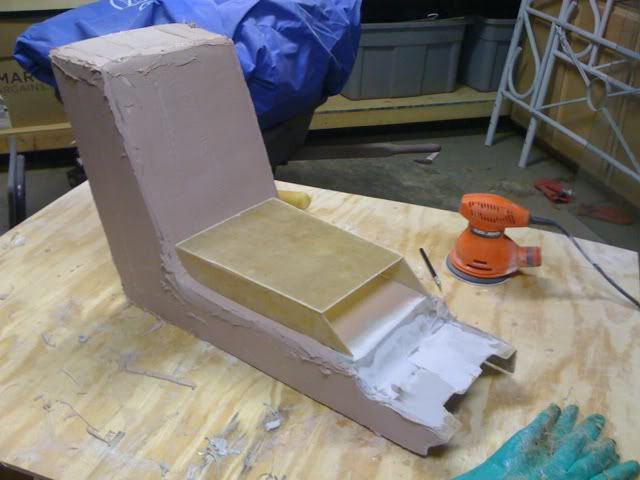
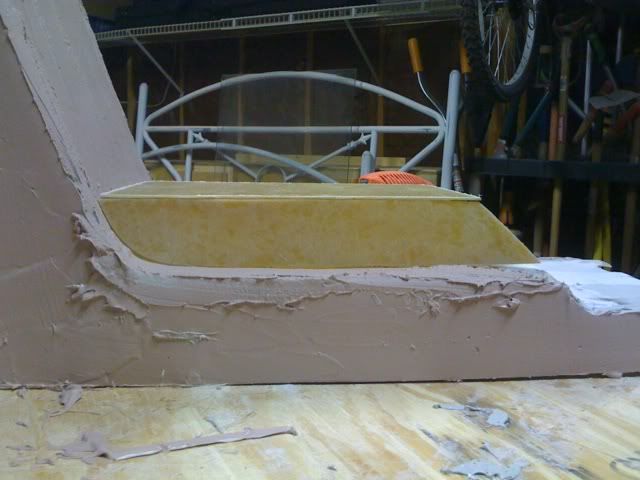
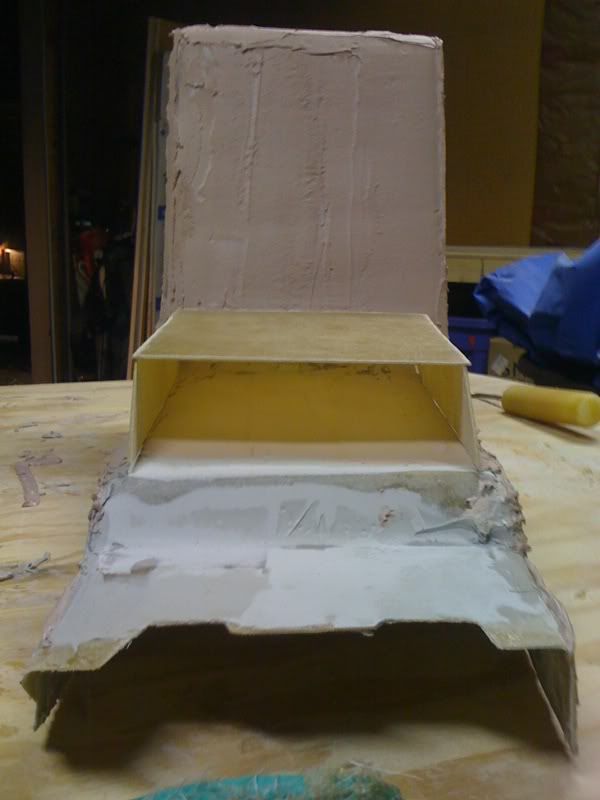
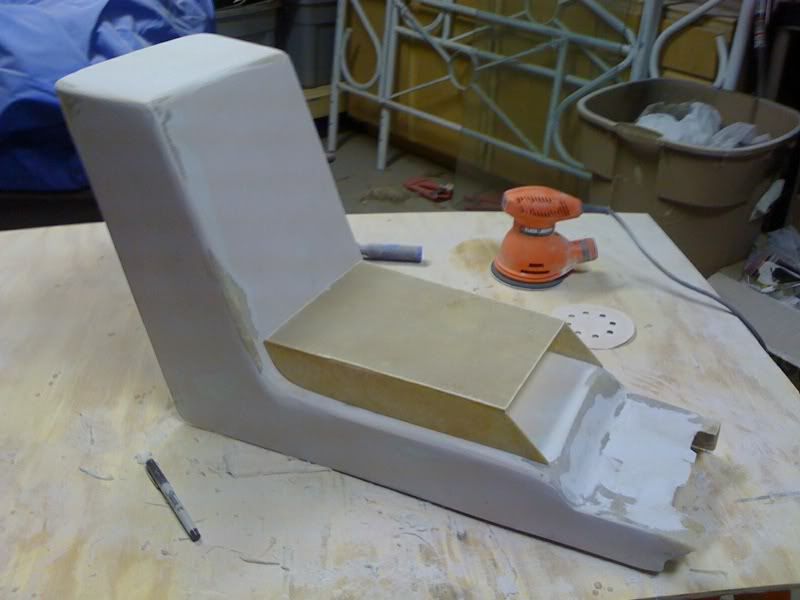
Like I said, I'm still unsure how the hinge will work. Without being right in front of the console and looking at the hinge I can't really form an opinion. I'll also have to cut the lid to get a better idea on how exactly this is going to work. But I think the piano hinge might be a good idea. But I would like to reuse as many stock pieces as possible
I also need to think very carfully how everything will look under the lid. Not only does the lid have to be functional but it has to fit (not perfectly) over the opening. When I cut the lid off the console, I have to create a whole new substructure that essentially fits under the lid - to include either a locking mechanism or magnet. The structure has to be smooth and look good. I also have to think about structural ridigidy. Once I cut the lid from the rest of the console it essentially becomes a stand alone piece... it's all very confusing...
Suggestions?[This message has been edited by Sofa King (edited 11-13-2009).]
|
|
|
|
Sofa King
|
NOV 13, 01:07 PM
|
|
Hi All,
I found the iPod/Phone docking station I'm going to use - if I can get everything connected to the radio
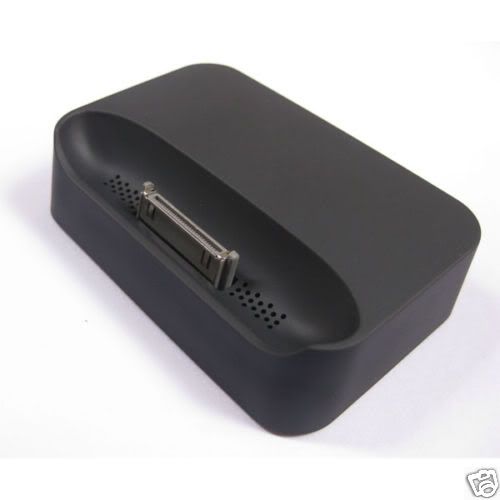
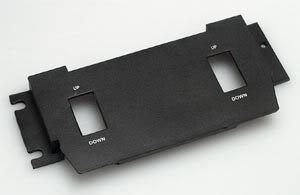
Im going to attempt to mount the docking station under the power window plate. I still need to figure out to properly cut the plastic. Does anybody have any ideas?
That's it for now
|
|
|
|
aeffertz
|
NOV 13, 07:28 PM
|
|
Dremel tool, with the right blade. They might make a plastic cutting blade, not sure.
But Dremel it, sand the edges, and repaint.
|
|
|
|
katatak
|
NOV 13, 09:45 PM
|
|
| quote | Originally posted by Sofa King:
I think the paint used on the interior is a textured paint. If I'm not mistaken, it's very similar to what GM was doing to a few of their last generation cars - ie the HHR. I'm no professional but I would stay away from the textured paints and the bed liner paint as well. Unless you have extra pieces you can test on you don't want to spray the interior parts and then come to the decision you don't like it. You could always sand, but that's a LOT of work. I would stick with the paint idea from Lunitec - send me a PM with your personal email and I'll forward all the images they sent including a PDF and contact info. That's the direction I think you should head. But, whatever you do, post images and let us know the who's, what's, when's, where's, why's and especially how's!
I think your work fantastic. Please let me know of any more additions to your car and especially the Lunitec Paint System - I'm very interested.
|
|
King,
I did use a satin clear on top of the paint to give it a little gloss. I was looking at a ZR1 Vette today at the dealership. I did not realize that they had some much carbon fibre on that car. Beautiful stuff. I sent an email to Lunitec and they replied with a cost for one kit. They said that to ship to the US I would have to order 4 sets minimum. I am waiting now for a shipping quote? I really like that system and if it is not to ridiculous to ship, I will be ordering 4 sets. I had some broken trim pieces to experimnet with so I tried a few different things. I tried the spray on bed liner - it was too rough and the texture was not right. I ended up using the flat textured plastic spray paint. I think it turned out good. The pieces I used were old and the origianl grainy texture was nearly non existent. After the paint, it has a nice feel to it and it looks even.

I'll be picking up some glass supplies tomorrow and will be heading into the unknown.
Pat
|
|
|
|
katatak
|
NOV 13, 09:58 PM
|
|
| quote | Originally posted by johnyrottin:
Me Likey...how is the carbon fiber paint done? |
|
It's pretty simple. After I prepped the piece, I primed it, sanded smooth and the laid down a coat of silver. You can use what ever color you want for different effects. Once the silver was dry, I took a piece of the non skid shelf liner - the stuff that has the square holes. You can get it at any dollar store for cheap. Lay the shelf liner over the part and give it a quick light coat of black. Let it dry a little so when you lift the shelf liner, it does not smear but not long enough to stick to the piece. You should have a nice checkerboard look. To get it a little closer to the right look, fog the black over the piece diagonaly to the squares. A real light fog will give it a silvery look while a heavier fog will give it a darker charcoal look. I did a few pieces with out the satin clear and it looks good to but I prefer the satin clear to give it some gloss. If you are talented enough, you can use a base coat of silver, then cover with the shelf liner and spary the black - wait a minute then lift the liner. Let it dry. Take a new clean piece of shelf liner and place it over the piece and offset it on an angle so that 1/4 of a black square and 1/4 of a silver square is covered then spray a grey metalic or charcoal. It gives it a deeper 3D look. I have yet to be sucessful with this method. You can see some videos of different processes on youtube - search for carbon fibre paint.
Pat
|
|
|
|
katatak
|
NOV 13, 10:09 PM
|
|
Dremel tool works good with a carbide cutter bit. Go slow and steady!
 [This message has been edited by katatak (edited 11-13-2009).]
|
|
|
|
Sofa King
|
NOV 13, 11:08 PM
|
|
|
|
|