|
| Ferrari 288GTO build (Page 39/64) |

|
andreww
|
AUG 12, 08:18 AM
|
|
| quote | Originally posted by dobie1:
I’m in British Columbia ,Canada |
|
Huh, never realized you were a fellow Canuck!
|
|
|
|
dobie1
|
AUG 12, 11:53 PM
|
|
|
|
|
dobie1
|
AUG 18, 12:15 AM
|
|
|
|
|
Franked
|
AUG 20, 09:23 AM
|
|
|
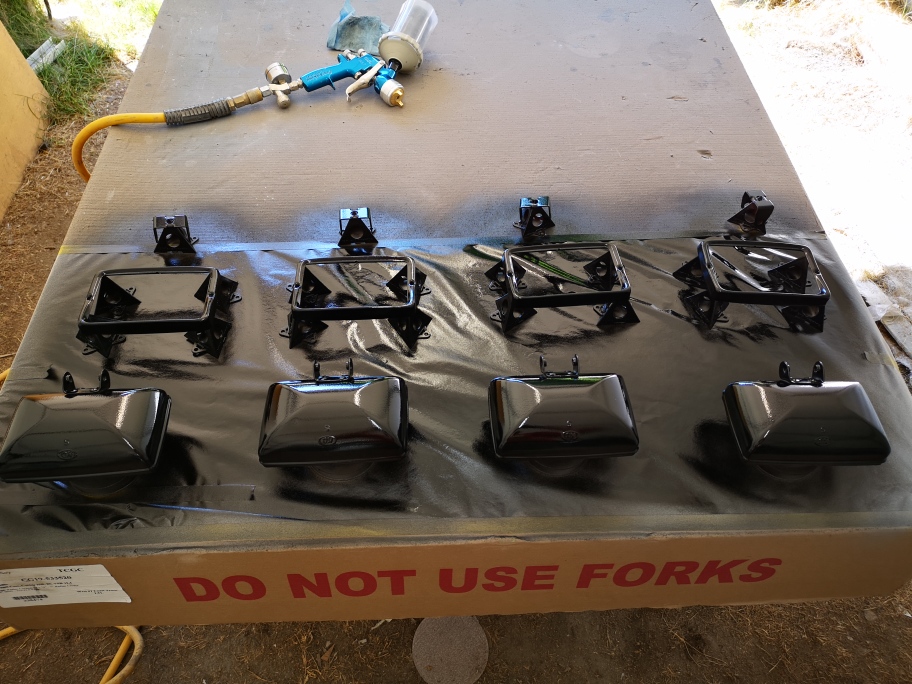
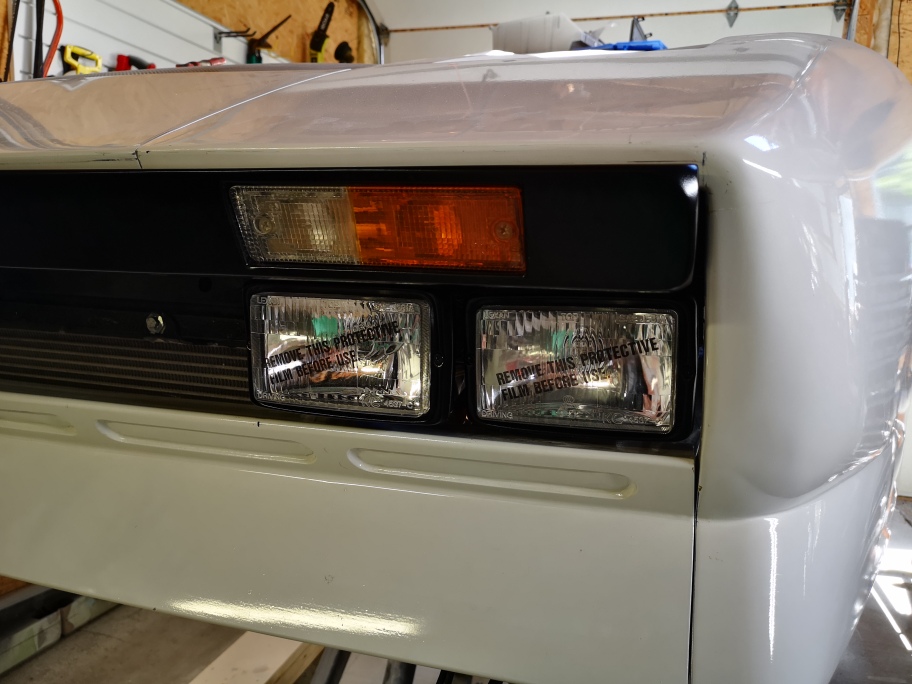
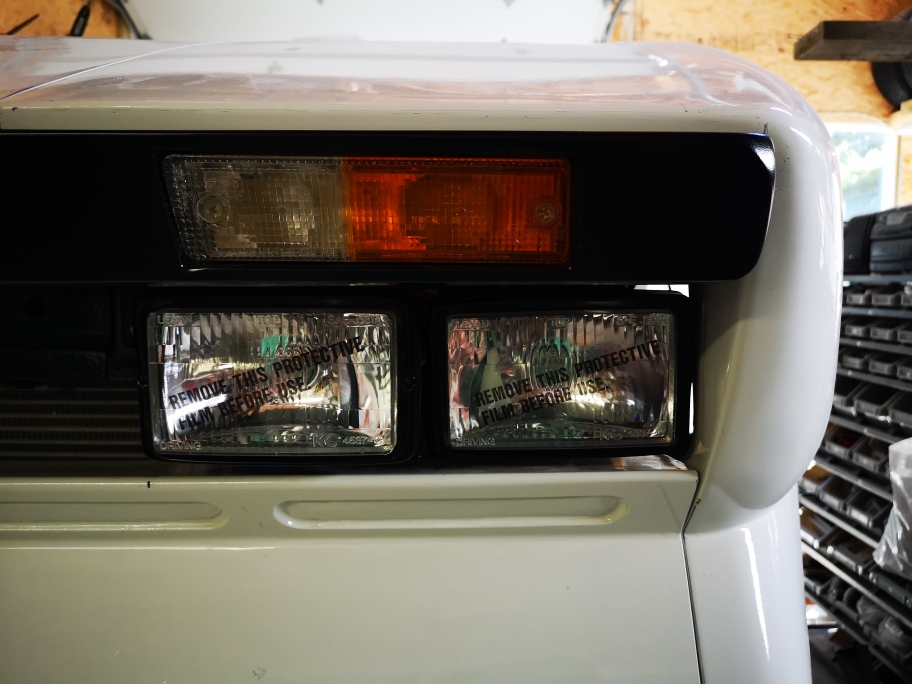
Digging the blacked out grille/lights!
|
|
|
|
dobie1
|
AUG 31, 11:47 PM
|
|
|
|
|
RCR
|
SEP 01, 08:50 PM
|
|
|
|
|
dobie1
|
SEP 09, 09:41 PM
|
|
Hi Bob thanks for stopping by.
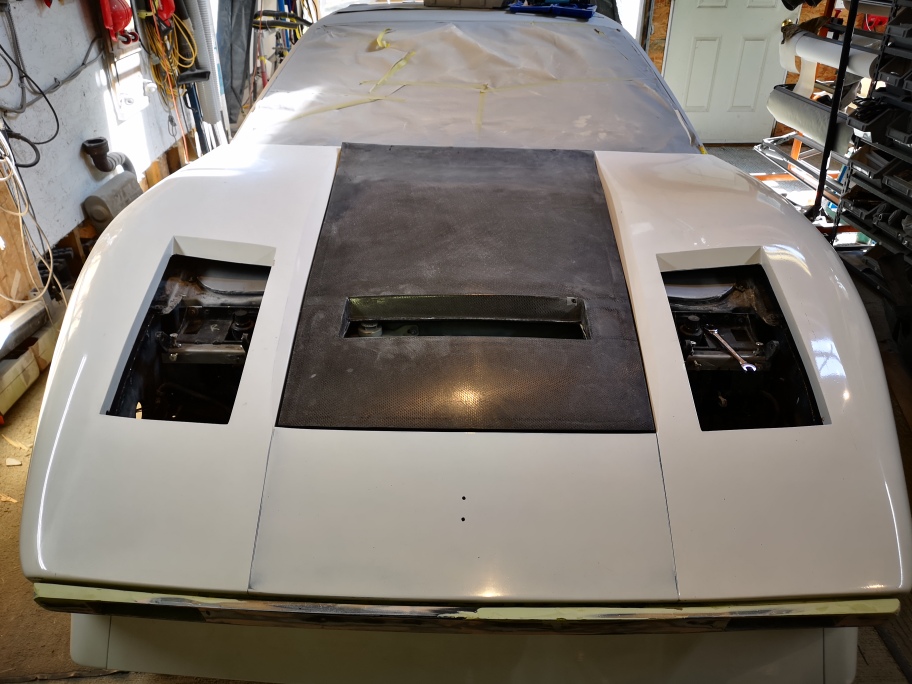
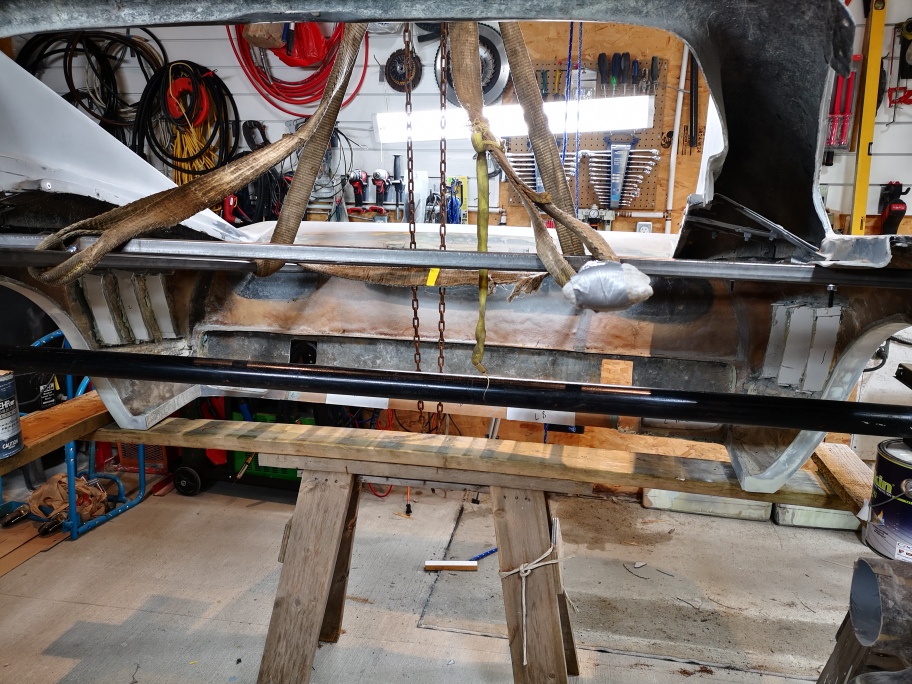
With the help of Don and Phil I have removed the back end from the car To start the moldIn process. Looks like I’m going to be busy for awhile Knee deep in resin and fiber glasse mat😩
I‘ve moved the car out of the shop to give me the room. I need and to keep everything in a more controlled environment as I fibre glass moving into the fall months ahead.
Pics to come. Thanks for stopping by everyone
Stay safe
Wayne
|
|
|
|
dobie1
|
SEP 18, 12:02 AM
|
|
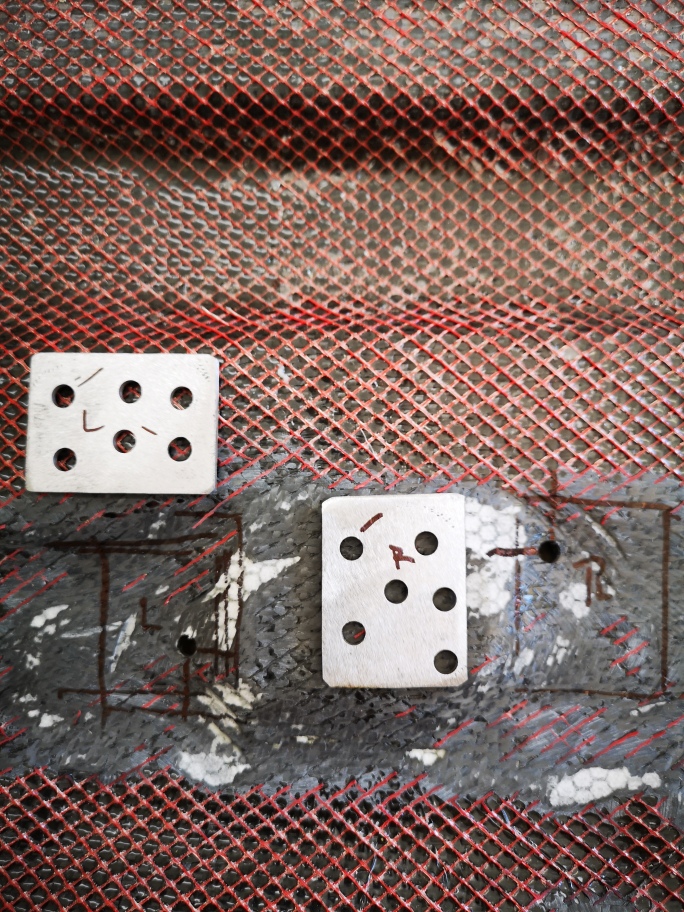
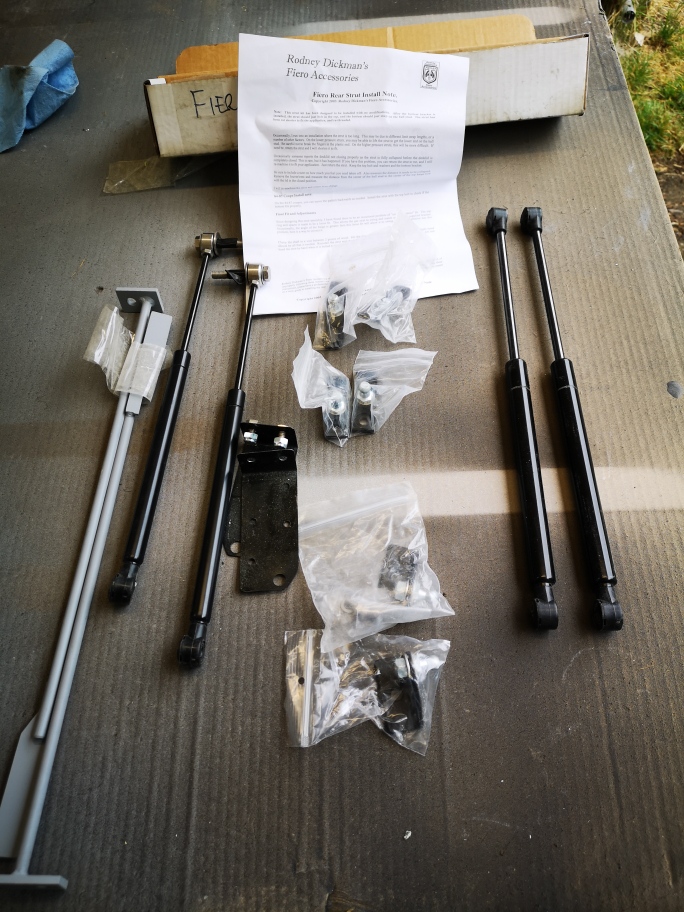
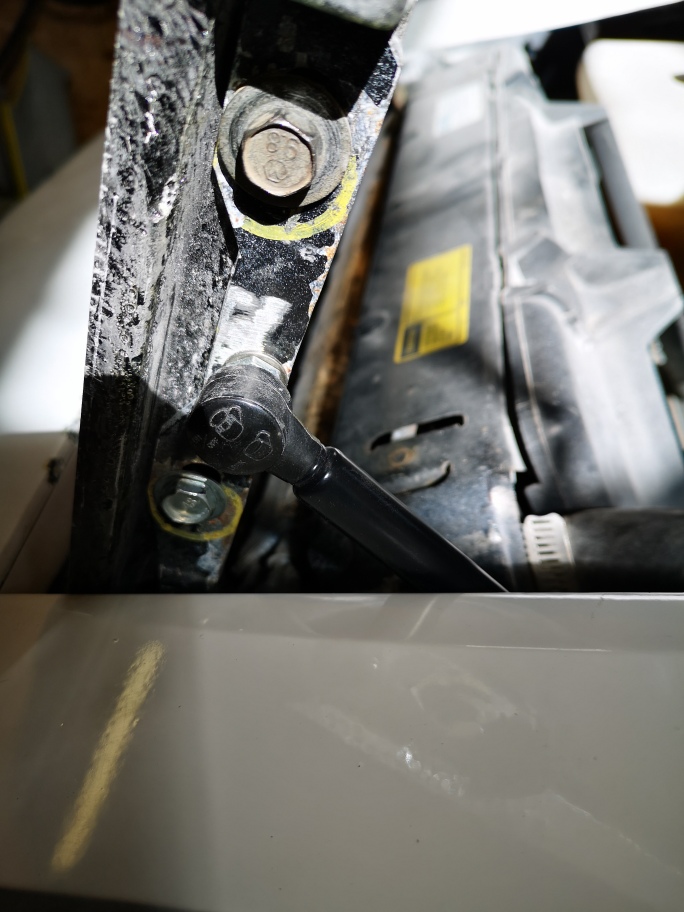
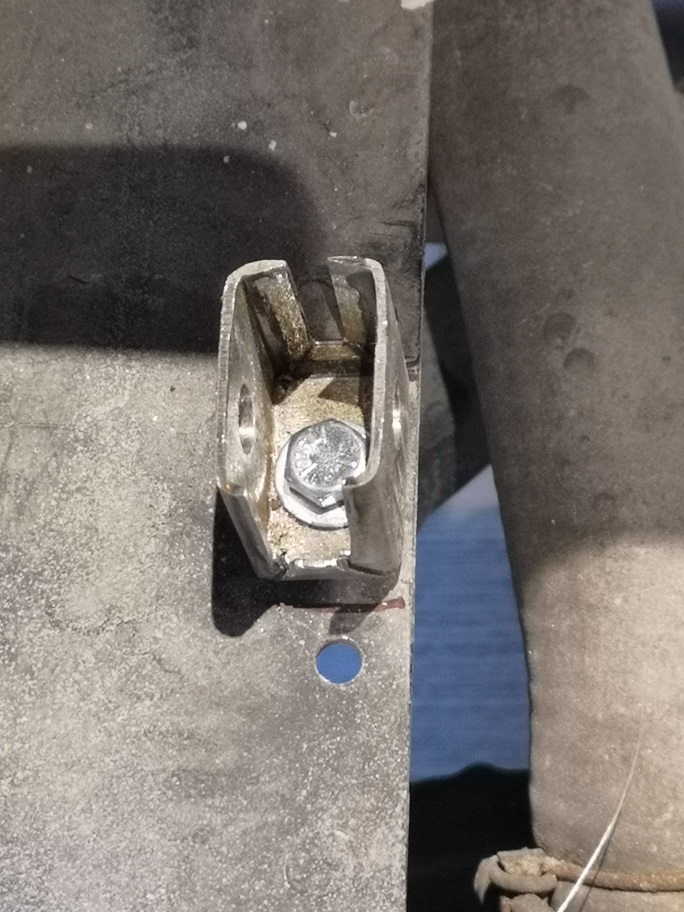
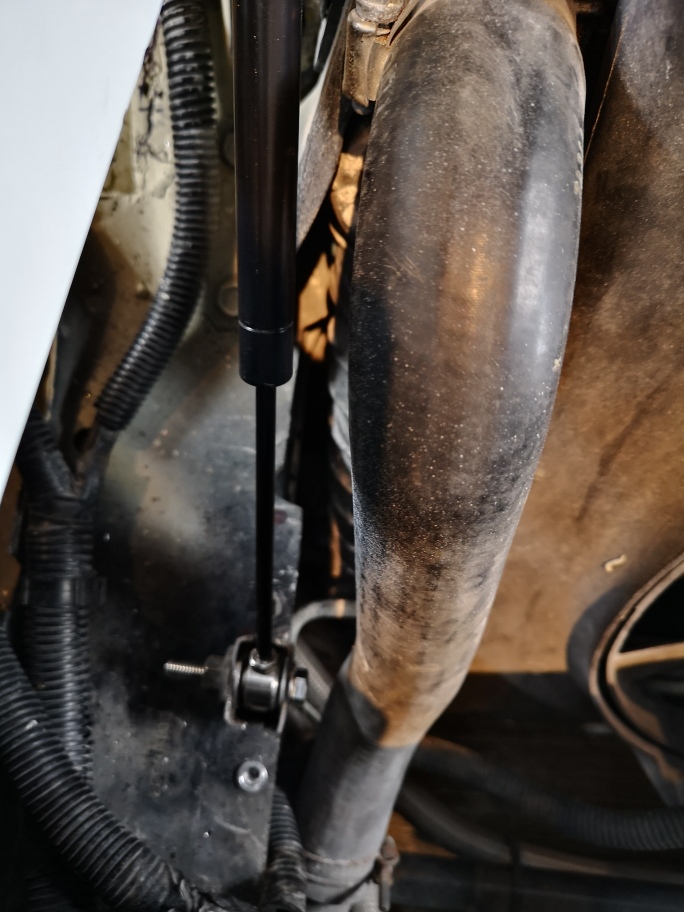
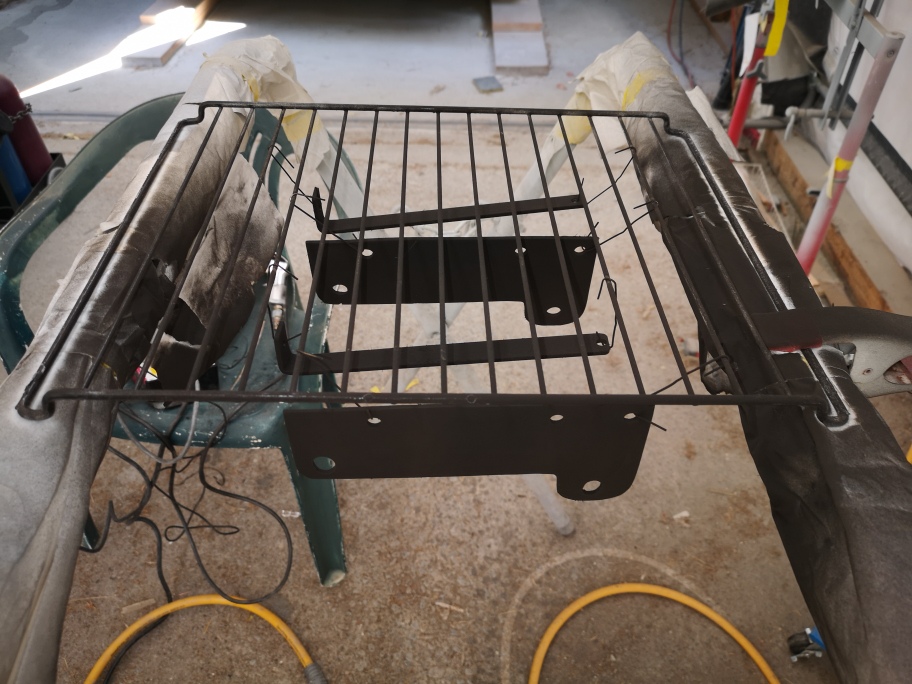
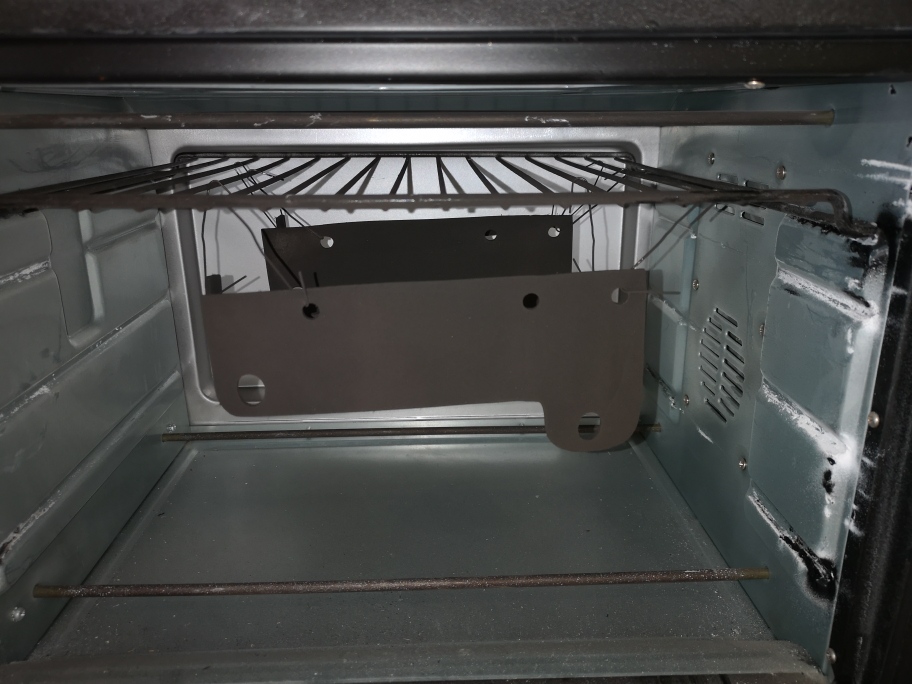
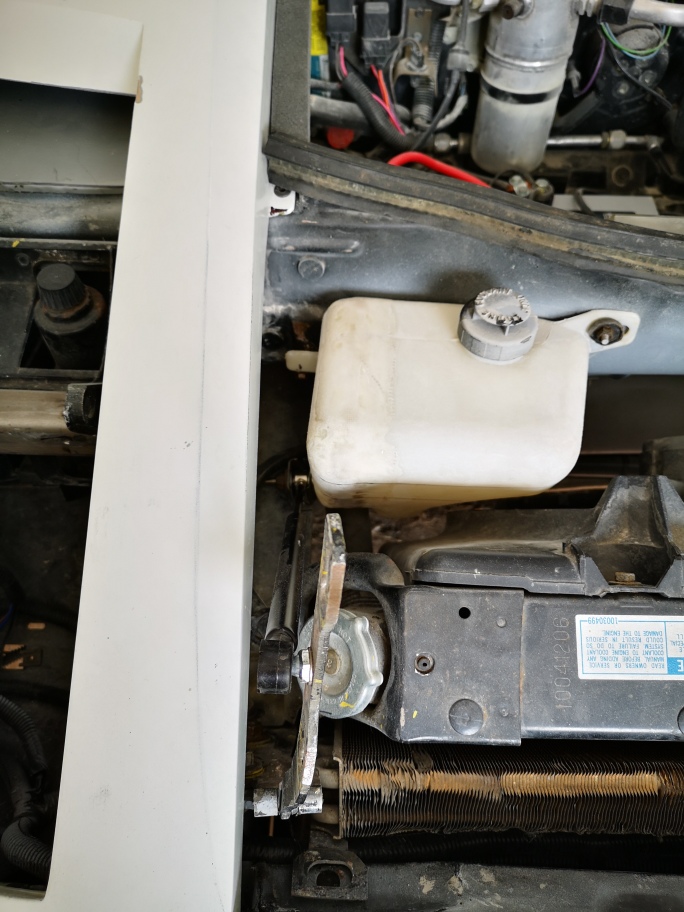
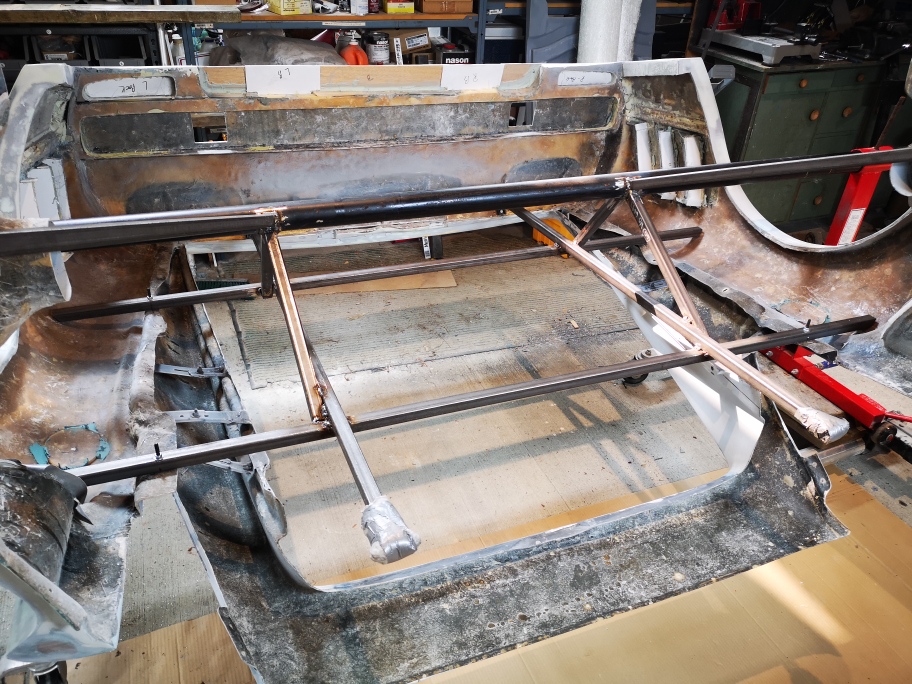
One of the problems that came up when I was trying to reinstall the radiator over flow tank was that with the tank was too big now with the hinge rod installed. To solve this I decided to cut it down by 1 5/8".
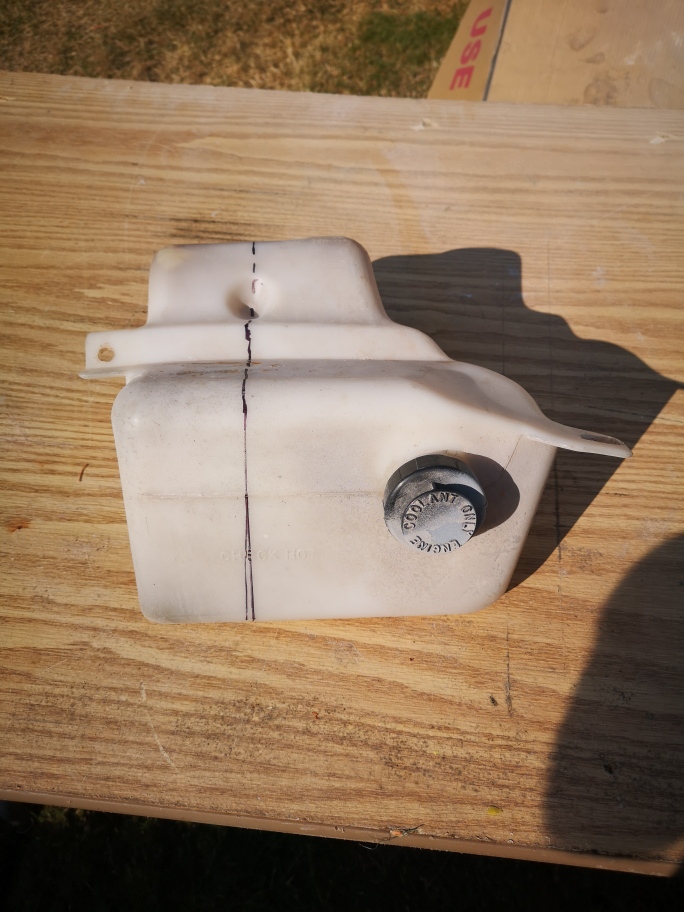
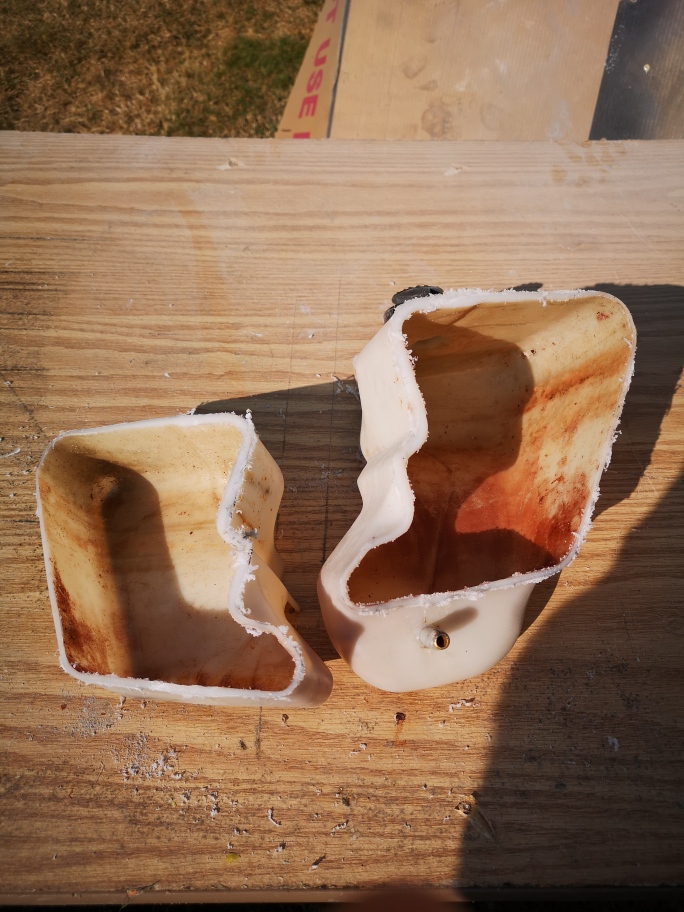
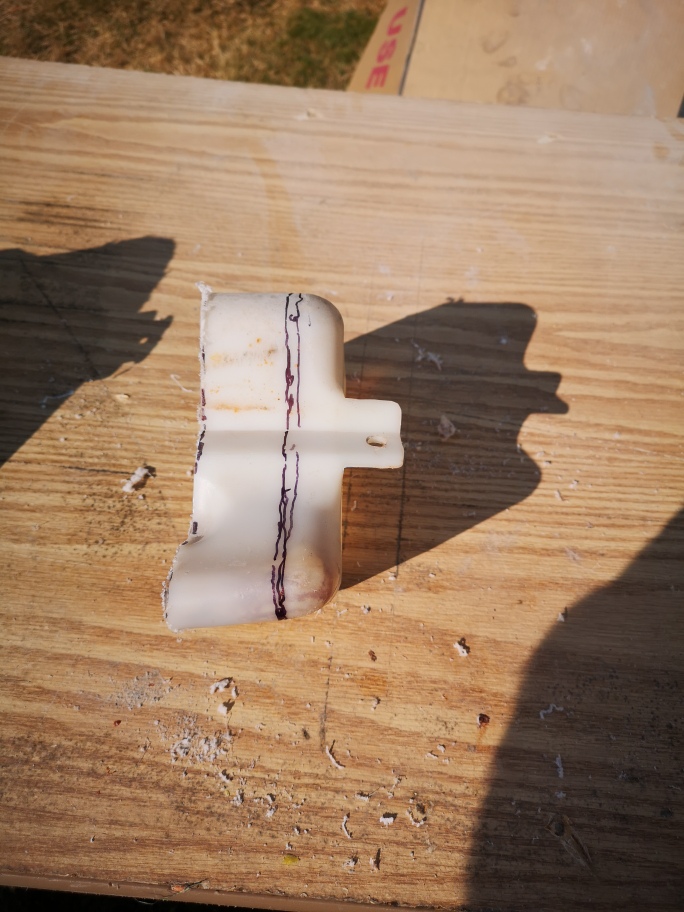
final result fits like a glove!!!
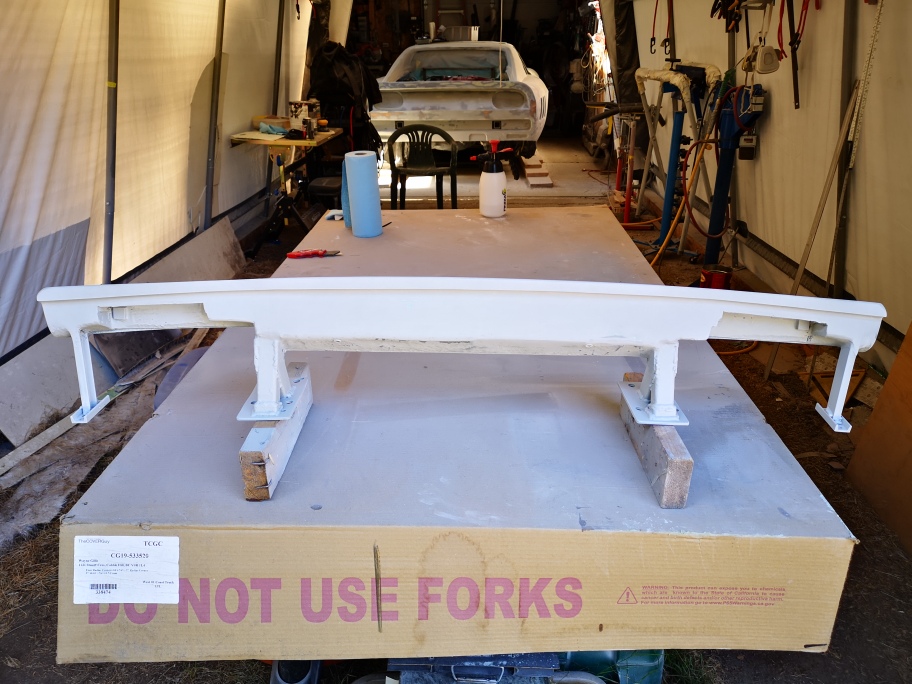
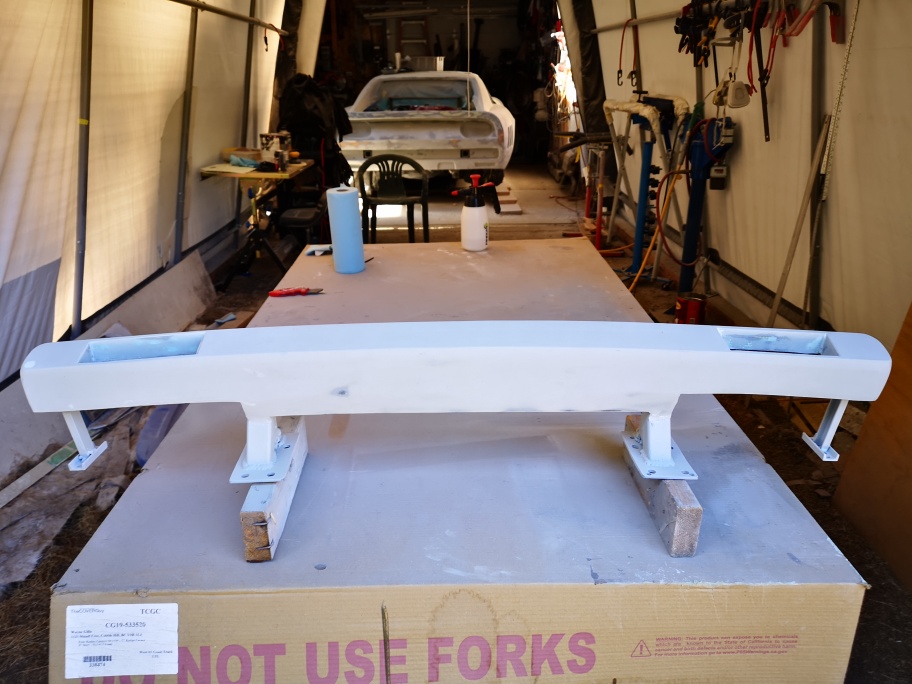
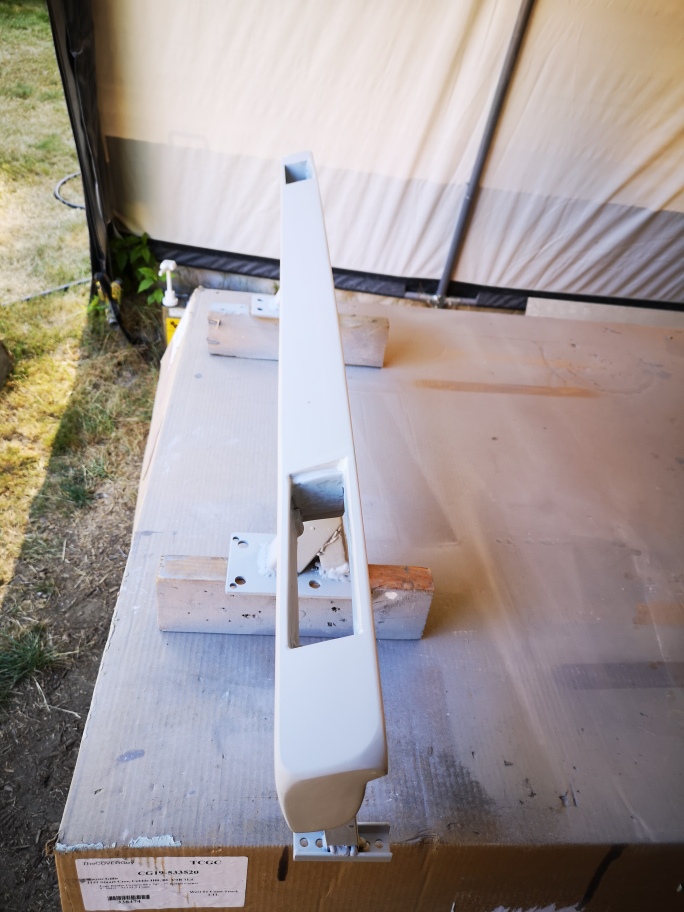
I finally got the rotisserie built to allow me to (fibreglass) building the molds at all angles, I was concerned that the mat wouldn't stay attached in the areas upside down.
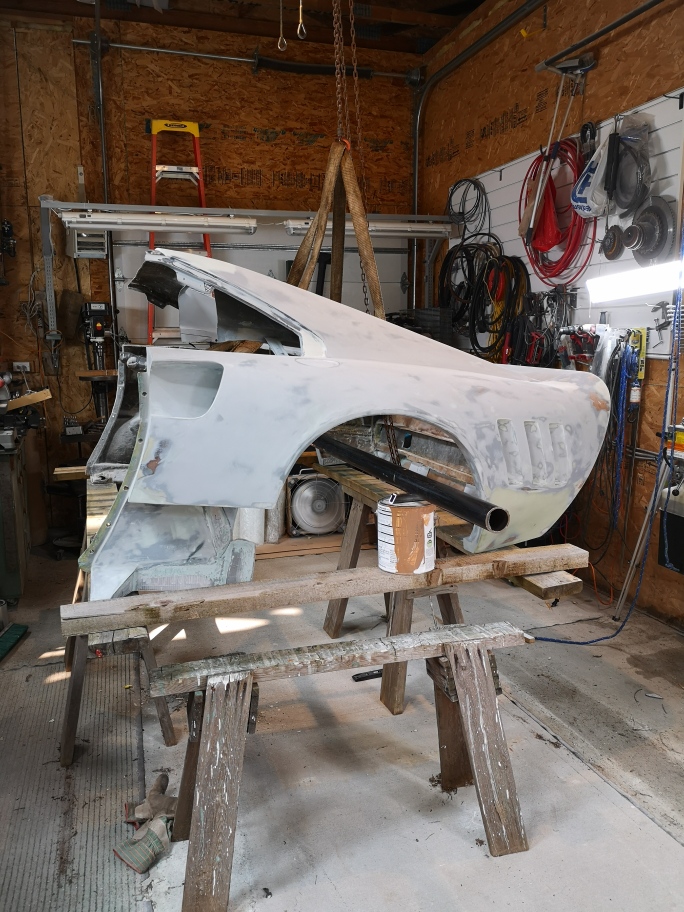
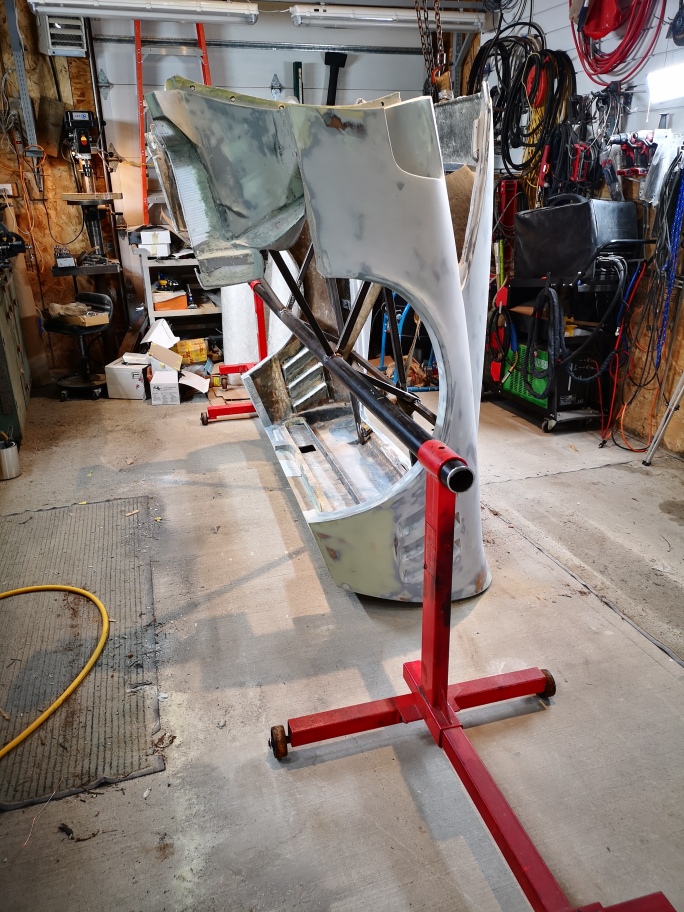
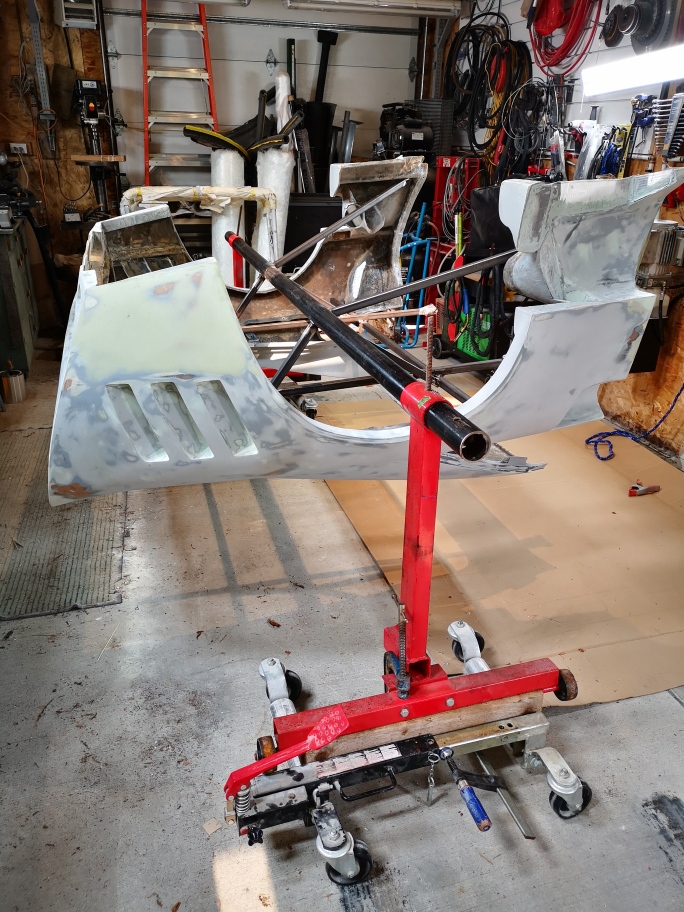
I'm hoping to start the final sanding on the rear half before painting it in preparation for molding.
Thanks for stopping by
stay safe everyone.
Wayne
|
|
|
|
Sage
|
SEP 18, 09:20 AM
|
|
WOW! Very nice job on the rotisserie!
Boy~howdy (gotta be "old" to appreciate that little ditty..:-D ) ....that's gonna be sweet!!!
How did you "reassemble" the overflow bottle? 
keep the progress (and updates) coming.
HAGO! 
|
|
|
|
dobie1
|
SEP 19, 12:00 AM
|
|
Hi Ted
I had to look that one up Ted , I’m old and hadn’t heard it before ,LOL...
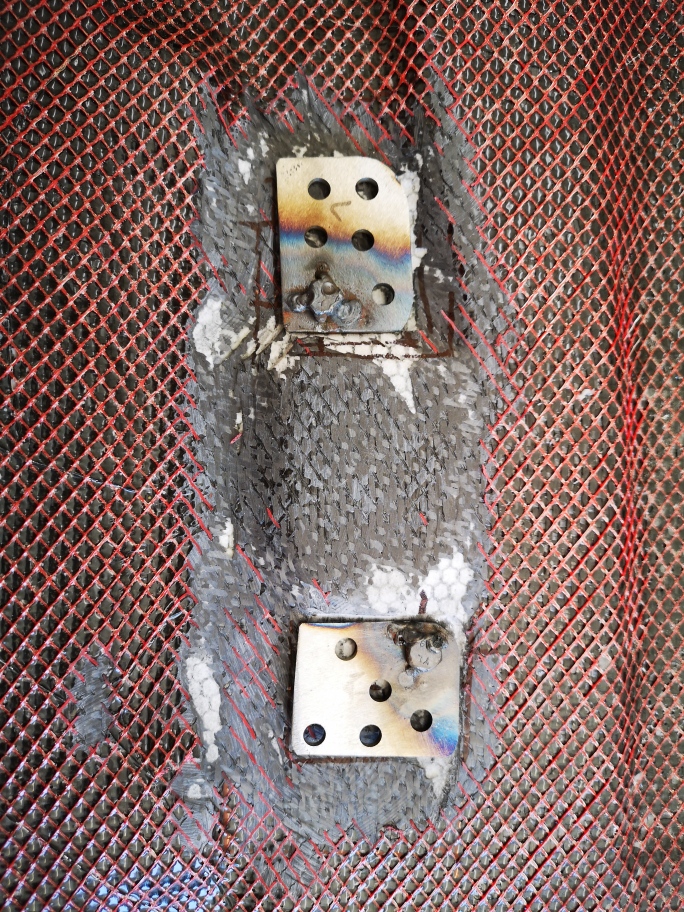
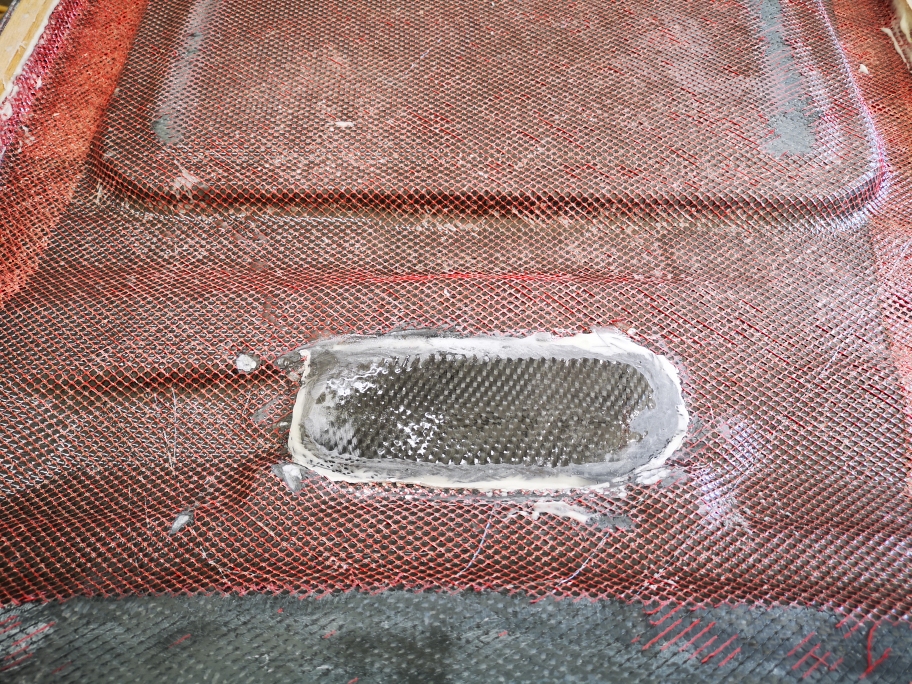
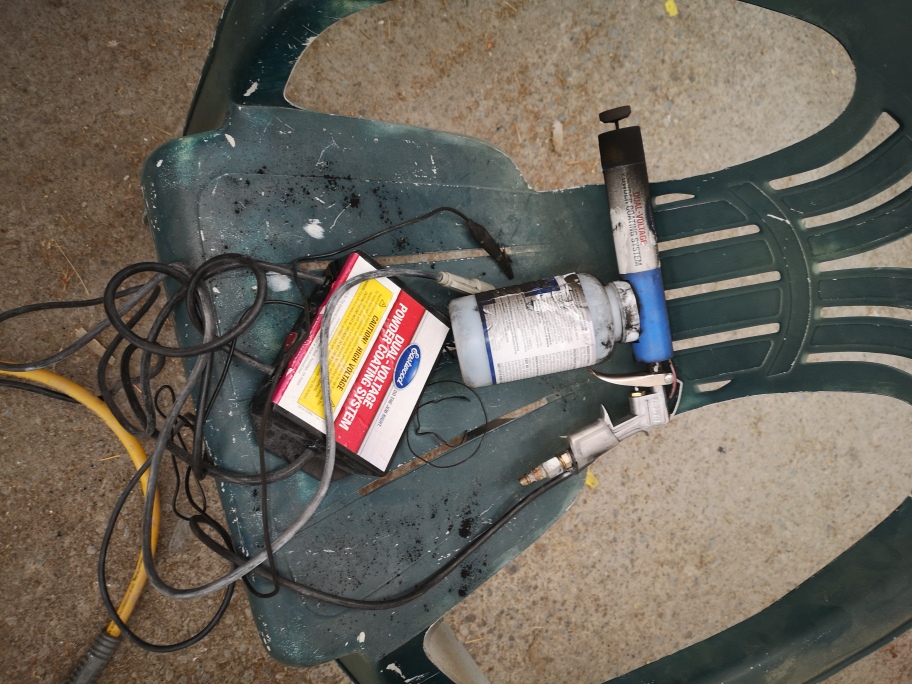
The over flow bottle I used a plastic repair tool that body guys use when repairing car bumpers. You melt a plastic strand into the cut line and blend it into the surrounding plastic. Worked pretty good except when I water tested it there were a few leaks I just couldn’t completely water seal so took some epoxy With Cabosil to thicken and a piece of s-cloth And glassed the complete fill . I sanded it down turned out water proof and pressure tested to 14 psi.
I think that a good soldering gun with a flat blade attached would do the same job as the bumper repair tool. The epoxy lamination just guarantees strength and water tight container.
Stay safe
Wayne
|
|
|