|
| My 88 Formula Interior Redesign (Page 38/87) |

|
grkboy707
|
JAN 30, 10:33 AM
|
|
| quote | Originally posted by katatak:
I like the white faced ones with the Pontiac head but it they would look better in a vintage Pontiac / rat rod. I really like the other ones without the "Red 55"....lol
Don't settle on those vents just yet. There is something better out there. I know no one will ever see them but you will now they are there. More importantly, Revin and I will know they are there. Don't take the easy way out.....lol!
Pat |
|
I agree with much of what Katatak says. I dislike the red 55 in my Fiero too, the vintage gauges are awesome but dont fit, and the vents may not work.
|
|

|
Sofa King
|
JAN 30, 11:25 AM
|
|
|

|
Sofa King
|
JAN 30, 11:54 AM
|
|
|
|
|
Sofa King
|
JAN 30, 12:16 PM
|
|
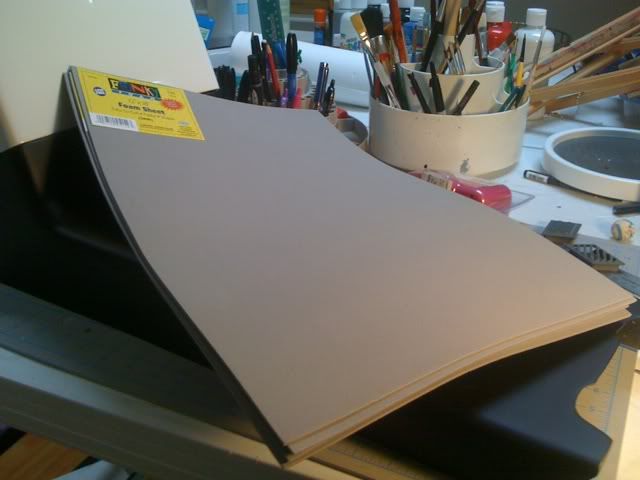
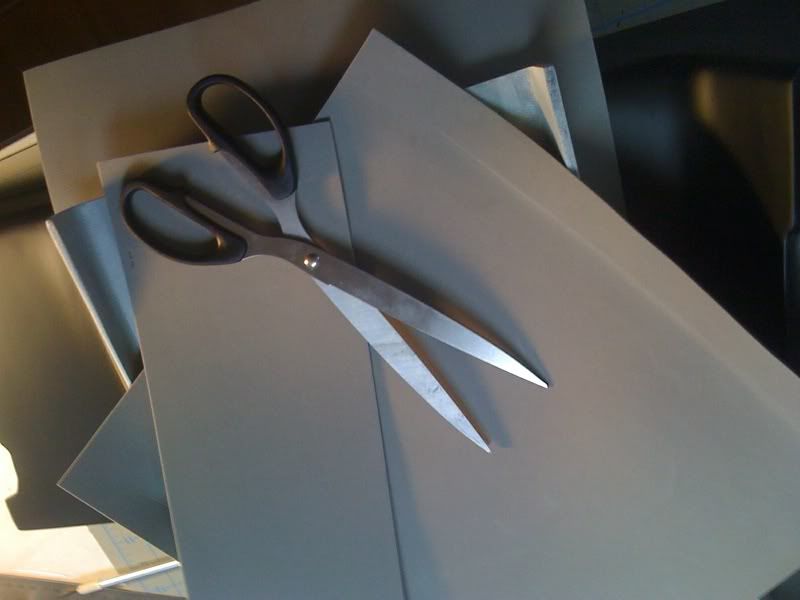
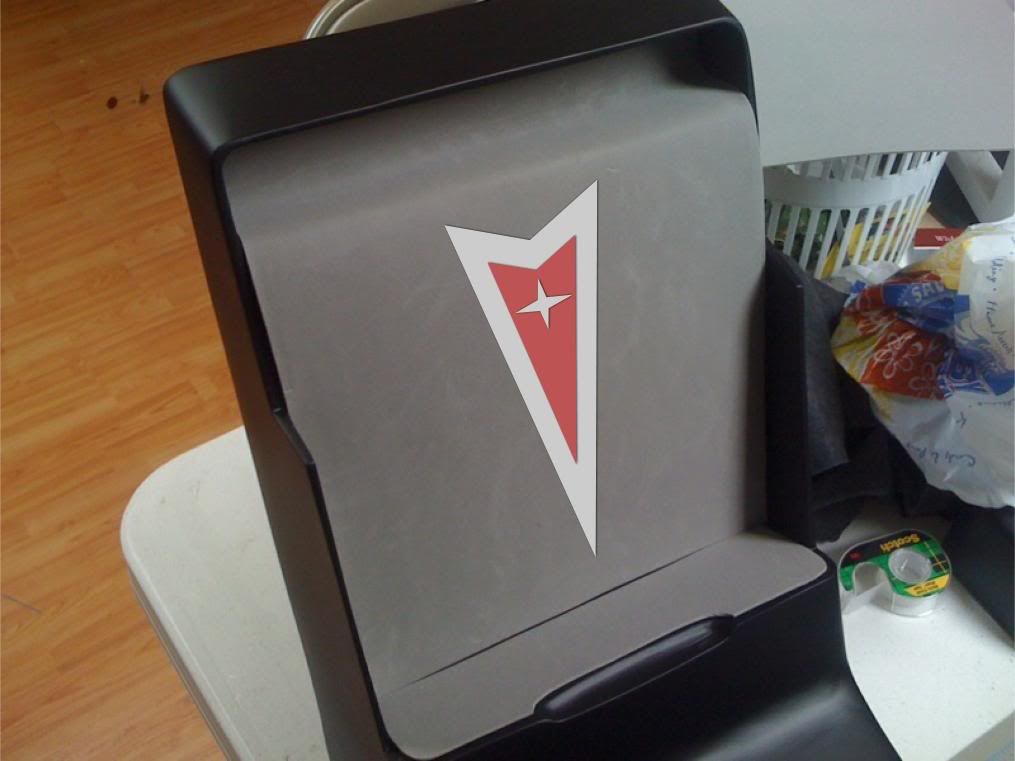
Another idea... Let me know what you think... this is kinda goofy... but.... hmmmmm? As I mentioned, the foam comes in various colors: red, blue, green, black, etc... and is REALLY easy to cut and work with. What if I cut, using red or white foam, the Pontiac Logo in the center?
Is this too goofy?
|
|
|
|
Sofa King
|
JAN 30, 02:13 PM
|
|
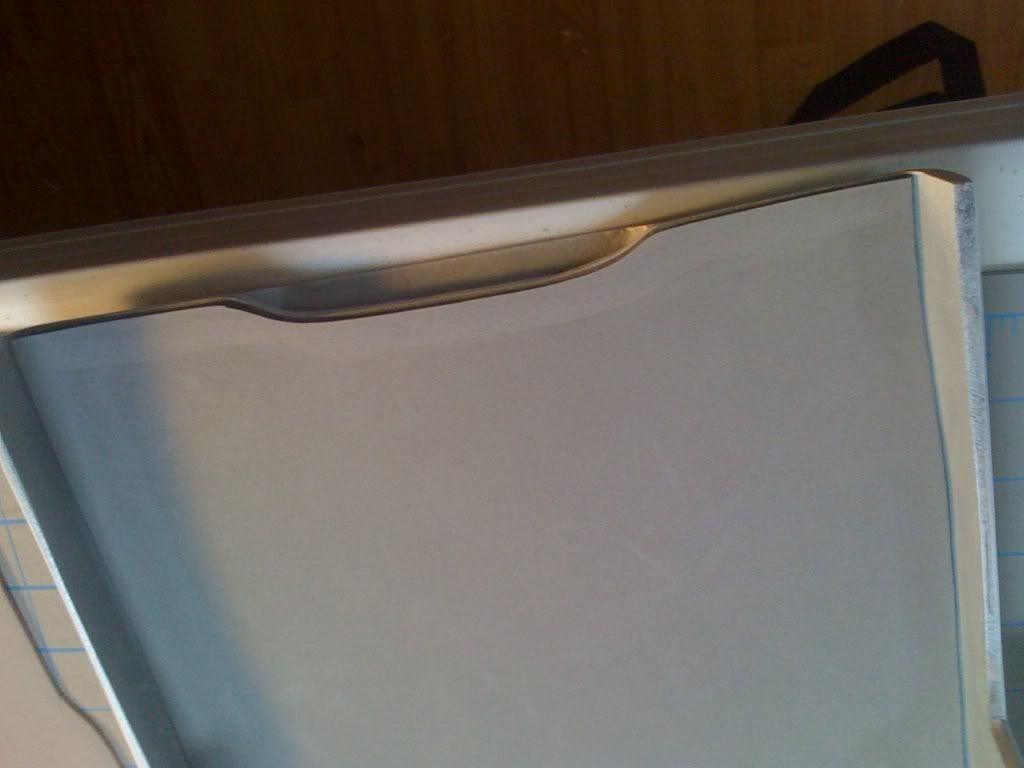
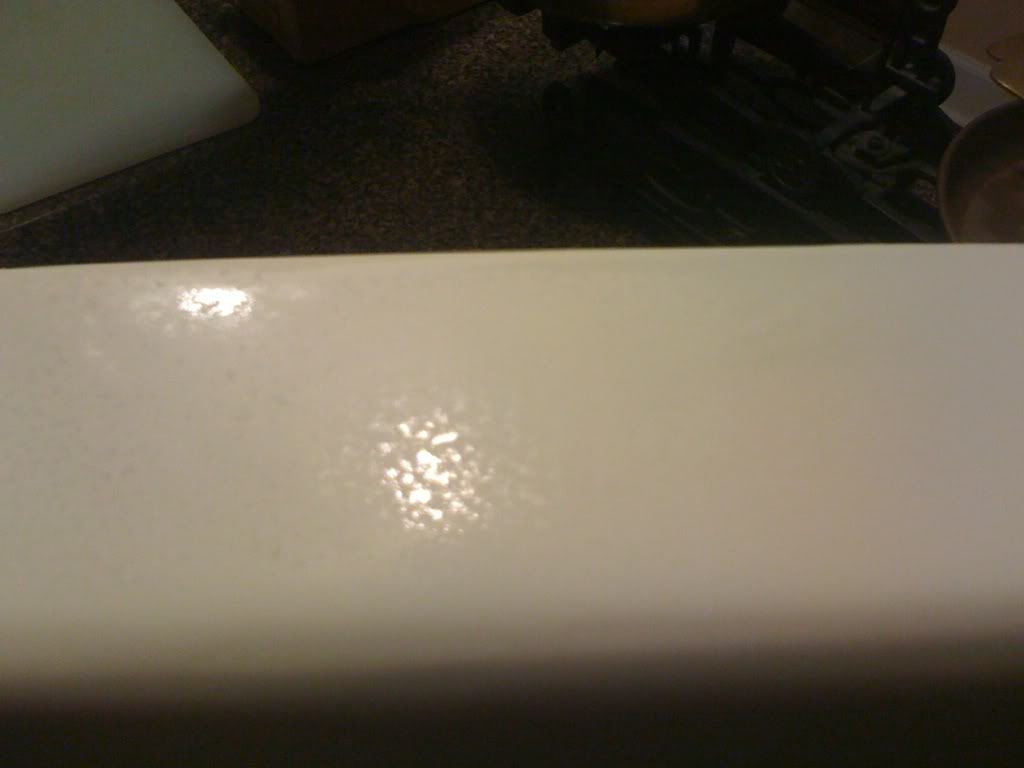
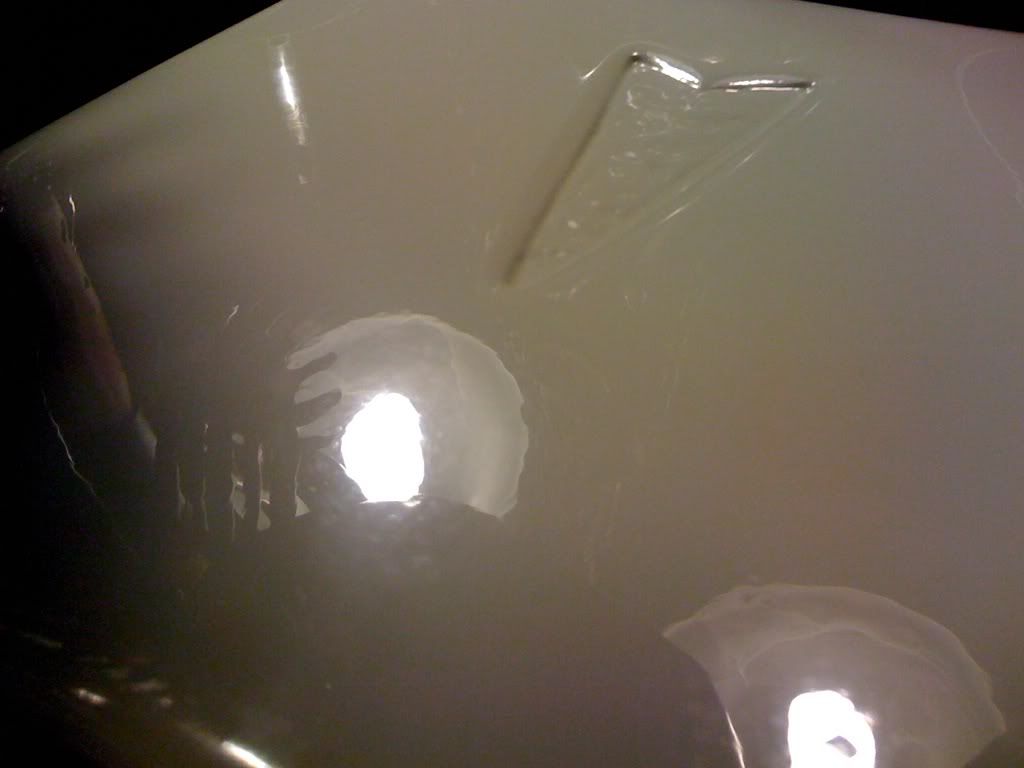
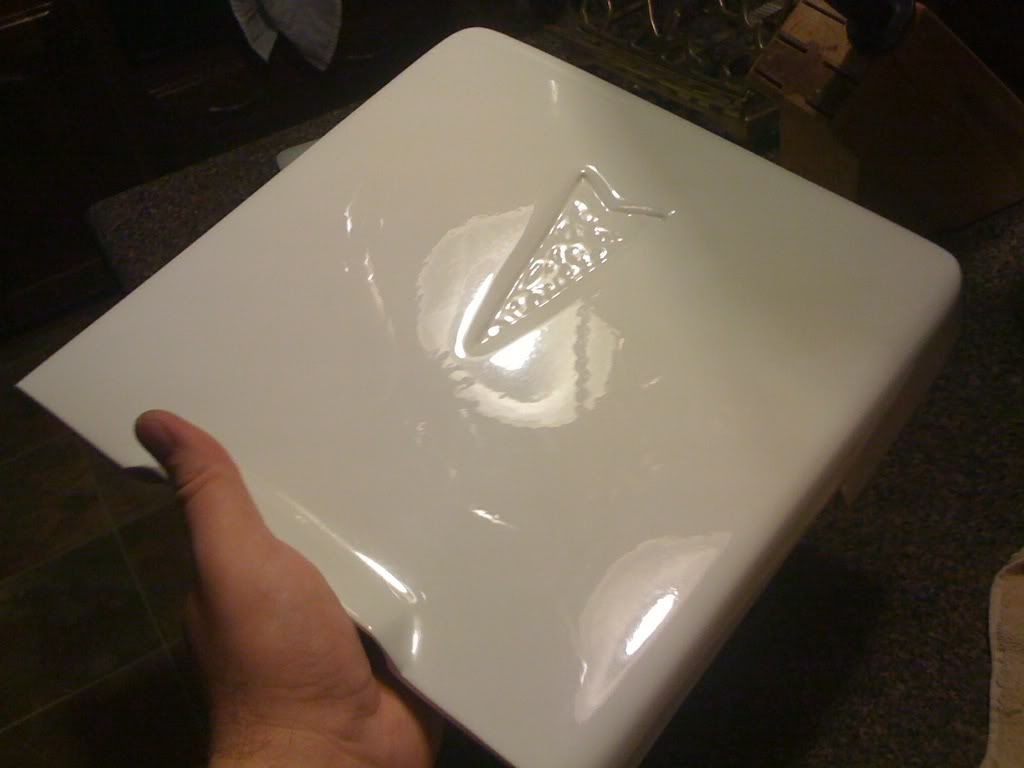
Update:
I wet sanded the lid and gave it another coat of high gloss clear.
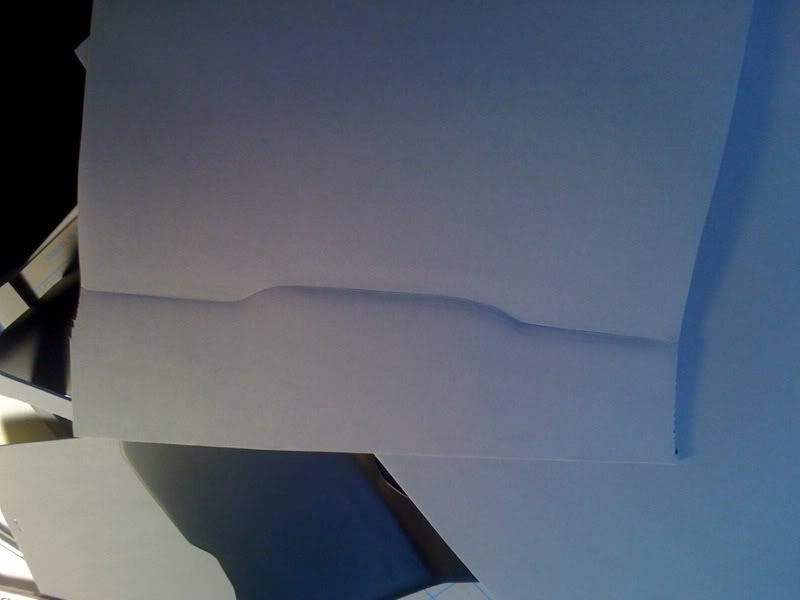
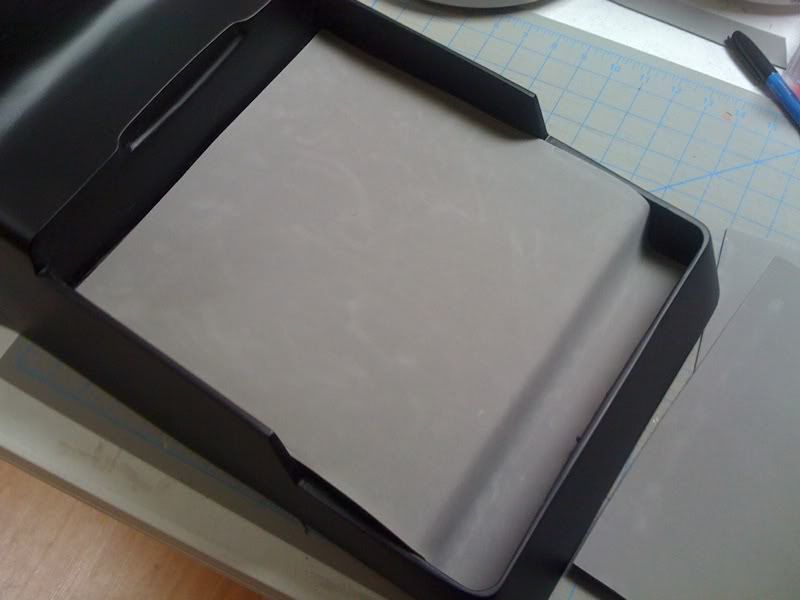
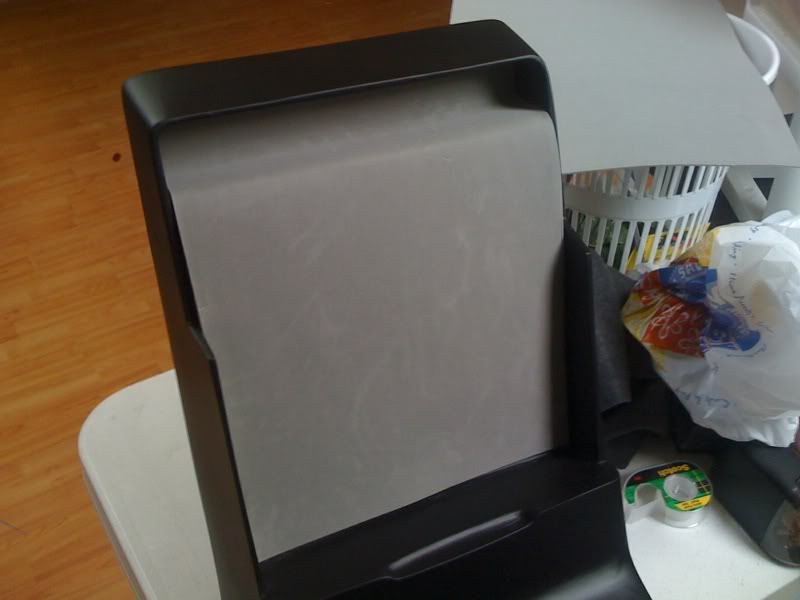
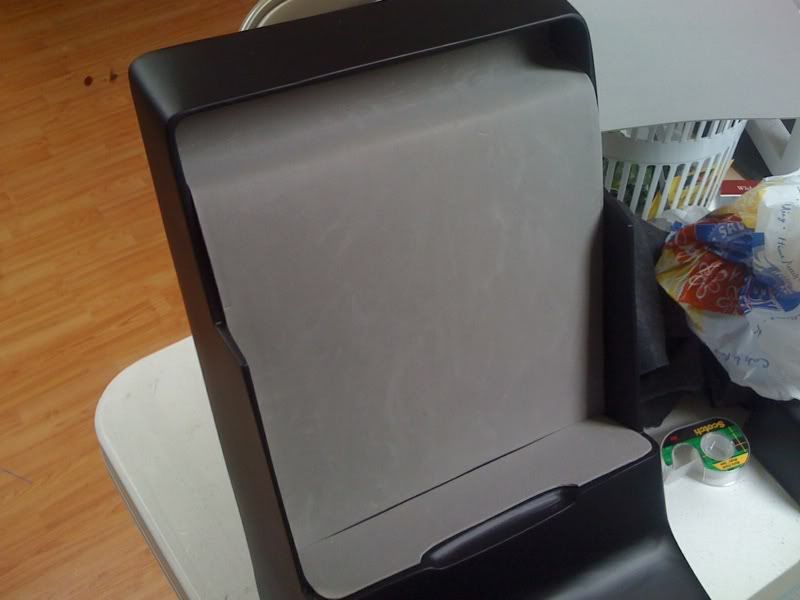
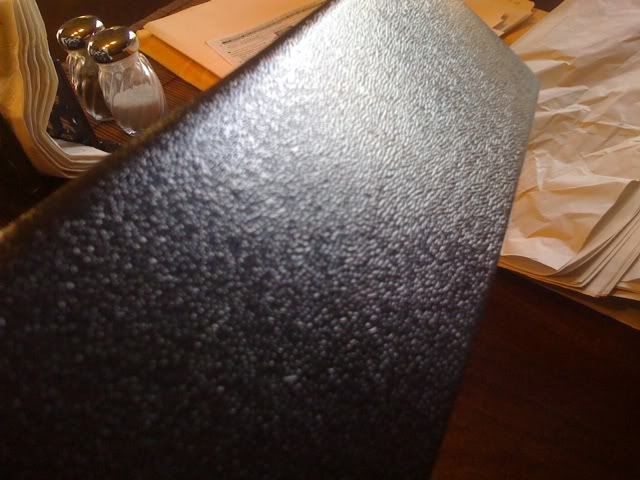
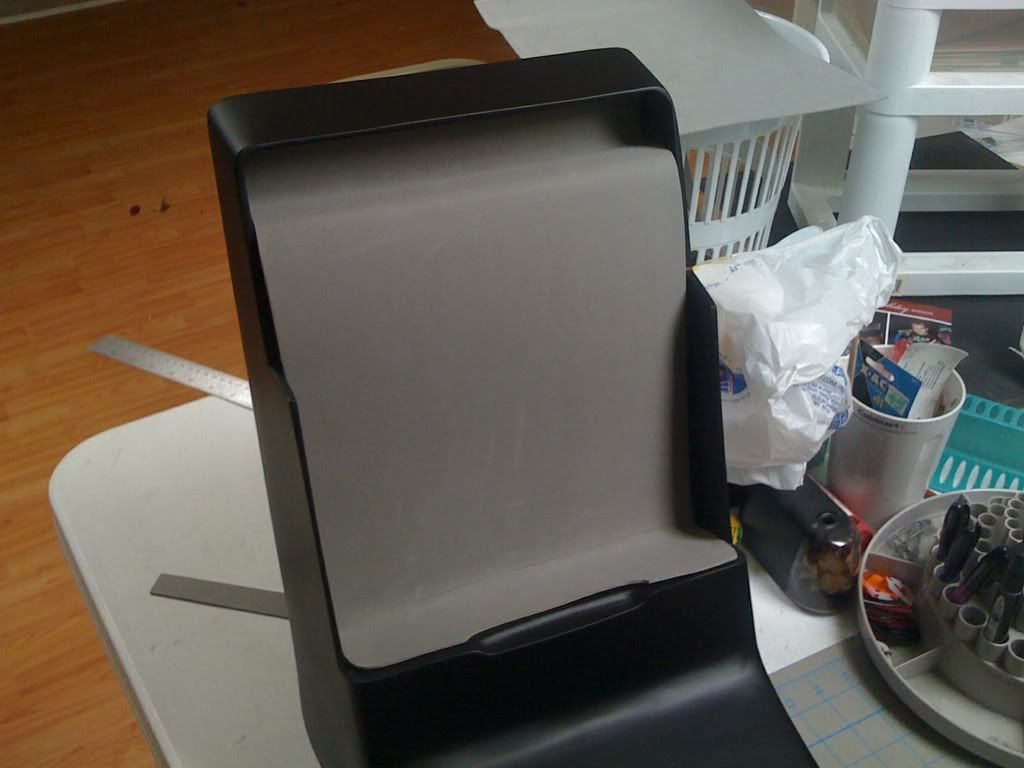
I also took the two pieces of foam I cut for the console and decided to create one piece instead. I just placed them end to end and then traced along the edges. You can see the pencil line near the bottom - I'm too thrilled about that and I might cut a new piece.
 [This message has been edited by Sofa King (edited 01-30-2010).]
|
|
|
|
Sofa King
|
JAN 30, 11:04 PM
|
|
|
|
|
katatak
|
JAN 30, 11:15 PM
|
|
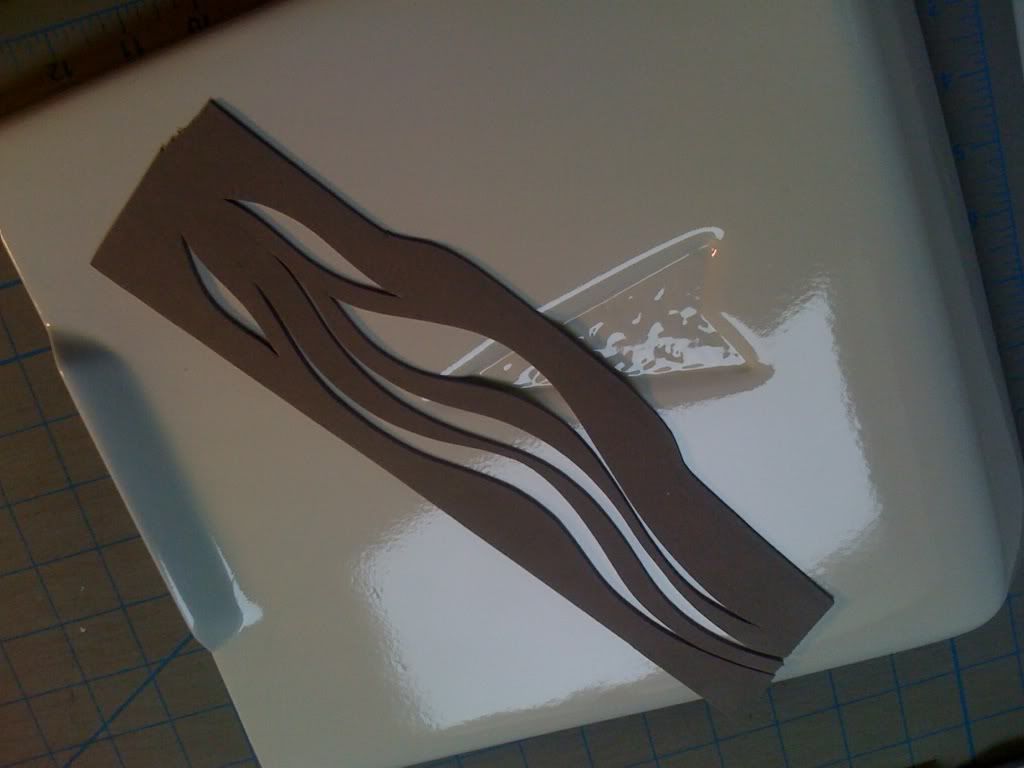
See, if you put your mind to it, you can always come up with a better alternative. The foam sheet is 100 times better than the felt. I like the Pontiac arrow idea - maybe a little smaller though. As a side note.... The shot of the foam with the "flame" cuts! Fill the cut out with red or orange? Just a thought.
Pat
|
|
|
|
Sofa King
|
JAN 31, 08:59 AM
|
|
| quote | Originally posted by katatak:
See, if you put your mind to it, you can always come up with a better alternative. The foam sheet is 100 times better than the felt. I like the Pontiac arrow idea - maybe a little smaller though. As a side note.... The shot of the foam with the "flame" cuts! Fill the cut out with red or orange? Just a thought.
Pat
|
|
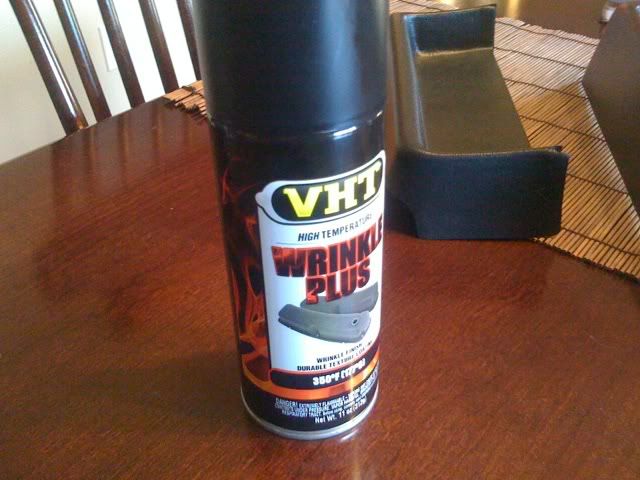
The foam is so much easier to work with. I like the felt but as I mentioned - if you're trying to get perfect cuts the felt is just too difficult to work. The flame cuts on the foam, I thought the exact same thing after I cut them - great minds... I'll try getting some today if the hobby stores are open - we have 2 of them in town and I can never remember if they're open on Sunday. I'm also off to find the wrinkle paint.
|
|
|
|
Sofa King
|
JAN 31, 09:02 AM
|
|
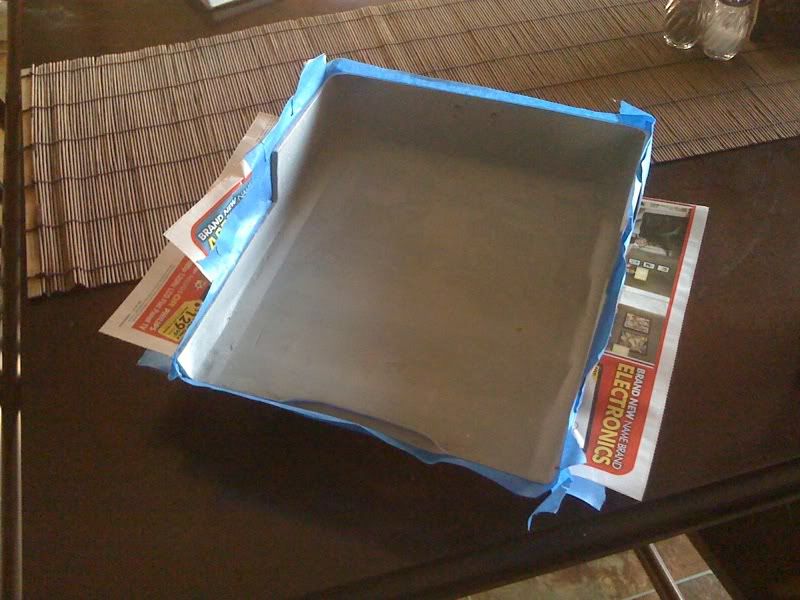
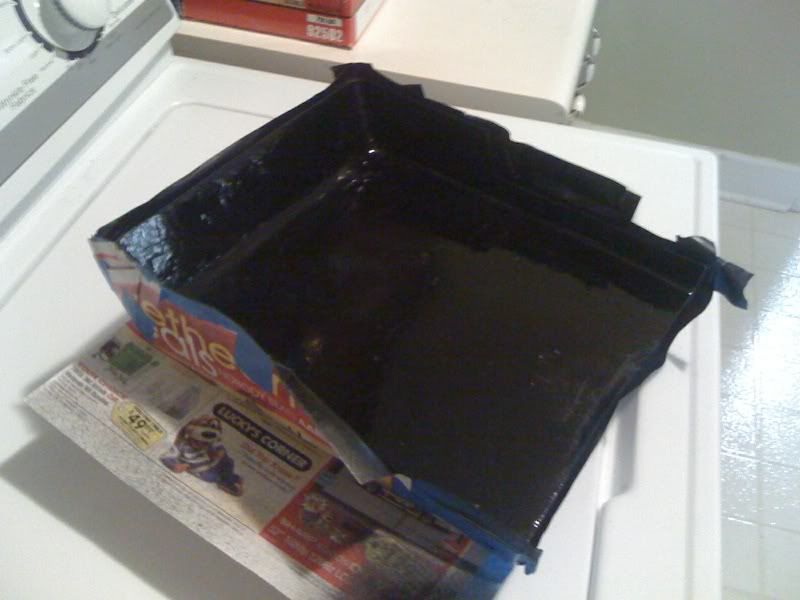
Small Update
I masked off the lid this morning. I made sure to press down the tape along the edges so the black spray would not bleed over onto the white. It's not really a big deal if it does, I can always polish the paint off - that's why I waxed it. The wax creates a small barrier between the black spray paint and the clear coat on the lid. I then shot a quick layer of flat black paint. It should be ready to accept the foam and Pontiac Logo with I get back.
Masked off
Shot of black
That's it for now[This message has been edited by Sofa King (edited 01-31-2010).]
|
|

|
Sofa King
|
JAN 31, 11:03 AM
|
|
|
|