
 
     |
| Enterra "Dark Shadow" Restore Thread (Page 37/65) |

|
IwannaIRM
|
AUG 15, 12:13 AM
|
|
|
Updates Archie! Updates! We need more Enterra!
|
|
|
|
Archie
|
AUG 17, 10:53 AM
|
|
Updates are kind of hard to get around to lately.
With Troy not participating in this thread, it's kind of quiet.
Troy & I communicate all the time & I send him pics & updates.
But, here goes....
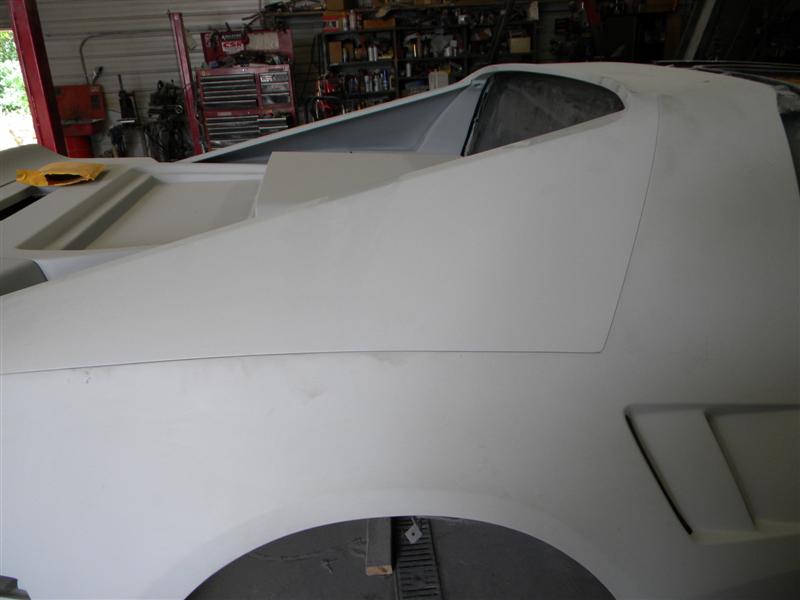
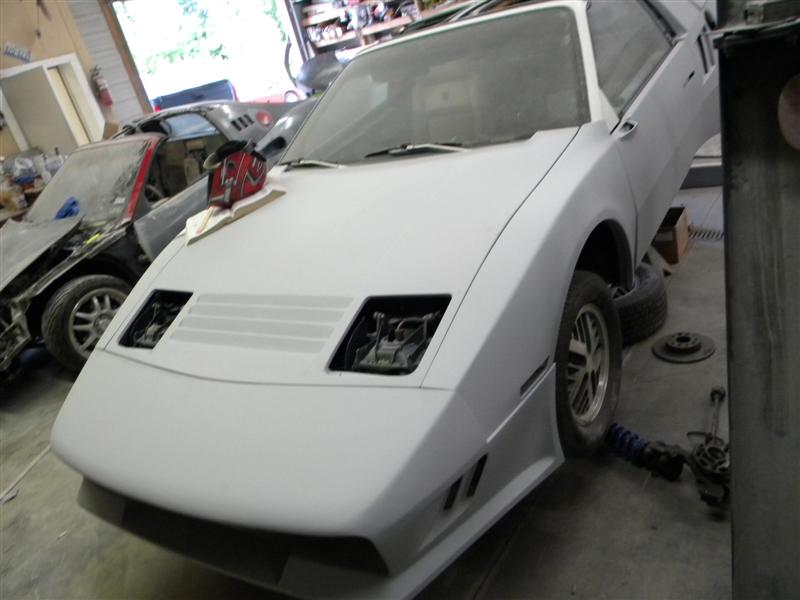
The day after we shot on the Primer Sealer, we put on a coat of High Fill primer. At some point, when we get back to the body, this will need to be blocked out then inspected for pin holes & sanding scratches & finished up to be ready for the final paint job.
.JPG)
.JPG)
.JPG)
Finally once we got to this point Kris allowed up to pull out the old engine.....
.JPG)
.JPG)
.JPG)
This engine was kinda LOUD
.JPG)
Working at the LS engine mounting
.JPG)
Headers are wanted but, since they will only exit on 1 side of the cradle, the exhaust pipe routing is going to get complicated.
.JPG)
.JPG)
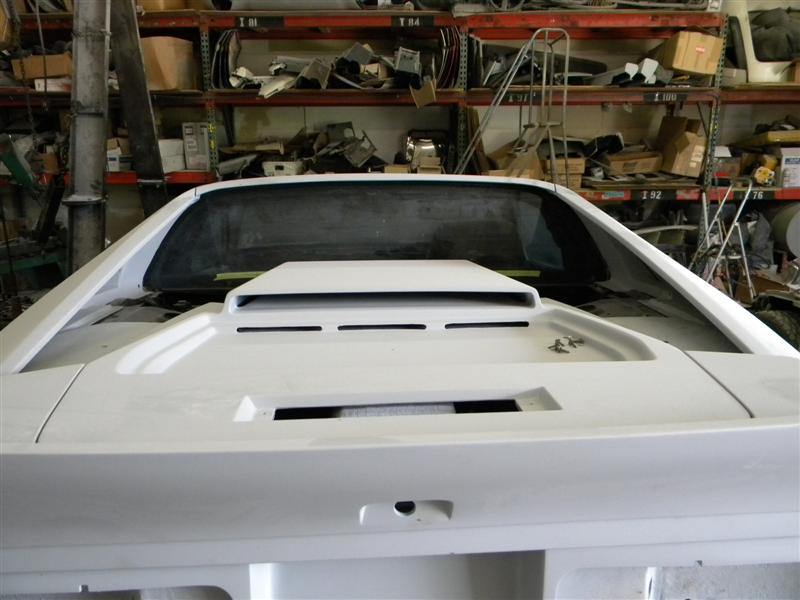
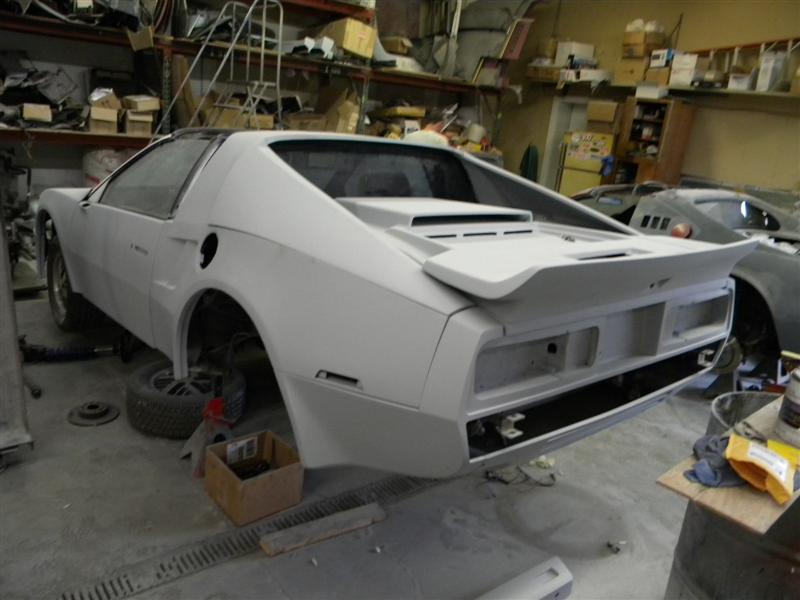
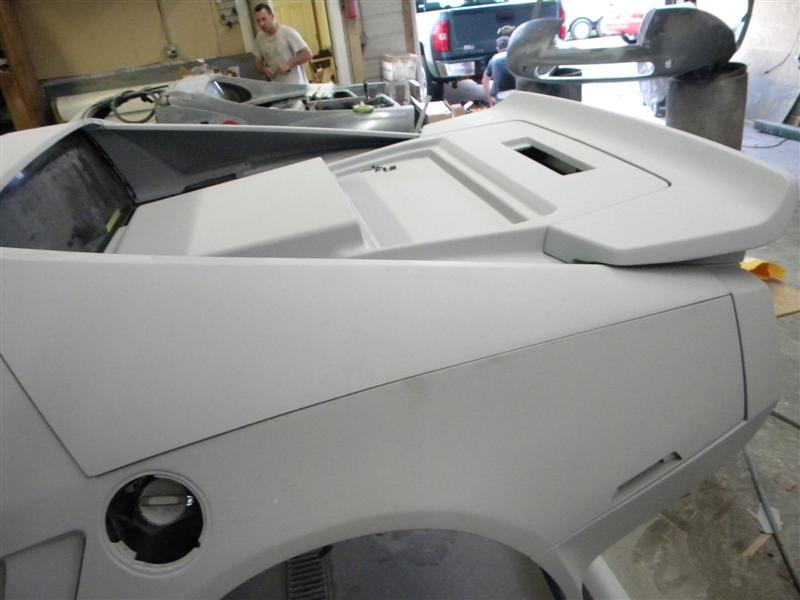
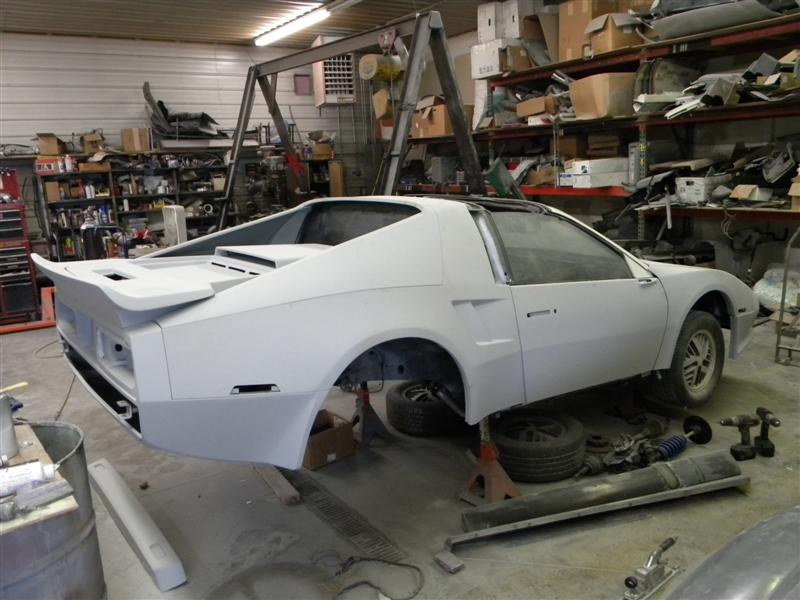
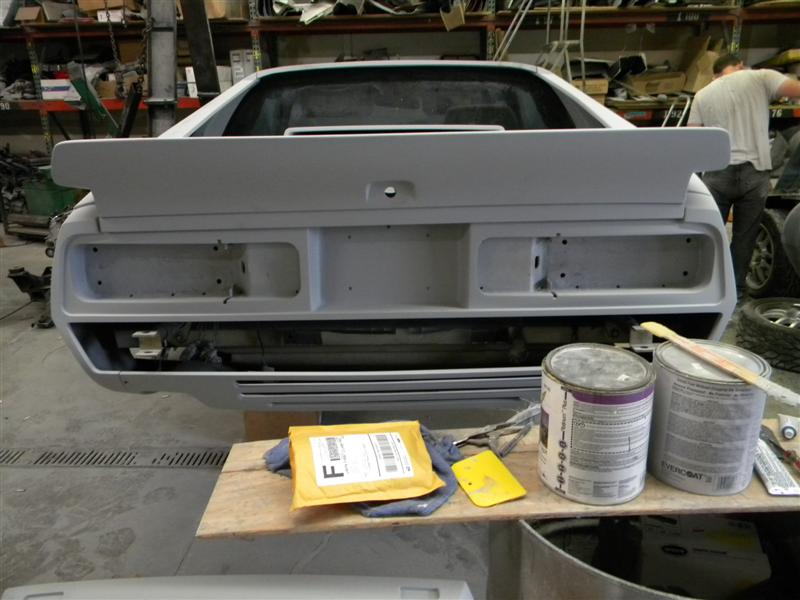
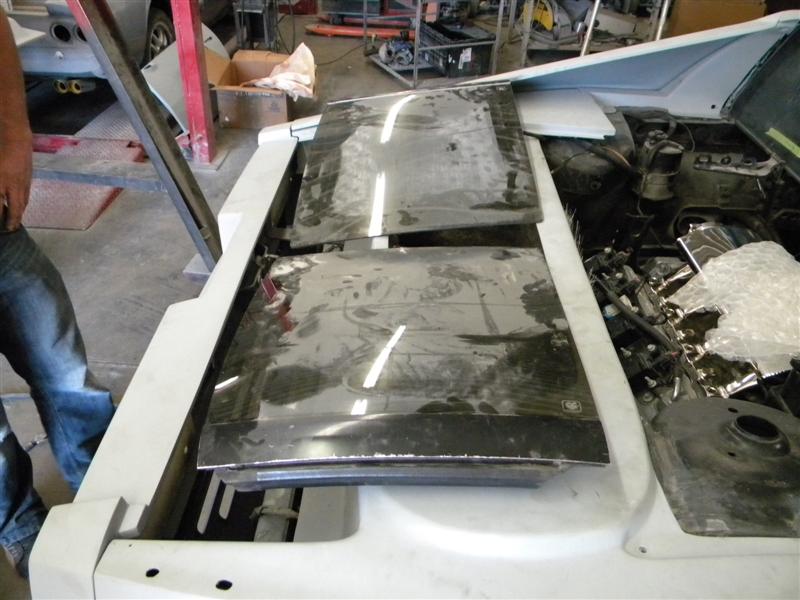
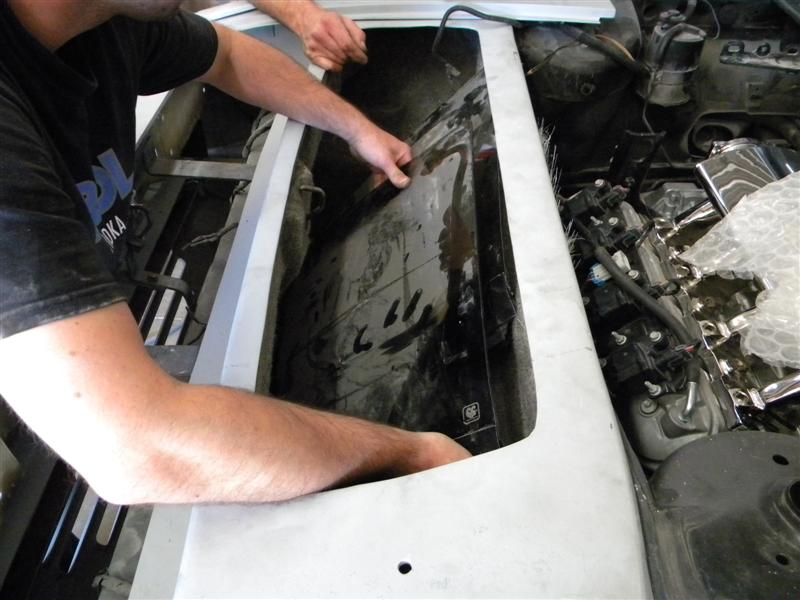
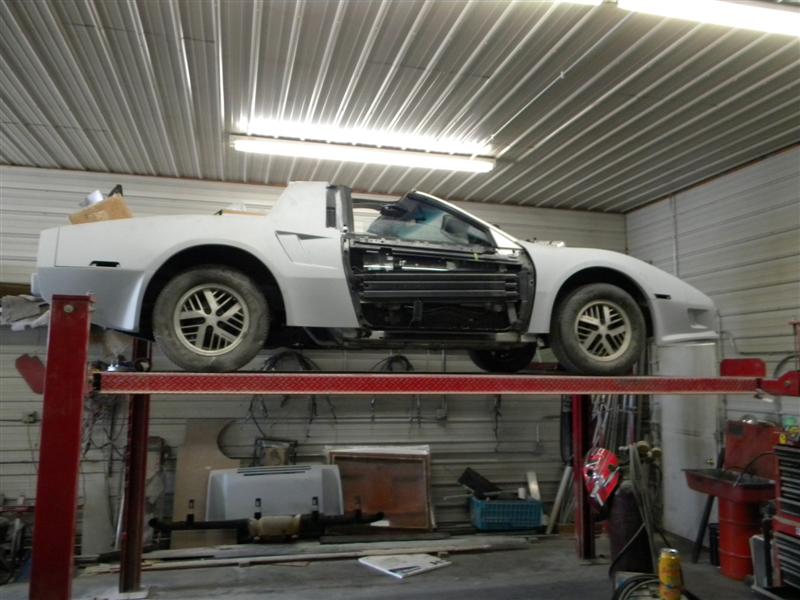
Once we did a couple of fittings of the new engine. We decided to take a short break on the car for some evaluation. So we put most of the panels on the car. Note that the panels are not aligned or attached with more than 1 or 2 fasteners each.
When attached properly, they will line up & look good.
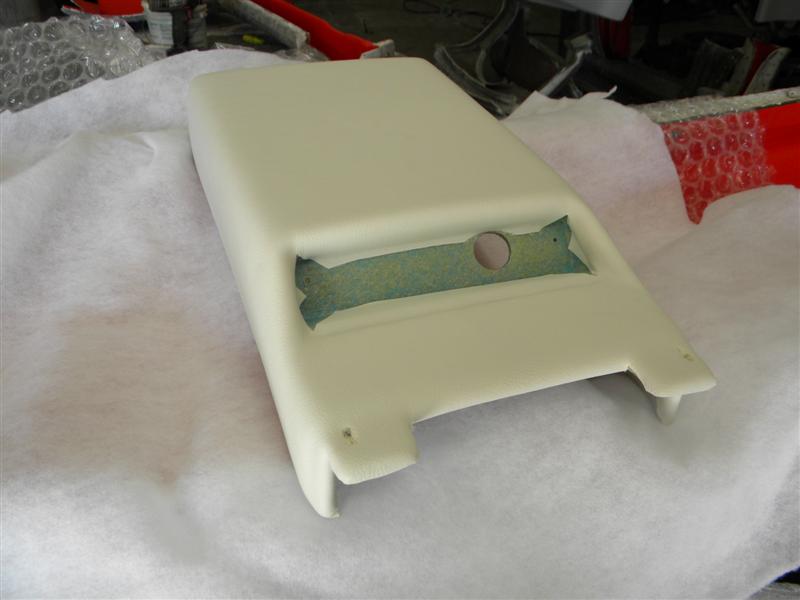
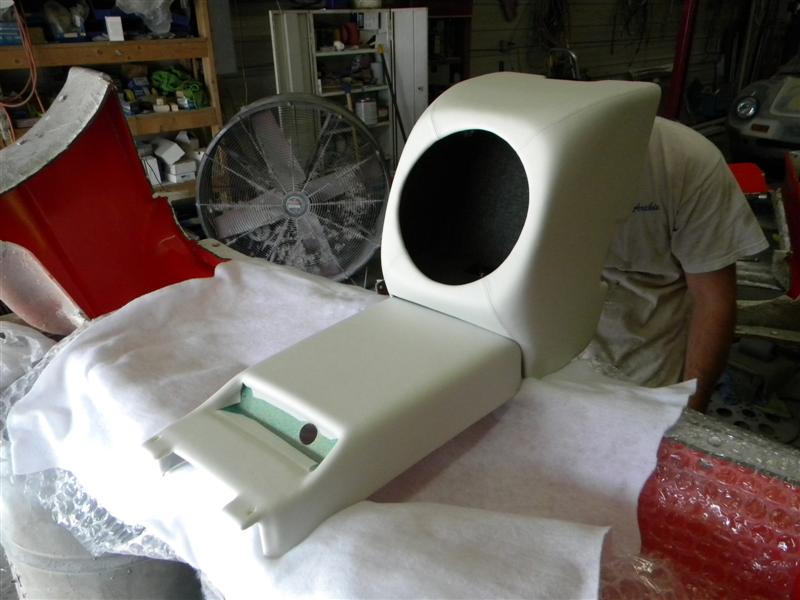
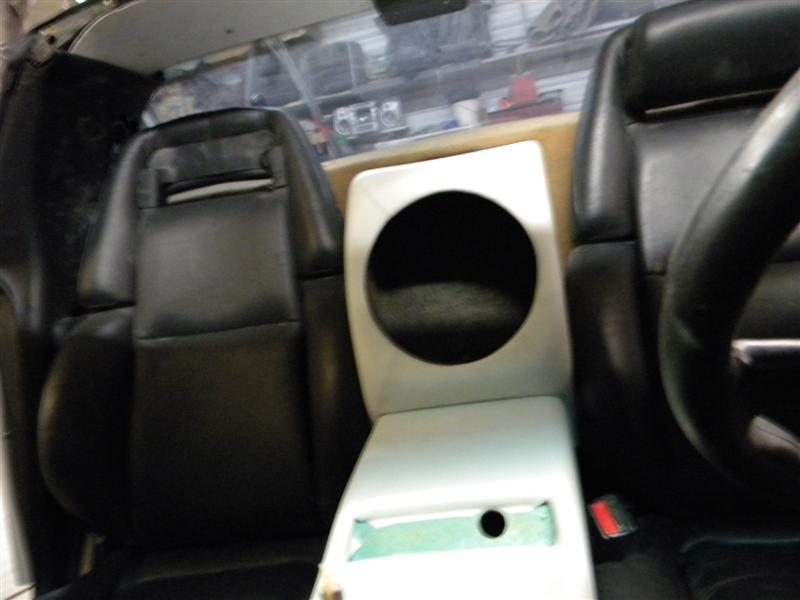
In the meantime, the center console & woofer thingie came in......... they look great.... good stuff from a good guy
(Kris is trying the headgear on)
We are coming along pretty well on the engine/trans/cradle but not much to really show you yet.
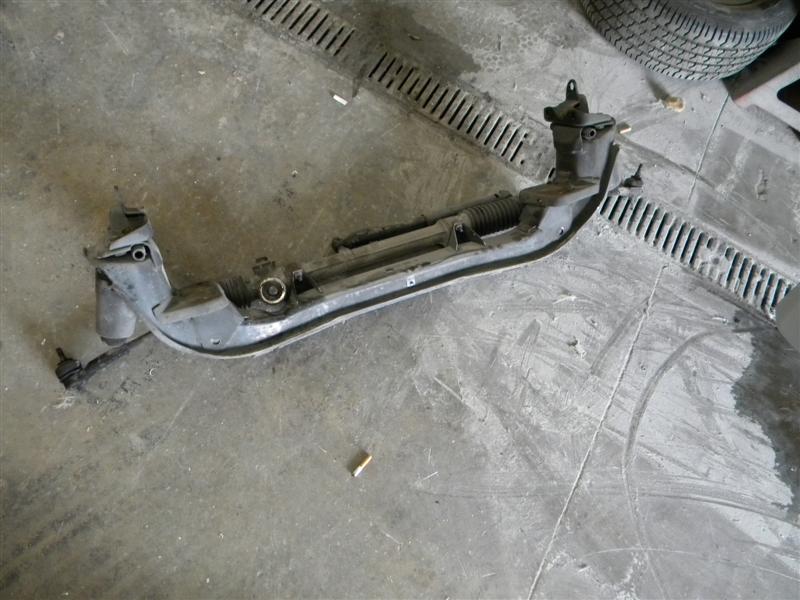
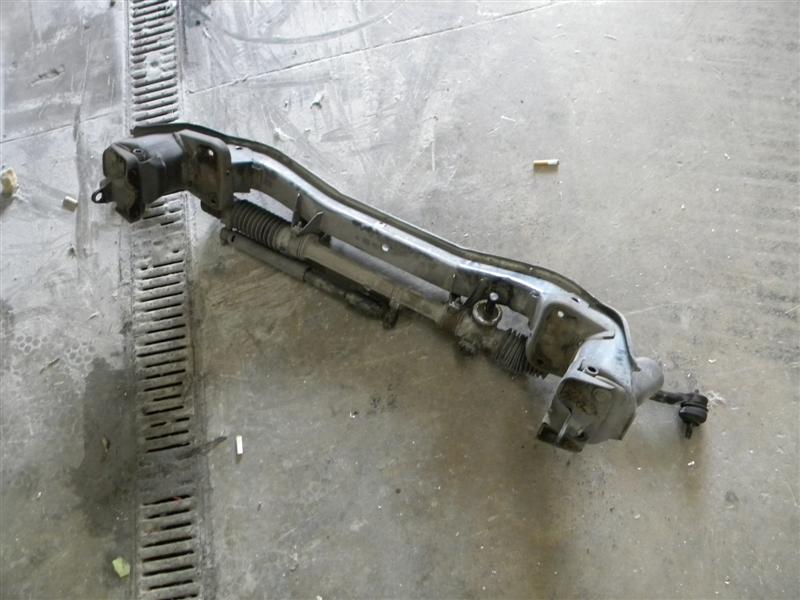
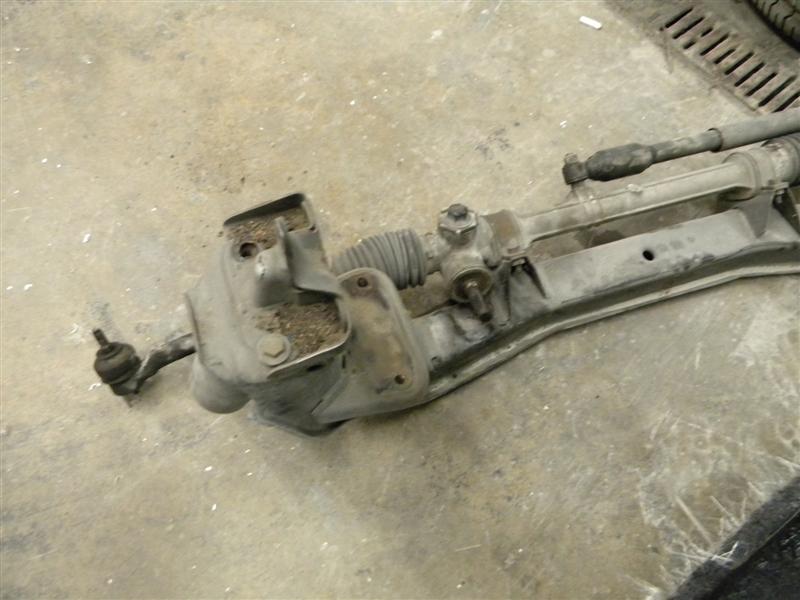
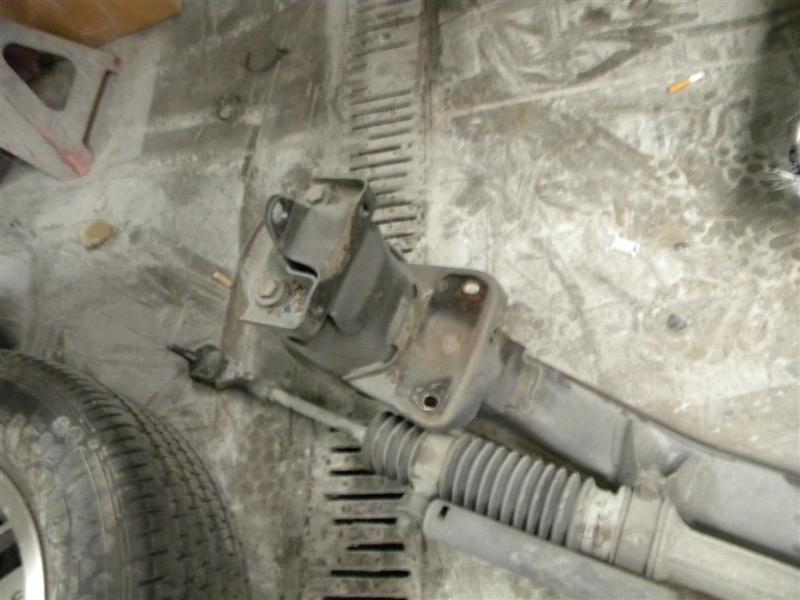
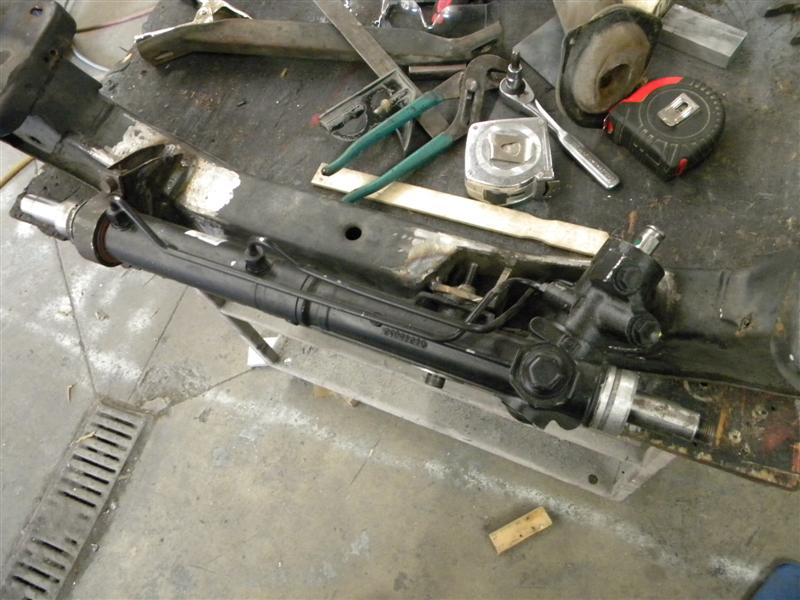
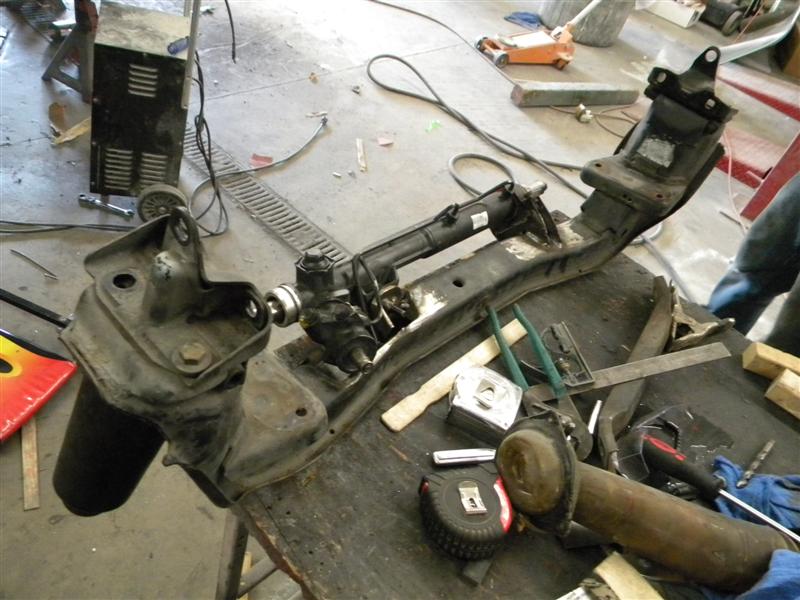
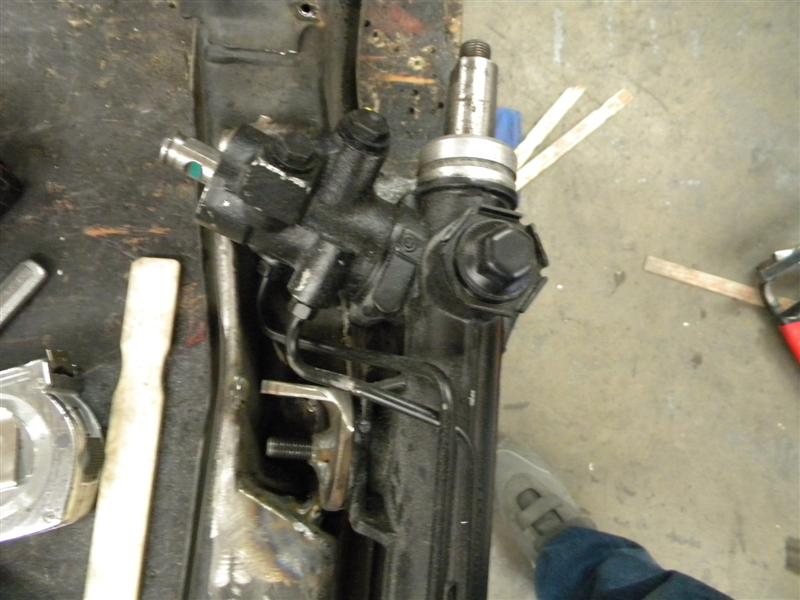
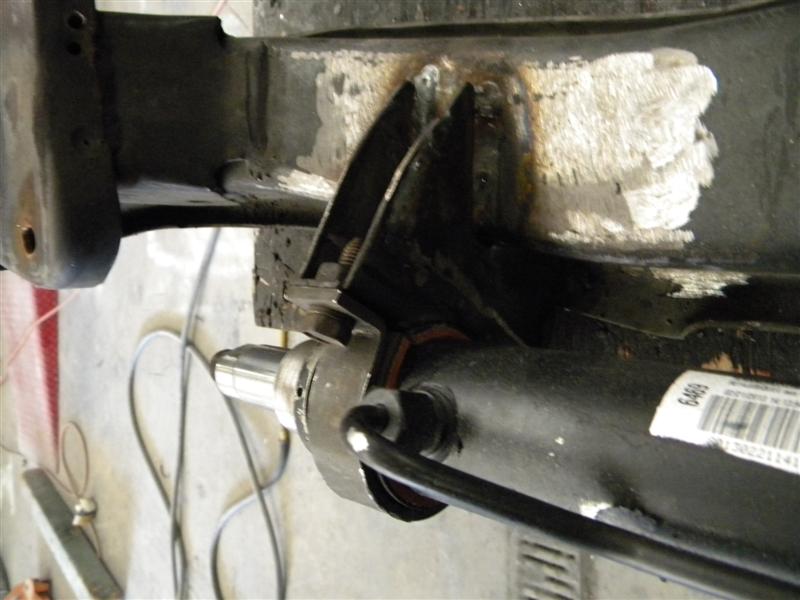
We have taken the front crossmember out so that we can midify it for the P.Steering rack.
.............
|
|
|
|
Archie
|
AUG 17, 11:00 AM
|
|
.............
Considering how torn up & abused the body & running gear was on this car & considering how wasted the interior is/was......
The chassis on this car is 99.9% rust free........
Archie
|
|
|
|
exoticse
|
SEP 08, 04:14 AM
|
|
Maybe i missed it, but what are you guys doing to or with the suspension and brakes ?
|
|
|
|
infinitewill
|
SEP 08, 01:00 PM
|
|
|
. [This message has been edited by infinitewill (edited 01-05-2016).]
|
|
|
|
RCR
|
SEP 29, 08:57 PM
|
|
Archie: We need an update, please?

Bob
|
|
|
|
Archie
|
OCT 05, 12:08 PM
|
|
OK, it's been about 7 weeks since I've had a chance to update this thread. So, let's see if I can bring you up to date today.
We've got a lot done in a lot of different areas in the last 7 weeks & we'll see if I can make all of the updates make sense.
It'll take most of the day to get this all caught up but the last few pictures I post today are real cool. However, I must post all this other stuff so that those pictures can be shown in context.
YOU are NOT allowed to jump ahead in this thread to see the pics. YOU MUST read thru all this other stuff before you look at those pics. 
I'll try to keep this in order however, a lot of the different things have been going on simultaneously. So let's see how I can do.
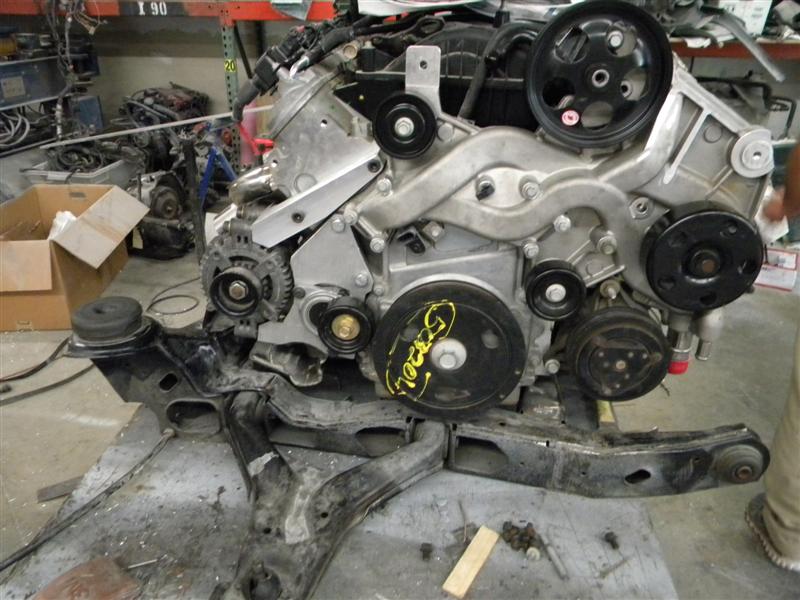
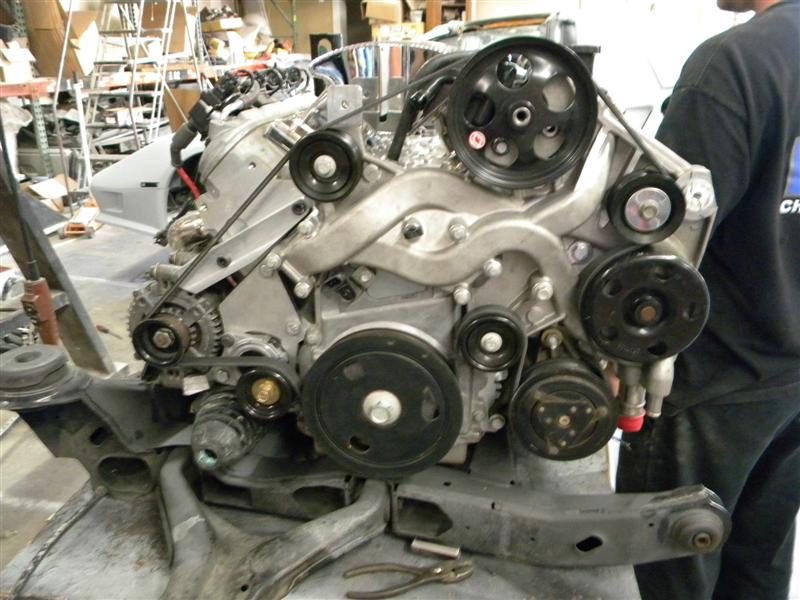
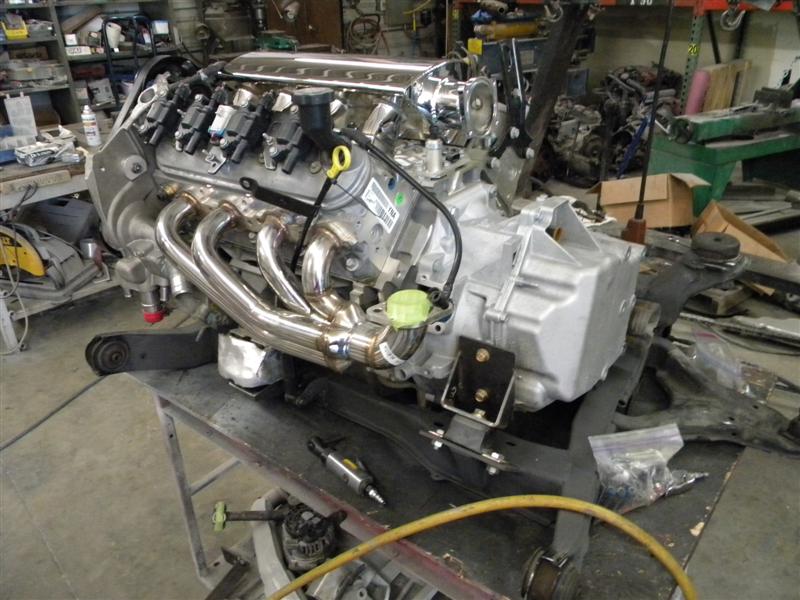
Mounting the engine to the cradle wasn't so bad. I bought some mounts from one of the guys here on the Forum. (I don't know if he wants me to post his name, so I'll let him do it.) The mounts were for an '88 cradle & this is an earlier cradle. So we used some of his parts & made some of our own.
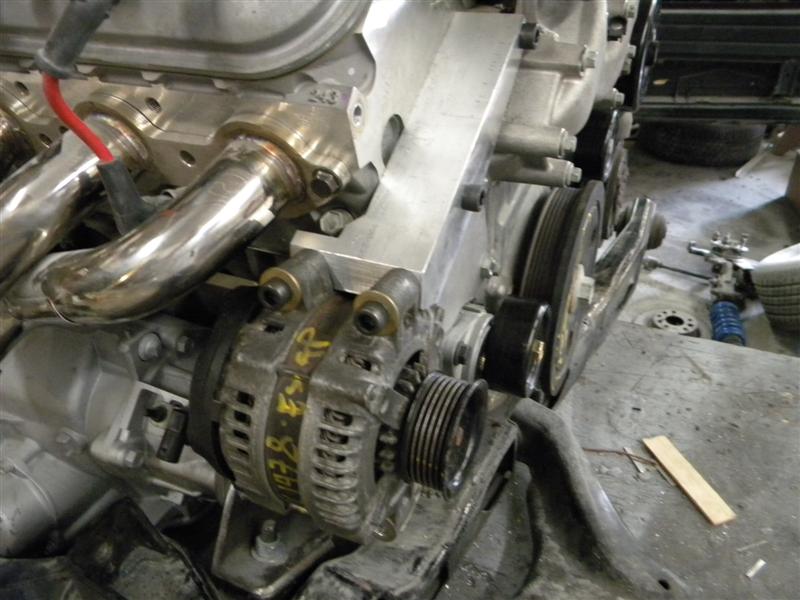
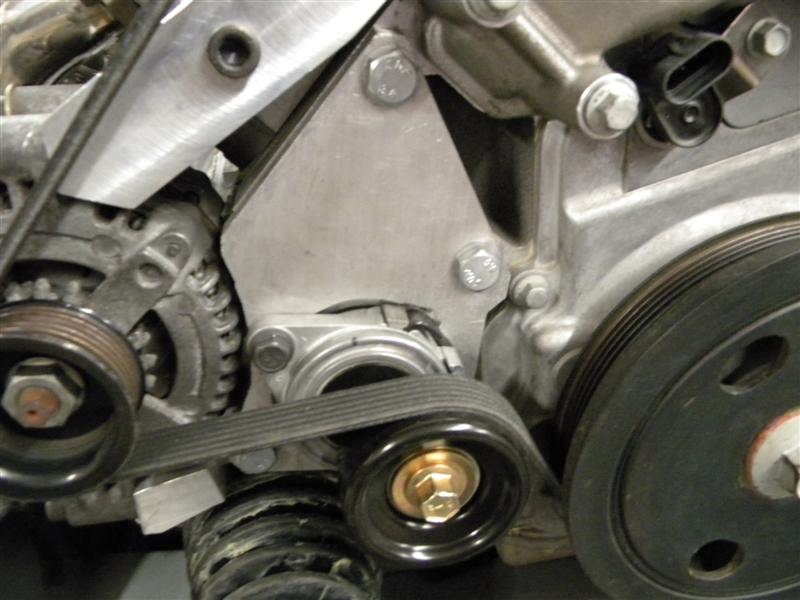
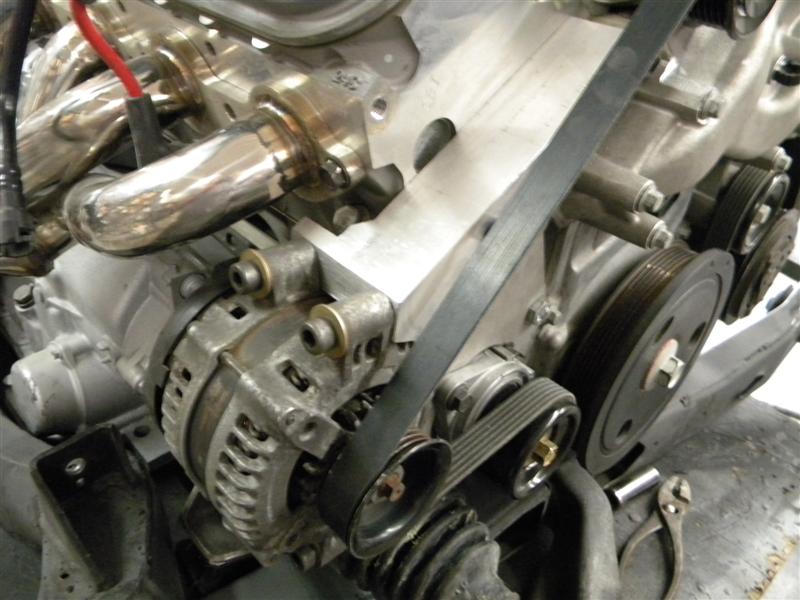
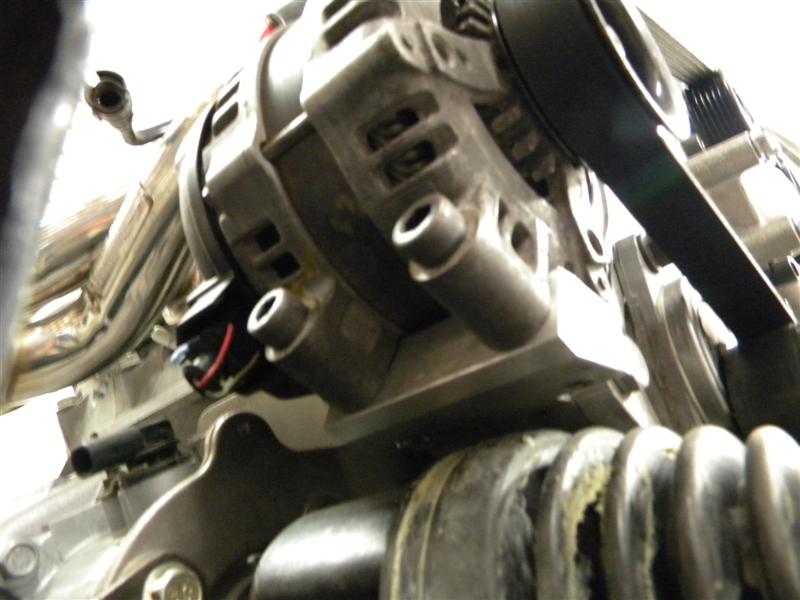
Once we had the engine on the cradle, we had to figure out an alternator mounting. We wants a low mount Alt. But it was clear that mounting the Alternator low on anything but an '88 cradle could be a problem because of the 84-87 rear tie-rods being in the way.
We finally found a location where the alternator would clear everything & started making parts out of Aluminum blocks & flat stock on the Bridgeport.
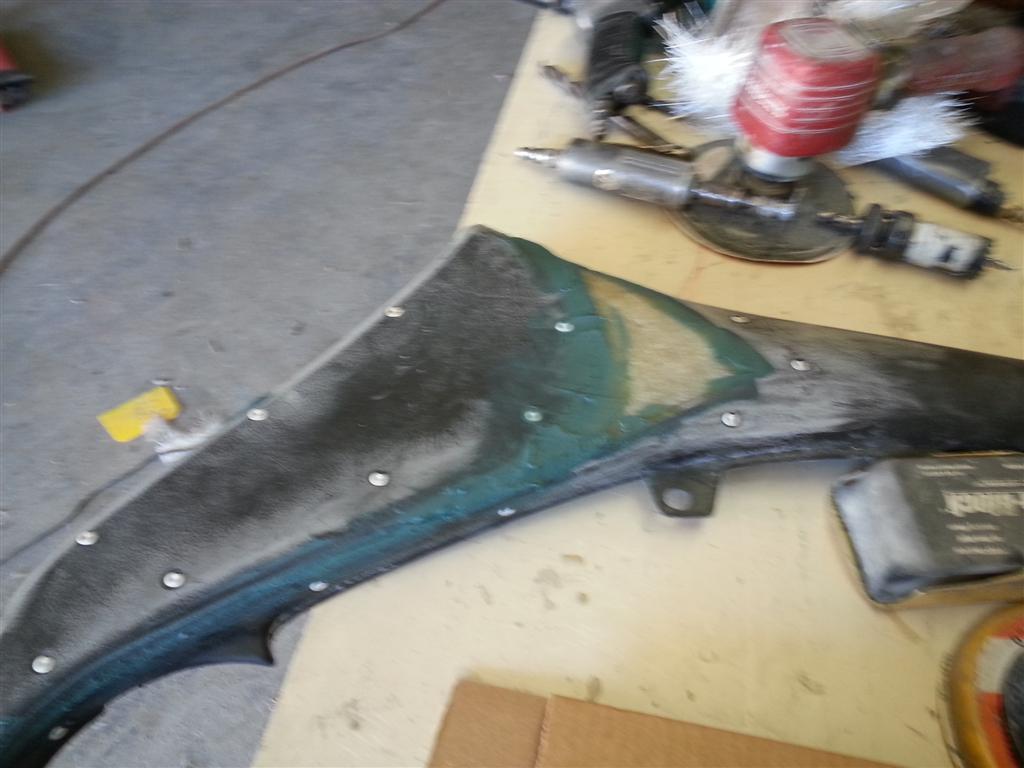
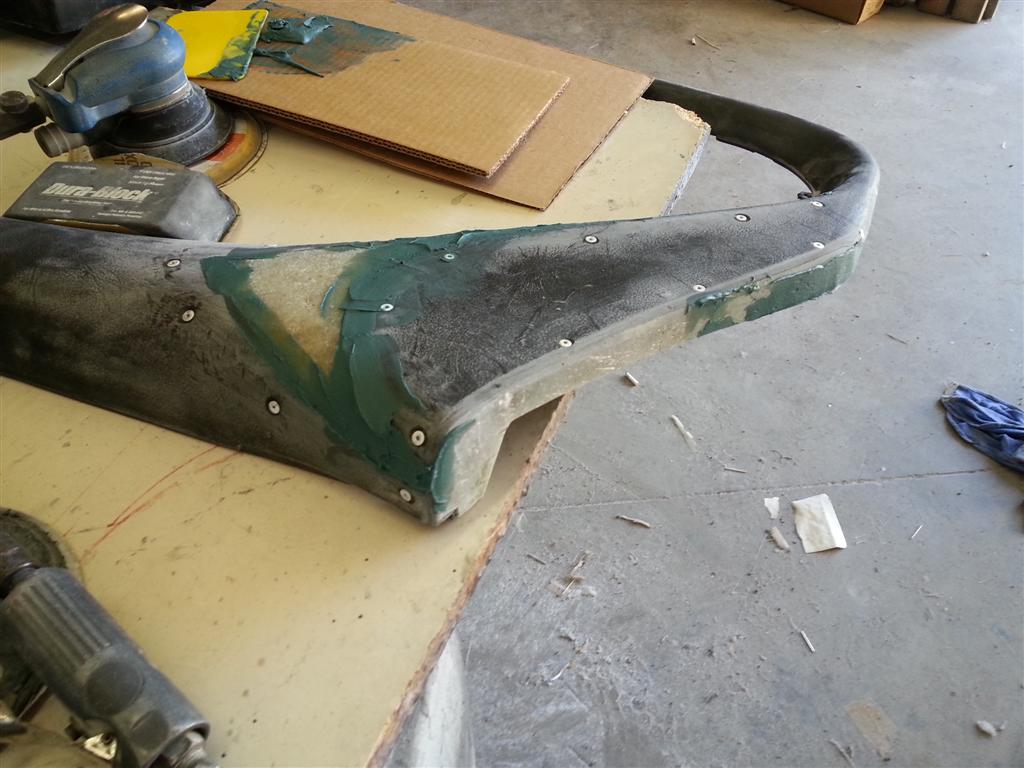
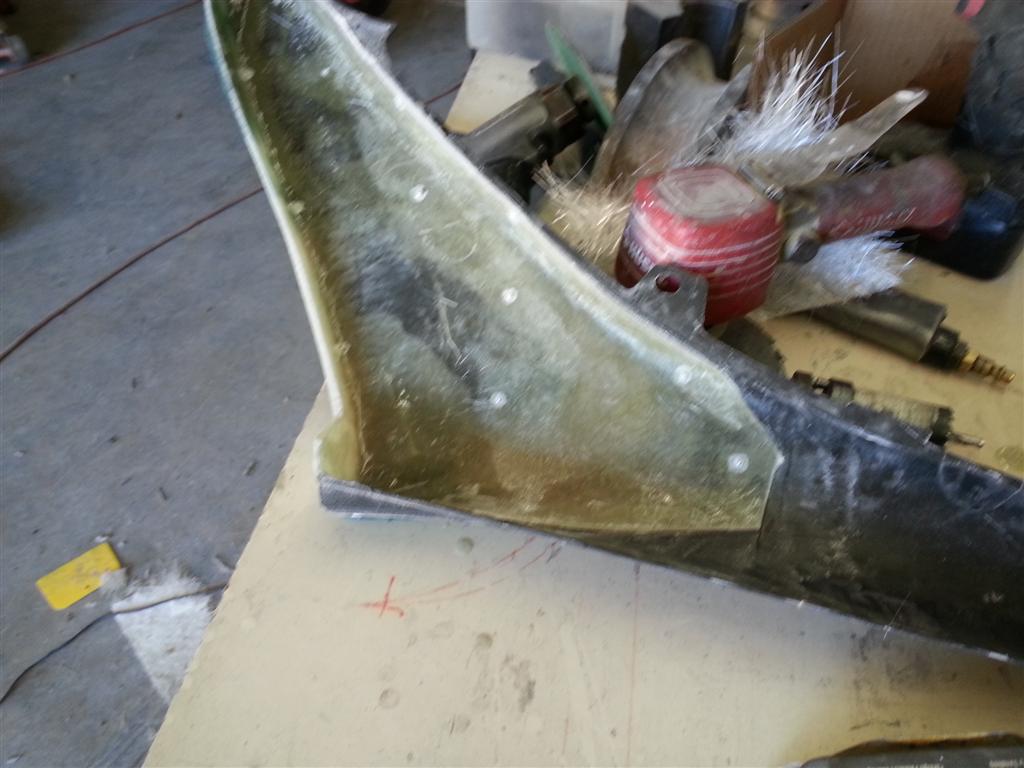
In the meantime, Kris was making the bars & brackets. (Including glassing the brackets inside the new front bumper) to mount the bumper on the car.
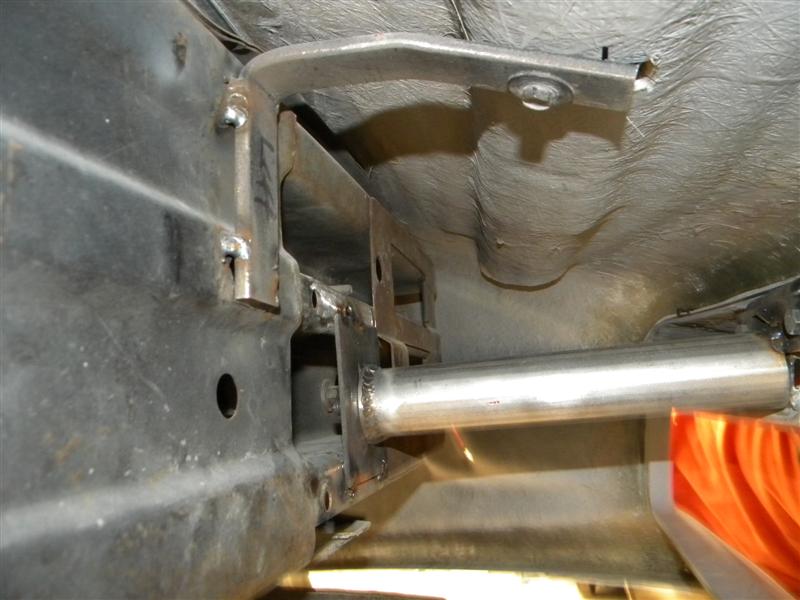
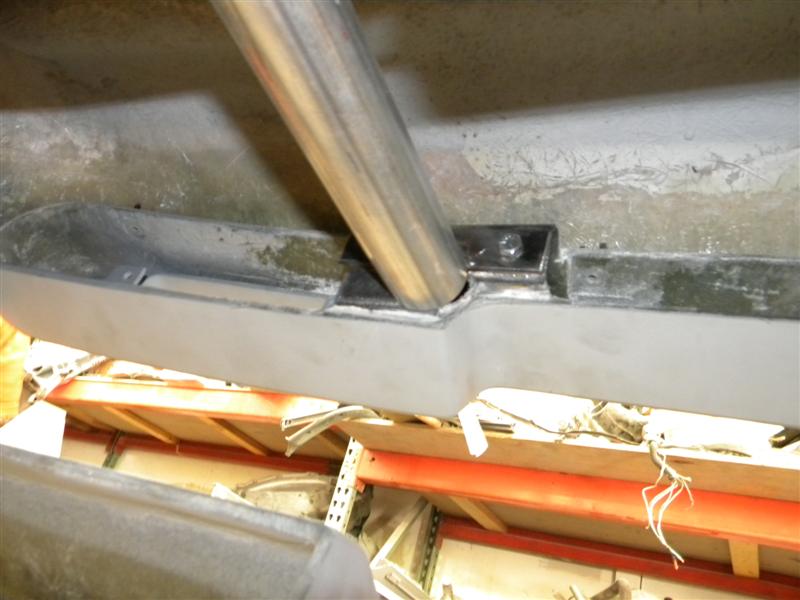
We removed the front crossmember to mod it to mount the Power Steering rack.
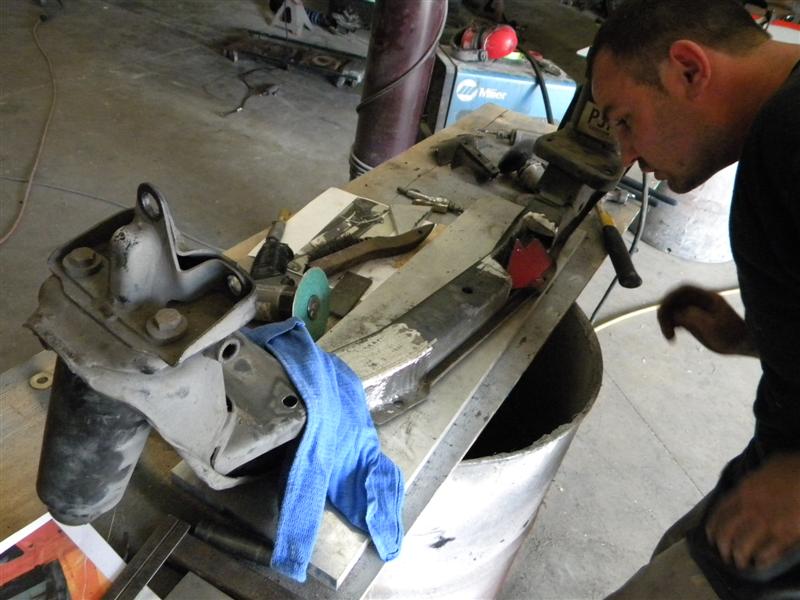
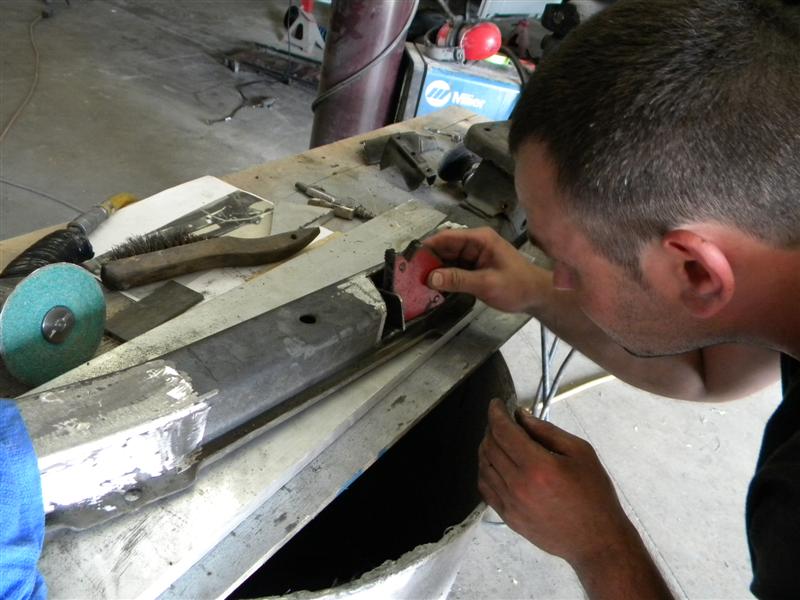
After a bunch of measuring & welding it's coming along.....

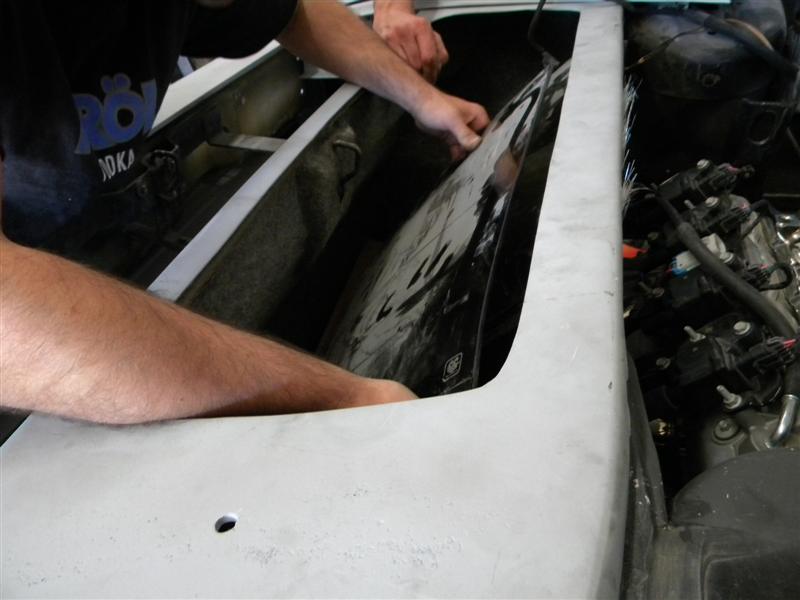
Another (hopefully final) trail fit of the engine in the car.
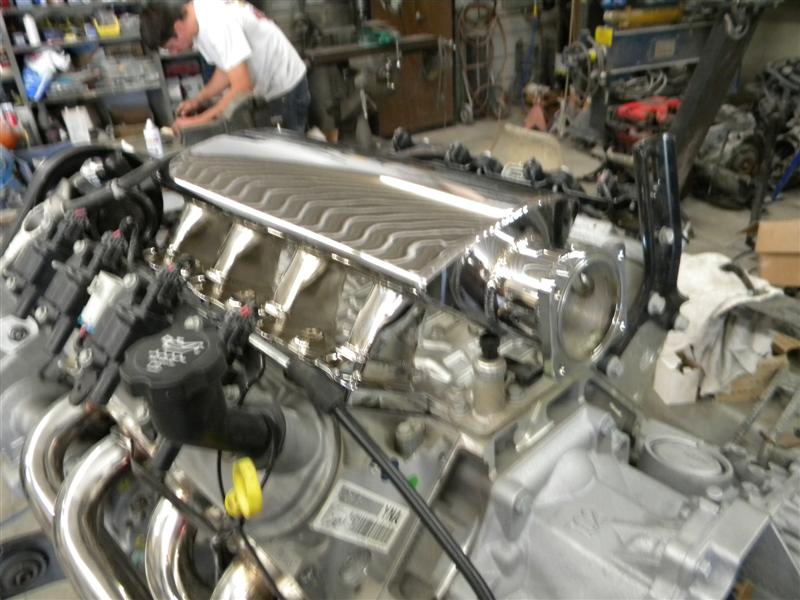
Among other things, we are checking for clearance of the intake & the P.S. Res. to the decklid.
The Res. tank cap is clost to the side of the decklid rib, we will be modifying that area for a little more clearance.
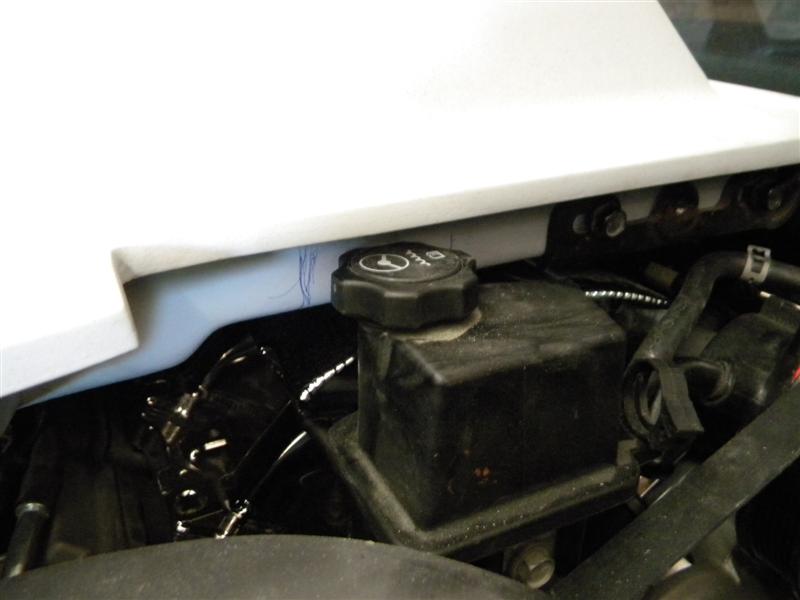
Hard to see but we have about 1-1/2" clearance above the top of the intake.

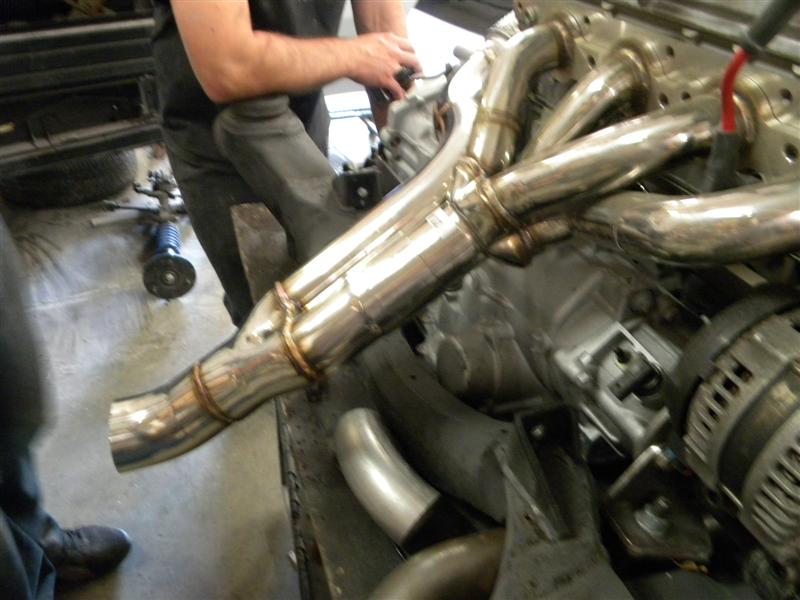
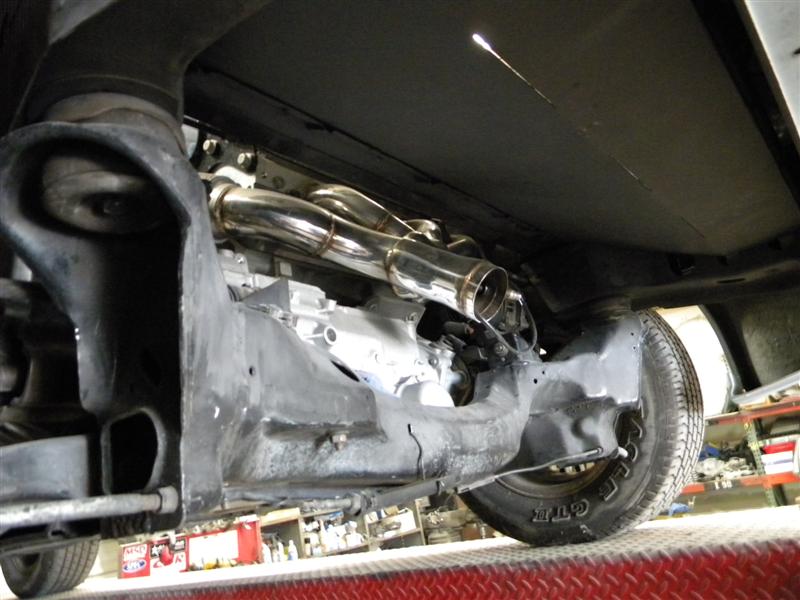
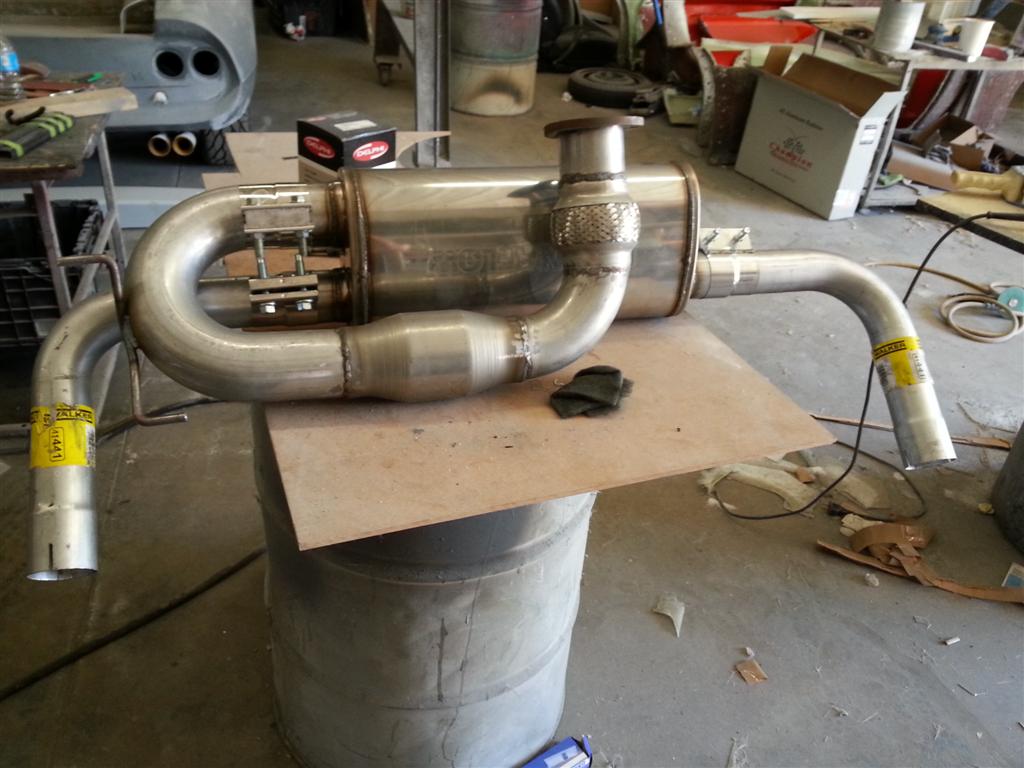
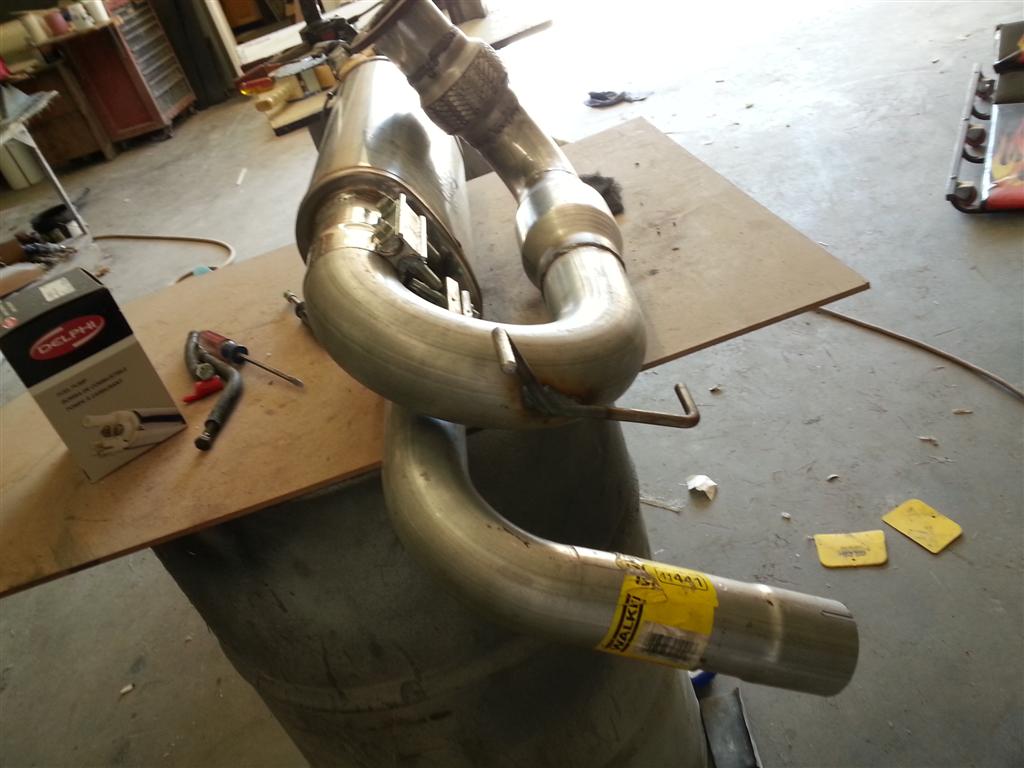
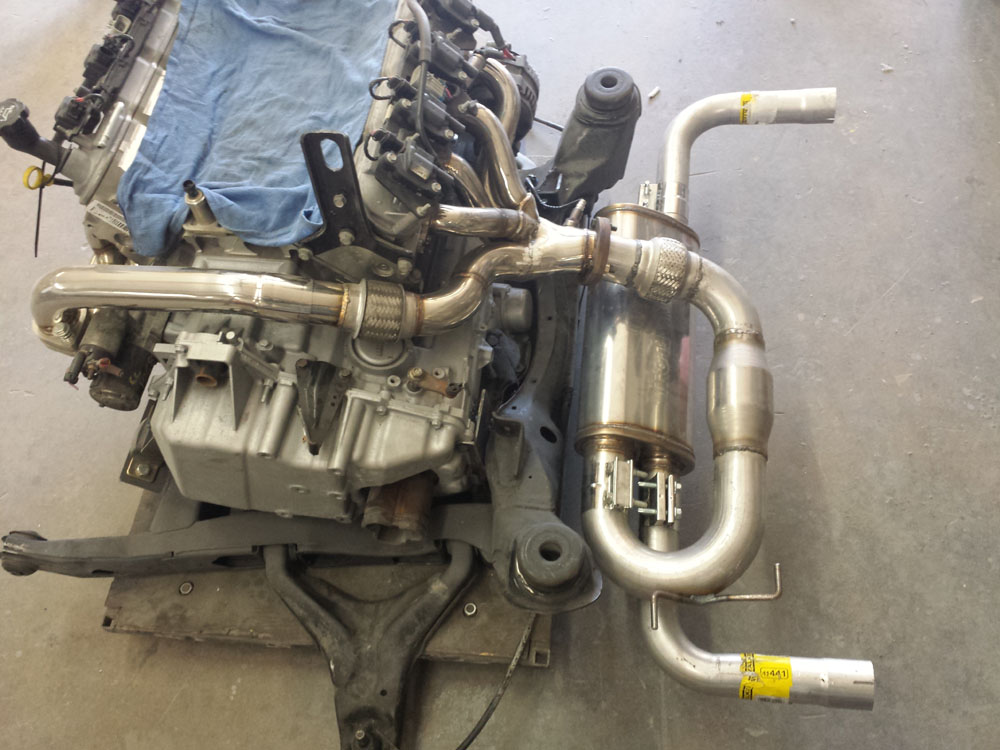
Working on a plan for the exhaust routing......
With the collector for the headers coming out in the middle of the car.....
.....A lot of guys (myself included) would just put a "Y" in to split the exhaust to both sides & install cats & a 90* turn to go out to the back of the car. This is hot rodding but it can be too pretty loud.
But Lady Lisa, while loving some performance & a certain sweet V-8 rumble, knows that she is less likely to want to drive the car if it is louder than the Hot Rodded Camaro the 17 year old High Scool kid drives to school..
So it's gotta be something she "wants" to drive without waking up everyone in the neighborhood.
Normally we would make the trunk smaller (shallower) & put in dual spun cats & dual mufflers & resonator tips.
But, this car also has "T" tops & we want enough room in the trunk to store the "T" tops.
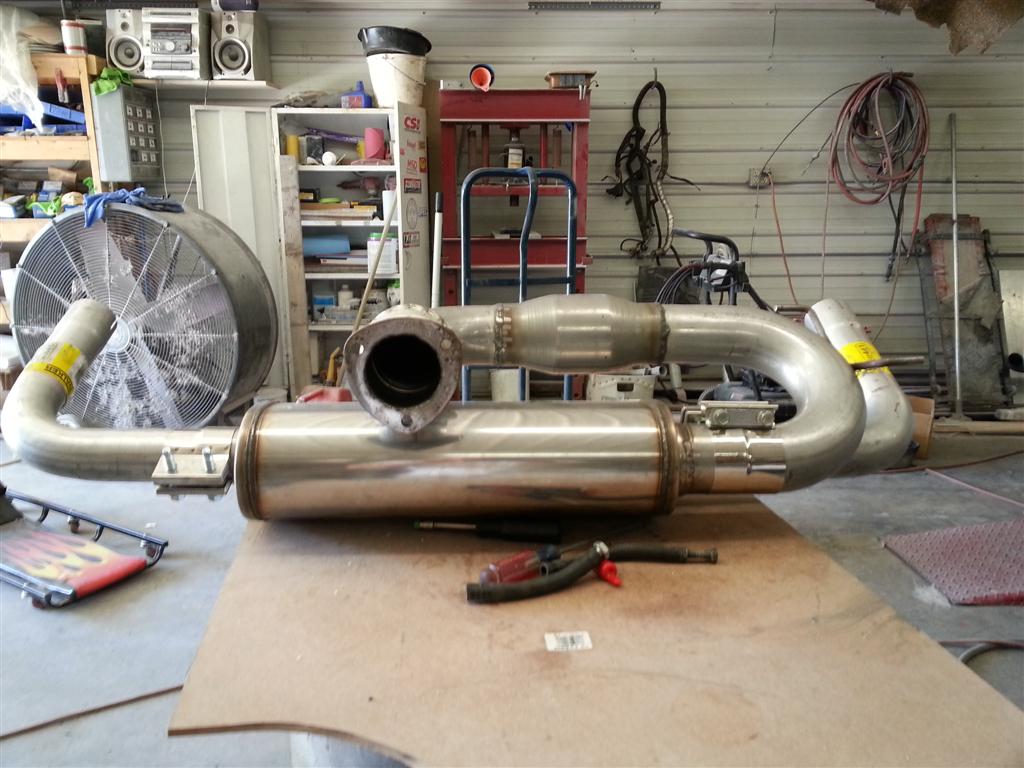
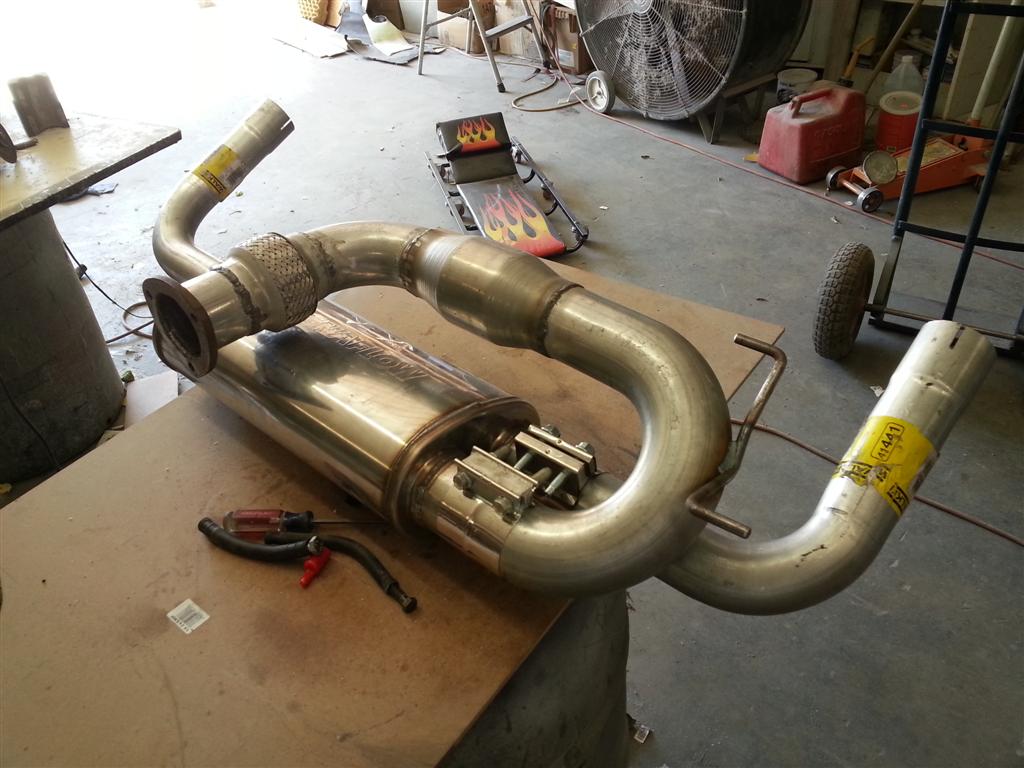
So, we have to find a compromise where we have enough room for the "T" top storage & yet can mount a good sized crossflow muffler & Cat. under the trunk floor. We want to have the 3" pipe from the collector going thru a 3" spun Cat. & into the muffler then dual 2.5" pipes coming out of the muffler & going out thru the exhaust pip locations in the rear facia.
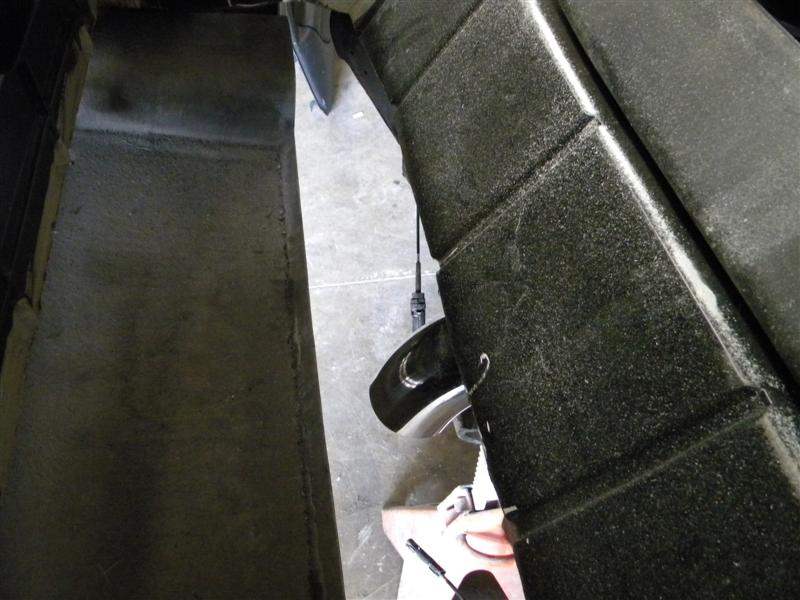
Figuring out room needed to stroe the tops.....
Cutting to begin building the new trunk floor

A few pics of the new floor after we finished it..
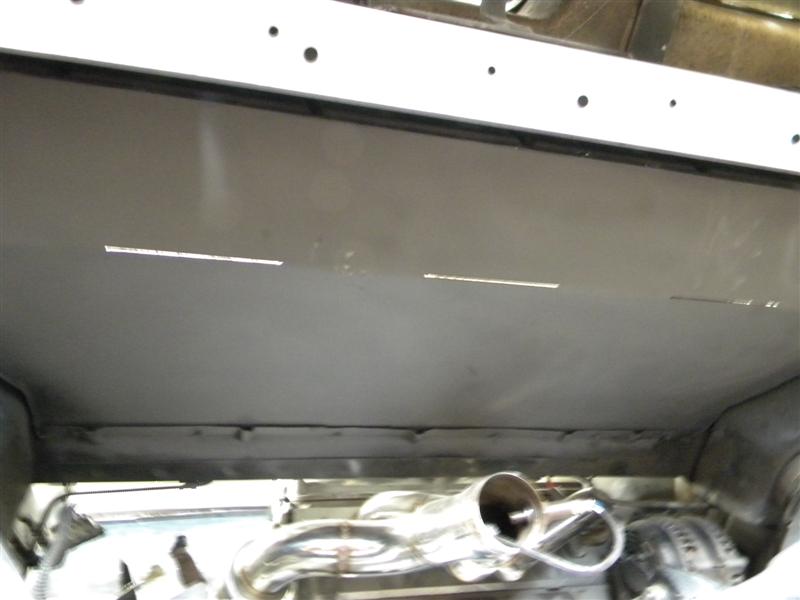
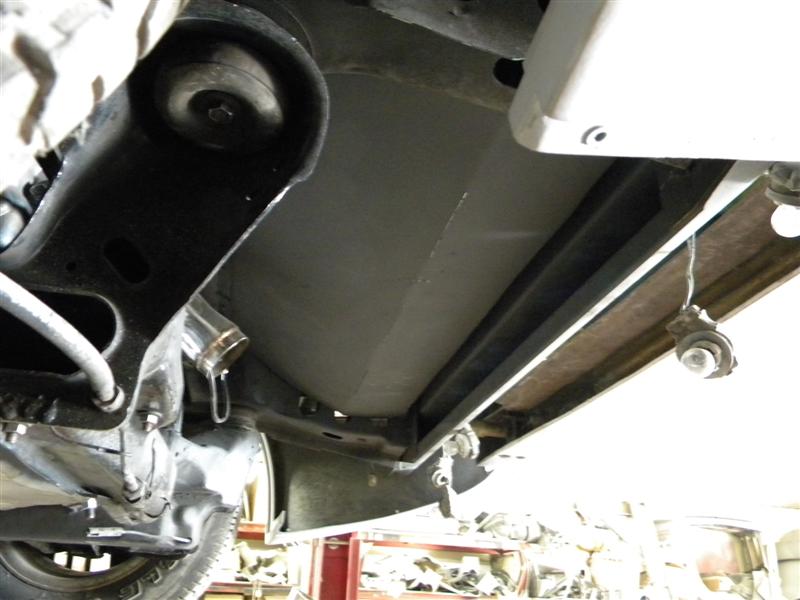
More to come.......
|
|
|
|
Archie
|
OCT 05, 02:31 PM
|
|
Over the last 7 weeks, we've worked on several areas of the car. These include Door panels, dash fitting, copnsole fitting, mounting seats, exhaust configuration, partial engine dis-assembly & re-assembly, cam install, timing set, lifters, pushrods, POR15 engin & trans. & powdercoating.
Hard to figure out how to post the details & not be confusing people.
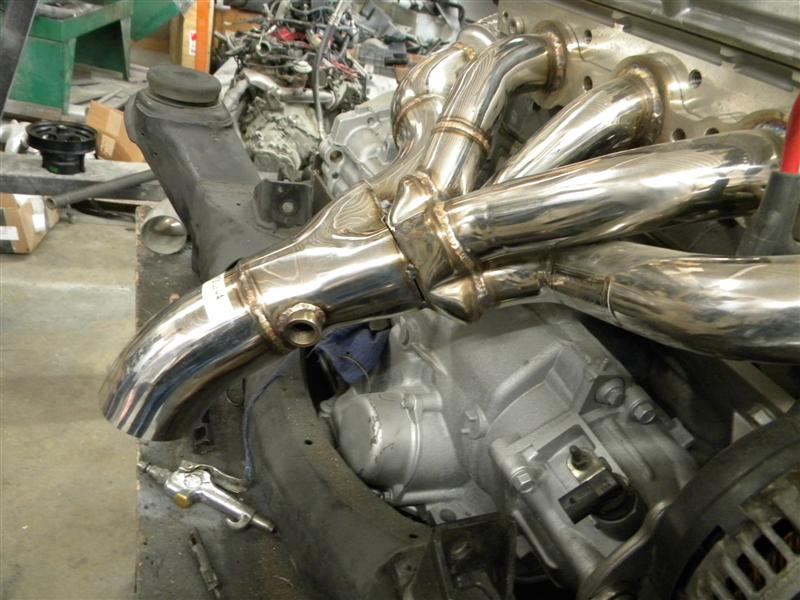
Let's try the exhaust building. Here are some pick of the actual building of the exhaust.
The header collector had long pipes goingdown to the collector.....

We had to shorten it up.....
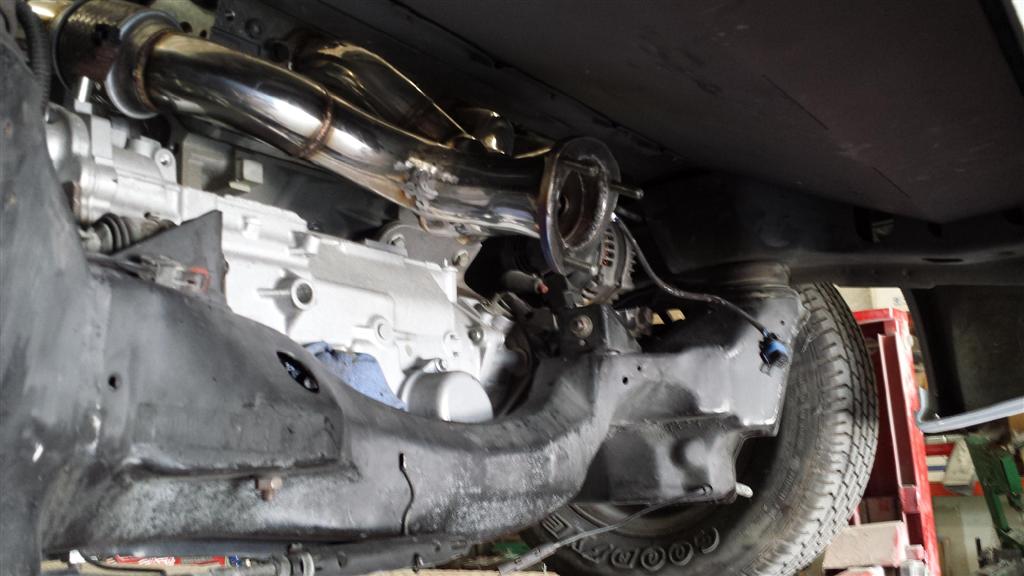
We put the car on the rack to build the exhaust.
To clear the muffler, we had to take about 3" ioff of the front edge of the muffle cover.
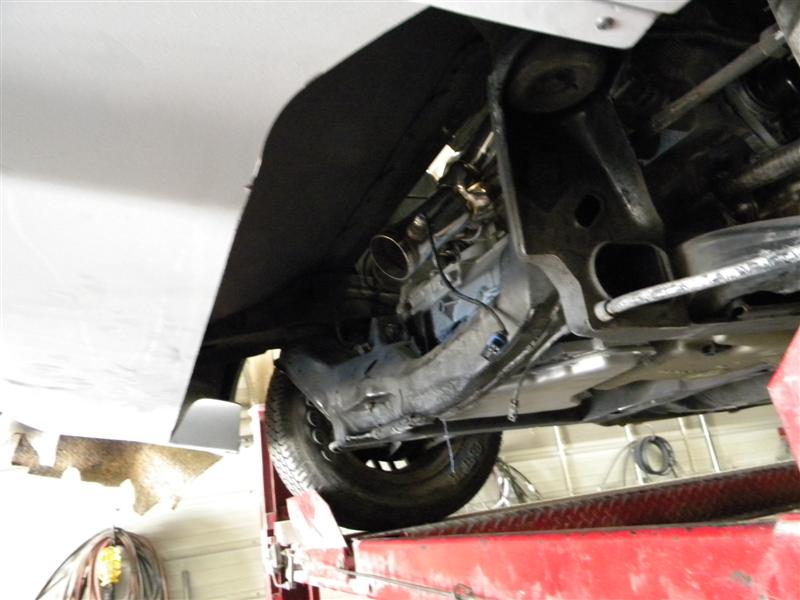
Some exhaust build pics.
.jpg)
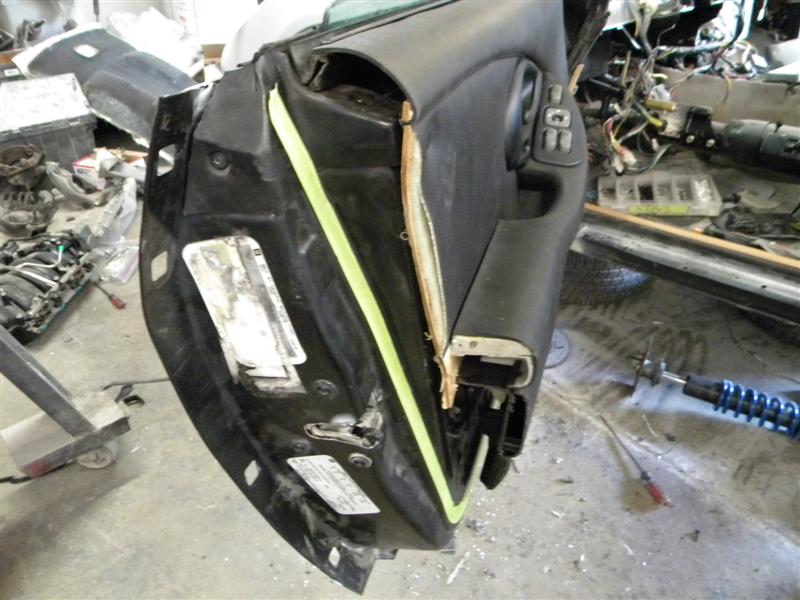
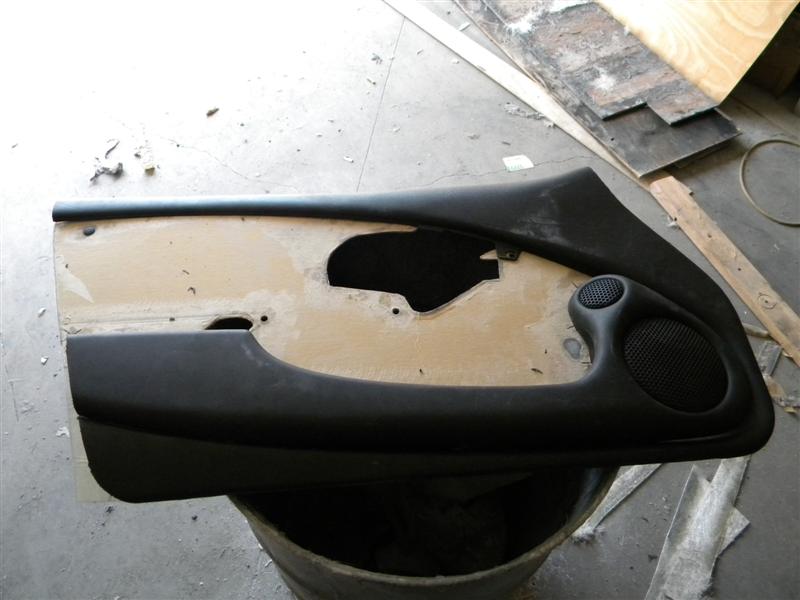
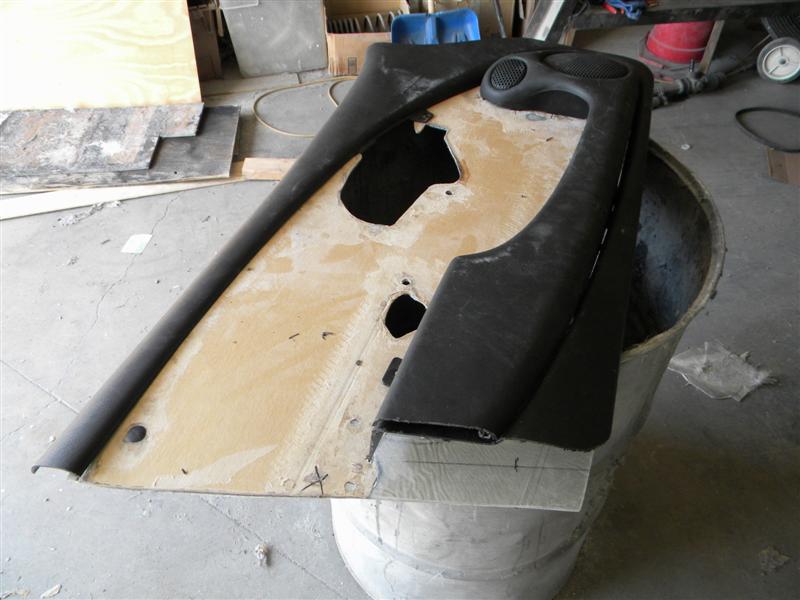
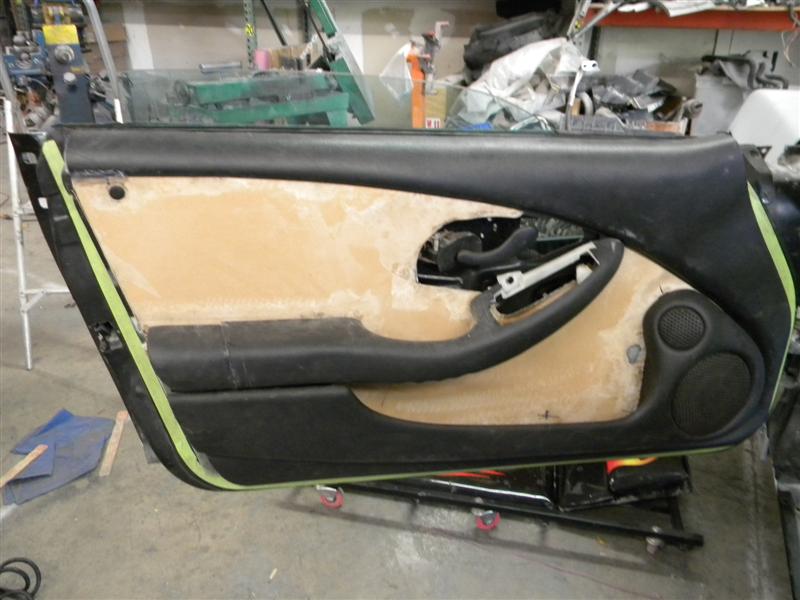
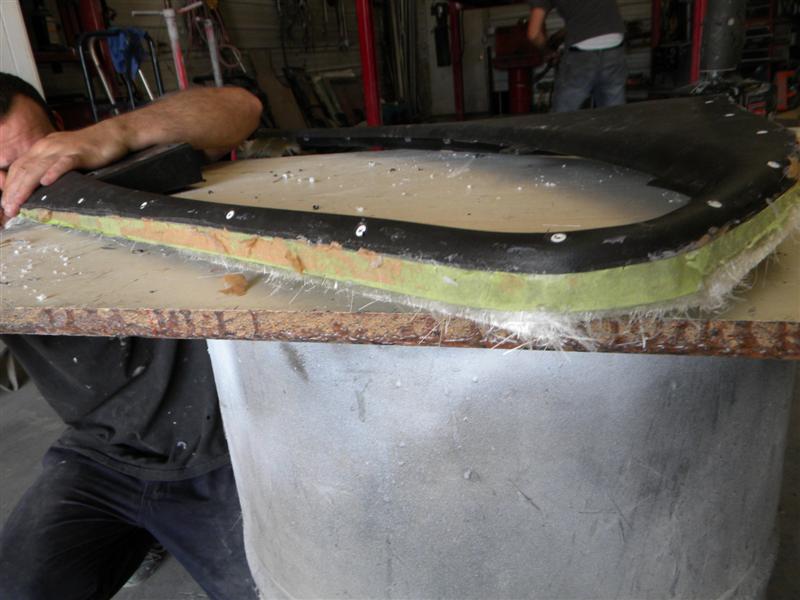
We also were working on the door panels.....
This is what we started with
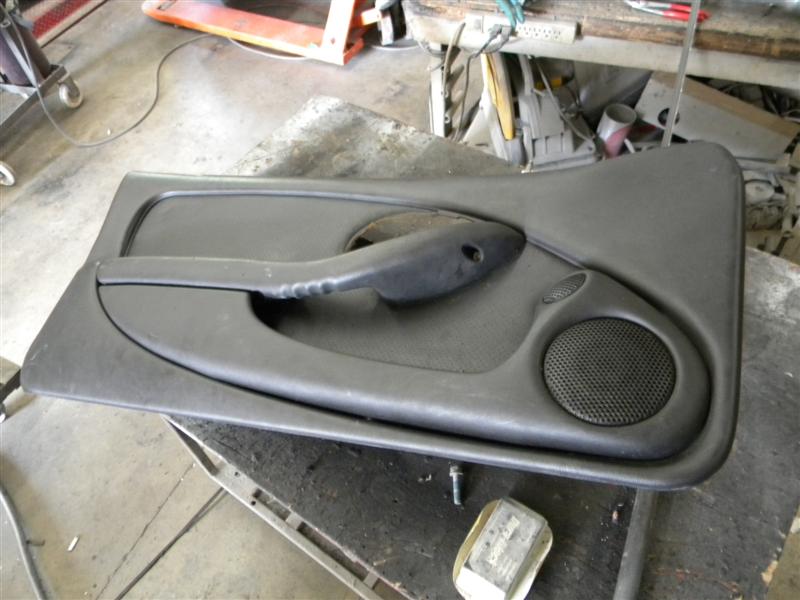
IMHO, the best way to do this was to locate the door handle. In a post by JScott (I believe) he posted up some dimensions for the handle location, so we tried that location first. It turned out to be the best advice on the whole process.
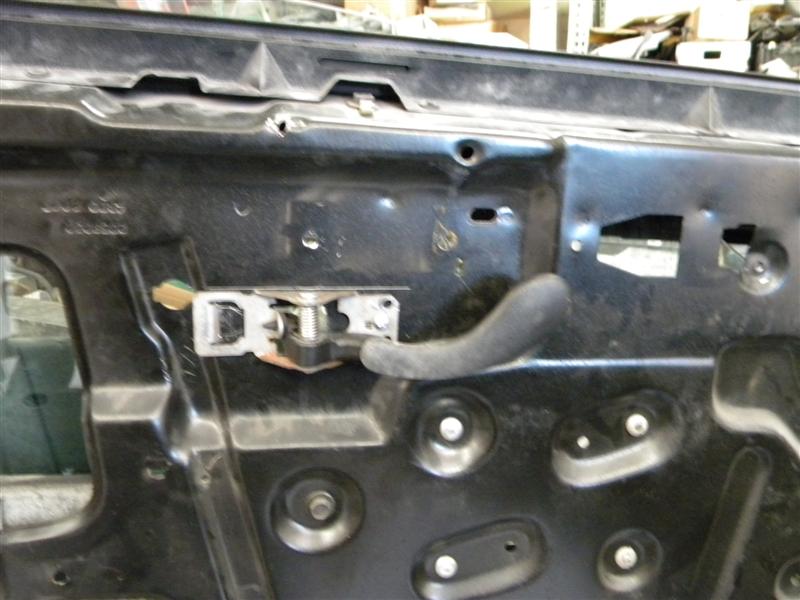
From there we started cutting the perimiter
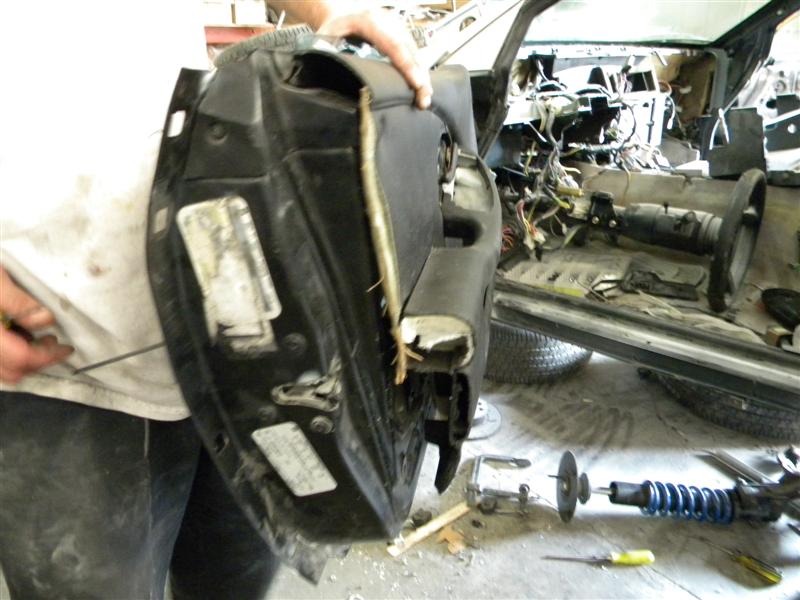
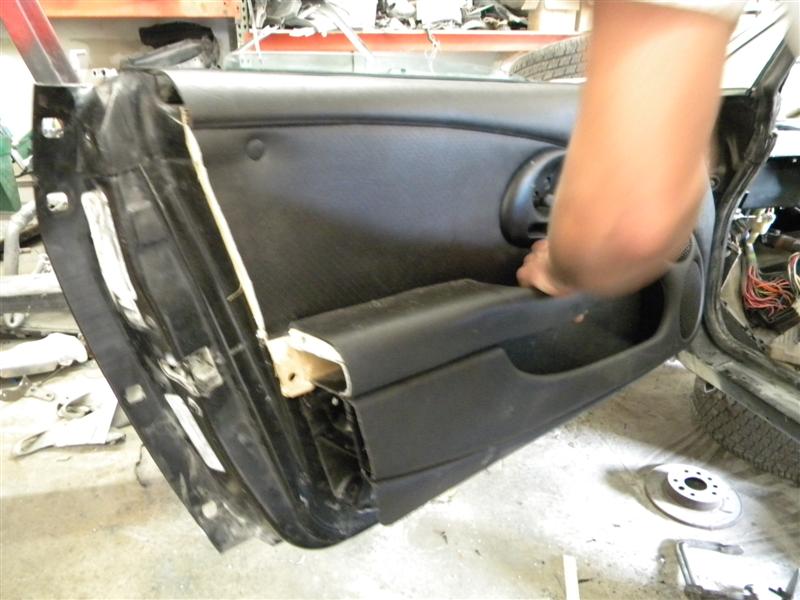
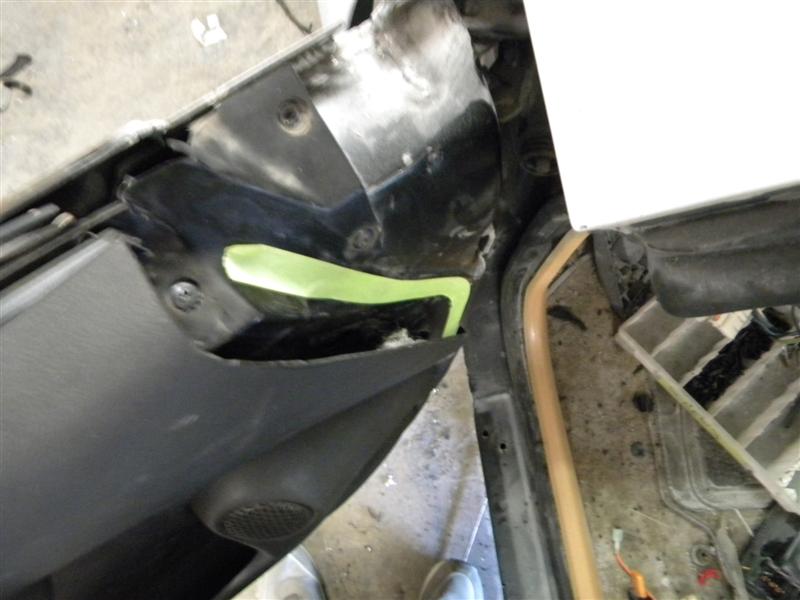
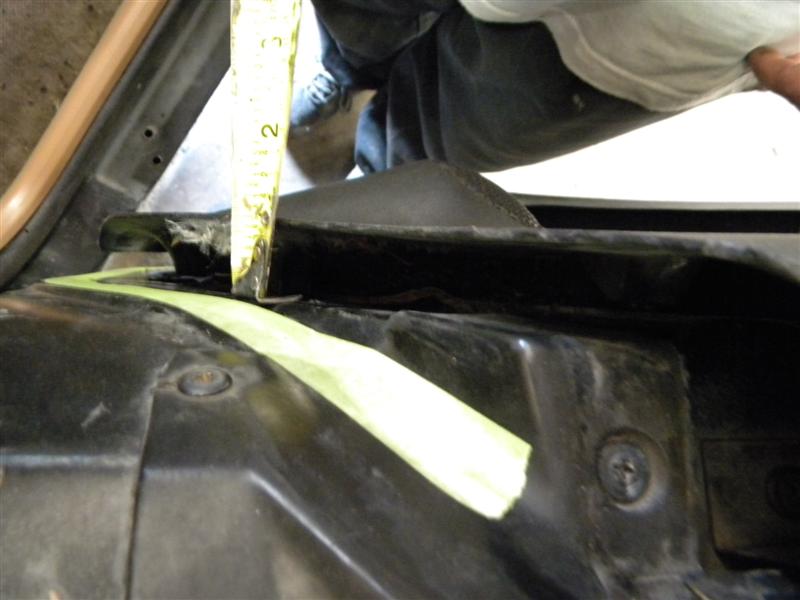
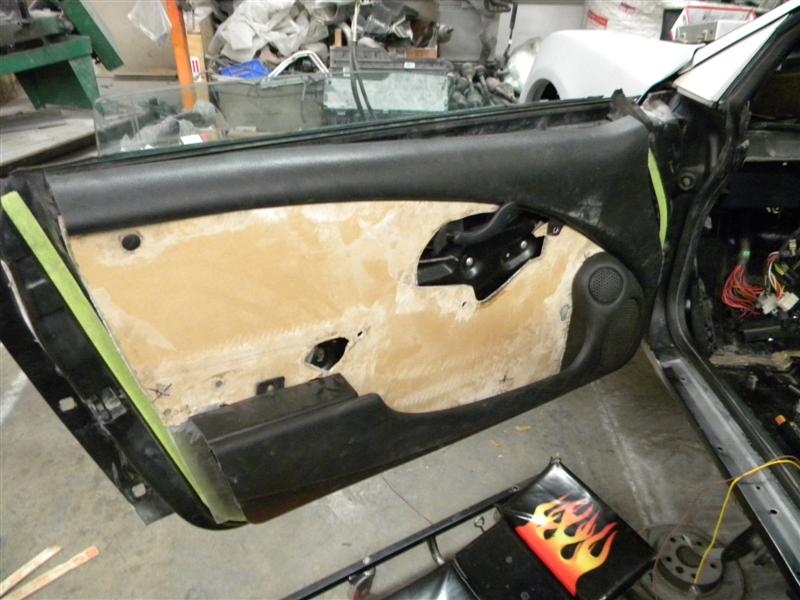
We put green tape on the inside of the door frame where the door seal would contact it.
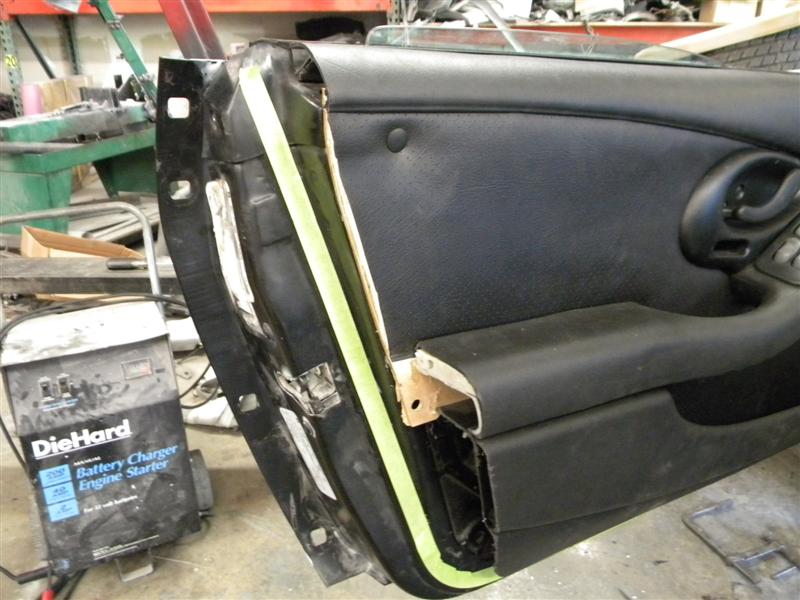
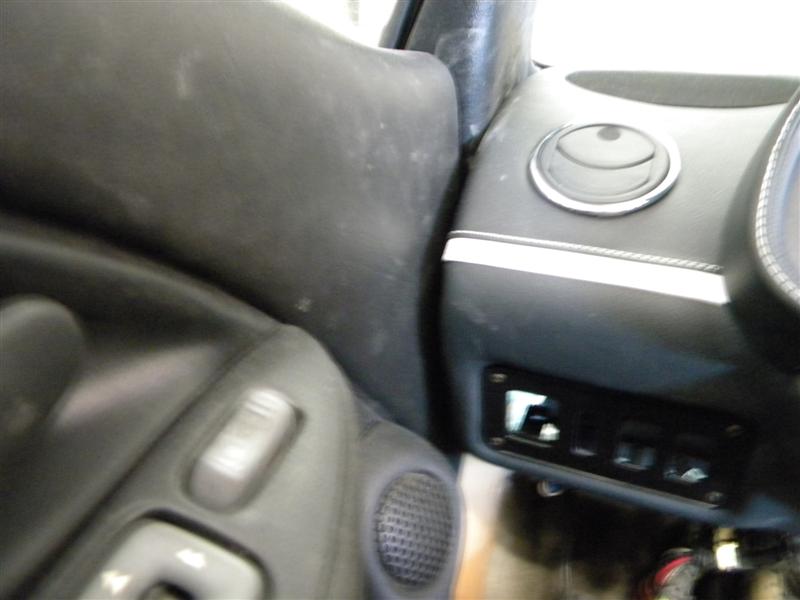
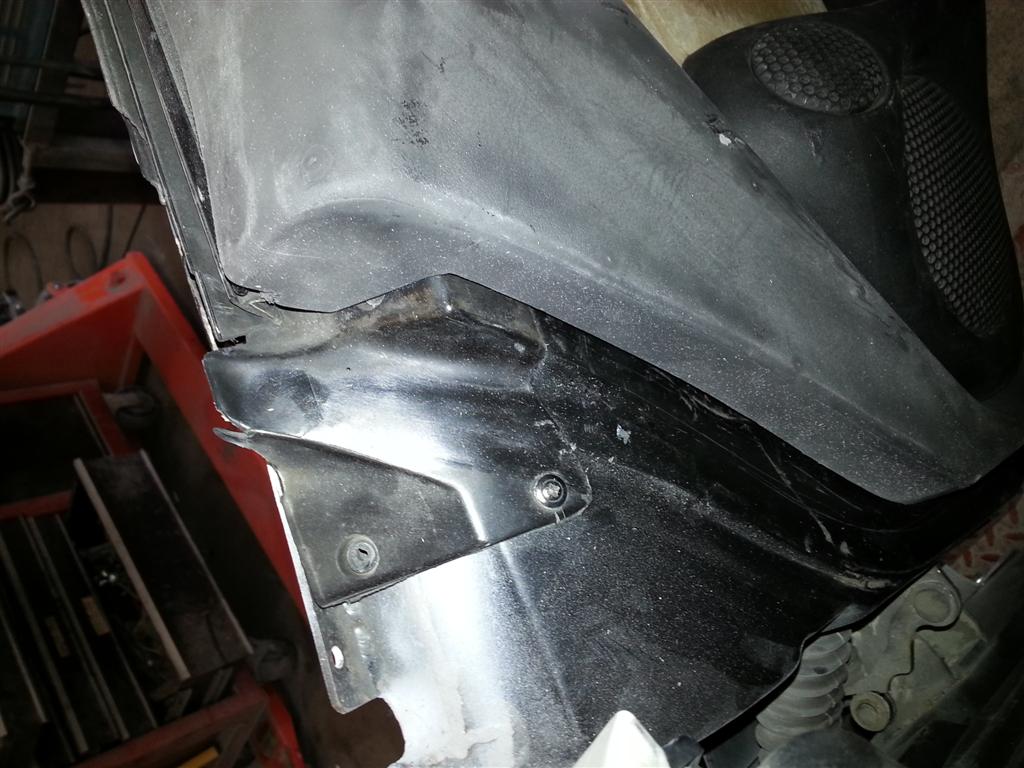
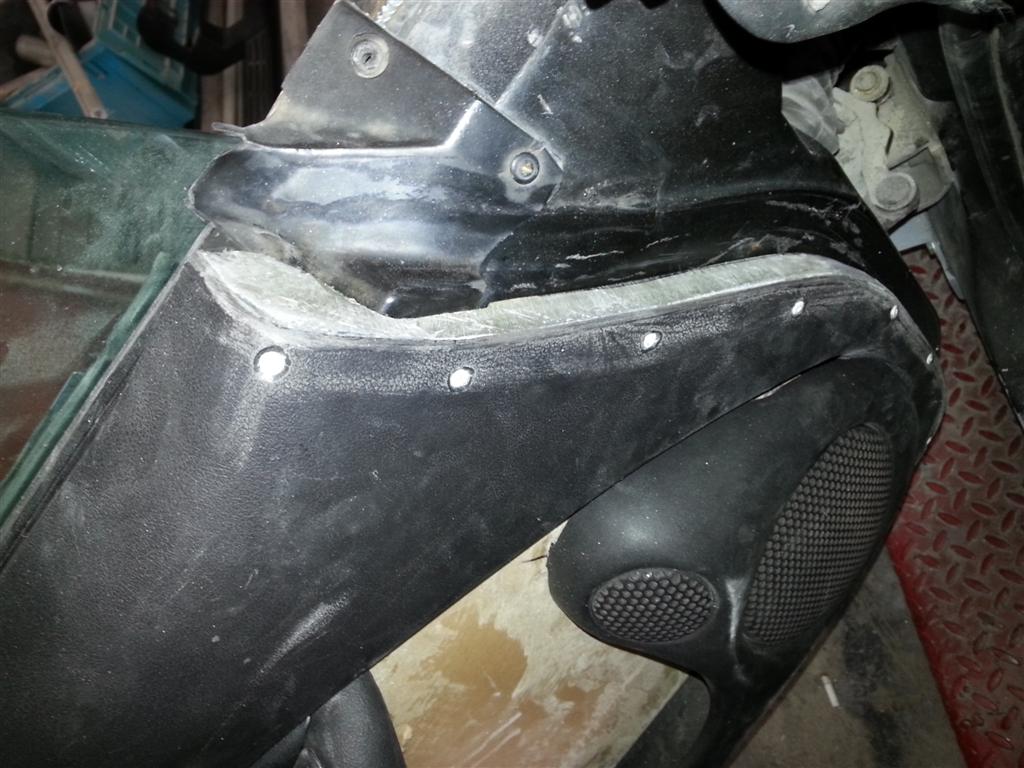
You can see how the edges of the door panel stick out from the inside door frame. That means that the door panel will actually extend a little farther into the passenger compartment thant the OEM panels. So you need to make sure that the trimmed edges of the door panels are cut back far enough to clear the hard plastic inside "A" & "B" pillar trim & the sill plate trim. There will have to be a return made all around the door panels to close off the ends & bottoms of the panels.
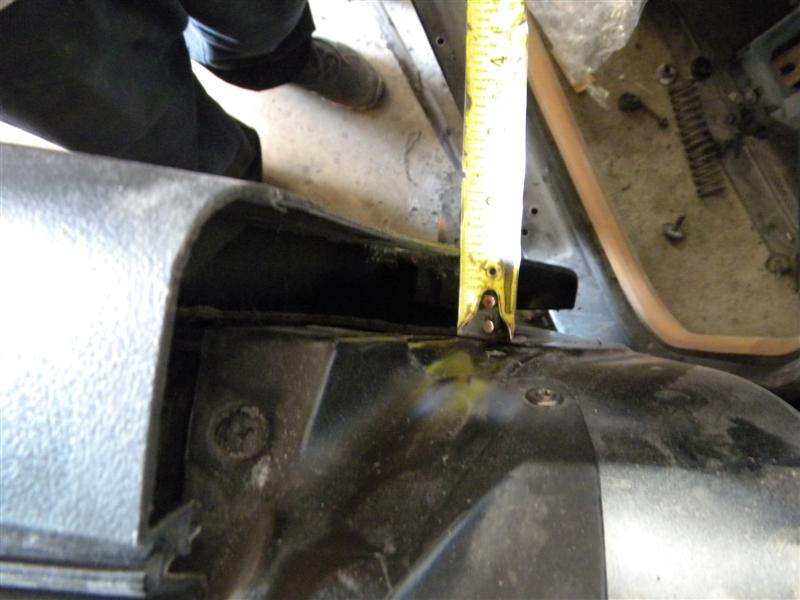
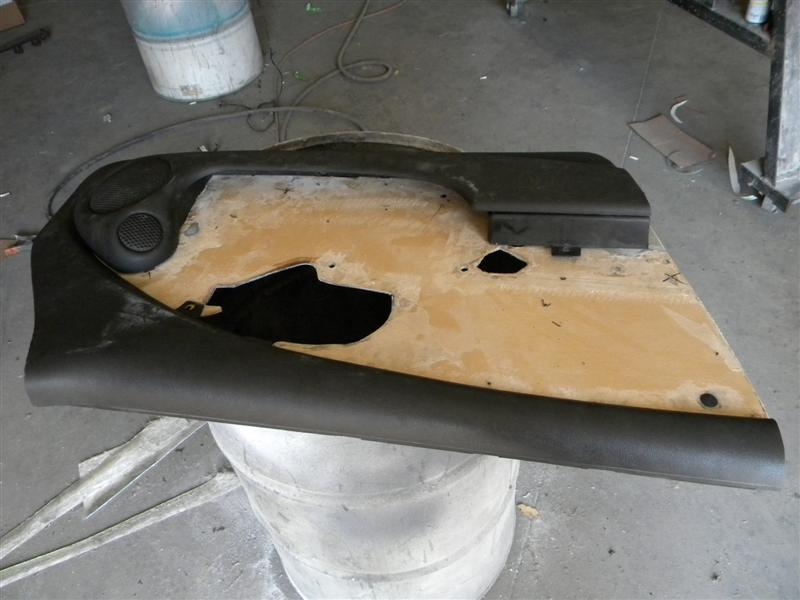
There is a "Hump" on the right side door panel near the top & front. This interferes with the new dash & will have to be flattened out.
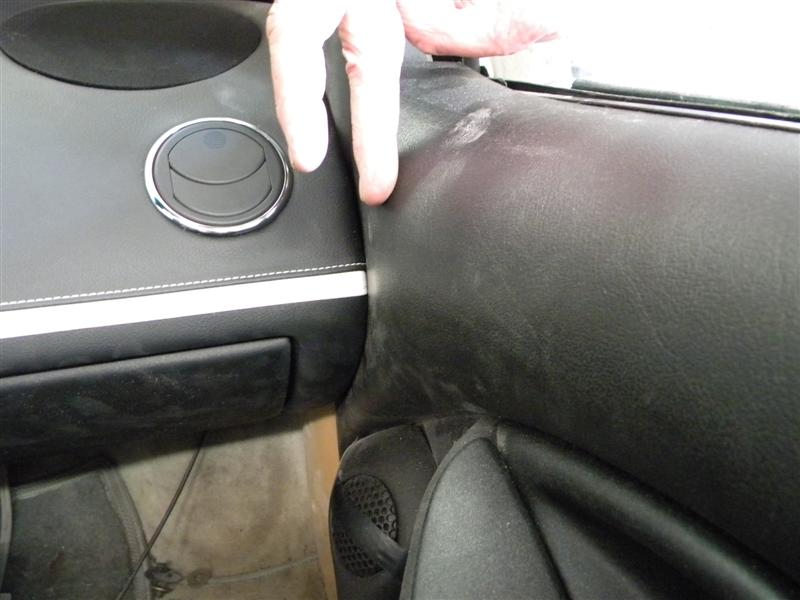
No "Hump" on the drivers' side.
More to come..........
|
|
|
|
Archie
|
OCT 05, 04:20 PM
|
|
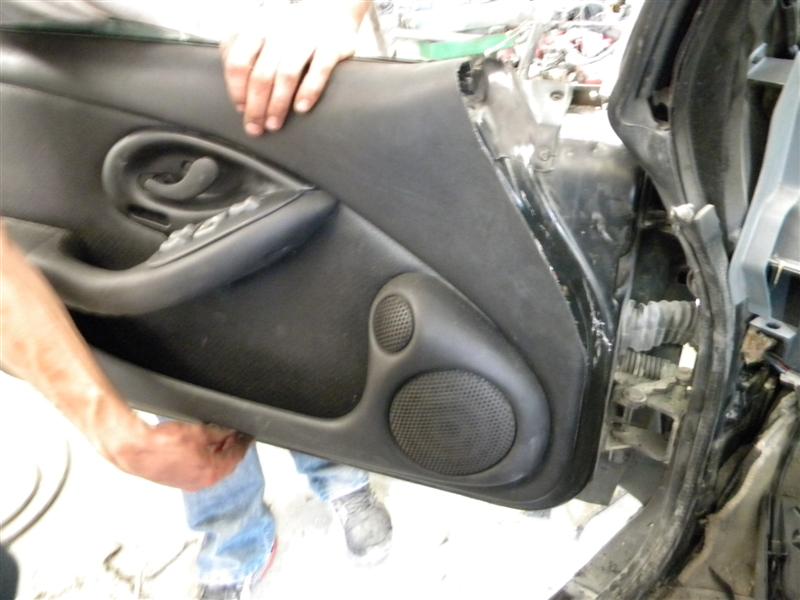
More on the door panels......
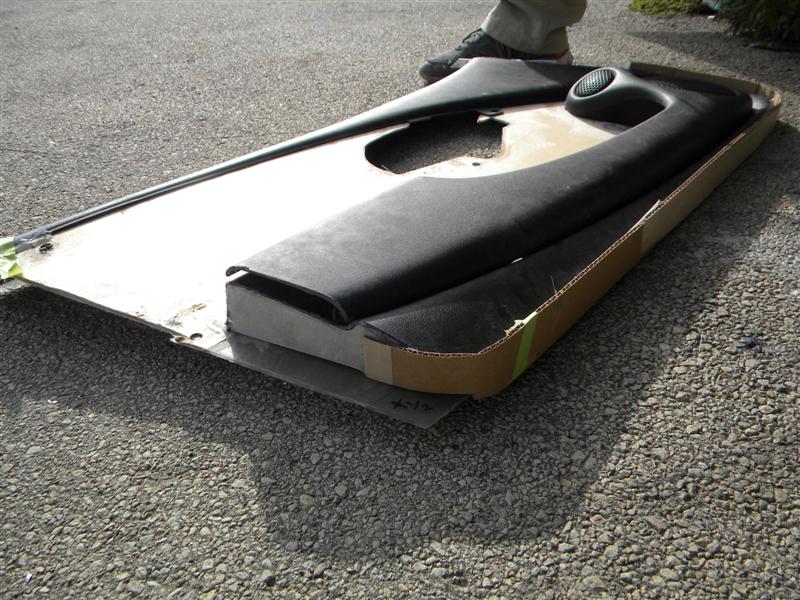
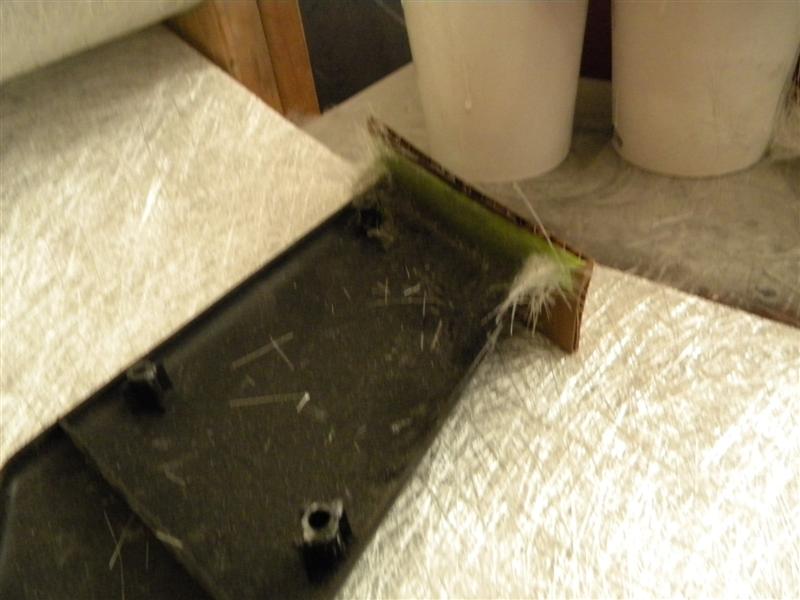
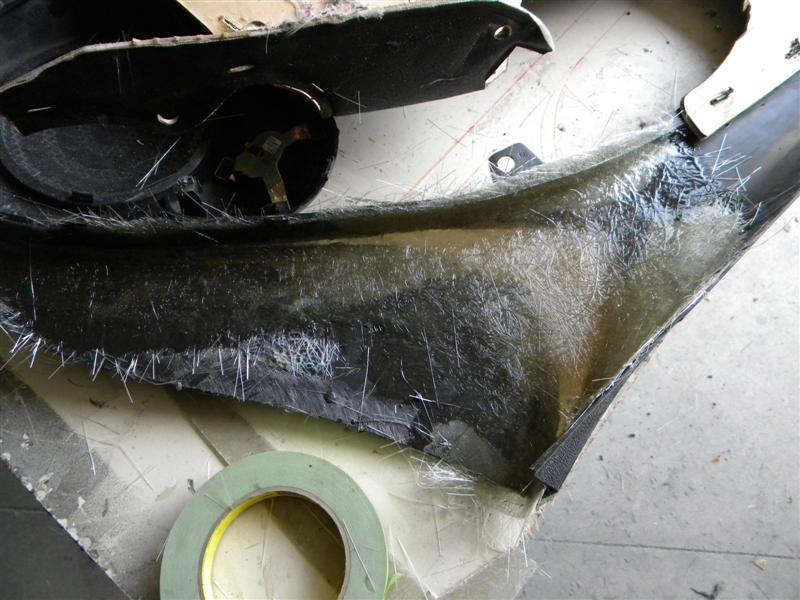
As you may have noticed, Troy don't settle for any of the parts on his cars not being well thought out. After trimming down the door panels to fit the Fiero door frame, we found that the panels were way too flexible & weak to put good quality upholstery on them & have them look & function good when completed.
These don't even look strong enough to properly upholster.....
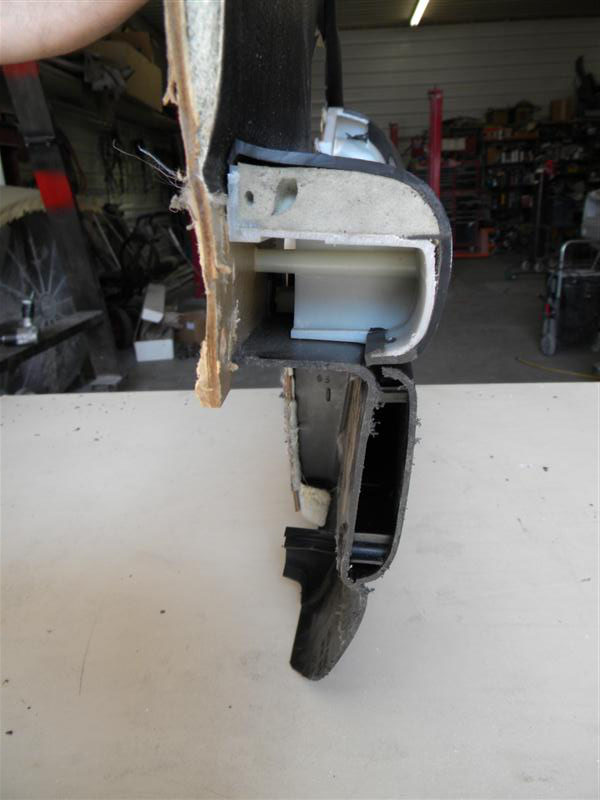
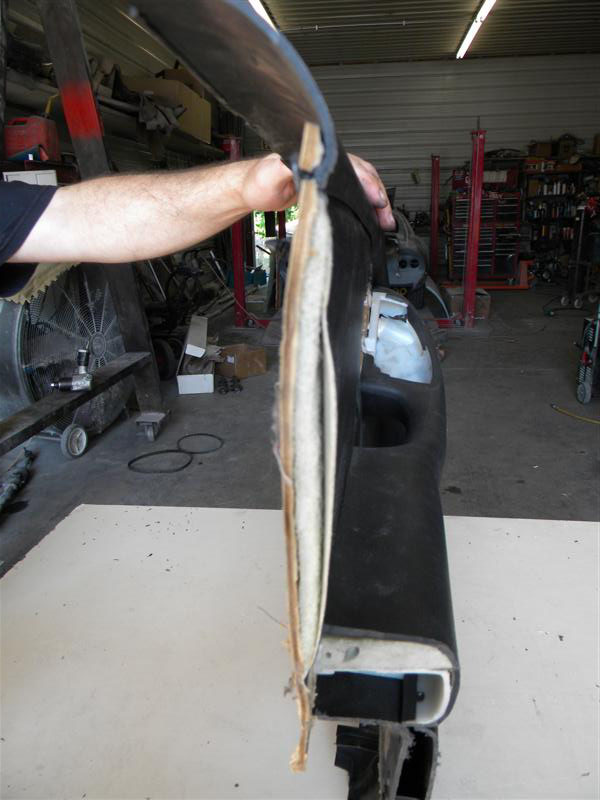
Since we don't do upholstery here & since the door panels are made up of 4 distinct different parts. The only way to be able to have someone upholster the parts was to make it so that they could be disassembled, upholstered then re-assembled.
We identified the parts of the panel as Perimiter, Arm Rest, Map Pocket & the board.
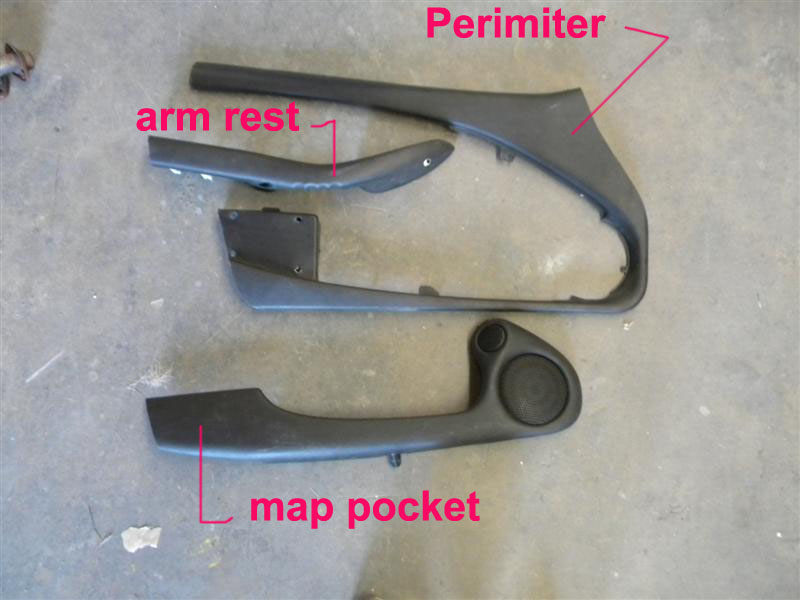
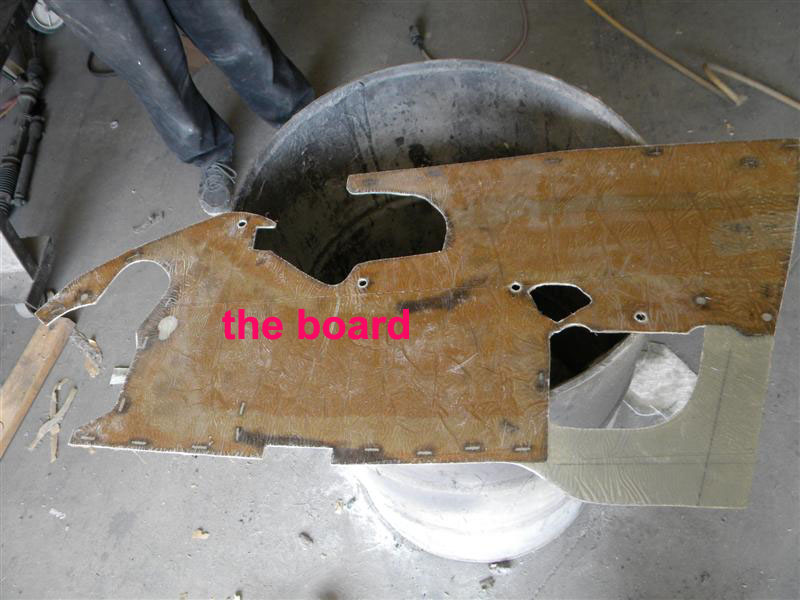
The door panels were assembled originally with melted down plastic tabs (as indicated by the Red Dots) to hold the 4 parts together.

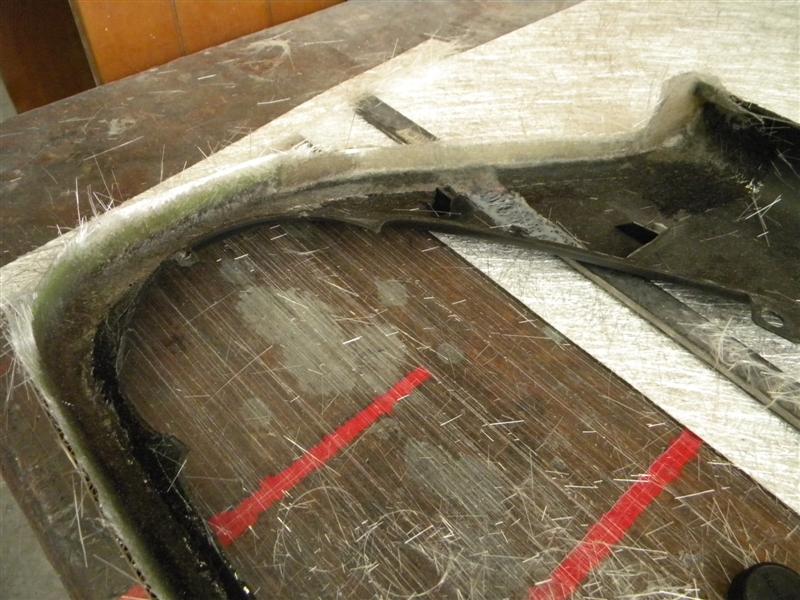
We determined that the board on the door panels was way too weak to support the other 3 parts. So we glassed up the board to make it bigger & stronger. Here Kris is working on attachment points for the arm rest on the new board.
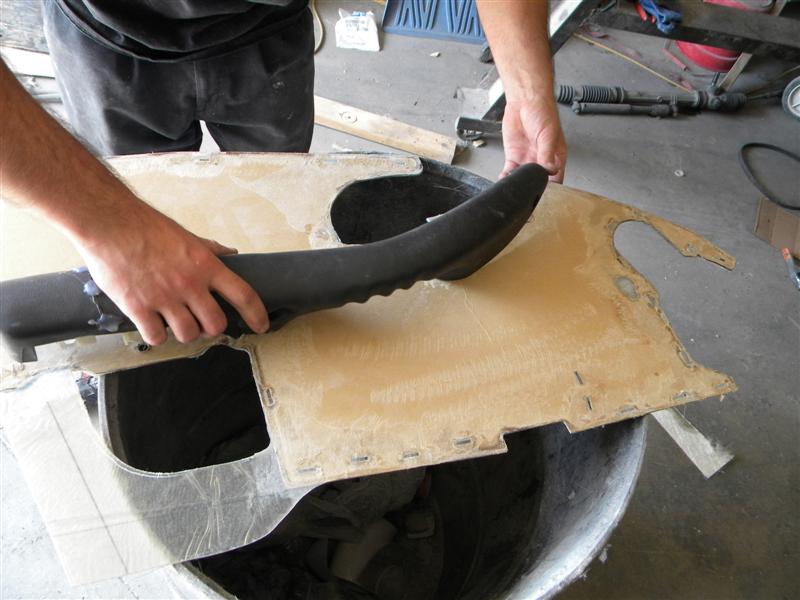
Map pocket
Perimiter
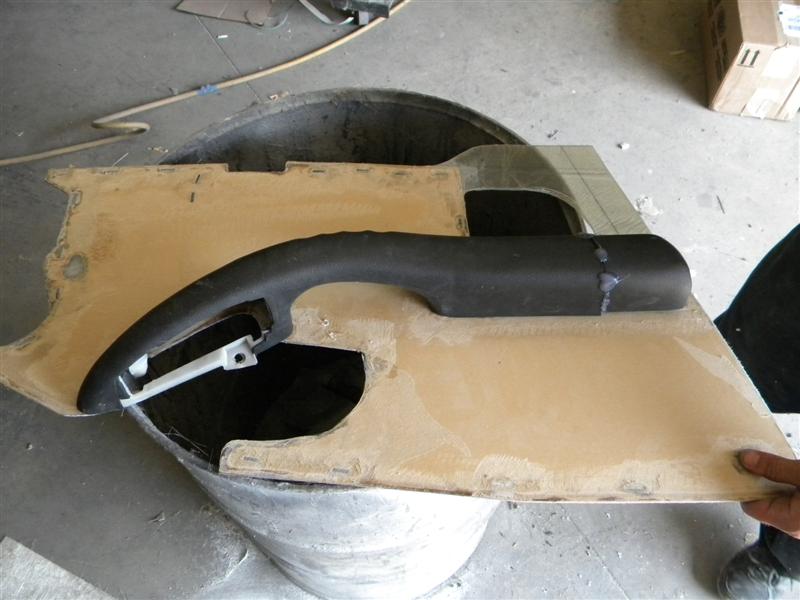
It's taking shape
Then we needed to make walls around the outsides of the perimiter pcs.
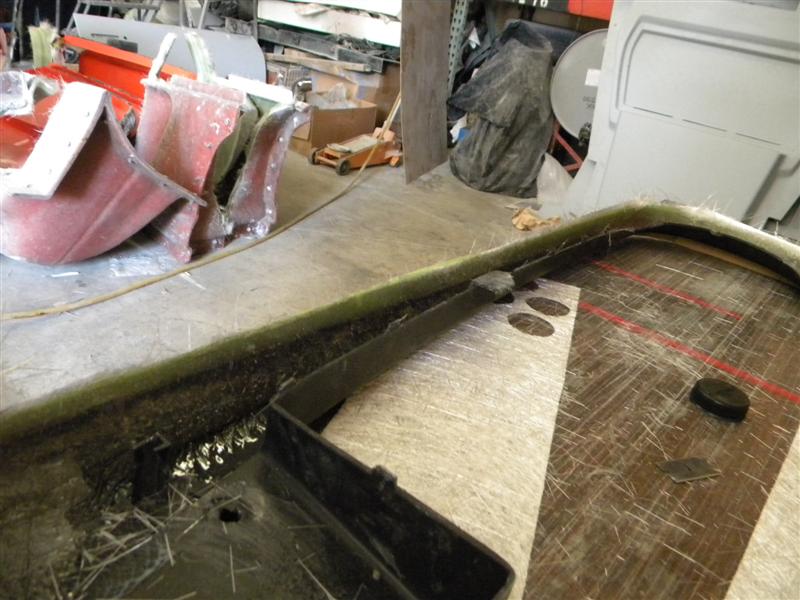
He also had to make end caps for the arm rests.
While doing all of this, he's also removing the "Hump" in the right side door panel.

I also did a video for whoever upholsters the panels to explain this to them. http://youtu.be/kJCOYMslqIA
more later....
|
|
|
|
Archie
|
OCT 05, 06:56 PM
|
|
Installing non-Fiero seats into our cars is always a special challenge.
Sometimes you just have to switch over the rails but other times you have to re-enginer the whole thing.
On these seats the drivers side had power with adjustments in about every direction, including up & down. The passenger seat is all manual & doesn't go up & down.
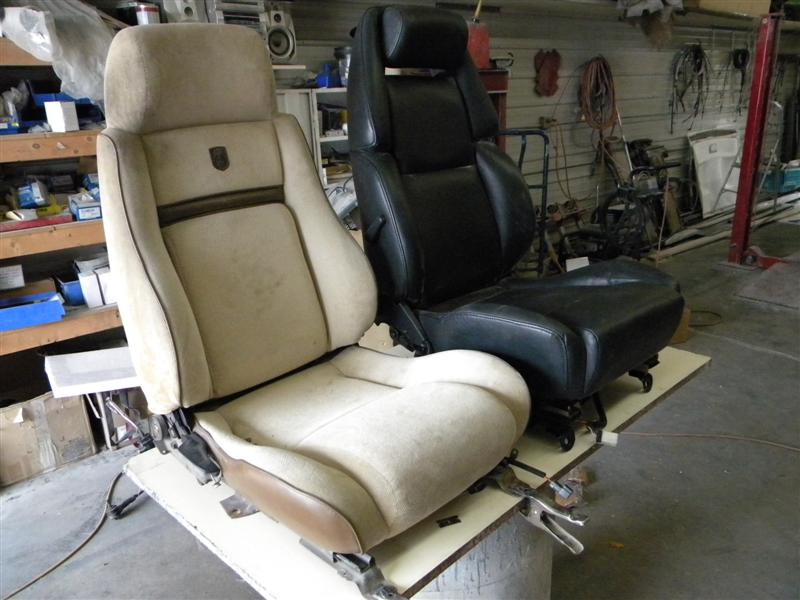
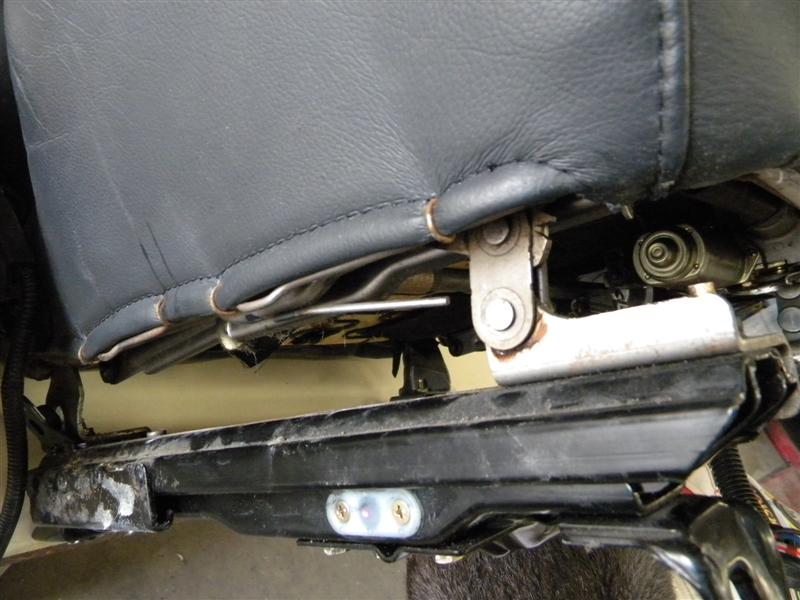
Here's the drivers seat next to a Fiero seat.
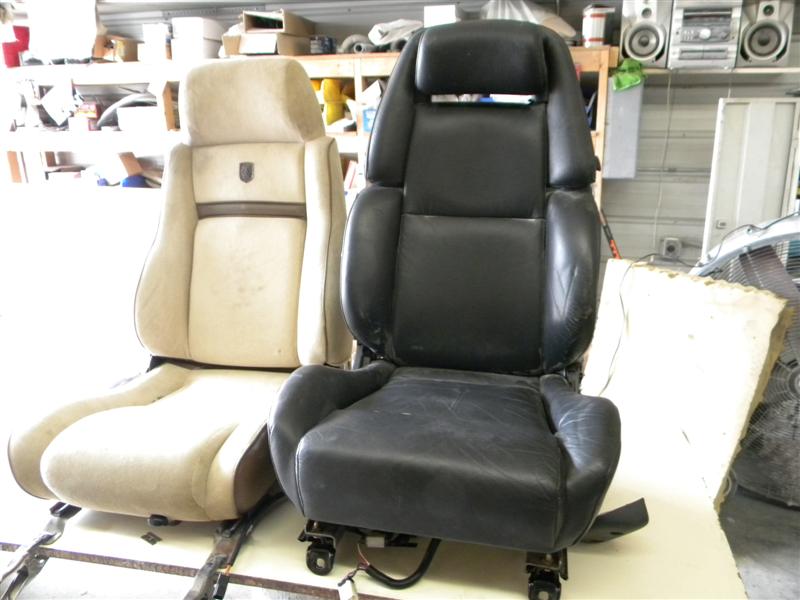
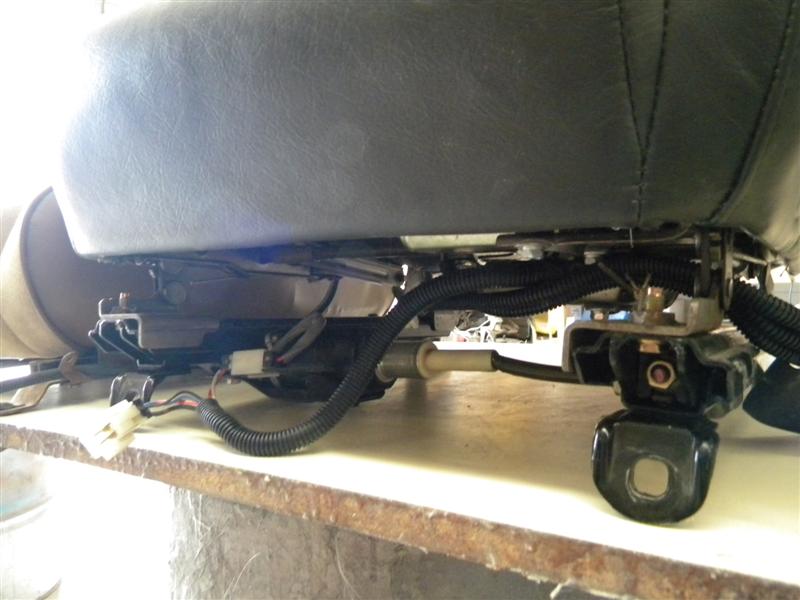
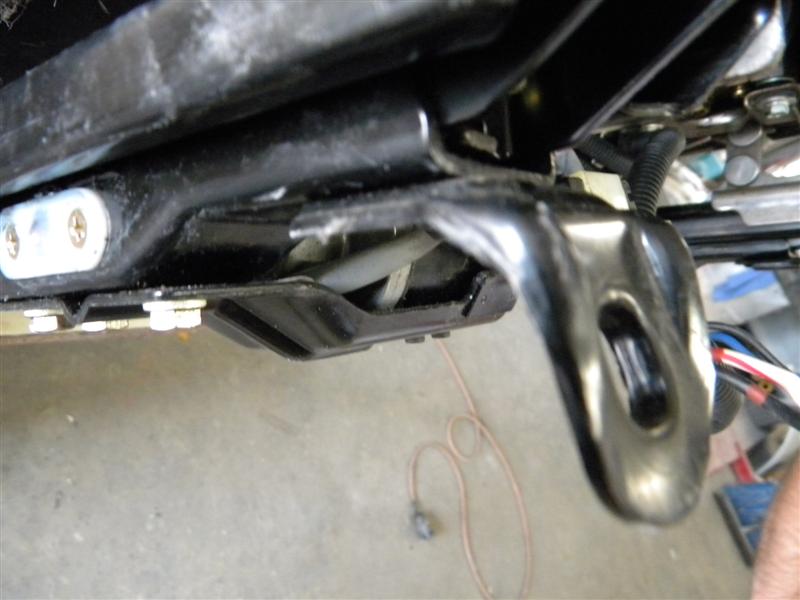
Lots of motors under the seat & none of them can be repositioned to make any room.
Notice how the mounting bolt holes one the seat rails have the bolt going in horizontally instead of vertically (like the Fiero).
Also notice that there are no horizontal flanges on the rails where you can put a vertical bolt. You can't put the vertical bolt in the "U" of the rail as there is not clearance for the bolt head when the seat is moved forward or back.
The good thing is that the drivers seat does have a power lowering deal that can lower the seat by about 1.5".
There is a lever on the right side of the drivers seat. It's a "Firm" "Soft" on/off type lever.
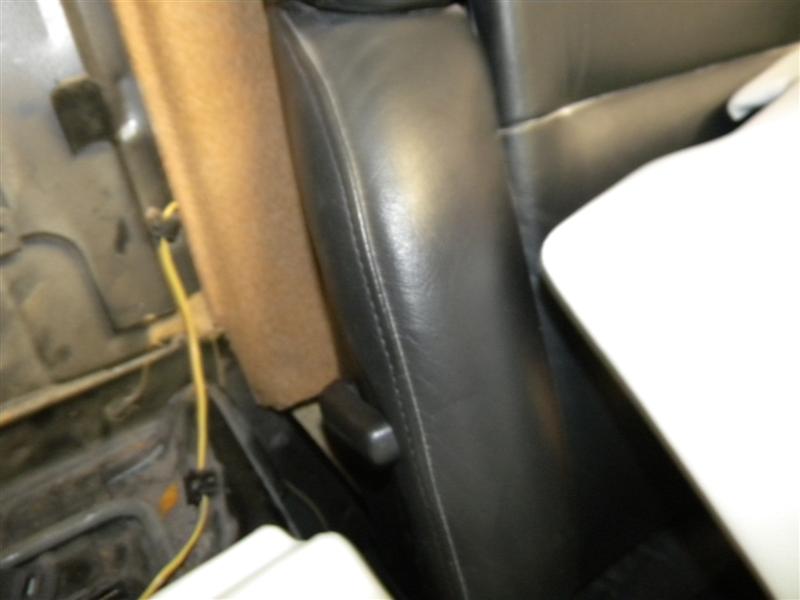
The Sub box part of the center console is a bit wider than the Fiero unit & the lever would have rubbed it. Sonce the lever is just a 2 position lever, we decided to cut it off just inside of the hole in the material of the seat cover. It can still be adjusted to Lisa's preference & yet it won't rub on the sub box.
Anyway, all of this ment that the seat location is critical left to right. It took some time to find the sweet spot as far as location.
The pictures I took of the seat mounting brackets were lost, so I'll have to take more pics when we take the seats out of the car the next time.
more to come..........
|
|
|
|