Ferrari 288GTO build (Page 35/64)
RCR JUN 02, 07:38 PM
Looks great, Wayne. I'm going to have to hit the lottery so I can spend more time on mine (can't wait for retirement ).


Bob
dobie1 JUN 02, 11:28 PM

quote
Originally posted by shemdogg:

Looking great as always! Got me tossing around making molds for mine, just dont know how to do it. Learning a lot watching you -good stuff!

shem


Hea Shem ,glad your thinking about doing molds even if you don’t You can use molds for lots of parts and extras, I’m still learning .

Hi Bob

Retirement has it’s good and bad side to it lots of time to work on the project but the down side is a definite reduction in funds to work with.
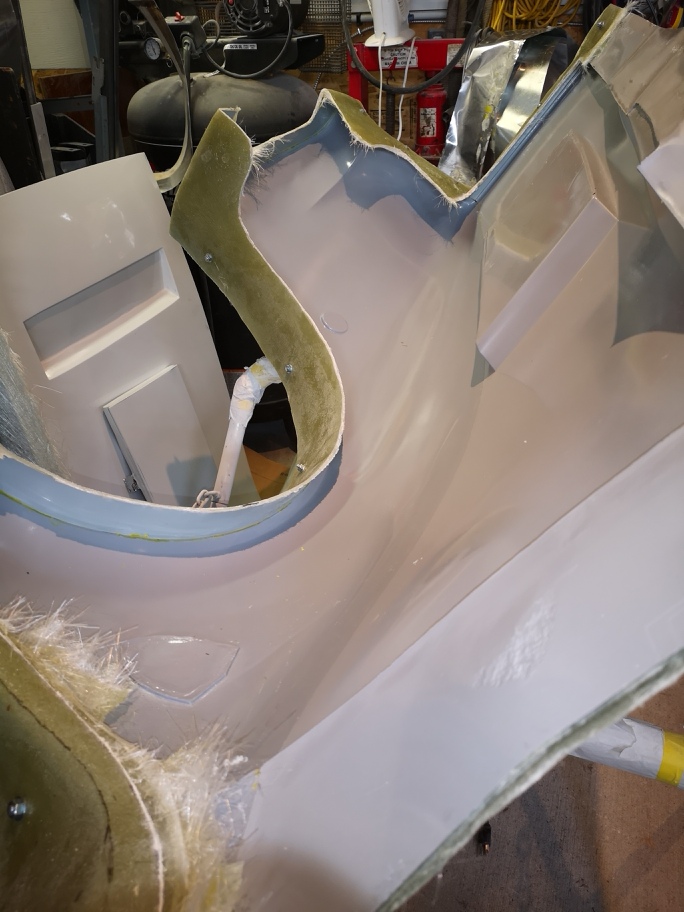
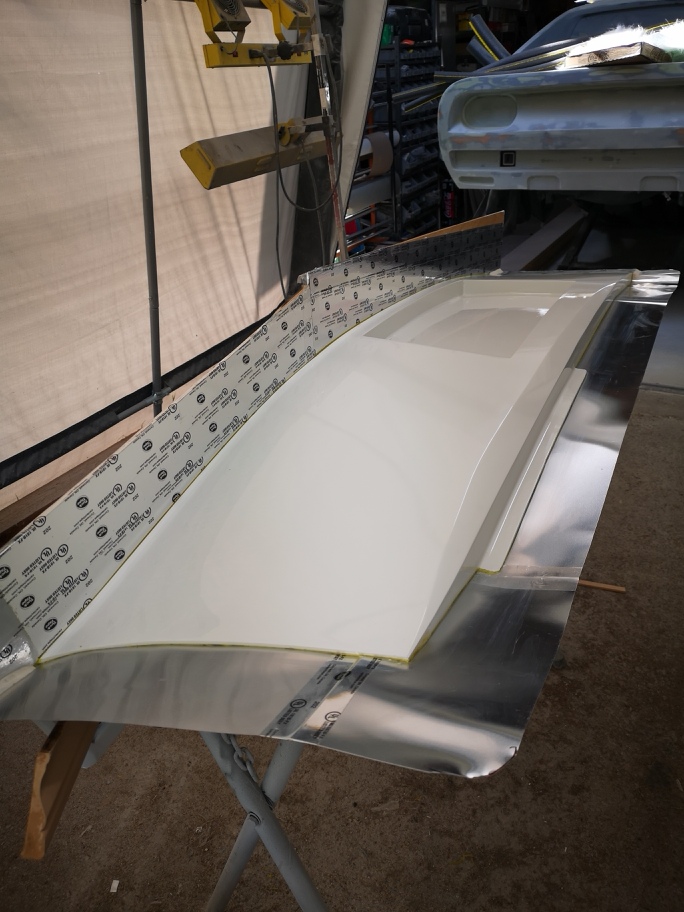
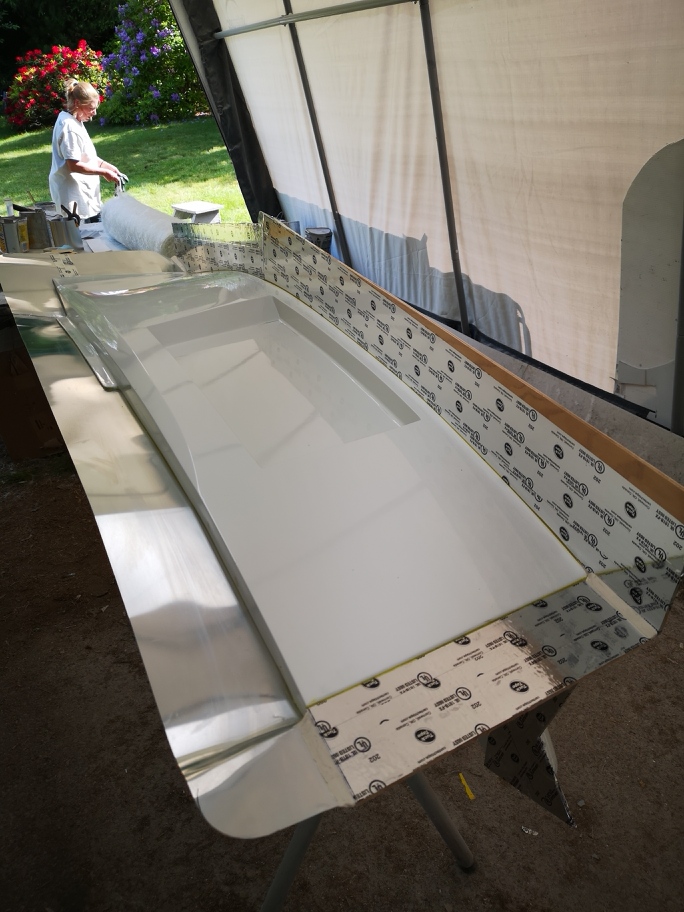
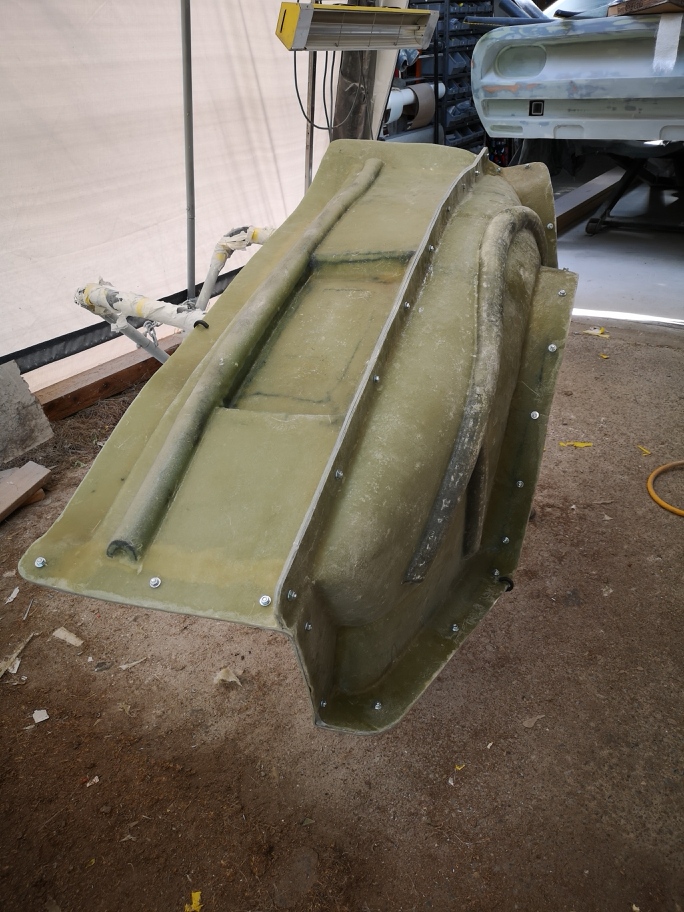
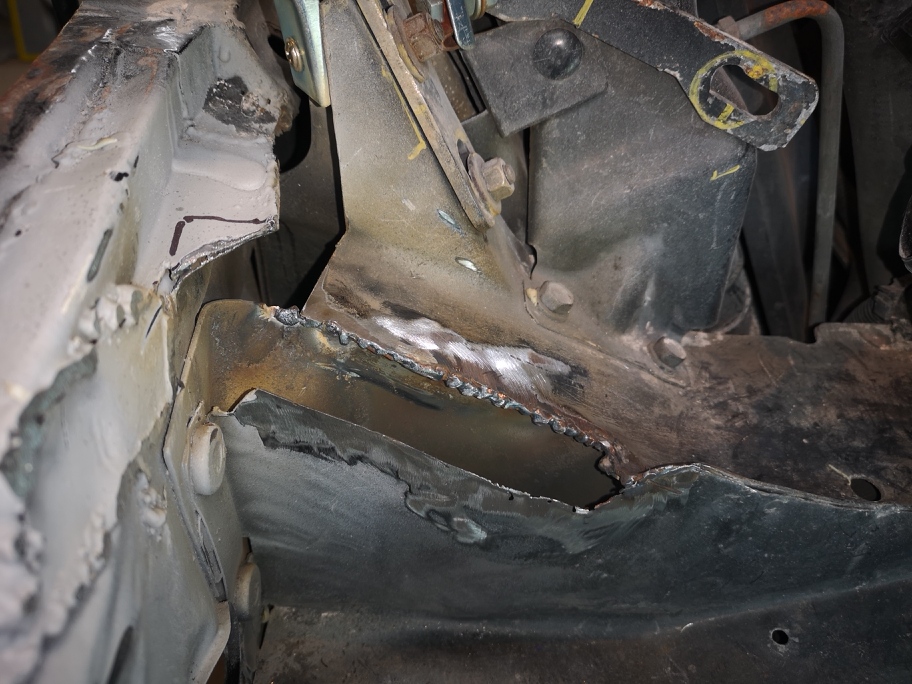
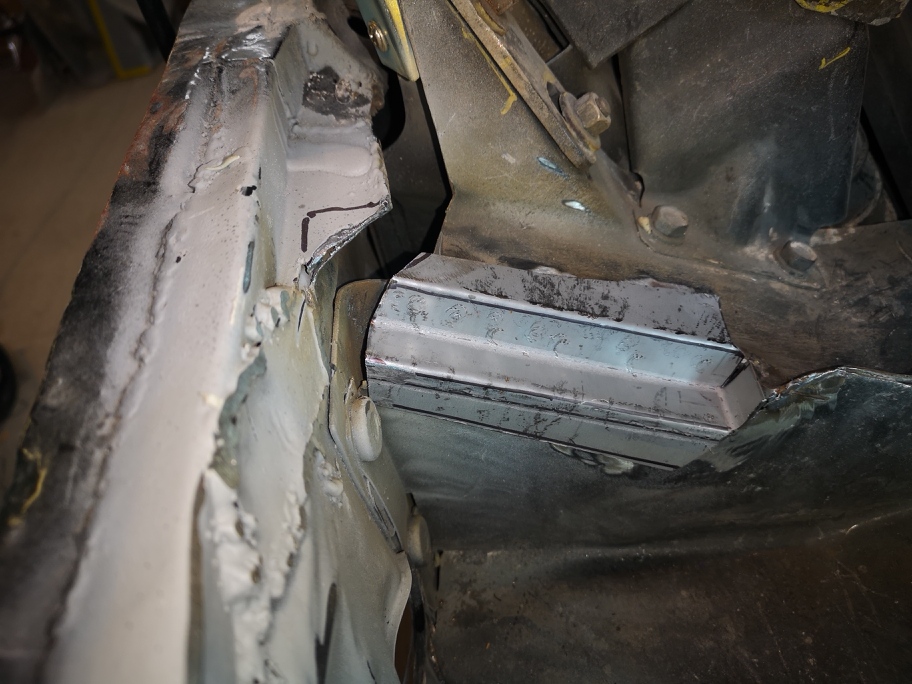
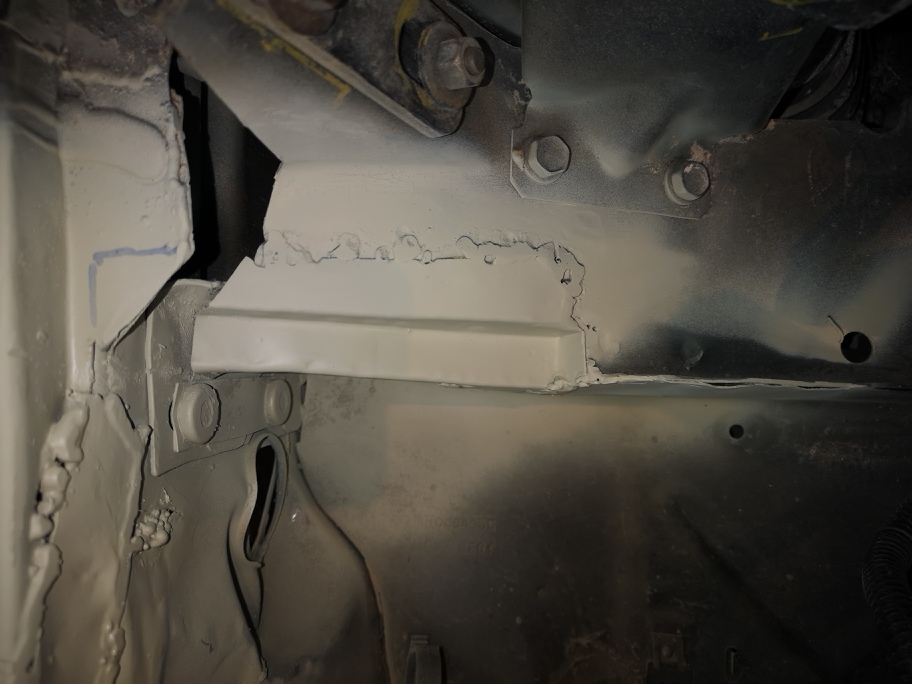
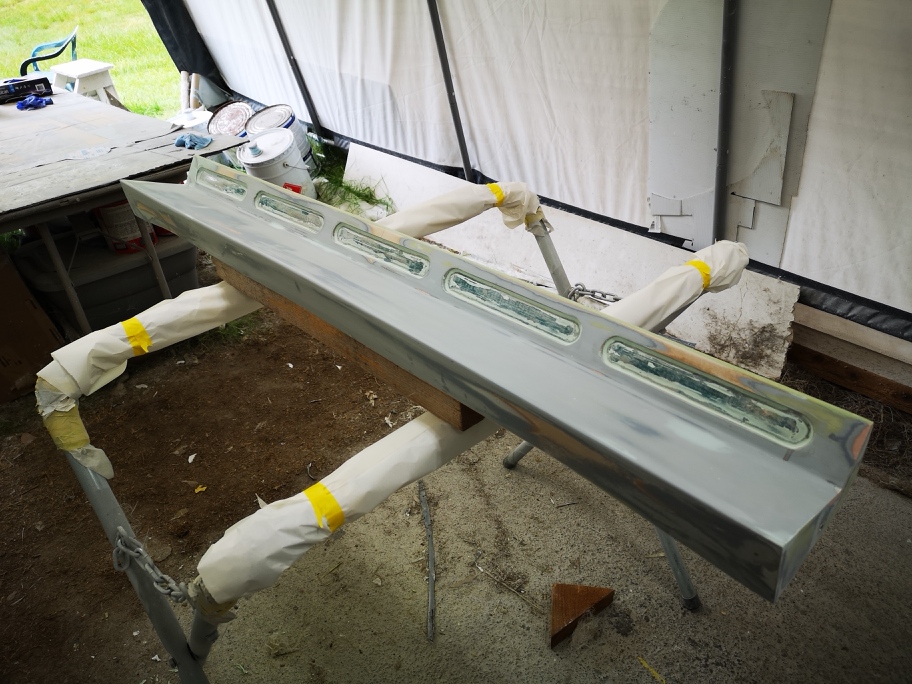
I can’t believe how much resin these molds take , the 2oz mat is taking 40 oz of resin per layer 1 oz 32oz .
If I had known How much it takes I’d should have got a 45 gal drum ......
Wayne

[This message has been edited by dobie1 (edited 06-02-2020).]

dobie1 JUN 04, 11:02 PM
Just finished the fender mold today and pulled the plug fender from it . I'm really happy with the result ,I had a bit of a problem with some alligatoring of the gelcoat on the flanges but thankfully the actual molding surface came out perfect and the alligatoring doesn't effect molding in anyway.
This mold turns out to be a 3 piece mold the last part is all along the bottom it includes the wheel arche, the lip at the front fender as well as the fender lip along the door.


These two pic show two colours the white is the plug Fender that I'm molding , and the grey are the Mold flanges that’s I’m molding to.


This shows the mold Green , flange attached with 1/4 20 nut and bolts. A fairly narrow Mold piece is only 6-7” wide. I may have to put some reinforcement along the length to protect it .


these show the detail for the marker light and fender badge areas that are recessed in the actual part.


Still a bit of clean Up And trimming but very happy with the surface finish.

Thanks for stopping by
stay safe
Wayne

[This message has been edited by dobie1 (edited 06-05-2020).]

dobie1 JUN 18, 11:40 PM
The build is moving along , I finished the Drivers side fender mold I'm very happy with how the mold Turned out perfect mold finish and no alligatoring . I used reenforcement along the bottom part of the mold it made a huge difference to the rigidity of the piece, so I’ll go back and do the same to the passenger side part to give it the same rigidity.


Now that the last part is molded I'm working on completing the spoiler ,I wanted to add a piece along the Top of the spoiler that the front grill will attach to and give It a more finished look. The Spoiler is still in the pre finished state as I need to take some finishing bondo and finish All the parts radiusing especially all the vent holes in preparation of spraying Slick Sand , then block sand and paint before molding.

I attach the fenders, centre fill and bumper to give me the final dimensions and angles I need. It gives me a good idea of the finished look in “white” if I wanted to go that route. The first new piece I’ll mold will be the hood , planning on doing a carbon fibre infusion layup.

I've cut out and cut back the fender headlight area in preparation for the fender vents. I’ll need to install the head lights and work out the angles to build a template for welding the vents.


Thanks for looking
stay safe
Wayne

[This message has been edited by dobie1 (edited 06-19-2020).]

PaulJK JUN 20, 06:13 AM
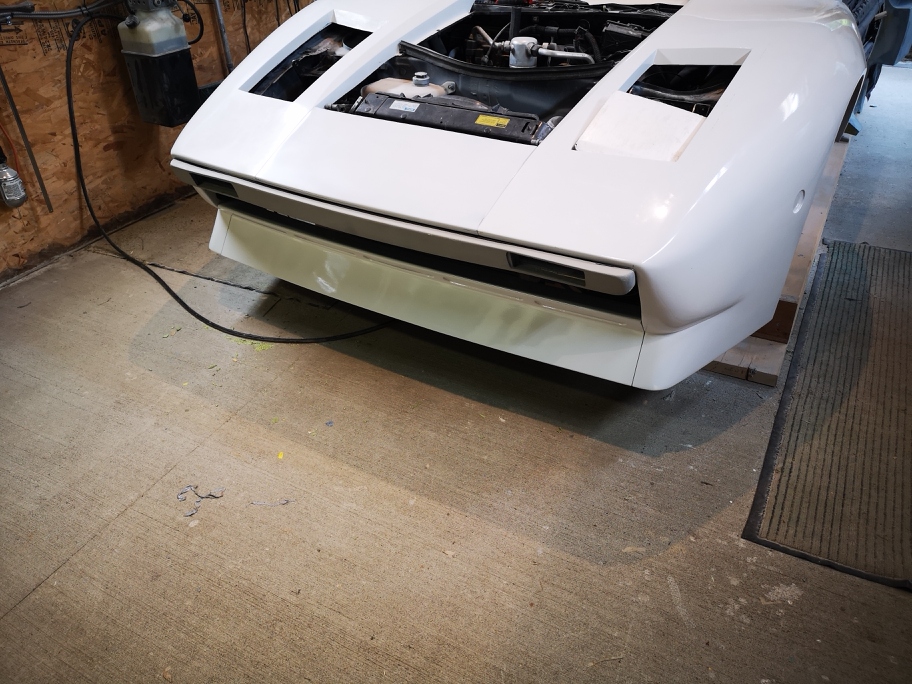
Beautiful job !!! Just a thought though ..... careful with the chin spoiler or the first speed bump it meets will take it off. Seen lots of cars going sideways into parking lots because of low chin spoilers ....
dobie1 JUN 20, 11:10 PM
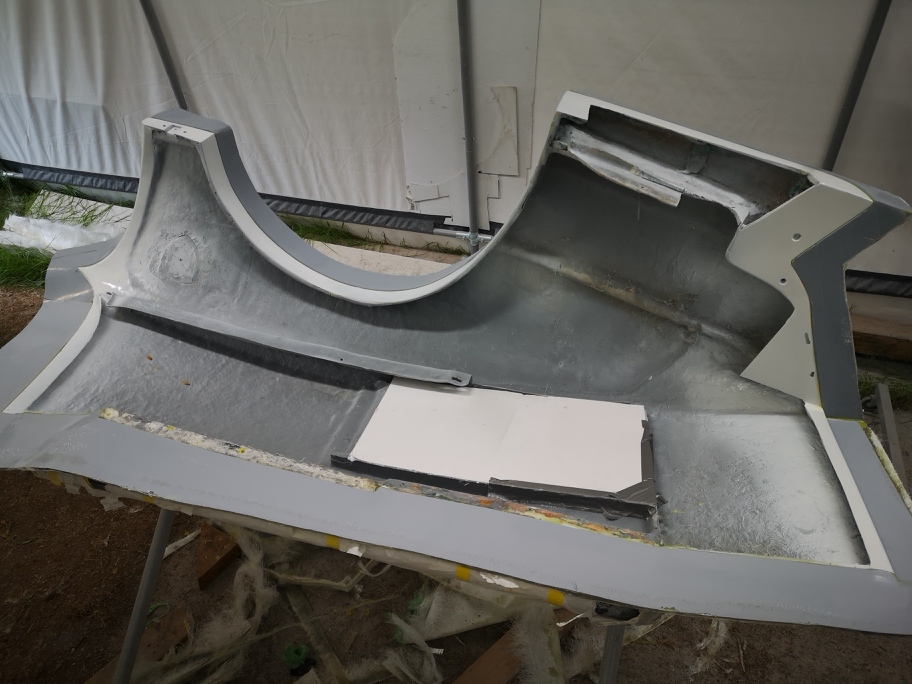
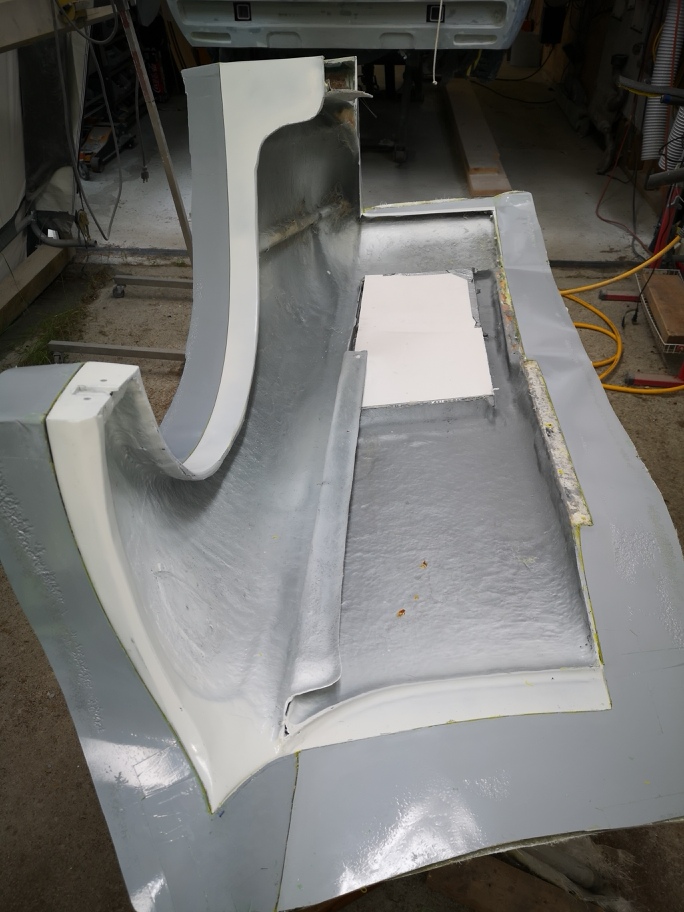
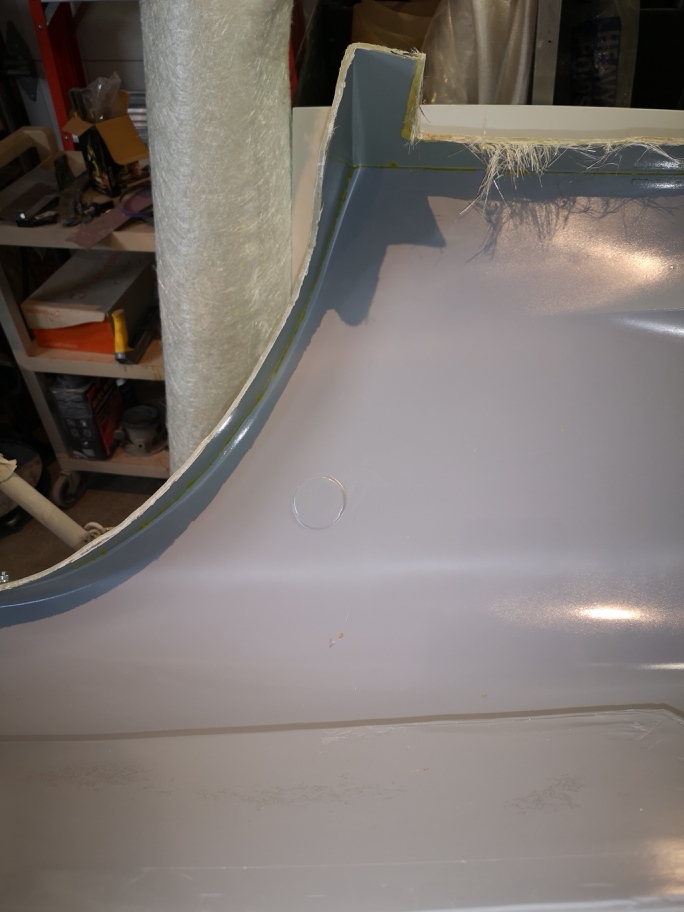
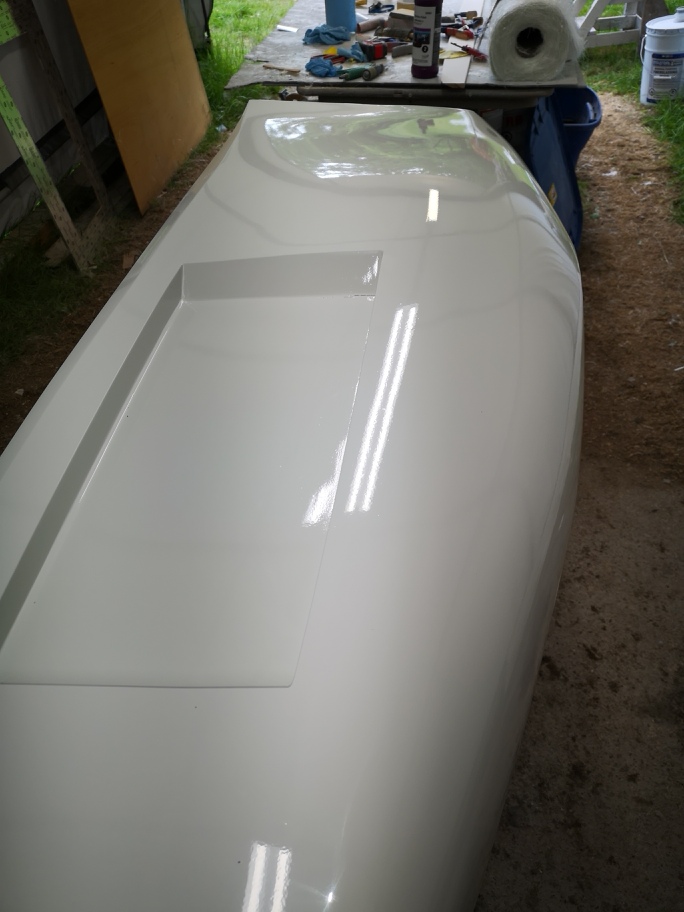
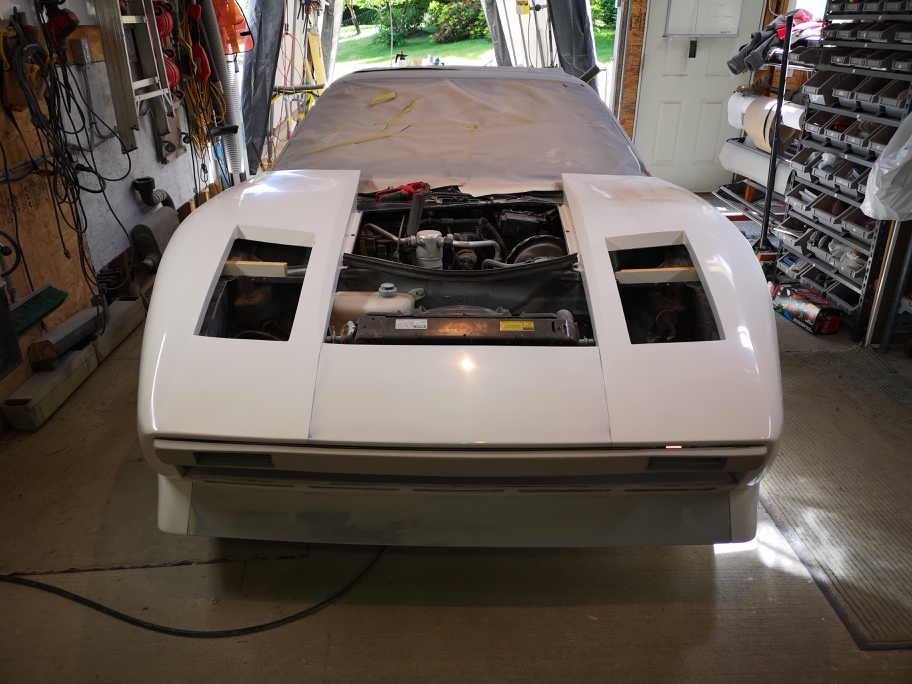
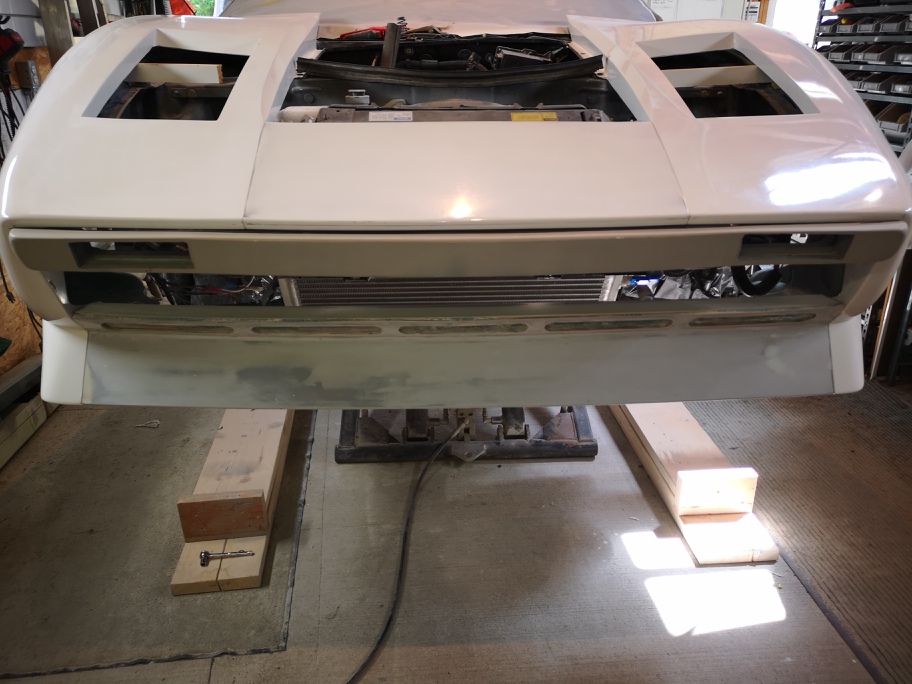
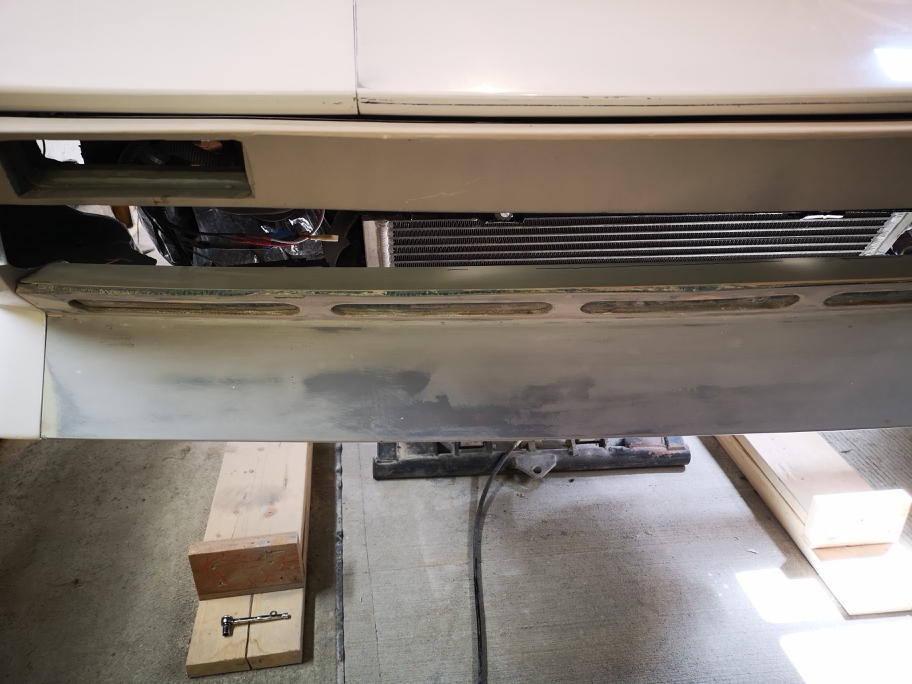
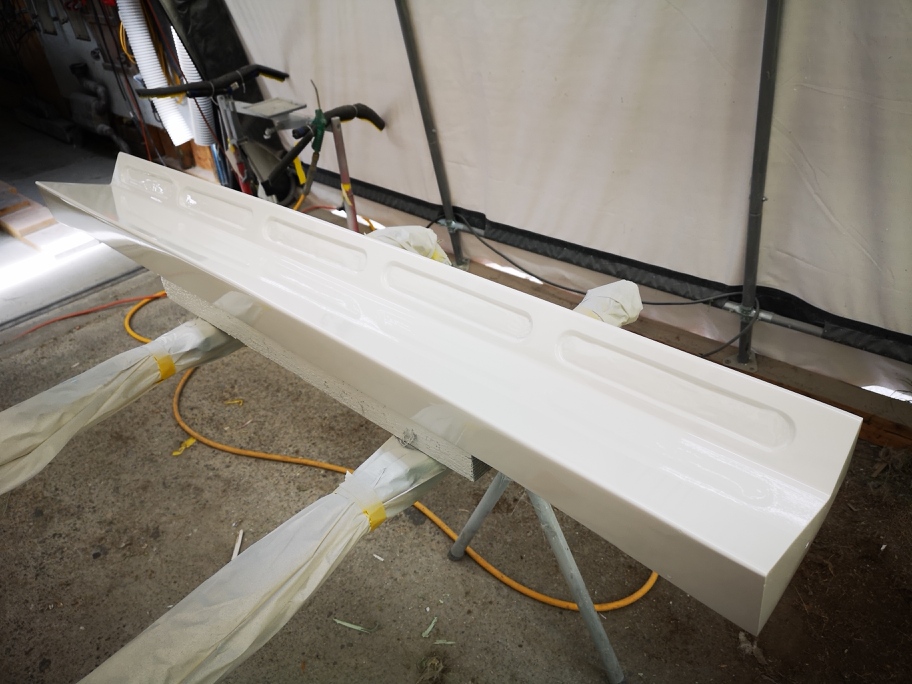
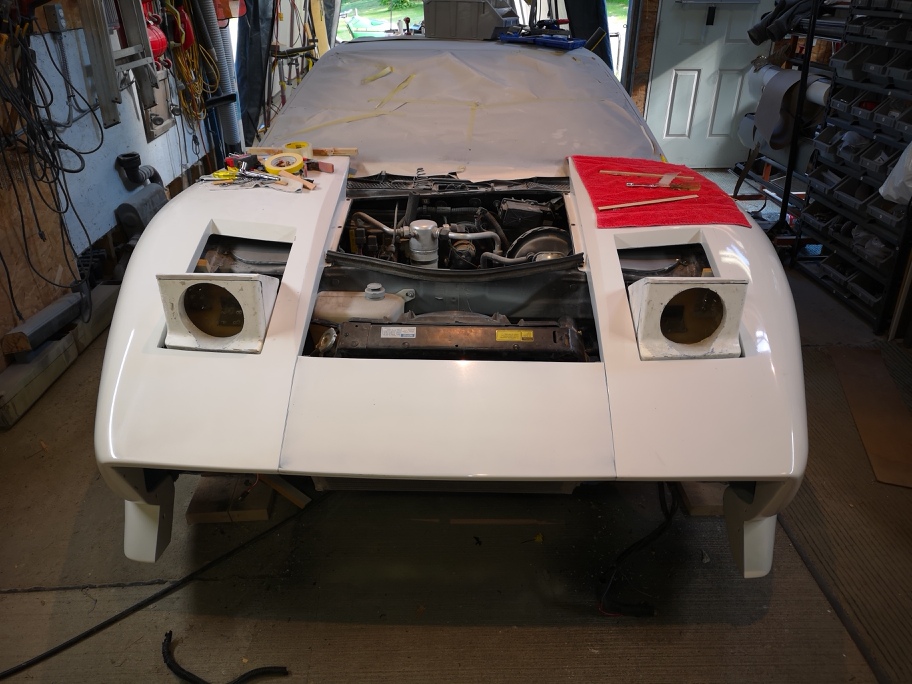
Thanks Paul glad your enjoying the build ,I believe that I have 5"s of clearance but will not know for sure until I get it finished mounted wheels on and down on the ground .
Fingers are crossed!!!

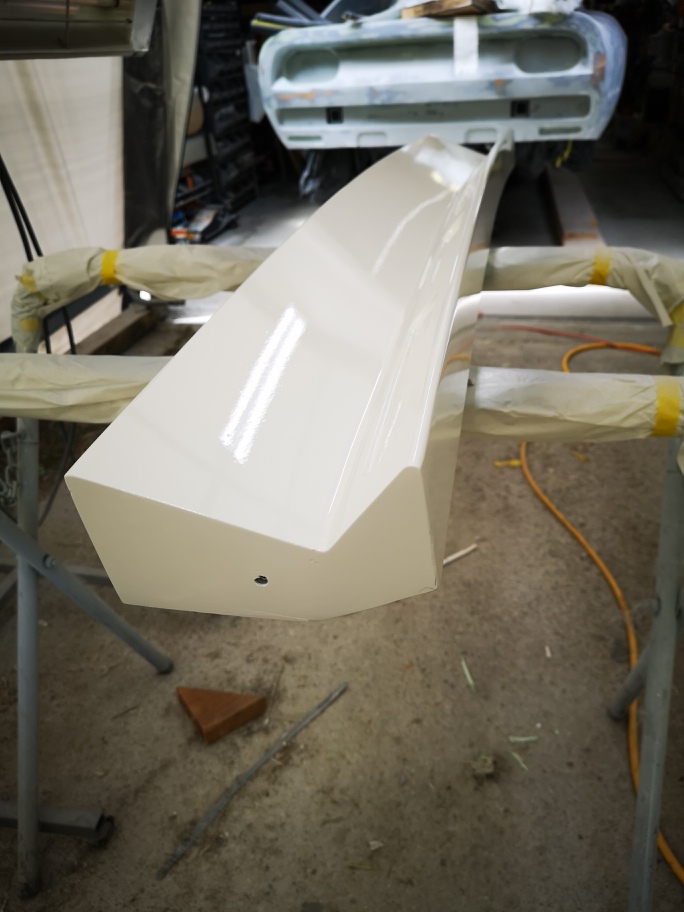
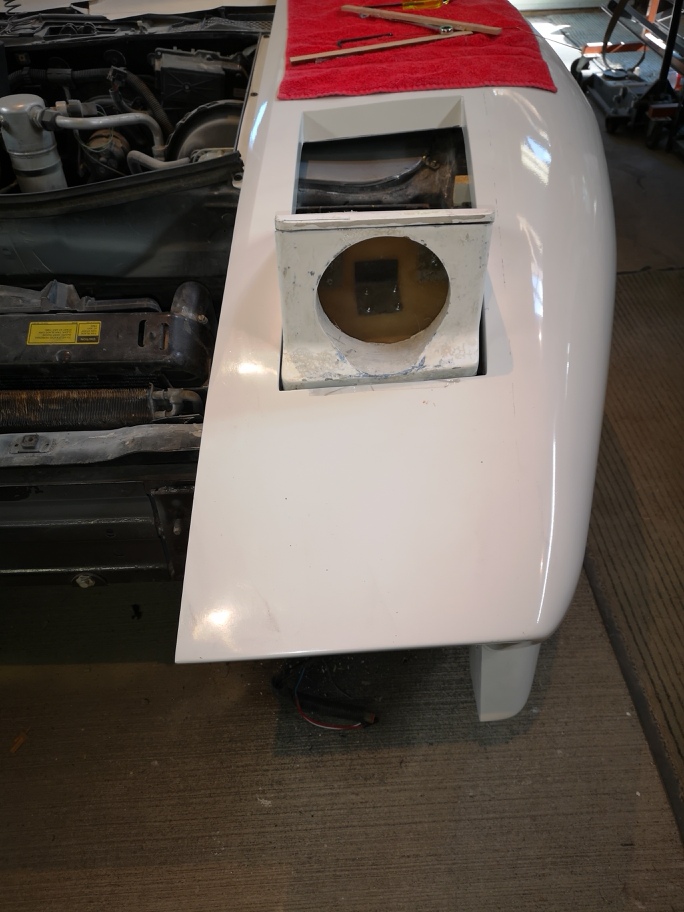
I was busy today finishing off the front spoiler ,I completed the filling and sanding to get the contours I wanted.


Then I sprayed it with Epoxy Primer came out great.


30 minutes later and heavy coat of Slick Sand


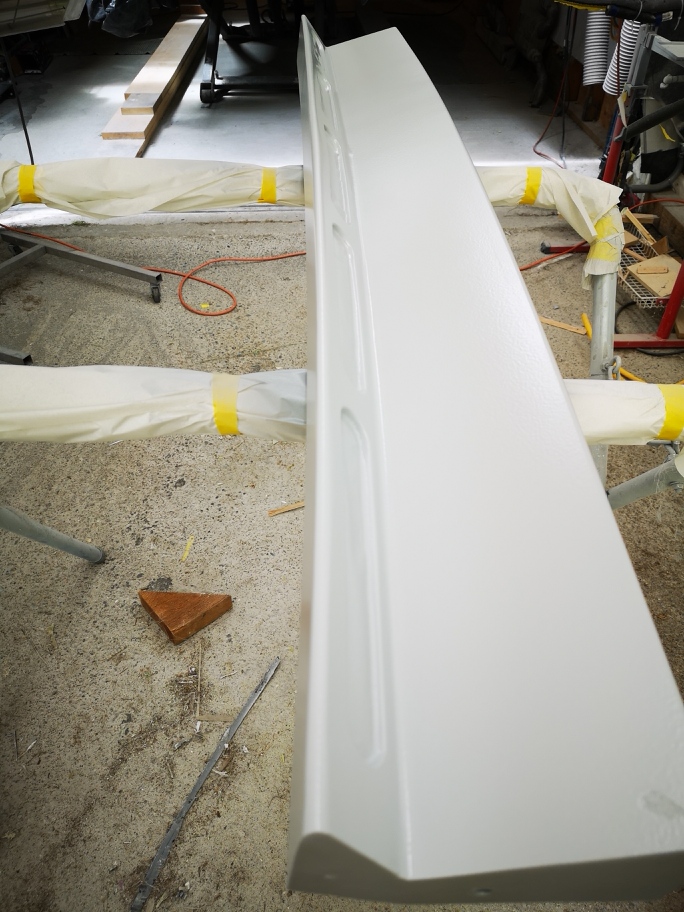
Tomorrow I'll block sand and hope to spray it with the white paint in a couple days. It's tough right now trying to find all the nuts bolts etc. that have now disappeared some where in the shop.
Dam!!

Stay safe everyone
Wayne
RCR JUN 21, 04:29 PM
Gotta admit, Wayne. Starting to feel real lazy every time I check in. You're moving so well. Keep it up.

I'm going back in the garage to do some sanding, and filling, and sanding...

take care...

Bob
dobie1 JUN 22, 10:09 PM
Gotta admit, Wayne. Starting to feel real lazy every time I check in. You're moving so well. Keep it up.

I'm going back in the garage to do some sanding, and filling, and sanding...

take care...

Bob[/QUOTE]

Bob nothing to feel bad about your one of my inspirations to keep going!!! retirement does help

I took yesterday off to spend with my grandkids and daughter for fathers day, I got back at it today and got the spoiler painted and finished its now ready to make the mold once my 45 gallon drum of resin arrives. in the mean time Im working at getting the headlight buckets cleaned up and ready to install.


stay safe
Wayne

[This message has been edited by dobie1 (edited 06-23-2020).]

dobie1 JUL 05, 12:16 AM
The last update was awhile ago So this will bring everyone up to date. I have been working on getting the headlight buckets cleaned up and installed. The problem I ran into is the build has been going on for so long now I'm starting to forget how things go back together , or is that old age starting to creep up on me
So I ended up having to get ahold of Don O. and take look at his setup That he designed and built . This was the first time I've had a opportunity to actually work with the headlight buckets. “Don and I calculated that it’s been 6 years with a 3 year hiatuses during my move since I started the original 308 kit that morphed into a custom 288 GTO. THAT’S a long time WOW!”
They were the first molds I actually made ,having made quite a few over the last while I have to say they are not the best, once I get the buckets cleaned up I'll have to make new molds.
As this was the first time Installing the buckets I found I needed to make a couple more mods to the inner headlight area to accommodate the Front facias of the buckets.
So out came the plasma cutter and welder. As I am cutting into the back structure of the bumpers I needed to make sure the inner welds were strong before welding in a fabricated plate.


I finished the plate welds and work on installing the buckets ,they still need to be cleaned up but turned out ok.
the real GTO look will come with the dual driving lights in the grill


Thanks for stopping by , stay safe

Wayne

[This message has been edited by dobie1 (edited 07-05-2020).]

Sage JUL 05, 09:29 AM


HAGO!