|
| Trinten's SBC/F23 build - The work has begun! (Page 35/76) |

|
cyrus88
|
MAR 16, 07:59 PM
|
|
| quote | Originally posted by fieroguru:
Over the years there have been many methods used to connect the Fiero hard line to a HTOB, but they all have all either involved some type of modification to the Fiero hard line, or had the wrong flare... What I am proposing is a single piece that threads to the stock hard line with the proper flare fitting and have the right quick disconnect on the other end to just plug into the F23 or F40... no modification and a simple bolt in installation.
|
|
That's a good aim, but I wanted to change the steel braided line because it wasn't looking so good after 20+ years.
|
|
|
|
Trinten
|
MAR 16, 08:07 PM
|
|
I take full responsibility for the horrible job with putting those quick-disconnect terminals on for the battery. It's a stellar example of why I don't usually do work myself. lol
Thank you very much for the update!
|
|
|
|
fieroguru
|
MAR 19, 06:09 PM
|
|
On Monday I powered up the ecm and was able to copy the stock calibration into HP tuners. Then spent the next couple evenings working on a base tune to get the engine started. Changes were:
Turn off VATS, EGR, AIR, and Torque Management
Edit all injector tables for the Bosch 36# injectors.
Convert the LS7 MAF table from my car (E67) to the LS1 resolution and load it up.
Reduce the VE table by 15% in the idle corner of the table. Also reduced the entire Cranking VE by 15% as well.
Did a crude tweak to the IAT table (it was reading 80 degrees when it was 55-60 degrees - IAT sensor was swapped as it is part of the LS7 MAF)
With those tweaks I was able to do this:
Now that I know it will run, I can finish all the odds and ends to get it to the point of idling in the driveway.
I had to give it a little throttle to get it to start and it won't idle on its own yet, so the tune as a long way to go but it... RUNS!
|
|
|
|
Trinten
|
MAR 19, 08:47 PM
|
|
Awesome!! This really made my day, thank you so much!
I also see I need to buy a replacement LED.
|
|
|
|
Chug
|
MAR 20, 12:46 PM
|
|
|
Hope to see it in May at the NCFC meet!!!
|
|
|
|
Doober
|
MAR 21, 06:28 PM
|
|
That sounds beastly 
|
|
|
|
fieroguru
|
MAR 22, 04:13 PM
|
|
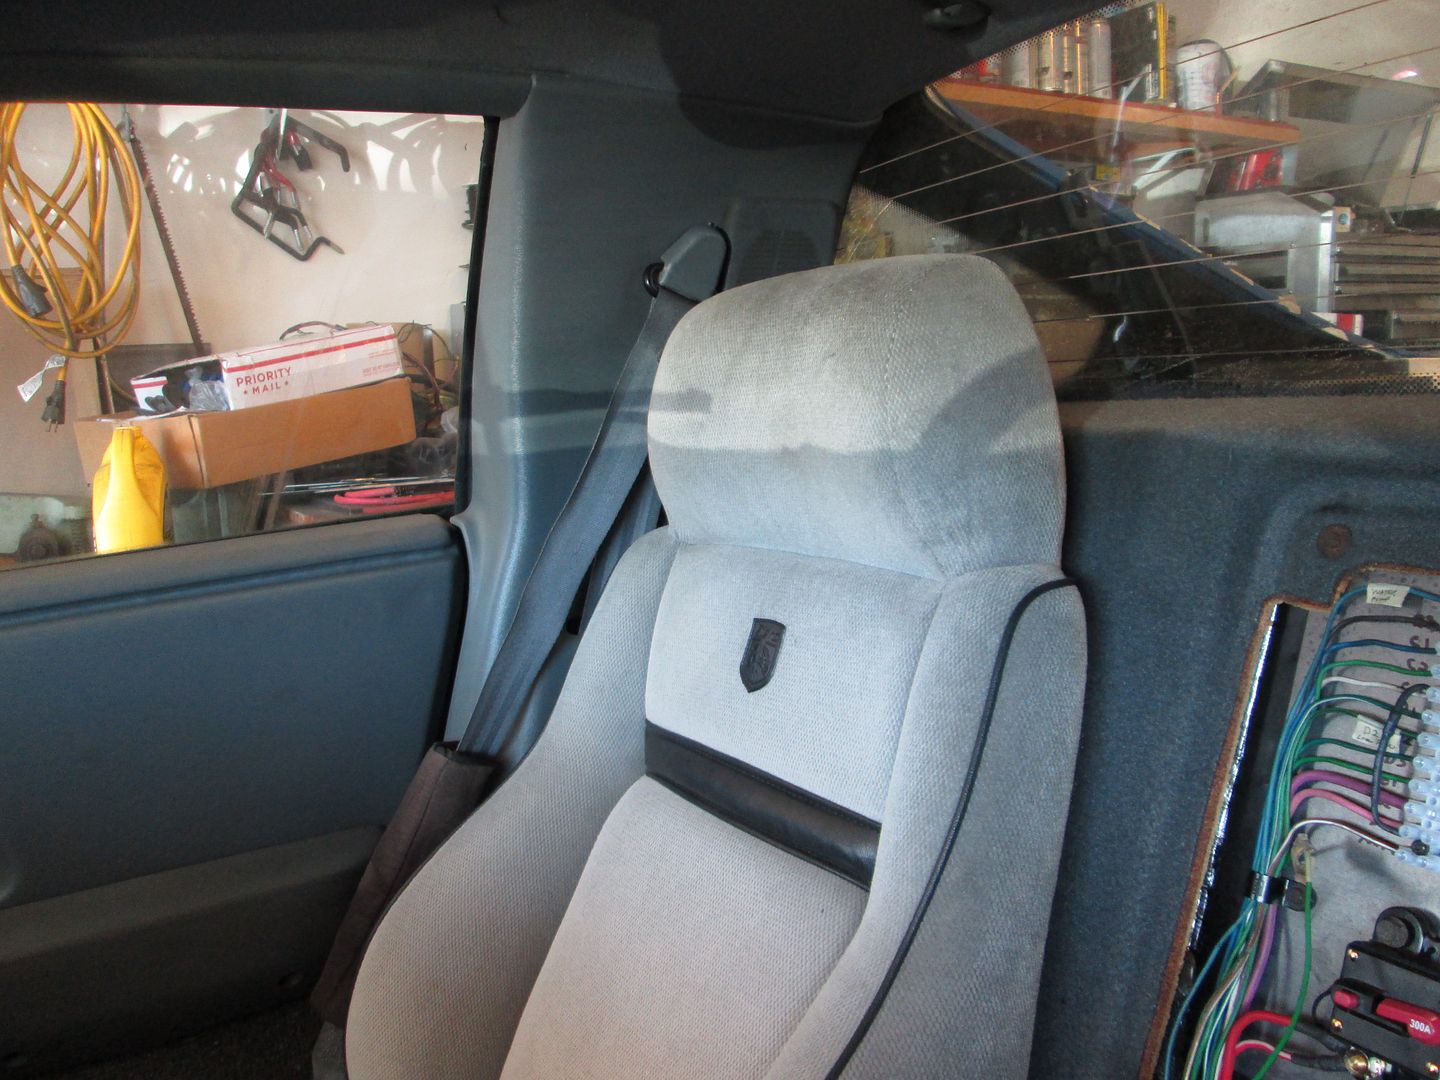
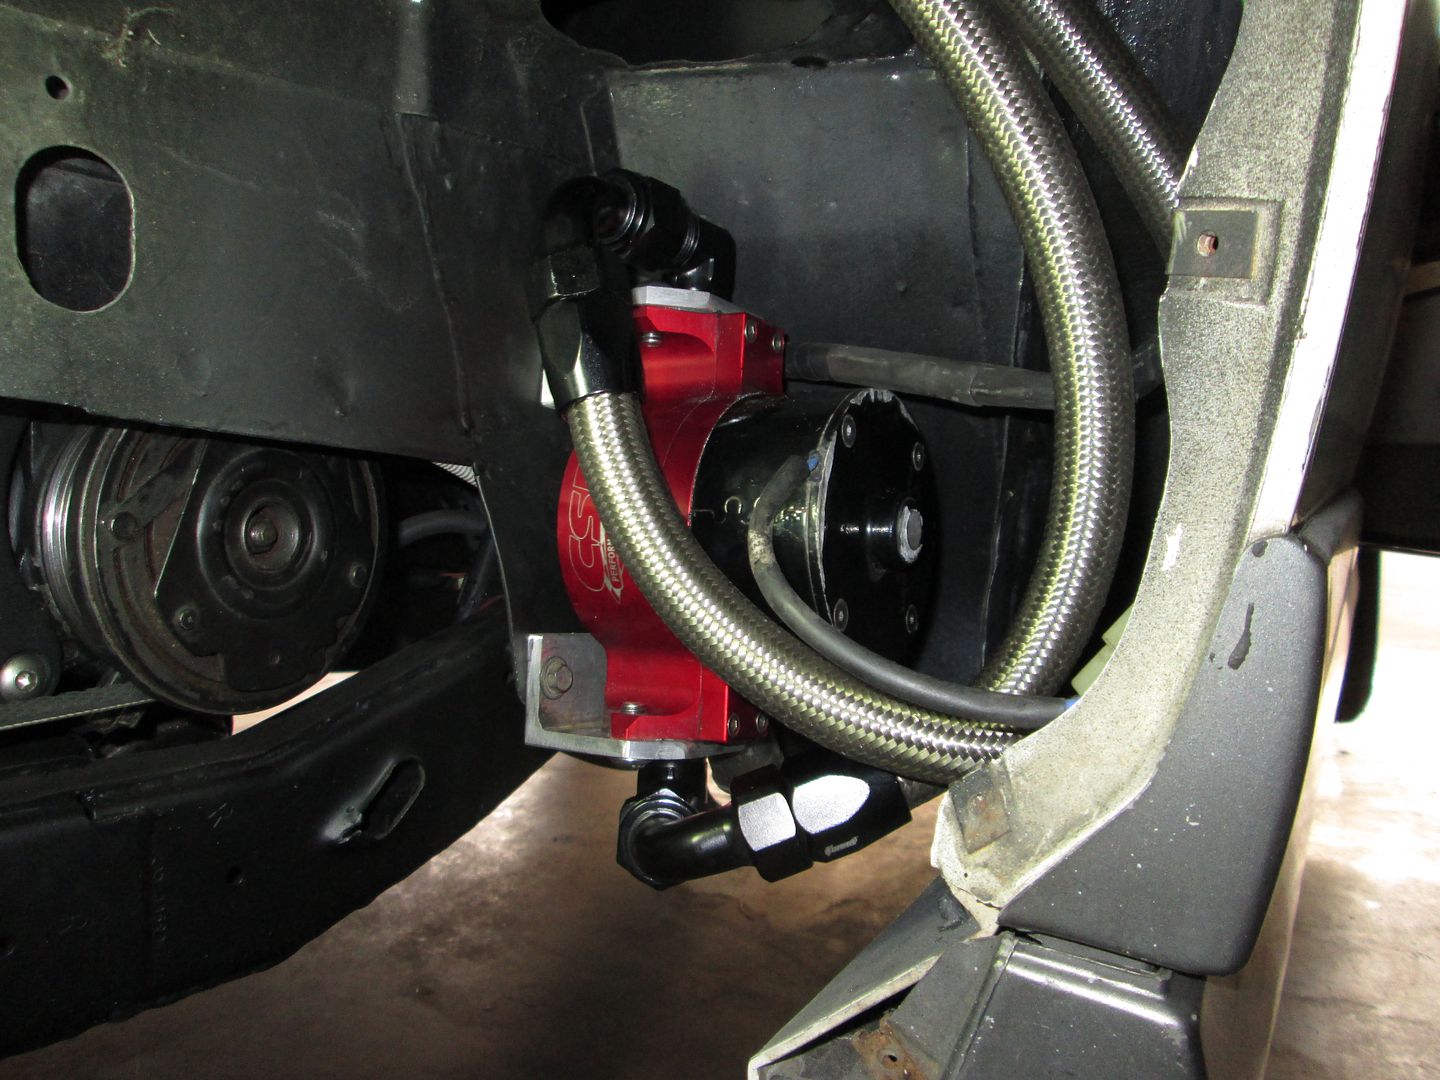
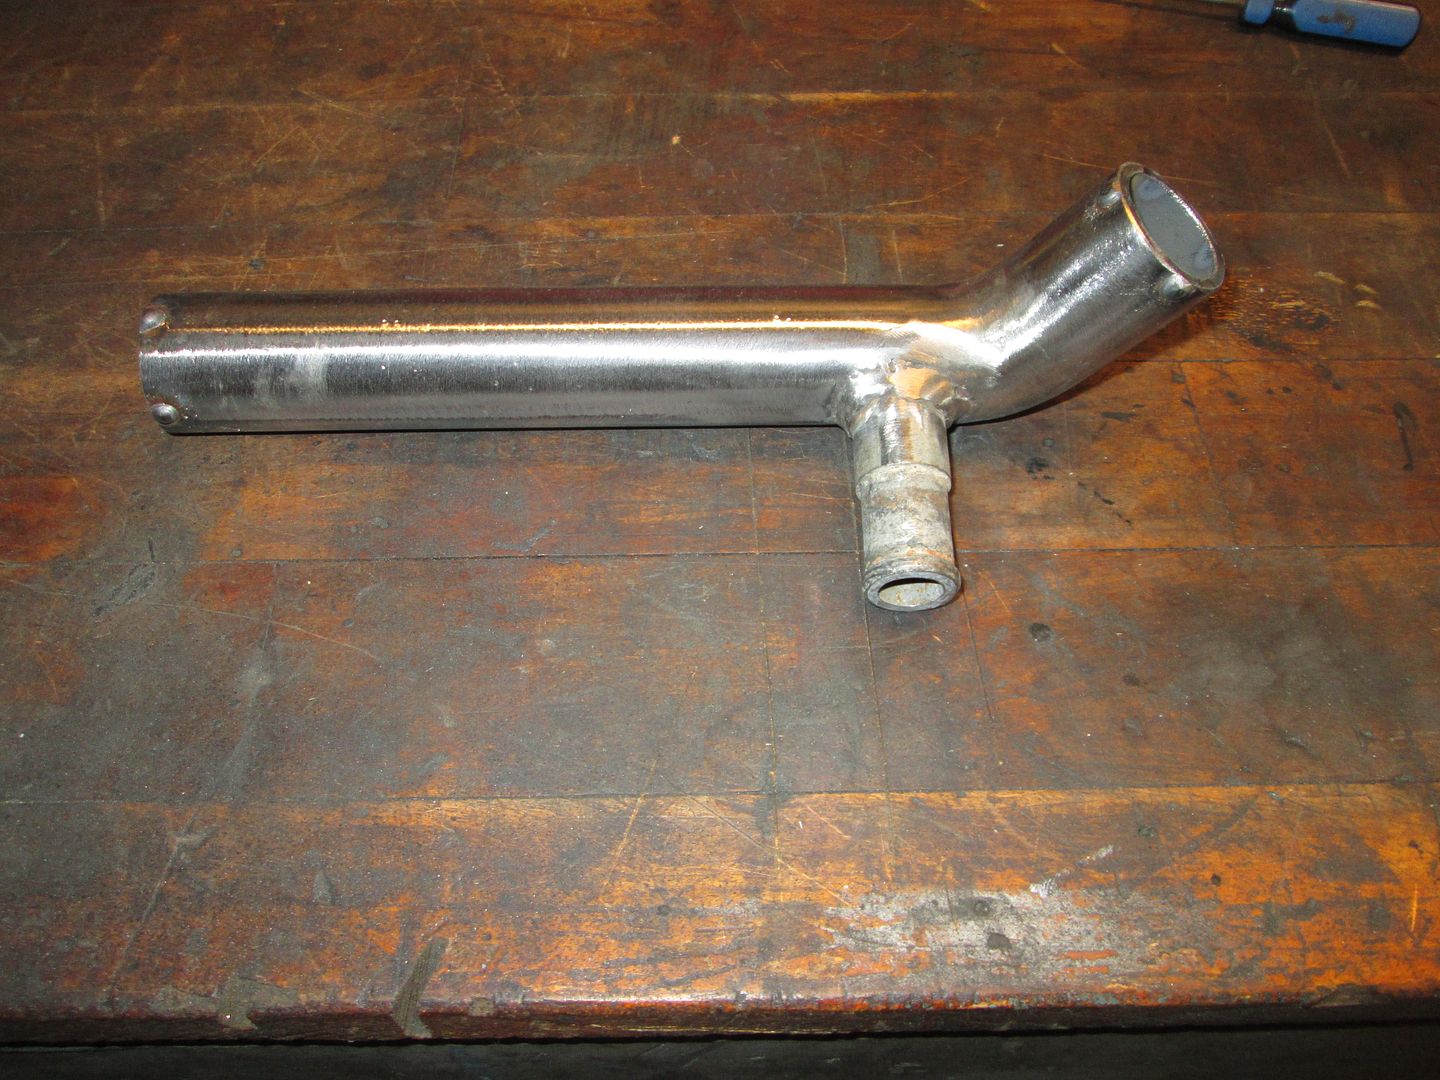
Working on a bunch of odds and ends...
Installed the rear carpet, side interior panels and the seats:
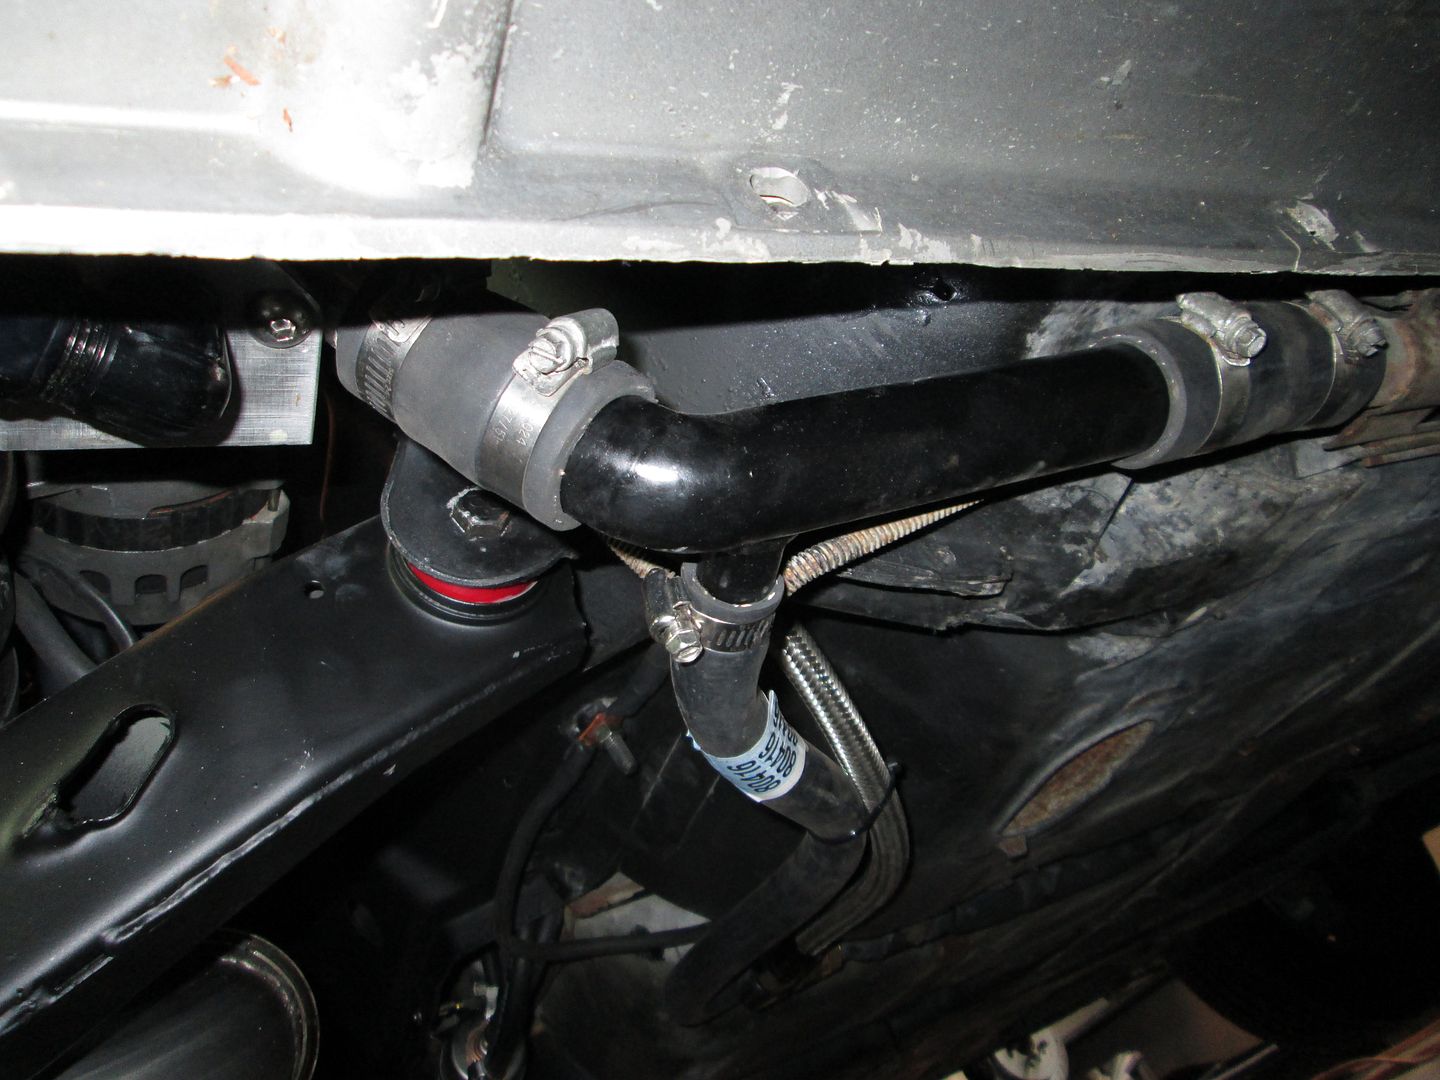
Installed the water pump and connected the AN fittings:
Made this coolant pipe that goes between the passenger side coolant tube and the water pump. It has a nipple for the heater hose to dump into the line before the water pump:
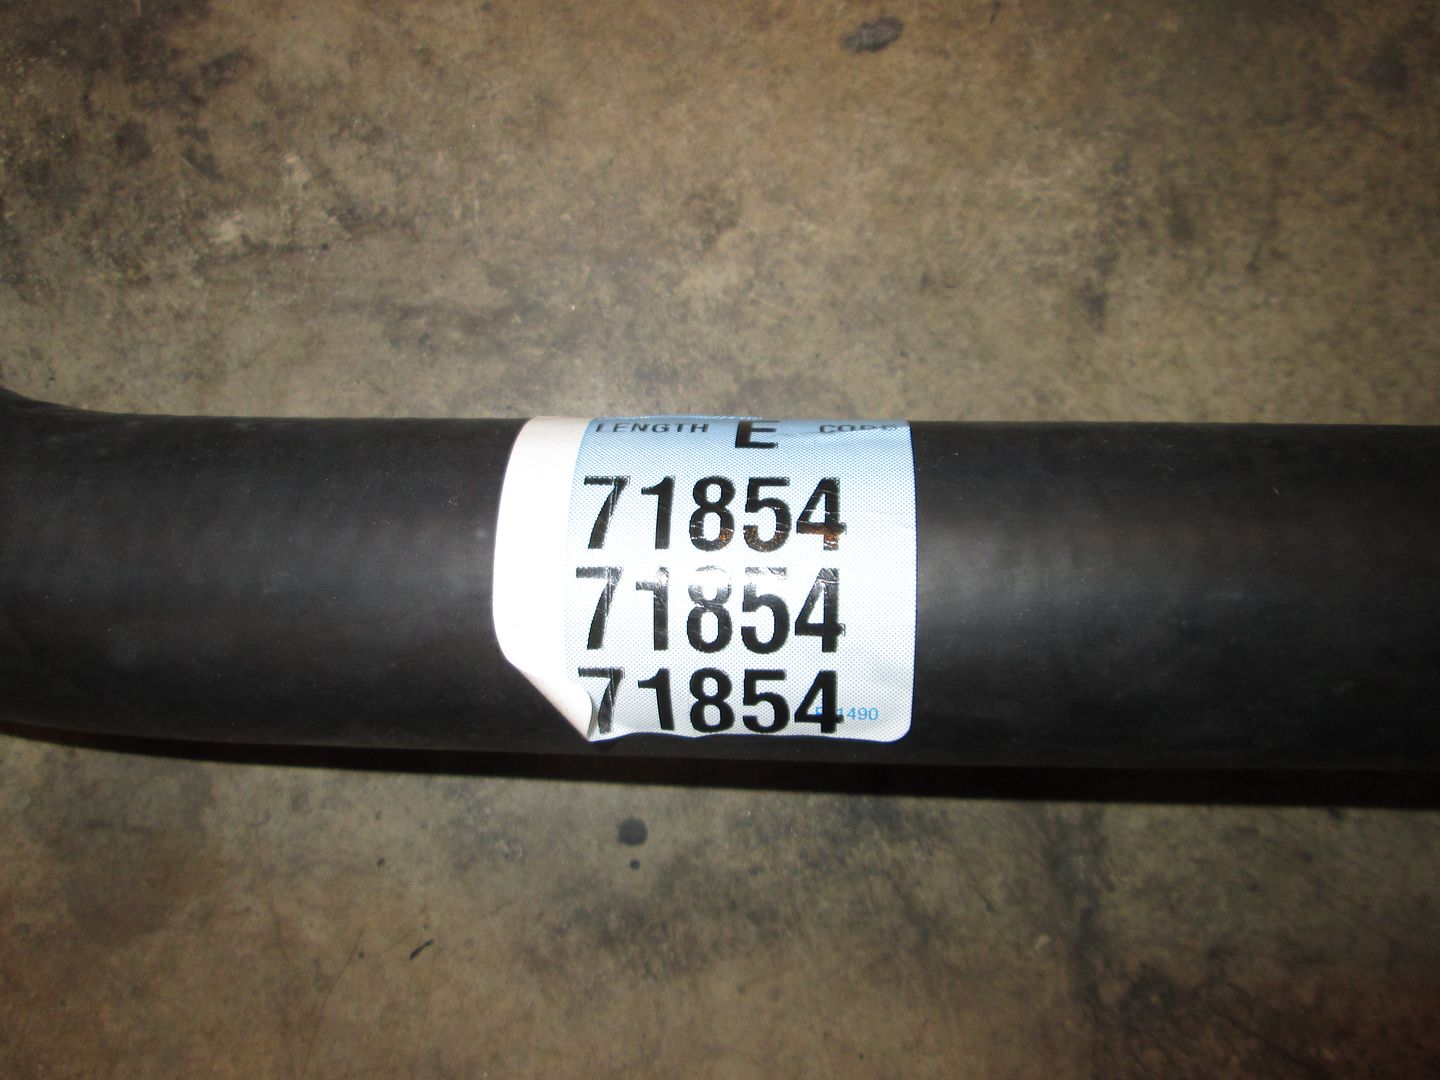
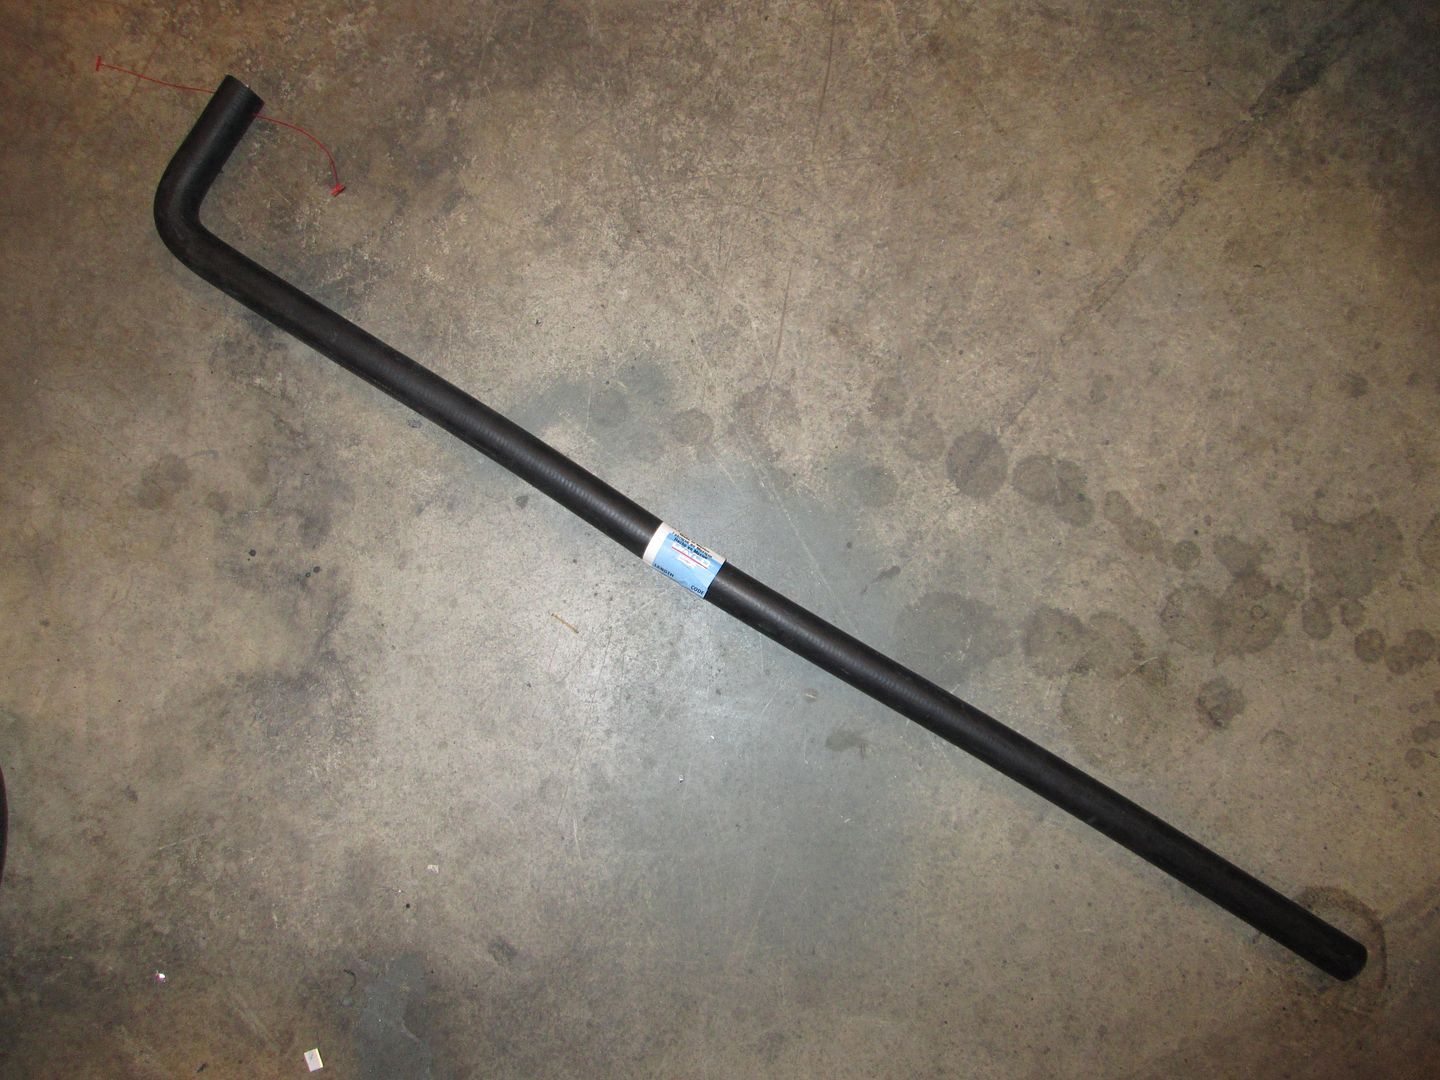
Source the coolant hoses for the heater core and the driver side. Driver side hose:
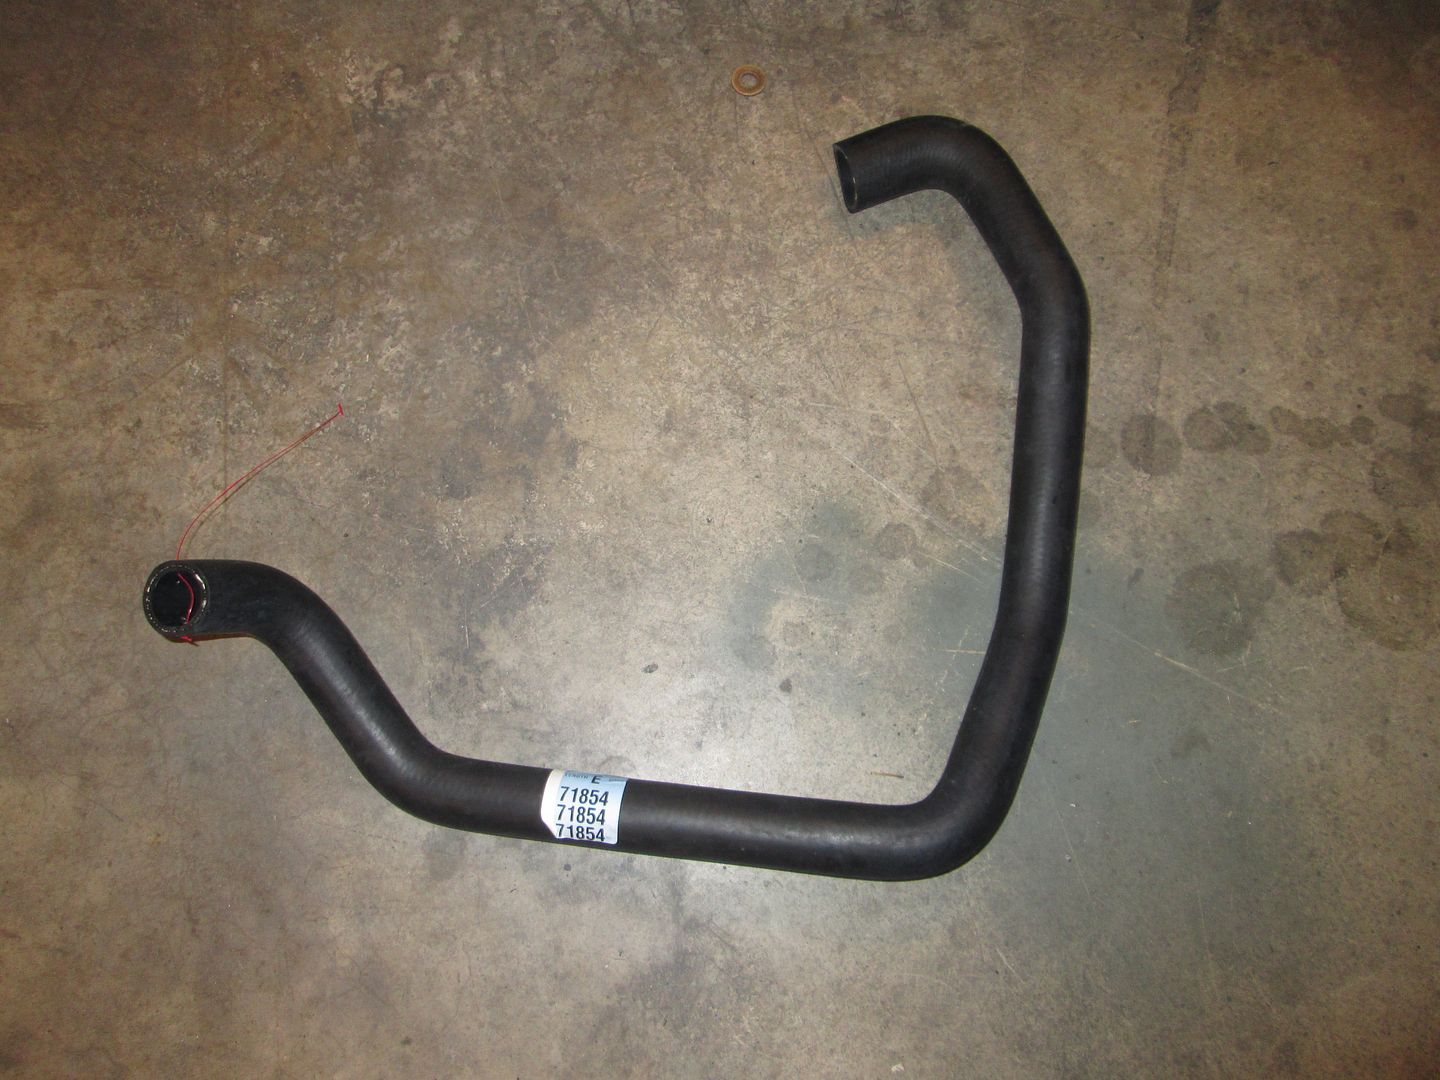
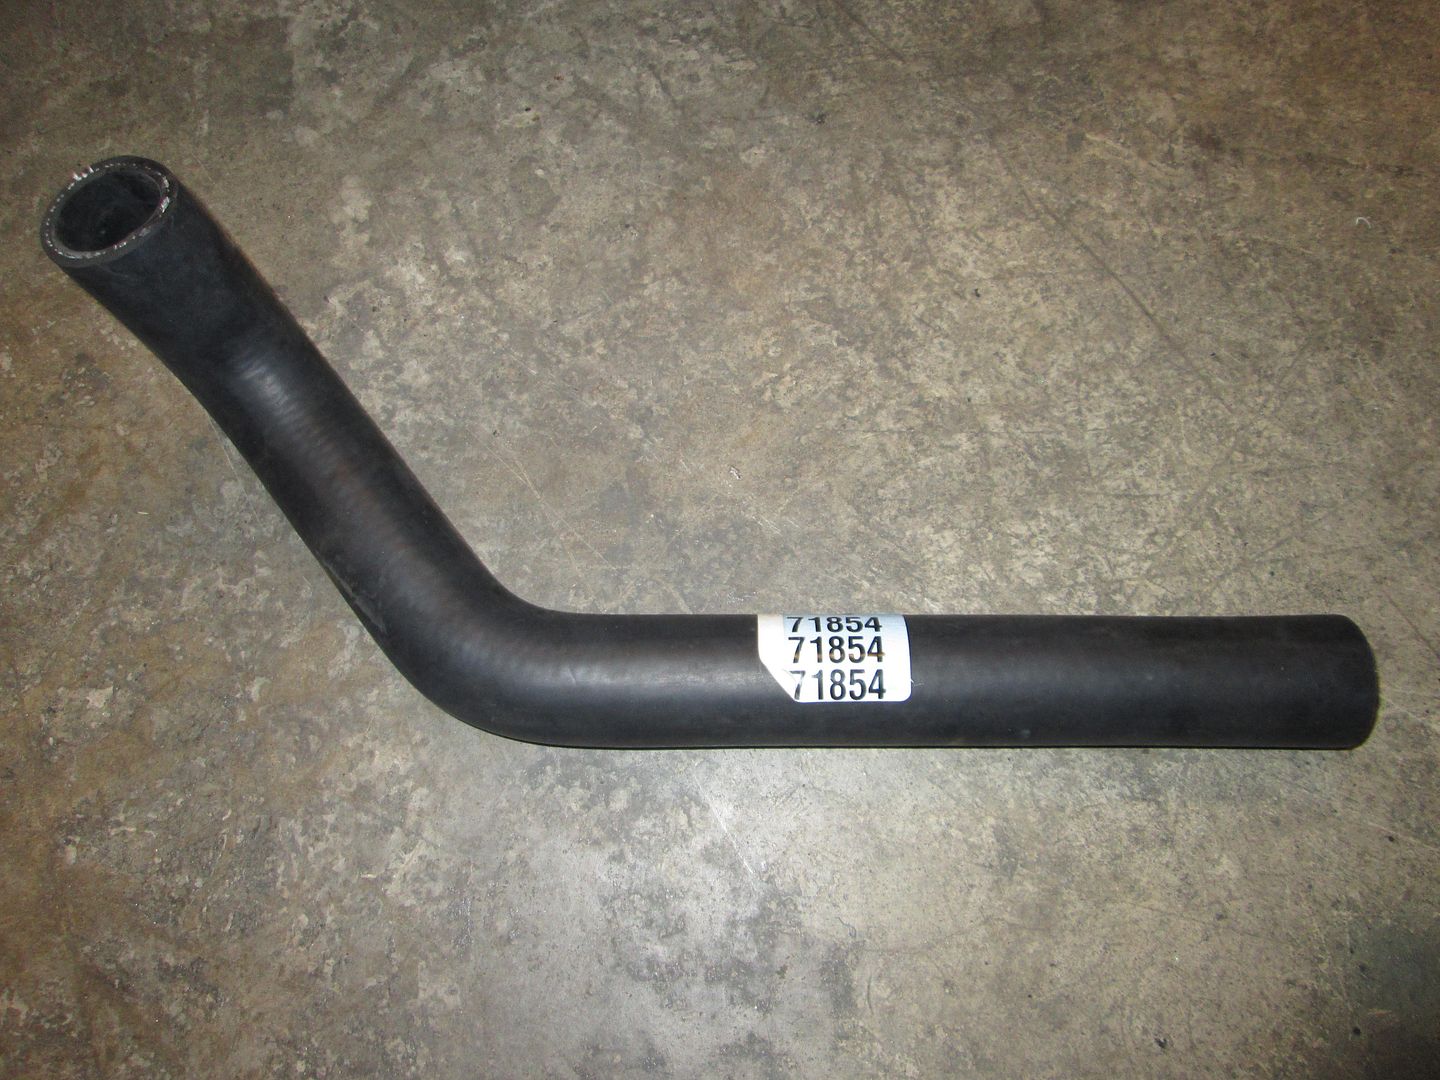
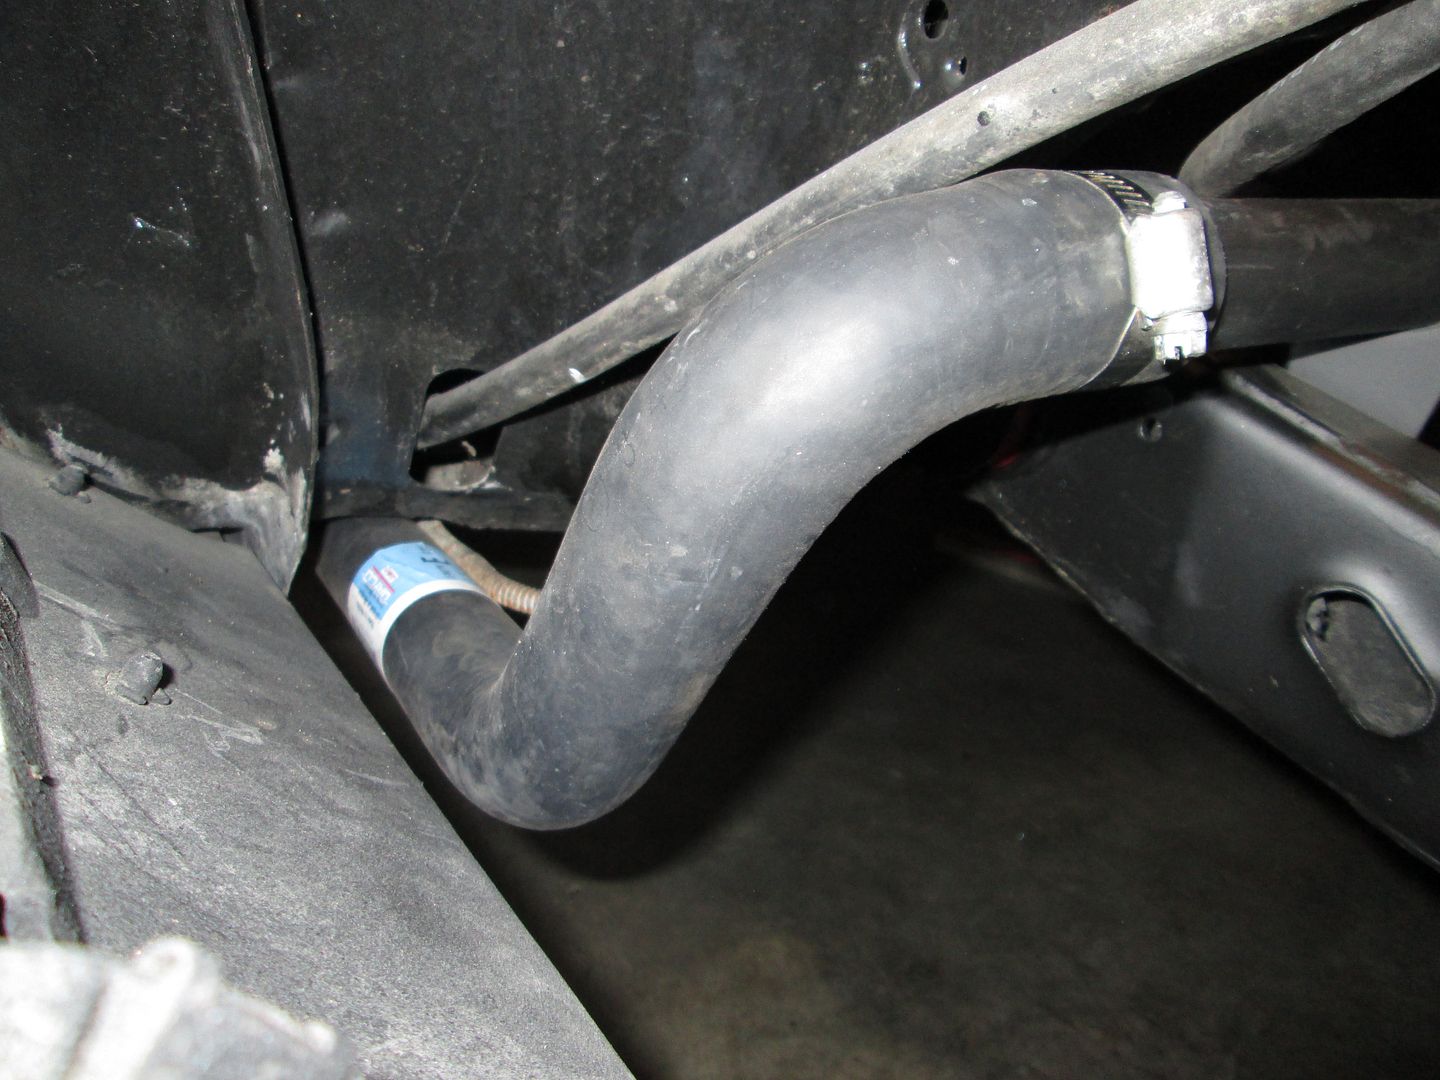
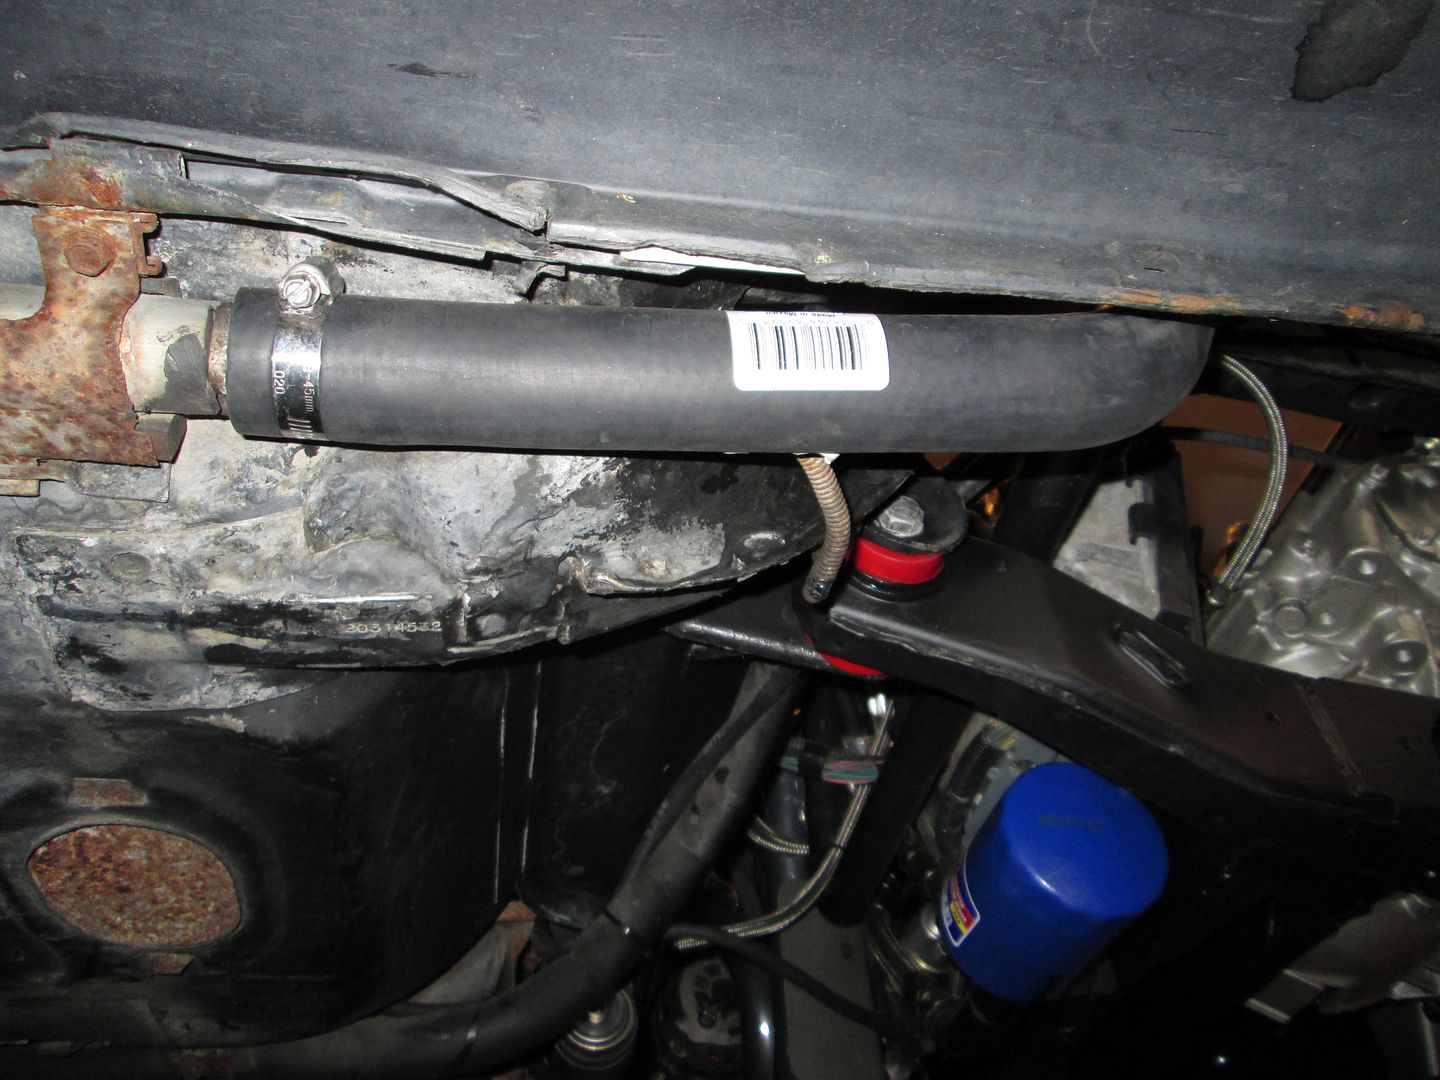
Heater core hose:


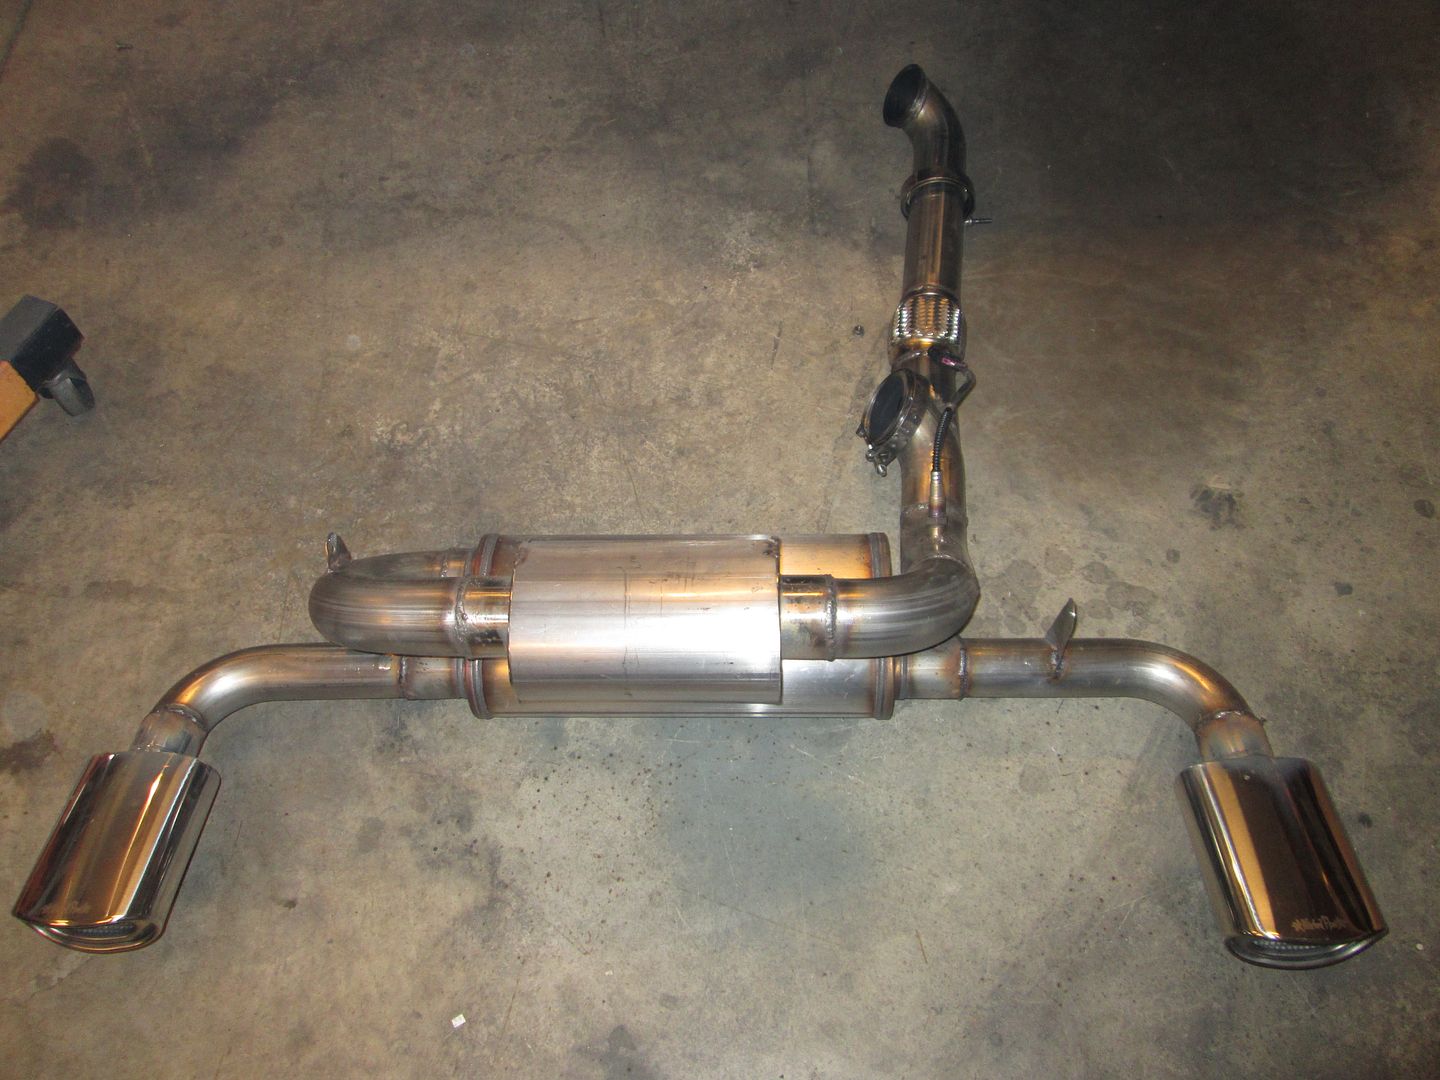
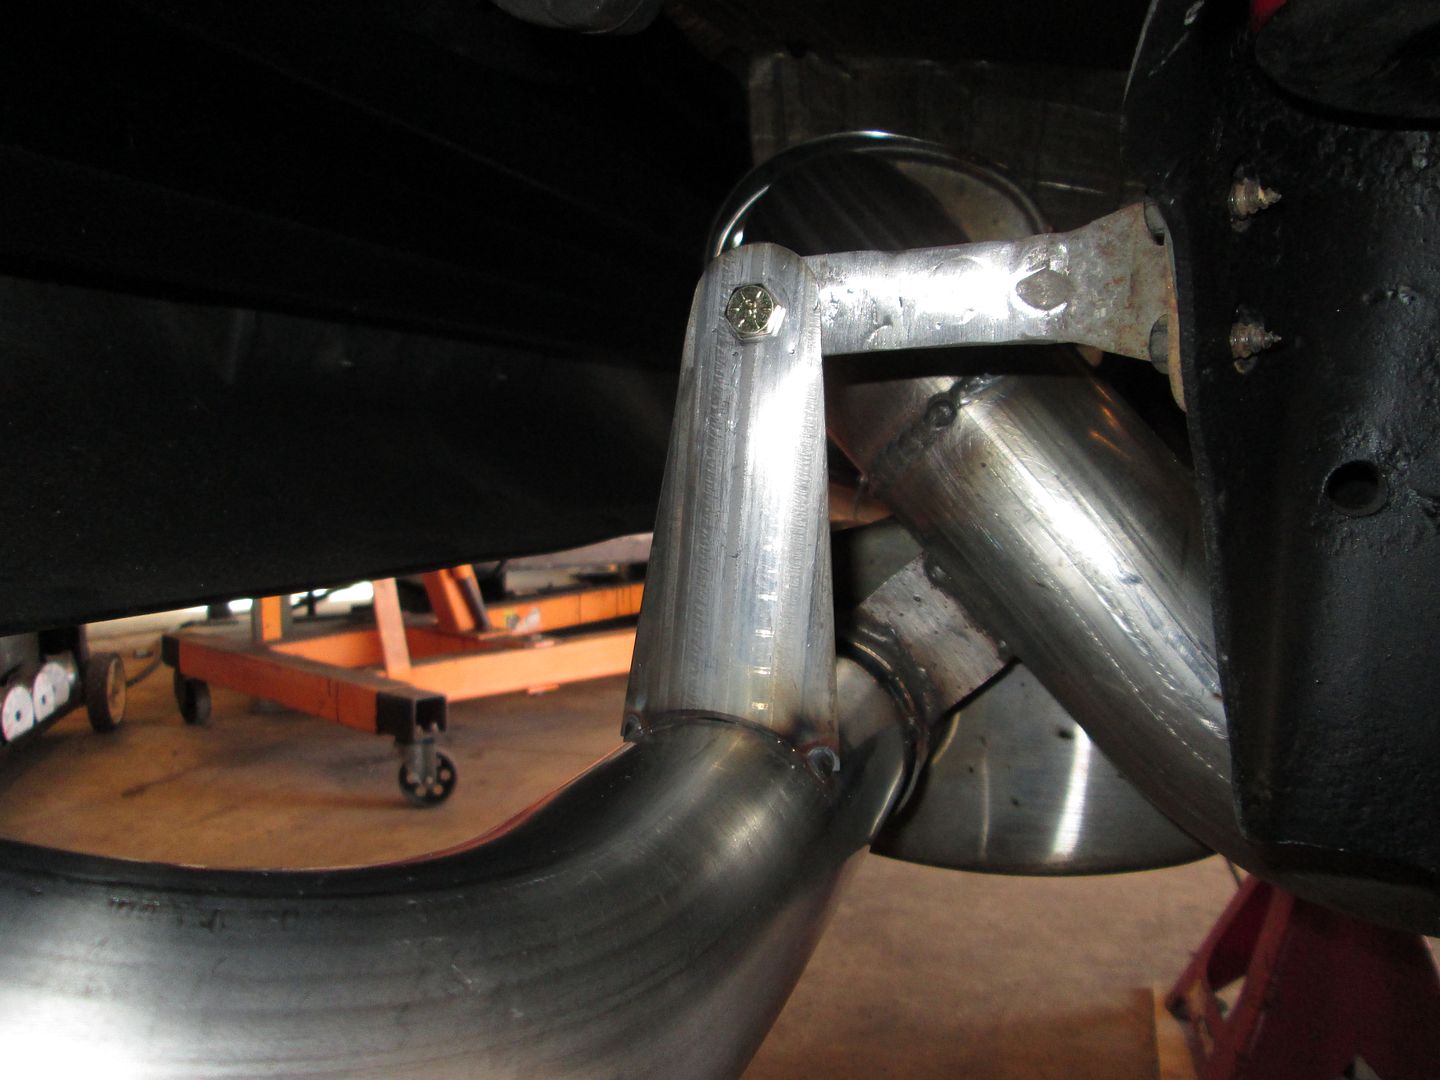
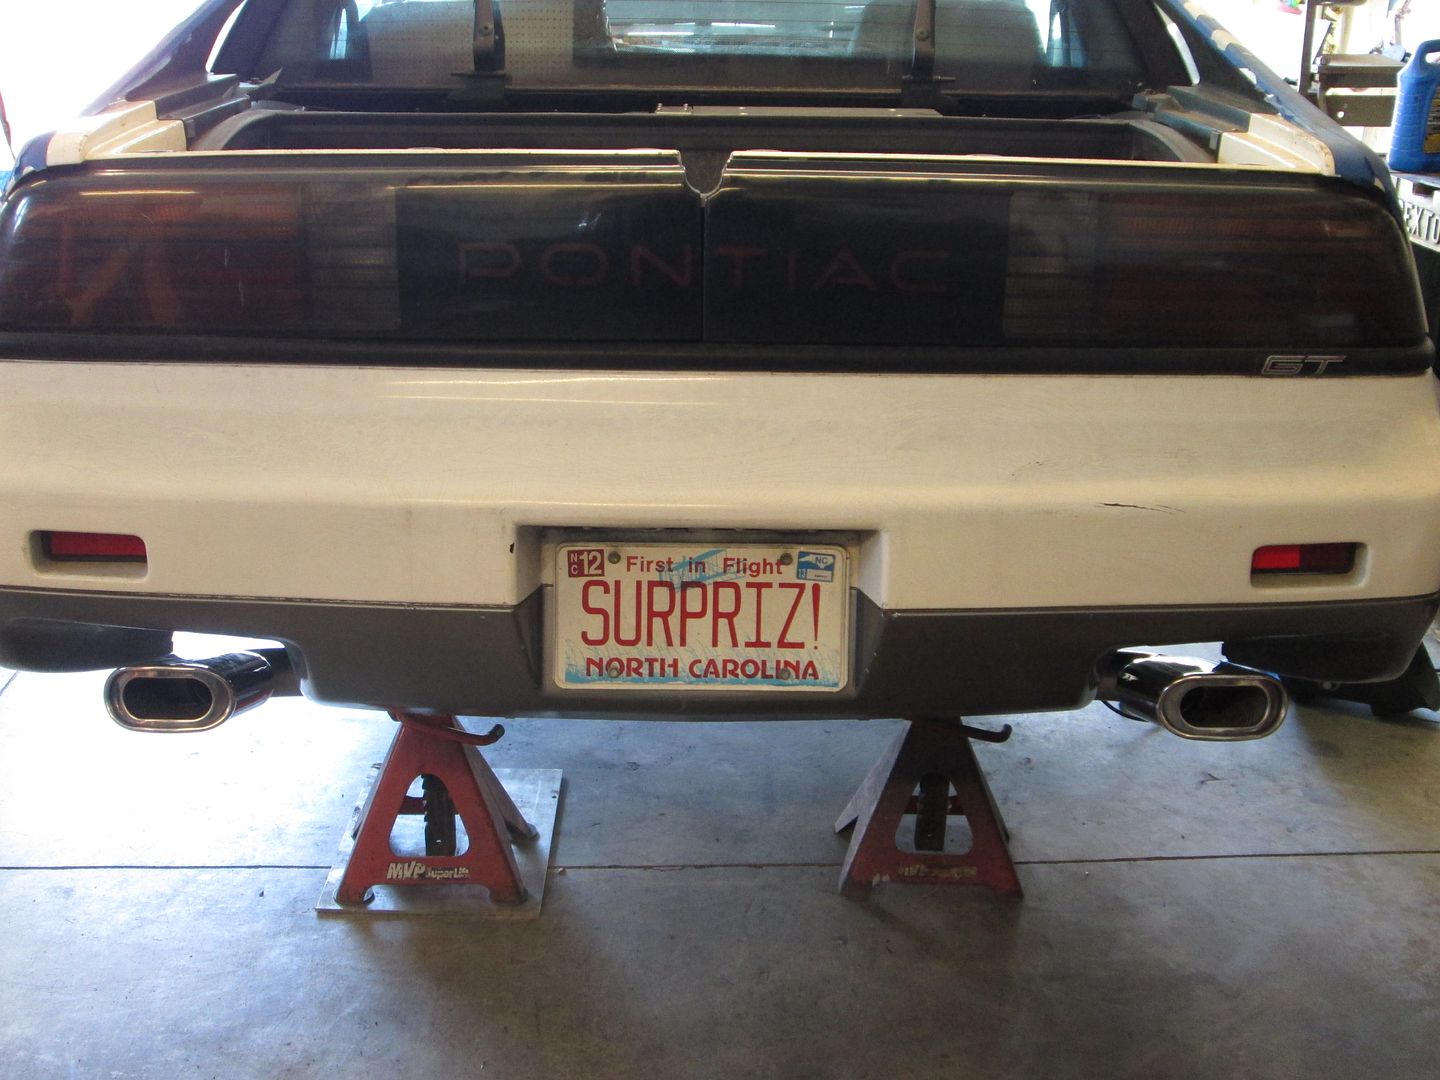
Then tacked together the rest of the exhaust:
Filled the engine and burped the coolant system with 50/50 antifreeze mix.
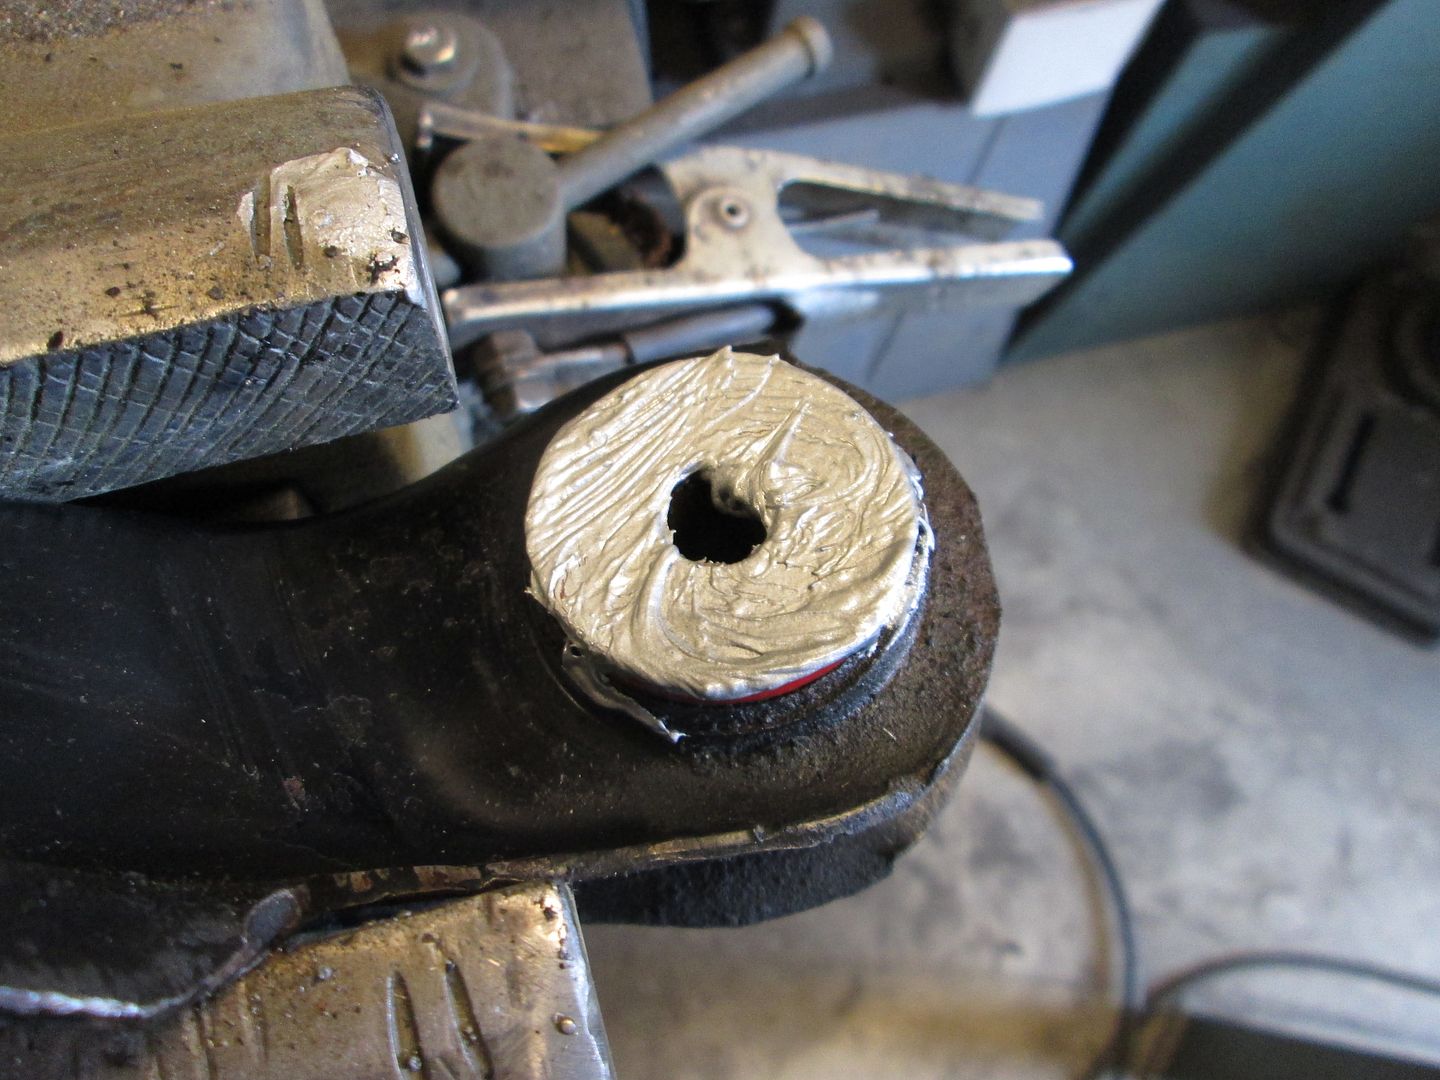
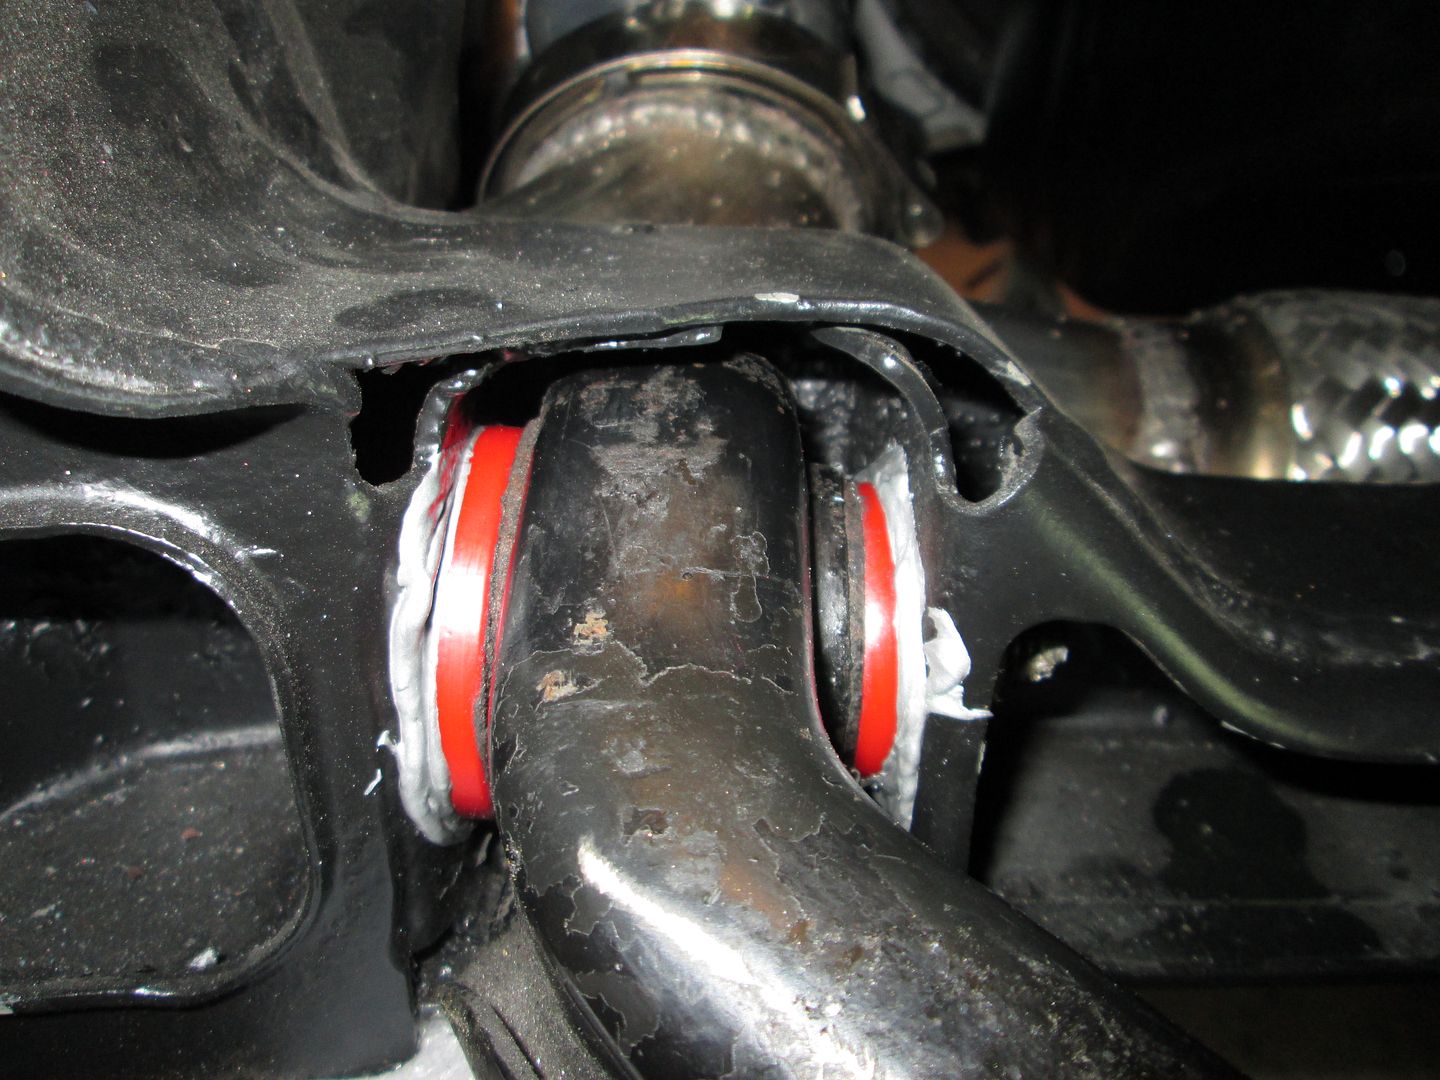
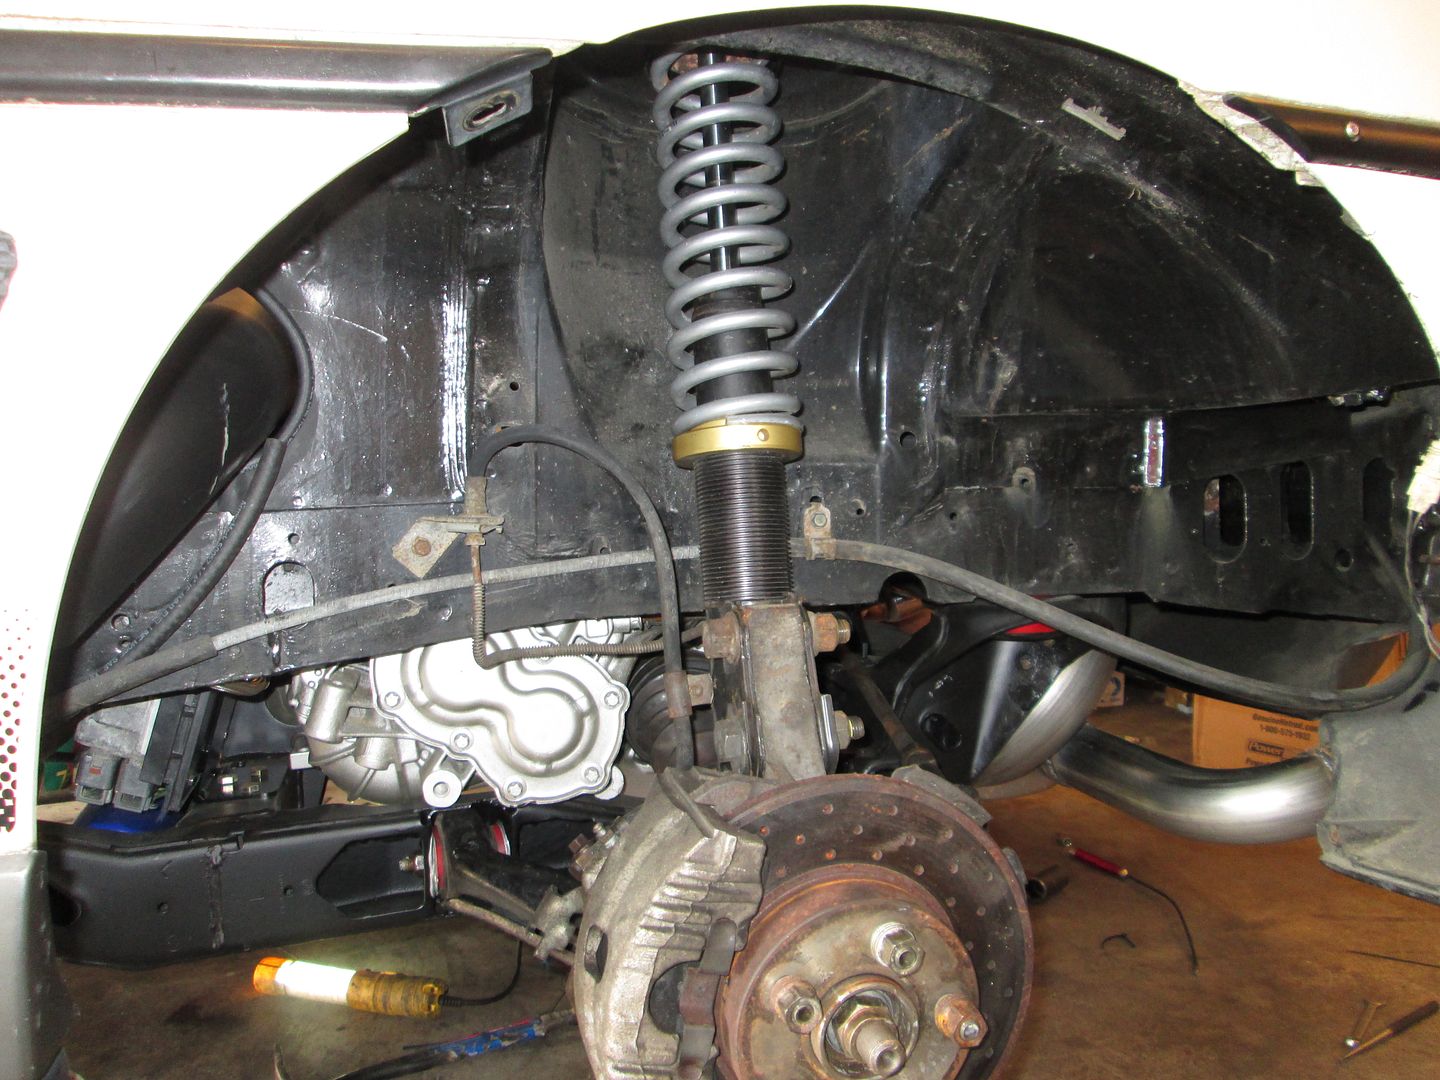
Sunday I will finish weld the exhaust, put the rear suspension back together and try to get the car sitting on its wheels again.
|
|
|
|
Trinten
|
MAR 22, 04:35 PM
|
|
Awesome! That coolant setup looks so much nicer and cleaner than the jammed together pipes I had in there before!
I think those tips look pretty good, it's definitely a different look. Thank you for the update!
|
|
|
|
fieroguru
|
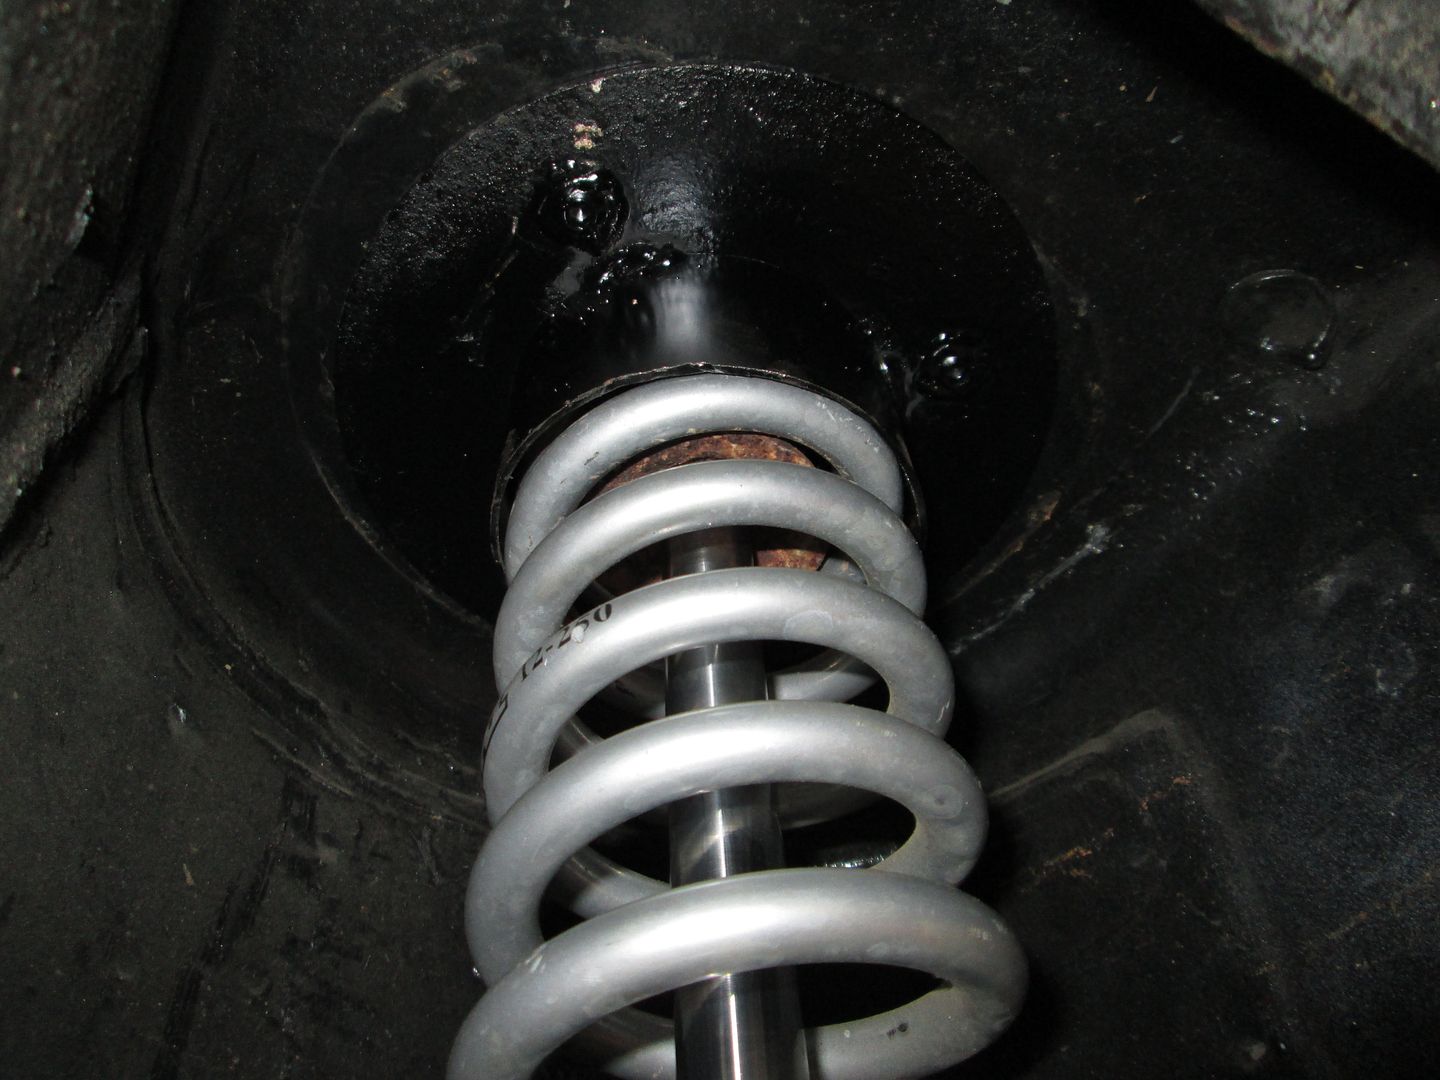
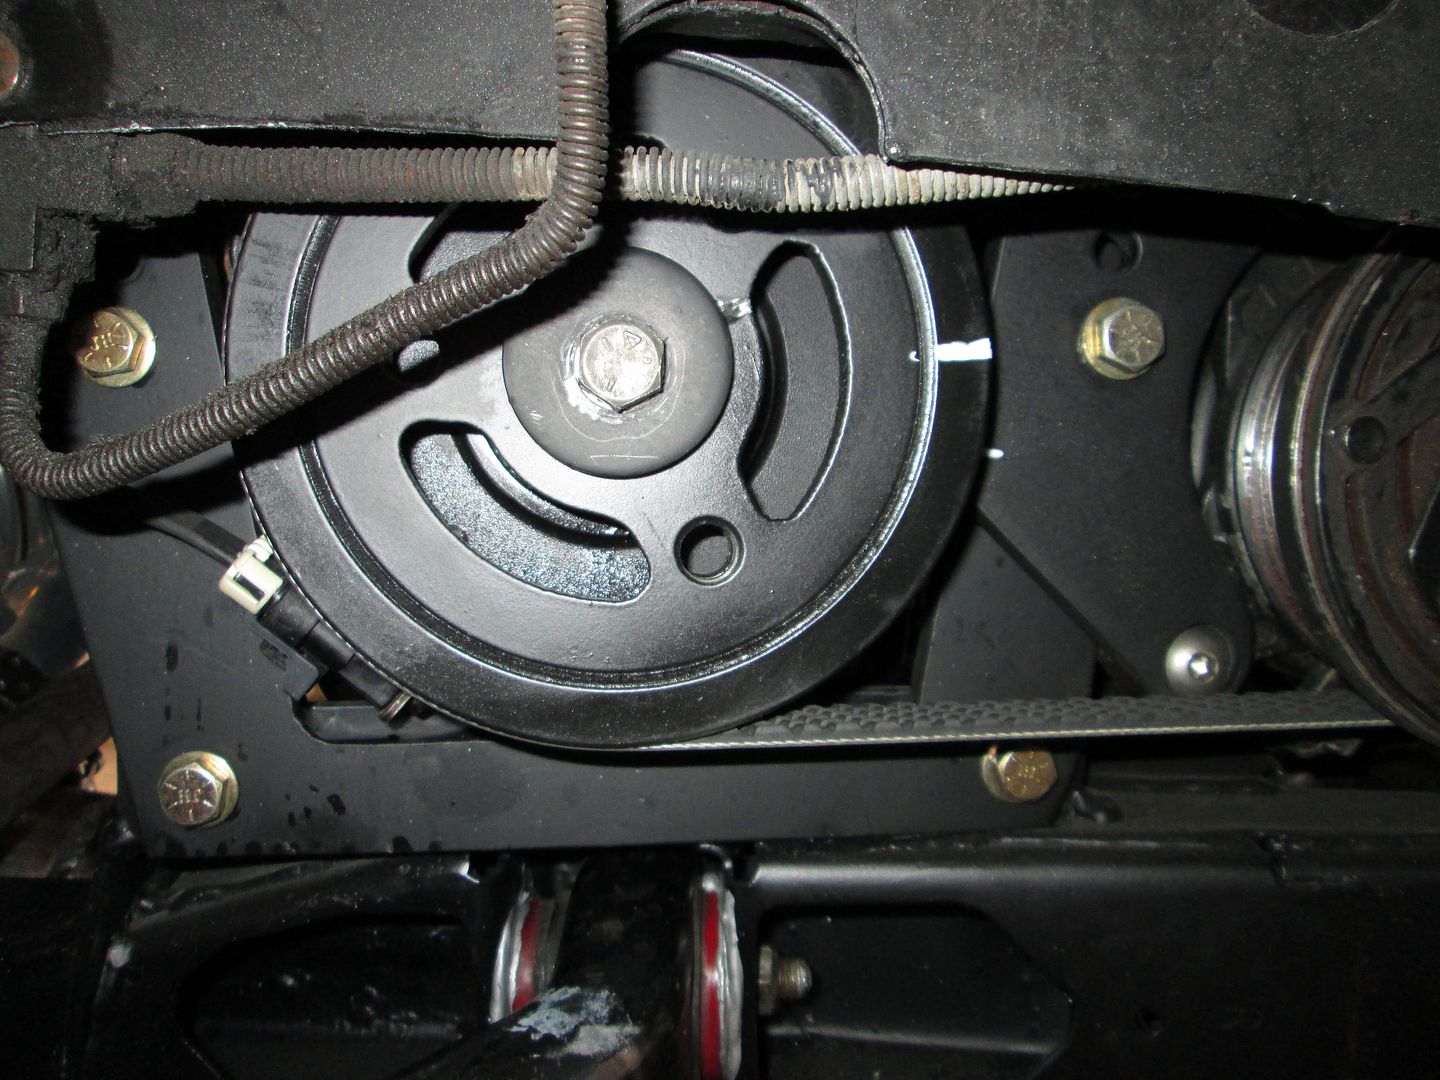
MAR 23, 05:05 PM
|
|
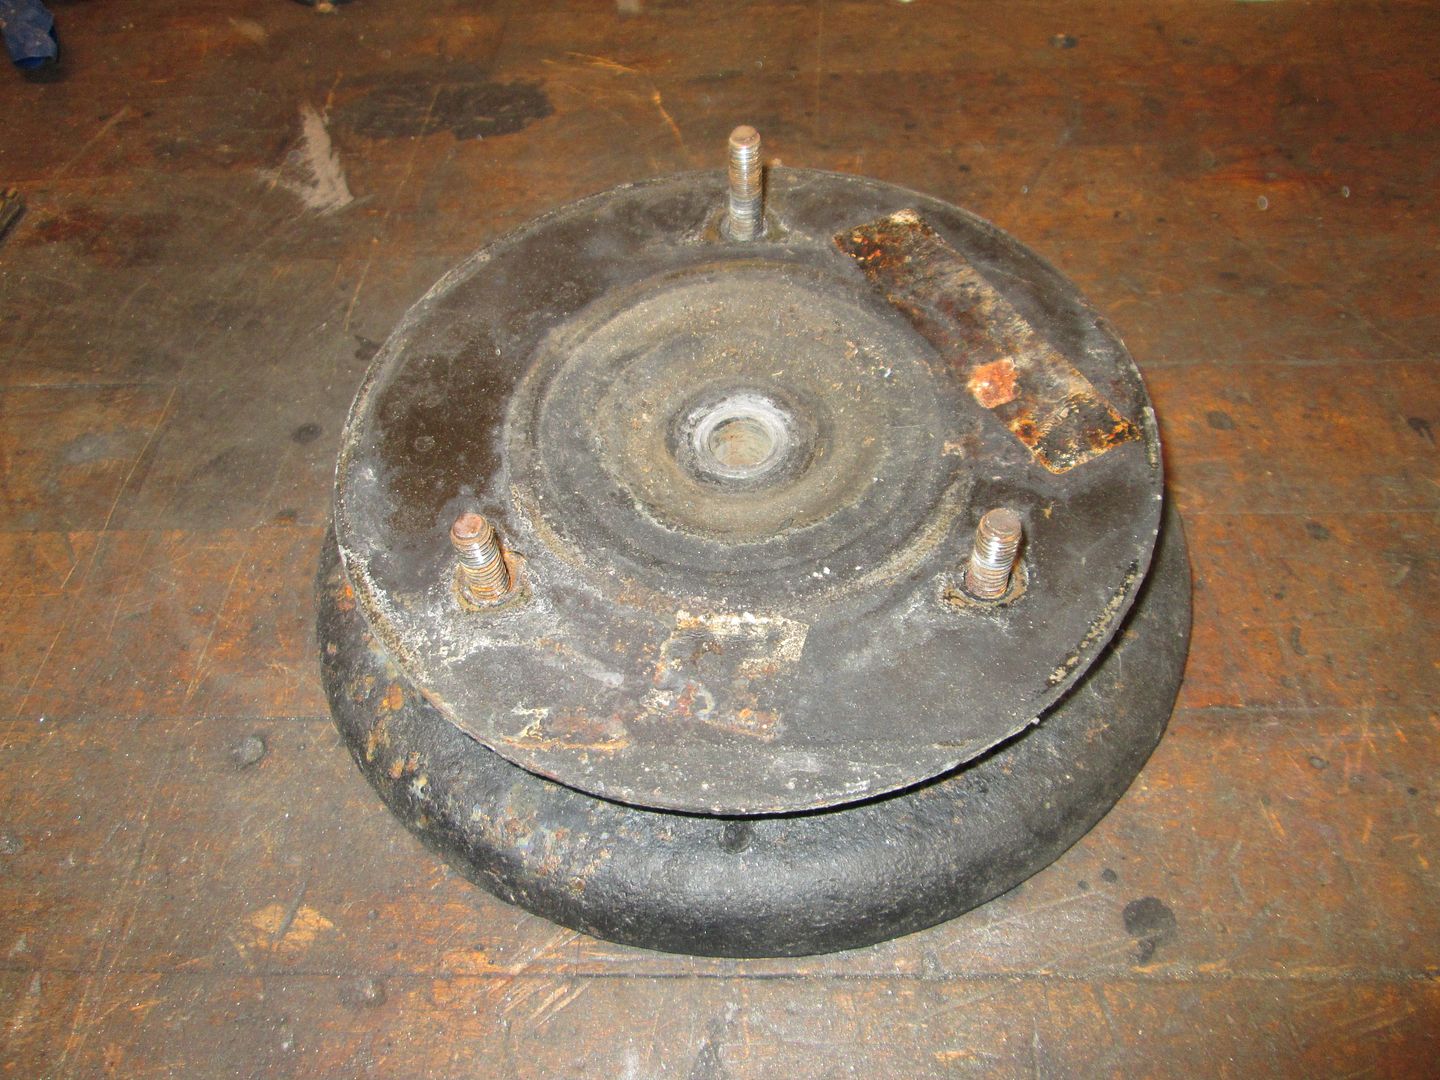
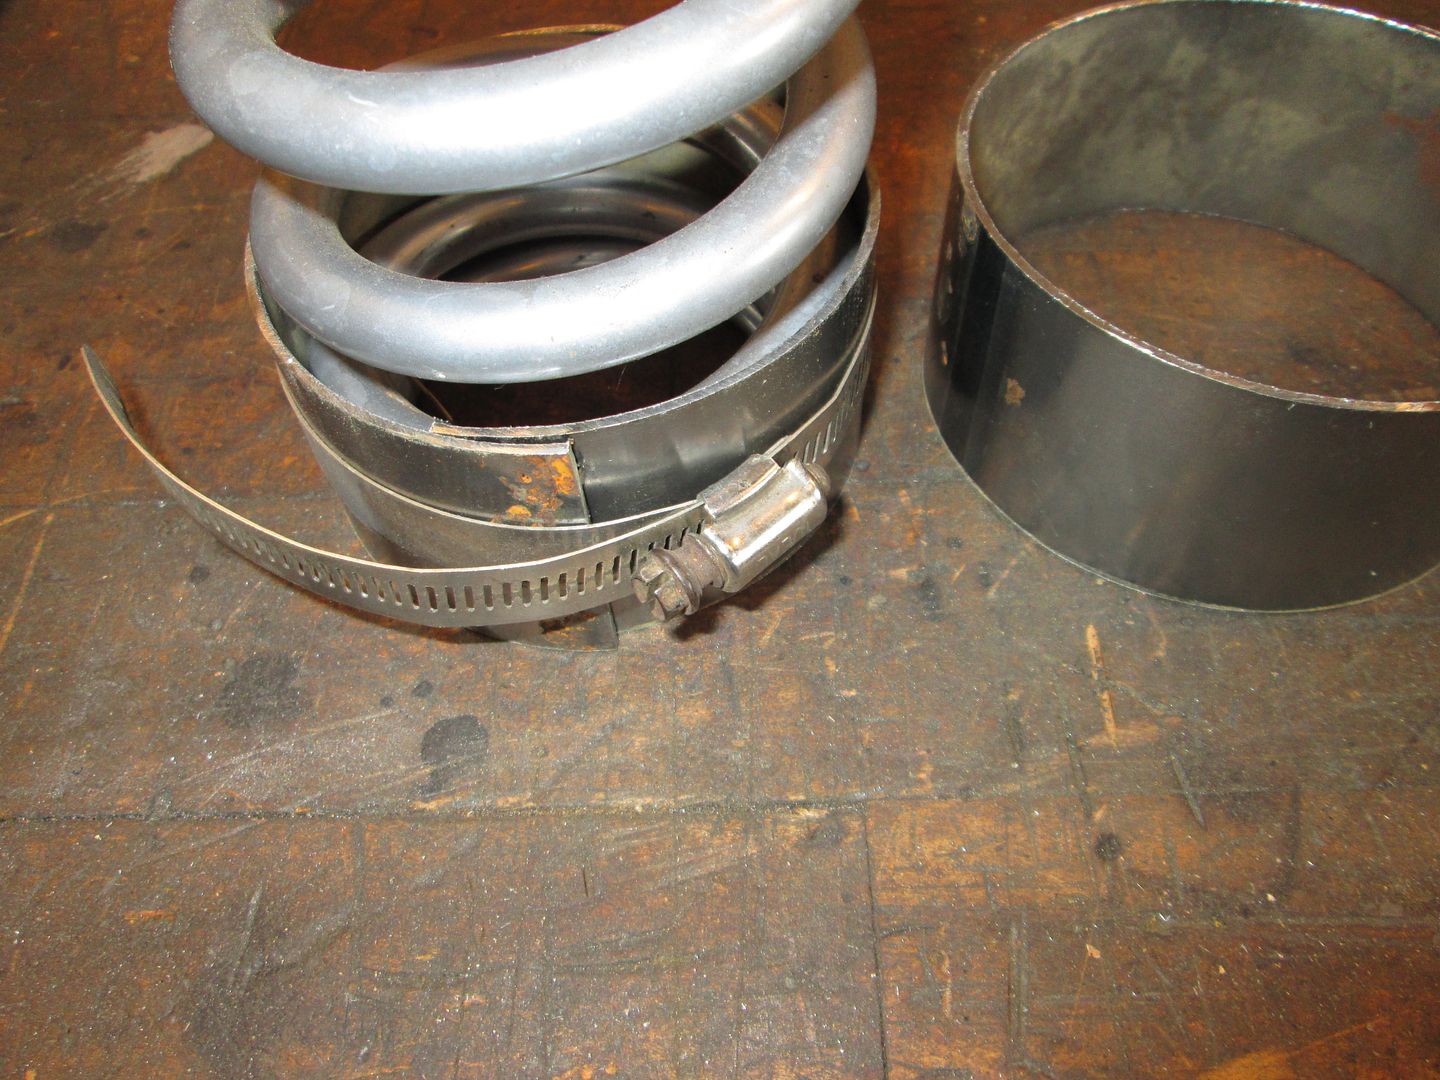
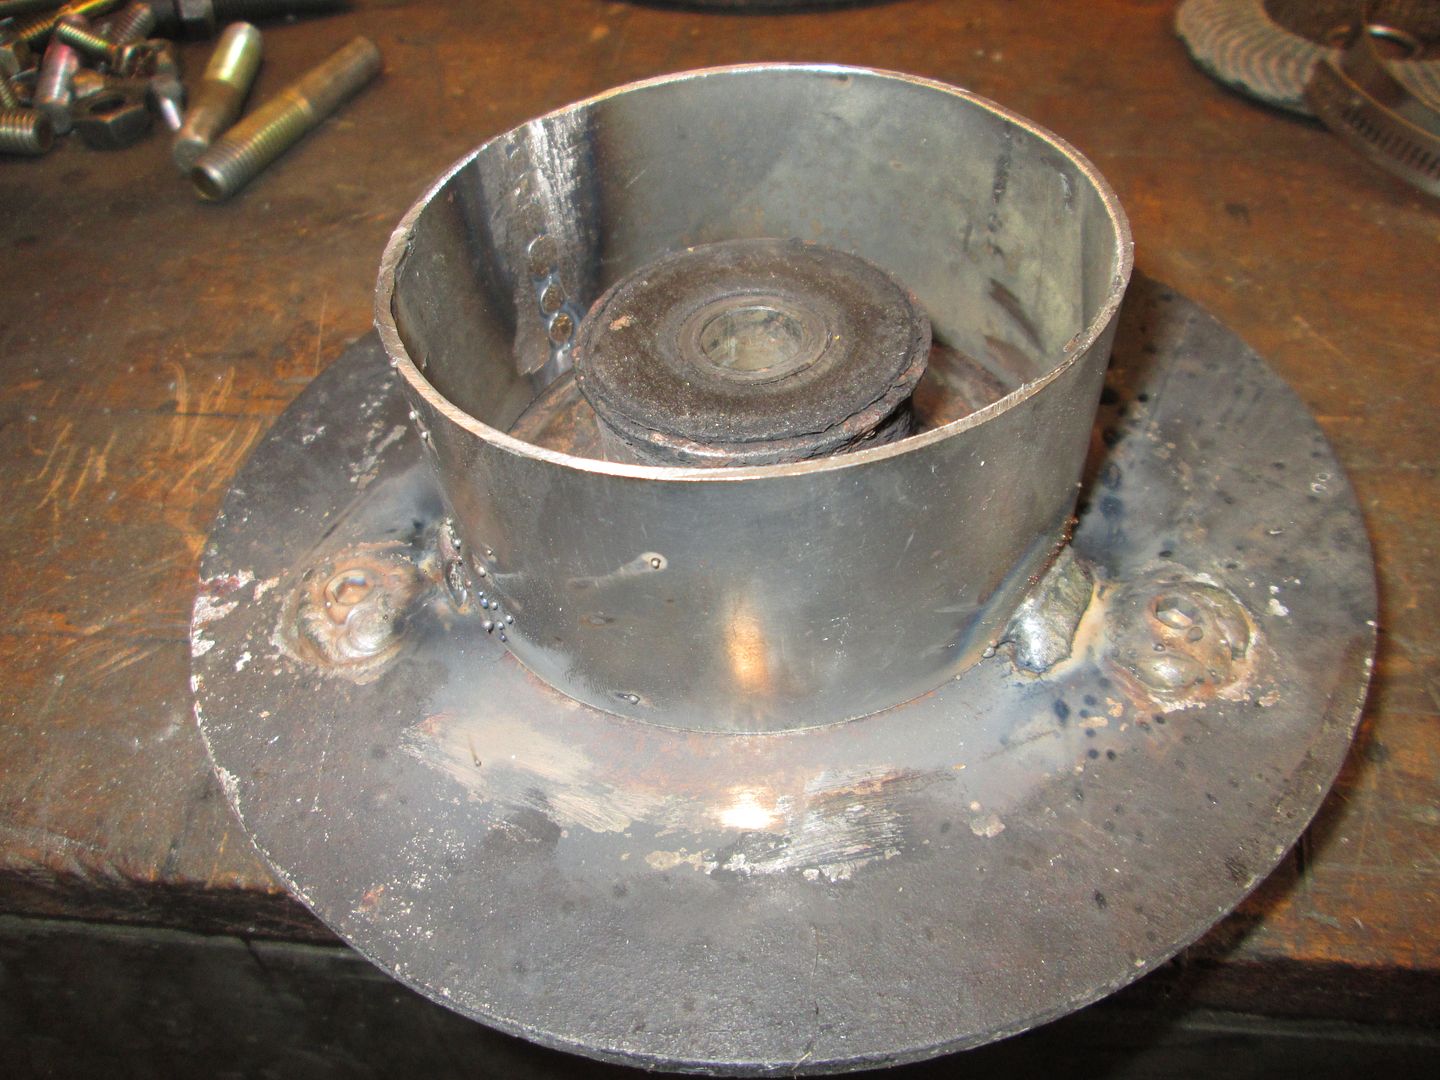
|
|
|
Trinten
|
MAR 23, 05:15 PM
|
|
|
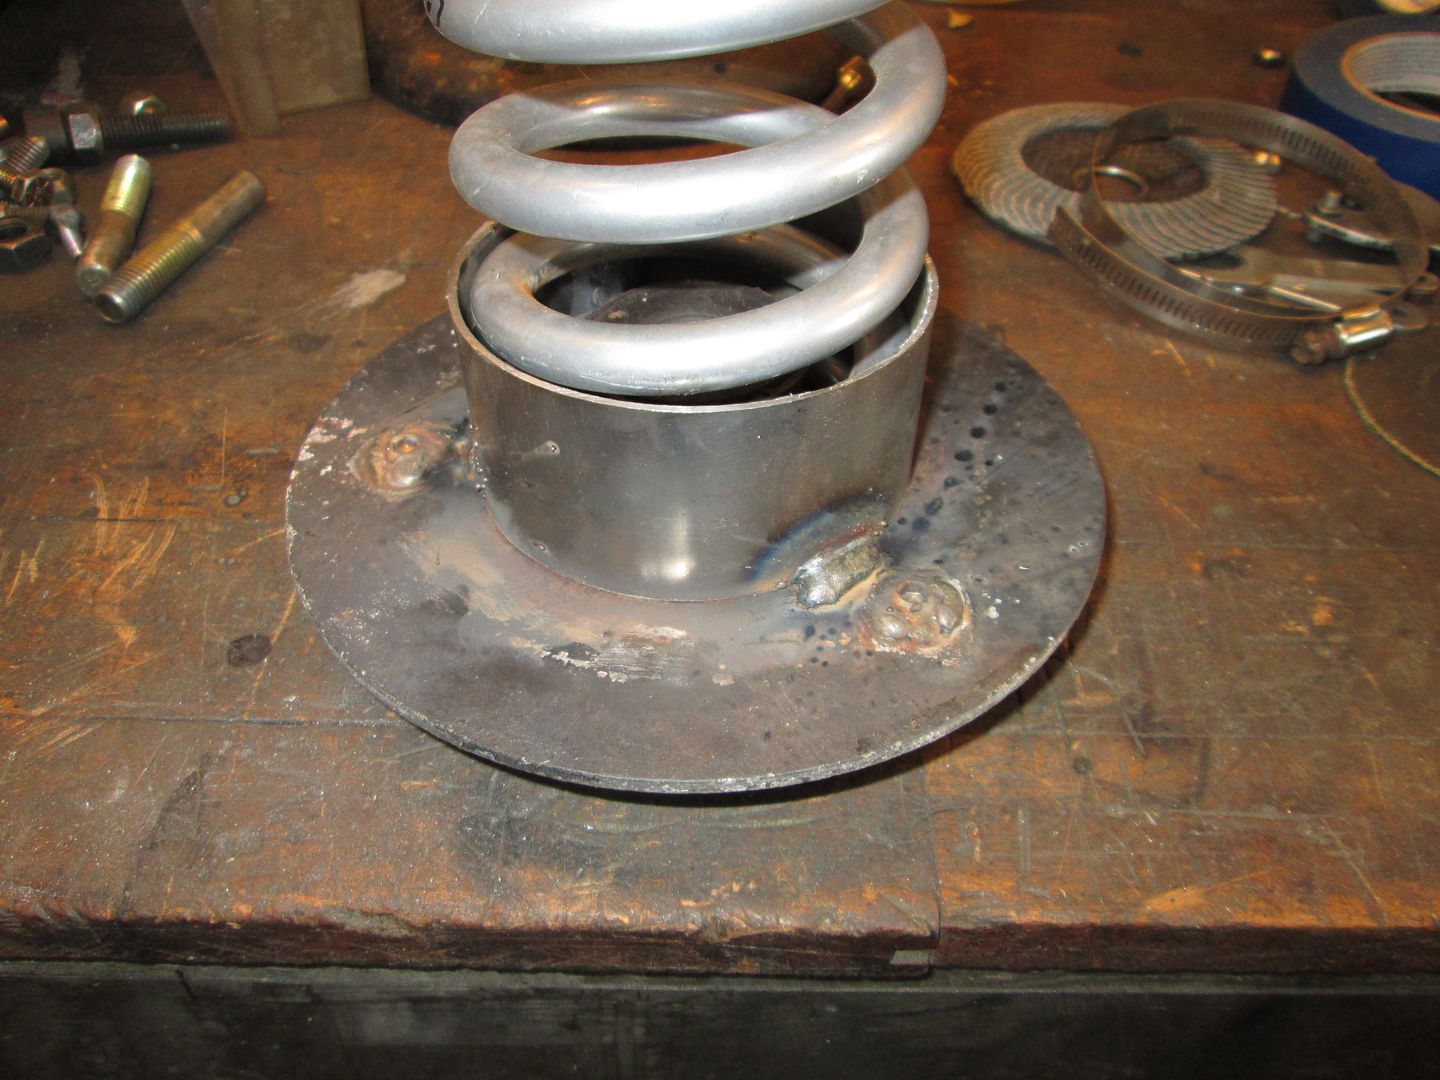
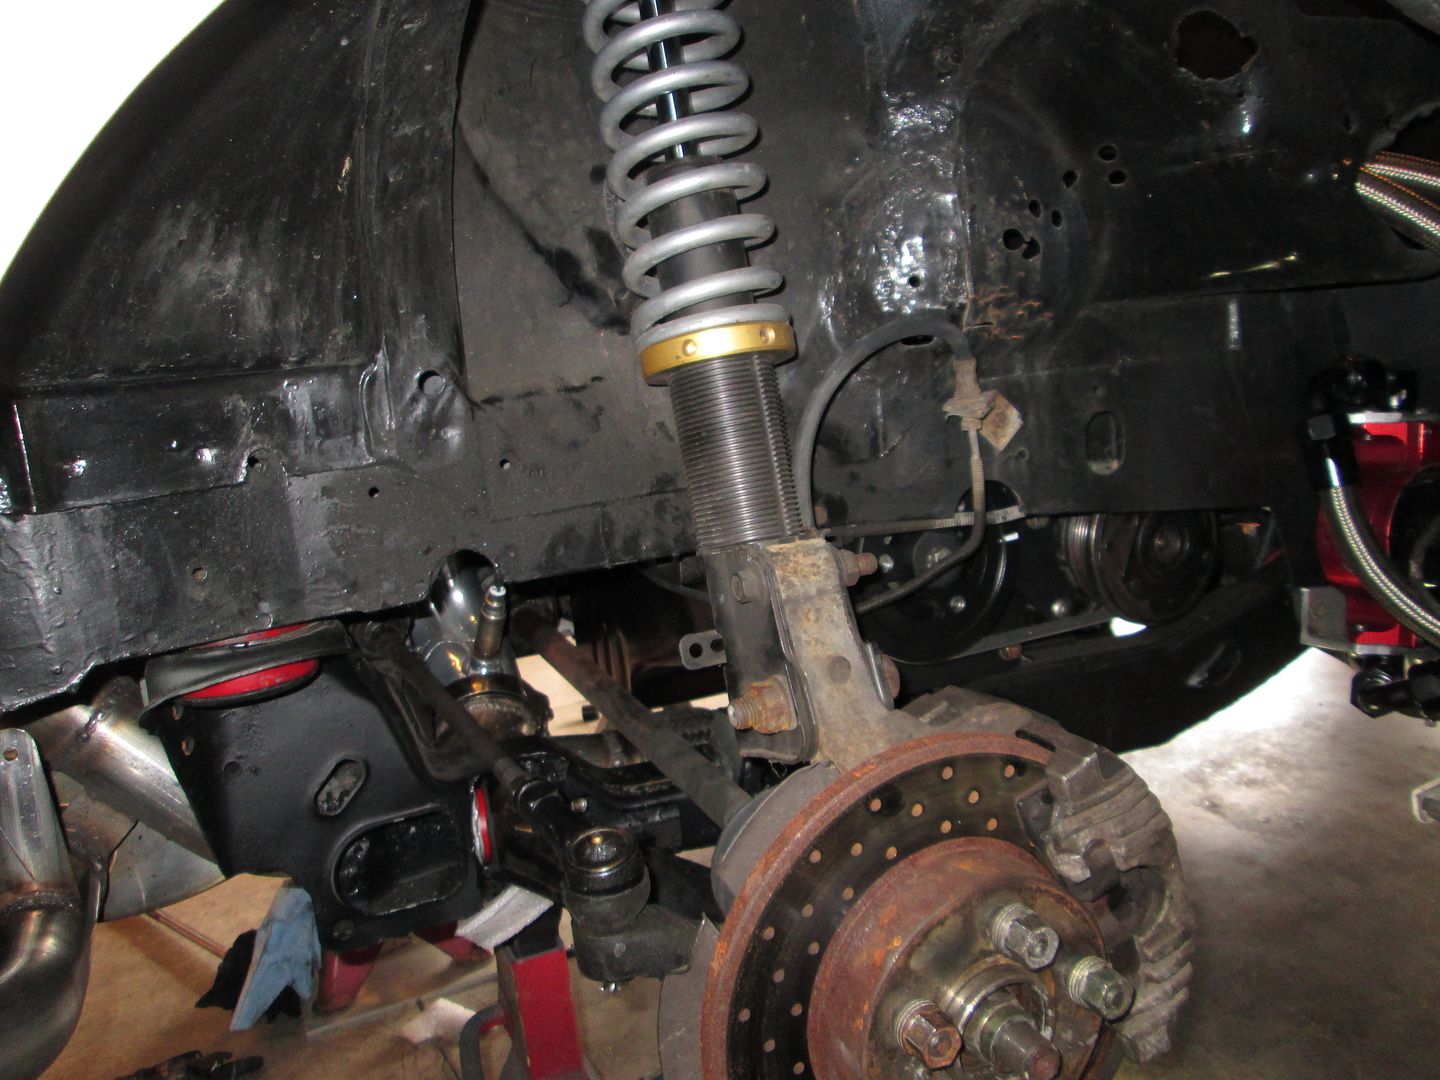
Wow... that all looks amazing. Thank you for improving my coil over setup!!
|
|
|