At one time I was thinking of looking at doing a double wishbone setup, but that was well before I started doing work with CCfiero.
Jer
Bloozberry
MAR 30, 09:12 AM
It's just no fair that we don't all have free access to multi-million dollar machining and metal forming shops! All the productive things that could be done... (not to mention all the expensive metal that would end up in the scrap bin after folding it the wrong way!) So tell us the truth... how many knuckle pieces did we not see? Where's the reject pile?
Seriously, this looks amazing. Can't wait to see more.
ccfiero350
MAR 30, 09:48 AM
quote
Originally posted by Bloozberry:
So tell us the truth... how many knuckle pieces did we not see? Where's the reject pile?
Actually this kind of work is my stock and trade. Giving the advancements of 3D cad, and a good sheet metal shop, and years of experience, I can find the major design issues before it ever leaves my work station. Coppertop_1 can spot production issues before it's made. Together we make a good team.
There were two different sets made, His, custom designed for cobalt/ion hubs and stock geometry, and mine, custom designed for bigger vue hubs, wide rims, and is lowered. Both sets came out pretty well and fitted up with out too much work. No scrap parts, no extra pieces.
Now that I have the parts in my hands, I have a few ideas for improvements though.
I'll be taking pictures of the weld up and post soon.
Thanks,
------------------ yellow 88 GT, not stock white 88 notchie, 4 banger
coppertop_01
MAR 30, 09:58 AM
CC is right, the pieces that I cut mine and CC's out of are the original pieces, no scrap pieces, thats not saying there wasn't a couple small problems, a couple bends fell into the die during bending, but nothing that can't be repaired with some brute strength and a little more welding. I can't believe how well everything came out, 3D cad is amazing when its done right and the proper tolerances are used in the design stage.
Jer
doublec4
MAR 30, 10:48 AM
quote
Originally posted by coppertop_01:
3D cad is amazing when its done right and the proper tolerances are used in the design stage.
Jer
I second that statement. It really helps you to foresee any design flaws before a part is even made / money is wasted. As long as you understand manufacturing processes available, as well as tolerances, you're gold!
Keep this build going Looks great!
Austrian Import
APR 02, 02:23 AM
quote
Originally posted by ccfiero350:
I did some motion analysis on the new knuckle and made some quickie low rez animations.
Since your video reminded me of suspension Pr0n, I decided to leave this here:
Lamborghini Aventator
Too bad such a suspension setup doesn't make a whole lot of sense for a Fiero.
ccfiero350
APR 03, 10:51 AM
Very Cool! Just look how thin and fragile those links look. I wonder what happens when you run over a curb or pot hole in a real Lambo?
------------------ yellow 88 GT, not stock white 88 notchie, 4 banger
[This message has been edited by ccfiero350 (edited 04-03-2011).]
ccfiero350
APR 03, 11:15 AM
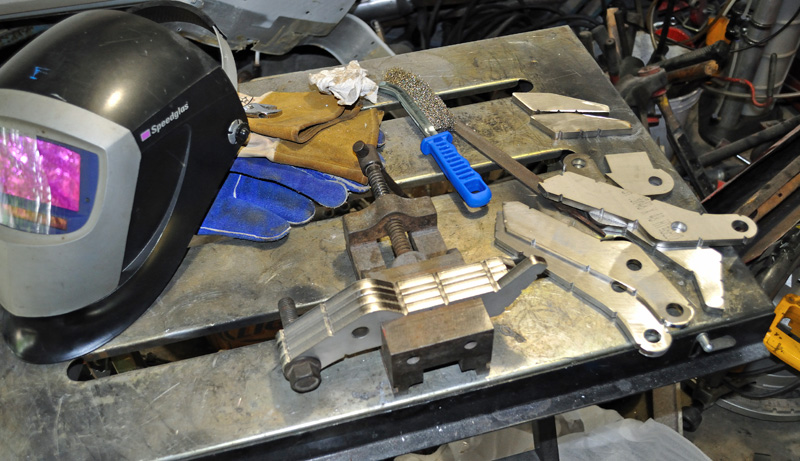
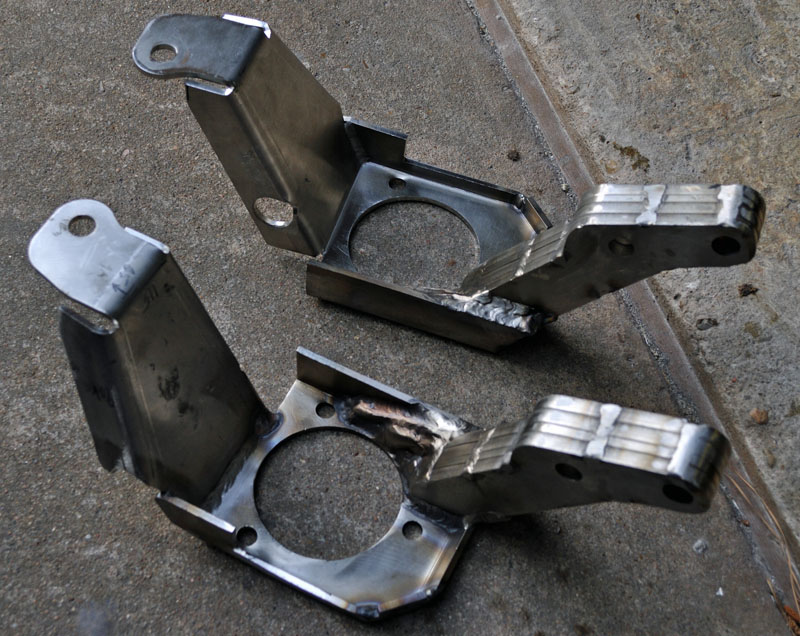
Received my parts from Coppertop01 last week and started in on the welding.
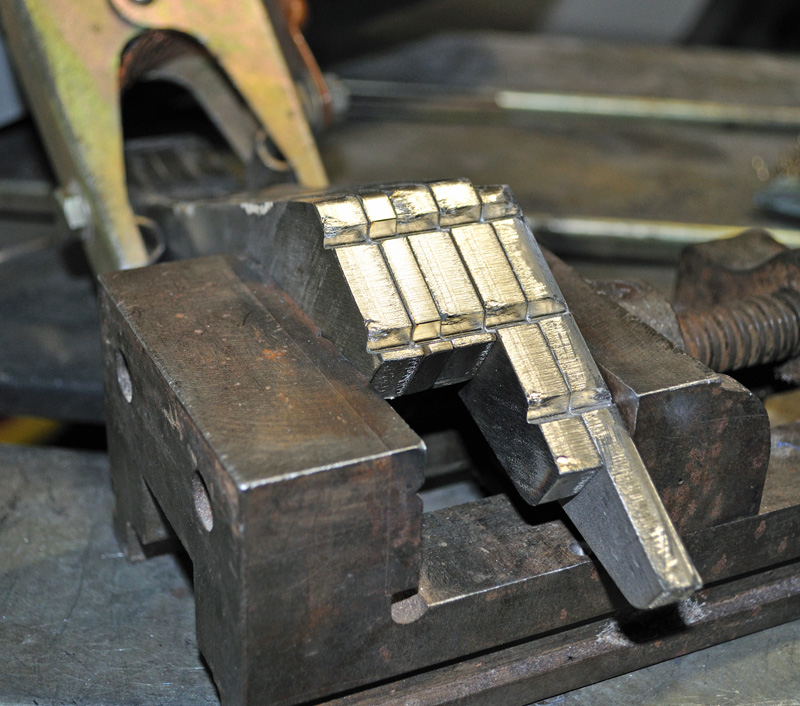
The strut mount portion is laminated, typically this would be a solid waterjetted part, but we improvised with the materials and machines we had out our disposal.
I added weld reliefs for ease of alignment of the laminates and to change the bending characteristics from a leaf spring to more like a solid bar.
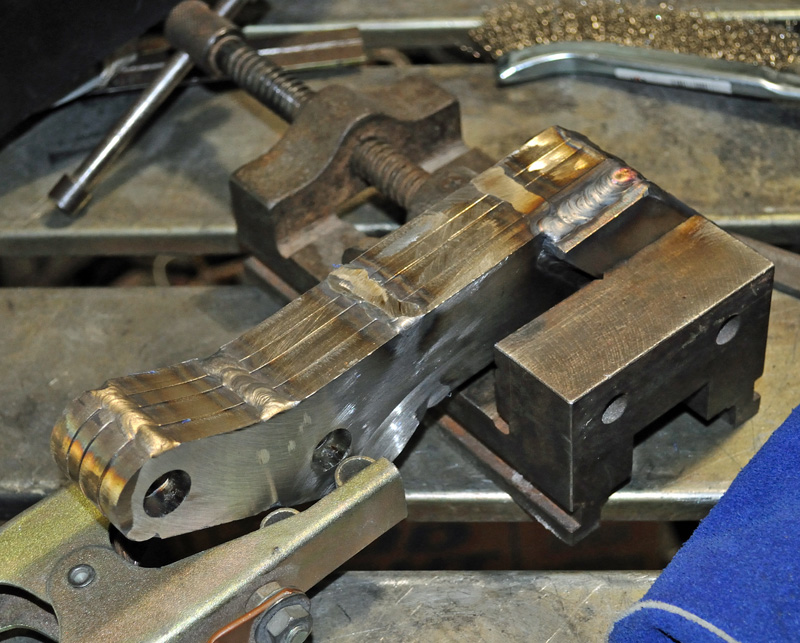
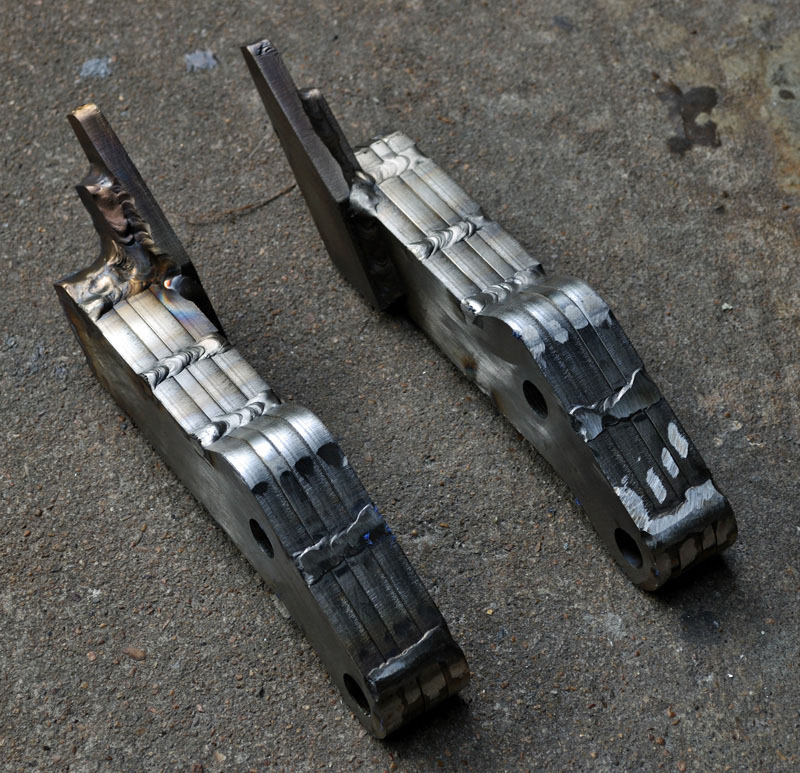
Certain faces of the strut mount need to ground back to flat to fit flush on the next part of the assembly.
Both sets done, just need a little more prep for the next stage, more to come.
------------------ yellow 88 GT, not stock white 88 notchie, 4 banger
ccfiero350
APR 10, 11:52 PM
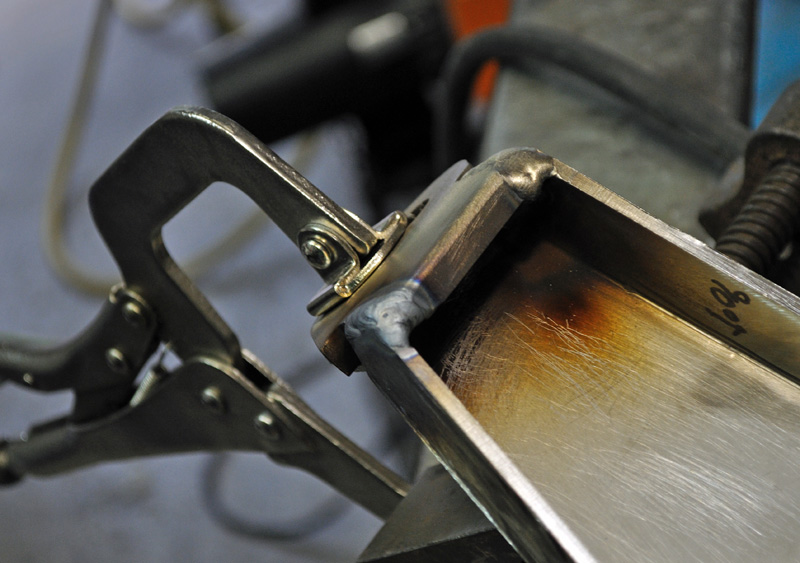
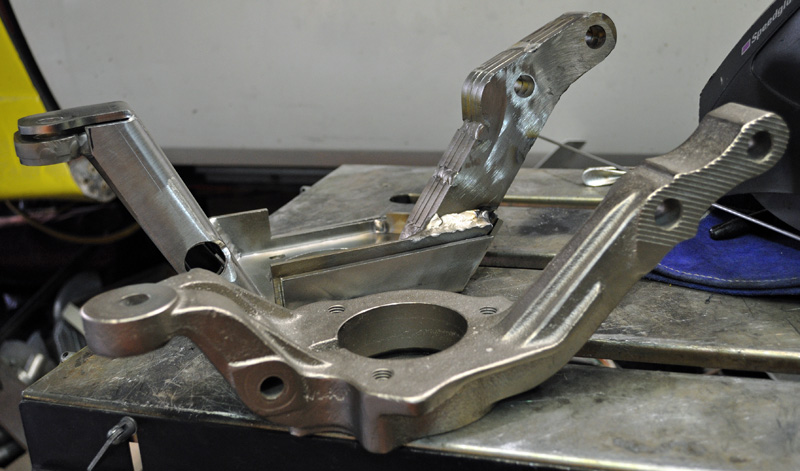
Continuing on with the welding, the two sheet metal halves of the knuckle need to be boxed before assembly.
The horizontal linkage fill piece is welded to the outer shell.
The two shells are bolt clamped together in prep to weld the inside seams of the inner shell. This sets the angle for the nested parts.
This side was a special case. I cut the inside piece in half and welded it back together because it was inadvertently bent and unbent in one place and stretched the metal.
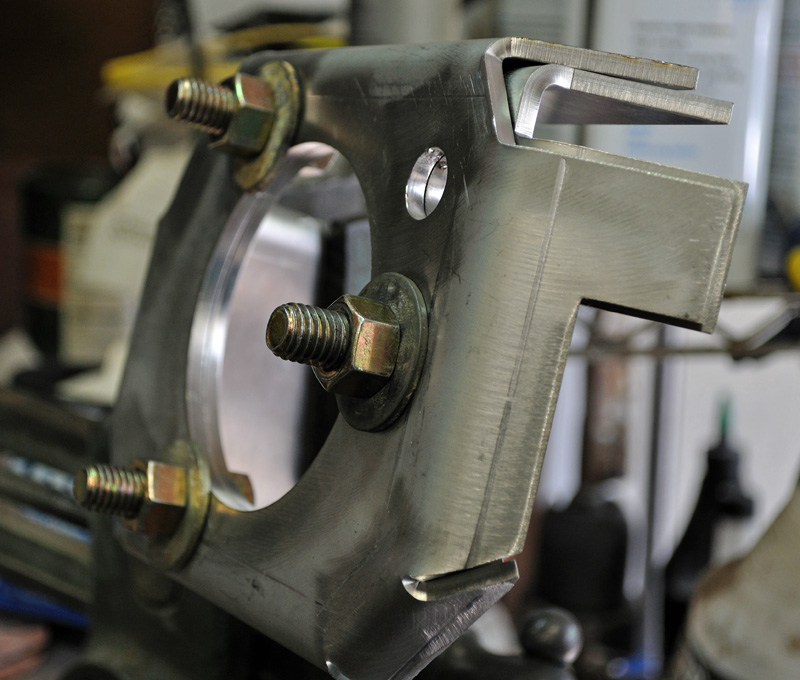
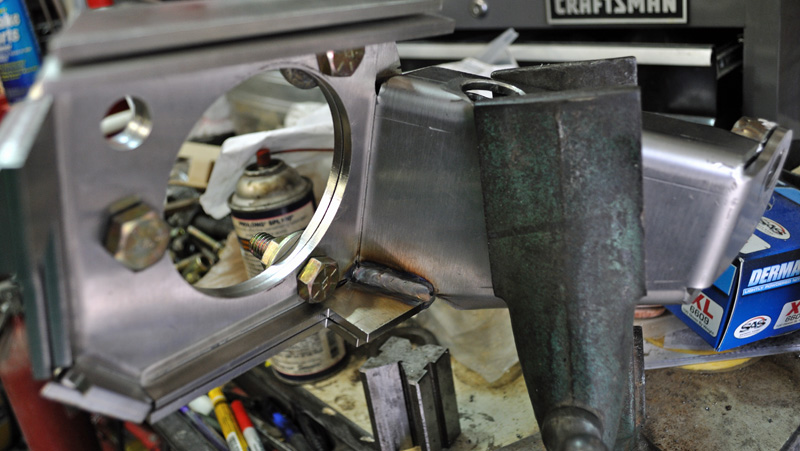
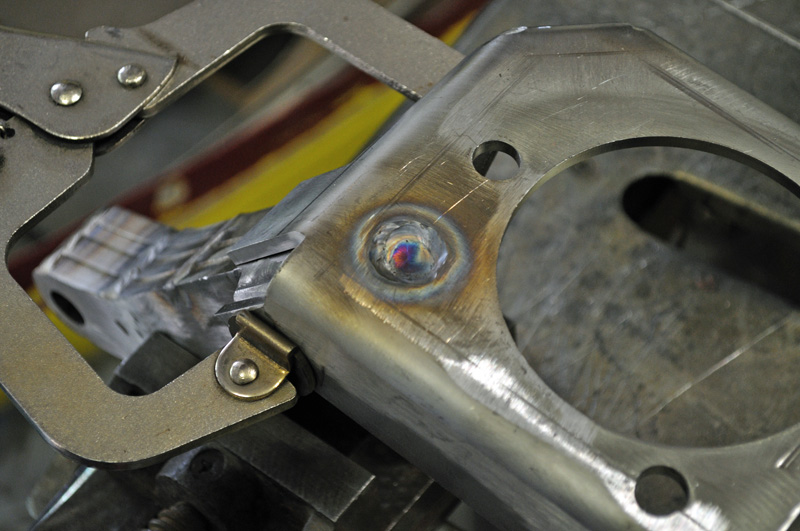
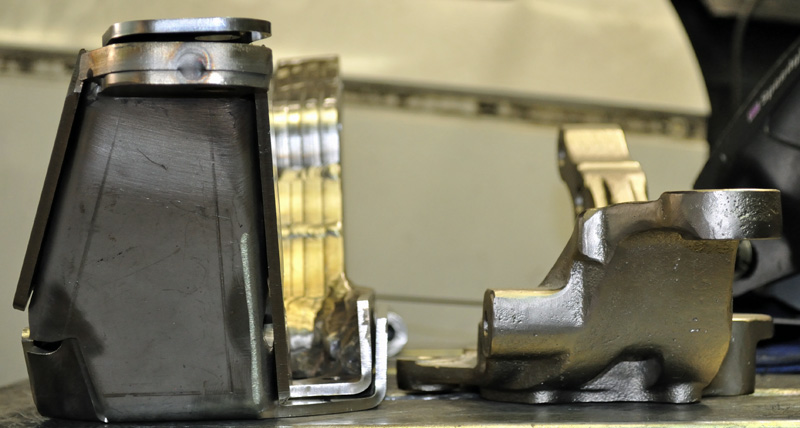
The knuckle really starts taking shape when you weld the strut mount onto the sheet metal parts. The weld bung hole on the face of the knuckle half anchors the strut mount to the inside knuckle half. Later it will be welded to the outside half bung hole.
The strut mounts are fully perimeter welded to the inside sheet metal part.
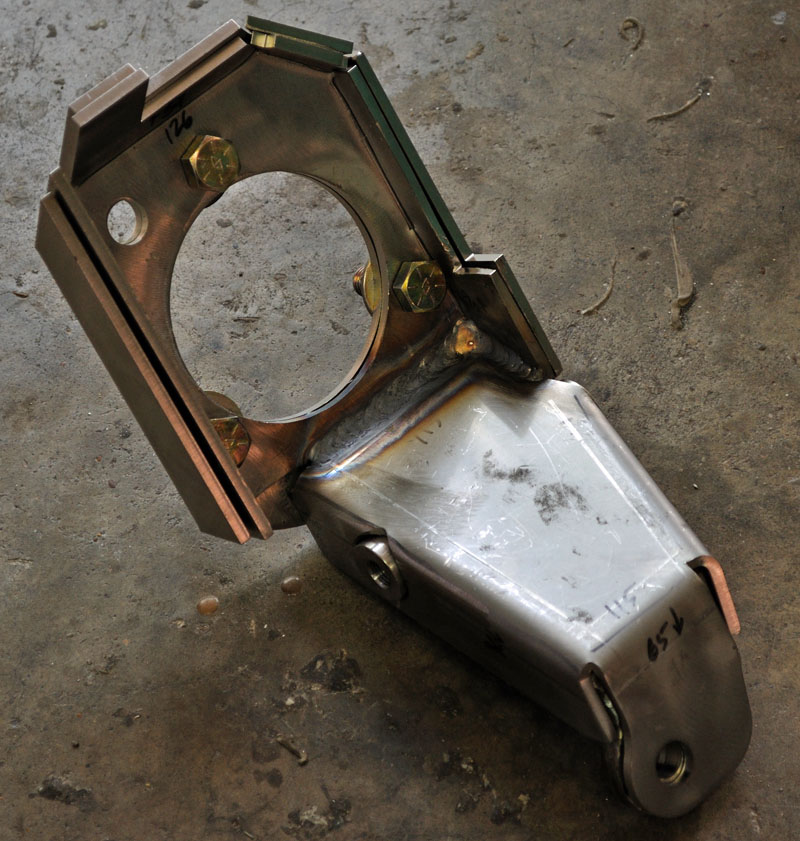
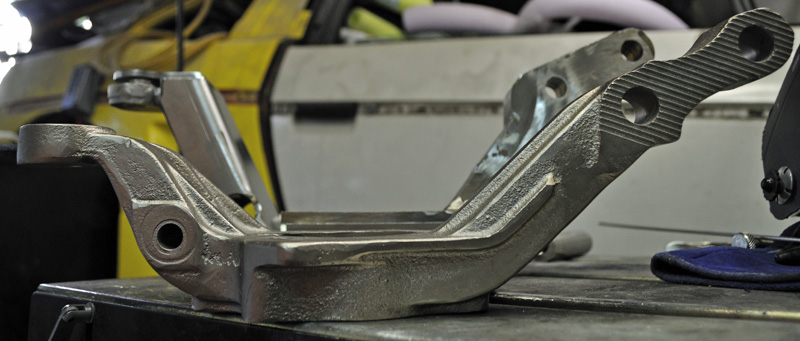
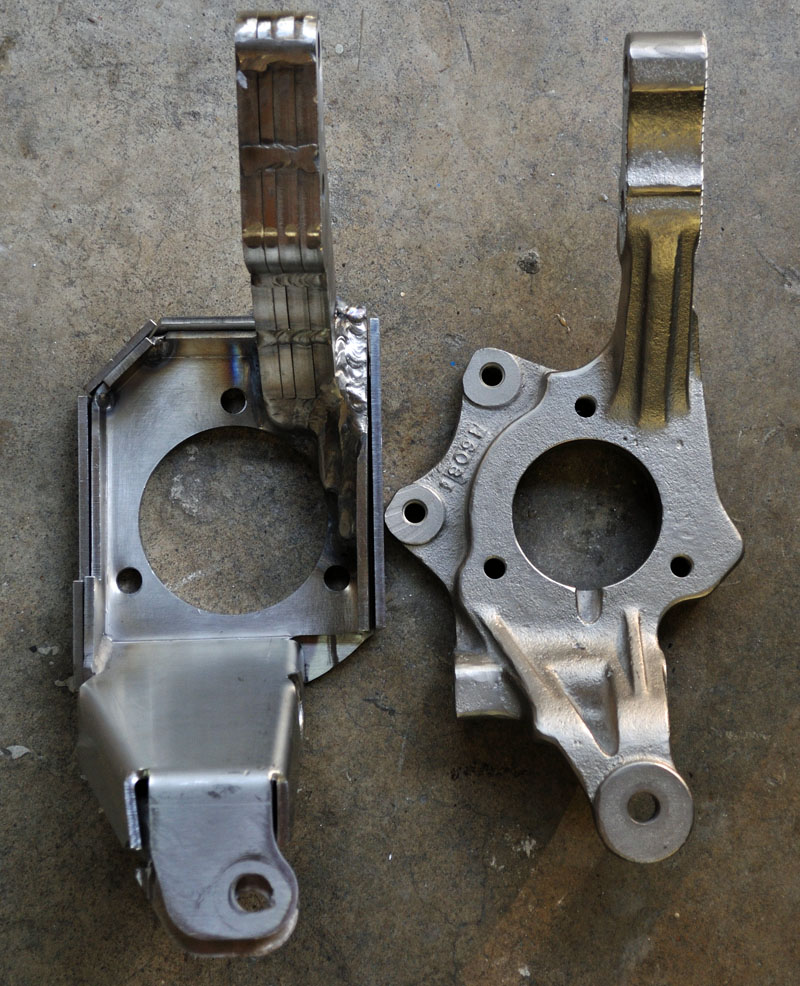
You can start to see the difference in the new piece and the stock 88 knuckle
The offset difference is shown.
These guys are made to fit a lot deeper wheel.
It may not be apparent from this angle but the axle location is lowered too.
Ran out of argon, more to come.
------------------ yellow 88 GT, not stock white 88 notchie, 4 banger
Austrian Import
APR 11, 05:19 PM
Wow, looks great.
I'm curious, why did you decide on using the existing 3-link setup with improved geometry, instead a 4-link, or other more modern setup? It looks like you really know suspension geometry, and the Fiero could use a more modern setup.


 It's just no fair that we don't all have free access to multi-million dollar machining and metal forming shops!
  All the productive things that could be done... (not to mention all the expensive metal that would end up in the scrap bin after folding it the wrong way!) So tell us the truth... how many knuckle pieces did we not see? Where's the reject pile?
  Looks great!