|
| Trinten's SBC/F23 build - The work has begun! (Page 34/76) |

|
CowsPatoot
|
FEB 24, 03:30 AM
|
|
|
Just curious...why did you choose to use a terminal strip rather than a Weatherpack (or similar) connector?
|
|
|
|
fieroguru
|
FEB 24, 05:58 AM
|
|
| quote | Originally posted by Trinten:
Your whole post just got cut and pasted into a file, and the images saved. 
|
|
You will also get a spreadsheet showing the terminations as well.
|
|
|
|
fieroguru
|
FEB 24, 06:05 AM
|
|
| quote | Originally posted by CowsPatoot:
Just curious...why did you choose to use a terminal strip rather than a Weatherpack (or similar) connector? |
|
Everything at this end of the harness must pass through the single bulkhead hole so there isn't much room. So far I haven't found a connector that is small enough and accepts the range of wire thicknesses that go through the 500 connector. The wires are long enough that a connector could be added once a suitable one is found.
|
|
|
|
fieroguru
|
MAR 01, 05:58 PM
|
|
There won't be any updates this weekend or next week.
I got back from my business trip yesterday, but I have to go back next week as well. With the potential ice storm coming in Sunday Night, I will head back to northern Indiana on Sunday afternoon and stay till next Friday. Maybe next Sunday I will have some progress to share.
|
|
|
|
fieroguru
|
MAR 15, 06:29 PM
|
|
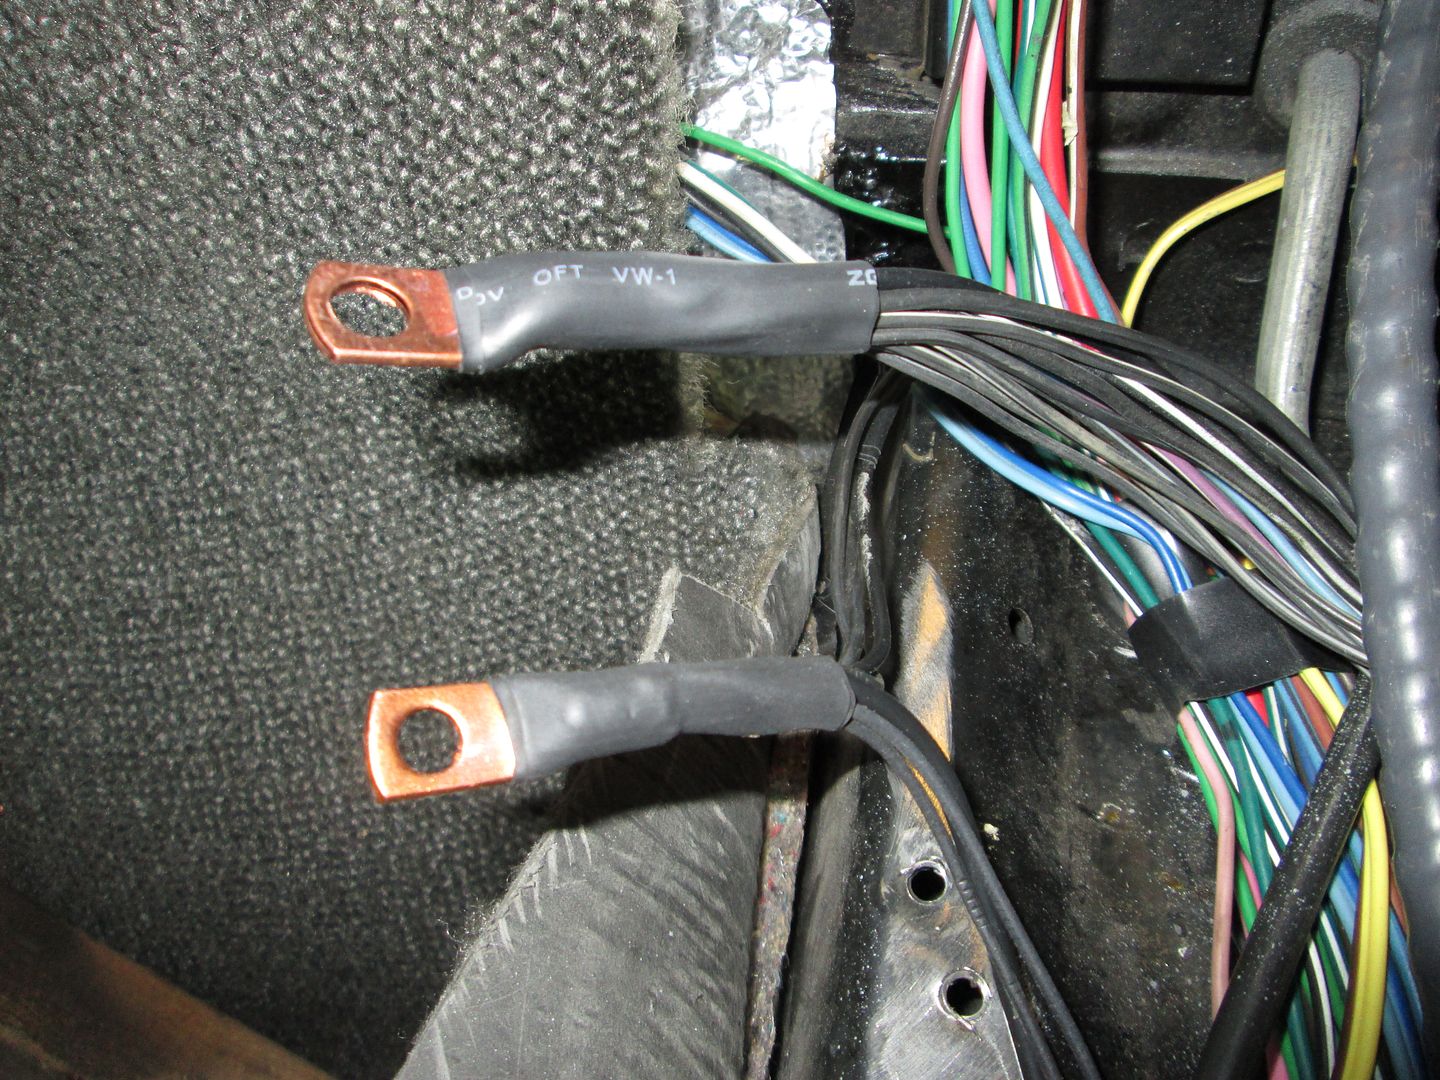
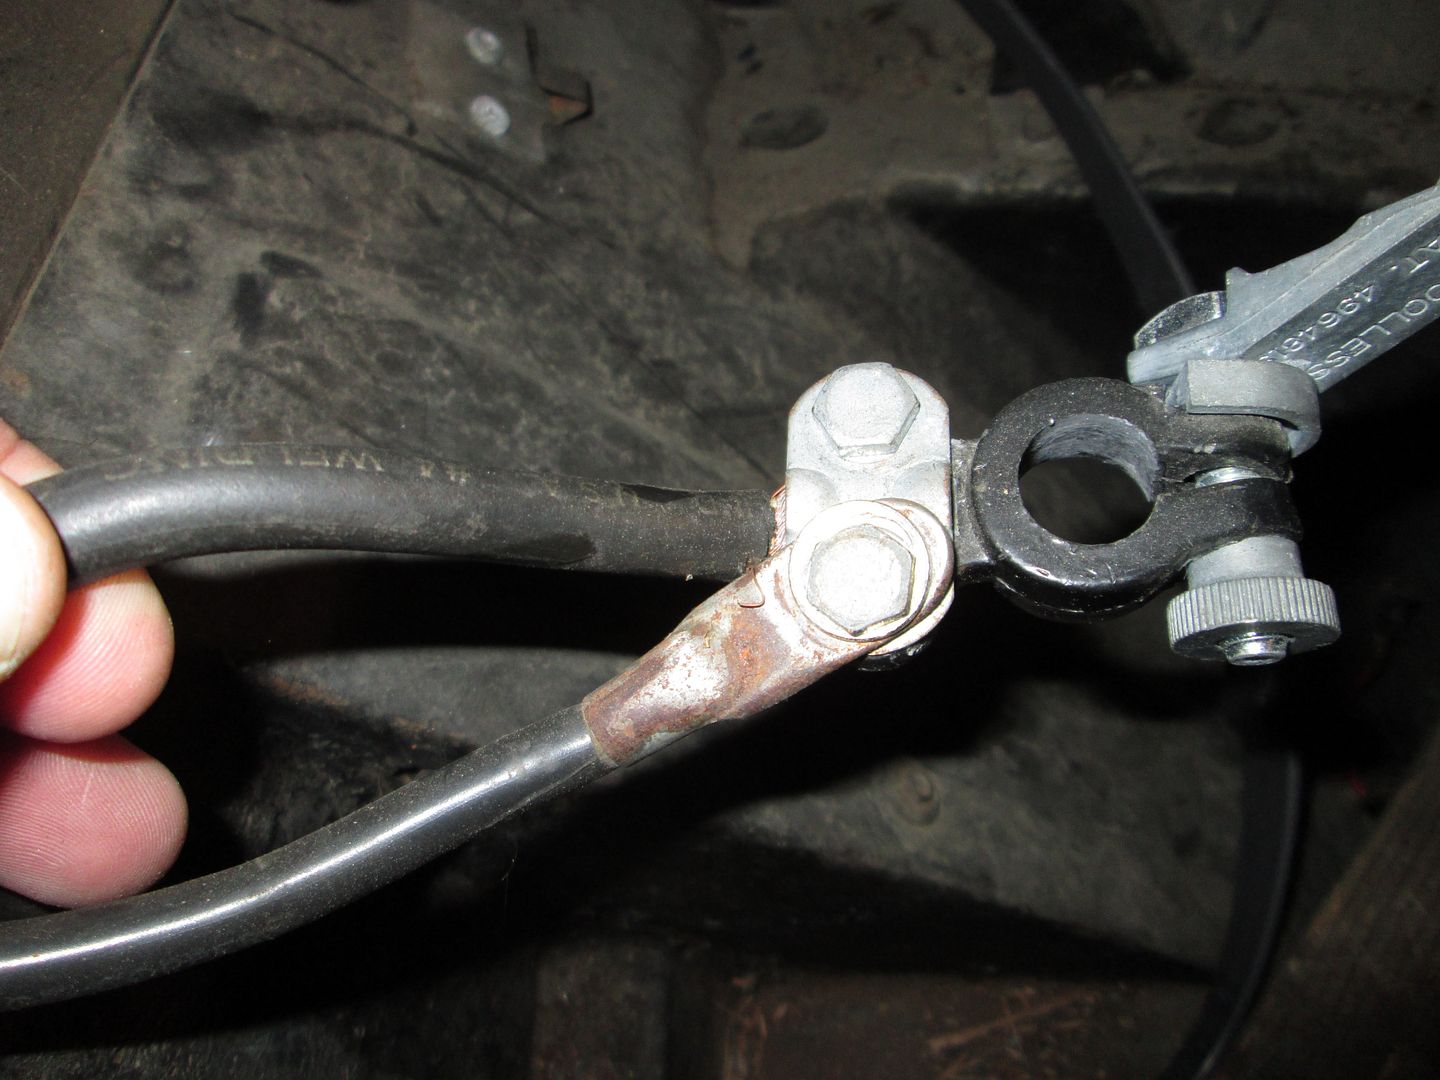
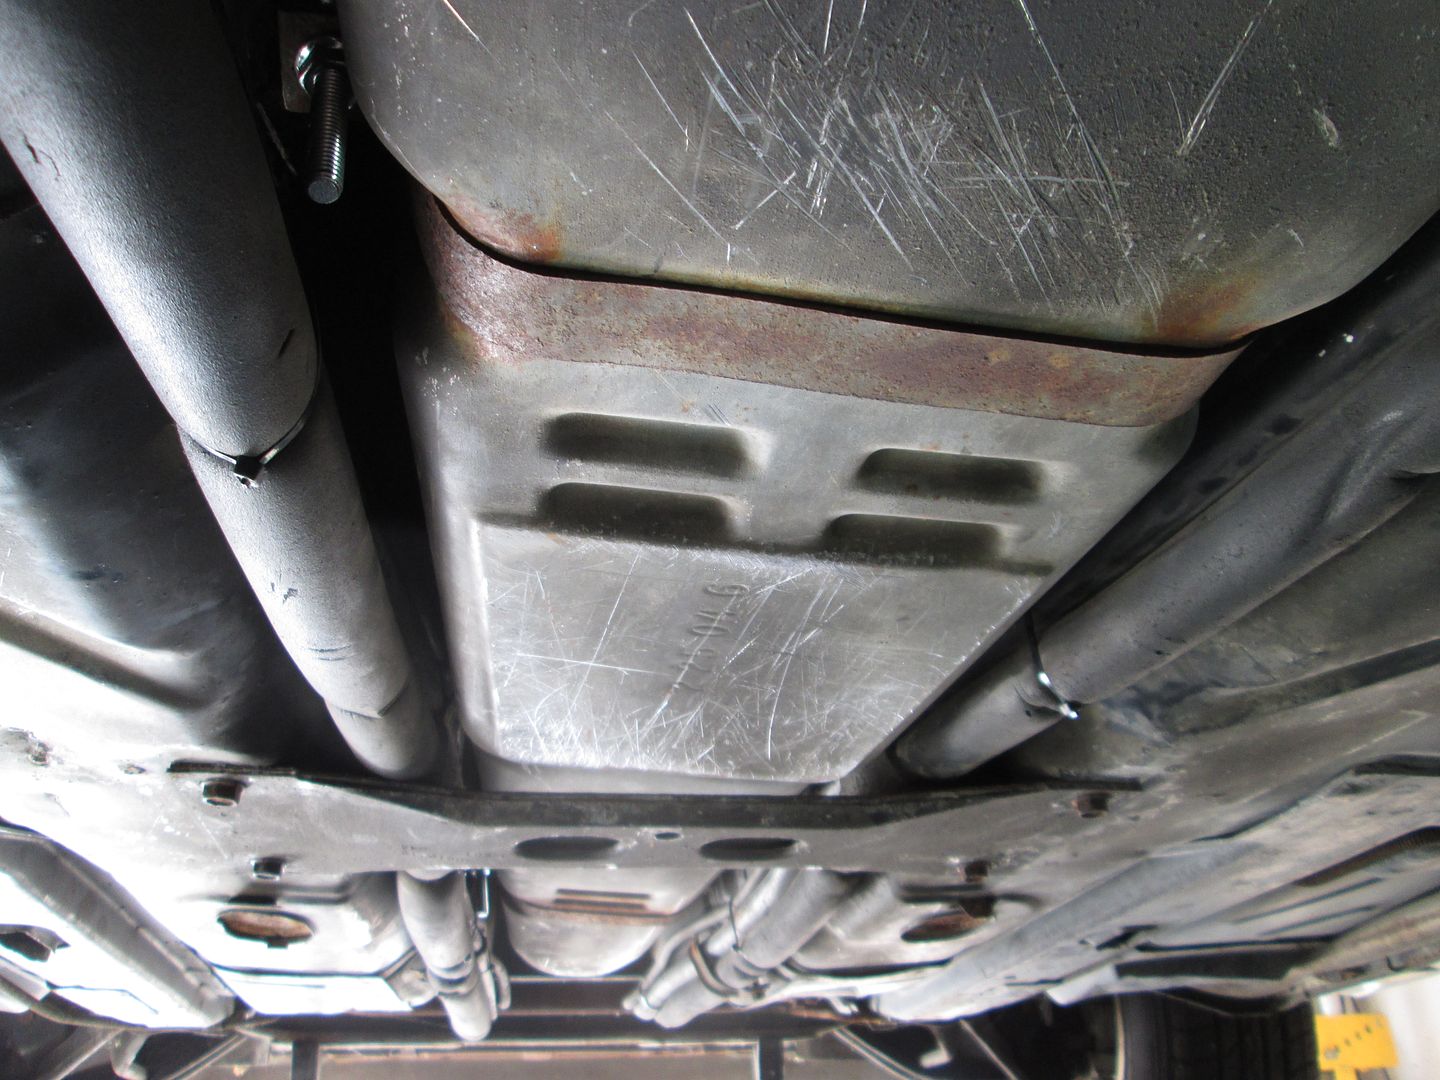
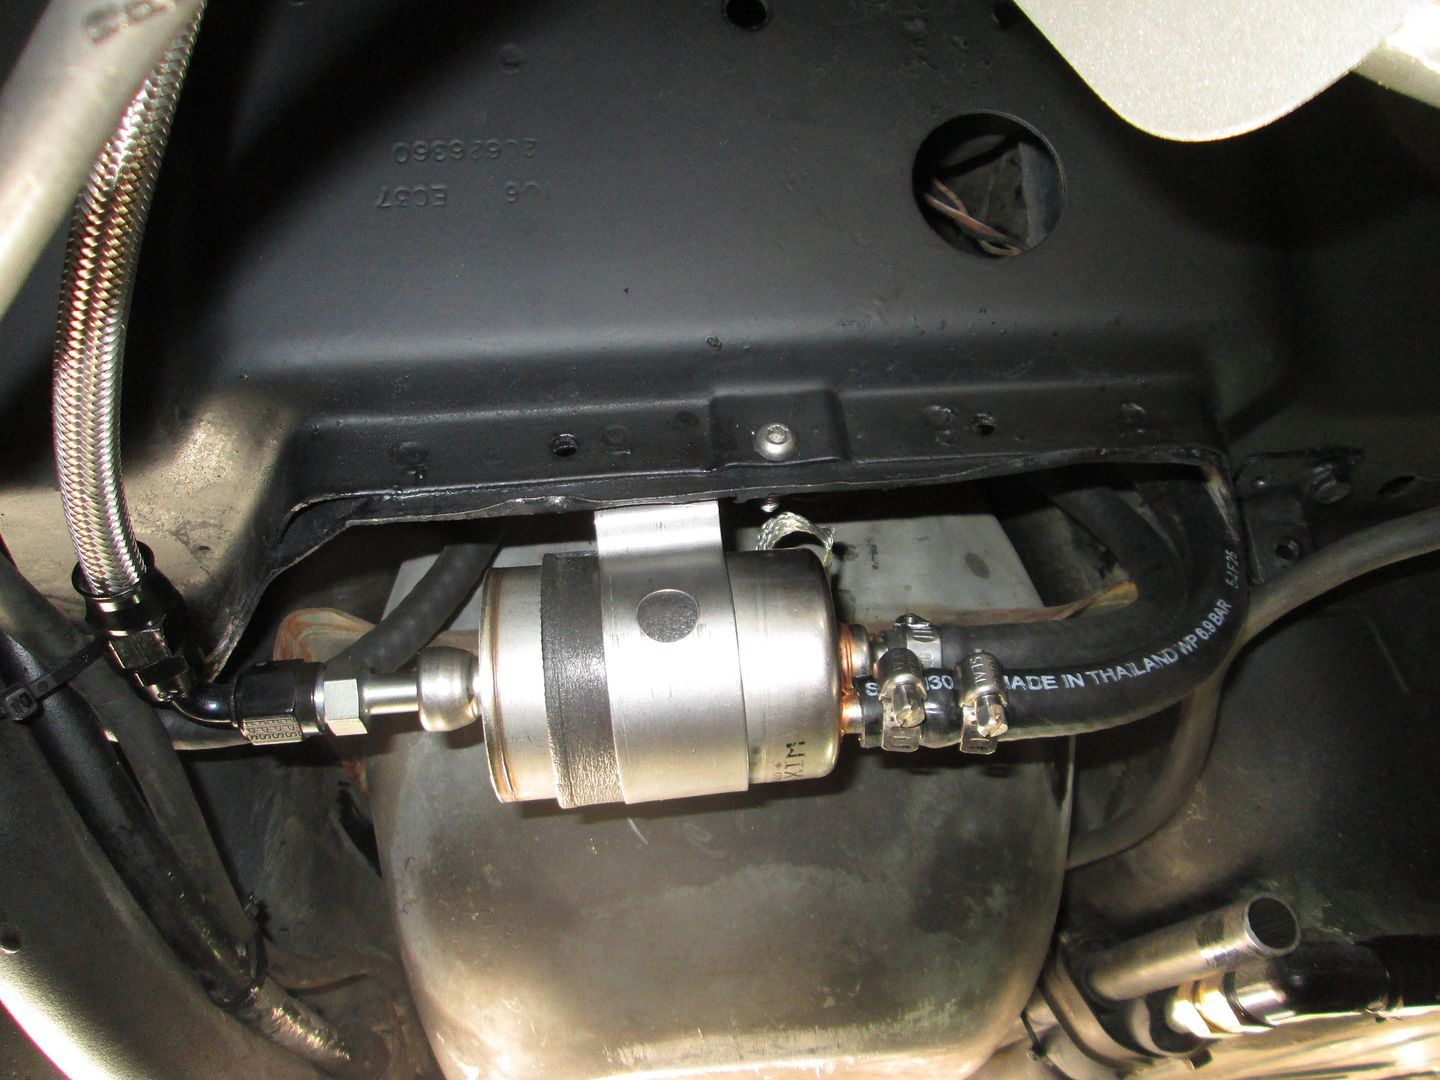
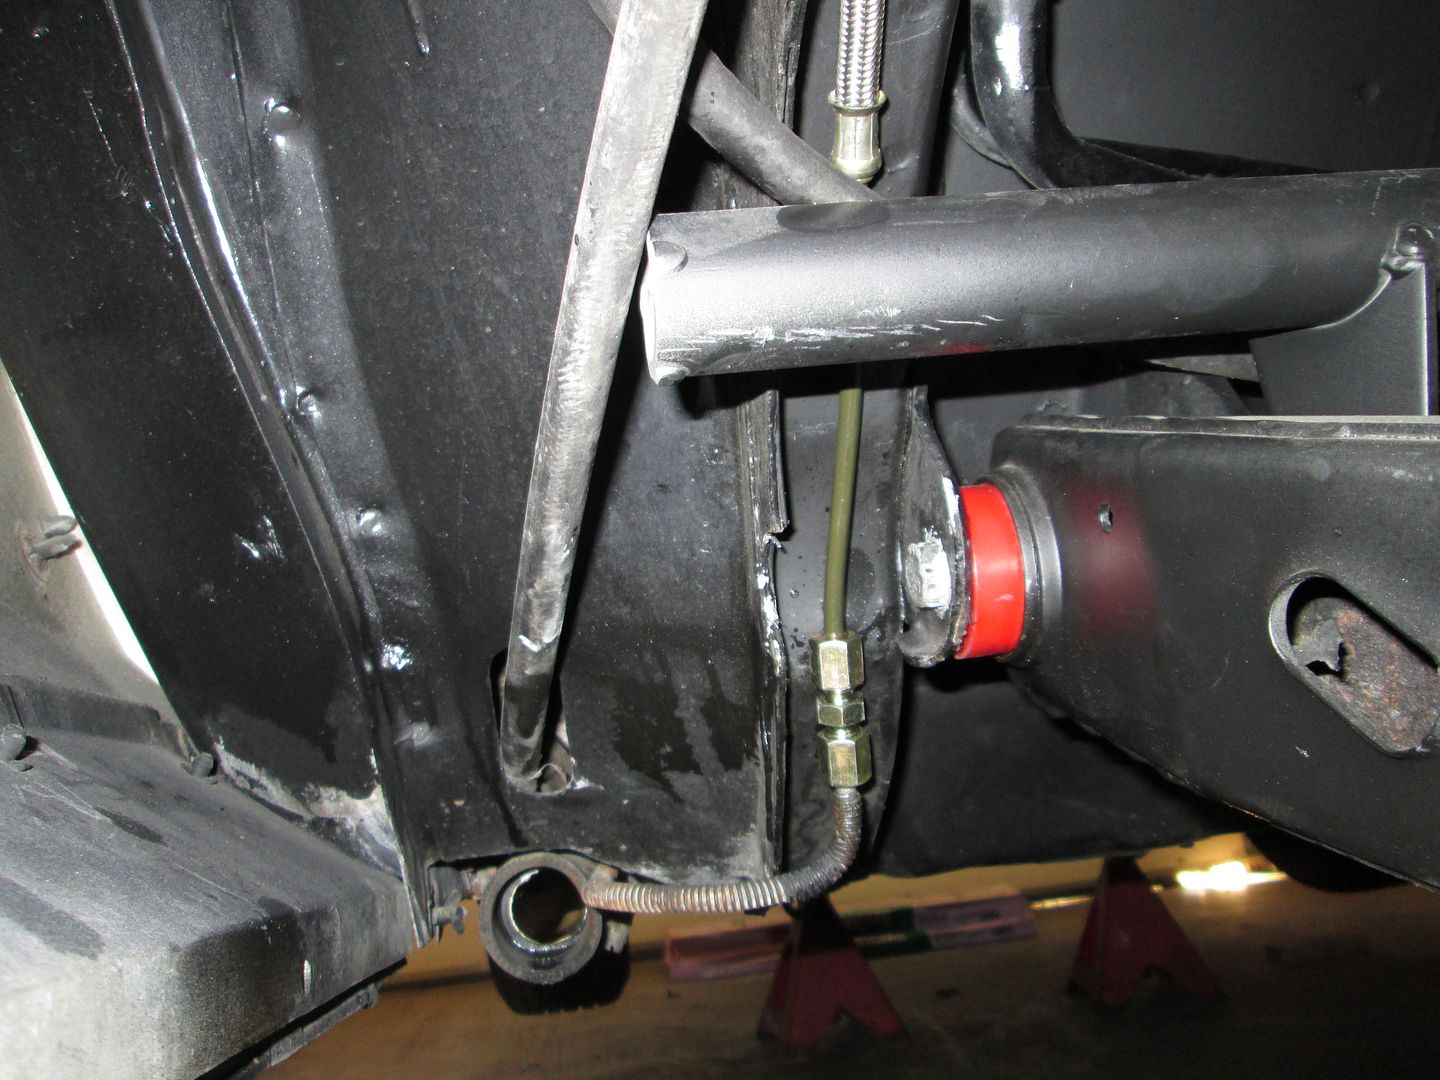
So after a 3 week hiatus, I am back working on this swap again. Nothing glamorous to show for today... Installed the fuel tank, fuel filter, connected the fuel lines, ran the power and ground cables along the fuel tank and soldered on new ends and made the needed connections. Hooked up one of the heater core lines and then installed the clutch line repair section and hooked up the HTOB.

When I got to the clutch line, things slowed down quite a bit. First I noticed the Thelin HTOB clutch line adapter has an inverted flare on the inside instead of the mating side of a bubble flare.
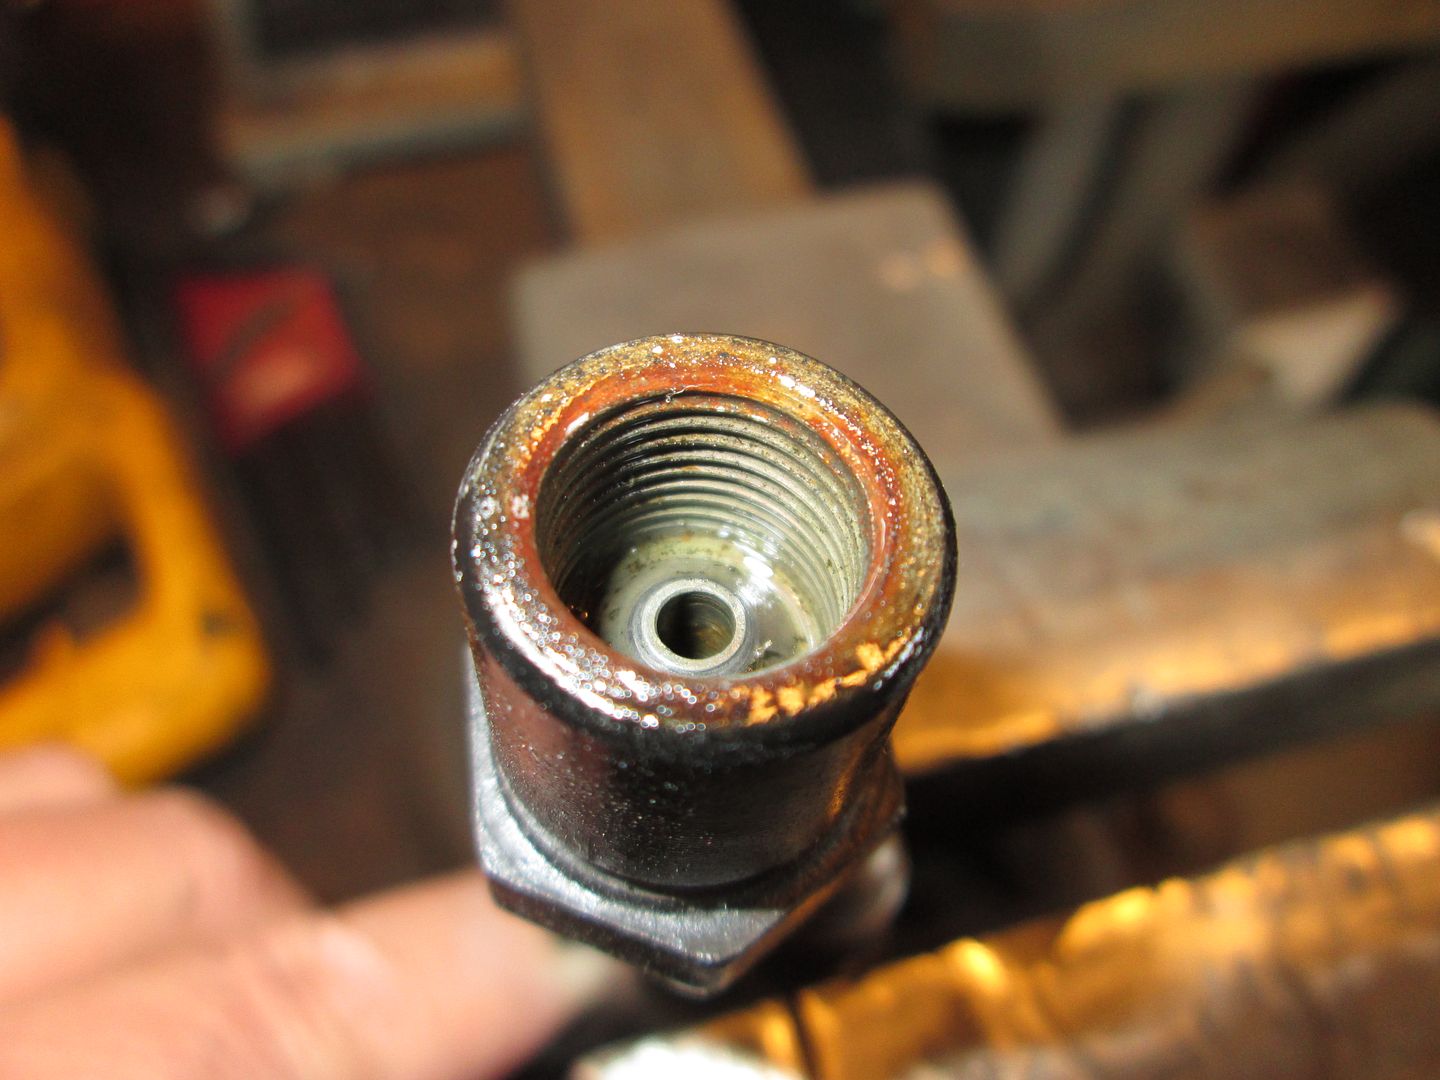
And sure enough on the end of the stock fiero clutch line that I broke off, you can see where the inverted flare was pushing down in the center of the bubble flare.
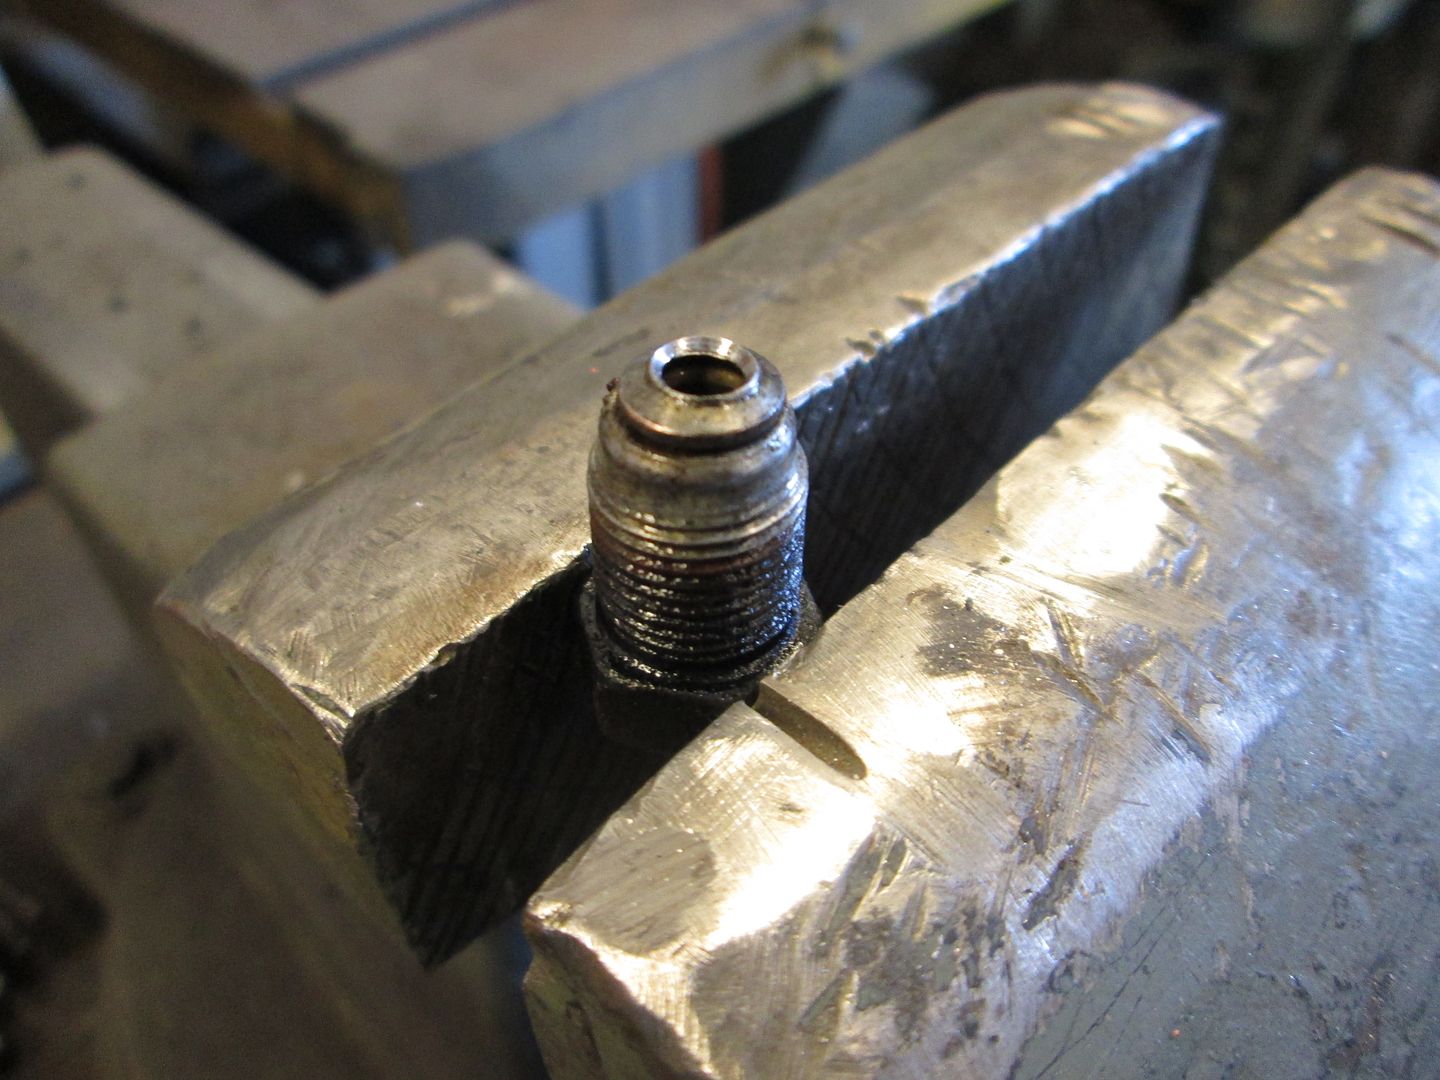
I have never seen this mentioned in any F23 thread, so I am starting to think that all (or most) of them have been installed with the wrong flare on the end. I used my flare tool to modify the bubble flare to better seal with the inverted flare surface.
I started with a clutch line repair section from Rodney:
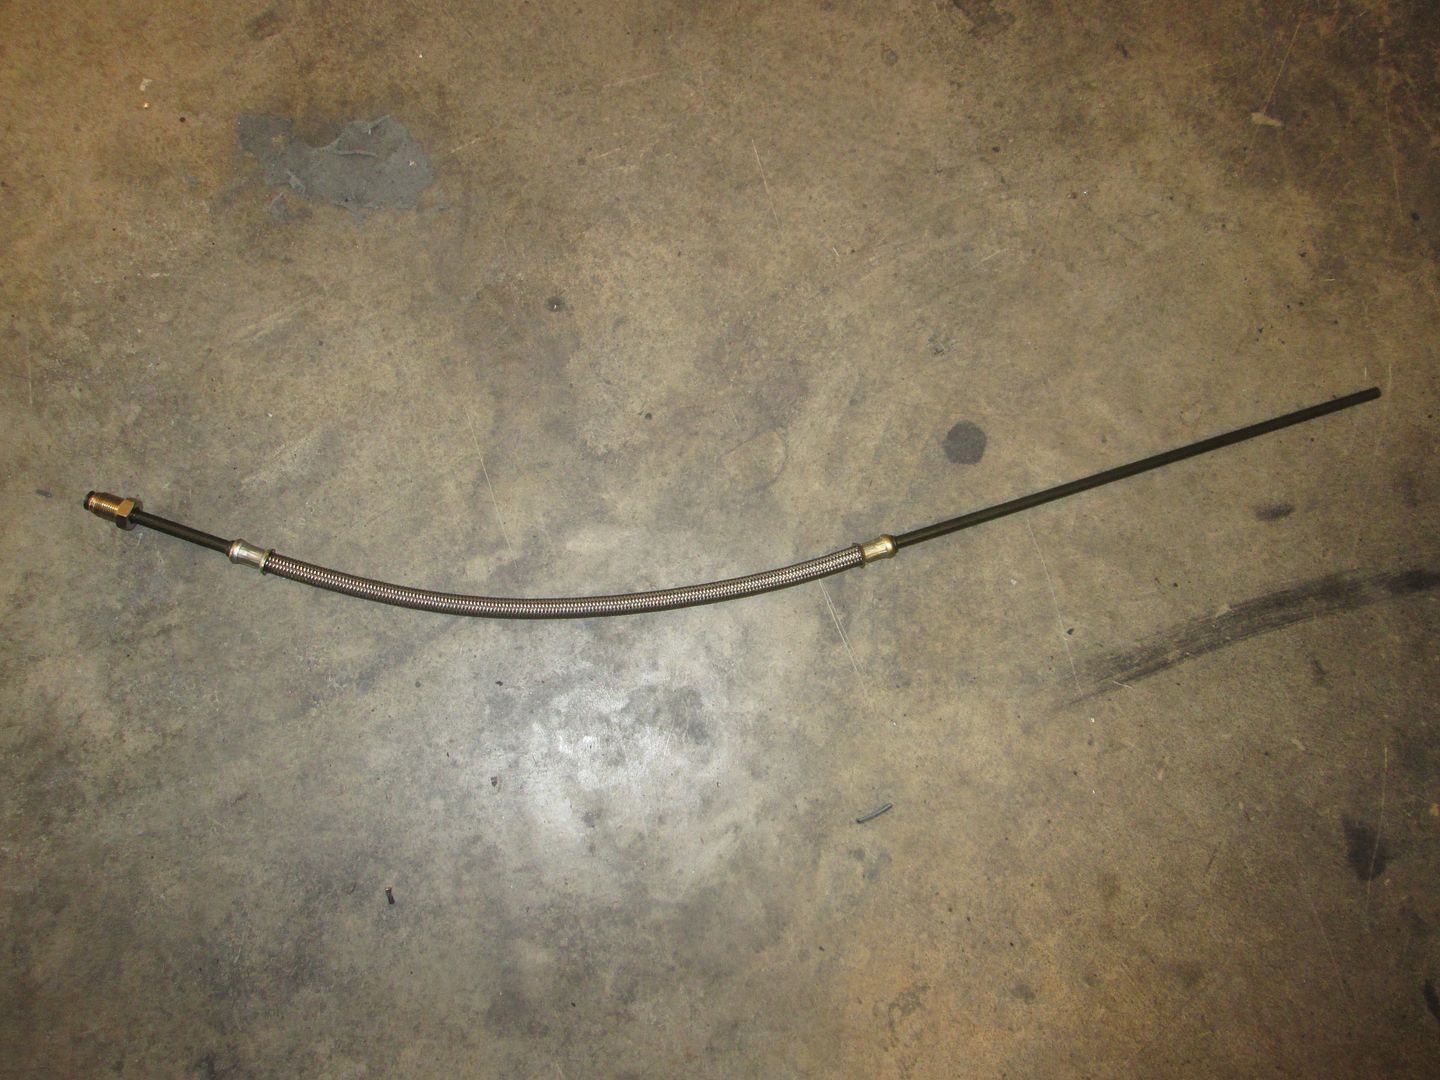
Then I carefully bent the flare end 90 degrees. The Thelin HTOB fitting has the clutch line entering it from the bottom and very low on the cradle, so the clutch line has to go through a bunch of gyrations to attach to it. By adding this simple 90 degree bend, the clutch line just turns 90 from the frame rail and connects to the Thelin adapter:
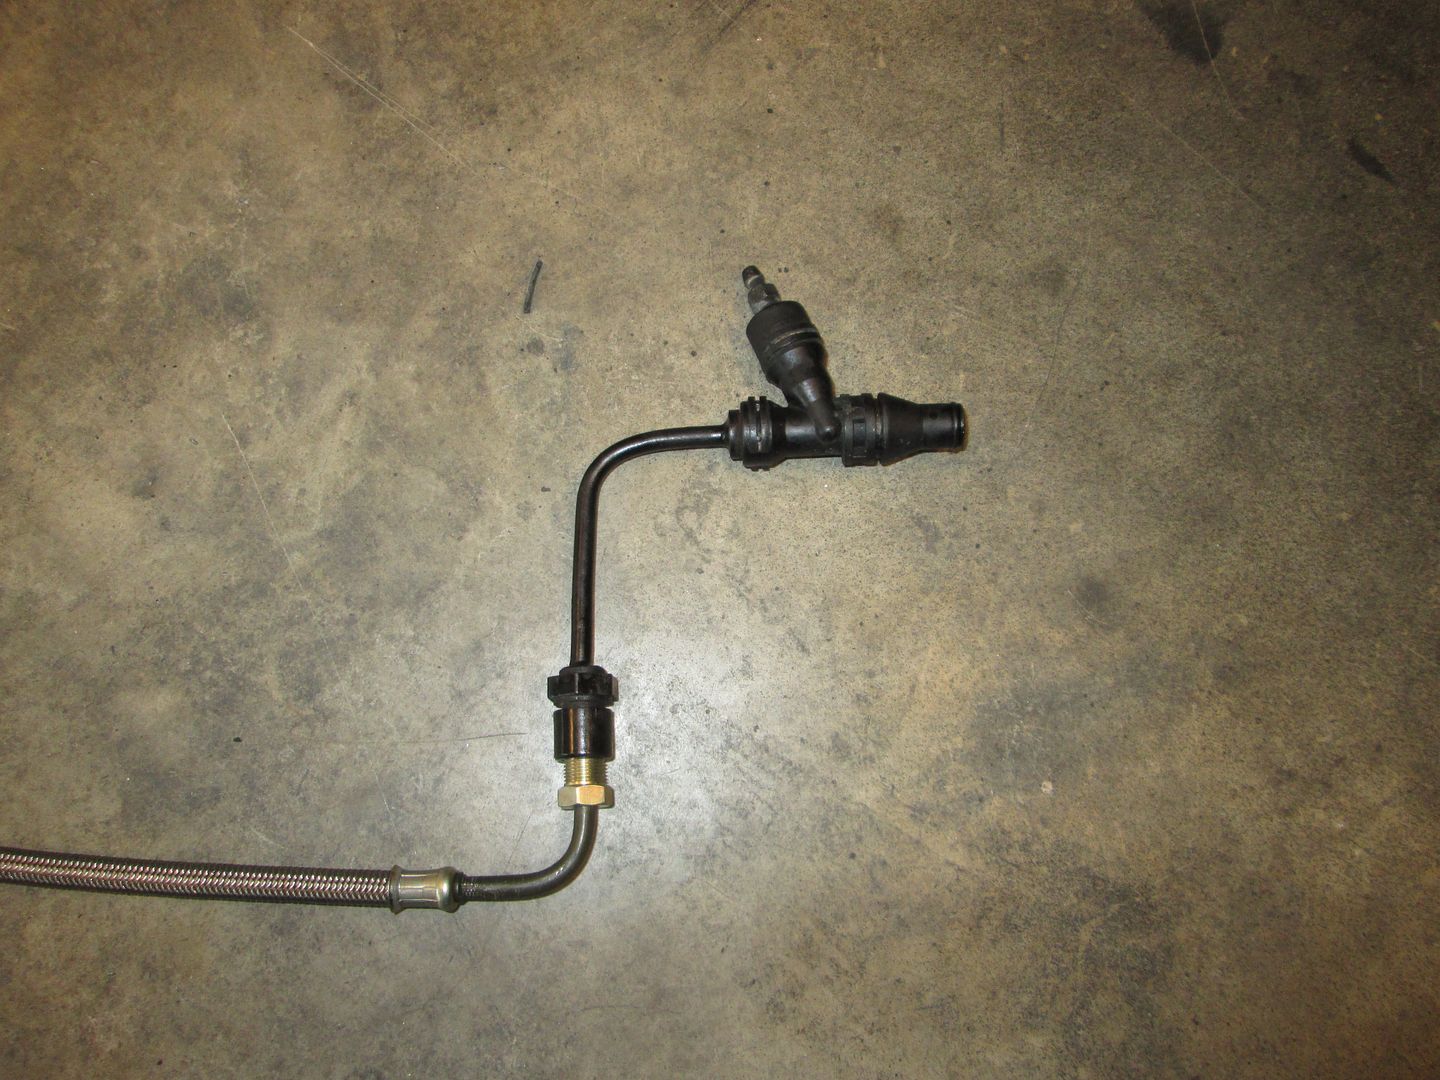


Here is where I spliced the repair line into the stock line. I tried to keep it out of the way of the cradle bolt.
On Sunday I plan to charge up the battery and connect electrical power to the car. Then see if I can get my laptop to connect with the ecm and download the current program to HP tuners and spend a hour or two making a base file with all the changes. Once that is done I will do some more electrical checkouts and might get to the point of turning the key to see if it will start. The coolant system connections and the exhaust tips still have to be finished, so if it starts I will only run it a few seconds.[This message has been edited by fieroguru (edited 03-15-2014).]
|
|
|
|
Trinten
|
MAR 15, 06:46 PM
|
|
Thanks for the update!
So the fitting that didn't have the right flare - is there an 'off the shelf' part that I should list in the F23 tutorial? Or is modifying it with tools the only solution?
Here's to hoping it kicks over for you without any issues!!
|
|
|
|
fieroguru
|
MAR 15, 07:20 PM
|
|
| quote | Originally posted by Trinten:
So the fitting that didn't have the right flare - is there an 'off the shelf' part that I should list in the F23 tutorial? Or is modifying it with tools the only solution?
|
|
I am likely going to have some fittings made that will fit the HTOB bleeder assy and accept the stock fiero hard line. That will make it plug & play going forward for the F23 and F40 swaps.
|
|
|
|
cyrus88
|
MAR 15, 07:54 PM
|
|
When I swapped my Fiero Getrag for one with HTOB, I used Mcleod 139204-xx and cut off the fiero clutch flexline. Then I used 4-AN tube adapater and 4-AN union to attach it to the fiero hardline.
EDITED to Add: The part number I've stated above does not fit! I had purchased the Mcleod line some years ago and I had forgotten that I had to cut off the quick disconnect fitting and used the fitting from a Pontiac Sunfire instead. The Mcleod fitting is longer and will not lock in place.[This message has been edited by cyrus88 (edited 05-07-2014).]
|
|
|
|
fieroguru
|
MAR 16, 06:45 PM
|
|
| quote | Originally posted by cyrus88:
When I swapped my Fiero Getrag for one with HTOB, I used Mcleod 139204-xx and cut off the fiero clutch flexline. Then I used 4-AN tube adapter and 4-AN union to attach it to the fiero hardline. |
|
Over the years there have been many methods used to connect the Fiero hard line to a HTOB, but they all have all either involved some type of modification to the Fiero hard line, or had the wrong flare... What I am proposing is a single piece that threads to the stock hard line with the proper flare fitting and have the right quick disconnect on the other end to just plug into the F23 or F40... no modification and a simple bolt in installation.[This message has been edited by fieroguru (edited 03-16-2014).]
|
|
|
|
fieroguru
|
MAR 16, 06:59 PM
|
|
|
|