|
| My 88 Formula Interior Redesign (Page 34/87) |

|
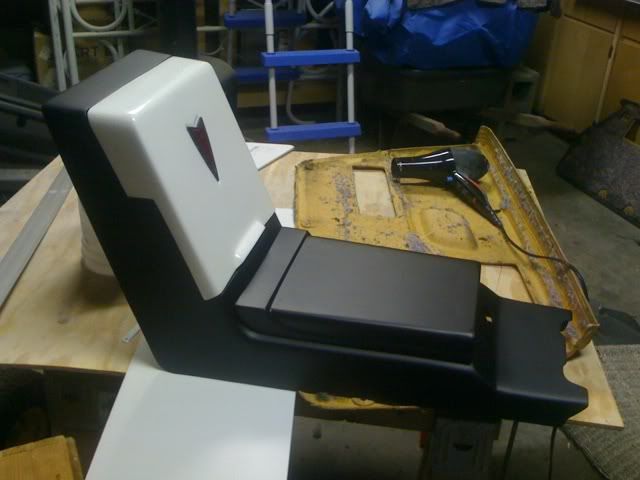
Sofa King
|
JAN 21, 10:37 PM
|
|
|

|
IVANNATINKLE
|
JAN 21, 11:19 PM
|
|
|
that looks awesome!!! if you ever get bored you knoww you could always make more than one.. for uhh cough cough ME cough cough
|
|
|
|
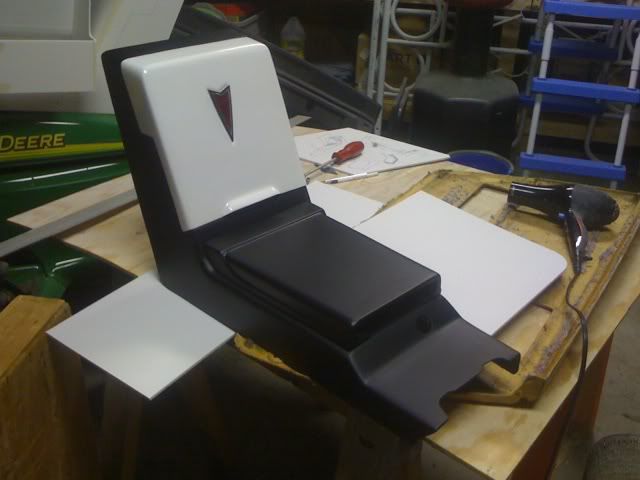
Sofa King
|
JAN 22, 07:25 AM
|
|
|
|
|
Tony Kania
|
JAN 22, 02:24 PM
|
|
Scanned this for ya...
.jpg)
Tony
|
|
|
|
Easy8
|
JAN 22, 02:39 PM
|
|
| quote | Originally posted by Sofa King:
Below is a pic of 3 wires that center around the old cig lighter assembly. When I pulled the old lighter I was foolish enough NOT to label which wire goes where - my fault. The new 12 volt outlet I'm installing has 2 prongs. Which wires do I use and what is the extra wire for? Did I make a boo-boo?
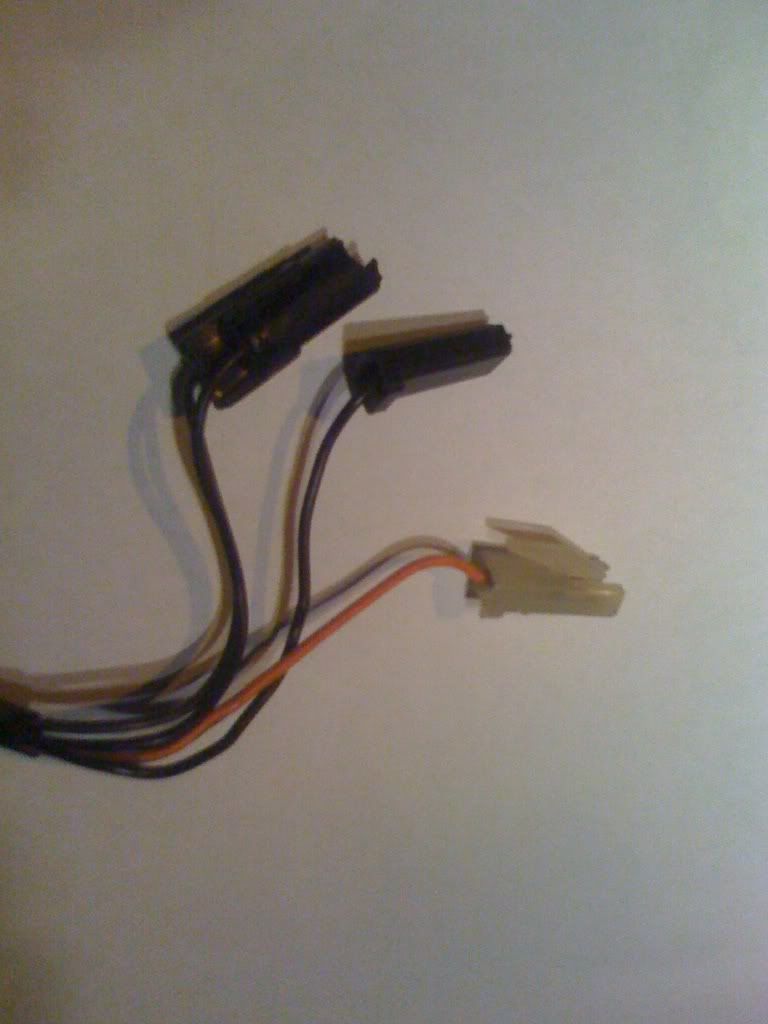
Thanks guys!
|
|
The Fiero lighter has a light in it. One of those wires is power to this light. One is ground for the whole assembly and one is power for the lighter. I am currently a few miles (3000 or so) from a Fiero so I cannot tell you which is which. If you have a volt meter or test probe you can check for 12 volts to ground. I am pretty sure the light is controled by the head light switch. One of the wires (probably the smallest) will have 12 volts when the lights are on and not when they are off. One of the other wires will have 12 volts constant. The last wire should have 0 volts and is the ground.
|
|
|
|
grkboy707
|
JAN 22, 08:12 PM
|
|
|
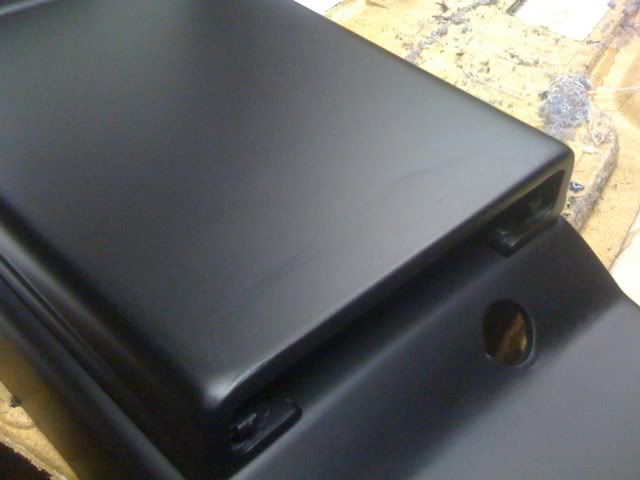
Your not going to cover it in leather/ vinyl? It seems like that would be a much more efficient way. You wouldn't need to fill in the imperfections, you wont need to worry about scratching the paint, etc. Just my .02. It turned out great though!
|
|
|
|
katatak
|
JAN 22, 09:04 PM
|
|
Very Nice Greg......I am truly impressed! Great Work! ....... Hangs my head in shame - wishing I was that close to being done.....lol!
Pat
|
|
|
|
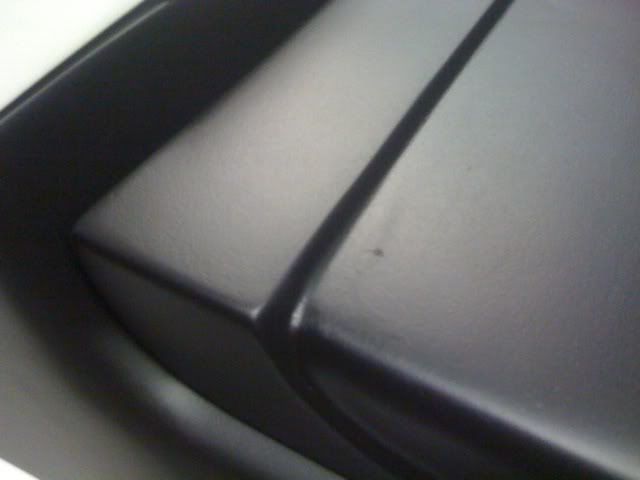
katatak
|
JAN 22, 09:17 PM
|
|
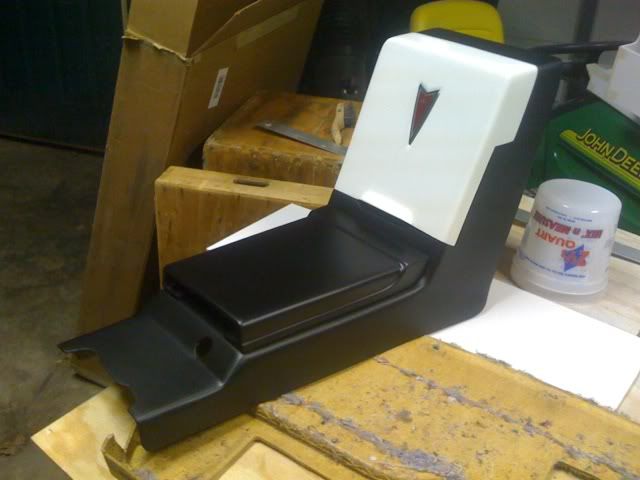
Maybe this will help!

Pat
|
|
|
|
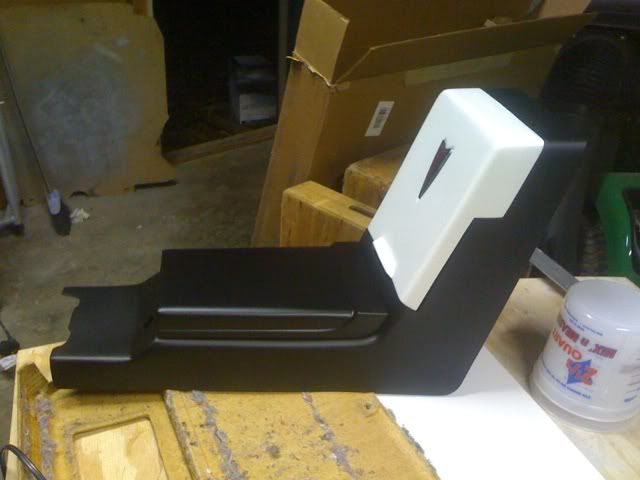
Sofa King
|
JAN 25, 07:42 AM
|
|
|
|
|
grkboy707
|
JAN 25, 07:49 AM
|
|
|
So there's gonna be more, right? I hope this thread isn't over!!!
|
|
|