|
| Ferrari 288GTO build (Page 33/64) |

|
dobie1
|
APR 20, 12:39 AM
|
|
Thanks for stopping by Bob , somedays it seams like Im spinning my wheels but the build is moving forward.
Don it's always good to talking about our builds. I really appreciate your suggestions and help.
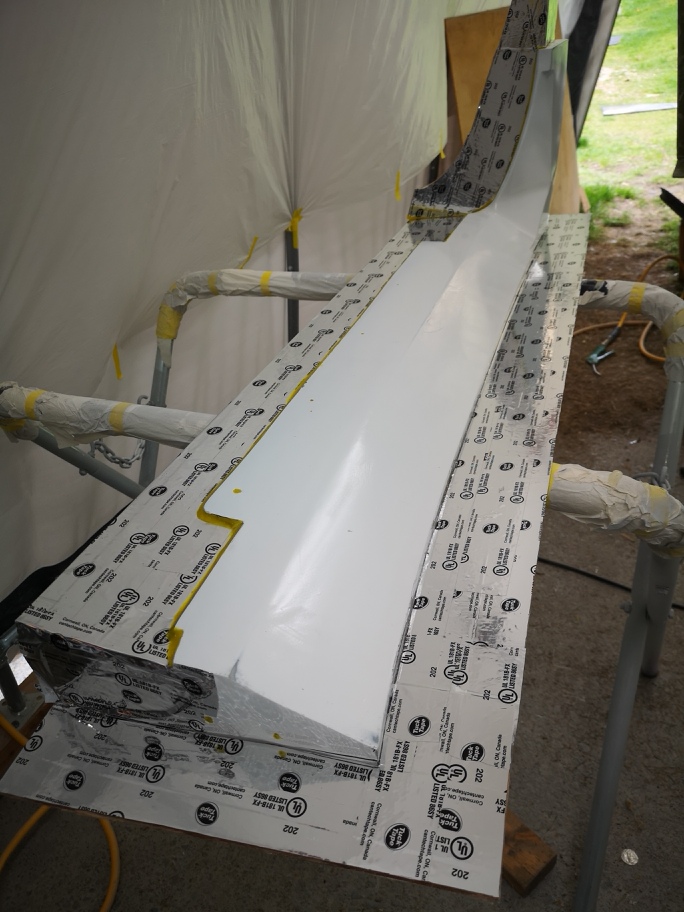
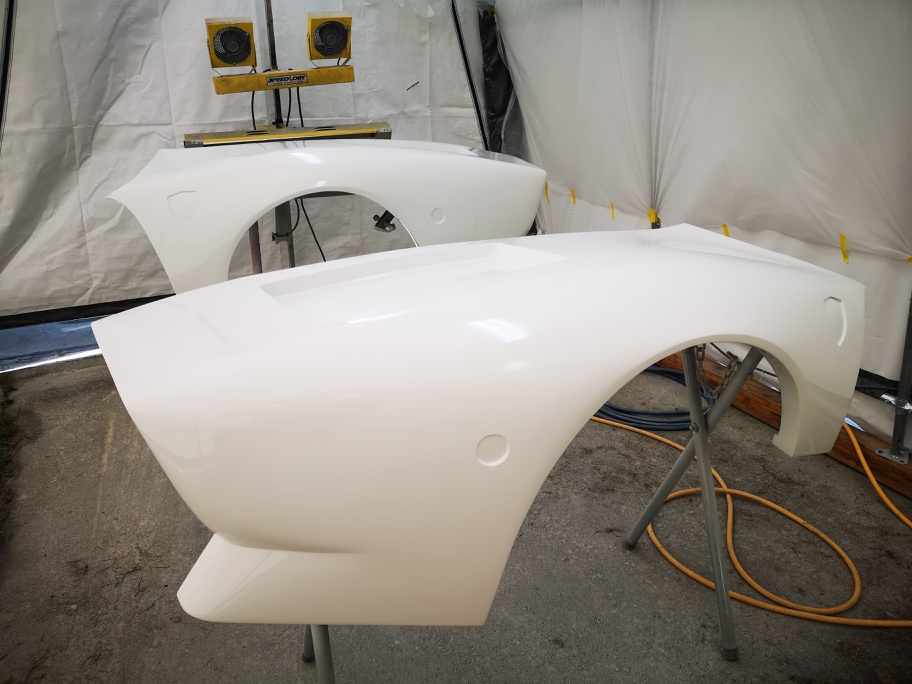
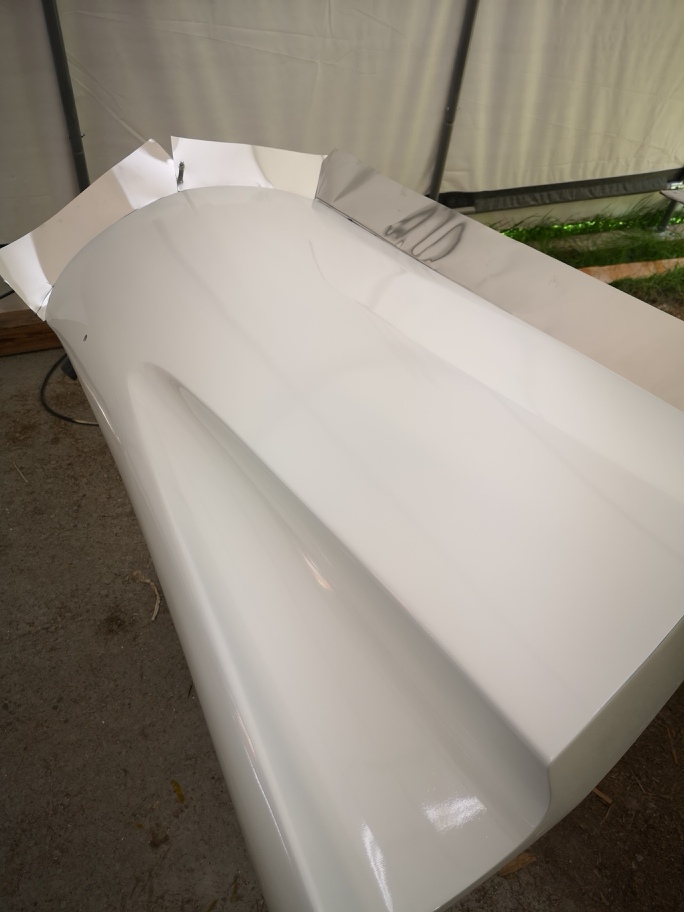
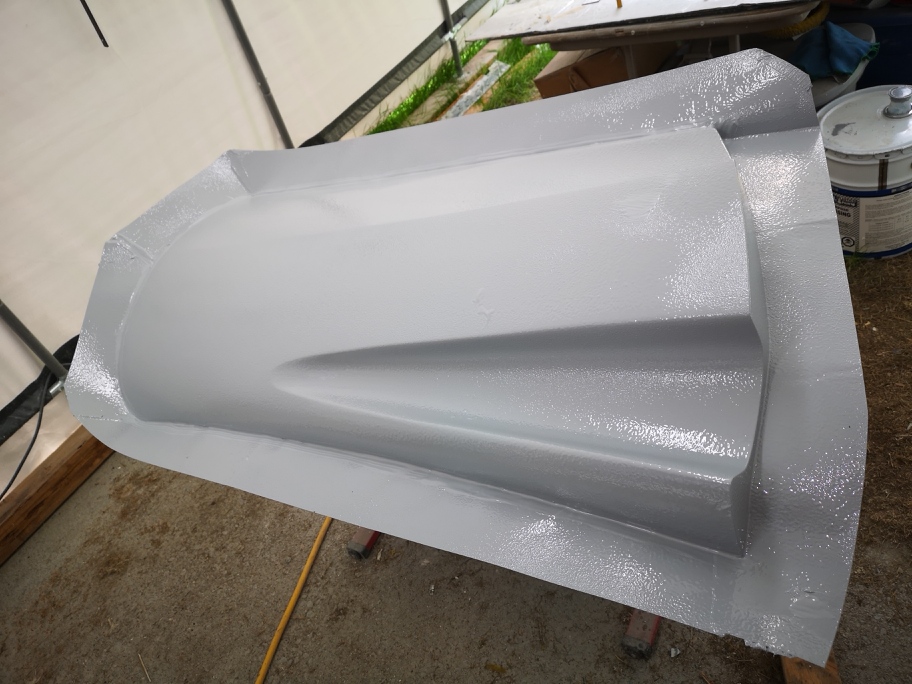
For those following the build Here are the final shots of the front fenders and the front hood top painted.
I'm very happy with the overall paint on the parts, only a couple mistakes. I'm hoping they wet sand and polish to a perfect finish to mold.
Thanks for looking
Wayne[This message has been edited by dobie1 (edited 04-20-2020).]
|
|
|
|
Sage
|
APR 20, 12:29 PM
|
|
Beautiful! 
Sand, sand, sand, buff, buff, buff, wax, wax, wax! LOL
I'd still use some PVA or the like AFTER wax on - wax off (X10) before first coat of gel for molding. 
But hey, I'm old....probably something much better available now.
Either way, keep the updates coming, and everything looks absolutely gorgeous!
HAGO!
|
|
|
|
dobie1
|
APR 21, 02:29 PM
|
|
Thanks Sage
I will for sure use PVA , if I do the carbon fibre body panels down the road I'll be using a chemical release with the epoxy resins.
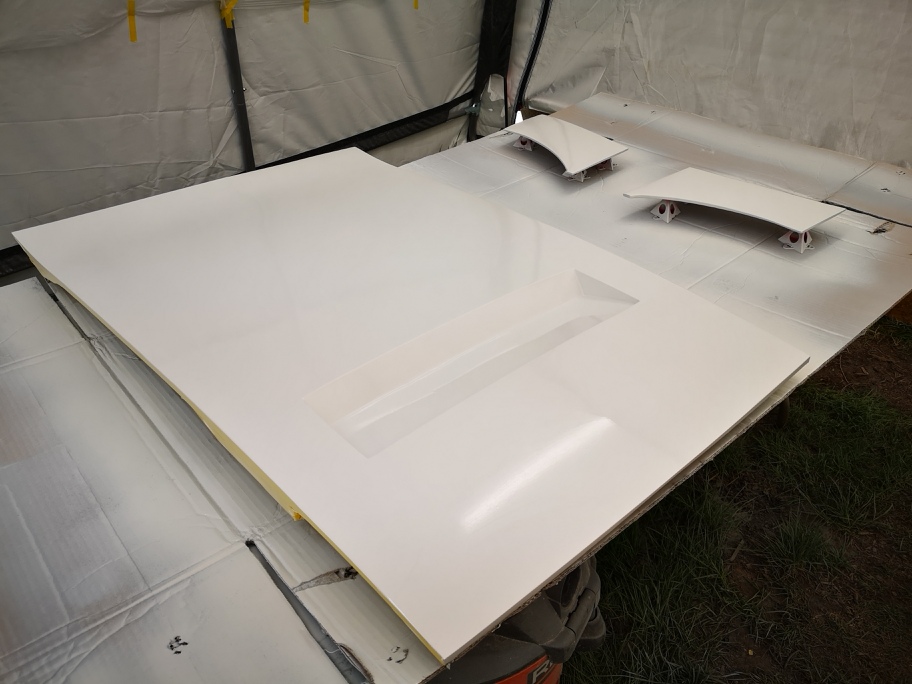
for those interested in a money shot
|
|
|
|
dobie1
|
APR 29, 12:25 PM
|
|
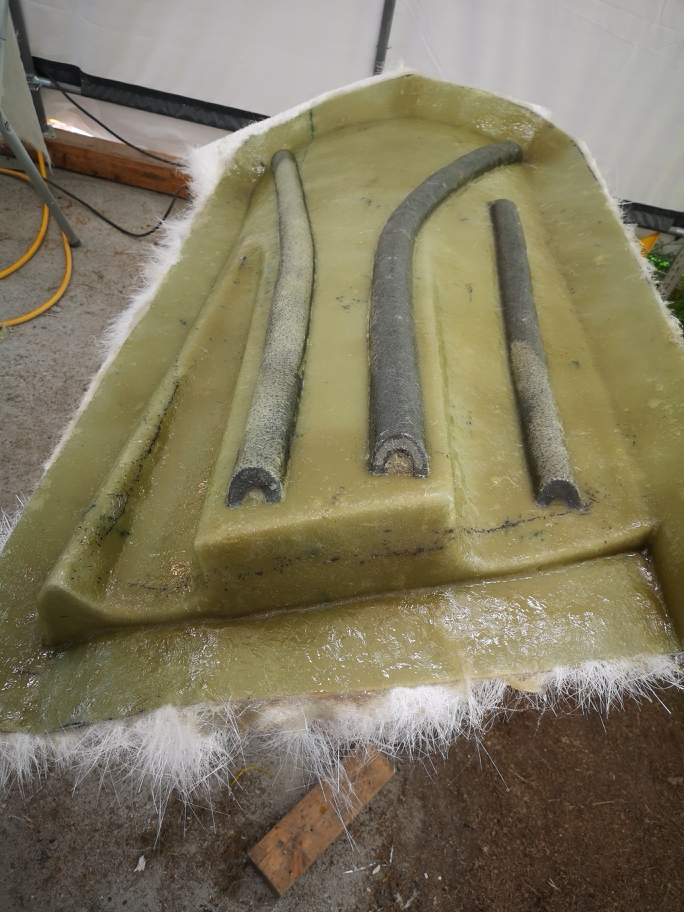
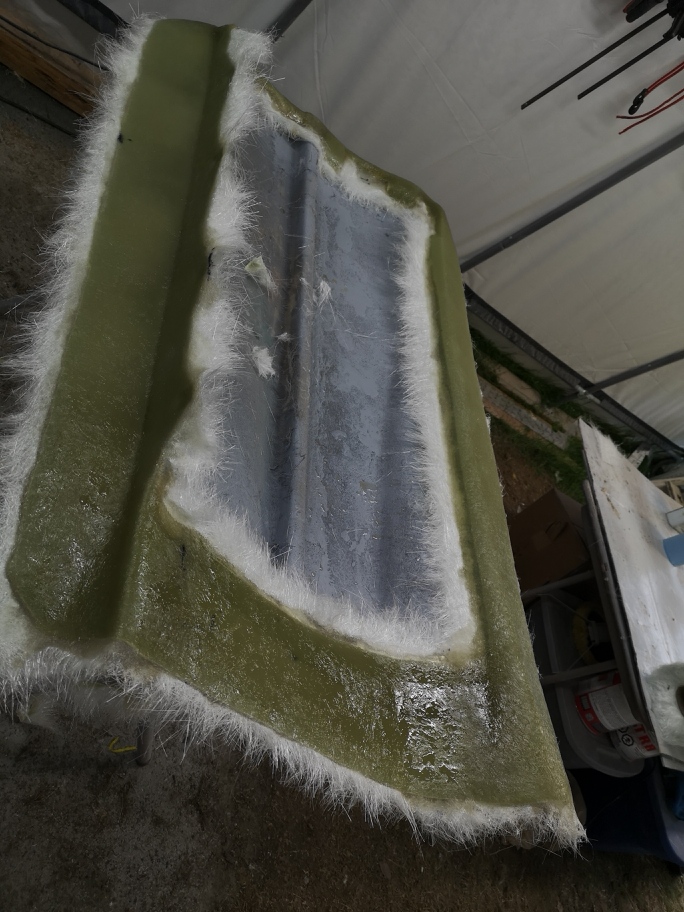
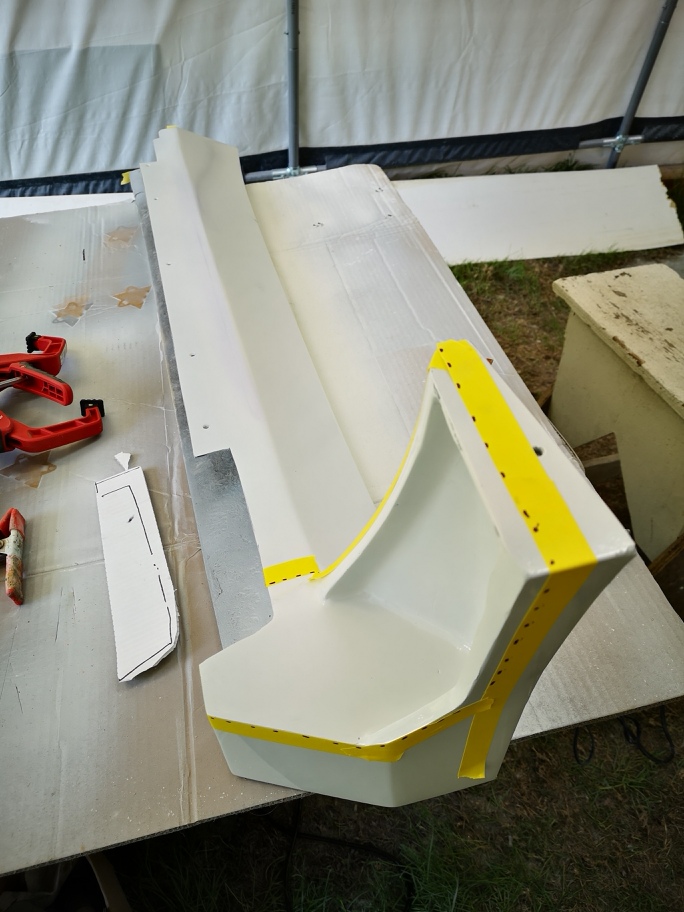
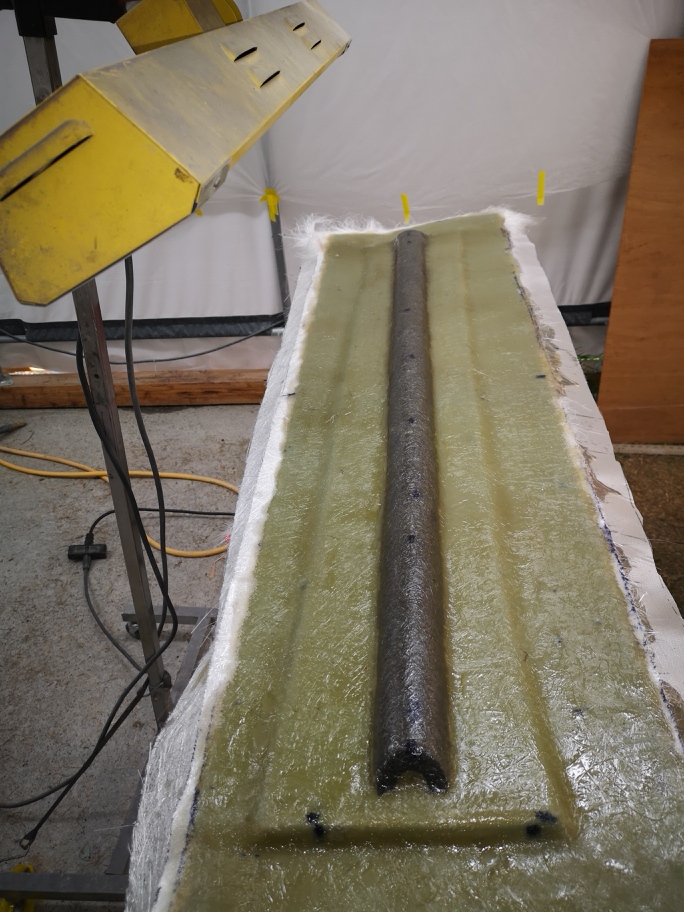
A bit of a update on the mold building progress.
Due to the fragile nature of using foam in constrution ( very strong overall but breaks like a egg if dropped) and as Murphy's Law will happen both running boards were dropped.
There is lots of fibreglass and bondo in the construction but a couple cracks did emerge in the flattop surface which was made and shaped using polyurethan foam.
I repaired best I could wet sanding and filling , so hopefully I will not need to do too much sanding on the mold.
I'm doing the two running boards first just because I do not want to have anything else happen before the molds are done.
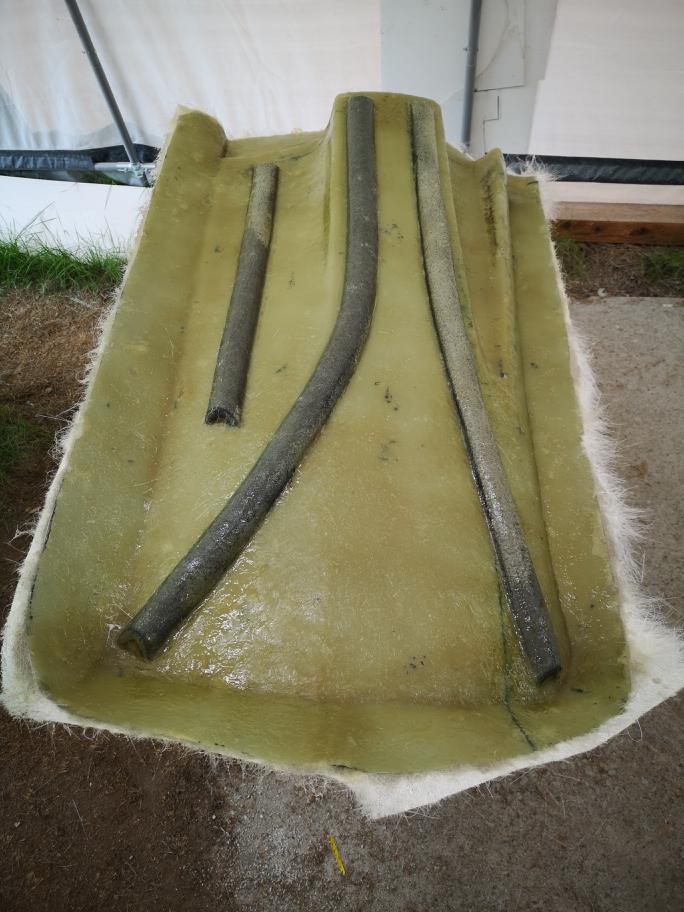
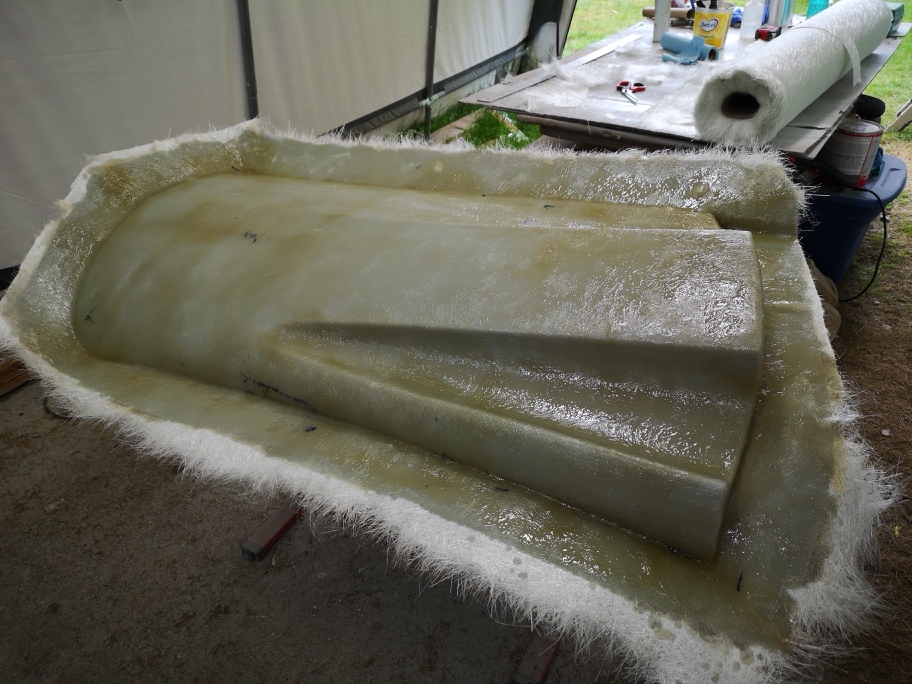
Each running board is made up of 3 separate removable flanged sections. The following photos show the upper and lower mold build. I'll do the third today.
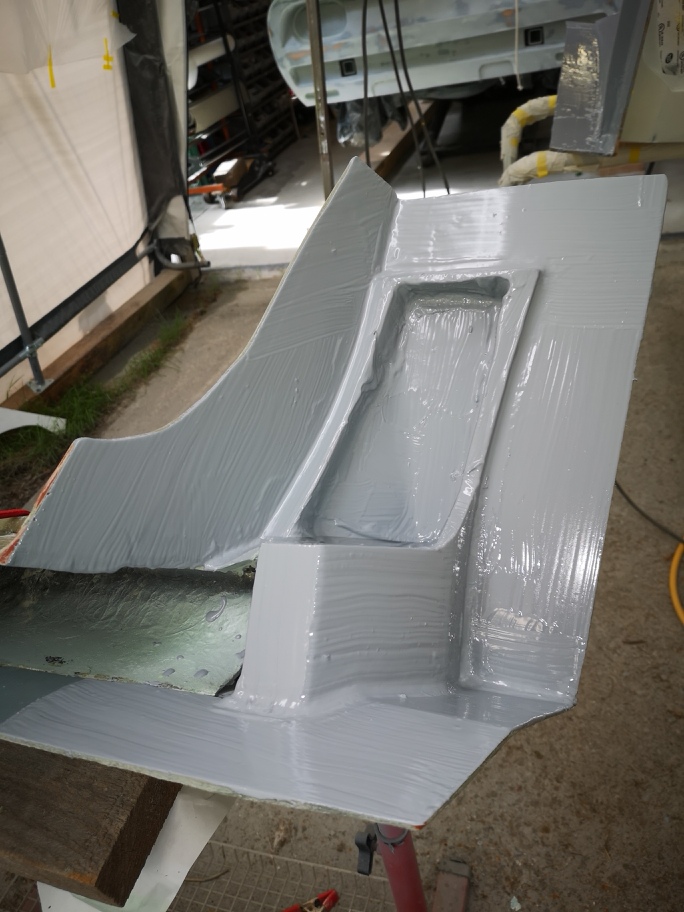
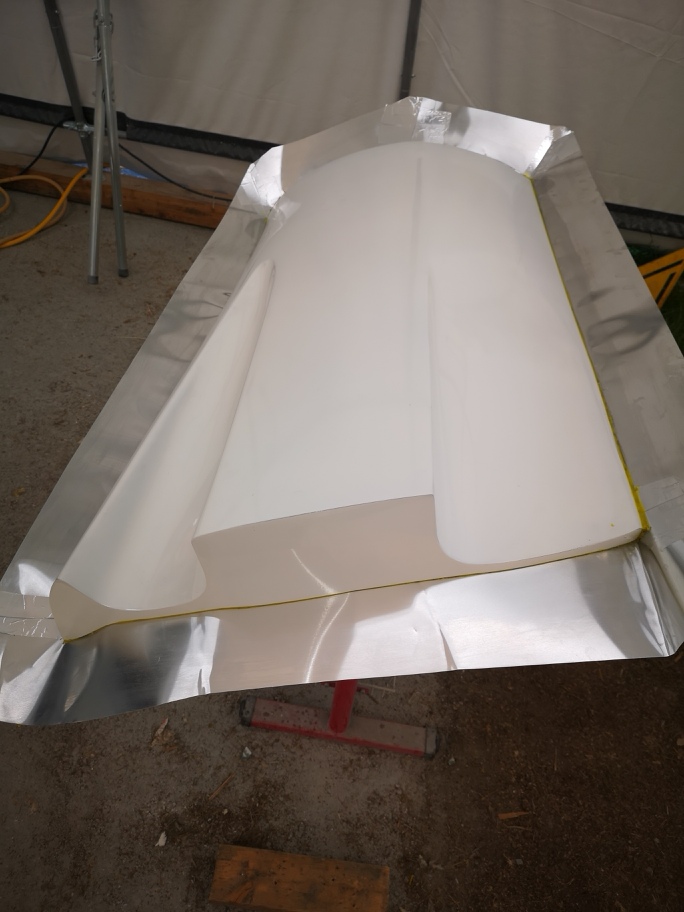
this shows the planning of where the parting lines are.
this is with the flanges being attached
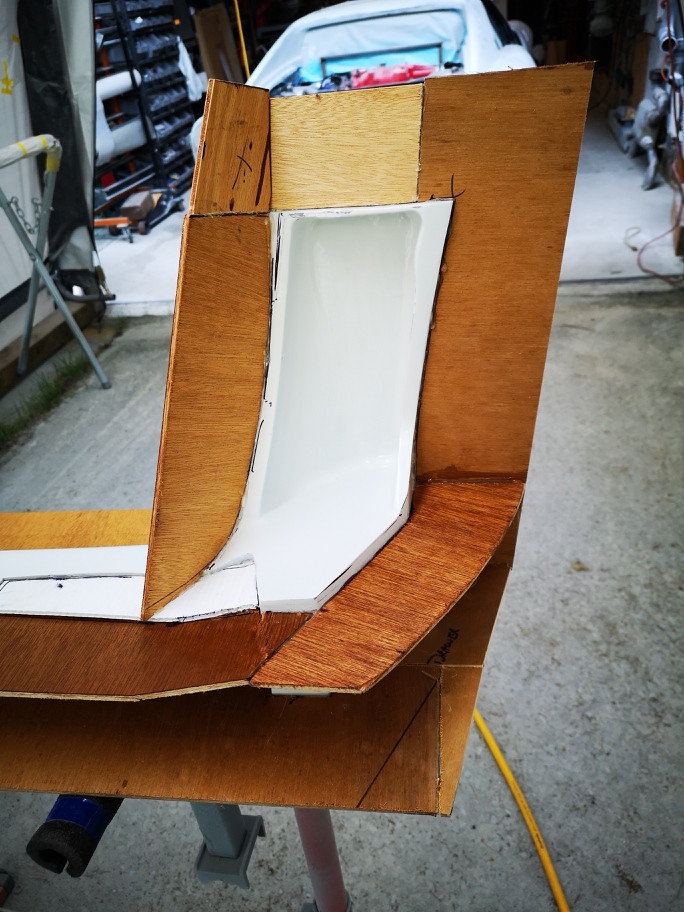
This is with the gelcoat applied , I use a silica additive to the gelcoat around the edges to ensure of hard and detailed edges.
[img]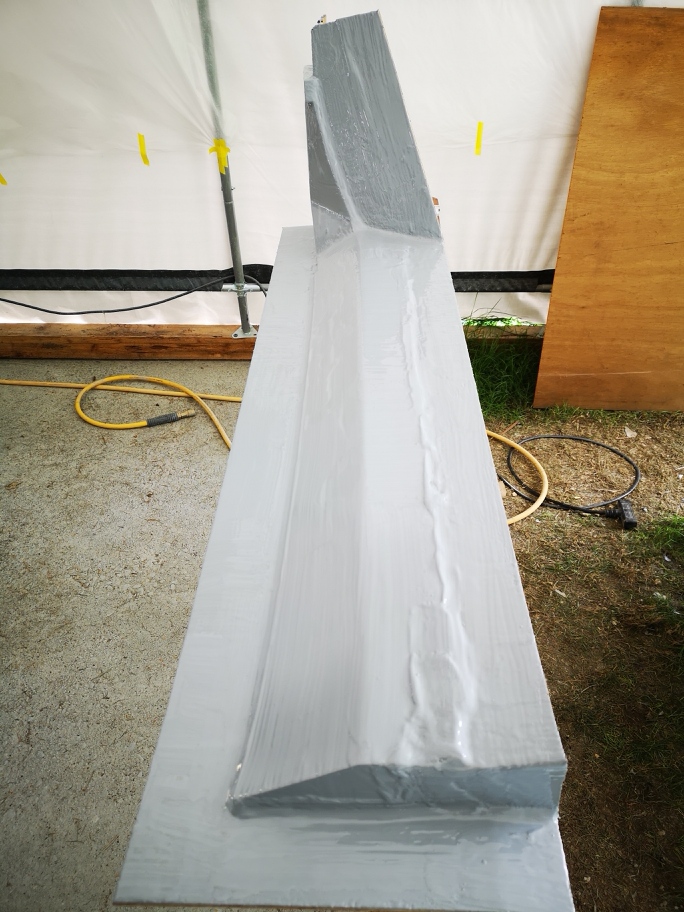 [/img] [/img]
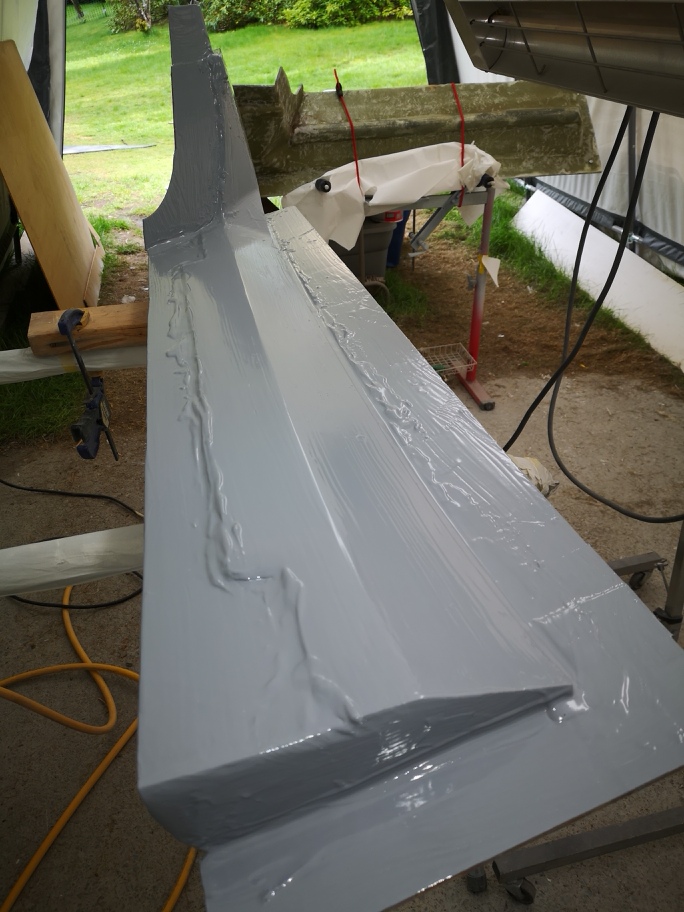
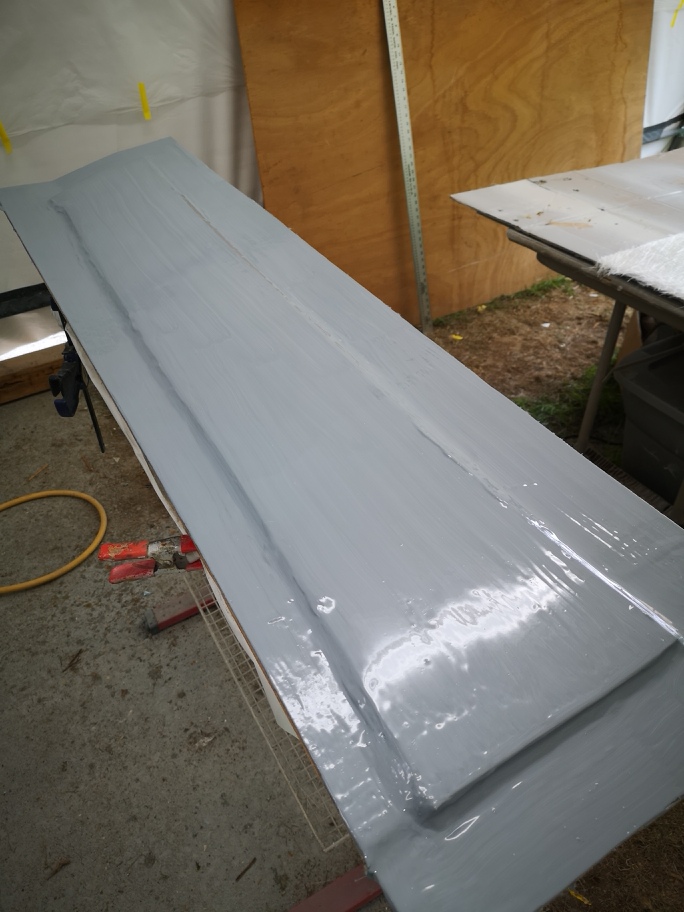
top mold 3 layers of 1 1/2" mat I added reenforcement after this shot and 2 more layers of mat.

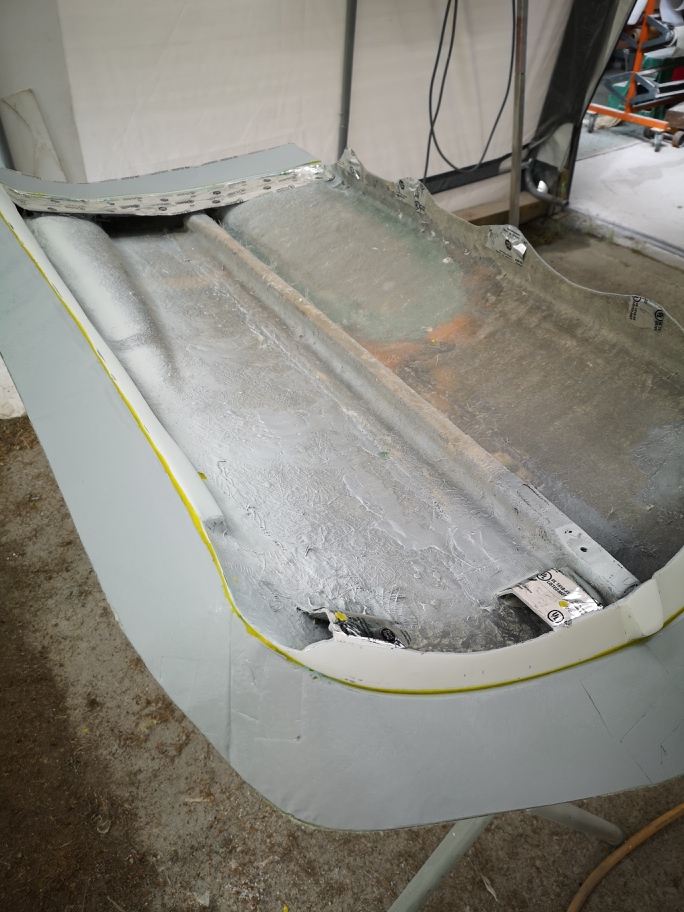
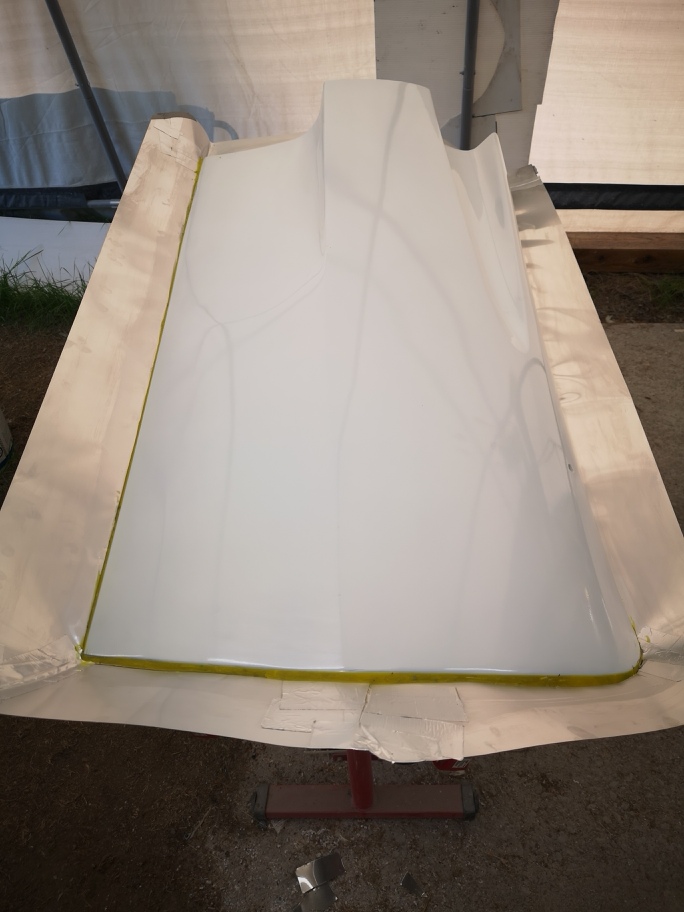
this shot is the bottom mold fab with the flange removed from the upper mold preping I used clay and molding wax to ensure sharp parting lines.

this shot is with gelcoat added as before.
this is with 3 layers

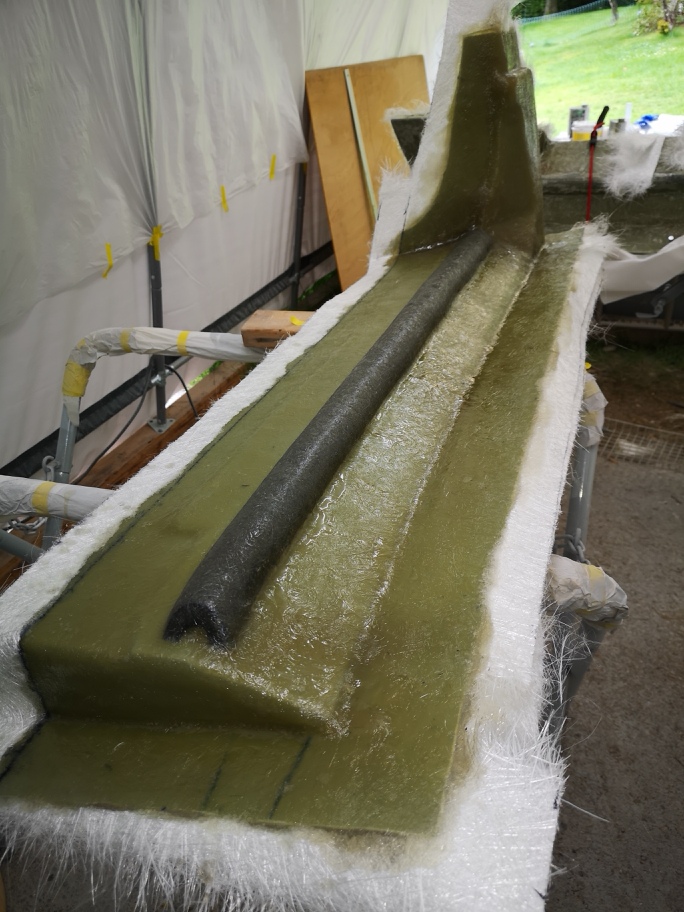
this is the finished bottom mold with reenforcement added and 2 more layers of mat.
I hope to finish this mold today
enjoy and stay safe.
Wayne
|
|
|
|
RCR
|
APR 30, 08:13 PM
|
|
Nice Wayne...
Bob
|
|
|
|
dobie1
|
MAY 01, 11:22 PM
|
|
|
|
|
shemdogg
|
MAY 03, 10:45 PM
|
|
Molds look great, good stuff! Cant wait to see the panels on the car
shem
|
|
|
|
dobie1
|
MAY 11, 10:59 PM
|
|
First off thanks Shem ,lots of work but rewarding.
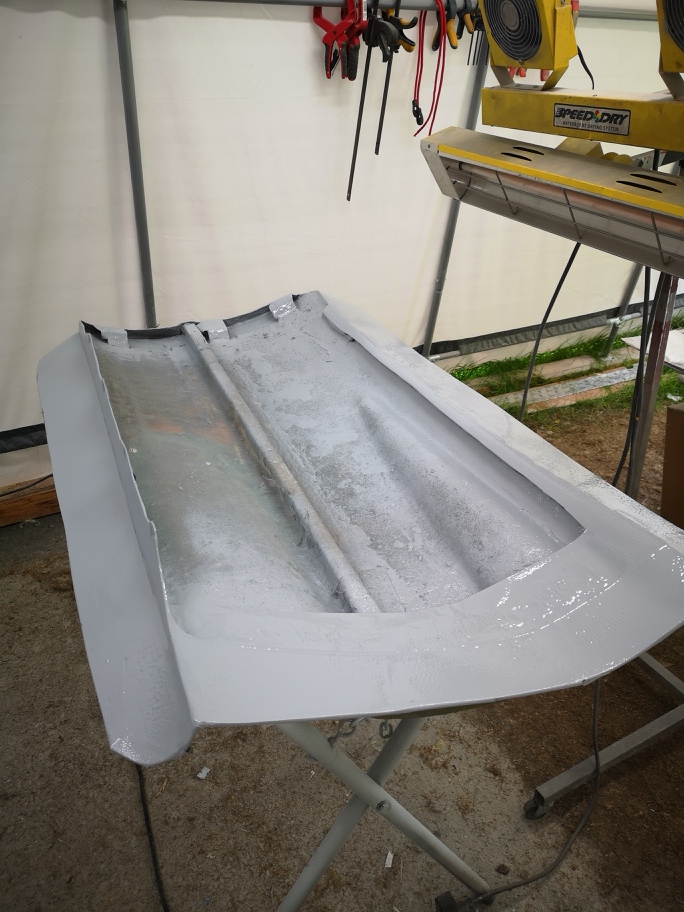
I got the second running board mold finished , I spent some time finishing all the parting lines then sealing and polishing the surfaces. They are now all buttoned up and put away to finish curing for a couple weeks.
I moved onto the next set of molds , there was foam used in the construction of the door and to avoid any damage I'm onto door molds.
I'm using a new material in the flange construction , 8" aluminum flashing. It gives me enough material to attach to the part and still leave a wide flange surface for vacuum bagging.
I got to use my gel coat cup gun for the first time
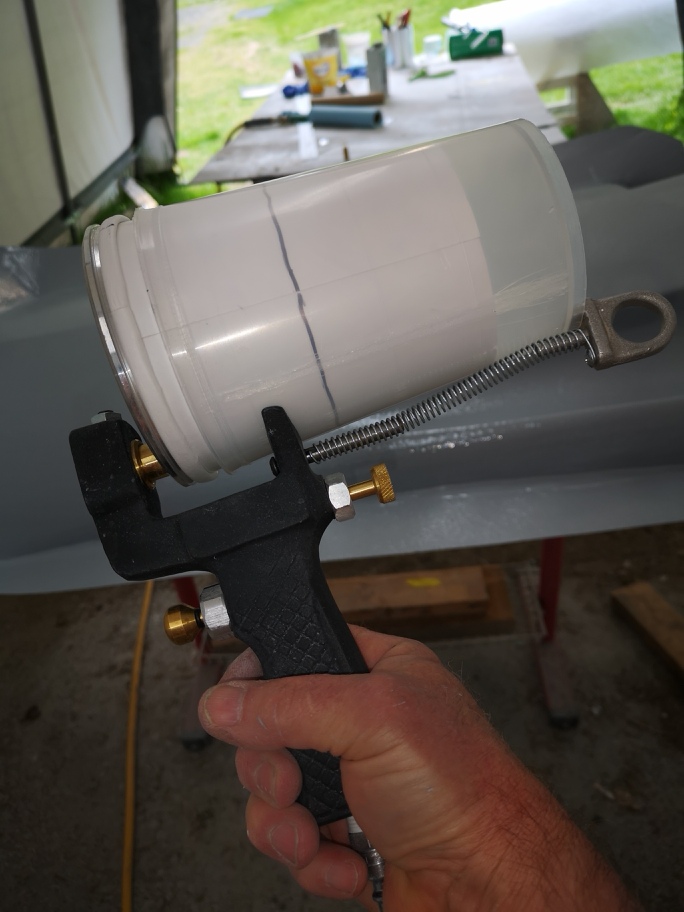
works pretty good and is way faster, it possibly uses a bit more gel coat but hopefully has a better finish.
this is with 2 layers of 1 1/2oz mat . reenforcement tomorrow and 3 more layers.
Thanks for stopping by
stay safe
Wayne
|
|
|
|
dobie1
|
MAY 13, 11:27 PM
|
|
|
|
|
RCR
|
MAY 14, 06:42 PM
|
|
Great stuff, Wayne. Thanx for the updates and teachings.

Bob
|
|
|
|