|
| My 88 Formula Interior Redesign (Page 32/87) |

|
katatak
|
JAN 16, 11:50 AM
|
|
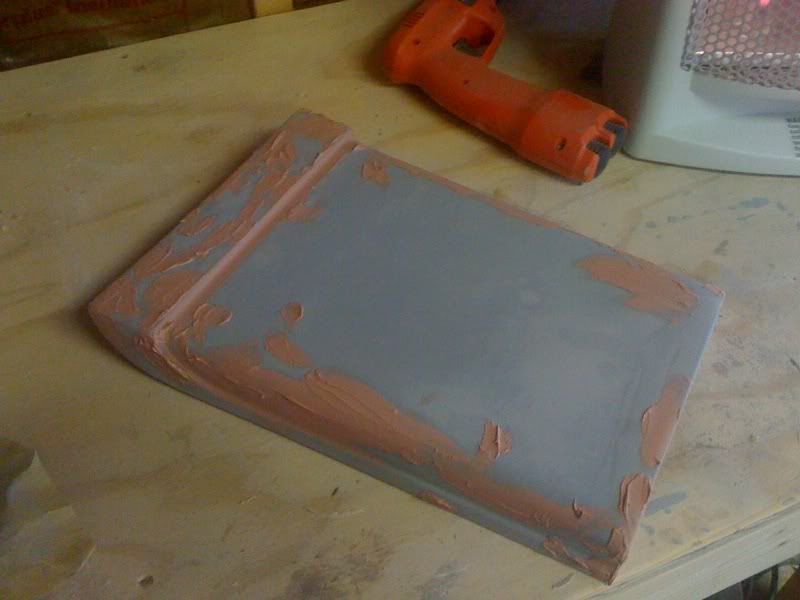
Hey Greg,
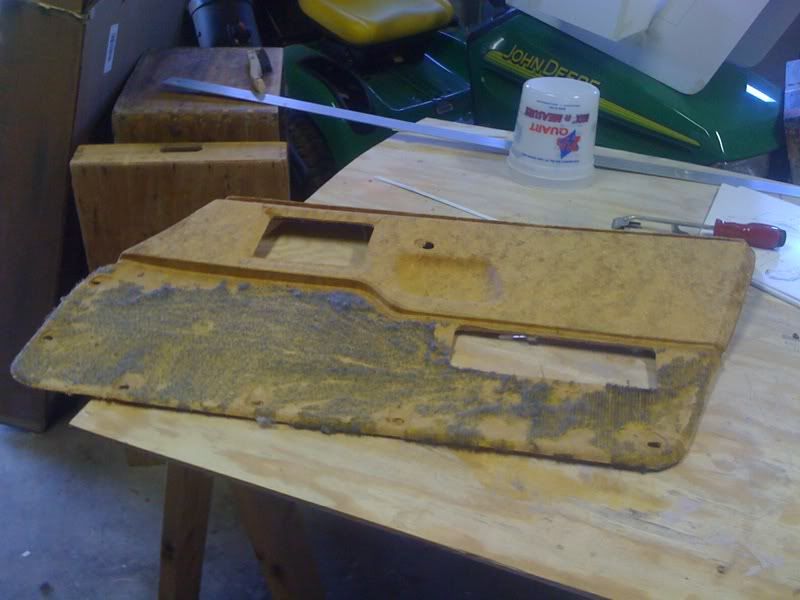
Looking good. I hate them damn pin holes. I picked up some "glazing" putty at AZ - it's in a tube and is very thin. I found that it works great for filling in the pin holes. One trick I learned was to make sure that all the sanding dust is cleaned out of the pin holes. Other wise, the putty will come out of the holes. I picked up some "cleaner" in an aerosol can - for prepping the surface - it has a degreaser/wax cleaner. I make sure I blast the pin holes real good. So far - so good. Cuts down on the fill and sand time.
Pat
|
|
|
|
Sofa King
|
JAN 16, 07:14 PM
|
|
P,
Good call! I have a bottle of mineral spirits that should work - I just forget to wipe the glass down before primer. DUHHHHH...
Anywho... OK, guys... what do you think of this idea? Many of you have seen this sketch with the concept window, trunk, etc buttons to the left and right of the shifter
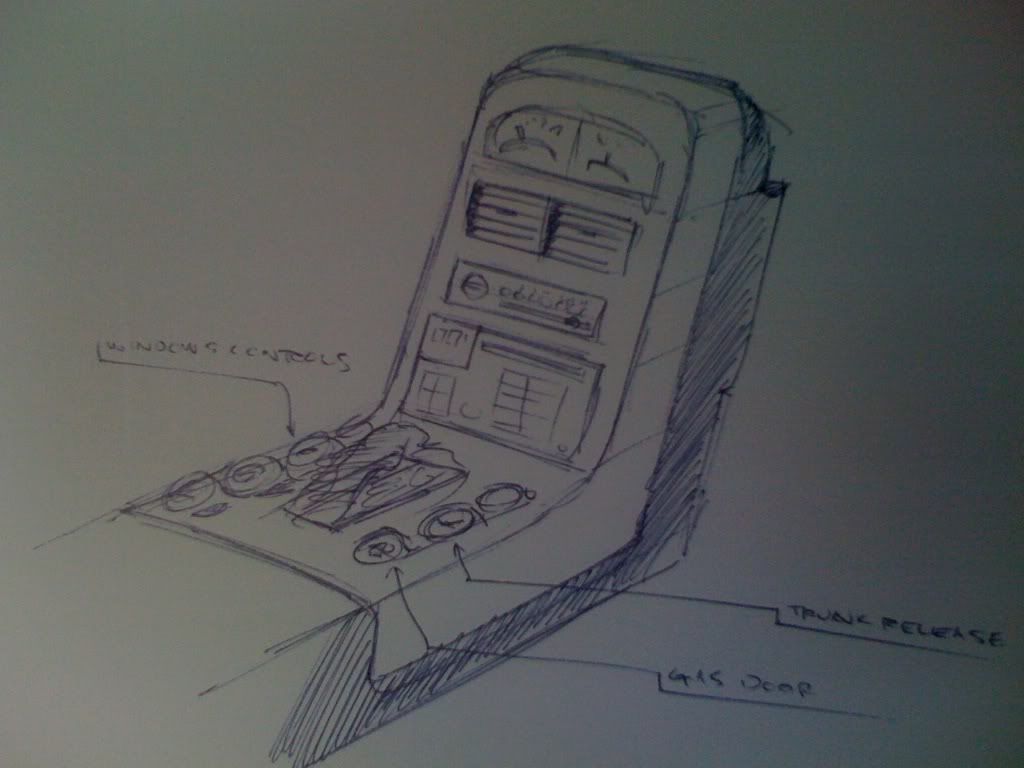
I really like this concept but the buttons are not true to the original design of the car - I was inspired by the new Ferrari 458. So, I began to think about all the different buttons GM used in their cars since the 70's and 80's.
And then I remembered these different types of buttons - but notice the chome bevelled swicthes - HOW COOL
Now think about this for a second... The buttons would still be mounted to the left & right of the shifter but it would be a stock GM piece and bring a little bit of chrome into the cabin! I could then chrome the door handles to reflect the chrome buttons and bring balance to the design. AND, I'm still staying within the correct time period of the car.
I'm still thinking about it, but I think it's a cool idea. I'm going to have to come up with a quick sketch to see if it will work.
|
|

|
hksteck84
|
JAN 18, 09:44 AM
|
|
|
|
|
grkboy707
|
JAN 18, 10:28 AM
|
|
|
YES! UPDATES! I love it! Great work!
|
|
|
|
Sofa King
|
JAN 18, 11:53 AM
|
|
|

|
Sofa King
|
JAN 18, 12:25 PM
|
|
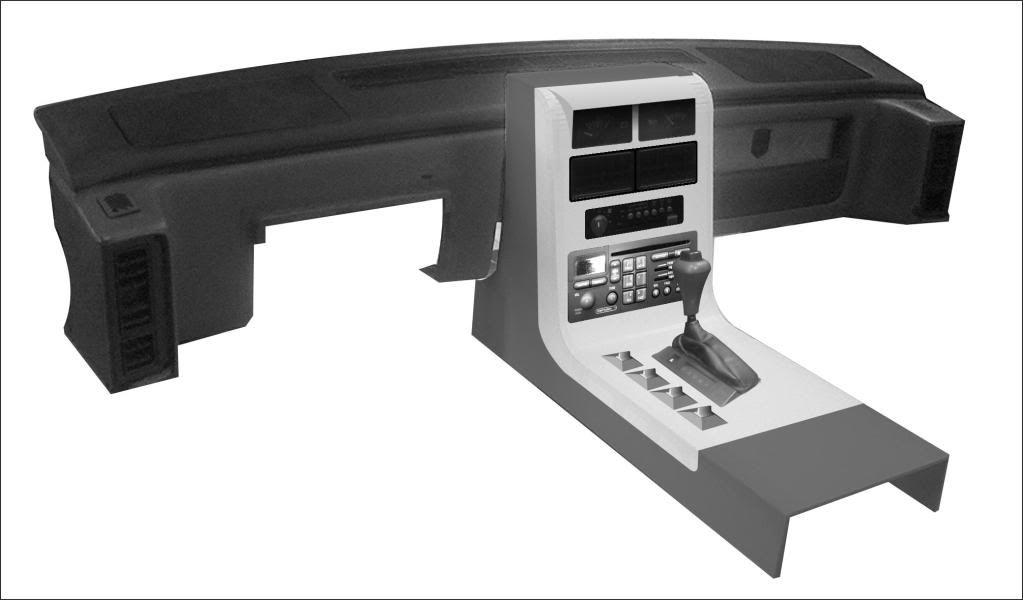
OK... this is a REALLY rough sketch of what the chrome window switches "might" look like along with the radio, A/C vents, etc. installed on the console. I don't have my 3D software available to me right now so... Like I said... REALLY ROUGH!!! But... what do you think?
 [This message has been edited by Sofa King (edited 01-18-2010).]
|
|
|
|
Sofa King
|
JAN 18, 05:36 PM
|
|
|

|
Sofa King
|
JAN 18, 05:44 PM
|
|
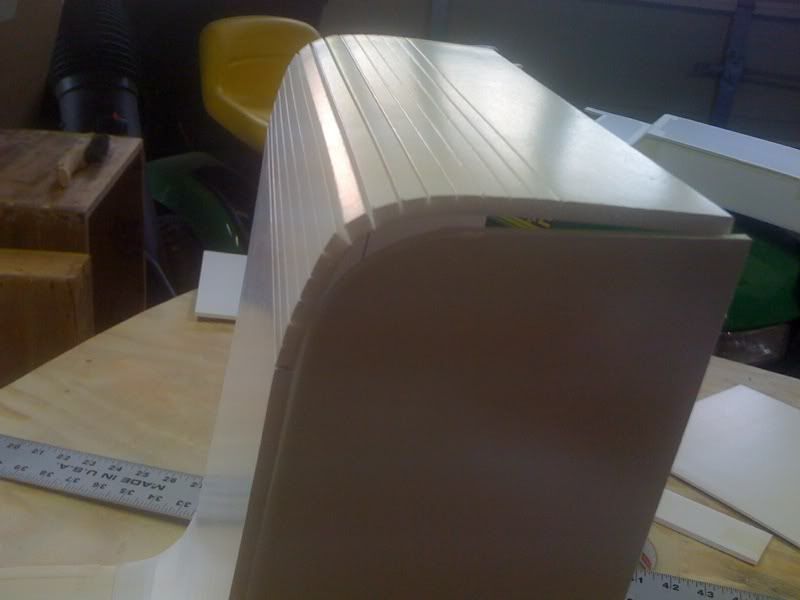
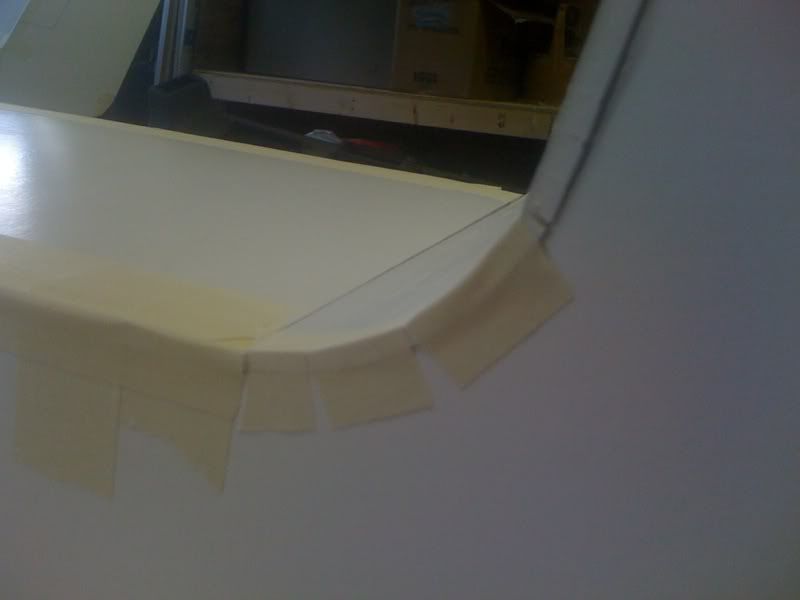
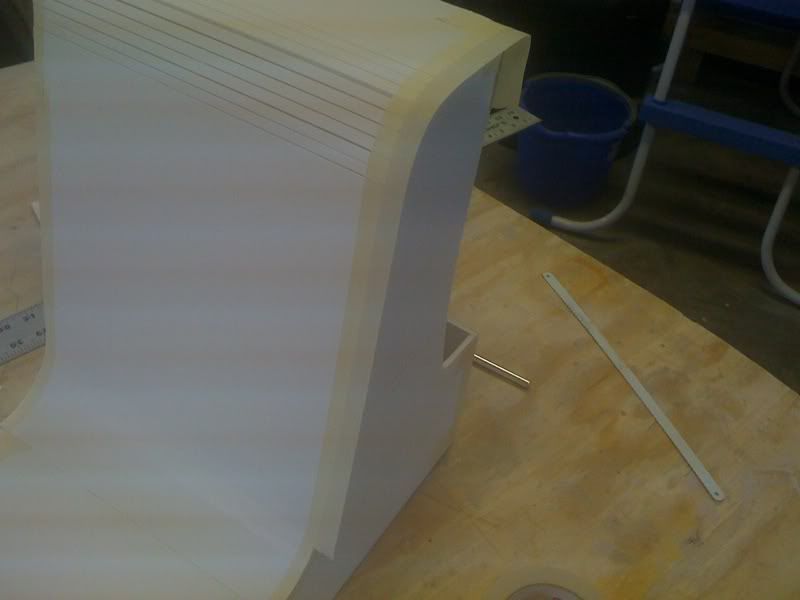
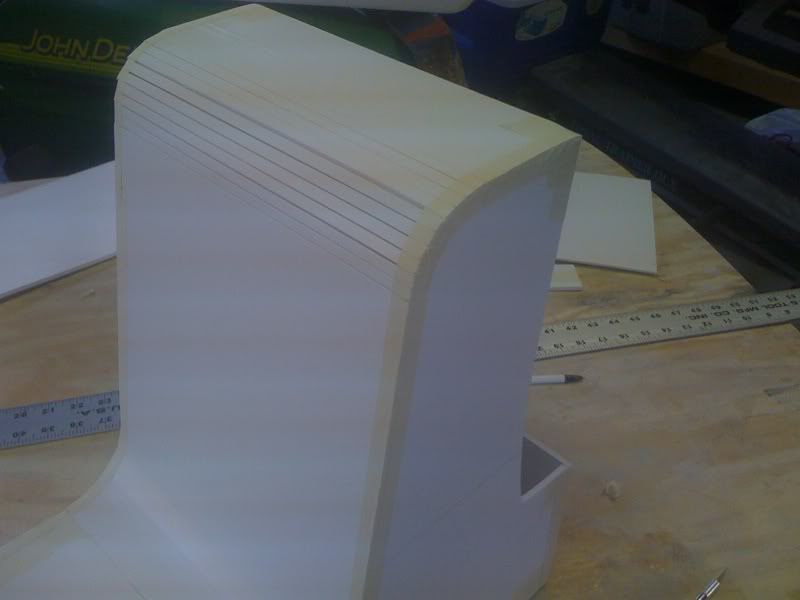
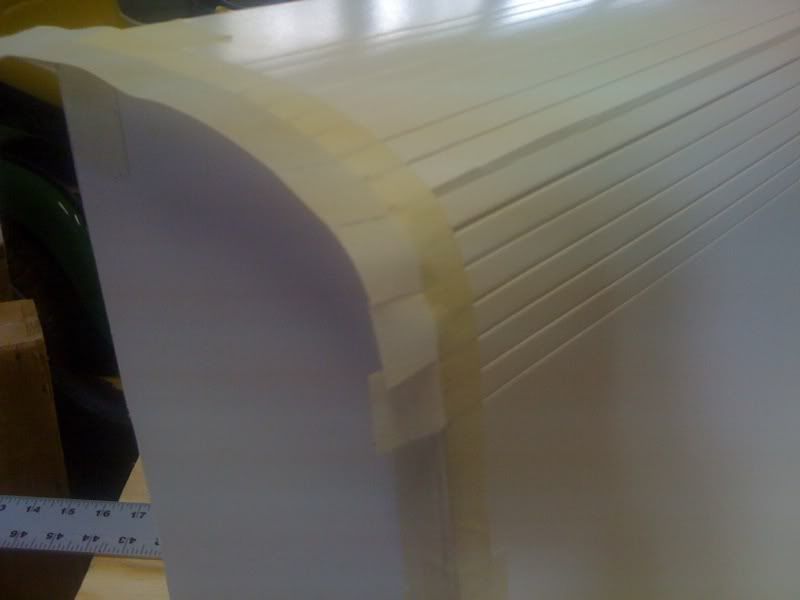
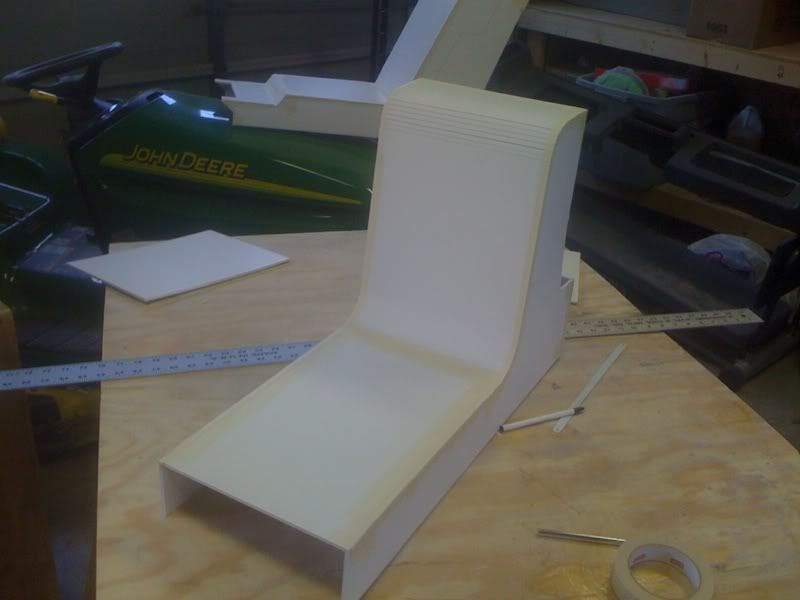
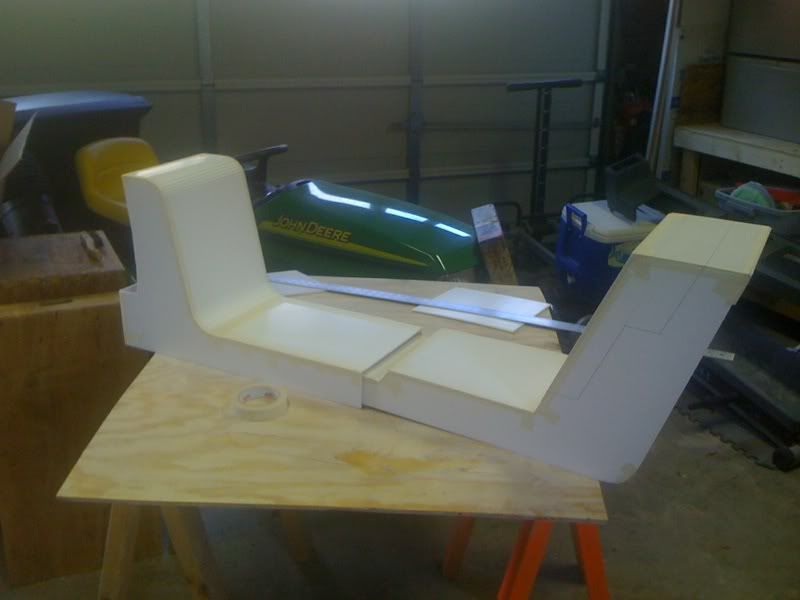
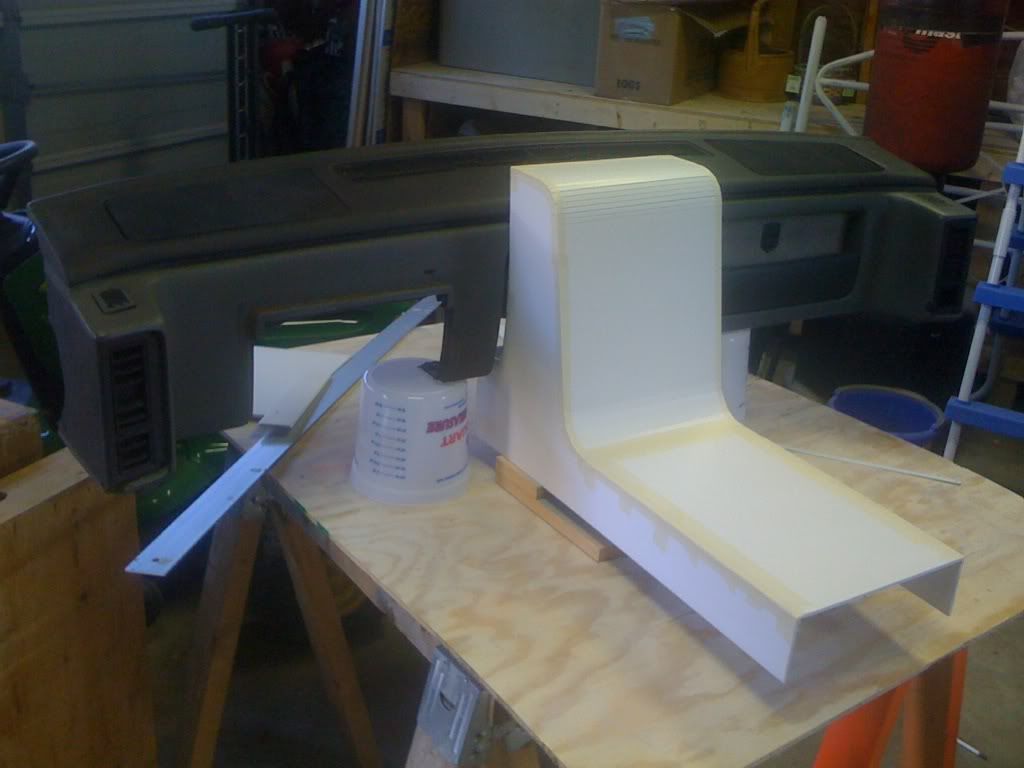
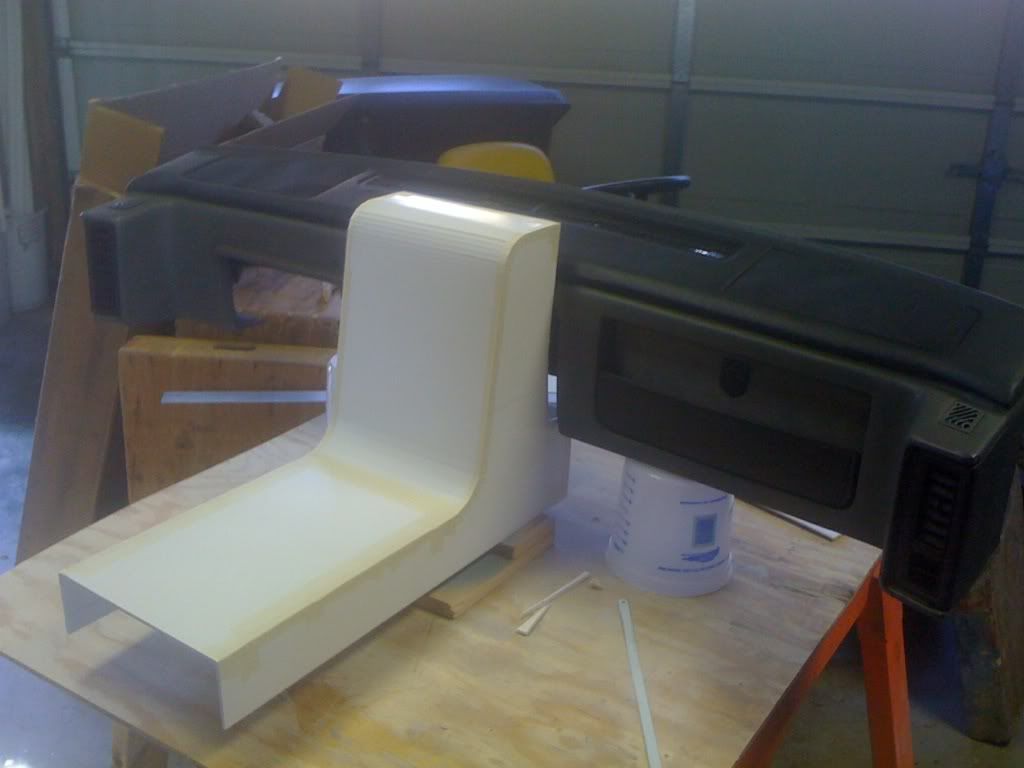
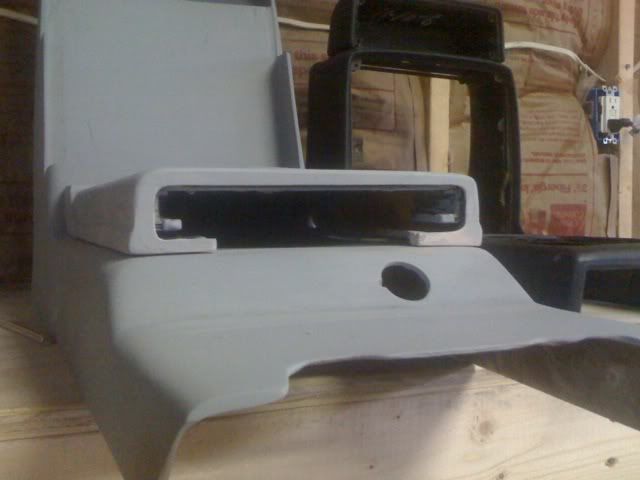
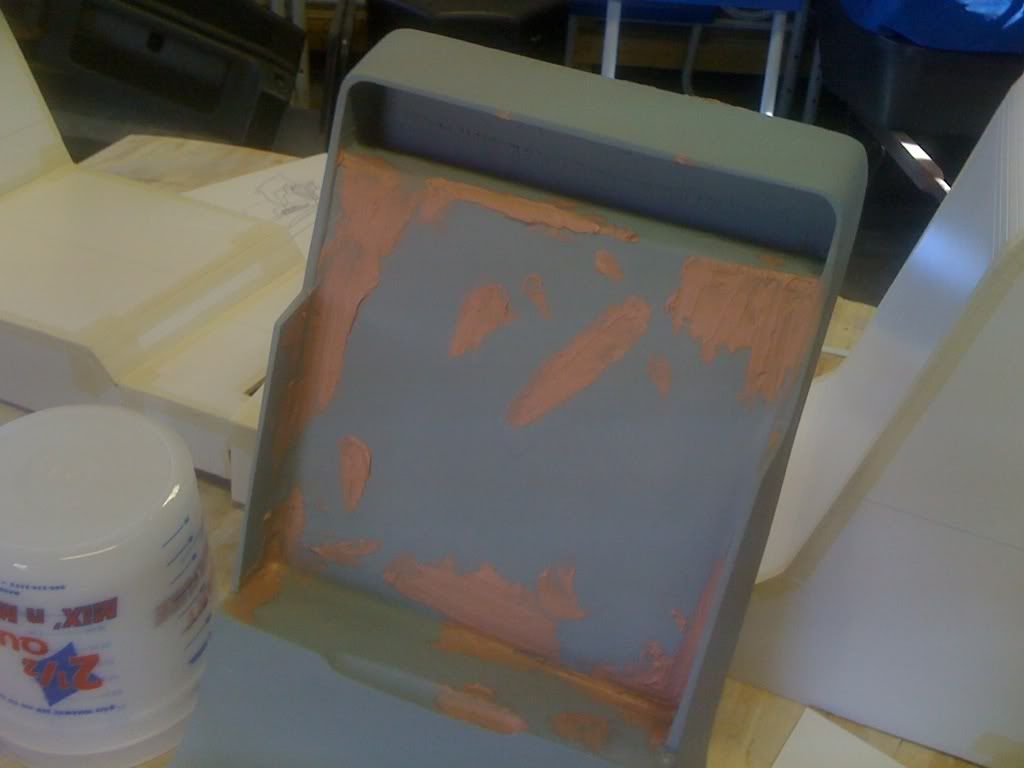
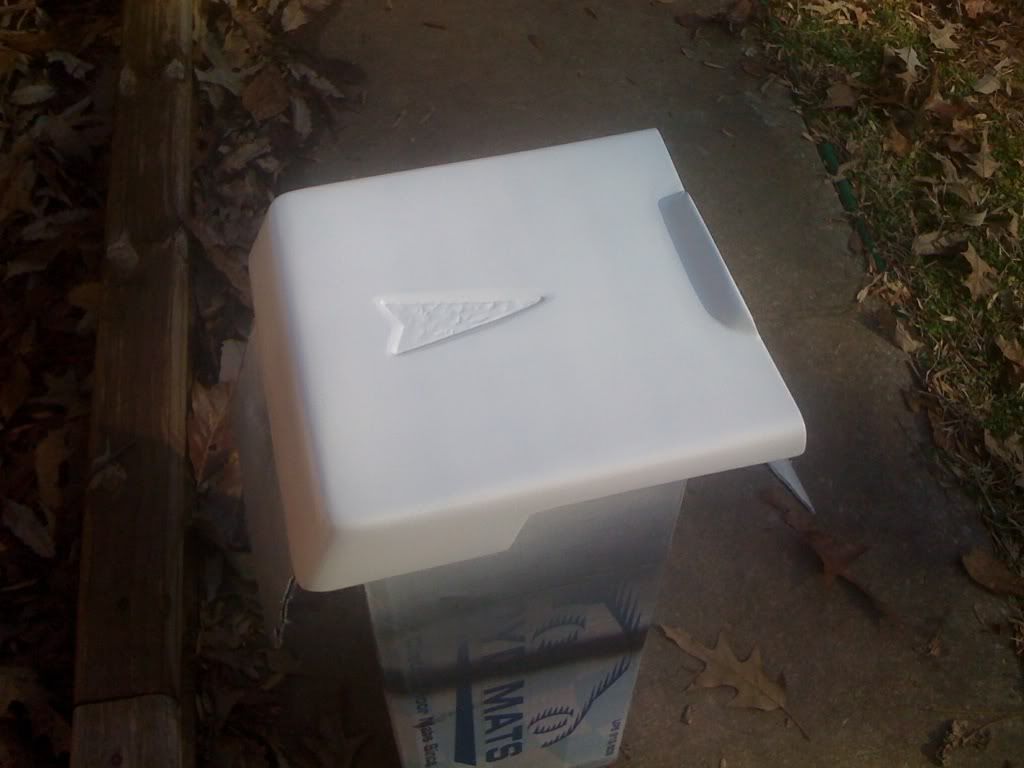
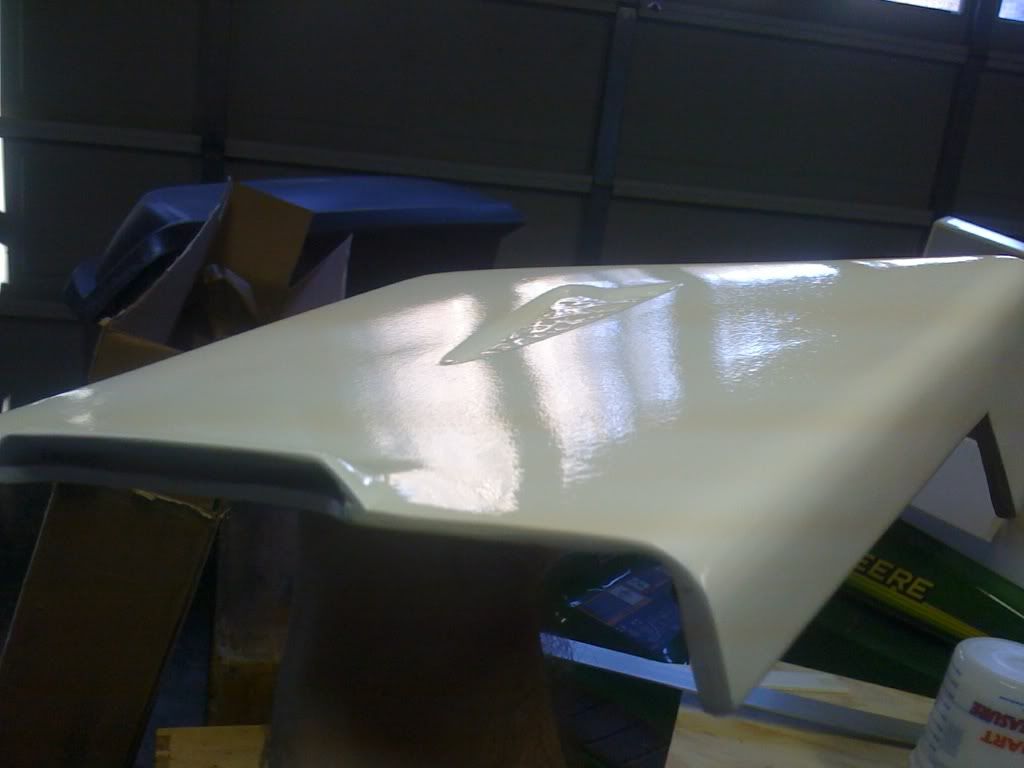
Quick Update
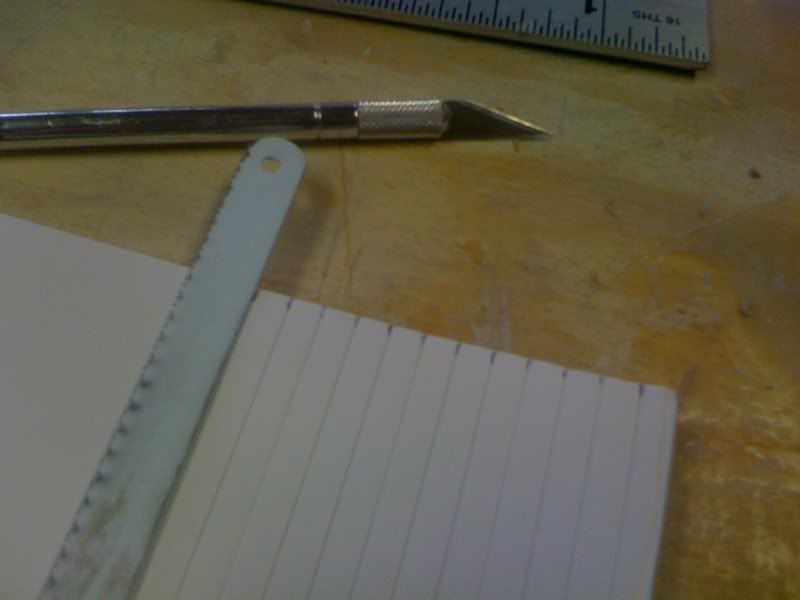
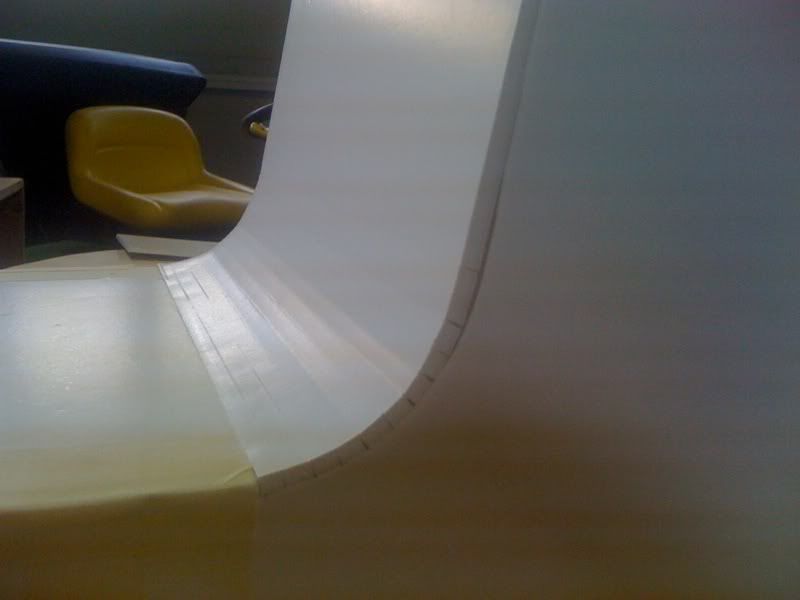
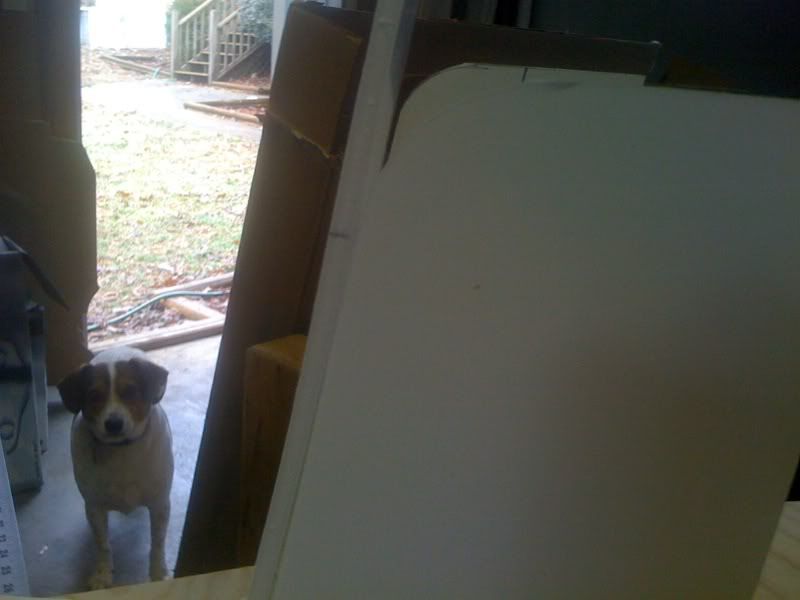
OK. I know the front foam core bezel mock up doesn't match the sketch I created. The top of the panel I created using the foam core curves back toward the front of the dash as opposed to curving around the top as the sketched originally showed. I'm going to create a second bezel to match the sketch and see which version I like better. Remember, these plans are ever evolving, changing, morphing, etc and can become very frustrating... You have 20 ideas running through your head...
Anywho. That's it for tonight.
|
|
|
|
katatak
|
JAN 19, 01:20 AM
|
|
Man Greg,
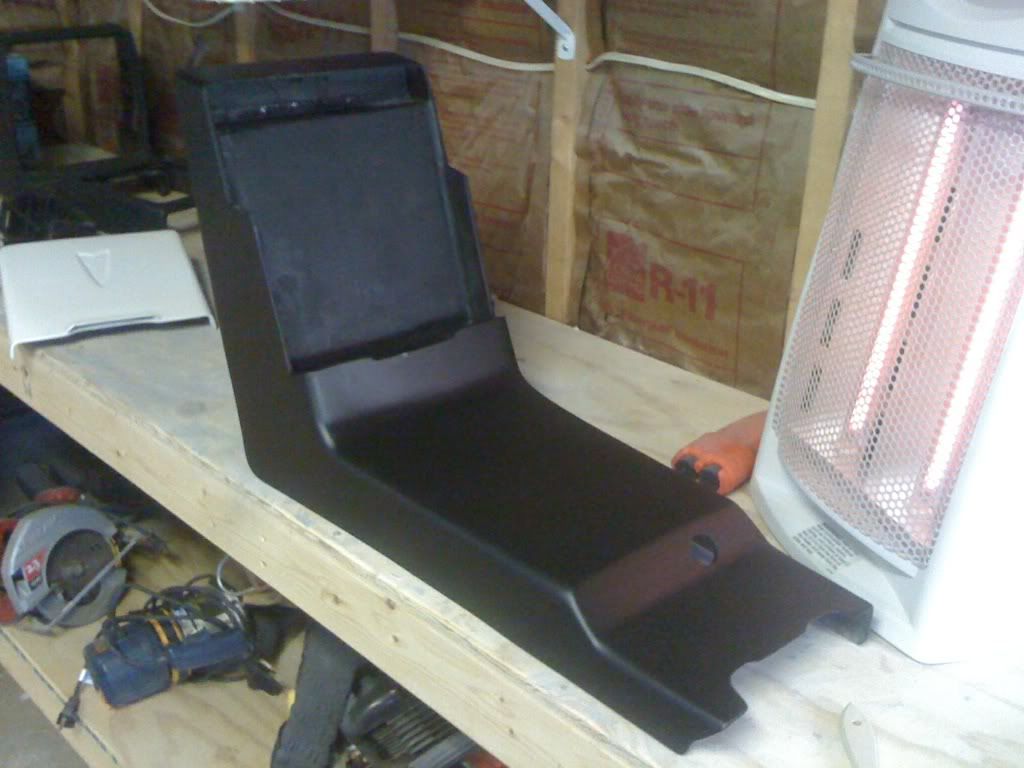
You've been busy. I love it. I was loosing motivation for my interior project but I am now fired up to get it done. I like the switches - at least the idea - still not sure about the switches themselves. Reminds me of an old Caddy. The console is looking great and the new mock up is even better. Your concept drawings are crazy but when you can see it come to life in your mock up..... That takes some talent my friend.
Pat
|
|
|
|
IVANNATINKLE
|
JAN 19, 01:38 AM
|
|
|
wow !! cant wait till this is all done looks really good!!
|
|
|