
 
     |
| #\ *doublec4* /# Official Build Thread (Page 32/87) |

|
doublec4
|
MAY 06, 08:21 PM
|
|
More progress today.
Got the rubber bushings burnt/drilled out. Installed the new poly in the upper arms. Also installed the ball joints in the upper arms and used my new upper control arm bolts to install the upper arms.
At least something went back in without a fight.
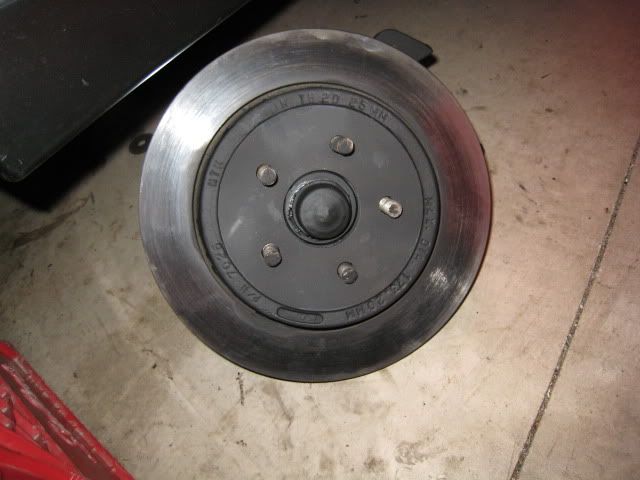
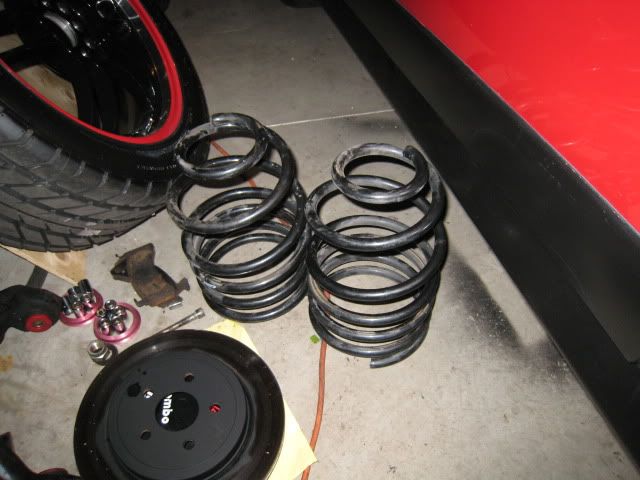
Also painted up the rotor "hats" so that they will match the black wheels.
Tomorrow maybe I'll paint the springs silver to match my rear coil over springs, as well as get the lower ball joints pressed in. Get the poly in the lower arms too and pick up the new hardware for the arms. I thought they would come in today, but no such luck. Until tomorrow...
|
|
|
|
Amida
|
MAY 06, 10:44 PM
|
|
|
Big job. Broken bolts not very fun.
|
|
|
|
AkursedX
|
MAY 09, 10:49 PM
|
|
|
Nice work man! I love the Enkei wheels. I like the red and black theme too. You will love the handling difference after the new suspension bits. The aluminum cradle bushings will really help firm up the rear-end. ------------------
'88 GT- 3800 Turbo 11.367@121.03mph
gmtuners.com -Build info
|
|
|
|
unboundmo
|
MAY 10, 03:56 AM
|
|
nice shot
Slowly but surely... IT'S WORTH IT. I PROMISE
------------------

|
|
|
|
doublec4
|
MAY 10, 09:08 PM
|
|
Thanks for the encouragement everyone.
Today I got most of the front suspension back together. Painted the springs silver to match the new rear ones. Got the lower control arms in with the new ball joints and poly. Only thing left to do on the front is get the sway bar in. I think I'll leave that for a local shop to do. The bolts are being impossible and at this point I'd rather let someone else deal with it. I'll get some pictures tomorrow of the whole thing.
Tomorrow the rear disassembly begins. I'm praying for better luck than the front! Especially with those cradle bushings.
|
|

|
Blacktree
|
MAY 10, 09:21 PM
|
|
|
On my Fiero, the rear suspension went a lot easier than the front. Actually, it took about half the time. Hopefully, yours will be the same.
|
|
|
|
doublec4
|
MAY 11, 11:57 PM
|
|
Thanks Blacktree. I just started to take some of the rear apart today and so far so good. I'll keep my fingers crossed.
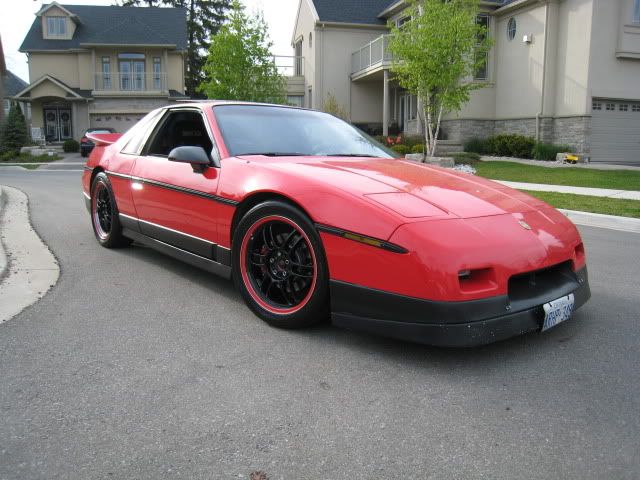
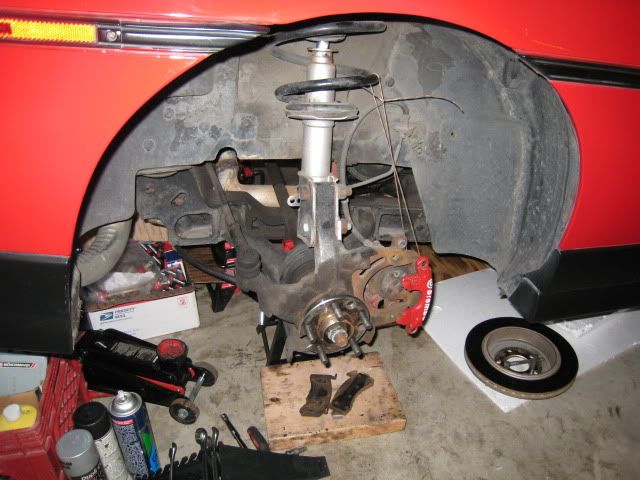
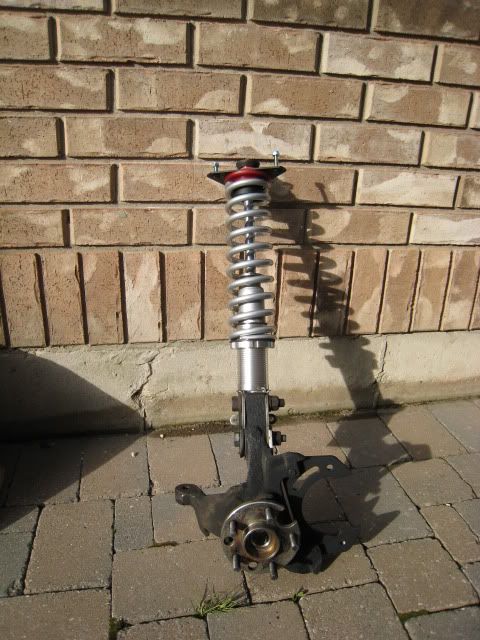
This is how the front tuned out:
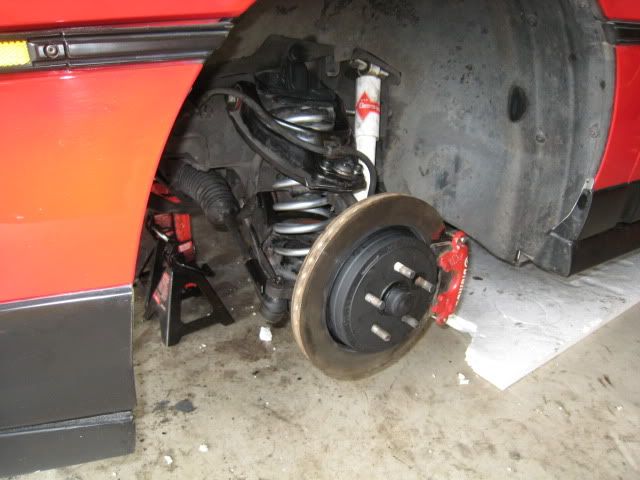
Minus the front sway bar of course.
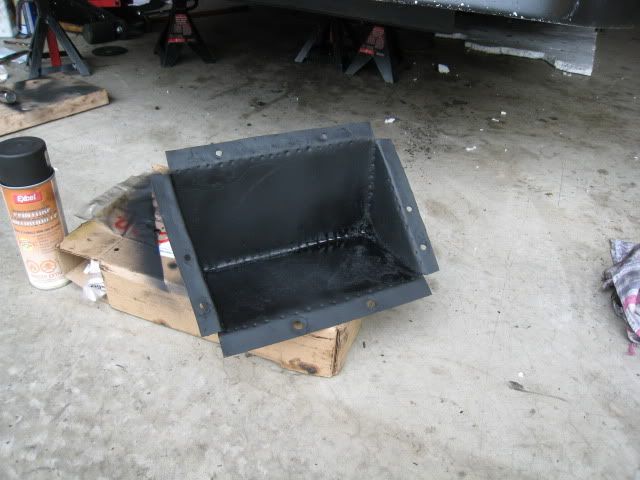
Also was able to snap a better shot of the home made front mount battery box I made a couple years ago:
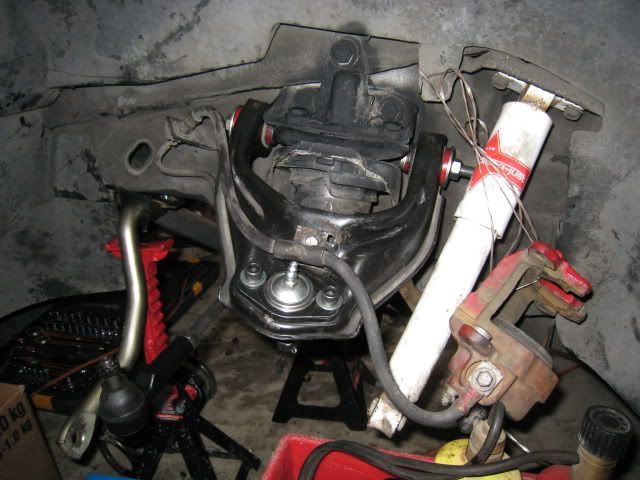
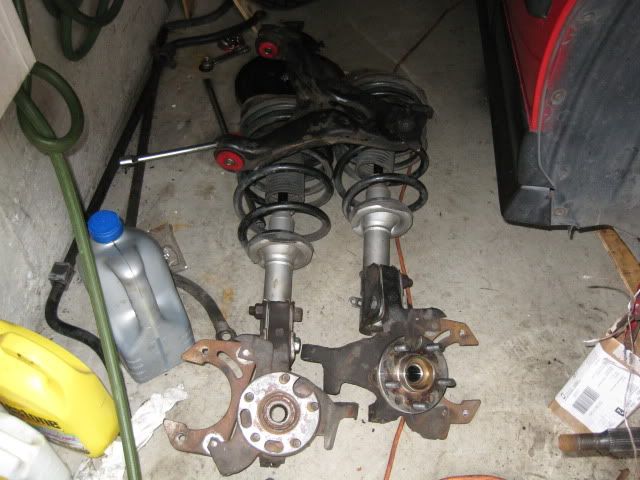
And lastly, the new challenge:
It will be getting the same poly treatment as the front, DIY coil overs, aluminum cradle bushings, new inner/outter tie rods, new lower ball joints, and fierostore sway bar. Wish me luck!
|
|
|
|
Tony Kania
|
MAY 12, 11:03 AM
|
|
Yeah DoubleC4, the results will be totally worth it.  It really will solidify the driving experience, and suprise a few folks on the twisties as you leave them staring at your tailights. It really will solidify the driving experience, and suprise a few folks on the twisties as you leave them staring at your tailights. 
|
|
|
|
doublec4
|
MAY 13, 07:22 PM
|
|
Thanks Tony, I took some more parts off today and I wonder how this thing ever drove straight. My rear inner tie rods were worn to sh*t. The new ones from Rodney are much, much better.
So here's what I got done today,
removed the rear inner/outer tie rods and replaced them
got the springs seperated from the struts
got the lower control arm off that was seized up. Replaced the lower ball joints, and got the new poly in.
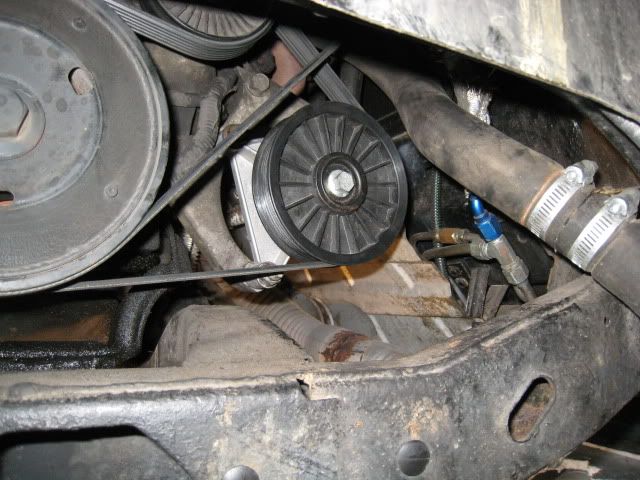
removed the A/C compressor and replaced it with the ZZP A/C delete pulley

I did also find two suprises I wasn't expecting. First, my exhaust on the rear bank has more than a hole in it. The pipe is actually broken right off. That would explain my loud exhaust. Second, my sleeves don't fit over the strut body for the coil overs. I'm pretty pissed off about both of these things but I'll figure something out. This thing is definitely a money pit.
Tomorrow I want to get my side scoops on while everything is out of the way, and get the aluminum cradle bushings in. Good luck wishes are in order again
|
|
|
|
doublec4
|
MAY 14, 10:46 PM
|
|
Another fun filled fiero day.
Got the aluminum cradle bushings installed as I hoped. It was a ton of fun (sarcasm). I'm tired of working on the ground all of the time. I really wish I had a hoist.
The front bushings didnt want to give up the ghost. They fought right until the end but eventually came out. Then of course lining the cradle back up was fun. Didn't just swing back into place as I had hoped. I had to pry it forward to get it to line up.
Then came the rear bushings. They came out a lot easier, but didn't go back in quite as easy. Again, lining things up was a b*tch. I was laying on the ground kicking the cradle with two feet at once trying to get it to move over so the holes would line up for the bolts. Eventually got them after abusing the fiero. Not cool.
Here they are
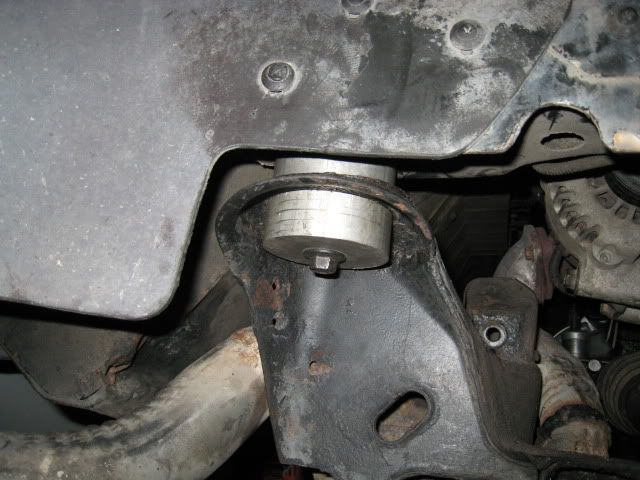
These things better make a huge difference for all of that trouble.
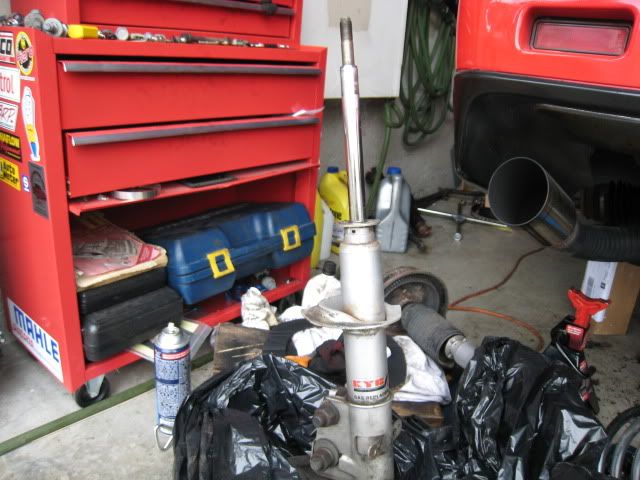
Also managed to put the coil overs together. I had to take them to the machine shop to get the sleeves bored out because they wouldn't fit over the strut body. But alas, they are together and ready to bolt back in the car.
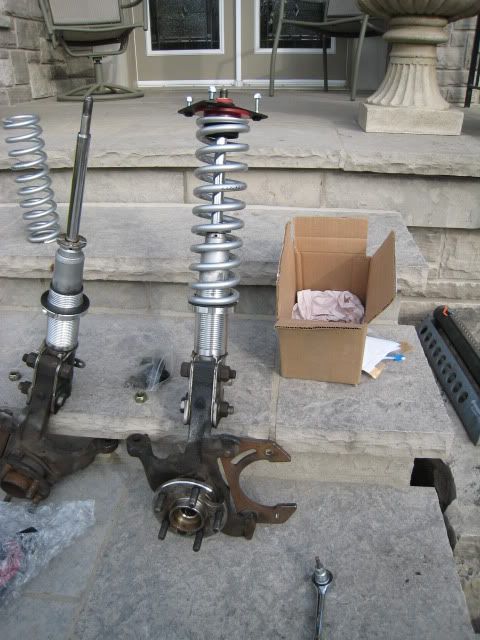
QA1 12" 350# springs
5" sleeves
HELD upper spring locater
KYB struts
Despite the productive day, there was, of course, a minor set back. My dog bone mount broke. Its still hanging on by one side, but the other side needs a weld now. *sigh*
Tomorrow I'm putting everything back together and hopefully getting around to the scoops as well.
|
|
|
|