|
| JohnWPB 1986 GT Fastback worklog (Page 3/71) |

|
DIY_Stu
|
DEC 28, 12:46 PM
|
|
|
but it looks so much nicer installed in my car!
|
|
|
|
JohnWPB
|
JAN 11, 02:05 AM
|
|
|
|
|
JimmyS
|
JAN 11, 02:54 PM
|
|
|
|
|
JimmyS
|
JAN 30, 09:54 AM
|
|
Pics, pics, pics.... I want pics 
|
|
|
|
infinitewill
|
JAN 30, 11:15 AM
|
|
|
. [This message has been edited by infinitewill (edited 01-01-2016).]
|
|
|
|
JohnWPB
|
JAN 30, 04:10 PM
|
|
| quote | Originally posted by JimmyS:
Pics, pics, pics.... I want pics |
|
Wow, It was done less than 24 hours ago, gimme a chance
Ok, here are some pictures:
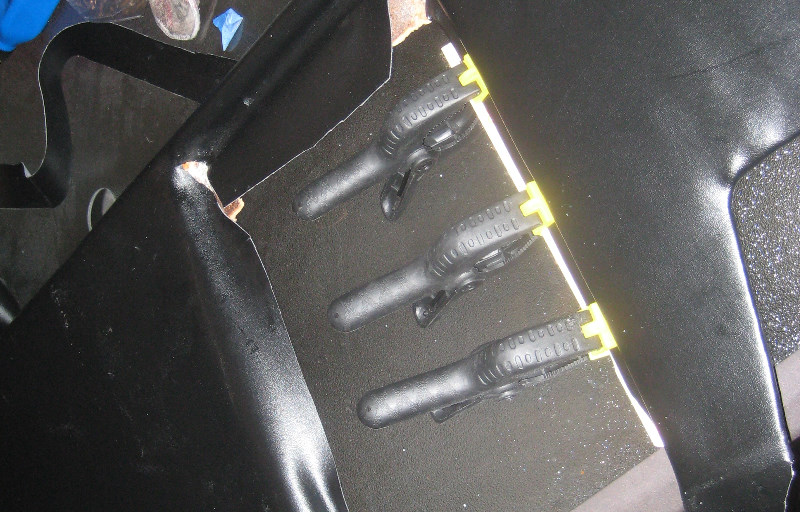
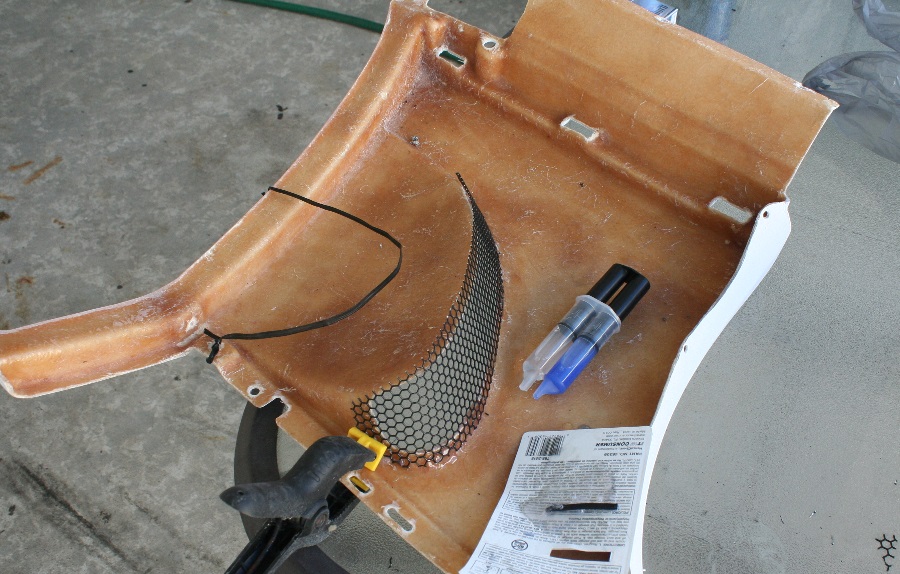
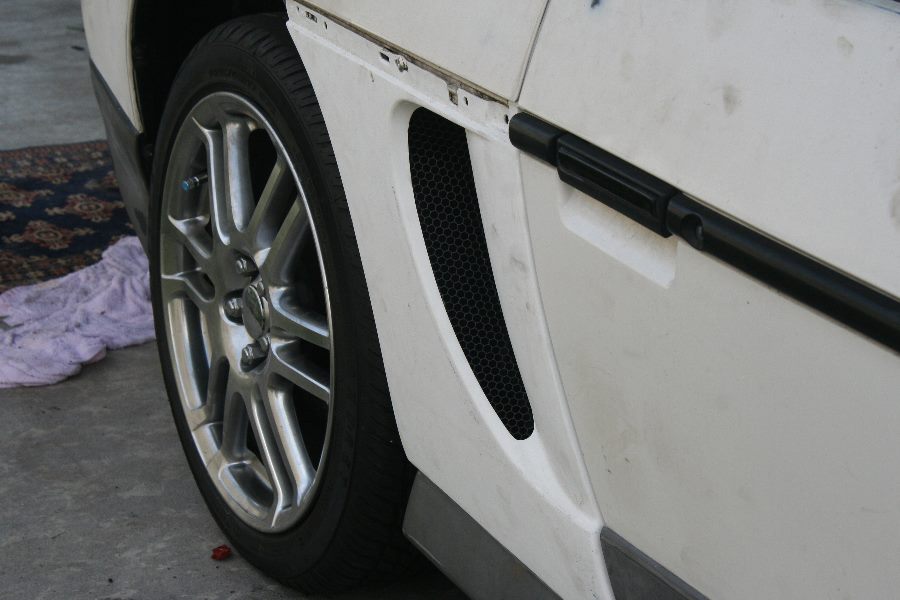
First off, attaching the mesh with 2 part epoxy from the inside. (I Will have to tape them off when the car is painted)
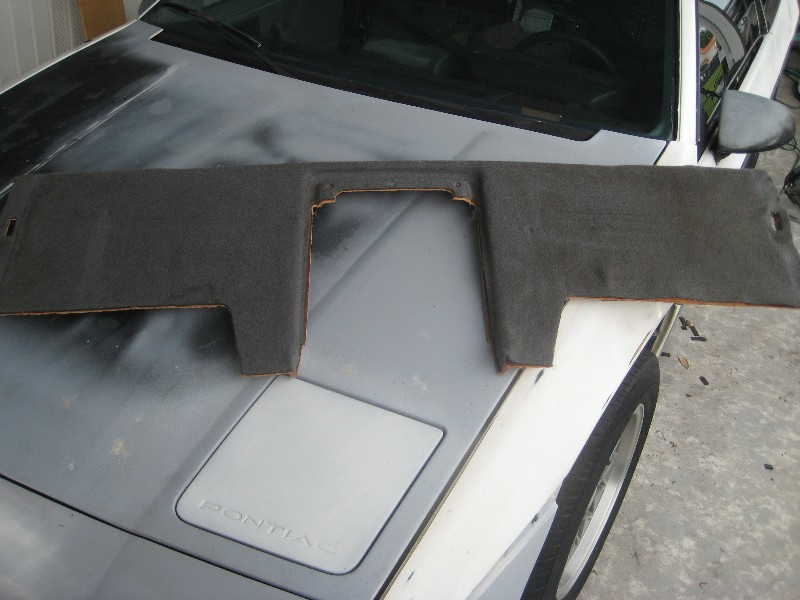
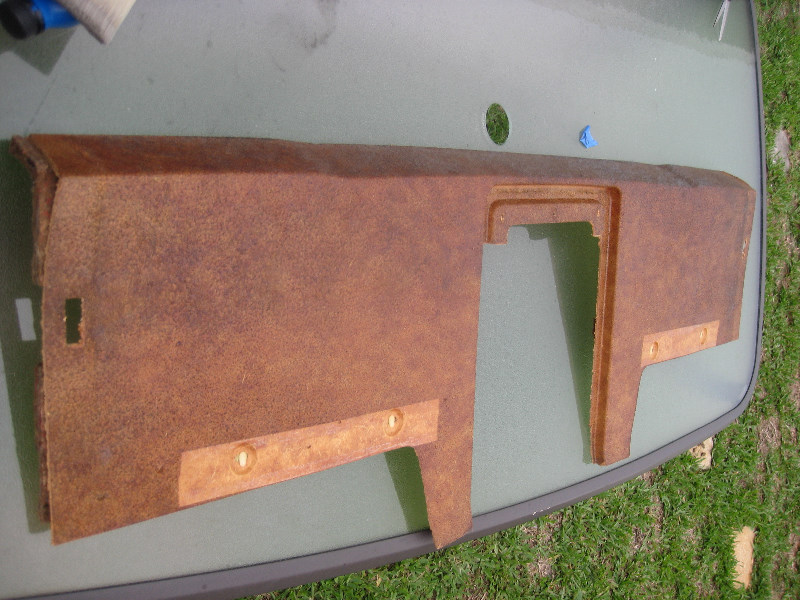
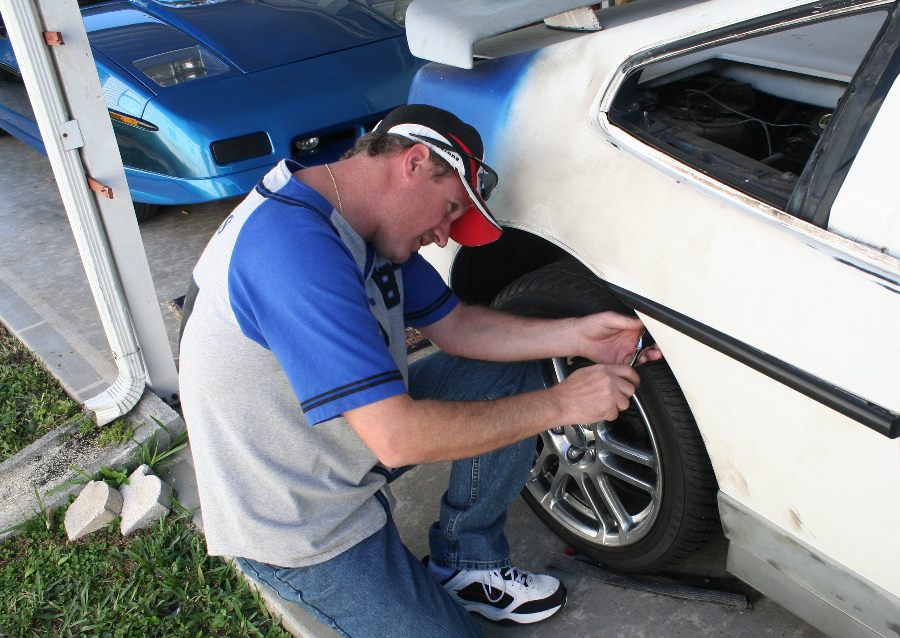
Jimmy starting to remove the rear fender well to get to the bolts to remove the old panels:
Here is the old panel off, and no, I have NO idea why Jimmy is doing the Hula Dance there in the background!
The blue on the back quarter panel was just a rattle can test to try a blue that I had in mind for the car....
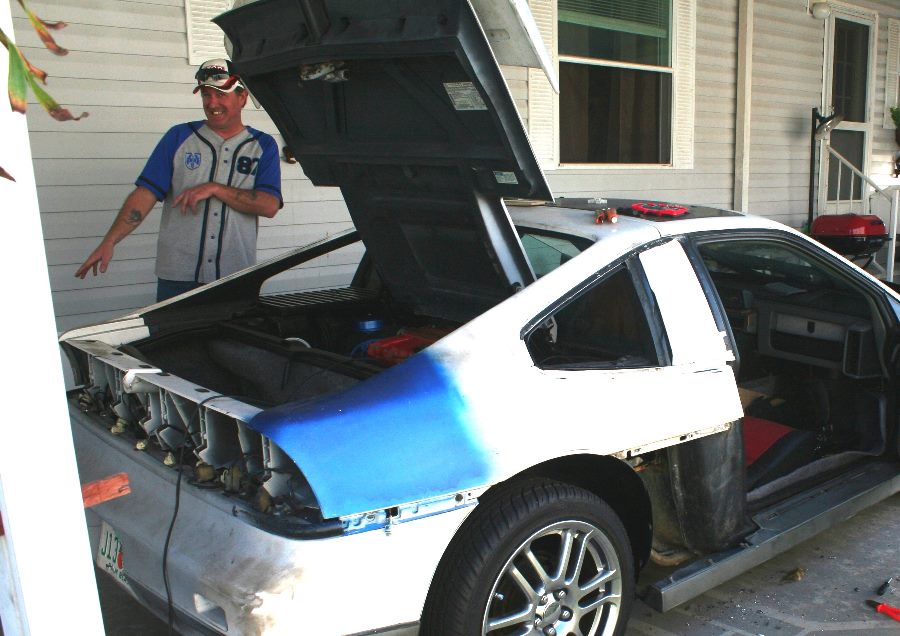
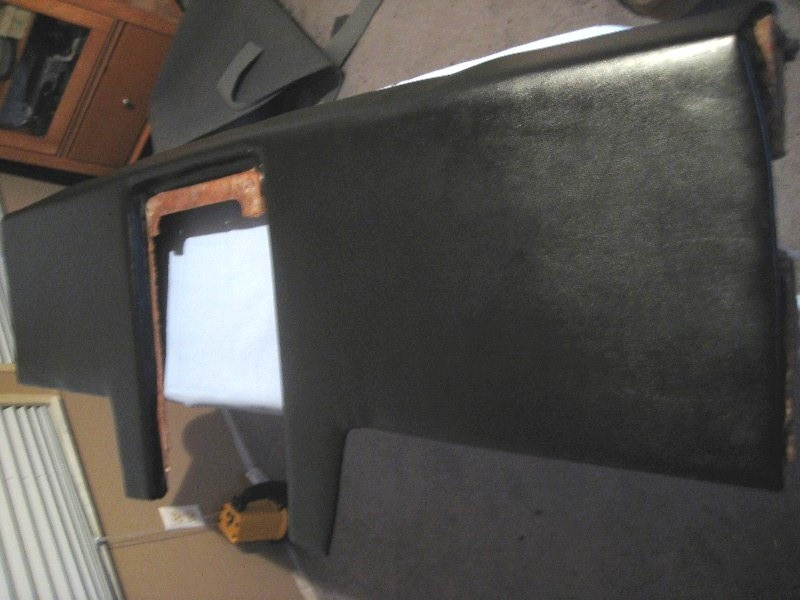
Here is the new scoop all bolted and riveted in place:
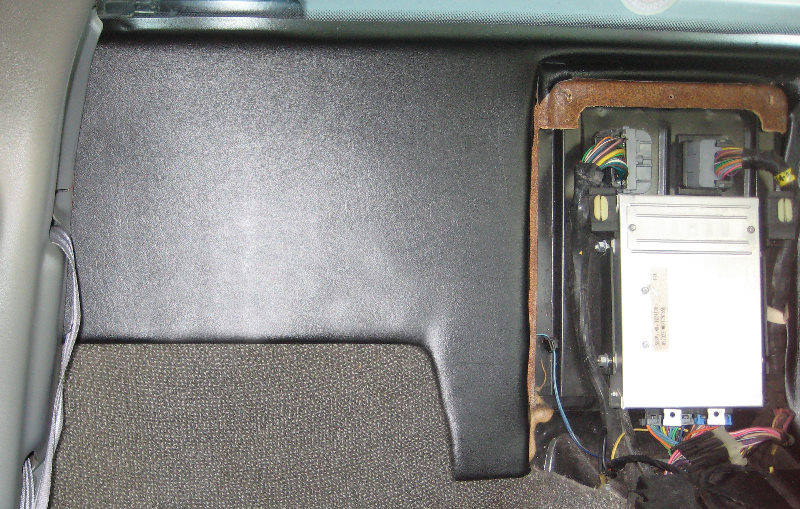
As for the front bumper, take all the bolts out, then its off with the old:

And in with the new! (I just set the parking lights in there to take this picture)
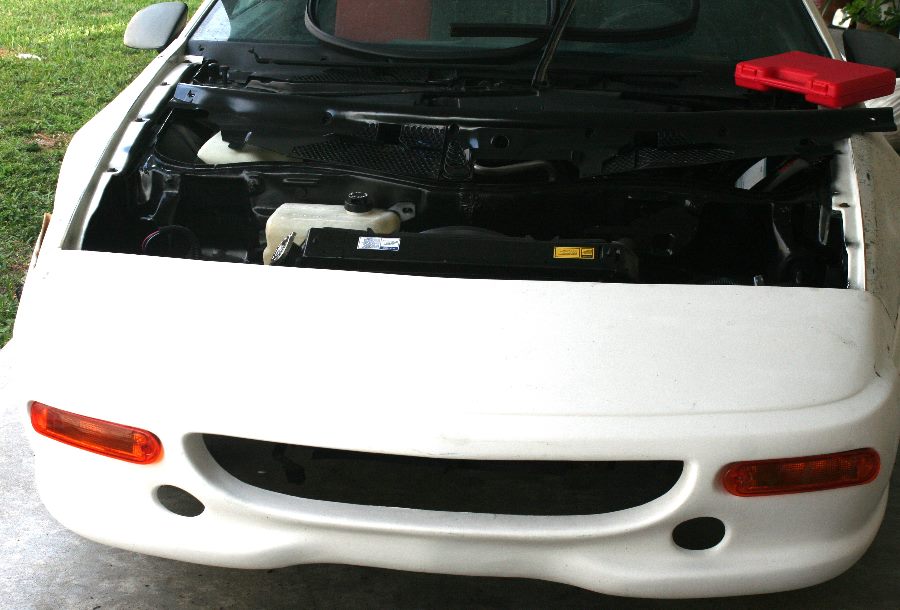
The front bumper is not attached in any way yet. It needs to be drilled and a couple small places, the fiberglass needs to be sanded for a nice clean fit. This will also give me a chance to take care of the rust, and get that all painted to help prevent it from coming back or getting worse.
I had a great time hanging out with Jimmy Dean.... err....ummm... Jimmy AND Dean rather We talked about a lot of great ideas, shared stories and chowed down on pizza. It was a great day, and look forward to going over to Jimmy's in a few weeks to help out and meet everyone that's gonna be there.
Jimmy has something in the works, that is going to be awesome when it's ready! I hope to get the first one from him when it is ready It is going to make a mod that I have had planned all along, a LOT easier! When he is ready, he will share more about it [This message has been edited by JohnWPB (edited 01-30-2011).]
|
|
|
|
JohnWPB
|
JAN 30, 05:38 PM
|
|
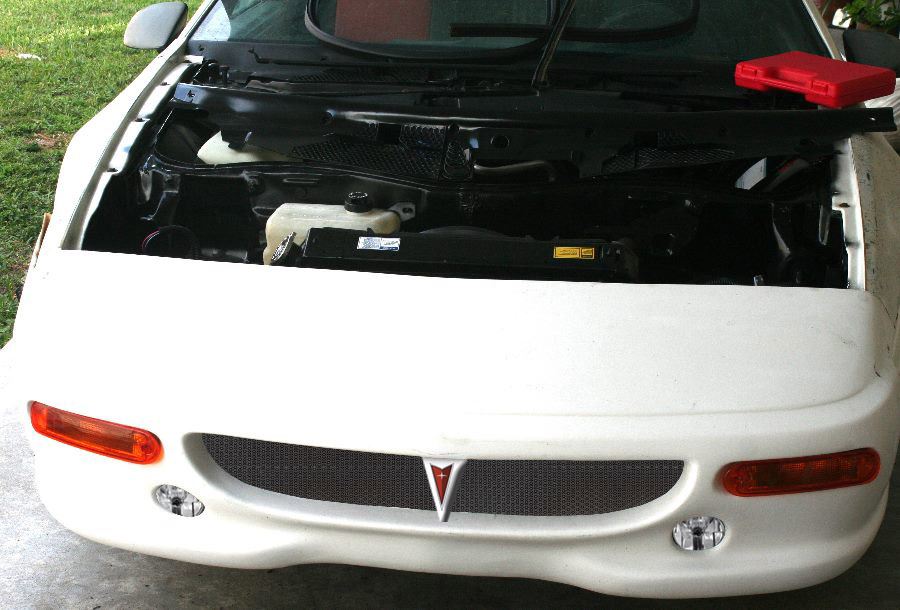
I was toying around in Photoshop a little bit... this is a rough idea of what I am wanting to do with the front bumper. Keep in mind, that the car is going to be blue when I am done with it.
|
|
|
|
Hulki U. My-BFF
|
JAN 30, 06:50 PM
|
|
|
I didn't know you were cloning PK's car. J/K John. It's looking great, can't wait to see it in Frazee.
|
|
|
|
JohnWPB
|
JAN 30, 07:06 PM
|
|
| quote | Originally posted by Hulki U. My-BFF:
I didn't know you were cloning PK's car. J/K John. It's looking great, can't wait to see it in Frazee. |
|
LOL!
Yep you will see it in Frazee, as I will make sure to bring pictures with me 
|
|
|
|
JimmyS
|
JAN 30, 07:56 PM
|
|
Goodnight Samantha. 
|
|
|
|