|
| My 88 Formula Interior Redesign (Page 3/87) |

|
Sofa King
|
NOV 11, 05:57 PM
|
|
|

|
katatak
|
NOV 11, 06:25 PM
|
|
Very nice work! I want to be able to do that myself but not sure I have the skill or paitience to do it. I really like the direction you are going in. Do you have a source on that leather look paint system? Any idea what the "instant" kit costs? That stuff is way trick. You can do a lot of custom things with that. Keep up the great work.
Pat
Edit to add: I was just reading through the thread again and have a question. Could you have left the original console inside your glass work to add strength and aid in mounting?[This message has been edited by katatak (edited 11-11-2009).]
|
|
|
|
Sofa King
|
NOV 11, 08:10 PM
|
|
Hi P,
Thanks for the compliments. I didn't think could do it either, but the secret... just do it. Just jump in and do it.
To answer your questions. There is no stateside distributor for the paint but I do have contact information if you are interested. They told me they will ship to the states. So good news there!
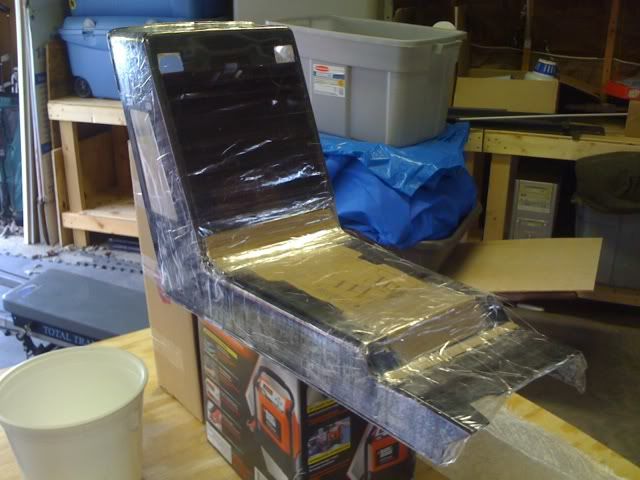
To answer your other question: Yes, I could have left the original console attached to the new fiberglass because the original vinyl coverings and padding was SO thick. But I didn't want to completely destroy the original console at the same time. Also, I wanted to push myself to see how far I could go with the fiberglass and so far so good. Finally, I just test fitted the console and its perfect - I haven't even bolted it in...
I hope this helps.
Speaking of which... I have some new pics ready...[This message has been edited by Sofa King (edited 11-11-2009).]
|
|
|
|
Sofa King
|
NOV 11, 08:34 PM
|
|
|
|
|
katatak
|
NOV 12, 12:38 AM
|
|
Again....I like what you are doing here. It's modern yet still looks like it belongs in the Fiero. You have inspired me to try my hand at glass work. I have a V8 Coupe project that I need to build an extractor scoop in the hood and right now the interior is stripped and is a "blank" canvas to work with. I really like that paint system. Any info you have would be appreciated. I imagine that it is pretty spendy to have it shipped.
On another note, I was just surfing around Ebay and there is a post for a complete custom interior for a Fiero. Looks like the guy used "speckled" paint - looks kind of like granite. Hard to tell by the pics but it looks textured too. It's different. I was also thinking of using "bed liner" on the trim pieces then paint for color. It would give a different texture to the interior - it may be a little rough though? I bought a can of Rustoleum spray on bed liner in an aerosil can that I will be trying out on a test piece. I have also attempted to do the "paint" carbon fibre thing too. Although it is a first attempt, I was pleased with the outcome and will be playing with it a little more. It works pretty well on flat surfaces but I have yet to figure out how to do a piece with multiple side/curves/angle etc.
These are some custom covers I made for a lo pro head light setup I made for my XTC:


Ac vent covers - you can see I had a hard time getting it to line up square on the corners:

Patiently waiting for more from your build.
Pat
|
|
|
|
Monkeyman
|
NOV 12, 01:11 AM
|
|
|
The power mirror joystick idea was mine from years ago except I used one out of a Ford Escort. If you look in Ogres Cave (link is at the bottom of every page), you'll see my write up on it. Might help you a bit with the wiring.
|
|
|
|
revin
|
NOV 12, 10:09 AM
|
|
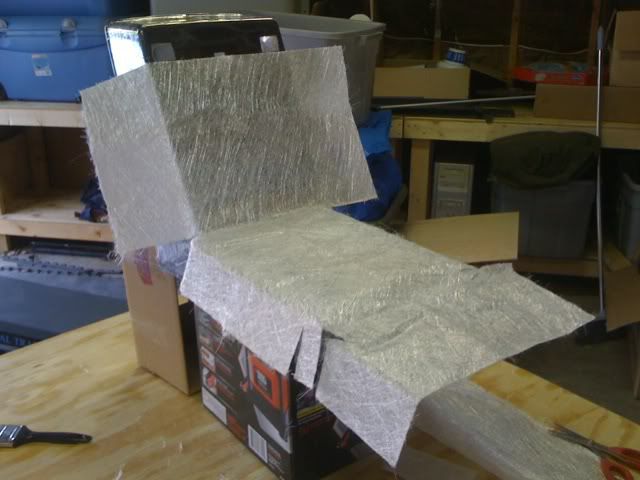
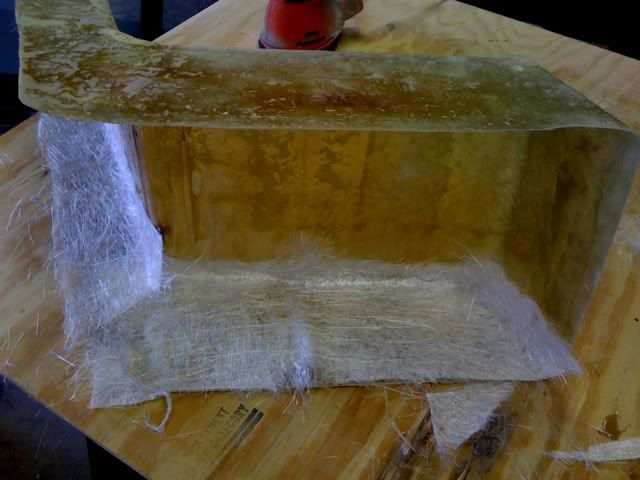
put your fiberglass mat on a piece of wax paper. it won't stick to it and makes a smooth finish = less sanding 
when the wax paper is on there use a roller to roll out the bubbles!
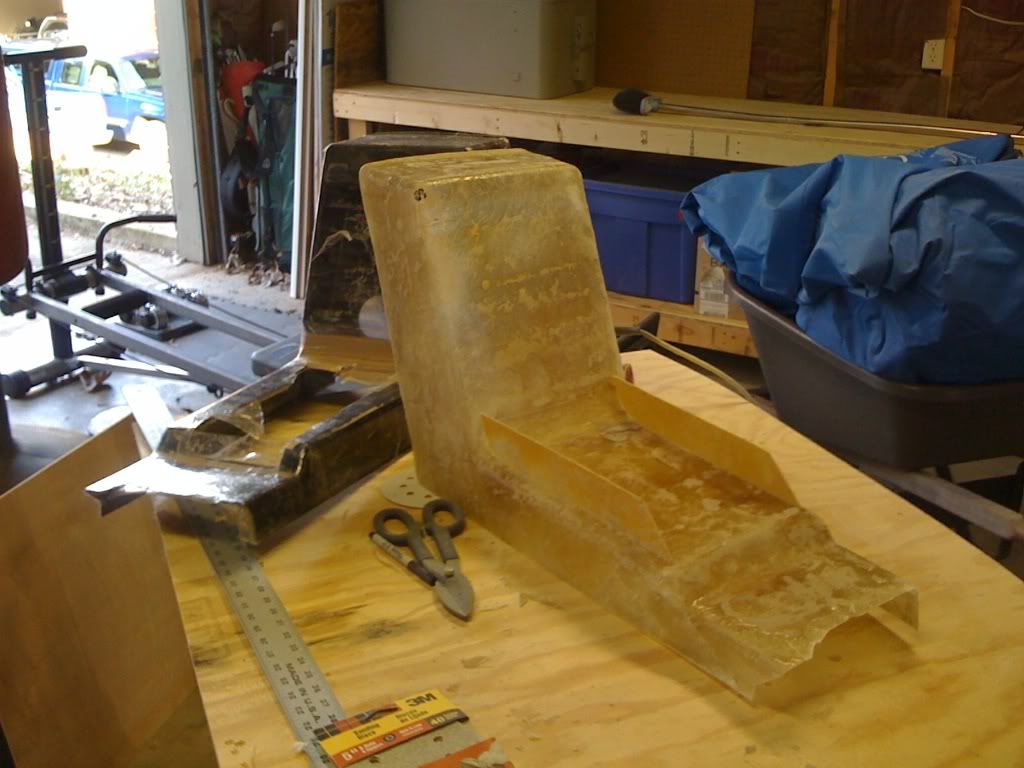
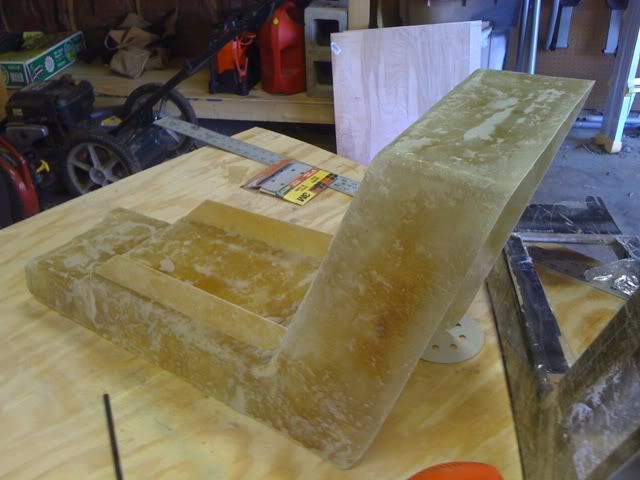
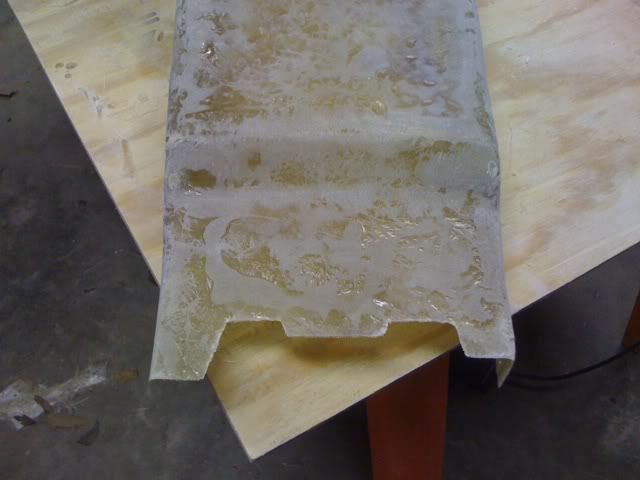
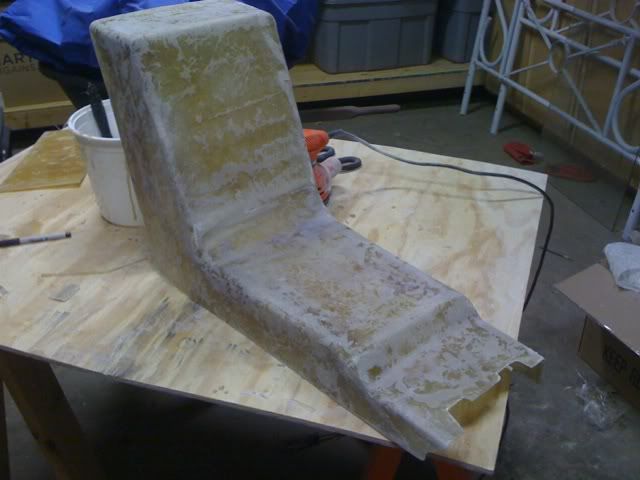
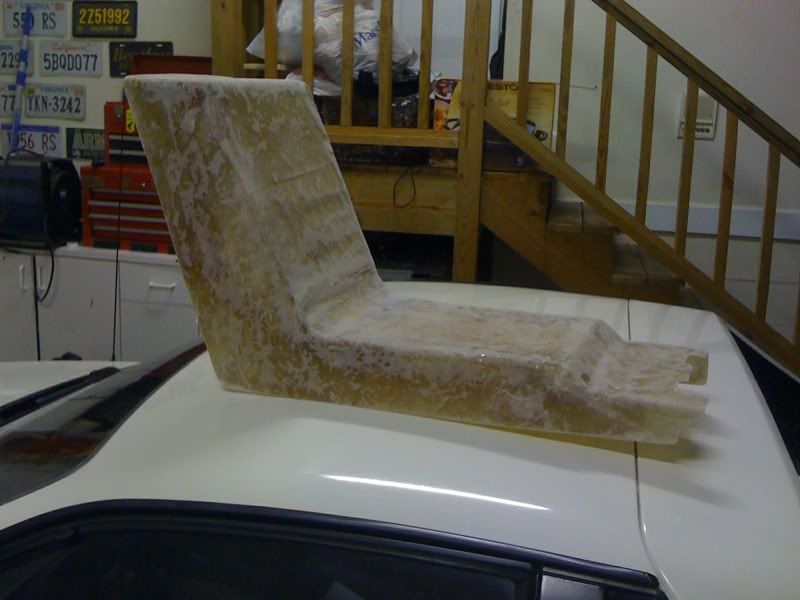
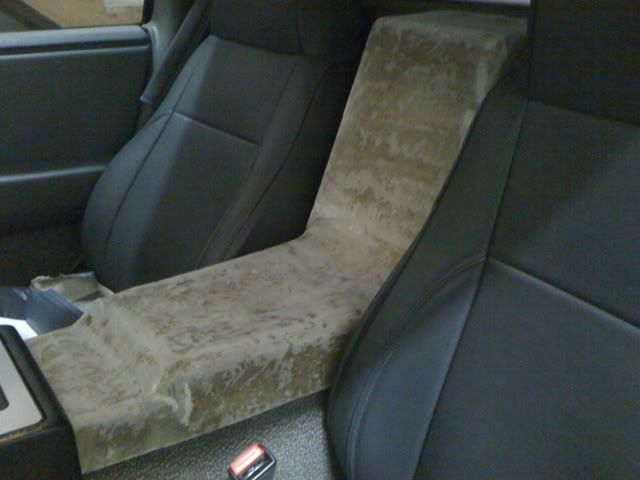
the console looks a little thin<? maybe another round of glass???
looks good so far!
|
|
|
|
Sofa King
|
NOV 13, 08:08 AM
|
|
| quote | | Again....I like what you are doing here. It's modern yet still looks like it belongs in the Fiero. You have inspired me to try my hand at glass work. I have a V8 Coupe project that I need to build an extractor scoop in the hood and right now the interior is stripped and is a "blank" canvas to work with. I really like that paint system. Any info you have would be appreciated. I imagine that it is pretty spendy to have it shipped. |
|
Hi P,
Thanks for the compliments. It's been really fun getting my hand dirty. I'm like a little kid, I don't want to do anything else but work on the car. I think its great you're going to jump in and give it a shot. I went to the local "Lowes" home improvement and got everything I needed. Hopefully you have a home improvement or auto super store near you.
I love the CF teatment you gave to the vents, it looks really nice. I've never worked with CF, but can you (did you) add a glossy top layer /clear coat? Really sharp! Are there plans for more CF treatments around the interior? I have no doubt you've inspired a lot of folks to do the same thing. That's why I love this forum, everybody bouncing ideas back and forth.
| quote | | On another note, I was just surfing around Ebay and there is a post for a complete custom interior for a Fiero. Looks like the guy used "speckled" paint - looks kind of like granite. Hard to tell by the pics but it looks textured too. It's different. I was also thinking of using "bed liner" on the trim pieces then paint for color. It would give a different texture to the interior - it may be a little rough though? I bought a can of Rustoleum spray on bed liner in an aerosil can that I will be trying out on a test piece. I have also attempted to do the "paint" carbon fibre thing too. Although it is a first attempt, I was pleased with the outcome and will be playing with it a little more. It works pretty well on flat surfaces but I have yet to figure out how to do a piece with multiple side/curves/angle etc. |
|
I think the paint used on the interior is a textured paint. If I'm not mistaken, it's very similar to what GM was doing to a few of their last generation cars - ie the HHR. I'm no professional but I would stay away from the textured paints and the bed liner paint as well. Unless you have extra pieces you can test on you don't want to spray the interior parts and then come to the decision you don't like it. You could always sand, but that's a LOT of work. I would stick with the paint idea from Lunitec - send me a PM with your personal email and I'll forward all the images they sent including a PDF and contact info. That's the direction I think you should head. But, whatever you do, post images and let us know the who's, what's, when's, where's, why's and especially how's!
I think your work fantastic. Please let me know of any more additions to your car and especially the Lunitec Paint System - I'm very interested.[This message has been edited by Sofa King (edited 11-13-2009).]
|
|
|
|
Sofa King
|
NOV 13, 08:37 AM
|
|
| quote | Originally posted by Monkeyman:
The power mirror joystick idea was mine from years ago except I used one out of a Ford Escort. If you look in Ogres Cave (link is at the bottom of every page), you'll see my write up on it. Might help you a bit with the wiring. |
|
Hi M,
Hey, great minds think alike, huh? My inspiration came from sitting in a parking lot waiting for something... I'm not sure what it was exactly, when I happen to look over at a Pontiac Grand Am. I saw the power mirror switch and then the little light turned on in my head. It was a very dim light... but it did turn on. Needless to say I got very excited. I'll have to wait on the power mirrors though. I don't have all the necessary parts yet... like the power mirrors. That'll wait till next year.
I'll definately look at the post to see how everything wired up - thanks for the info.
G
|
|
|
|
Sofa King
|
NOV 13, 08:42 AM
|
|
| quote | Originally posted by revin:
put your fiberglass mat on a piece of wax paper. it won't stick to it and makes a smooth finish = less sanding
when the wax paper is on there use a roller to roll out the bubbles!
the console looks a little thin<? maybe another round of glass???
looks good so far! |
|
Hi R,
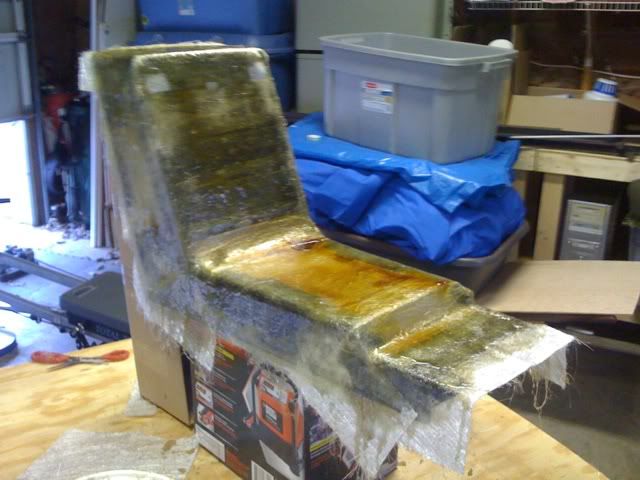
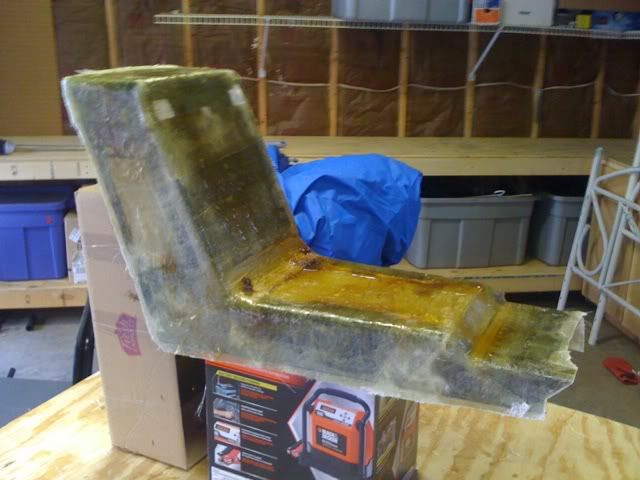
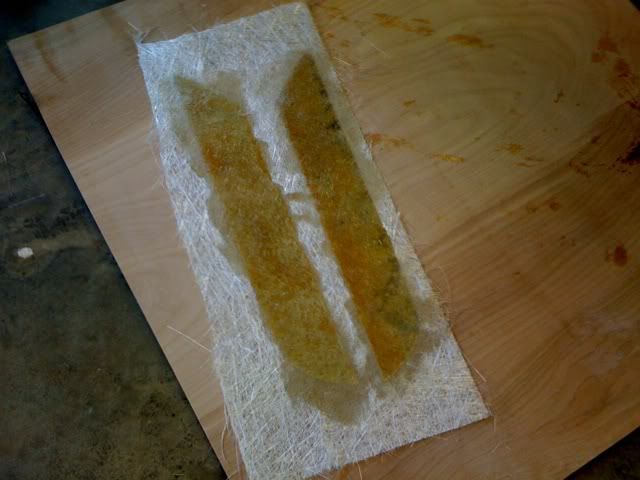
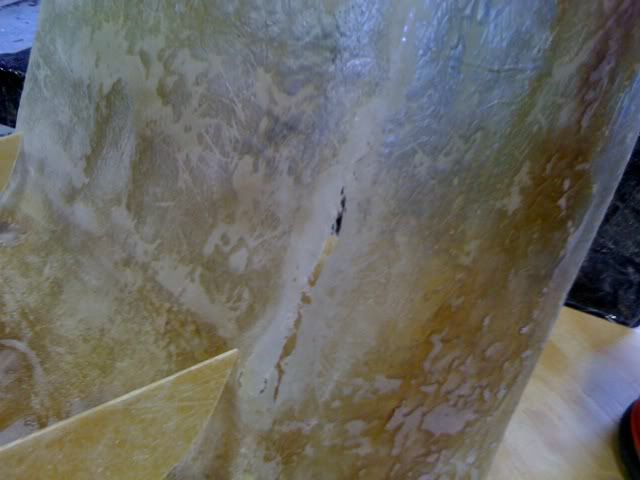
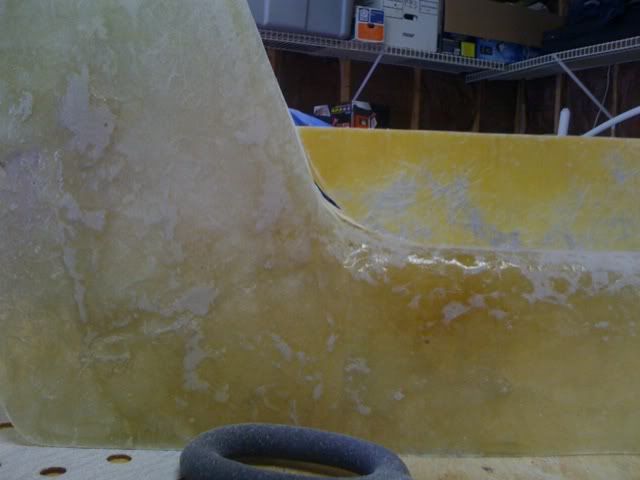
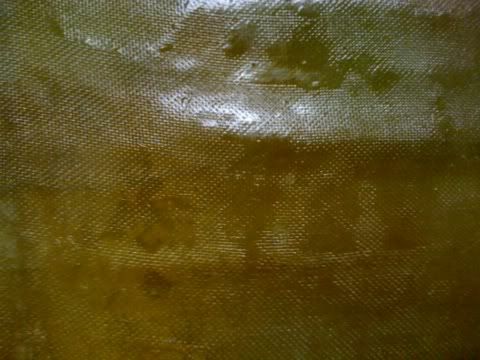
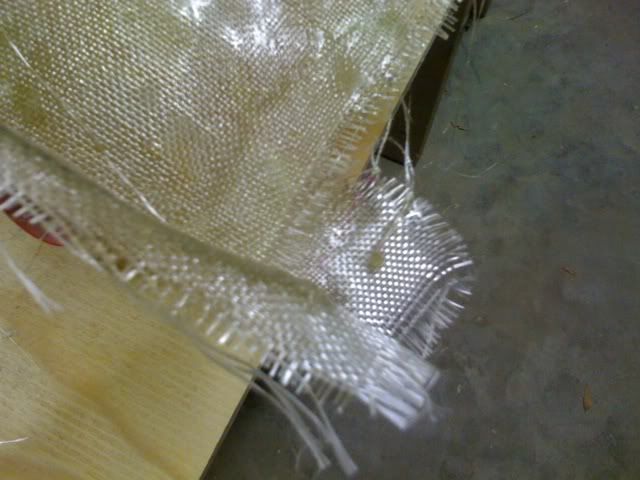
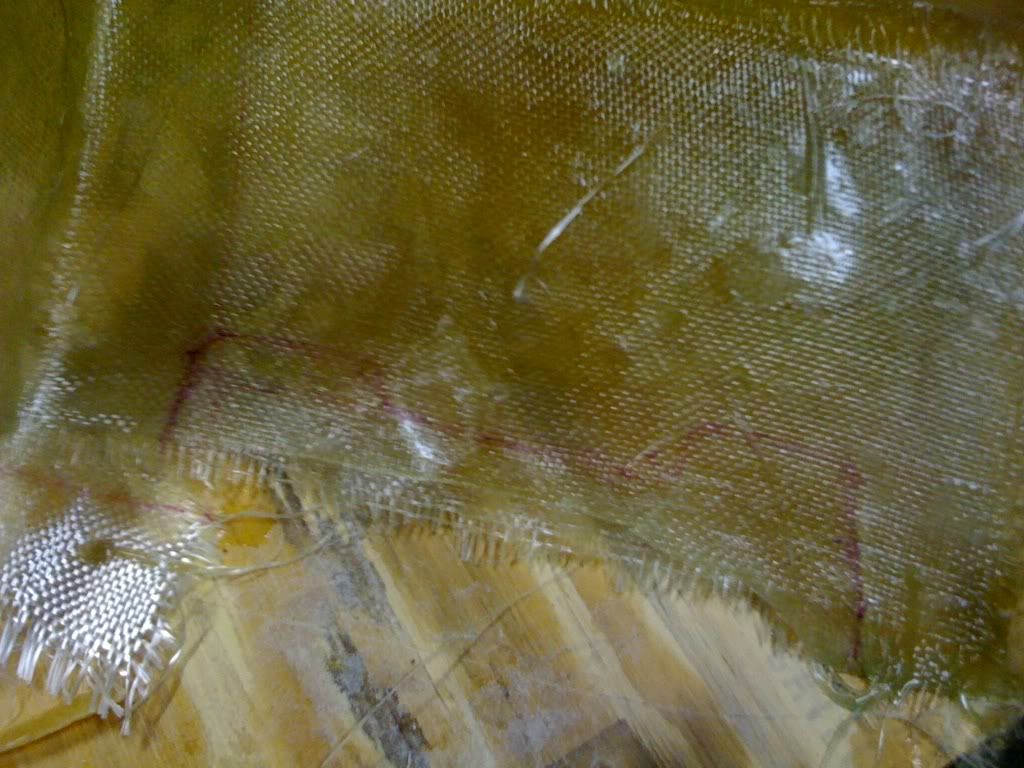
Thanks for the great info. It never even dawned on me to use wax paper - good call. What a difference between the fiberglass cloth and fiberglass mat. It's worlds aparts. The cloth is great for patch work, but the cloth is just so much better for larger pieces.
You are correct. The console is still a bit thin is most areas. I'm going to lay one more layer down, 2 more in some areas. I hope to have the console bondo'd, sanded and the lid cut before the weekend is over - that's the goal...
Wish me luck.
G
|
|
|
|