
 
     |
| Started my fiberglass dash build. (pics) (Page 3/6) |

|
Blacktree
|
SEP 02, 01:52 PM
|
|
OK, since you asked... 
Just out of curiosity, what are your plans for surface finish? Are you going to paint it or cover it in vinyl? Will it be all one color, or multicolored? Are you going to use accent panels (wood, carbon fiber, stainless steel, etc)? I ask, because the shape of the dash looks very simple. Without some styling cues to spice things up, it may end up looking clunky.
Also, I noticed you changed the size/shape of the speaker holes. Keep in mind that the stock speaker recesses have screws that attach the dash to the chassis. If you nix those screws, there will be nothing holding the top edge of the dash in place.
I agree with Arn that the stock gauge cluster is kind of a "buzz-kill". It looks out of place on your dash. I think disguising the instrument panel, like you did with the round holes, is a good idea. You might even want to add an ovoid bezel around the cluster, to match the gauge panel above.
Are you going to redesign the rest of the interior to match? If so, now is the time to decide which elements of your theme to repeat across the interior. If not, then you should consider ways to blend your new dash and the stock interior together, so the dash doesn't look out of place.
Best of luck. And I hope you accomplish your goal.
|
|
|
|
Taijiguy
|
SEP 02, 02:45 PM
|
|
I *did* ask. 
Just to emphasize a point about the stock dash thing, I was NOT planning to use the stock cluster. I don't know if anyone caught that detail. I was merely integrating the SHAPE of the stock gauge cluster, not the cluster itself. My plan was to use the aluminum plate I cut. I'm using the Stewart Warner gauges for the tach and speedo. None of the other openings would be there, except for a couple of the idiot lights, and even those would be of a custom design. Also the switches would be replaced with aluminum plate housing different switches. The aluminum plate would have likely been powder coated or painted. If I were to stay with that design, then I would paint the lower half of the dash, and cover the top in All Sport vinyl.
The second design I'm undecided on finish. I could go with paint on the lower part and vinyl on the top. Or, I could go with aluminum plate on the bottom and vinyl on the top.
As for the rest of the interior, I'm focusing on the dash and console all the way back. Any door treatments will be to mainly to carry over the dash finish, paint, aluminum, and vinyl. I probably won't do much in terms of any major modification to the door panel shape, except to possibly add speaker pods. The changes will be mainly aesthetic.
And yeah, I agree about details. I even mentioned that in some of my narrative. If you look at some of the description of the area around the LCD you'll see where I talked about that very thing.
Thanks for the input!
|
|
|
|
Tony Kania
|
SEP 02, 04:12 PM
|
|
I think that you are on to a great concept. Do you have your guages already? I like the look of the three round areas. Looks much more modern. I have been keeping an eye on this thread, and cannot wait to see where this goes. 
Tony
|
|
|
|
grkboy707
|
SEP 02, 06:21 PM
|
|
|
this is gonna look really cool! i cant wait to see it finished!
|
|
|
|
aeffertz
|
SEP 02, 07:56 PM
|
|
|
I'm liking the 2nd cluster a lot more.
|
|
|
|
Taijiguy
|
SEP 17, 10:31 AM
|
|
It's been a very busy couple of weeks. Had guests over the holiday weekend and spent all last weekend doing some cleaning in the garage. So time working on the dash has been a rarity. I have tried to spend a few minutes here and there, but it's hard to get much done when time is so fragmented.
Anyway, after looking over the two design ideas I figured I would invest a little more tim in the second design to see how it would look a bit more finished. I decided that I didn't want to try and shape the foam so it would match left to right, so instead I made a form and stretched material over it and fiberglassed it like a speaker box. In this pic I've applied a thin coat of fiberglass gel. The finish came out fairly smooth, so there will be minimal work in getting it smooth. I'll apply another layer of fiberglass from the inside. I'm undecided about whether to mold this into the dash, or to attach it as a separate piece in order to facilitate installation and maintenance.
I know there are guys who are watching this for a sort of how-to. I wasn't able to get pictures of the form before stretching the material, but if you guys want a detailed description of what I did just let me know and I'll write it out for ya.
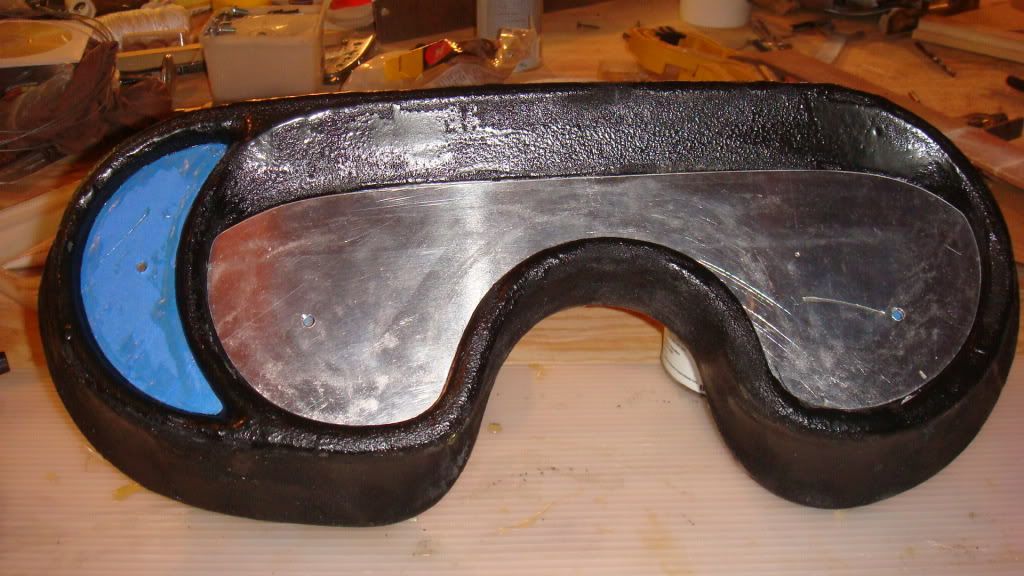
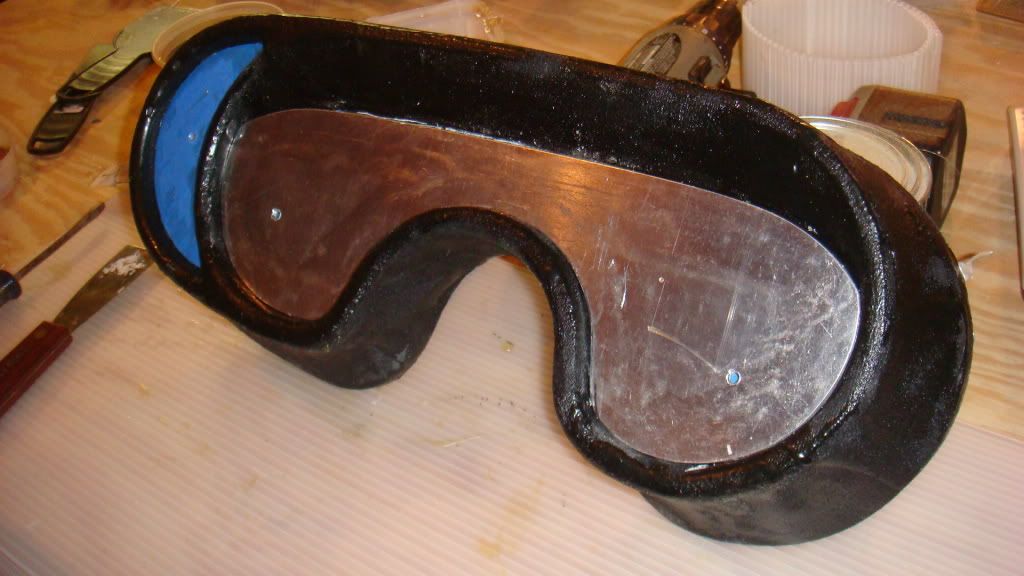
Here it is with the aluminum plate set in place. I'm either going to polish, powder coat, or paint the aluminum, I'm really torn on what to do with it.
In the above pic you can see the pencil marks on the plate on the right. The plates are actually quite a bit larger than the gauges. The penciled circle oriented towards the bottom is the size and location of the gauge for that side. The crescent shaped area above will be where indicator lights will be located, and will be designed so as to follow the contour of the crescent shape. Both sides of the pod will be done that way.
Here's the assembly stuck to the dash for a photo op.
Same shot, different angle to emphasize the shape.
It's a bit difficult to see in the pictures, but openings are angled with the bottoms extending out further. The reason for that is that the gauges need to be angled somewhat upward, and bringing the bottom out just seemed to be better aesthetically
|
|
|
|
PaulJK
|
SEP 19, 05:51 AM
|
|
|
Rolling Thunder - PM to you about the grill material
|
|
|
|
Taijiguy
|
SEP 21, 08:40 AM
|
|
OK, Ver.3 on the way. I wasn't entirely pleased with the last design. It was kind of boring to me, and I couldn't think of a way to make that particular design more interesting. I think I might have a winner this time.
My first design was at least interesting of nothing else (I think) even though many didn't really like the hint of original Fiero dash. So I thought I would work up a design that was shaped and angled similar to the first design, but move away from the Fiero pod influences..
I took some "in process" pics this time for the guys wanting a sort of "how to".
This is the pile of cut parts. It took me most of the day to cut and shape all of this to my satisfaction.
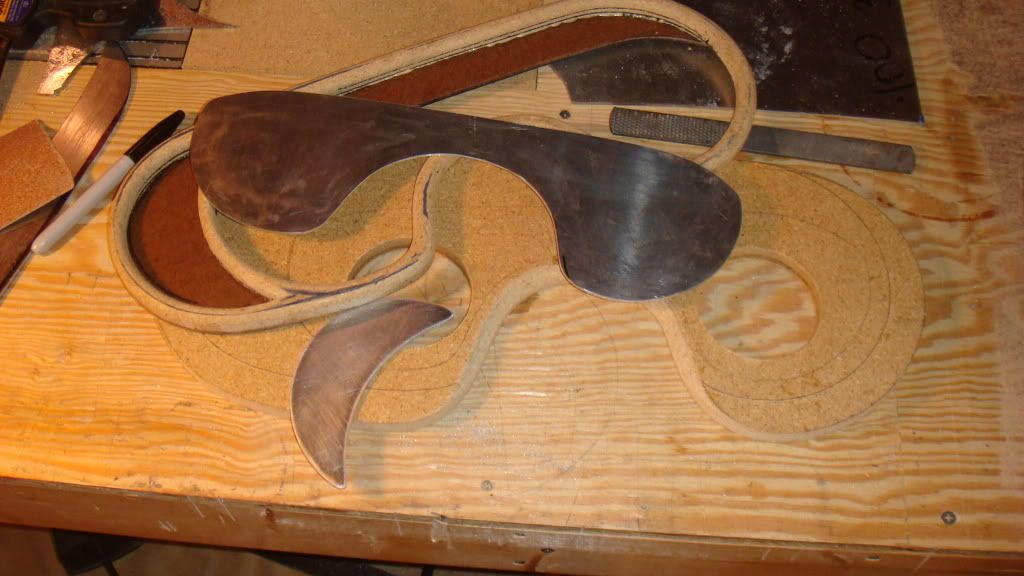
Just a quick non-sequitur, our local Sears Paint and Hardware is closing and had everything on sale. My old Skil saber saw has been a great piece over the last several years but last week started acting up a little bit and I figured it was time to replace it. This Craftsman was on sale 20% off so I grabbed it up. It's amazing the advances in technology since I bought my Skil (it wasn't a cheapo) This saw cuts almost as straight and true as my DeWalt circular saw and has some great features. I'm glad I bought it. The only thing I *don't* like about this saw is that it takes the Bosch bayonet type blades, and not only are they twice as expensive as standard blades, but the release on the saw is cumbersome.

Back on topic- this is the rough frame almost assembled and ready to cover.
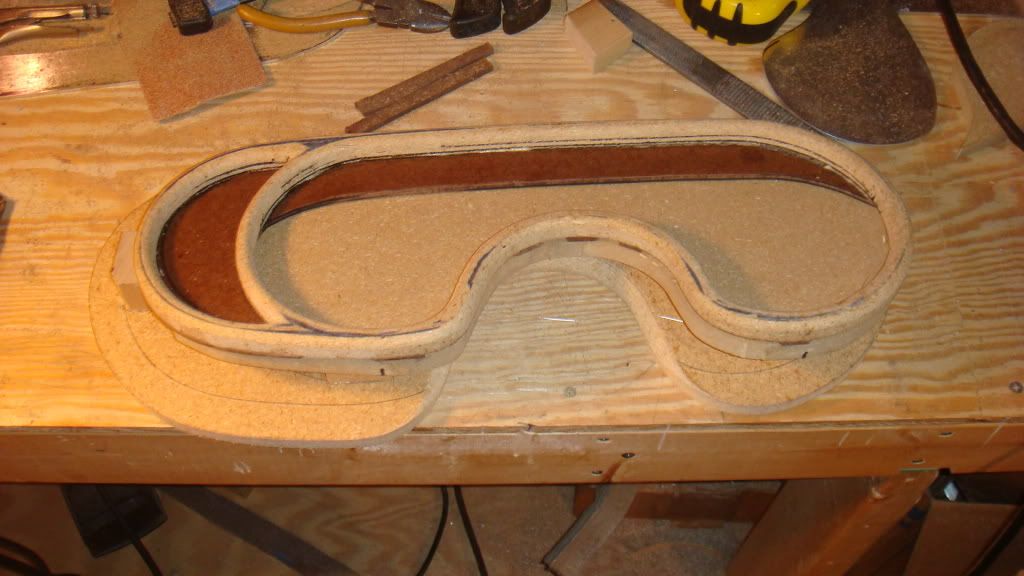
Here it is covered and ready for fiberglass.
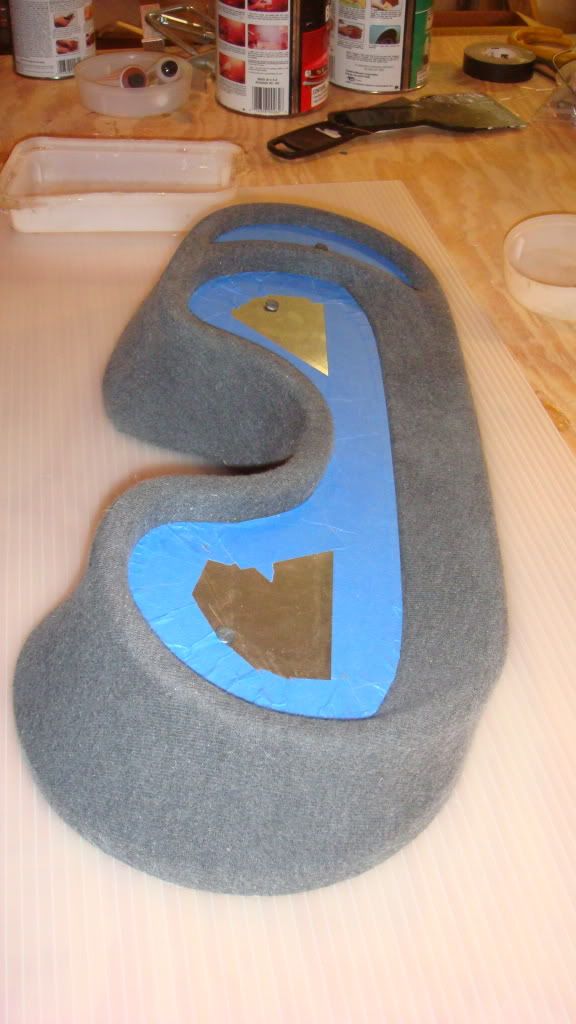
After applying the resin
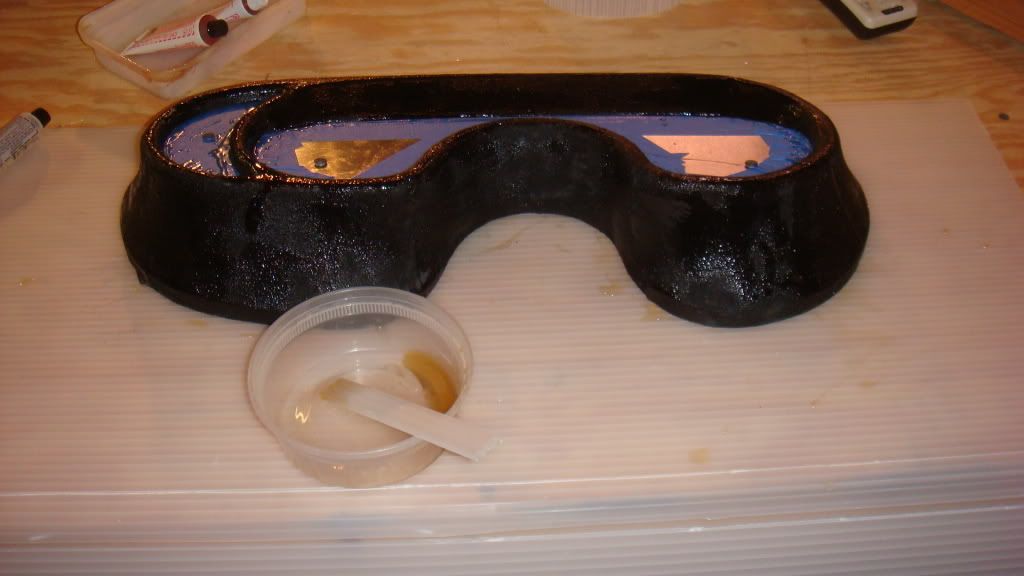
After releasing the main faceplate and removing the tape and back for a photo. Obviously I still need to do that to the plate on the left but I ran out of time.
I think this is probably the final design. This will be completely molded into the dash as one piece and will blend in at the top with the bottom of the larger gauge cluter that runs along the top of the dash. The small plate on the left will house probably the headlight switch. Which will NOT be the Fiero switch.
|
|
|
|
IMSA GT
|
SEP 21, 10:02 AM
|
|
|
The final design is the way to go. In the end, it will flow better with whatever final dash design you make. I will be honest though, I really like the first fabric covered picture. It reminds me of Amidas dash when he builds the Ferrari kit. I gazed at that for a while thinking "that really looks nice". Either way, it looks great.
|
|
|
|
Taijiguy
|
SEP 21, 10:16 AM
|
|
Heh, well, there was only the frame under the cloth, so no actual support. (Obviously) So no real choice but to apply resin as it was built. That's not to say it couldn't be covered in some sort of fabric or vinyl. Although, the lower portion of the dash, including this pod will *probably* be painted, and the upper part covered in All Sport vinyl.
Thanks for the comments.
|
|
|
|