|
| Trinten's SBC/F23 build - The work has begun! (Page 29/76) |

|
fieroguru
|
JAN 12, 11:15 AM
|
|
| quote | Originally posted by Trinten:
Nice!
I saw some papers floating around there with some highlighting - was tracing things to rewire a tremendous hassle? I think I had seen all the tracing/crossing work you had to do on your swap, so I was just hoping this was not that intense.
Thank you for the great tutorial. I really like the solution came up with for the ECM! |
|
Glad you like it!
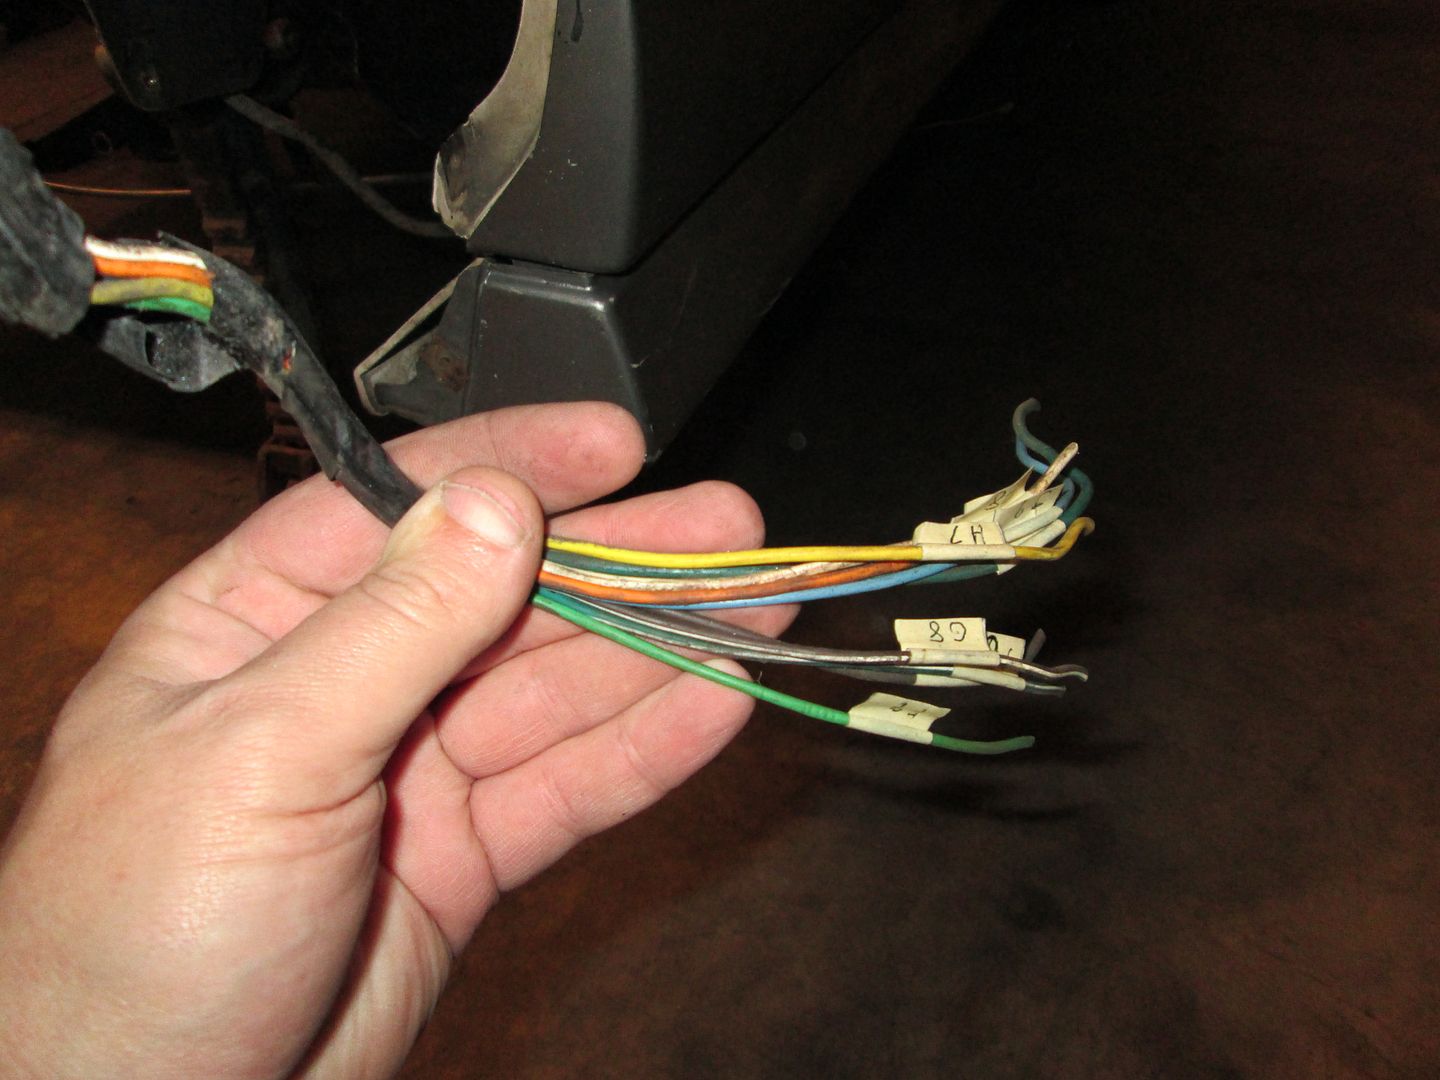
I make an excel spreadsheet for the wiring on all my swaps. I start with the full factory pinout from the service manual, then delete (highlight in grey) the items not needed. If I swap in any different component vs. what came with the ecm, then I have to double check the wiring between multiple manuals (F23 vss, TPI IAC & TPS, LT1 knock sensors, EFI connection CAM & Crank Sensors, 3 wire temp sender, wideband signal in place of fuel tank pressure) and make sure the ecm ends have the right pin locations. Something special for this swap is the firing order between the SBC and LS1 are different, so the ecm connections for 4 cylinders and 4 coils needed to be swapped to match the right firing order (green). As I connect the wires, I use a sharpie to mark the connection on the far left of the sheet, then once done I go back through verifying all the empty cavities are supposed to be empty.
Wiring is just a slow tedious process with custom swaps like these, but the more precise I am on the front end, the fewer delays with wiring issues once the engine is in the car and I am trying to get it to start.
|
|
|
|
Trinten
|
JAN 12, 12:52 PM
|
|
Holy hell...
So the answer is "Yes, this was a tremendous pain in my butt."
I admire people that can even keep this stuff straight, much less do all that!!
Thank you!!
|
|
|
|
fieroguru
|
JAN 12, 04:49 PM
|
|
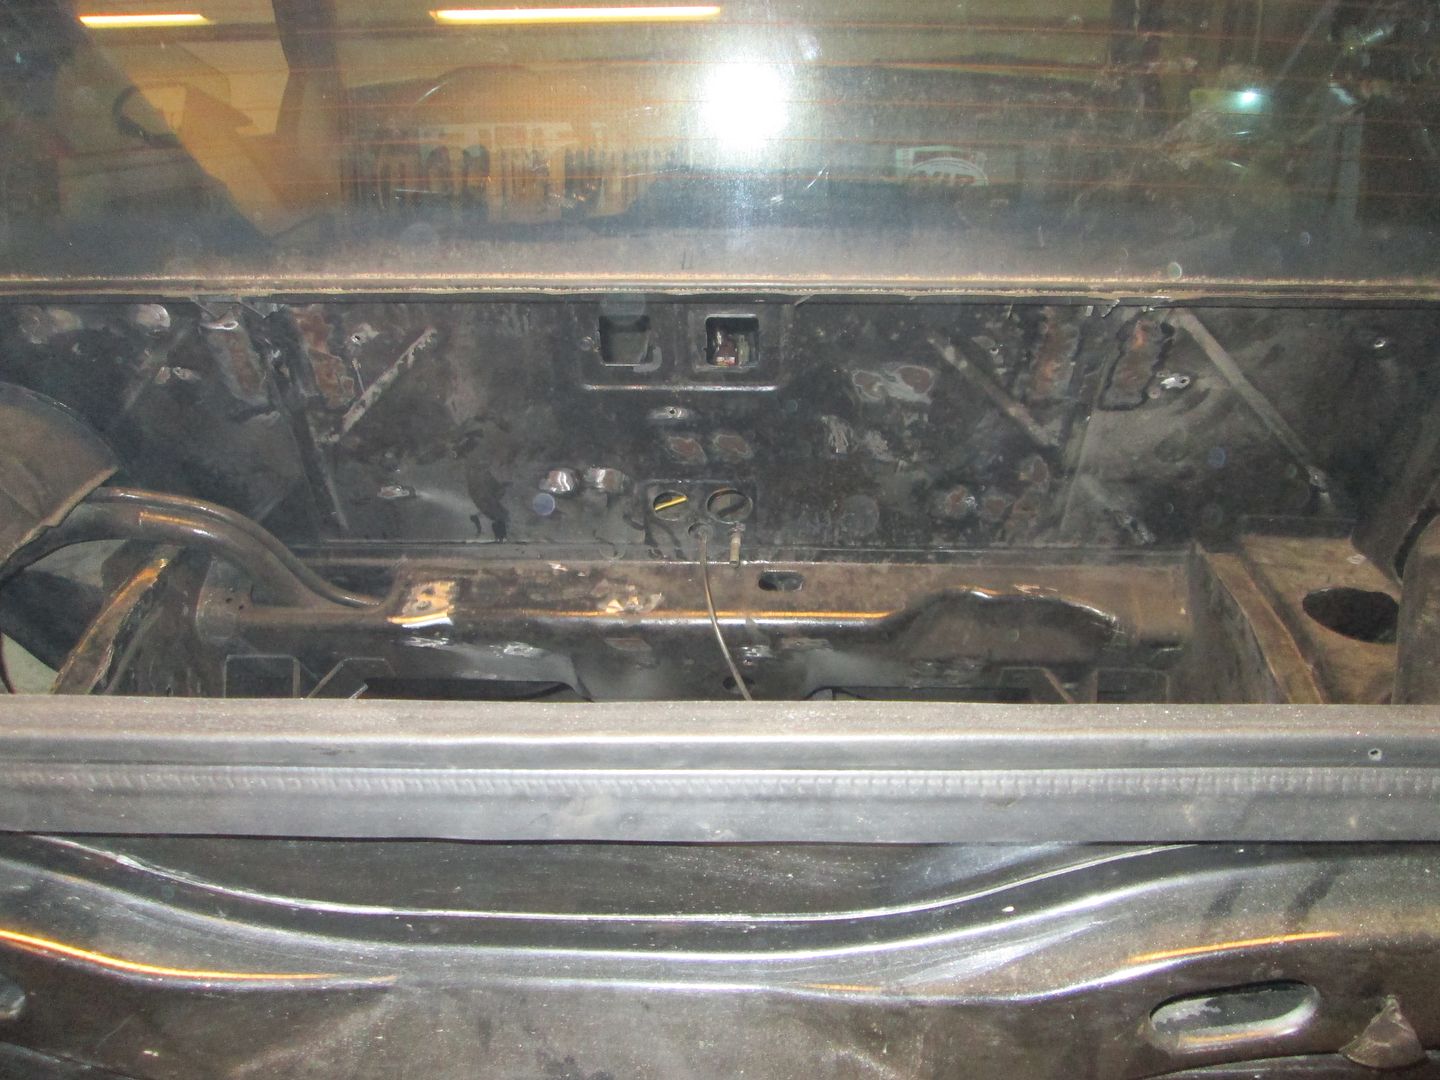
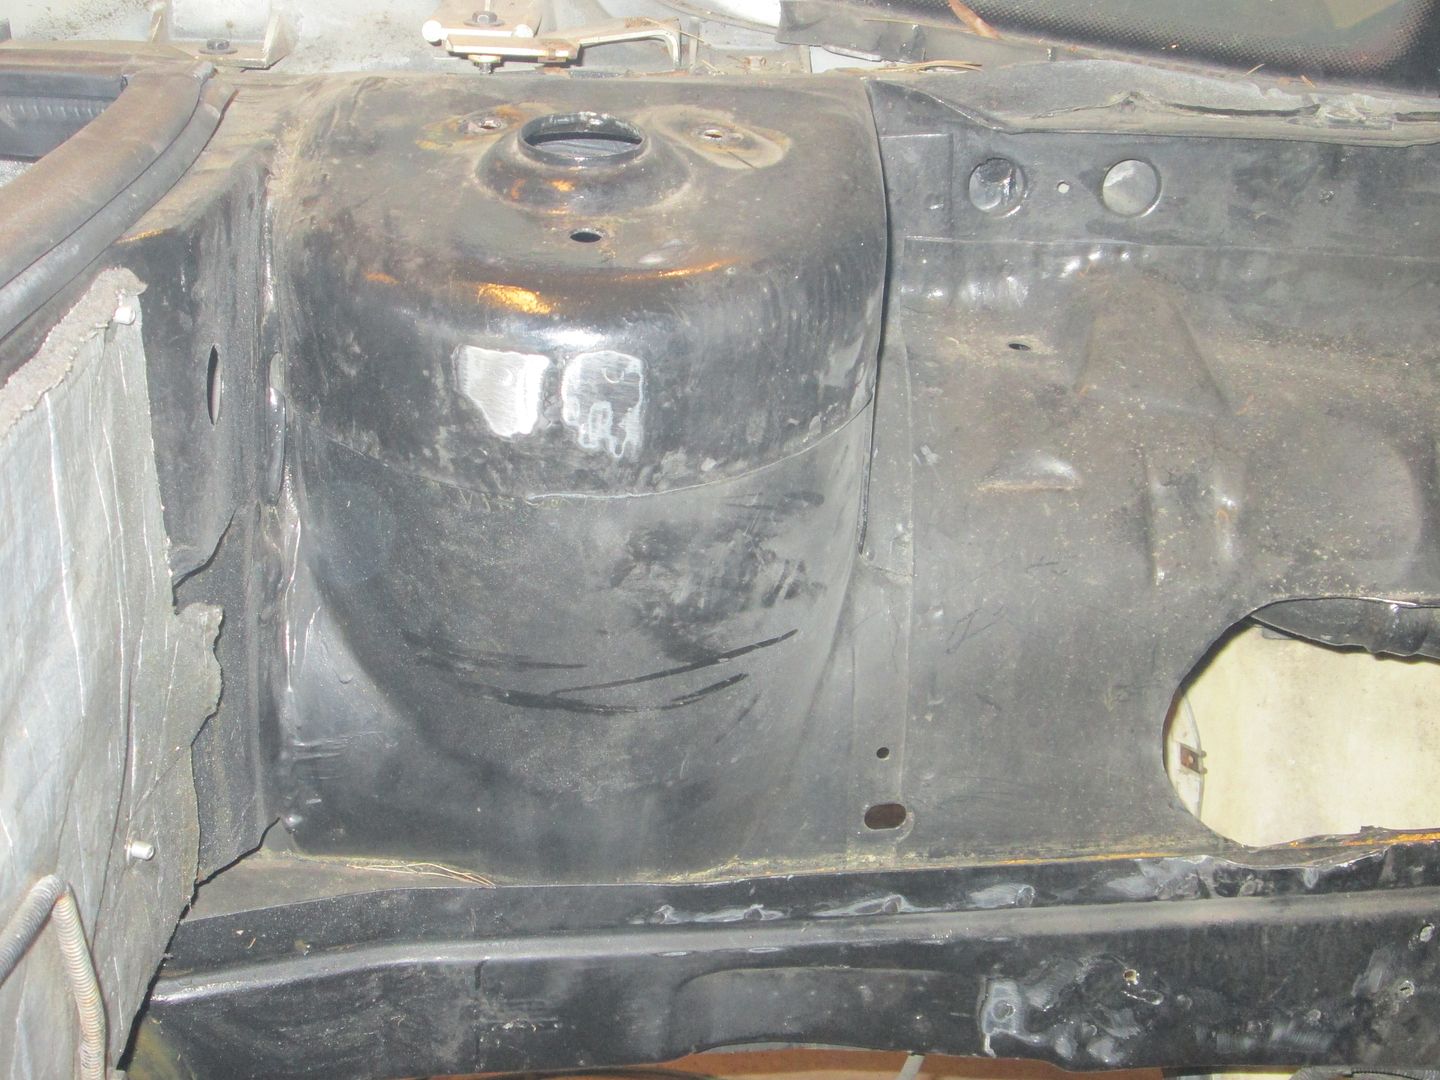
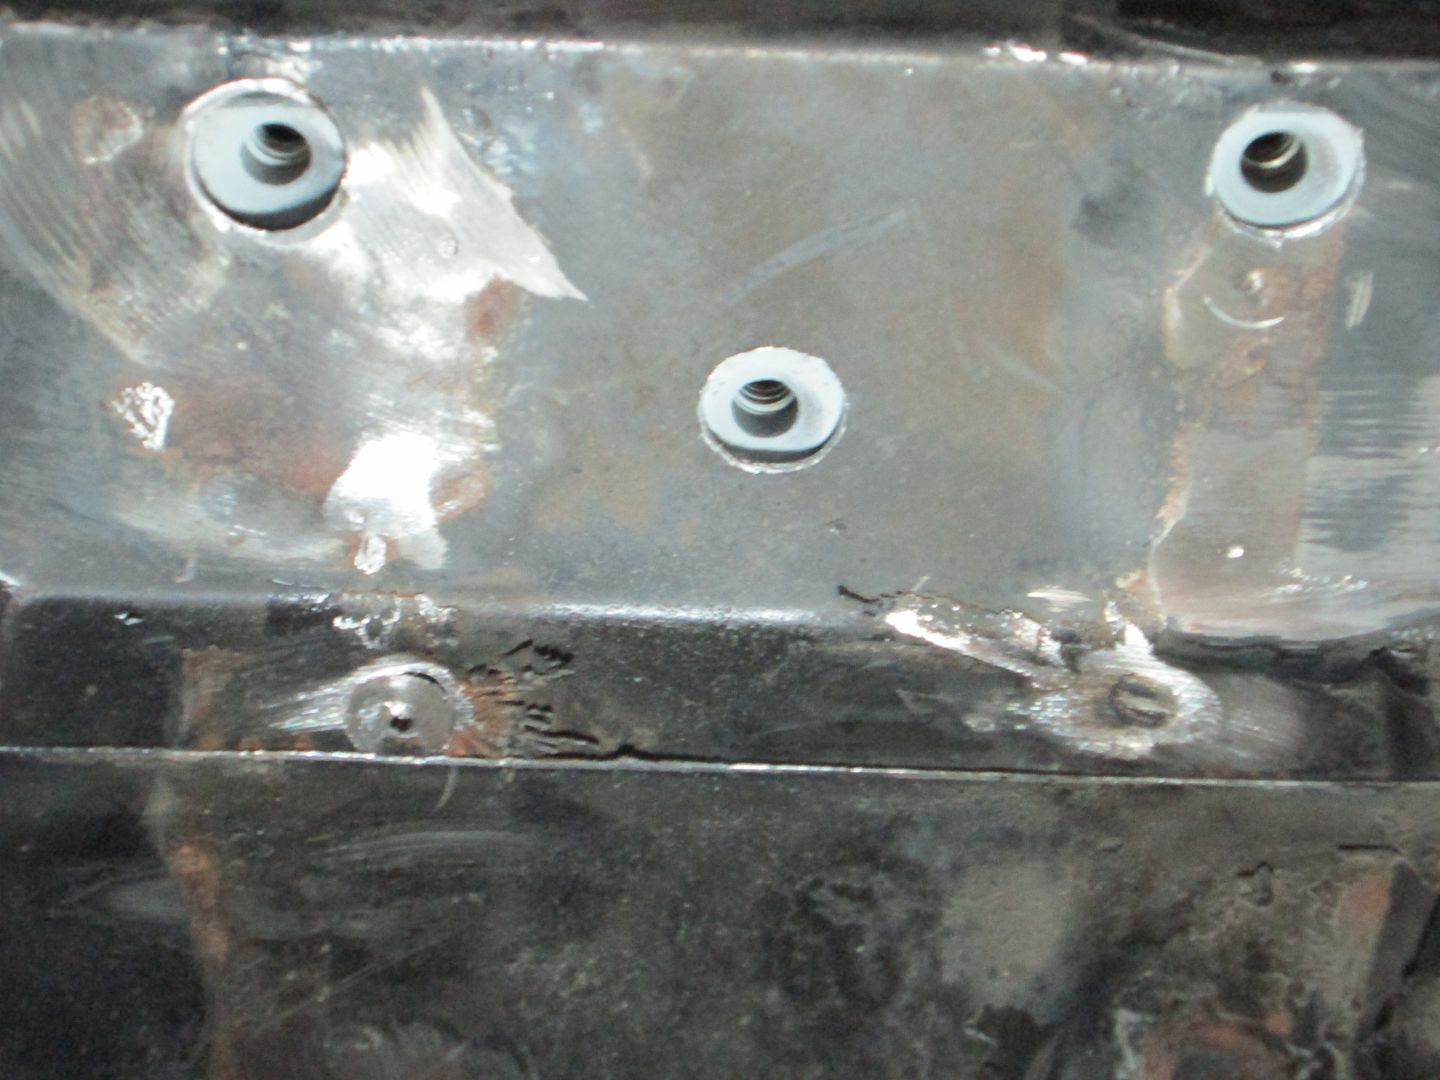
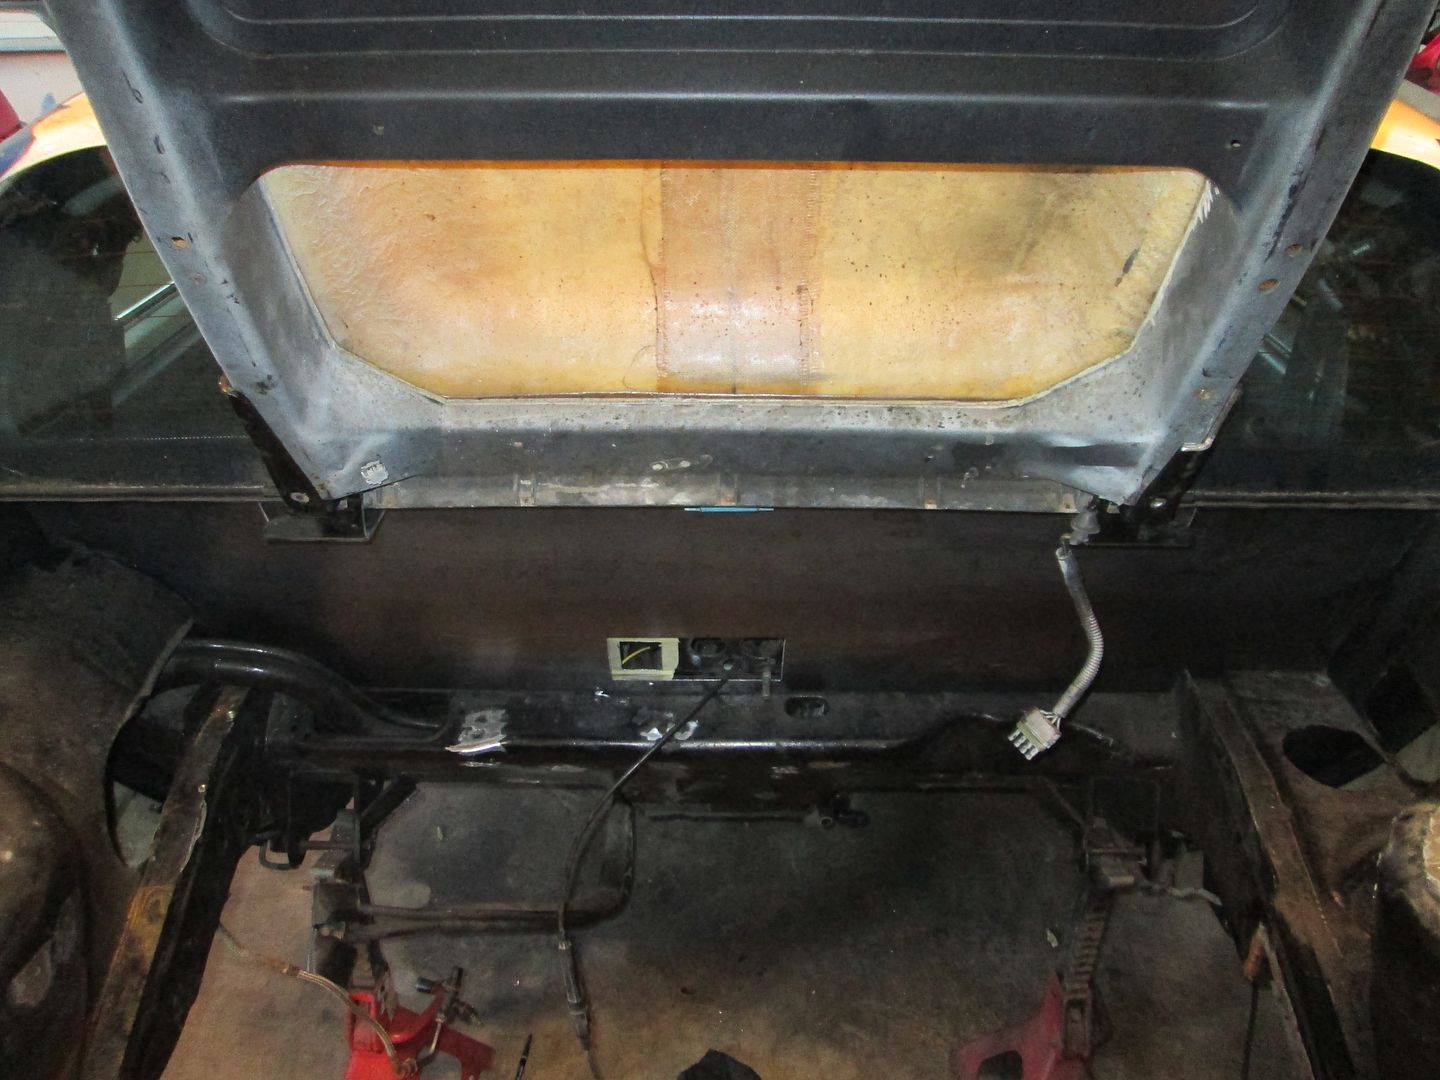
Today, I was able to get everything ready to start the engine bay work.
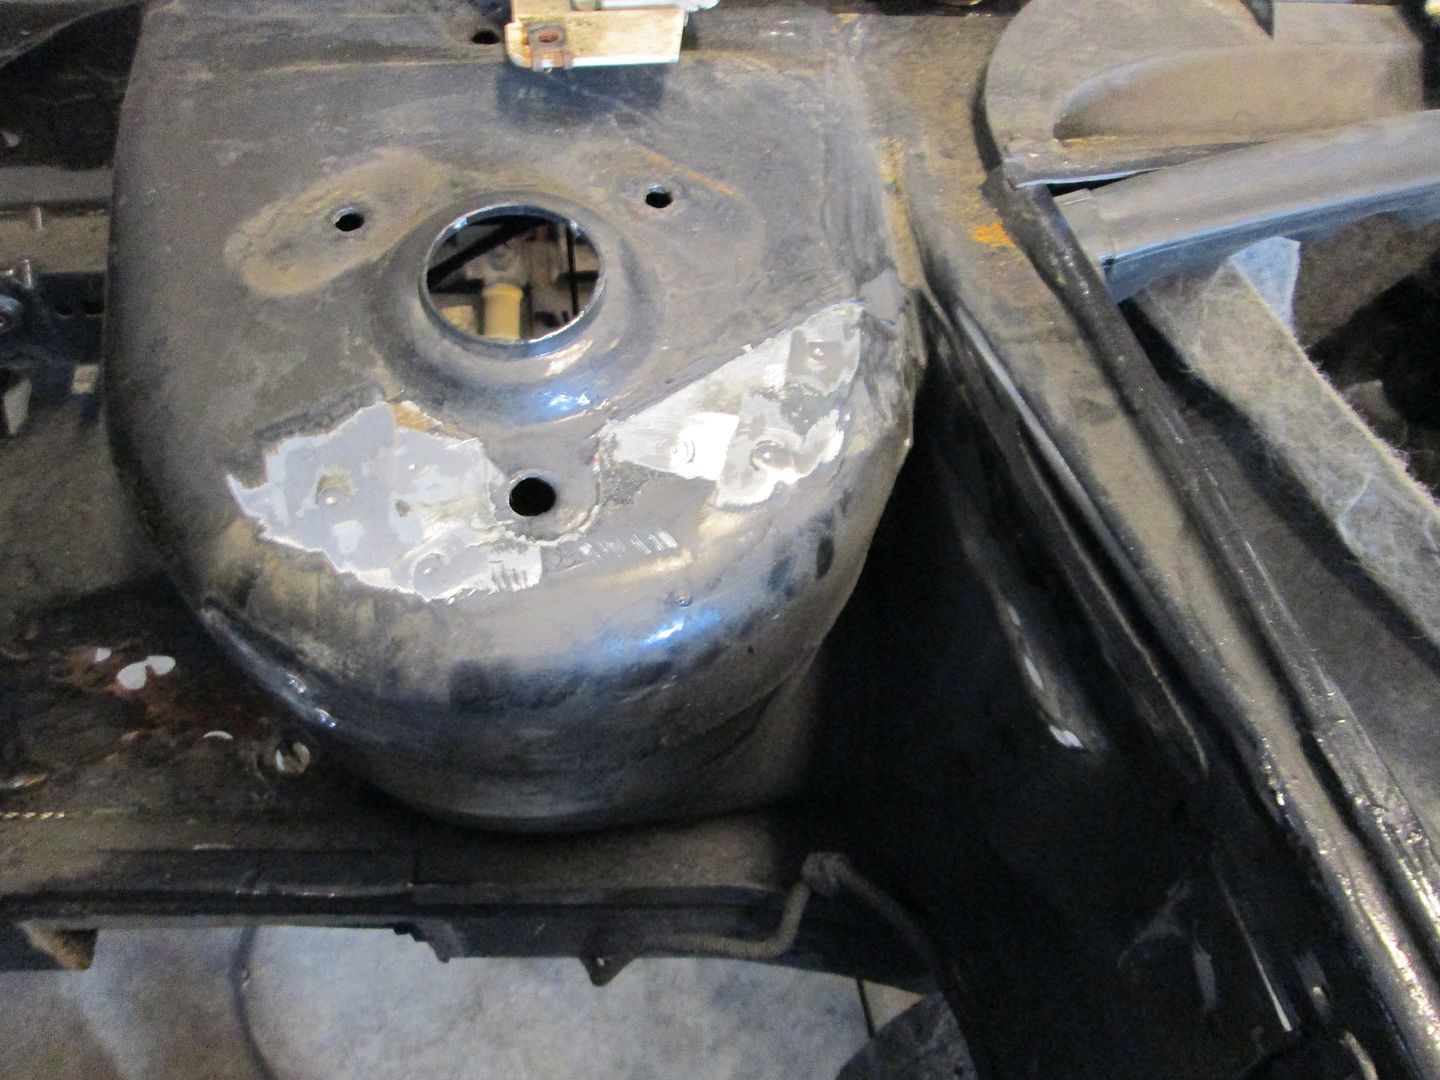
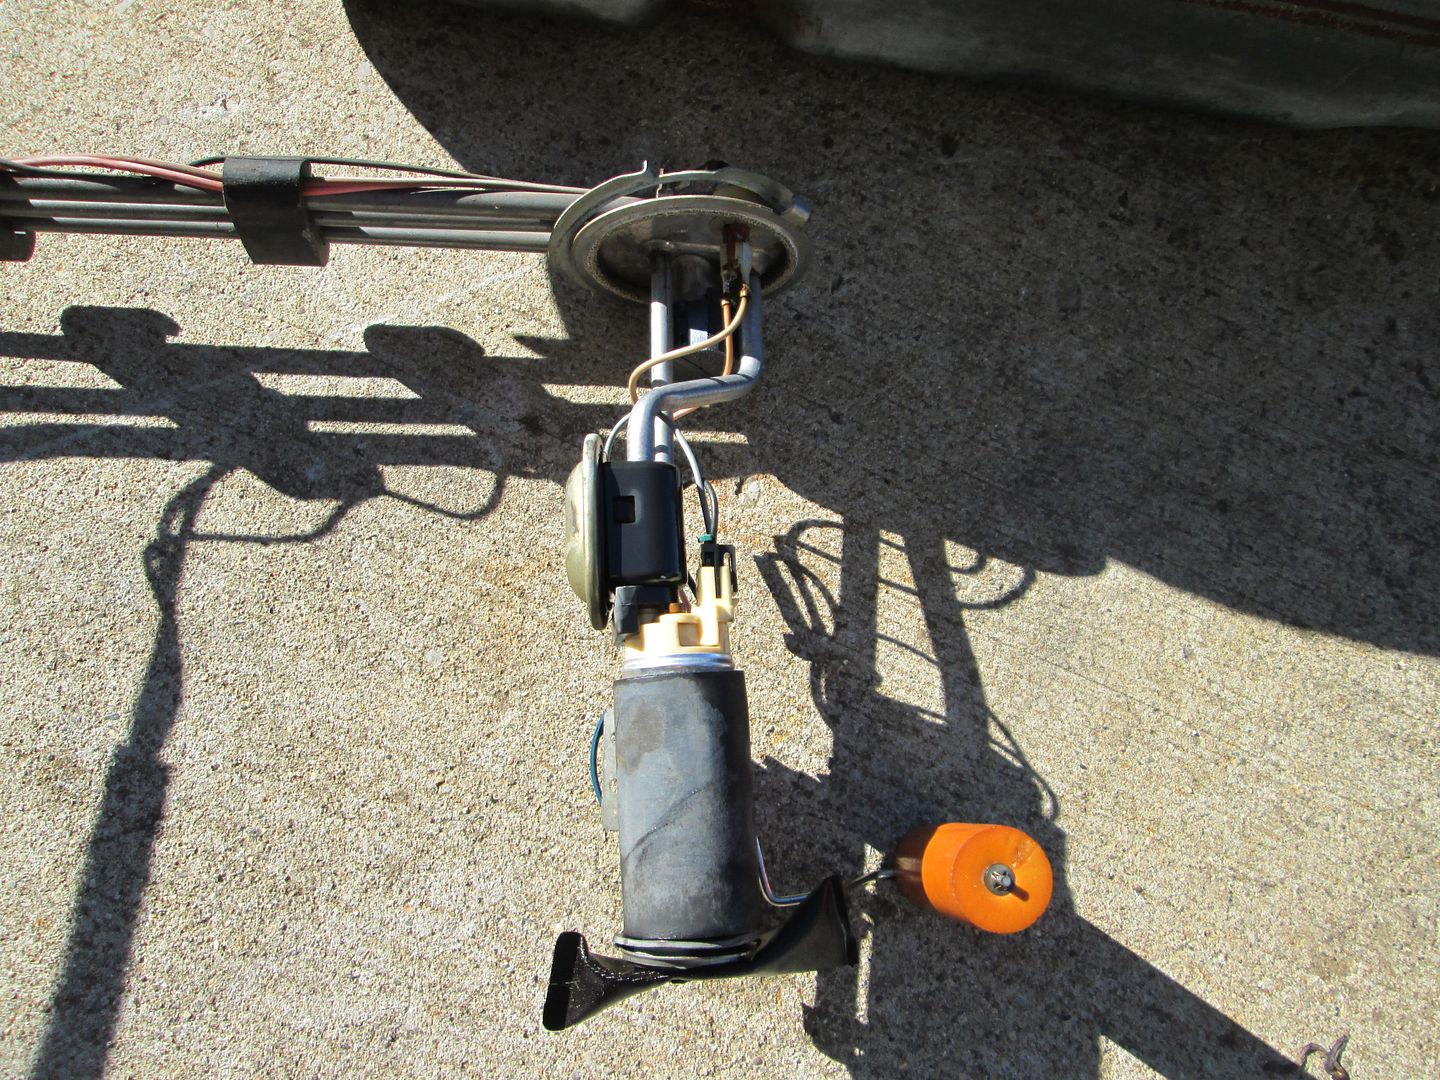
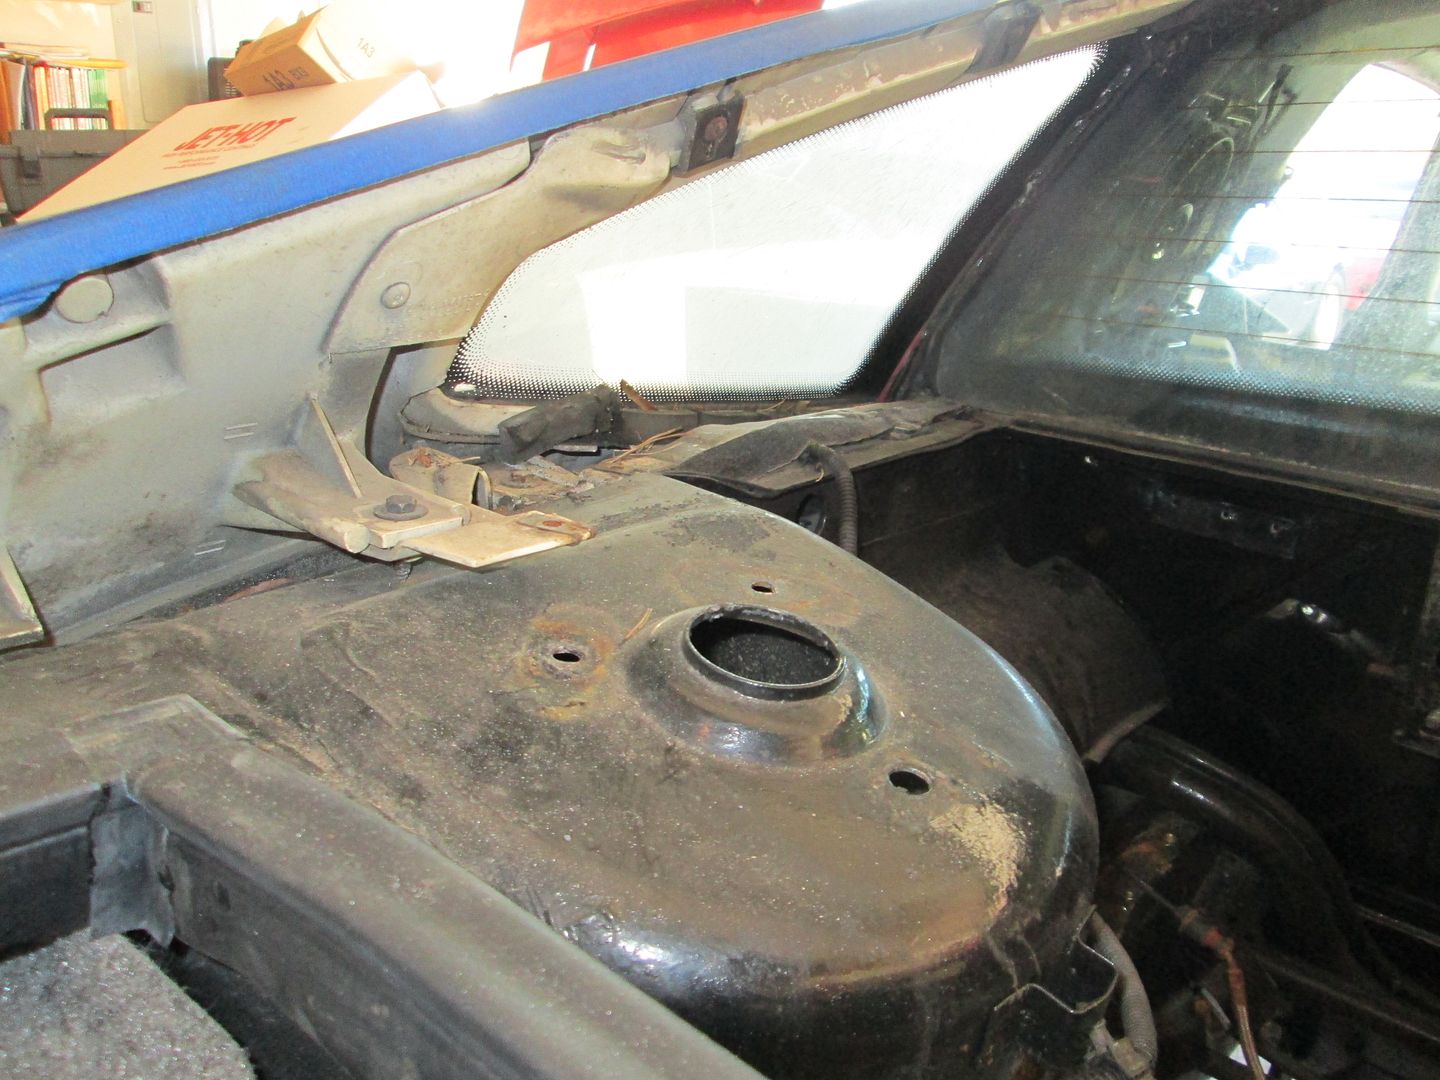
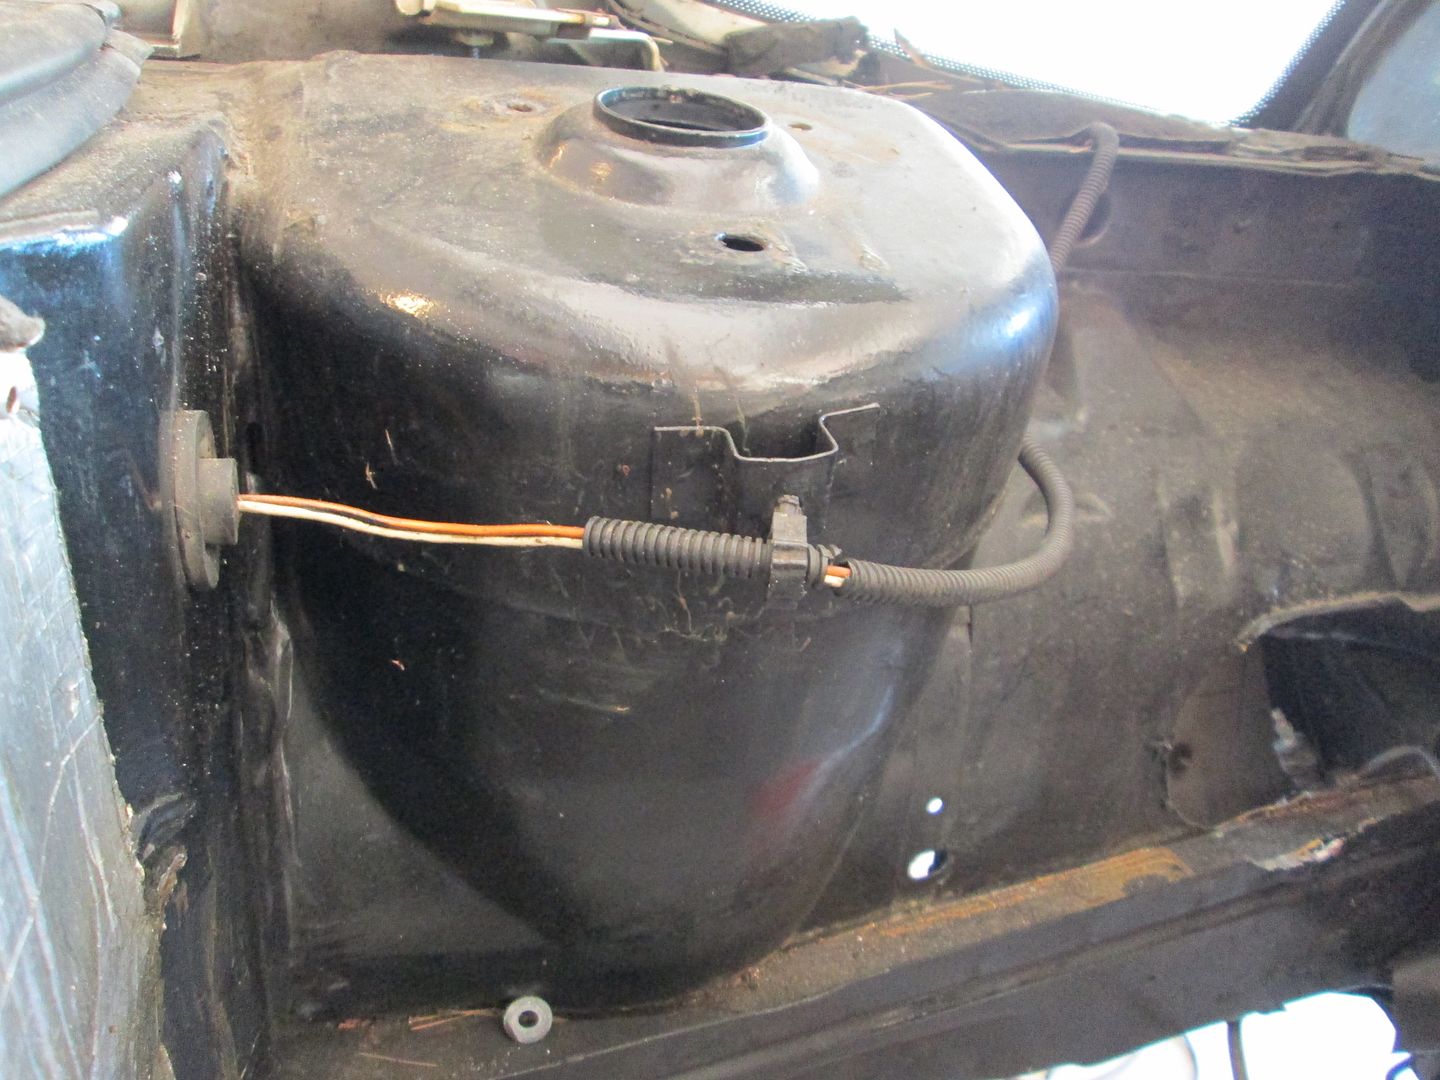
Dropped the fuel tank (both t-bolts snapped off) and swapped out the fuel pump. Old pump:
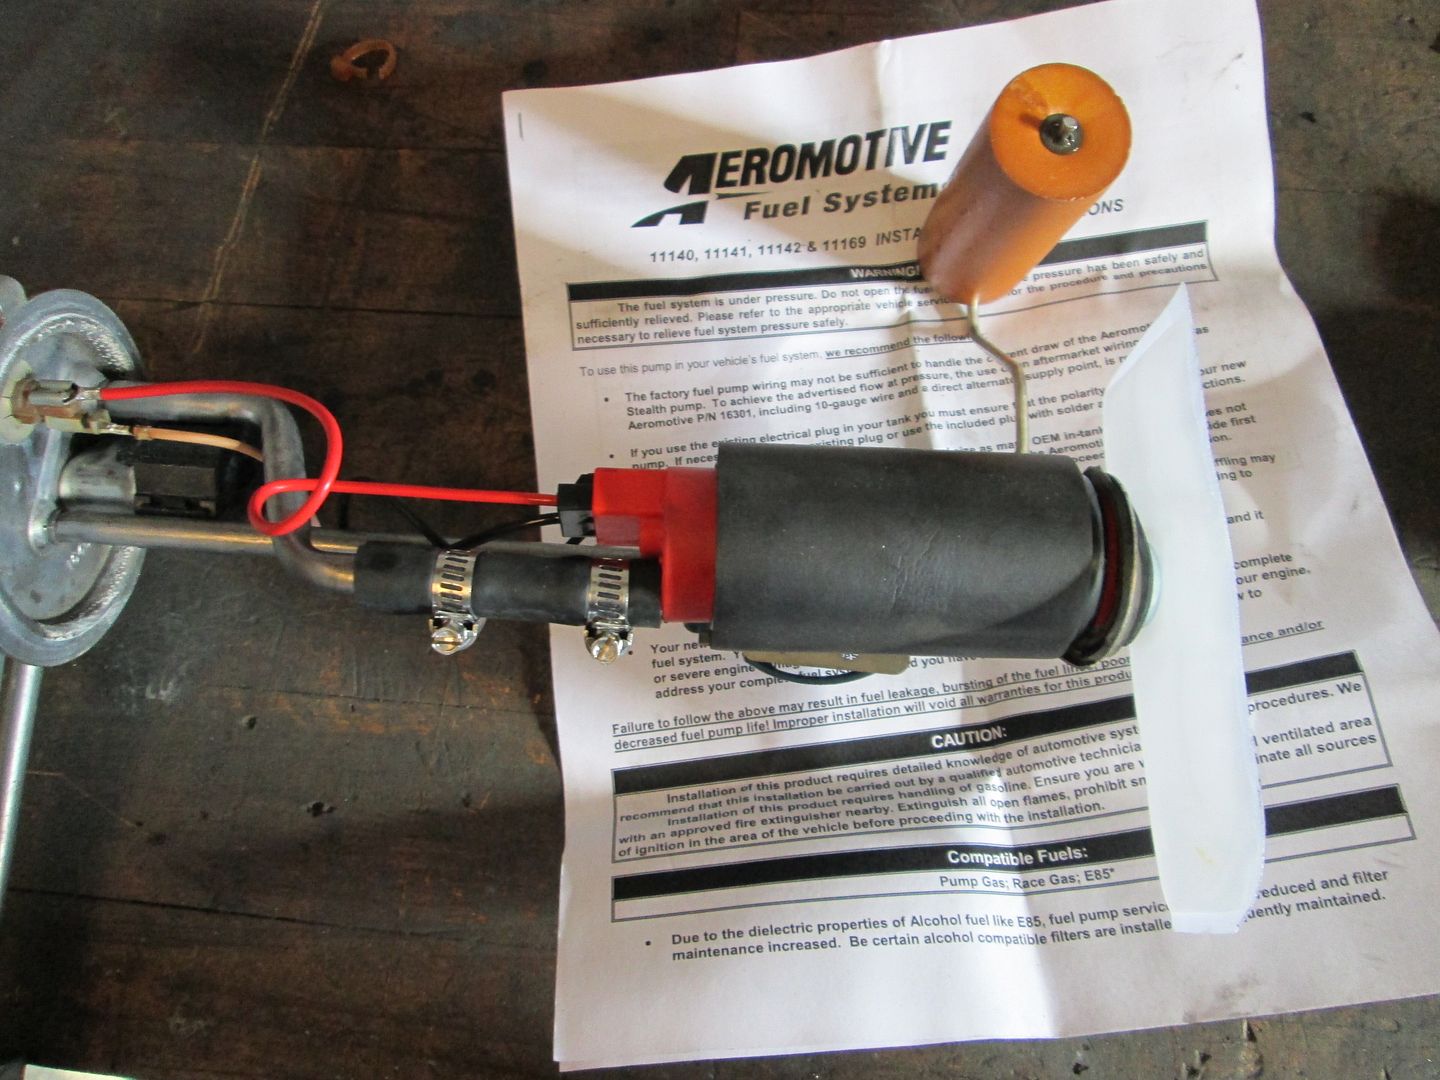
New pump:

New pump installed with the new wiring supplied with the pump. Its also back in the tank and all the ports are plugged. The tank won't be installed until all the work in the engine bay is done:
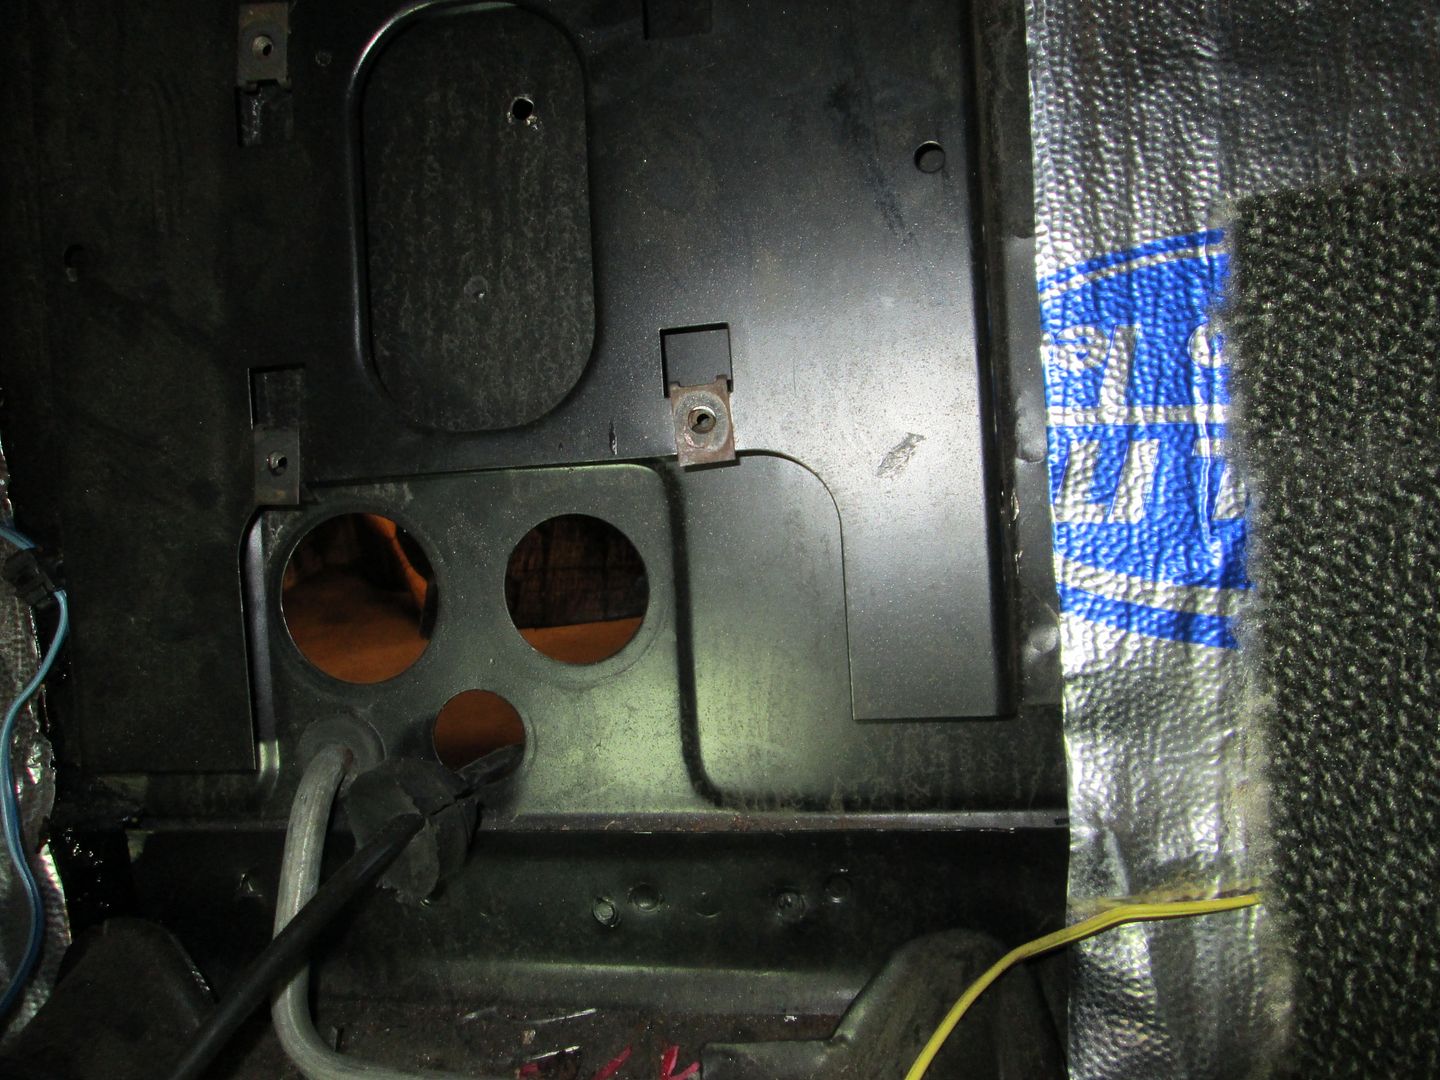
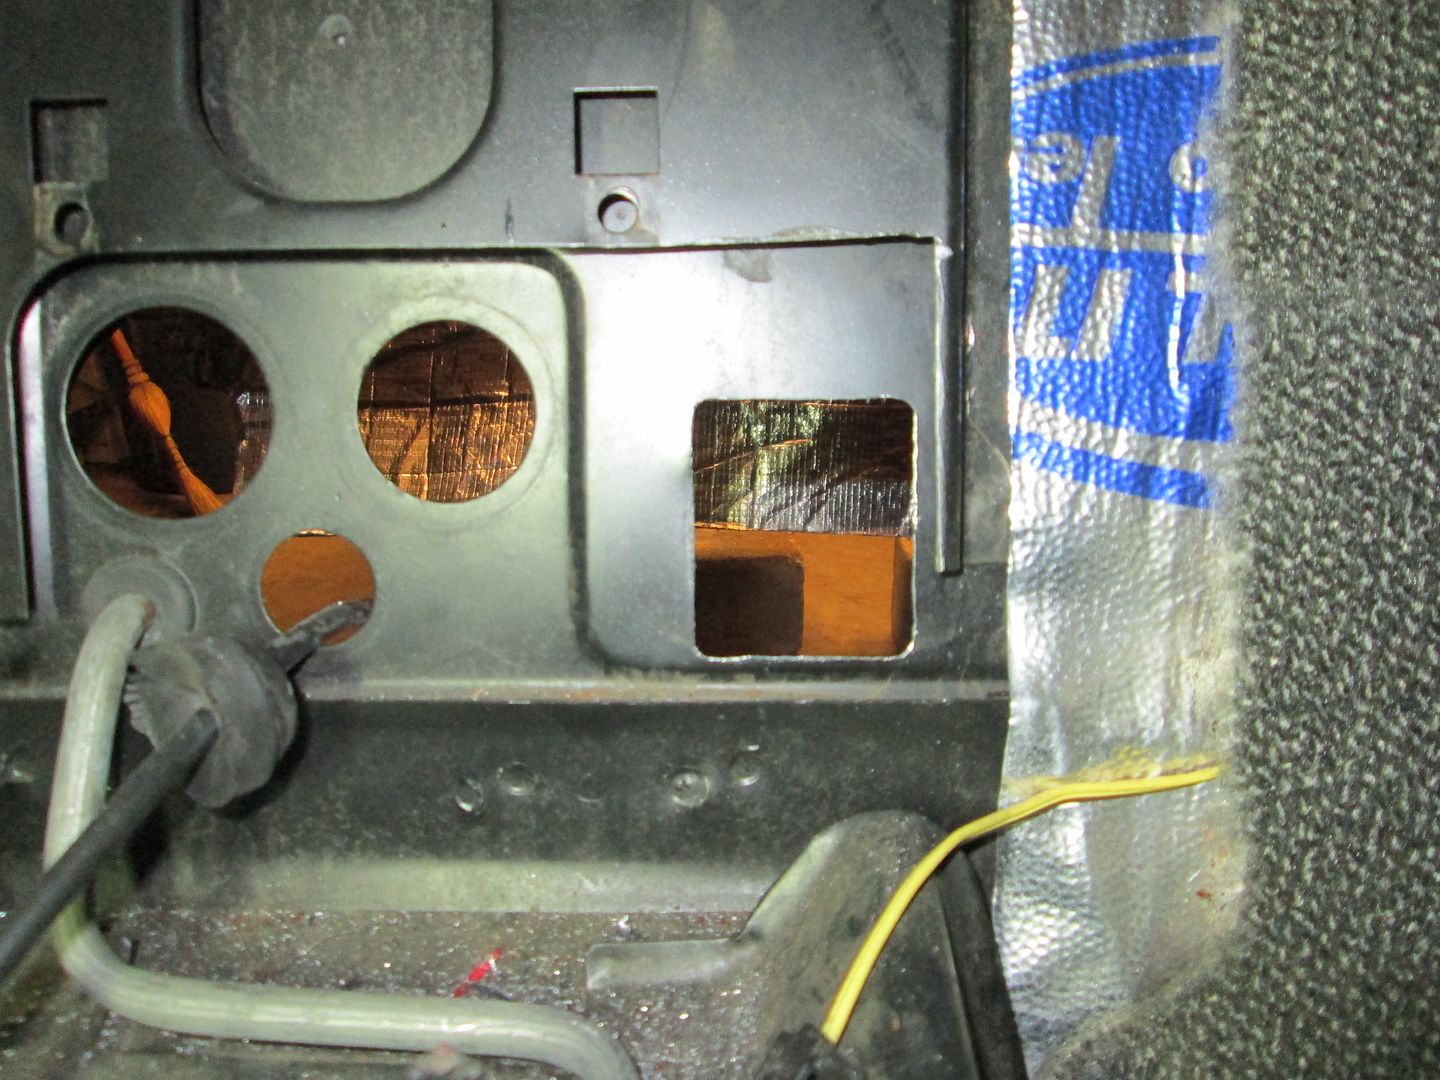
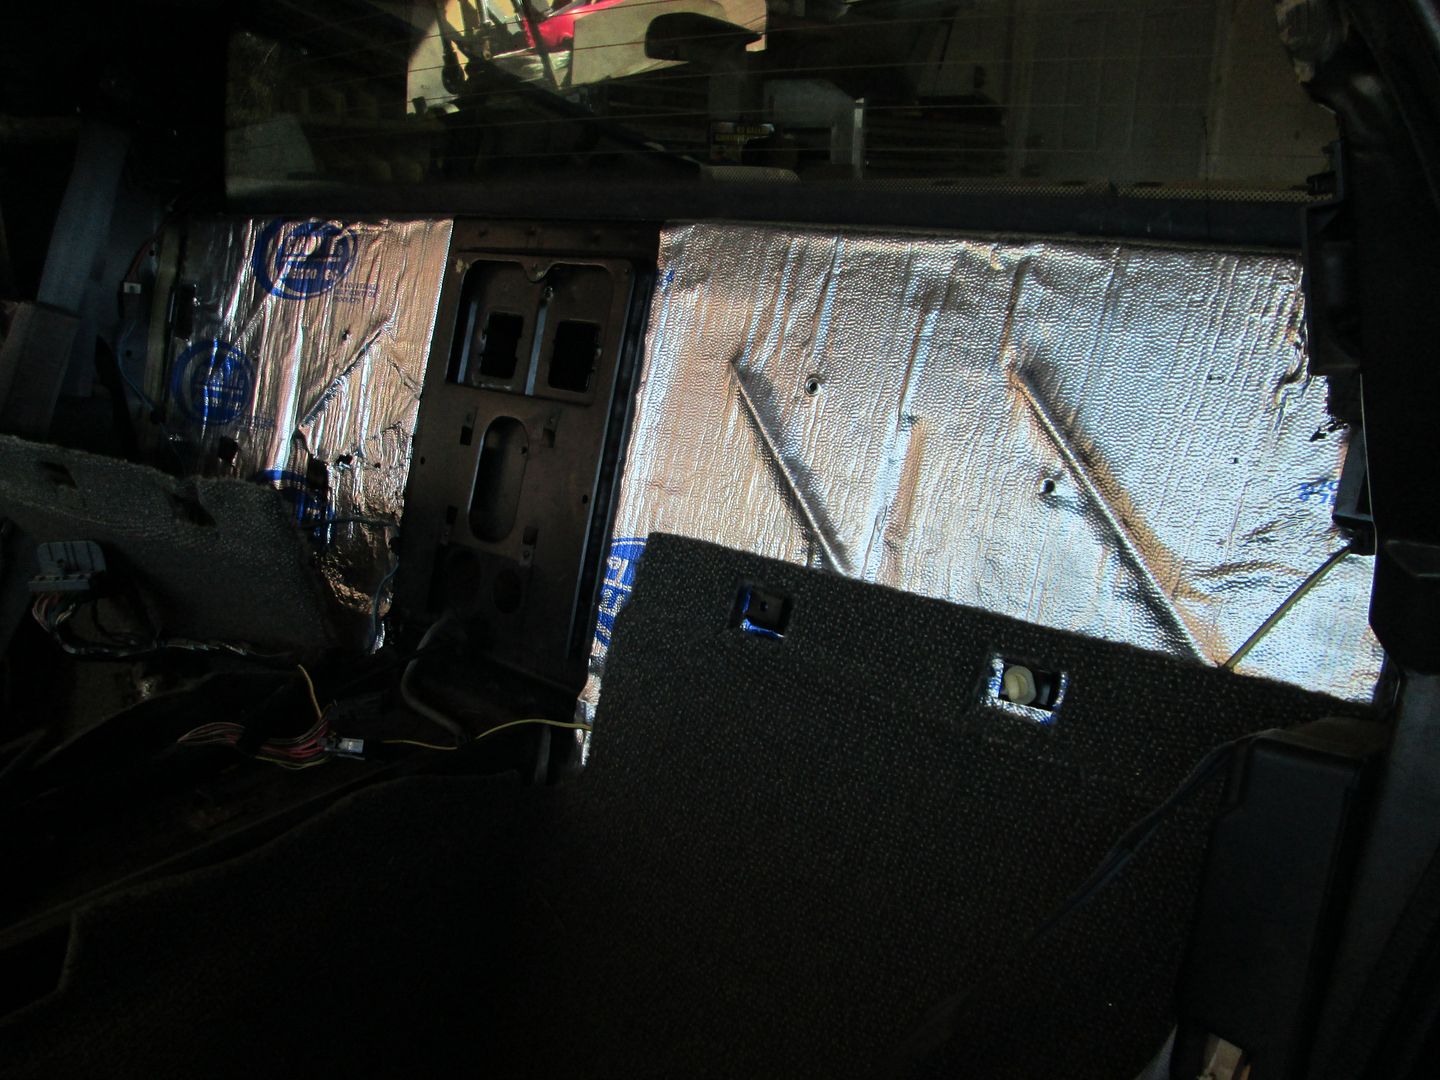
Then I took out the rest of the interior so I could drill out the rivets holding the insulation to the firewall in the engine bay:
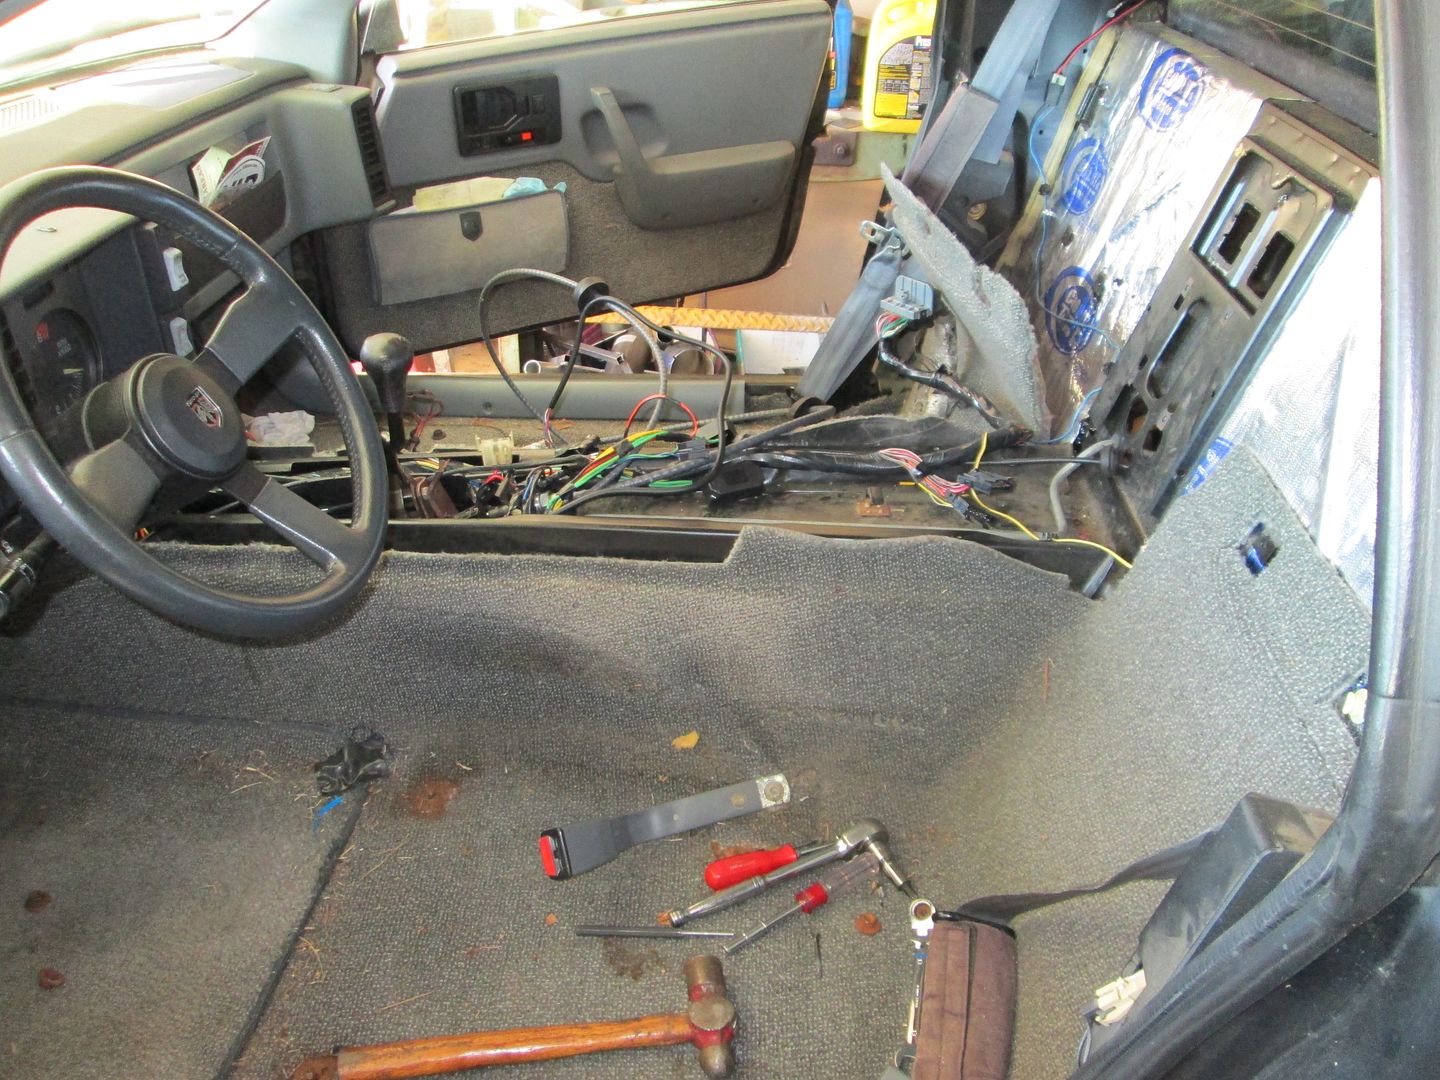
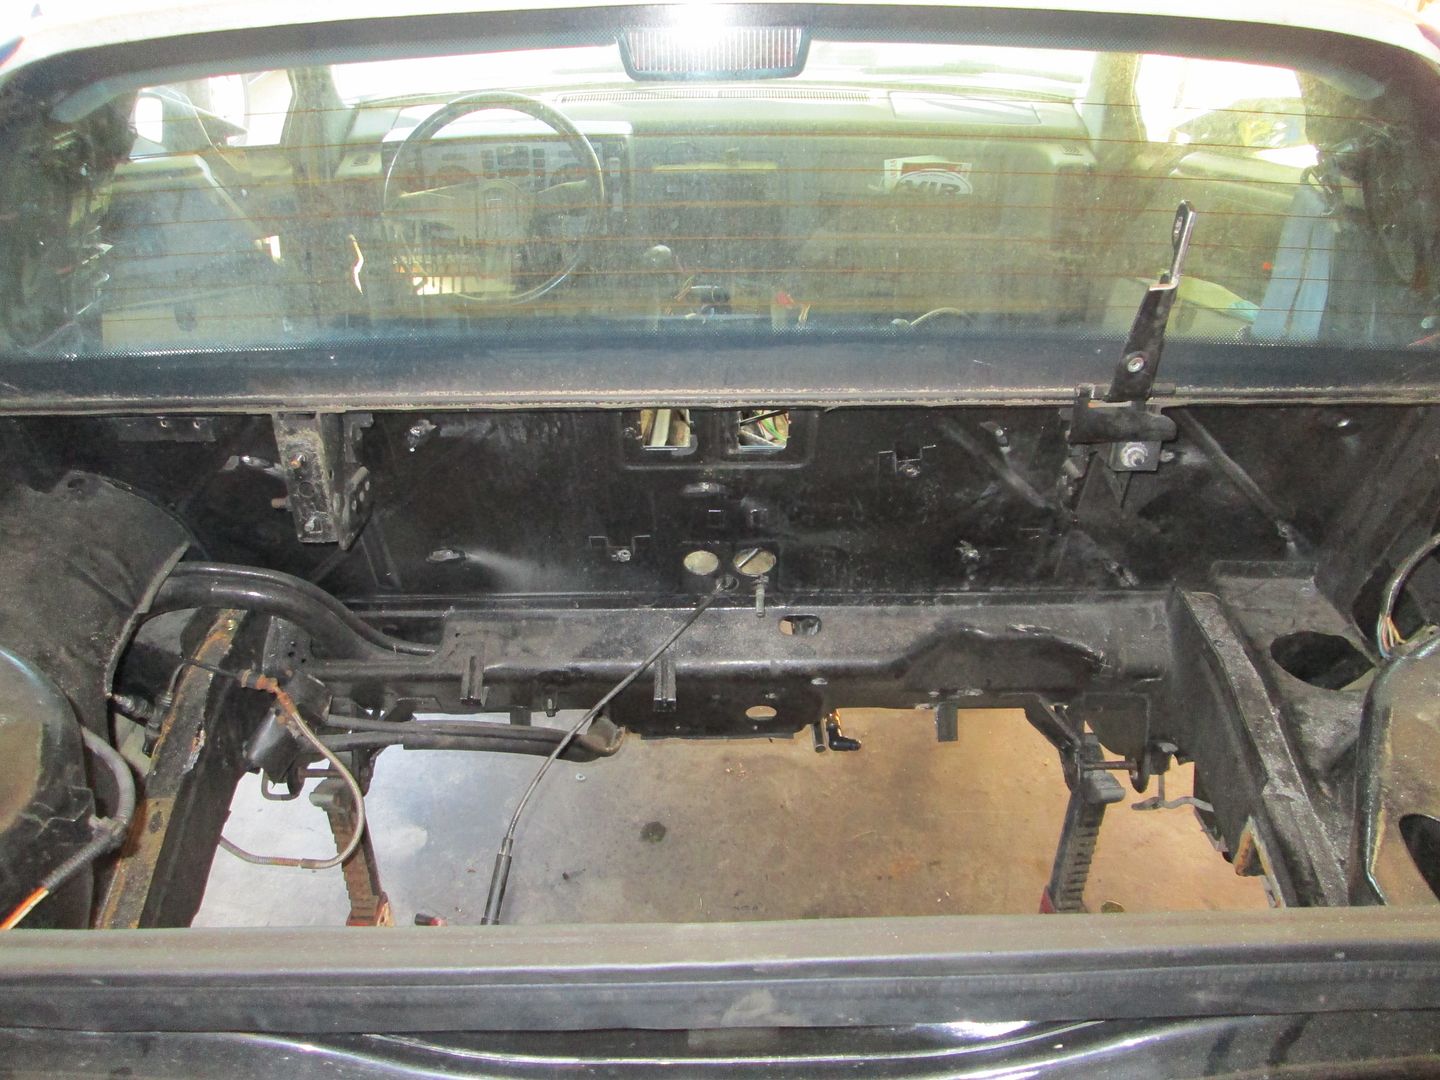
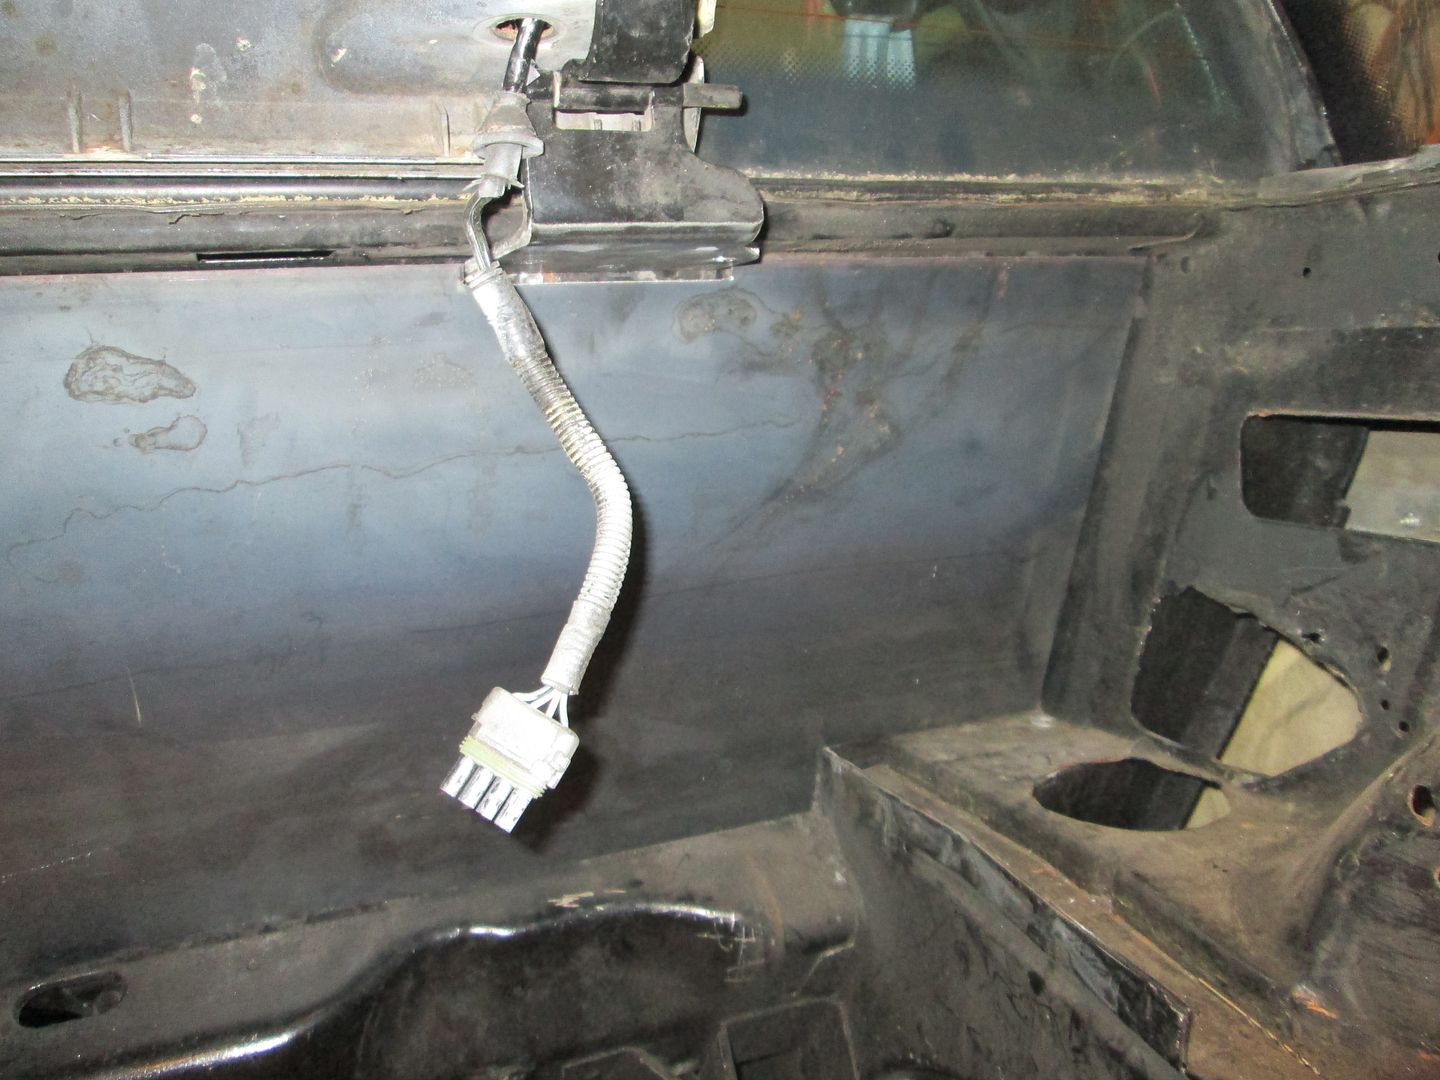
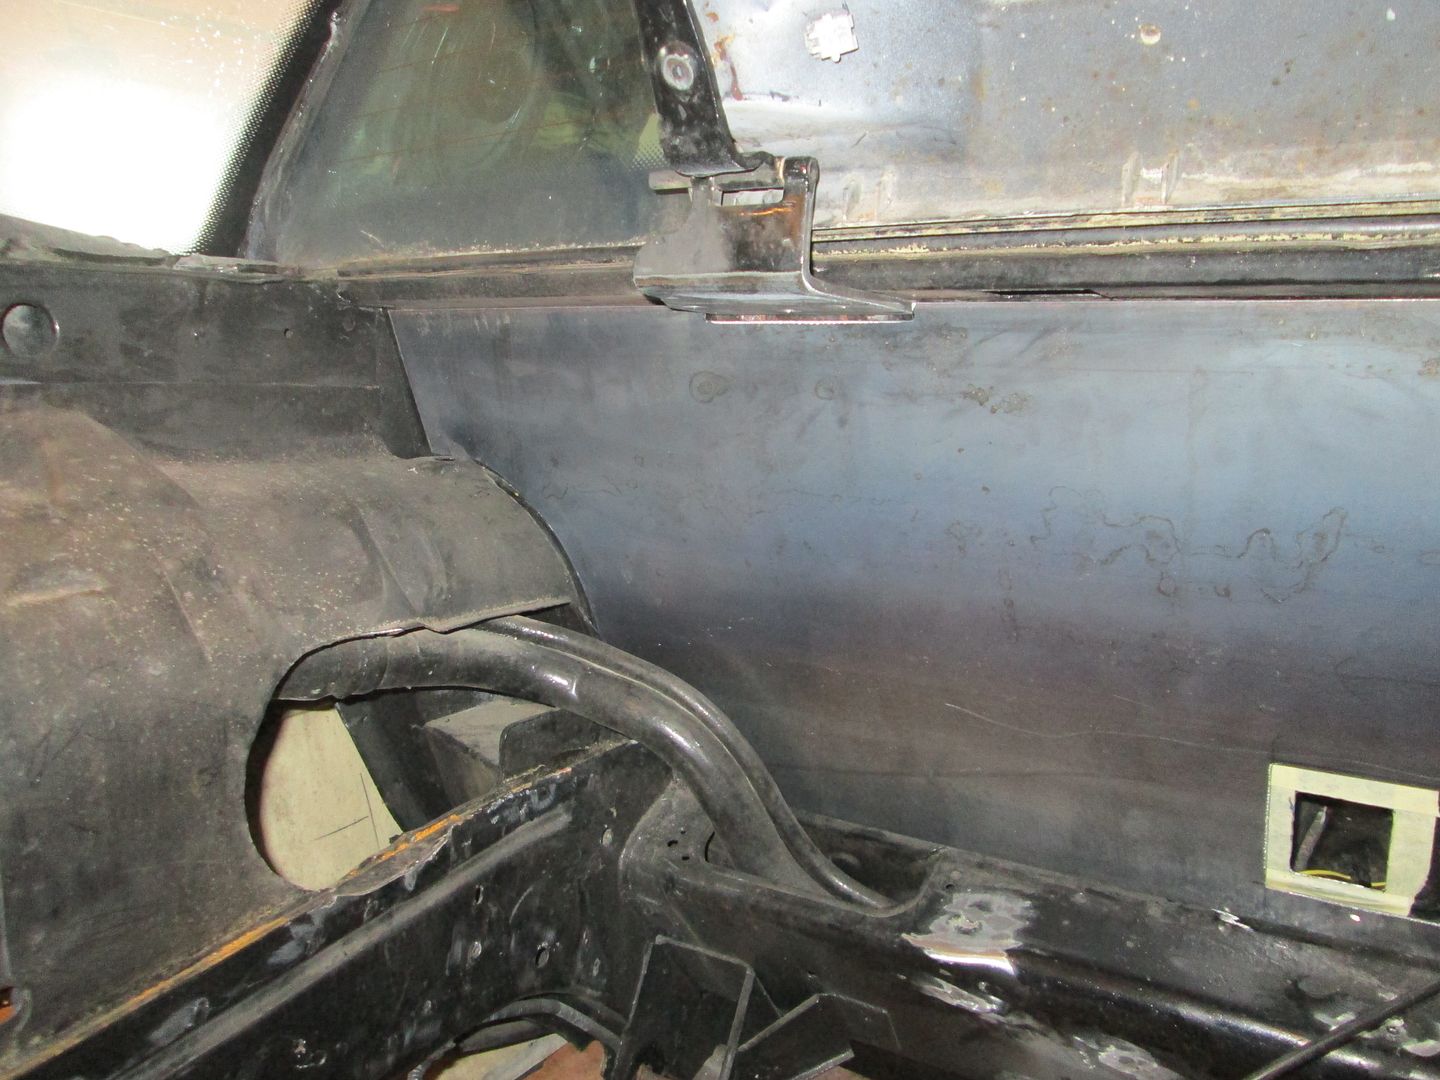
Took off the inner fastback panels so I can fish the wiring to the new route. This will also better allow me to sand and paint the tops of the strut towers:
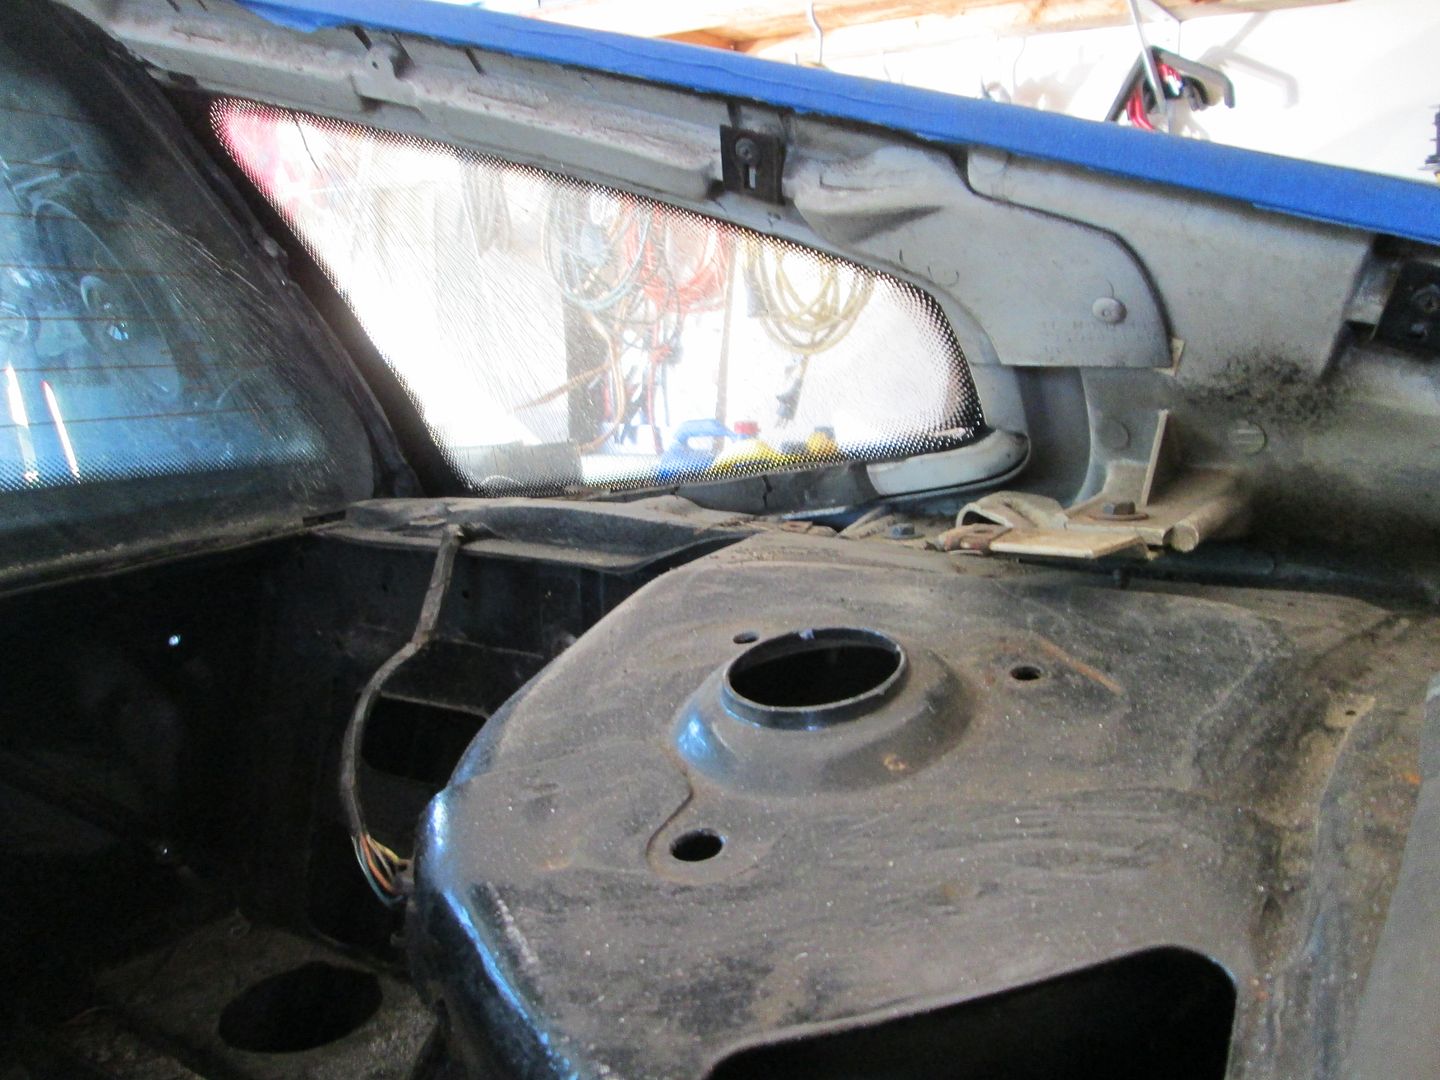
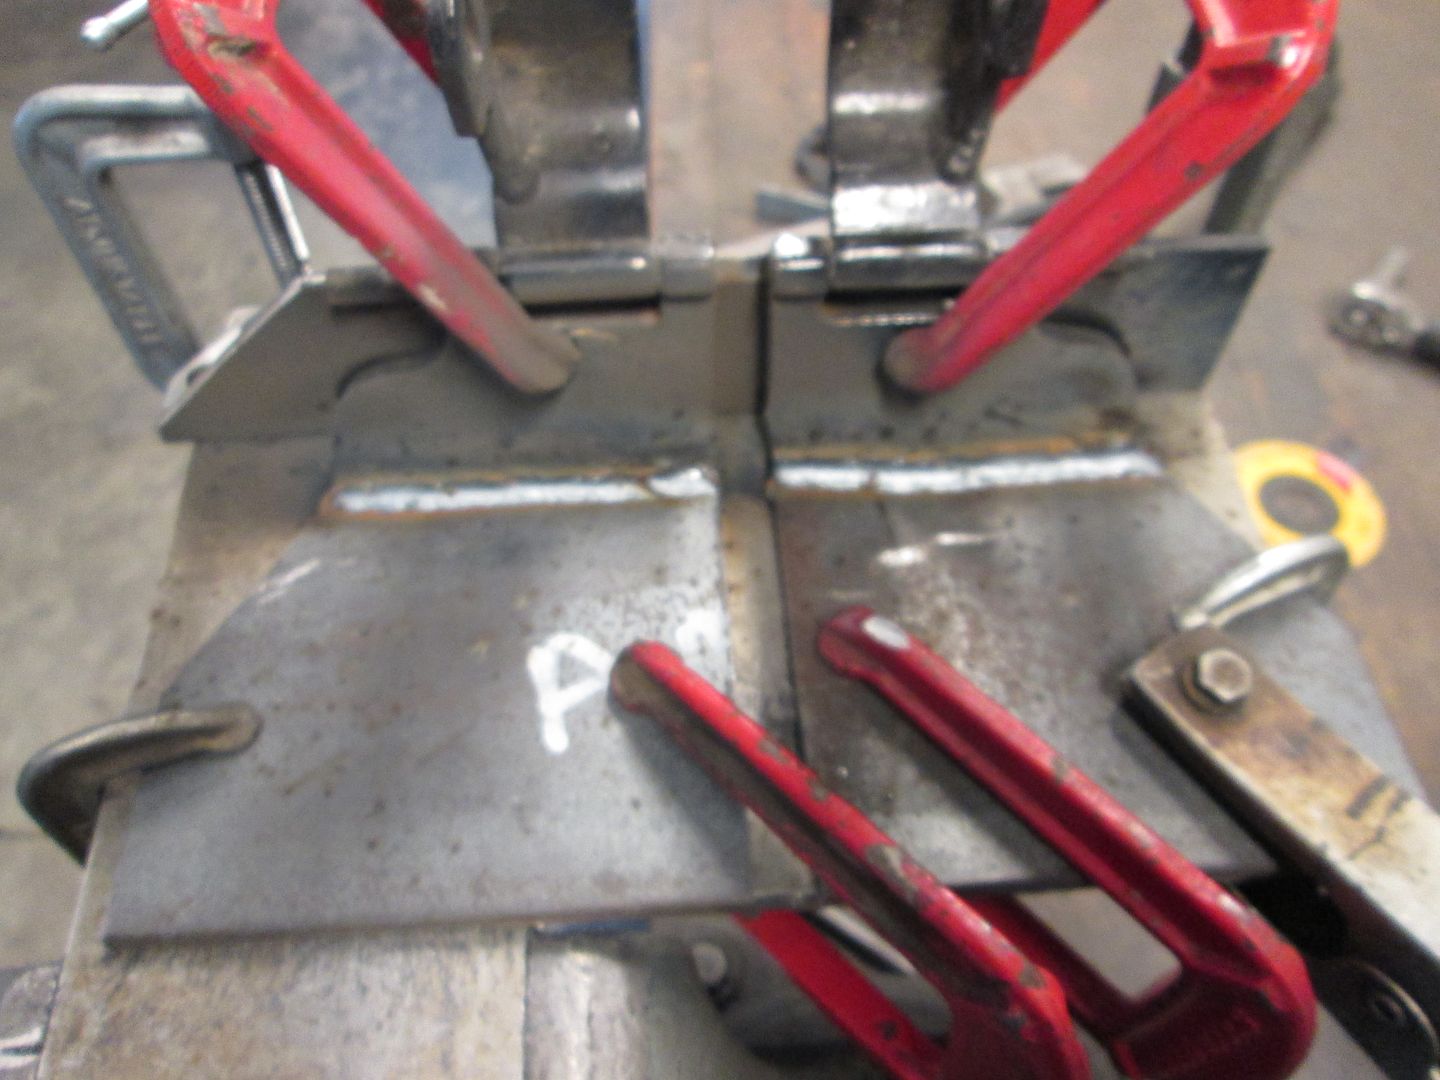
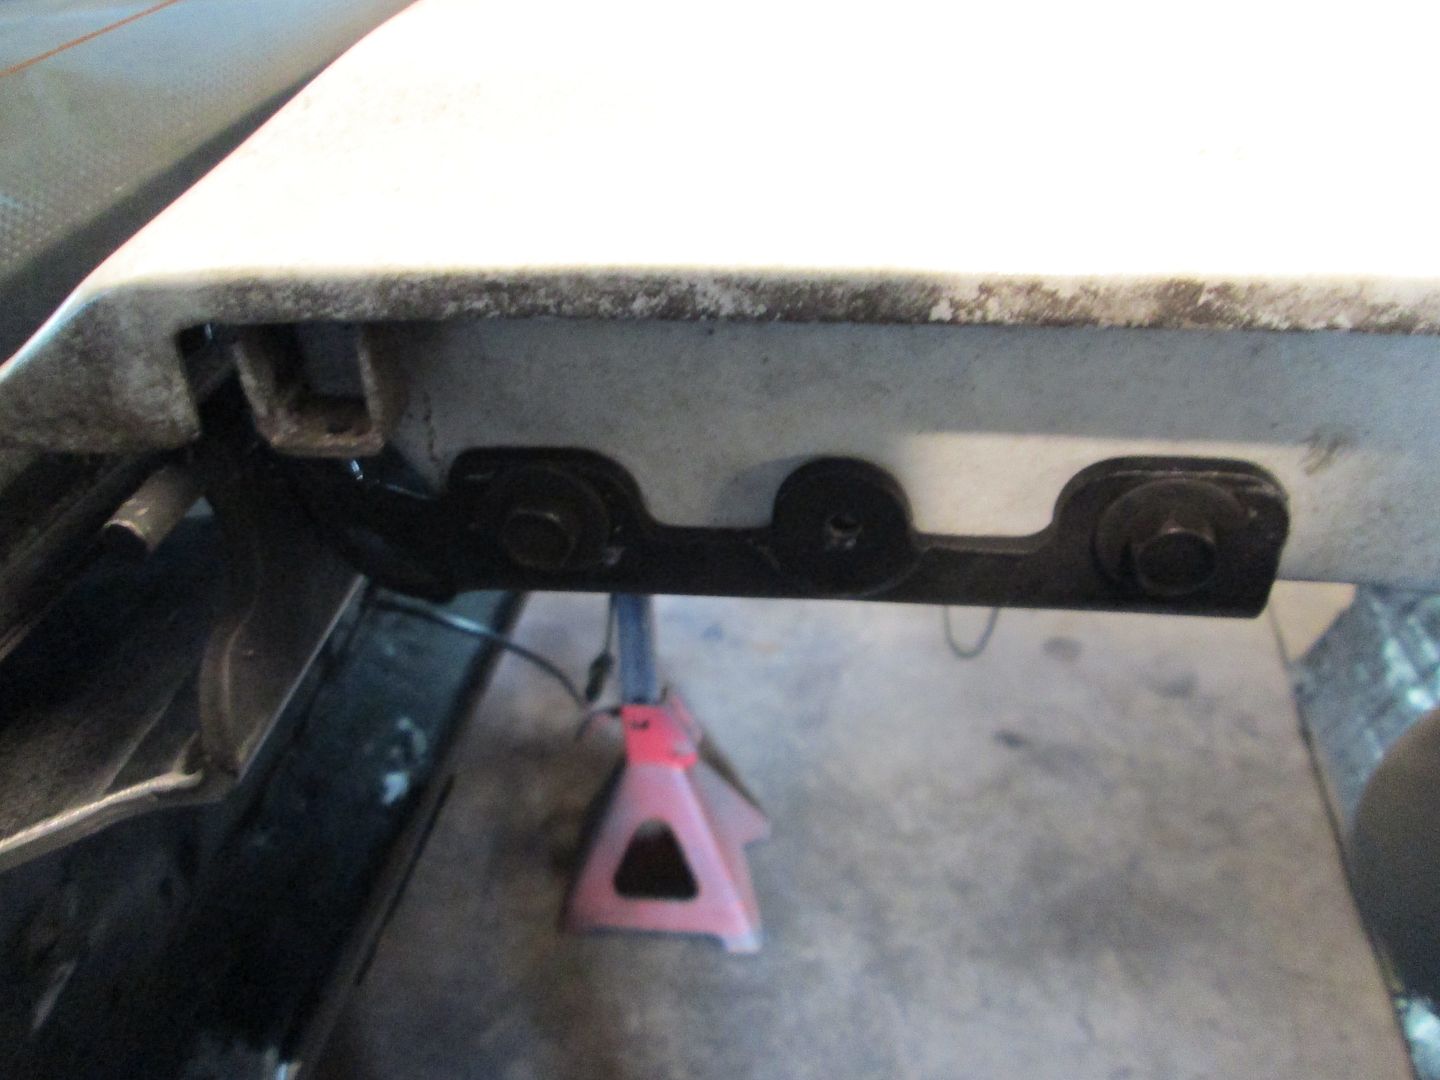
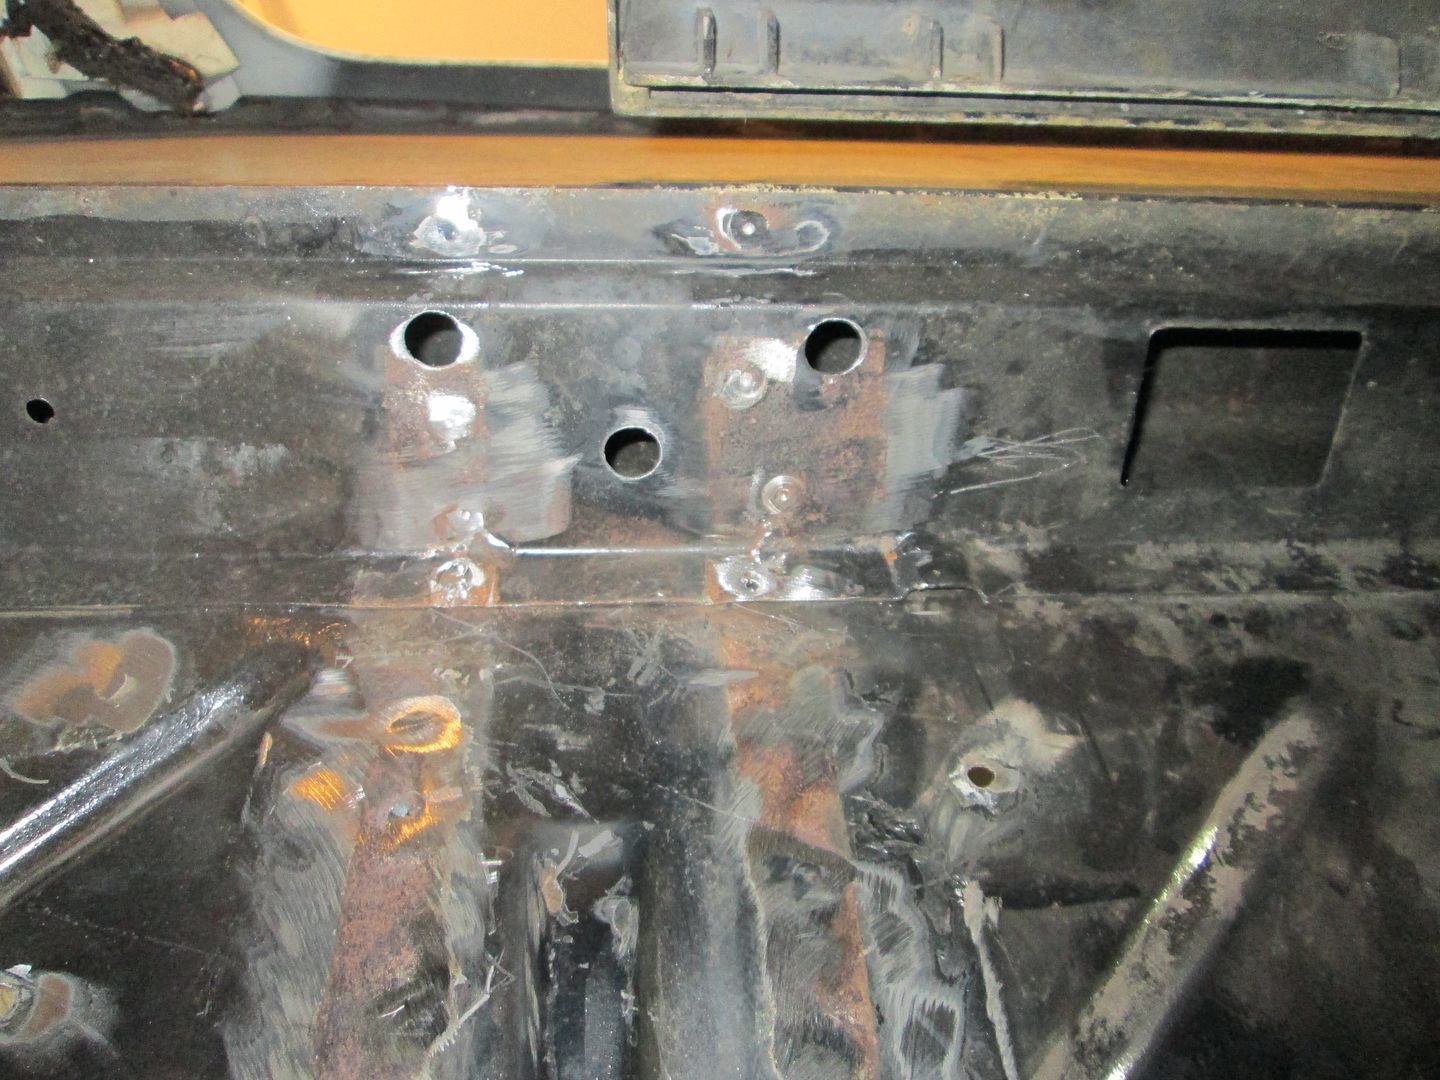
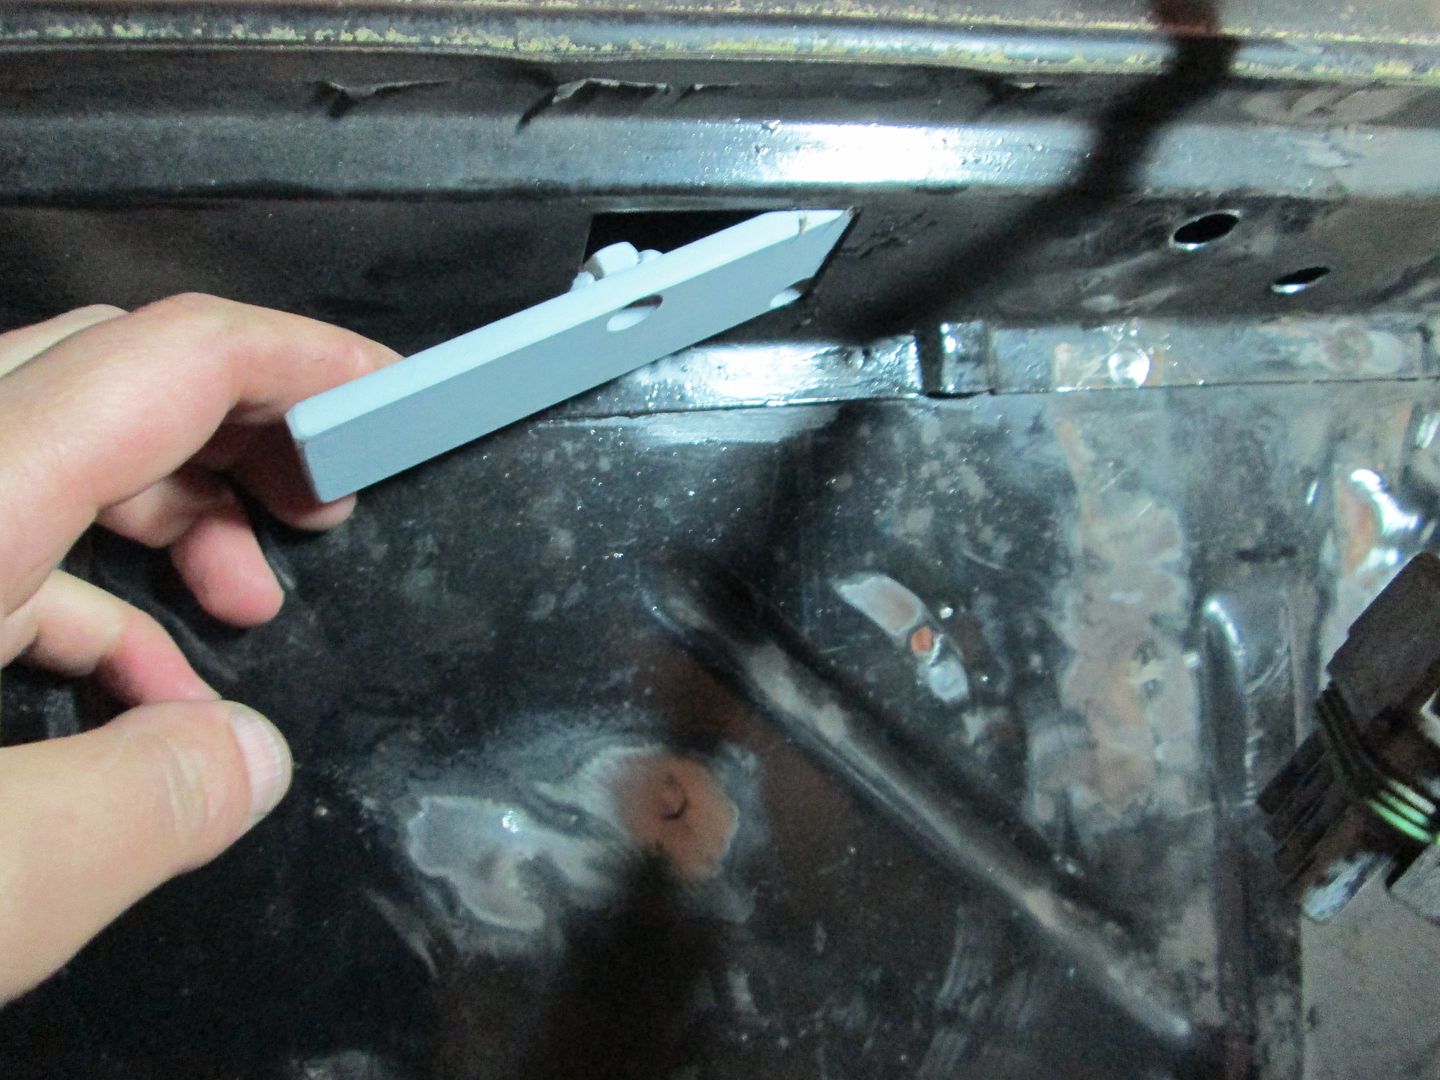
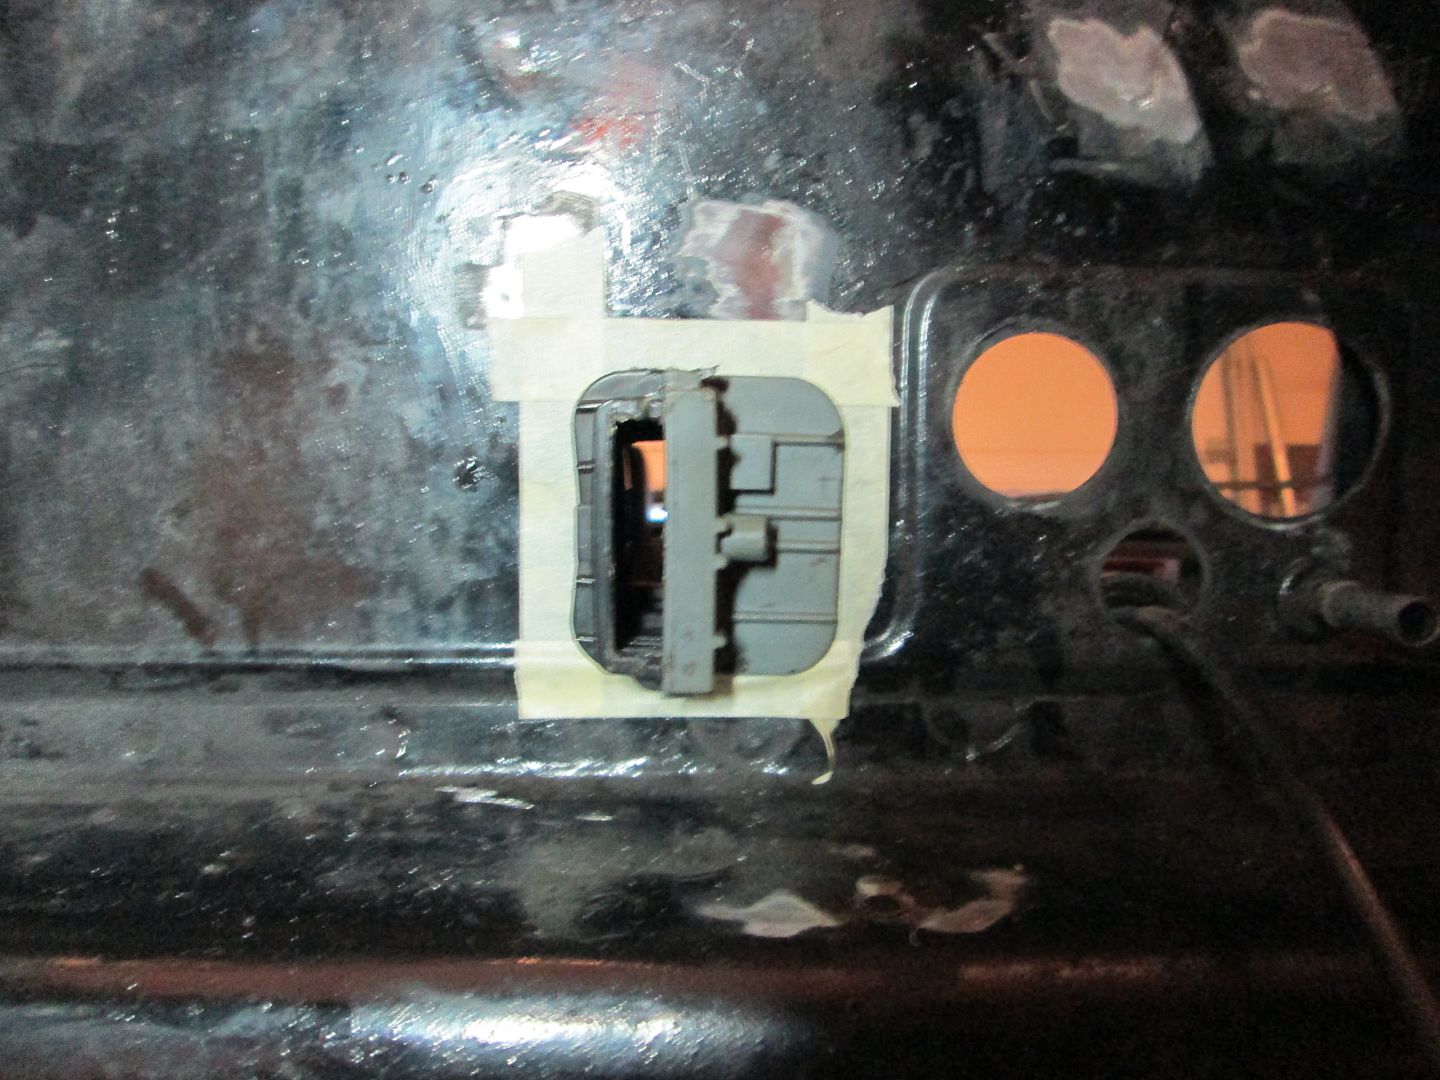
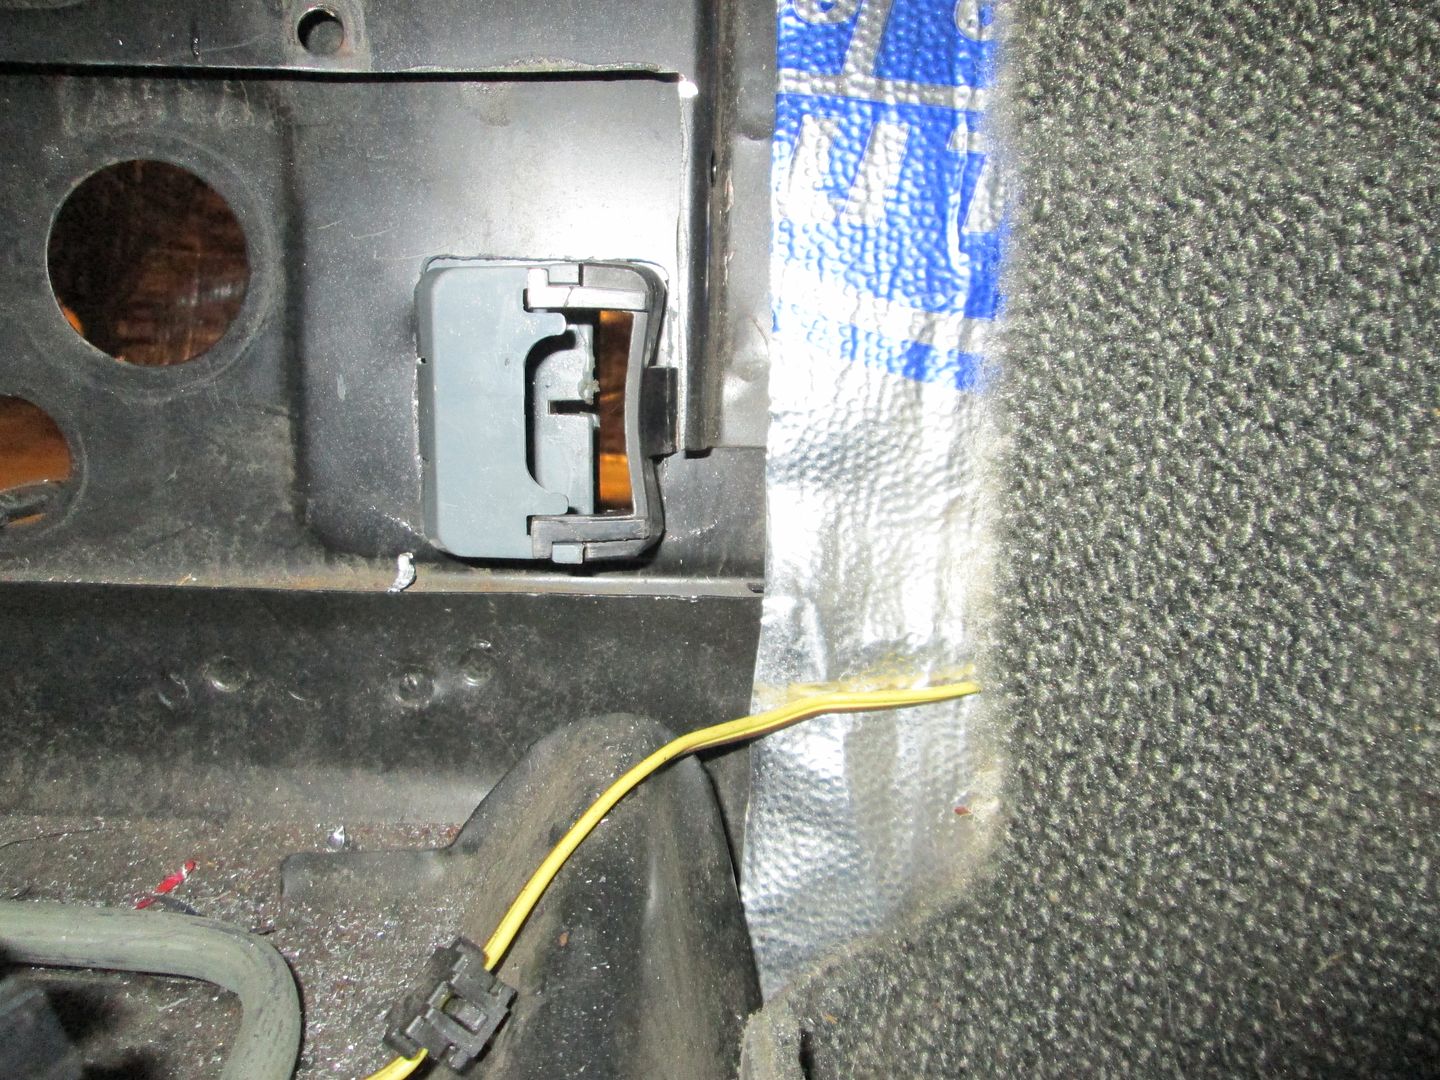
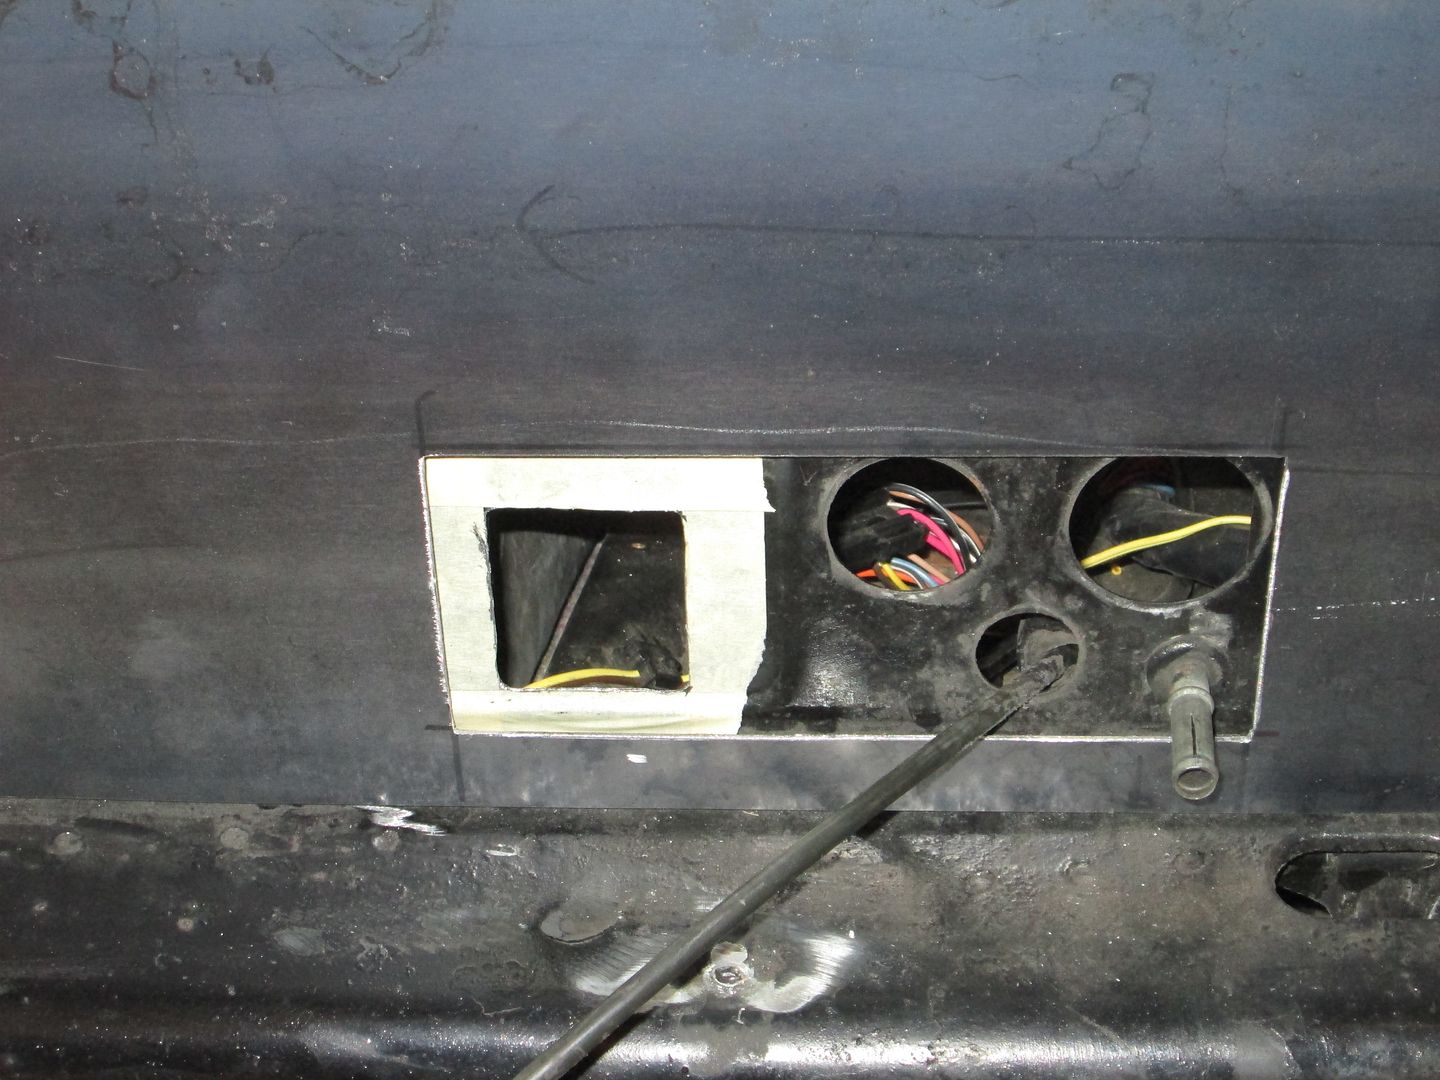
Hopefully this week I will get the rest of the metal tabs removed, the decklid hinge boxes removed and the dogbone bracket removed. Then I have to weld up the new hinge brackets, fill in a portion of the frame notch, cut out the new location for the wiring pass through (down low by the shifter cables), cut the smooth firewall panel, sand the engine bay and paint it...
Once the engine bay is ready, I can put the engine in and finish the interior connections for the harness, fab up the post header exhaust, and then get it to make noise again.... still quite a bit of work to do, but on the downward slide.[This message has been edited by fieroguru (edited 01-12-2014).]
|
|
|
|
Trinten
|
JAN 12, 06:46 PM
|
|
| quote | Originally posted by fieroguru:
... and then get it to make noise again.... still quite a bit of work to do, but on the downward slide.
|
|
This made my day.
| quote | Originally posted by fieroguru:
... but on the downward slide.
|
|
And I'm sure you're very happy about that!!

|
|
|
|
fieroguru
|
JAN 15, 08:12 PM
|
|
|
|
|
Trinten
|
JAN 15, 08:39 PM
|
|
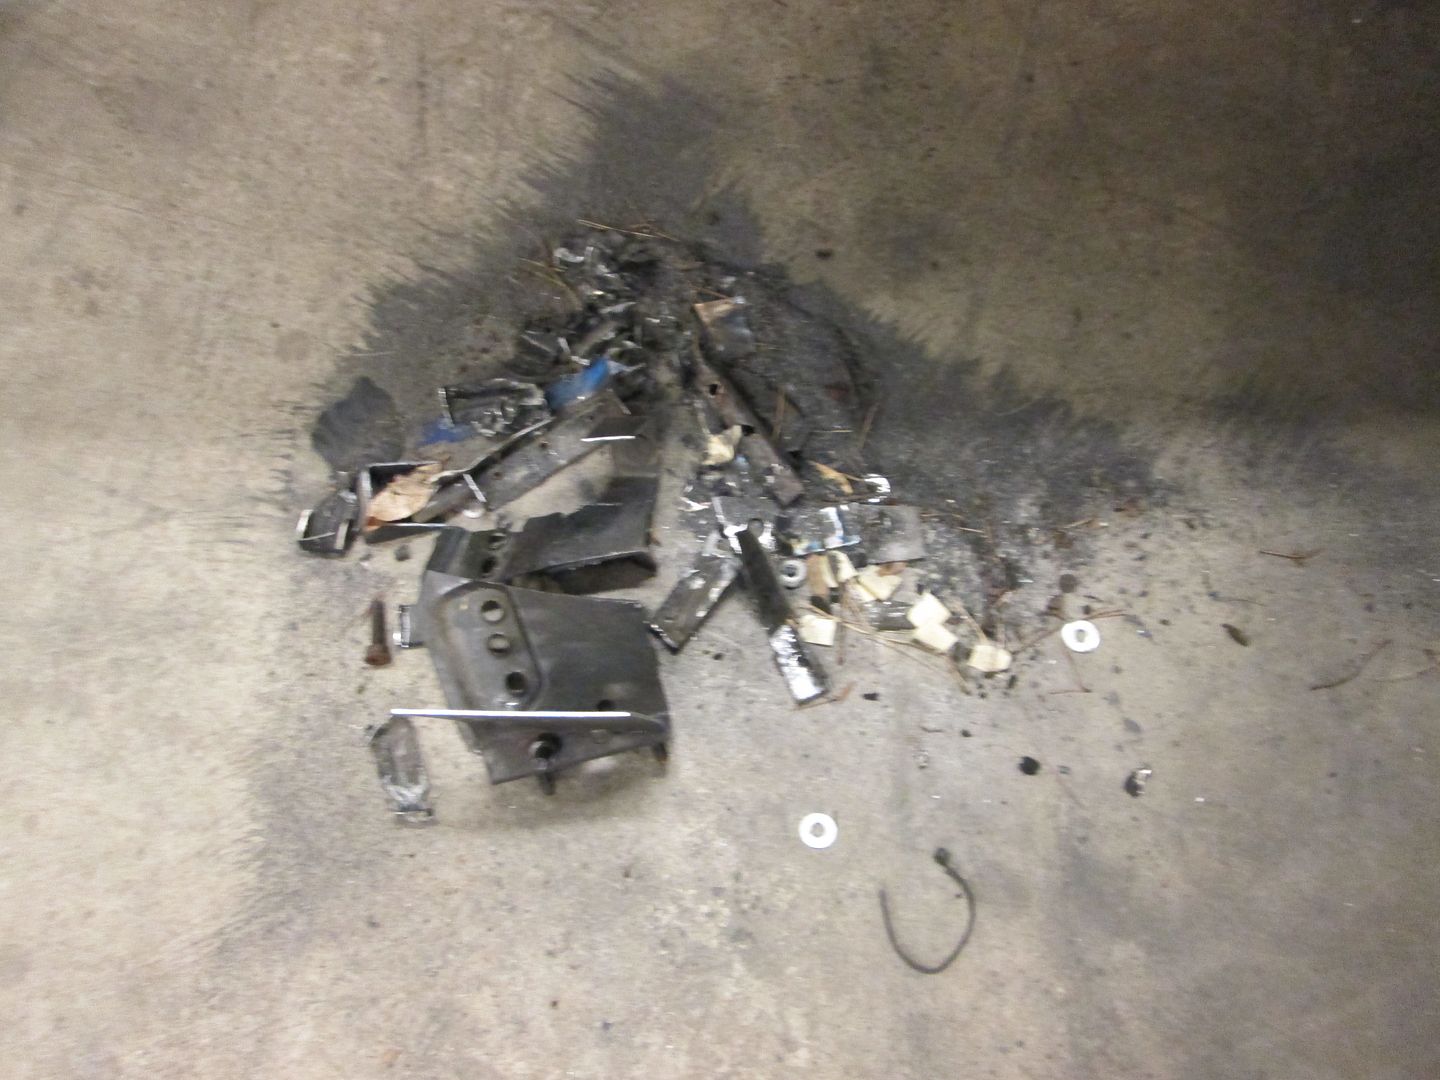
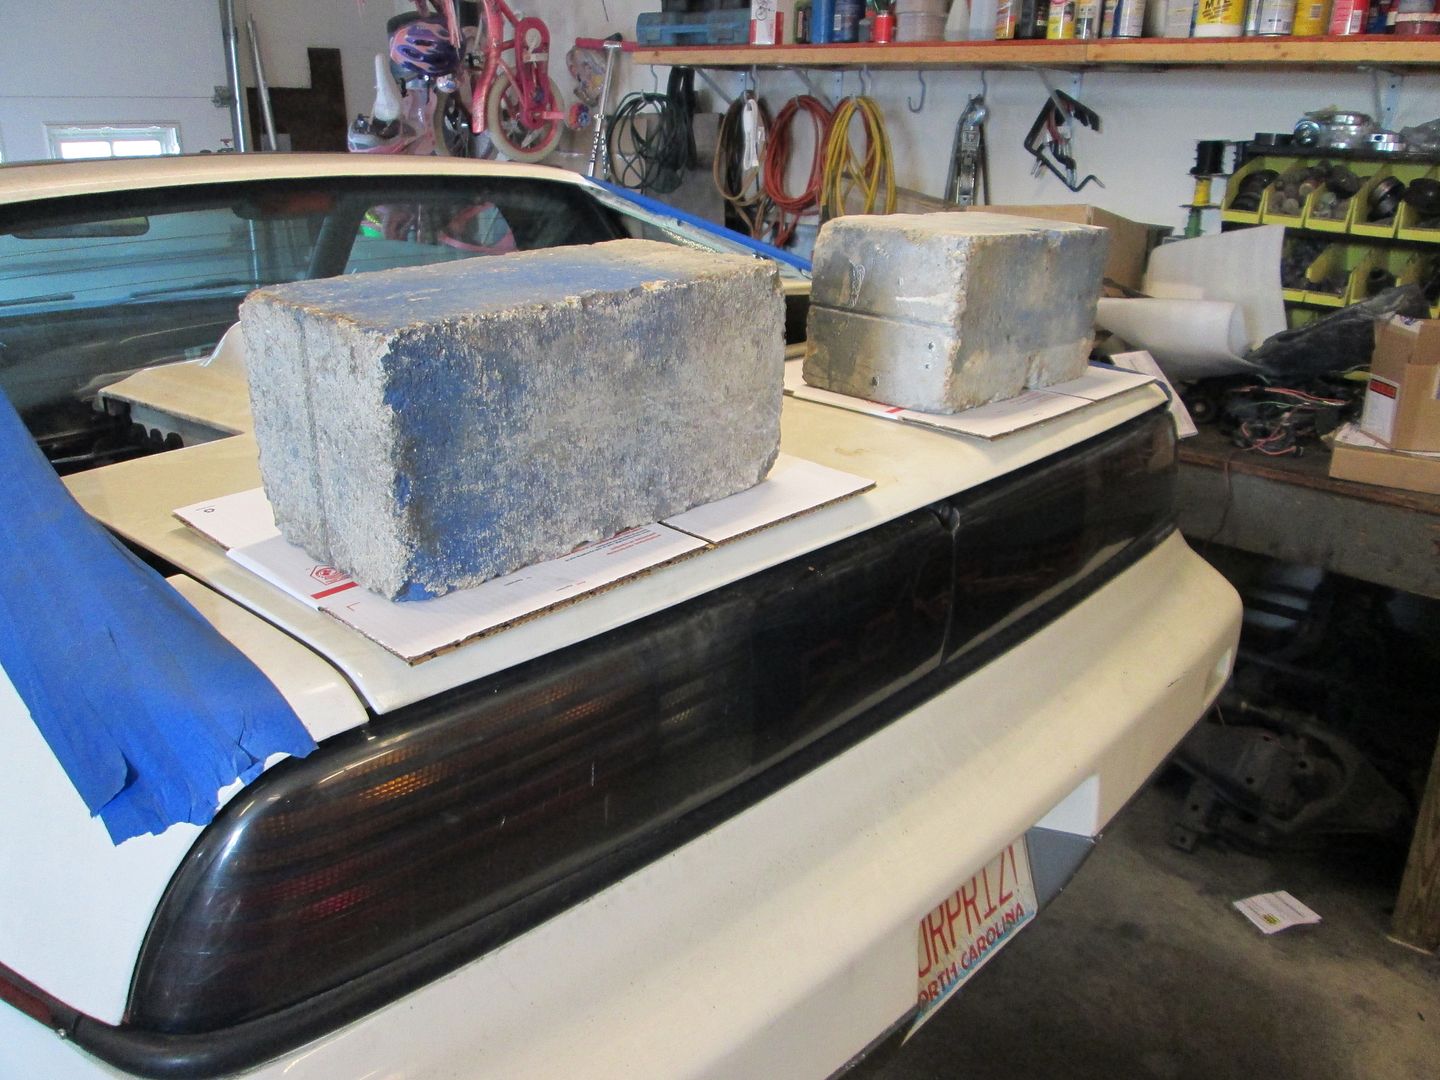
I saw the first picture before I read the sentence, and immediately thought "That can't be a good thing..."
I am so happy to be wrong! lol
|
|
|
|
fieroguru
|
JAN 18, 03:18 PM
|
|
|
|
|
Trinten
|
JAN 18, 03:37 PM
|
|
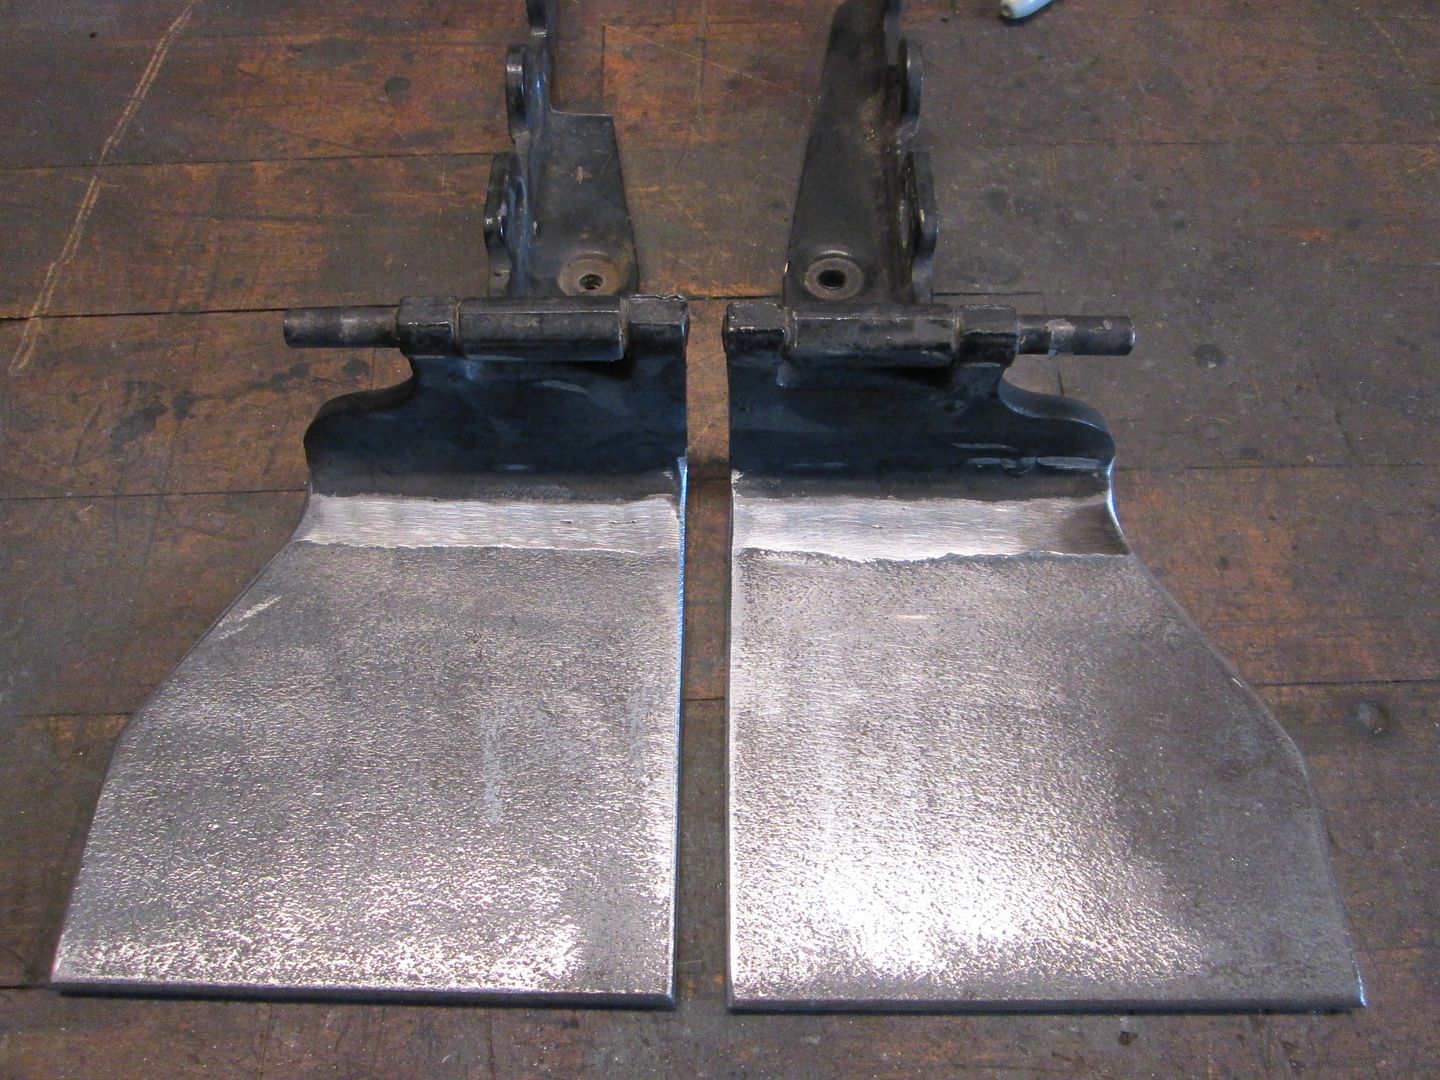
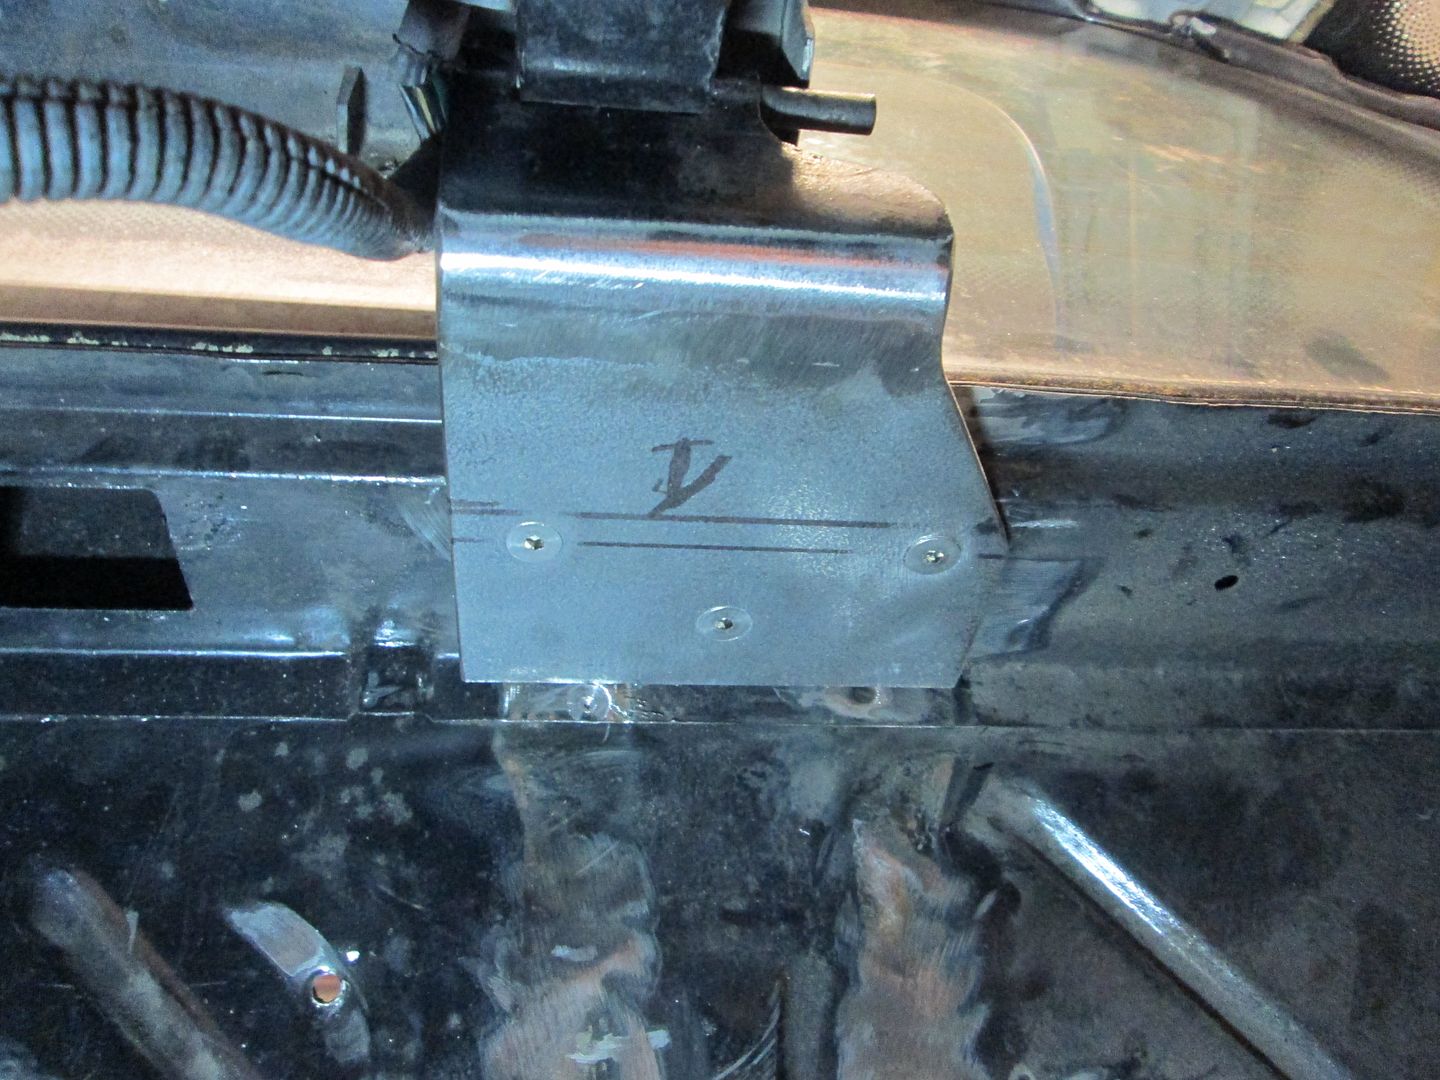
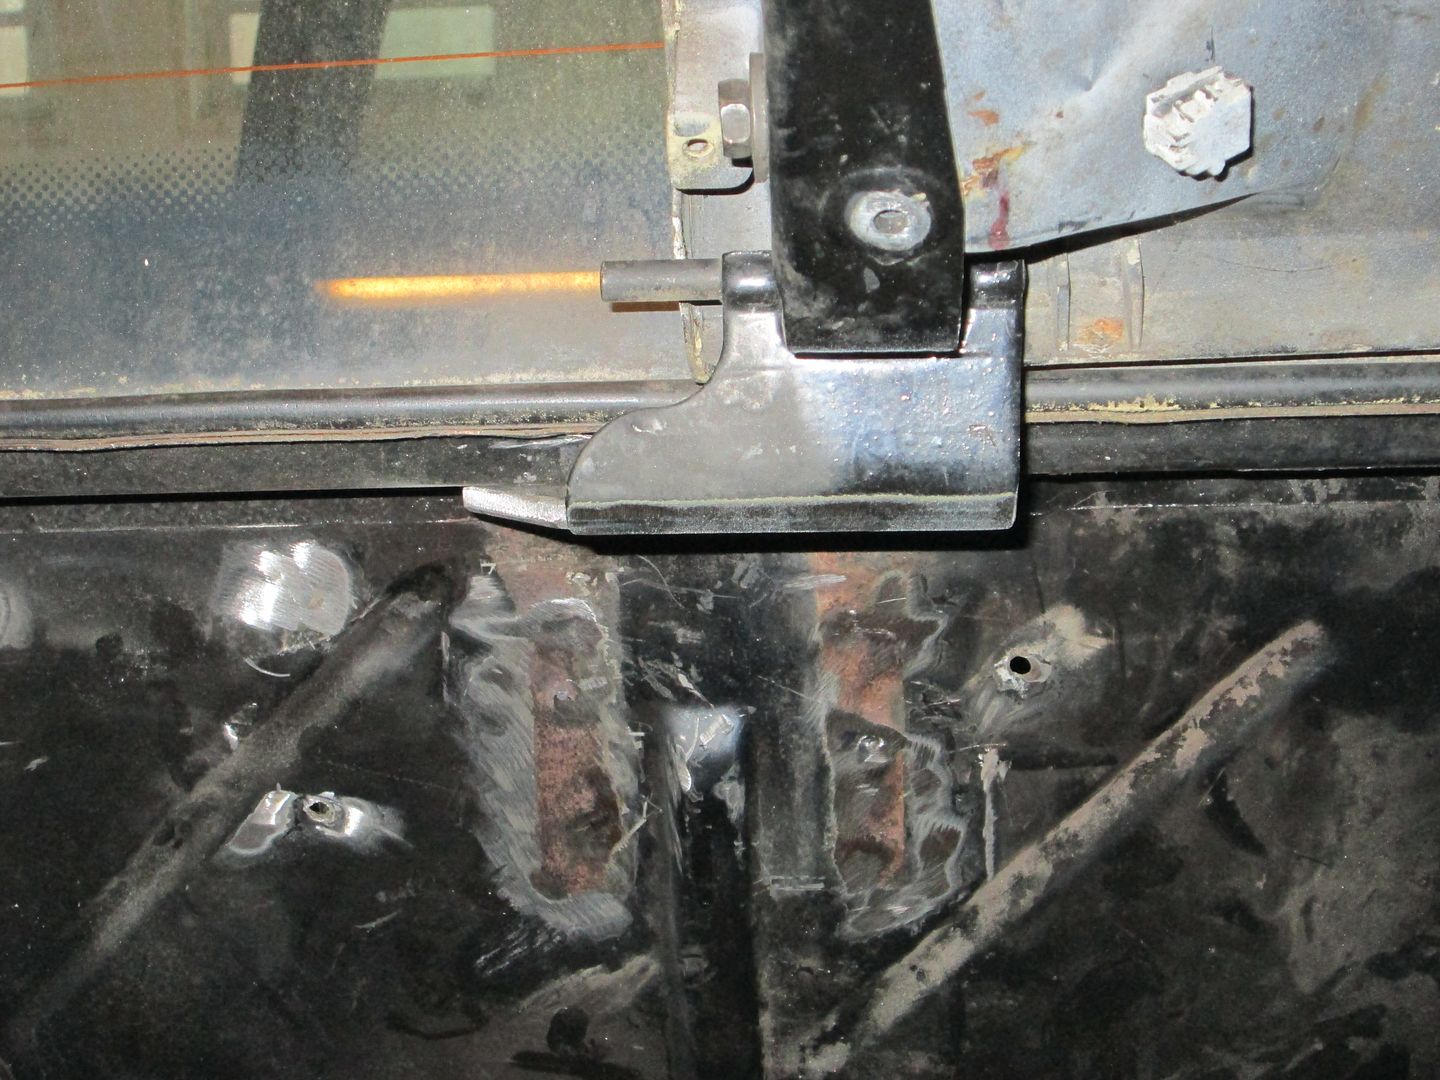
Very nice! Those hinges look elegant! My Fiero is getting classy! (it was such a dirty street walker before.)
|
|
|
|
fieroguru
|
JAN 18, 05:39 PM
|
|
|
|
|
fieroguru
|
JAN 19, 02:08 PM
|
|
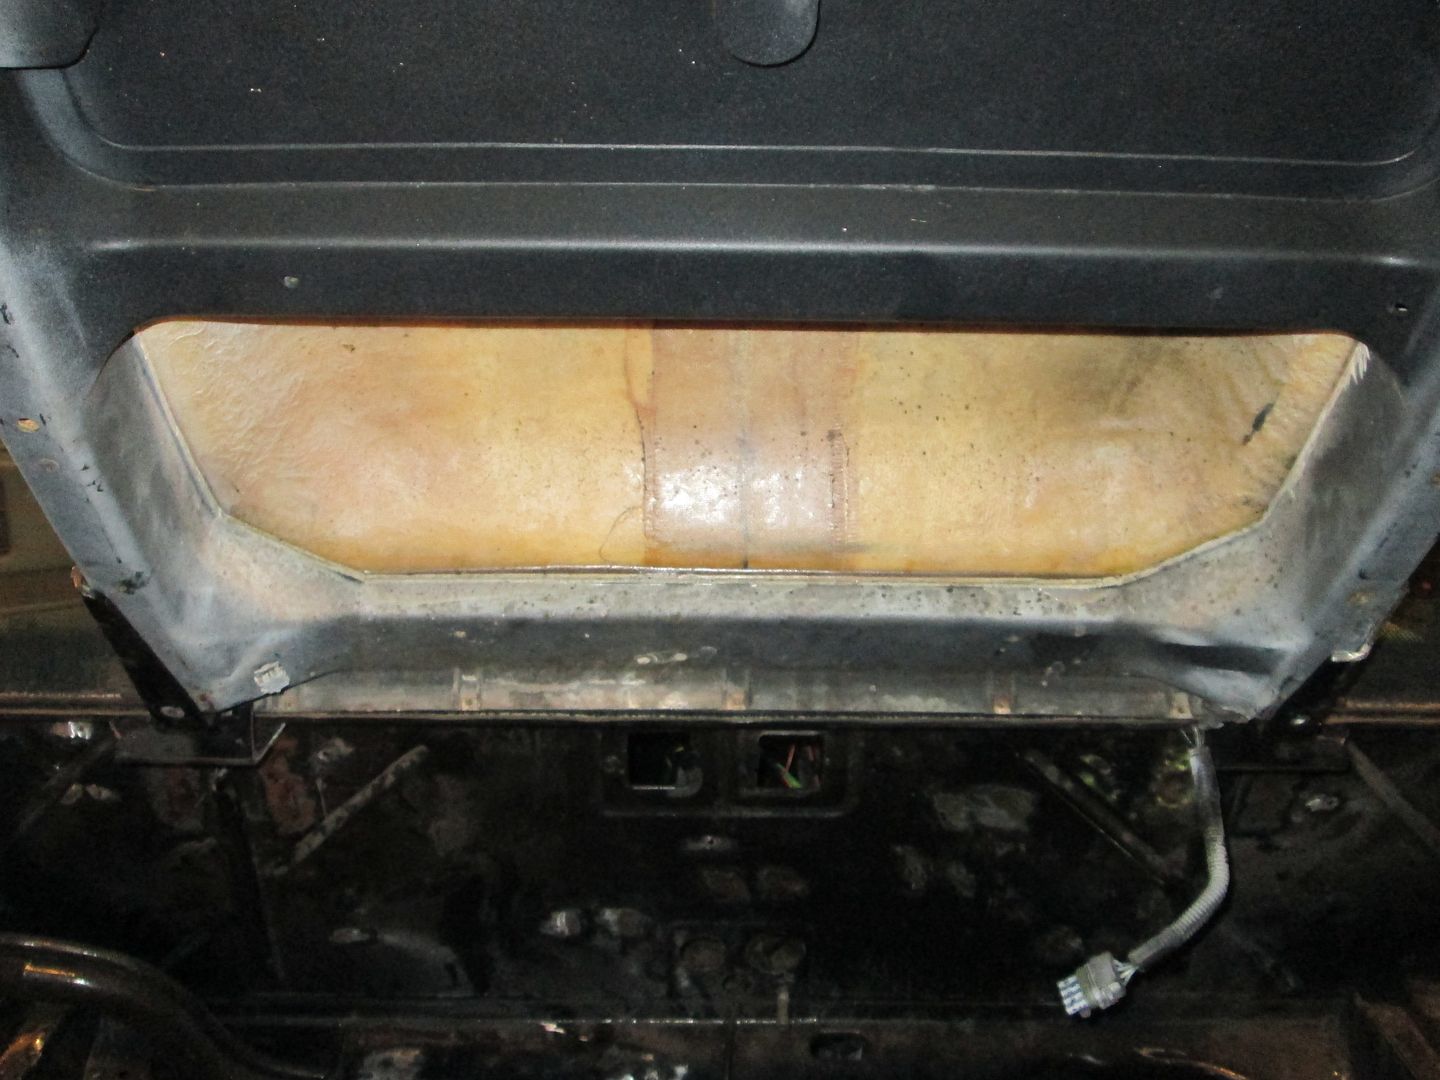
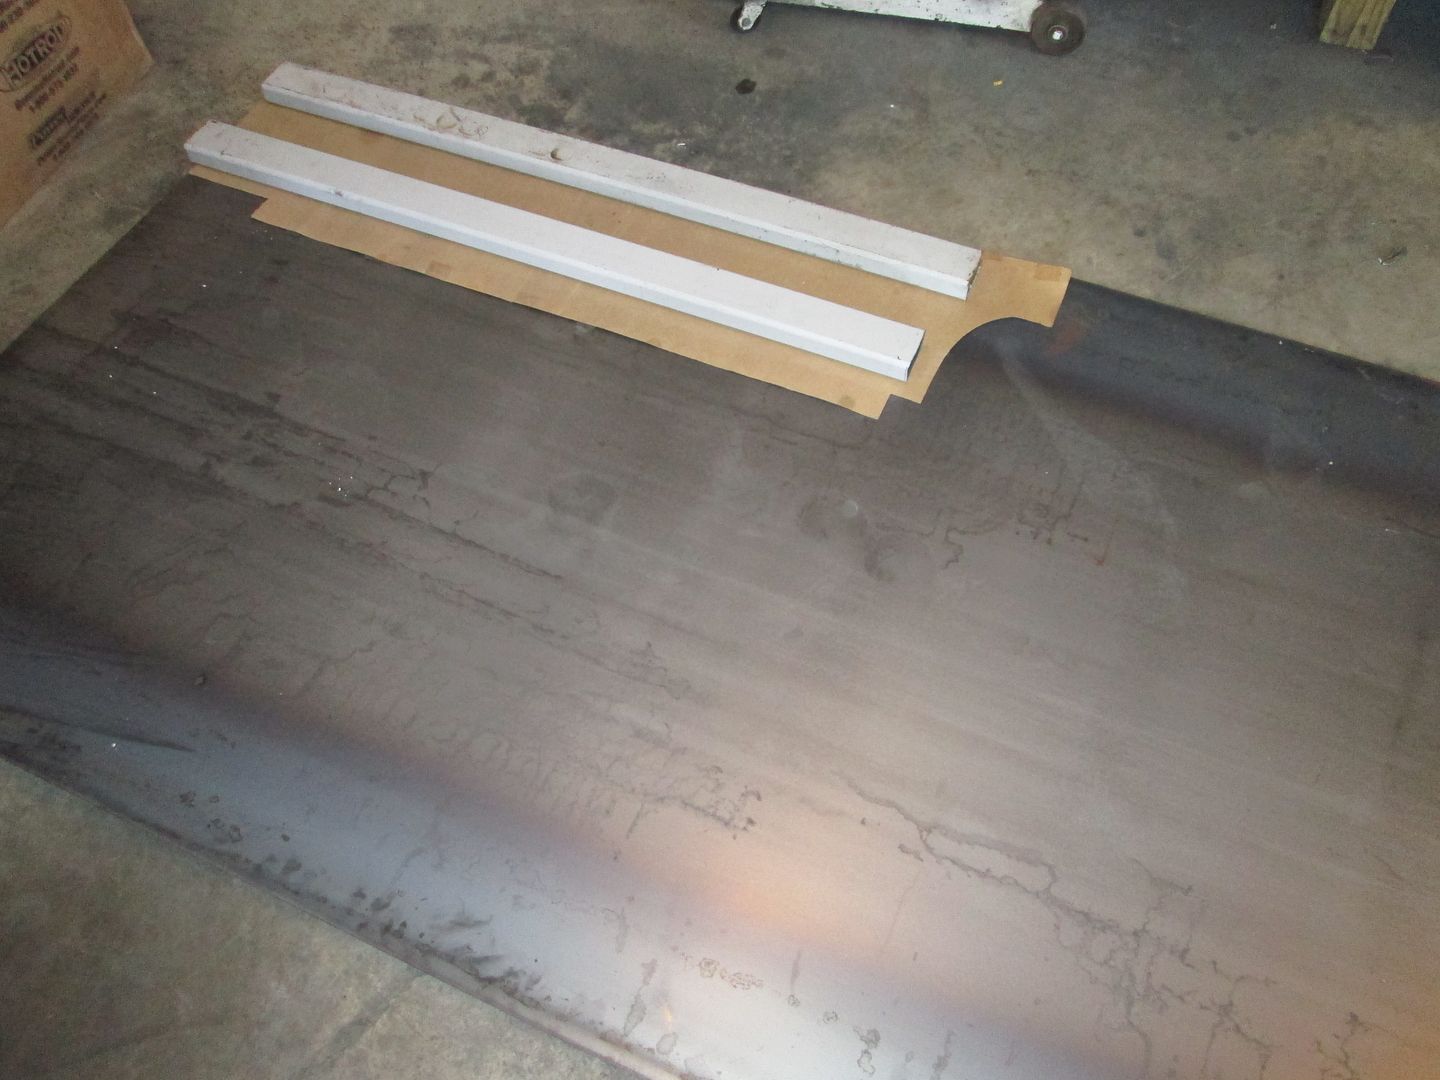
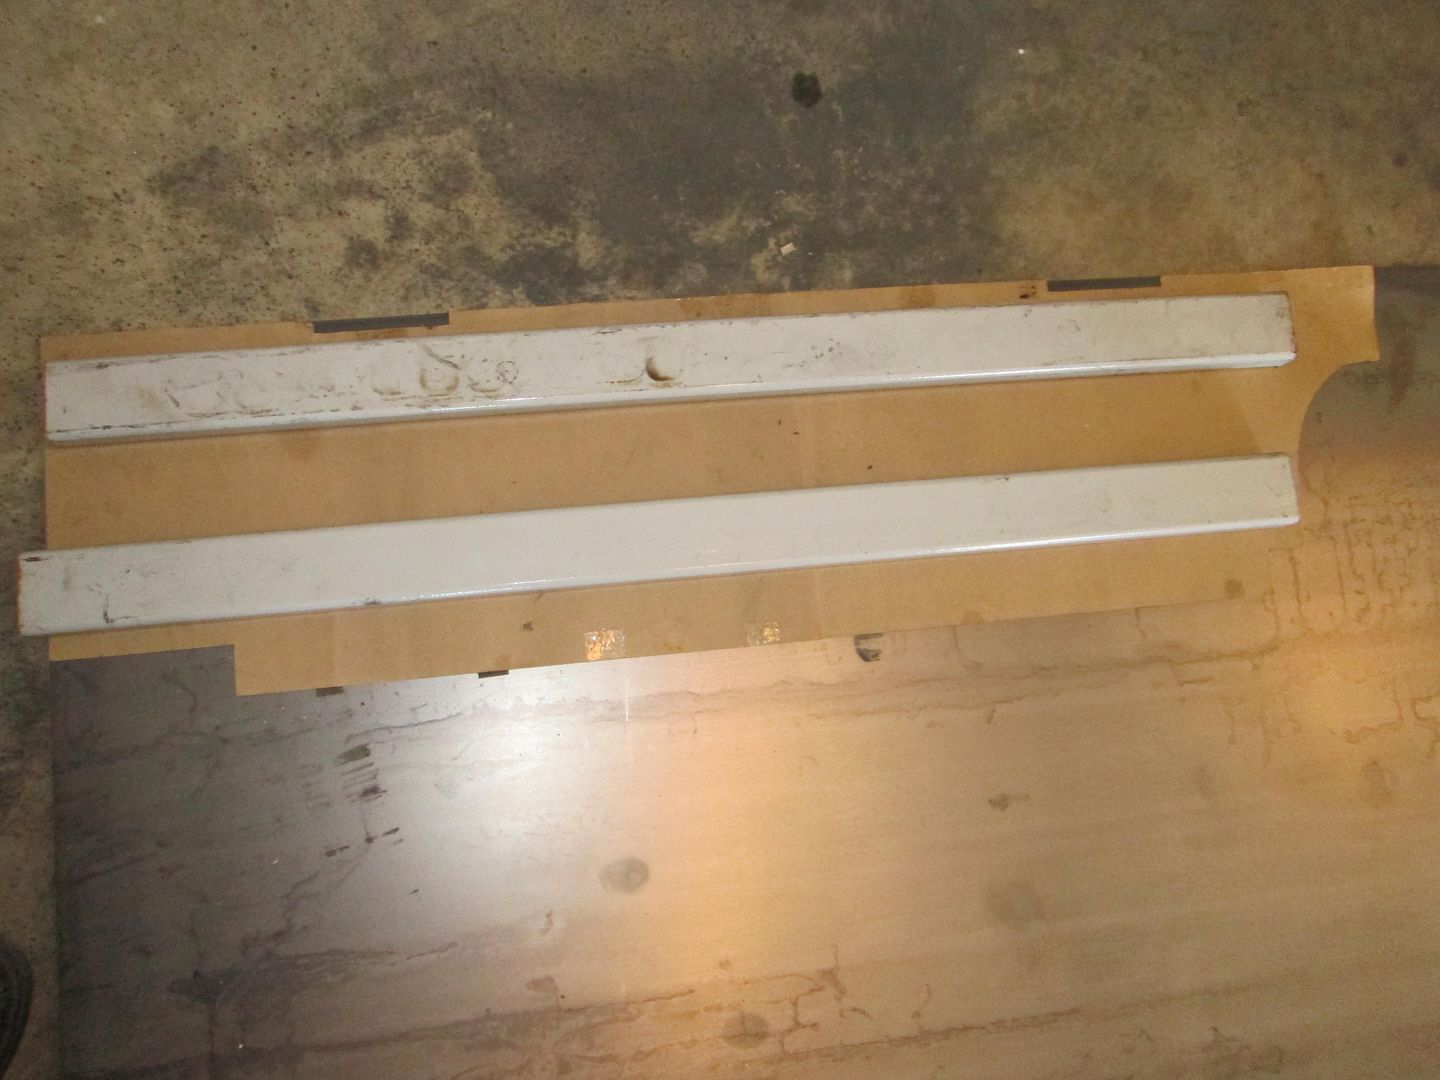
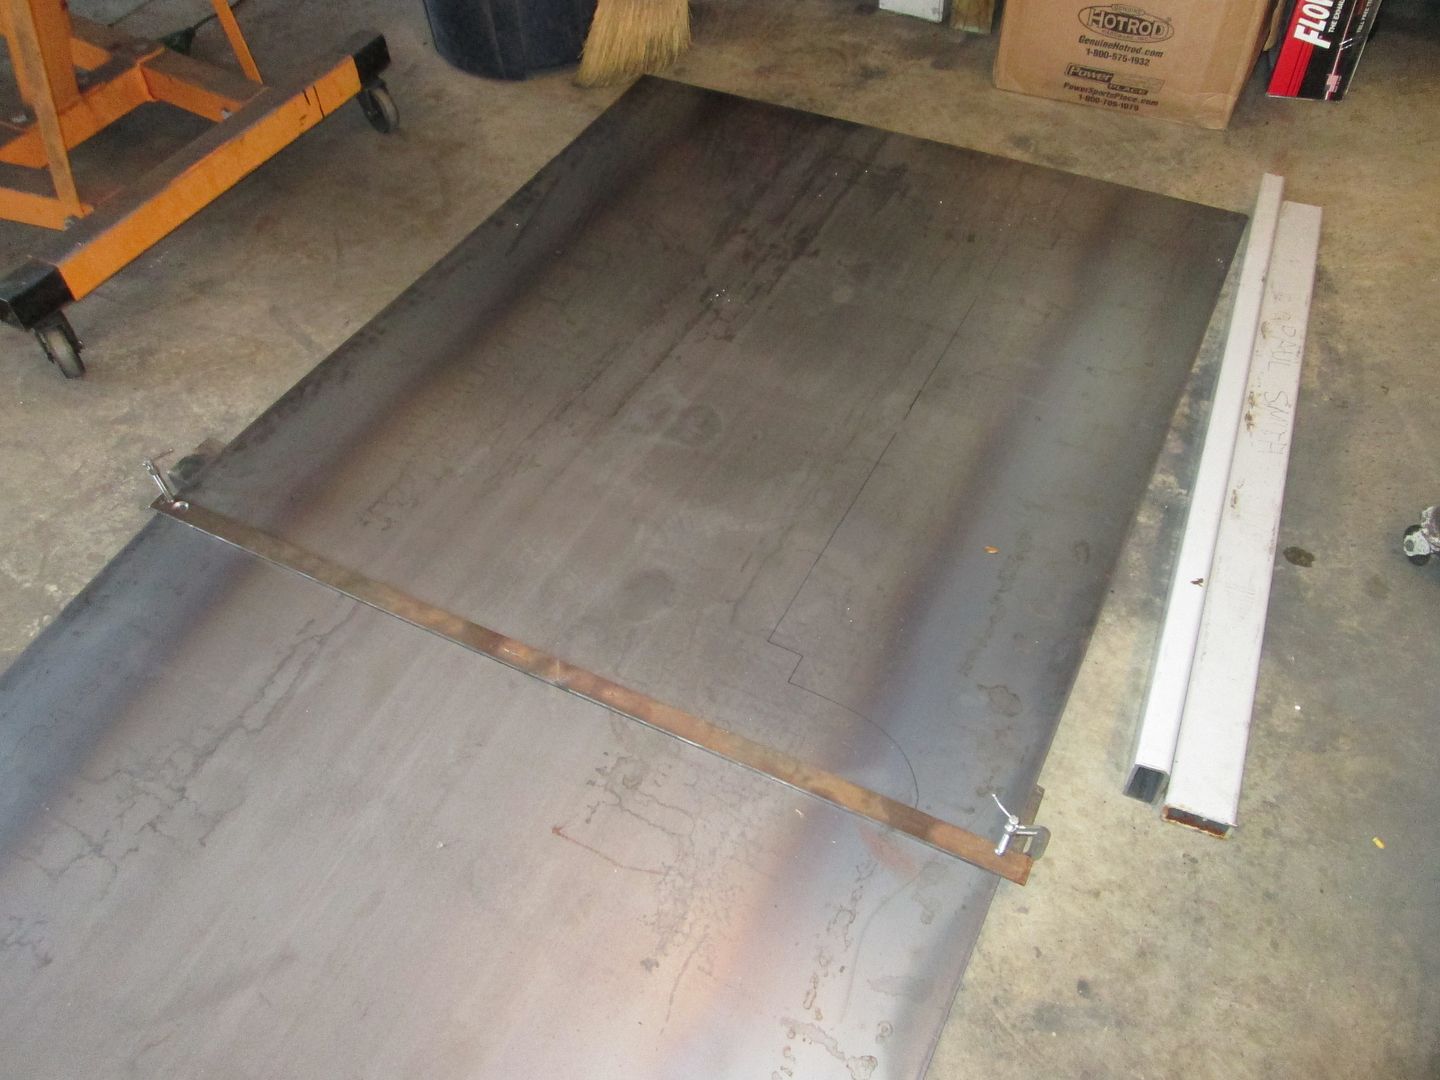
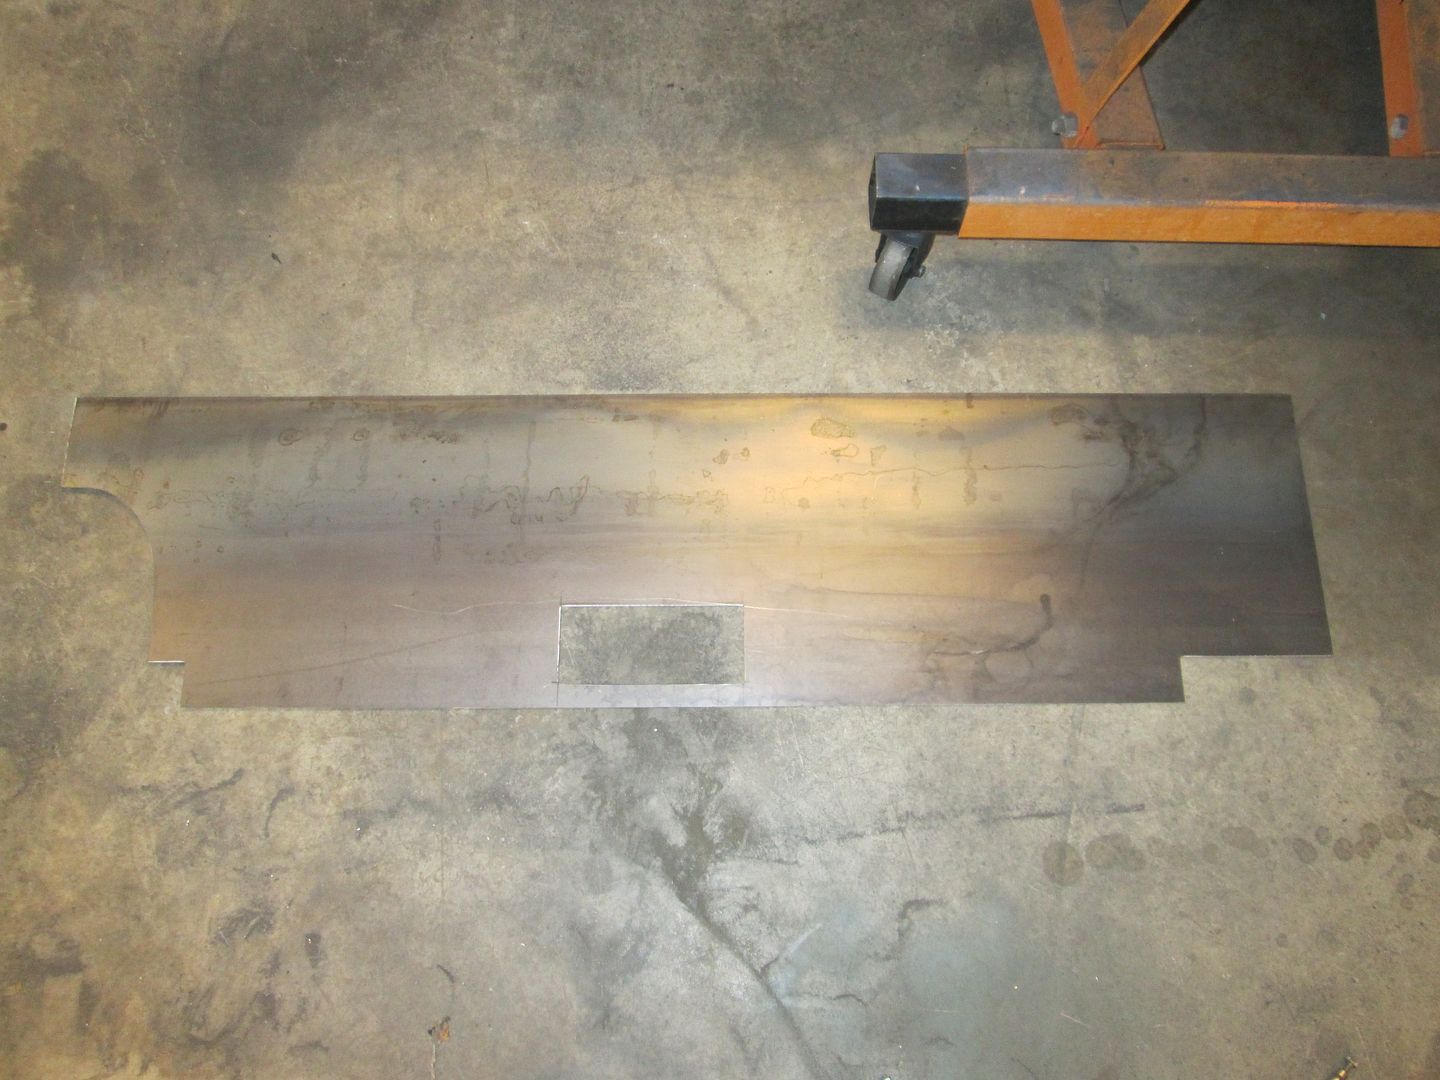
Smooth firewall panel has been cut to shape and test fitted. Now I need to weld on the spacers on the back side. Started with a full 4x8 sheet of 16 ga and the card board template I made a few years ago:
I use a long piece of steel to help ensure I make straight cuts:
Trimmed (except for the small cut outs for the hinges, I wanted to test fit it so I know exactly where they are):
Test fitted. The 16 ga is flexible enough to slide behind the fuel fill tube and slide into place:
Now I need to mark the mounting holes, drill them, and weld on the spacers... then the firewall panel will be ready for sanding and paint.
|
|
|
|