|
| Chrysler 3.5 HO V6 swap (Page 29/33) |

|
seajai
|
JUL 23, 12:11 AM
|
|
|
|
|
RCR
|
JUL 24, 06:50 AM
|
|
That's a handy solution to one of the biggest swap issues... Thnx for sharing.
Bob
|
|
|
|
seajai
|
SEP 07, 05:28 PM
|
|
Late summer update:
As seen in the post above, I dropped $900 smackers on a pair of custom axles and got them installed the day before the trip to Frazee. After about an hour in to the trip I started to smell something like oil burning, I thought it was one of the cars in front of me. When we made a stop, I notice some smoke from the engine area. There was CV joint grease spraying on my exhaust system! My new $900 axles had a leaky boot. I found a small hole that looked like it was put there when the band clamp was installed. I made a metal shield for the exhaust and used some RTV to try and plug the hole while at Shipmans and drove it home. I made a call to Driveshaft Shop and they sent me 2 new boots. Pretty easy to replace the boot and problem solved.
The Chrysler swap has been running pretty well all summer but has had some intermittent "hiccups". This spring I had it stall at a red light and it took me a few minutes to get it restarted. A couple months go by without a problem and then a stumble in the parking lot of a gas station on the way home from Dells. It made it to Frazee and back without incident. Then last week on the way to a show, The engine stumbled and the transmission downshifted to 2nd, I reved it a little and it straightened out. After a brief stop at Kwik Trip for beverage, I had trouble getting it started again. Once running and on the road, another stumble/downshift event, and then it ran fine the rest of the day. A couple days later, it stumbled, the gauges all went to zero, and the engine stalled. Had a helluva time getting it started but managed to limp it home. Now it barely runs...start, stall, spit,spudder......then nothing. No spark, weak/no injector pulse on the noid light. The way the Chrysler is set up is the coils and fuel injectors receive power through the auto shutdown relay and the PCM drivers ground to fire the coils and pulse the injectors. When I built the wiring harness, I used eyelet terminals with the heat shrink on the ends for the PCM/TCM grounds (5 wires in total). Well, come to find out, the heat shrink is worthless for sealing out moisture but perfect for hiding corrosion. I cut the covering off and whadda ya know.....white powdery corrosion everywhere! I installed new terminals and no more problems! Lesson learned.... no more using the terminals with the heat shrink ends.
The transmission has developed a new noise and has an old noise I thought was my old axles but apparently wasn't. Still haven't checked 'em out yet so not sure what's wrong there. Ahhh the joys of owning an old modified car....never a dull moment.[This message has been edited by seajai (edited 09-07-2014).]
|
|
|
|
carbon
|
SEP 09, 10:30 AM
|
|
There is heat shrink, and terminals similar to which you are speaking, that have a heat activated sealant inside...
Heat Shrink > Dual Wall (Adhesive Lined)
Edit: I suppose the open end of the crimp would still let in moisture... depends on the design, I guess.[This message has been edited by carbon (edited 09-09-2014).]
|
|
|
|
LZeppelin513
|
SEP 28, 01:20 PM
|
|
I just finished reading your thread from start to finish. WOW. Your innovation and broad range of talent is impressive. A big thank you for taking the time to post it all. Good luck as you near completing the build. 
|
|
|
|
Bloozberry
|
FEB 08, 11:07 AM
|
|
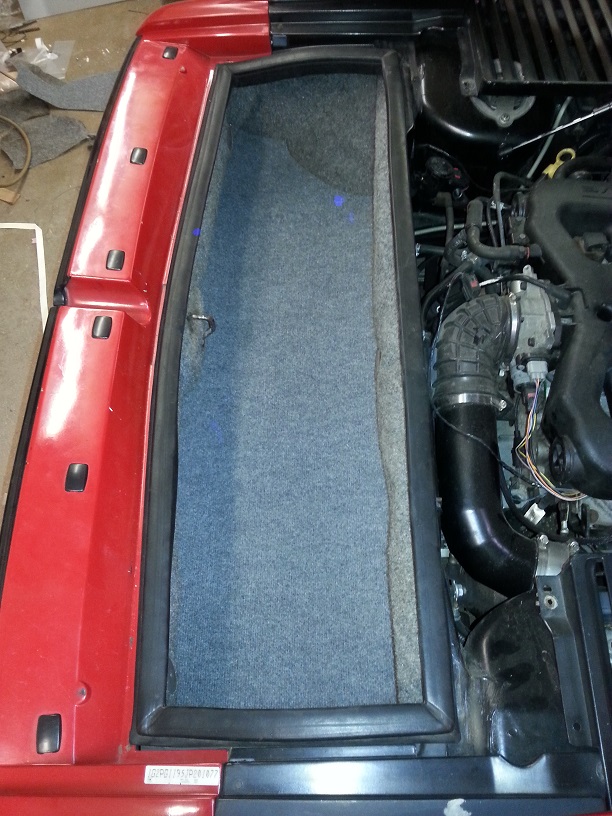
Me too... I can't believe I missed this thread all these years. The engine looks absolutely right in that bay... like an F355. Interestingly from the videos, it doesn't sound much different than a stock Fiero, so you could easily surprise someone at a stop light when those extra 120 ponies rear up. Gotta hand it to you... excellent idea, great workmanship, and lots of quality photos showing how you did it.
(Now paint that intake something more exciting than black!  ) )
|
|
|
|
seajai
|
FEB 08, 09:32 PM
|
|
Thank you so very much for the kind words, it means a lot! 
Guess it's time for a mid-winter update:
The car is in storage right now, with a few projects still left to be completed. I just bought all new Moog rubber bushings to rebuild both front and rear suspension. Some of the other projects may need to be postponed due to a lack of funds. But I am hoping to get a start on my custom door panels.
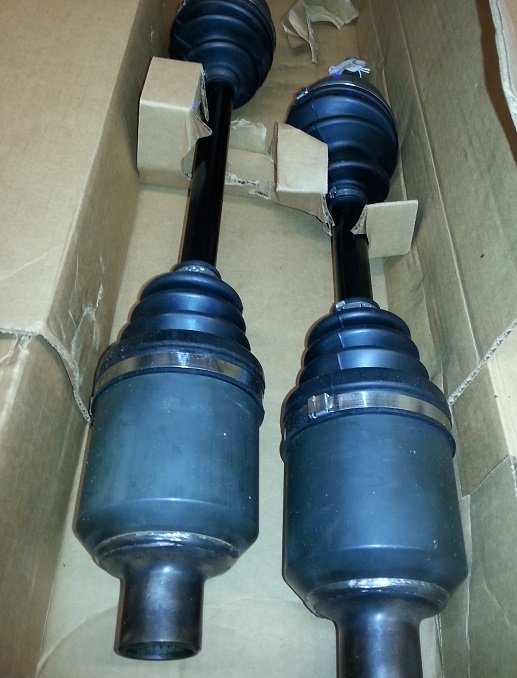
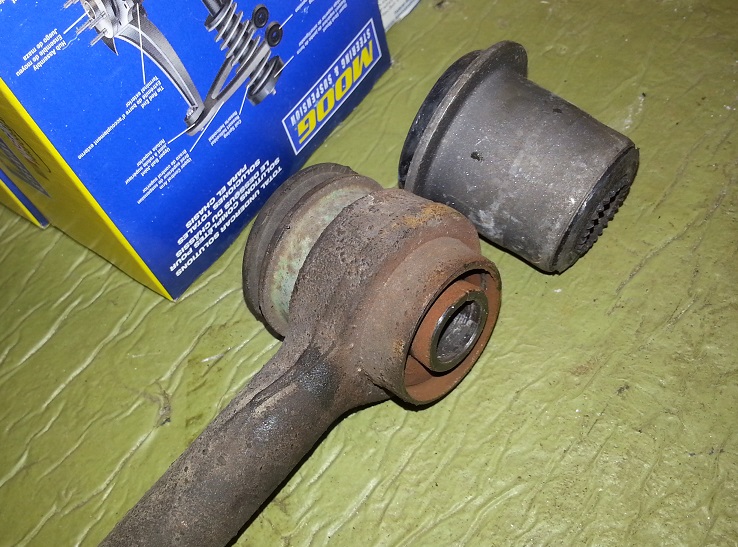
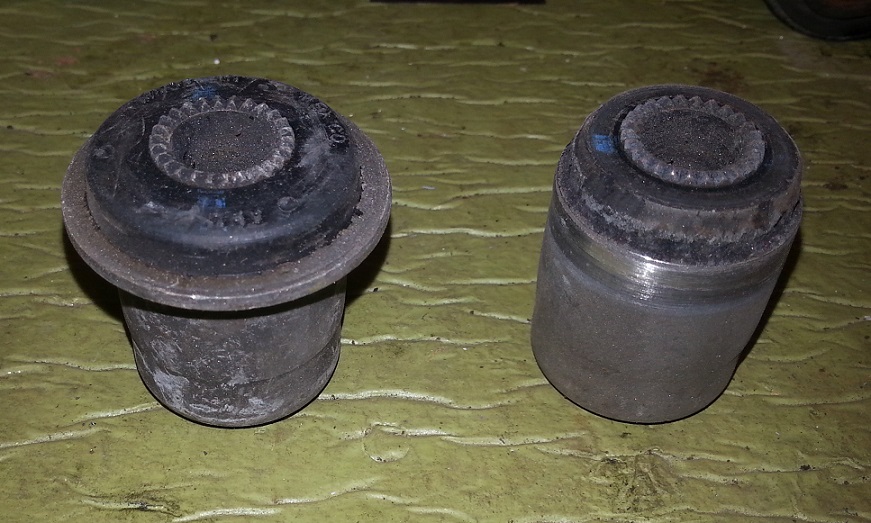
I have been having problems with my $900 customs axles. After just a few hundred miles the right axle inner C/V started making a clicking noise on acceleration. Driveshaft shop uses Interparts to make their custom plunging inner C/V joints. The one on the left in the pic is what they used on my axles.

When I removed the axle, it seemed like there was excessive rotational play in the joint so I sent it back to Driveshaft Shop for a warranty repair. They sent it back saying they took it apart and inspected everything but didn't find anything worn or damaged, but they did use a different type of high-temp grease on reassembly. I re-installed the axle and it was quiet.....for about 300 miles....and it started clicking again. And now the left side inner C/V is clicking too. I'm running an offset on the axles but the inner C/V's should be able to handle it, the outer C/V's have the same angle and they're fine. So now I need to send them back again, hopefully this time they'll replace the joints. I'm pretty disappointed with the whole thing, I assumed for $900 I was going to get quality, trouble free axles but that hasn't been the case. Hell, my cobbled together $100 junk yard axles were quiet for 10,000 miles, they just shook on hard accel because the tripod joints and the high angle.
I was going to pull the engine and take it all apart to inspect everything and fix a couple oil leaks that have popped up, as well as paint and detail all the other parts including the plastic intake. But lack of funds may push that to next winter as well. I'll post plenty of pics when I get the suspension taken apart.
|
|
|
|
jscott1
|
FEB 14, 04:23 AM
|
|
I'm coming late to the party... loved what you did with the dash... wish I had seen that 14 years ago when I did my dash swap.
|
|
|
|
seajai
|
FEB 20, 06:10 PM
|
|
Ok, so here we go, finally getting going on my suspension project.

Picked up all new MOOG bushings through rockauto .com, only $140 bucks for everything.
K6170 - front upper control arms, rear toe and lateral links.
K6163 - front lower control arms
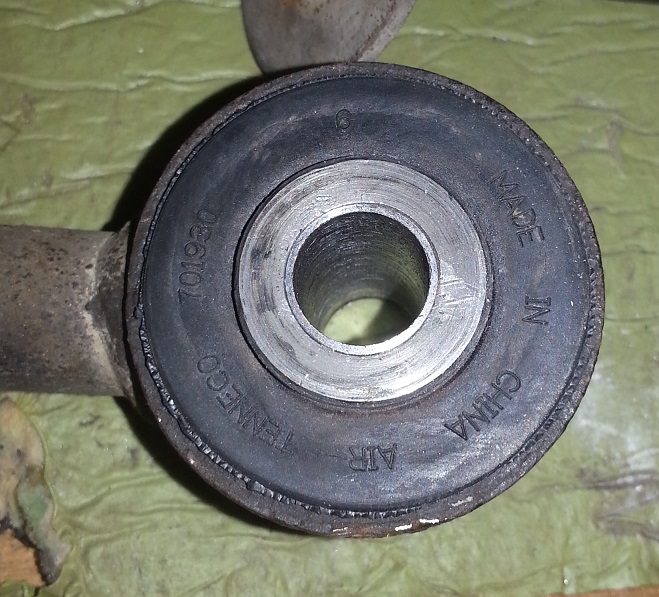
K200102 - rear trailing arms (tenneco# 701930)

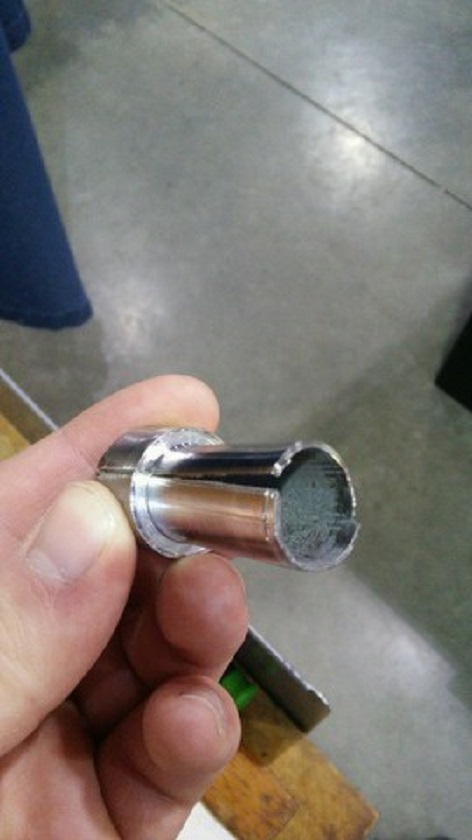
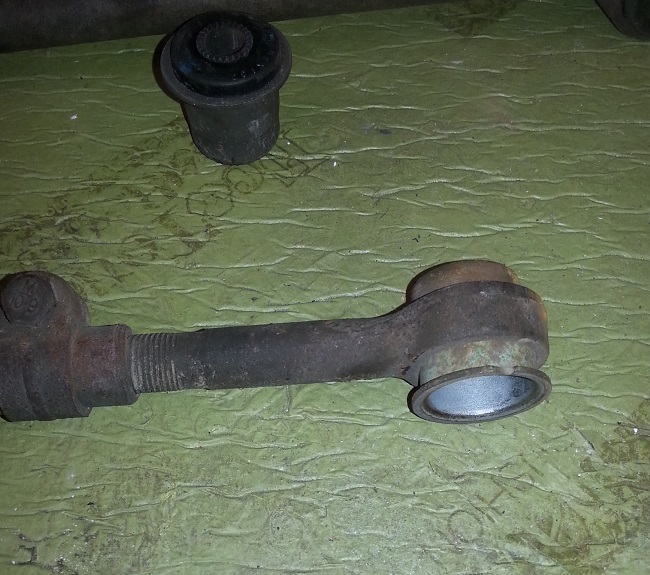
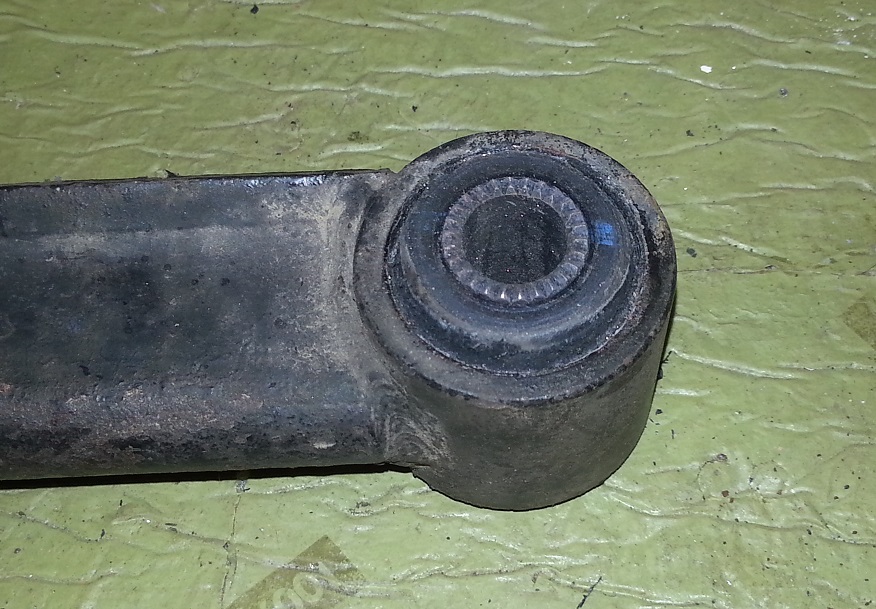
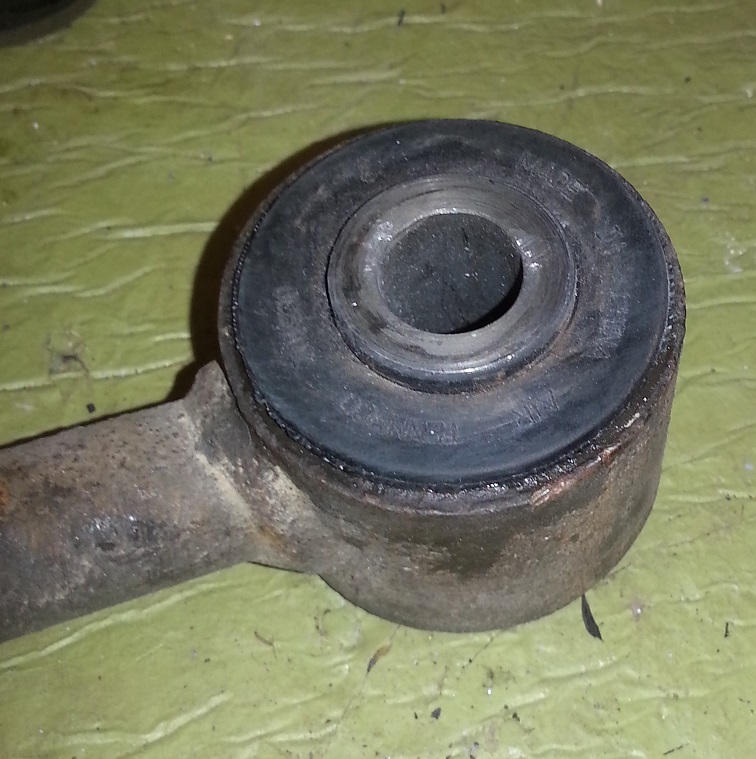
First off, the toe links. As you can see by the picture, the rubber of the bushing has slid out of place and the metal shell was rubbing on the mounting tabs.
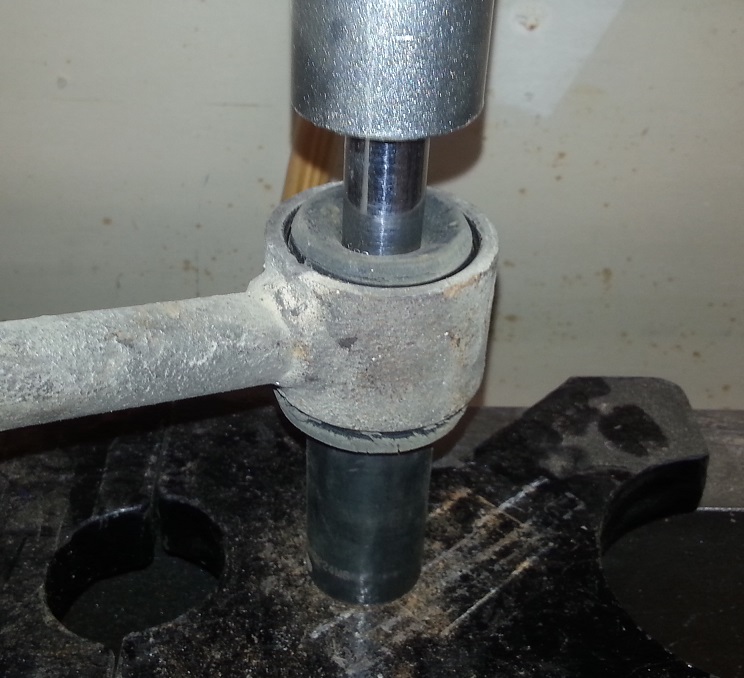
To take things apart, I decided to first press out the metal sleeve inside the bushing. Once removed, it was easy to grab the rubber bushing with a pliers and remove it from the shell.
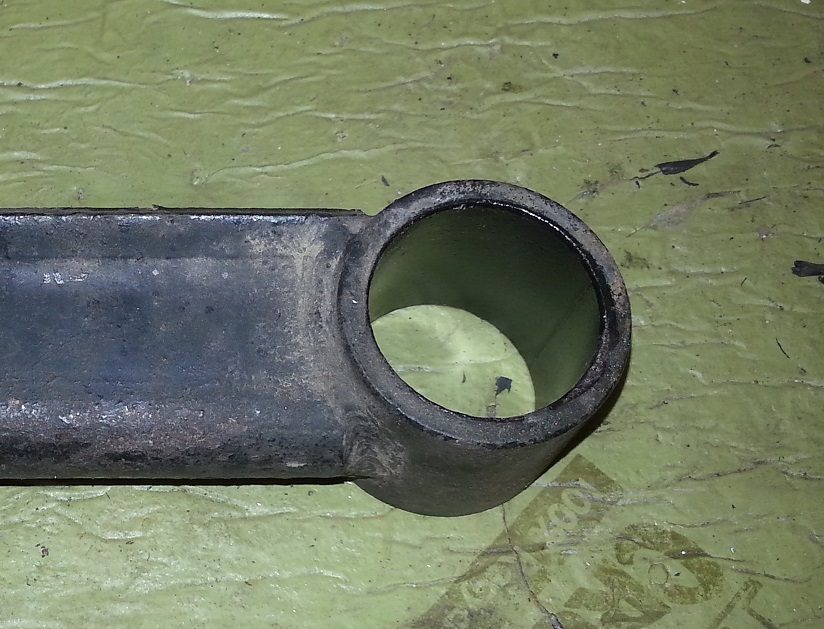
I then pressed out the shell and pressed the new bushing into place, easy schmezy.

Next up is the lateral link. The problem here is that the bushings are not designed to be replaced but the K6170's will fit with some modifications.
First, I removed the bushings the same way as the toe link.
The issue here is that the shoulder on the bushing shell won't let the bushing press in far enough, leaving it off center. The way I decided to get around this issue was to remove the shoulder from the shell and then remove the overhanging part of the rubber.
I used a shell from the old bushing to make an install tool for the new one. Removing the rubber "overhang" allows the tool to fit tight against the bushing.
And pressed the modified bushing into the lateral link
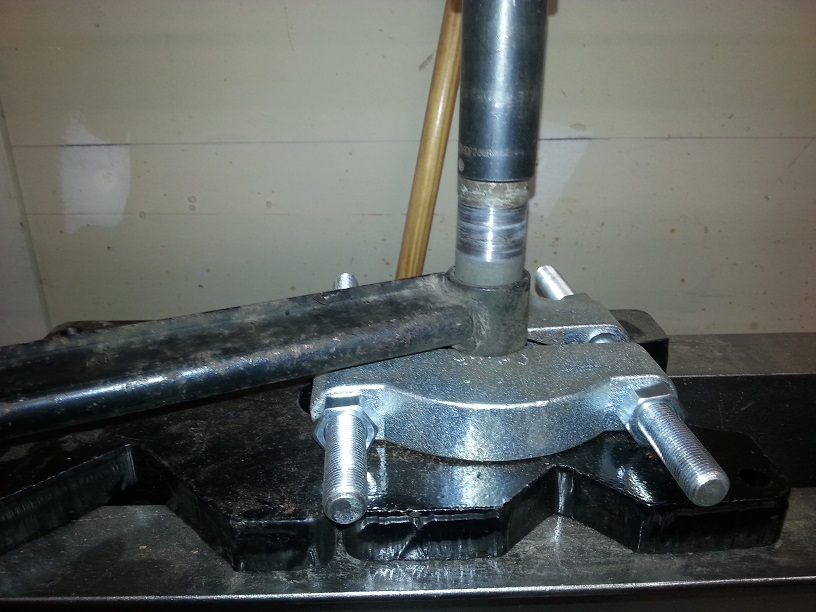
The new bushing has to be pressed in a little past the "flush" with the arm to center it. Here are a couple of pics of the installed bushing:
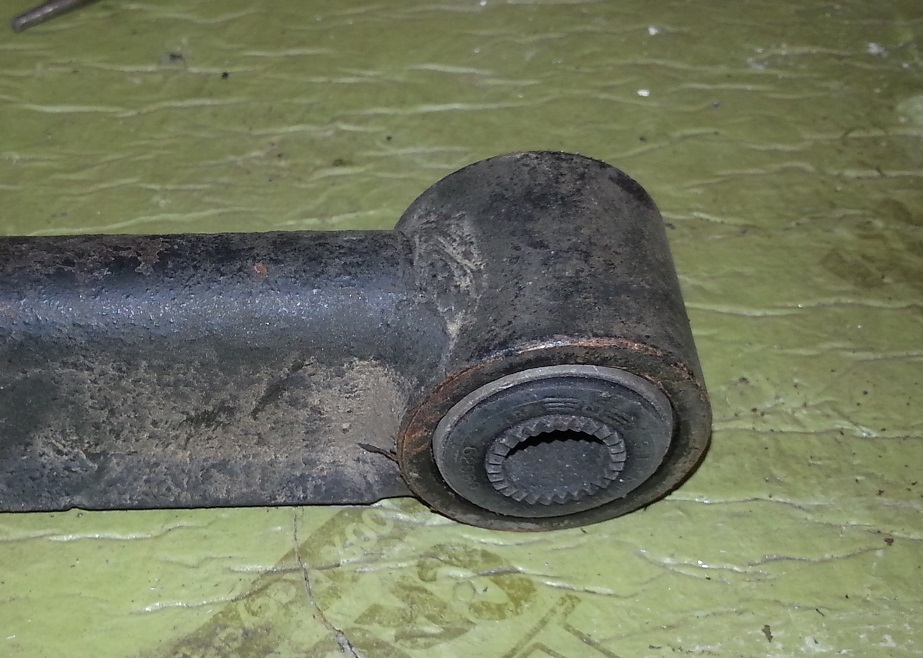
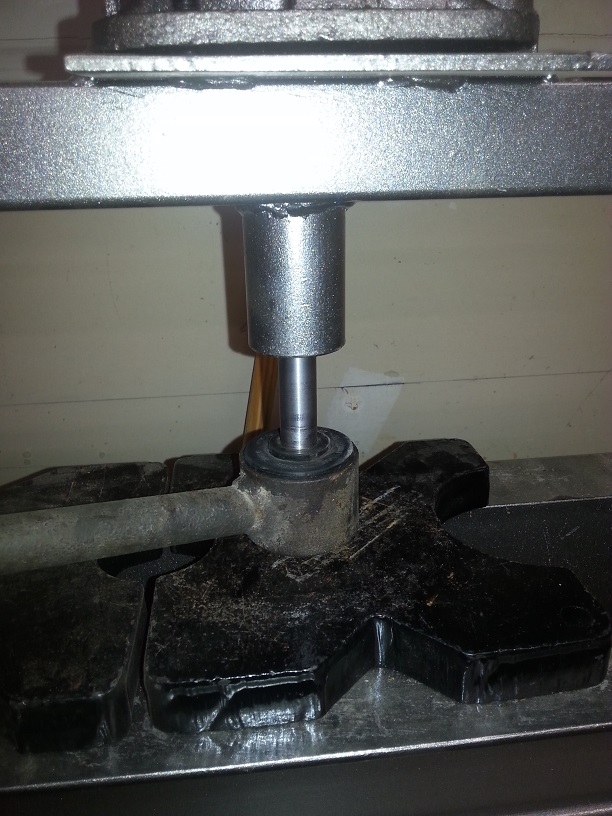
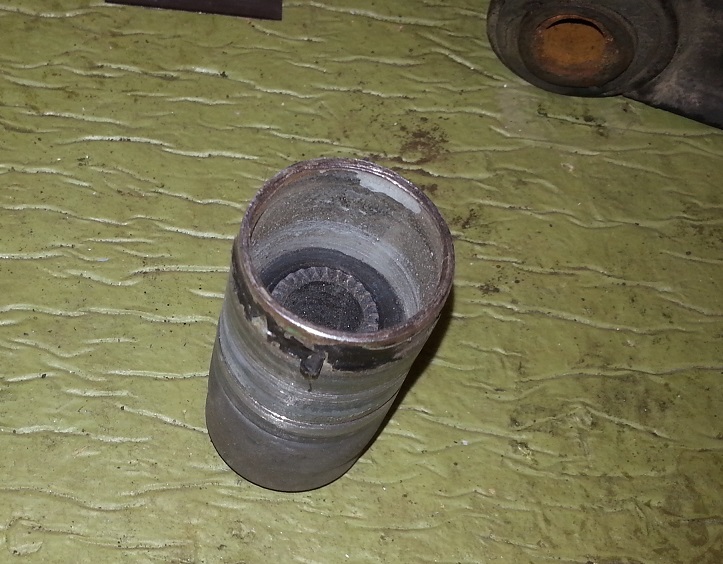
Next, the trailing arm. The bushings were pretty cracked.
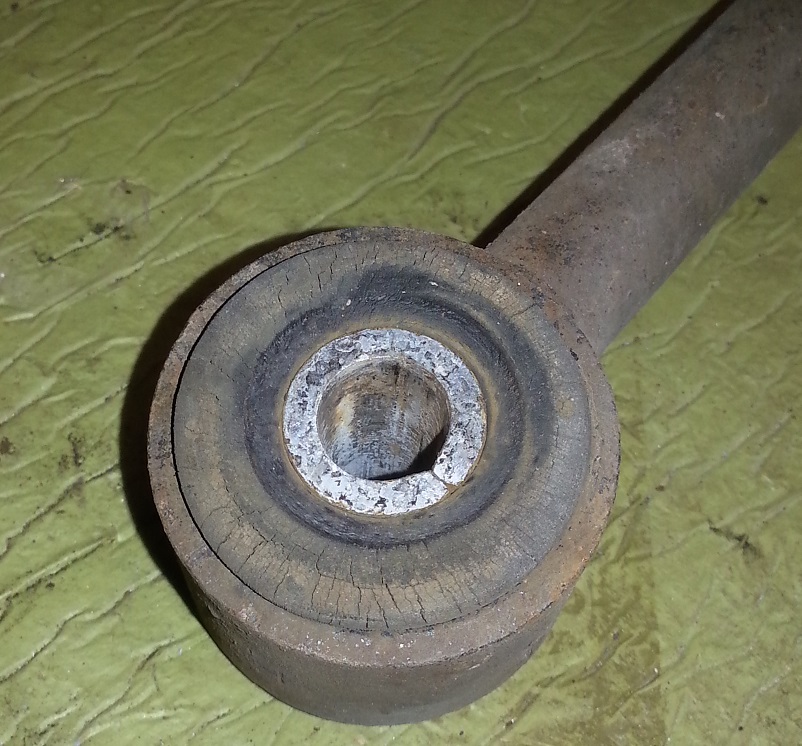
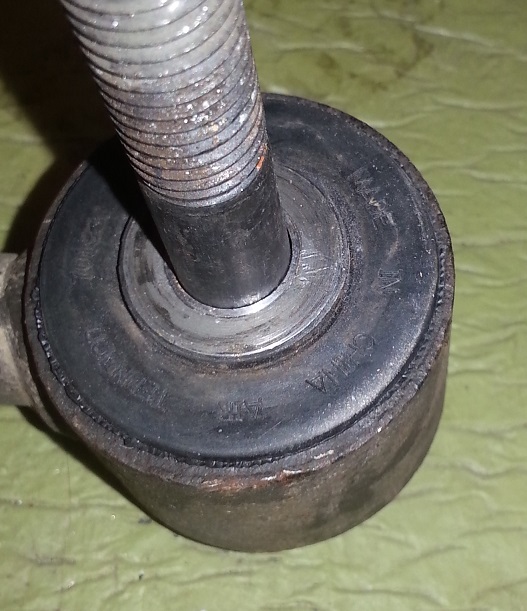
Push out the center sleeve:
Bushing removed:
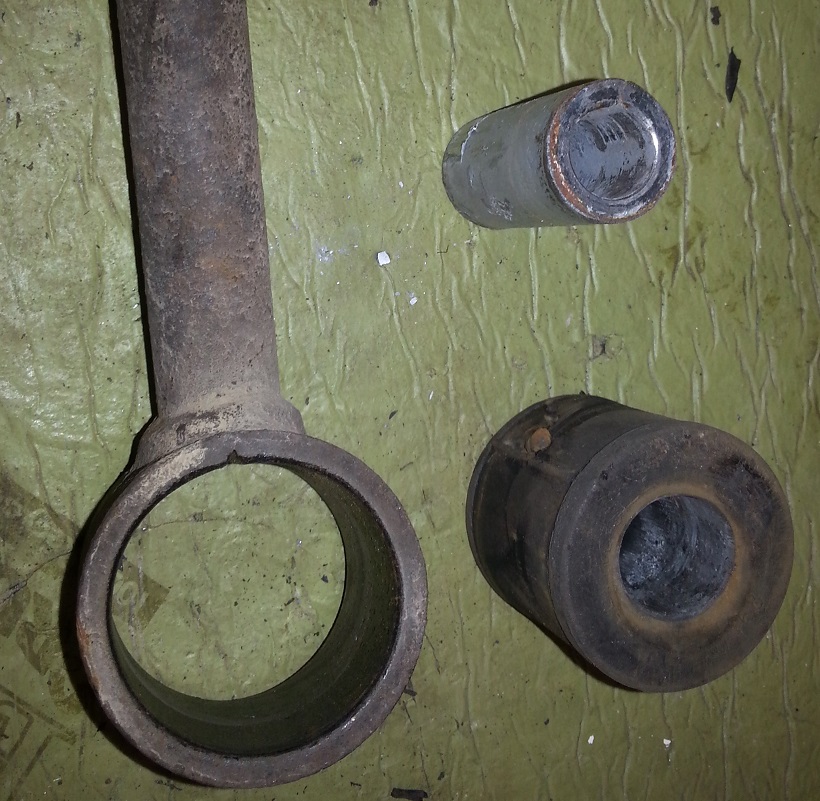
The new bushing installs quite easily. Just lube it up with some dawn dish soap and in it goes.
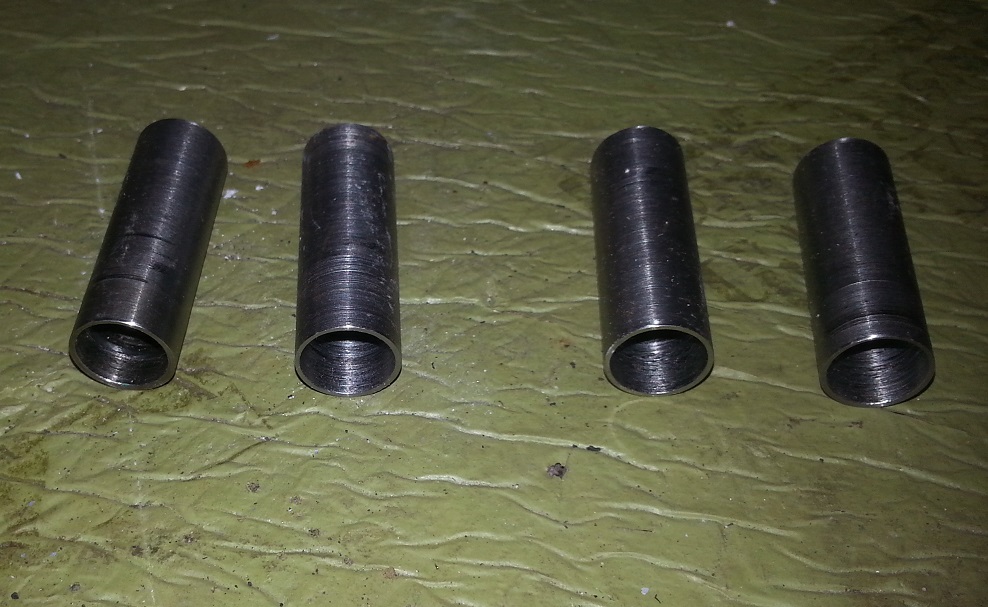
The K200102 bushing center sleeve I.D. is too large and the suspension bolt is loose in the bushing. The work-around for this is to have the old bushing sleeves turned down on a lathe to fit inside the new sleeve. I am currently having this done and will post a pic or two when I get them back this weekend.
And now on to the front.........[This message has been edited by seajai (edited 10-02-2023).]
|
|
|
|
seajai
|
FEB 22, 11:28 PM
|
|
|
|
|