|
| Ferrari 288GTO build (Page 28/64) |

|
RCR
|
DEC 14, 11:54 AM
|
|
Hi Wayne,
Youo're really going at it. Nice progress.
| quote | Originally posted by dobie1:
I hung plastic sheeting along the one side of the shop to help to keep all the dust contained in the one area as much as possible. I know this is going to be messy!!!!
Having the car lift sure is making working on the body much easier.
|
|
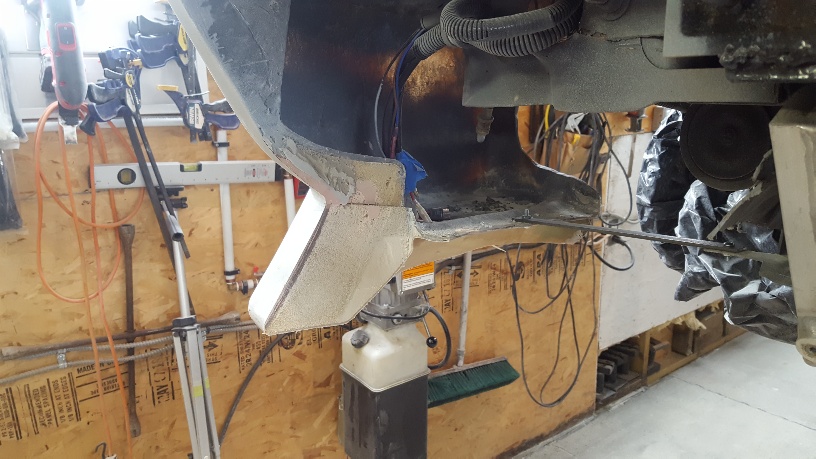
I don't know if I had a brain fart or what, but I didn't recall you having the rear decklid open rearward. How did you do your hinges??
Happy holidays, man...
Bob
|
|
|
|
dobie1
|
DEC 15, 11:11 PM
|
|
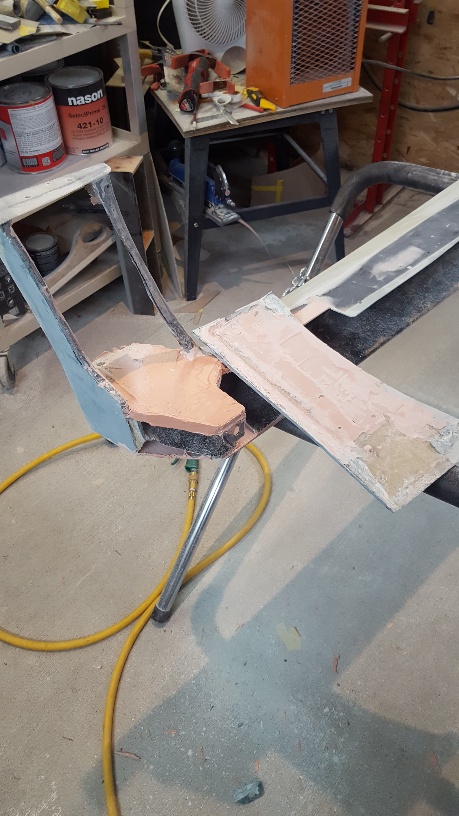
Hi Bob
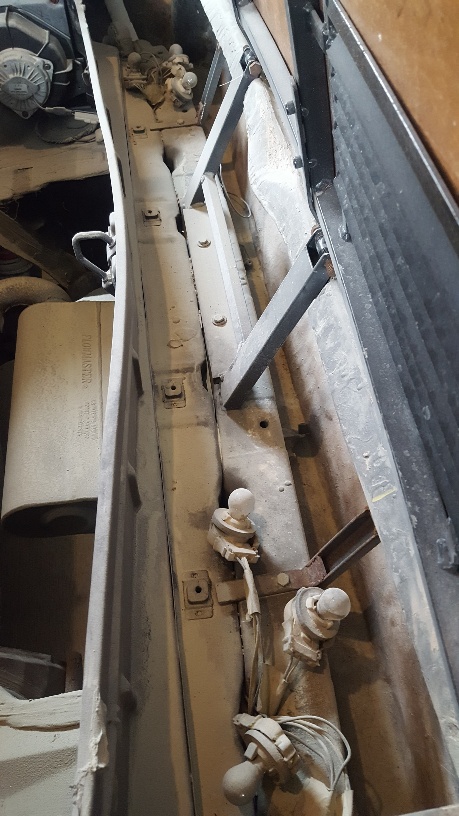
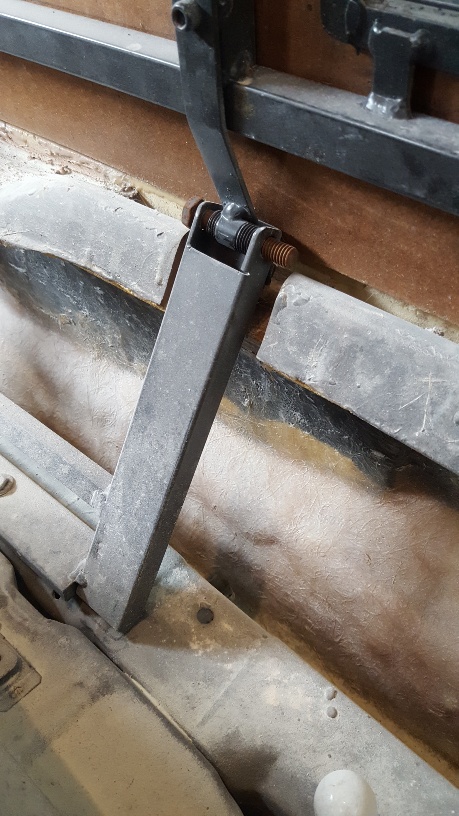
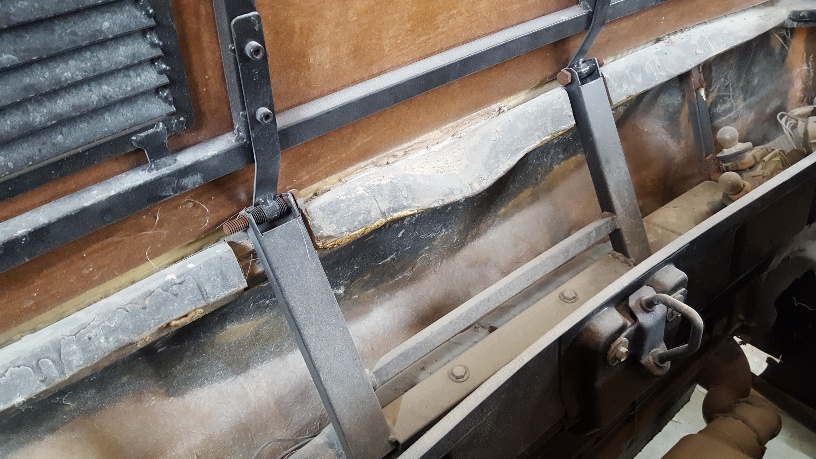
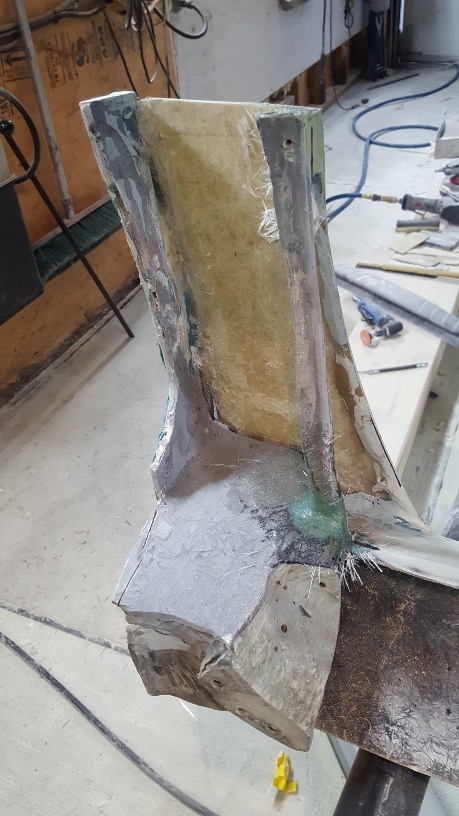
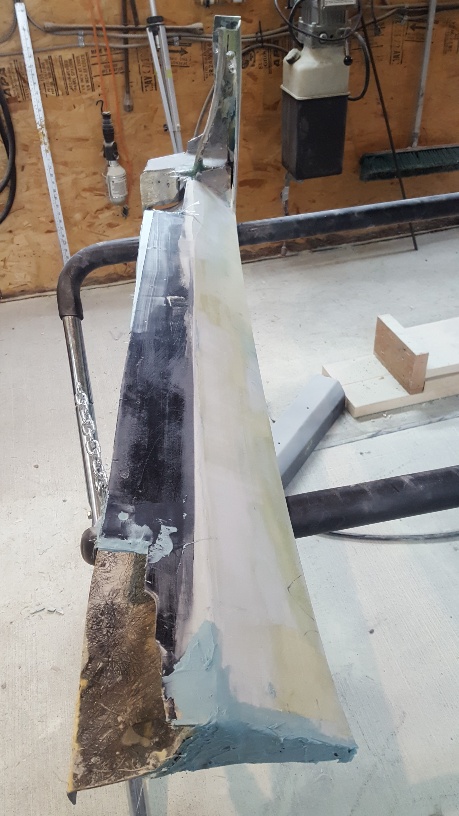
Yes it has been that way for awhile now , Bob. Here a few shots of the mounting and frame. I need to redo the actual deck before I mold it.
I may actually remove the steel frame and produce one out of foam incapsulated in a carbon fiber layup trying to reduce the weight but have the rigidity.
I hope life is getting back to normal for you and your family and you'll be able to get back to work on your project soon.
All the best of the season to you Bob.
wayne
|
|
|
|
dobie1
|
DEC 20, 07:05 PM
|
|
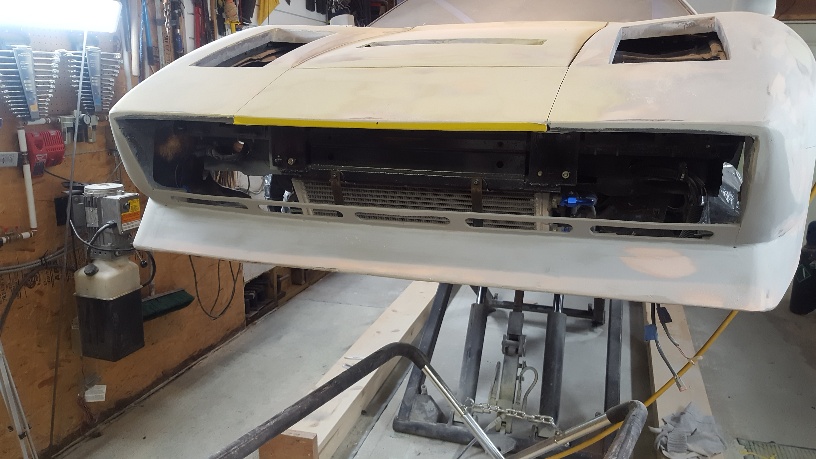
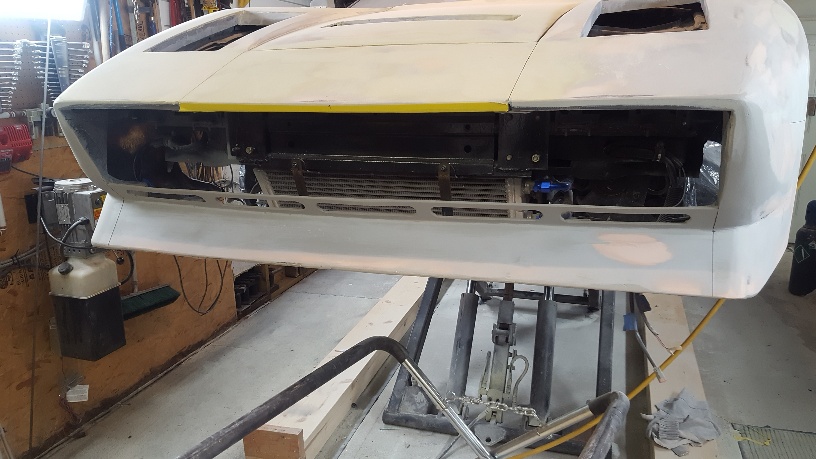
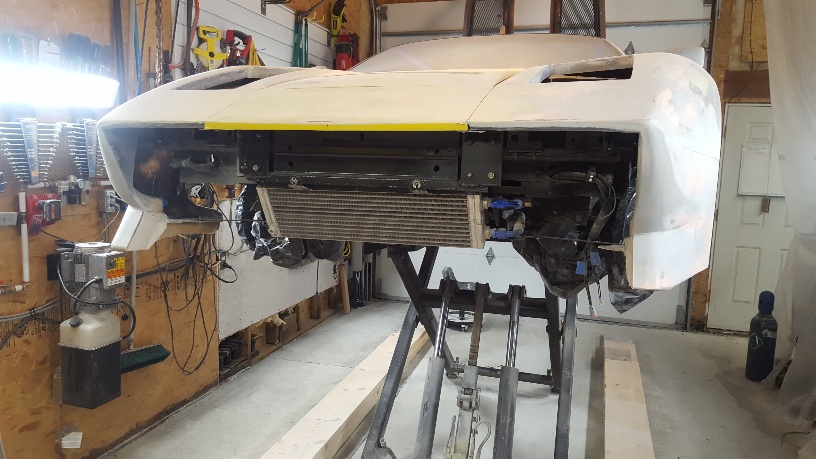
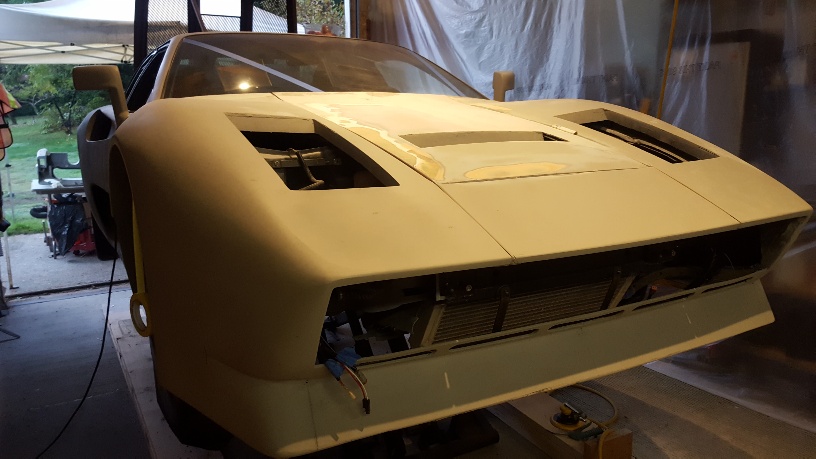
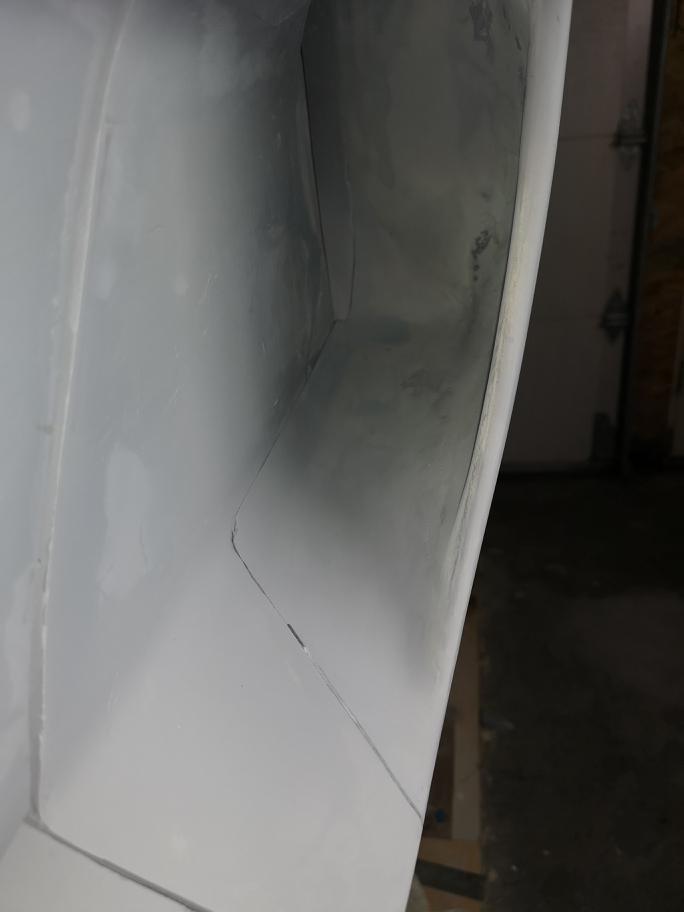
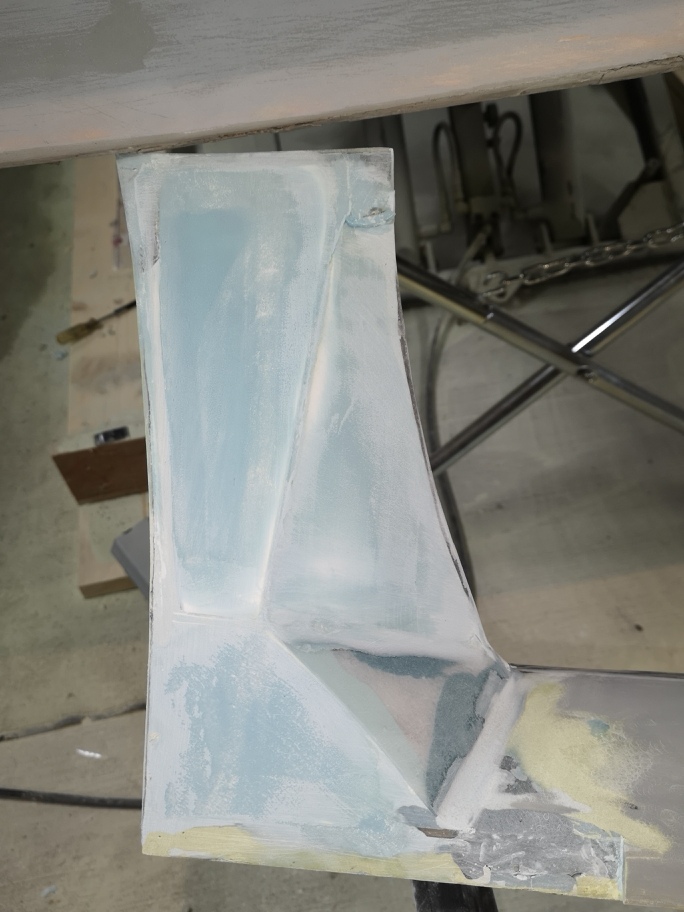
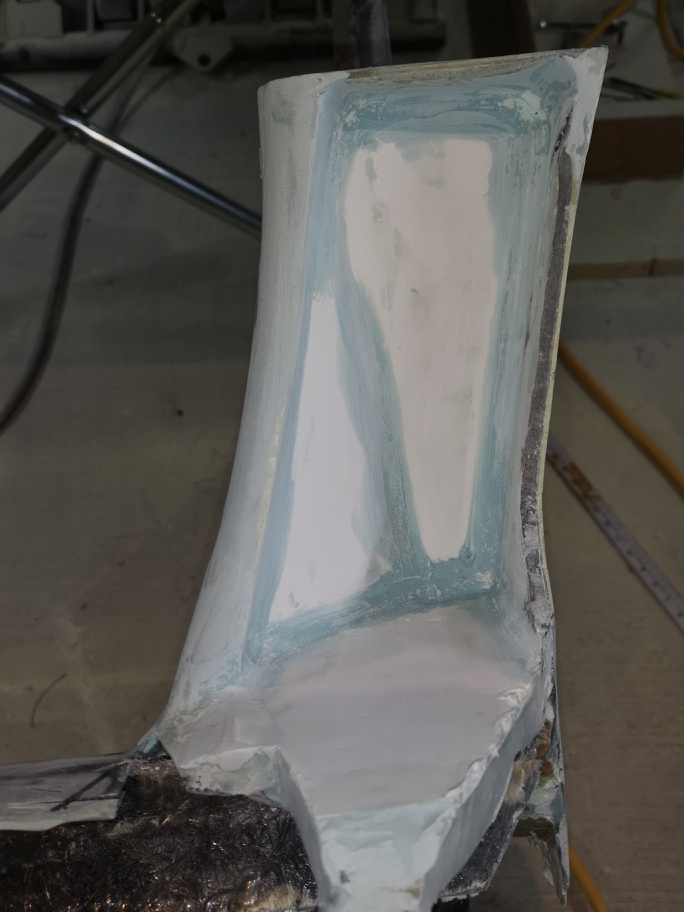
I finally have completed the drivers side lower rocker as well as the removable lower intake. The parting seams on the intake came out great, nice and tight .
Moving onto the passenger side in the New Year , here are a few pics.
well this will be my final post for the year, company coming for Xmas so putting the tools down.
Wayne
|
|
|
|
shemdogg
|
DEC 20, 10:49 PM
|
|
Well done man its looking better and better! Looking over your pics brings back memories of mine. Amazing how tough it is to sand in some areas. Ive made sanding tools outta all kindsa stuff. lol I havent touched my hooptie for ages! Merry Christmas and happy new year!
shem
|
|
|
|
dobie1
|
DEC 30, 10:35 PM
|
|
First off thanks Shem, Ive been wondering what you've been unto.
I hope everyone had a great Xmas and looking forward to the New Year, my goal for 2020 is to have the car finished this year.
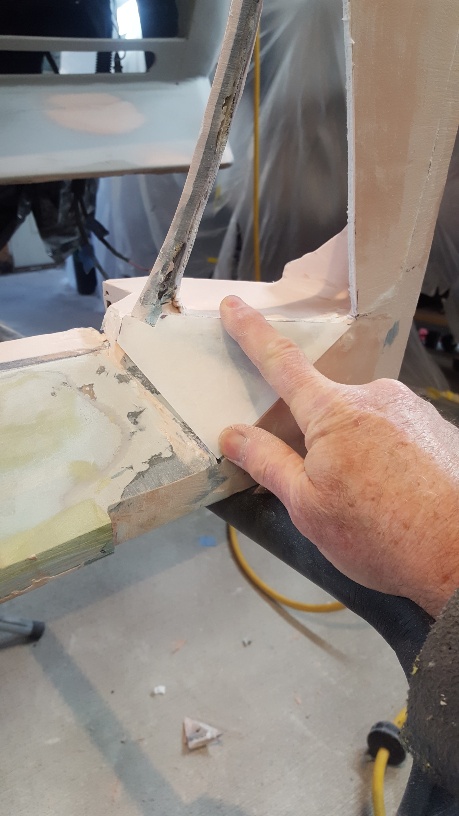
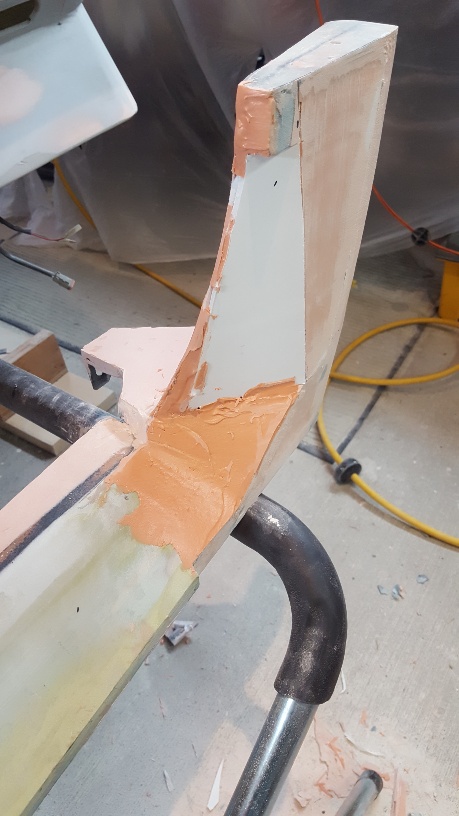
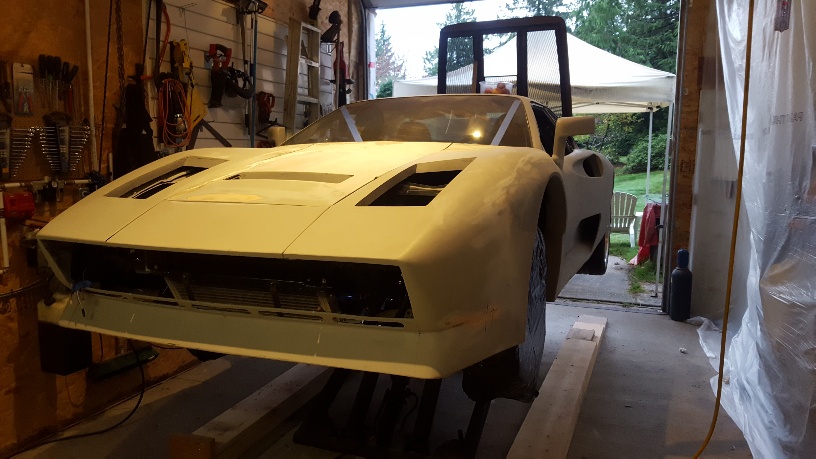
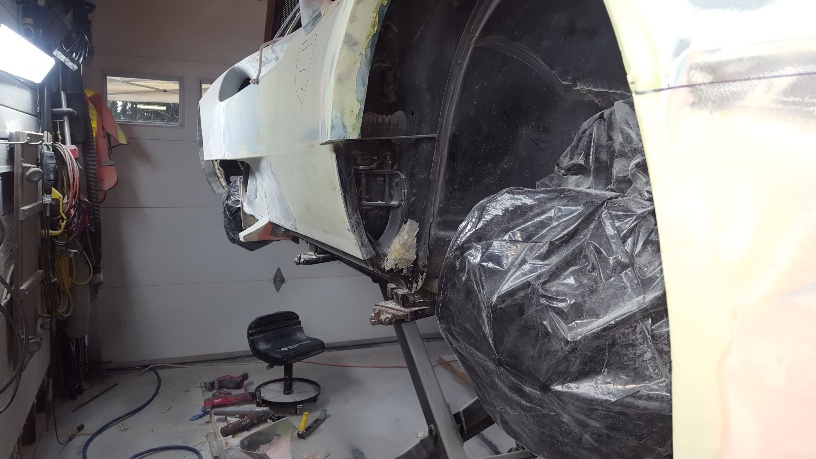
Having the drivers side mainly complete , I took all the building technics learned and put them to work on the Passenger side
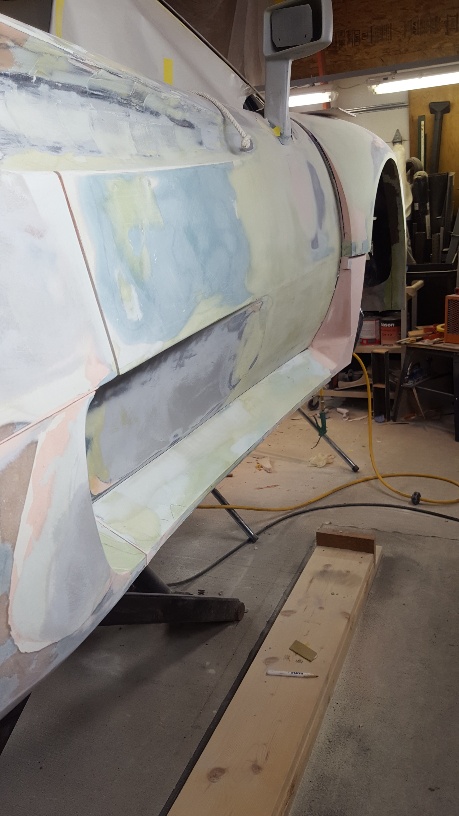
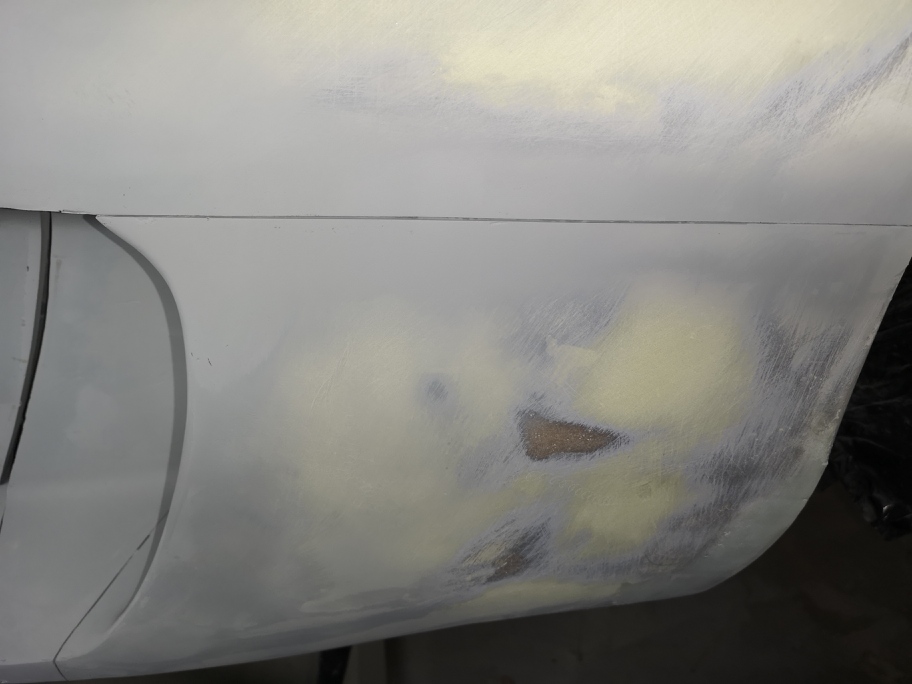
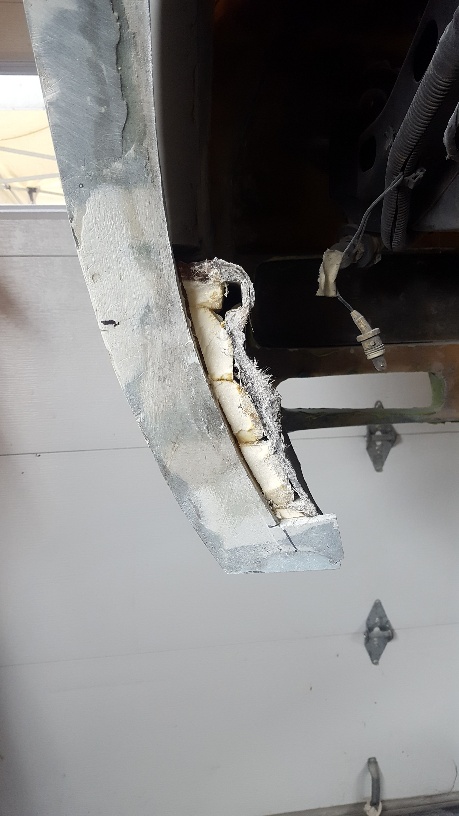
I started on the lower scoop and running board , I cut everything off.
The lower running board and front fender vent is a great Idea but the reality of trying to mold it to duplicate it is almost impossible
So this required deconstructing it and adding temp fillers , once the mold is completed and the part is completed I'll cut out the vent opening and install a metal mesh, then reattach the out side , the photo shows me holding it on.
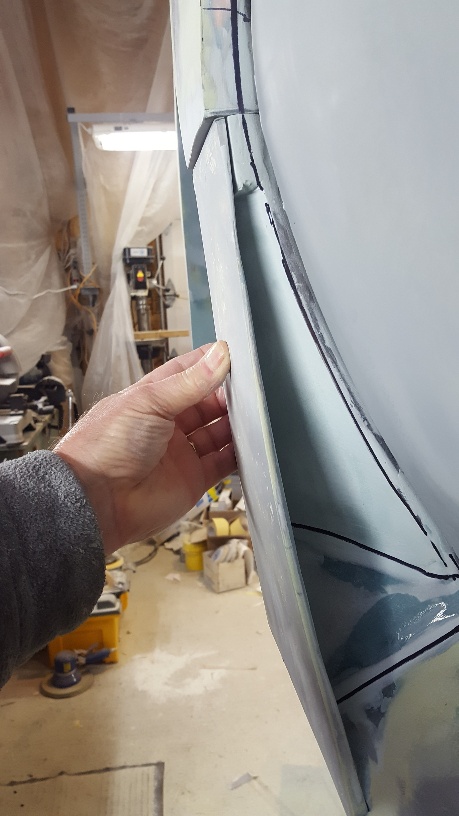
I got the 3/16 inch door seam completed ,sure makes a difference .
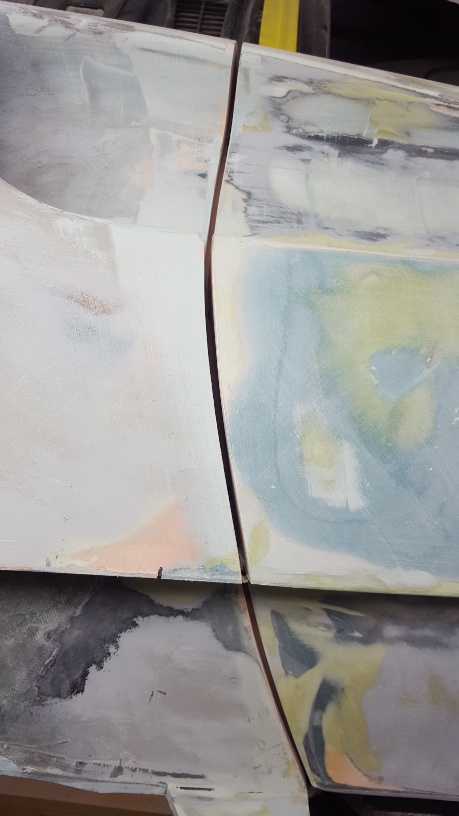
everything is reattached , but I still need to finish all the seams
[img]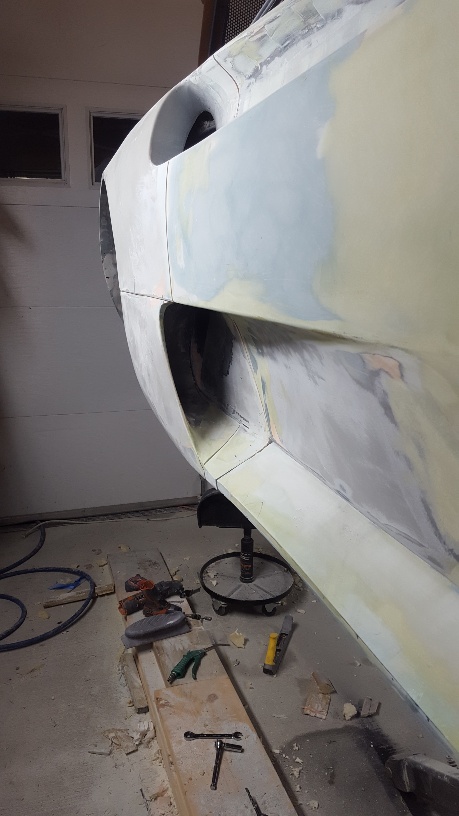 [/img] [/img]
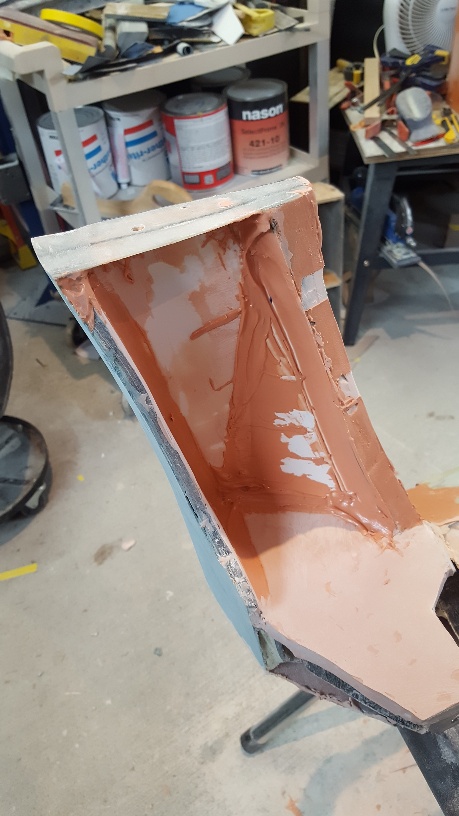
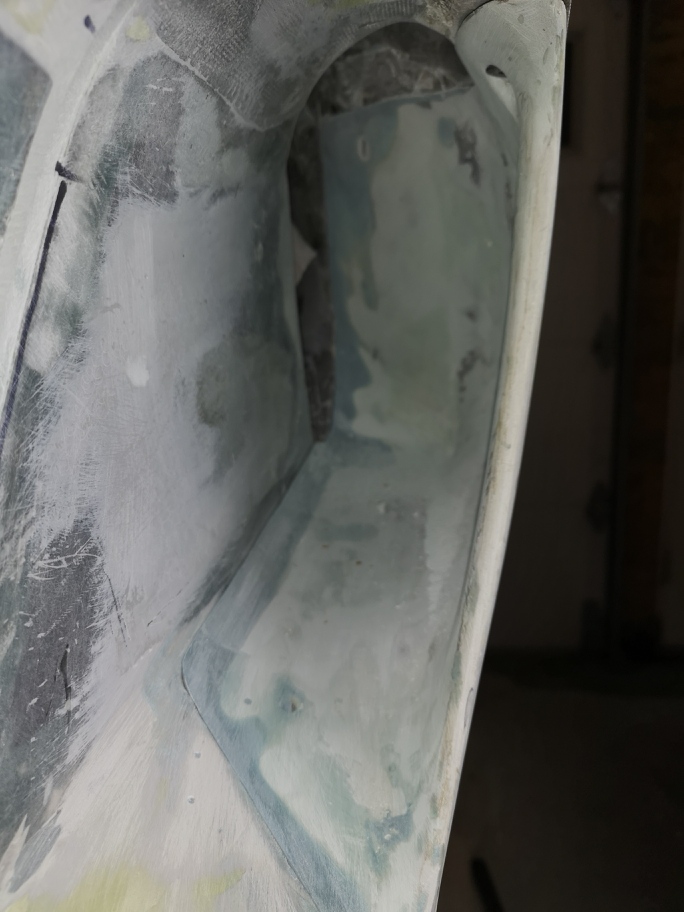
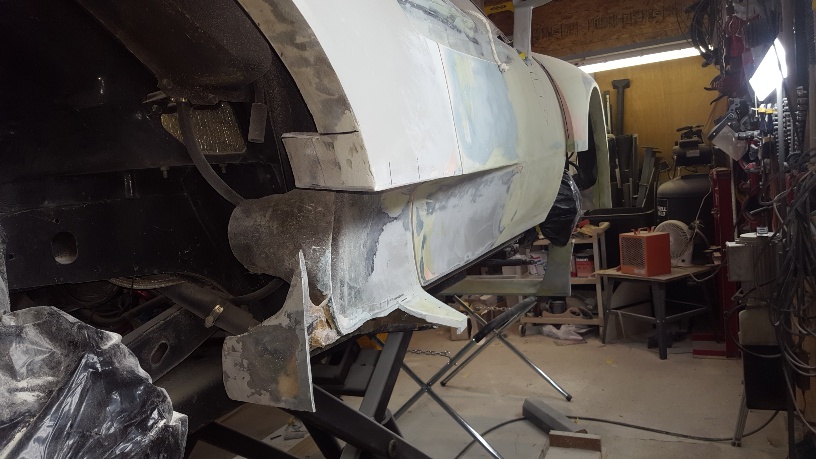
This is a interesting shot if you look at the rear wheel arch lower portion you can see the original body with the foam I attached to it to increase the overall body by 3-4"
|
|
|
|
shemdogg
|
JAN 05, 09:17 PM
|
|
Damn your car looks good! Keep it up youll finish this year for sure
shem
|
|
|
|
Rickady88GT
|
JAN 07, 10:32 PM
|
|
|
|
|
dobie1
|
JAN 08, 02:33 PM
|
|
Thanks Shem, I’m definitely getting excited, I can almost see the finish line.
I’m still hoping to have it in paint in the next month or so , then I can start the moulding process. To produce a all new body , at a substantial reduction in weight .
| quote | Originally posted by Rickady88GT:
I LOVE the 288 |
|
Yes the 288 is a really a beautiful car.
Wow I made the Construction Zone , I have to thank RCR for recommending my build. I hope anyone that visits my build enjoys my passion and the journey to get here.
|
|
|
|
dobie1
|
JAN 10, 01:54 AM
|
|
|
|
|
RCR
|
JAN 11, 07:44 PM
|
|
| quote | Originally posted by dobie1:
Wow I made the Construction Zone , I have to thank RCR for recommending my build. I hope anyone that visits my build enjoys my passion and the journey to get here. |
|
Congrats... I had to look to see when I nominated you. It's only been 5 years.  Threads seem to get the kiss of death when they make it, so I hope all goes well and you keep us updated. Threads seem to get the kiss of death when they make it, so I hope all goes well and you keep us updated.

Bob
|
|
|