|
| Chrysler 3.5 HO V6 swap (Page 28/33) |

|
seajai
|
APR 25, 02:31 AM
|
|
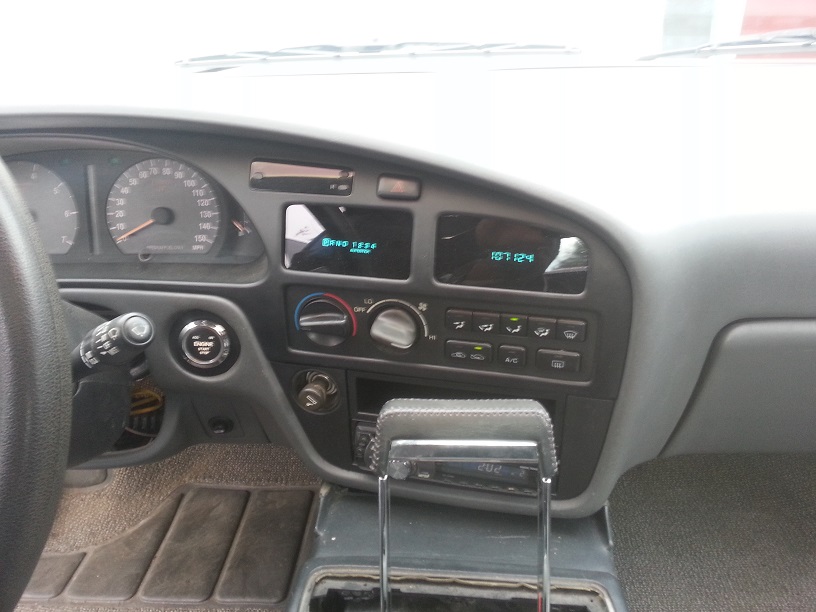
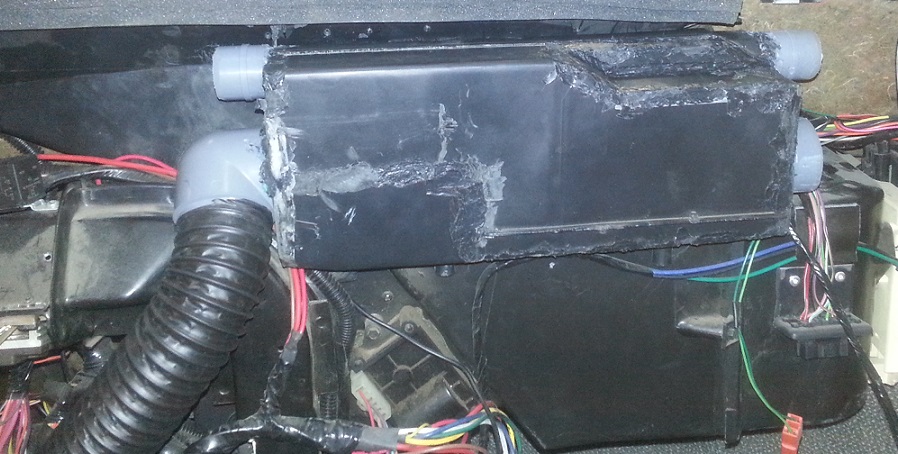
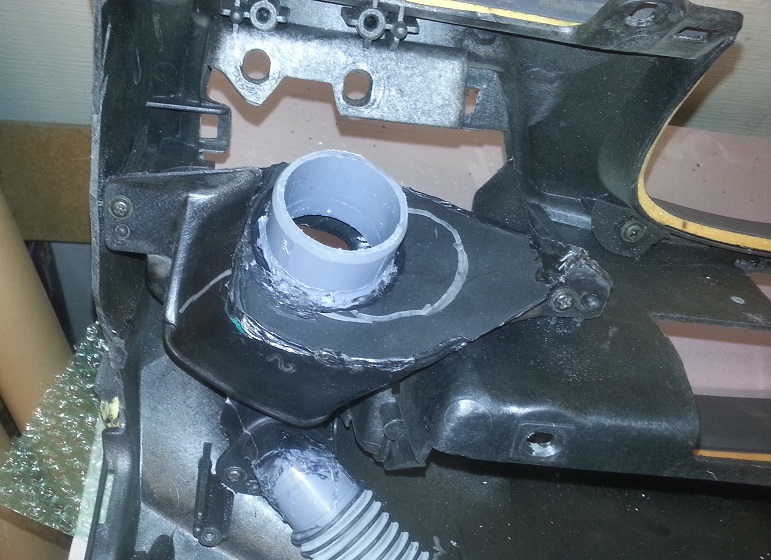
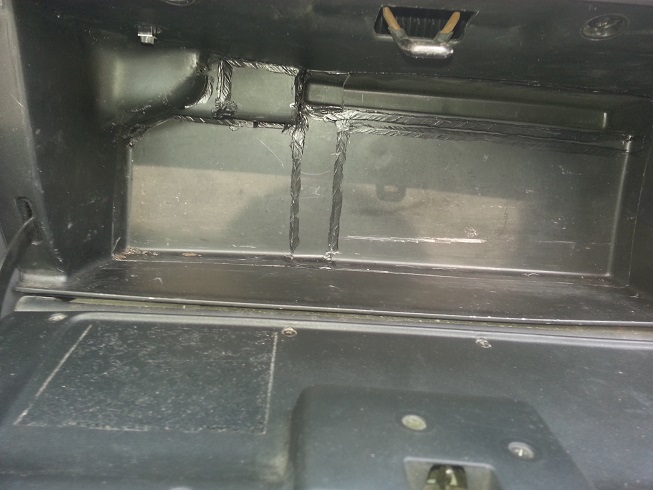
The dash project keeps rolling along. Originally I was just going to use the Fiero HVAC controls mounted in the Toyota dash, but after a couple tries, I just didn't like the way they looked so I decided to scrap that idea and use the Toyota push button HVAC control. The problem with that plan was that Toyota designed their system to operate by switching the ground side of the circuit whereas the Fiero works by switching the positive side. This means I needed to make some sort of interface to go between Toyota and Fiero. The blower motor side of things was a somewhat easy solution, I just installed a GM blower switch. The hard part was finding one with 4 speeds and an "OFF" position that fit properly. After a couple hours wandering around the pick-n-pull, I found this one:

It's from a 1997 Chevy Monte Carlo and fits nicely in the Toyota HVAC with only slight modifications.

The mode door switches were a different story...... Since the internal circuitry was set up for ground side switching, I needed to build a relay module to make it work. The way it works is that when a button is pushed on the Toyota HVAC control it turns the appropriate relay on or off, the relay then switches power to the mode and recirc doors.
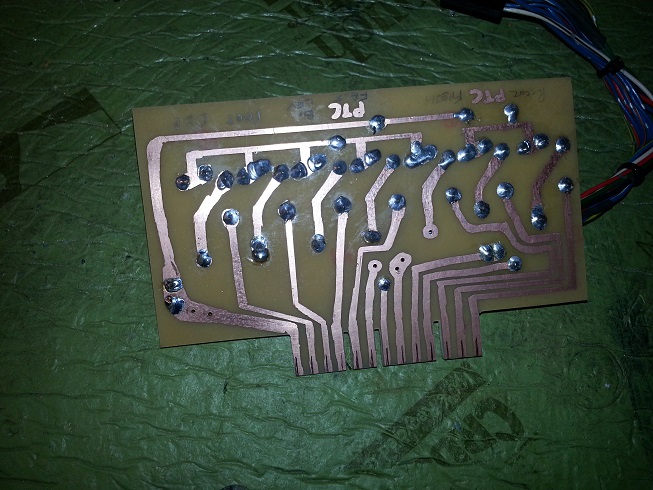
To get started, I purchased a bunch of 15amp micro relays from DigiKey, these will stand in for the old Fiero push buttons. Next I needed to make a PC board to mount them to and keep the wiring simple and organized. I also designed the board to use the factory connector which saved me a lot of soldering time. First I laid out and drilled the holes for the relays and then used a Sharpie marker to draw in the circuit paths. After a short dip in the etching solution, this is the result:

I then soldered on the relays and attached the Toyota wiring connector. I also transferred the two PTC thermistors from the Fiero board to my board to try and keep things like OEM.
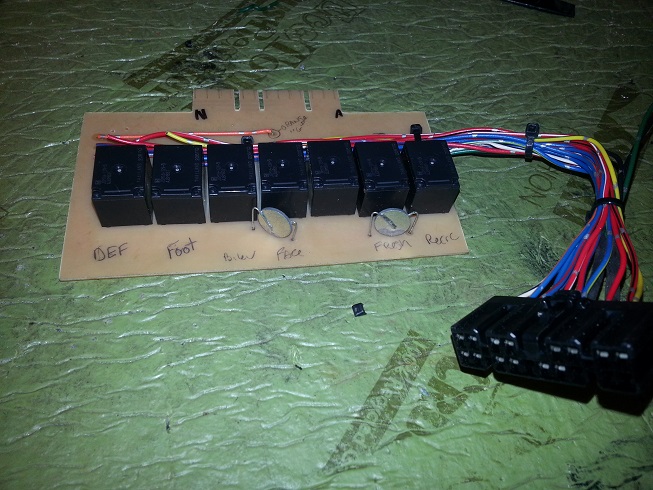
I needed to switch a few wires around in the factory connector to line up with the way I laid out circuits on my board. I plugged it in, turned on the power, and crossed my fingers..... much to my relief, everything works perfectly! All the modes switch as they should and the recirc door opens and closes. I still need to buy a plastic project box from Radio Shack to mount my board in to protect it but this part of the project is done.[This message has been edited by seajai (edited 10-02-2023).]
|
|
|
|
donnie072003
|
APR 25, 06:59 AM
|
|
|
Pontiac, Chrysler, GM and Toyota. Pretty impressive how mated it all together!
|
|
|
|
seajai
|
MAY 04, 08:21 PM
|
|
|

|
carbon
|
MAY 05, 09:45 AM
|
|
Damn... that is a lot of integration. 
That is all.
|
|
|
|
seajai
|
MAY 14, 11:24 PM
|
|
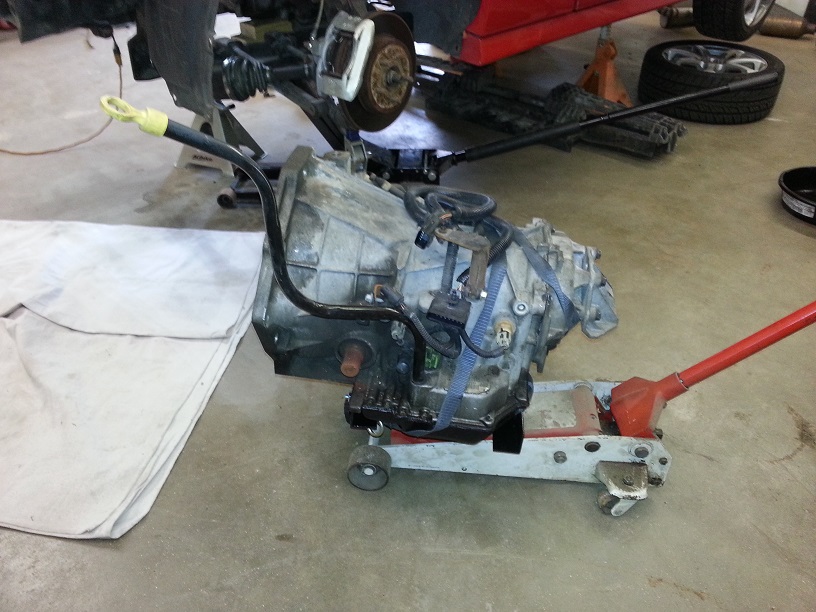
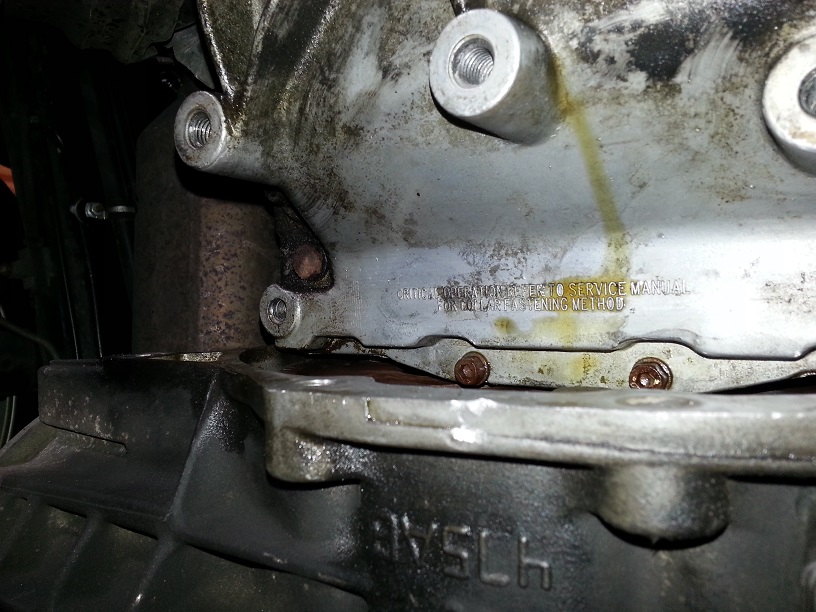
2 weeks to the Dells and my engine has started hemorrhaging oil. Lifted it up and let it idle with the inspection cover removed, looks like its the rear main seal leaking. I designed the rear cross member to be removed independent of the cradle so I can pull the transmission without removing the engine or cradle......looks like I get to test my design.
 [This message has been edited by seajai (edited 10-02-2023).]
|
|
|
|
seajai
|
MAY 19, 12:50 AM
|
|
|
|
|
carbon
|
MAY 19, 08:44 AM
|
|
|
|
|
infinitewill
|
MAY 19, 06:31 PM
|
|
|
. [This message has been edited by infinitewill (edited 01-05-2016).]
|
|
|
|
seajai
|
JUN 16, 11:34 PM
|
|
Had an inner C/V boot tear open on the highway yesterday, sprayed grease all over everything including my right side catalytic converter. I had to pull over because I thought the car was burning. At least it was a cheap fix, $17 for a boot and an hour to swap it out.
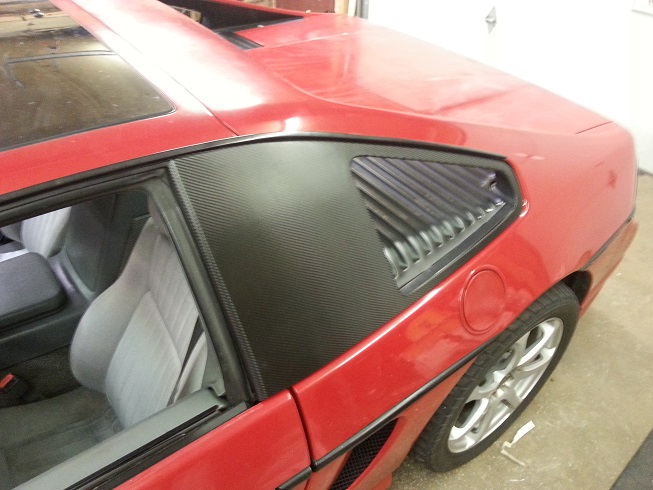
Also got my Fiero Fiberglass sail windows wrapped in 3M carbon fiber vinyl and installed on the car:

 [This message has been edited by seajai (edited 10-02-2023).]
|
|
|
|
fierogtlt1
|
JUN 16, 11:48 PM
|
|
Those Sail Panels look AWESOME...
|
|
|
|
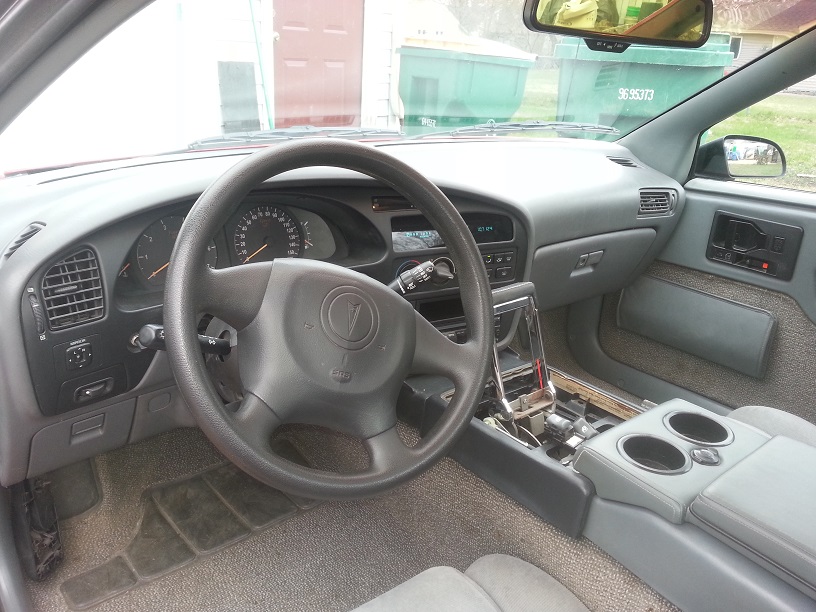
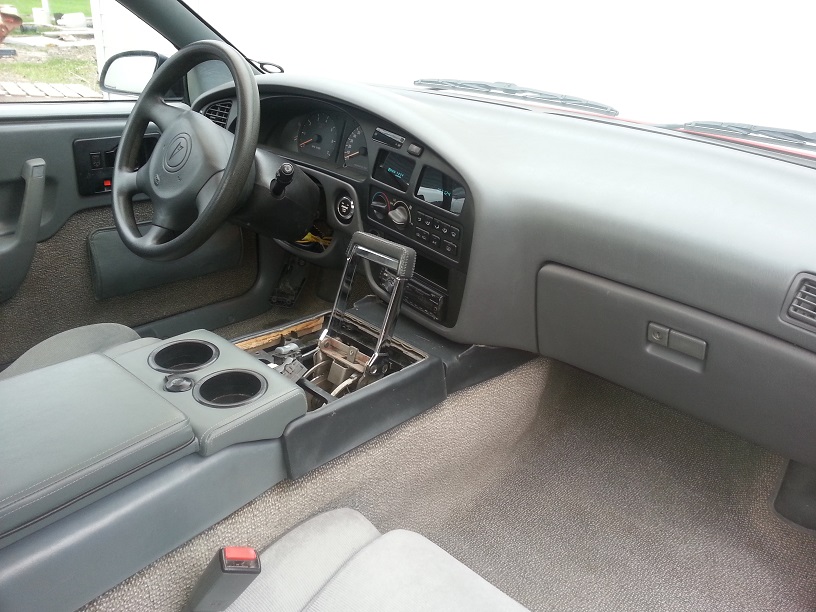
 but I am really happy with the results. I still need to work on the center console and build door panels but for now I think I will just drive and enjoy it. Here are 3 pics of the finished product: