 
     |
| Another Katatak Fiero Adventure! (Page 28/72) |

|
katatak
|
DEC 26, 06:57 PM
|
|
| quote | Originally posted by Rick 88:
Do the angle cut. You probably won't notice it with the seat in place but it will make you feel better. On the cupholders make sure they hold a "Big Gulp".  |
|
Happy Holidays Rick........ After the last few days, it needs to be able to hold a fifth.......This is really turning out to be more work than I wanted....
Hope you had a good Christmas!
Pat
|
|
|
|
katatak
|
DEC 26, 07:02 PM
|
|
| quote | Originally posted by Sofa King:
Who's that spying on you? Is that the shop foreman crackin the whip? |
|
Wow Greg, I never noticed the "wolf" in the backgorund. You are right - she's the boss. She's pretty stealthy. I never knew she was even there!
I got absolutely zip done on the console today. I really wanted to see if the recessed cup holder would work. I got my son new dew outer dew wipes and remote door locks for the XTC for Christmas so today my plan was to get it all installed. No such luck. Lots of little things that heeded fixed once I got the Drivers door apart. Check out the XTC thread for details. Hope you are having a great time in Vegas.
Pat
|
|
|
|
N3M3S1S
|
DEC 26, 11:25 PM
|
|
|
I've been lurking this topic since you started it and I love every step. I didn't know you took such attention to detail. Keep it up.
|
|
|
|
katatak
|
DEC 27, 12:09 AM
|
|
| quote | Originally posted by N3M3S1S:
I've been lurking this topic since you started it and I love every step. I didn't know you took such attention to detail. Keep it up. |
|
Thanks for the positive feedback! Everytime I think I'm getting close to the finished project, I see something, read something or find something that changes the course. I'd like to finsh this one so that I can enjoy the car and work on some new ideas without the car being torn apart. What am I saying, it's a Fiero......
Pat
|
|
|
|
katatak
|
DEC 27, 12:24 AM
|
|
| quote | Originally posted by Sofa King:
Good call - I like cup holders. LOL You might have or want to glass in an existing dual cup holder - I don't think there is enough room under the console? Although your new console did raise it a bit. I would still consider finding a dual holder and working it into the final design - anything to avoid an unnecessary fabricating and sanding. Go to www.thefind.com and type in dual cup holder. I found a few that might work for ya.
DANG IT! I really want to get home and start working!
|
|
I went to that web site and found a couple that interested me - or at least the concept.
This first one I could recesss it into the side - off center - about 2".

No sure of the depth of this one but I like the look. In fact, I like the look of the entire console. Hmmm.........
"MCaHNY"
Pat
|
|
|
|
katatak
|
JAN 02, 08:09 PM
|
|
Well after about 5 days, I was able to get back to work on the console. Lots of sanding, filling, priming, sanding, etc. etc. was the norm for the last 2 days. I had a lot more pin holes than I first thought. It's amazing how primer brings out all the little flaws. I was having a problem with static electricity on the part. After I had it all wiped down and ready to prime, as soon as I started laying a coat of primer, the fuzz stuck too it like crazy. I went a picked up some prep cloths by Dupli Color. Don't use these right out of the container - they actually caused my glazing putty to lift out of the pin holes. I found that if I let the cloth sit out and evap some before use, it worked much better. So that cost me double the prep work. I managed to get all the holes filled, everything smoothed out, a couple layers of filler pirmer and a couple layers of regular primer. Then I wet sanded it with 400 and 800.
I got the mounts figured out and mounted the shifter boot. Once I was happy with the fit (not completely but it will do for now) I took it back out of the car and gave it a few finish coats of color. As soon as all the interior is fit up and reassembly is finished, I'll take the rear console, shifter cover and AC surround back out of the car and go over each piece one last time to fix any rough spots and pin holes then I'll wet sand and give it a final coat of color. I am kicking around the idea of covering it with a clear coat but I do not want a "gloss" to it. I may try some of the "satin" clear on a test piece. I'll post up some pics in awhile.
Happy New Year!
Pat
|
|
|
|
katatak
|
JAN 02, 09:10 PM
|
|
Ok, As promised - Pics for posterity!
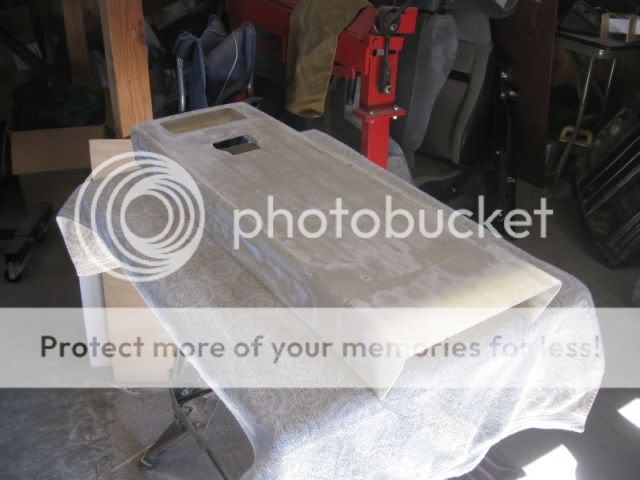
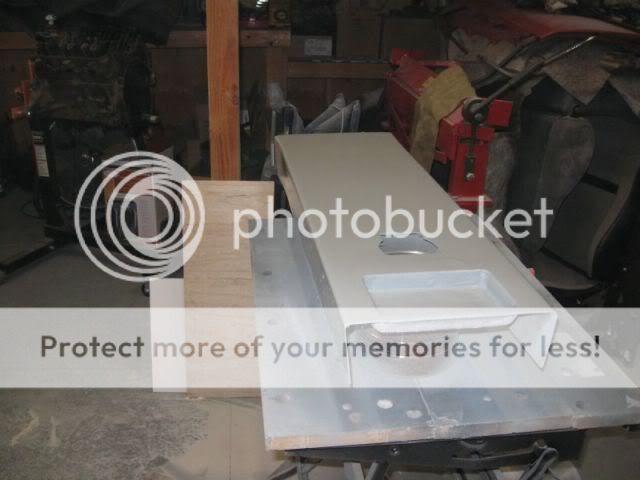
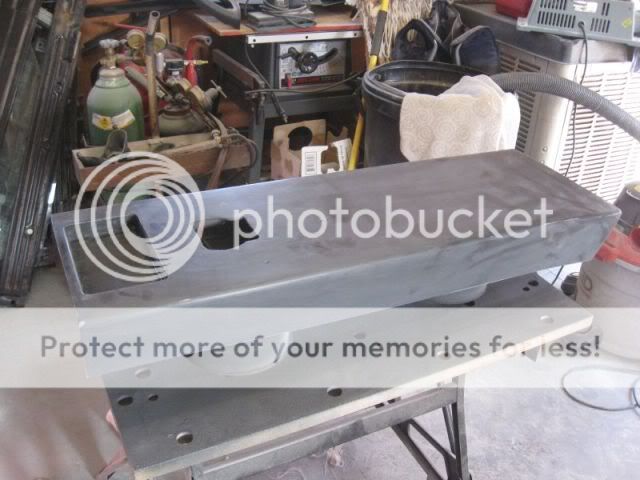
After trimming and lots of sanding - it is looking better:
Marked up all the holes:
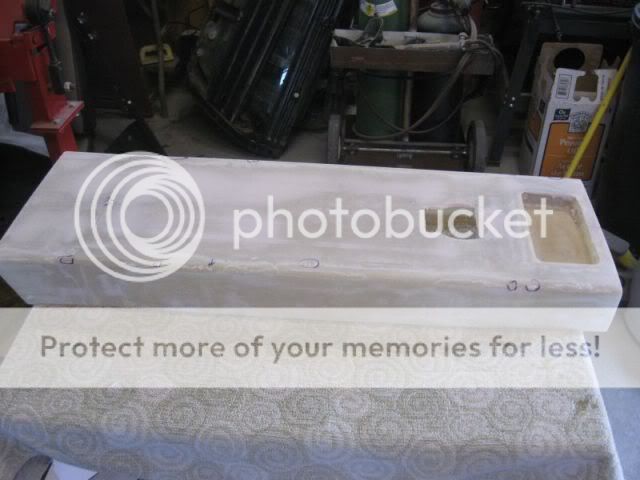
After filling and lots of sanding:
Adding filler primer:
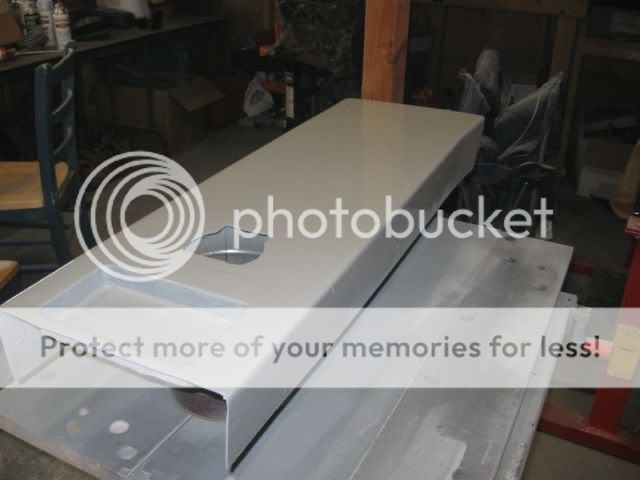
More to come!
|
|
|
|
katatak
|
JAN 02, 09:15 PM
|
|
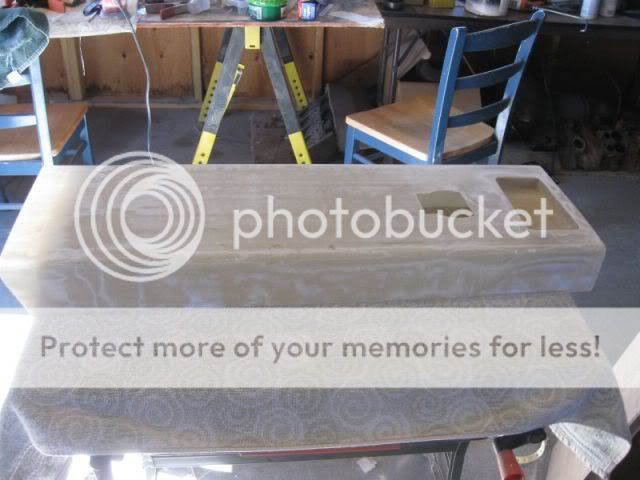
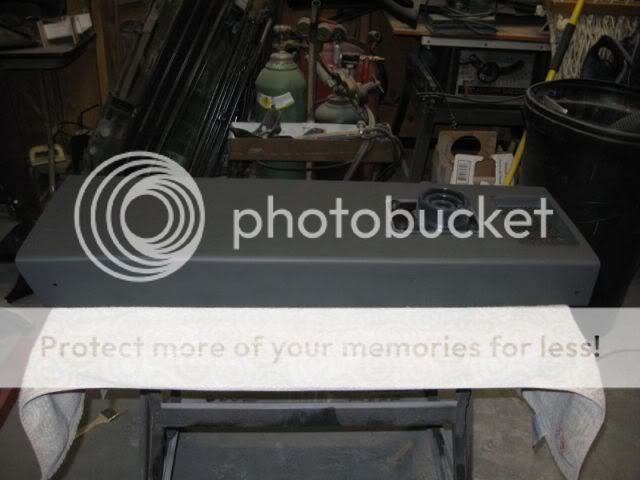
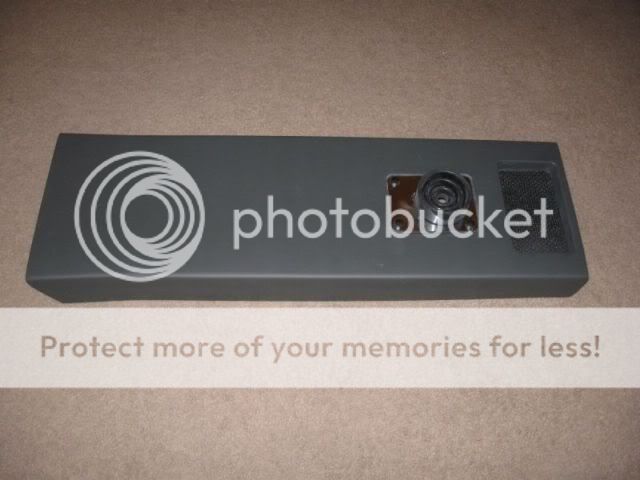
A new coat of primer:
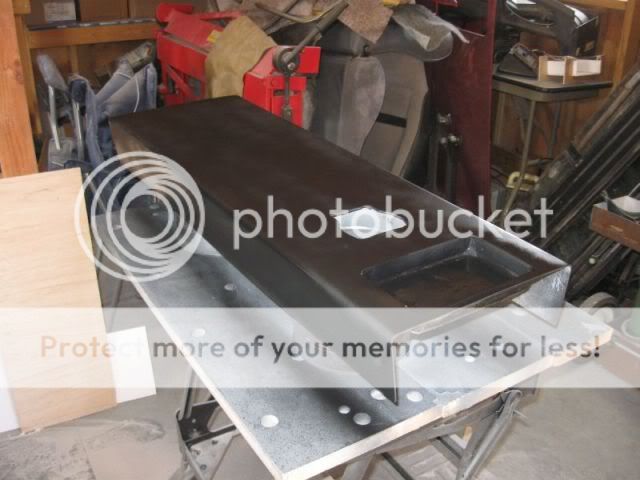
Sanded some more:
Filling the pin holes with glazing putty:

More sanding:
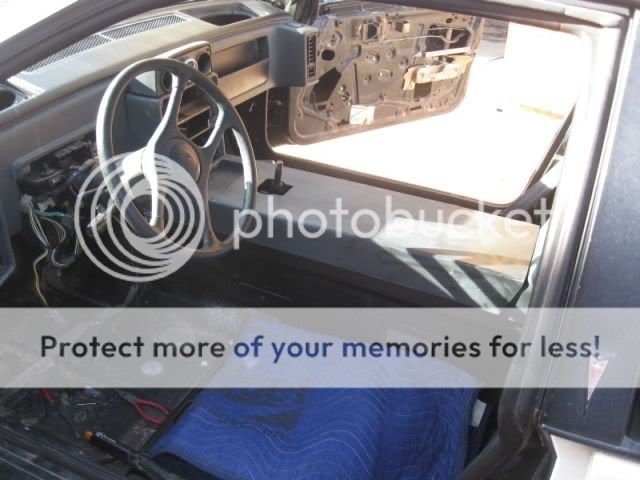
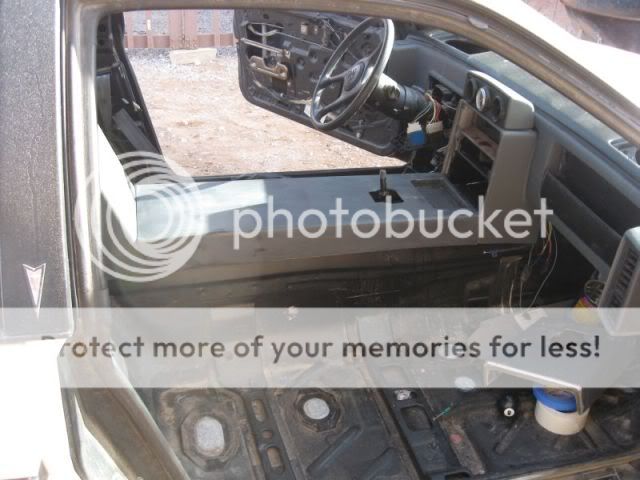
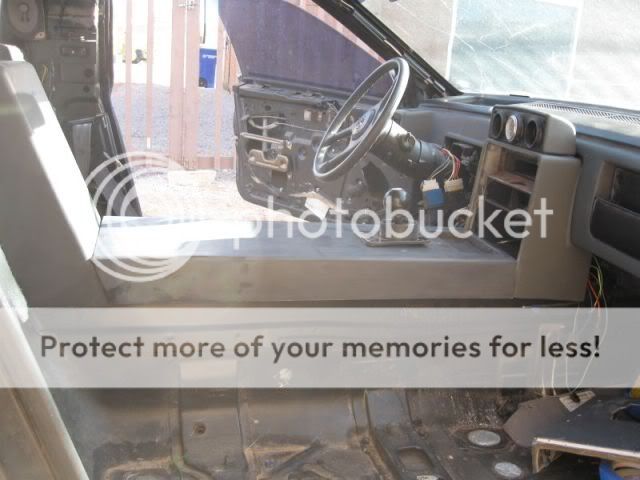
Then some fit up:
More to come!
|
|
|
|
katatak
|
JAN 02, 09:50 PM
|
|
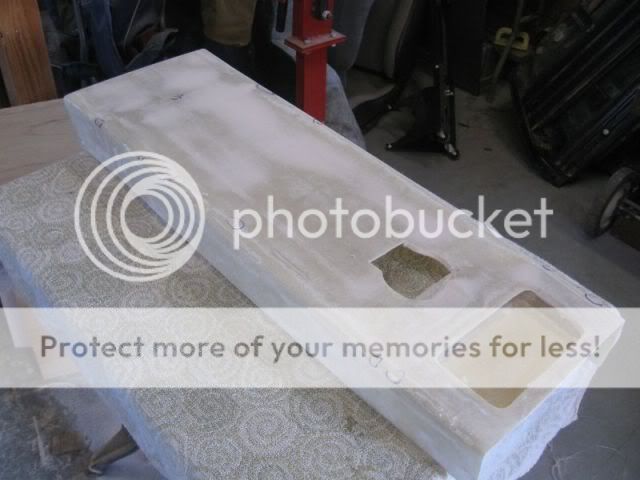
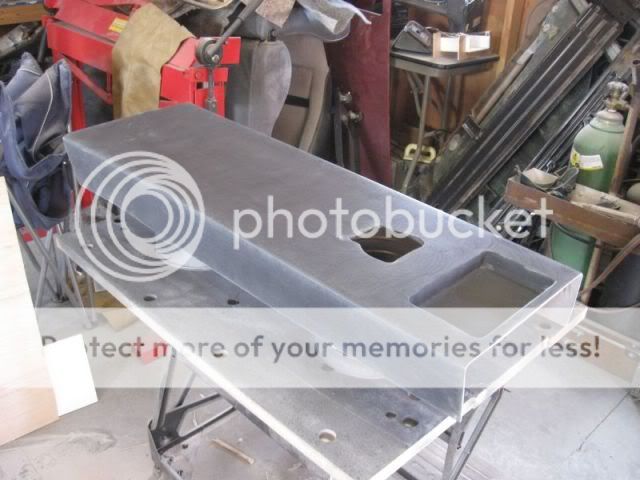
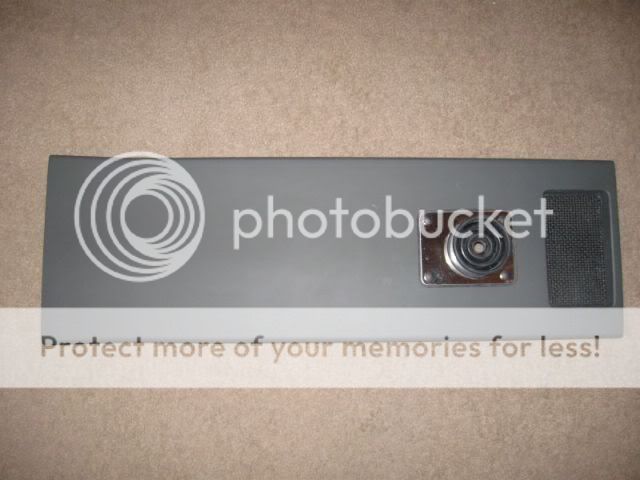
Time for some wet sanding:
Letting it dry out:

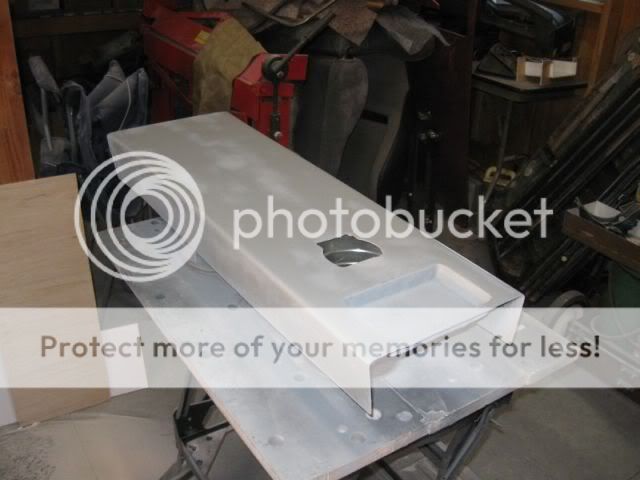
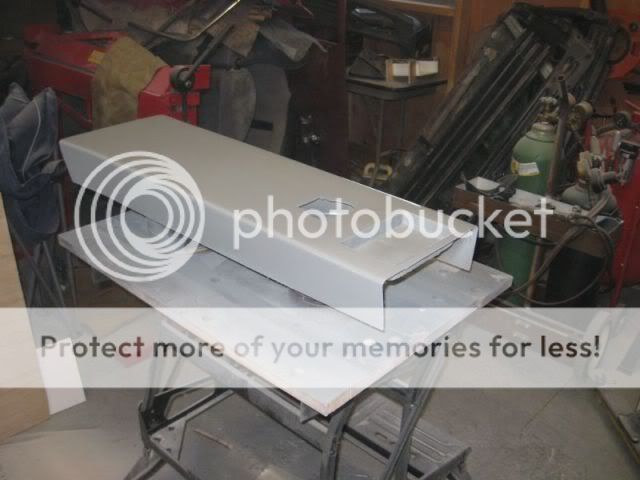
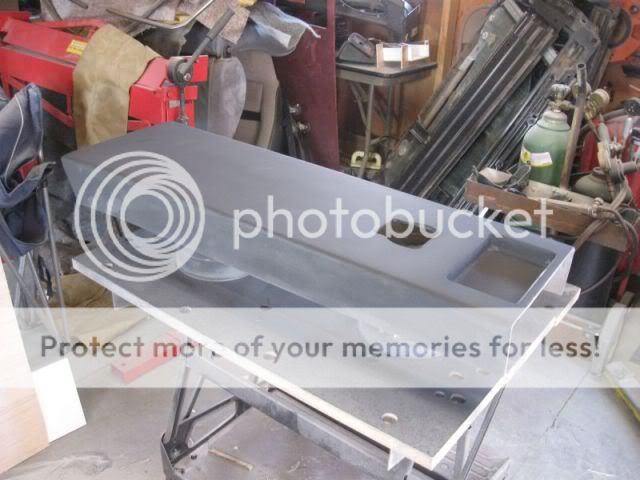
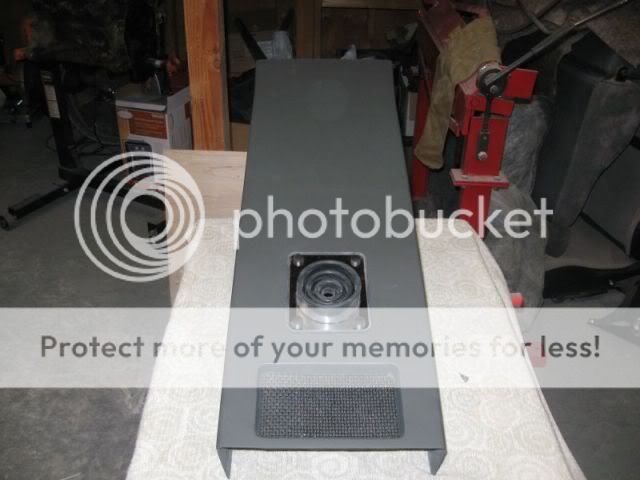
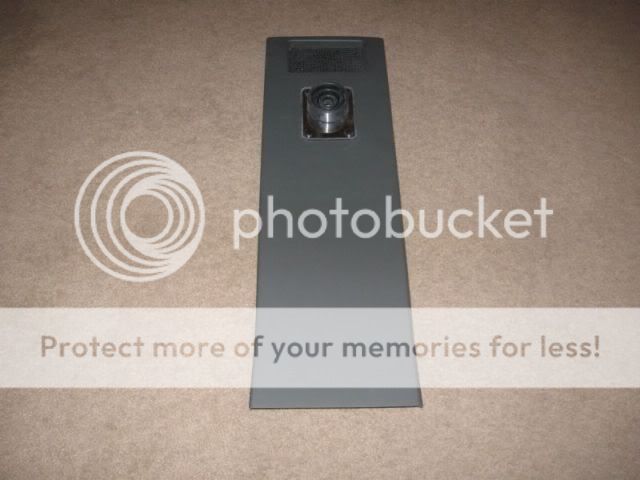
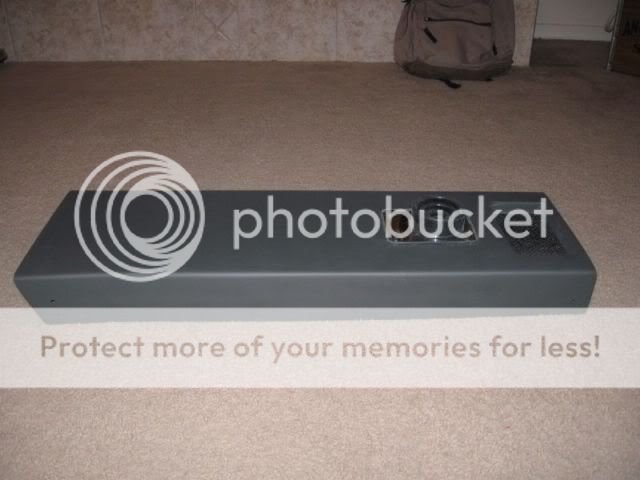
Prepped and ready for some color:

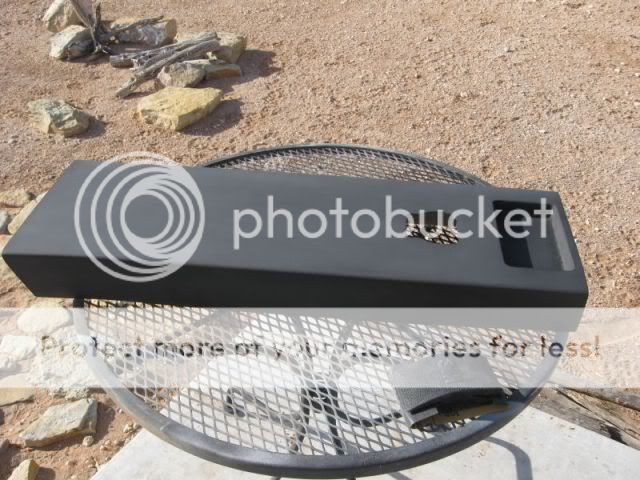
Finished for now:

I had to take my work of art in the house. If I do not like it in the car, I will hang it on a wall in the house somewhere:

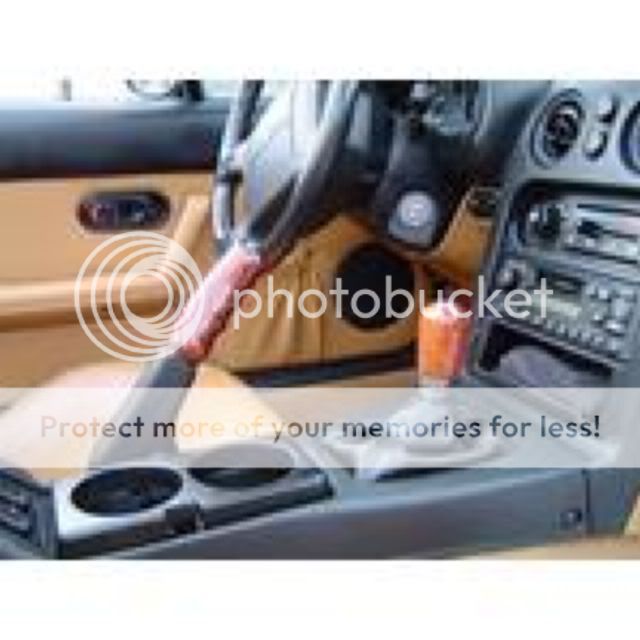
After looking at these pics, I noticed that the shifter boot is slightly crooked. I can fix that by loosening the screws and giving it a little twist.
I did get the mounts figured out. I basically used a 10-24X9/16" well nuts on each corner on the side of the console. I set the shift cover in place and marked the holes on the rear console and the AC surround then drilled them out for the well nuts. I was thinking that I would need more than the 4 corners to fasten it down but it is very sturdy with just the 4. It maintains the clean smooth look I am after.
As I said earlier, I am not real pleased with the fit at the rear console/shifter cover (see red circles on the next pic). I have a plan to cure this but I will do that in phase 2 which will be a completely new console/AC surround that I am building a mold for now. This one is basically done so that I can move forward and finish the interior. The last piece of this console is a "arm rest". My plan is to purchase or make a lightly padded cover for the arm rest in grey or black leather. I can't find a pic of it anywhere and I'm not sure what it is called but I have seen these "pads" on other Fieros. I may dabble in a low profile fiberglass arm rest that will bolt to the top of the shift cover. Then I will attempt to cover it with vinyl or leather?
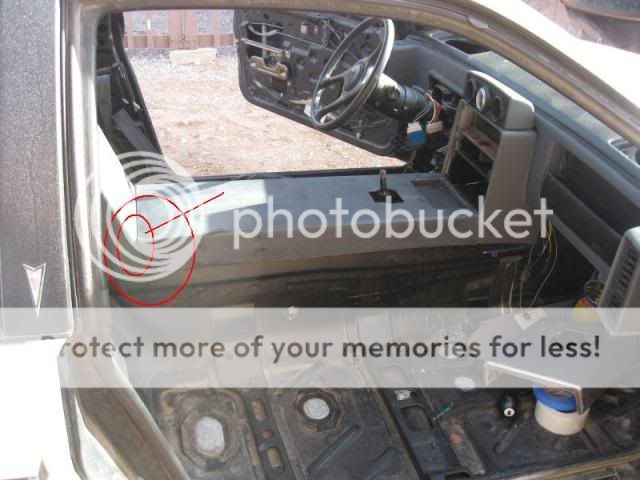
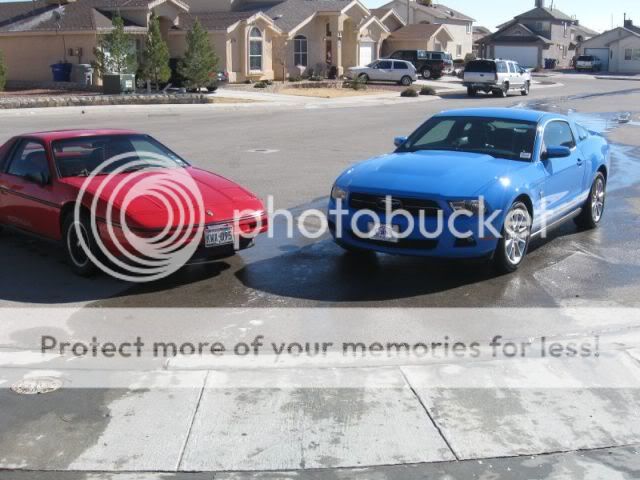
I was given another project today. My oldest son has been driving my 88 Formula for the last 7 months. Today he bought a 2010 Mustang so I got my 88 back. It is in need of some work as it was not very well cared for - teenagers! I will be using the Formula as my daily driver so there are some things I need to fix on it before I will be happy. Until I get it back in shape, everything else is on hold. It won;t take long. Some of you will remember that he was ran into a few months back so I will have to get the rear facia fixed and the interior needs a good cleaning plus the headliner is trashed. I found out today that he attempted to haul a 46" flat screen in the front seat and basically put a 10" rip in the headliner doing that. The car had 65k on it when I turned it over to him 7 months ago. It now has 75k! Looks like I will be rebuilding the door hinges and doing a brake job too.
Happy New Year!
Stay tuned - more to come on the V8 project!
Pat
|
|
|
|
revin
|
JAN 04, 11:27 AM
|
|
well so much for me getting that shifter boot!
Yep had my eye on that one or two others!
pm sent
|
|
|
