 
     |
| newest project (Page 276/312) |

|
Fiero2m8
|
AUG 22, 09:00 PM
|
|
Started by mounting stock air dam and reinforcement brace to bumper cover:
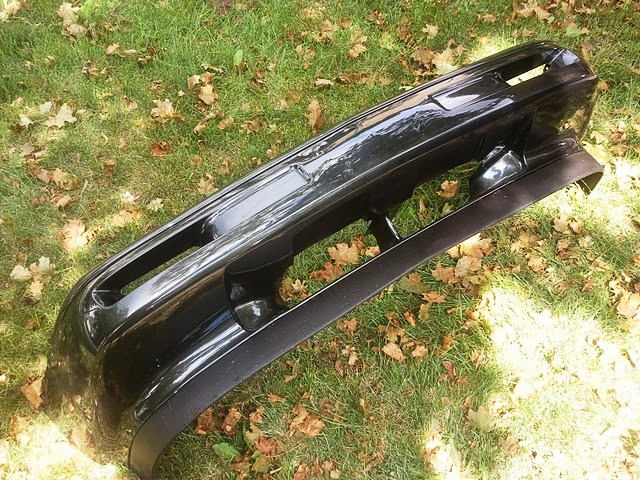
I found it easier to mount the upper brace to the bumper cover first rather than the other way around:
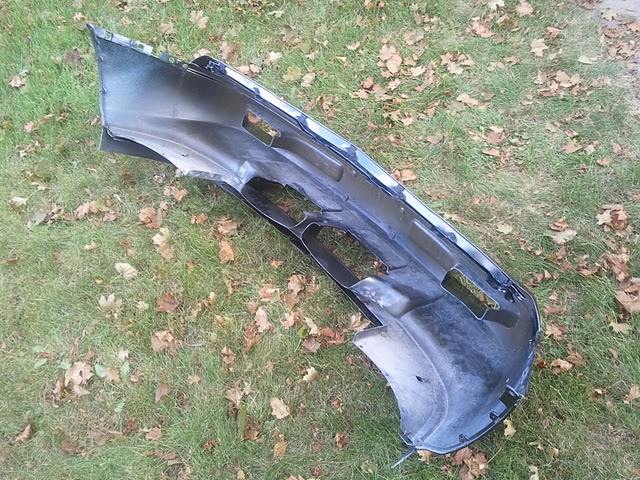
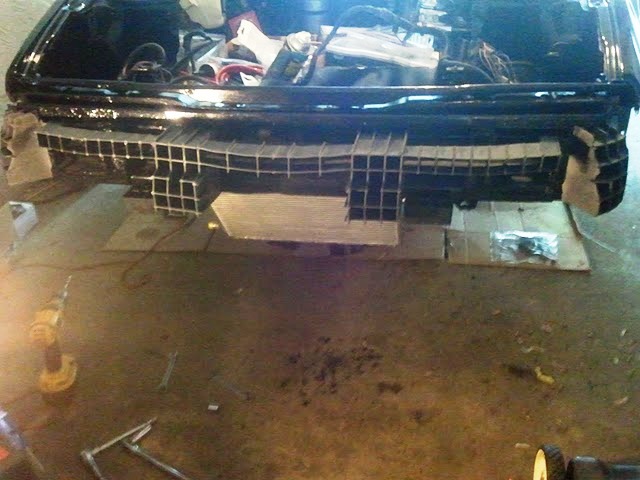
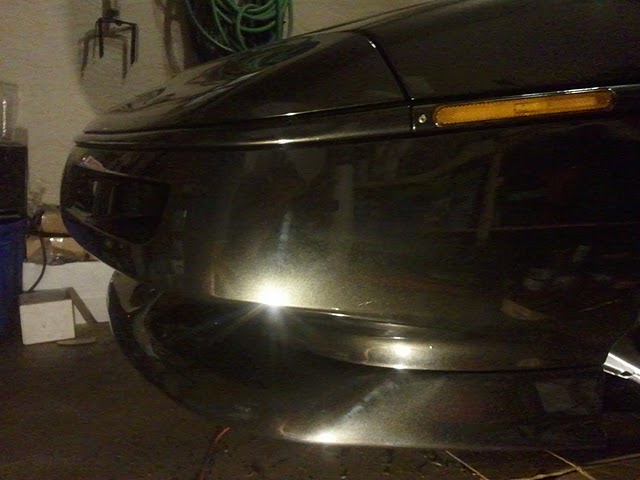
Next I prepped the bumper for the 87-88 cover:
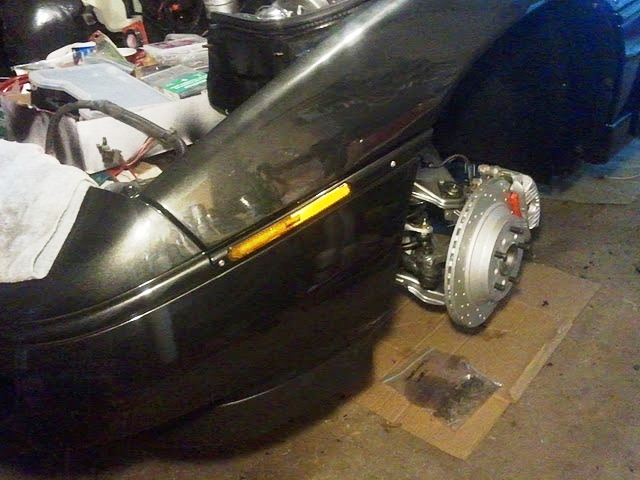
Finished up the wheelwells, and installed the LED marker lens with molding painted body colour:
|
|

|
Fiero2m8
|
AUG 24, 10:48 PM
|
|
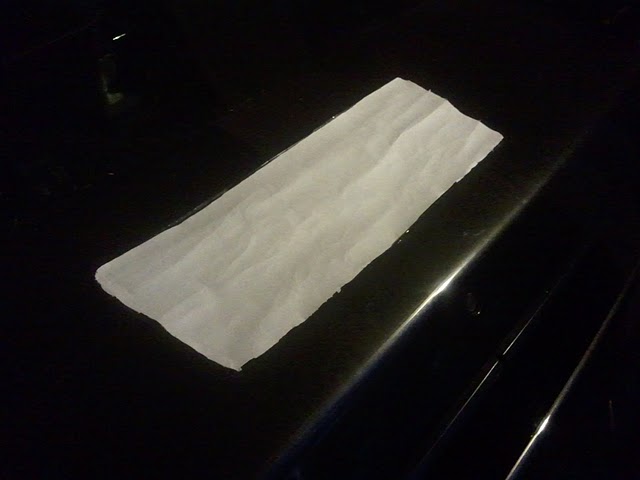
For the front compartment lid, I placed in position vertically on a towel since I was installing it by myself.
Then I could finger tighten the lid bolts and lower it down with the headlight doors open for access.
Once the panel was aligned for gap and height, I tightened the bolts with a 13mm socket.
Next I raised the panel and finished tightening the 13mm nuts as well.
Although centering adjustment was needed, the existing washer marks had me in the ballpark during the finger tight process.
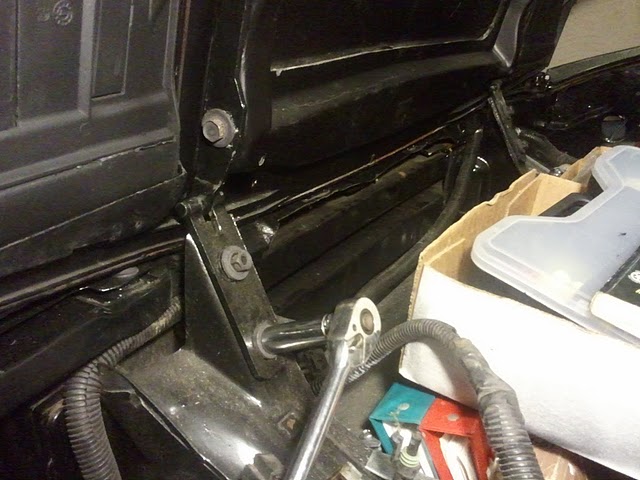
Next I installed the Rodney Dickman strut rod kit - works perfectly and I highly recommend it to anyone who is too lazy to fab up their own 

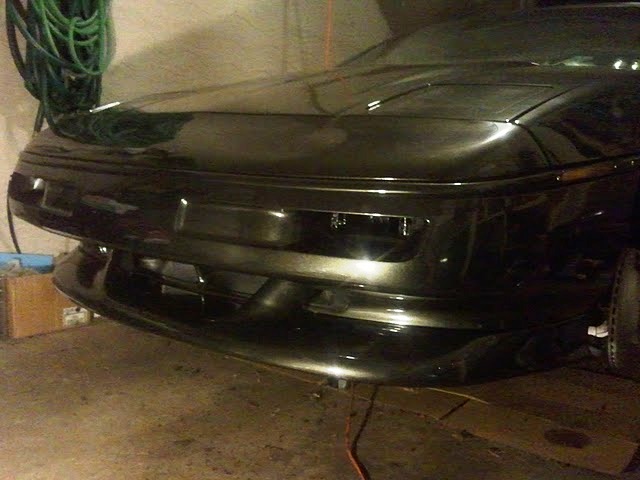
I'm happy with the results, looks like a car again.

Next to go on are the last of the painted panels (lower front apron, door panels, side skirts and 1/4 windows)...
|
|
|
|
Gokart Mozart
|
AUG 24, 11:22 PM
|
|
|
Do you have a date you hope to be completed by?
|
|
|
|
Fiero2m8
|
AUG 25, 11:28 PM
|
|
|
|
|
Fiero2m8
|
AUG 29, 11:15 PM
|
|
The front spoiler has been remounted:
The side skirts when back on too:
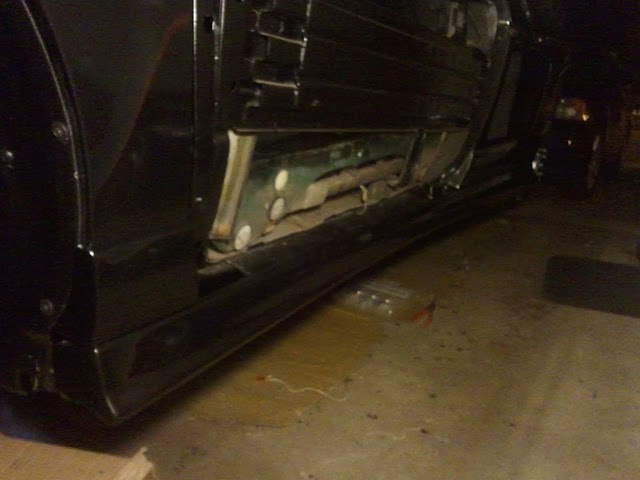
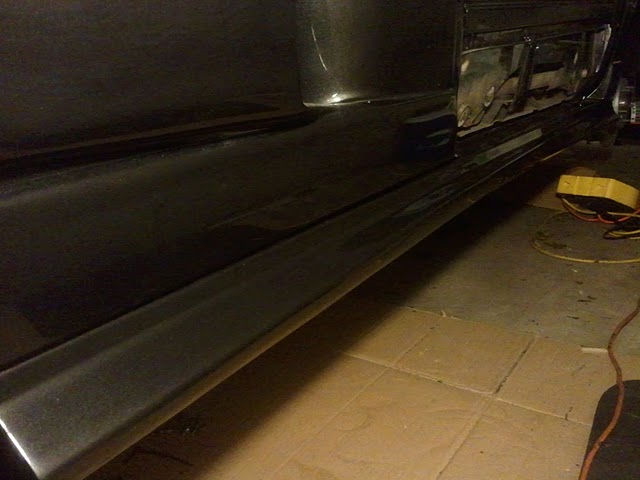
Just the door handles and 1/4 windows left to pick up at at the paint shop, then the door skins can go on...
|
|
|
|
iNVisionPROTOTYPES
|
AUG 31, 02:48 PM
|
|
Hey buddy!
It's exciting to watch this truly amazing build on the final leg of assembly. Great attention to every detail....you have a ride that you should be extremely proud of.
------------------
Nick M.
A journey in design and fabrication begins with a vision, a single pen stroke ... and in some cases the blow of a hammer.
Some projects: http://www.facebook.com/iNVisionPrototypes
|
|
|
|
Reallybig
|
AUG 31, 11:00 PM
|
|
If you read some of the original posts, it's amazing how much better this build is going to look than anyone could imagine or suggest!
Amazing work! And it's only taken 8 years!
|
|
|
|
Fiero2m8
|
SEP 03, 11:15 PM
|
|
Thanks very much guys!
Yes it's really starting to look like a unique Fiero as it goes back together.
This newest project with it's 69 page build thread, and over 288,000 views is something I am very proud of.
I'm looking forward to driving it again after a 2 year drought but I keep telling myself it will be worth the wait.
On with the show...
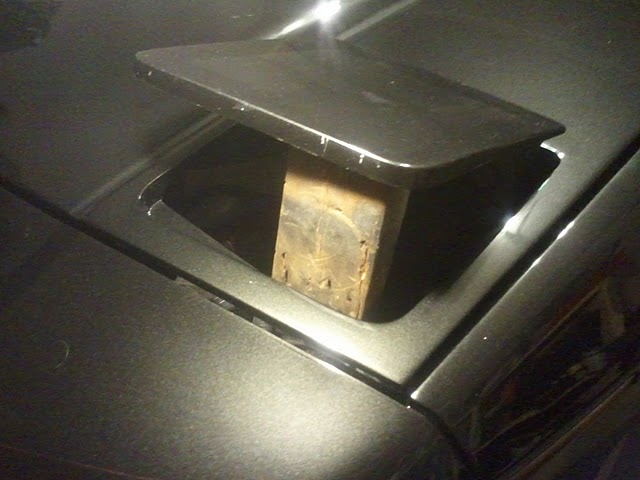
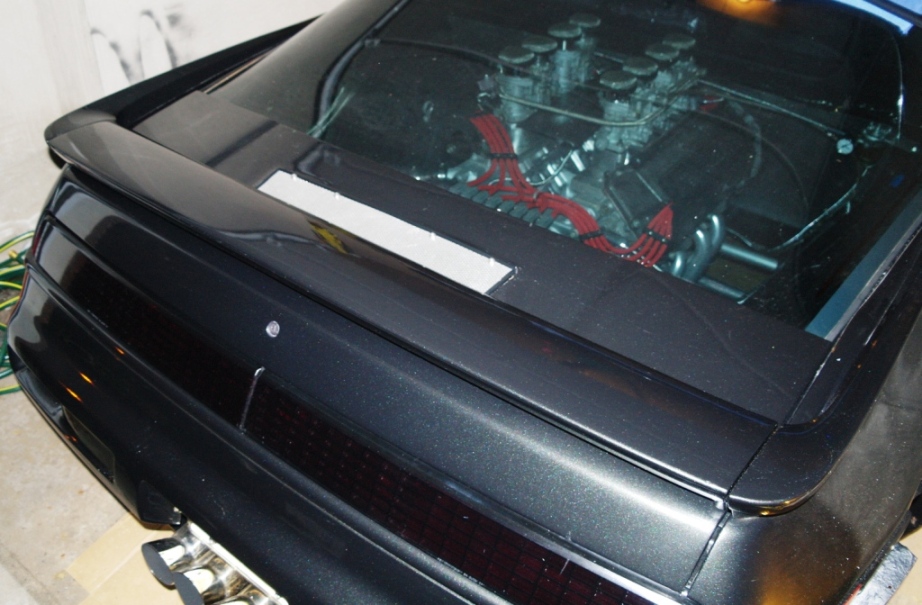
Made a template for the newly shaped decklid vent:
Used aluminum mesh I got from Bubbajoe back in 2008:
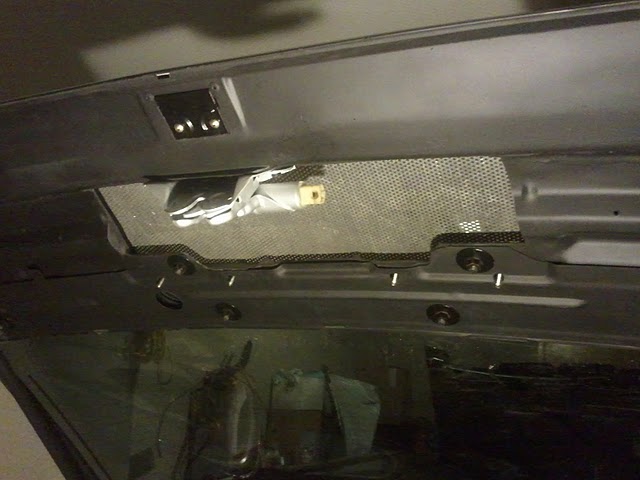
The edges are finished in black door edging and it's mounted with removable stainless bolts:
It sits virtually flush with the decklid and is mostly covered from view by the spoiler I can now install.
|
|
|
|
Fiero2m8
|
SEP 03, 11:36 PM
|
|
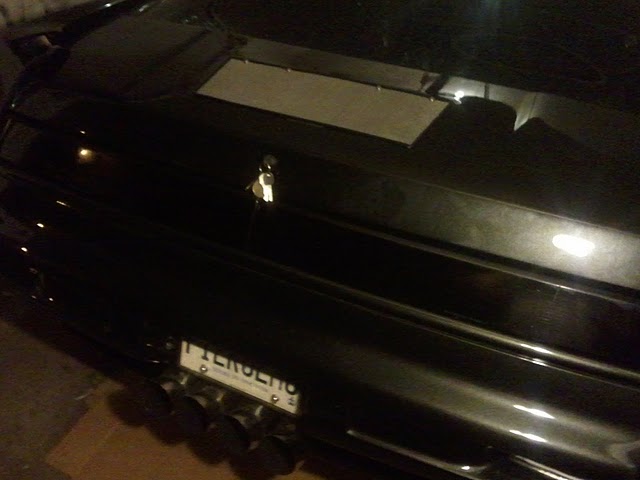
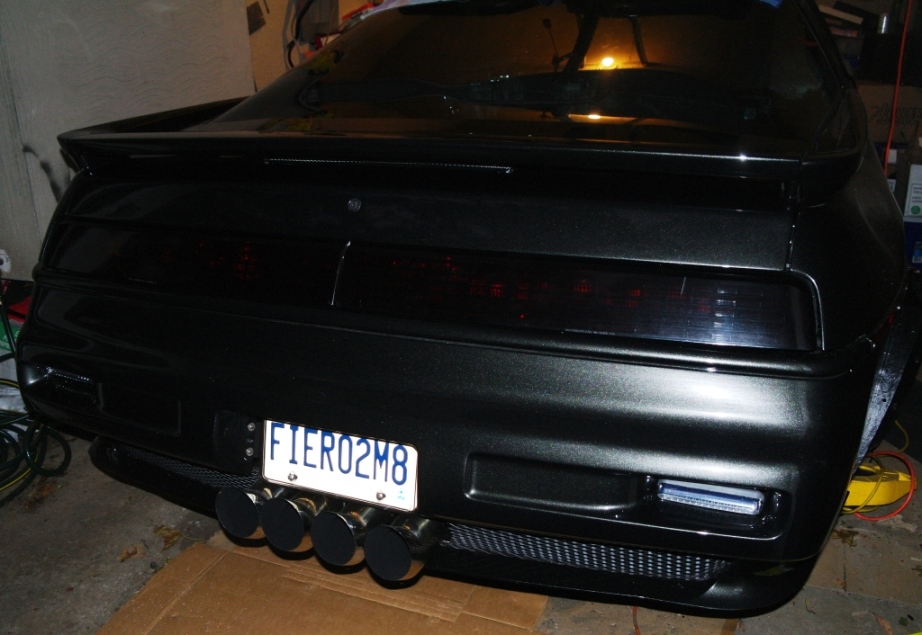
I had to slot the mounting holes to align the spoiler but she's bolted in position now.
The decklid was installed flush with the rear fenders to improve the body gap alignment.
I'm much happier now with the overall alignment and smooth operation of the engine hatch.
Here's a better overhead view taken with my flash camera at night:
Should have all the parts to work on the door panels soon...
|
|
|
|
doublec4
|
SEP 04, 02:58 AM
|
|
|
Still going strong! I've been watching all along, this is great! I can't wait to see it pulled back out into the daylight!
|
|
|
