|
| newest project (Page 273/312) |

|
Fiero2m8
|
JUN 10, 10:31 PM
|
|
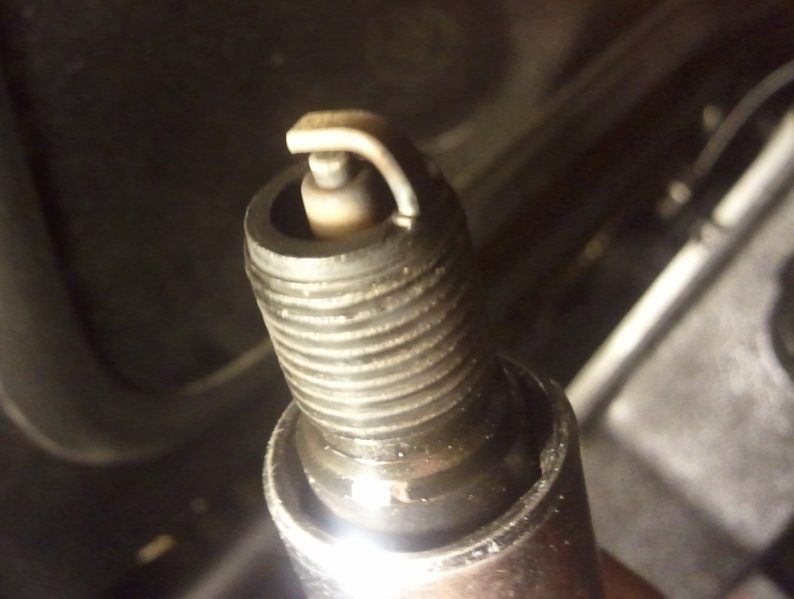
Removed the starter as it worked itself loose at the adjuster bolts.
Retorqued with Loc-tite.

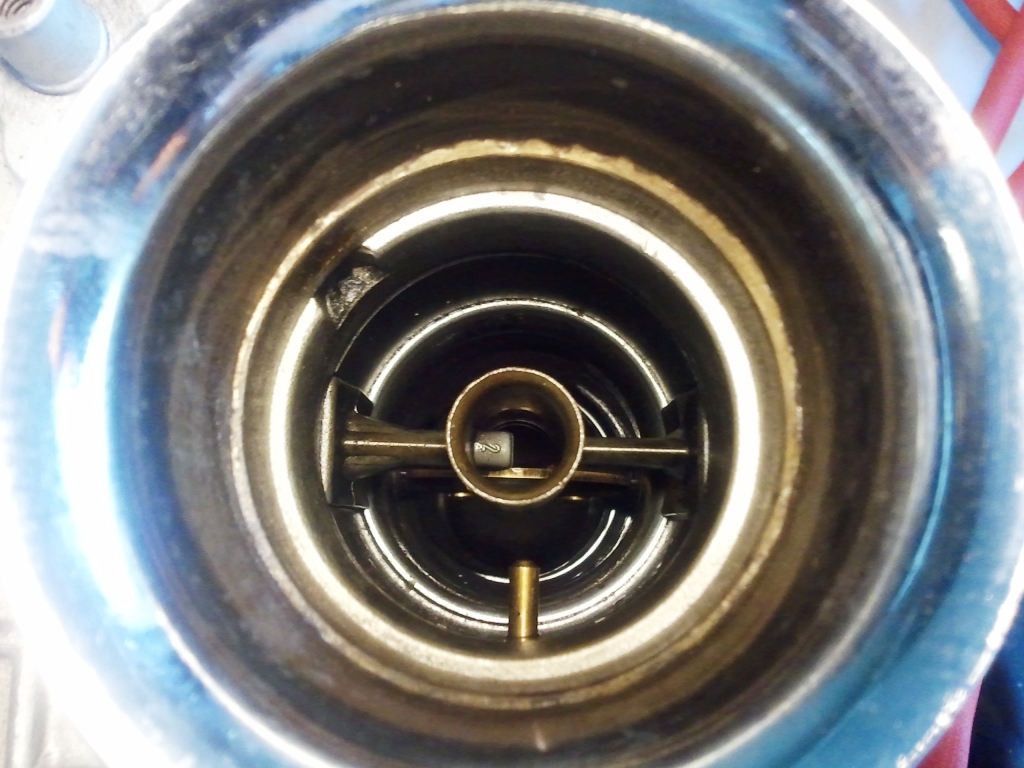
Checked new AC Delco standard plugs gapped to 30thou.
Mixture and heat range look good so far as they are all this tan colour:
|
|
|
|
Fiero2m8
|
JUN 10, 10:33 PM
|
|
| quote | Originally posted by ezramore:
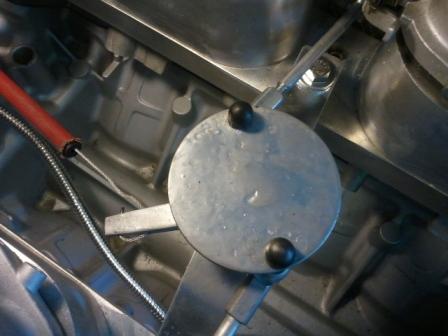
Can you box in the vally cover to go over the link |
|
Thought about it but I didn't want to cover the billet intake manifolds.
Probably something I can experiment with next winter.
|
|
|
|
Fiero2m8
|
JUN 13, 01:05 PM
|
|
|
|
|
Fiero2m8
|
JUN 16, 12:03 AM
|
|
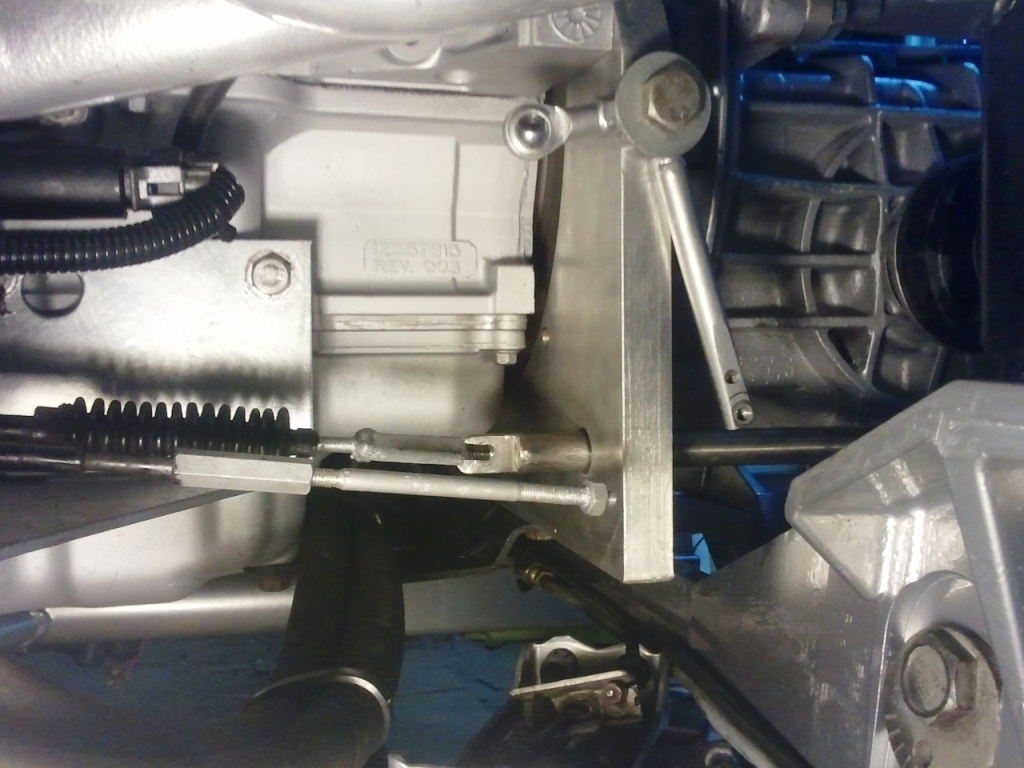
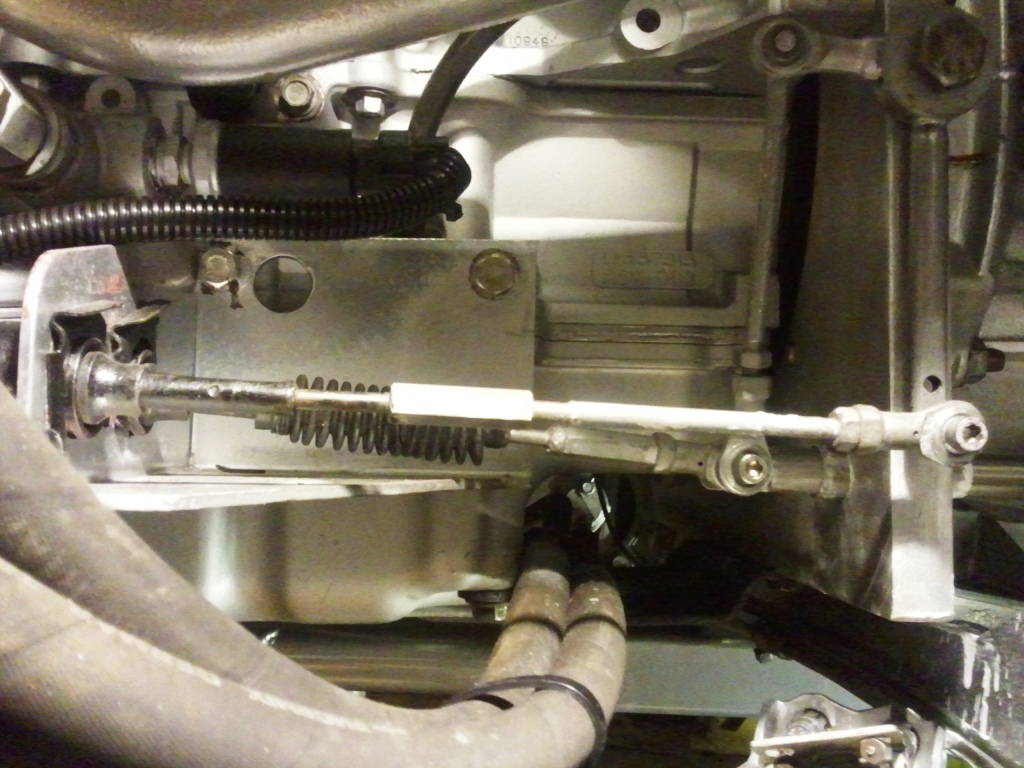
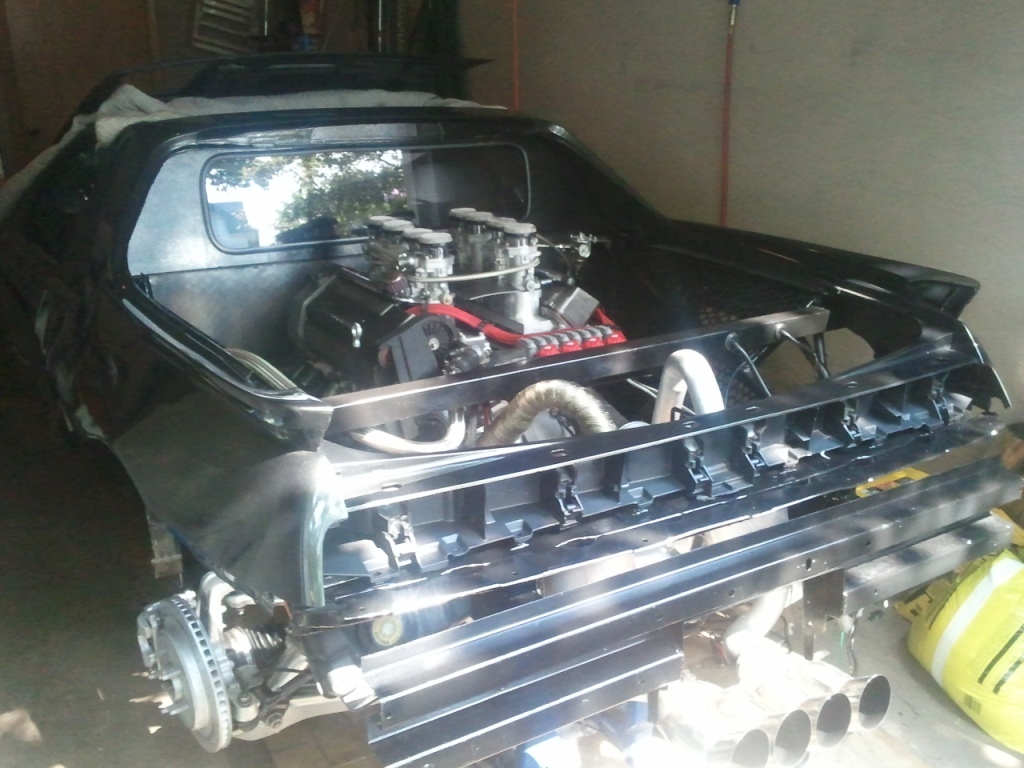
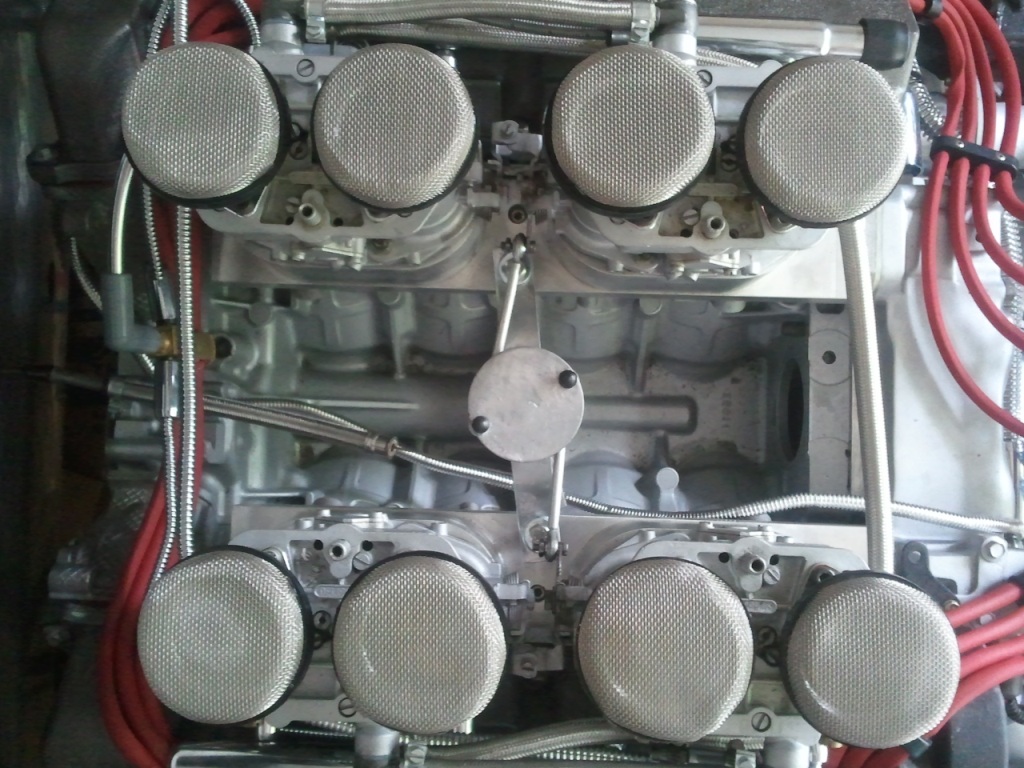
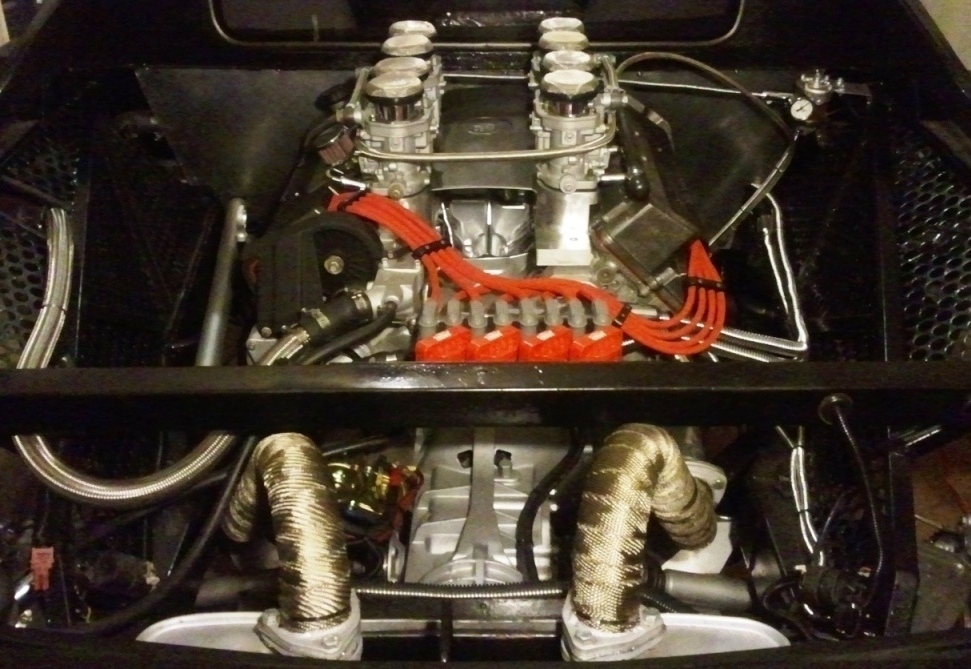
Recently I noticed that my throttle cable travel didn't allow for Wide Open Throttle - they were opening only 3/4 vs. full as shown here:
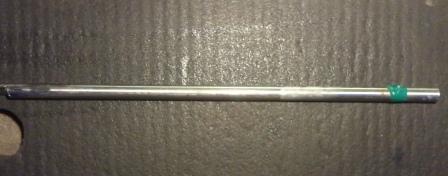
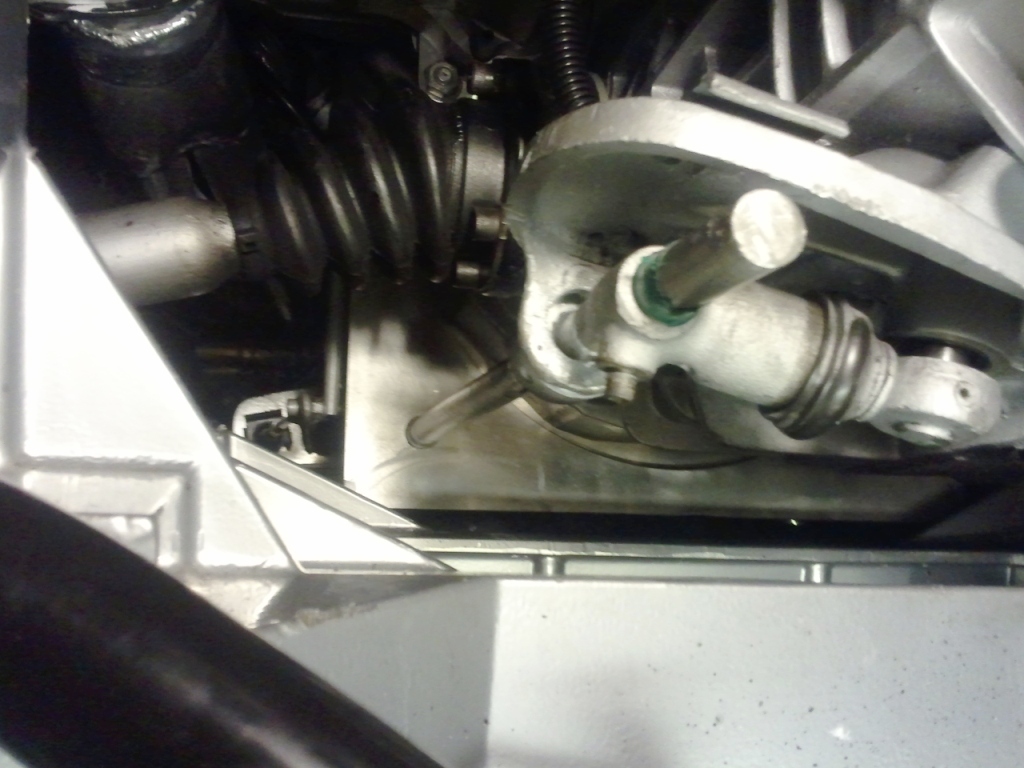
Solution was to relocate and adjust the cable from the outer hole to the inner hole on the arm requiring less cable travel to achieve WOT:
Here is an overhead shot of the new setup:
|
|
|
|
Fiero2m8
|
JUN 18, 12:19 PM
|
|
|
|
|
Fiero2m8
|
JUN 18, 12:23 PM
|
|
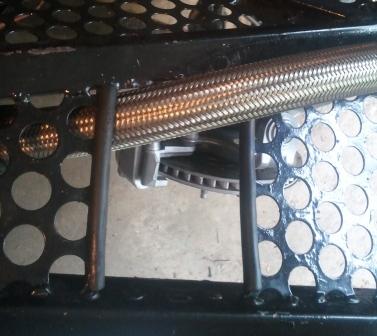
Hi ezramore,
Got around to protecting the stainless rad hose similar to as suggested:
|
|
|
|
Fiero2m8
|
JUN 18, 12:34 PM
|
|
| quote | Originally posted by ezramore:
Can you box in the vally cover to go over the link |
|
I experimented with this setup (above the linkage) after installing the exhaust wrap, let me know what you think...
I also went with paint to match the valve covers.
|
|
|
|
Fiero2m8
|
JUN 18, 12:41 PM
|
|
I saw the taillight tinting paint in the Performance Improvements flyer so I thought I'd give it a try.
Before:
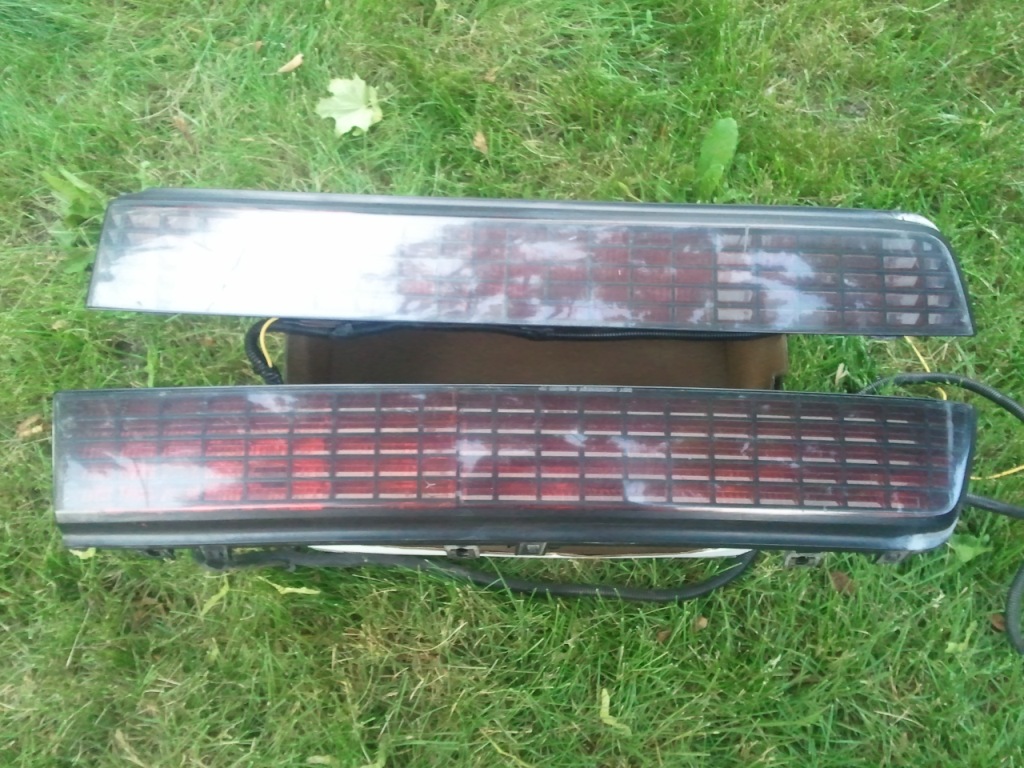
After:
|
|
|
|
Mystik
|
JUN 19, 03:04 AM
|
|
Thank you so much for this. I've been searching all around. I'll have to go visit someday.
|
|
|
|
Fiero2m8
|
JUN 20, 10:16 PM
|
|
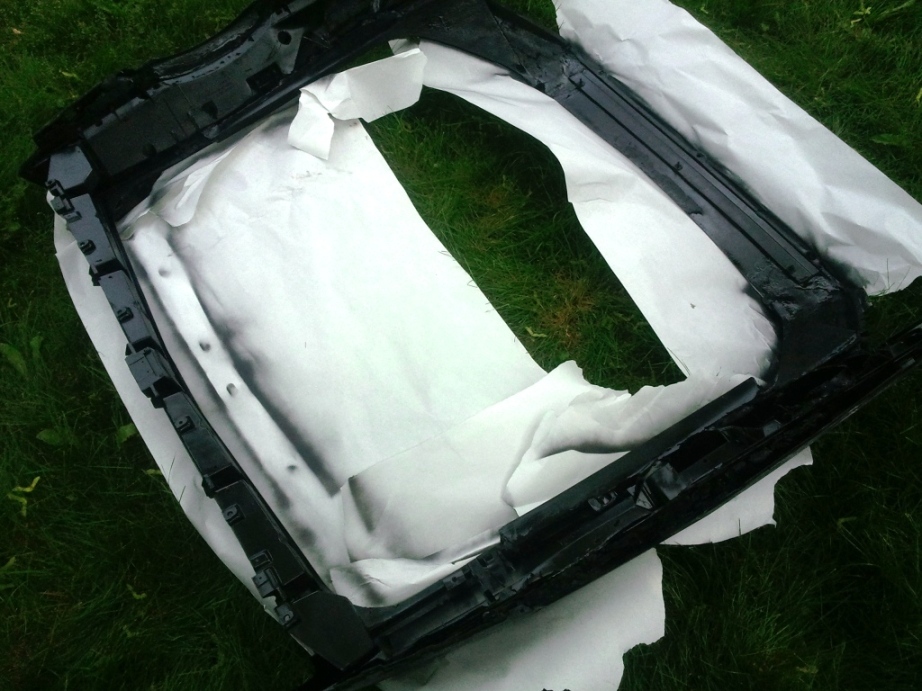
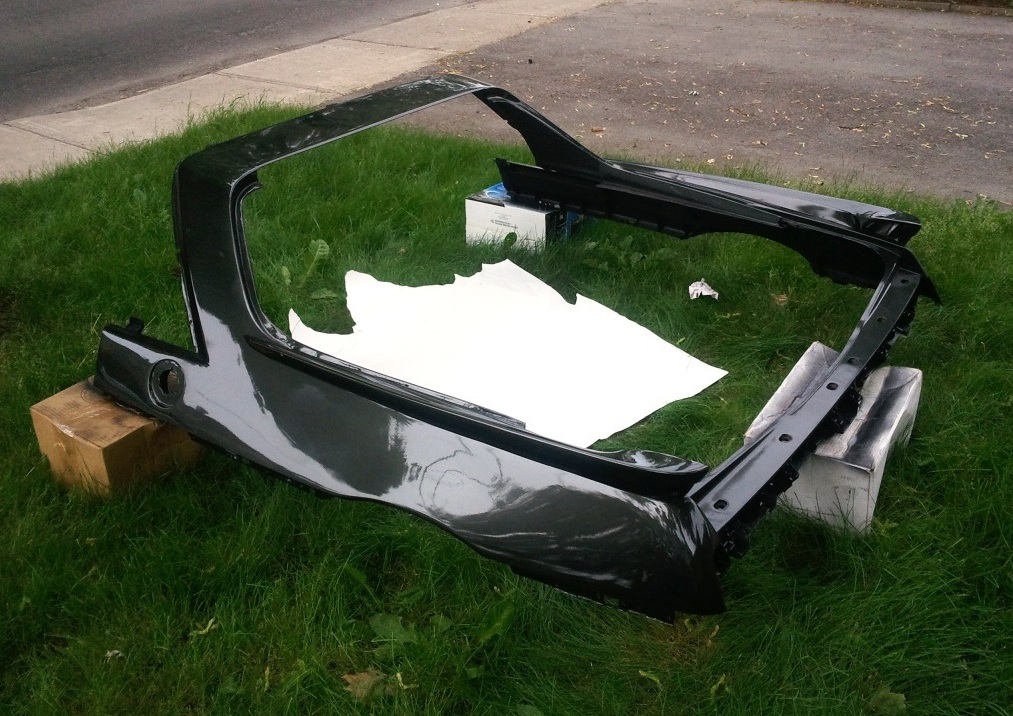
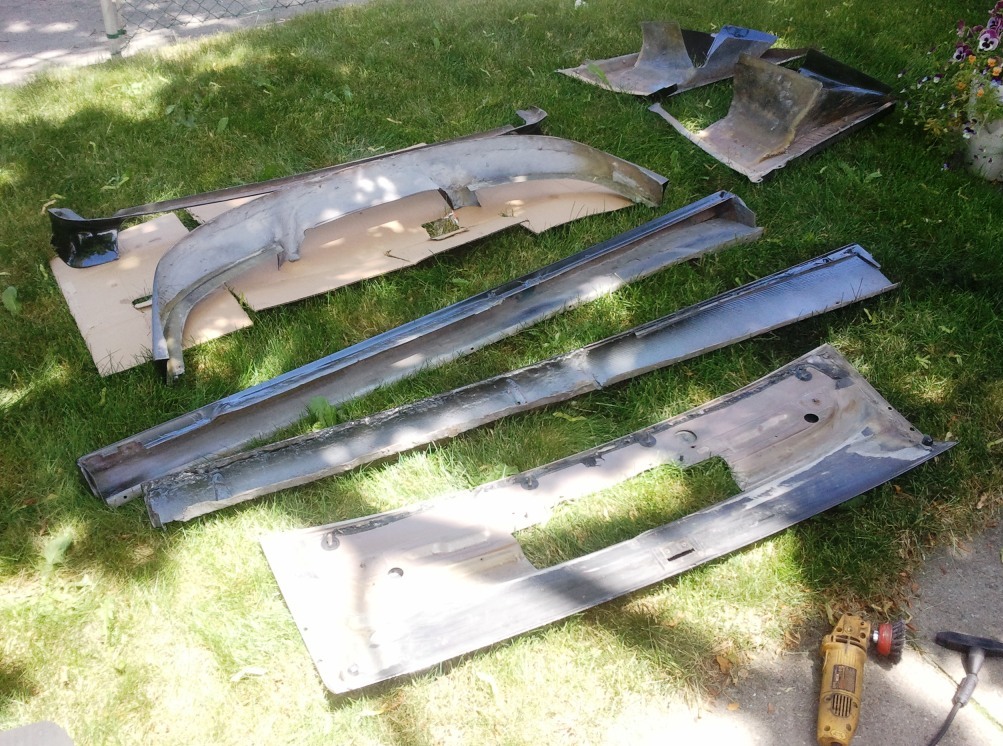
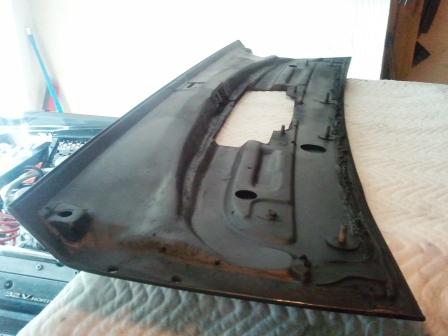
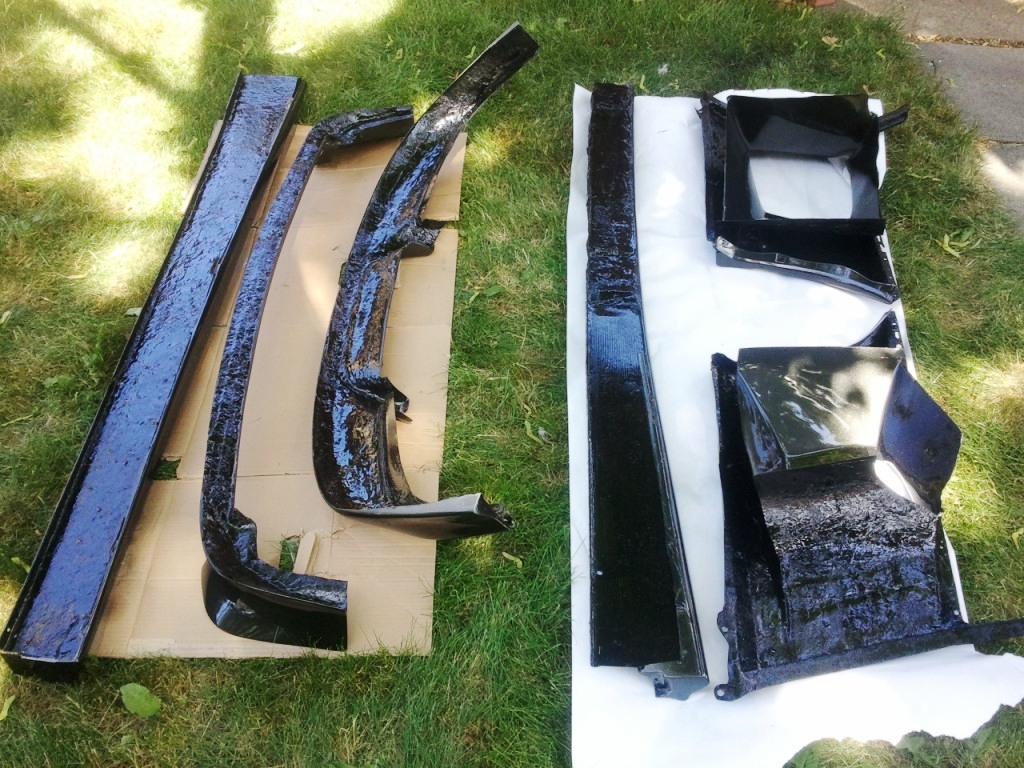
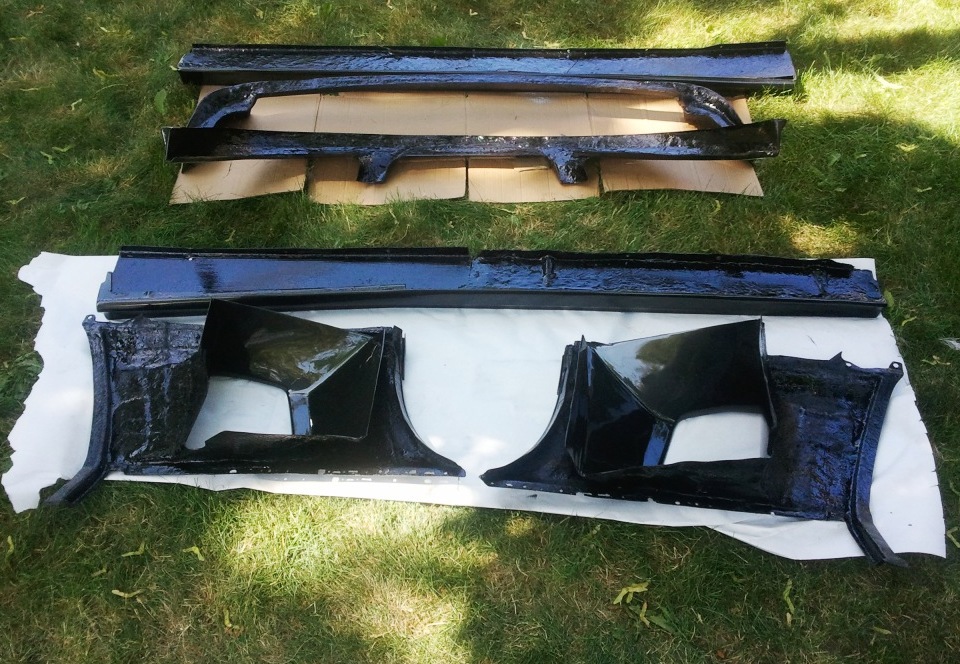
This past weekend's progress was made painting the underside of body panels.
The decklid was done in flat black and the rest in gloss black to match the chassis.
Most of this won't be seen but this was my chance to cover the bare fiberglass and make it easier to keep looking nice.
|
|
|