
 
     |
| Trinten's SBC/F23 build - The work has begun! (Page 27/76) |

|
motoracer838
|
DEC 08, 07:55 PM
|
|
| quote | Originally posted by fieroguru:
|
|
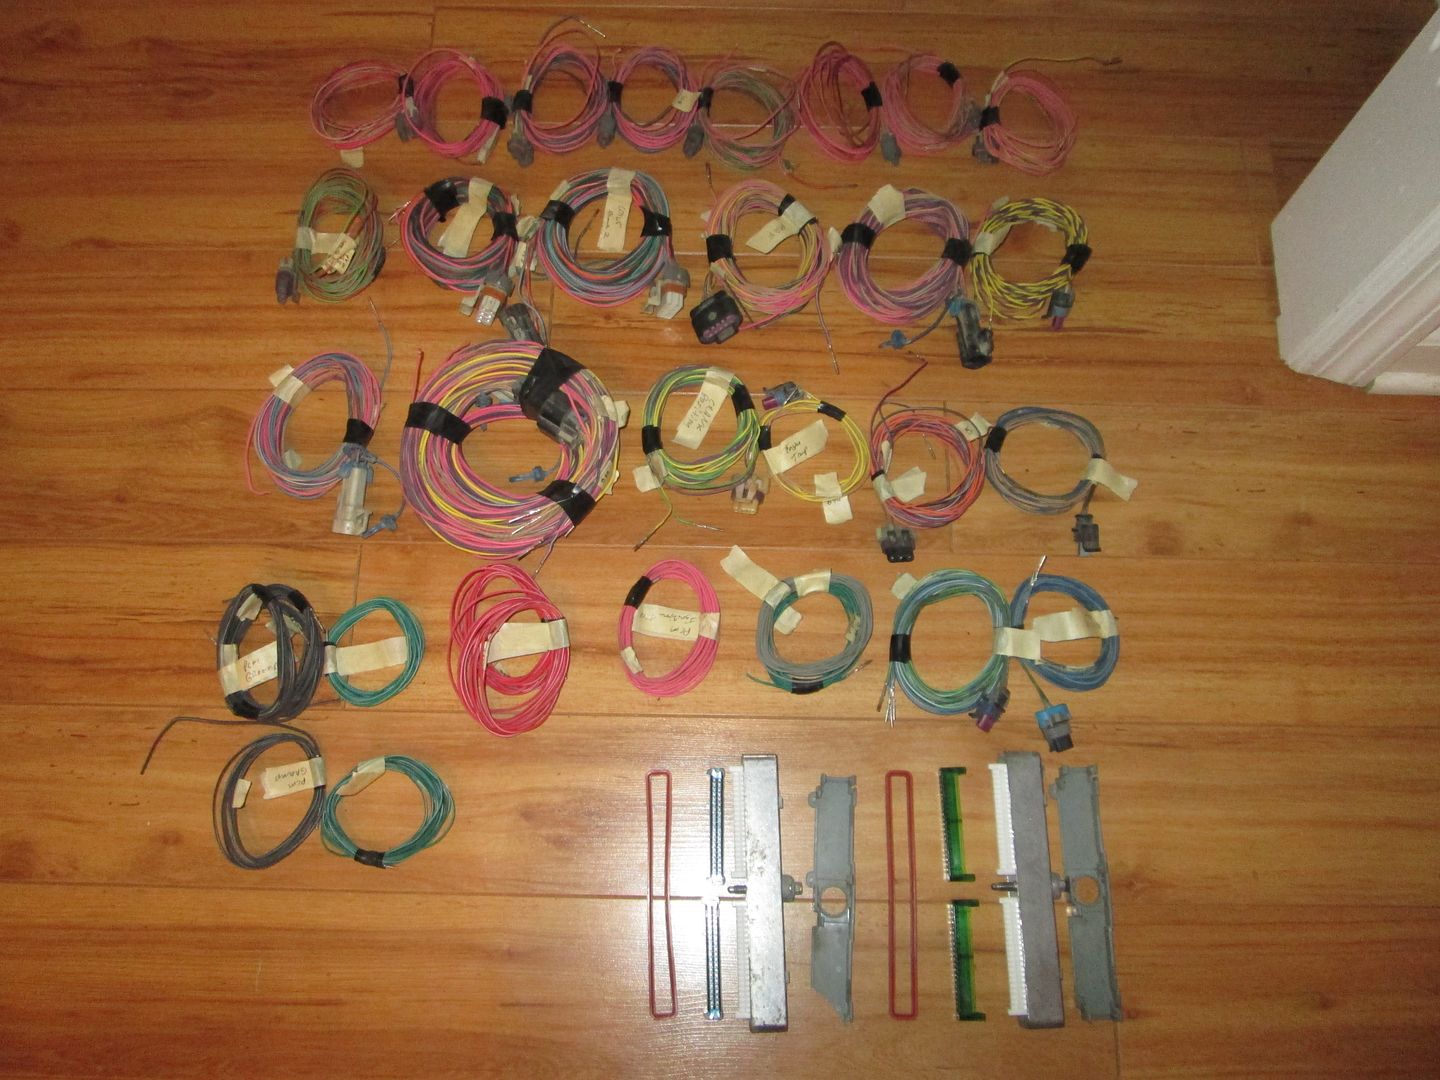
In all the harness work I've done, it never occured to me to break out all the ciructs like that, brilliant.
Joe
|
|

|
fieroguru
|
DEC 08, 09:21 PM
|
|
| quote | Originally posted by motoracer838:
In all the harness work I've done, it never occured to me to break out all the ciructs like that, brilliant.
Joe |
|
It takes longer, but it allows me to easily route the new harness where i want it. I do all my harnesses this way.
|
|
|
|
Chris Hodson
|
DEC 09, 12:15 AM
|
|
|
Awesome fab skills, looks like a clean build.
|
|
|
|
CTFieroGT87
|
DEC 09, 08:25 AM
|
|
|
Awesome build! Keep up the inspiration!
|
|
|
|
fieroguru
|
DEC 21, 06:34 PM
|
|
Back at it!
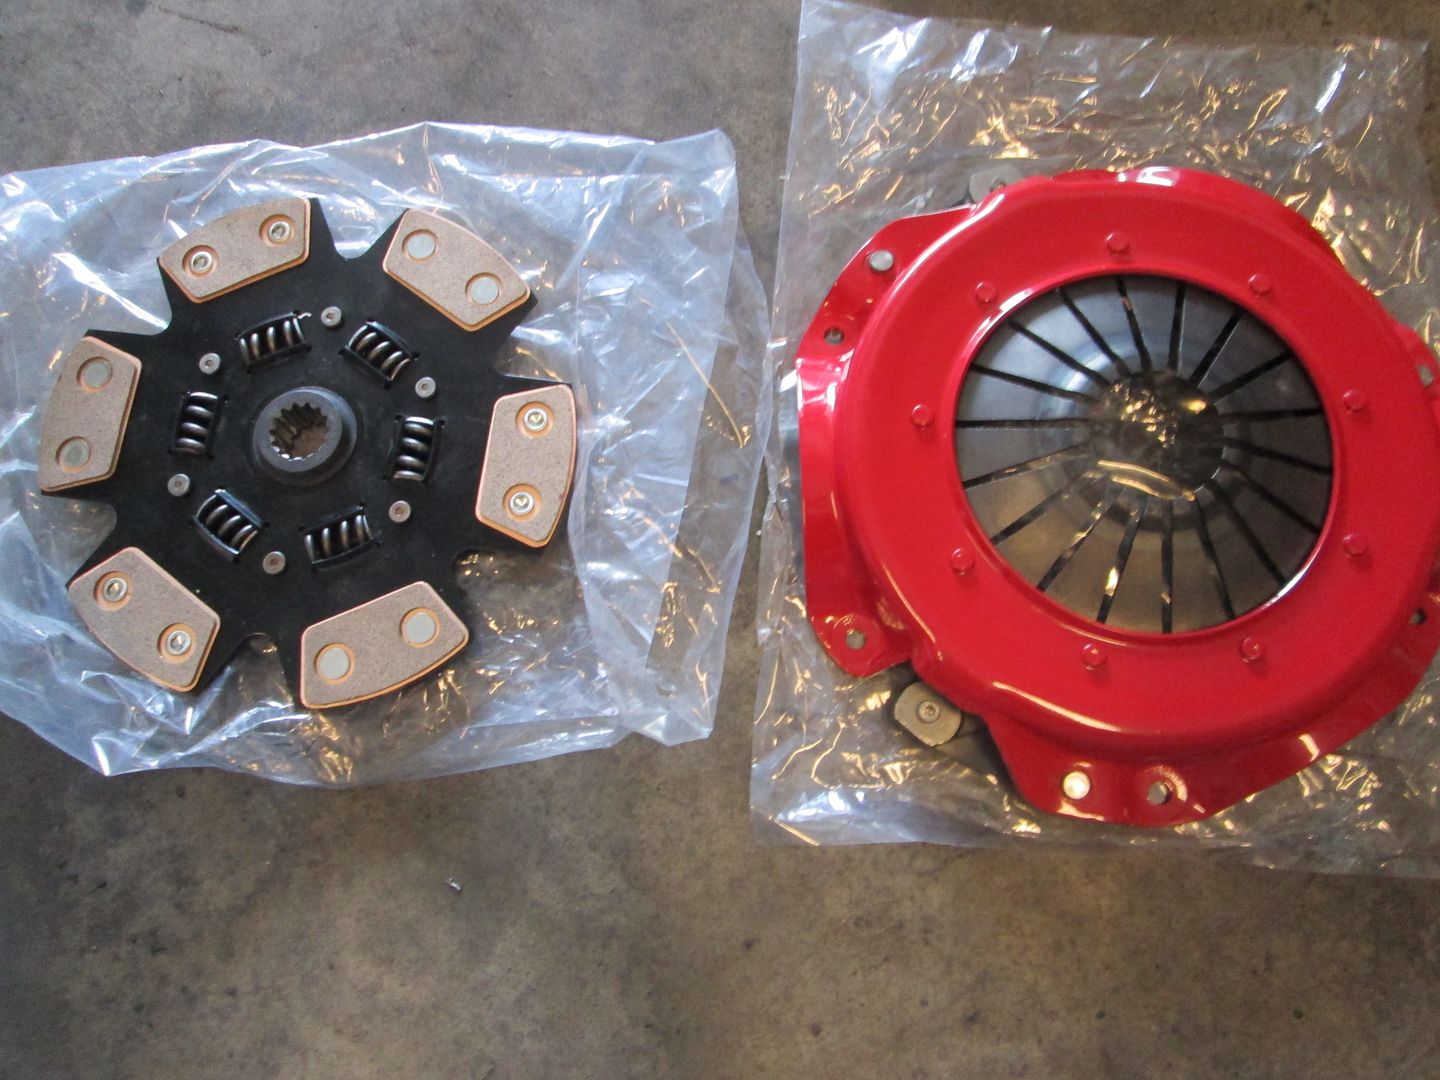
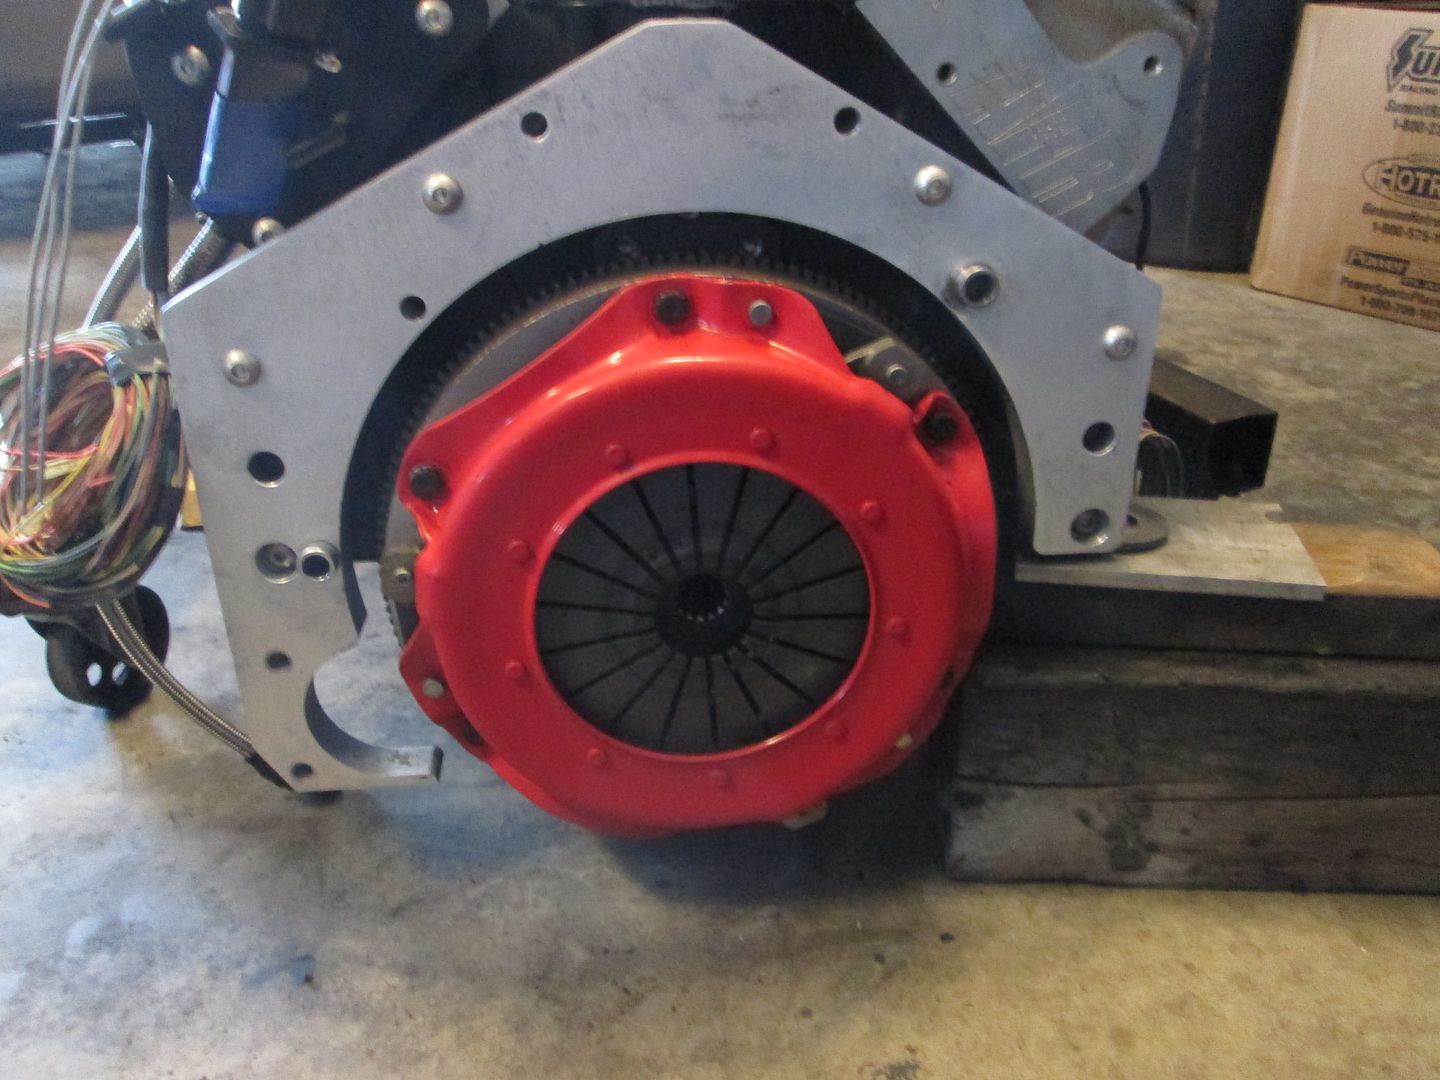
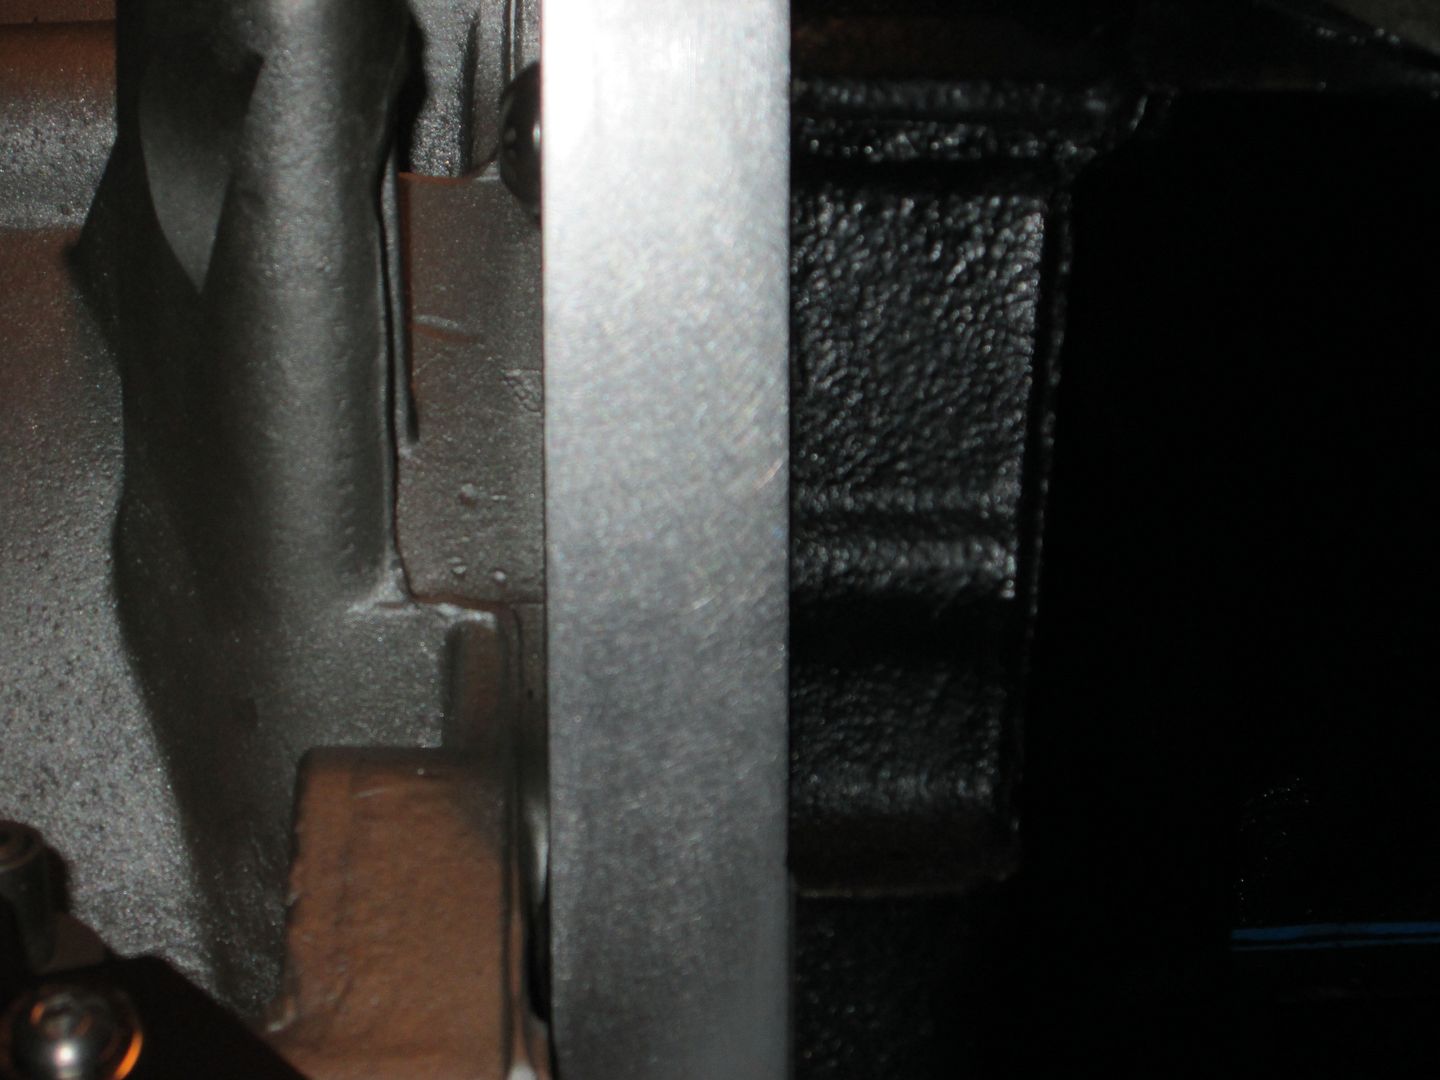
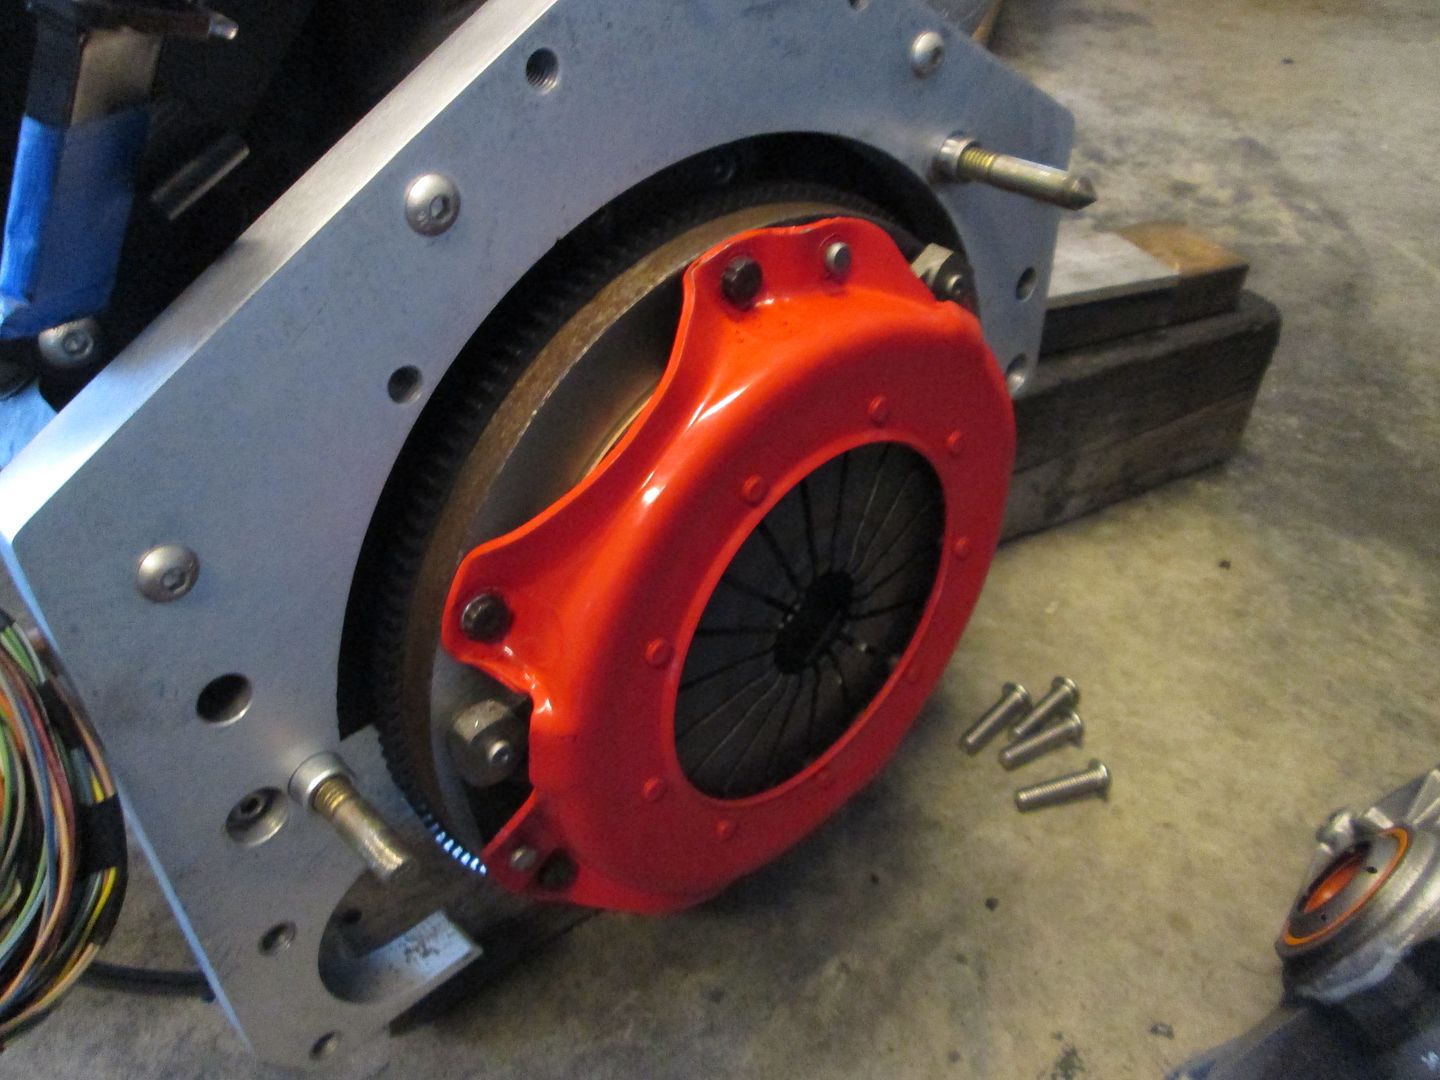
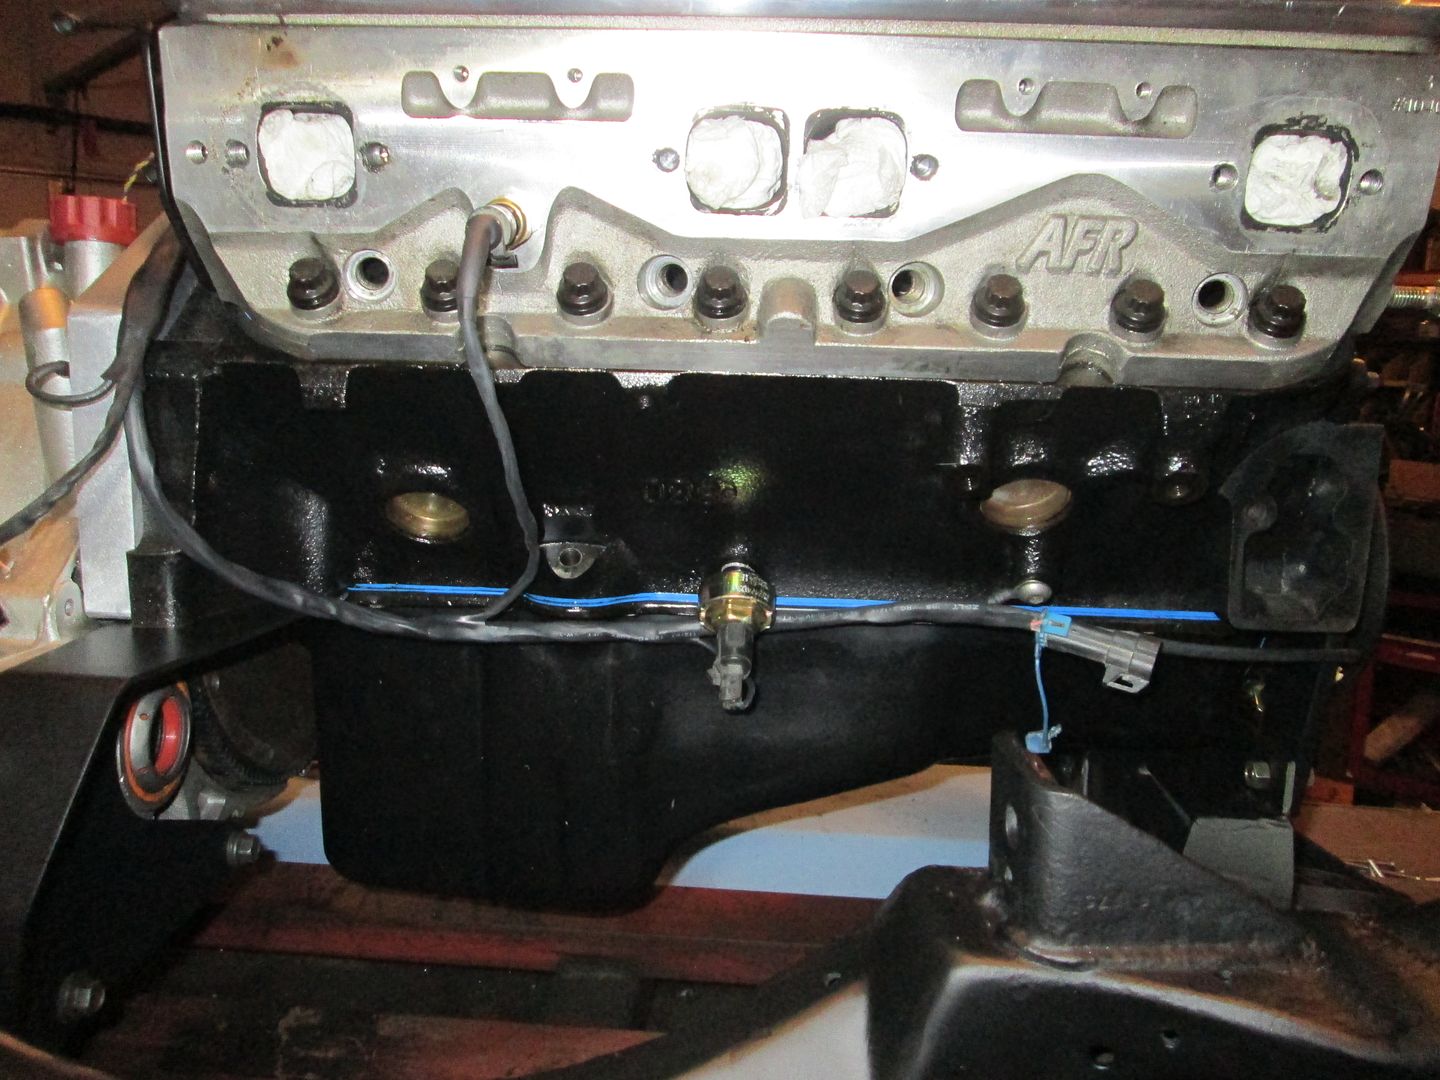
The pressure clutch net pressure plate arrived, so I could start putting the engine and transmission back together:
I smoothed down the rough cut edges of the adapter plate. Here is the first pass on the belt sander:
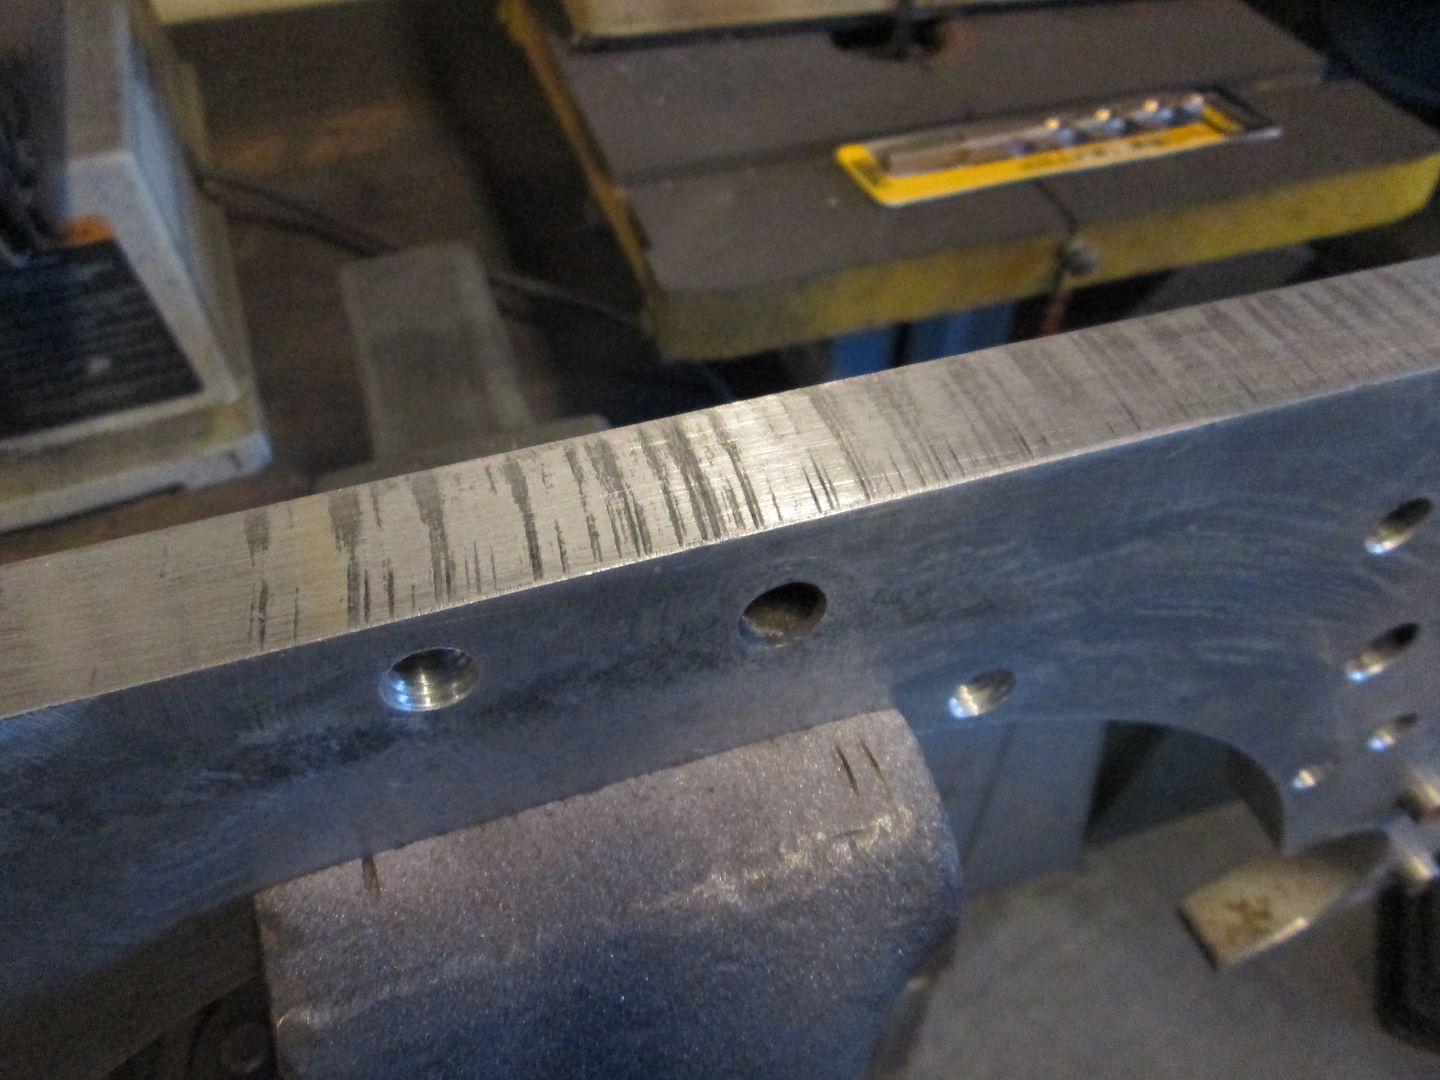
I finished it with a DA sander and 320 grit so it has a smooth matte look to it:
Once the clutch was installed, I double checked the placement of the clutch fingers and the range of motion for the HTOB. The clutch fingers protruded 2.012" from the bellhousing face and the range of motion for the HTOB was 1.645" to 2.356"... so the HTOB will be nearly centered when installed, which will work just fine.
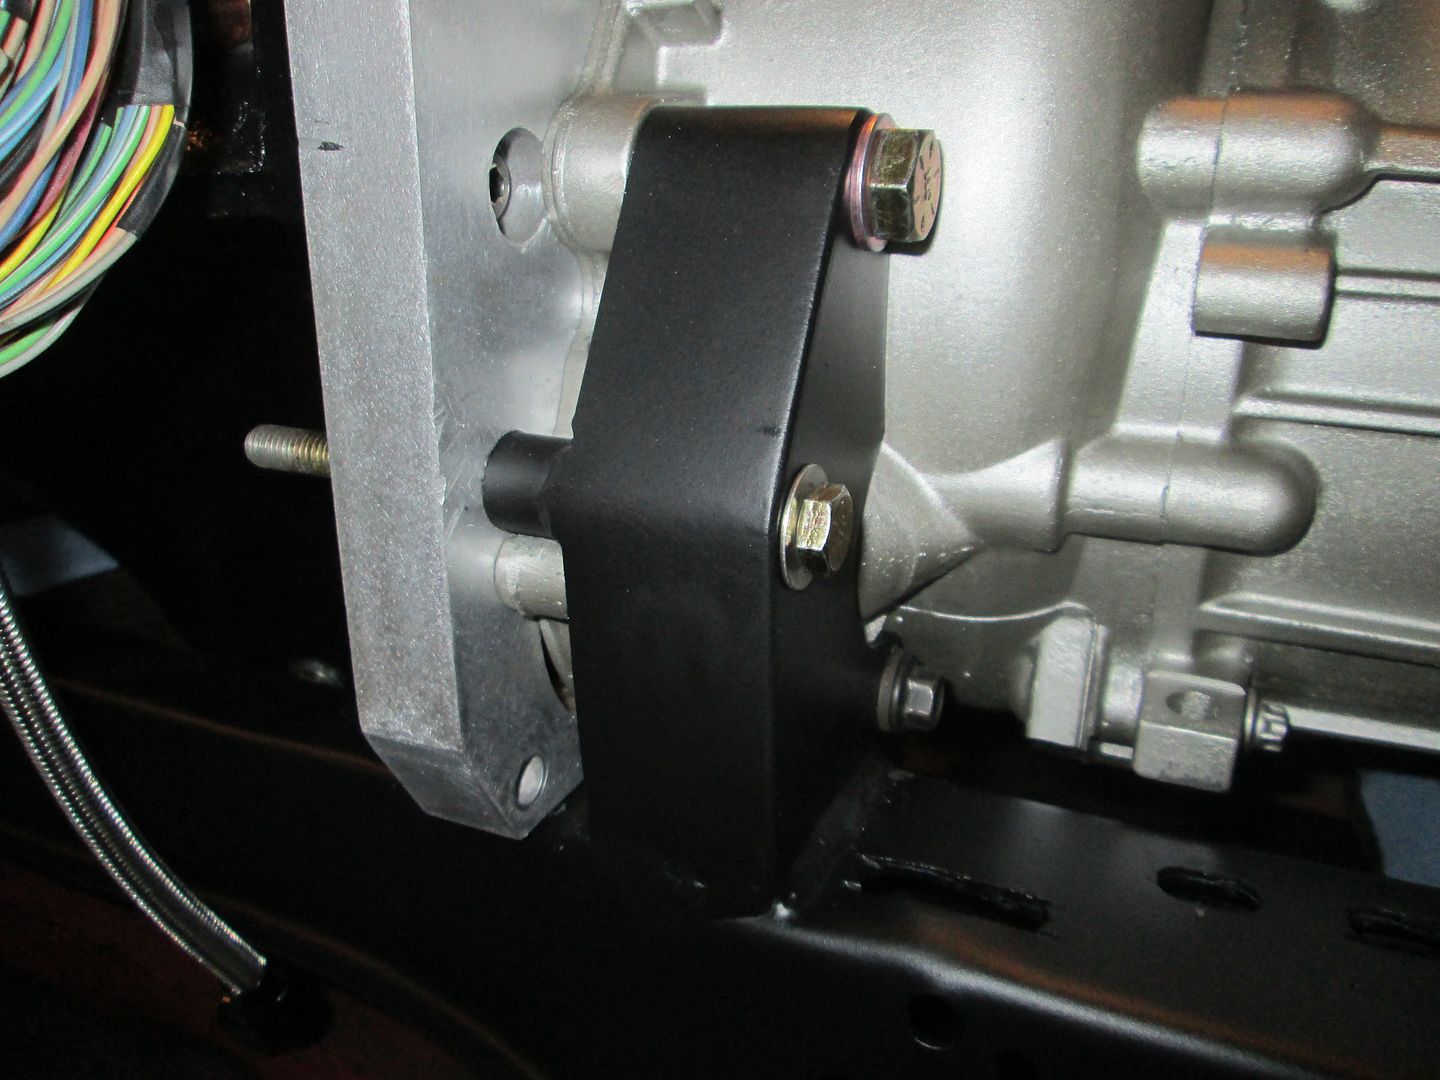
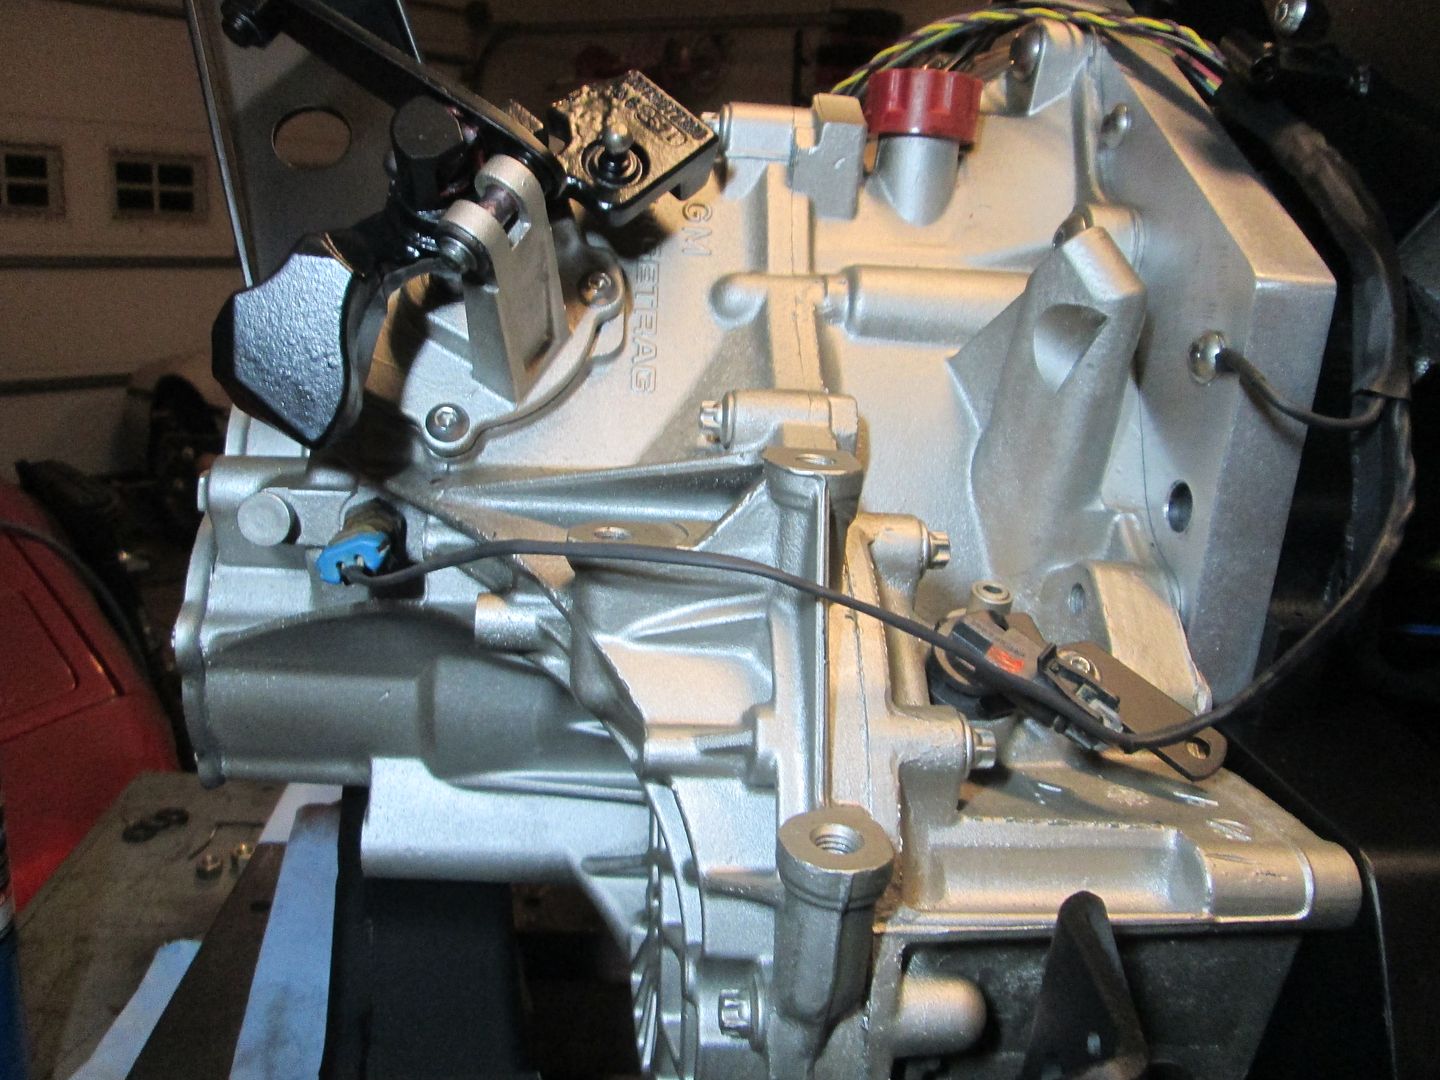
Then it was time to install the transmission. Since I drilled and tapped all the 7/16" holes in the adapter plate to 1/2", I installed a couple of 1/2" alignment bolts to help the input shaft line up and to help me support the transmission while wiggling it:
With the transmission connected to the engine once more, I put the drivetrain back on the cradle and tightened all the mounting bolts:
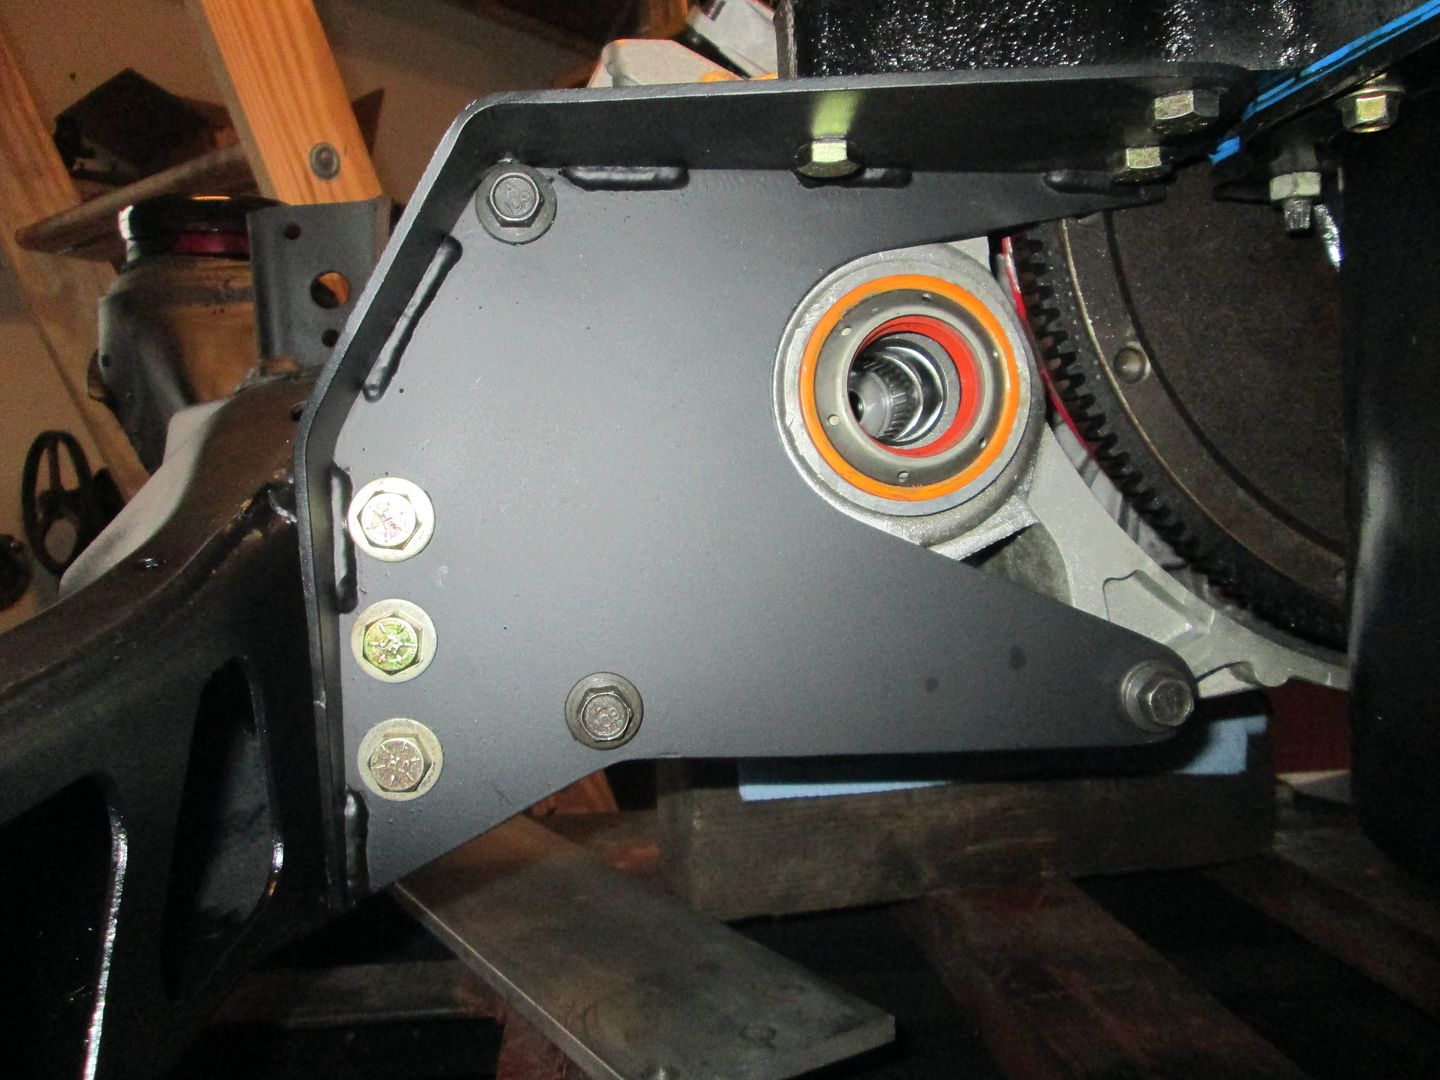
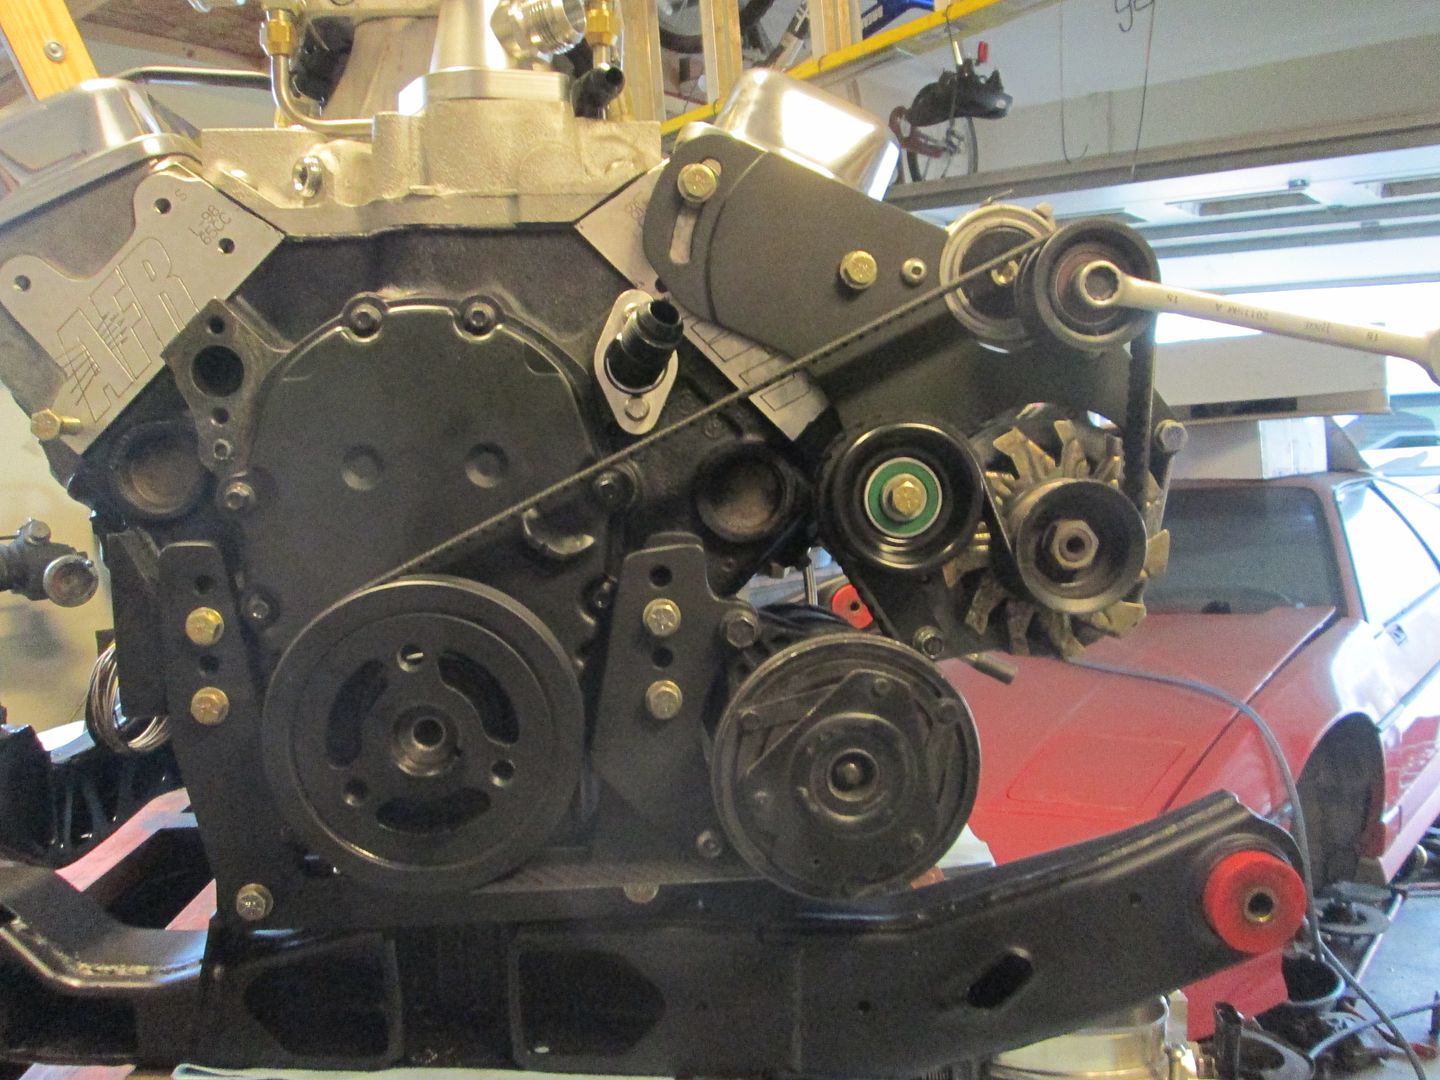
The accessory drive is also back together as well:
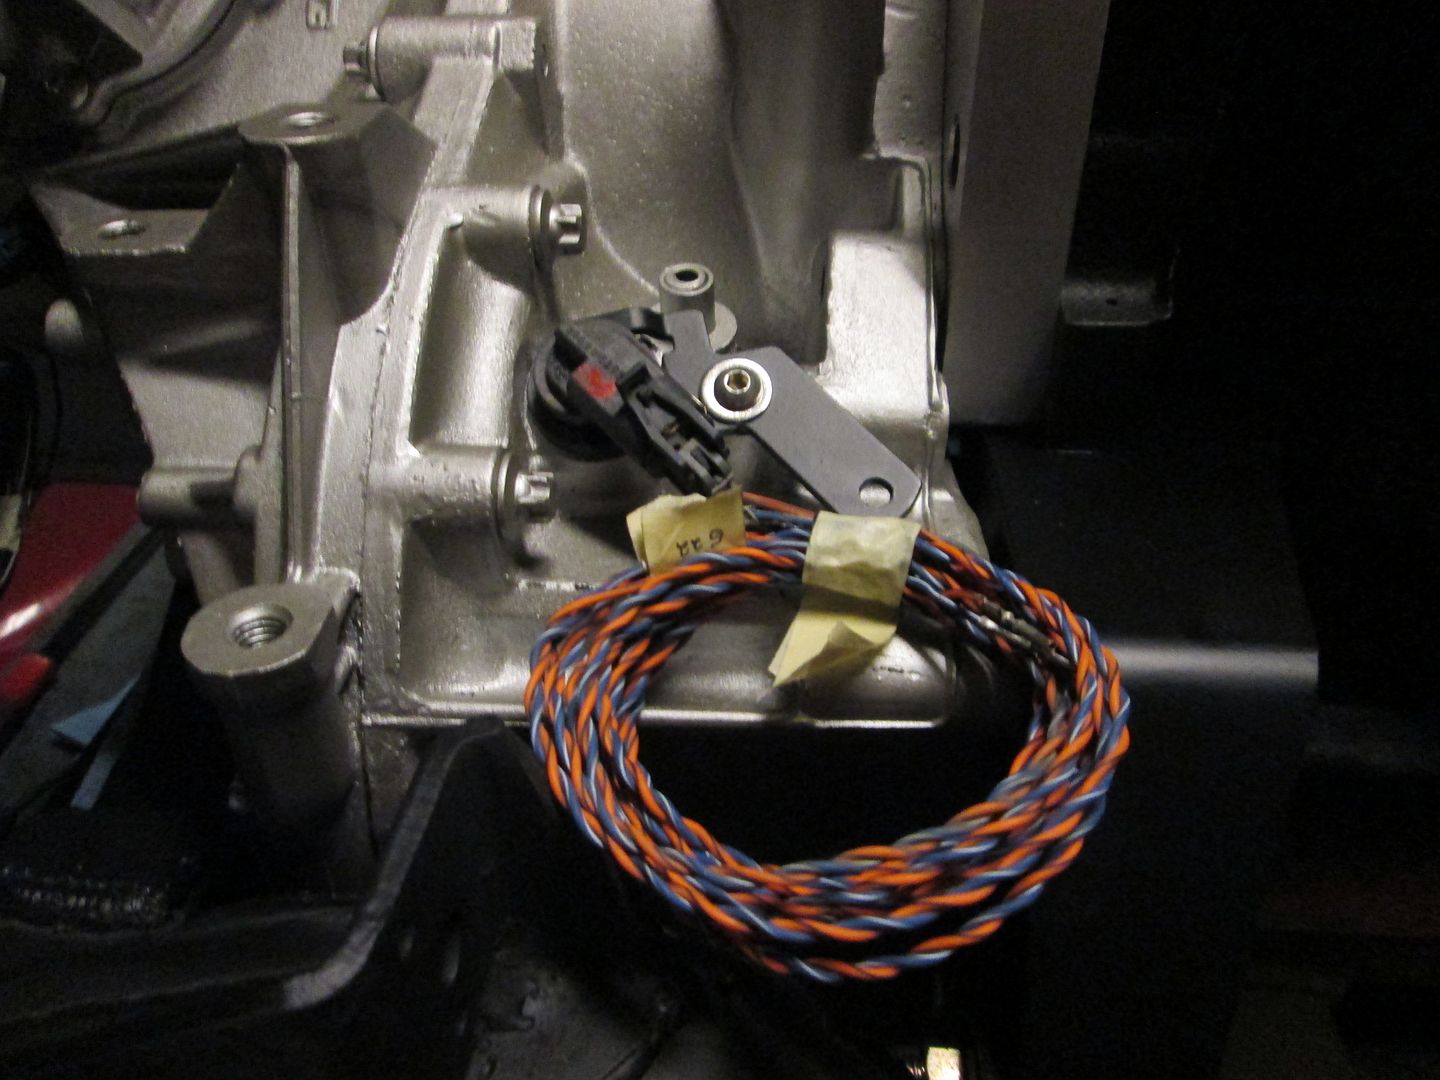
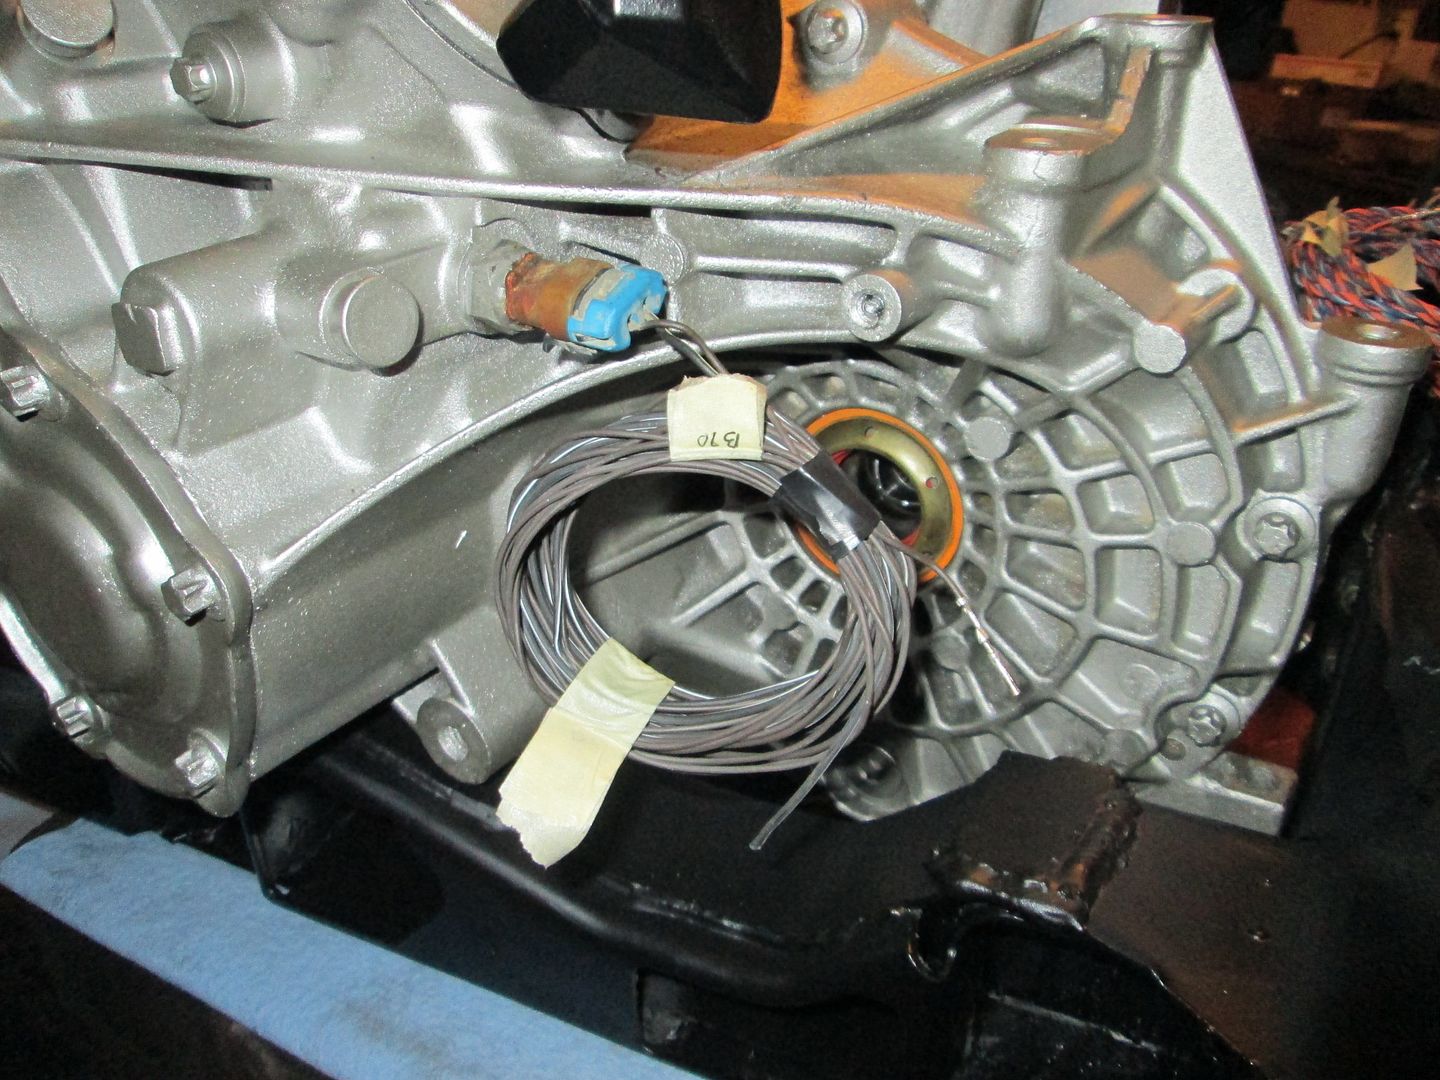
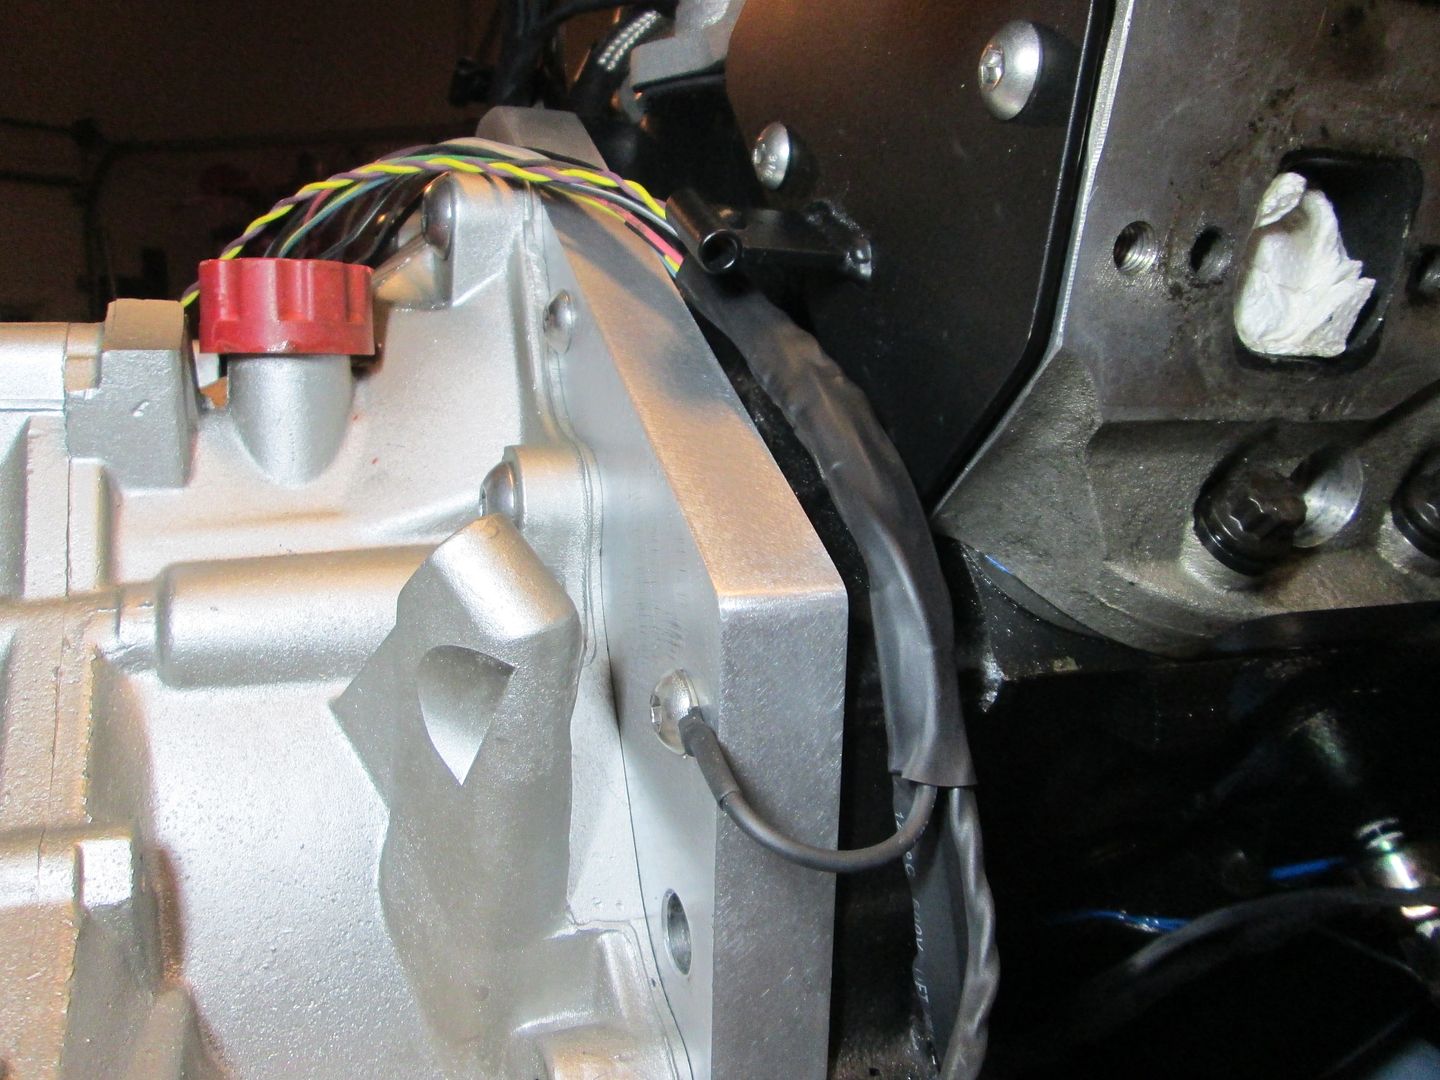
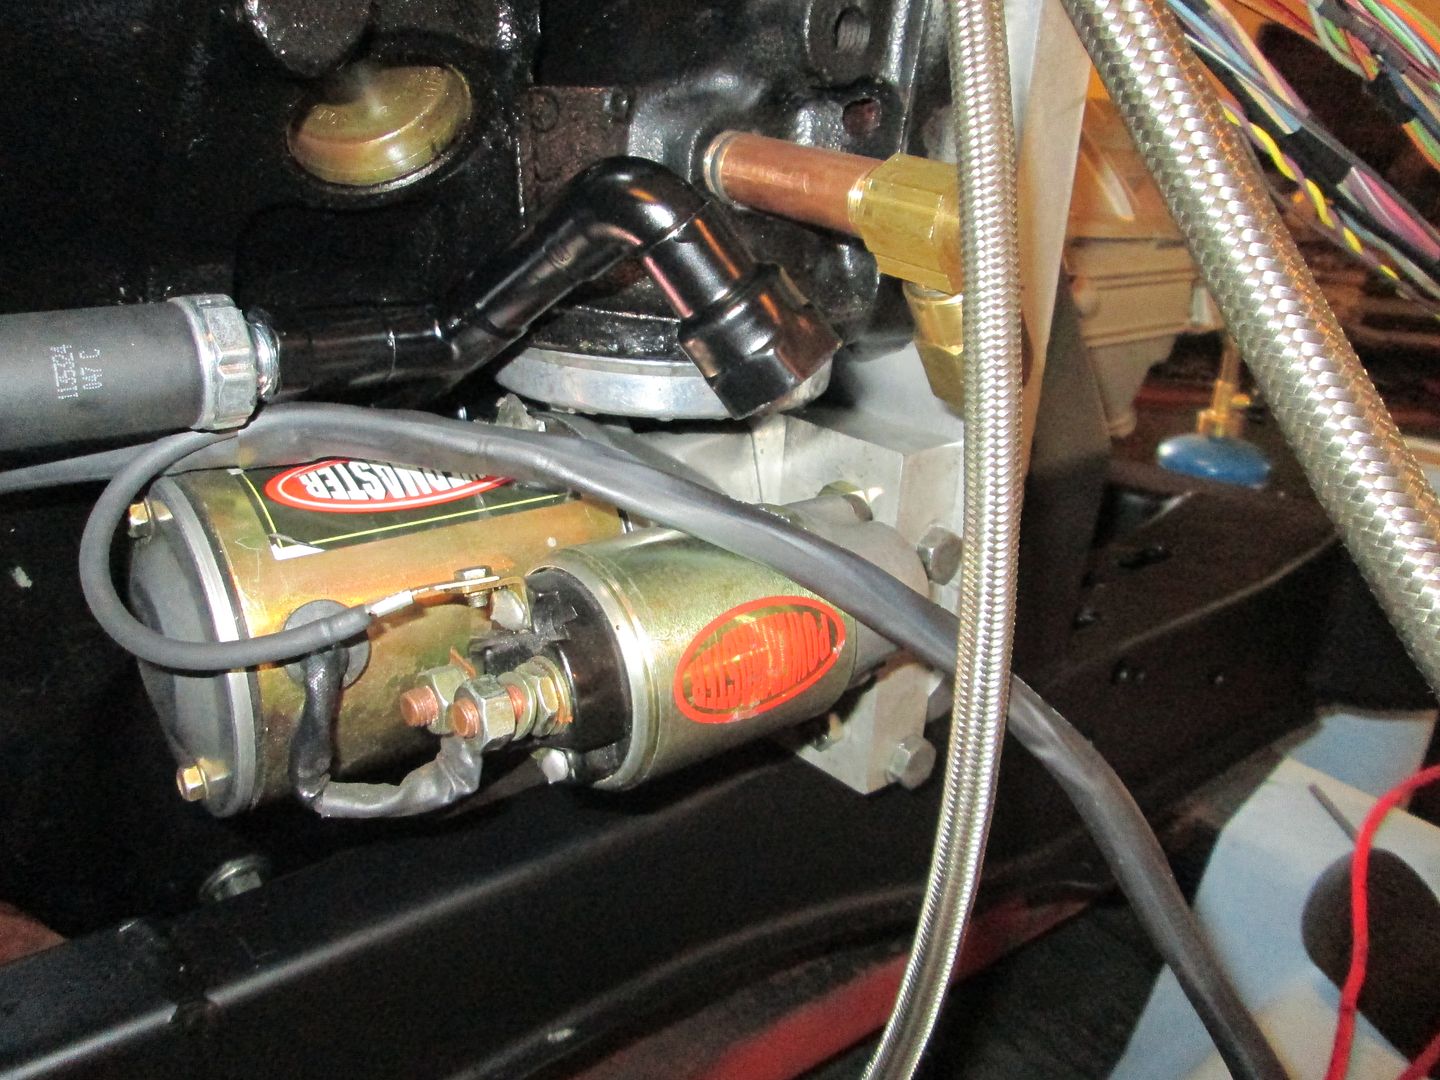
Before I put a lot more of the drivetrain back together, I want to continue looming up the harness wires. From the pile of unneeded connector/wires from the 2006 harness tear down, I found the needed ends with plenty of wire length for the back up lights and VSS on the F23. The VSS uses the ISS (input shaft sensor) connector for the 4L60 (or maybe 4L80) and the backup lights use the connector for the oil level sensor:
The pigtails for the Cam and Crank sensors (both are AC Delco PT420) arrived, so on Sunday I will continue with heat shrinking connector ends and building portions of the harness starting from the various termination points.
|
|
|
|
fieroguru
|
DEC 23, 07:17 PM
|
|
More wiring/harness work...
Crankshaft sensor connection:
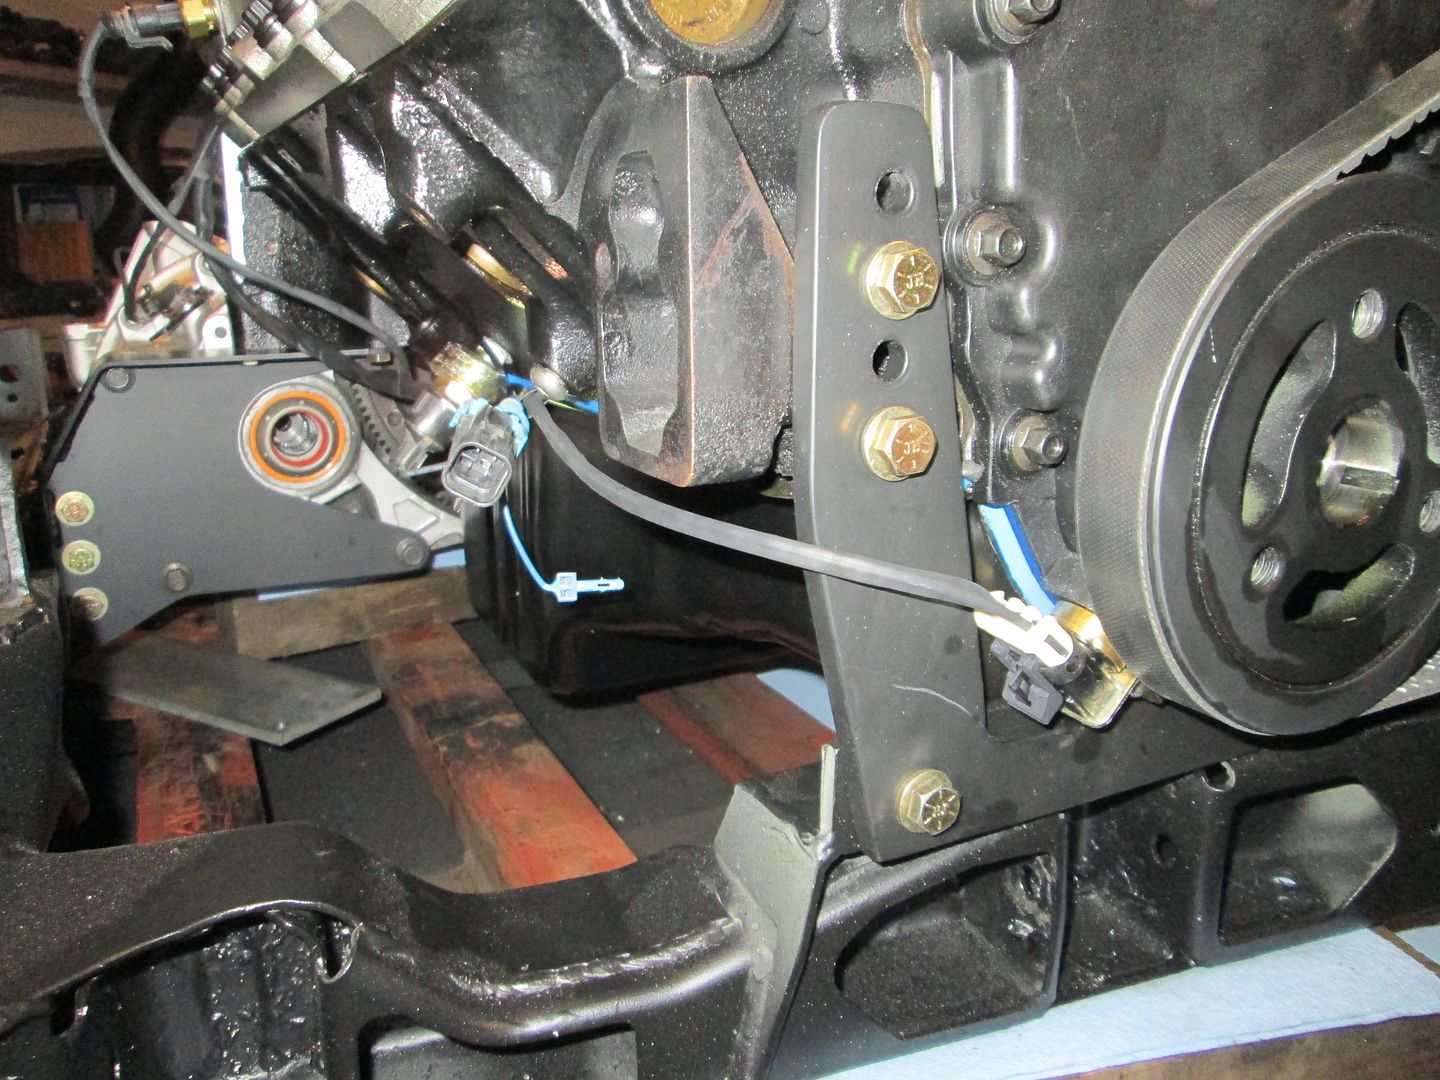
Ground, O2 sensor, Knock Sensor - Bank 2, ECM temp sensor & Temp gauge connections:
VSS and Reverse Light, and Ground connections:
Bank 2 side of the harness going under the coils and following the bellhousing to the other side:
Also finished up the sub loom from the top side. All 8 Injectors, MAP Sensor, TPS Sensor, IAC Sensor, Camshaft Position Sensor, MAF Sensor wires coming down and will join the main harness at the bellhousing and follow it under the Bank 1 coils:
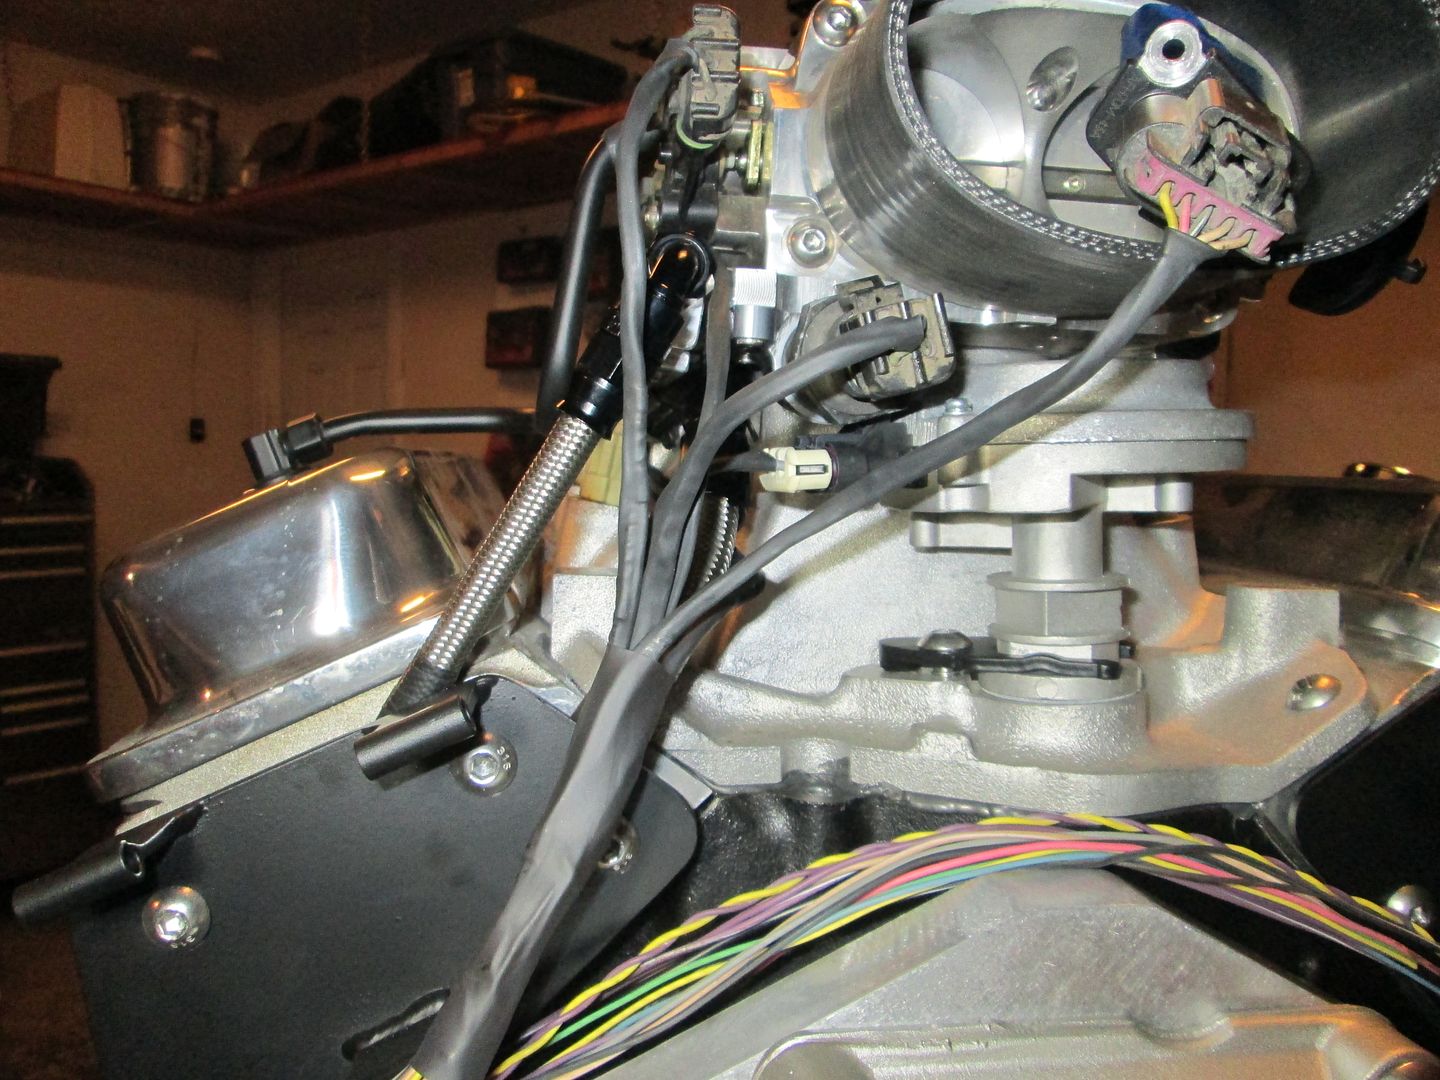
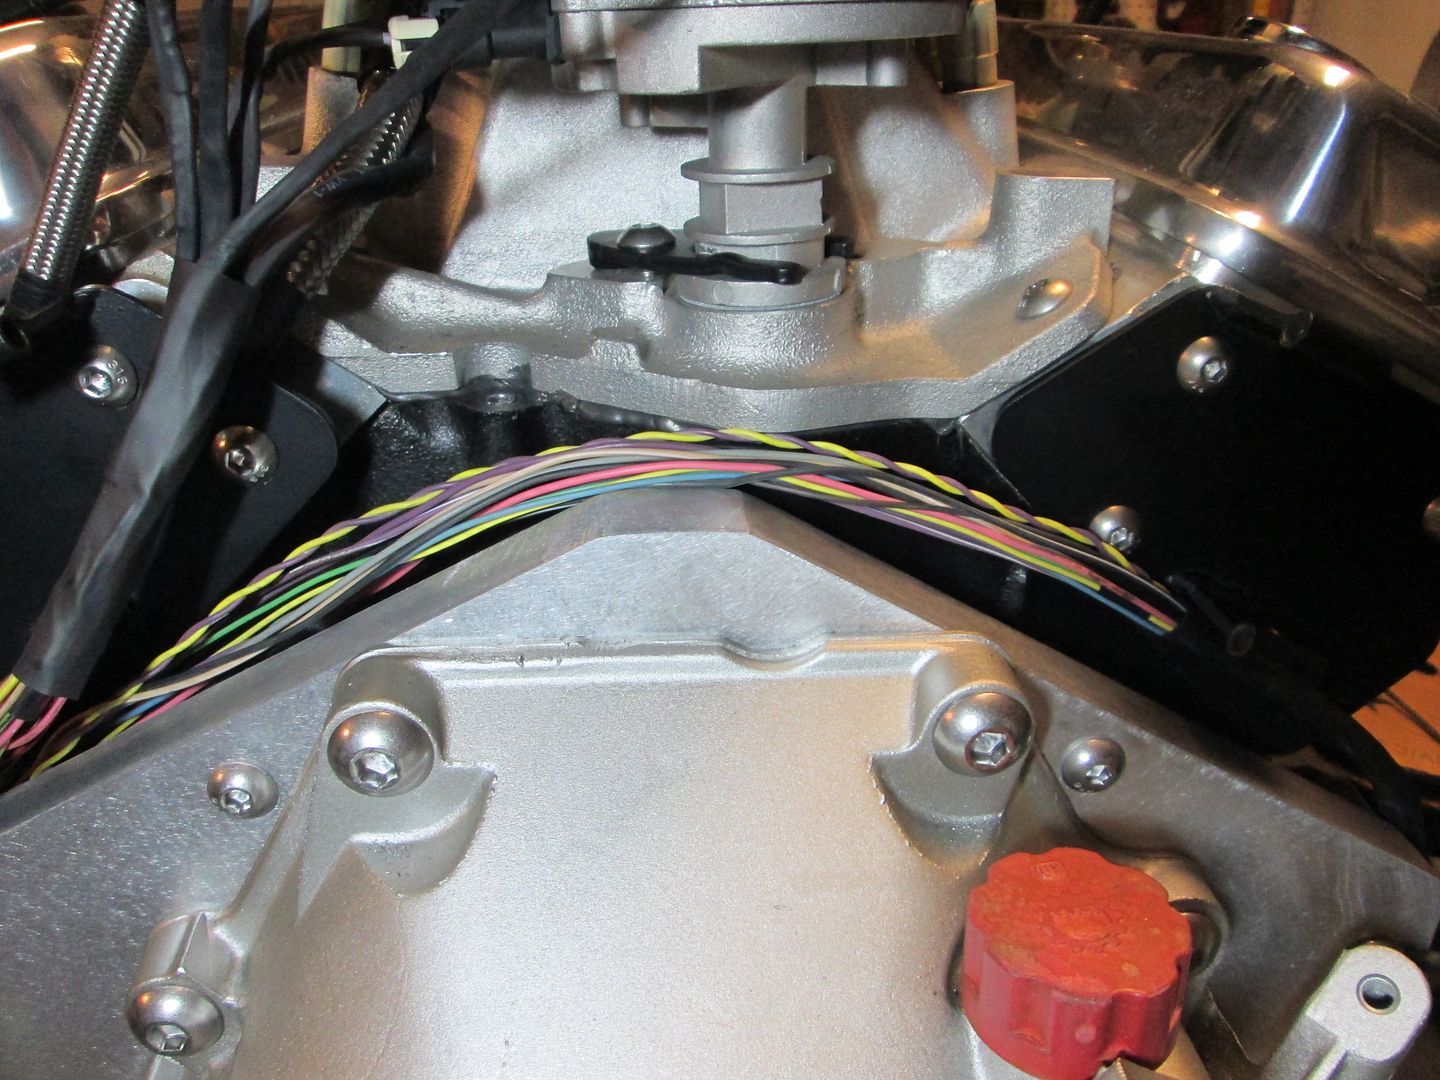
I still need to work on the Bank 1 side (Alternator, AC, Knock Sensor Bank 1, O2 sensor Bank 1, Oil Pressure Sensor, & Starter) and the wires for the 8 coils.
The wideband harness will be loomed up separately so it can be easily removed/replaced at a later date. It will be in shrink wrap its entire length from the O2 sensor to the passenger compartment.
Ordered the new O2 sensors, all the ECM pins, the GM ECM holder and a few other parts today.
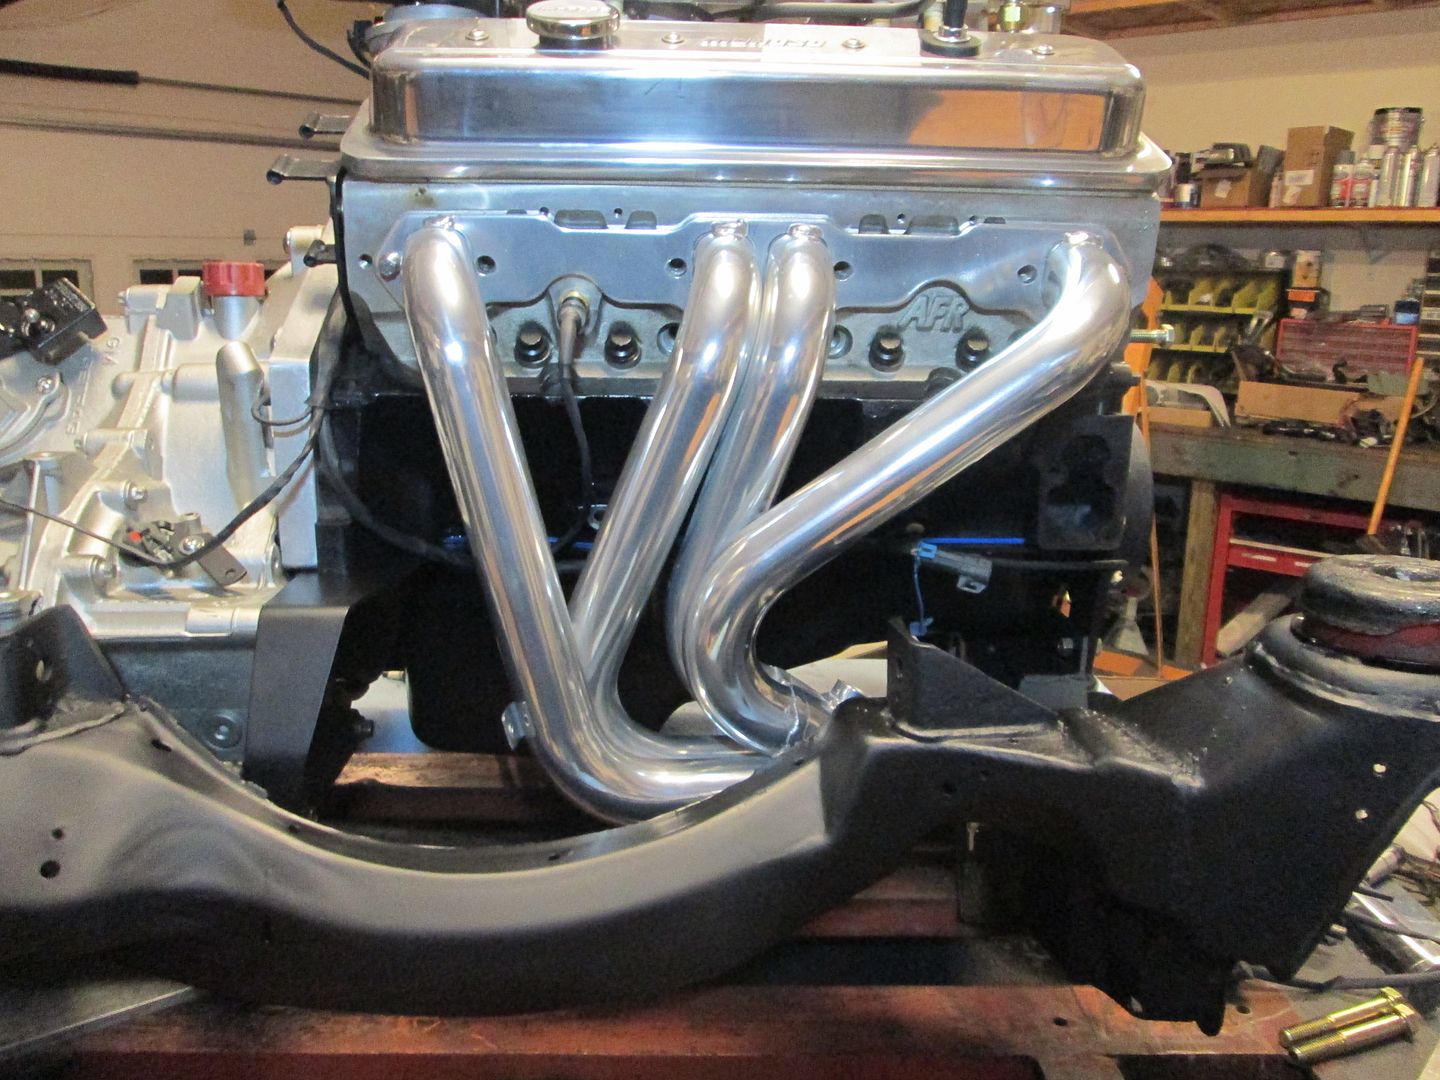
Here is a picture with the rear header on:
|
|
|
|
sleevePAPA
|
DEC 23, 07:54 PM
|
|
Still watching, nice work!
|
|
|
|
ericjon262
|
DEC 23, 11:50 PM
|
|
|
wow, just realized you must have spent a fortune on all of though allen head fasteners....
|
|
|
|
fieroguru
|
DEC 24, 09:08 AM
|
|
| quote | Originally posted by ericjon262:
wow, just realized you must have spent a fortune on all of though allen head fasteners.... |
|
The stainless button heads are a sickness... I really like using them on my swaps in the visible low load areas. I have spent about $150 in stainless bolts for this swap, but I don't consider that to be terribly expensive, especially given all the other hardware on this swap.
|
|
|
|
fieroguru
|
DEC 24, 05:28 PM
|
|
The front side harness sub loom is nearly complete...
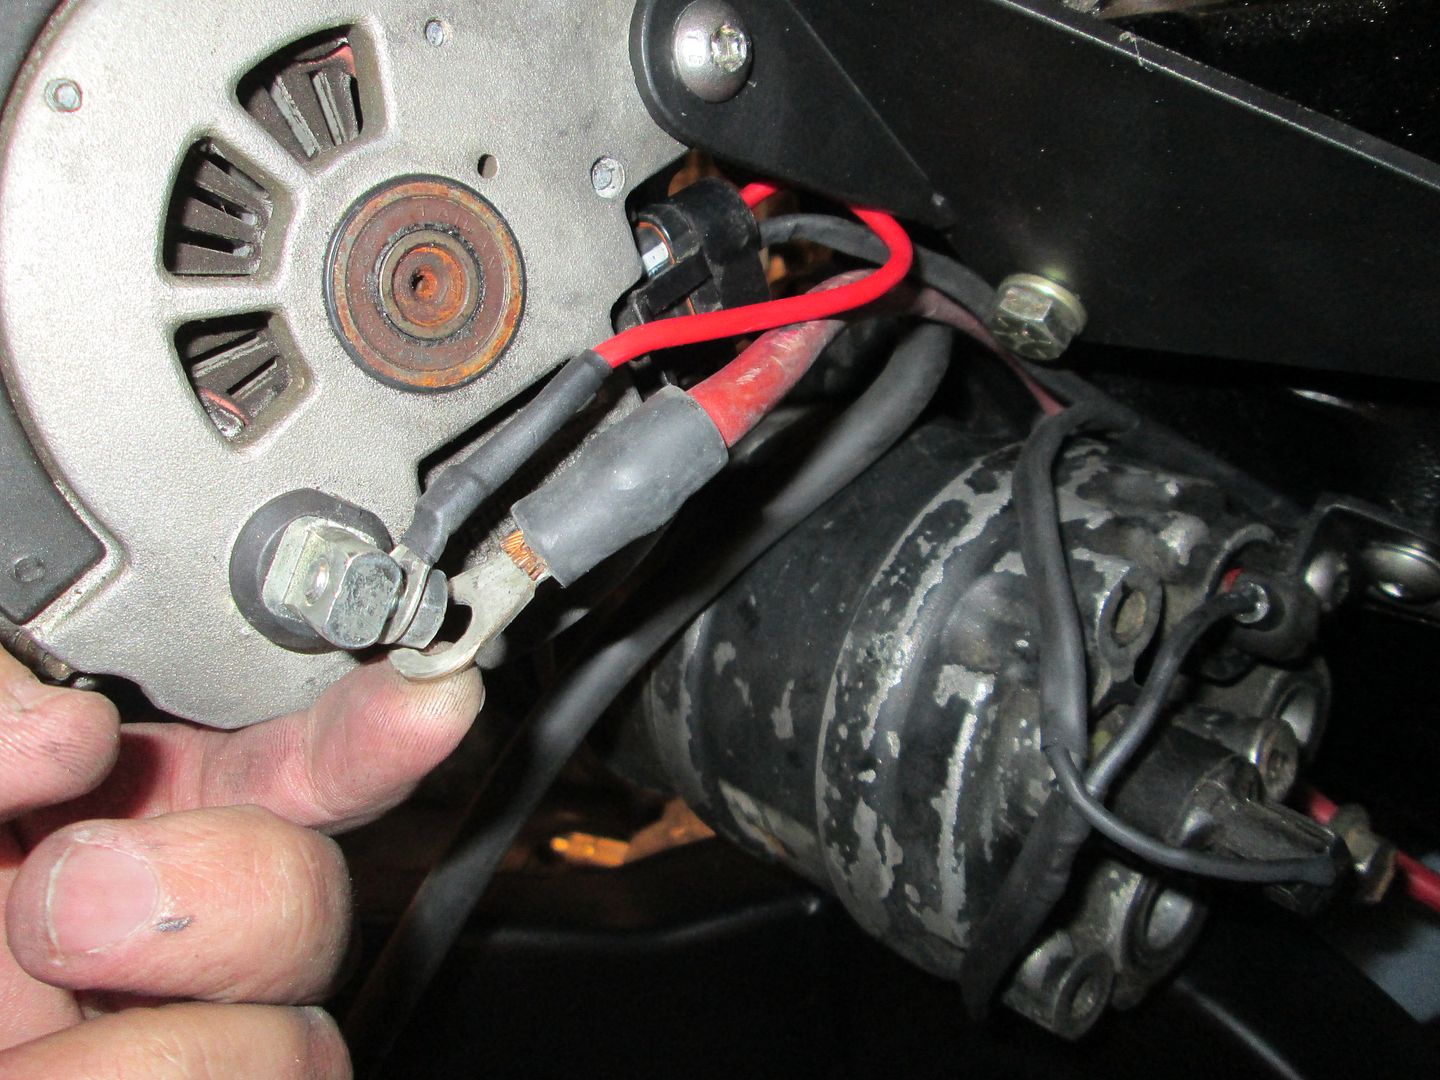
Alternator ground cable (just in case it doesn't ground well through the bracket):
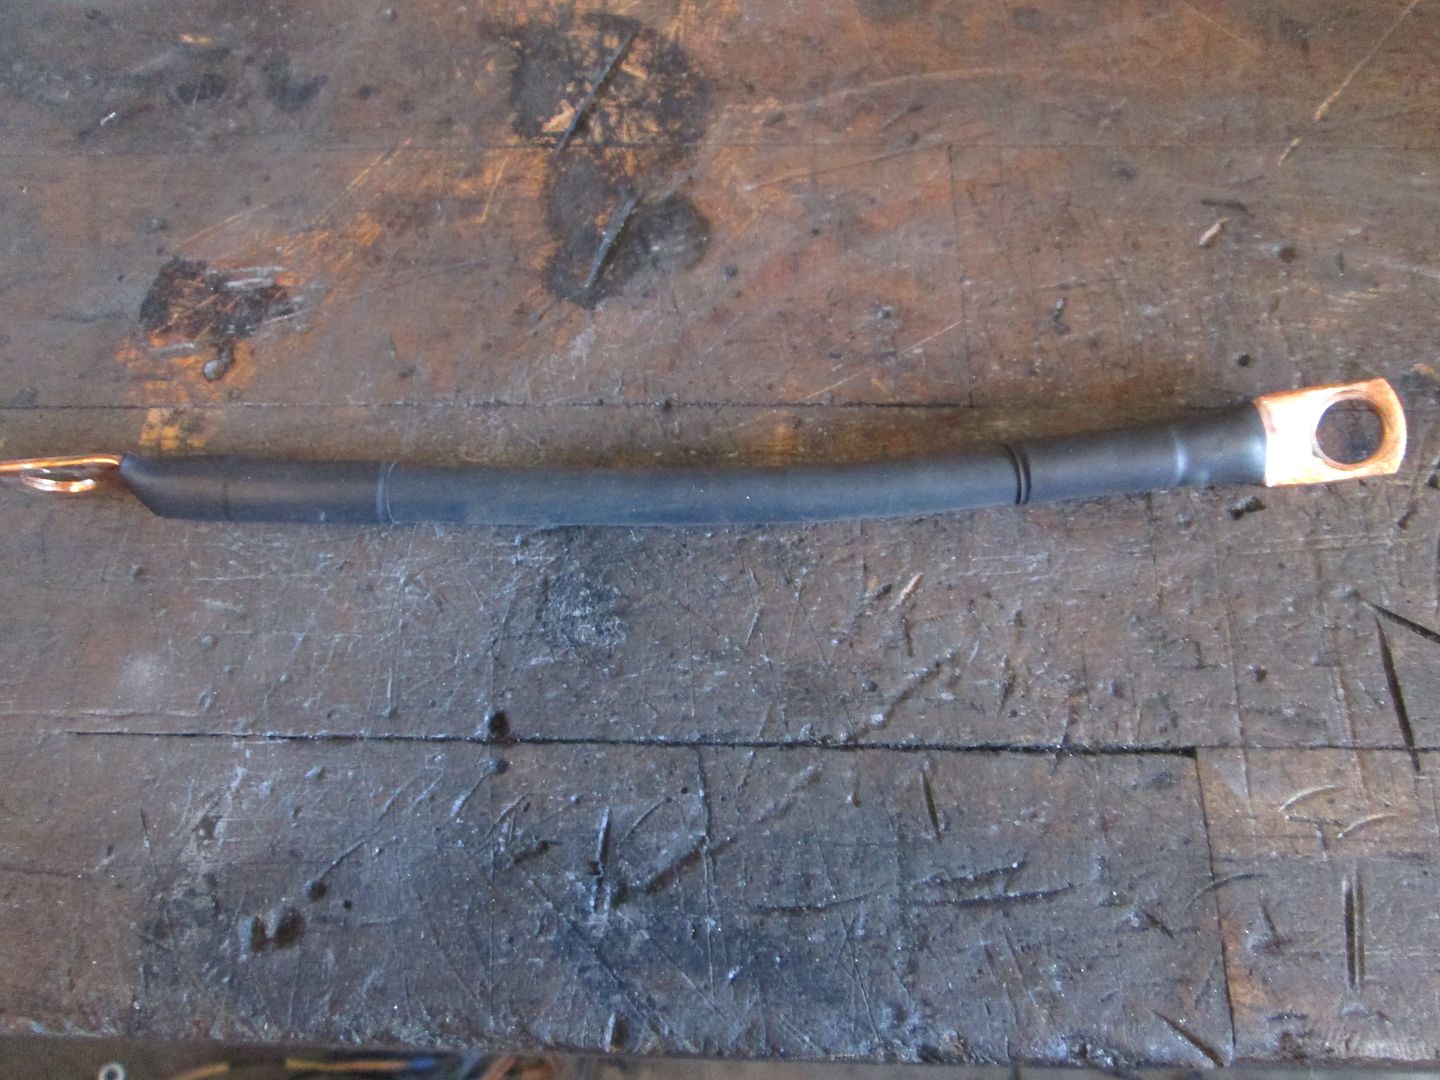
The main engine to chassis ground cable connection (shared with the alternator ground):
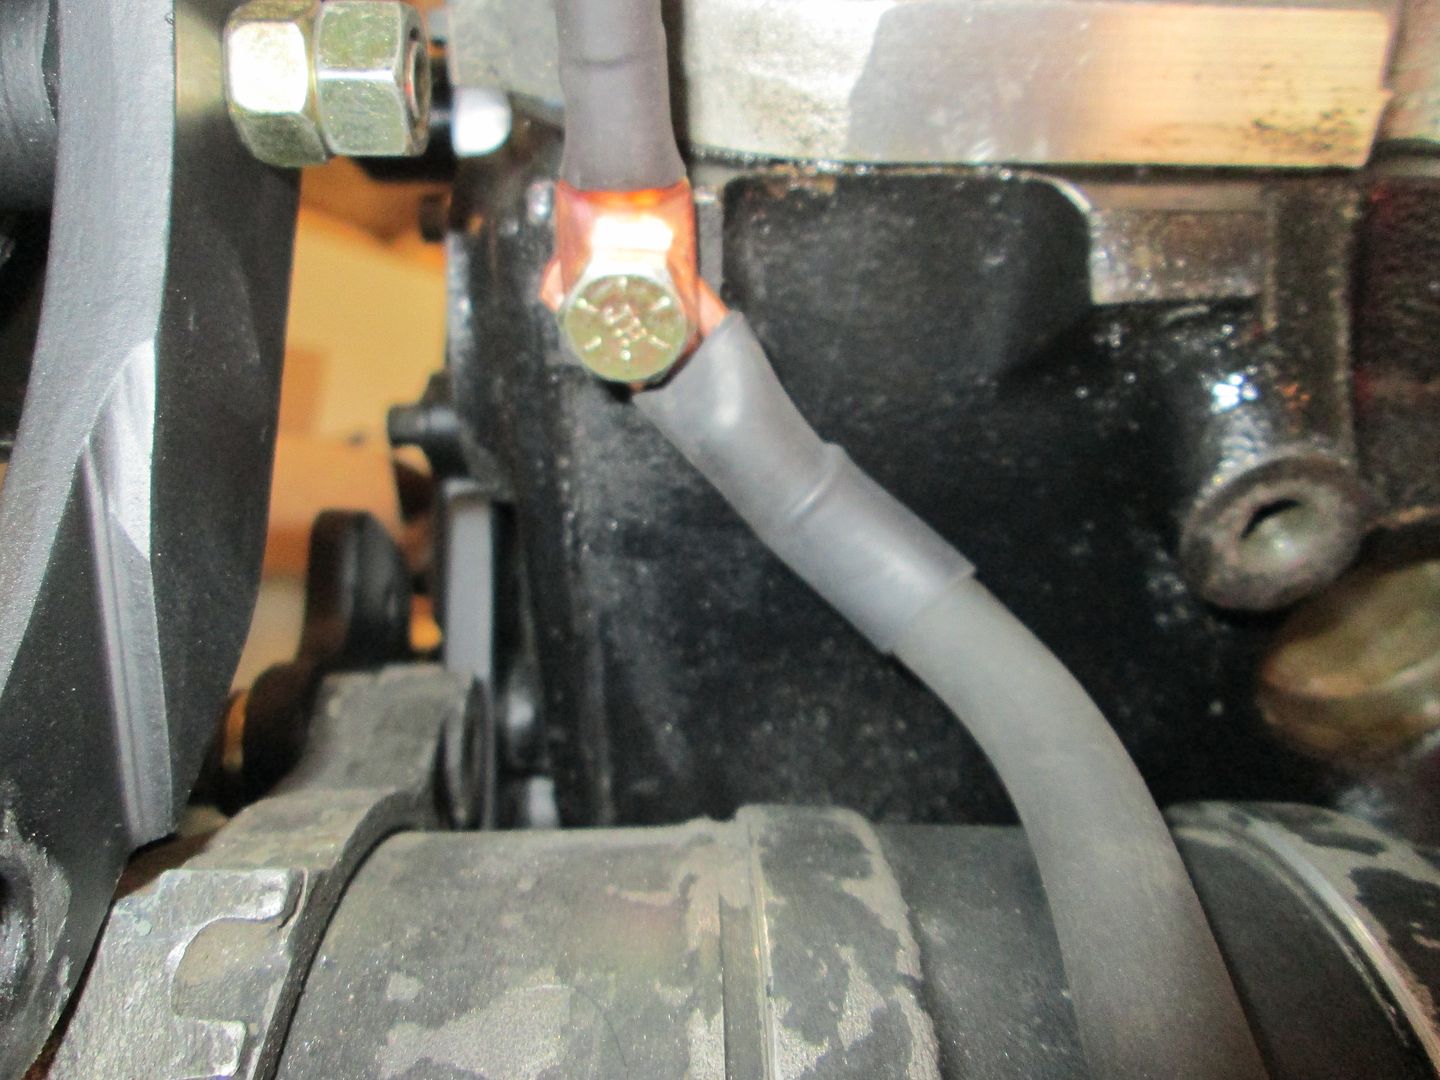
I will weld a stainless bolt to the chassis for this end to attach to:
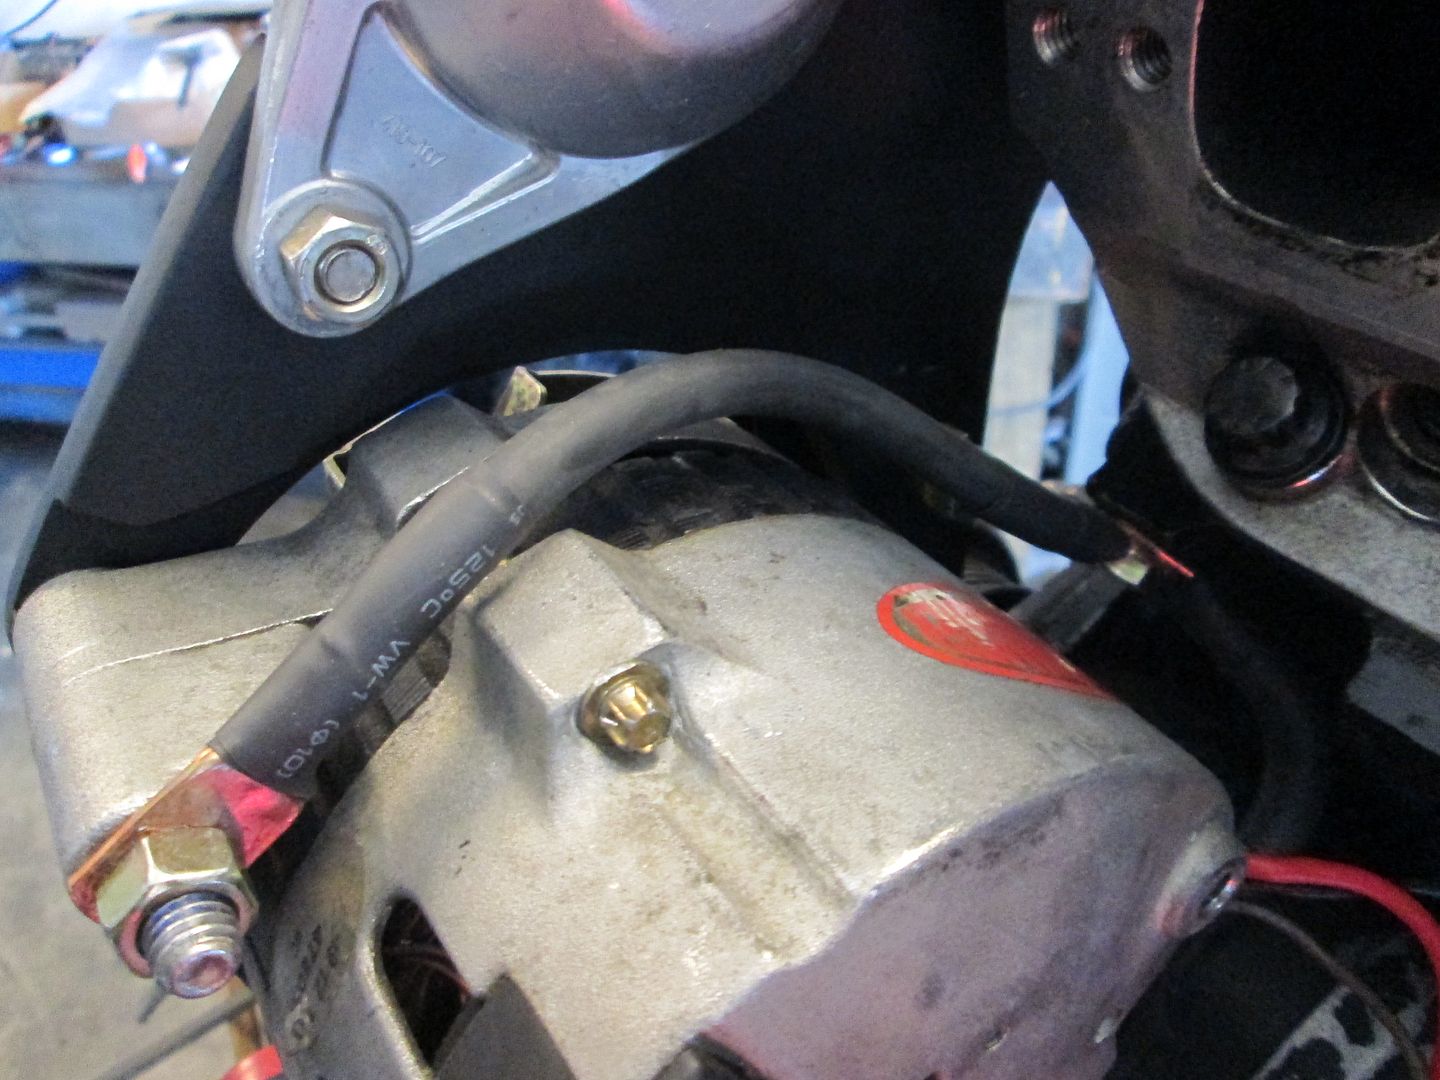
A/C and alternator connections and the front ground (main power cable will be shown later):
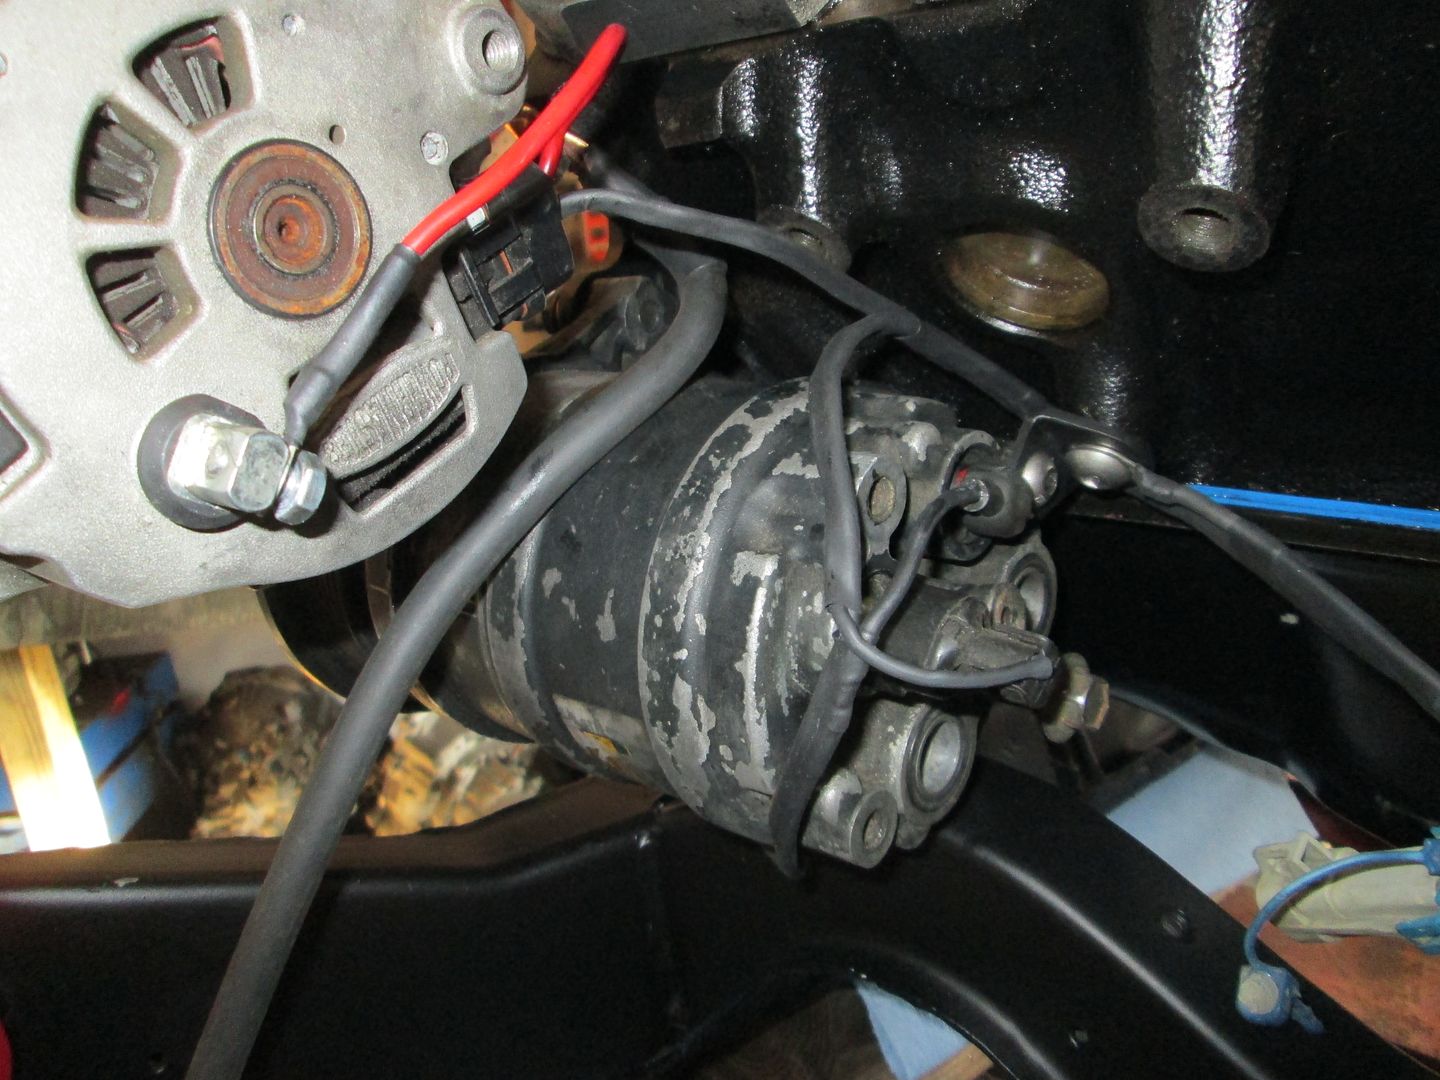
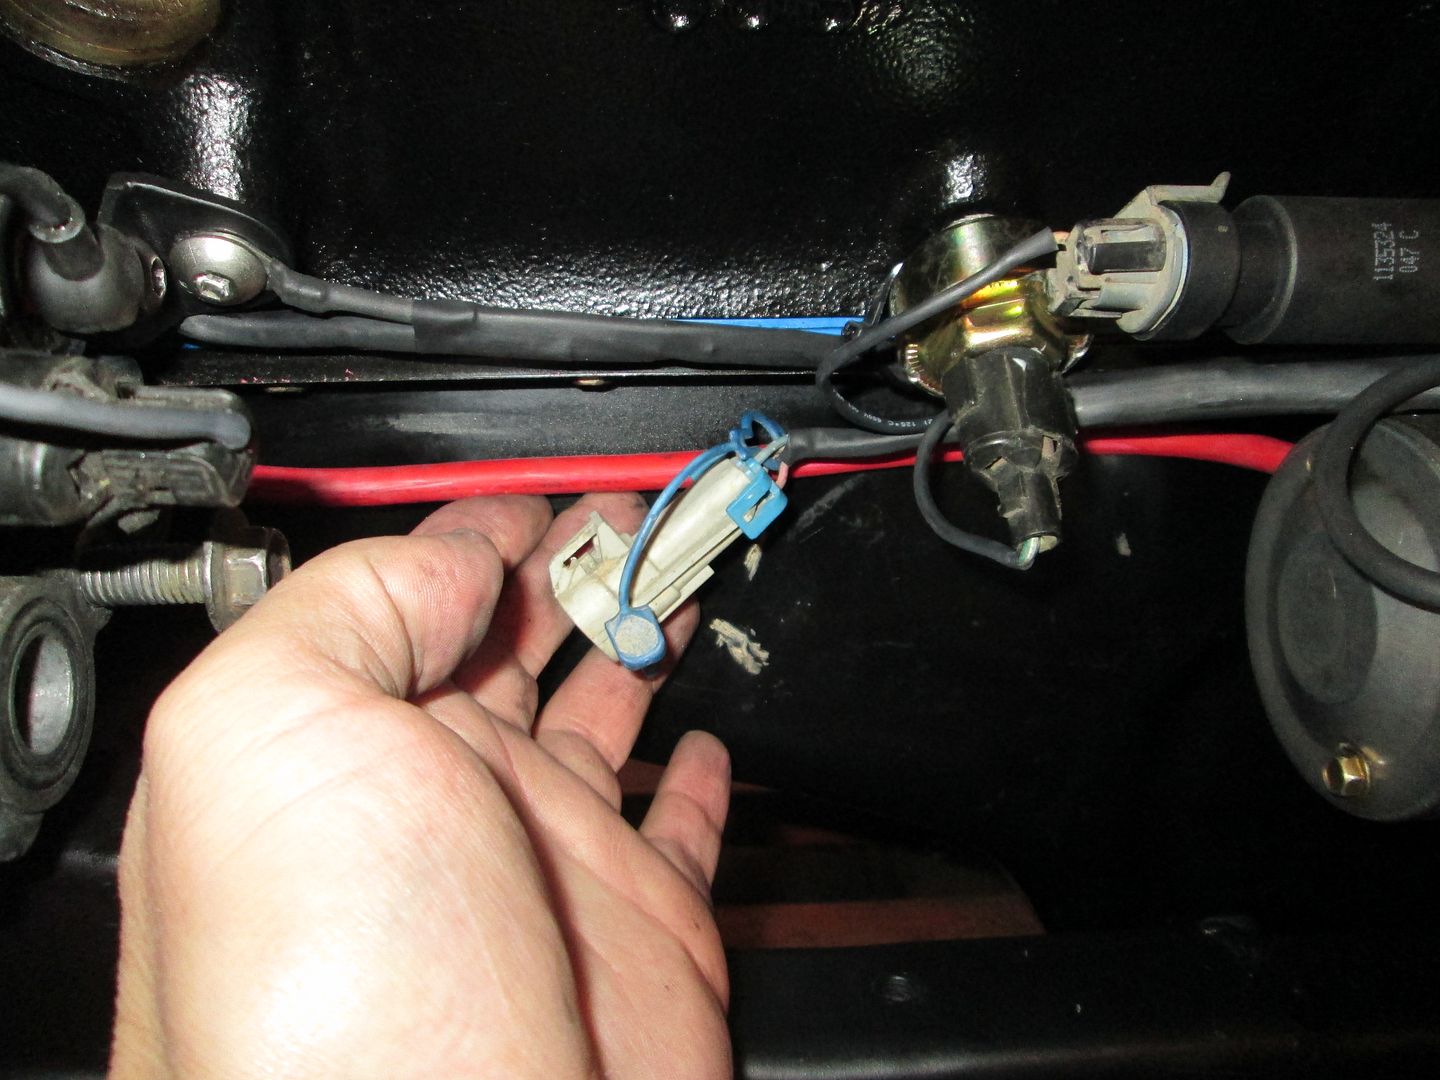
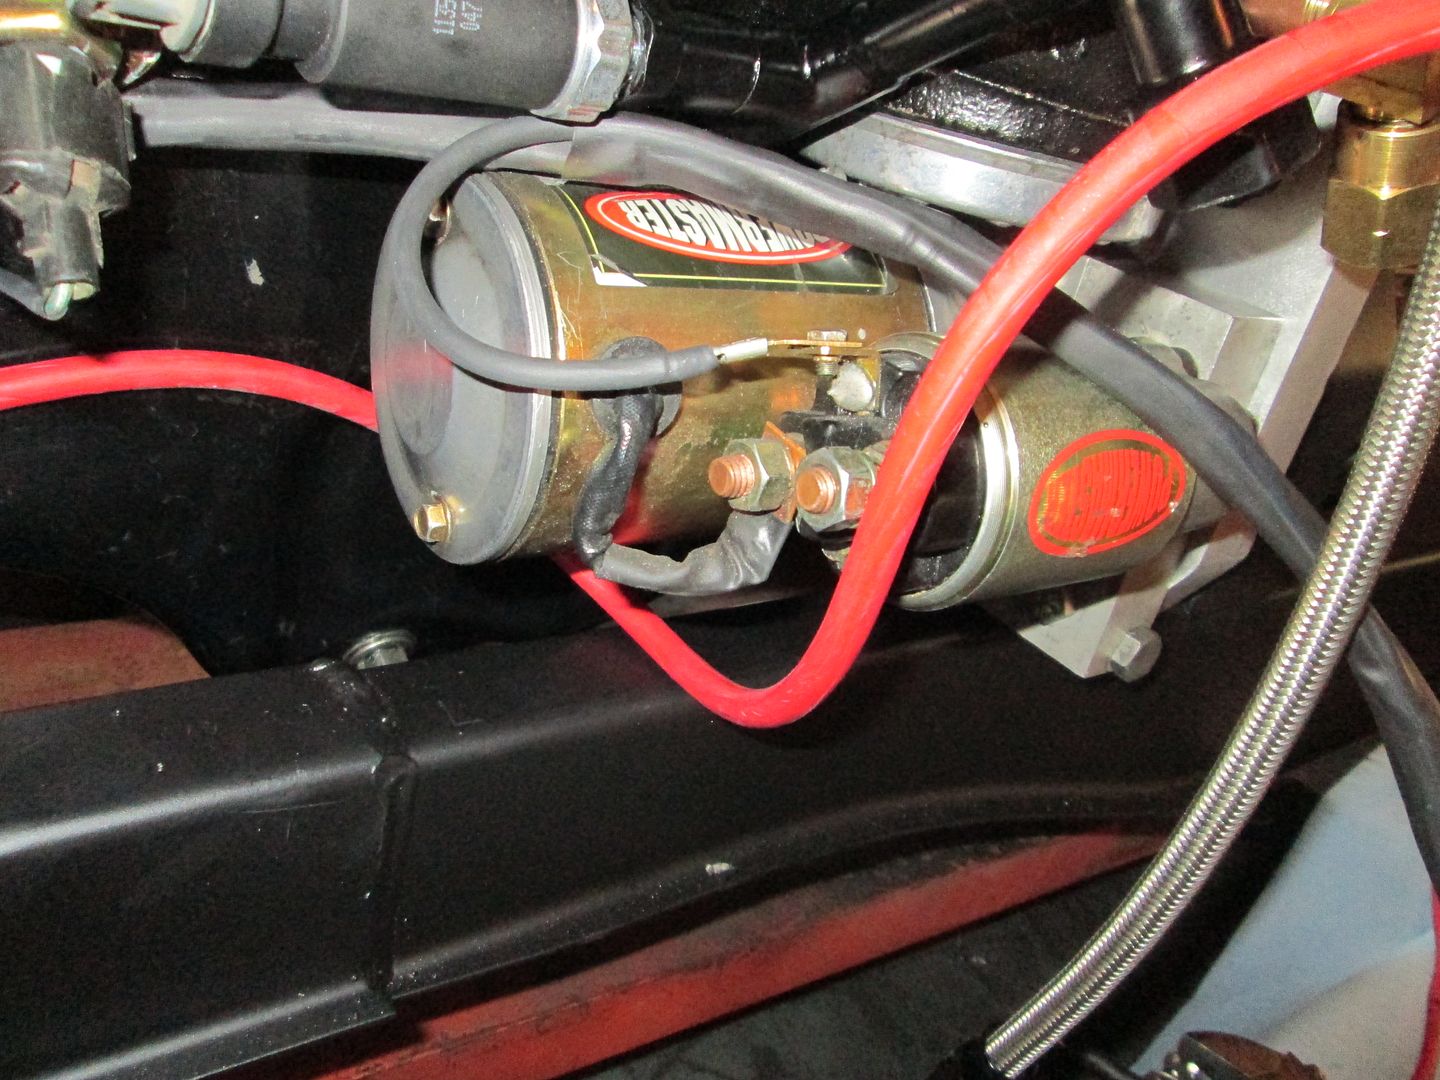
O2, Knock, Oil pressure, and starter switch connections:
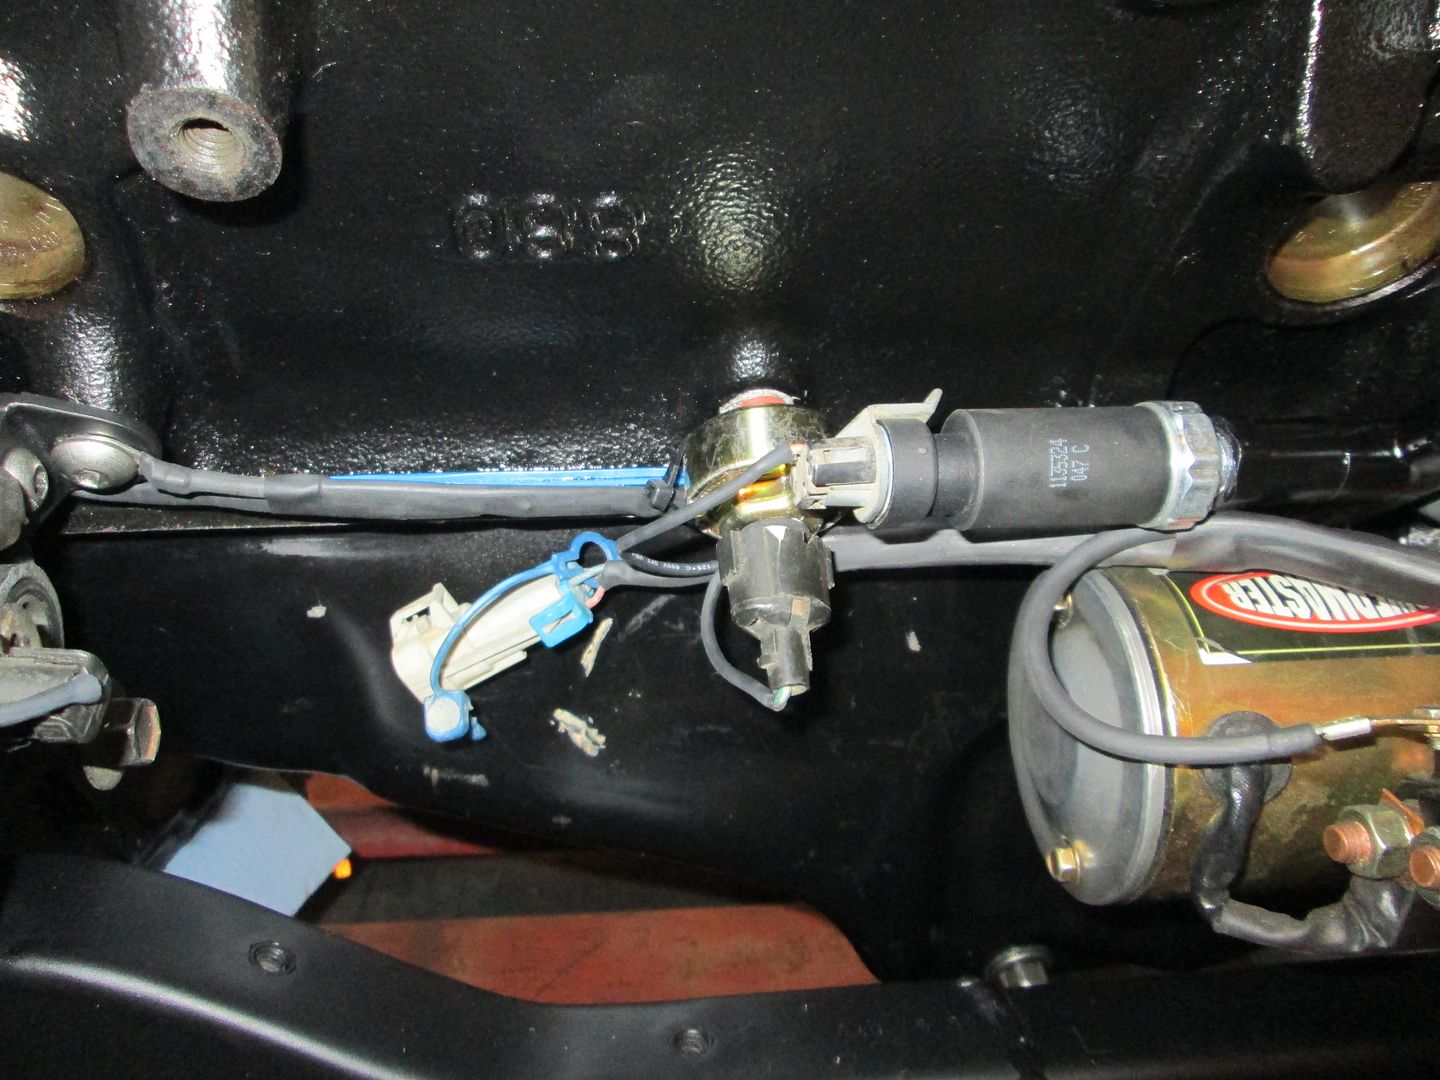
Front loom routed to bellhousing area:
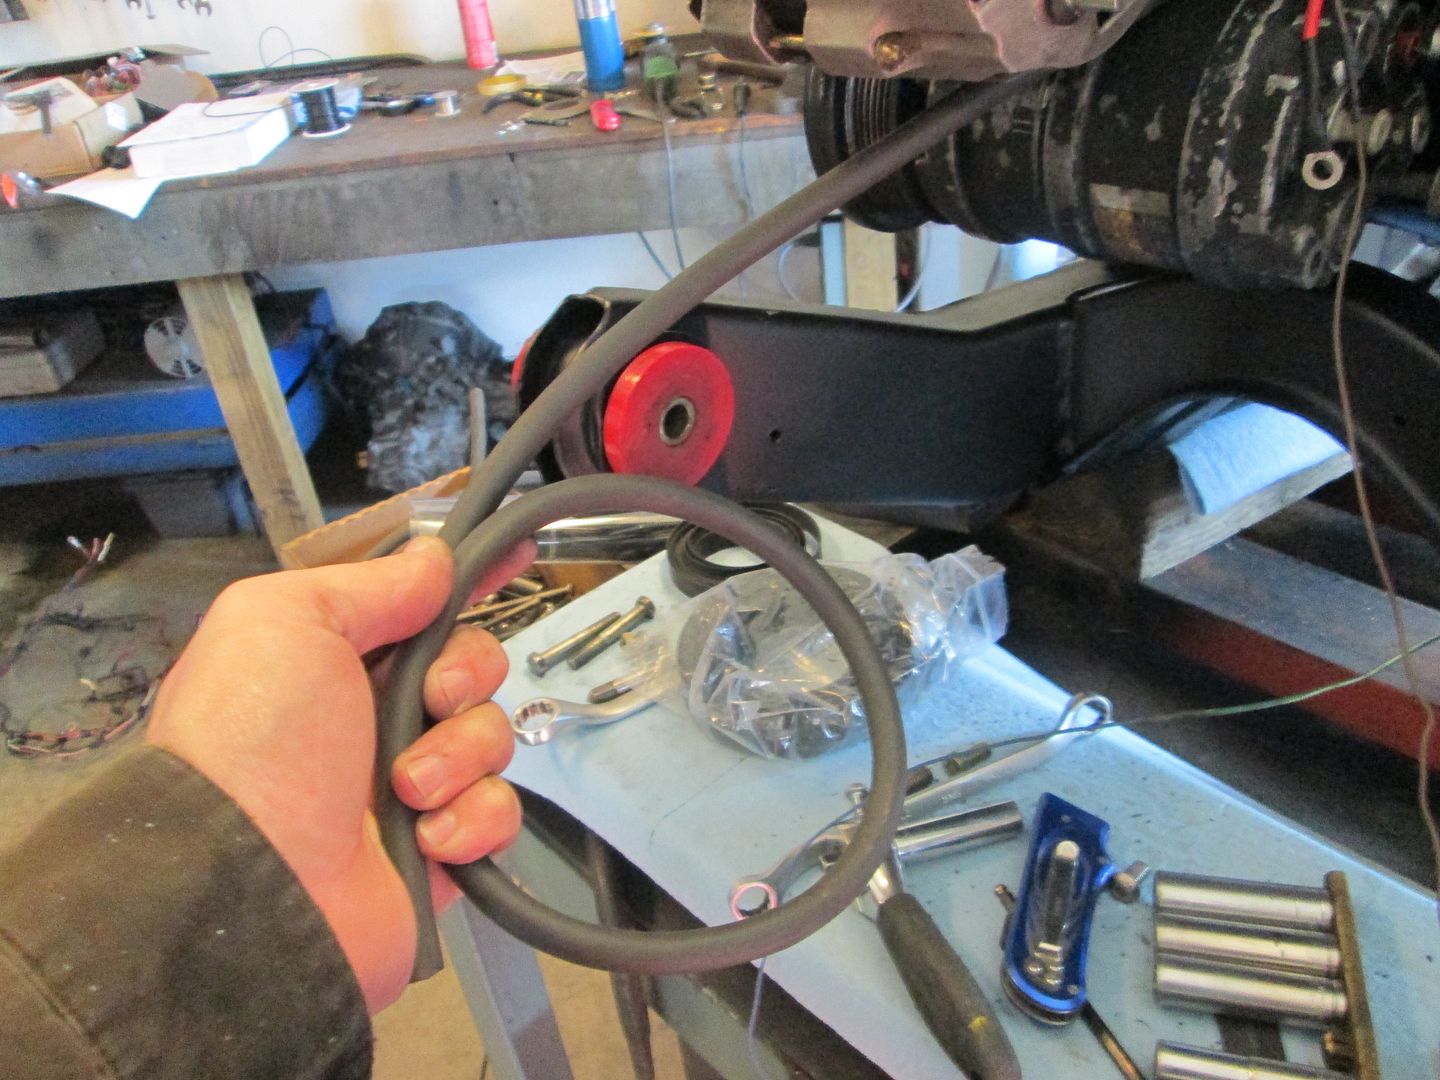
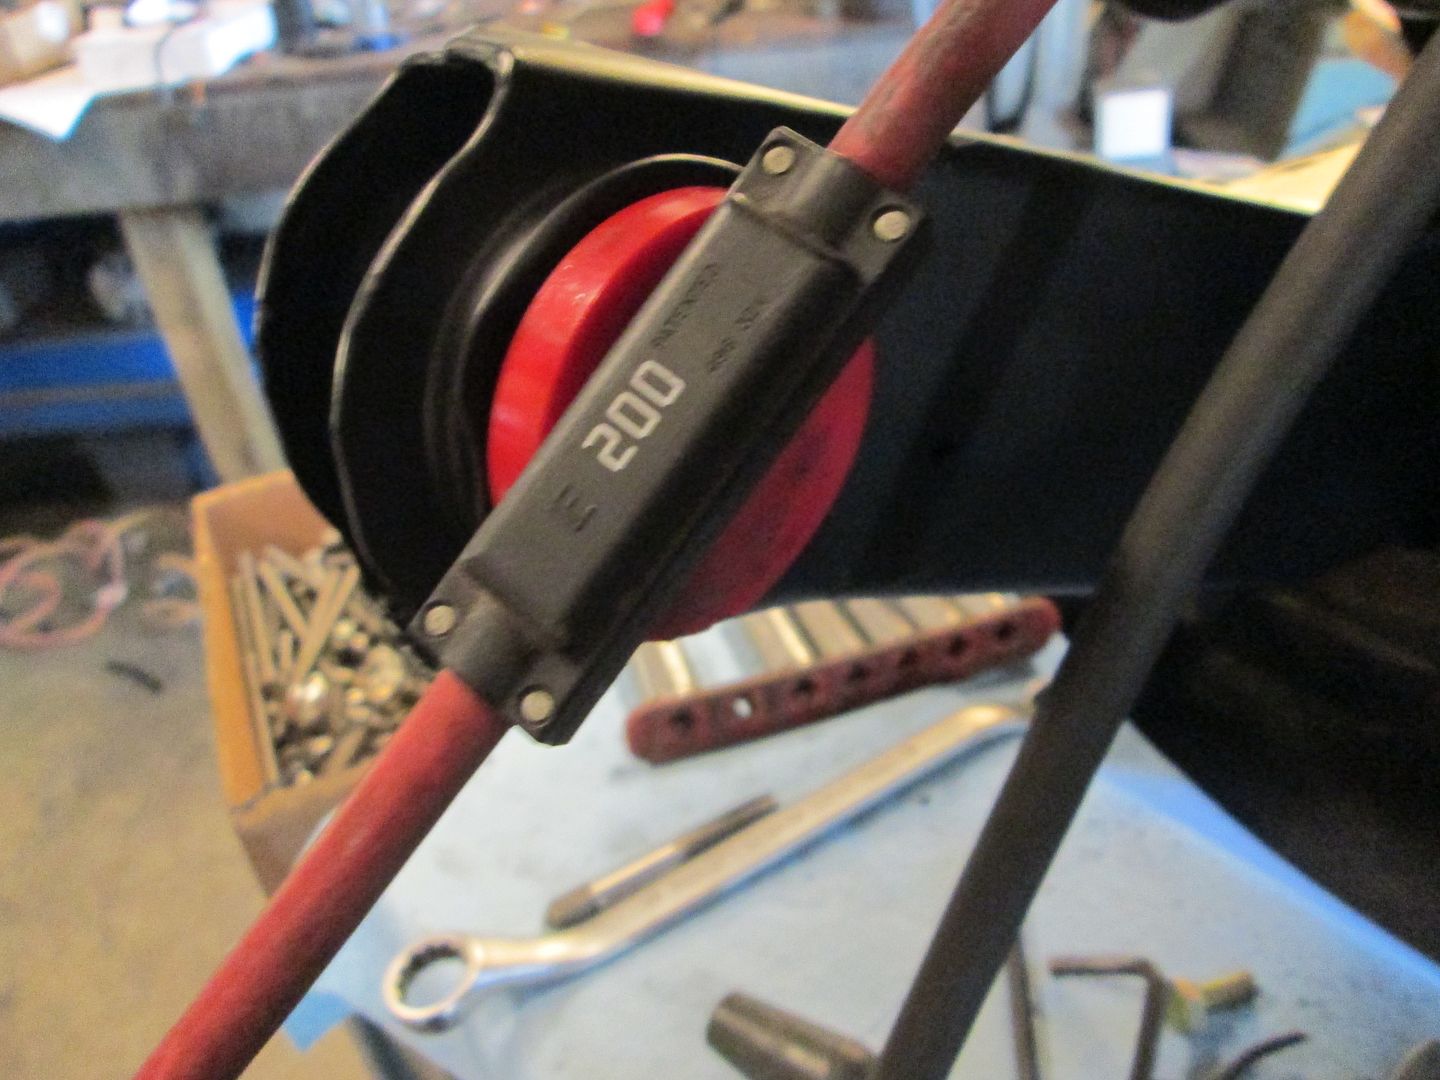
Main power cable from alternator to starter (stock LS4 alternator to starter cable with integrated 200 amp fusible link). This will be ran in a corrugated plastic cable sleeve to help protect it from rubbing.:
I also mounted the coils:

|
|
|
|