|
| Chrysler 3.5 HO V6 swap (Page 27/33) |

|
seajai
|
MAR 22, 11:15 PM
|
|
|

|
Fierofreak00
|
MAR 23, 08:02 AM
|
|
|
Very nice job! I'm still amazed at the melding of all the non-GM parts that you do. -Jason
|
|
|
|
seajai
|
MAR 23, 11:25 PM
|
|
|
|
|
fierogtlt1
|
MAR 24, 10:33 AM
|
|
Great work 
Can't wait to see more.
|
|
|
|
seajai
|
APR 07, 01:24 AM
|
|
|
|
|
carbon
|
APR 07, 10:21 AM
|
|
|
As the owner of a 2003 Grand Am GT... why did you select the GA column? The lack of a integrated ignition switch?
|
|
|
|
seajai
|
APR 07, 12:17 PM
|
|
| quote | Originally posted by carbon:
As the owner of a 2003 Grand Am GT... why did you select the GA column? The lack of a integrated ignition switch? |
|
Yeah, because I have a push button start ignition I wanted a key-less column. I chose the Grand Am because of the size of the plastic surround, it fit the hole in the Toyota dash the best. My other choices were 2004 and newer Bonneville or Grand Prix but the surrounds were too wide.
|
|
|
|
seajai
|
APR 08, 08:44 AM
|
|
|
|
|
TXOPIE
|
APR 08, 11:22 AM
|
|
|
|
|
seajai
|
APR 14, 01:32 AM
|
|
Well it was a productive weekend, I got the Grand Am combo switch and the Toyota hazard switches all wired in and tested. The easiest one to do was the turn signals, it's pretty much just hooking up the same color wires from the Fiero to the Grand Am. The hazard switch was hooked into the turn signal wires through a couple diodes to prevent any power back feeding issues.
The headlights were a little more work. The problem to overcome was the Grand Am didn't have headlight doors and the switch wasn't set up for them. To solve this, I tied the high and low beam wires together through a pair of diodes and used that voltage to feed the "doors open" yellow wire to the headlight module. The white "doors close" wire needed a voltage signal when the headlights are turned off, I accomplished this through the use of a relay. I tapped power from the orange park lights feed wire and ran it to the "30" contact on the relay. The white wire is hooked to the "87a" N/C contact which gives me power on the white wire to run the doors down. The control side of the relay is hooked the headlight power wire. When the headlights are switched on, the relay powers up, opening the 87a contact and killing power on the white wire. When the headlights are shut off, the relay powers down restoring power on the white wire and closing the doors.
The Grand Am was equipped with automatic headlights, this gave me the opportunity to use the Grand Prix automatic headlamp module I picked up a couple years ago. It has separate outputs for headlights and park lights. The headlight output goes to a terminal on the headlight switch, the other taps into the parklight circuit. I need to mount the sensor in the top of the dash yet.
So I'm pretty sure I own the only Fiero with automatic headlights.
Here is a pic of the auto headlamp module and headlight door relay mounted in place:

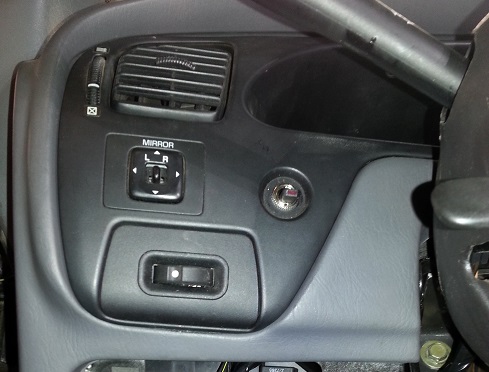
I added a bypass switch to disable the automatic headlights in case I need to sneak away some night without being spotted. The switch has an LED that lights up when the system is bypass mode. I also needed to add a dash light dimmer wheel as well since the headlight switch is now on the steering column. I found a remote dimmer wheel from a 97 Olds Alero that I liked, it works off a remote dimmer transistor just the Fiero one. I mounted it in a blank panel in the dash trim. Here is a pic of the dimmer wheel and bypass switch:
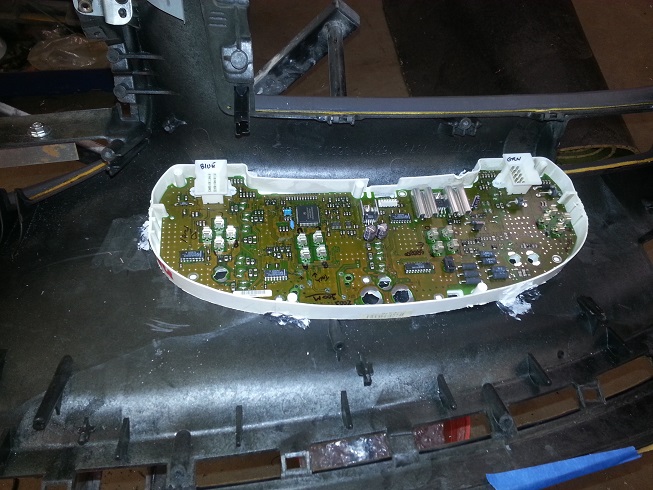
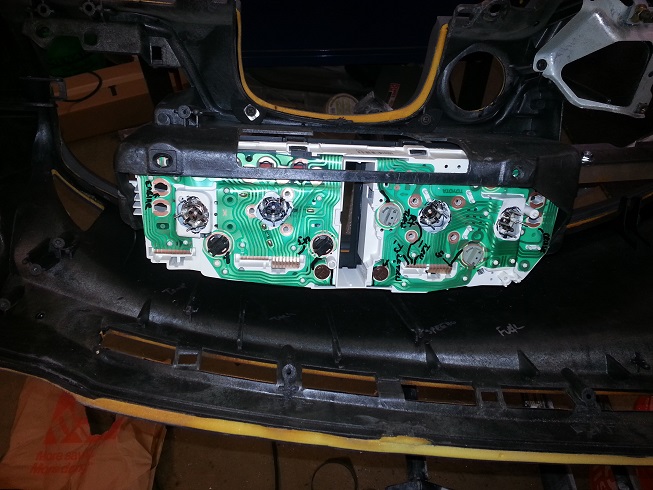
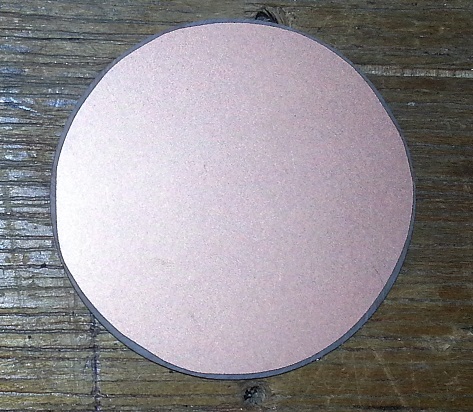
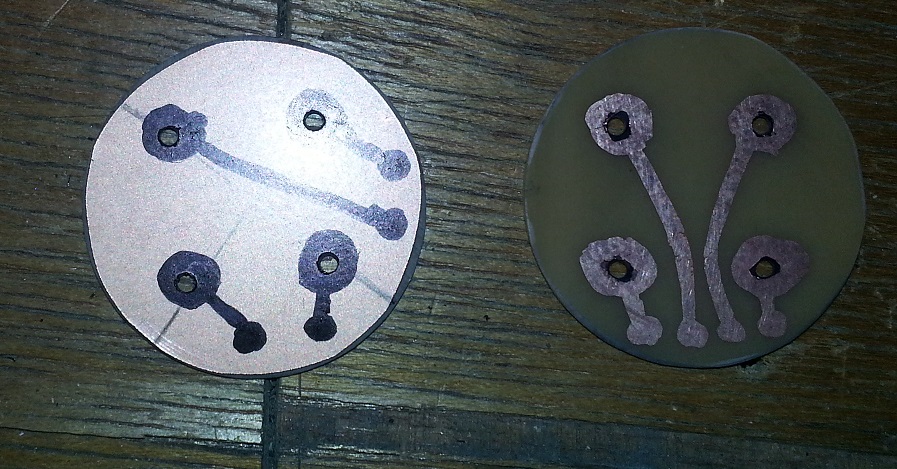
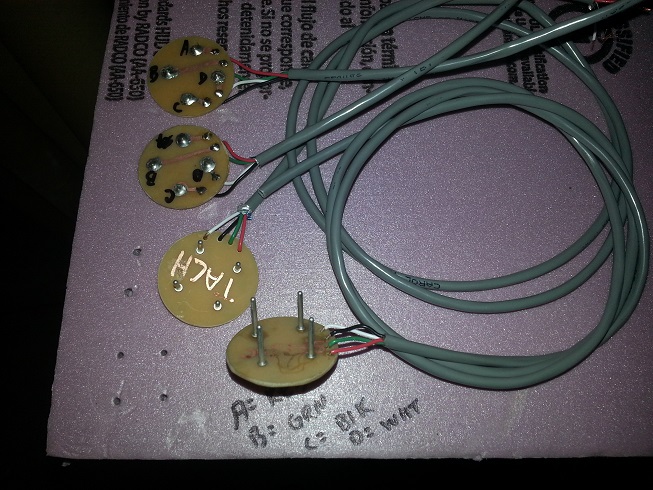
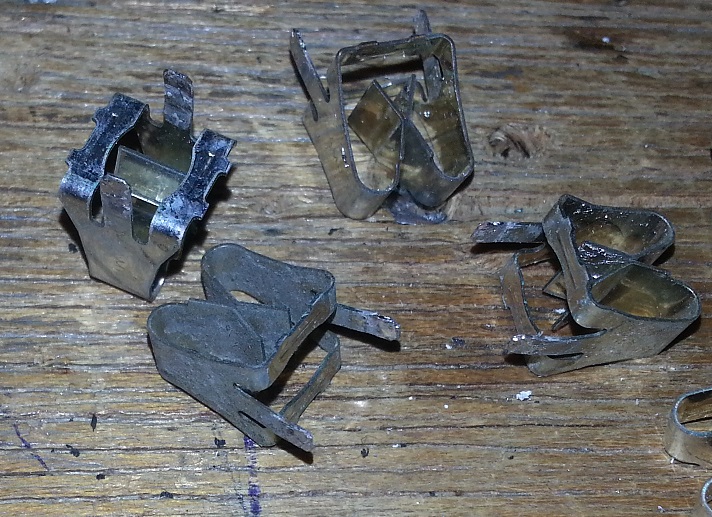
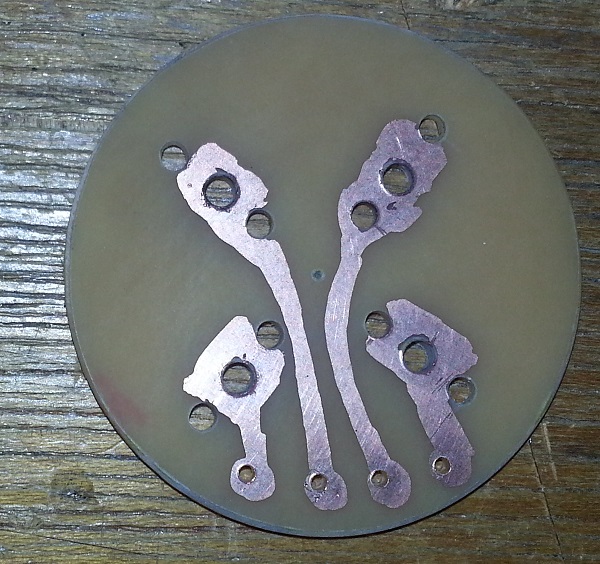
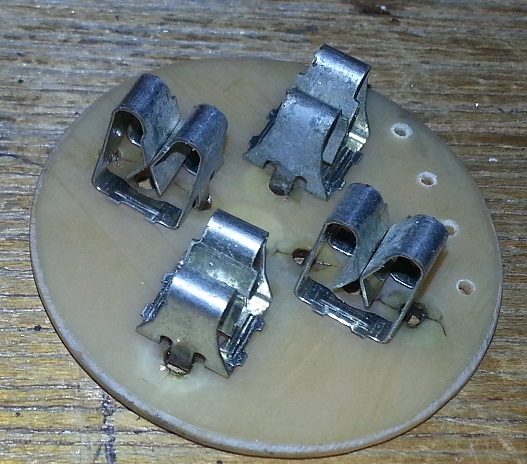
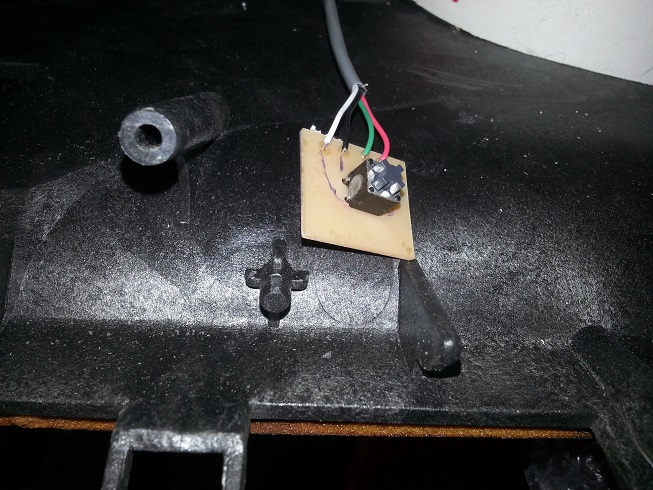
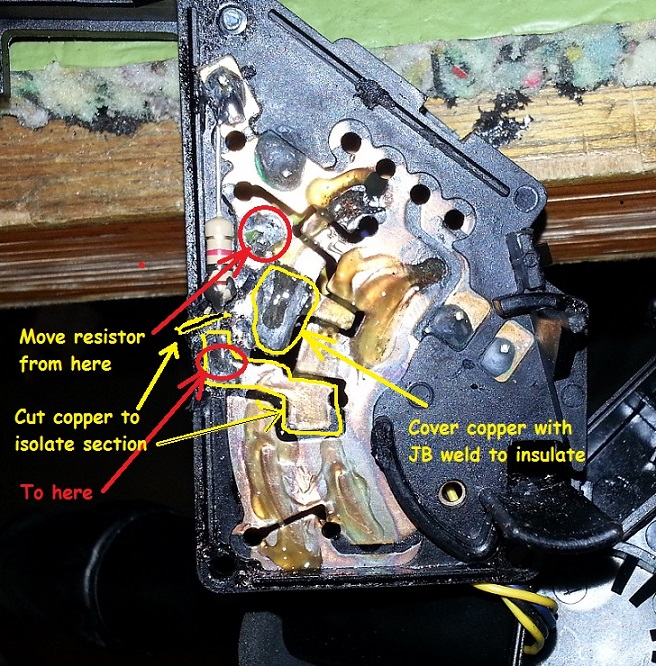
Now the wiper switch was a tough one. The wiper system on the Grand Am uses an extra wire on the switch for the delay mode, a different resistor value, and different outputs for low and high speed. To make it work on the Fiero, I needed to hook the low speed and the delay wires together, but this caused the resistance to drop to zero in low speed when it should have been 1k OHM. After taking the switch apart and figuring out what contacts connected to what, I was able to modify it to work. First off I needed to swap out the 24k OHM resistor with a 1k OHM one to match the Fiero switch. Secondly I needed to isolate an area of contact by cutting through the plastic and copper and then relocate an end of the 1k resistor to that area. This should have given me the correct resistance in "low", but when I checked it was reading through the delay resistors instead. I figured out I needed to insulate an area of the copper to prevent the sliding contact from touching and giving me the wrong readings. I used JB weld to accomplish this. I reassembled the switch and retested the readings, they were now the same as the original Fiero wiper switch. I hooked everything up and tested the wipers, much to my relief everything works perfectly.
Here is a pic showing the switch modifications. It's a little tough to see everything but ya get the gist of things.
I grabbed a Chrysler trunk release button and mounted it to a lower panel trim cover.

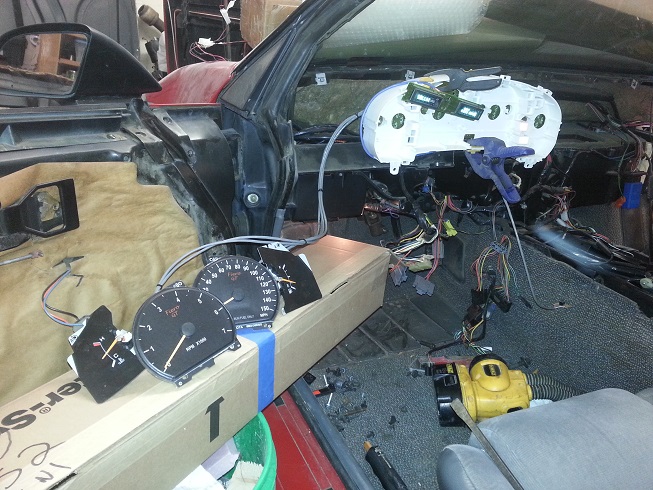
I still need to extend the harness to the remote cluster and hook up the turn signals and illumination to the Toyota cluster but the electrical portion of the adventure is getting close to being finished.[This message has been edited by seajai (edited 10-02-2023).]
|
|
|
|