 
     |
| Ferrari 288GTO build (Page 26/64) |

|
dobie1
|
AUG 11, 09:28 PM
|
|
Thanks Shem
The dash build is turning out to be a lot of work but I'm happy with the results.
Wayne
|
|
|
|
dobie1
|
AUG 11, 10:07 PM
|
|
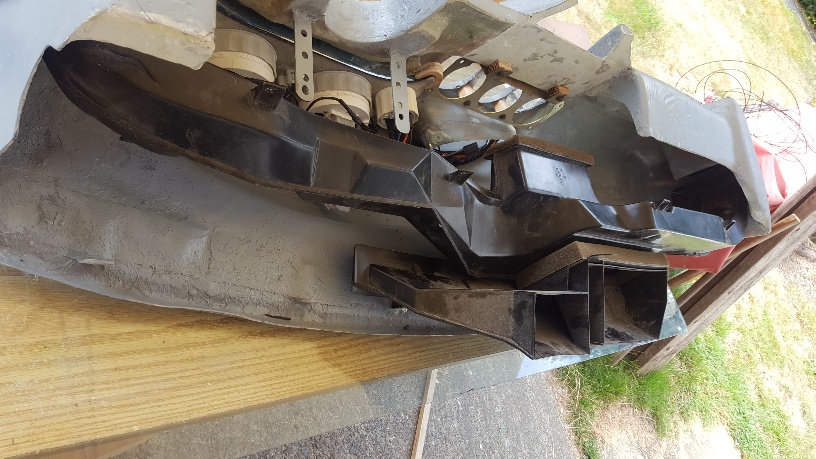
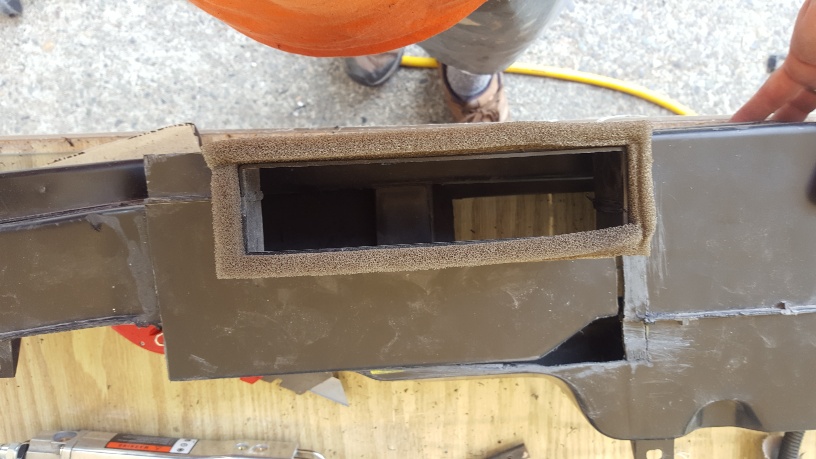
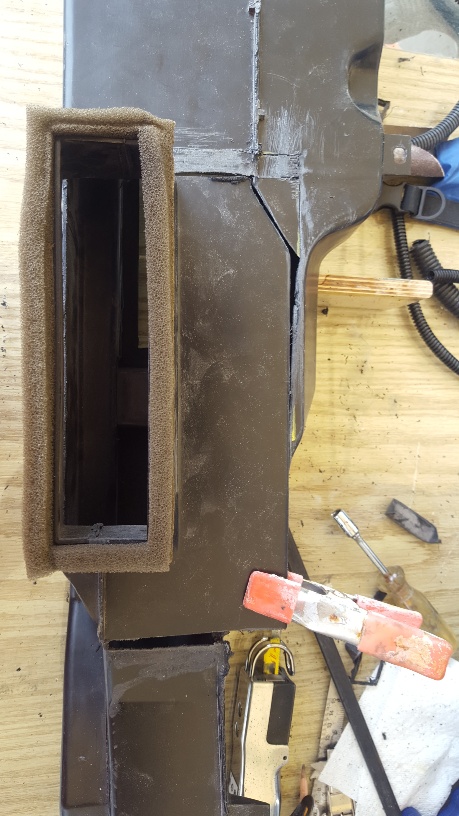
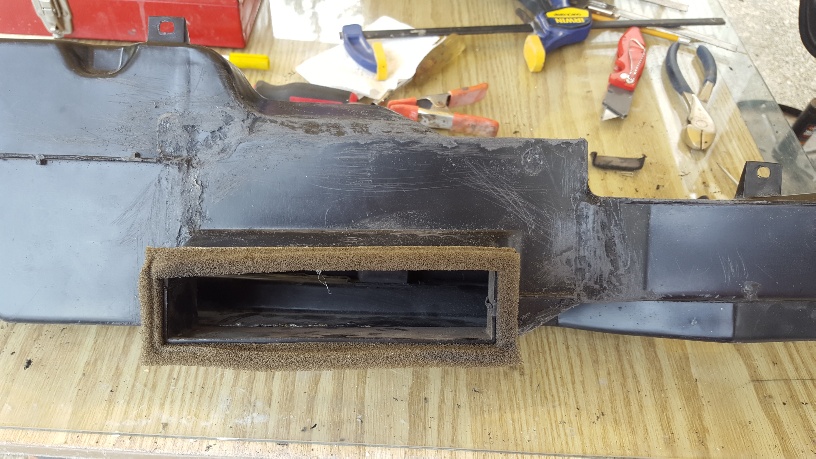
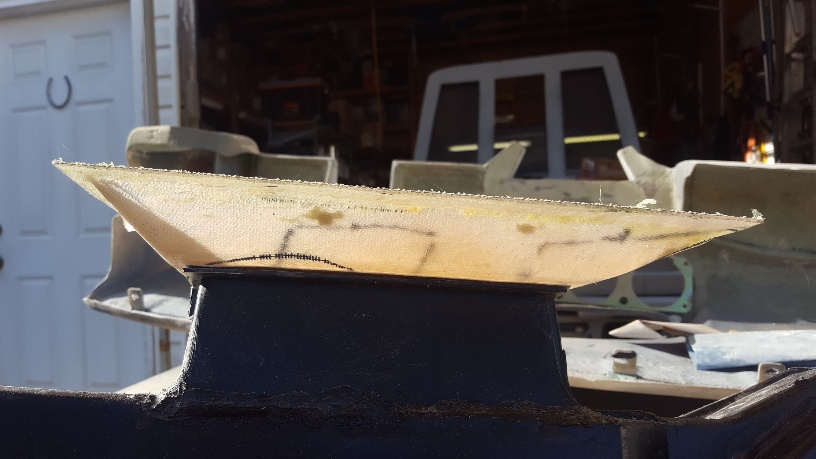
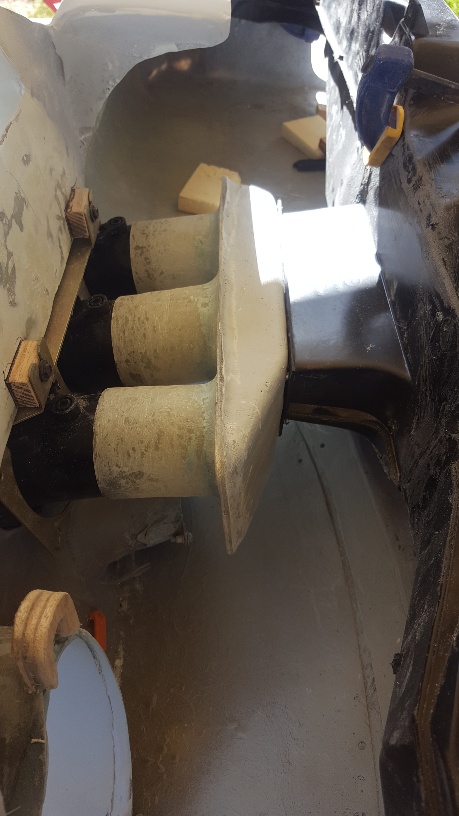
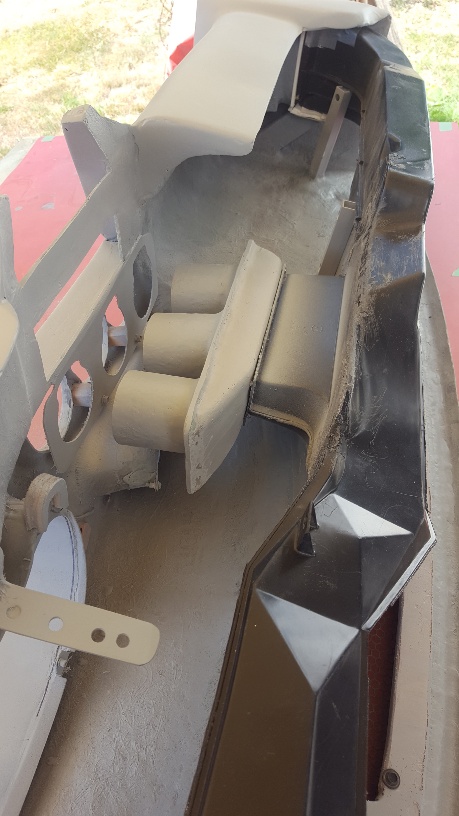
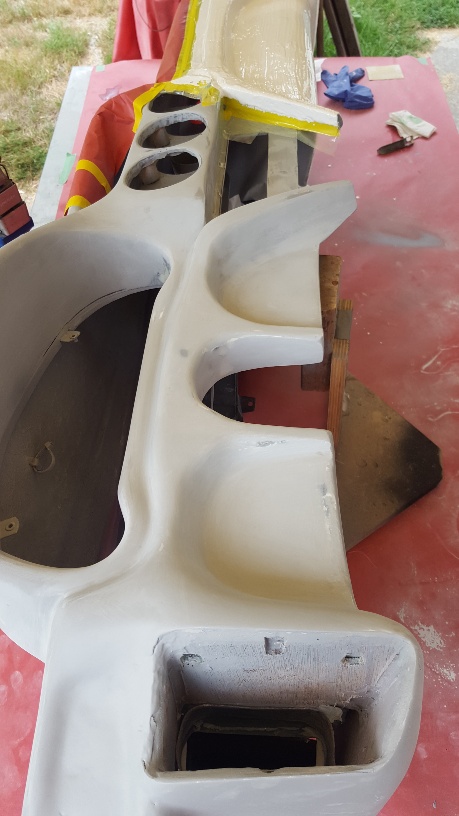
I made more progress on the dash today working on the HVAC build, I finally have narrowed the design down to using the stock Fiero ducting and redesigning as needed to work with the vents I used in the build. Which will make fitment to the blowers unit much easier.
I trial fit everything to come up with the changes on the centre vents then found that it needed to drop down about 3'' to allow for where the stereo will need to go.
I cut that section from the ducking and flipped it around to the bottom and then plastic welded it back together came out exactly where I needed it. Next I'll need to build a adapter with 3 tubes to connect everything.

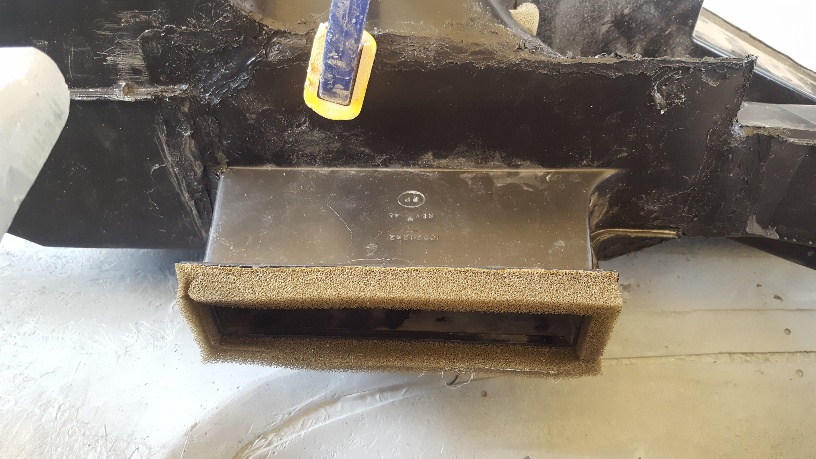
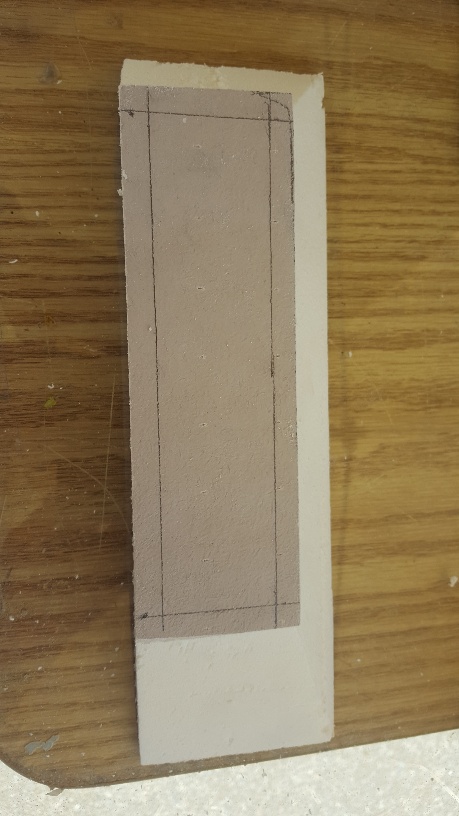
I marked in yellow the area to be cut out.
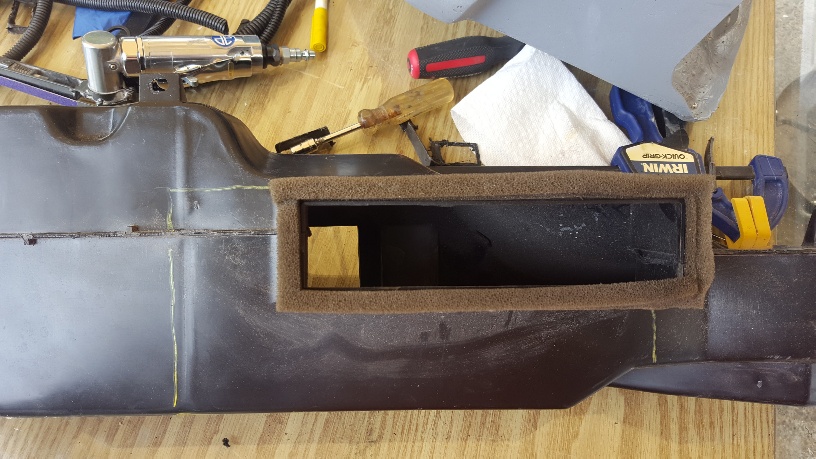
I test fit all the pieces to make sure it will work
tomorrow I'll start working on the side vents and windscreen vents.
wayne
|
|
|
|
dobie1
|
AUG 15, 12:13 AM
|
|
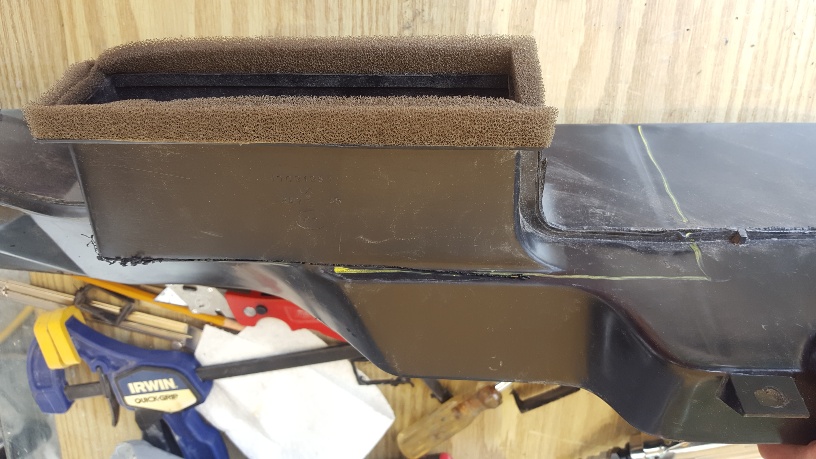
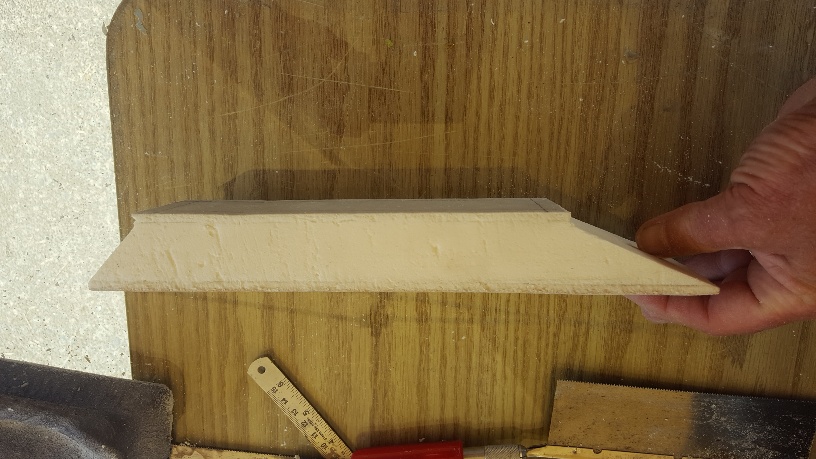
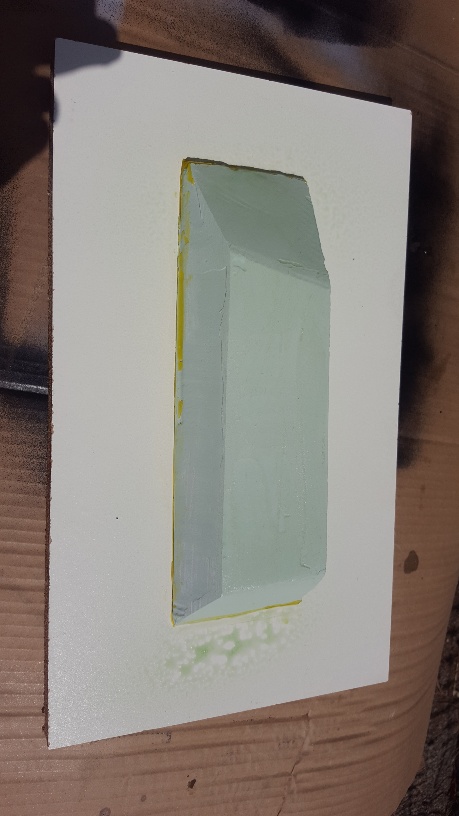
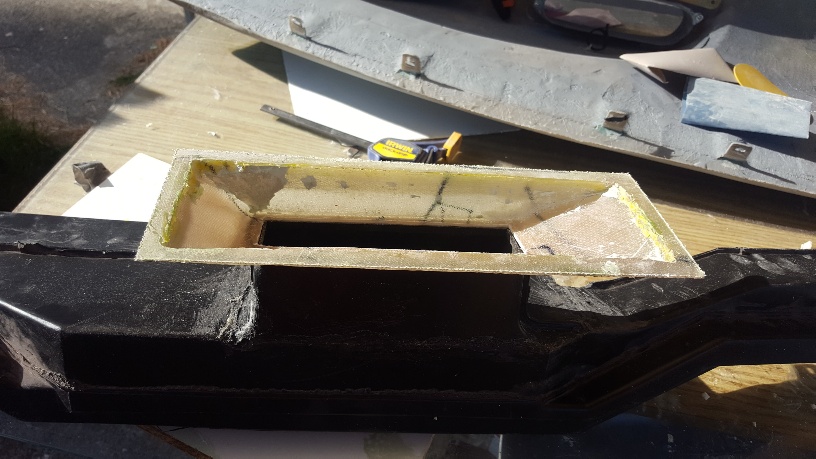
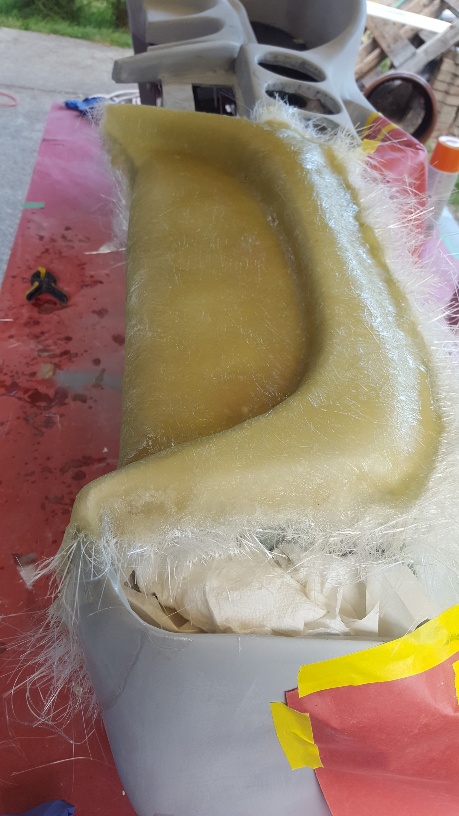
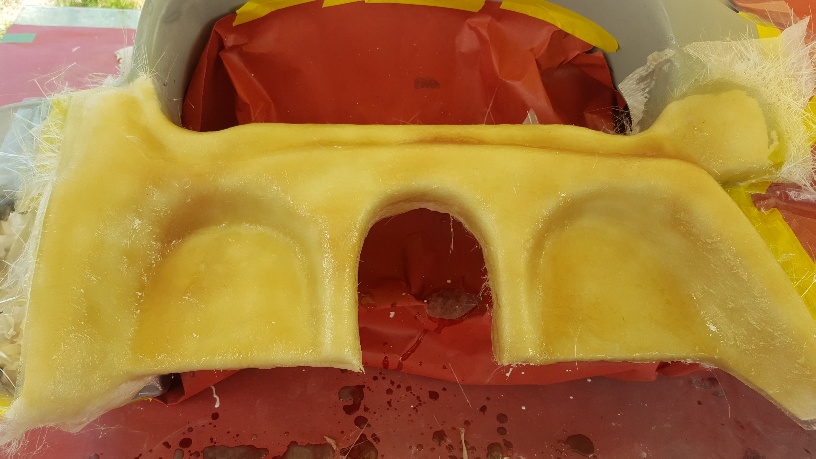
So while working on the flanges for the side vents I decided I also need one for the centre vent. Dimensions going from 1 1/2" by 7" single centre Fiero vent to the 3 1/2 by 11 5/8' triple vent.
I scratched my head for a bit I grabbed some foam and came out with the flange that will make the transition work. I finished the foam with bondo and fibreglassed it.
I still need to build a triple plate for the vent hoses to attach to, that plate will mount to the flange opening, the other end will be riveted to the Fiero vent opening.
|
|
|
|
dobie1
|
SEP 02, 11:54 PM
|
|
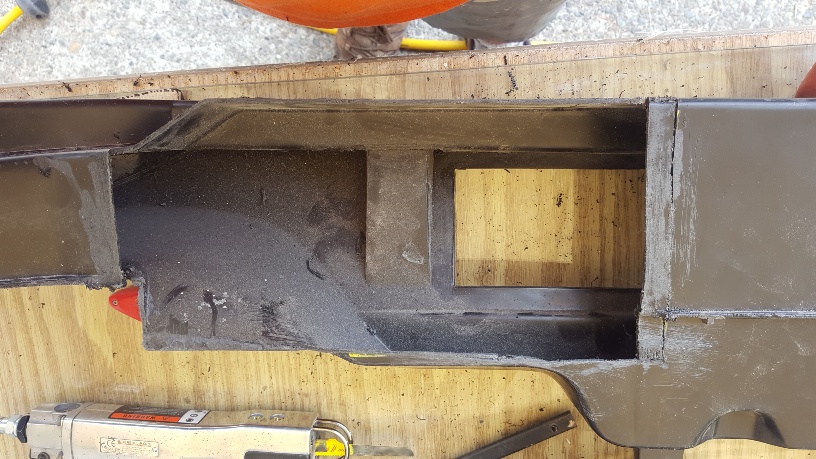
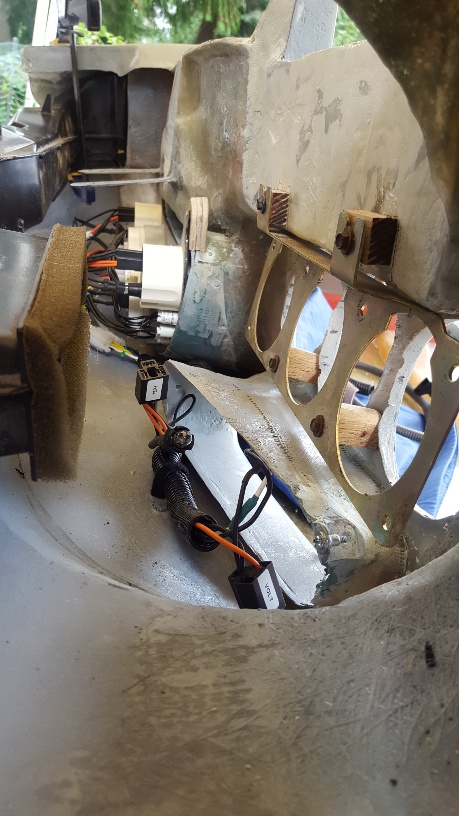
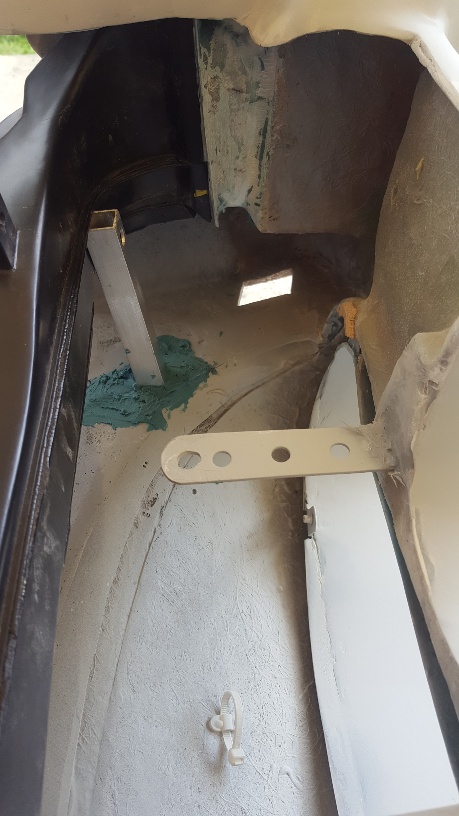
I have been busy finishing the dash construction , it was a lot of work but have everything finished and am now ready to start the upholstering and Carbon Fibre caps.
I used the Fiero OEM windscreen and dash defrosters, I had to make ducting to direct the air from the stock outlets to the new exit points, flanges allow for closed cell gaskets.


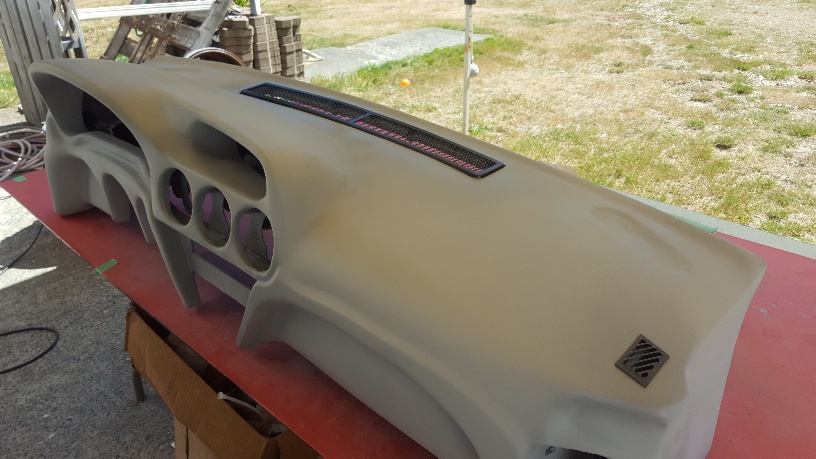
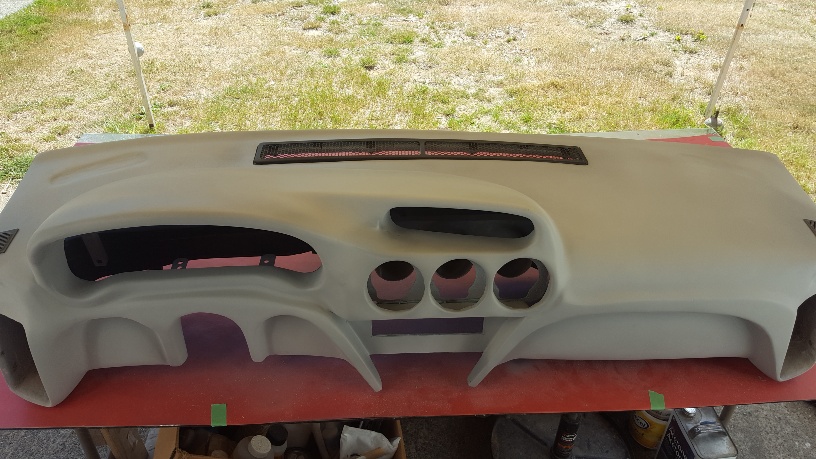
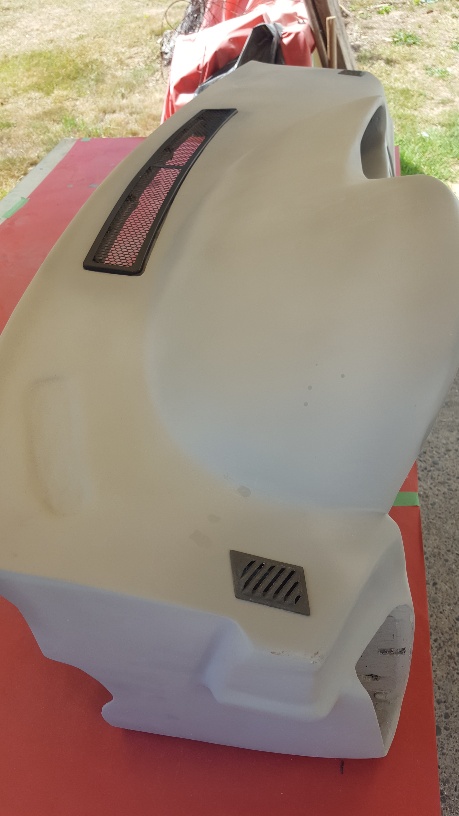
I have started making the two molds that I will use to produce the Carbon Fibre caps.


Wayne
|
|
|
|
RCR
|
SEP 13, 07:50 AM
|
|
Nice progress, Wayne. 
Bob
|
|
|
|
sourmash
|
SEP 13, 08:20 AM
|
|
|
Thanks for posting the procedure and progress.
|
|
|
|
Sage
|
SEP 13, 08:29 AM
|
|
Great progress!
This is looking so good......hey how about I send you one of my projects and call you in about 6 years to see where we're at with it? 
Love the vacuum bagging...where did you get the stuff to do it?
Such a bummer that PB messed up all your earlier pics...this is such a great build!
Keep posting the updates, please.
HAGO! 
|
|
|
|
dobie1
|
SEP 13, 08:53 PM
|
|
Thanks Bob always good to hear from you😀
Sourmash thanks for the comments, I was fortunate to have had a really good mentor “Don O.” helping me through this build when I had questions. The least I can do is to pass on what I’ve learned along the way.
Ted “Sage” it is unfortunate that PB did that now I guess unless I go through the entire thread and replace all the pics all most will see is the finishing of the build.
The vacuum equipment is something I’ve been acquiring for a couple years now , I knew If I could learn the techniques you can produce some nice finished pieces. When I do the molds of the car ,my plan is to build them so I can vacuum bag all the body panels.
And Hopefully produce a carbon fibre body for myself.
I’m really going full time at this build right now trying to get it completed in a year, I turn 68 his month and I want to be able to enjoy driving my dream.
Thanks everyone for the comments, and visiting the build.
Wayne
|
|
|
|
RURC
|
SEP 14, 09:50 AM
|
|
|
This is really looking amazing.
|
|
|
|
shemdogg
|
SEP 15, 03:23 PM
|
|
Looking awesome man! Wow u did the hvac too- I skipped that step lol
shem
|
|
|
