|
| Chrysler 3.5 HO V6 swap (Page 26/33) |

|
seajai
|
MAR 02, 10:59 PM
|
|
|
|
|
donnie072003
|
MAR 03, 07:28 AM
|
|
|
|
|
carbon
|
MAR 03, 02:15 PM
|
|
| quote | Originally posted by seajai:
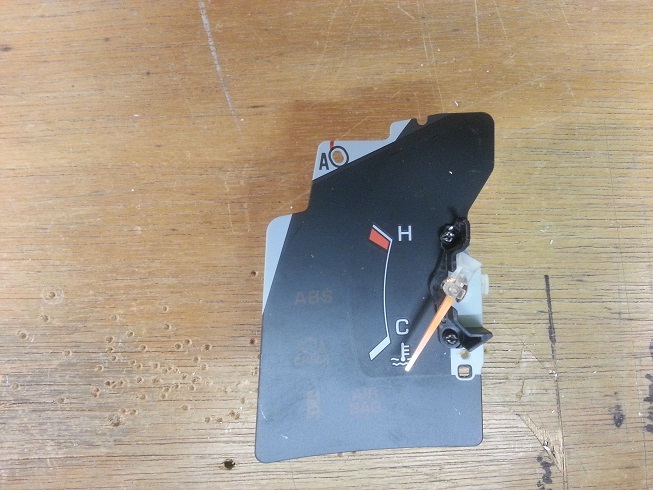
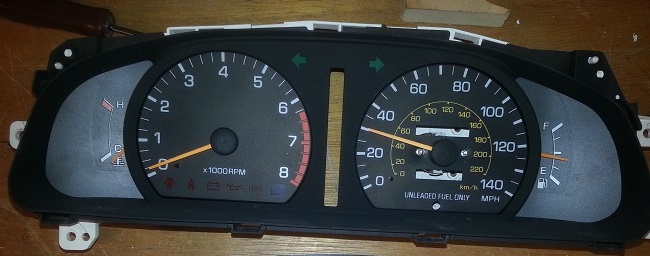
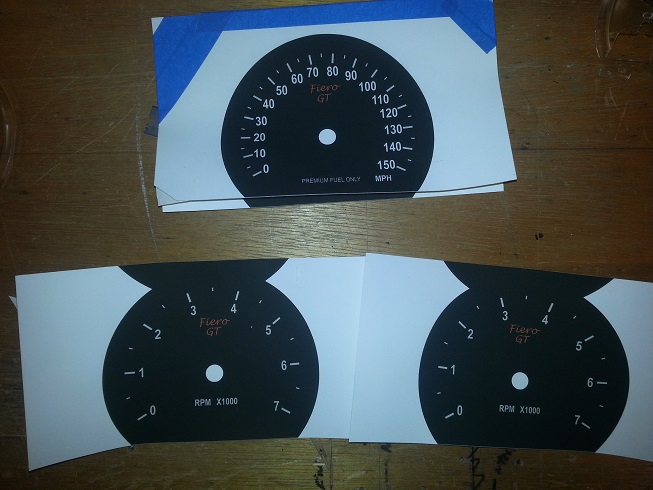
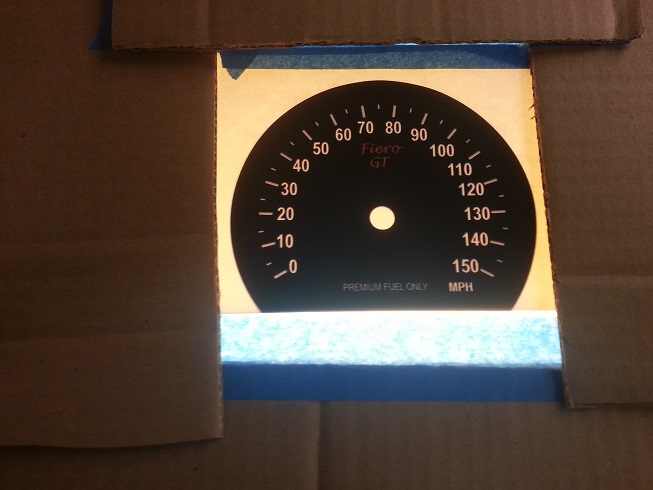
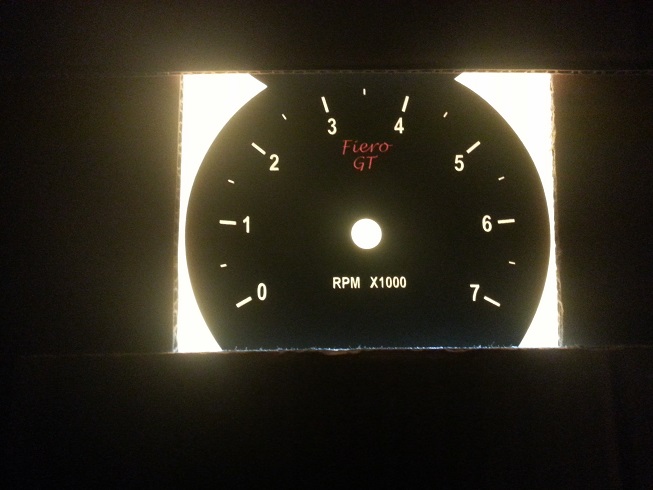
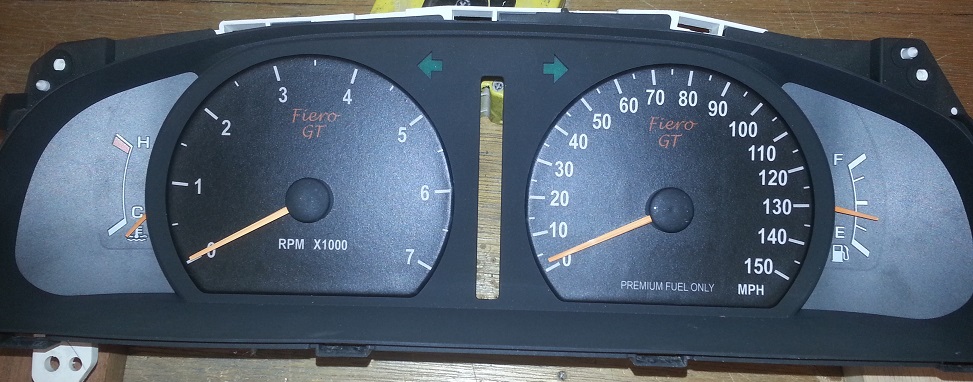
Also, I am installing 300M special 3:89 gears and computers along with a 150 MPH speedometer (which was standard on the 300M special) so I will need to make custom gauge faces for the tach and speedo.
|
|

The 3.89 gears with that engine drug the 300m down the 1/4 by the front wheels in 15.9s... with a 1000lbs less weight and a mid/rear drivetrain setup, that's going to be a fun Fiero this season. 
How hard is it to get at the diff on that trans?
|
|
|
|
seajai
|
MAR 03, 03:33 PM
|
|
| quote | Originally posted by carbon:
The 3.89 gears with that engine drug the 300m down the 1/4 by the front wheels in 15.9s... with a 1000lbs less weight and a mid/rear drivetrain setup, that's going to be a fun Fiero this season.
How hard is it to get at the diff on that trans? |
|
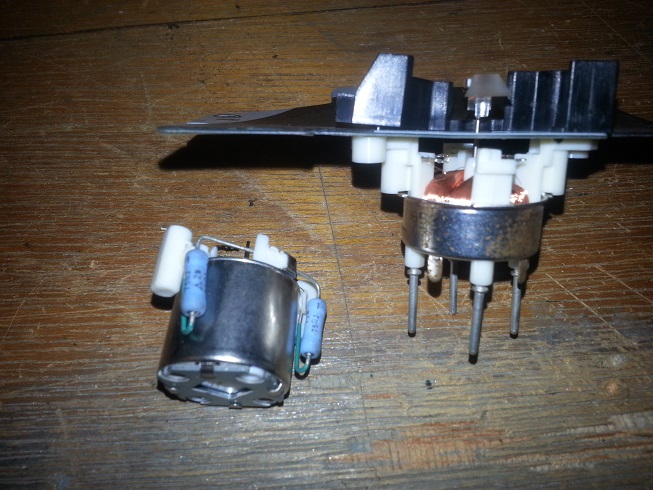
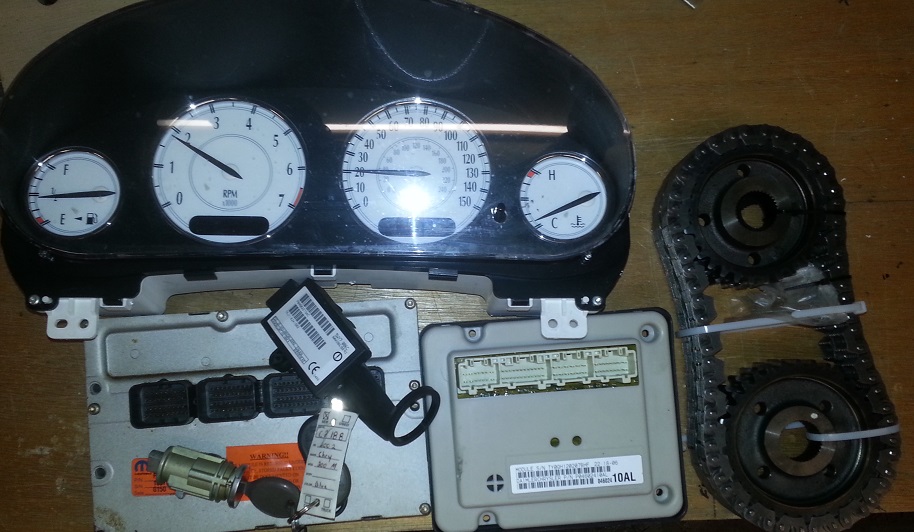
All that is needed to change gear ratios on the 42LE transmission is a transfer chain sprocket swap. So I just need to pull the bumper cover and reinforcement and the chain cover is right there. My box of computers just showed up today too, now I just need the sprockets and I'm ready to go.
|
|
|
|
BrittB
|
MAR 03, 08:10 PM
|
|
|
|
|
2.5
|
MAR 05, 04:55 PM
|
|
| quote | Originally posted by seajai:
Thanks 
I'll have to admit though, leaving out the quarter glass was not done as a design element, rather it was because I broke them in the process of removing the rear clip.  However, it did make access to the new coolant tank and other electronics more convenient. I'm thinking about using the open sail windows from Fiero Fiberglass to give it a finished look. However, it did make access to the new coolant tank and other electronics more convenient. I'm thinking about using the open sail windows from Fiero Fiberglass to give it a finished look.
 |
|
Put some on hinges maybe?
|
|
|
|
seajai
|
MAR 06, 12:51 AM
|
|
|
|
|
seajai
|
MAR 06, 11:19 PM
|
|
Made a couple more, I think I like this version better.


|
|
|
|
seajai
|
MAR 09, 11:19 PM
|
|
|

|
carbon
|
MAR 10, 07:27 AM
|
|
|
|