
 
     |
| LS4 / F40 swap - fieroguru (Page 210/216) |

|
Bob2112
|
JUL 07, 12:11 AM
|
|
Thanks for much for posting all of this. I probably won't be using Haltech now that I've spent a lot of time learning MegaSquirt on my Mustang. But, the logic should be very similar for other systems. This should be a huge help to me and I'm sure several others. Great work as always! And I'd be in that small market for your mechanical water pump solution for the LS4. 
|
|
|
|
fieroguru
|
AUG 04, 07:07 AM
|
|
Haven't been doing much but driving the car. Took it to WI for a work trip a couple of weeks ago. This past weekend increased the boost duty cycle to 35% and did about 4 WOT runs between 2nd and 3rd gear and dialed in the 130 to 150 kPa and 3000-7500 RPM range.
|
|
|
|
fieroguru
|
AUG 09, 07:43 PM
|
|
I had ordered this a couple weeks ago and today spend 10hr in the truck picking it up.
Laser cut, 5/16" thick, 4'x6' Fixture/Welding table, with 5/8" holes on 2" centers, and alignment tabs between all the pieces. Going to be a lot of clamping and welding to fully assemble this. Probably will add a tool box and some shelves between the legs.


|
|
|
|
dskebo
|
AUG 10, 11:24 AM
|
|
|
I have been wanting one of those for years. I envy you Guru.
|
|
|
|
fieroguru
|
AUG 10, 07:37 PM
|
|
| quote | Originally posted by dskebo:
I have been wanting one of those for years. I envy you Guru. |
|
Me too! I was stalking several sellers and narrowing down my selection for the past couple of years. I am in the middle of an equipment change in the garage for better space utilization and nicer equipment, so this was an opportune time.
Deciding factors for this specific table ($2,300 for the kit) + 10 hrs of driving:
- 1/4" or 3/16" thick was a lot cheaper, but 5/16" was a thin as I wanted to go.
- Single piece top - many of the cheaper options would have required bolting 2 or 3 tables together.
- Creative/artistic design - many others just used blocks with rounded corners.
- This table only has the locating tabs along the outside edge and are flush. No welding is needed on the top of the table, and all assembly welding is on the bottom side.
- 4' x 6' table is a custom size for most, so needed a supplier to that would do custom sizes
Today I picked up a variety of clamps, all-thread and other parts to clamp the supporting strutcture to the table top. I will likely start the welding this week.

This table will replace my current 63 x 57 x 36" tall metal table as well as my old 4" I-beam cradle fixture.

The 36" pexto shear I had for 30 years and 48" brake I had for 20 years have already found new owners:


Looking to sell this 6,000 lb scissor lift:

Also, looking to sell the LS4 4T65e-hd that has been hanging around the garage for 10 years. It is a factory rebuild, but unknown condition or miles (I have another one, so I don't need 2).

|
|
|
|
dskebo
|
AUG 10, 11:55 PM
|
|
|
Back to the engine, I thought you might want to extend your dipstick tube to make it easier to read. I installed a Saturn S car dipstick tube into the LS4 tube and extended it about 18" and massaged it around toward the back of the car and up under the throttle body to make it easy to reach since I have a fastback with a hatch from Archie that made it almost impossible to reach. I used a Motoforti Engine Oil Dipstick Indicator, Oil Dipstick Replacement, for Chevrolet Express 2003-2014, Metal Plastic, Yellow from Amazon and had to shorten it a couple of inches but it makes checking the oil a breeze now. Just thought you might want this info. It looks factory made.
|
|
|
|
fieroguru
|
AUG 11, 07:47 PM
|
|
| quote | Originally posted by dskebo:
Back to the engine, I thought you might want to extend your dipstick tube to make it easier to read. I installed a Saturn S car dipstick tube into the LS4 tube and extended it about 18" and massaged it around toward the back of the car and up under the throttle body to make it easy to reach since I have a fastback with a hatch from Archie that made it almost impossible to reach. I used a Motoforti Engine Oil Dipstick Indicator, Oil Dipstick Replacement, for Chevrolet Express 2003-2014, Metal Plastic, Yellow from Amazon and had to shorten it a couple of inches but it makes checking the oil a breeze now. Just thought you might want this info. It looks factory made. |
|
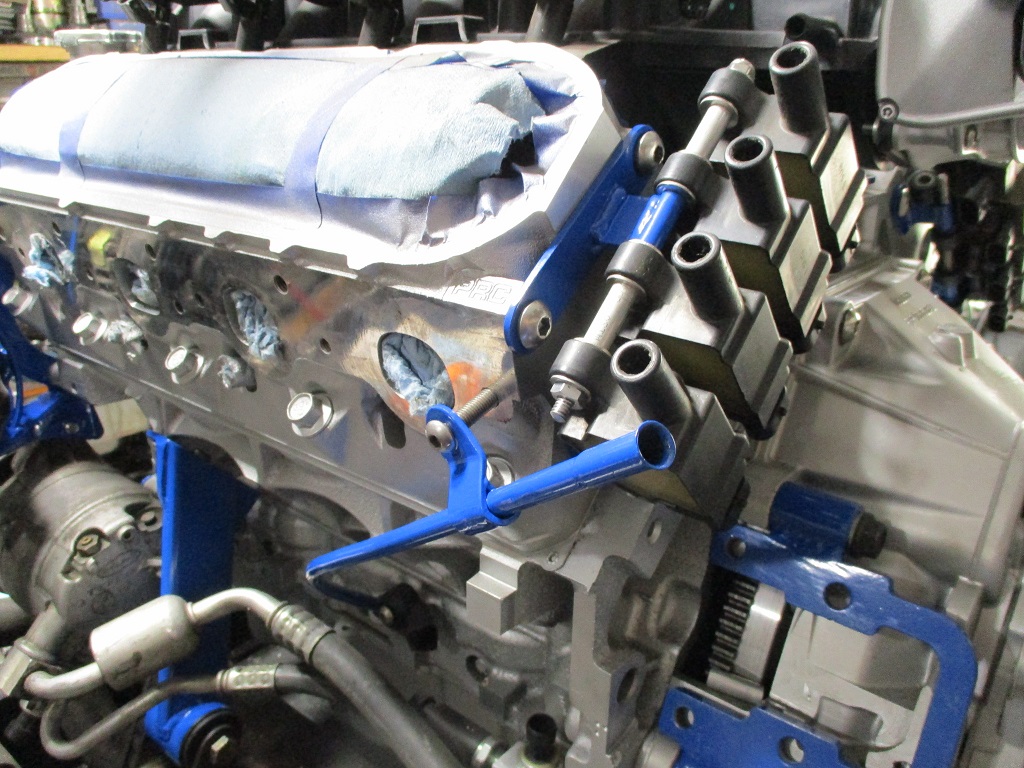
The stock LS4 dipstick works quite well with a slight relocation of the bracket. I like it exiting where the coils are. Plus is less parts you have to buy for an already espensive swap.
|
|
|
|
fieroguru
|
AUG 18, 09:36 PM
|
|
Lots of welding on 90+ degree days, but now all the welding on the table and bottom supports is complete.
Then started working on the leg modification. Space is always tight around the garage and while these base plates for the legs are nice and will allow casters to be installed, they take up too much space since I do not plan to us casters.

Here is the new simplified design:

The plan is to run an adjustable foot with a 5/8" threaded rod through a threaded coupler that is about 2" long.

The threaded coupler is going to have the hex turned off about 1/8" from both ends, then sandwiched and welded between these two plates, then the two plates will be welded to the leg.

|
|
|
|
fieroguru
|
AUG 23, 06:21 PM
|
|
|
|
|
fieroguru
|
AUG 30, 02:56 PM
|
|
|
|
|


