|
| How am I doing? (Page 20/31) |

|
randye
|
APR 08, 01:05 PM
|
|
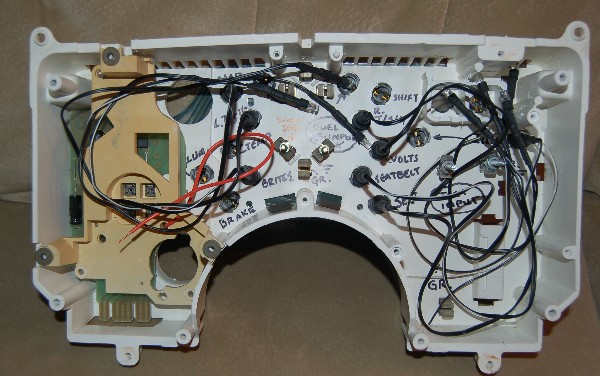
The next project is installing a full set of SpeedHut custom gages in the I.P.
I have the SpeedHut gage overlays in the current cluster, but I want my I.P. gages to match the ones I installed in the Aux. panel.
I've already "gutted" a spare cluster and I'm preparing to modify it to be a full "plug & play" unit with LED warning lights, etc.
|
|
|
|
randye
|
APR 08, 01:19 PM
|
|
I just realized, this thread has been going for almost 4 YEARS now and I still haven't made it to the "Construction Zone".
Maybe someday I'll be good enough....... 
|
|
|
|
exoticse
|
APR 08, 01:32 PM
|
|
| quote | Originally posted by randye:
I just realized, this thread has been going for almost 4 YEARS now and I still haven't made it to the "Construction Zone".
Maybe someday I'll be good enough....... |
|
That is pretty ridiculous.
This thread should be used as a model of how to do a fiero right.
How do we get this moved to the construction zone where it rightfully belongs ?
|
|
|
|
randye
|
APR 09, 08:15 PM
|
|
|
|
|
Australian
|
APR 10, 02:46 AM
|
|
| quote | Originally posted by doublec4:
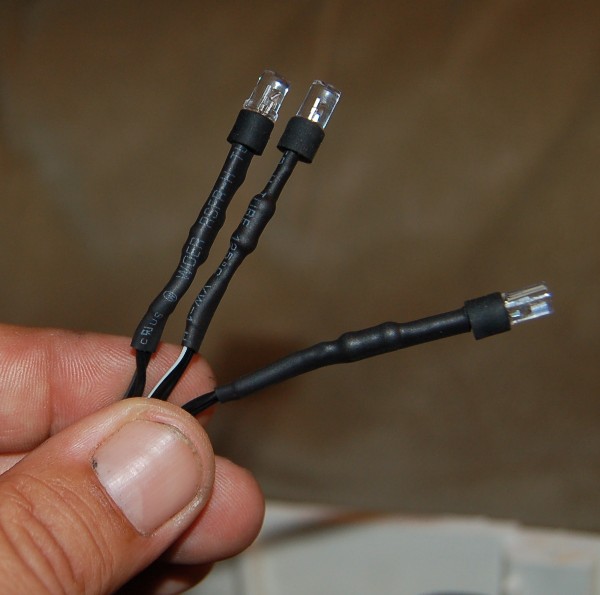
Let's see those LED driving lights lit up!
ps where did you get them?
|
|
I got some for $6 Delivered. Ebay[This message has been edited by Australian (edited 04-10-2010).]
|
|
|
|
randye
|
APR 27, 11:42 AM
|
|
|
|
|
randye
|
APR 27, 11:52 AM
|
|
|
|
|
randye
|
APR 27, 11:59 AM
|
|
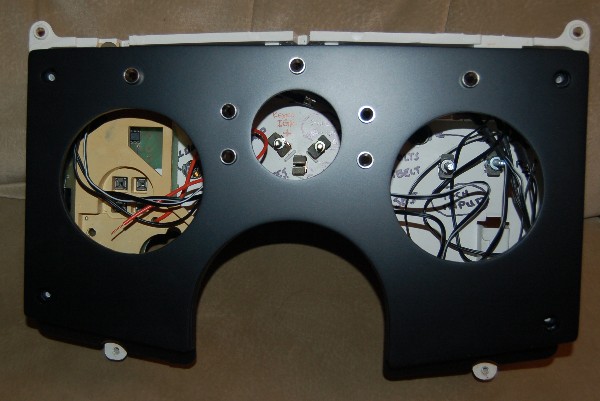
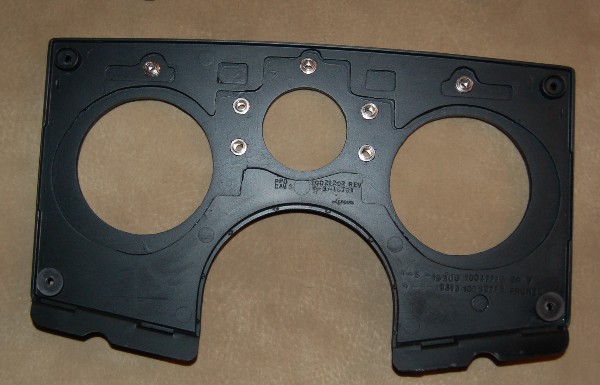
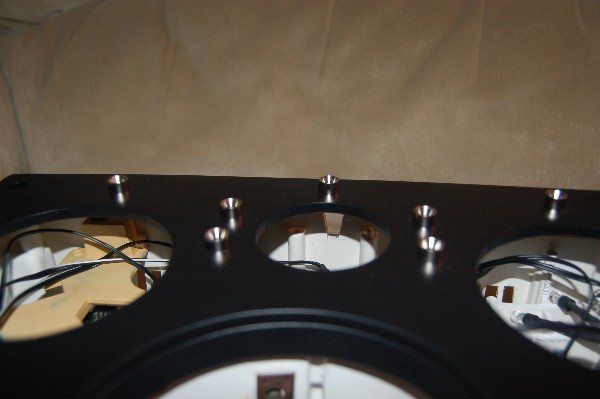
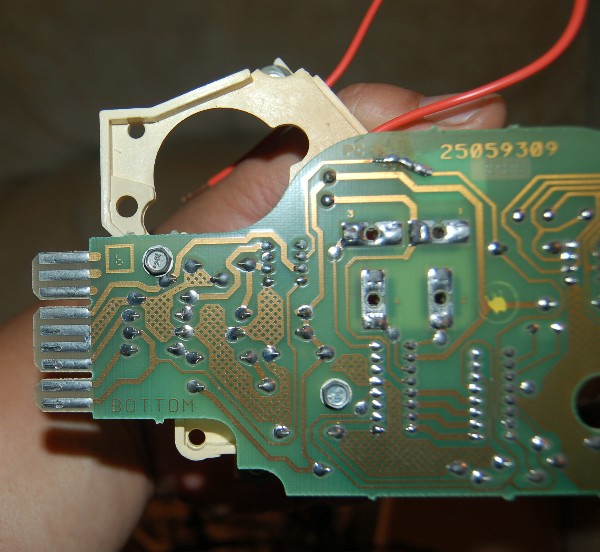
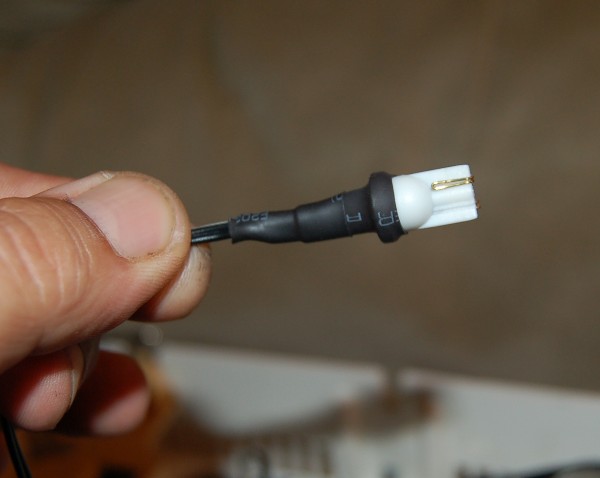
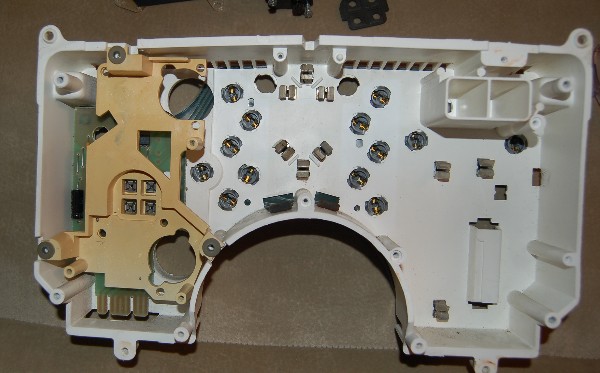
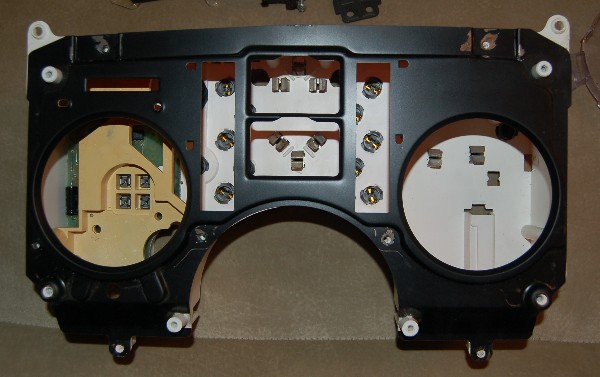
Speedo circuit board back in the gage pod:
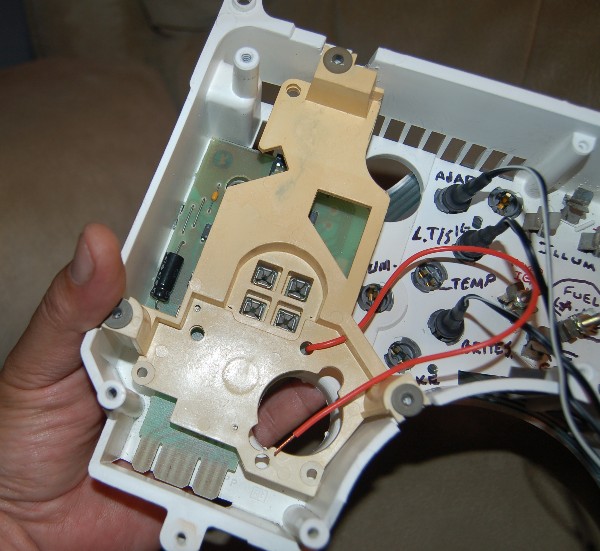
Here you can see how thick the new 1/4" panel is:
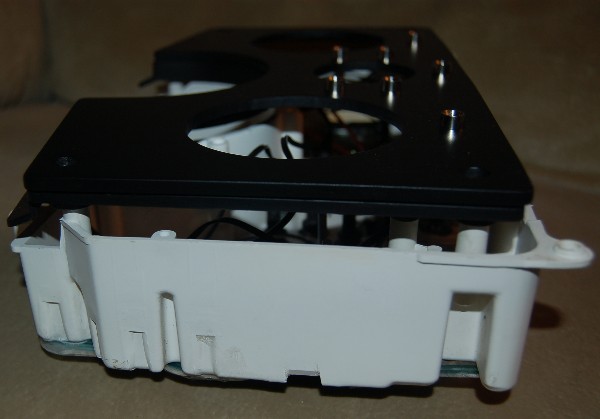
The new SpeedHut gages are due to arrive today and I'll post more photos with them in the new panel as soon as they get here.
The idea for this install is to make the whole thing "plug & play" using the OEM harness wiring, (C1, 2 and 3 connectors to the pod) so that installation and future removal for any repairs is as simple as possible. The inverter for the SpeedHut gage lighting will also be contained inside the pod.
There's a LOT of room in there once you "gut" all the OEM gages!
|
|
|
|
doublec4
|
APR 27, 12:05 PM
|
|
|
I like where this is going! Great work so far!
|
|

|
85LAMB
|
APR 27, 12:50 PM
|
|
Randye
You are doing a great job.
I wanted to say it was a pleasure talking to you in Daytona, you were very helpfull and answer all my questions.
I also want to thank you for taking me for a ride on your car, your workmanship is an inspiration for me.
If you don't mind me asking, what are you panning on doing with the faces for the gauges, the ones that light up blue ?
If you are planning on selling them let me know, I really like how they look.
Keep up the great work
Lincoln
|
|
|