|
| Another Katatak Fiero Adventure! (Page 19/72) |

|
katatak
|
DEC 11, 11:26 PM
|
|
| quote | Originally posted by Sofa King:
LOL! I don't think it looks like "caca"... LOL!!! I don't think I've used that term in 20 years... that cracked me up!
The console is looking good! What's the plan? Tell me tell me tell me. It's the holidays, Pat... the time for giving? |
|
Hey Greg,
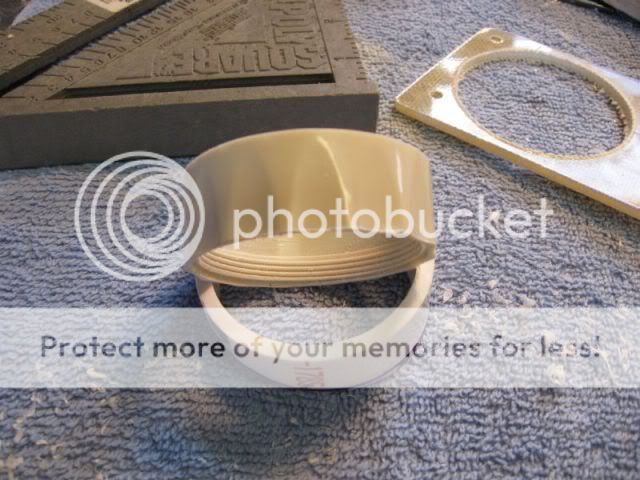
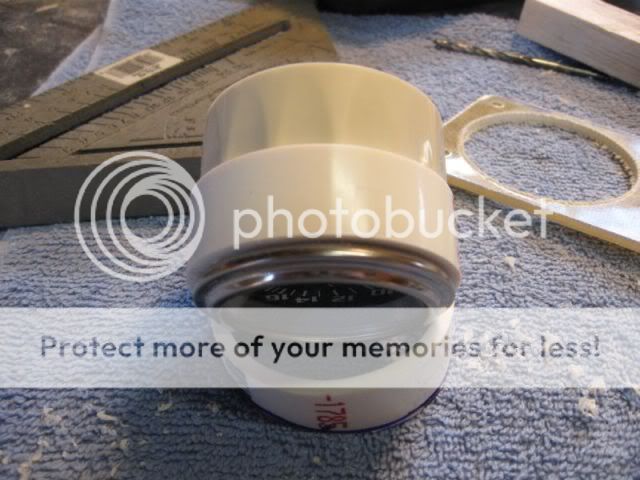
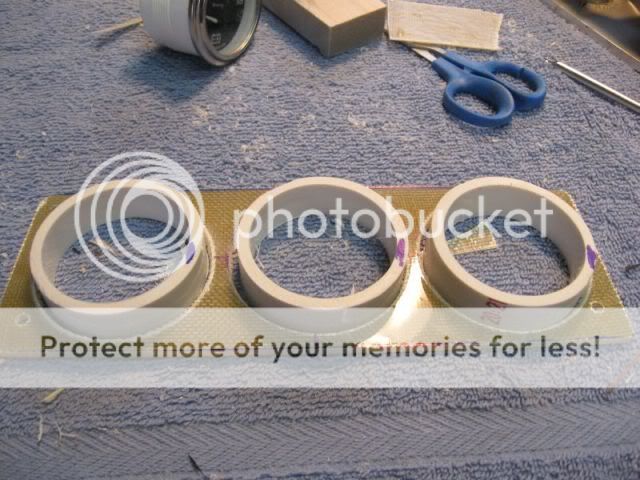
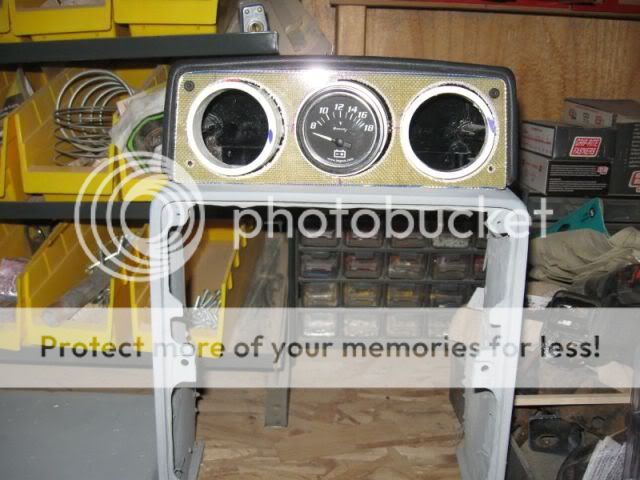
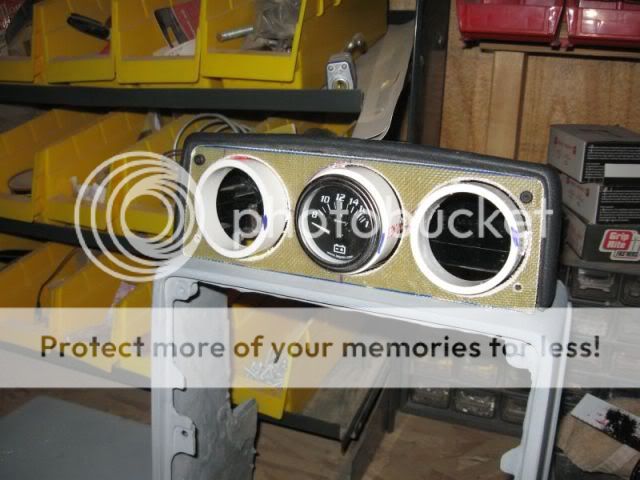
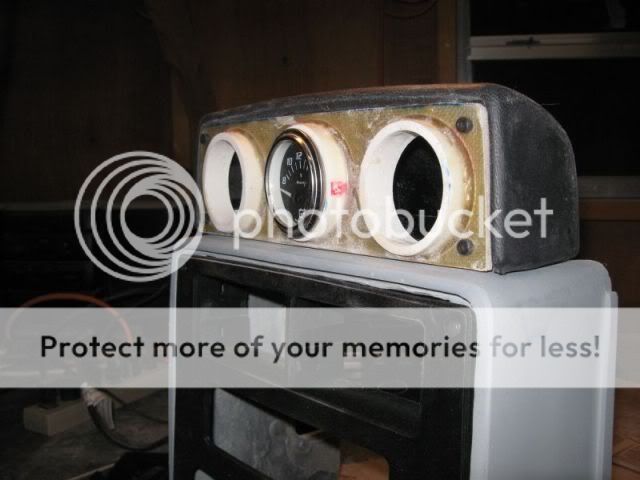
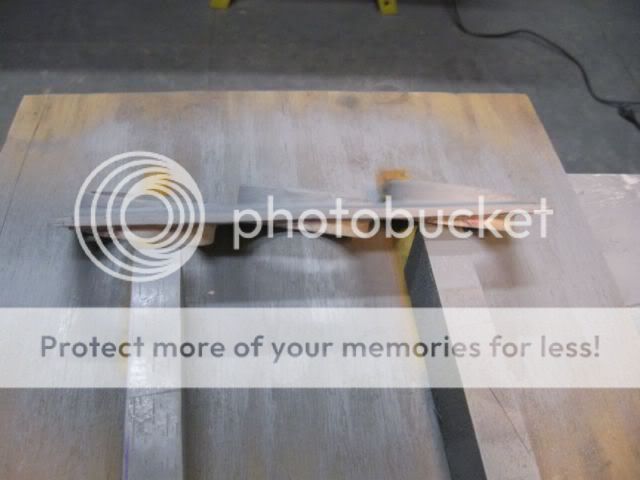
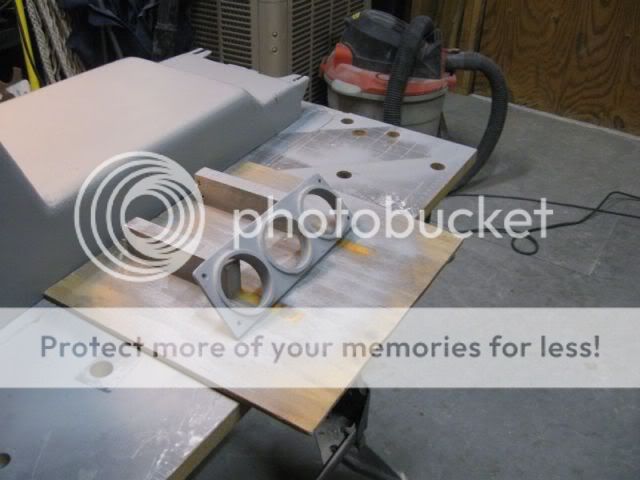
Seeing how it is the Holiday Season, I did not want to use foul language...........(snicker snicker). Ok, no secrets. I just did not want to say anything in case it turned out bad but I got a good start on it today and it's going to work out great. I'm building a custom face plate/gauge pod/thingie to hold 3 - 2" gauges in the Pod. I'll post up some pics later.
Pat
|
|
|
|
katatak
|
DEC 12, 03:16 AM
|
|
|
|
|
katatak
|
DEC 12, 03:52 AM
|
|
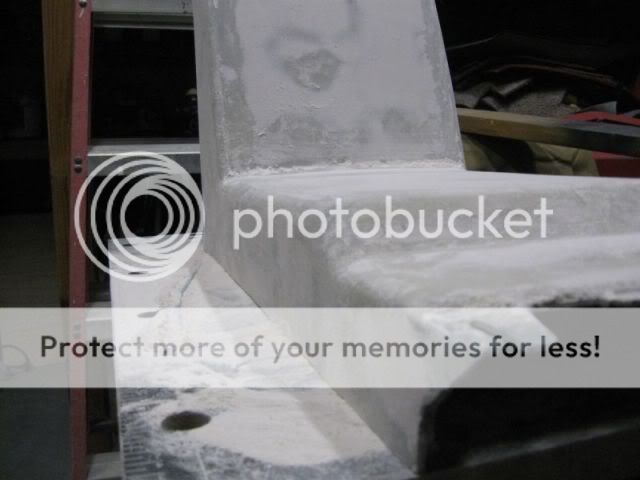
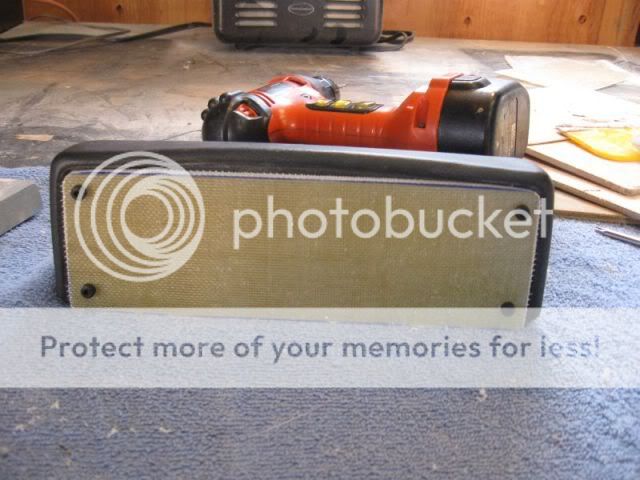
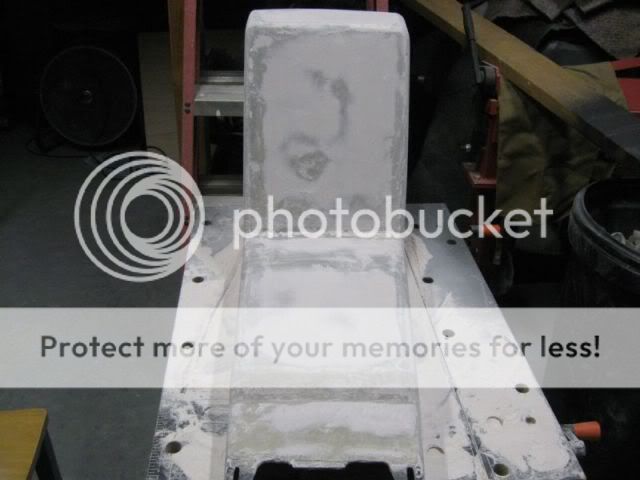
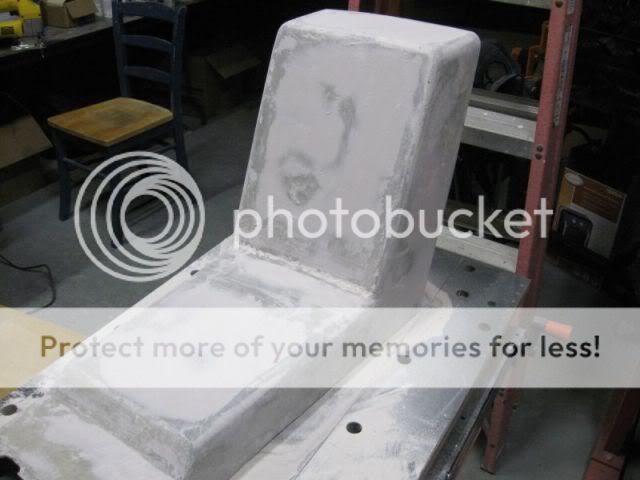
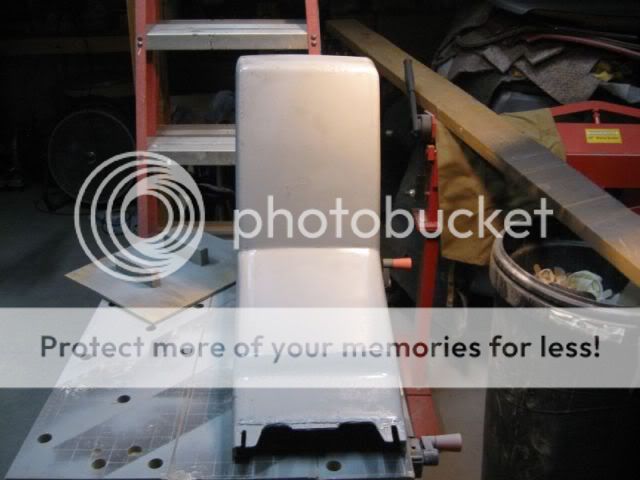
Made some progress on the rear console tonight. Lots and lots of sanding,
|
|
|
|
katatak
|
DEC 12, 03:54 AM
|
|
|
|
|
katatak
|
DEC 12, 03:55 AM
|
|
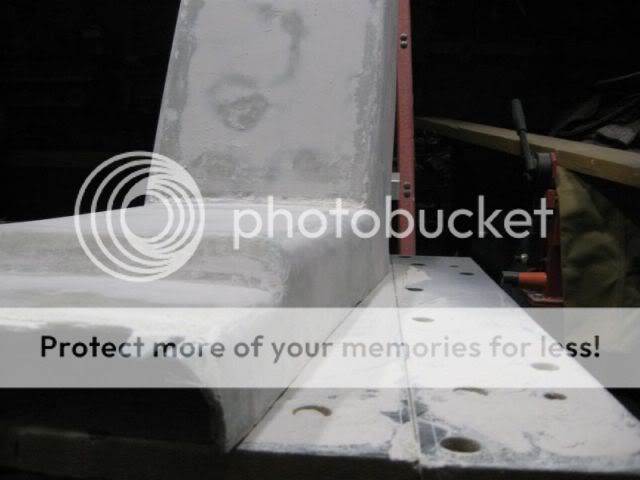
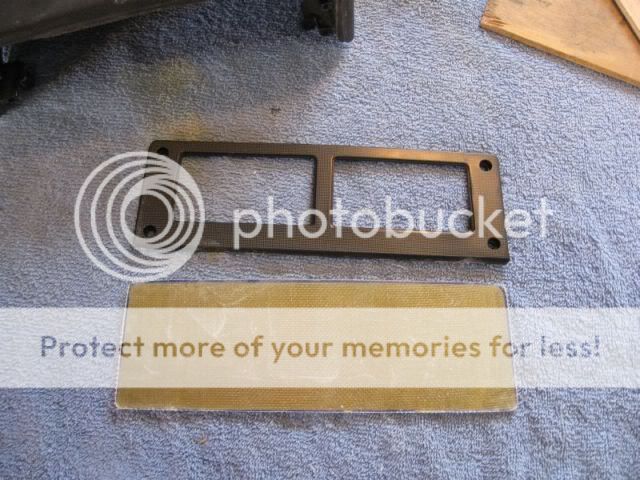
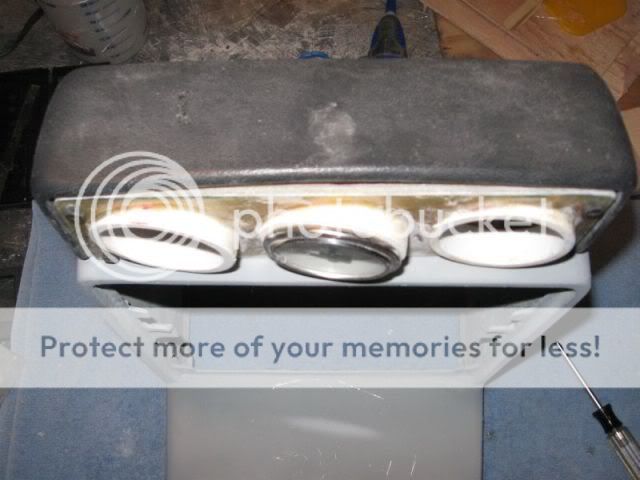
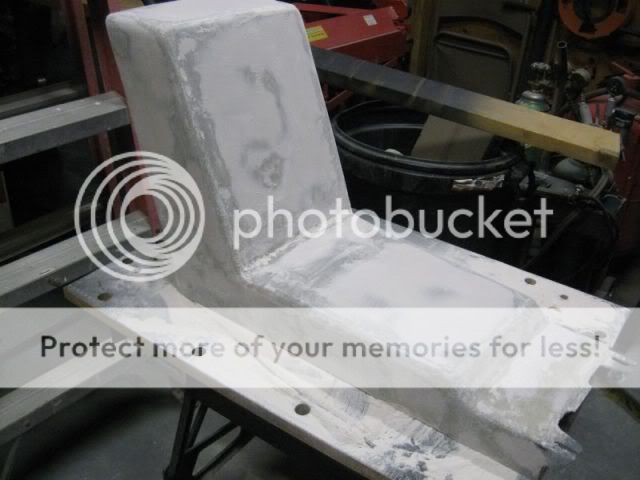
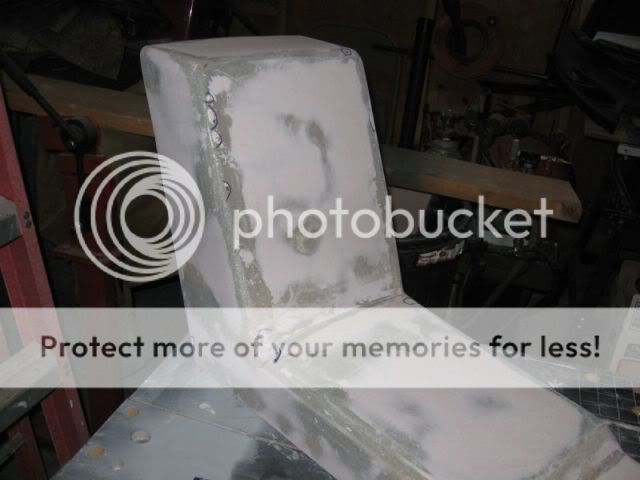
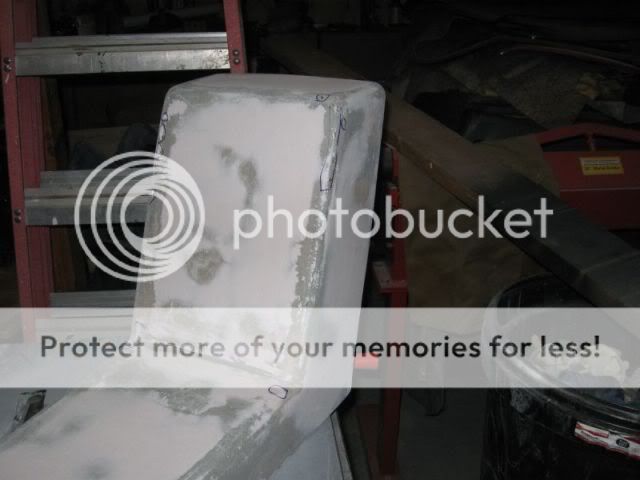
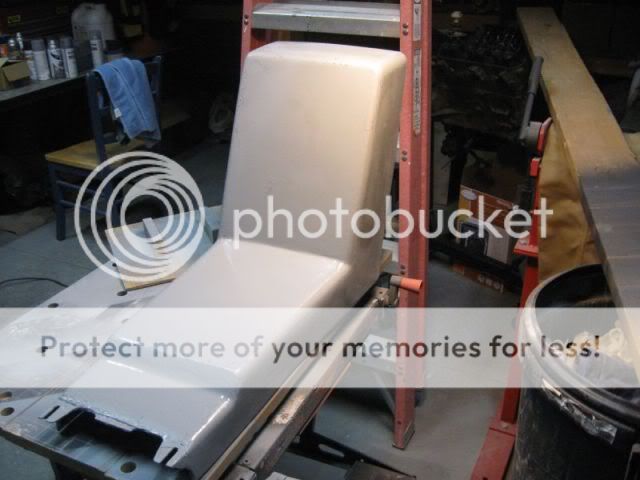
Then some clean up!
Went around the part and circled all the holes with a sharpie:
 [This message has been edited by katatak (edited 12-12-2009).]
|
|
|
|
katatak
|
DEC 12, 03:58 AM
|
|
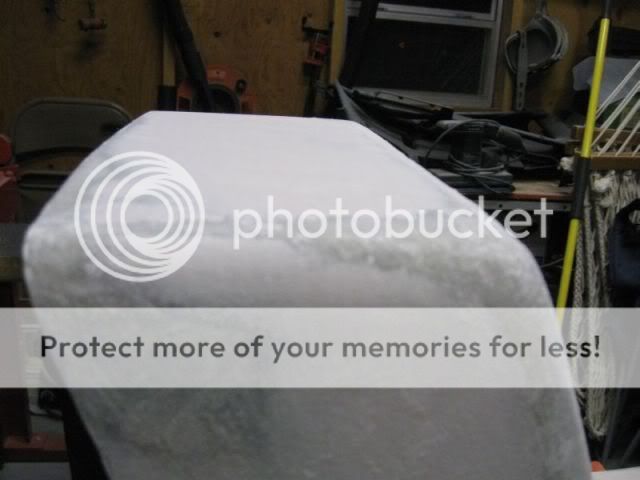
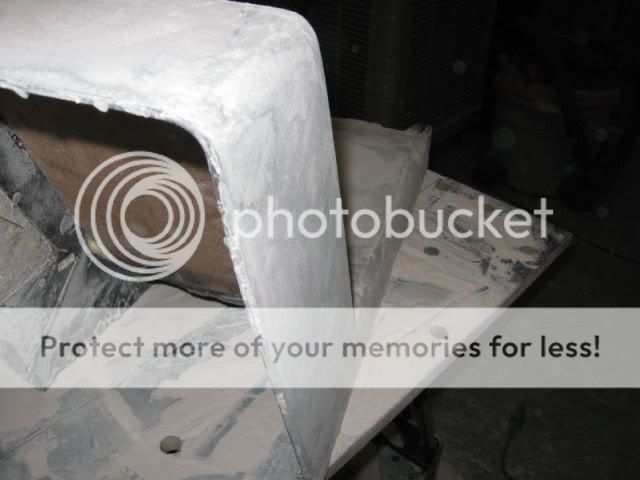
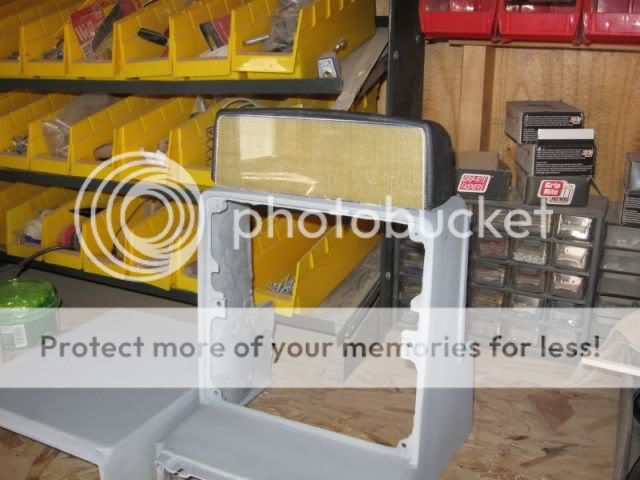
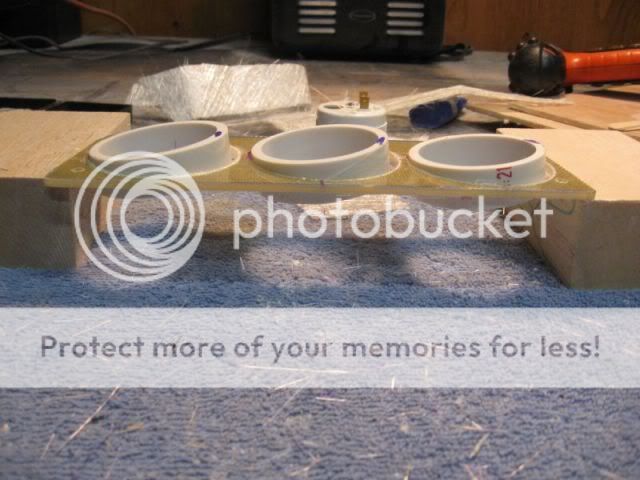
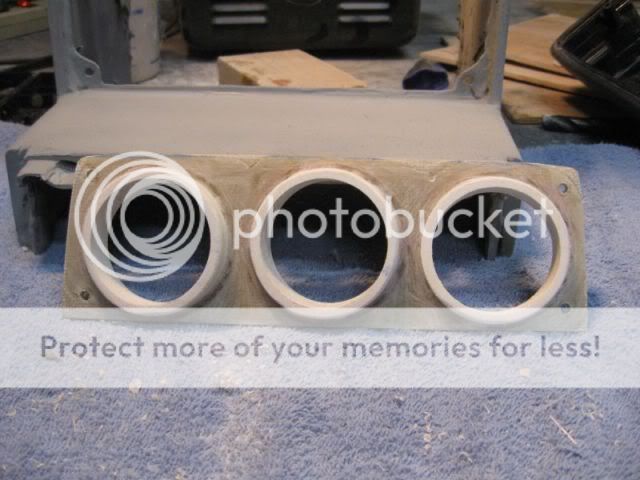
After I vacumed up all the dust, I put some filler primer on to show me where I need more work. Got a lot of work still to do.
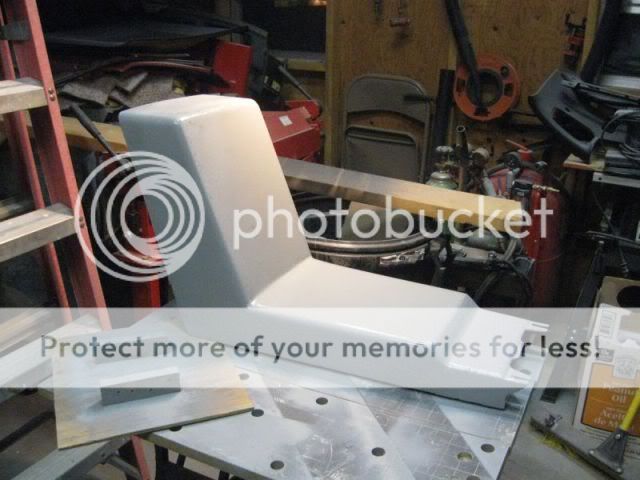
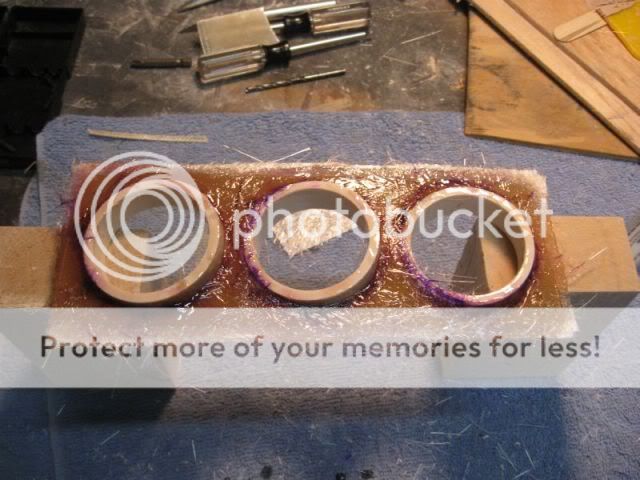
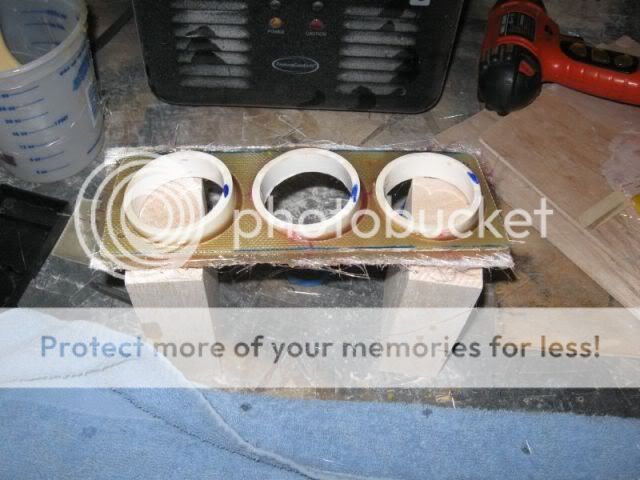
On to the Gauge Pod!
|
|
|
|
katatak
|
DEC 12, 04:16 AM
|
|
|
|
|
katatak
|
DEC 12, 04:29 AM
|
|
|
|
|
katatak
|
DEC 12, 04:38 AM
|
|
|
|
|
katatak
|
DEC 12, 04:47 AM
|
|
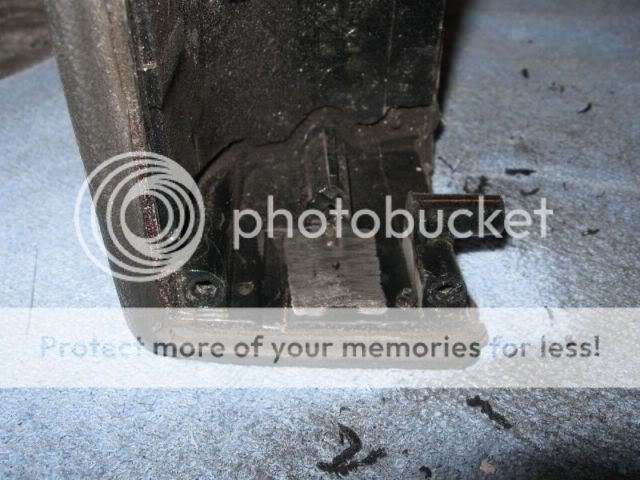
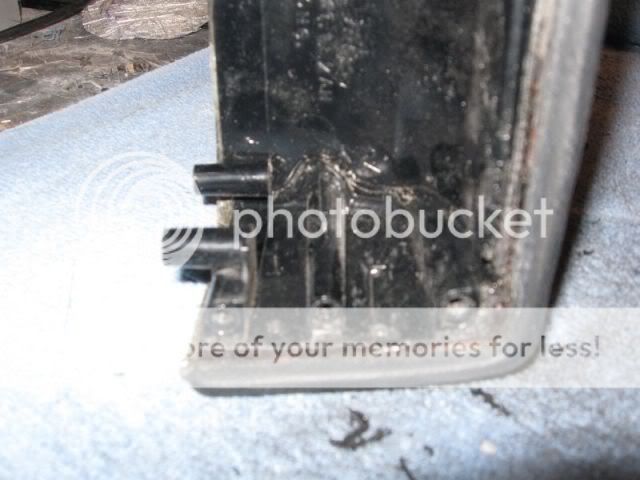
One last post before I hit the sack. I am working on a custom 3rd brake light cover and I needed to remove the light from the car. I had not paid any attention to this when I pulled the headliner out. I am amazed that more Fiero's are not burned to the ground due to this. This is the 4th one I have seen this way.
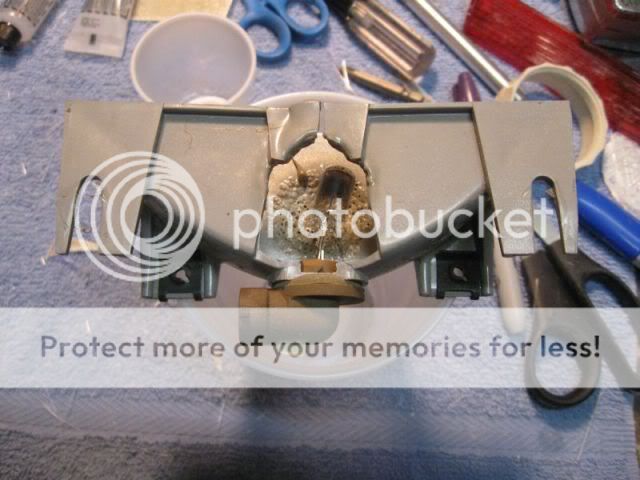
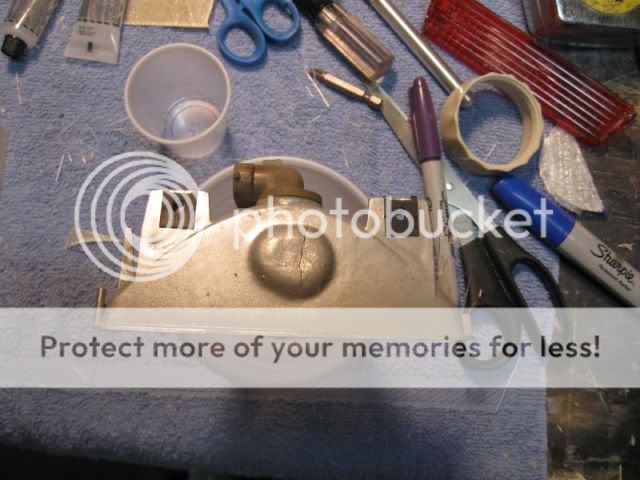
Pretty scary if you think about it. Imagine, sitting at a traffic light in rush hour traffic and all of the sudden you smell smoke. That's when you notice the headliner is on fire above and behind you. I'll need to figure out a fix for this before I resinstall tha 3rd brake light setup. That's it for tonight.
Pat
|
|
|