|
| LS4 / F40 swap - fieroguru (Page 188/216) |

|
fieroguru
|
JUN 11, 09:35 PM
|
|
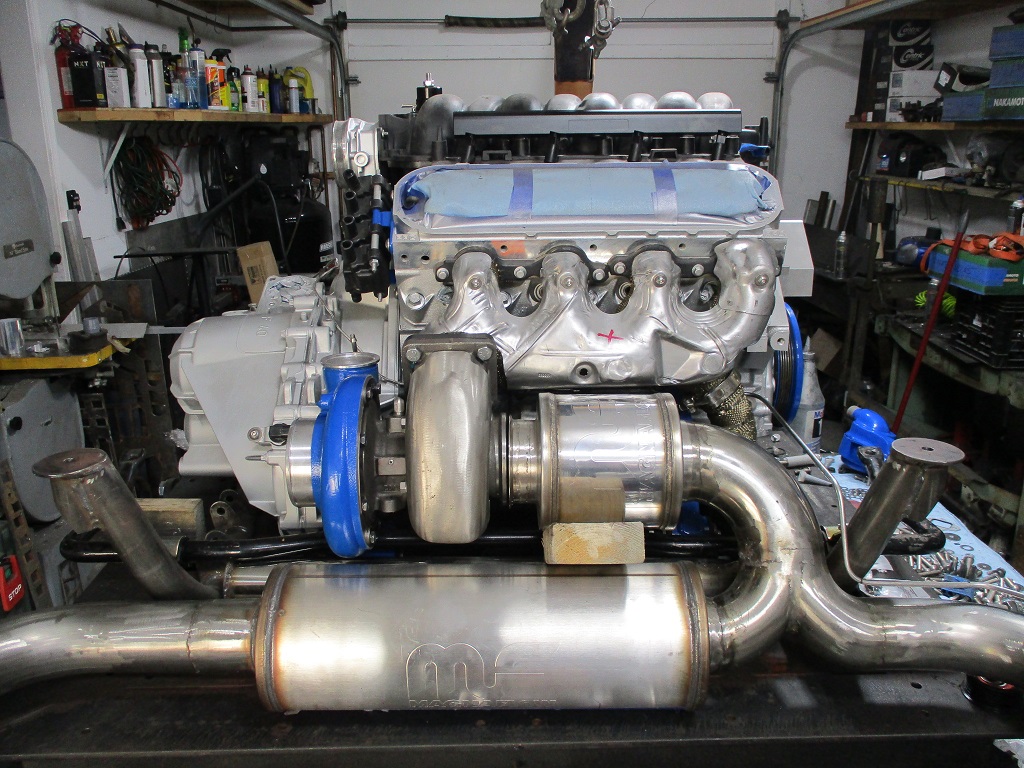
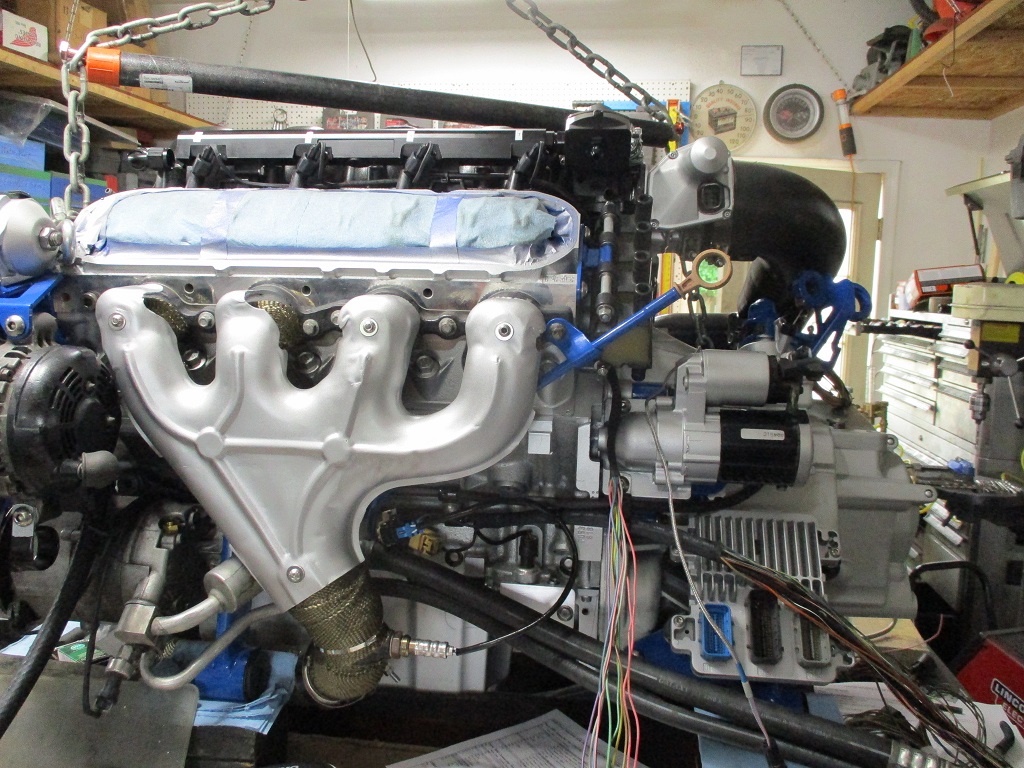
Made more progress...
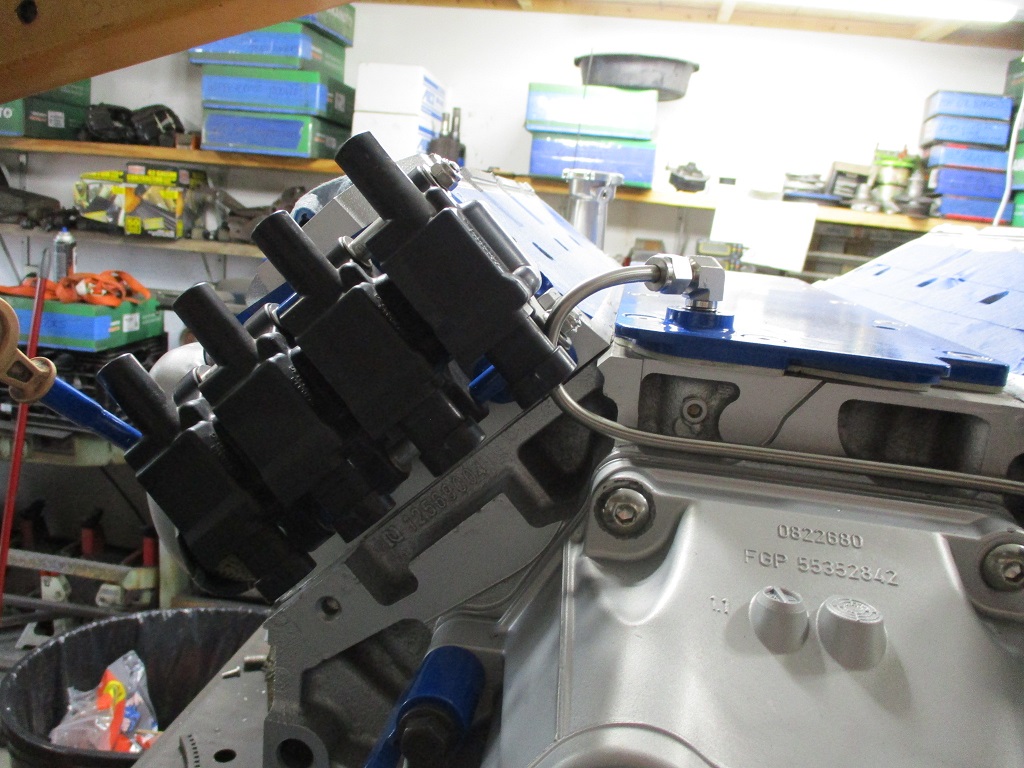
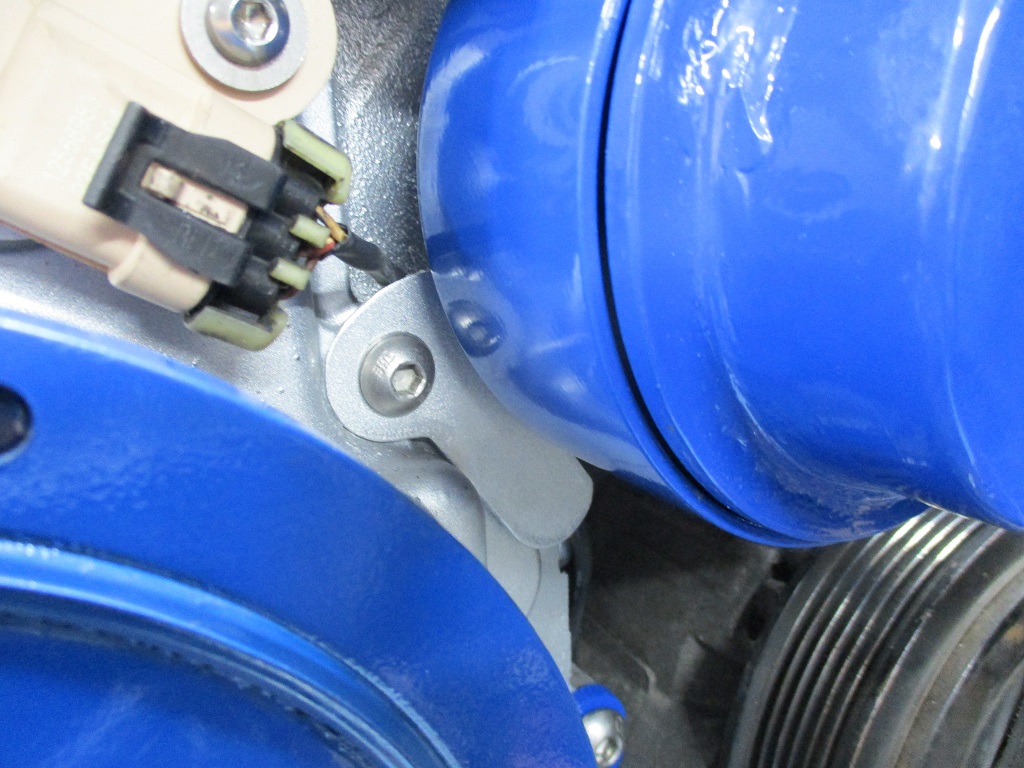
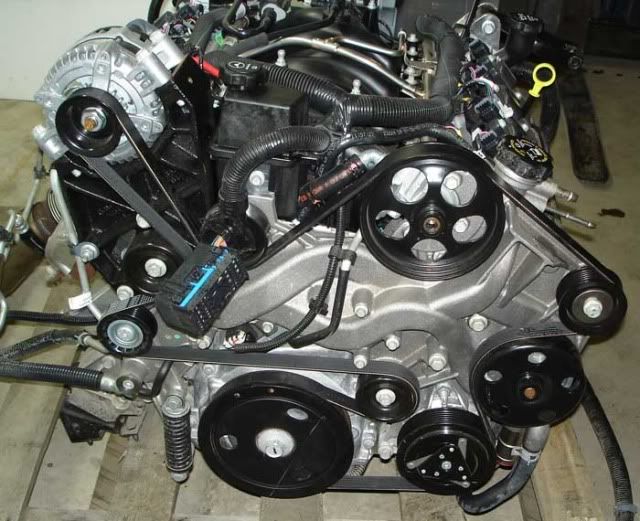
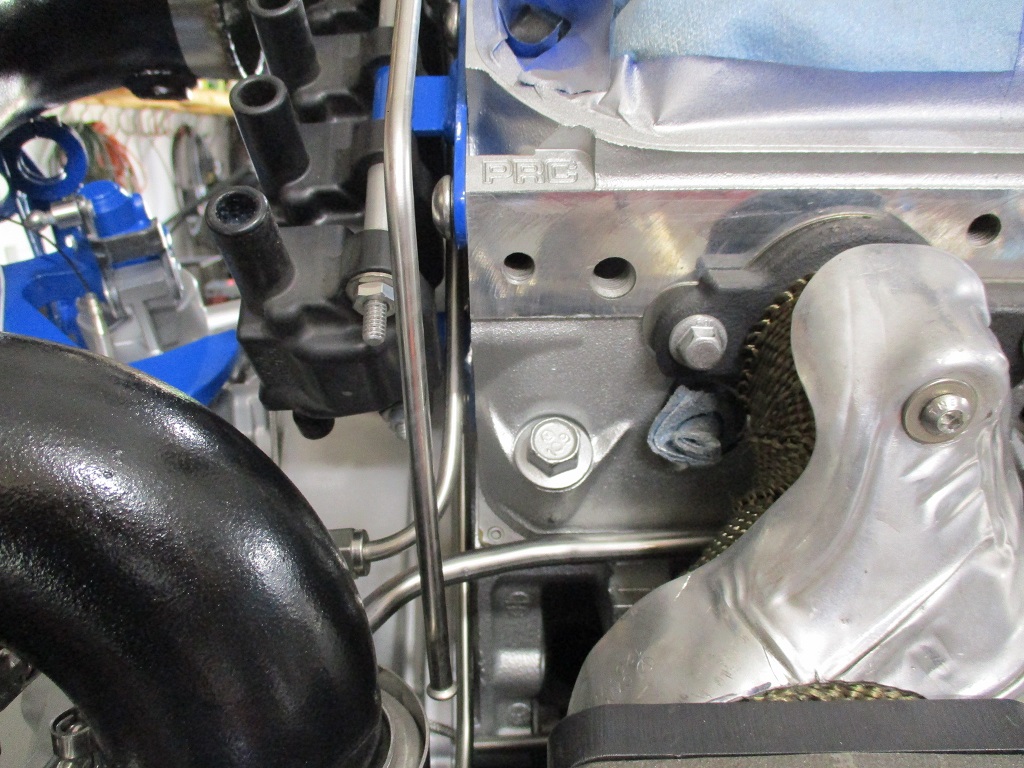
On the front of the engine: wrapped the front manifold under the heat shield, installed a new o-ring on the dipstick, and bolted the heat shield in place.
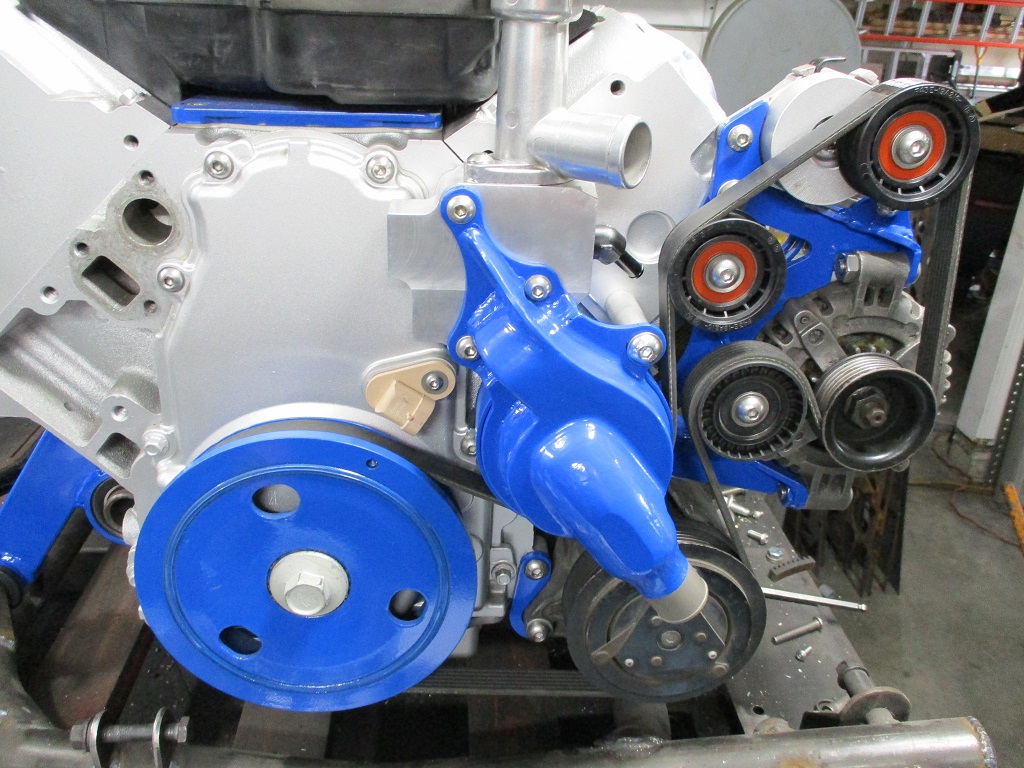
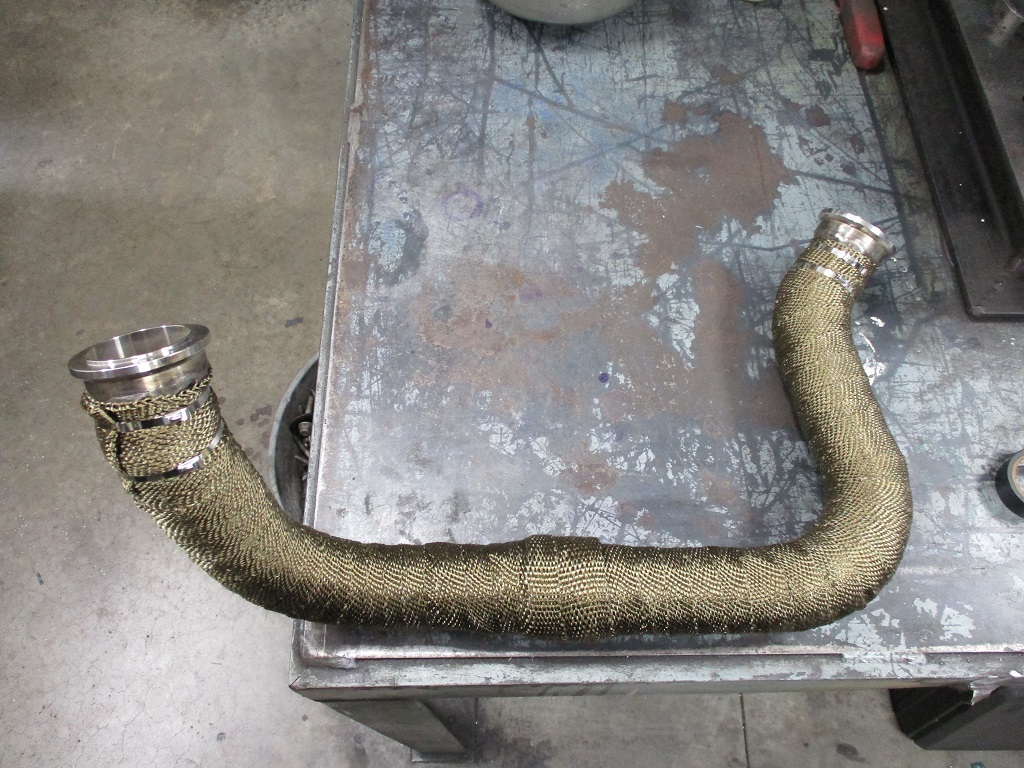
On the right side of the engine: installed new grooved idlers, heater hose nipple, made water pump support spacer and installed the bolt, swapped out the cam sensor for the 24x version, installed the thermostat, and installed the belt, and wrapped the crossover pipe.
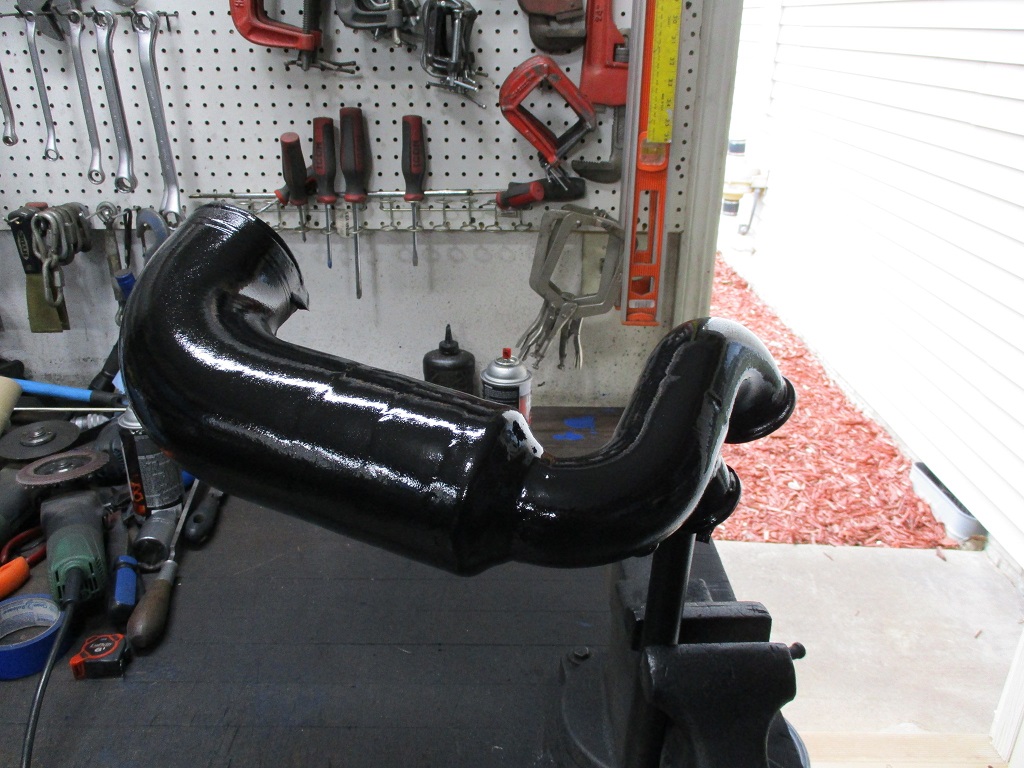
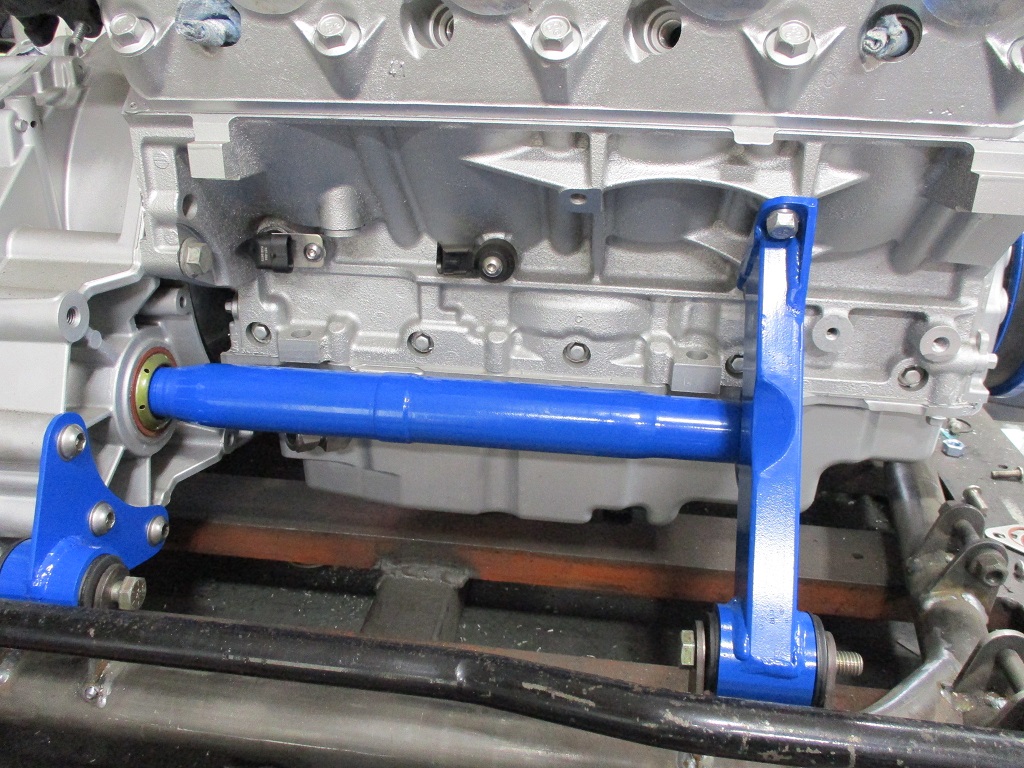
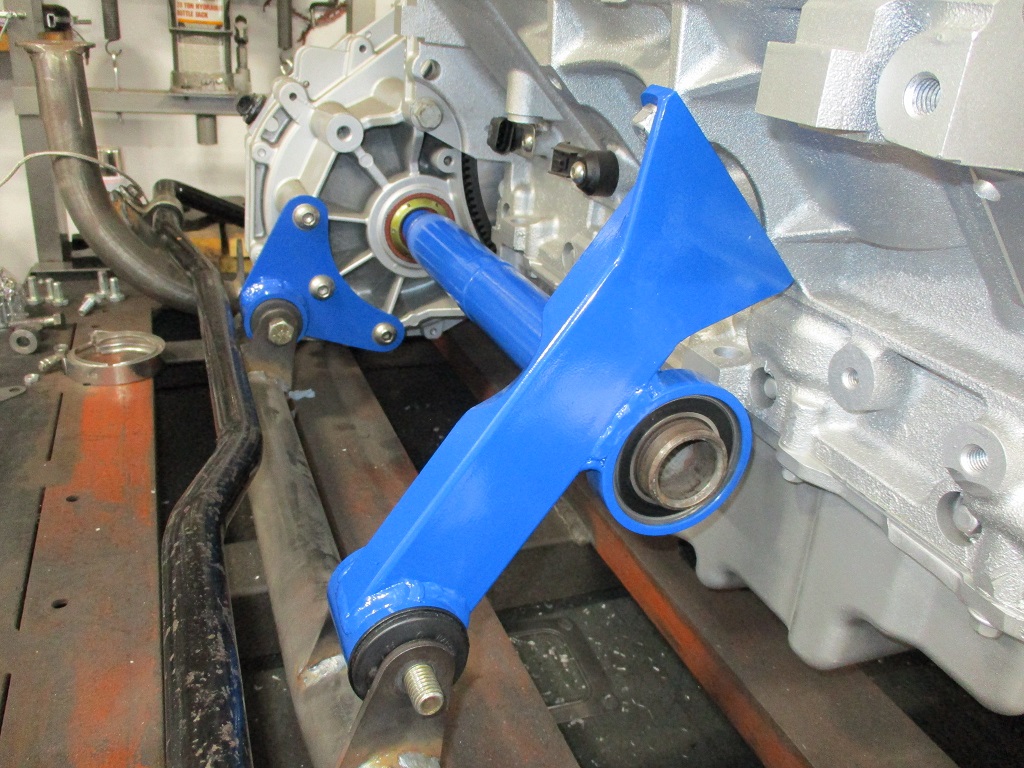
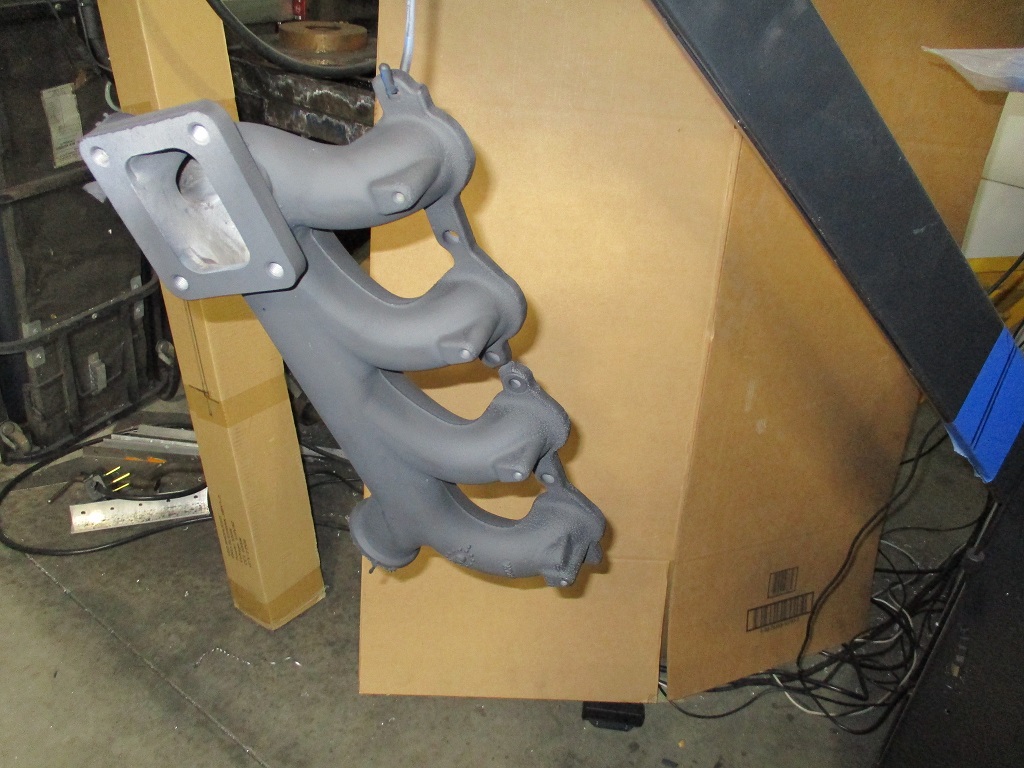
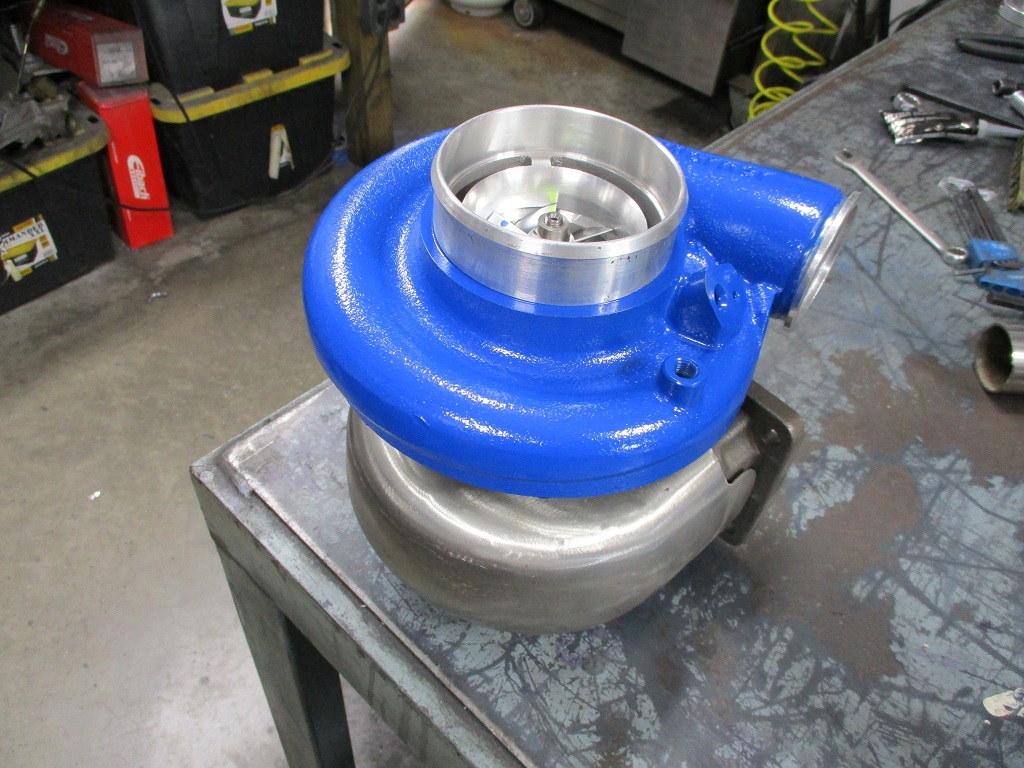
On the rear of the engine: Installed new axle seals in the transmission, 24X crank sensor, the intermediate shaft with a new intermediate support bearing, sand blasted and painted rear manifold, installed the compressor housing back on the turbo, and started to make an exhaust pressure manifold block.
|
|
|
|
fieroguru
|
JUN 12, 08:55 PM
|
|
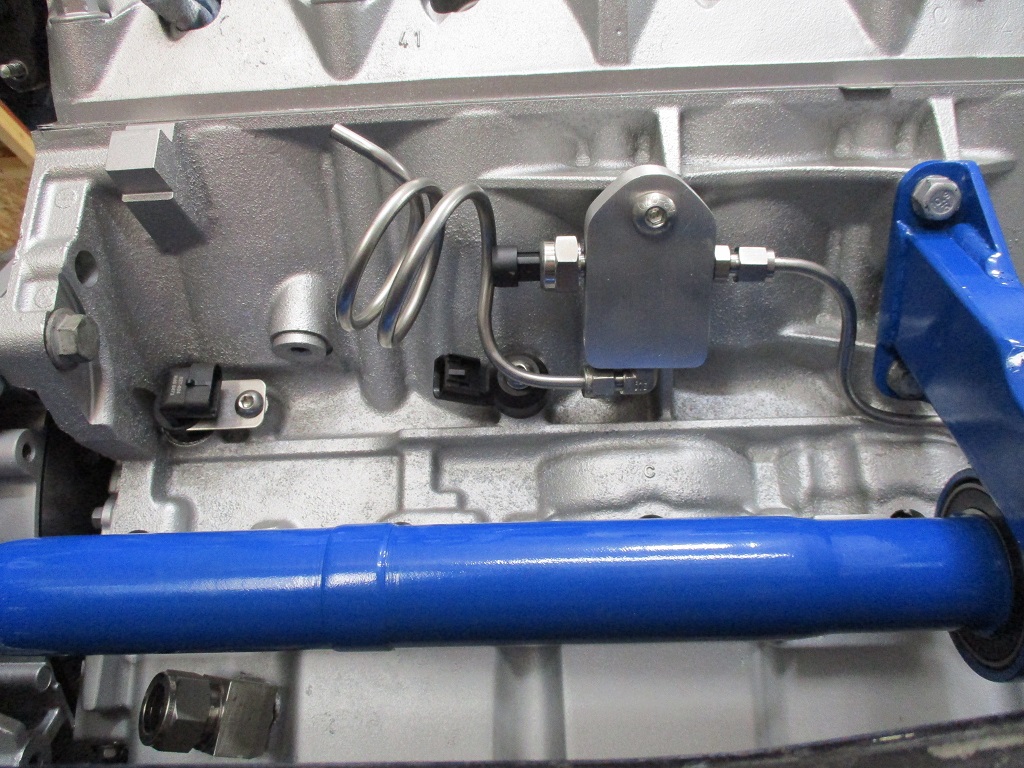
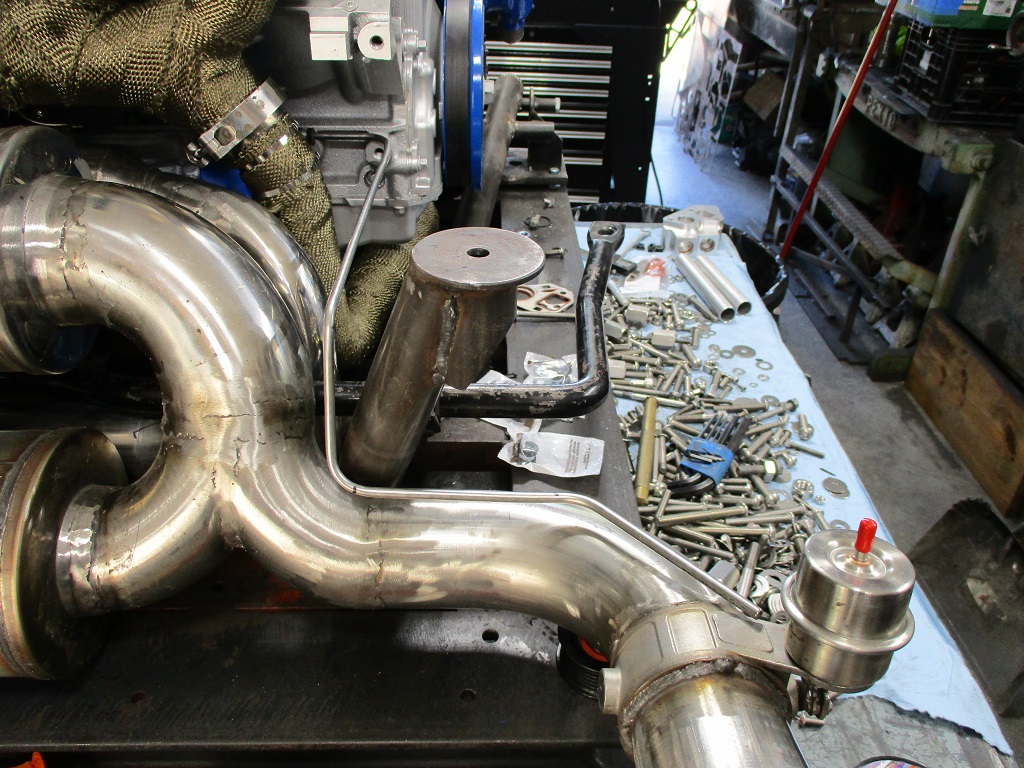
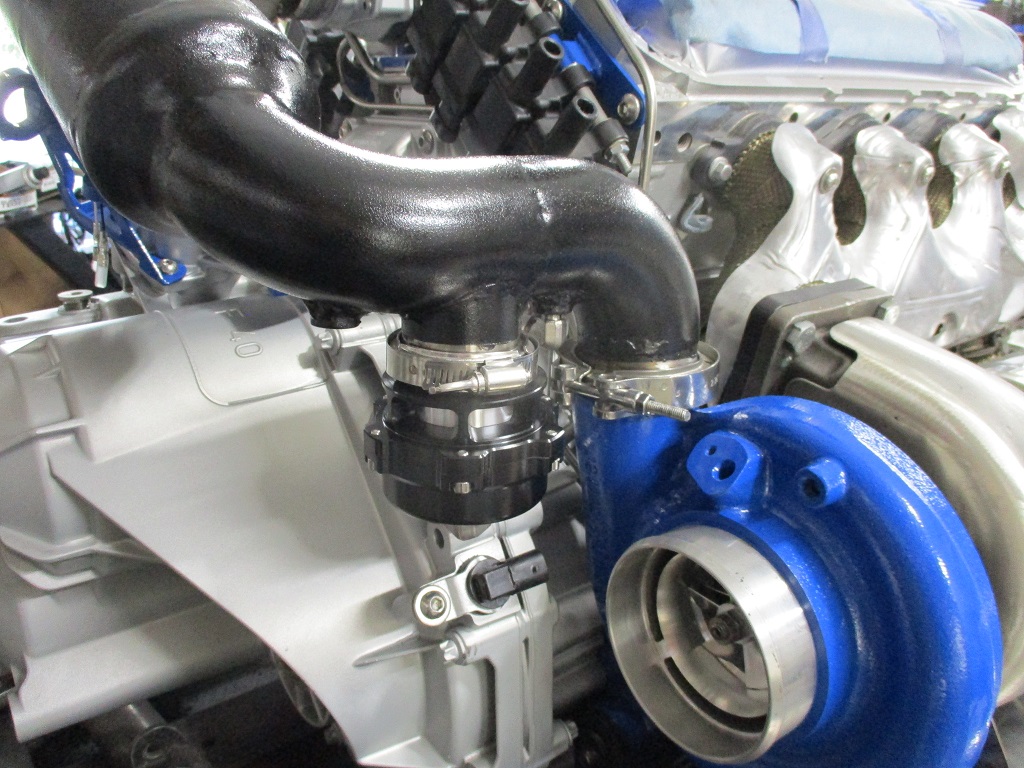
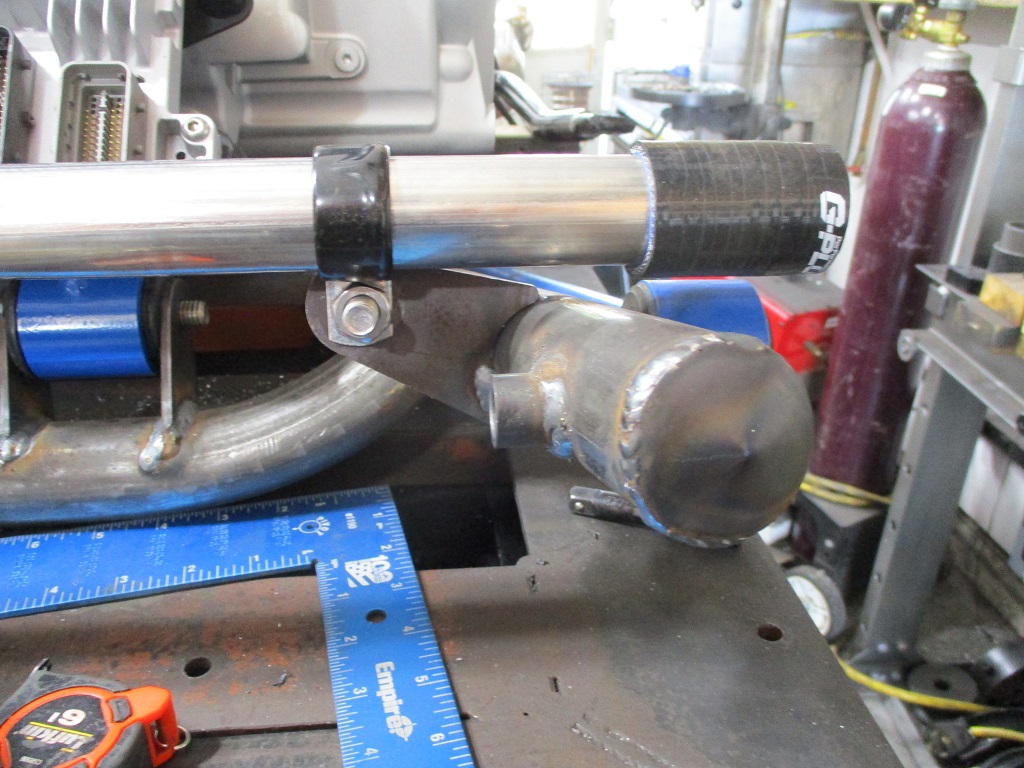
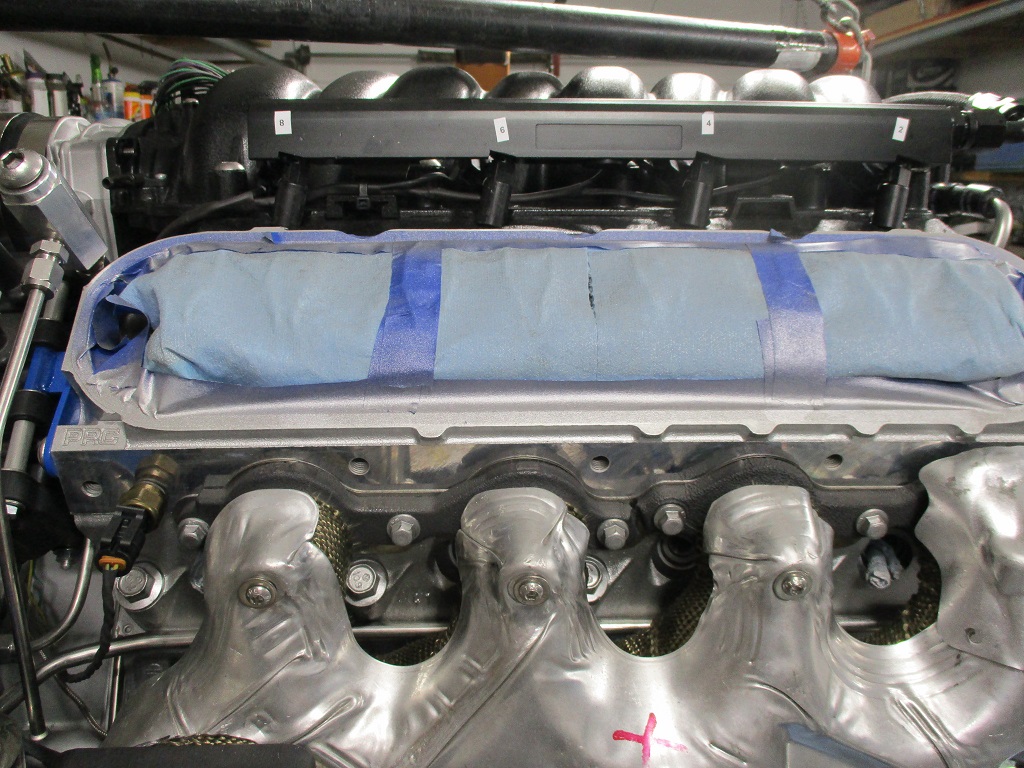
Some additional progress today.
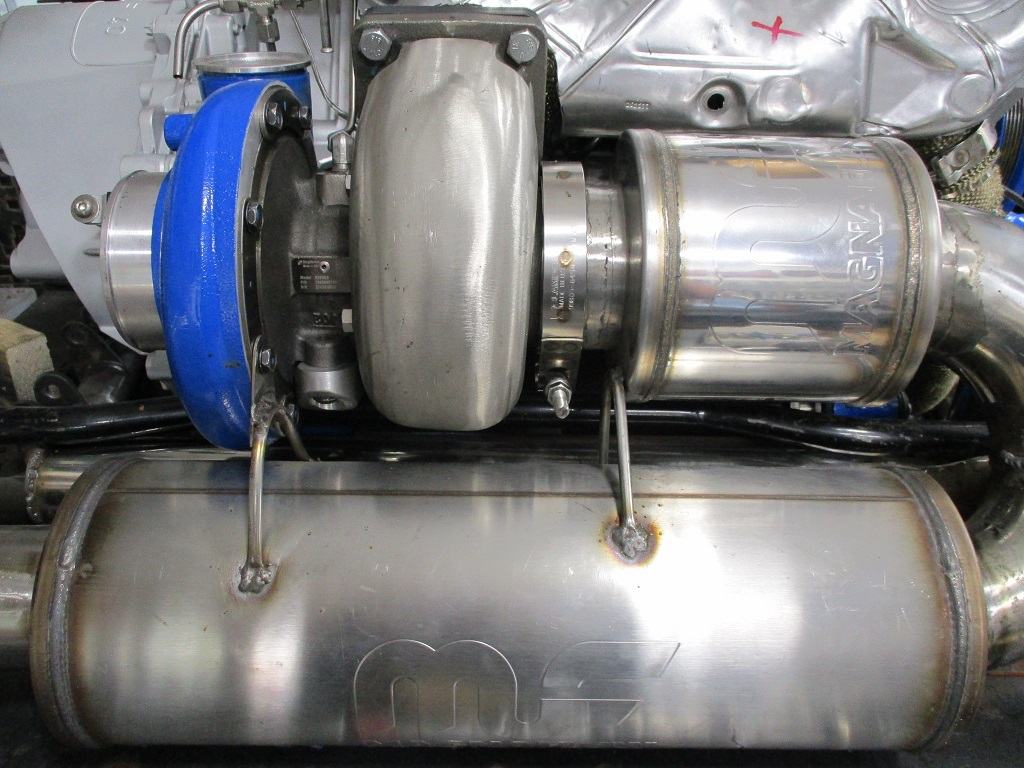
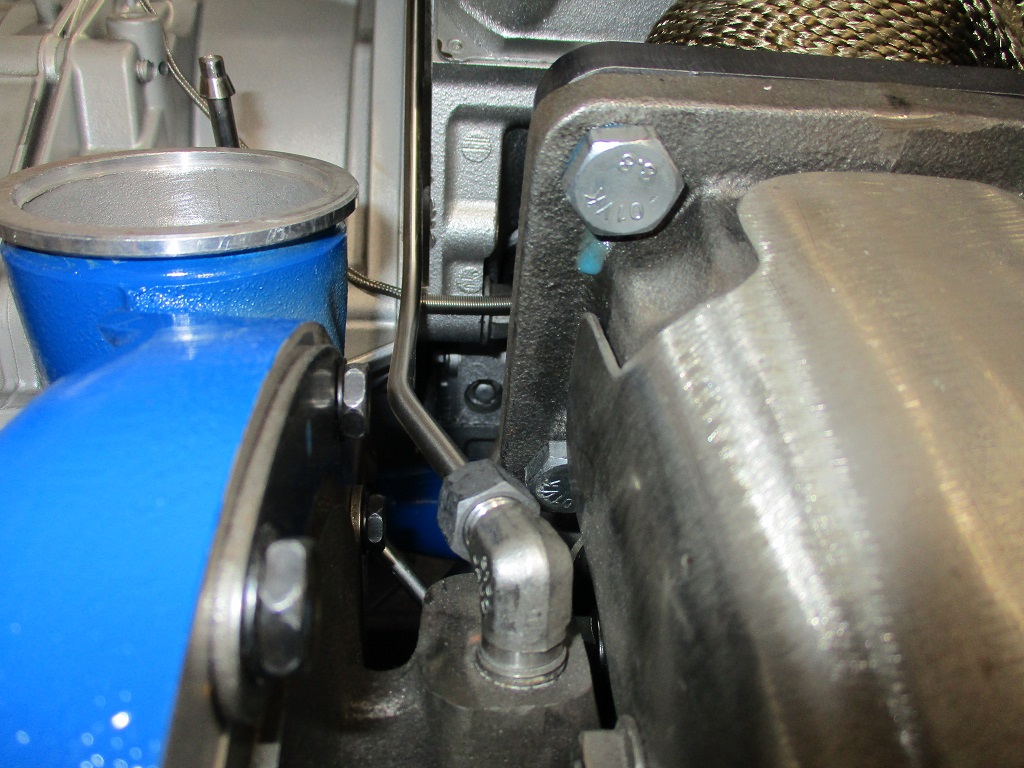
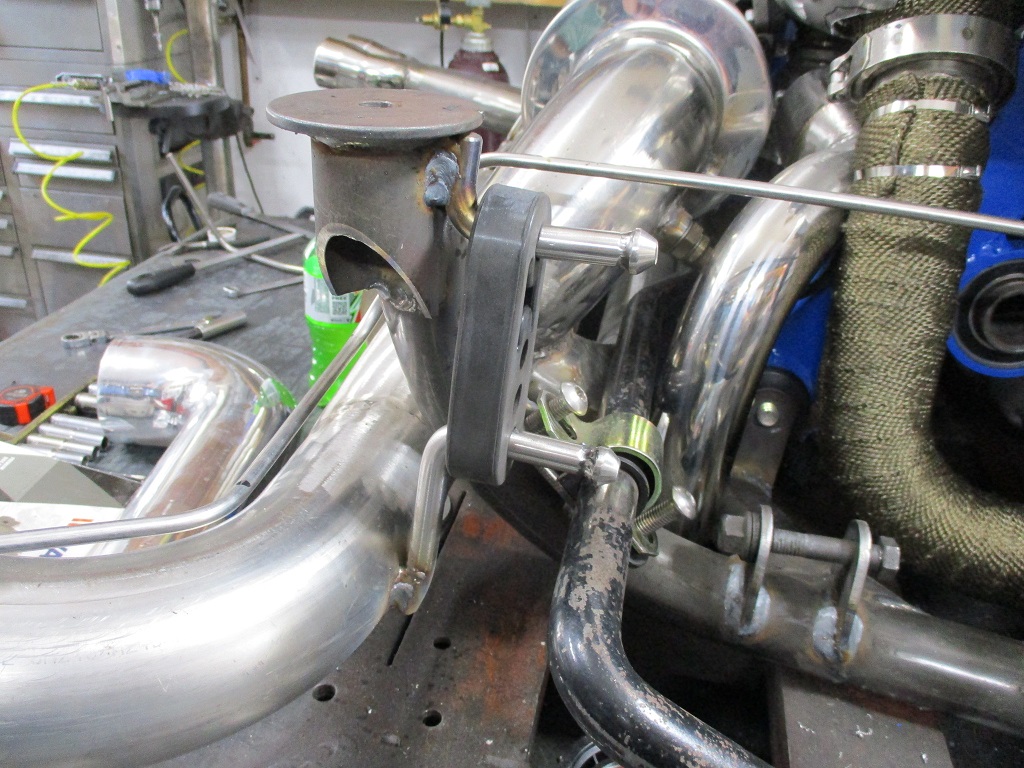
Finished the exhaust pressure manifold, installed the pressure sensor, ran the hard line from the exhaust manifold, and ran the hard line to the boost activated cut out.
Then I wrapped the rear manifold, installed the manifold, crossover pipe, wastegate & wastegate muffler pipe, and turbo:

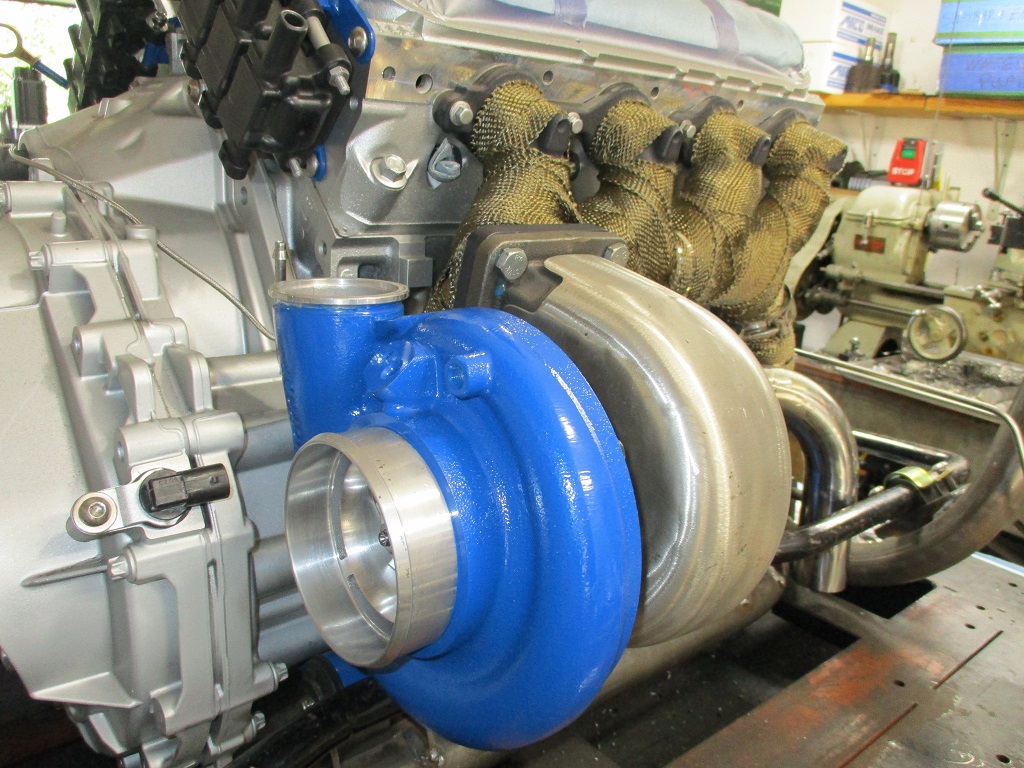
Set the exhaust in place and installed the manifold heat shield. Here you can also better see the route of the hard line to the cut out.

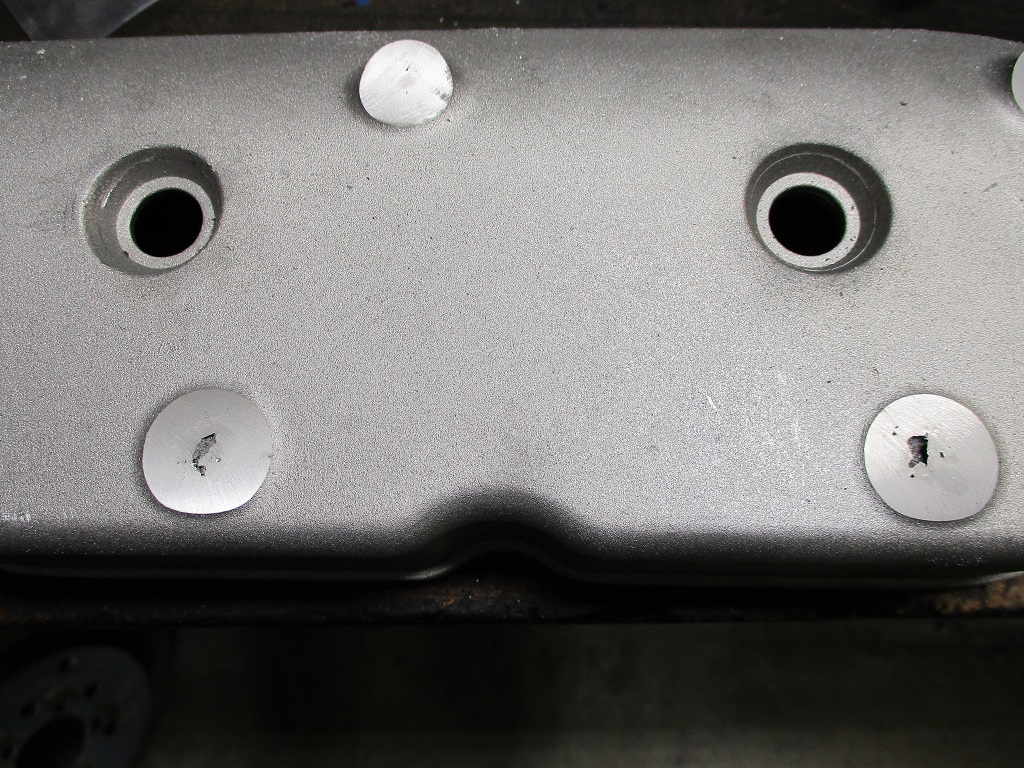
Started removing the coil bosses from another set of valve covers:
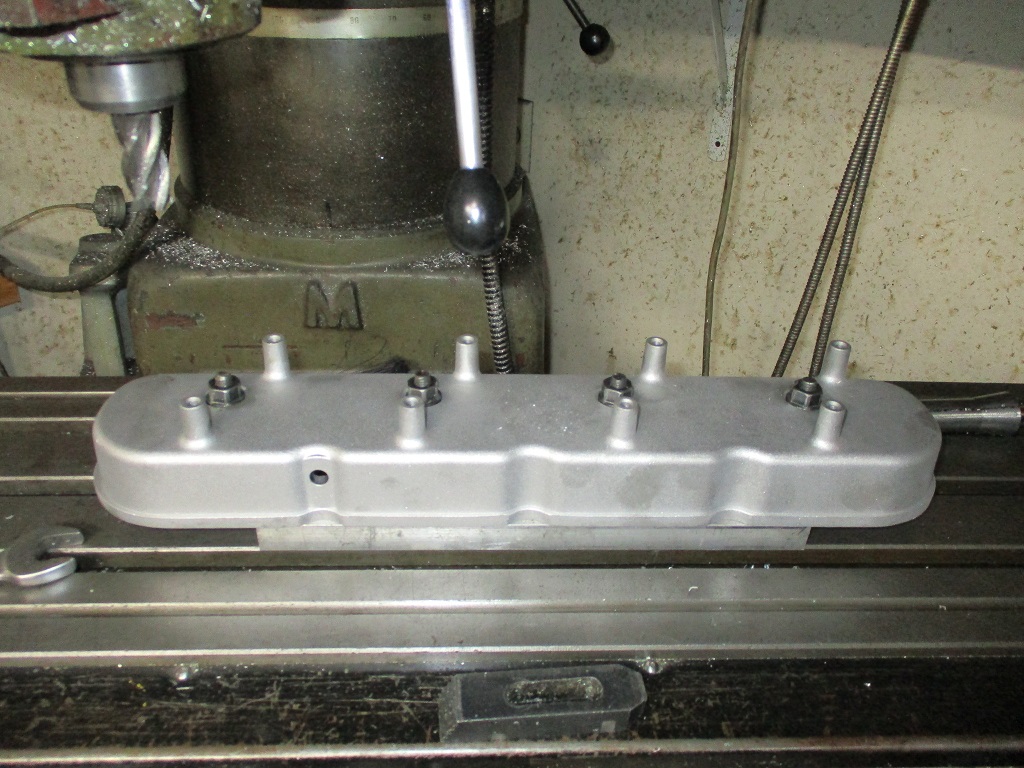
Several of the studs had porosity, so I am going to need remove a little more material and tig them up before the final smoothing.
|
|
|
|
fieroguru
|
JUN 13, 05:35 PM
|
|
|
|
|
fieroguru
|
JUN 14, 09:08 PM
|
|
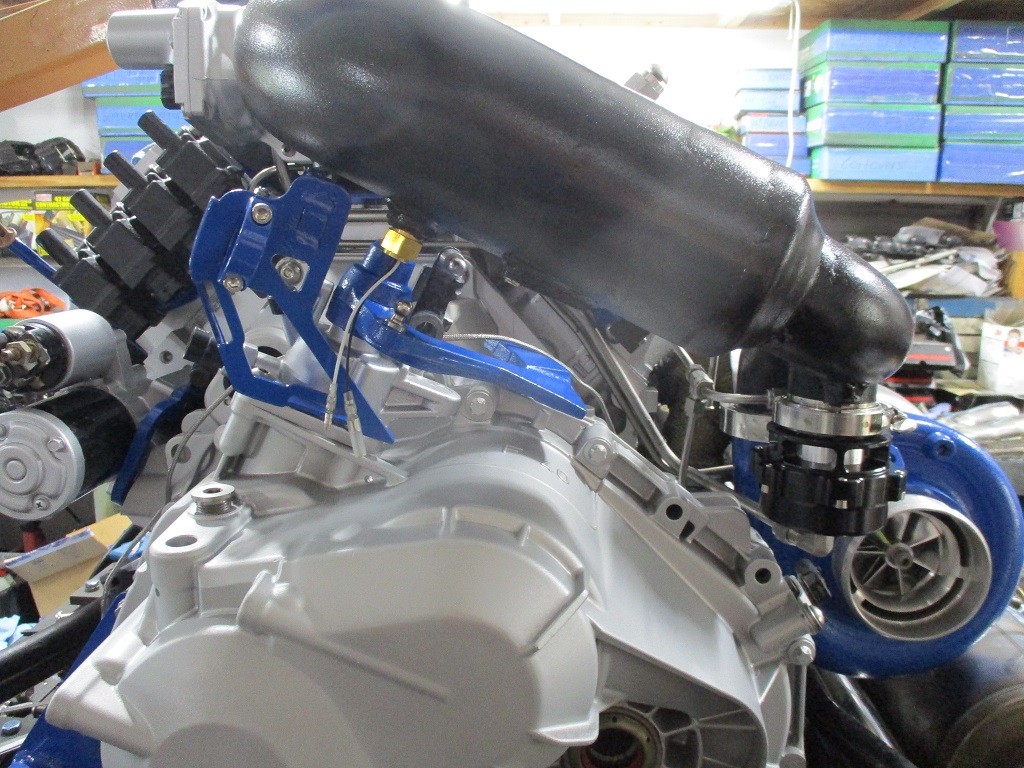
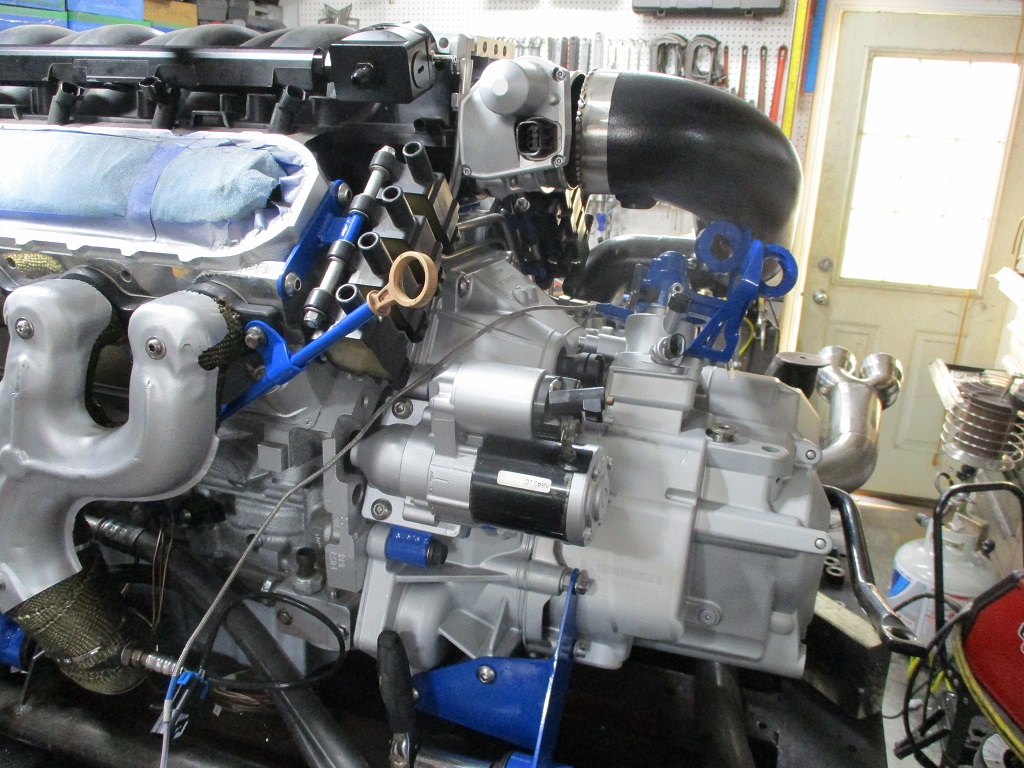
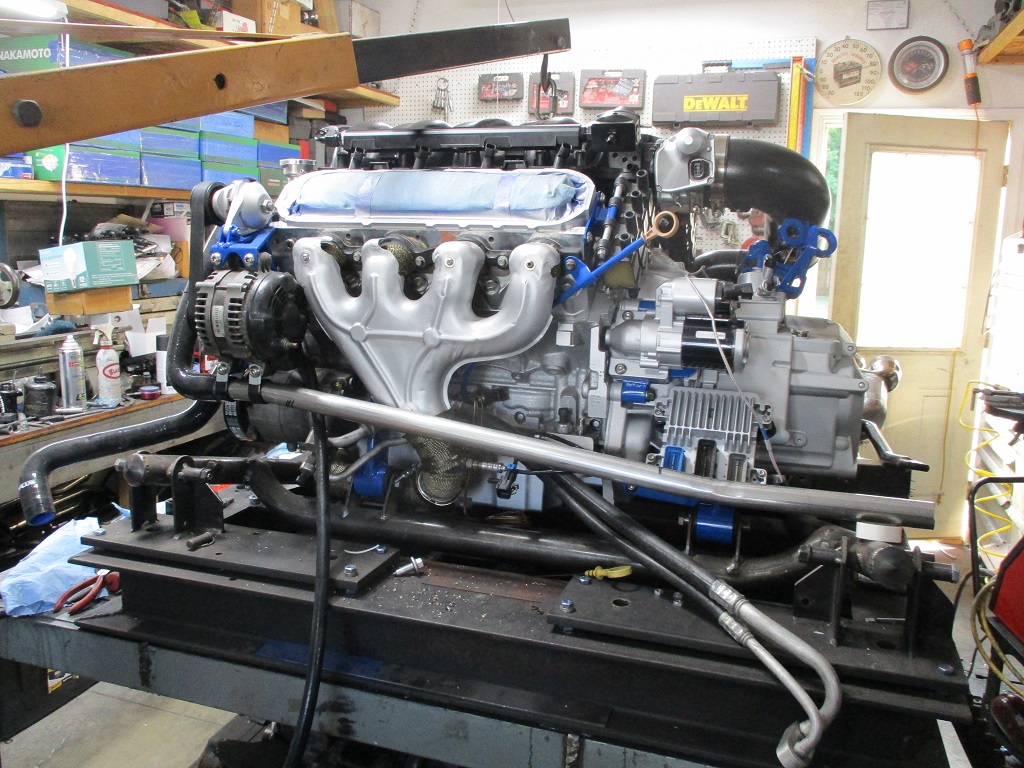
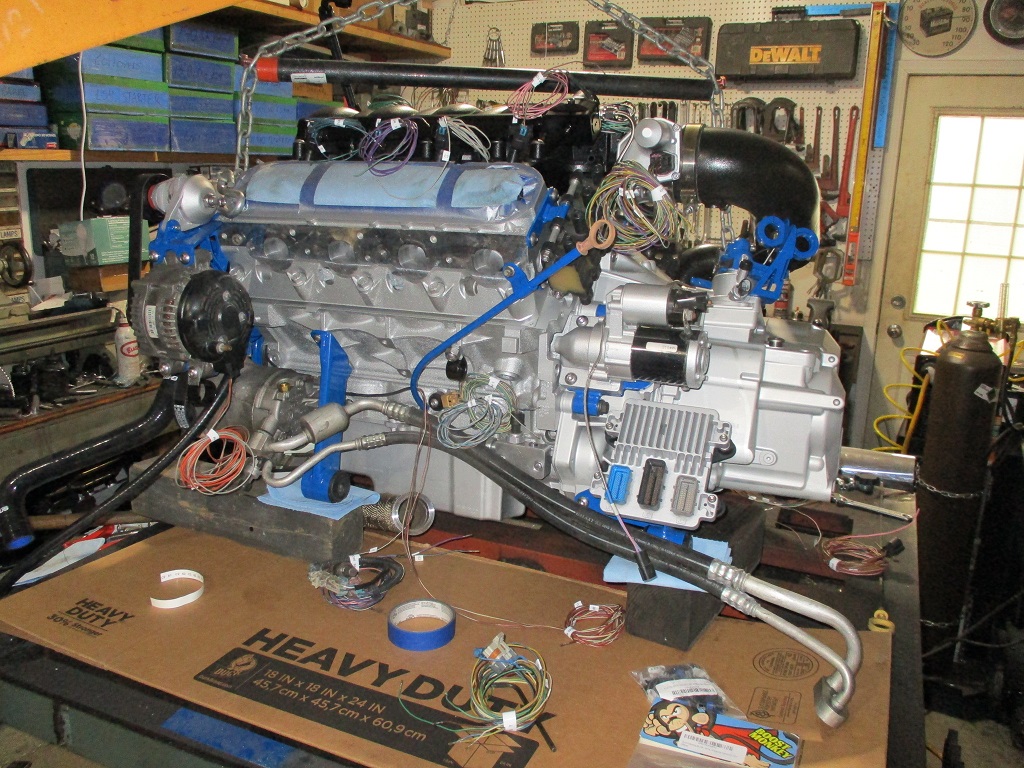
Another productive day...
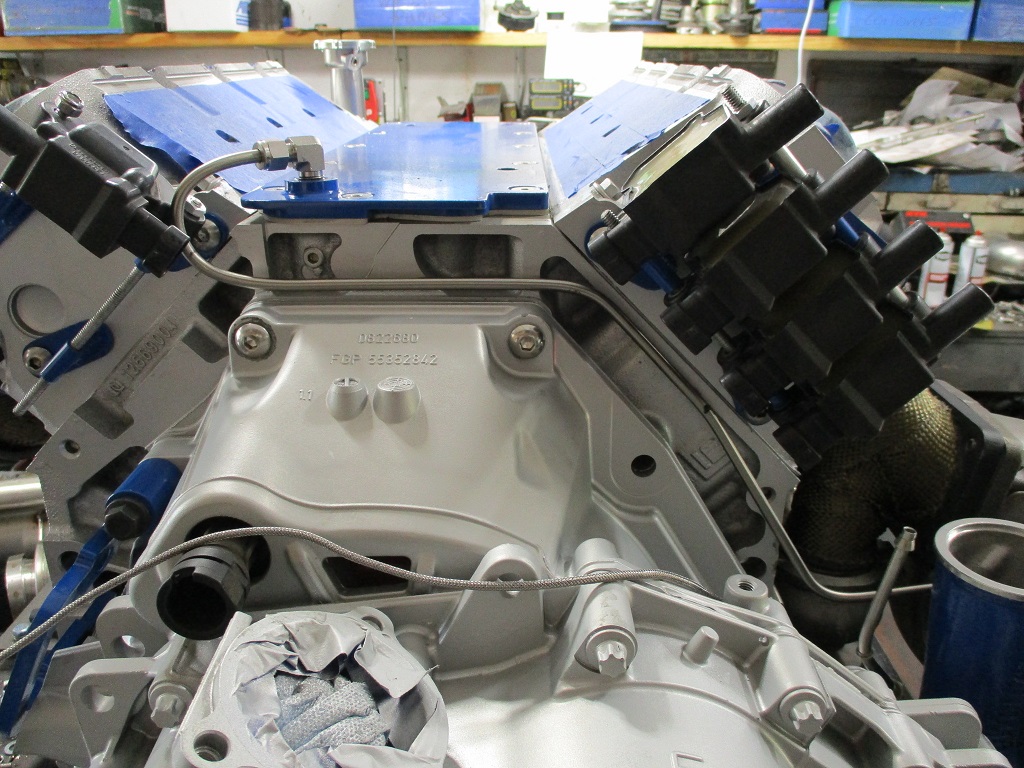
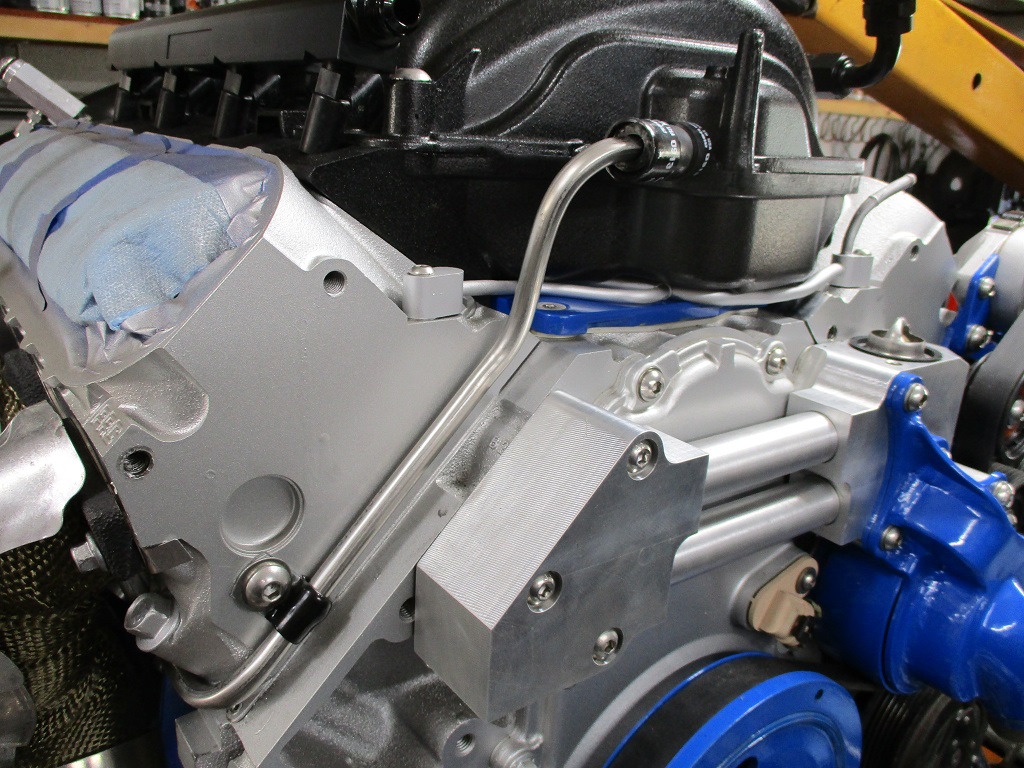
Routed the wire to the cam sensor and was planning to use a loop clamp, but ended up making a small aluminum guard to protect the wire from the belt and pulley.
Routed the heater hose and it clears the belt and pulley as well:
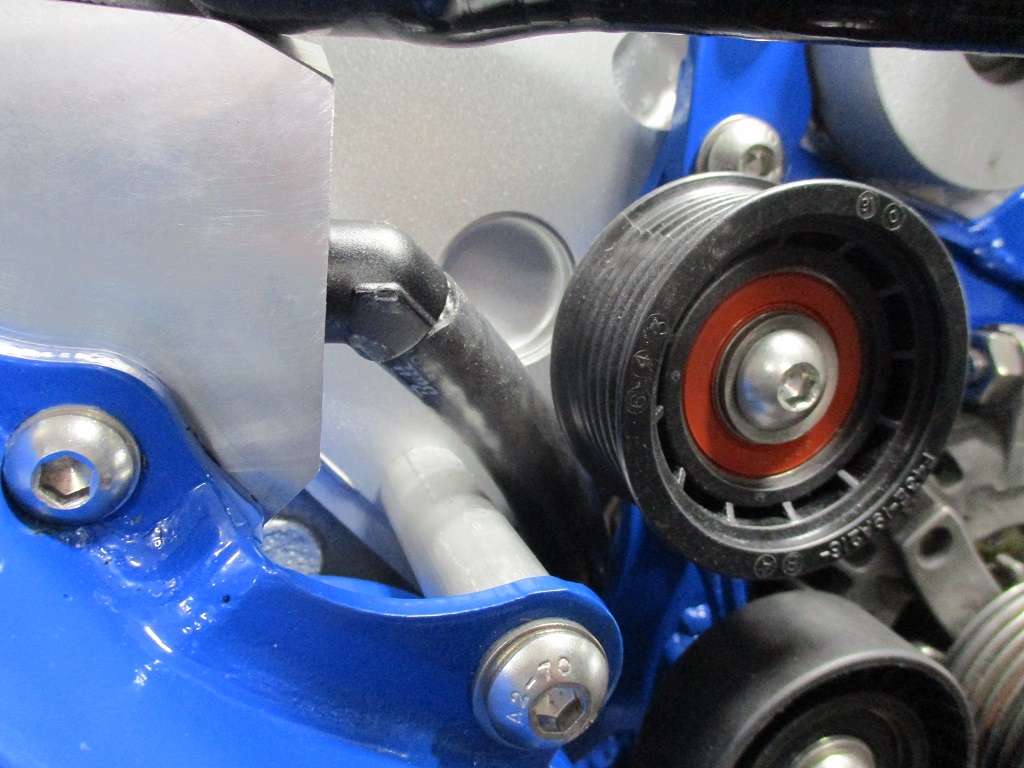
I am really happy with the visuals for this:
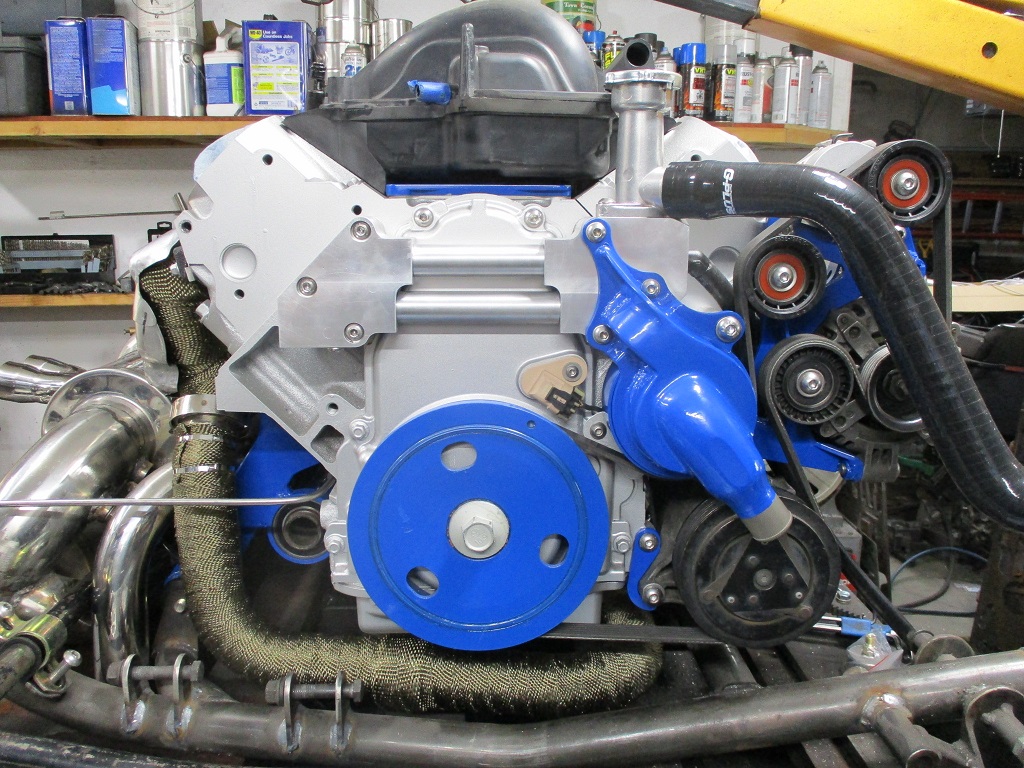
Compared to 12 years ago when I first reworked the accessory drive:
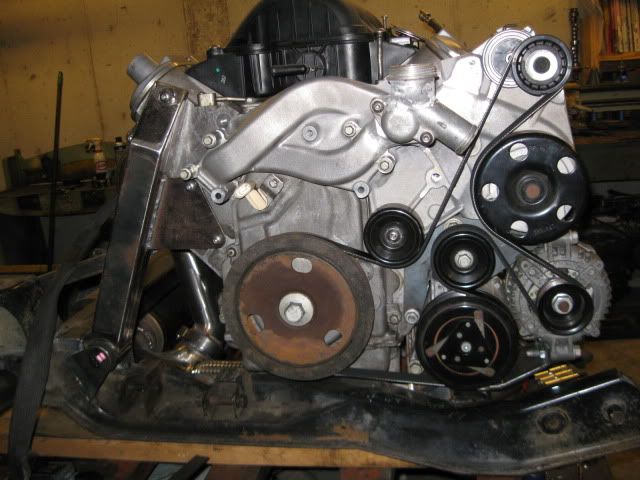
Compared to stock LS4:
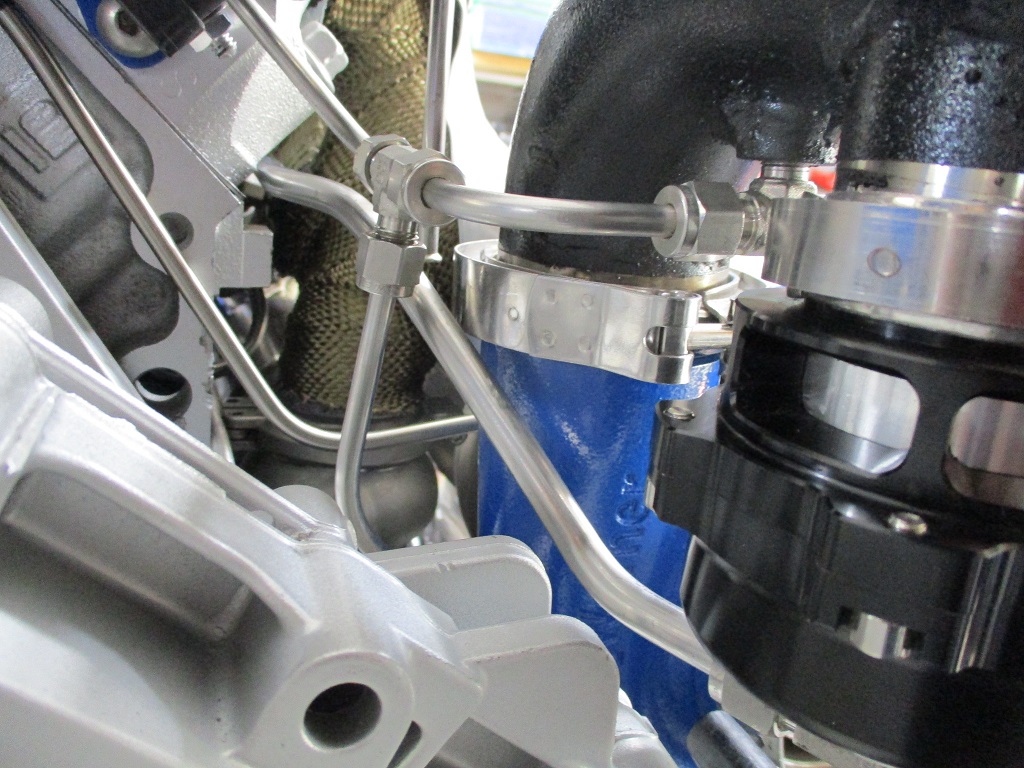
Installed the warm intake tube, blow off, temp sender, and boost reference line:
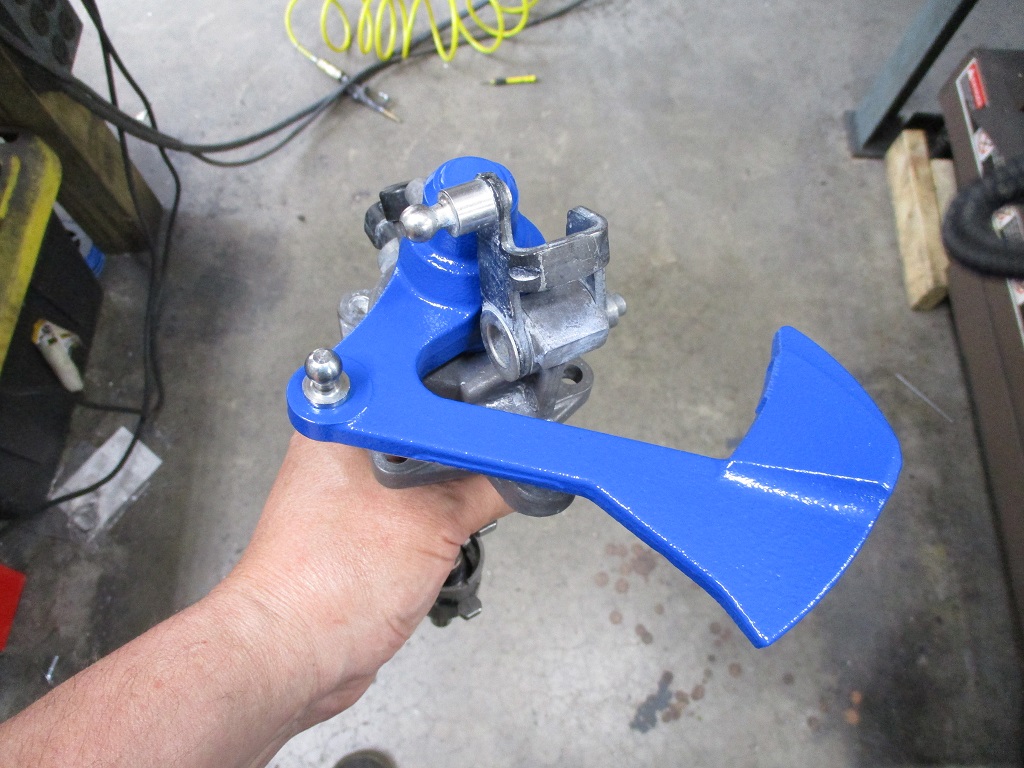
Installed the shifter assembly, shifter bracket, and starter:
Tomorrow is going to be a clean up the shop and fab day. I need to do some intake manifold modifications, fuel rail bracket modifications, make an ecm mount, weld some braces to the cradle, and try to tig up the valve covers.
|
|
|
|
fieroguru
|
JUN 15, 08:26 PM
|
|
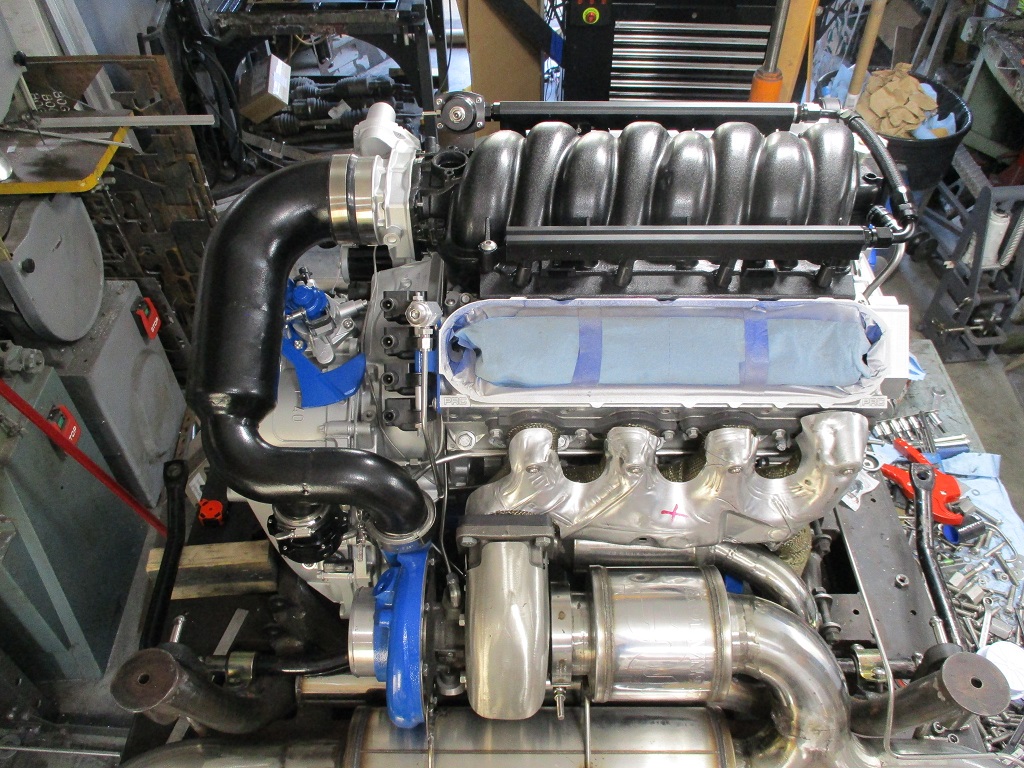
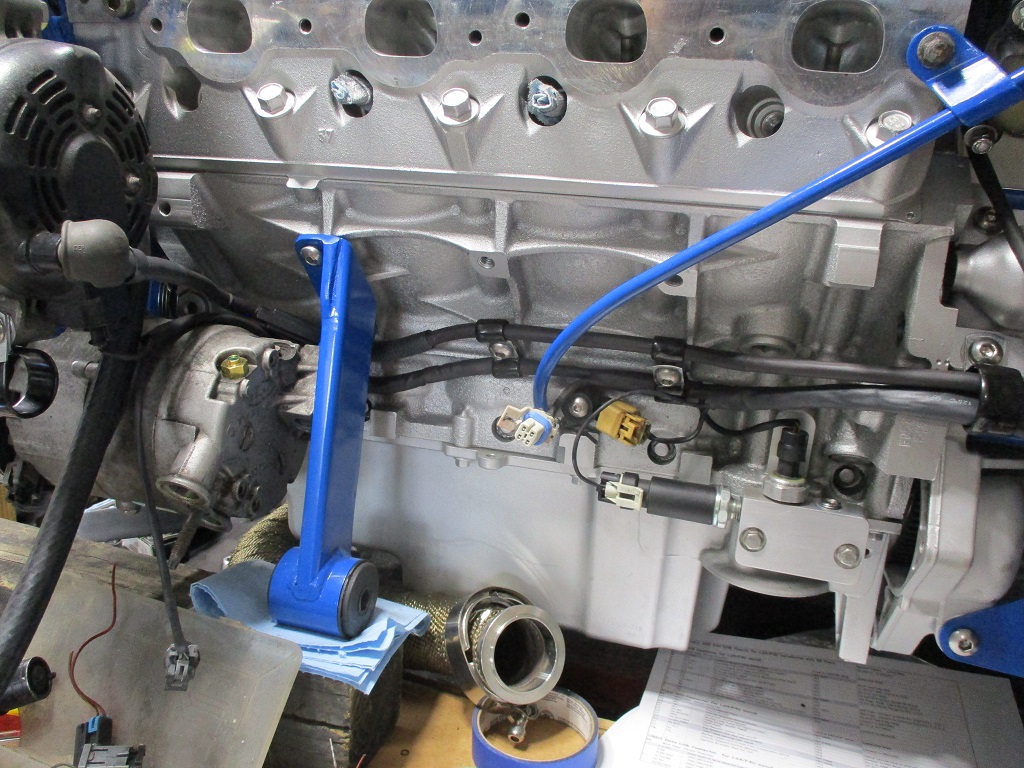
Another day of progress...
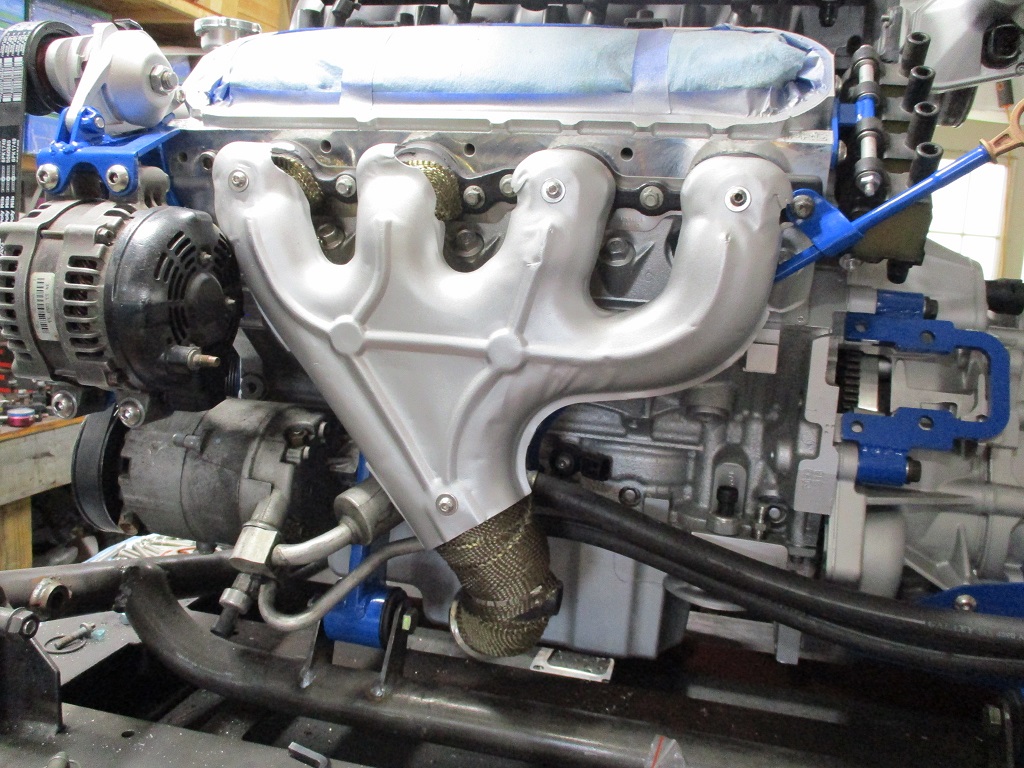
The mods on the Dorman LS2 intake took longer than I had planned, but the end result is worth it.
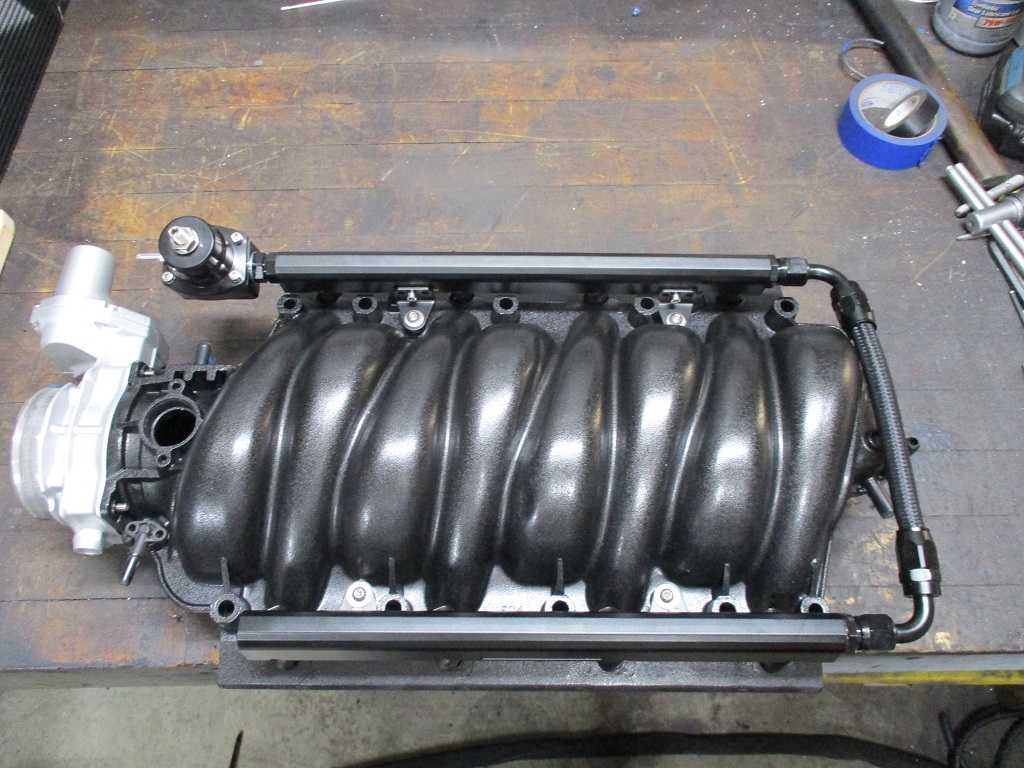
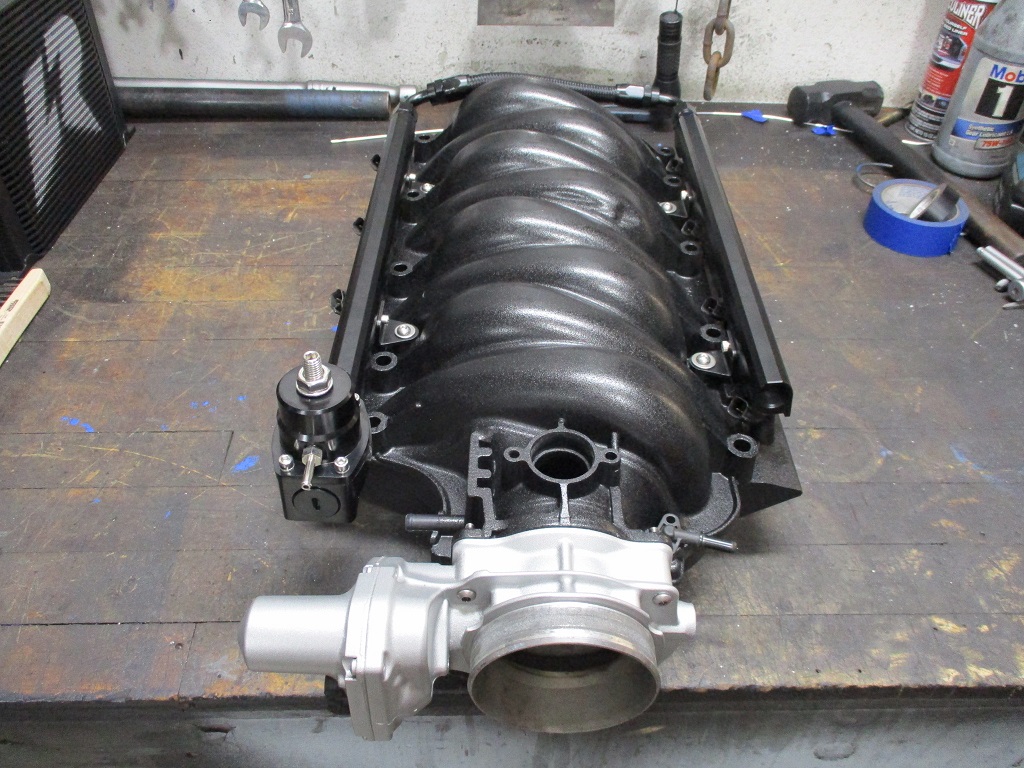
In preparation for installing the intake 1 last time, I cleaned up the steam port line and installed it:
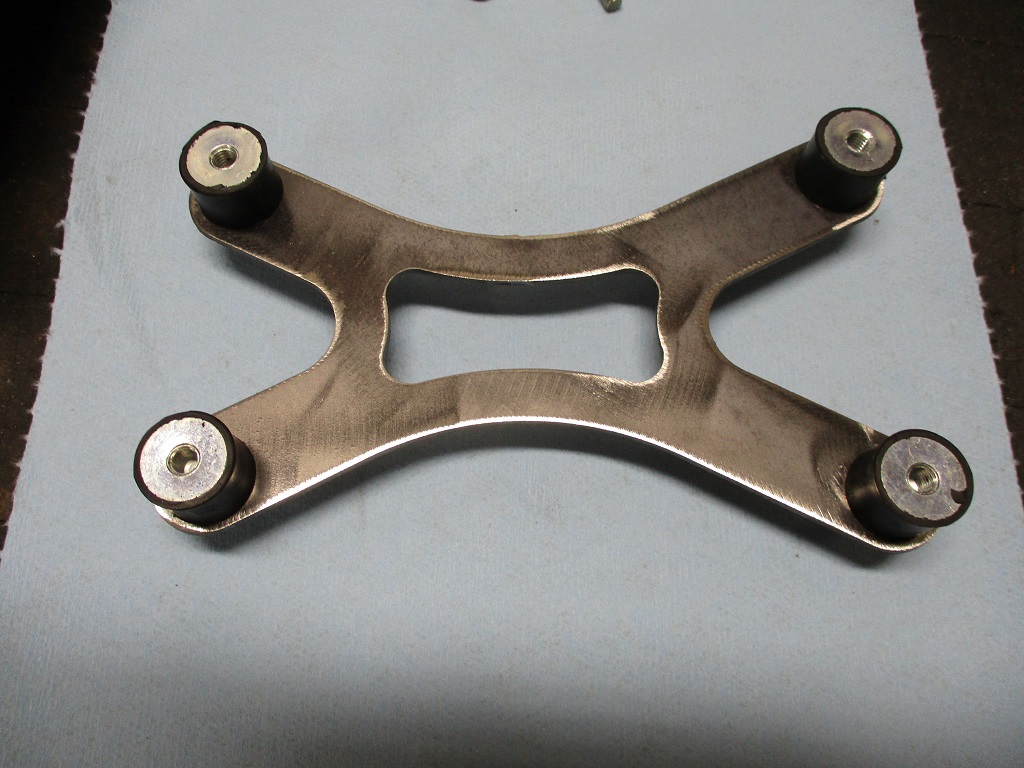
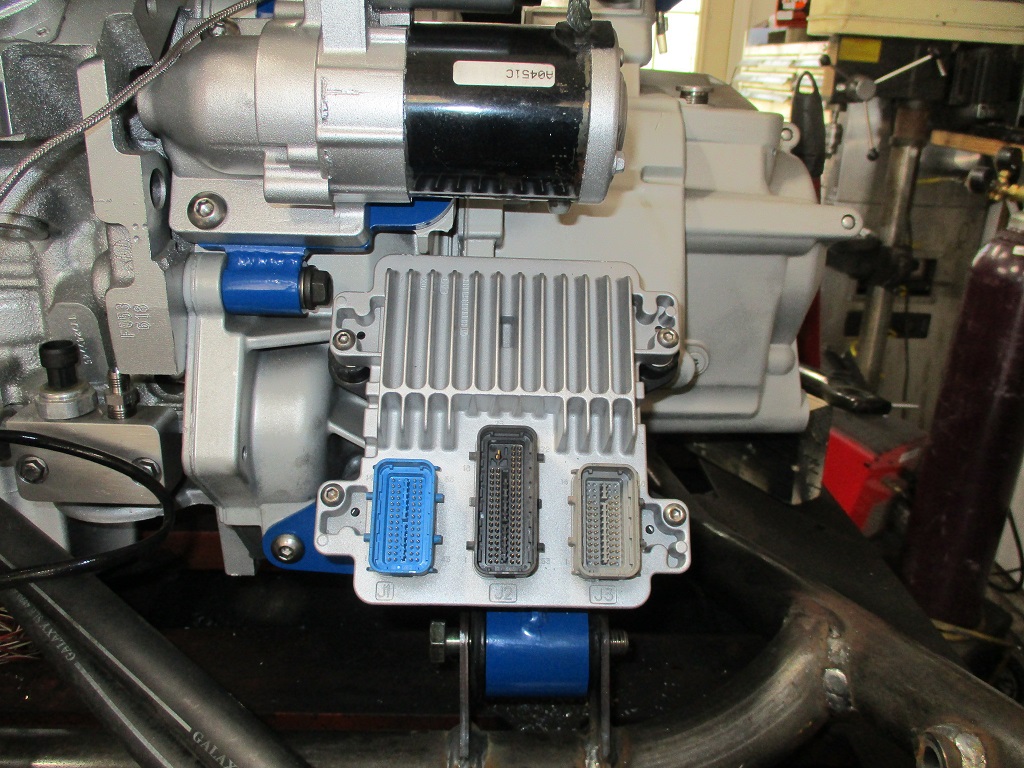
Started on the bracket for the ecm:
|
|
|
|
Trinten
|
JUN 15, 09:50 PM
|
|
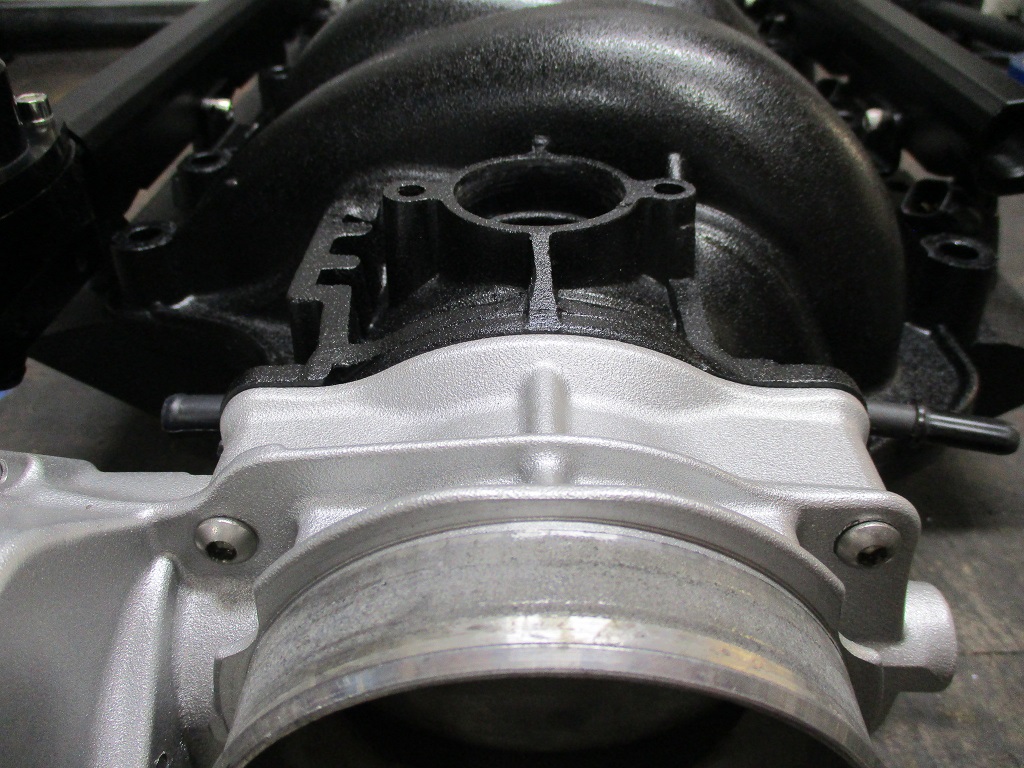
Is that the stock steam port setup from the LS4?
I remember there was some issue with the one that came on my donor engine -- might have been interference with the intake. Looking awesome, as always man!!
|
|
|
|
fieroguru
|
JUN 15, 10:07 PM
|
|
| quote | Originally posted by Trinten:
Is that the stock steam port setup from the LS4?
I remember there was some issue with the one that came on my donor engine -- might have been interference with the intake. Looking awesome, as always man!! |
|
It is not a stock LS4 piece. The LS4 had the rear two blocked off and only used the front two steam ports. The 4 port version was from an early model, and I always though it was better to use all 4 corners. This one was massaged a bit to clear the DOD valley cover on my original swap and then some more to clear the LS2 dorman intake.
|
|
|
|
fieroguru
|
JUN 16, 07:52 PM
|
|
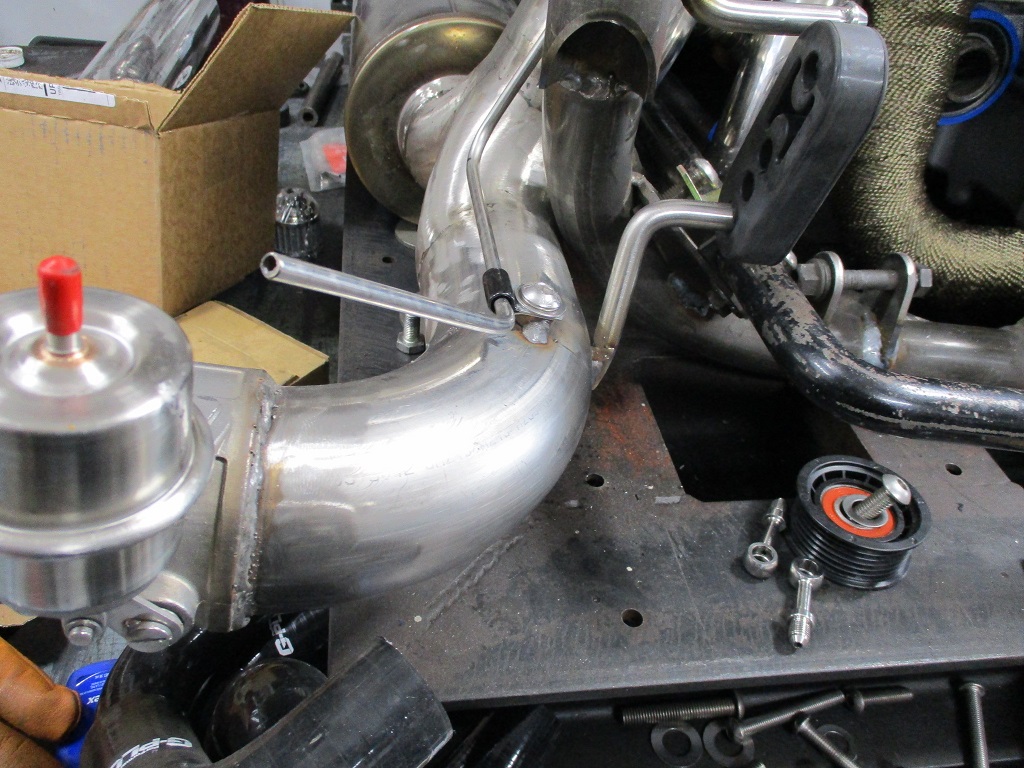
Another busy day...
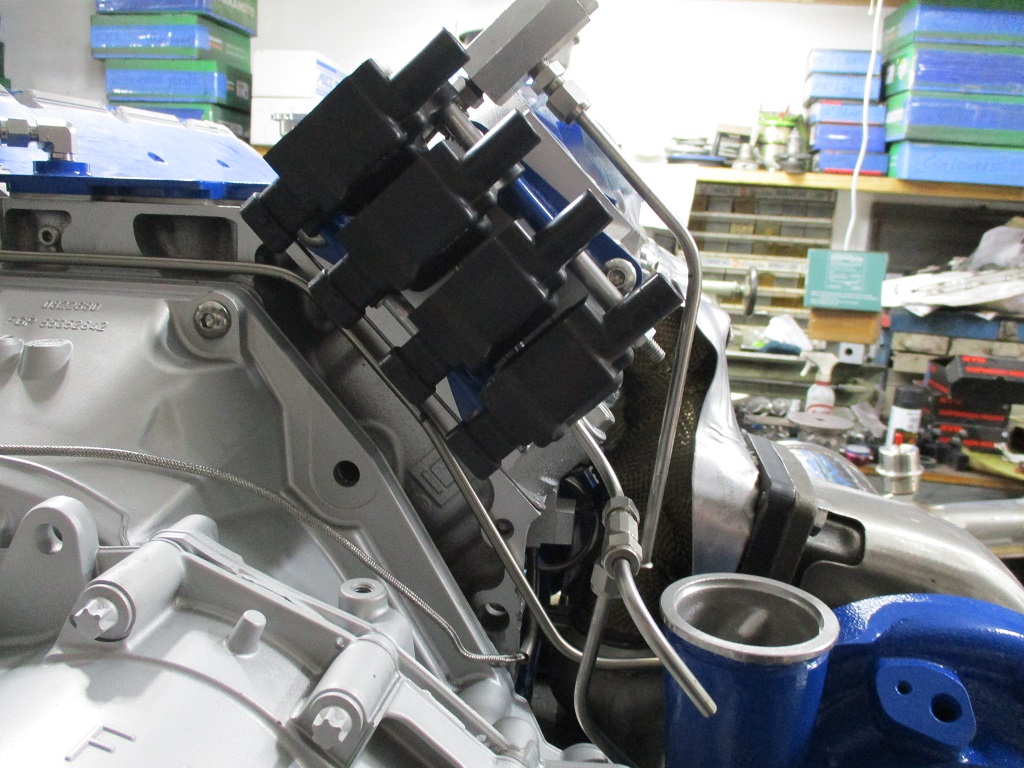
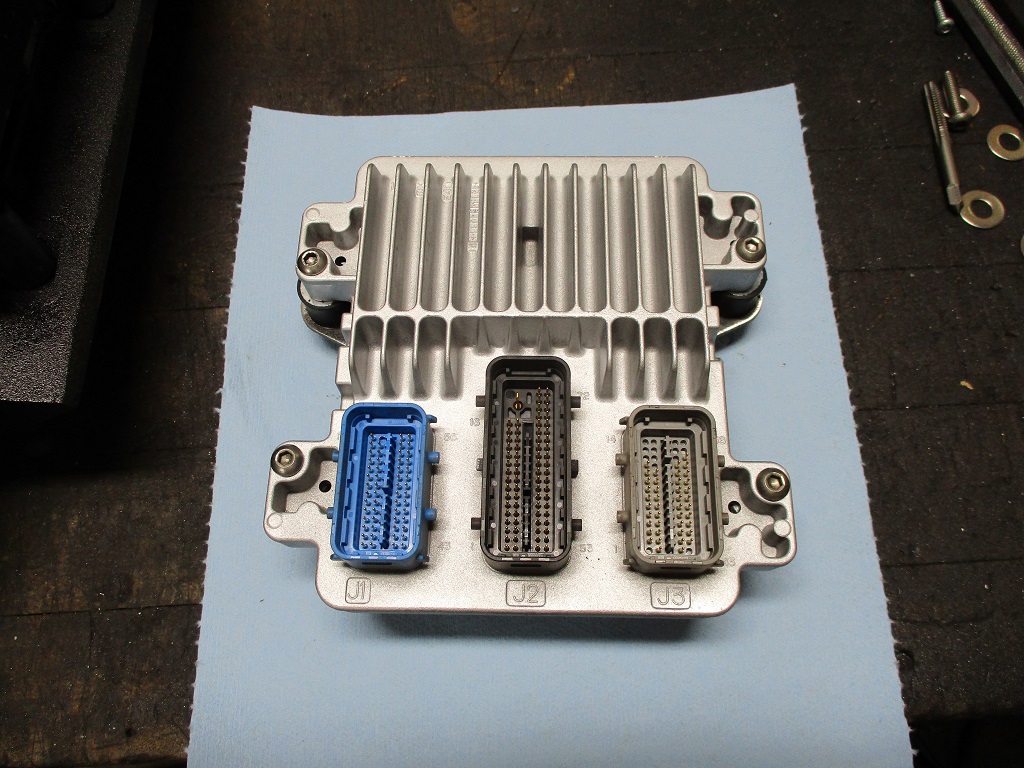
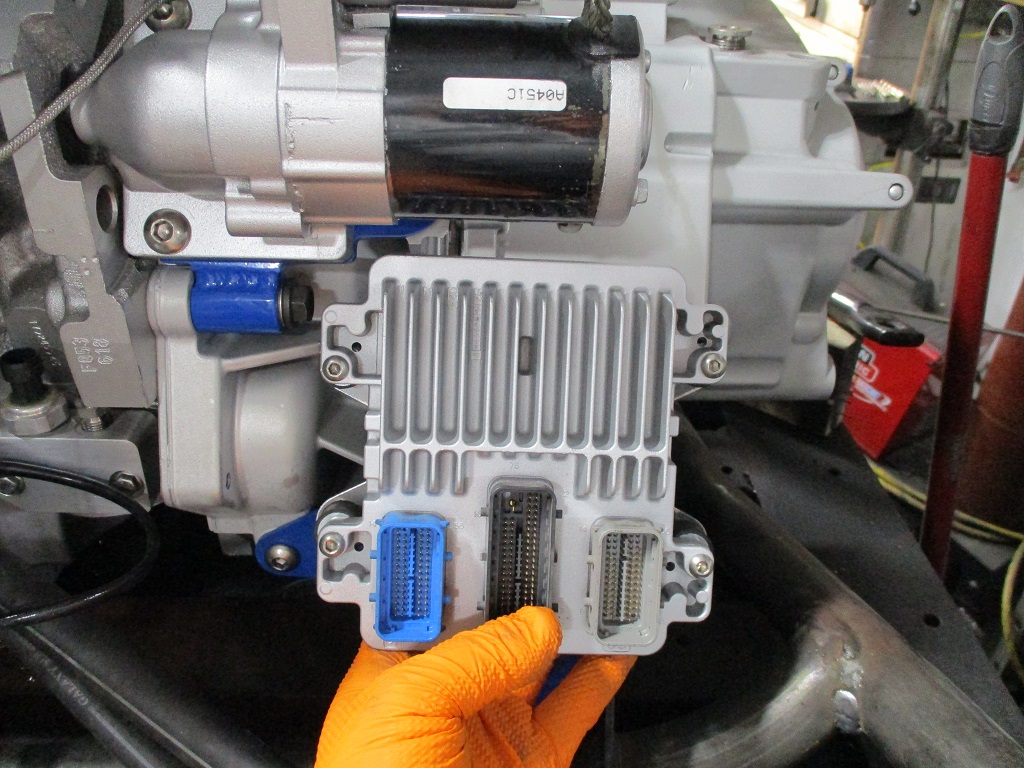
Finished the ecm mount:
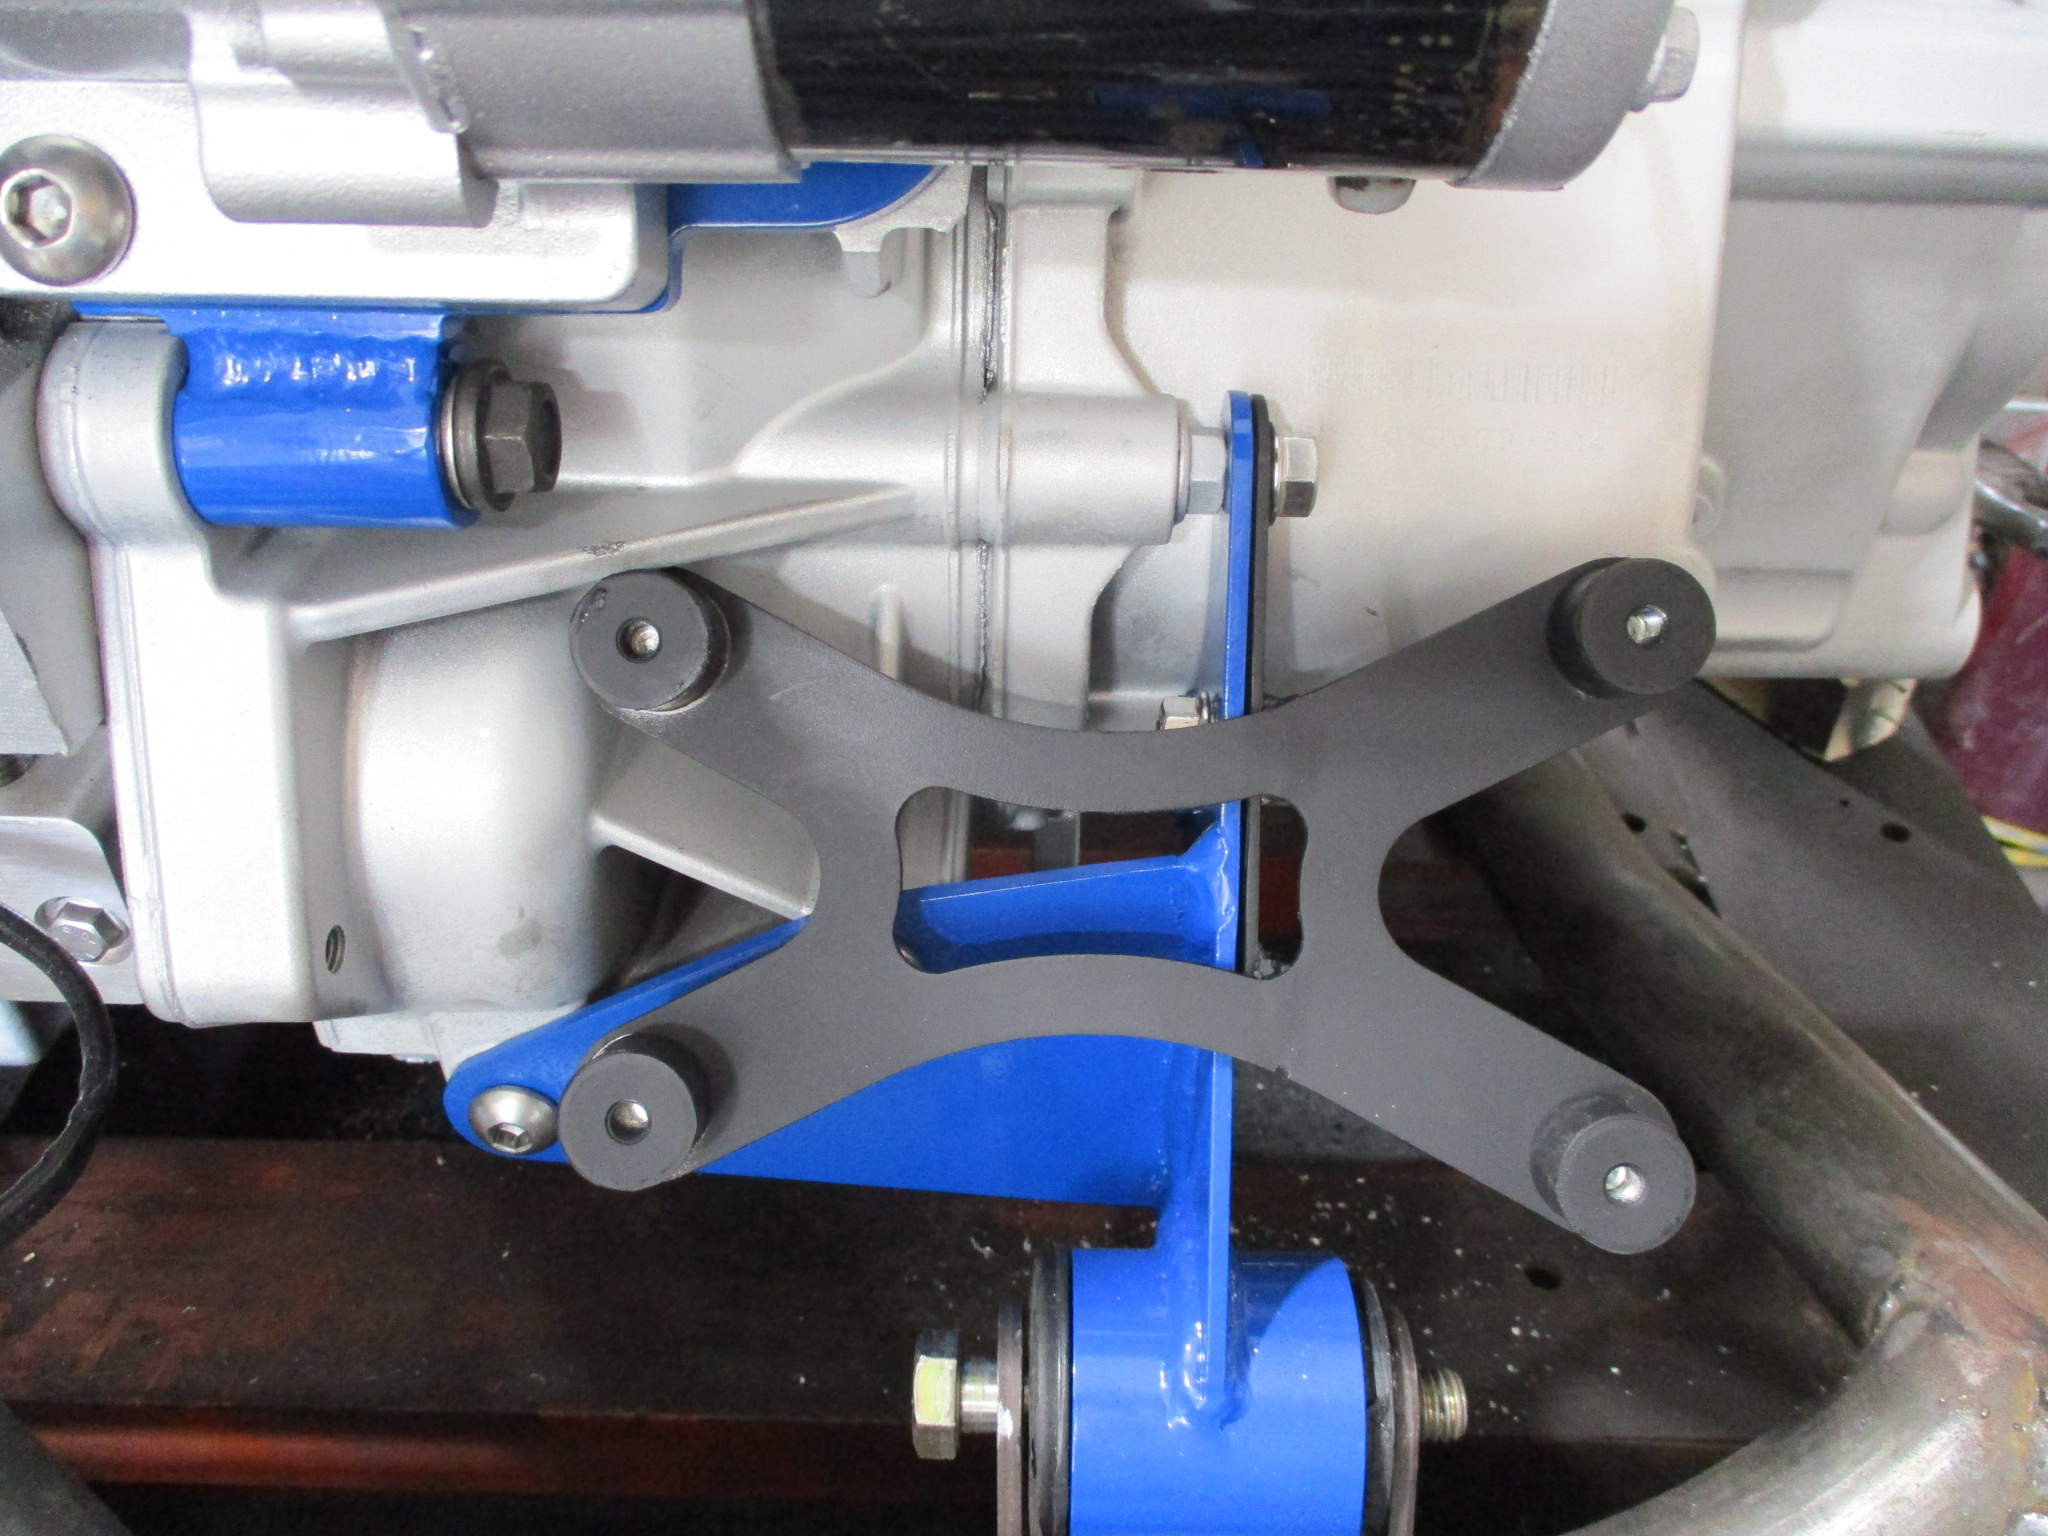
Finished the exhaust hangers:
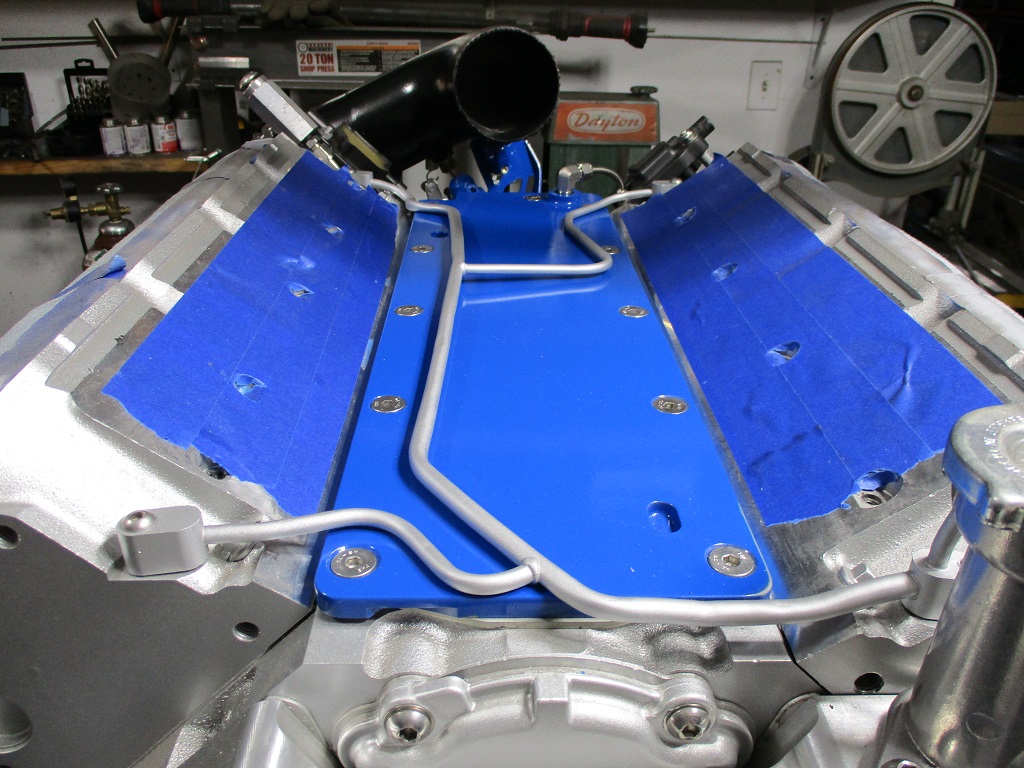
Went down a rabbit hole with the manifold like to the BOV... Wasn't happy with the plate on top and there was an unused vacuum port at the rear of the intake, so ran a new line under the rear manifold to the vacuum port:
Then worked on the coolant crossover tube:

As you could see from the other pictures, the intake is now on as well:
|
|
|
|
fieroguru
|
JUN 17, 08:56 PM
|
|
Finished up a couple of details:
Welded a nut to the exhaust to support the cutout boost line:
Welded a tab to the cradle to support the driver's side of the coolant crossover pipe:
Took the engine/transmission off the cradle so it could be cleaned and painted (also cleaned and painted the coolant crossover tube but didn't take a picture):
Set the engine/transmission down on some 4x4 blocks and started plugging in some of the connectors:
Sunday will be primarily harness work...
|
|
|
|
fieroguru
|
JUN 18, 09:19 PM
|
|
Harness work is probably my least favorite part of engine swaps... but keeping the harness tidy and mostly hidden improves the overall visual impact of the swap, so it is a necessary evil.
Here is a list of sensors/components that have the wires connected, looped and routed (not terminated).
Cam sensor, Alternator (power + control wiring), A/C compressor clutch and pressure switch, bank 1 knock sensor, bank 1 O2 sensor, oil pressure sensor, oil pressure gauge, bank 2 knock, bank 2 O2, crankshaft sensor, temp sensor & gauge, VSS.
Still a lot more to complete, but not a bad first day on the harness work..
Front side of the engine - pretty much all done. The top wire is the power wire with 200A fusible link between the Alternator and starter. The lower one is the actual harness.
Here is the front side with the manifold and AC hose back on. You can also see the injector harness for bank 1. It runs under the fuel rail and zig zags between the intake bolt bosses and the injectors. It should be virtually invisible from the top beyond the small loops from the injectors to the harness below.
Here is rear side (bank 2) injector harness as well the temp sensor & gauge wiring:
Here is the underside of bank 2. Still need to finish looming them together. I am thinking of running the wideband and the exhaust back pressure sensor separately in case I want to remove them later.

It has been a very productive vacation! It will be a couple of days before I can get back at the harness work.
|
|
|
|