|
| LS4 / F40 swap - fieroguru (Page 18/216) |

|
fieroguru
|
MAR 25, 08:09 PM
|
|
| quote | Originally posted by dobey:
Not a whole lot of room there. What are you planning for a heat shield? does it clear with the stock heat shield? |
|
I am thinking about taking some of the left over 3" exhaust pipe and weld a heat shield to that corner of the muffler leaving about 1/8" between the tubing and the muffler.
|
|
|
|
fieroguru
|
MAR 25, 08:11 PM
|
|
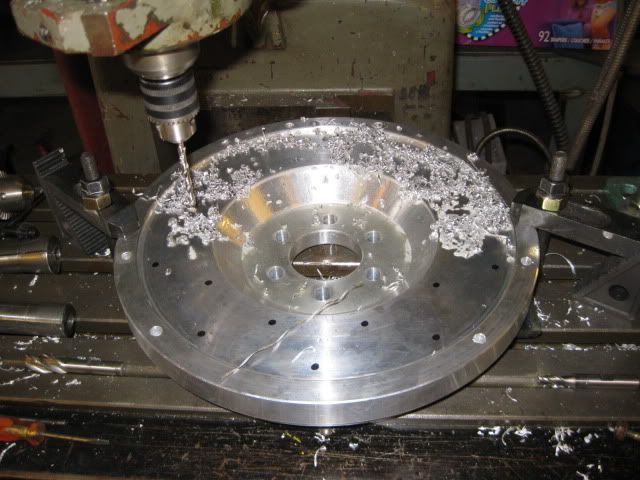
Here is my flywheel design:
 [This message has been edited by fieroguru (edited 03-25-2011).]
|
|
|
|
Bloozberry
|
MAR 25, 08:36 PM
|
|
|
We'll have to see about gettin' this thread moved over to the Construction Zone... it meets all the criteria and it's about time.
|
|
|
|
fieroguru
|
MAR 26, 06:00 AM
|
|
|
Sig Test ------------------

|
|
|
|
fieroguru
|
MAR 26, 07:40 PM
|
|
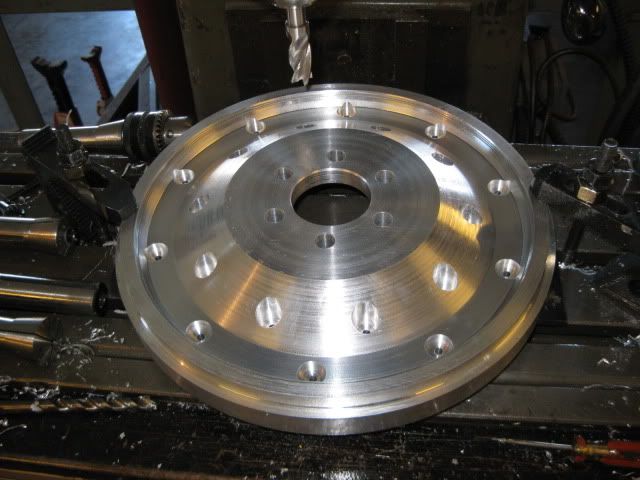
After about 4 hrs on the road and 6 hrs running a large lathe... phase 1 of the flywheel fabrication is complete:
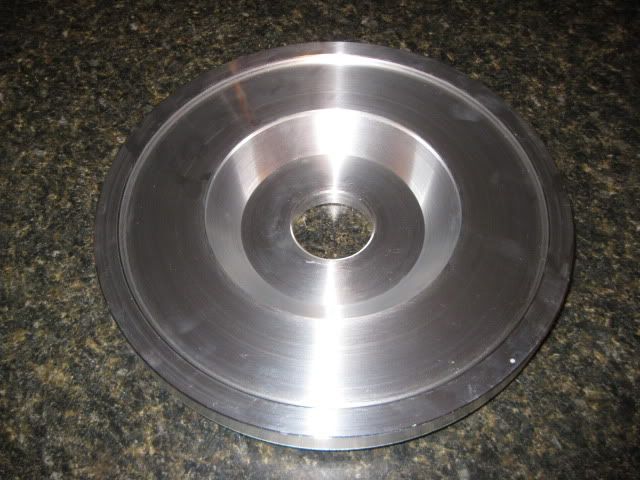
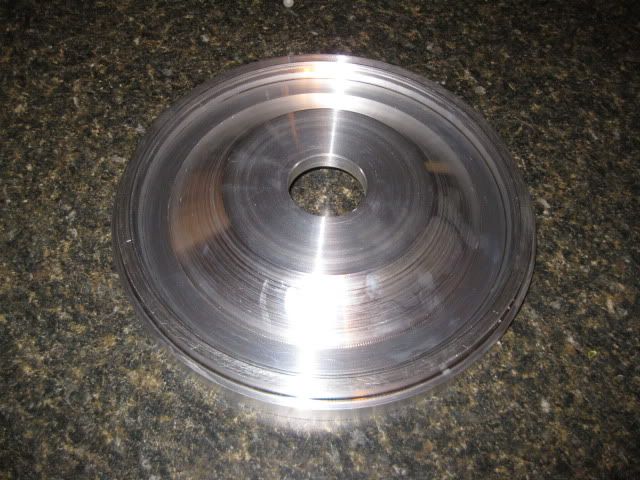
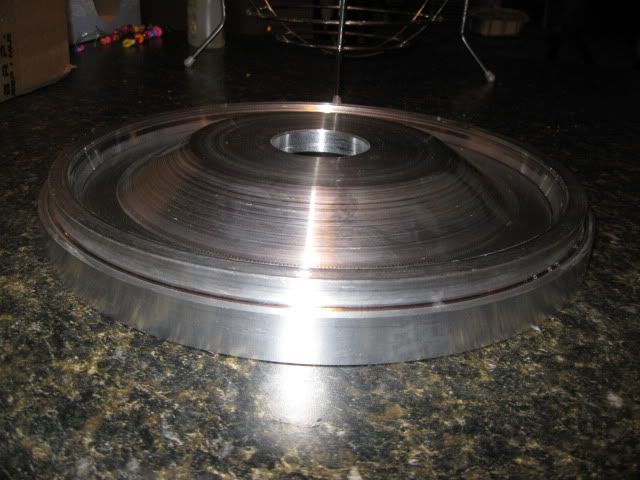
With the wear strip just sitting in place:
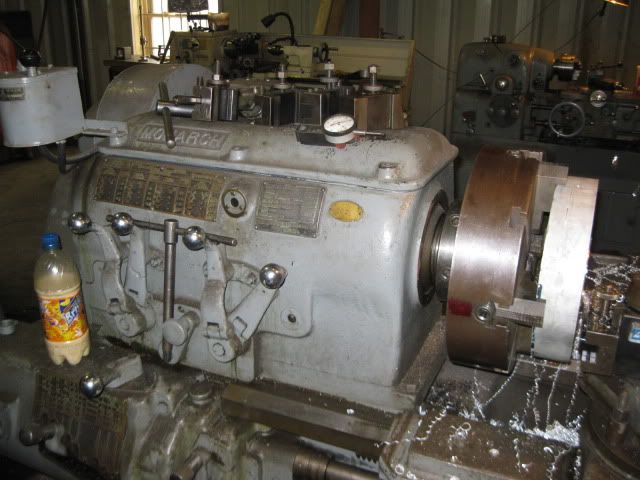
My new favorite tool. When I decide to buy a house again and get back to a 3000sq-ft garage, I am going to get me one of these bad boys. It was a lot more fun using it vs. my dinky southbend lathe.
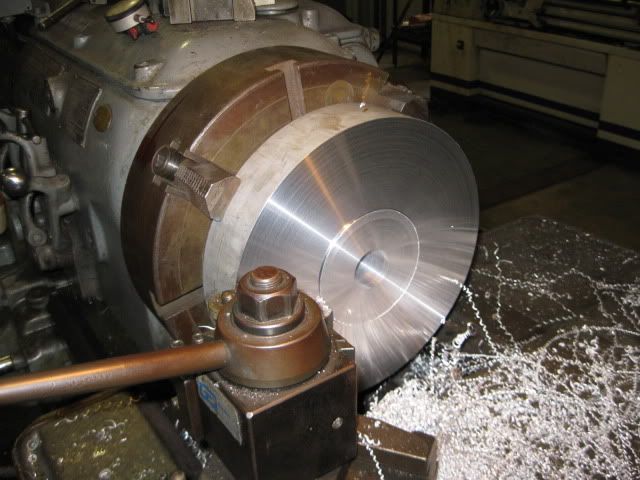
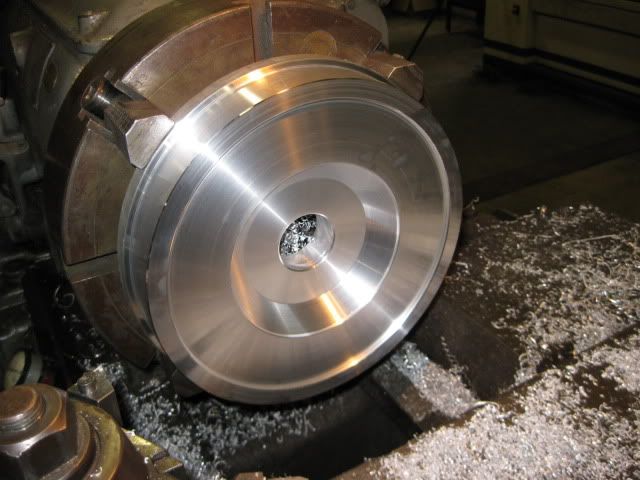
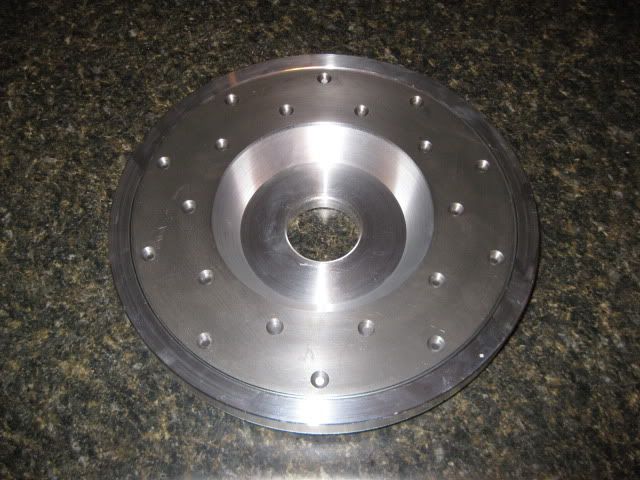
On Sunday I will get the flywheel setup in the mill and drill the crank, pressure plate and friction plate patterns.
|
|
|
|
dobey
|
MAR 26, 08:47 PM
|
|
Nice! Is the distance from the block to the ring gear going the same on your new custom flywheel, as with the stock LS4 flexplate?
I was looking at a 10" benchtop lathe today at Harbor Freight myself, as a means to machine a custom shifter and maybe some other small things.But it was like $500 so I'll pas for now. Should get a small hydraulic scissor lift first, to make working on my cars much easier.
|
|
|
|
Bloozberry
|
MAR 26, 09:00 PM
|
|
 Me likey. This by far seems to be the best design for the F40. Certainly a better design than the flex plate/spacer/flywheel idea. The countersunk hub is going to make finding suitable flywheel bolts easy too, heck, you could use bolts with full thickness heads. Great pics! Me likey. This by far seems to be the best design for the F40. Certainly a better design than the flex plate/spacer/flywheel idea. The countersunk hub is going to make finding suitable flywheel bolts easy too, heck, you could use bolts with full thickness heads. Great pics!
Edit: What's it weigh with the wear lining?[This message has been edited by Bloozberry (edited 03-26-2011).]
|
|
|
|
katatak
|
MAR 26, 09:29 PM
|
|
I've said it before and I'll say it again - Amazing work! Your threads and Blooz's thread keep me inspired! Thanks again for sharing all your great work.
Now, on a side note, I just finished a "rehab" of my SBC Coupe. Rebuilt 350 - 030 over - nothing crazy - just a nice clean running engine. It is a 70 4-bolt main motor out of a Monte - rated @ 300 HP in it's stock form - I'm hoping for 330 plus? It's bolted to a 4 spd. After taking it for a few "spins" over the last couple days, I think I am going to have clutch issues - it's a Ram clutch. I'm just wondering what you would suggest for an upgrade. Sounds like the 3+ may be the way to go? It's not a daily driver - mostly a play toy that will go through a few transitions over the next year. Future plans are for some aftermarket injection setups, updated heads, etc. I want to build it in steps just to see which does what and what the gains/losses are for each. I guess it's a "test" bed for fun! Thanks in advance.
Pat
|
|
|
|
fieroguru
|
MAR 27, 07:59 AM
|
|
Thanks for the compliments guys!
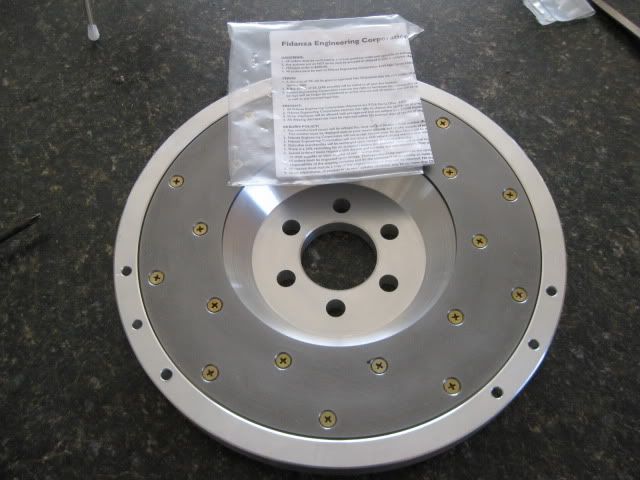
This flywheel was designed specifically around the LS4/F40 combination, so I kept the placement of the LS4 ring gear from the flex plate the same. I used the aluminum LT1 Fidanza flywheel as a guide for contour, material thickness and material type and tried to replicate it as much as possible. I also used used a fidanza friction plate (#221021 6" ID x 10 1/4" OD, #221091 is 6" x 10" and would work better with smaller ID clutches).
The 12 x 2 1/8" aluminum tipped the scales around 27 lbs, but after the first round of machining was down to 8 lbs. The friction plate, its bolts and the ring gear will bring the weight back up some, but it will probably be around 12 lbs. The ring gear weighs 2 lbs, but I have not weighed the friction plate/bolts... and I need to remove quite a bit more aluminum for the counter sunk friction plate bolts. In stock form, my clutch combo is supposed to be 18 lbs vs. the 16lbs of the stock fiero 2.8 setup
I should have taken this route at the very beginning...
For a Fiero SBC/Getrag combo, I found that the Stage 3+ was the best well rounded clutch for holding power and drivability. While I have never had a single Spec clutch failure, there have been many examples of failures due to the spring popping out of the hubs. So if you want to eliminate that issue, the stage 4+ is the same clutch as a stage 3+, just with a solid hub vs. sprung hub.
|
|
|
|
fieroguru
|
MAR 28, 02:07 PM
|
|
|
|