
 
     |
| Blooze Own: An F355 Six Speed N* Build Thread (Page 18/126) |

|
Bloozberry
|
AUG 04, 07:47 PM
|
|
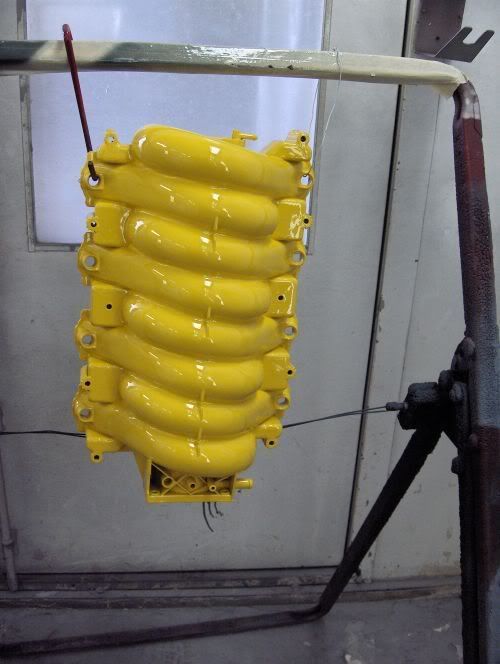
Thanks Pat, Charlie, and Joe. I figure whatever he lost on the plenum, he knows he'll be more than able to make up for it when it comes time to paint the whole car! There's no such thing as a free lunch.
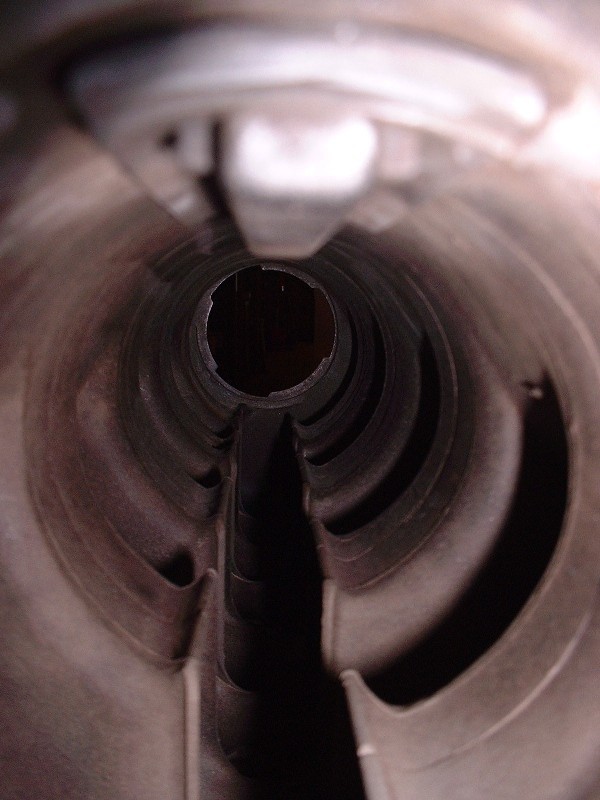
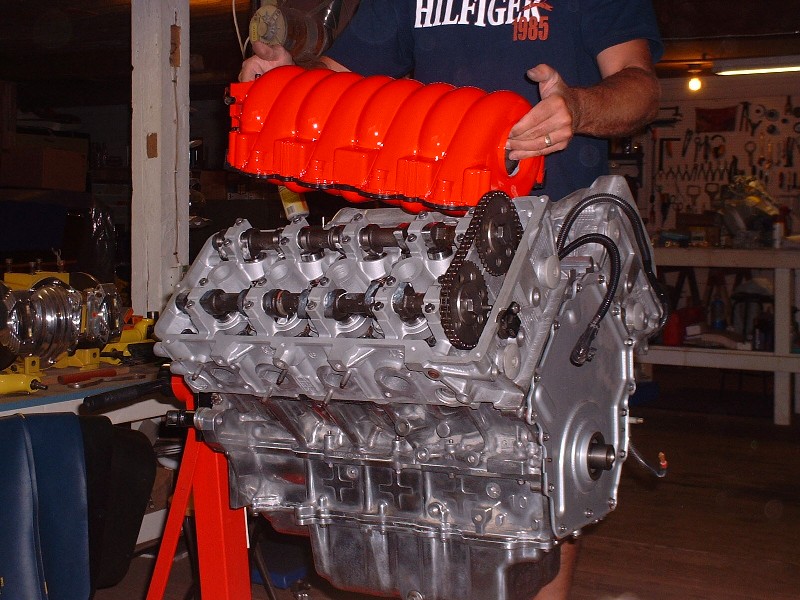
Anyways, with the plenum back in my hands, I did one final clean out of the innards to make absolutely sure there was no body filler dust or wads of masking tape hiding in there just waiting to get sucked into a cylinder on first crank. Here’s how much nicer the insides looked with all that carbon and those oil puddles now a thing of the past. The openings of each intake runner are at the bottom.
Before I could install the plenum on the block, I had to finish up the wiring to the starter and the knock sensor since they're in the valley underneath the plenum. I cleaned up the eyelets and replaced the corrugated plastic wire loom since it was fairly brittle from 15 years of soaking up the heat in that little cave.

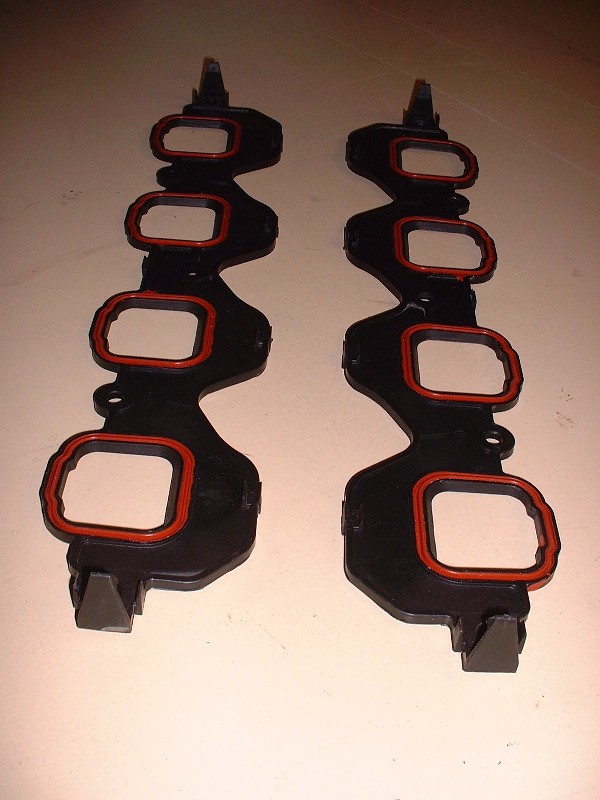
New intake runner seals were included in the FelPro Cylinder Head Seal Kit. They’re just an ABS-type plastic with neoprene-like injected seals around the base of each runner.
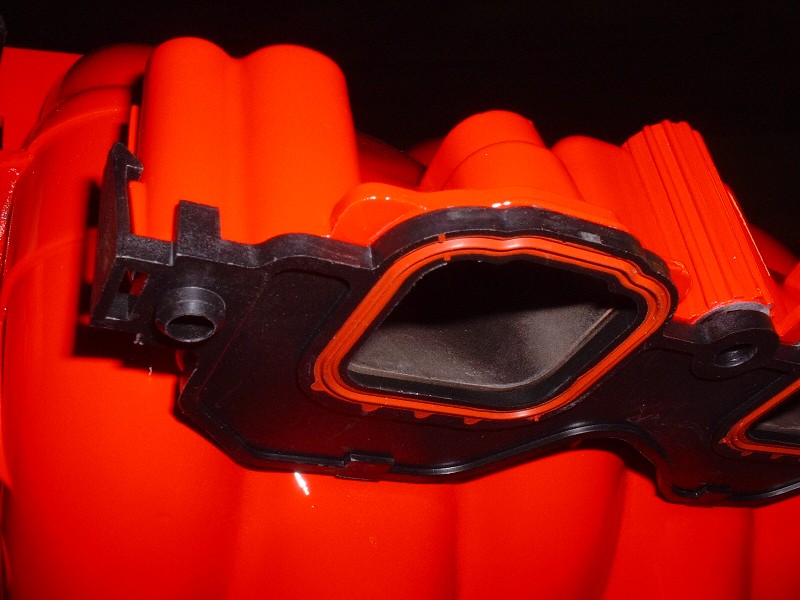
They clip onto the plenum at either end like so. Good thing I verified what each of the little moldings were on the plenum before I shaved it! Actually it probably wouldn’t have made much difference since the mounting bolts locate them anyway.
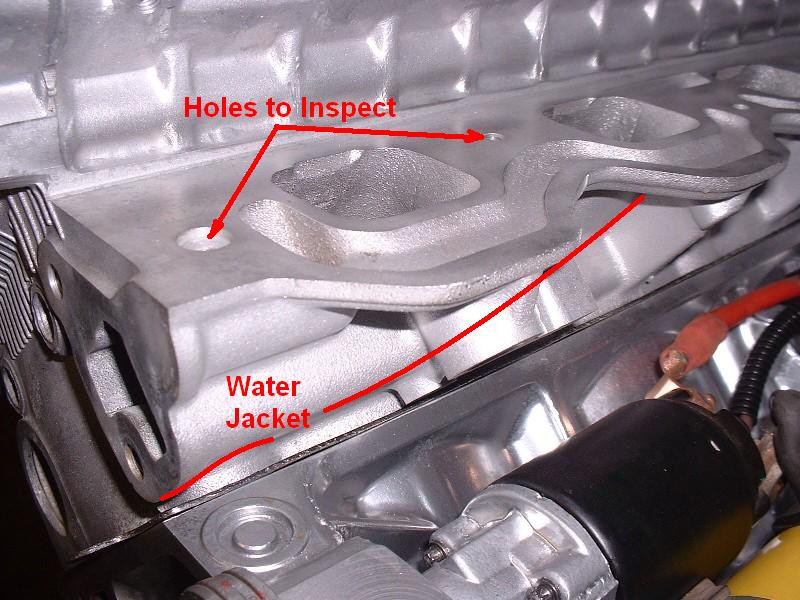
A quick inspection of the plenum mounting bolts revealed that the long ones had old thread sealant on them. This got me curious so I inspected the ten holes in the heads and found that none of them appeared to breach into the water jacket, but clearly GM didn’t want to take chances. In this picture you can see that the four bolt holes closest to the transmission could easily need thread sealant to prevent leaks. I added some RTV to the bolt threads just to be sure I wouldn’t have problems later.
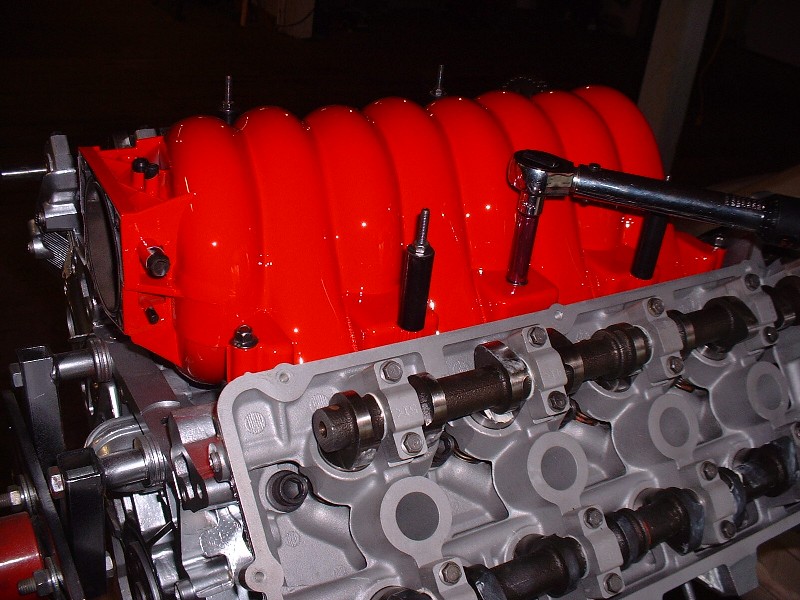
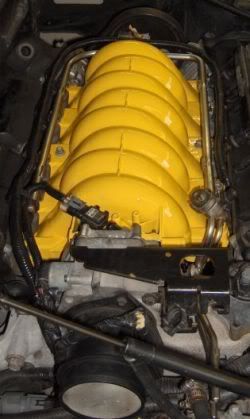
Ahhhh… finally time to install the lips… uhhh… I mean plenum. It just lowers straight down onto the intake port “shelf” of the two heads.
The plenum is held in place with six shorter bolts, and four longer studs that sandwich plastic stand-offs to the intake. The stand-offs are there to mount the beauty cover, but in my case, they'll only be needed to mount the new stainless fuel rail at the correct height. All the bolts get torqued to 89 in-lbs starting with the bolts closest to the middle and progressively working your way outboard.
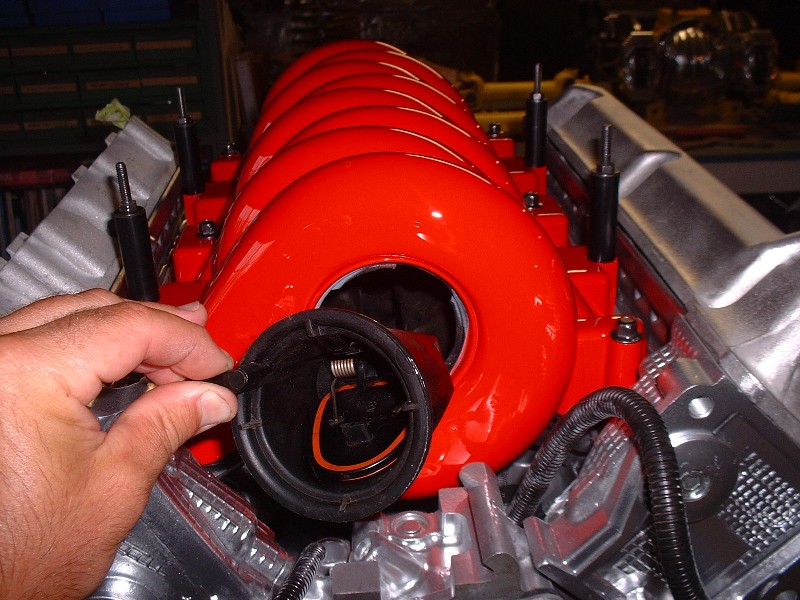
Here’s me installing the freshly cleaned backfire protection valve (at least that’s what I call it  ). If you remove your vavle, lubricate the large O-ring before you reinstall it. The valve just gets stuck in the hole at about a 45 degree angle to engage a set of tabs into mating slots, and then rotated so that the valve is at the bottom and locked in place. ). If you remove your vavle, lubricate the large O-ring before you reinstall it. The valve just gets stuck in the hole at about a 45 degree angle to engage a set of tabs into mating slots, and then rotated so that the valve is at the bottom and locked in place.
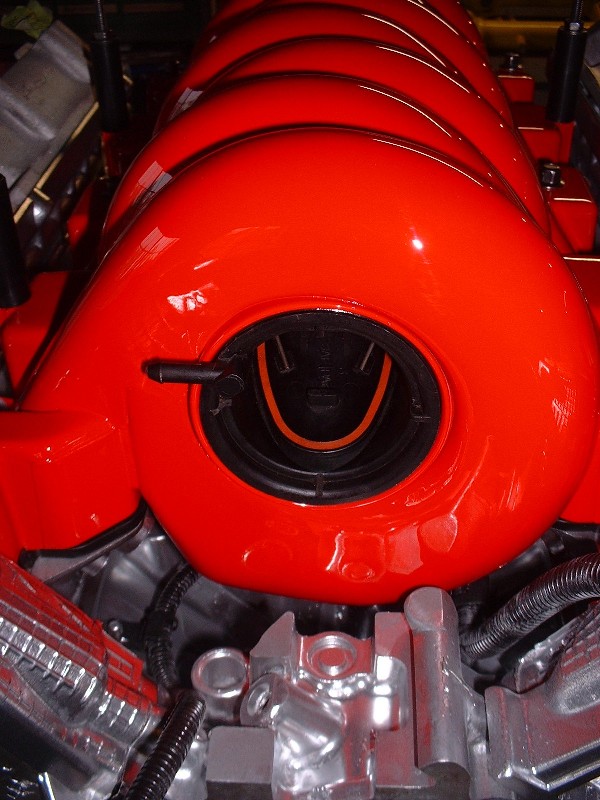
Here it is snug in it’s hole, hopefully never to be needed.
|
|
|
|
fieroman22
|
AUG 04, 09:55 PM
|
|
|
def WOW factor, must agree. been watching too much agt, hulu..... no cable for now
|
|
|
|
doublec4
|
AUG 04, 10:05 PM
|
|
|
|
|
17Car
|
AUG 08, 04:54 PM
|
|
|
|
|
AJxtcman
|
AUG 10, 09:16 PM
|
|
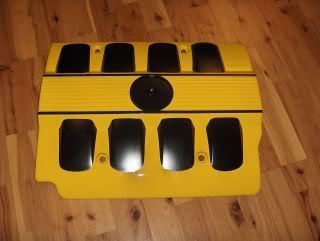
That intake looks great. Nice job
I did mine up a couple of years ago
I did the sight sheild also. I don't think I will ever use it
|
|
|
|
katatak
|
AUG 25, 09:27 PM
|
|
Blooz......Any updates? Everything OK?
Pat
|
|
|
|
cptsnoopy
|
AUG 25, 09:39 PM
|
|
Lol! I was thinking the same thing. Must be that school just started and the family is getting priority... 
Charlie
|
|
|
|
Bloozberry
|
AUG 26, 07:16 PM
|
|
I knew the pokes were coming. I've been off the build thread radar lately since I've been doing transmission and suspension stuff for a change in pace, but I don't want to post stuff out of order in the thread. I did order a pair of CHRFab's polished double bump cam covers... still waiting on them though. It was tough shelling out $650 clams but I think I would have regretted spending any money or time trying make the stock covers look good.
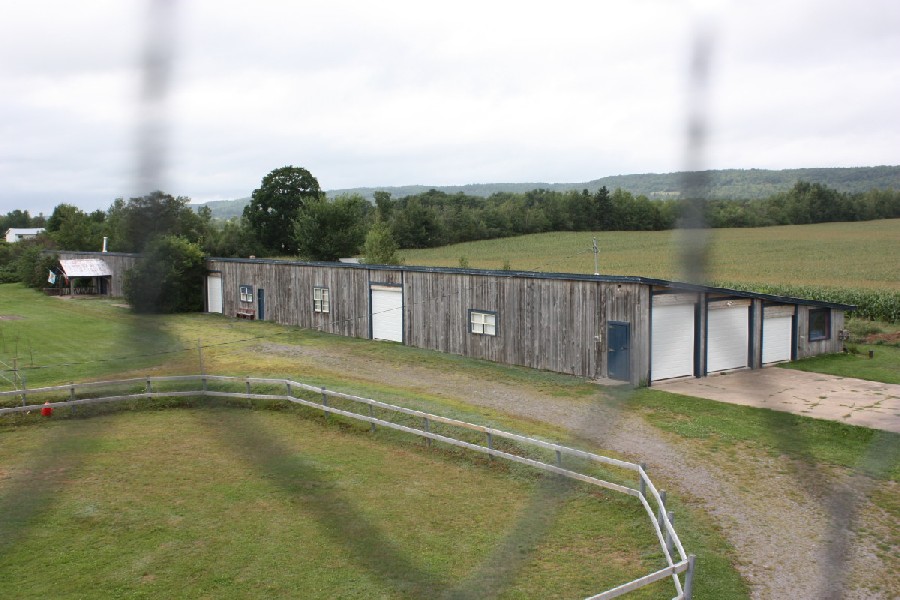
The rules for the construction zone say you're not supposed to post fluff, but here goes anyways. I'm also doing a few renos to the inside of my car storage building. I store 85 classic & prestige cars for local people over the winter months... kinda like a grown-up candy store here in the winter. I drool a lot! 16,000 sq ft of cool cars.
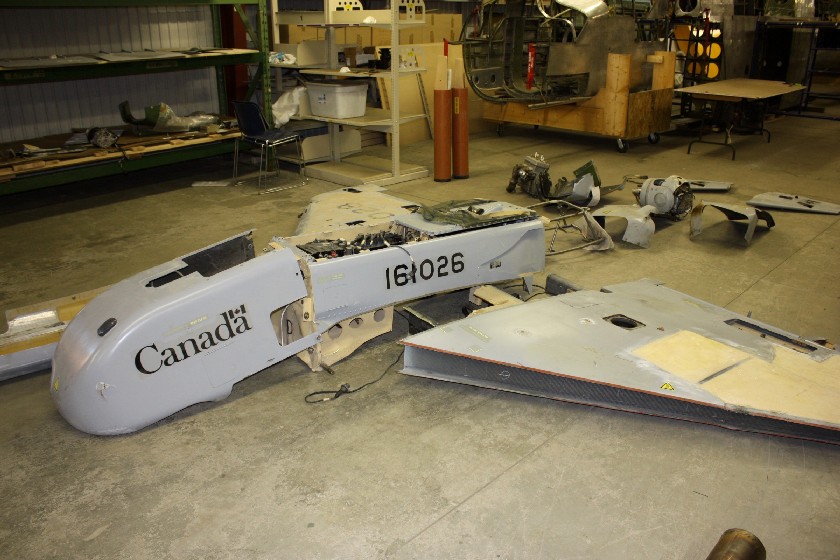
I also volunteer at the local military aviation museum (I know... blah blah blah...) but thought some of you might like to see what I'm rebuilding over there too. It's one of the first UAVs (unmanned aerial vehicles) that Canada bought for use in Afghanistan back in 2000 or so. They weren't that great, but they look neat! Now if I could only find a way to hook up that infrared camera turret to the 355 without drawing too much attention...
Intermission is over... stay tuned fo more F355 stuff soon.
|
|
|
|
Tony Kania
|
AUG 26, 07:54 PM
|
|
Aviation! Not sure if any of us would be interested?! Oh yeah! I would bookmark a thread such as that from you. 
Your engine looks amazing. I want to lick it. 
|
|
|
|
Bloozberry
|
AUG 26, 08:10 PM
|
|
|
LOL. I'm tempted, but I'm afraid my wife might walk in and not understand!
|
|
|
|